Sledsel
-
Posts
3,924 -
Joined
-
Last visited
Content Type
Profiles
Forums
Events
Gallery
Everything posted by Sledsel
-
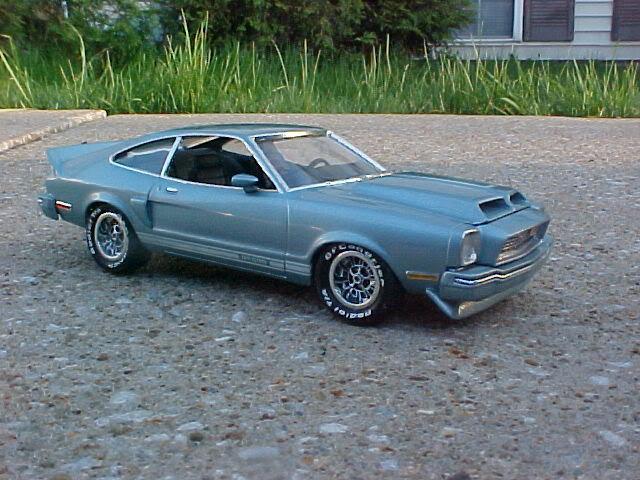
 Testors black and orange enamel, no clear and Plastikote odds-n-ends periwinkle, no clear
-
Anyone know of good small parts holder
Sledsel replied to Nova-ss's topic in General Automotive Talk (Trucks and Cars)
Hemostats
-
also, these were predominant in the late 70's-80's FYI
-
I have an extra Dart scoop
-
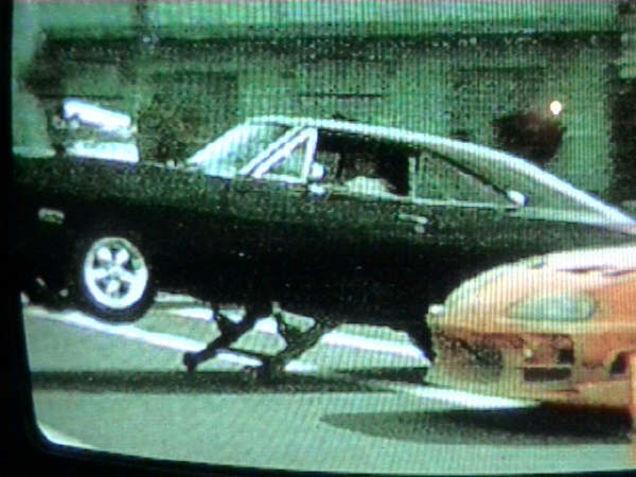
I am proud to say I have never watched any of the F&F's movies...... Yes Yahshu, that Charger was "something" LOL.....
-
as money allows, I keep every makes colors on the shelf. Your build is looking great. Like you, I prefer the Firebird over the Camaro
-
Looks really good. Only off thing I see is the missing light treatment. Ya should have added some aluminum tubing for the ring. Still great weathering on it all.
-
Sweet!!!
-
Very cool. and more cool she want's to "see it"
-
Very cool build
-
Lookin good. Those Chargers were noted for rust between the door and rear wheel opening, along the rear shelf seam/gas cap and the rear of the decklid too. FYI.....
-
I'd cut those little angle pieces off and glue a strip of styrene along the rocker tight to the floor and sand to shape. Then spread the body over the floor and the strip holds it in place. Wanna get fancy, cut and sand the top of the styrene strip to follow the floor pan.
-
Yes, may have been part of the sport package or something. I do know it was an option.
-
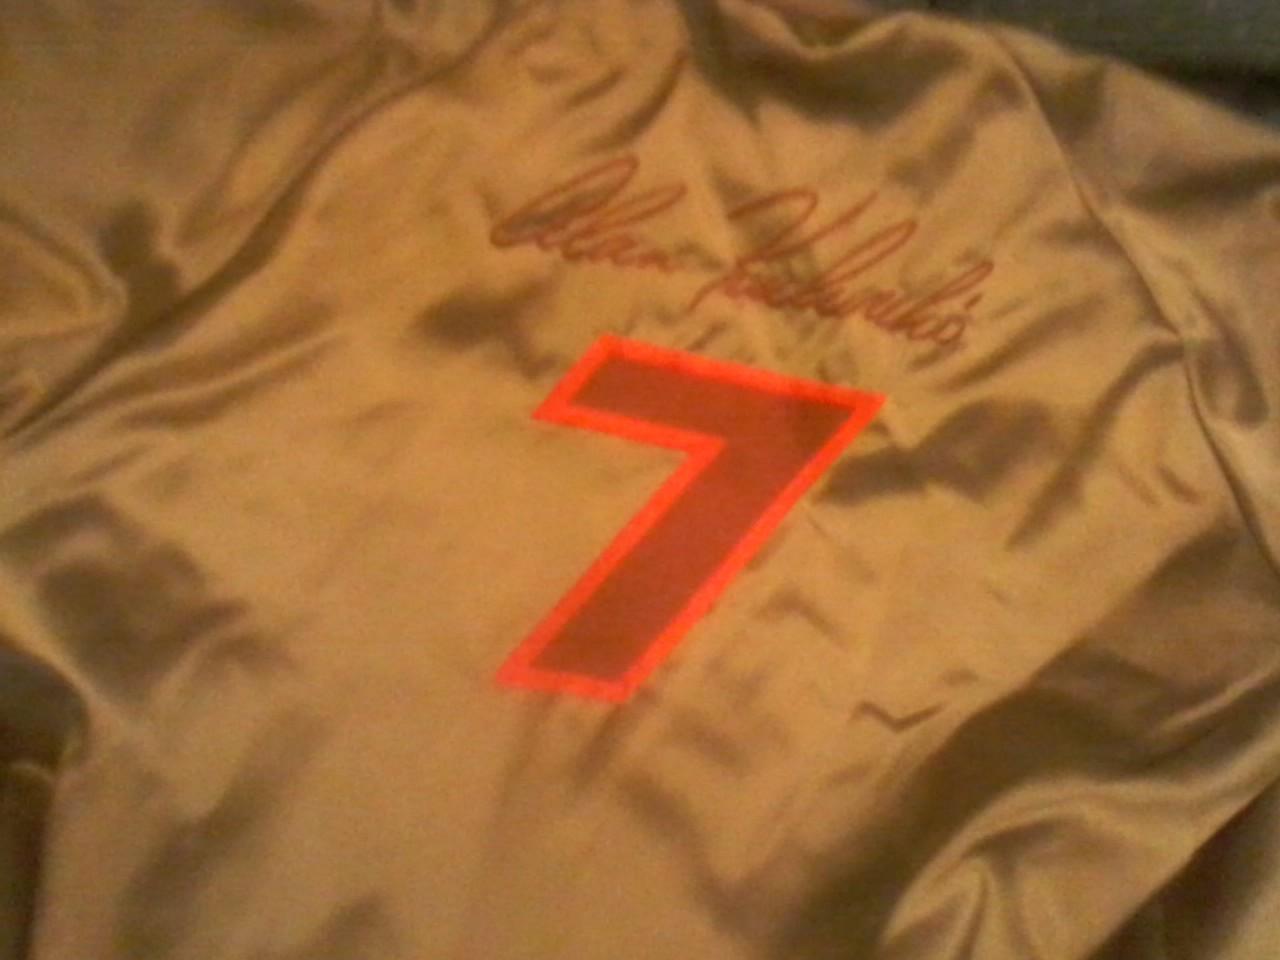
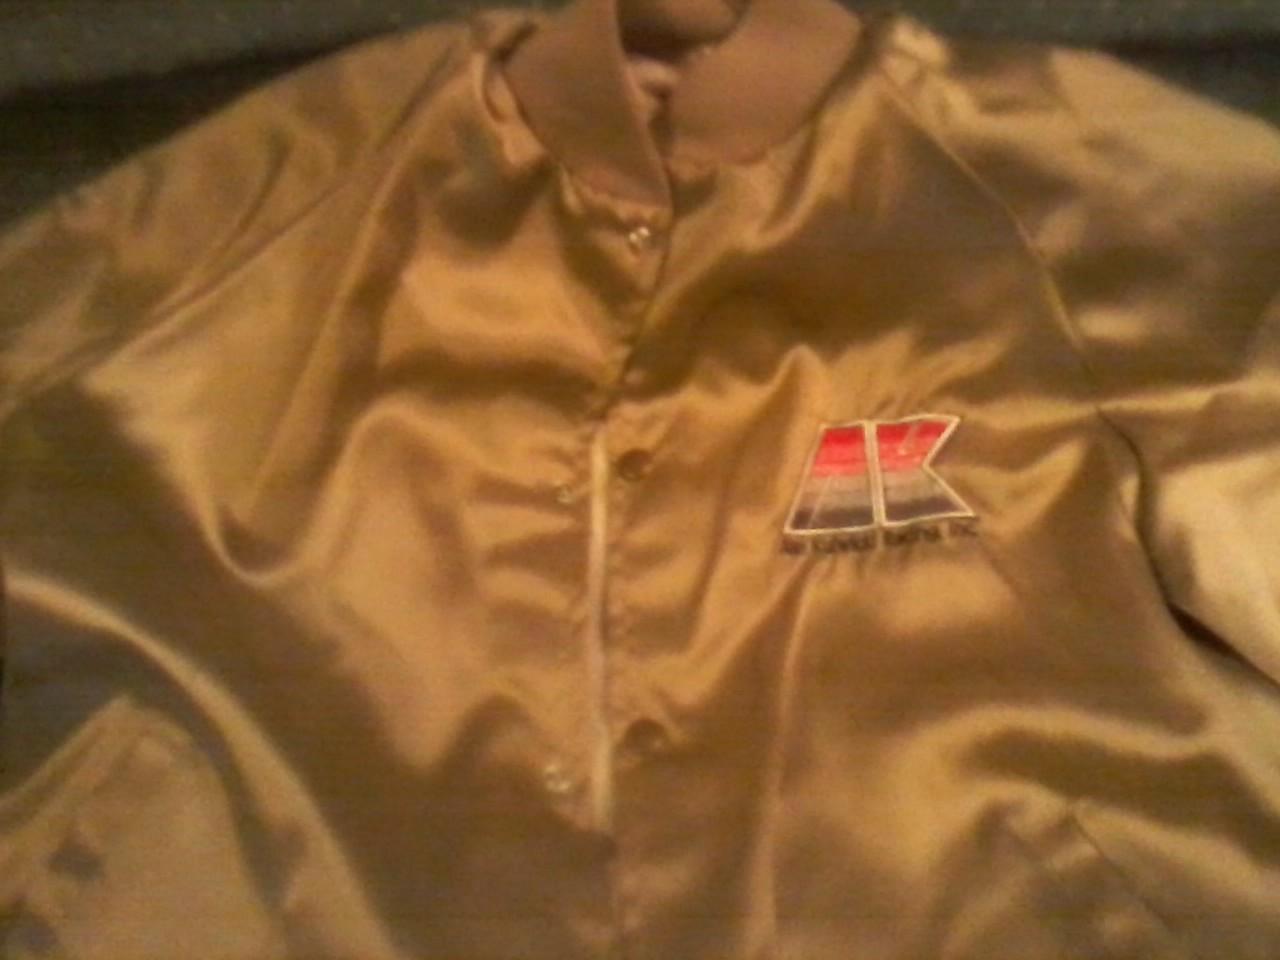
Love it! Ironic I found this in my closet at my parents this week. Glad I took care of it. Wish it fit still tho
-
Love it!
-
If you compare the kit built and the pic Brian provided, you can really see how much arch there actually is. Just look at the door line from the door lock to the bottom of the rocker. As mentioned, the rocker work will relieve a lot of it. The rest will look okay. Another mention is the front of the decal stripe, it is a bit off. Should follow the body line Are there 2 different hub caps? Rear should be a red medallion, the fronts have the lock out hub (actually open center) Just curious if they caught that.
-
Correct Brian, way flat compared to what it should be. The entire side is pretty flat, but does not stand out so much with the boxy Bronco. Brians pic shows the gentle roll of the body side. If you look at the front fender flare, you can see how much it rolls under below the door line. This has been an issue with several Revell kits as of late (57 Ford, 49 Merc) Some strip styrene added to the back of the rockers then sanded to give it a roll will work. Otherwise the bottom of the rocker will be paper thin. The rear quarter and front of the fender look pretty good. Good eye Brian Thank You Tom for the compliment on the 57. Still not done with that kit though. Need to have the front bumper replated.
-
Other than the work needed on the rockers, this looks pretty nice. I may need to pick one up.
-
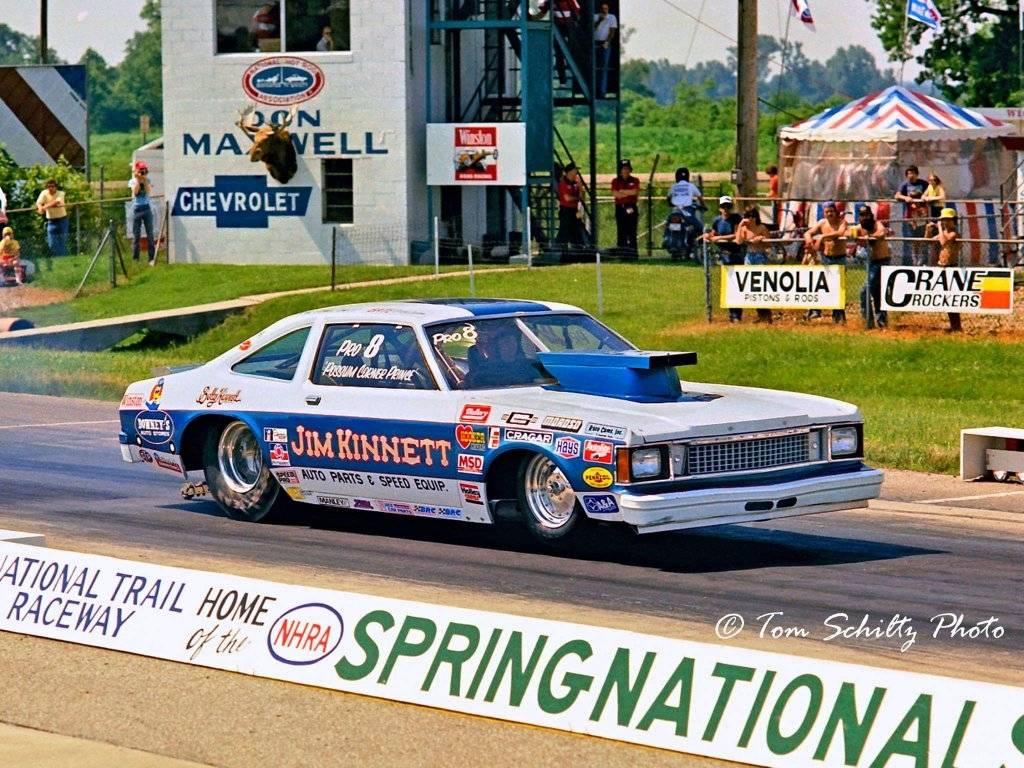
Great kit.... Good Moonshine car.
-
I like it
-
looks short to me. I almost bought one of these, cannot wait to see how it builds up
-
I did a Phantom Shelby awhile back.....
-
Looks great! I am building this kit and it is driving me batty...... every time I paint it, something happens to the paint and in the purple bath. 4 times so far! ARGH
-
Looks great. Love the color combo. Just looks "right" I feel your pain in fitting some of these older tools. Fit, sand, repeat. I do so much fitting before starting on older tools. Do not even mention paint. I have one kit that has taken 4 purple baths from paint issues. A recent build received some unplanned decals because of a minor paint issue.
-
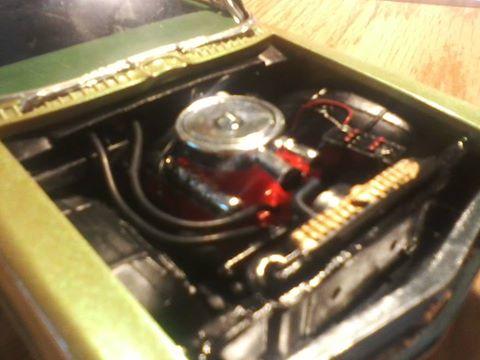
Go ahead and assemble the main body and tape it tight to the chassis. Do not glue to the chassis. Tape the interior side panels in and it will stay in place for ya. It will come off easily. Sand the bottoms of the interior panels a little to give it a loose fit when reassembly. Mine I did not do that and the gap from the bottom body lip and interior panel was pretty snug and took some push to snap it in. Another hint, add heater and radiator hoses and it will dress up the engine compartment nicely. Use some solid core wire of different gauges and you can bend them to shape similar to your wires. Leave the insulation on and color with paint or marker. That is what I did on this Buick Looking good on this build. Patience is all it needs to look good.
.jpg.1a6d9ec87f7f3a5792f7ad721400560d.jpg)

.jpg.68190a064718057ef09dc70ac127c7ba.jpg)

.jpg.77168fe08fa2143d3893ebff860a2a13.jpg)
.jpg.d97456d3c84a75a93430edd14405b57d.jpg)

.jpg.bf579b9d04ece4321b80a70ce897f107.jpg)
.jpg.8b9848b94eccdc8d2e56ffbdbb3d4251.jpg)
.jpg.aae7f0037a95d0af43f96bca04d238ad.jpg)

.jpg.2f066b6fc4b08c67e4afce7efe889fdc.jpg)