Sledsel
-
Posts
3,924 -
Joined
-
Last visited
Content Type
Profiles
Forums
Events
Gallery
Everything posted by Sledsel
-
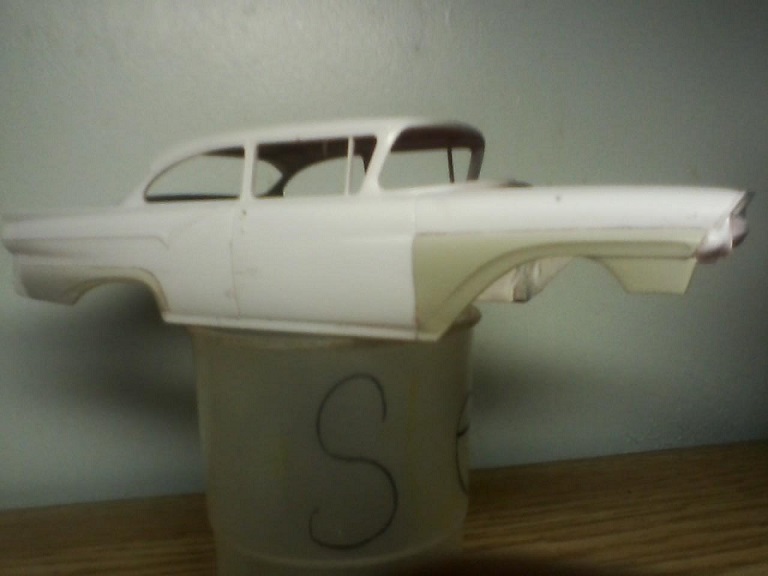
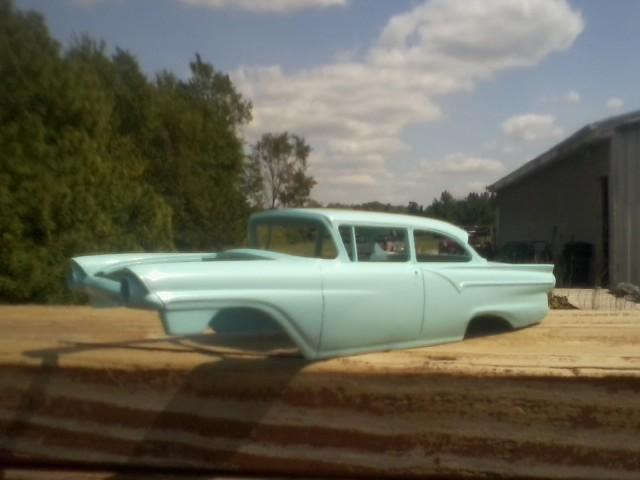
Tossing my 2 cents in here... Like all Revells 57s, they are okay. detailed nice but the bodies are far from accurate. Dash is really bad and needs a lot of work or swapped with the AMT. Same with the front valance and bumper, wrong and should be swapped with the AMT parts. There is a list of the issues on the original Del Rio review post Sad part is, the wrong parts of the body are actually correct on the old Revell '57 Rancheros. Body-wise, the fix is not tough, but time consuming. Really bummed me when I saw this kits reviews because I planned to have a bunch of all the '57's on the shelf, now I just have one sedan and one wagon. Not doing any more.

-
If it is all made here, I will support them by getting one, more if it is nice. With any luck, the have fixed body and bumper inaccuracies. When it comes to "new" kits, this is totally unacceptable to me. That all being said, what would everyone think if one of these became a kit also? Just wondering.
-
Came out really nice
-

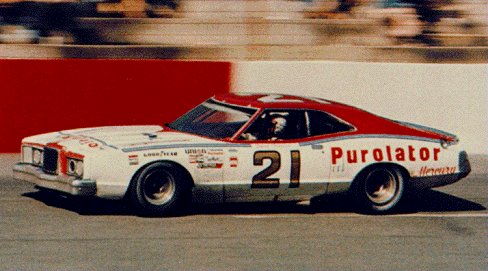
The Underbird
Sledsel replied to Merkur XR4Ti's topic in WIP: Stock Cars (NASCAR, Super Stock, Late Model, etc.)
That is awesome... Is it cleared also? Working on an AK car that is painted with enamel and am worried about clear coating -
Very nice.... So you do not go through all the polishing pads up to 12000 grit? I find them a pain myself.
-
Working on the same kit, had to do some "adjusting" to get the wheelbase better. You next kit, do a lot of dry fitting even before paint to resolve any issues early. A must on these older kits Keep going
-
I'm staying tuned in... I love this kit.
-
Old aged mold, but still builds nice. I'll be watching
-
John is correct, semi-gloss gray with some light color over spray. Chassis was semi-gloss black. Live near the Lorain assembly plant and would see the frames coming in by the train load
-
Original Bullitt Mustang Rediscovered
Sledsel replied to afx's topic in General Automotive Talk (Trucks and Cars)
Who changed the rocker trim? or possibly stripped em? -
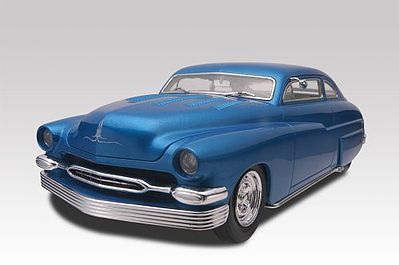
Wow.... Want to see where this is going... I never had to cut a Merc like that to chop it.....
-
X2
-
Always like those Jags. Gonna watch this one. I did not believe that is a stripe but rather a light reflection but then I found this pic......
-
Revell need to totally start with a new tool for their Mercury body. My dream car is a chopped Merc, the kit was a blessing til I opened it. I have purchased 2 for parts and pitched the bodies.
-
AMT Altered wheelbase kit ?
Sledsel replied to milo1303s's topic in General Automotive Talk (Trucks and Cars)
Model King did the Comet awhile back, so the molds are around. -
Love Falcons an love this build. I need to add one suggestion..... 427...
-
Wow, you CAN polish a turd. Great job
-
Yellow always give me an issue. Yours came out great!
-
Finicky old kit, but you did a great job on it. I have one in my stash, and Chris is right, it is a rite of passage to successfully build one.
-
Shawn, Really, the pic of a model chassis thrown in with studio pics of a real car.... Did not fool me... nope nope nope. and BTW, awesome work....
-
Scratch Building an Aussie Ford Falcon **New update,15/1/18**
Sledsel replied to ShawnS's topic in WIP: Model Cars
I have no words other than WOW! -
Gonna be a great build! Although lacking detail, these old Johan's were so nice. Hard to find inaccuracies unlike many new kits.
-
I think upgrading existing kits would make sense. I'll use the AMT 73 Mustang as an example: The body is very nice, but the interior was converted to "race car" and needs a new, multi-piece interior and seats. With this, a good firewall, shock tower and core support. Cheat and use the 68 Shelby chassis with scribe marks to remove the front wheel wells. Different bumpers and grills would yield separate kits, even offer a sprint or standard fastback with non Mach hood. All this would immensely improve the kit. Do the same on some of the old annuals updating the chassis and under hood accuracy. Many of the old annuals have really nice bodies compared to many NEW offerings.
-
"Unchopping" the Revell 49 merc
Sledsel replied to Mr. Metallic's topic in General Automotive Talk (Trucks and Cars)
Fixing the roof on that is the least of the issues. I ended up cutting out the 1/4 windows from the body of my kit and tossing the rest of the body in the trash. The immediate issues with the kit are: the squashed looking roof. Not only is the chop pitched wrong, but the roof itself is too flat side to side and front to back. Speaking of flat, the sides are horrible. From the body line that lines up with the top of the fender down, the kits body is flat, where it should have a roof all the way down an the rocker rolls under the car and not squared off. Then there is the windshield, The shape is off a bit (too square) and it is also too flat. The "V" in the middle should be more defined. This affects the cowl and hood and would be a pain to fix. This brings me to the body line on the body, too sharp and where it blends to the hood is way off. The rest of the hood is not so great either. My fix? Get an AMT body and chop it yourself and use the rear quarter windows from the Revell body. You can use the Revell grills interior and frame that all fit very well. (Scale on both is good, the Revell parts fit with very very minor work) I was so excited to see this when it came out, and was so disappointed when I opened the box. Otherwise I would have been buying by the case.
-
X3


.jpg.38e05f9e03716eb4a2eafcc53f295daf.jpg)
.jpg.c07698796183f11a39149f358a8b80a7.jpg)