Stray
-
Posts
504 -
Joined
-
Last visited
Content Type
Profiles
Forums
Events
Gallery
Everything posted by Stray
-
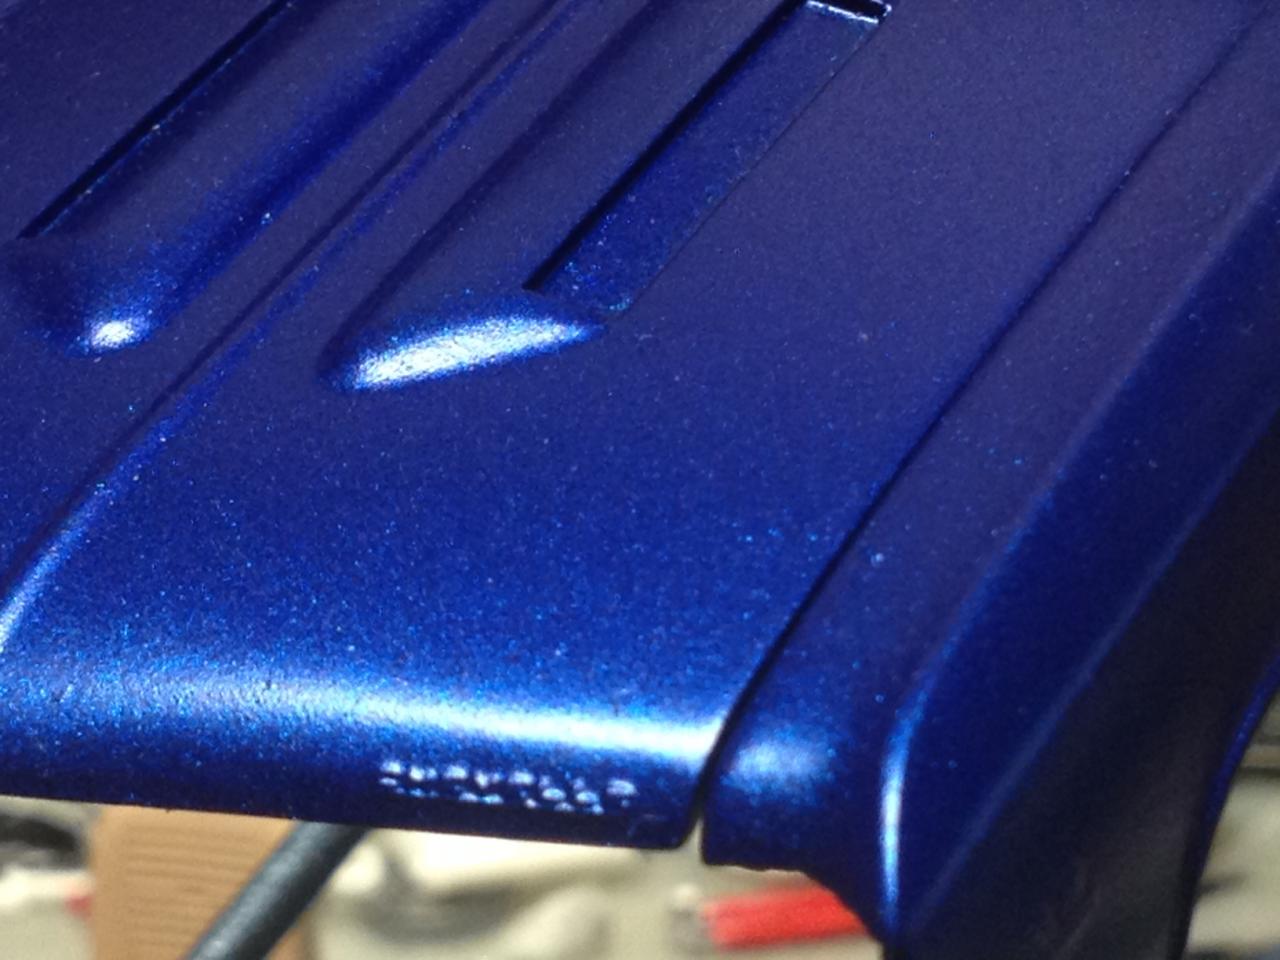
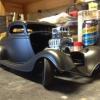
And the final update for the day, as it is 2:30am here! I got the paint on the body. Primed the body and bonnet with rattle can. Then used my AutoAir paints through the airbrush. Based with semi opaque black. Then medium aluminium base for a nice shiny silver metallic. Then about 15 light coats of transparent cobalt blue til I had the depth of colour I was looking for. The bonnet was taped to the body for paint so that the colour would be consistent. Once I clear this it should really pop. Heres some pics (yes, my desk is a mess!):

-
another update is the brakes. Here is a few pics of the process I used. Starting with the backing of a wheel from my box of leftovers. I think it was actually one of the wheels from the 51 chev kit, judging by the colour. But it had a decent thickness, which is what I was after to make into a caliper. Sanding it down is easy, just have to be sure to make it even. Once thickness is achieved, I cut to size, Only using disc's on the front for this kit so I just needed two parts. From there I glued on a bit of styrene which was to add a little extra width, as I had to saw out the gap for the rotor to sit in. I used a pin vise and drilled out for the gap in the top of the calipers. Glued on some styrene rod to make the piston appearance. Sanding and filing came next to get the shape I wanted, test fitting to the rotors. I made a little bracket for each to fit to the stubs. Painted them up and hey presto, disc brakes! Will need to plumb in the brake line when fitting time. Heres some pics:
-
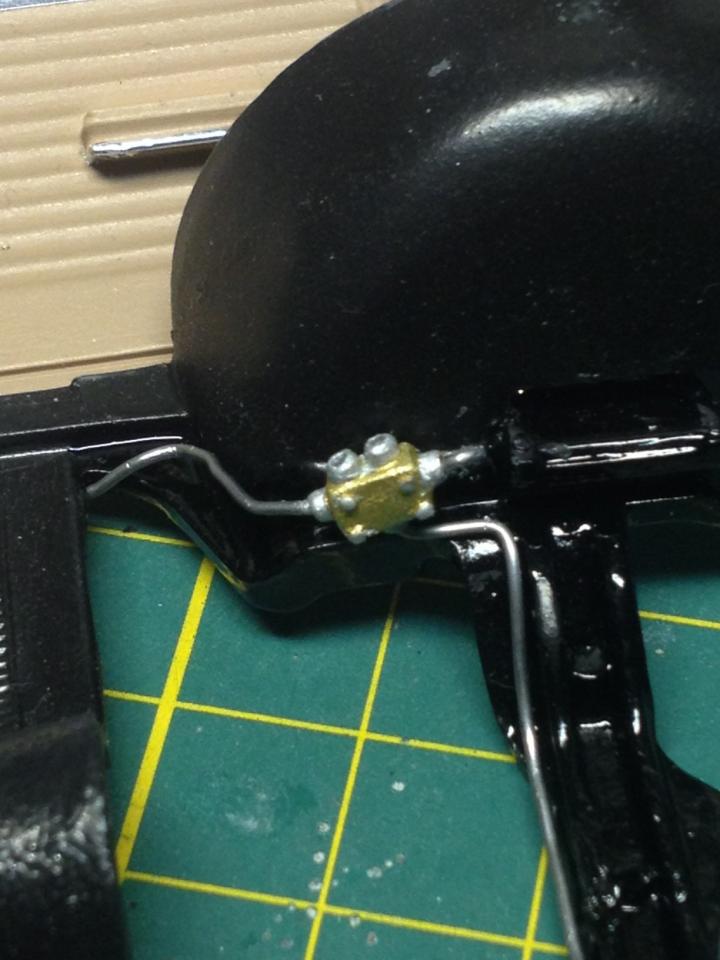
Thanks for the kind words Ok, been a few days without updating. Have just been tinkering and kept getting distracted. Yesterday and today though I got some paint done. Have started on the interior. Just used tamiya XF78 tan, which was coming up slightly pinkish, so added a couple light coats of XF57 buff over the top. Then started detailing the dash, man I suck at those tiny numbers... soooo frustrating! Also started the BMF on one panel. Also here is a pic of the brake proportioning valve in place and semi-plumbed.
-
 Now THAT is great thinking! I will definitely be taking this advice.
 -
GSX1100S
Stray replied to kpnuts's topic in WIP: All The Rest: Motorcycles, Aviation, Military, Sci-Fi, Figures
super cool. Another realistic looking kit. Thats insane man. -
Well FRANKENSTEIN is done ,
Stray replied to bpletcher55's topic in Model Trucks: Pickups, Vans, SUVs, Light Commercial
that's downright beautiful. -
Red little Corvette? No! Firebird Trans Am - gang
Stray replied to christian-w's topic in Model Cars
love the trans ams -
pretty sweet looking racer there dude. Great finish and a clean build. Kudos
-
'32 ford 5-window coupe , top chopped rebuild
Stray replied to crazyrichard's topic in WIP: Model Cars
absolutely beautiful. I'd love it in 1:1 too. -
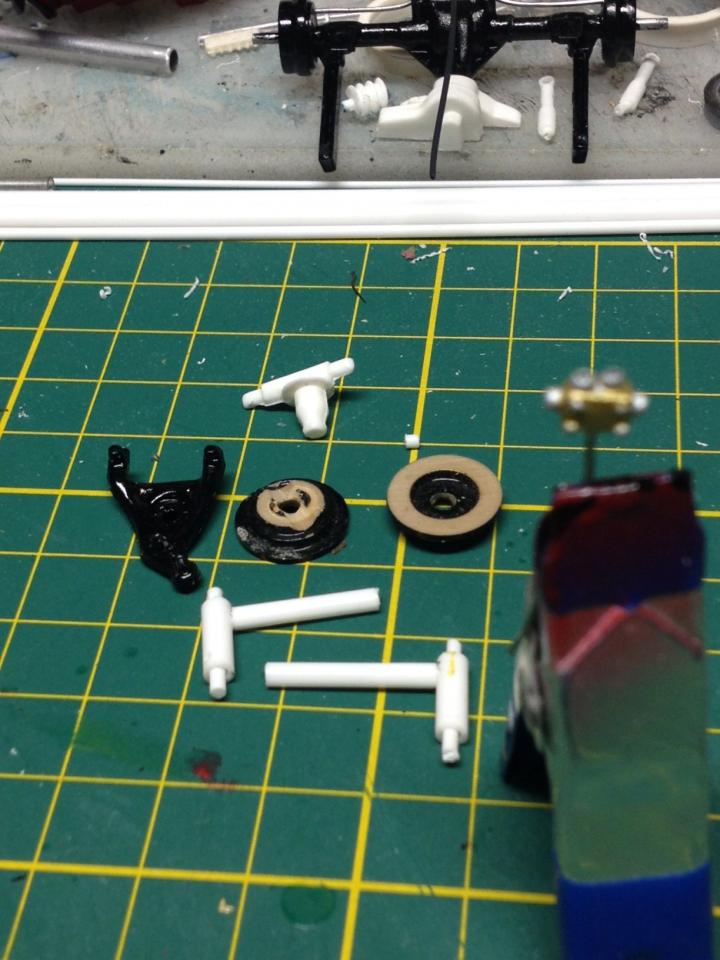
thanks for looking guys Not much today, but here is the brake proportioning valve I scratched. I haven't ACTUALLY googled to see what they look like, just thought it was so small and gonna have lines running in and out and it is gonna be mounter to the chassis under the booster so it is not gonna be all that visible anyway, but I built it. Used boxed styrene for the body, glued a rod through the middle of it, then 2 more rods on one side and 1 on the other. Drilled them to the size of the .711 solder I am using for the lines. Added some tiny bits of rod for the mounting bolts. Also the disk brakes I am using for the front. Again I have no clue what they are from, found them in my parts boxes. Did have to sand down the ribs on the edges and the hub as well to get them thin enough to mount. I will still have to shave a bit off the inside of the mags. Also one of the stub axles went walkabout, so I have built a couple more from tube and rod. I have set them up slightly lower than the kit one also pictured. Still have to make some calipers to go with the discs. Couple pics:
-
ahhh cool work man. Nicely representing the real thing. It's not often you see the chassis looking cleaner than the body!
-
I still have my old old old version of this! It was one of the very first kits I built. It was molded in blue and I had absolutely no idea what I was doing. I had rebuilt it at some stage, but I have it in a box now stripped and waiting for another go. Except I have no idea what happened to the chassis! I do want to get this kit you have that is available now and then scratch up a chassis for my old one, then do a side by side stock and rat build. Will watch the progress on yours mate. Love the early 50's cars.
-
Sharp finish on it. Well done mate.
-
where? Under glass??? *wanders off for a gander*
-
Great little build mate. The anglia is a nice old bit of kit. You've done it justice
-
This is looking tuff as (insert swear word)! If I got my hands on one of these I'd just HAVE to do it Joe Dirt style.
-
never been a fan of woodys but I can appreciate the work that goes into them, and you're creating a great example here matey.
-
I love primer. I wanna do a car and just leave it in primer someday. Looking good so far dude.
-
Asian MicroCars: Daihatsu Copen, Honda Beat & Suzuki Cappuccino FINISHED!
Stray replied to jbwelda's topic in WIP: Model Cars
cute little things aren't they? Nice work bud. -
clean and sharp and the photography is great! Aced it on all counts man.
-
Really clean build man. Kudos.
-
Lovely work. That colour would look awesome I reckon. The bmf looks crisp as also.
-
Best engines in 1/24 scale?
Stray replied to Jantrix's topic in Model Building Questions and Answers
I recall I quite liked the 454 in Monogram's 70 'Heavy Chevy' Chevelle. I built one stock and one with the kit blower. -
Awe. As in Awesome, awe inspiring and awwwwwyeah.
-
Thanks guys. I am really enjoying myself. I can't for the life of me remember why I stopped so long ago, apart from work and life issues. Everyone is different Mike, what you build you do it for you and thats what its all about. I'm not doing anything to impress anyone, because the experts could easily shoot me down on quality and method as well as finish and 'reality'. I'm just doing this to show myself I can. When I was building before there was no internet! I just had a few copies of SAE to drool over, and a heap of car magazines too. But now it's so easy to just do a google search for specific images and bazinga, reference pics! So I figure out a way to make stuff using what I have and in most cases a buttload of sanding. I like the challenge of the build, making parts if I can. I also built the basis for the brake proportioning valve today which I should get sanded and drilled tomorrow. That was rather small but fun.