68shortfleet
-
Posts
601 -
Joined
-
Last visited
Content Type
Profiles
Forums
Events
Gallery
Everything posted by 68shortfleet
-
 Very cool builds, that third one though, I might have to borrow a few build ideas from.
 -
Kustom '34 pickup
68shortfleet replied to Rocking Rodney Rat's topic in Model Trucks: Pickups, Vans, SUVs, Light Commercial
Incredible. Will be using this example for a build of my own. -
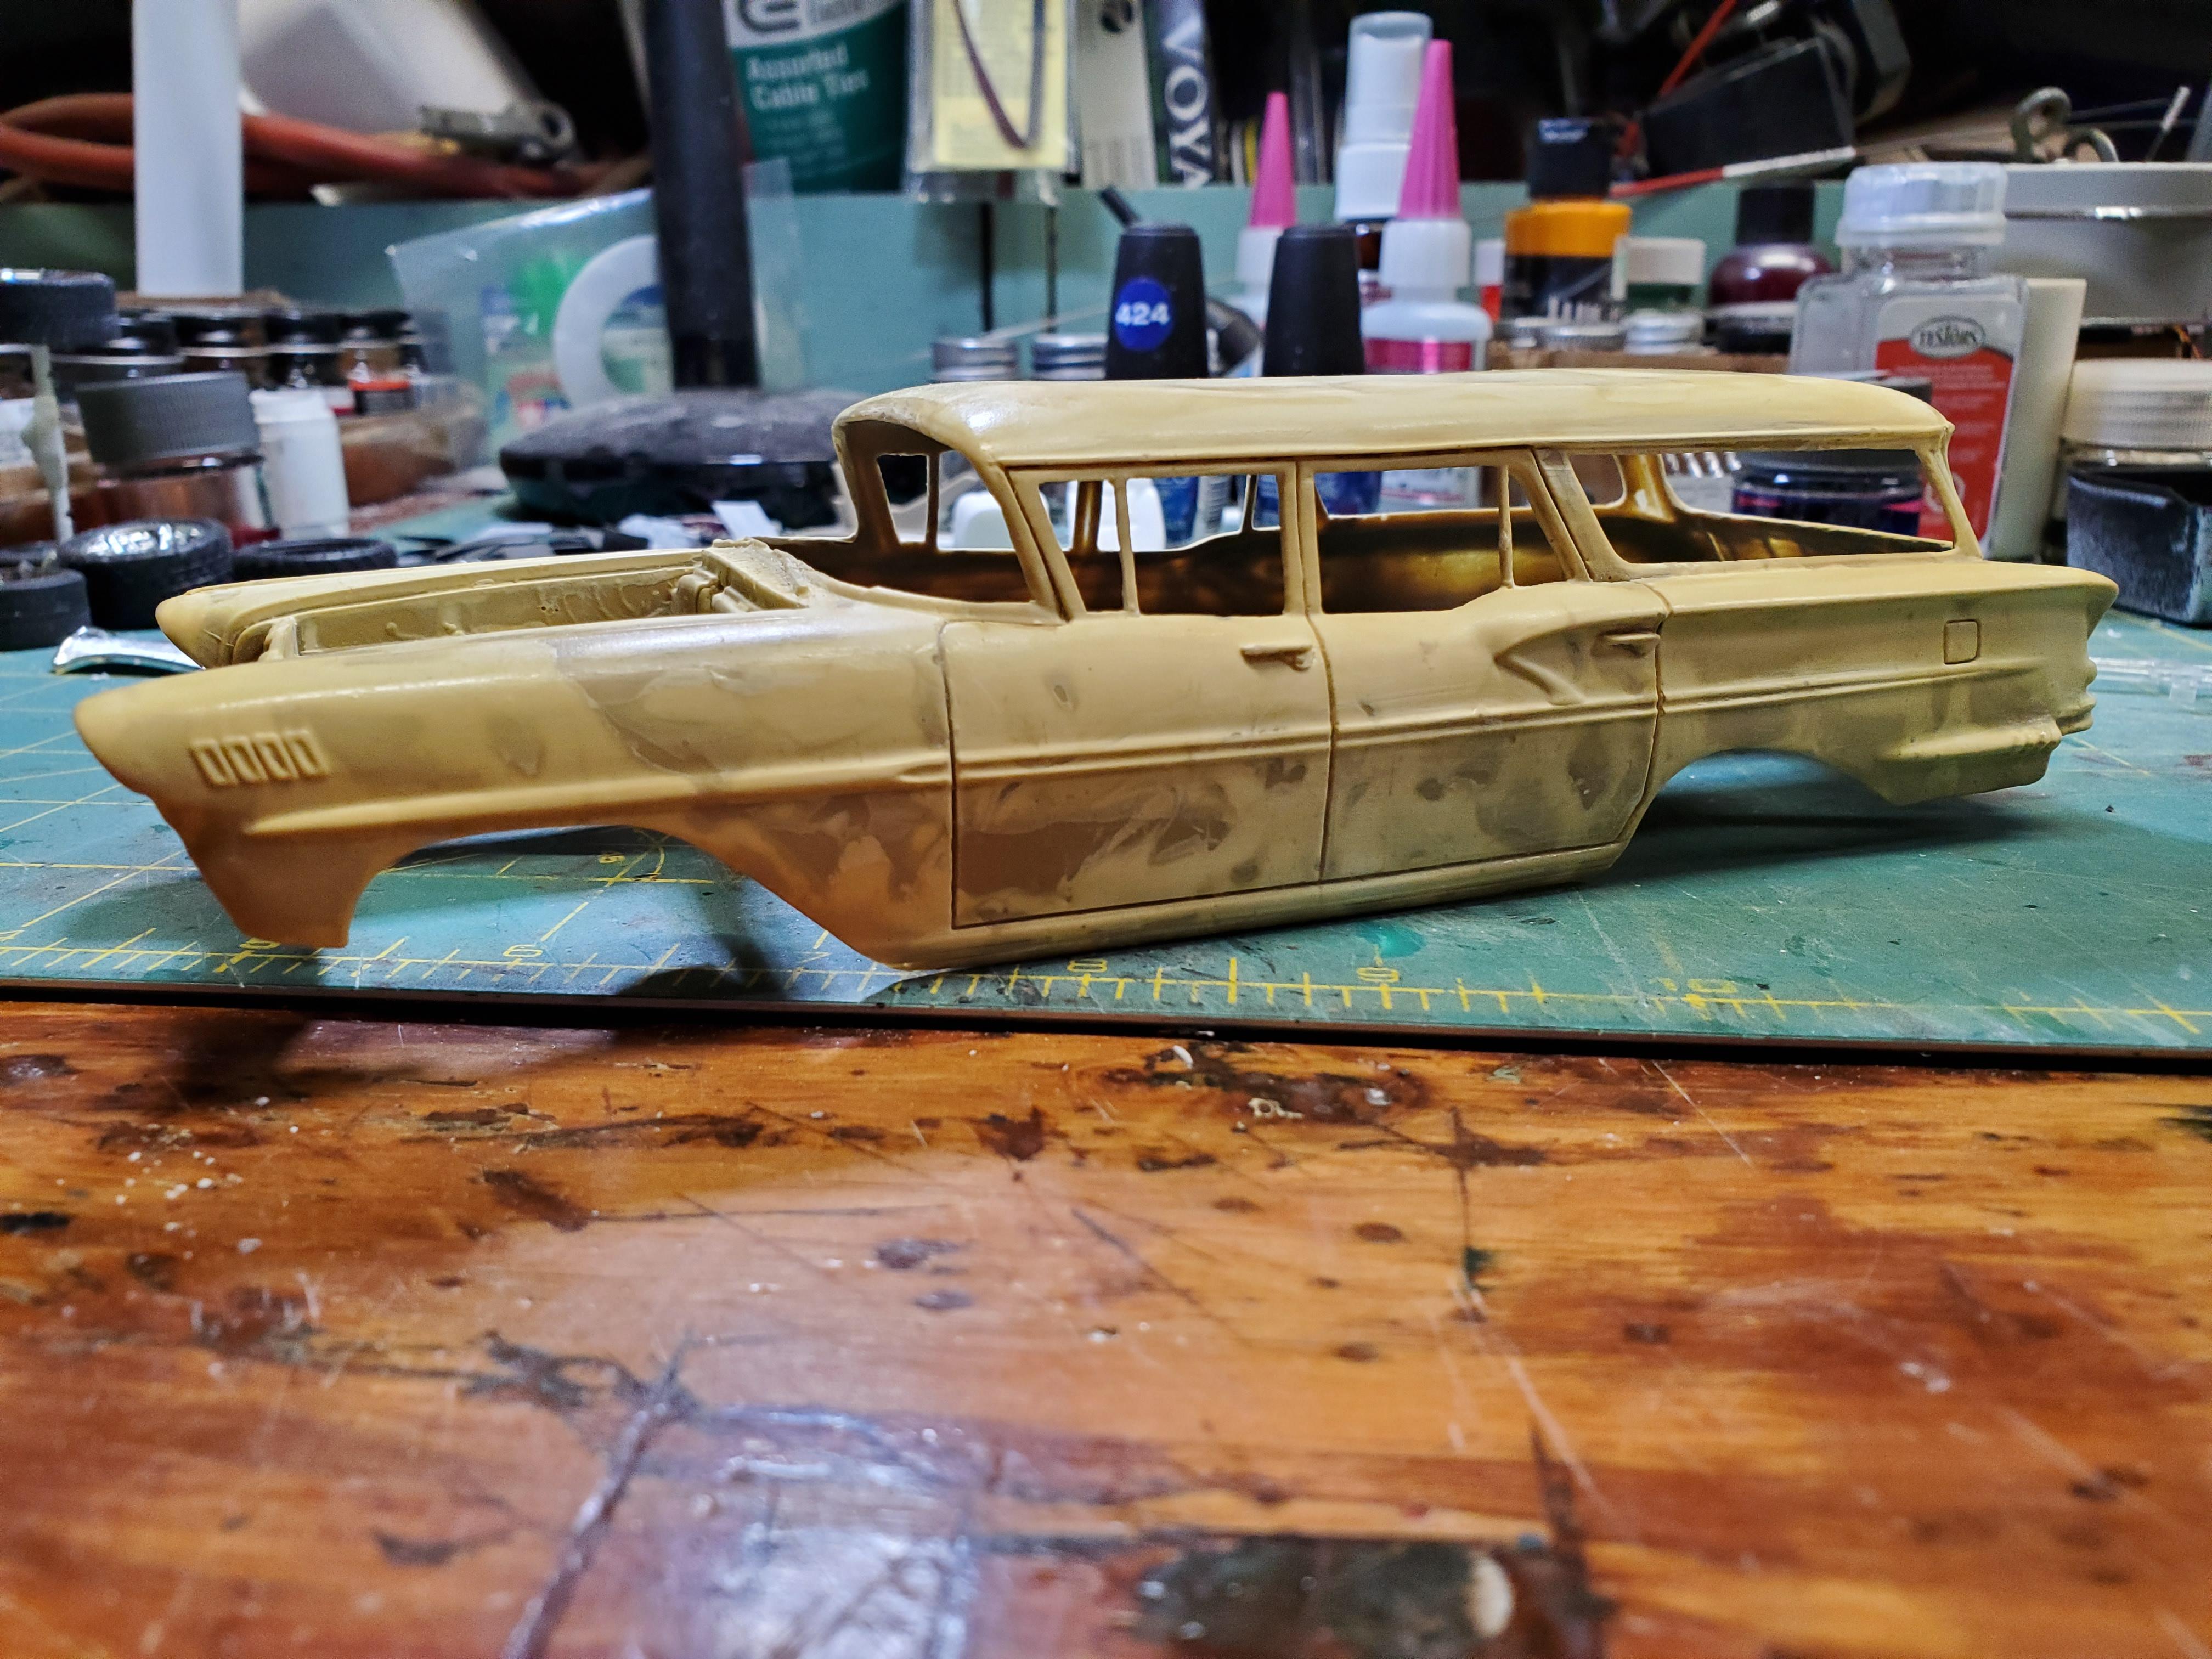
So, with all the knowledge of resin 58 Chevy's, can anybody tell who cast the 4dr wagon? It's no doubt a rough casting, but I can work with it.

-
Well done, I like it.
-
I have one of these four door resin bodies too. Quite nice casting actually. Look forward to seeing how you build this one.
-
Where did these artillery wheels come from? Curious what diameter they measure out too.
-
'68-72 Chevy PickUp rummors about reissue?
68shortfleet replied to Sergey's topic in Truck Kit News & Reviews
I'd be in for several if it gets backdated to a 68. My user name might suggest that as well. -
1953 Studebaker custom roadster conversion
68shortfleet replied to Claude Thibodeau's topic in Model Cars
Very cool. -
Chopped 1932 Ford 5-Window Coupe with Y-Block Power!
68shortfleet replied to Dennis Lacy's topic in WIP: Model Cars
I like the sound of that. If Ed cast those too, I'd be in for several. This car is looking excellent, I like everything about it except the wheels. -
53 Ford Pickup
68shortfleet replied to Immortal Chips's topic in Model Trucks: Pickups, Vans, SUVs, Light Commercial
Excellent. -
Pretty cool. I really like that 32 Chev PU.
-
1932 Ford Sedan: Chopped, Channeled & Olds Powered!
68shortfleet replied to Dennis Lacy's topic in Model Cars
Incredible work as always. -
Very cool build.
-
That is excellent.
-
AMT 53 Ford Pickup Twincab
68shortfleet replied to DaveP's topic in WIP: Model Trucks: Pickups, Vans, SUVs, Light Commercial
I am the builder of that truck. Happy to share anything about it, or more pictures if you want them. -
I would really like to have the Sandman dune buggy kit again. Still have the buggy I built in the early 80's. Recently found the decals are available to rebuild it too.
-
Resin or 3D printed?
-
Let's see that Austin built. I've got a couple of them to build. Have a resin prostreet chassis for one of them. Should be a fun build.
-
Revell Highway Pioneers scale?
68shortfleet replied to bbowser's topic in General Automotive Talk (Trucks and Cars)
Bowser; I believe i have a few of those kits that I'll never build. If you have any interest in them. -
Very nice.
-
That's really cool build.
-
I found images of this black 33 Willy's and decided it would make an excellent build, what I didn't realize is the amount of body mods needed to do it. It has been lengthened in the body and hood, widened through the middle, sectioned(pie cut), A pillars leaned back, B pillars leaned forward, grill leaned back and rear wheel arches moved up. I will try my best to get close to that, but doubt I can build a perfect replica. I'm starting with a couple of AMT 33 Willy's kits. I started by un-chopping the kit body by adding 4" to the rear of the cabin area, which moved the roof forward 2", that gave me a perfect B pillar forward lean. The rear of the car was too long so i removed 6" from it right through the middle of the trunk area. Then I added 6" to the doors and leaned the A pillars back as I un-chopped some of the windshield height. Next came widening of the body in a pie form. Two inches at the cowl and three at the rear.. Then did a section cut out of each side. Next came the hood, I cut the rearmost 6" and the grill area off one hood and glued the 6" to the rear of the second hood. This made the hood 2" wider to match the new wider cowl. Here's some pics to help it make sense. Right now, between the two kit bodies and the Evergreen pieces, this body consists of at least 41 pieces I've glued together. The hood has about another five pieces so far.
-
Looks great. That's an awful lot of foil.
-
Now that's cool. Awful lot of scratchbuilding went into that didn't it.
-
Looks great.