Dann Tier
-
Posts
8,151 -
Joined
-
Last visited
Content Type
Profiles
Forums
Events
Gallery
Everything posted by Dann Tier
-
Two pretty darn NICE cars though!!!
-
Absolutely Beautiful job on two of my all-time favorites!!!!......Did the AC parts come with that Firebird kit??, mine doesnt have that much detail at all...
-
Love your builds here!!!....and that Minions Diorama is a Gas!!!!, lol
-
Definitely a Fantastic year for you!!!...love all the types you've built!!!
-
What a cool little car!!!.....we went to a Micro car museum here in the US, dont remember seeing one of these -Thanks for sharing, bud!!!
-
What a Beautiful looking BEAST!!!
-

My 2019 completions - 12 different Model Companies!
Dann Tier replied to maltsr's topic in Model Cars
WOW!!!!!......BEAUTIFUL!!!!! -
So, when are you sending out our 2020 calenders?!!....i wanna put my order in!!!.....FANTASTIC works of art, bud!!!
-
I am in awe at how Beautiful this General Lee is!!...apart from how well you built it, i cant explain why it feels like the best one i've seen to date. This car was the second model car kit i ever built ( when i was 3.5 years old! -just kidding, inside joke, lol ), and i have one to build again later, but it WONT have the look this does -something special about this build.
-
Thanks, Bud!
-
You are more than welcome, bud!...thanks for following!!
-
Re-engineering Monograms Lotus Esprit...new update!
Dann Tier replied to Dann Tier's topic in WIP: Model Cars
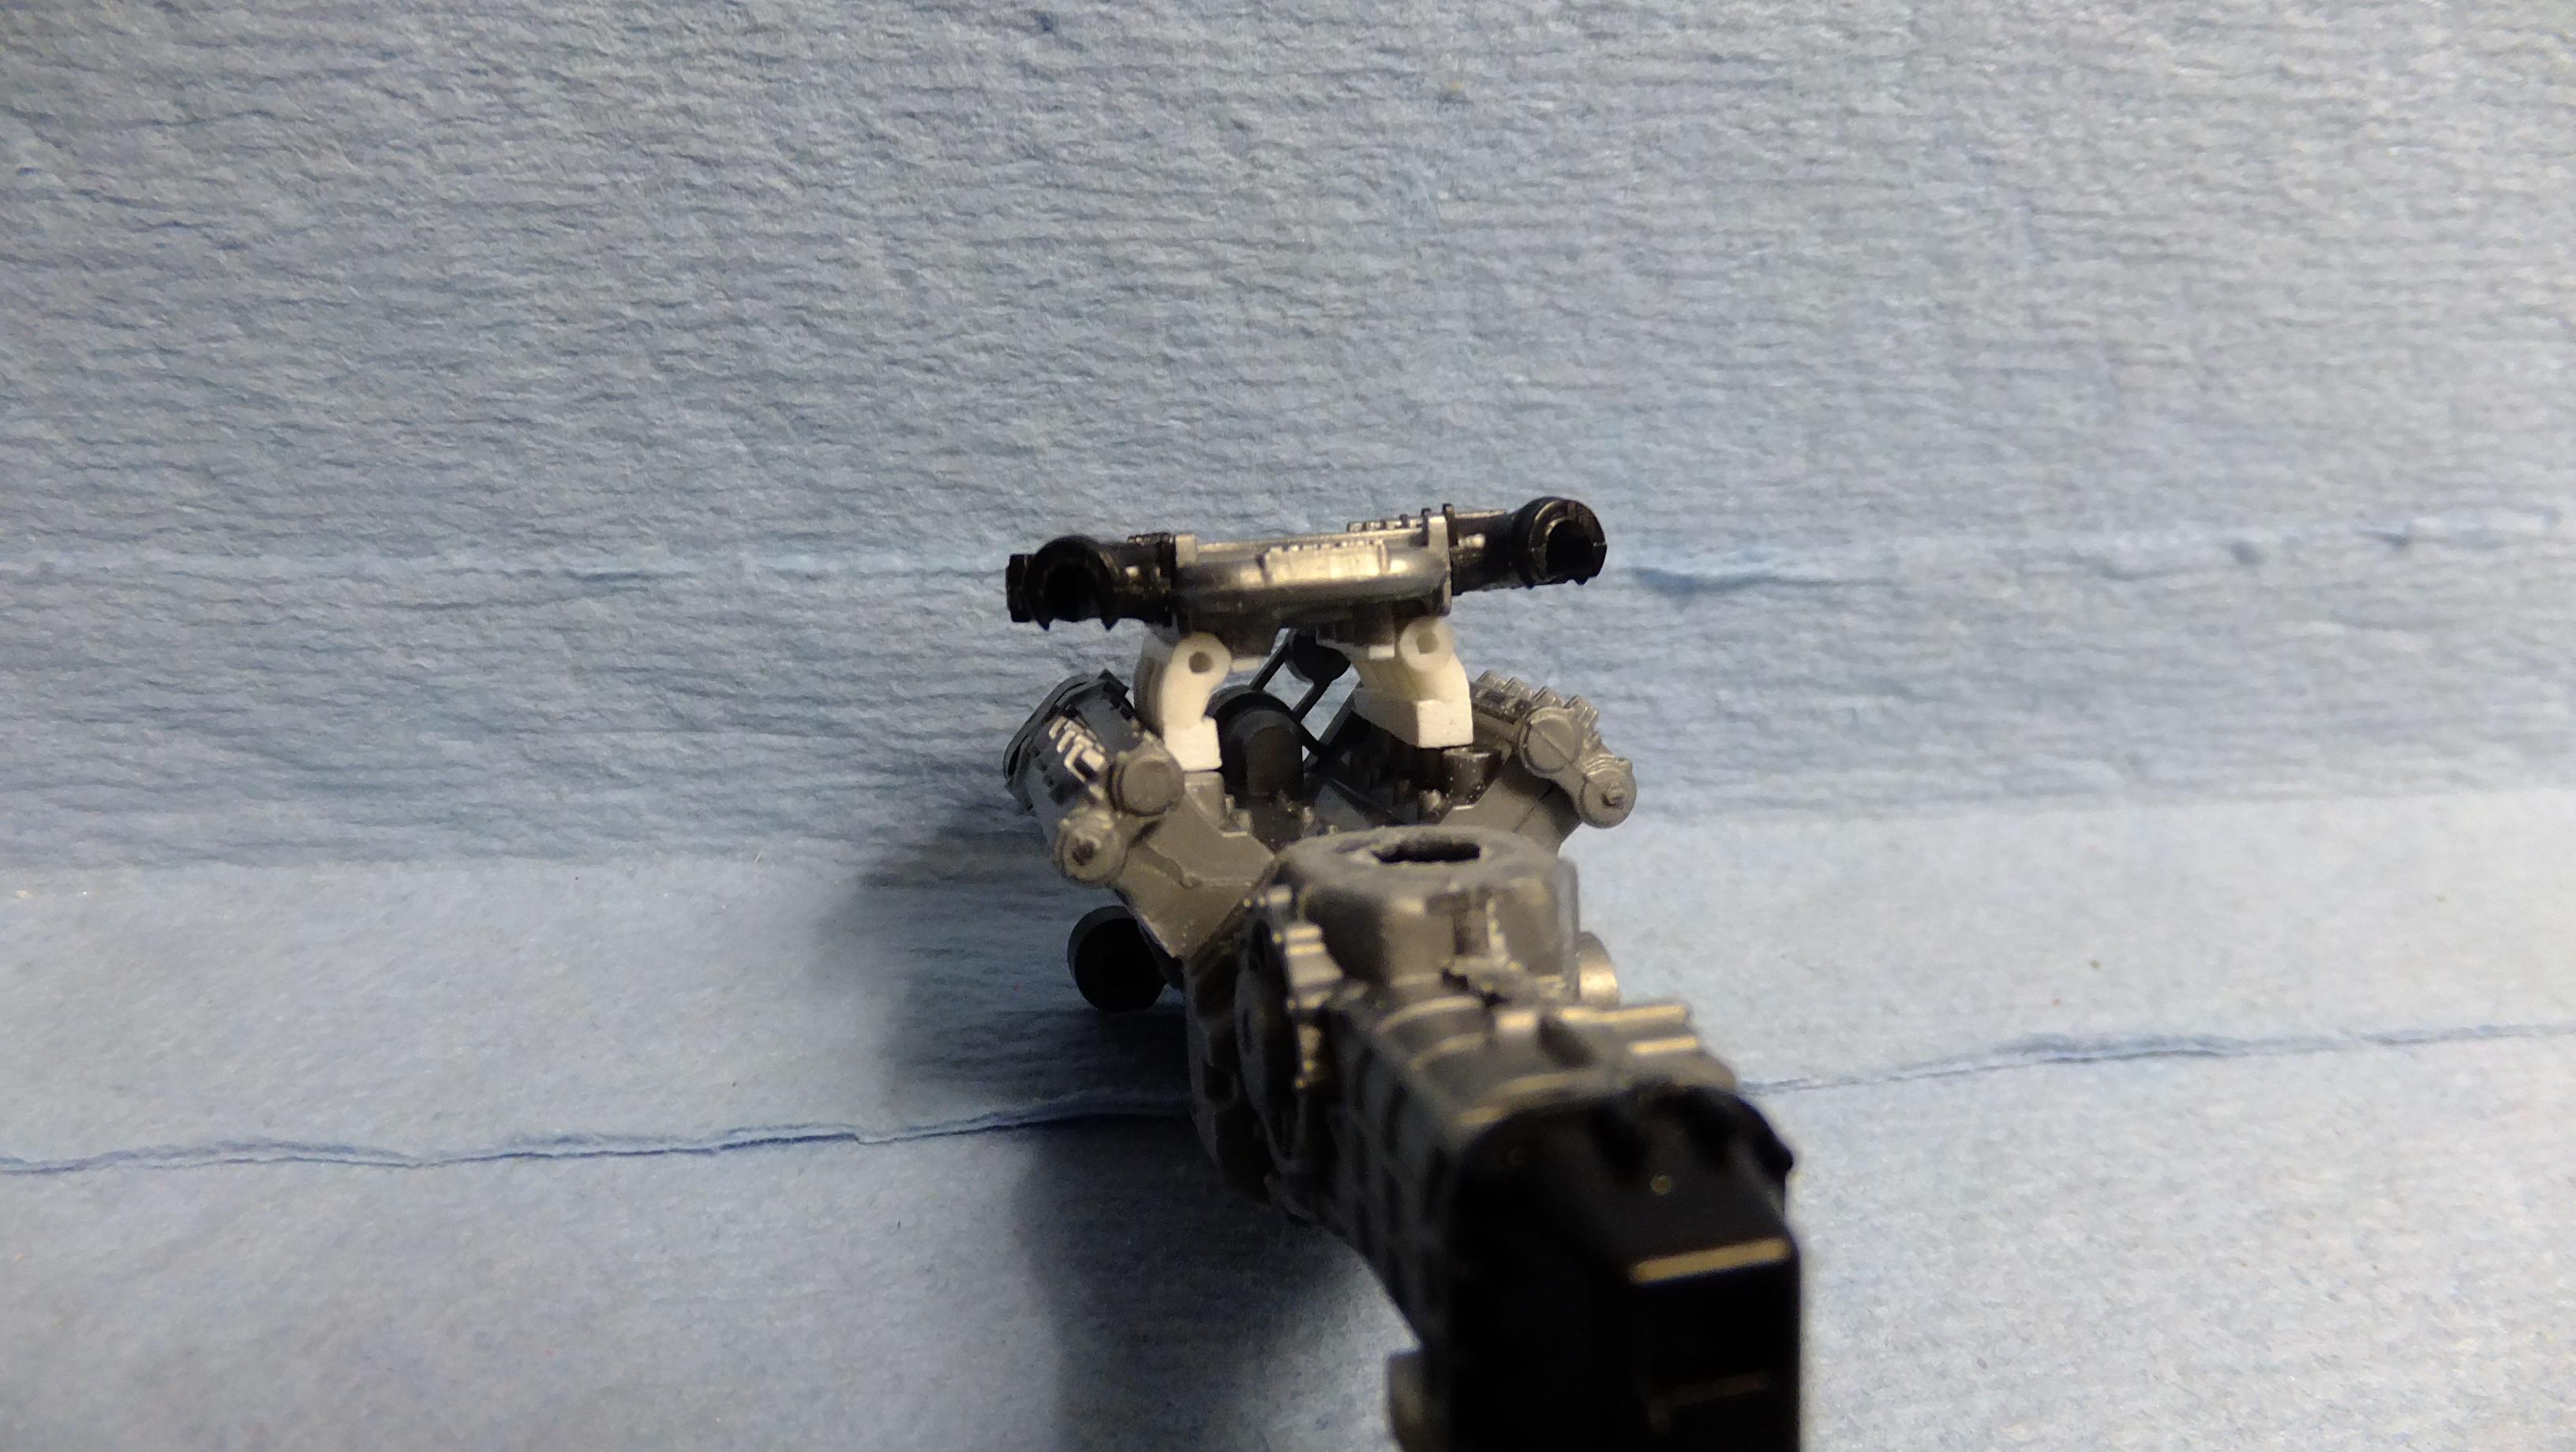
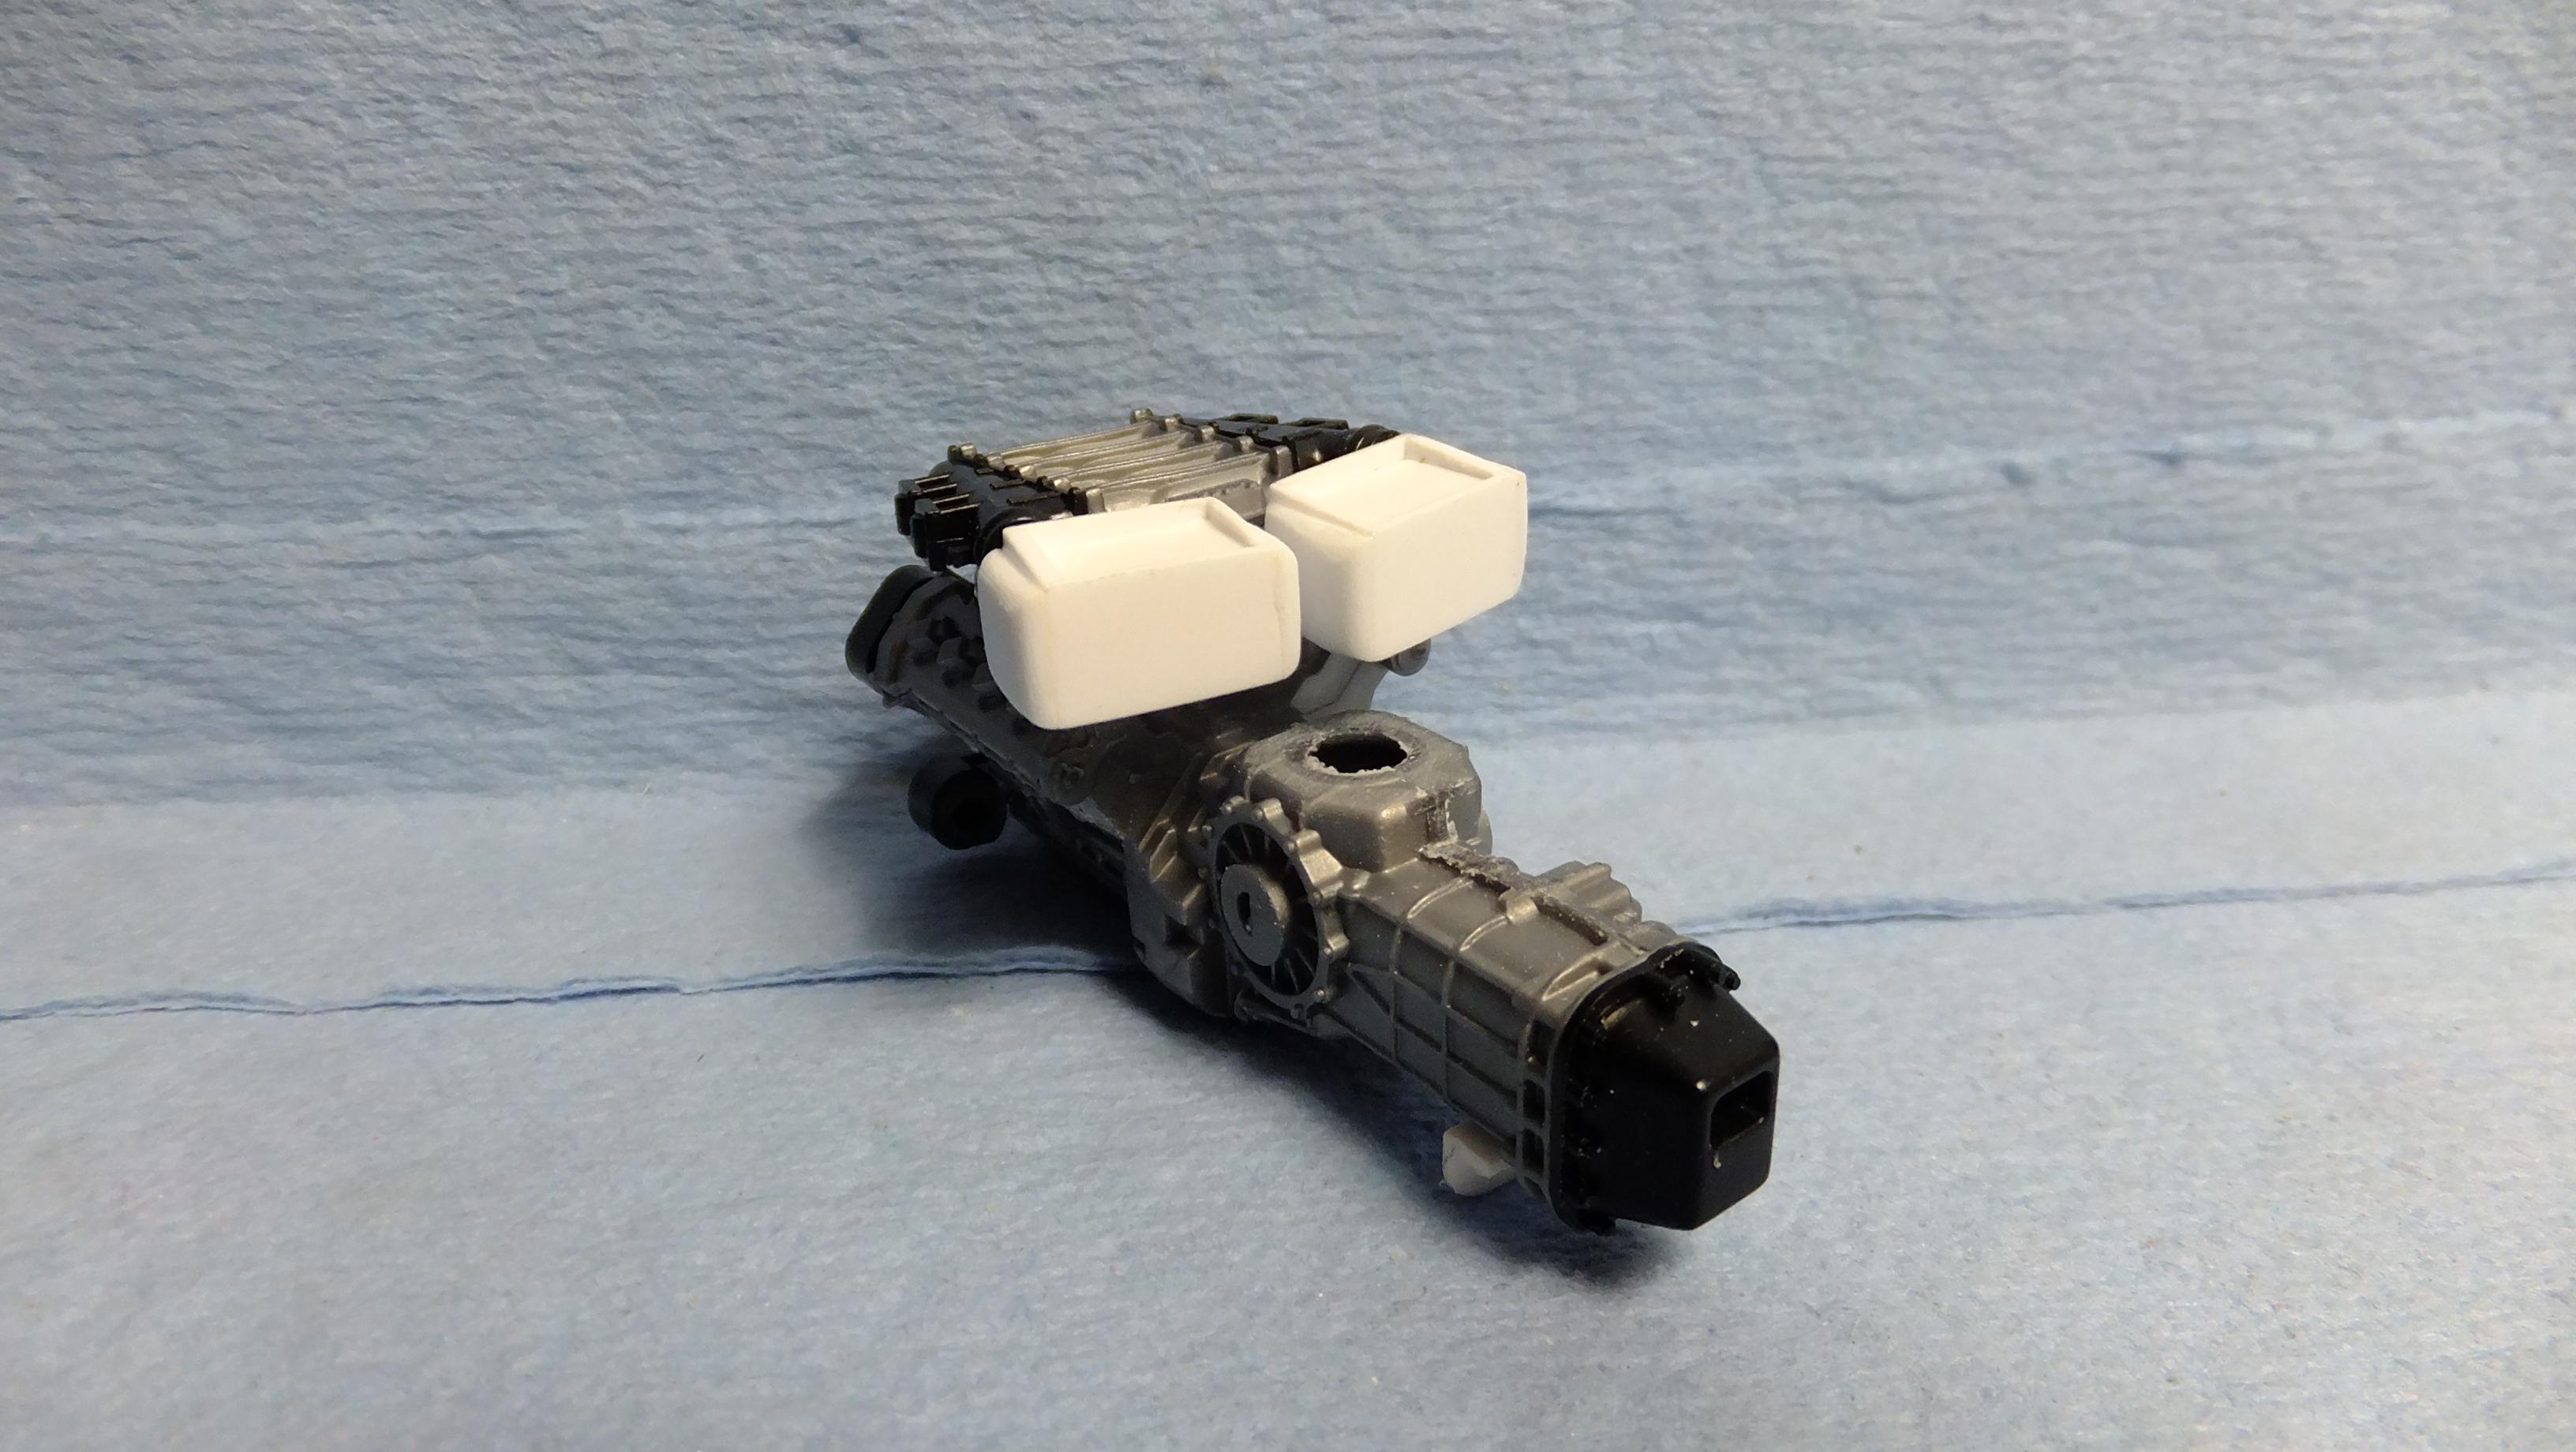
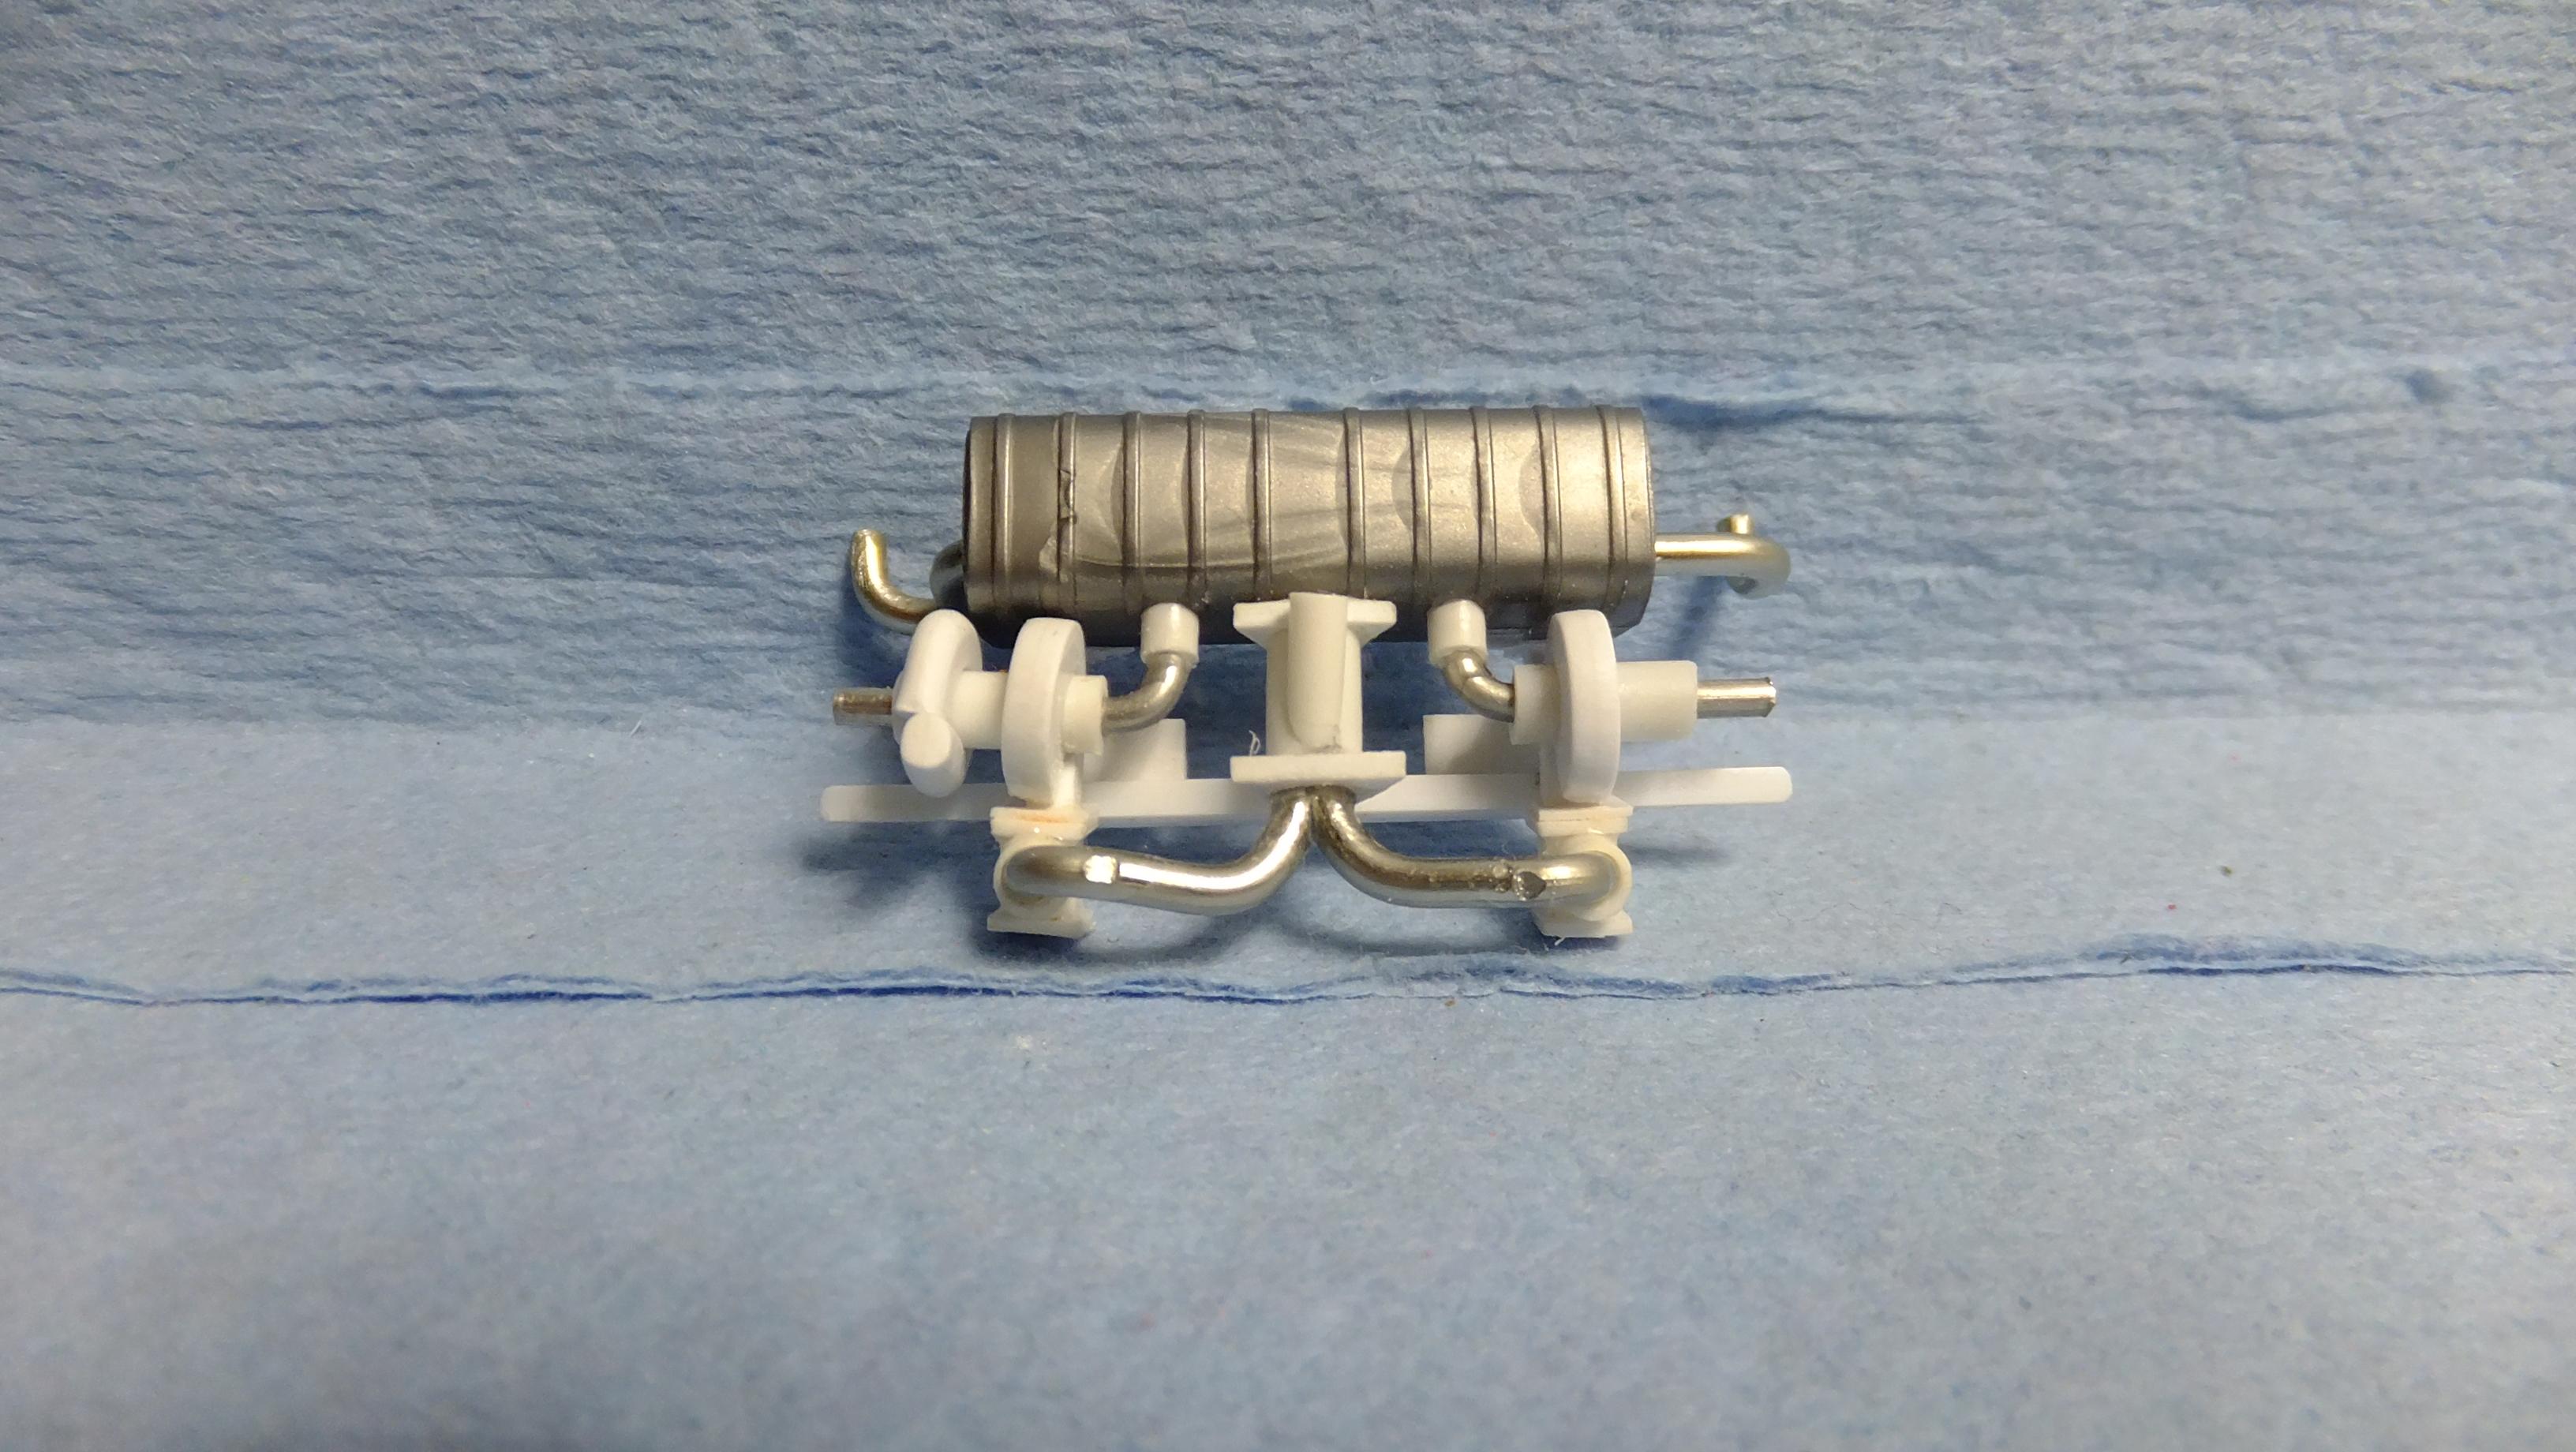
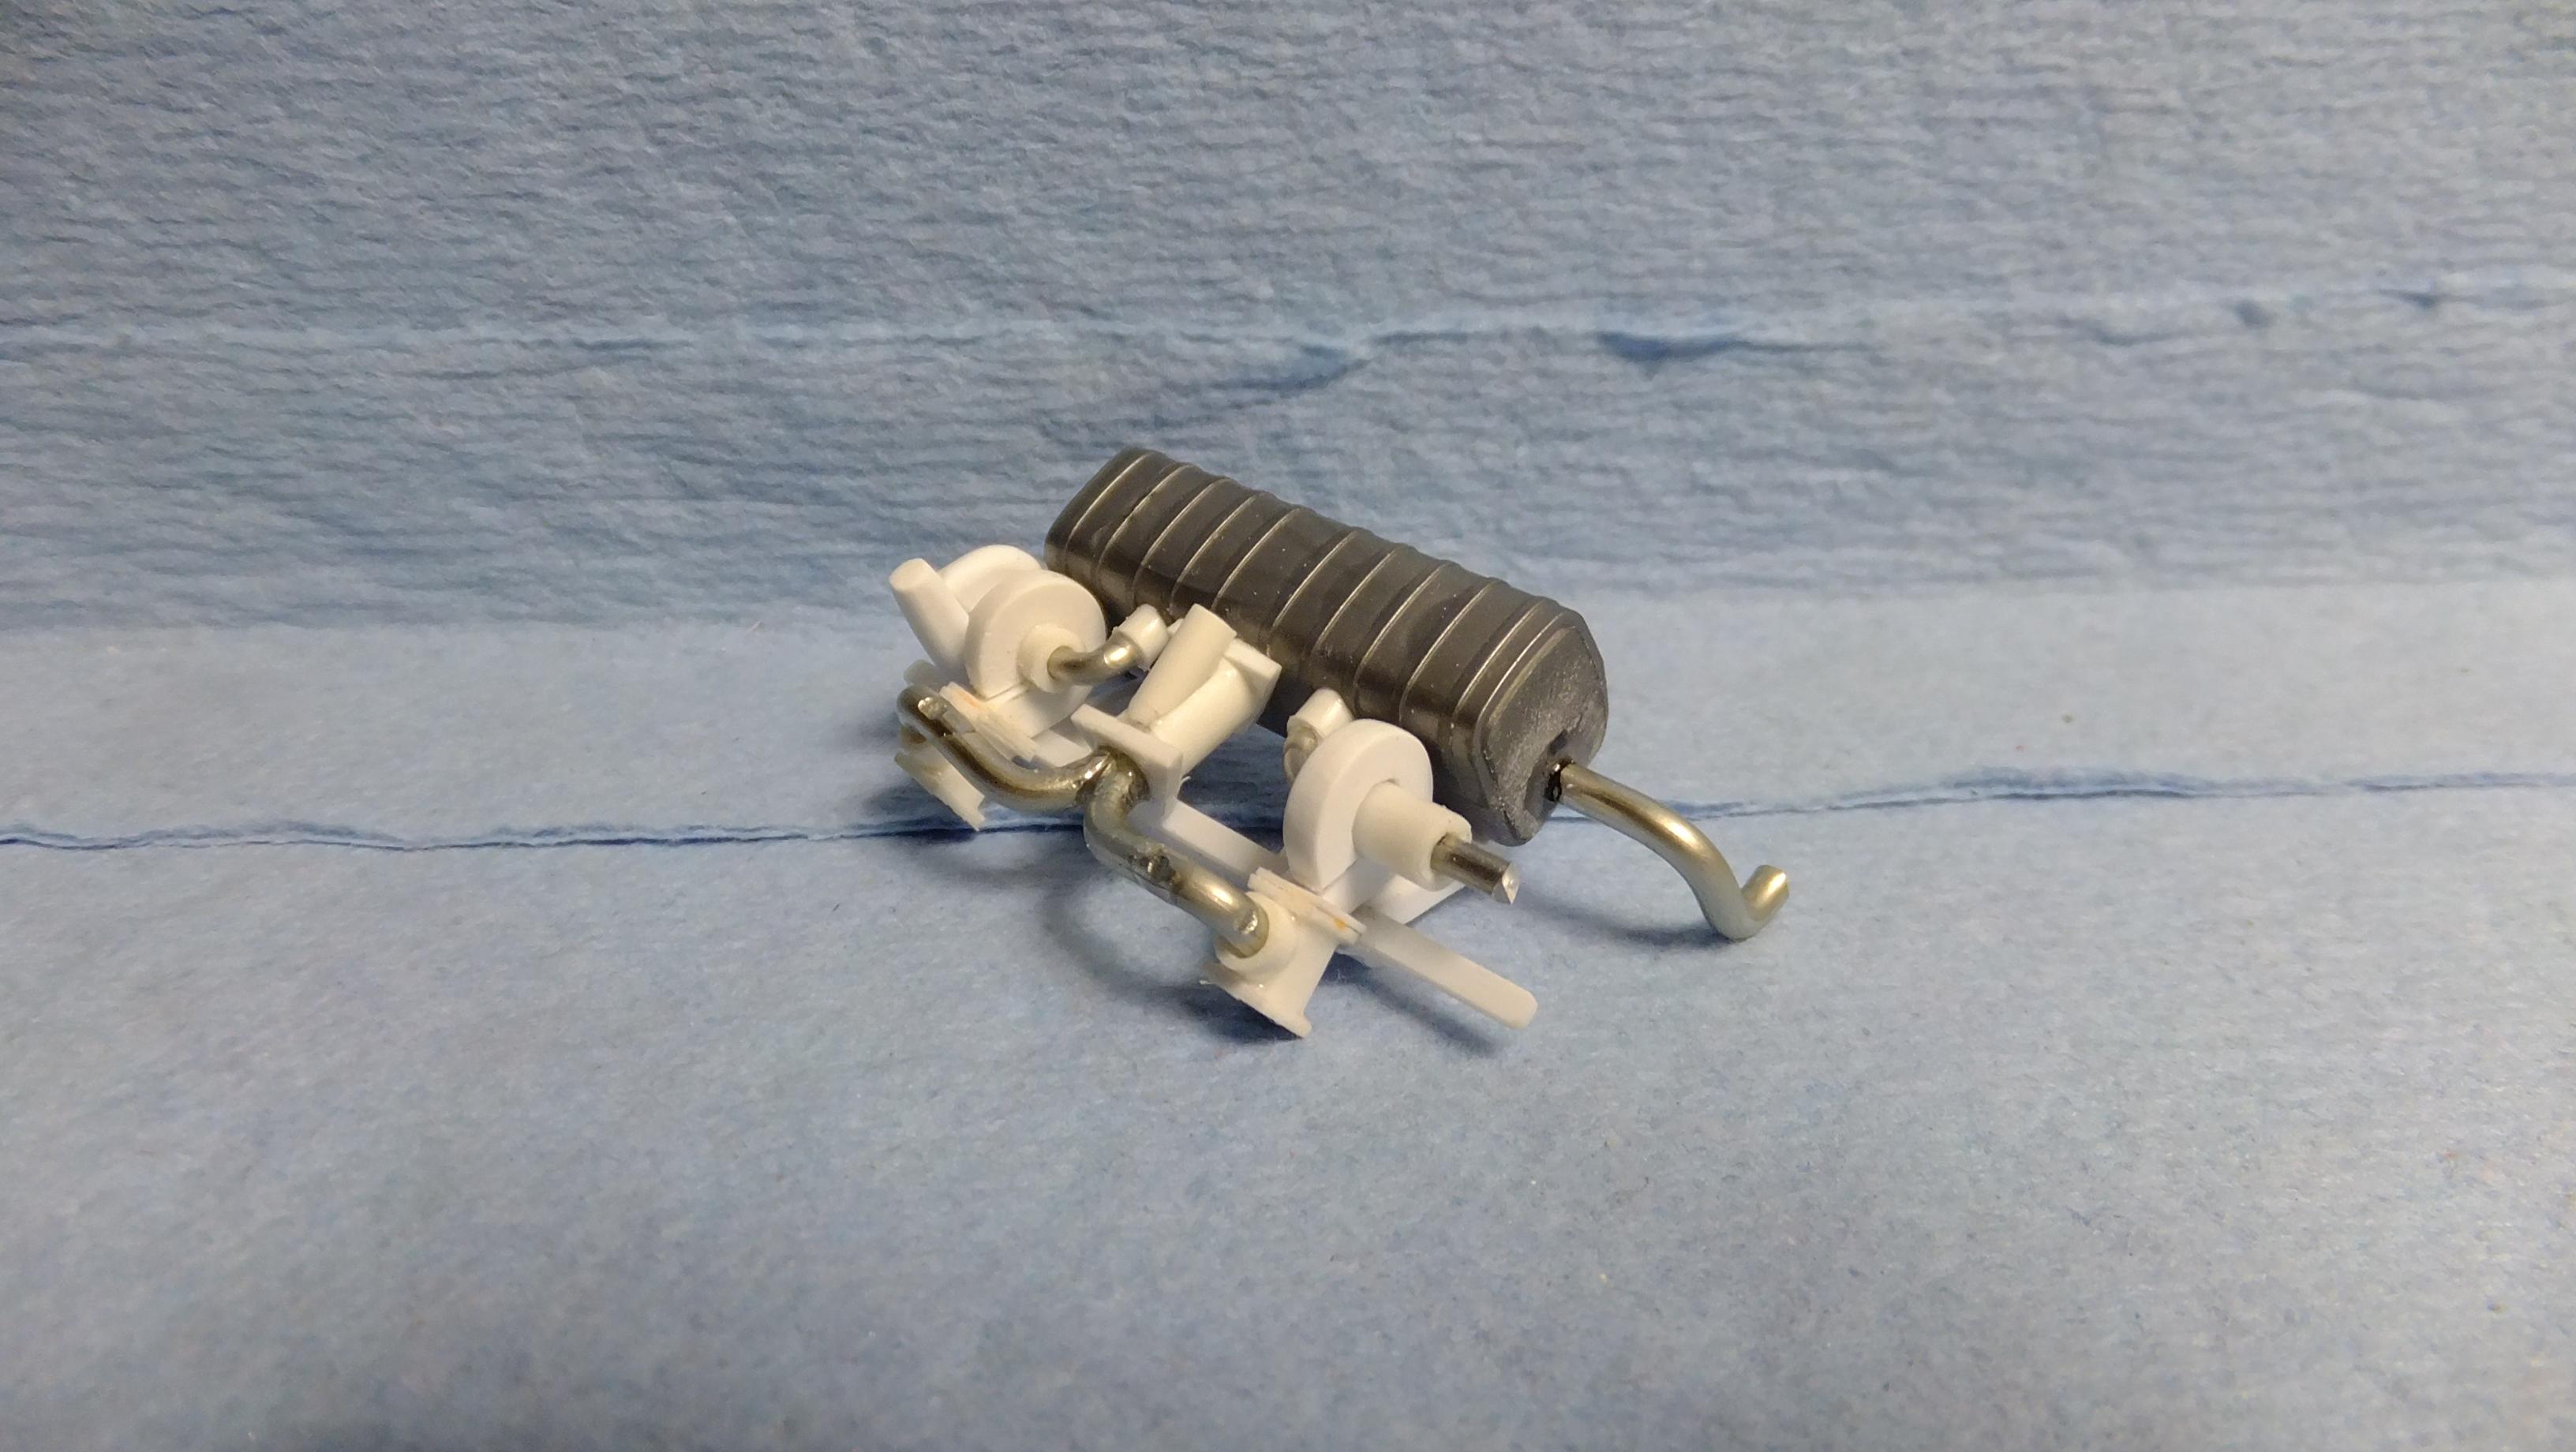
Hey, everyone!, i finally have another decent amount done on this! -Photo 1; I decided to use the F-40 intake set up, but i had to SB in order ror it to fit the way i needed it to. -Photo 2&3; the intercoolers are coming to shape now! -Photo 4; I am also tweaking the F-40's headers to fit...still in progress, i'm using solder. -Photo 5; This is the starting point for my SB turbos...i will have a step-by-step with the last one. -Photo 6-8; The whole turbo-exhaust set up is coming along! To repair the marks in the solder made by the looping pliers, i added a drop of CA glue to the spots...after sanding, you wont be able to tell anymore. -Photo 9&10; Everything is fitting Perfectly!!
-
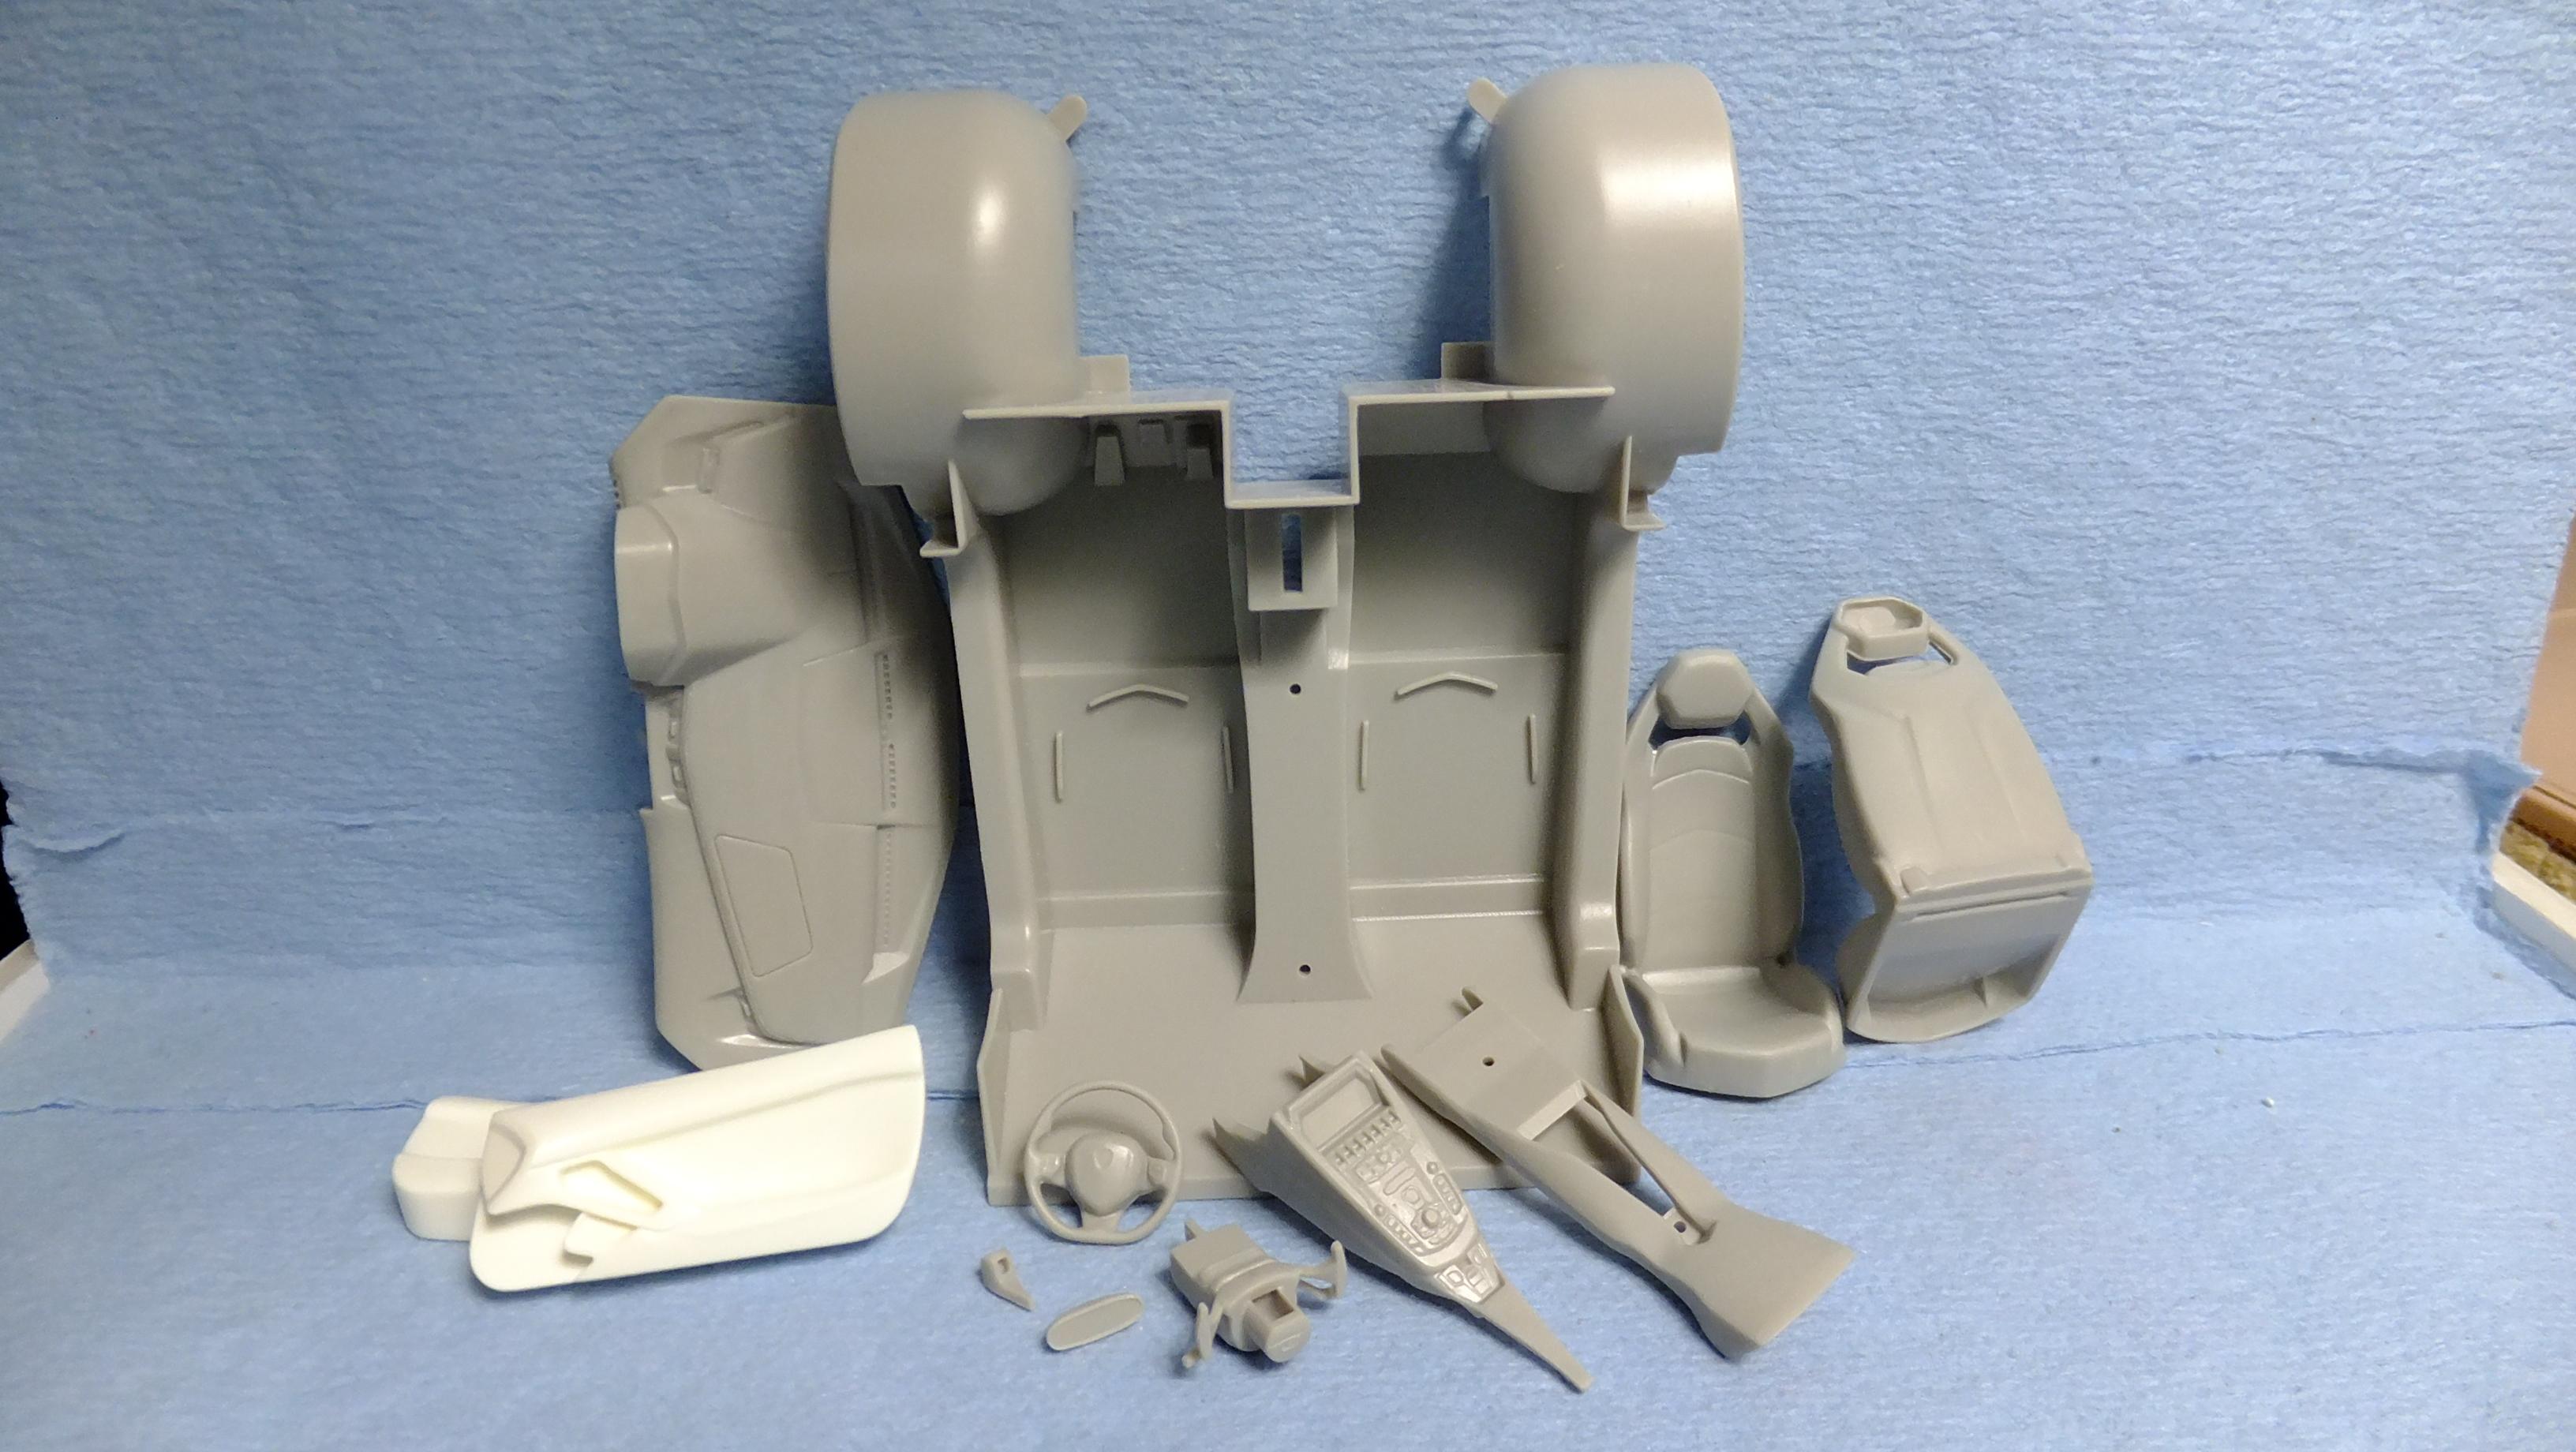
This bugger is about ready for paint as well!! -Photo 1; Time to open those intakes! I drilled them out first, then followed it up with a PE saw, and Olfa blade. The arrow shows where i filled in a part seam. i first used CA glue, then Tamiya filler later. -Photo 2; I dont really know why Aoshimas gas lid is a separate piece...i prefer them to be scribed in, but on this Fujimi kit, it had the WORST -almost invisible detail, so i had to re-scribe it. -Photo 3; The vents are successfully opened! -Photo 4; Since the engine glass is semi gloss black on this version, i decided to attach them to make fewer parts, and painting easier. -Photo 5; The arrows point to areas that still need the tiniest amount of filling. -Photo 6; All the interior bits ready for paint!...since i'm limo tinting the windows, i dont need to fill in the backs of the headrests, and i'm not sure if i'm going to eliminate the molded-in foot peddles....feeling a bit; "Whatever" about them this time, lol -Photo 7; Here are the rest of the undercarriage bits -all ready for paint as well!......as is in photo 8's exterior bits!
-
Got quite a bit done recently.....so close to this one being painted as well!! -Photo 1&2; Making more realistic looking seats...Standard kit parts on the left, and my rounded, more padded looking ones on the right. -Photo 3&4; Heres a little tip to add more realism without working at it; instead of getting rid of all the sink marks on seats, leave them if they arent too bad. Anybody whose really looked at seats, knows that the coverings OFTEN sink-in like this in the spots that i've circled here. -Photo 5-7; Time to make the dash more realistic...filling, rounding, and adding seams, really brings this dash to life. -Photo 8; After filling all the ejector pin marks, and properly rounding things, its now time to scribe-in stitching seams in the leather -pencil lines denote where... -Photo 9; Since there wasnt enough detail to show that a door was there, i made a door card stencil so that i could remedy that short coming. The X over the interior light means that i will make a better one, and put it in its proper location.
-
A little bit of an update here. The way i repositioned/lowered the front end, wasnt strong enough for this kit for some reason, so i came up with a way better -stronger way, using styrene tubing.
-
This is a fun kit to build!, and it looks like a Great job so far!!
-
Love these cars!!.....Very inspirational build!! -even if it isnt one of your complex builds -Well done so far, Bud!!!
-
Much appreciated, Bud!!
-
Another Brilliant build!!!
-
Brilliant!!!!...i love this car/kit!!
-
BEAUTIFUL work, bud!!!!
-
ALL are absolutely STUNNING, Bud!!!! -AMAZING!!!!
-
OUTSTANDING builds!!!!!
-
Perfect subtle weathering, Bud!!!
-
Told you that front grill was gonna be SICK!!!!!