89AKurt
-
Posts
8,426 -
Joined
-
Last visited
Content Type
Profiles
Forums
Events
Gallery
Everything posted by 89AKurt
-

AMT Autobahn 300SL Gullwing
89AKurt replied to 89AKurt's topic in General Automotive Talk (Trucks and Cars)
Thanks for the information! It has the typical flash, but I was impressed with the amount of detail. The Prestige kit will be in a diorama, rode hard and hung up wet condition, thinking with the engine on an engine stand like it's getting rebuilt. -
AMT Autobahn 300SL Gullwing
89AKurt replied to 89AKurt's topic in General Automotive Talk (Trucks and Cars)
Yea ya, the Chinese appreciate your business. And it didn't come with a cardboard diorama base. -
WARNING: Don't click on his .MOV link, it automatically downloads. Don't appreciate people posting anything that could include a virus.
-
Thanks for posting!
-
providing denatured alcohol
-
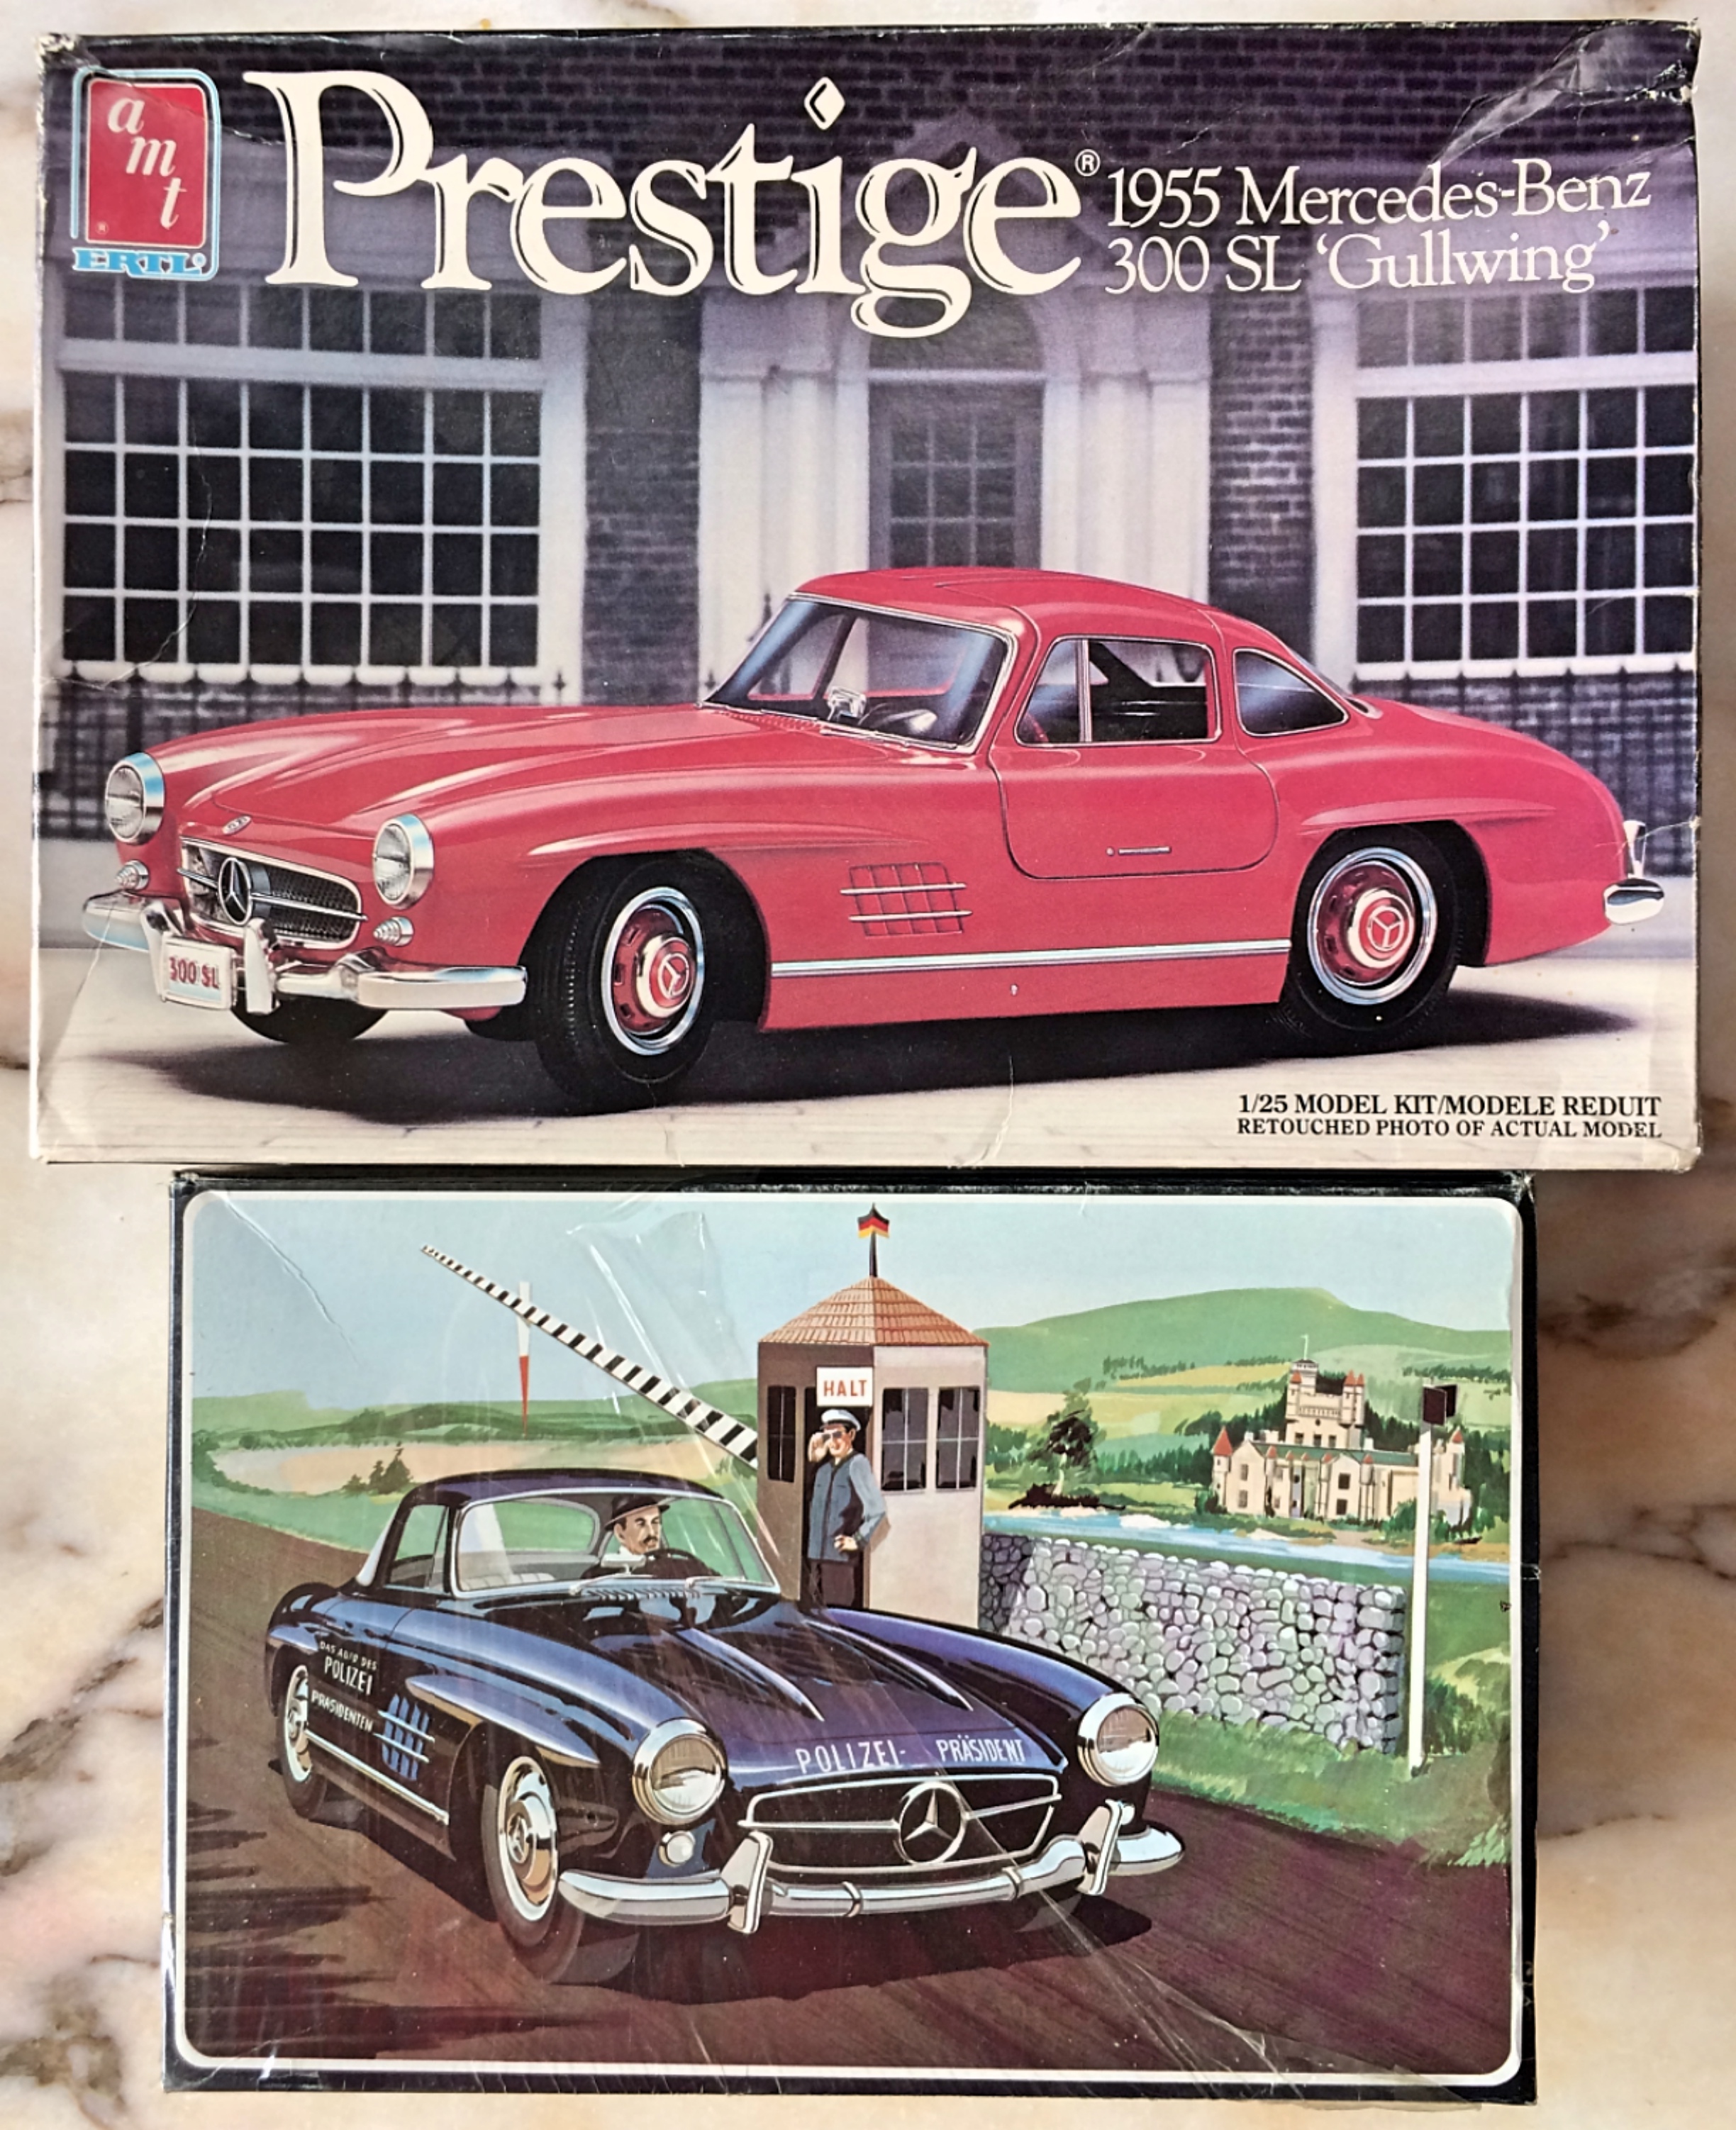
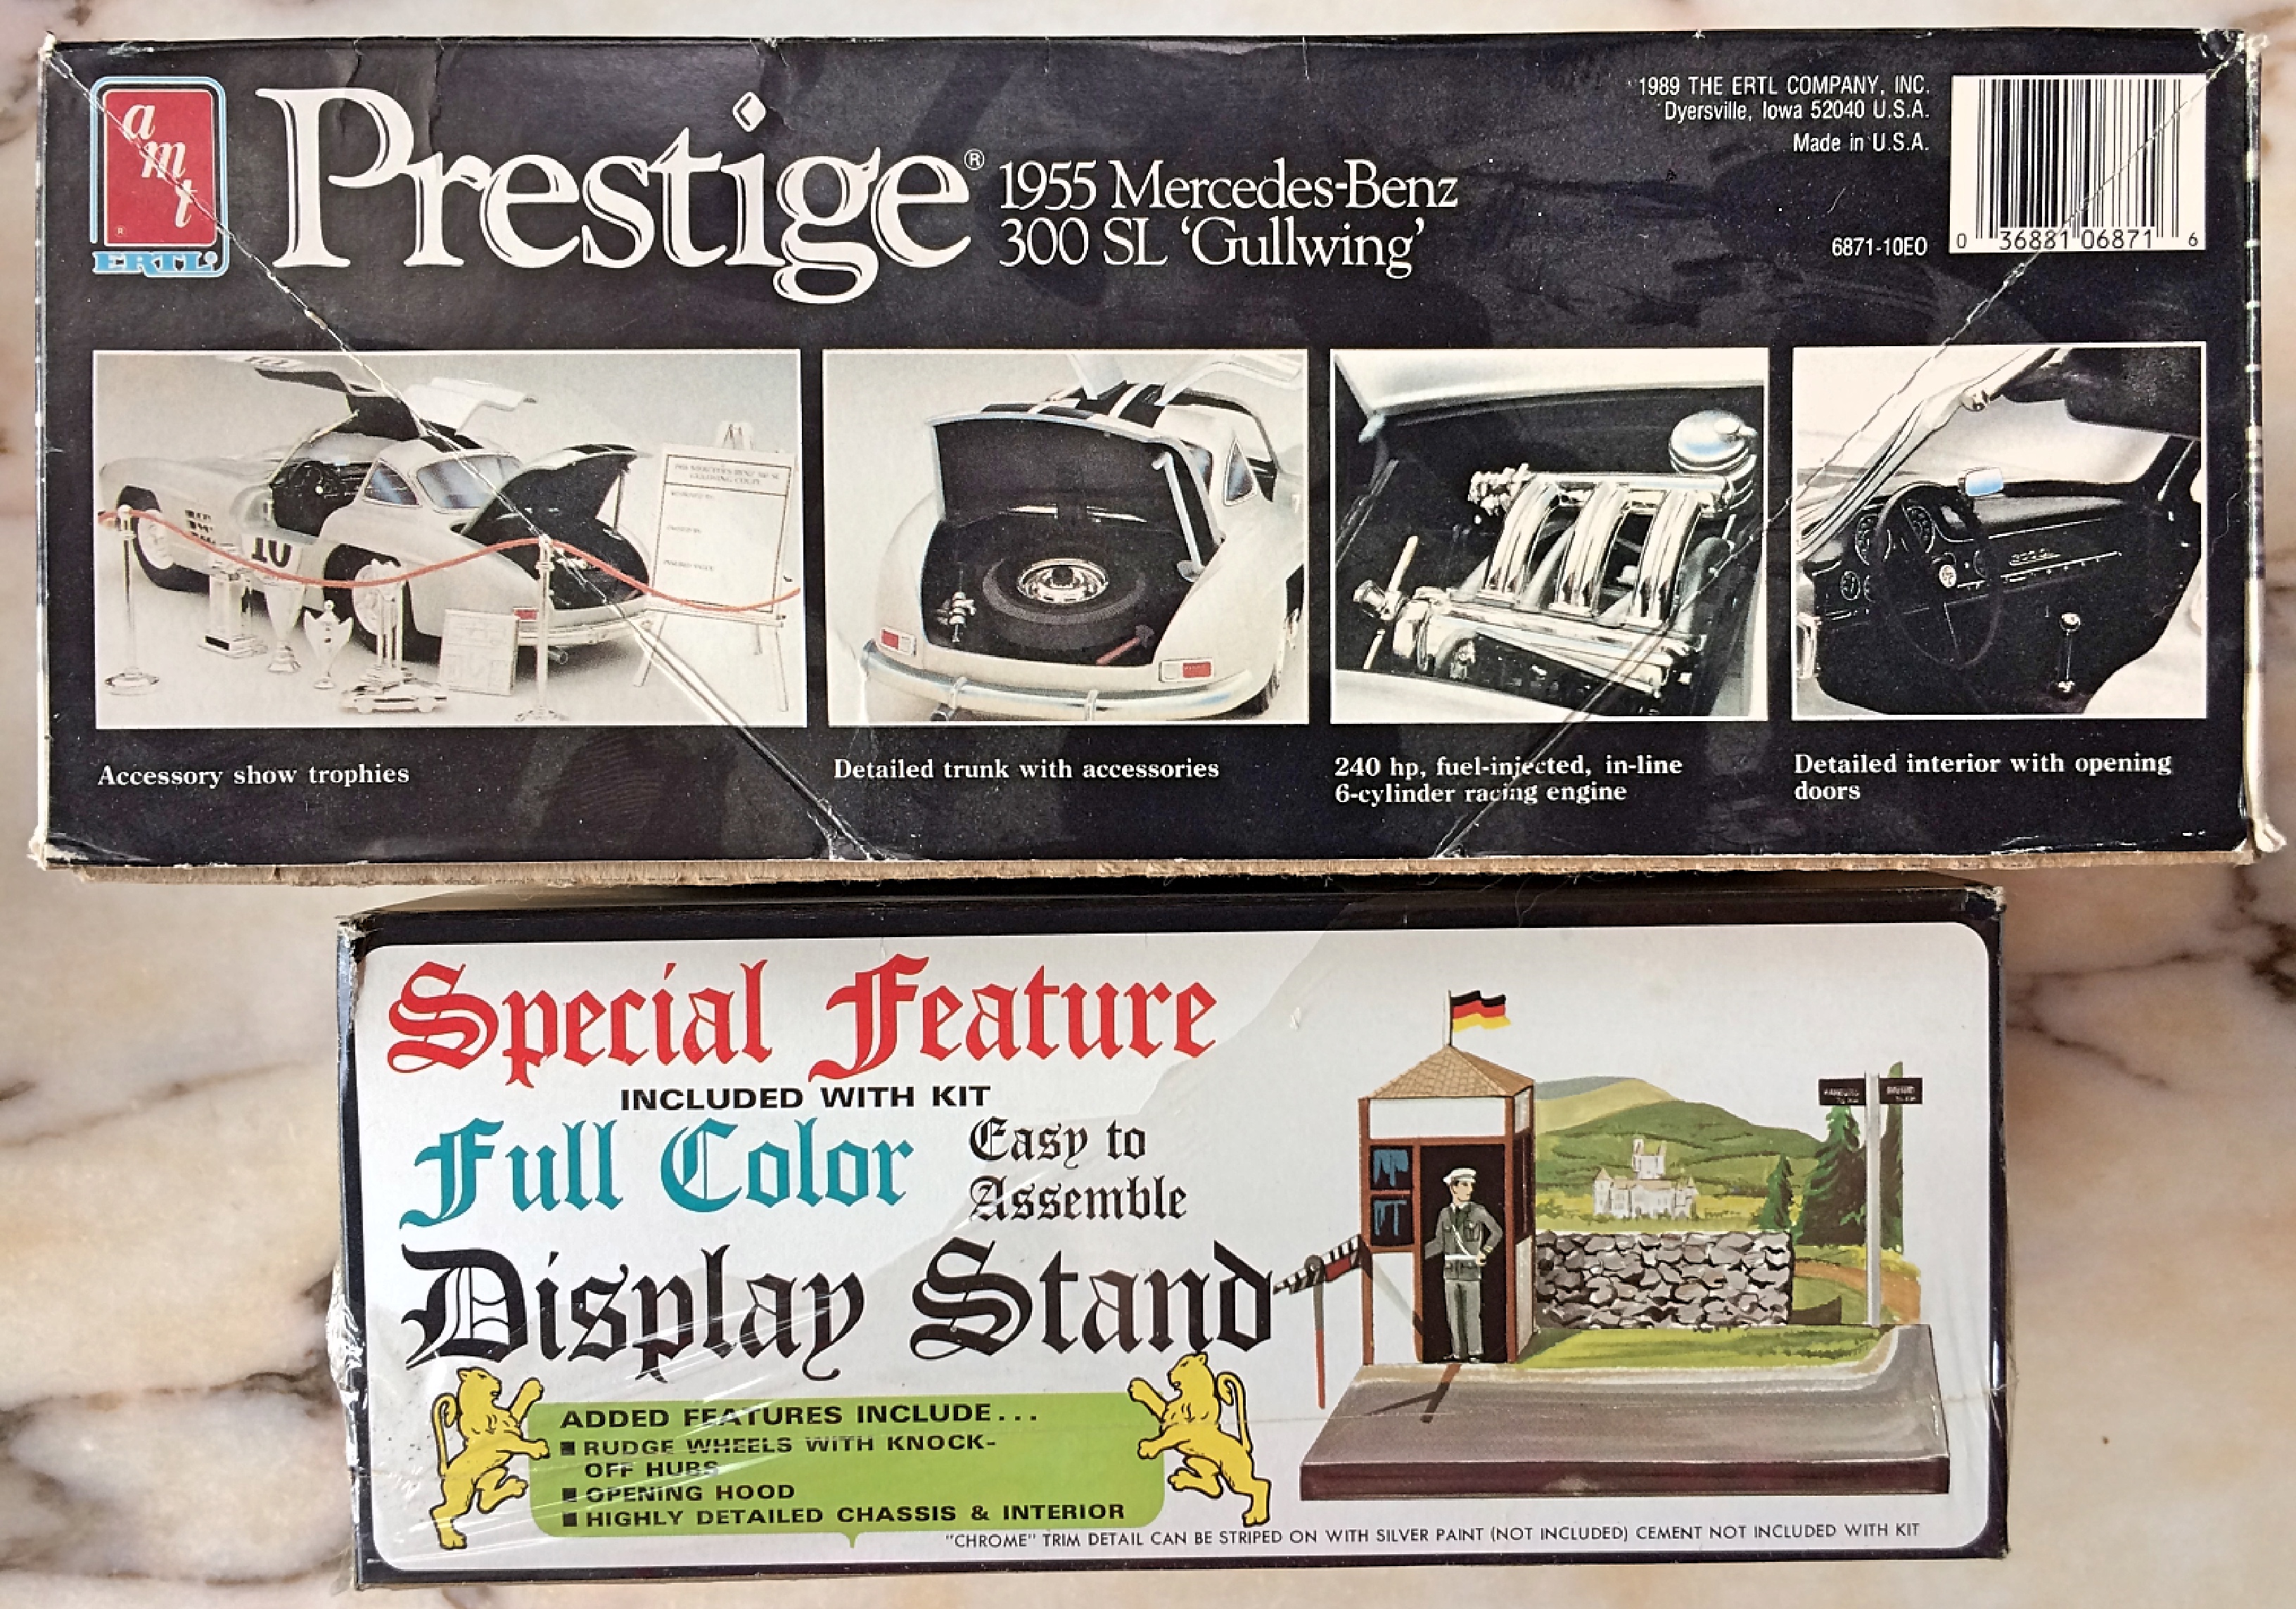
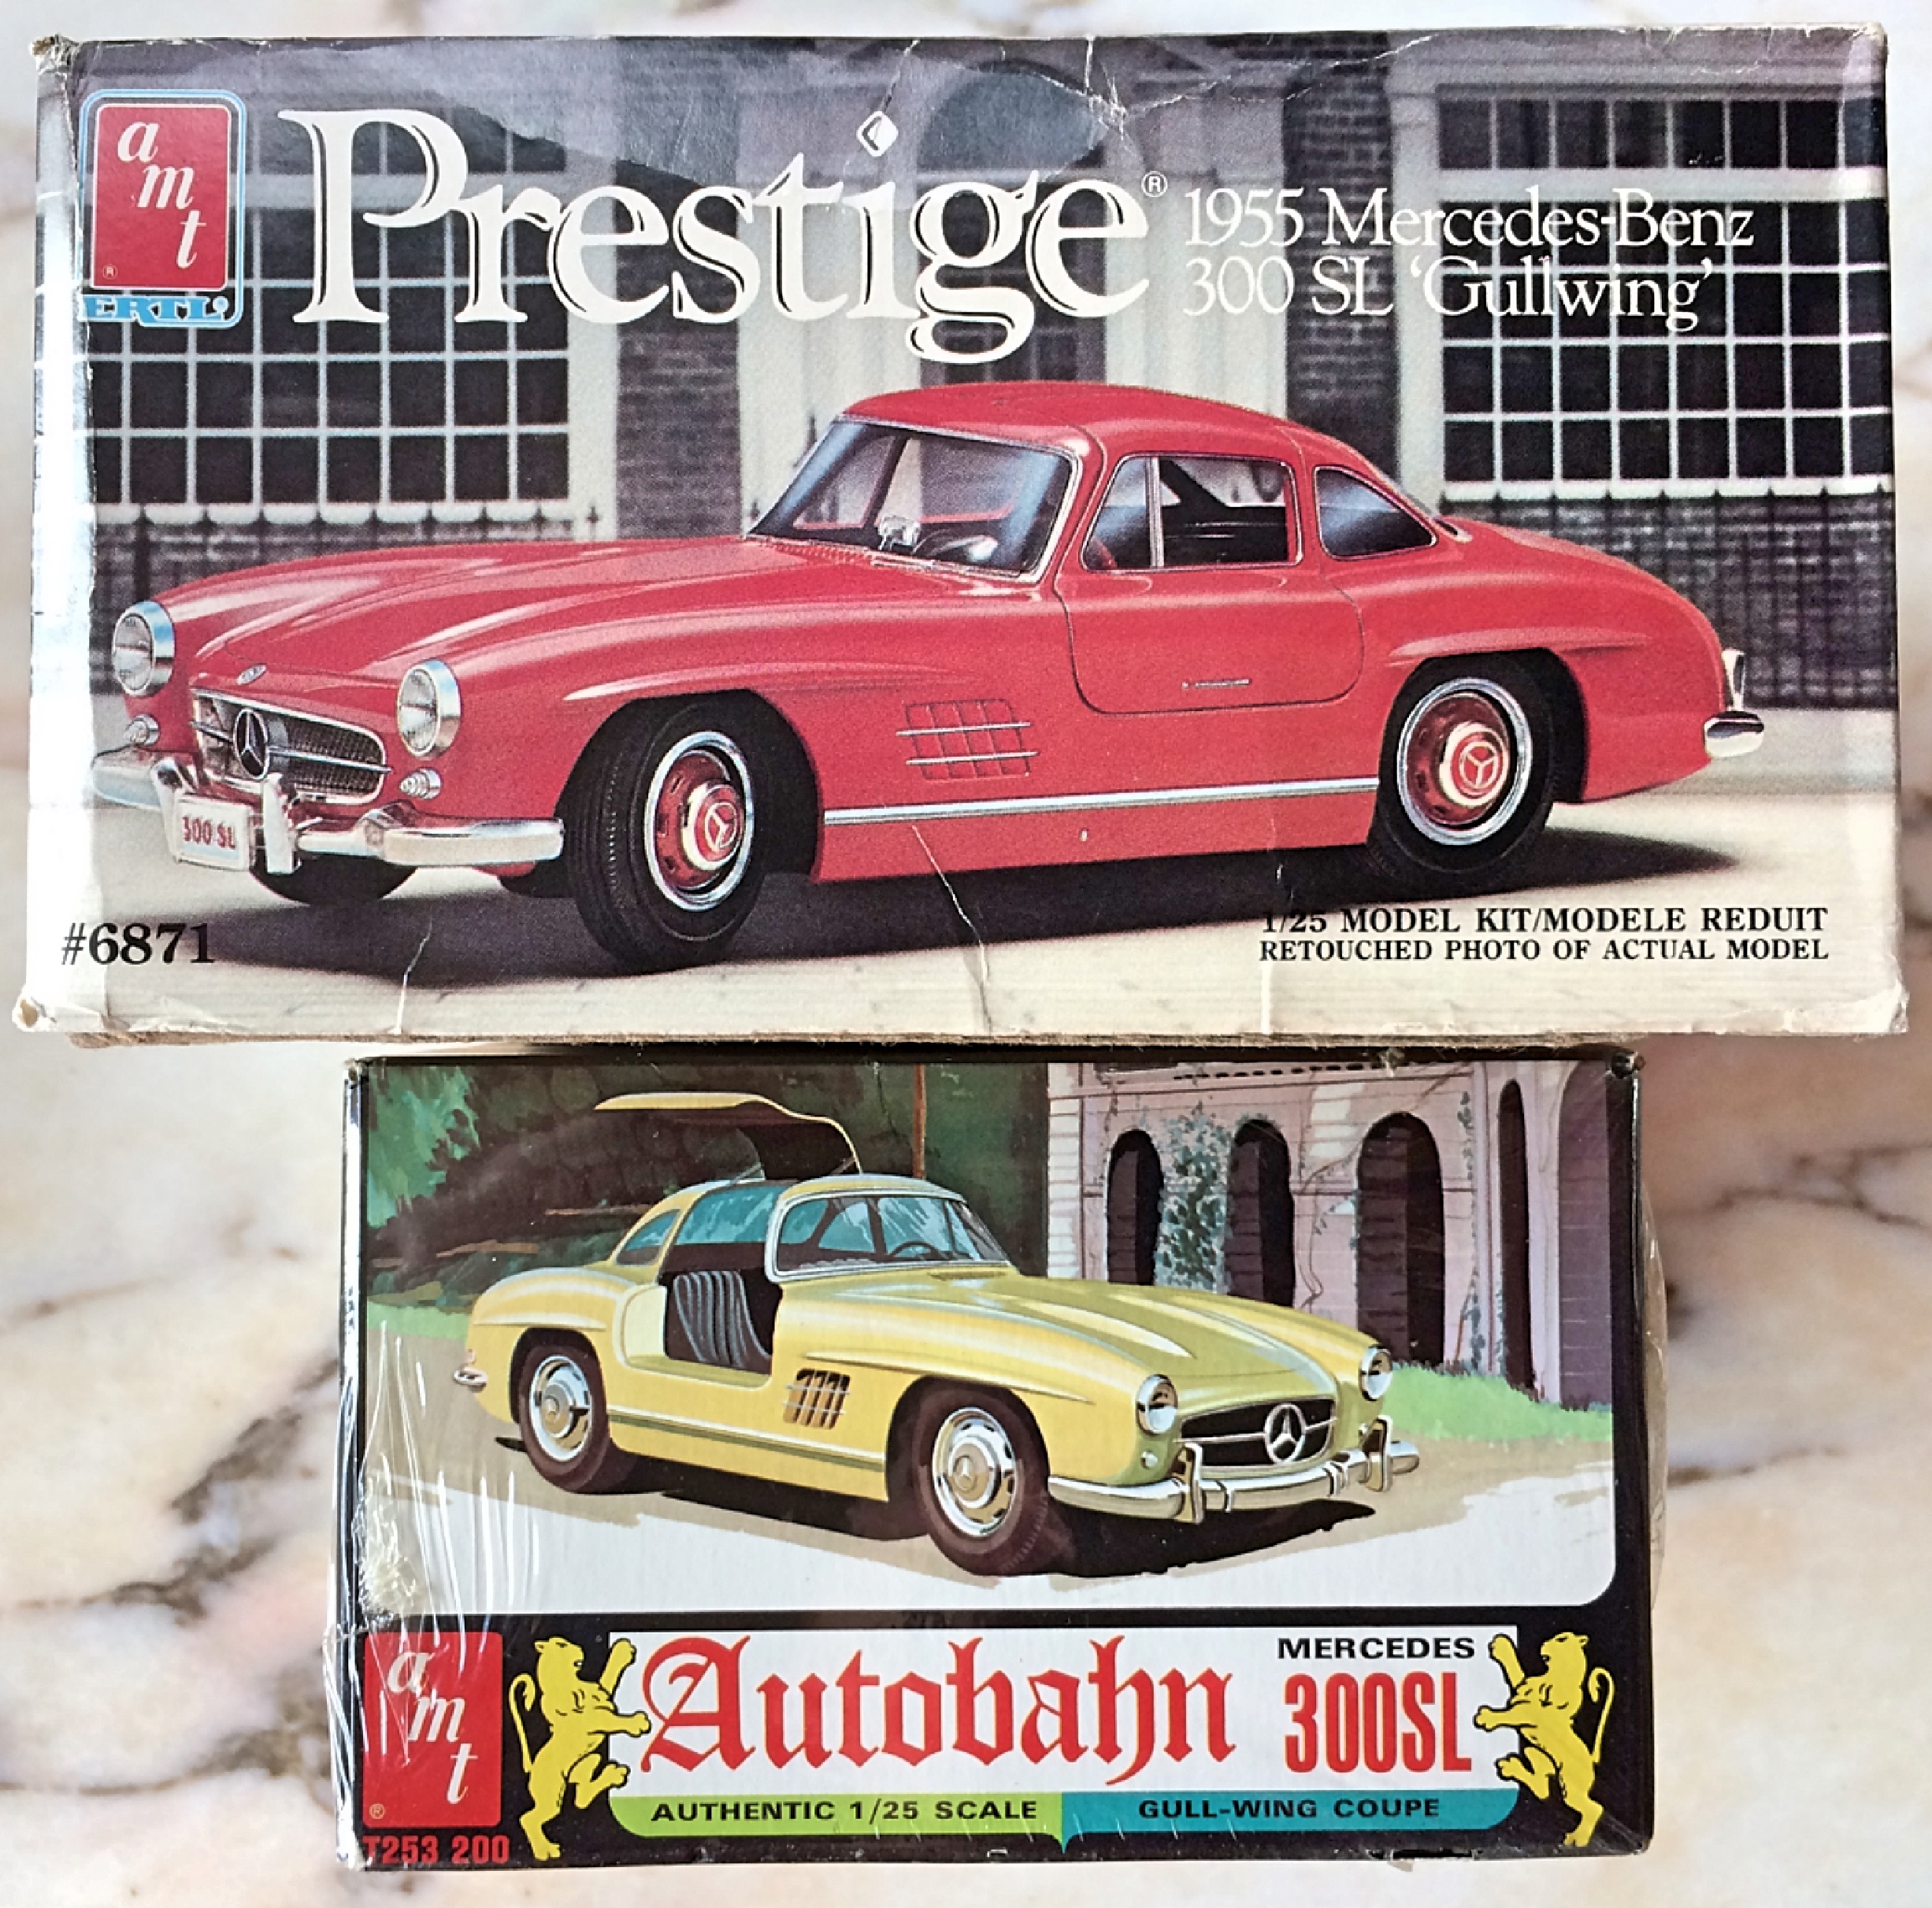
Got the blue/orange/yellow Gullwing kit from an estate. I've had the later release for some time, so know it's the typical AMT quality that pales when compared to the Tamiya kit. But I *had to* get this early version because it's just too cool! Comes with a cardboard diorama display, don't think there is a driver figure. The bigger box version has a chrome tree of trophies. I don't see any on eBay, so have to ask, is this a rare kit? Too bad some of the plastic wrap is ripped off.

-
Welcome! I'm looking at getting one of his Auto Union race cars. Thought I was done buying models.
-
That's pretty neat, for a Diablo. Seems like these are the black sheep for Lamborghini, so anything modified is a blessing. I sold the Italeri kit that I had, knew I would never build it, so good job for completing this!
-
dressed in Drag
-
Now I see the grill spacing, and fairing are different, so never mind.
-
Would this kit work for a replica?
-
, call 911. Wait
-
guzzling Red Bull
-
the Hit-and-miss engine
-
How to sell on ebay?
89AKurt replied to ismaelg's topic in General Automotive Talk (Trucks and Cars)
[...] This will help clear some space and fund more paint, more tools and more Corvette and Ferrari kits I'll never get to build [] Yea, that sounds like an awesome excuse, I'm with you! I've been wondering about this too, thanks for asking. I've sold and bought off the Facebook Model Car Marketplace, so far so good. I've made educated guesses on shipping, sometimes I'm shocked how much it is. I also prefer PayPal, sometimes do the 'friend' to avoid the fee. -
This is the kind of question, can I slay a dragon with Sawsall? Depends on the hole size, tiny holes you're screwed. Ace-Garageguy knows what he's talking about. This is when a laser would be nice. Keeping an eye on this topic.
-
62 VW Samba Bus
89AKurt replied to Mahogany Rush's topic in Model Trucks: Pickups, Vans, SUVs, Light Commercial
Revell, I understand your frustration, but you whipped it into shape, and FINISHED! I have a WIP in a coma, the Hasegawa kit, *had to* cut open the doors. This kit come with a complete engine? -
NNL Nationals #39....283 photos with all builders identified
89AKurt replied to tim boyd's topic in Contests and Shows
Every entry is extremely well done. The Kaiser Darrin is a favorite, good to see the classics. Glad I don't build drag or street rods, holy cow. -
to gain speed
-
Model Car Kit Collection
89AKurt replied to Ahajmano's topic in General Automotive Talk (Trucks and Cars)
^^^ Couldn't have said it better myself! -
Model Car Kit Collection
89AKurt replied to Ahajmano's topic in General Automotive Talk (Trucks and Cars)
It's alright, I added the MFH Lusso since then, and hope to track down some other old subject models. Now *that* is a problem, finding out about kits such as made by Fernando Pinto Models, which I added to my faved list on Fakebook. -
I acquired this kit, so glad to see someone built it. Very nice job!
-
avoid women stashes
-
GAVE YOU?!?! I did the Tyrell 6 wheel and Ferrari Niki Lauda when I was a teen, always loved the 934. Your wife is a keeper! Cool subject too.
-
Model Car Kit Collection
89AKurt replied to Ahajmano's topic in General Automotive Talk (Trucks and Cars)
For example, I laid out this category just to get an idea of what I have. I have a running list too, that I update almost monthly now. It does become a problem if I don't do that, because I can't see all my kits due to stacking in front of other piles. *That* is a problem.