89AKurt
-
Posts
8,426 -
Joined
-
Last visited
Content Type
Profiles
Forums
Events
Gallery
Everything posted by 89AKurt
-
 I'll avoid posting morbid humor memes. This sure looks like the problem.
-
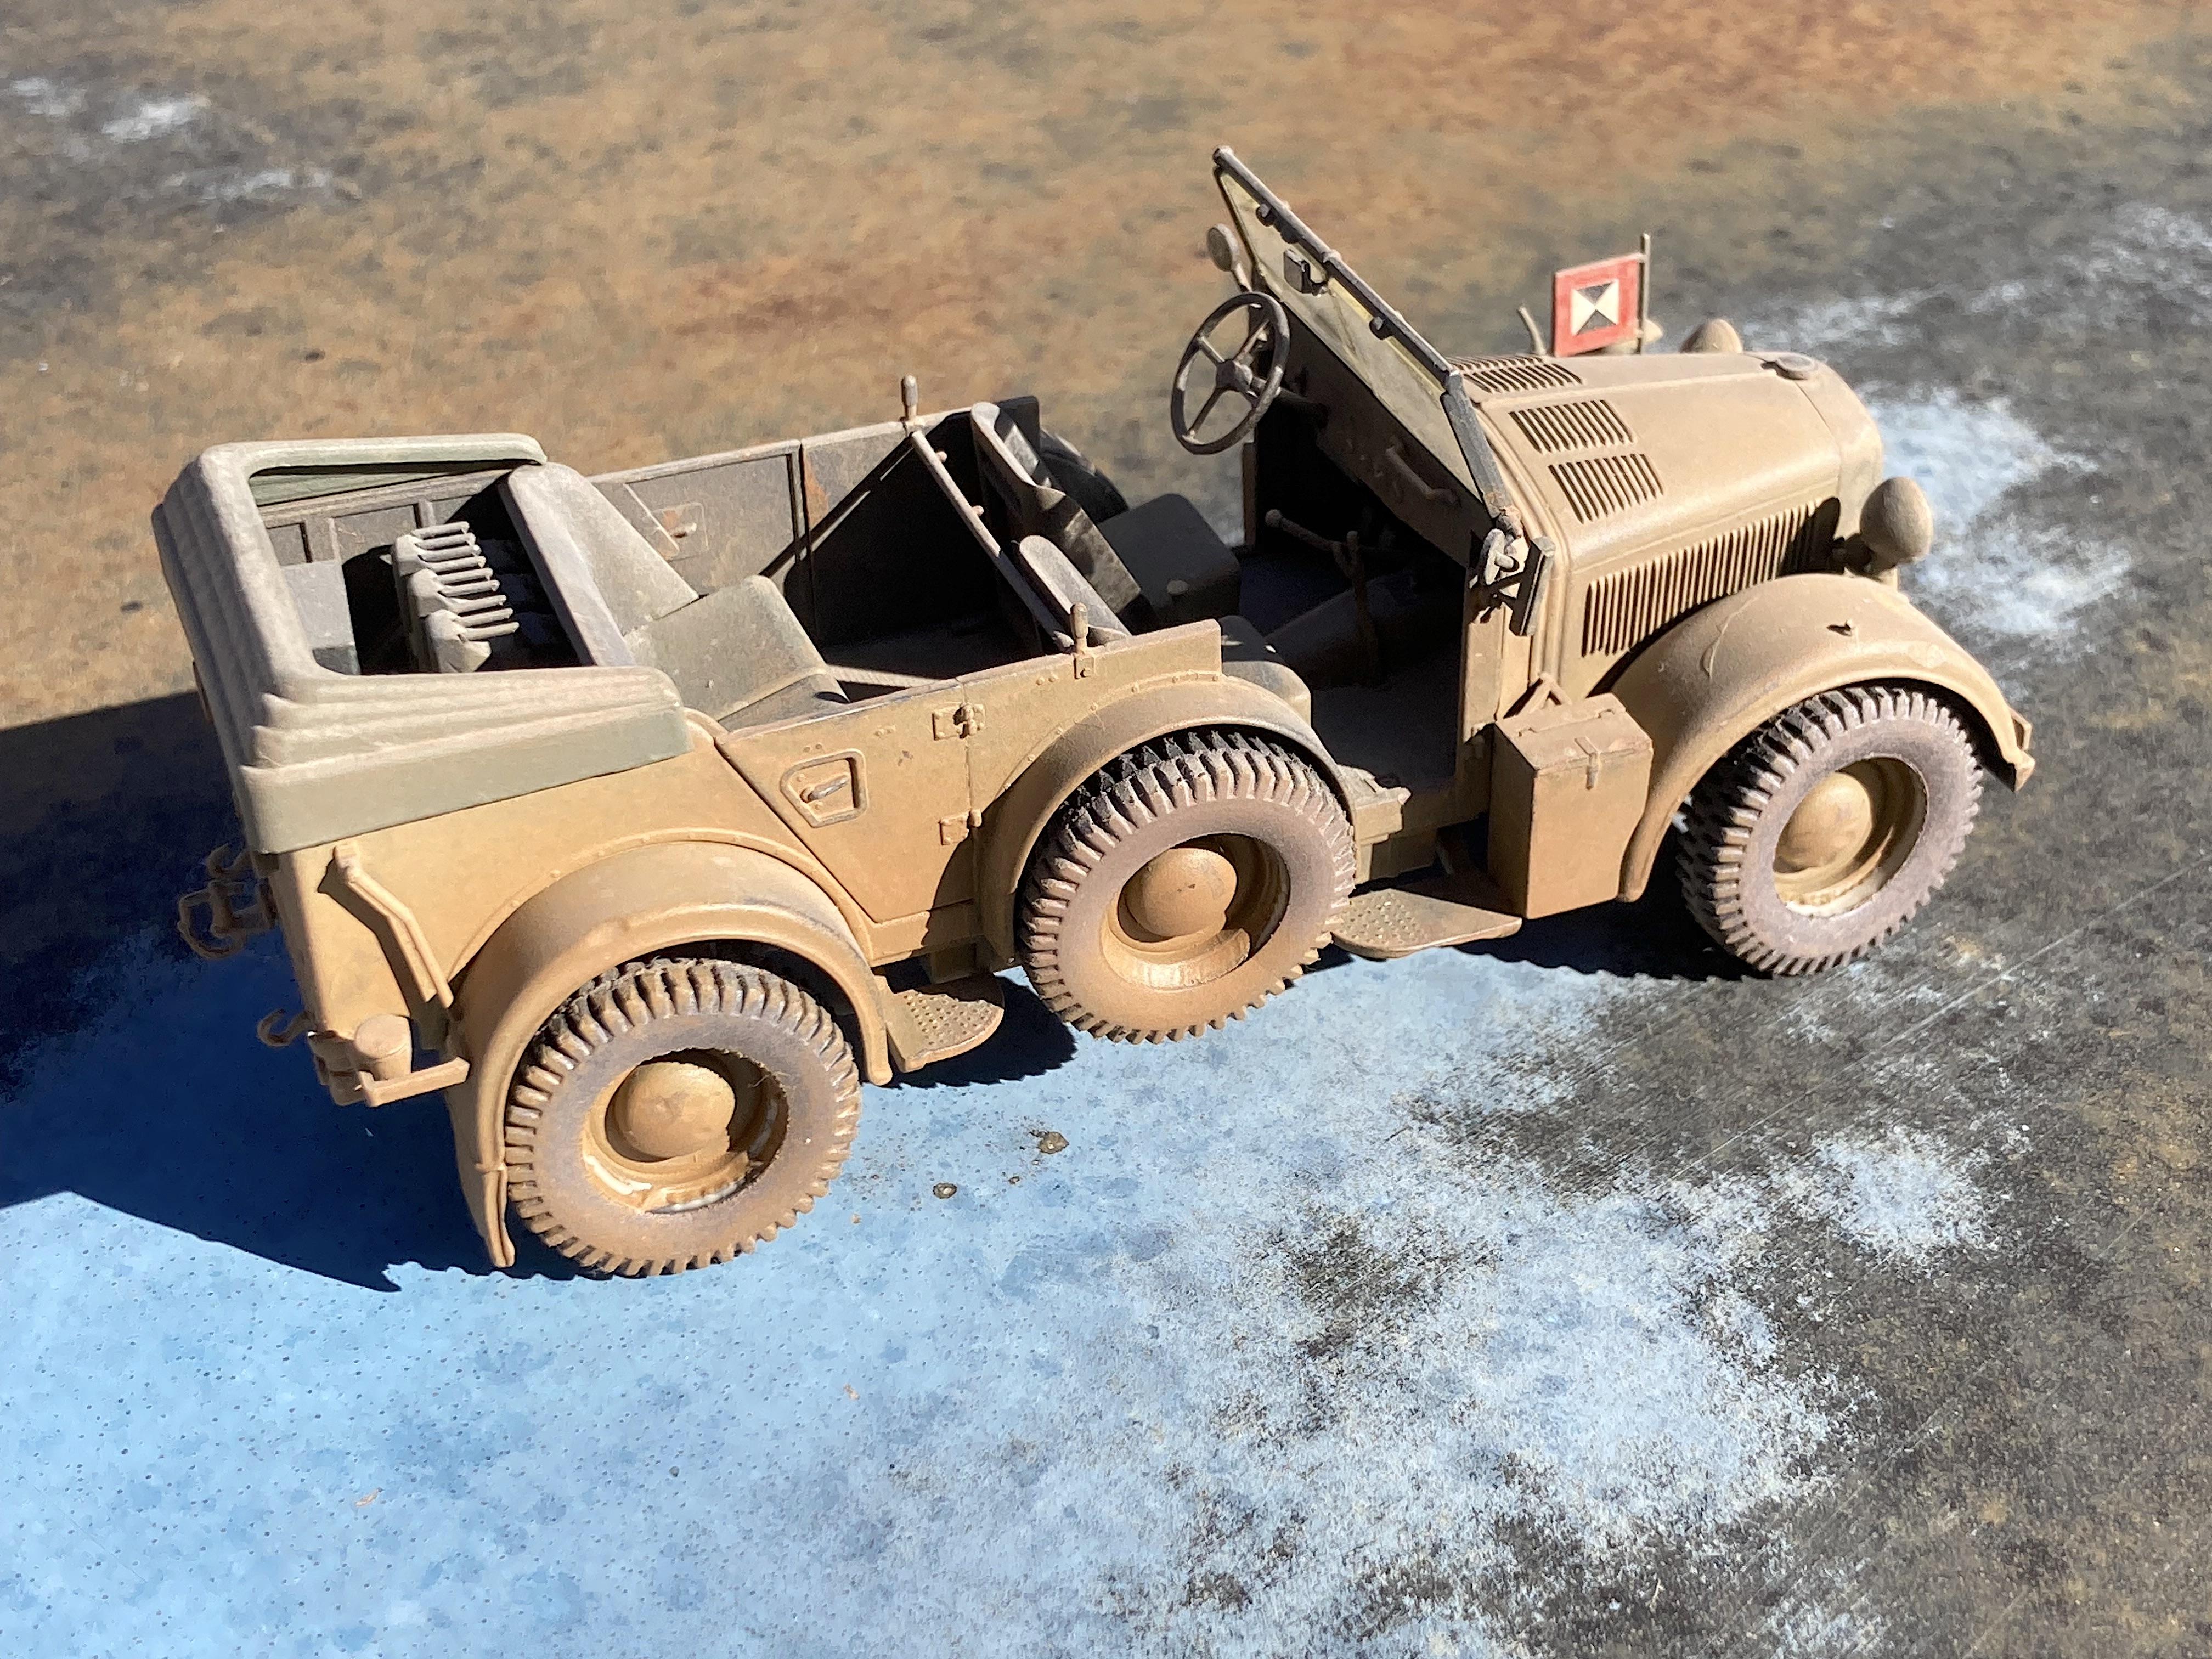
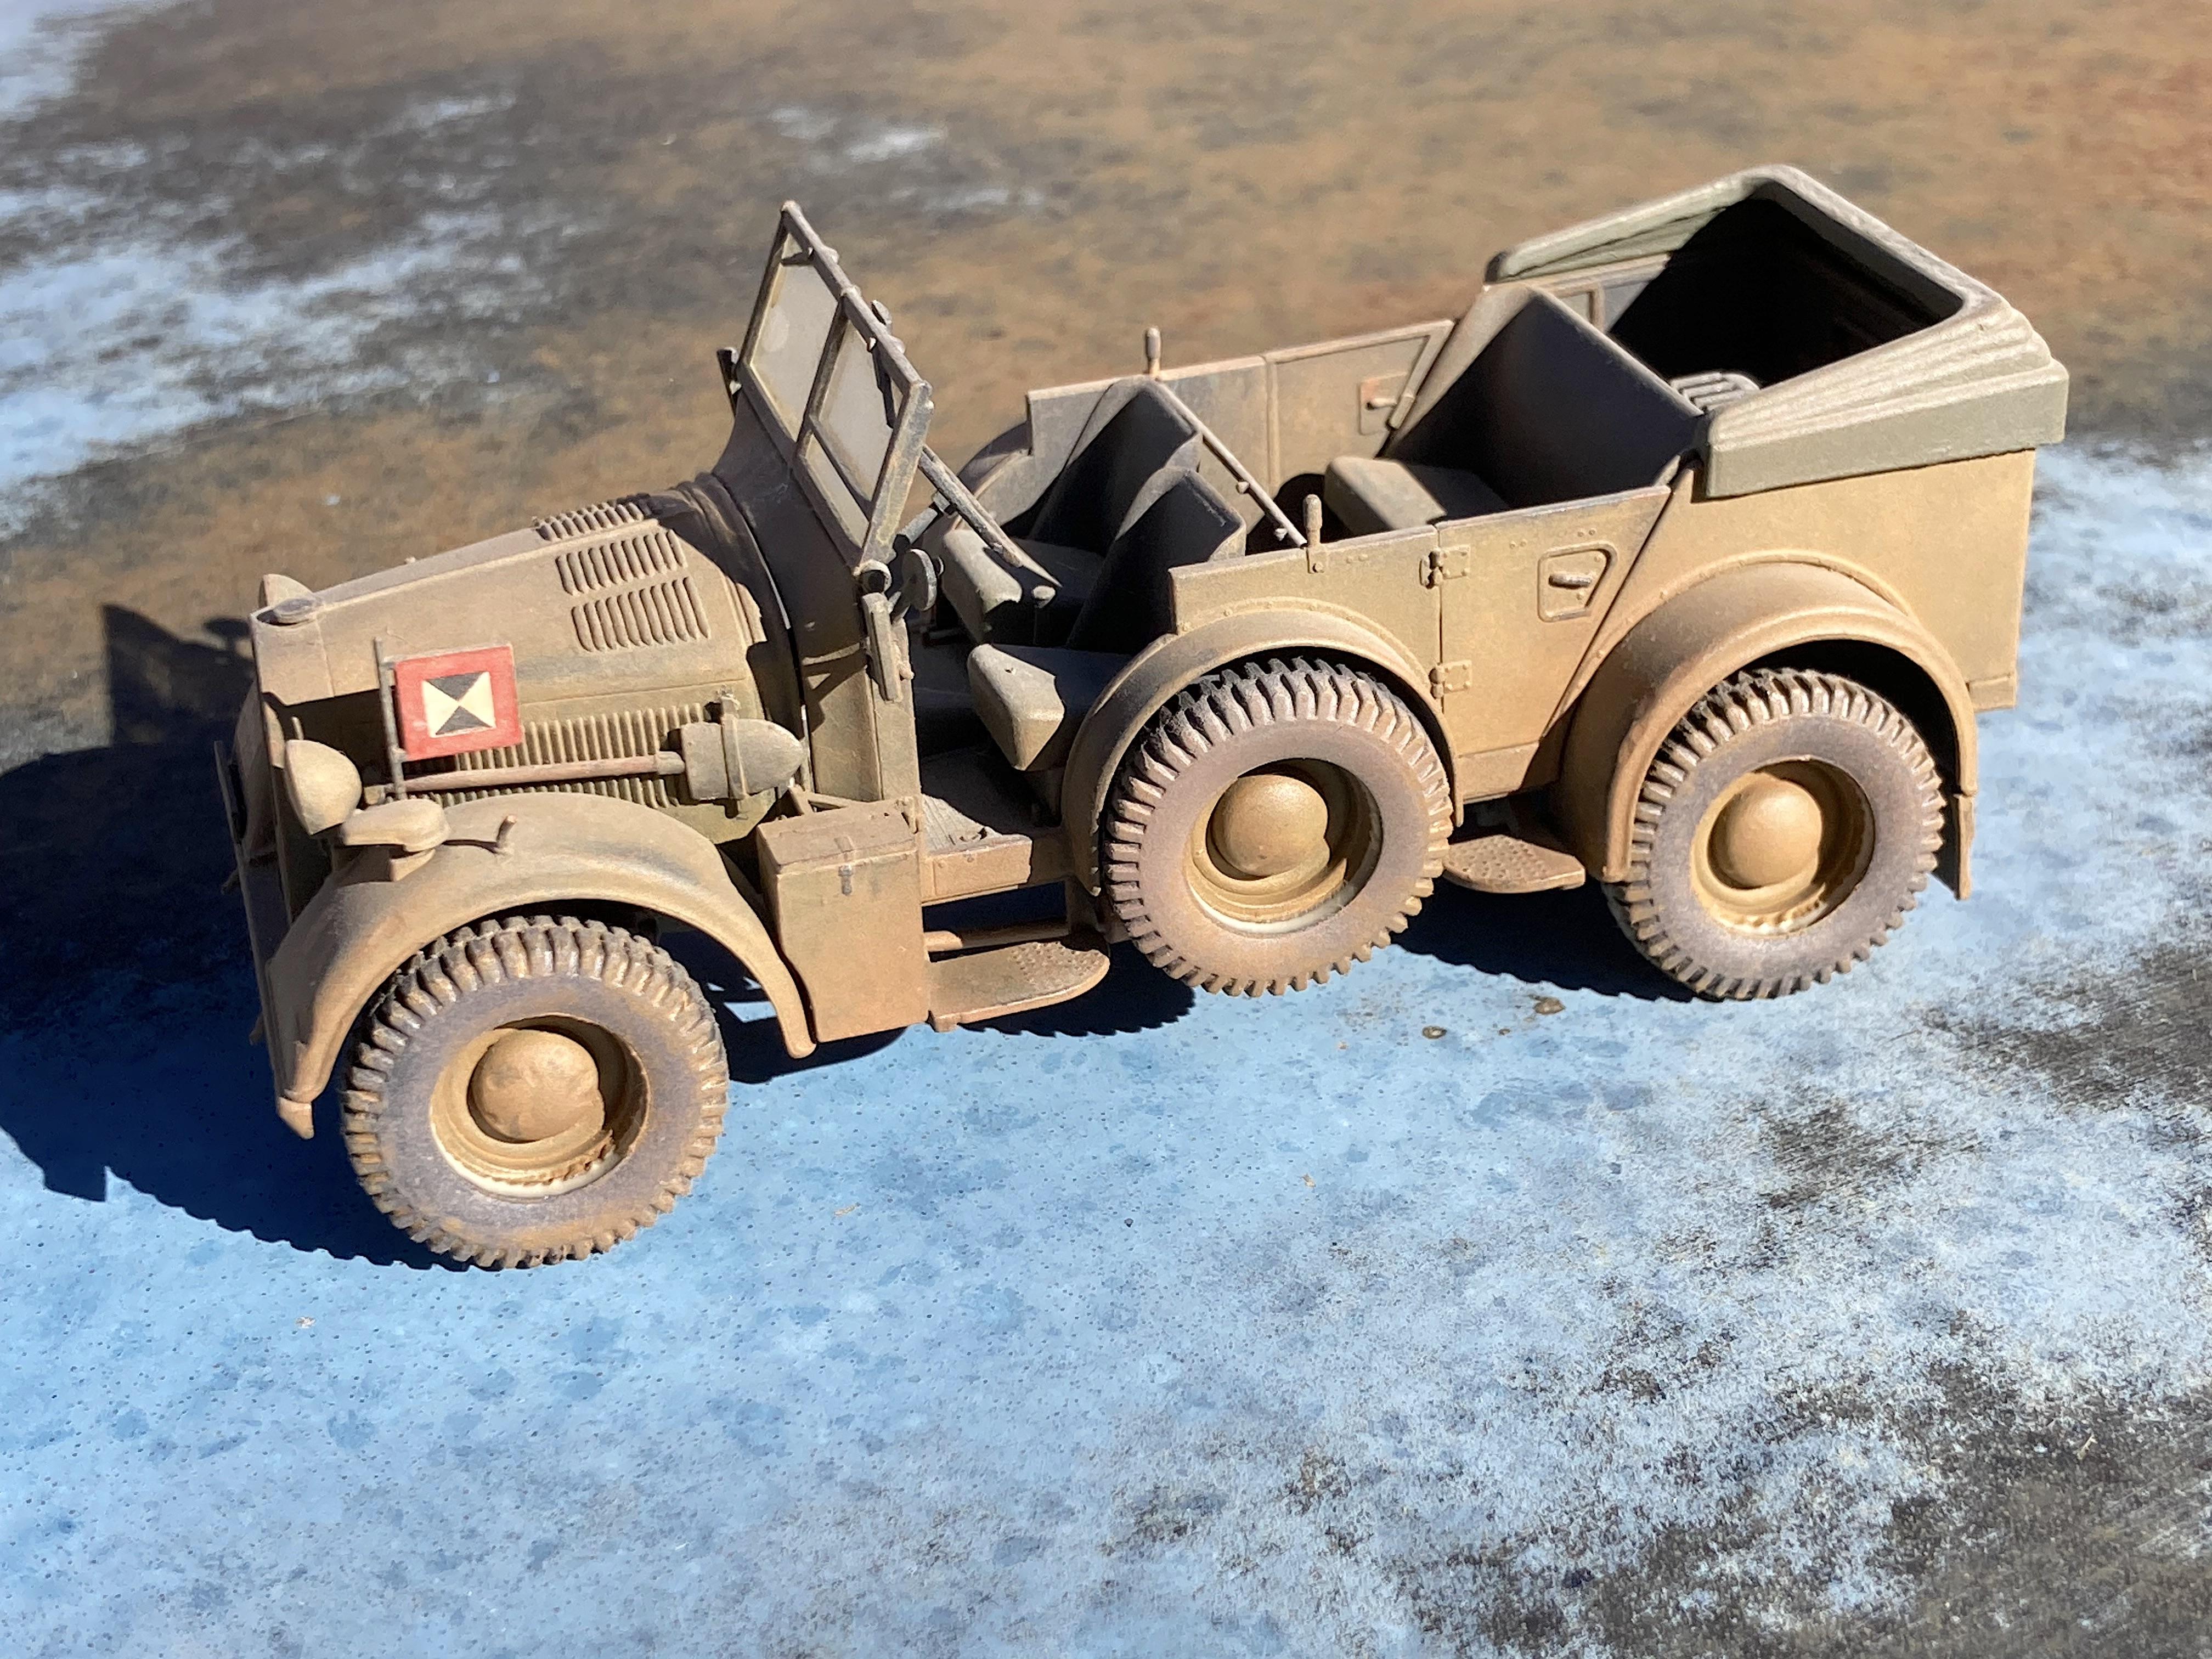
Think I've seen this topic before on the forum, but since this is new and easy, here goes. The "rubber" tires on old kits are toxic to plastic. Built this Italeri kit last century, mid 1980s. As you can see, the wheels are trashed. But this has not stuck the the glass shelf. "... display case bottom." - do you mean the bottom of the cabinet, which is either varnished wood, or paint? I can see these "rubber" tires reacting with that, not glass. When I read about this problem, had to open a sealed kit, the Revell Aerovette, and found the loose tires sat on the windows and screwed them up. I don't see what the point is of having "collectible" kits that have these tires, if they wreck the plastic, open them up and put the tires into a paper envelope.
-
All I can think of saying is EPIC!
-
Ferrari 333SP
89AKurt replied to Chris Smith's topic in WIP: Other Racing: Road Racing, Land Speed Racers
That's what is called a hero build! Awesome job so far, looking forward to checking in when I can. -
Revell Chevy pickup
89AKurt replied to fordf-100's topic in Model Trucks: Pickups, Vans, SUVs, Light Commercial
Nice color choice, and good save! I have the kit in the stash of never never land. -
1962 Rolls Royce Silver Cloud II by Minicraft Models: WIP
89AKurt replied to David G.'s topic in WIP: Model Cars
Thank you for the kinds words. ? Since I'm in a slump, am living vicariously through you on this build. I've had success in using superglue (Extreme Power, green label sold at Hobby Lobby) and baking soda. I try to avoid using putty because of how it shrinks, if it's a thin leveling I will. Been able to scribe panel lines, just need to be more careful. The nice thing, can work the area within 5 minutes. Remove the primer, and rough up with sandpaper first. I read others say it degrades due to high humidity, I live in arid Arizona, but we have a humid monsoon season, and I have not seen anything happen. In this case, I wouldn't use styrene, but for extending an edge, or creating fender flares (for example) I would. Yea, working on the trunk interior would rob a bunch of time. I would *have to* make a wicker picnic basket, liquor case, and a couple of expensive looking shotguns or rifles, and perhaps a nitrous bottle. And what's stupid about adding such details, I play with it a few times, and then it sits on the shelf. ? -
by the wing
-
1969 Porsche 917 PA spyder
89AKurt replied to Rich Chernosky's topic in Other Racing: Road Racing, Salt Flat Racers
Awesome! Good thing it's not available, I do not like doing plug wires! -
1962 Rolls Royce Silver Cloud II by Minicraft Models: WIP
89AKurt replied to David G.'s topic in WIP: Model Cars
Funny how grey primer makes the mold lines shout ? YOU HAVE ONLY JUST BEGUN!!!!! ? Looking at the picture of the real car, the door handles sure do arch outward, that will be something I *have to* fix. I would like to keep an opening trunk, but the interior just looks so wrong. -
engine with turbos
-
I have this kit, and of course Aoshima has come out with another version, but I'm hoping they do the Z. Why I think I'll ever built it is a mystery. Will be watching!
-
Dmorning hangover sucks!
-
in abandoned mines
-
when union rates
-
with nuclear waste
-
Taken by a UFO that was cloaked.
-
used for kindling
-
1962 Rolls Royce Silver Cloud II by Minicraft Models: WIP
89AKurt replied to David G.'s topic in WIP: Model Cars
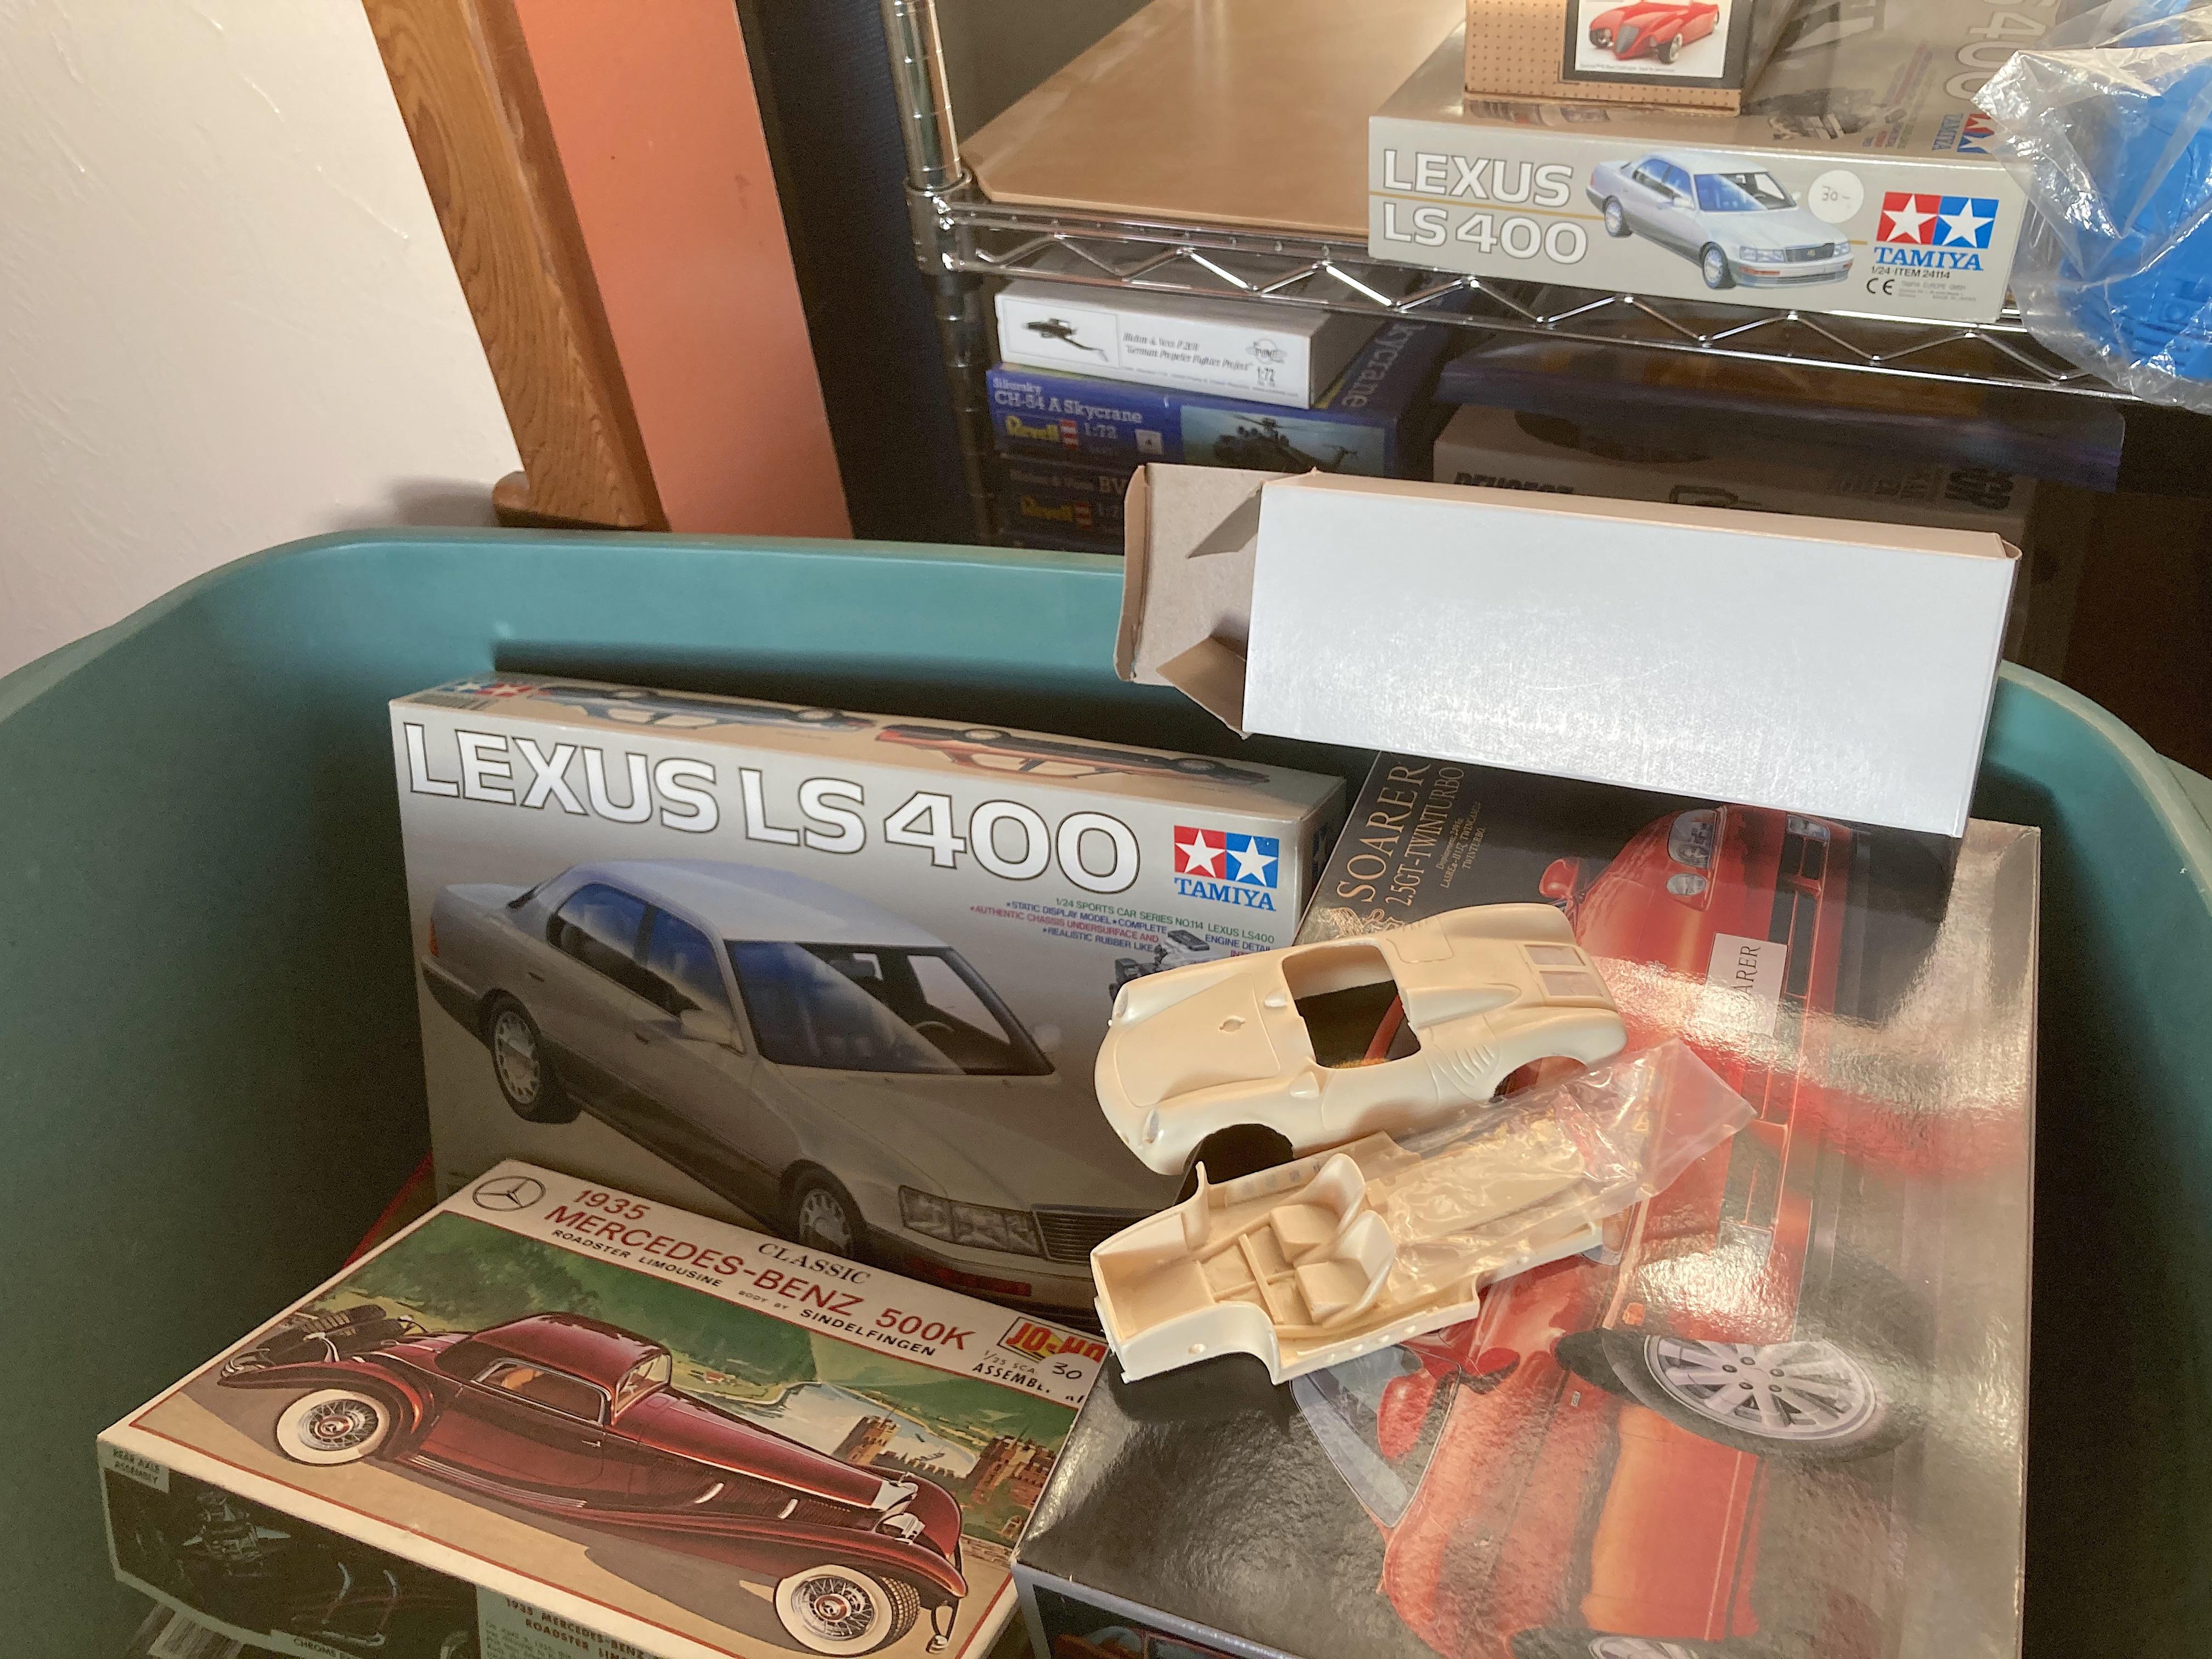
Welcome! I've done a few projects where I use the whole chassis, and stuff under a body, just a matter of what. Have a Tamiya Lexus LS400 that could work, need to lengthen about 1/4". -
filled with Piranha
-
1962 Rolls Royce Silver Cloud II by Minicraft Models: WIP
89AKurt replied to David G.'s topic in WIP: Model Cars
I recently acquired this exact kit too. Very curbside chassis. I want to install an engine, so many 3D printed choices nowadays. But then you need a realistic suspension, and then and then and then, it's gonna domino. I'll be lurking. -
You're like me, more ideas than time. I recently got the Rolls Royce, it's a super simple kit that will require a ton of work to be worthy, need to decide what engine to install.
-
Many are annoyed with RED on any Ferrari, way to common, I like your alternative that accentuates the side scallop (is that what it's called, the early Corvettes had a similar feature). The p-e grill alone is worth the trouble. I have this kit in the traditional shape box (2005 issue), it's packed! Had plans to kit bash with the FPPModelos 410 SA Ghia 1956.
-
I didn't know this kit existed. Fantastic! Sometimes I add a horn, now I know for this car.
-
Toyota V8 kit source?
89AKurt replied to Ace-Garageguy's topic in Model Building Questions and Answers
?
-
while buying perfume