89AKurt
-
Posts
8,426 -
Joined
-
Last visited
Content Type
Profiles
Forums
Events
Gallery
Everything posted by 89AKurt
-
to Common Sense
-
 Thank you! Appreciate your comment!
 -
Ferrari V8 in a Subaru rally car
89AKurt posted a topic in General Automotive Talk (Trucks and Cars)
Found by accident on YouTube. I never thought of putting a V8 anything into a Subaru, looks like fun! -
I graduated 1979. The instructor for the Drivers Ed class would hang out in the hallway, and at the right moment would kick the steel trash can into the room. Red Asphalt is a title I remember. Didn't work for me either, yet here I am.
-
One reason to not camp in the left lane! Sure would like to see a follow-up article about why.
-
big phat doobies
-
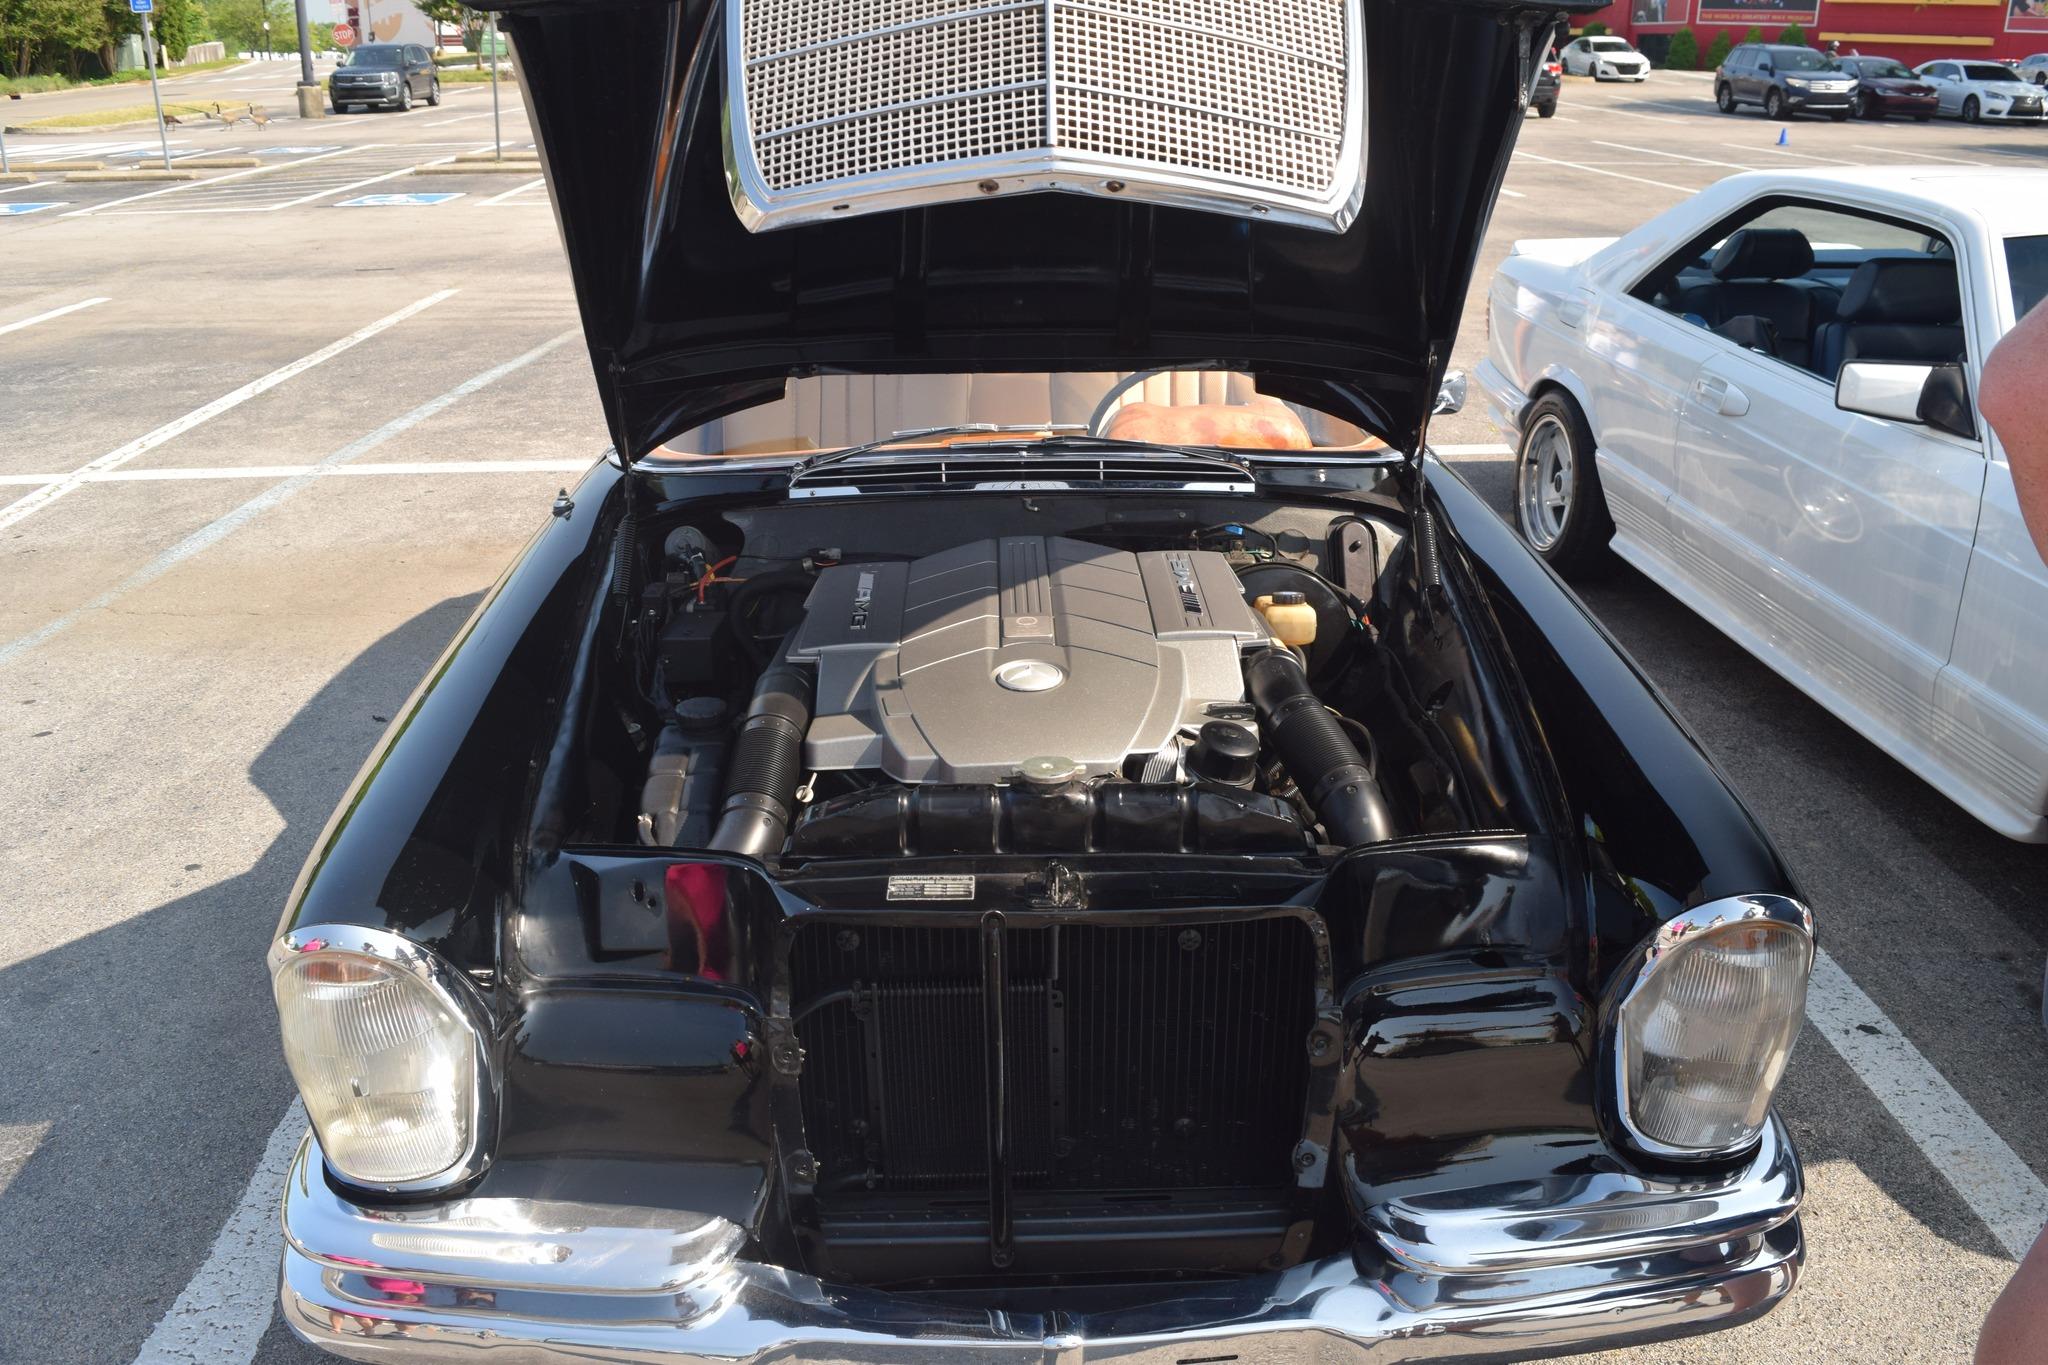
Mercedes Outlaws & Hot Rods
89AKurt replied to 89AKurt's topic in General Automotive Talk (Trucks and Cars)
W111 Coupe with AMG E63, found on Facebook.
- 130 replies
-
- 1
-

-
- mercedes benz
- outlaw
- (and 2 more)
-
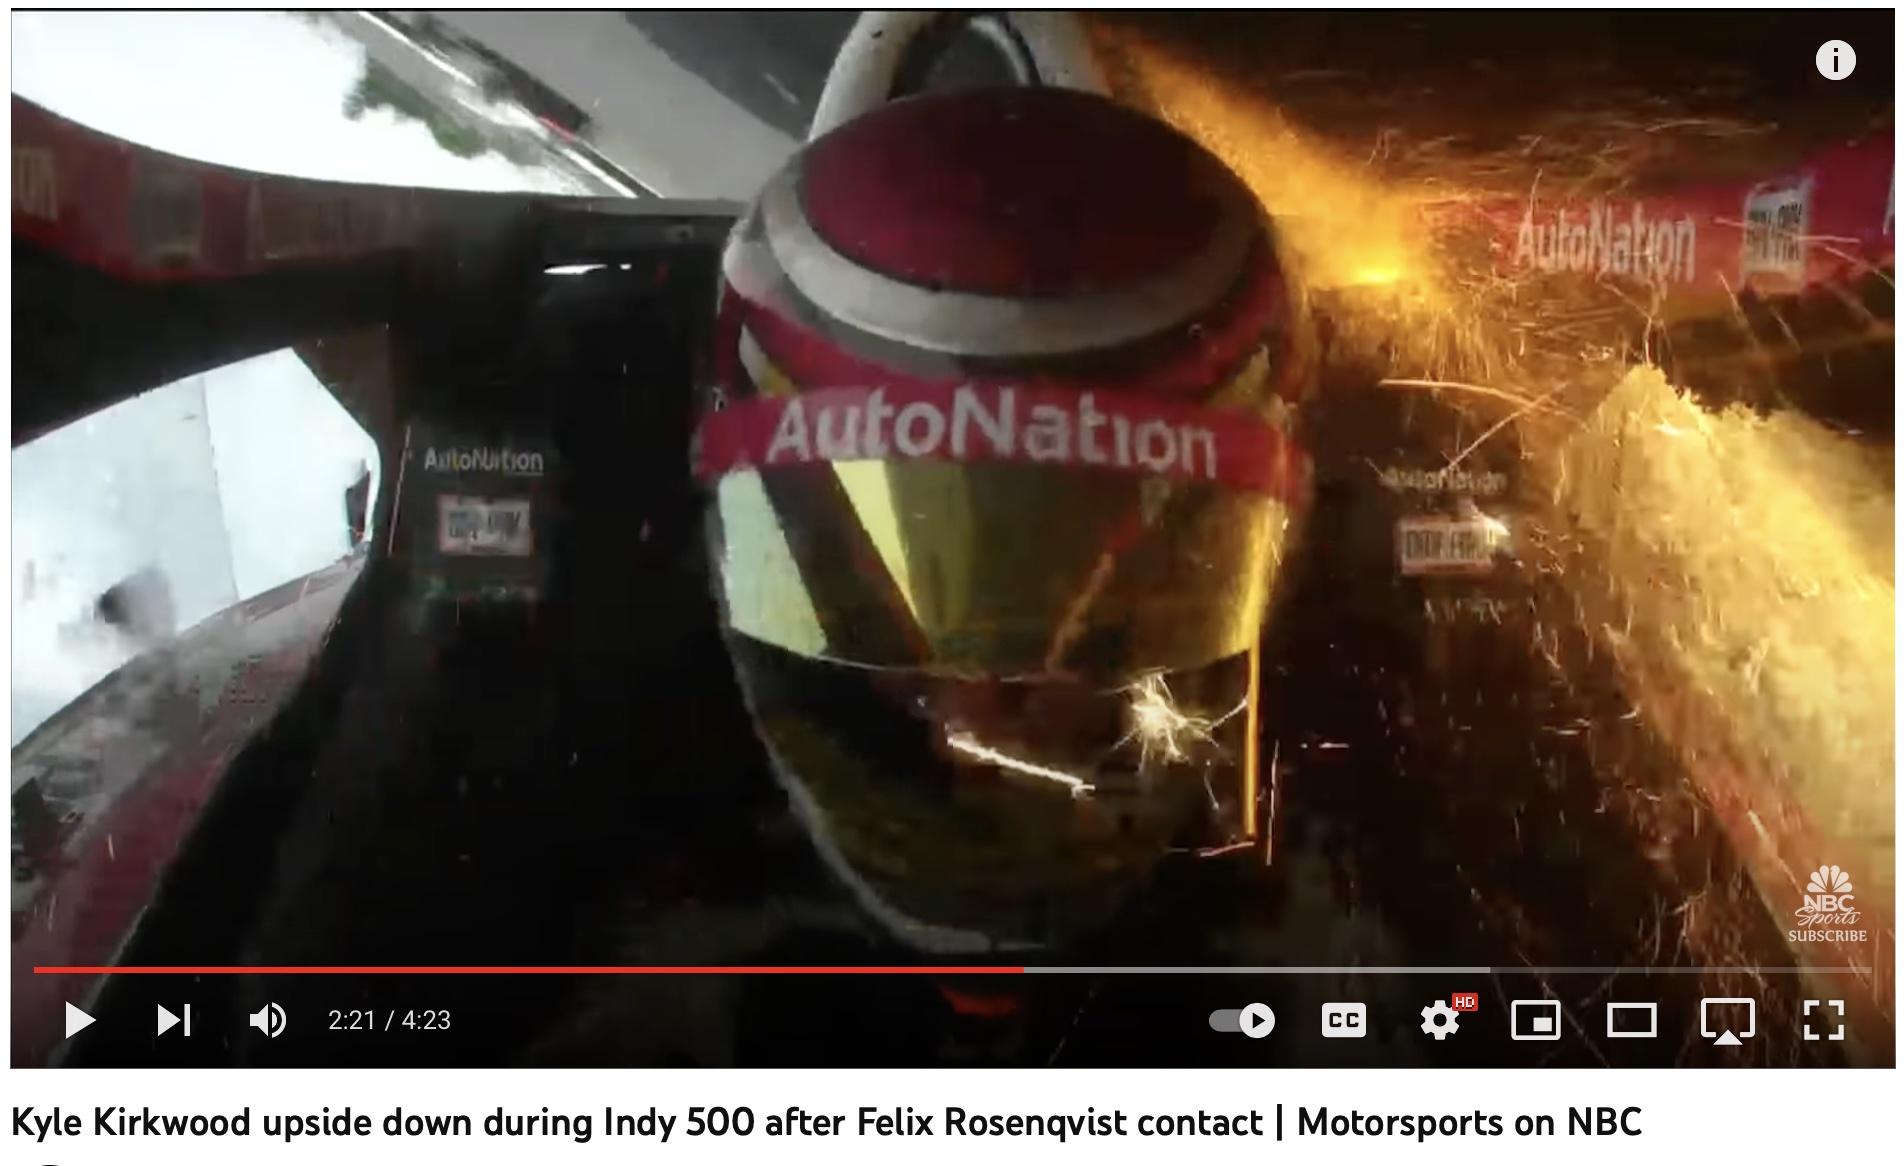
dreams get censored
-
Decades ago I watched a race where the leader was way ahead for many laps, then a knucklehead crashed a few laps from the end. When the green dropped, the second place jumped the start and won the race. Haven't watched one until this year. Might not again, just watch the highlights. I thought the driver raising his face shield mid crash was a bad move, it's there for a reason.
-
hanging out where
-
Porsche Outlaws & Hot Rods
89AKurt replied to afx's topic in General Automotive Talk (Trucks and Cars)
Check out this young man's custom 911 with 365 details. -
Thank you! You are too kind! Welcome to the forum.
-
as a bouncer
-
percent chance of
-
? Hmmm...... I have 2 c.i. more, 2 more barrels, and 1 less speed than you with my '68 Chevy C-10. ? Interesting story, only proves people have more money than sense nowadays.
-
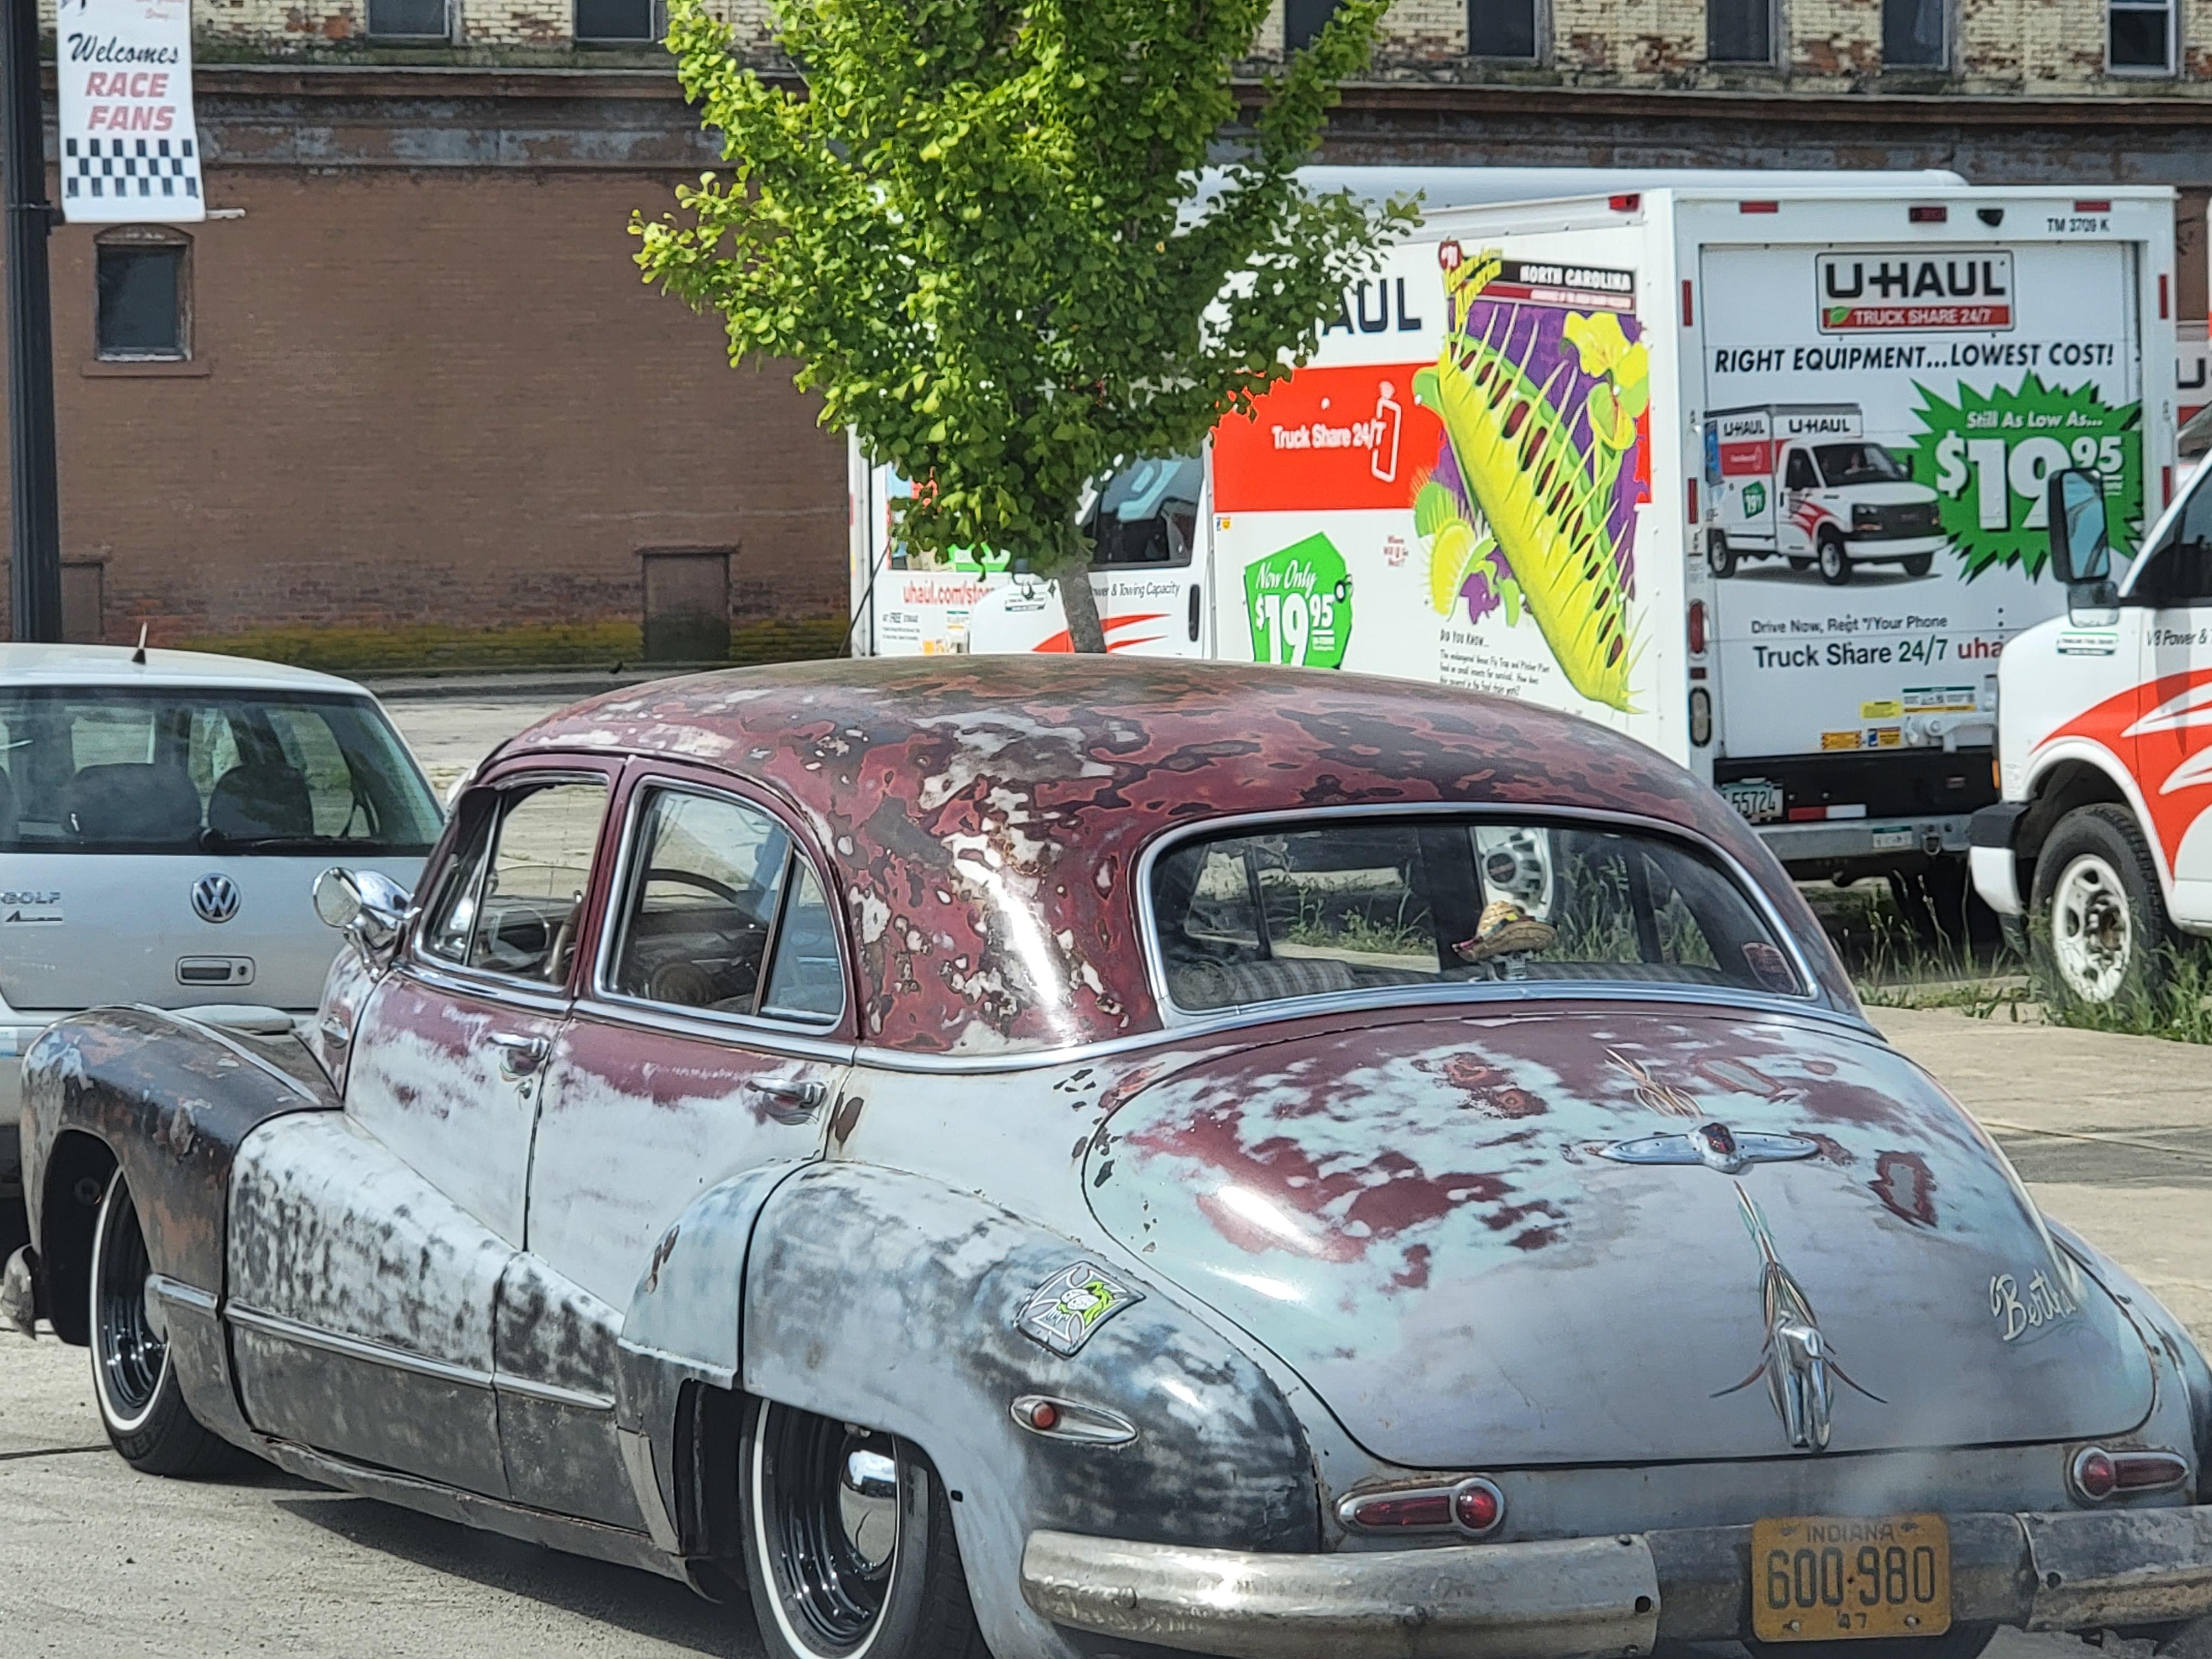
What did you see on the road today?
89AKurt replied to Harry P.'s topic in General Automotive Talk (Trucks and Cars)
Wish I could take a picture of every car I'm seeing lately. One day saw a dozen classics on the road.
-
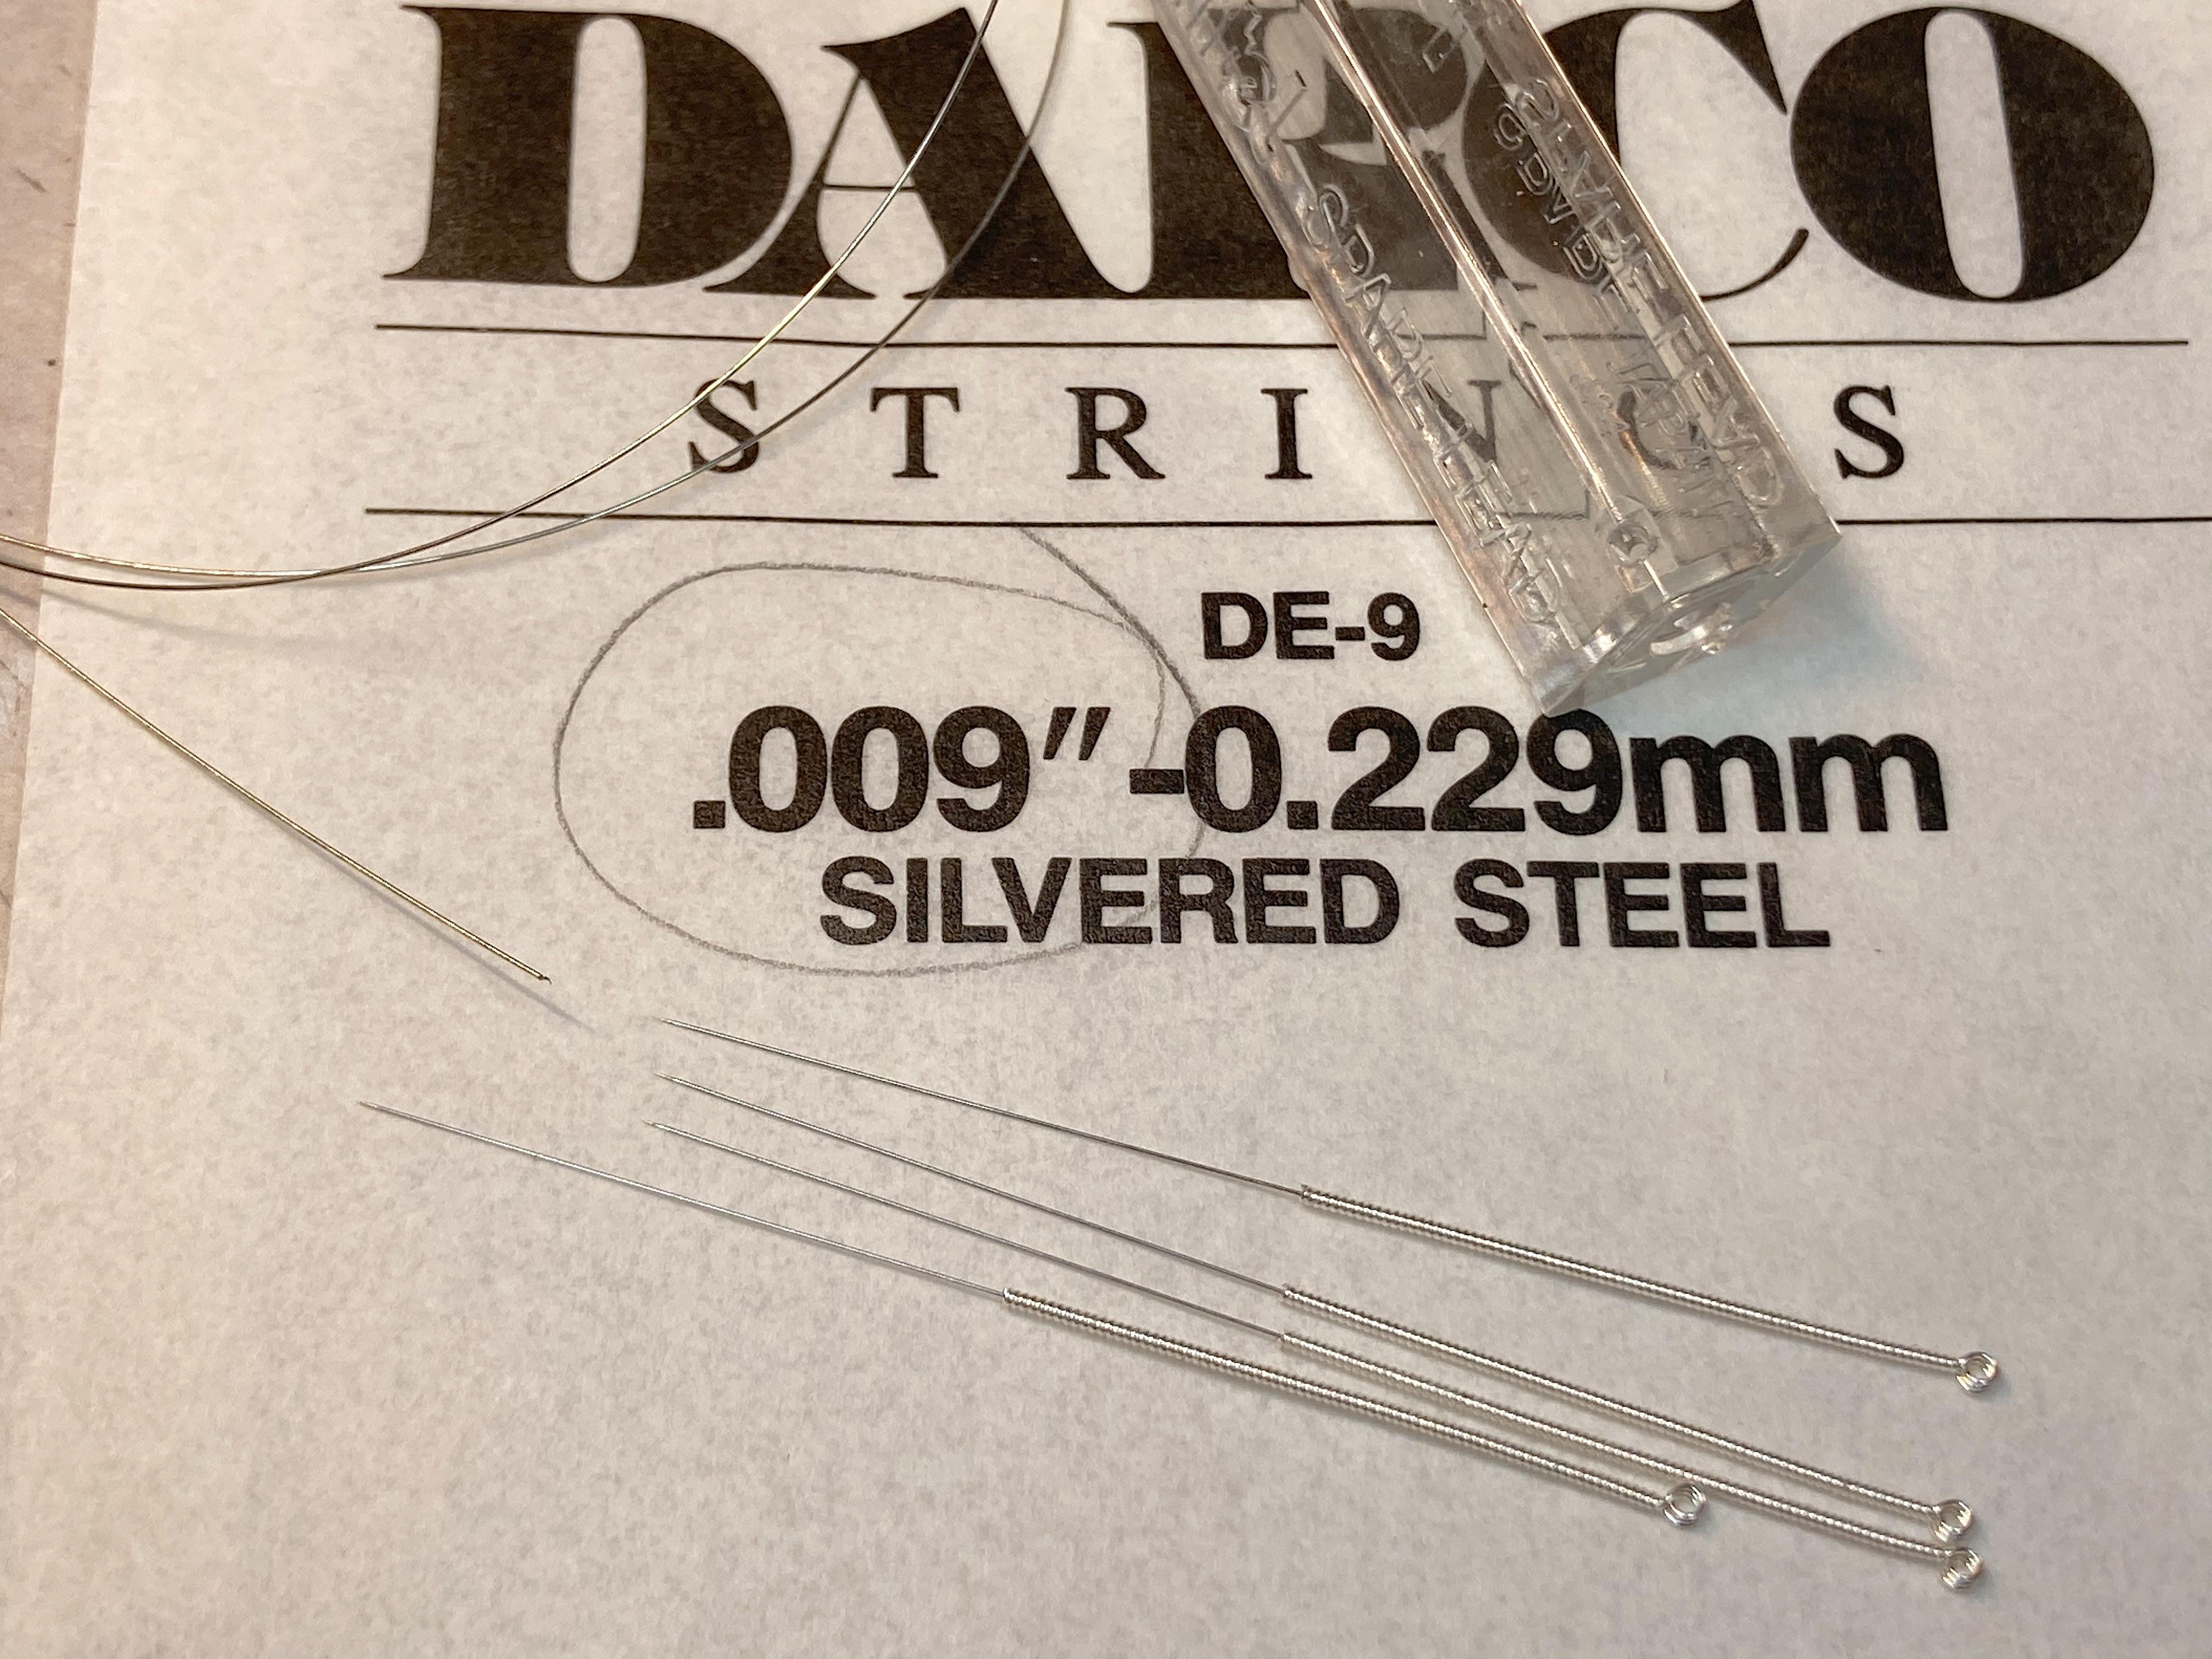
Asked my acupuncturist for the needles he uses. These are smaller than the thinnest guitar string I have, 0.01mm. There must be something I can use these for.
- 39,135 replies
-
- 3
-
-
- johan
- glue bombs
- (and 1 more)
-
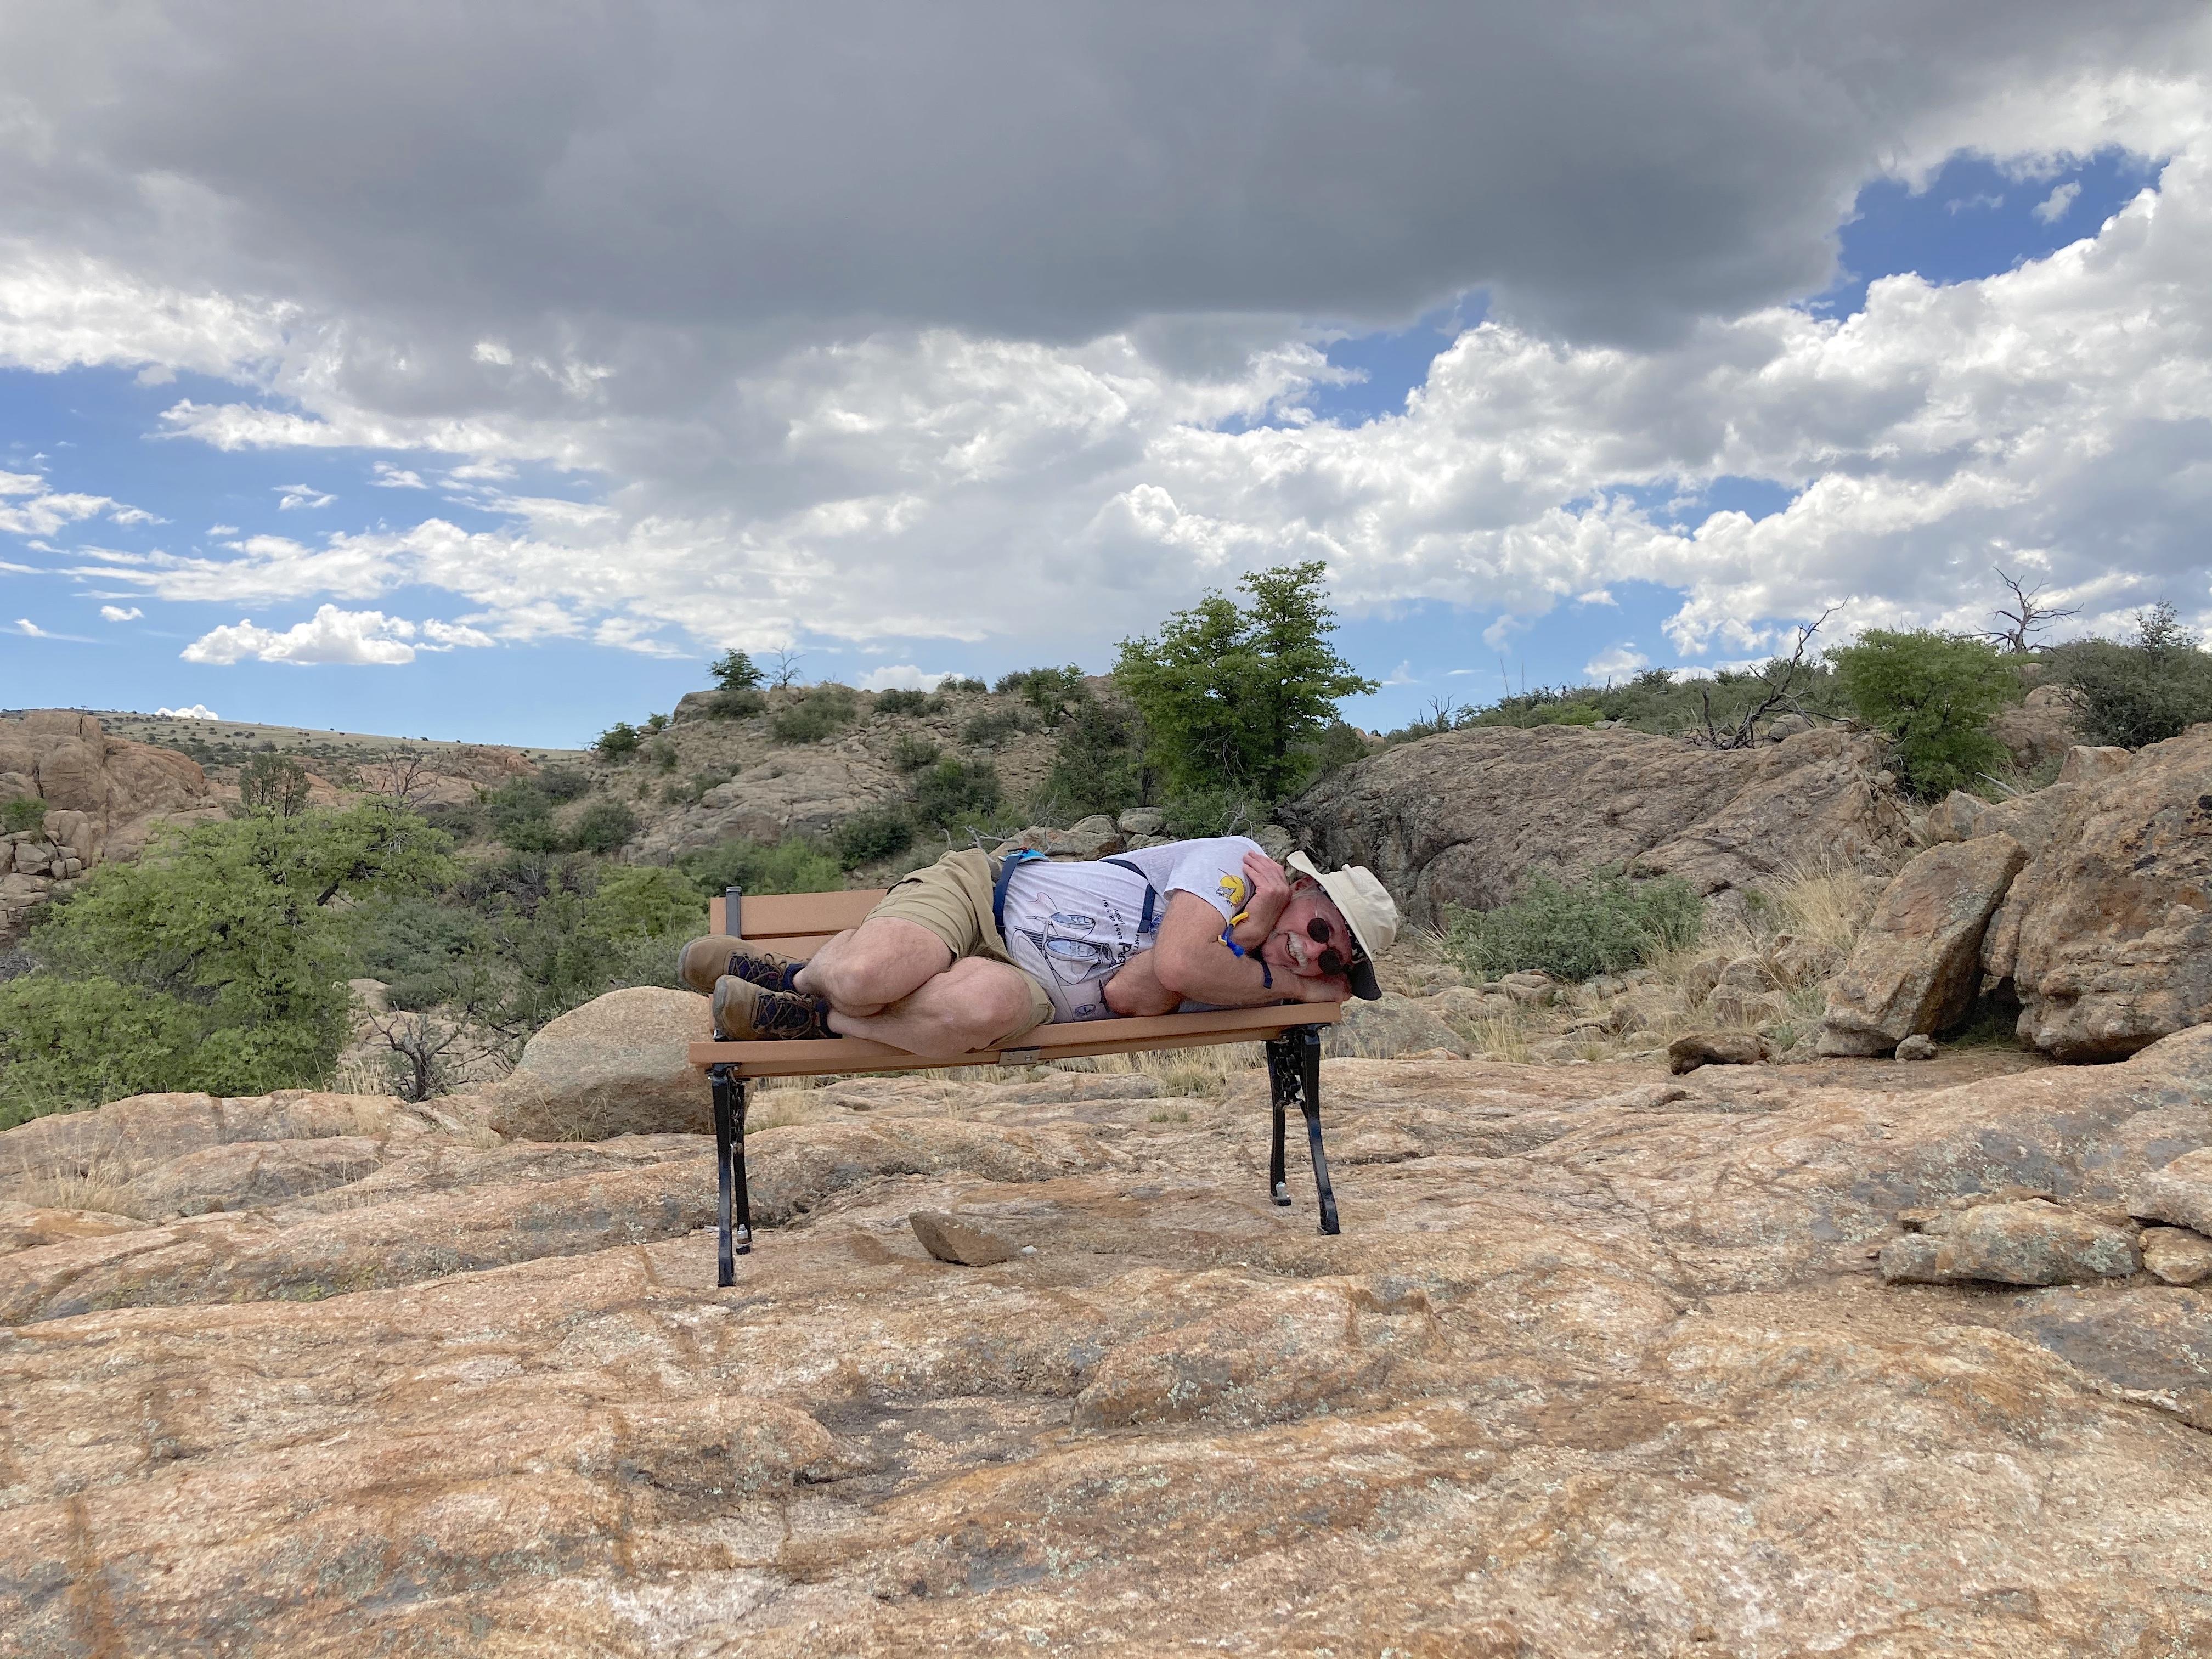
On a hike today in Granite Dells. I've been getting lazy, all I could do to put 6 miles in. ?
-
having a party
-
What did you see on the road today?
89AKurt replied to Harry P.'s topic in General Automotive Talk (Trucks and Cars)
On 89 north of Prescott. No idea what this armored car is, but it's a long way from Chicago.
-
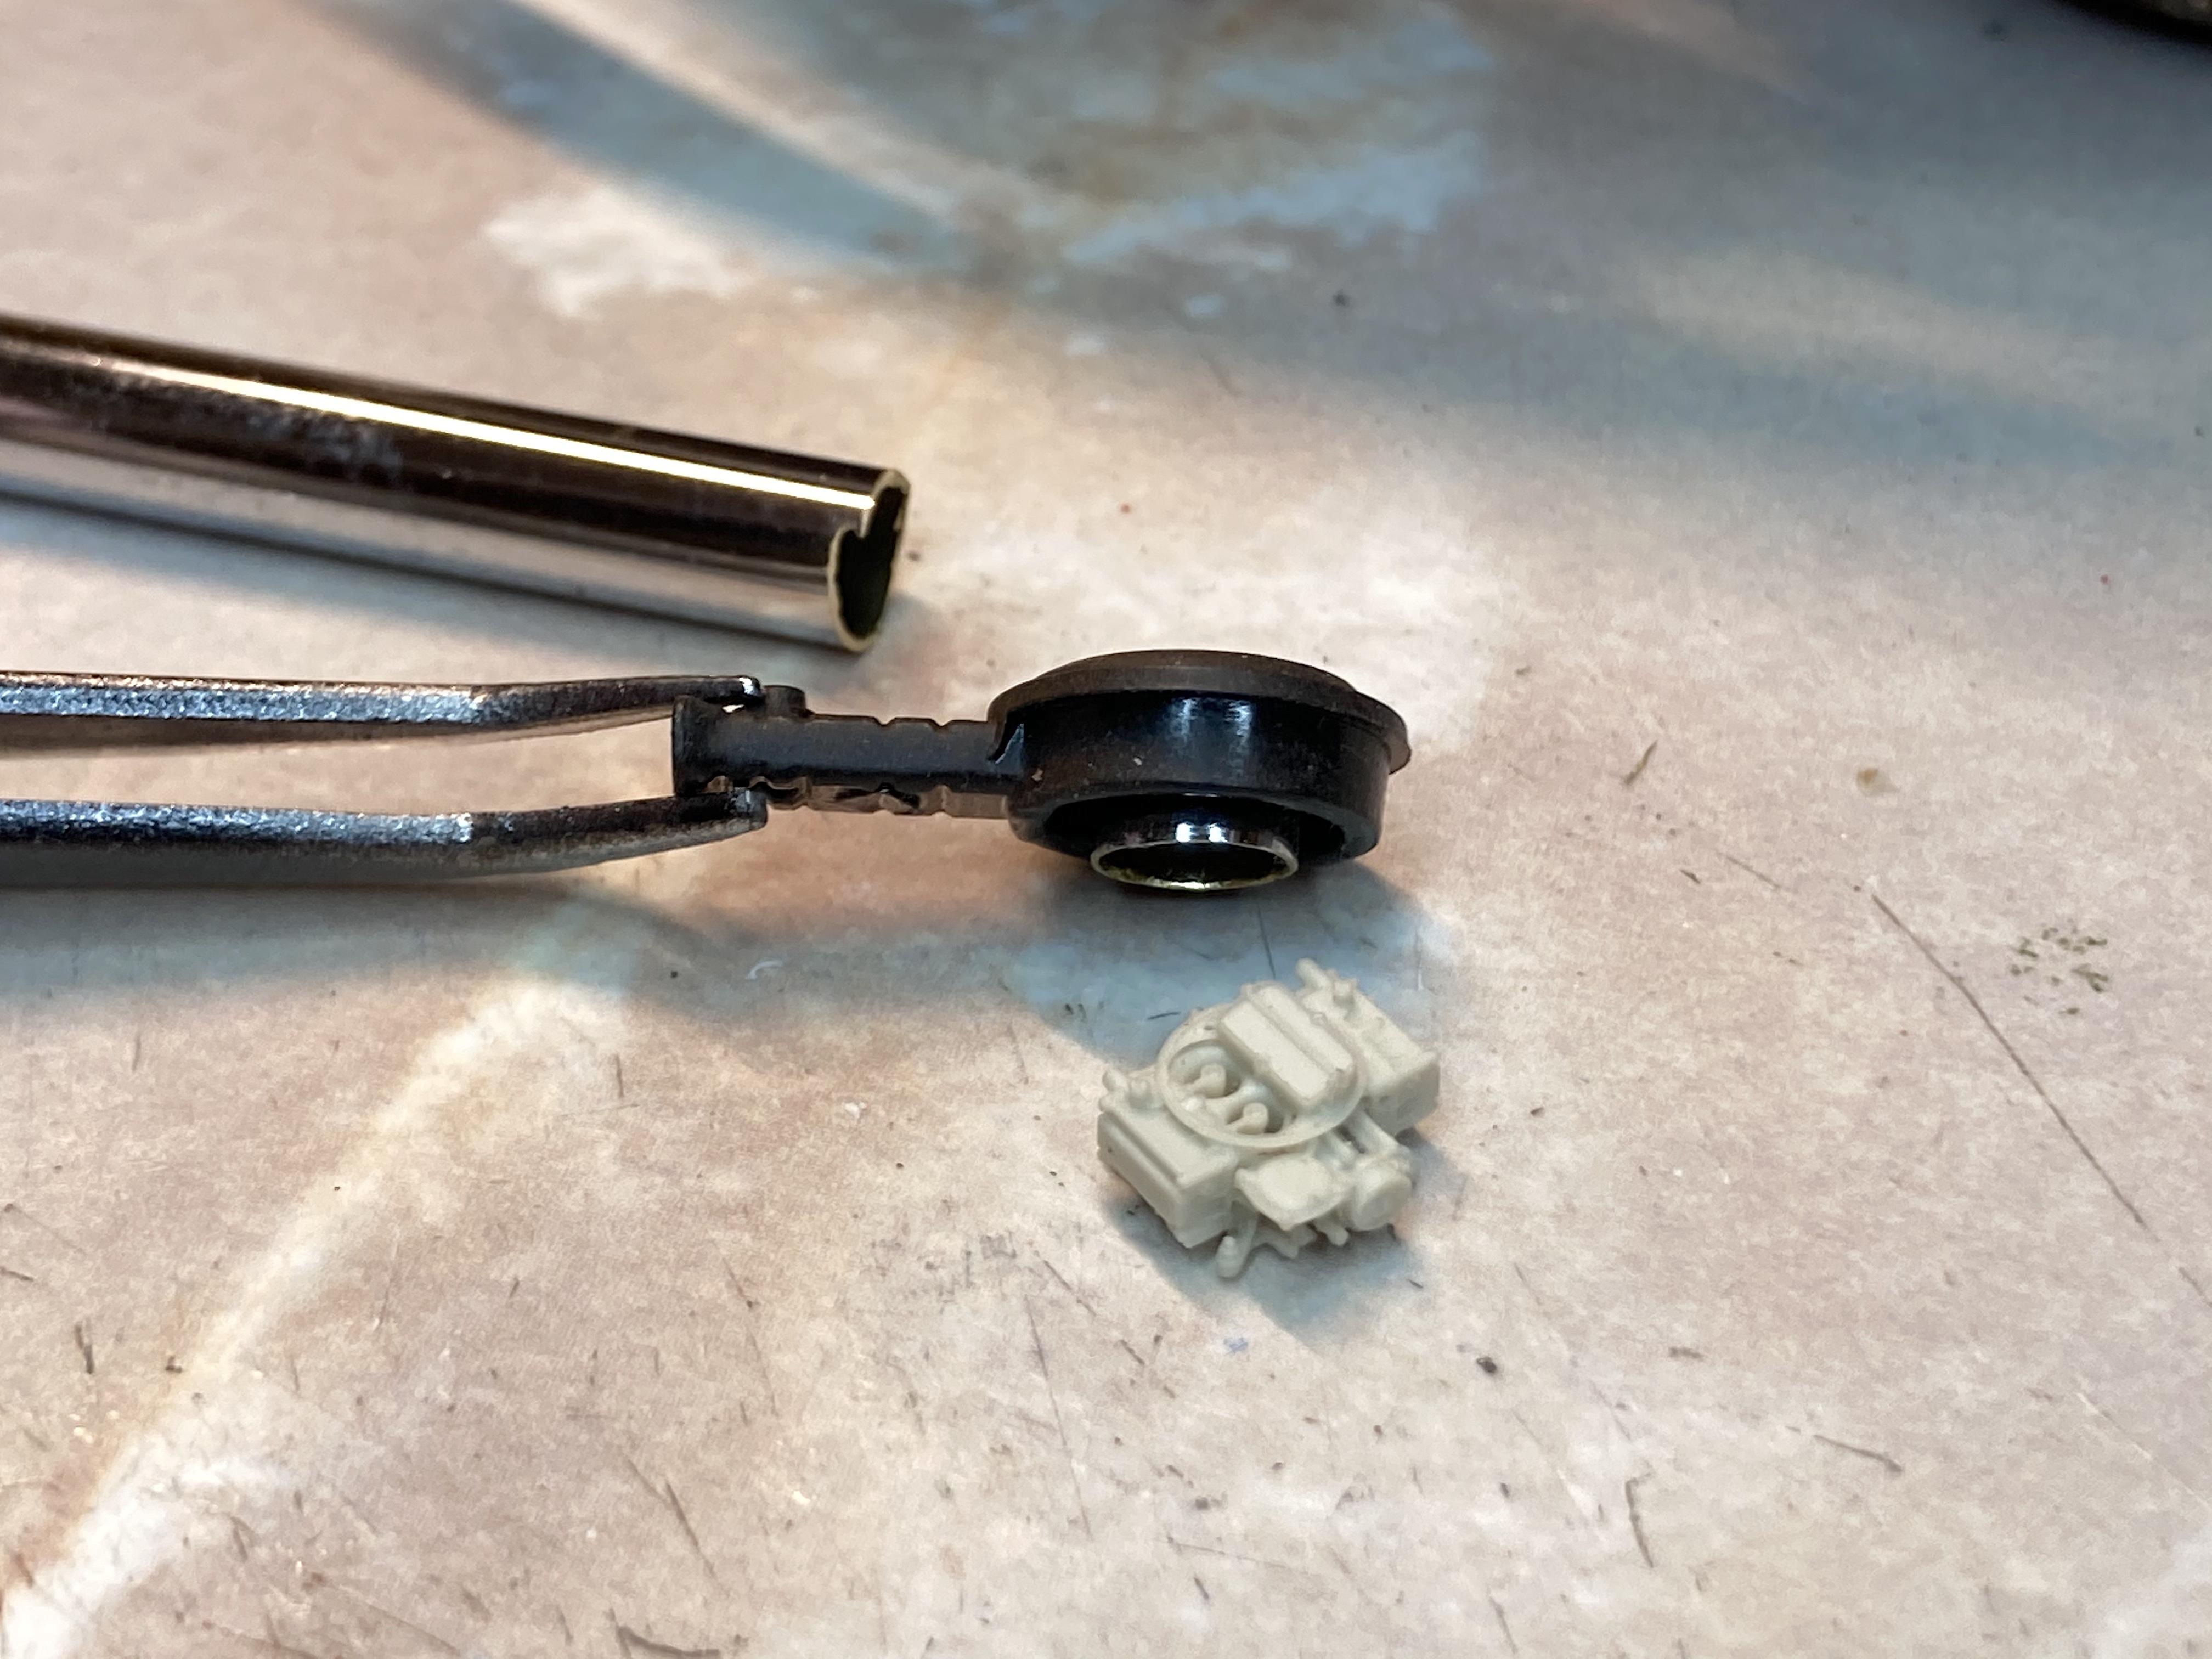
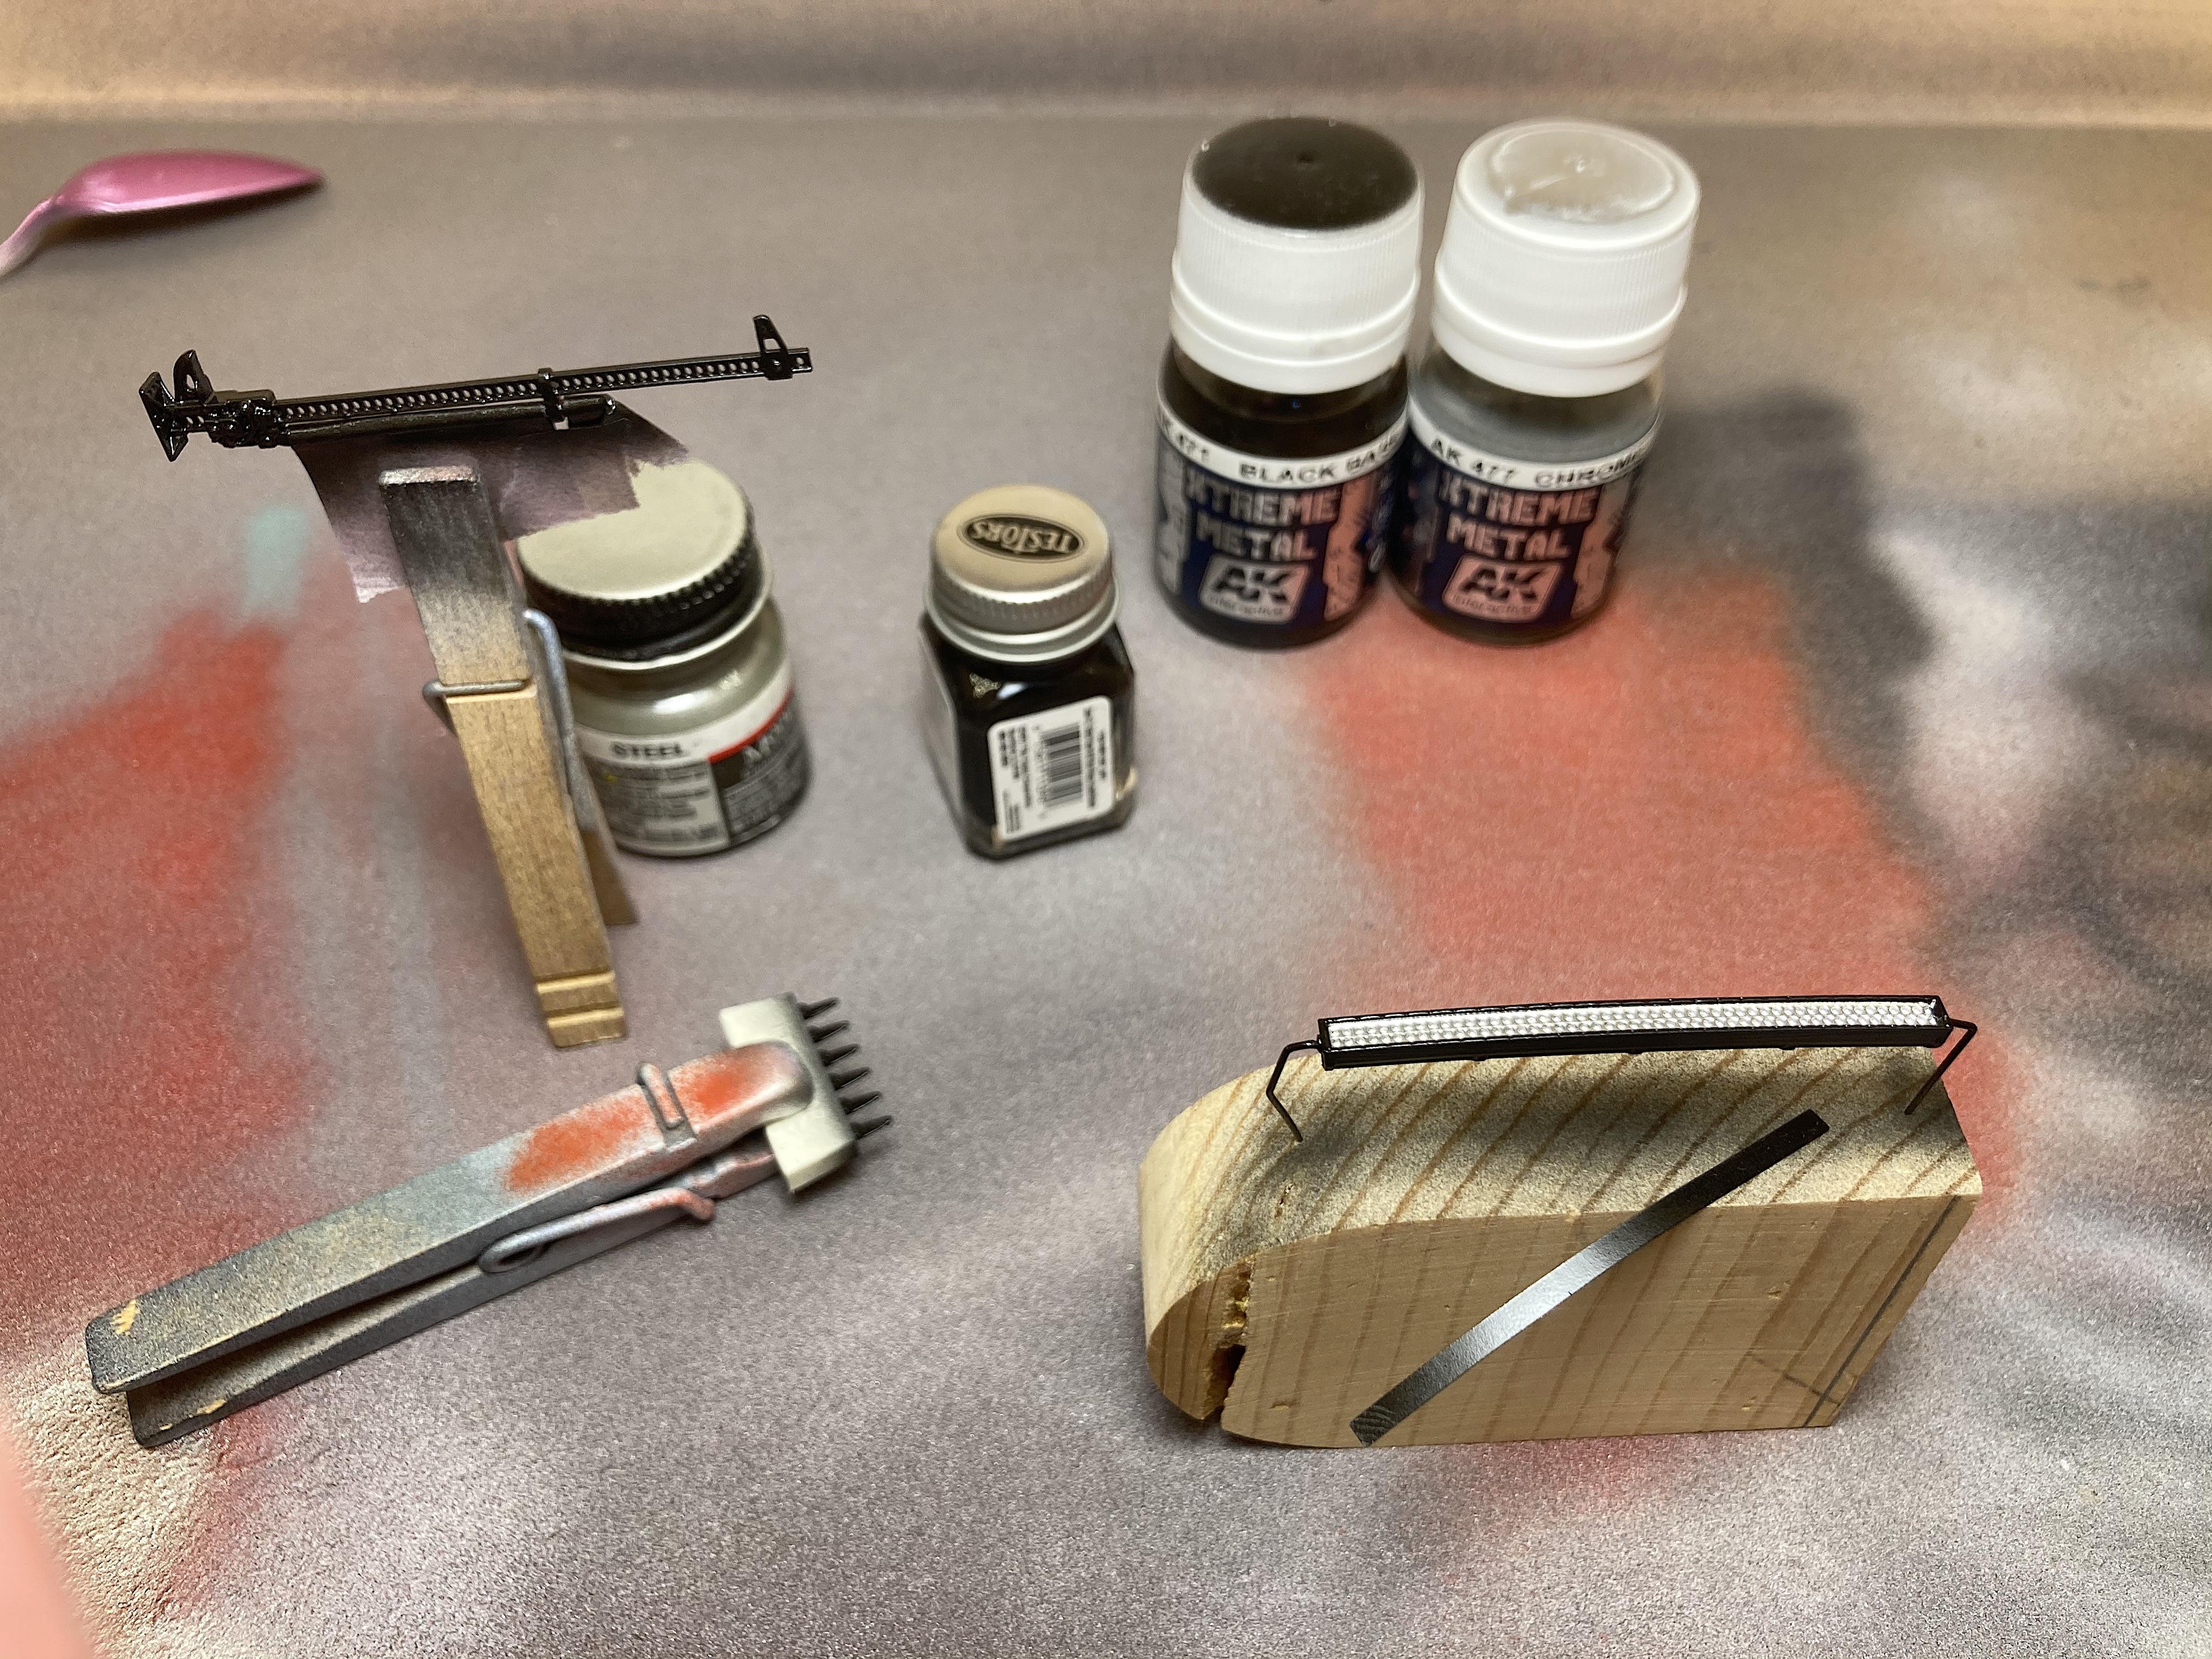
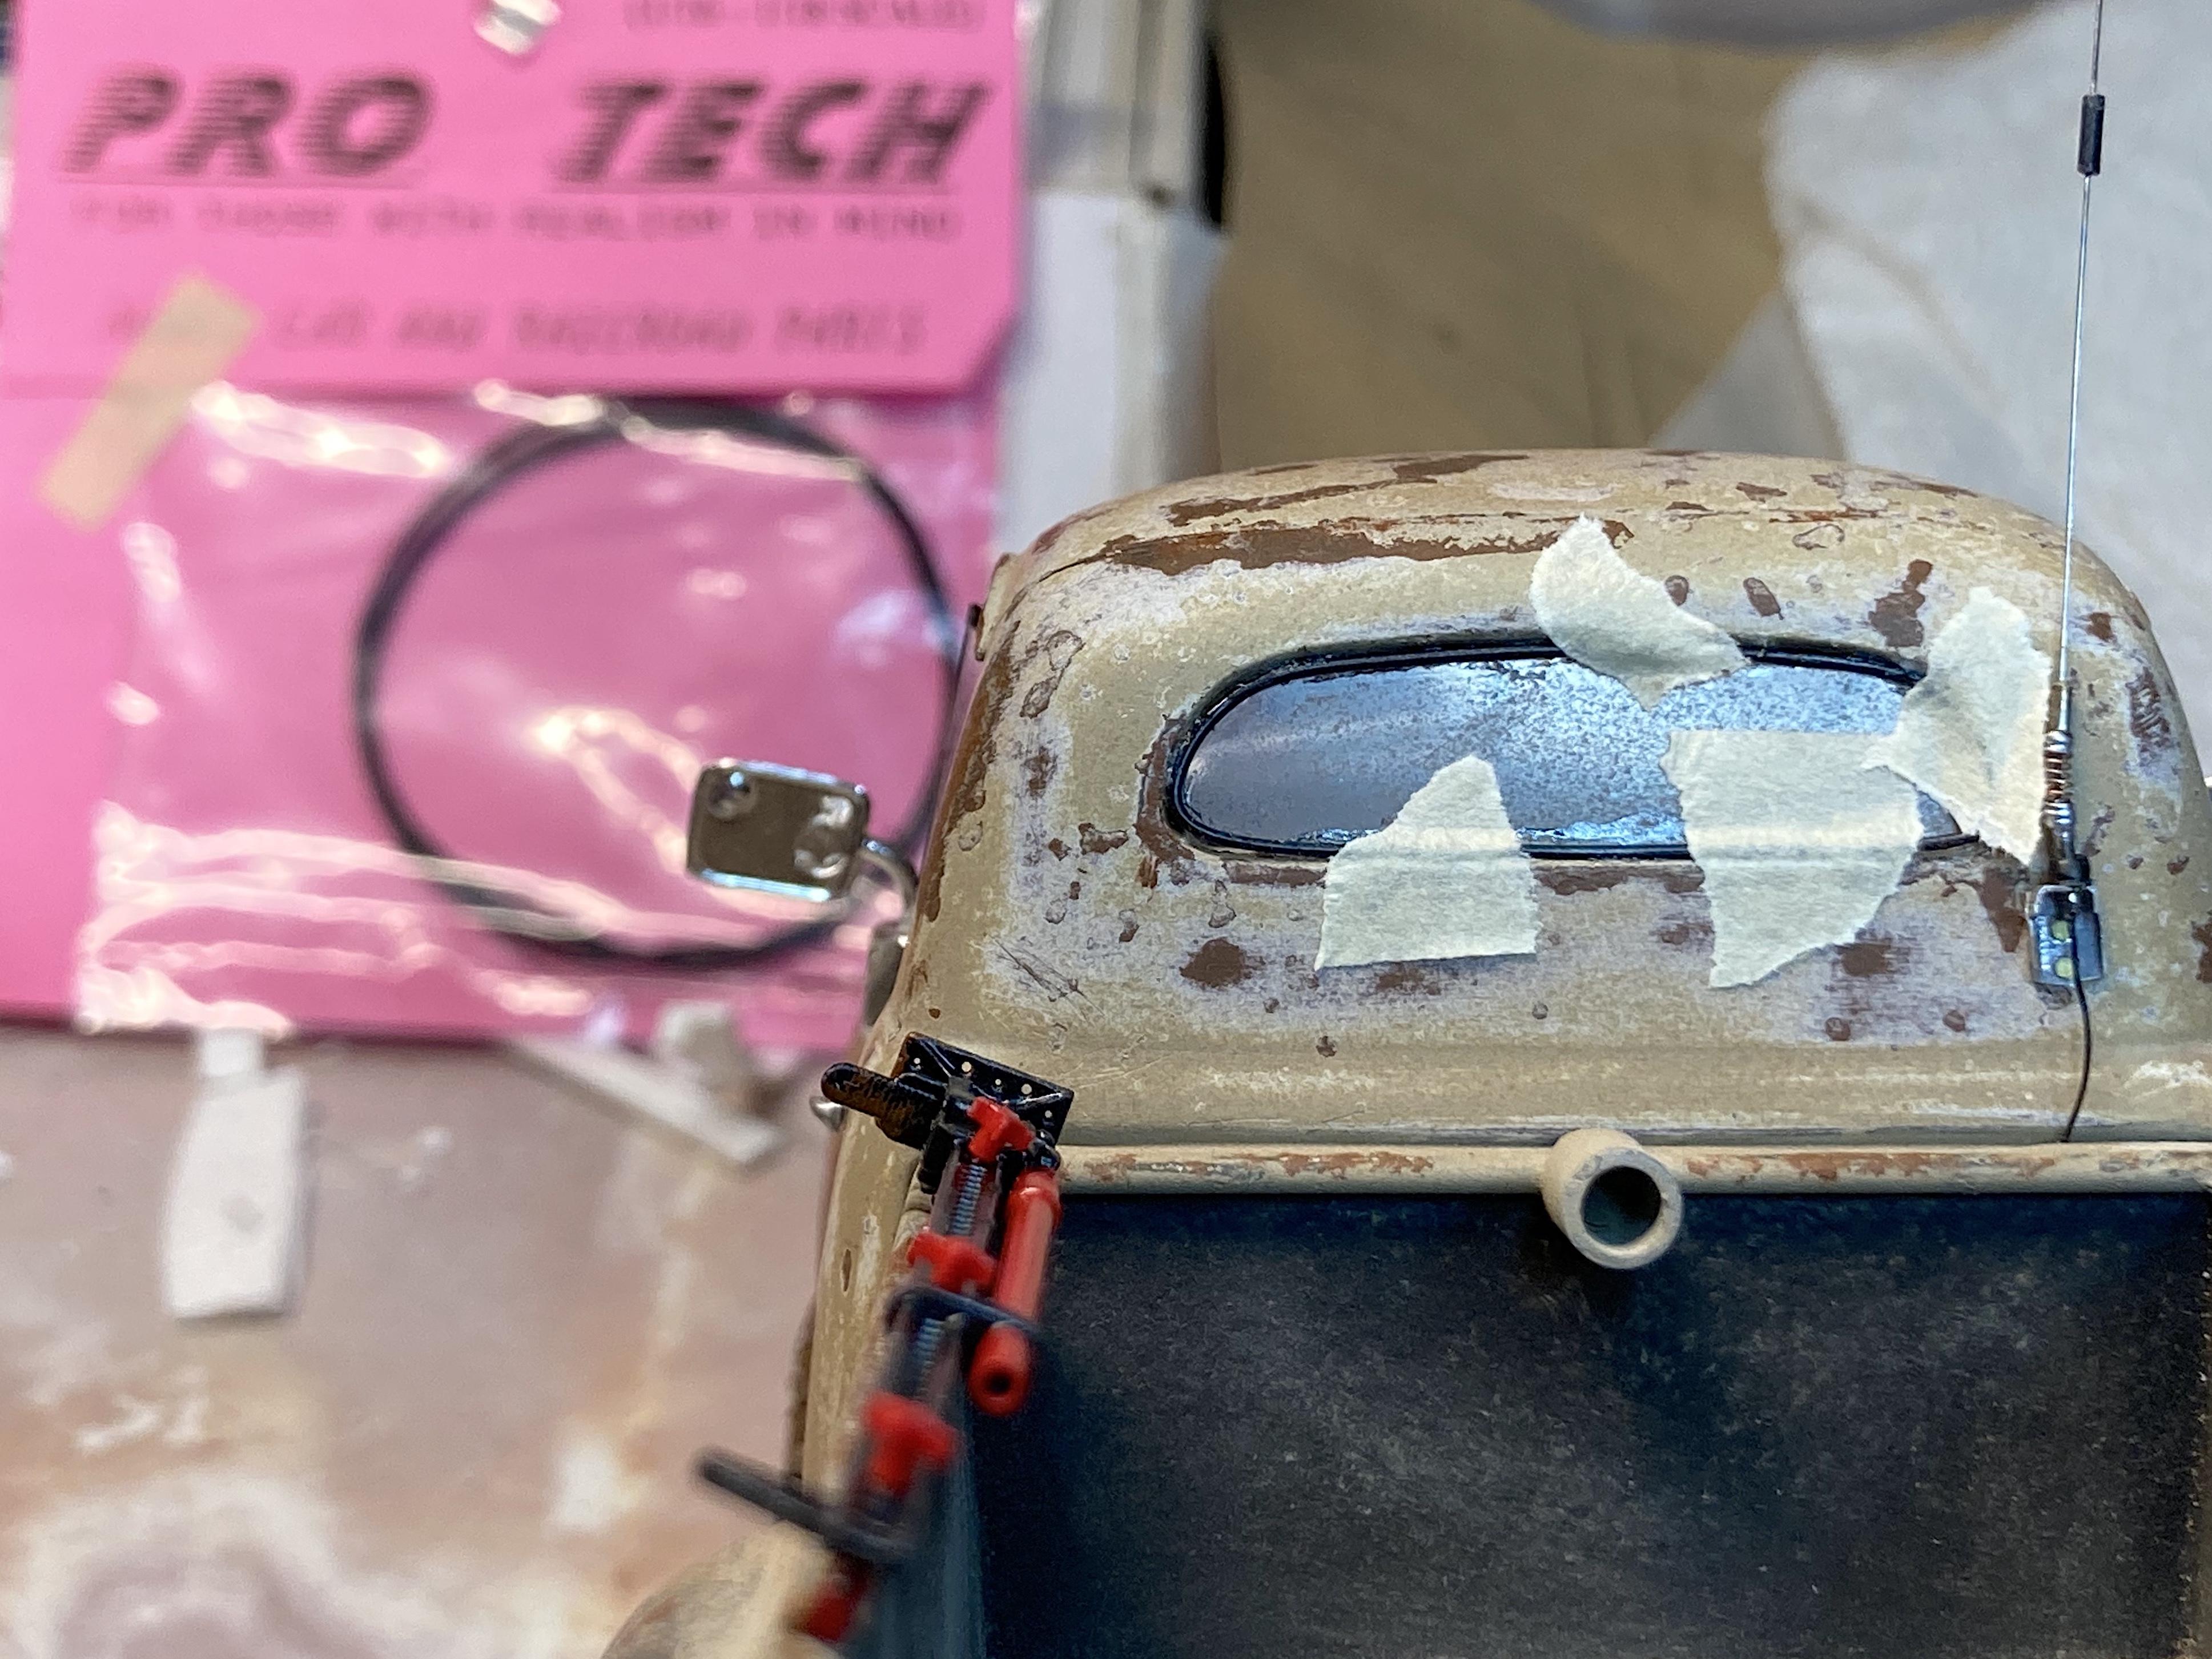
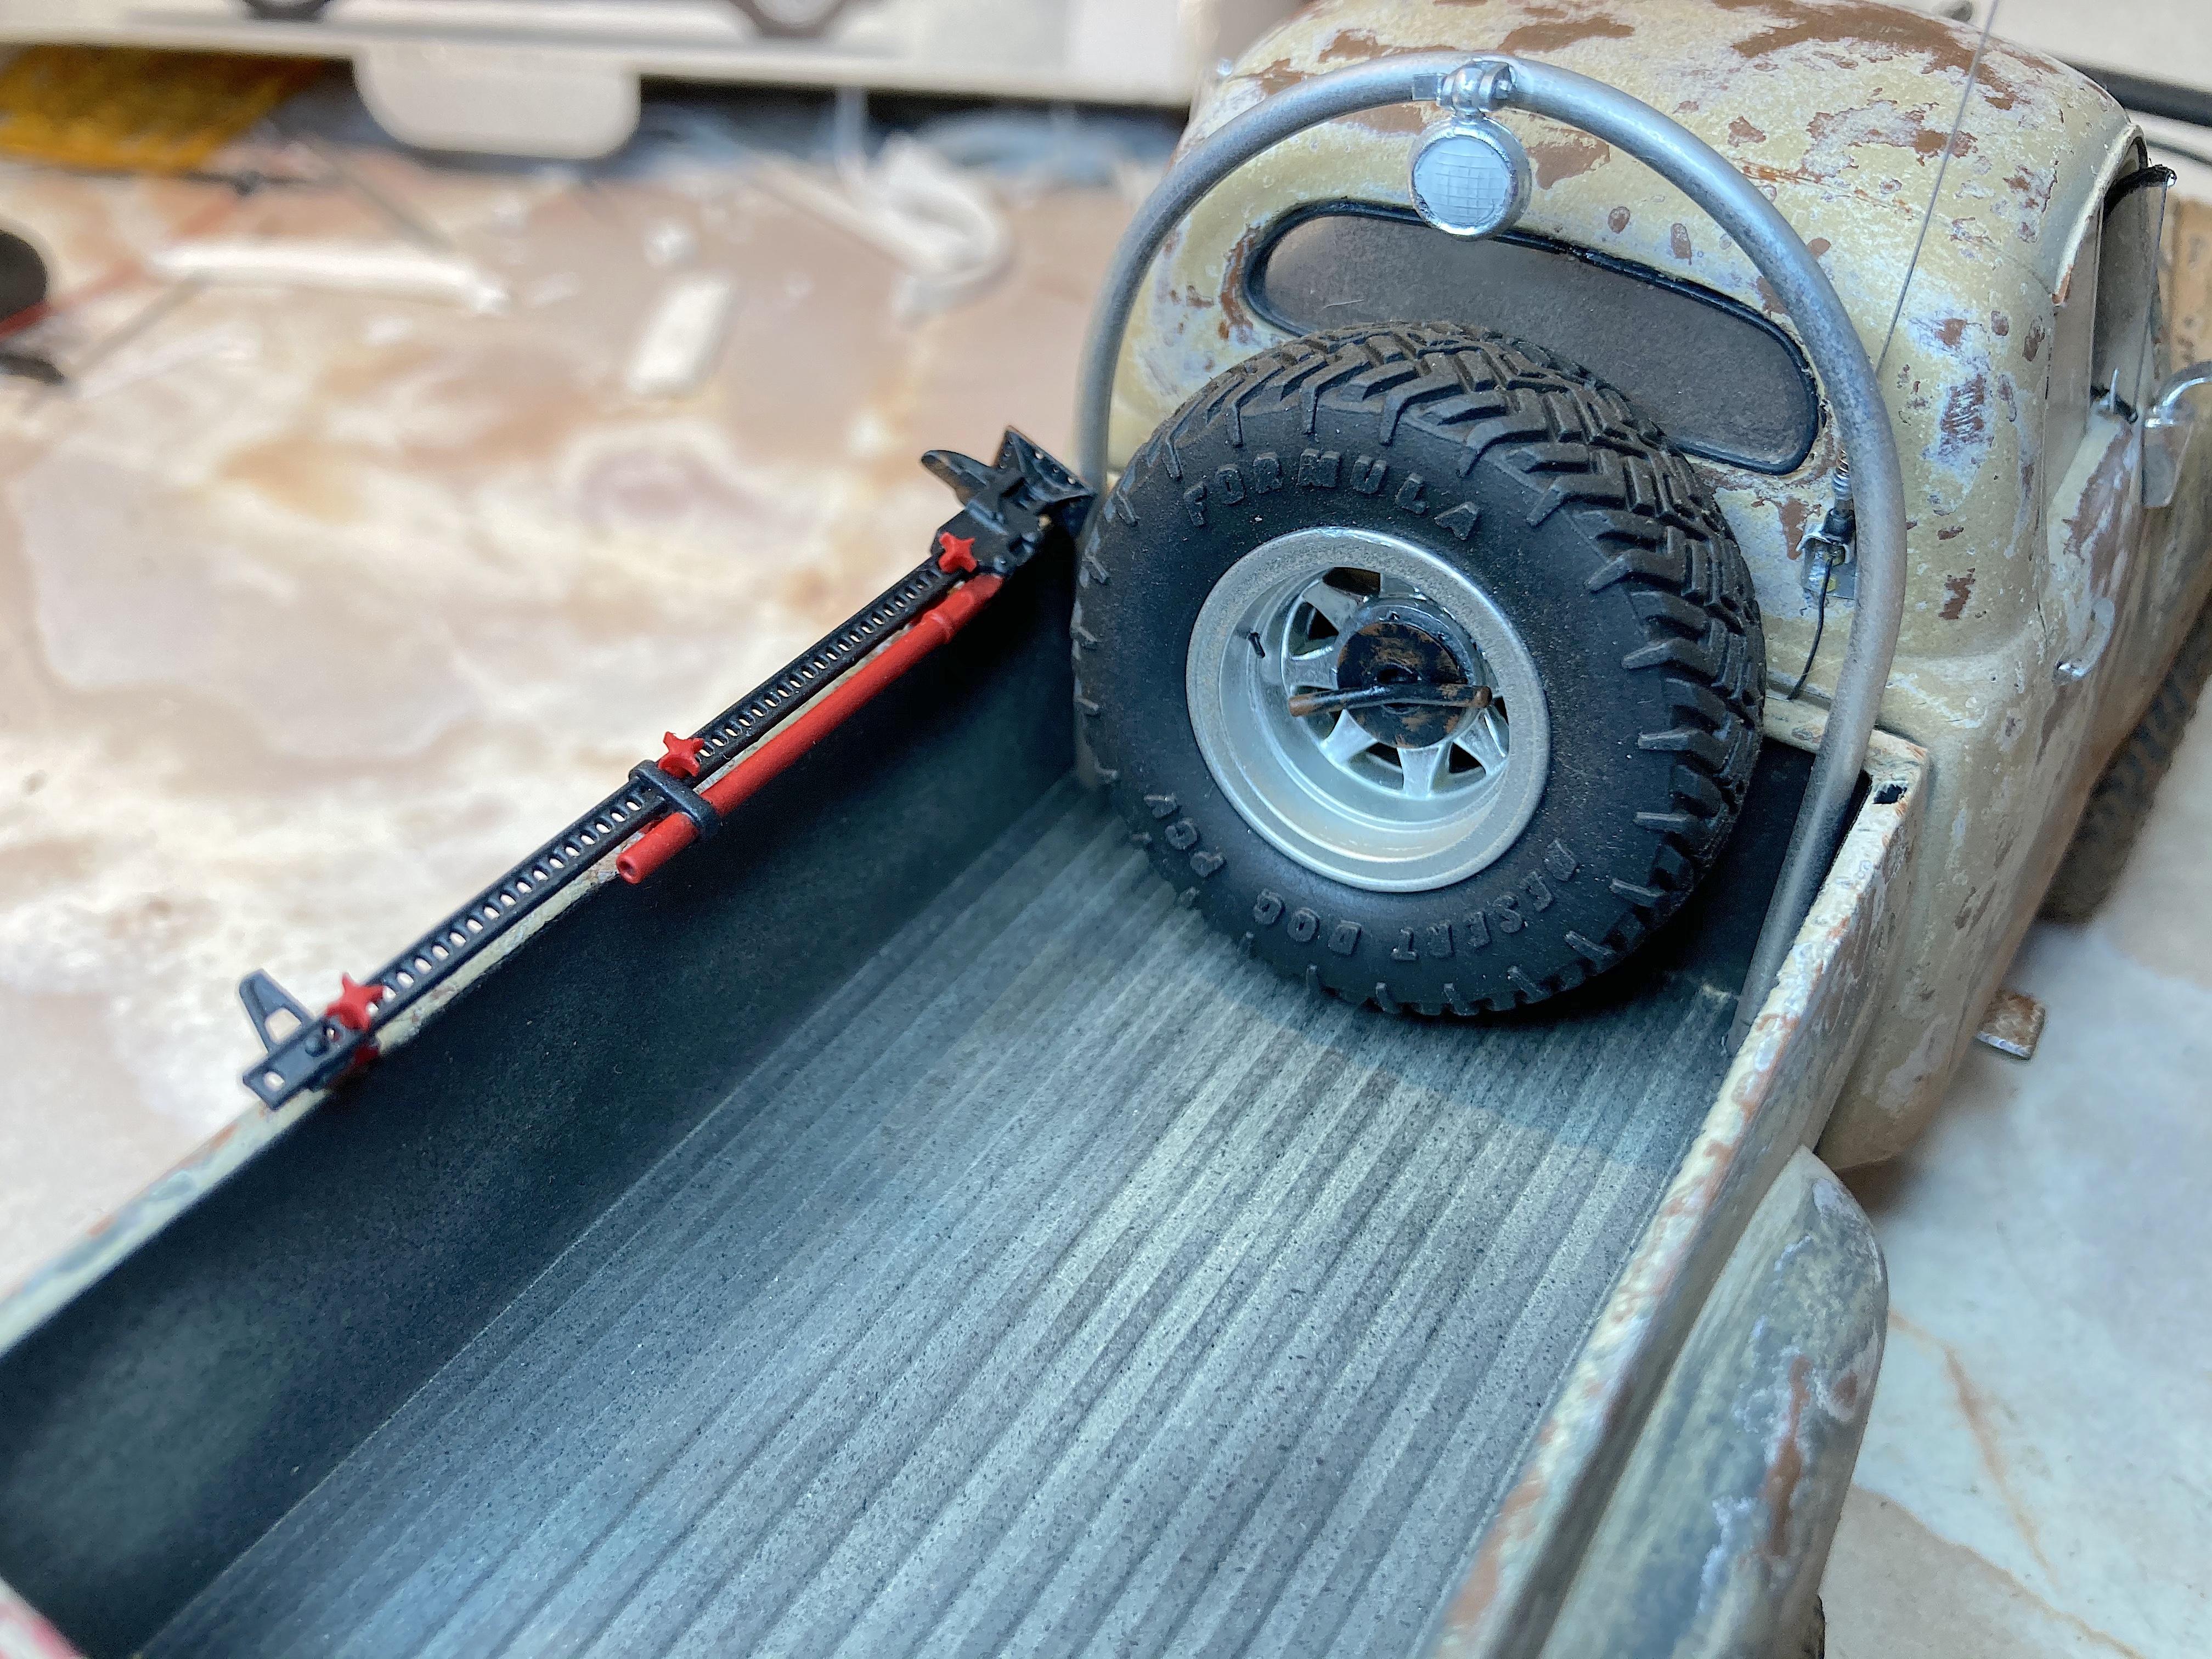
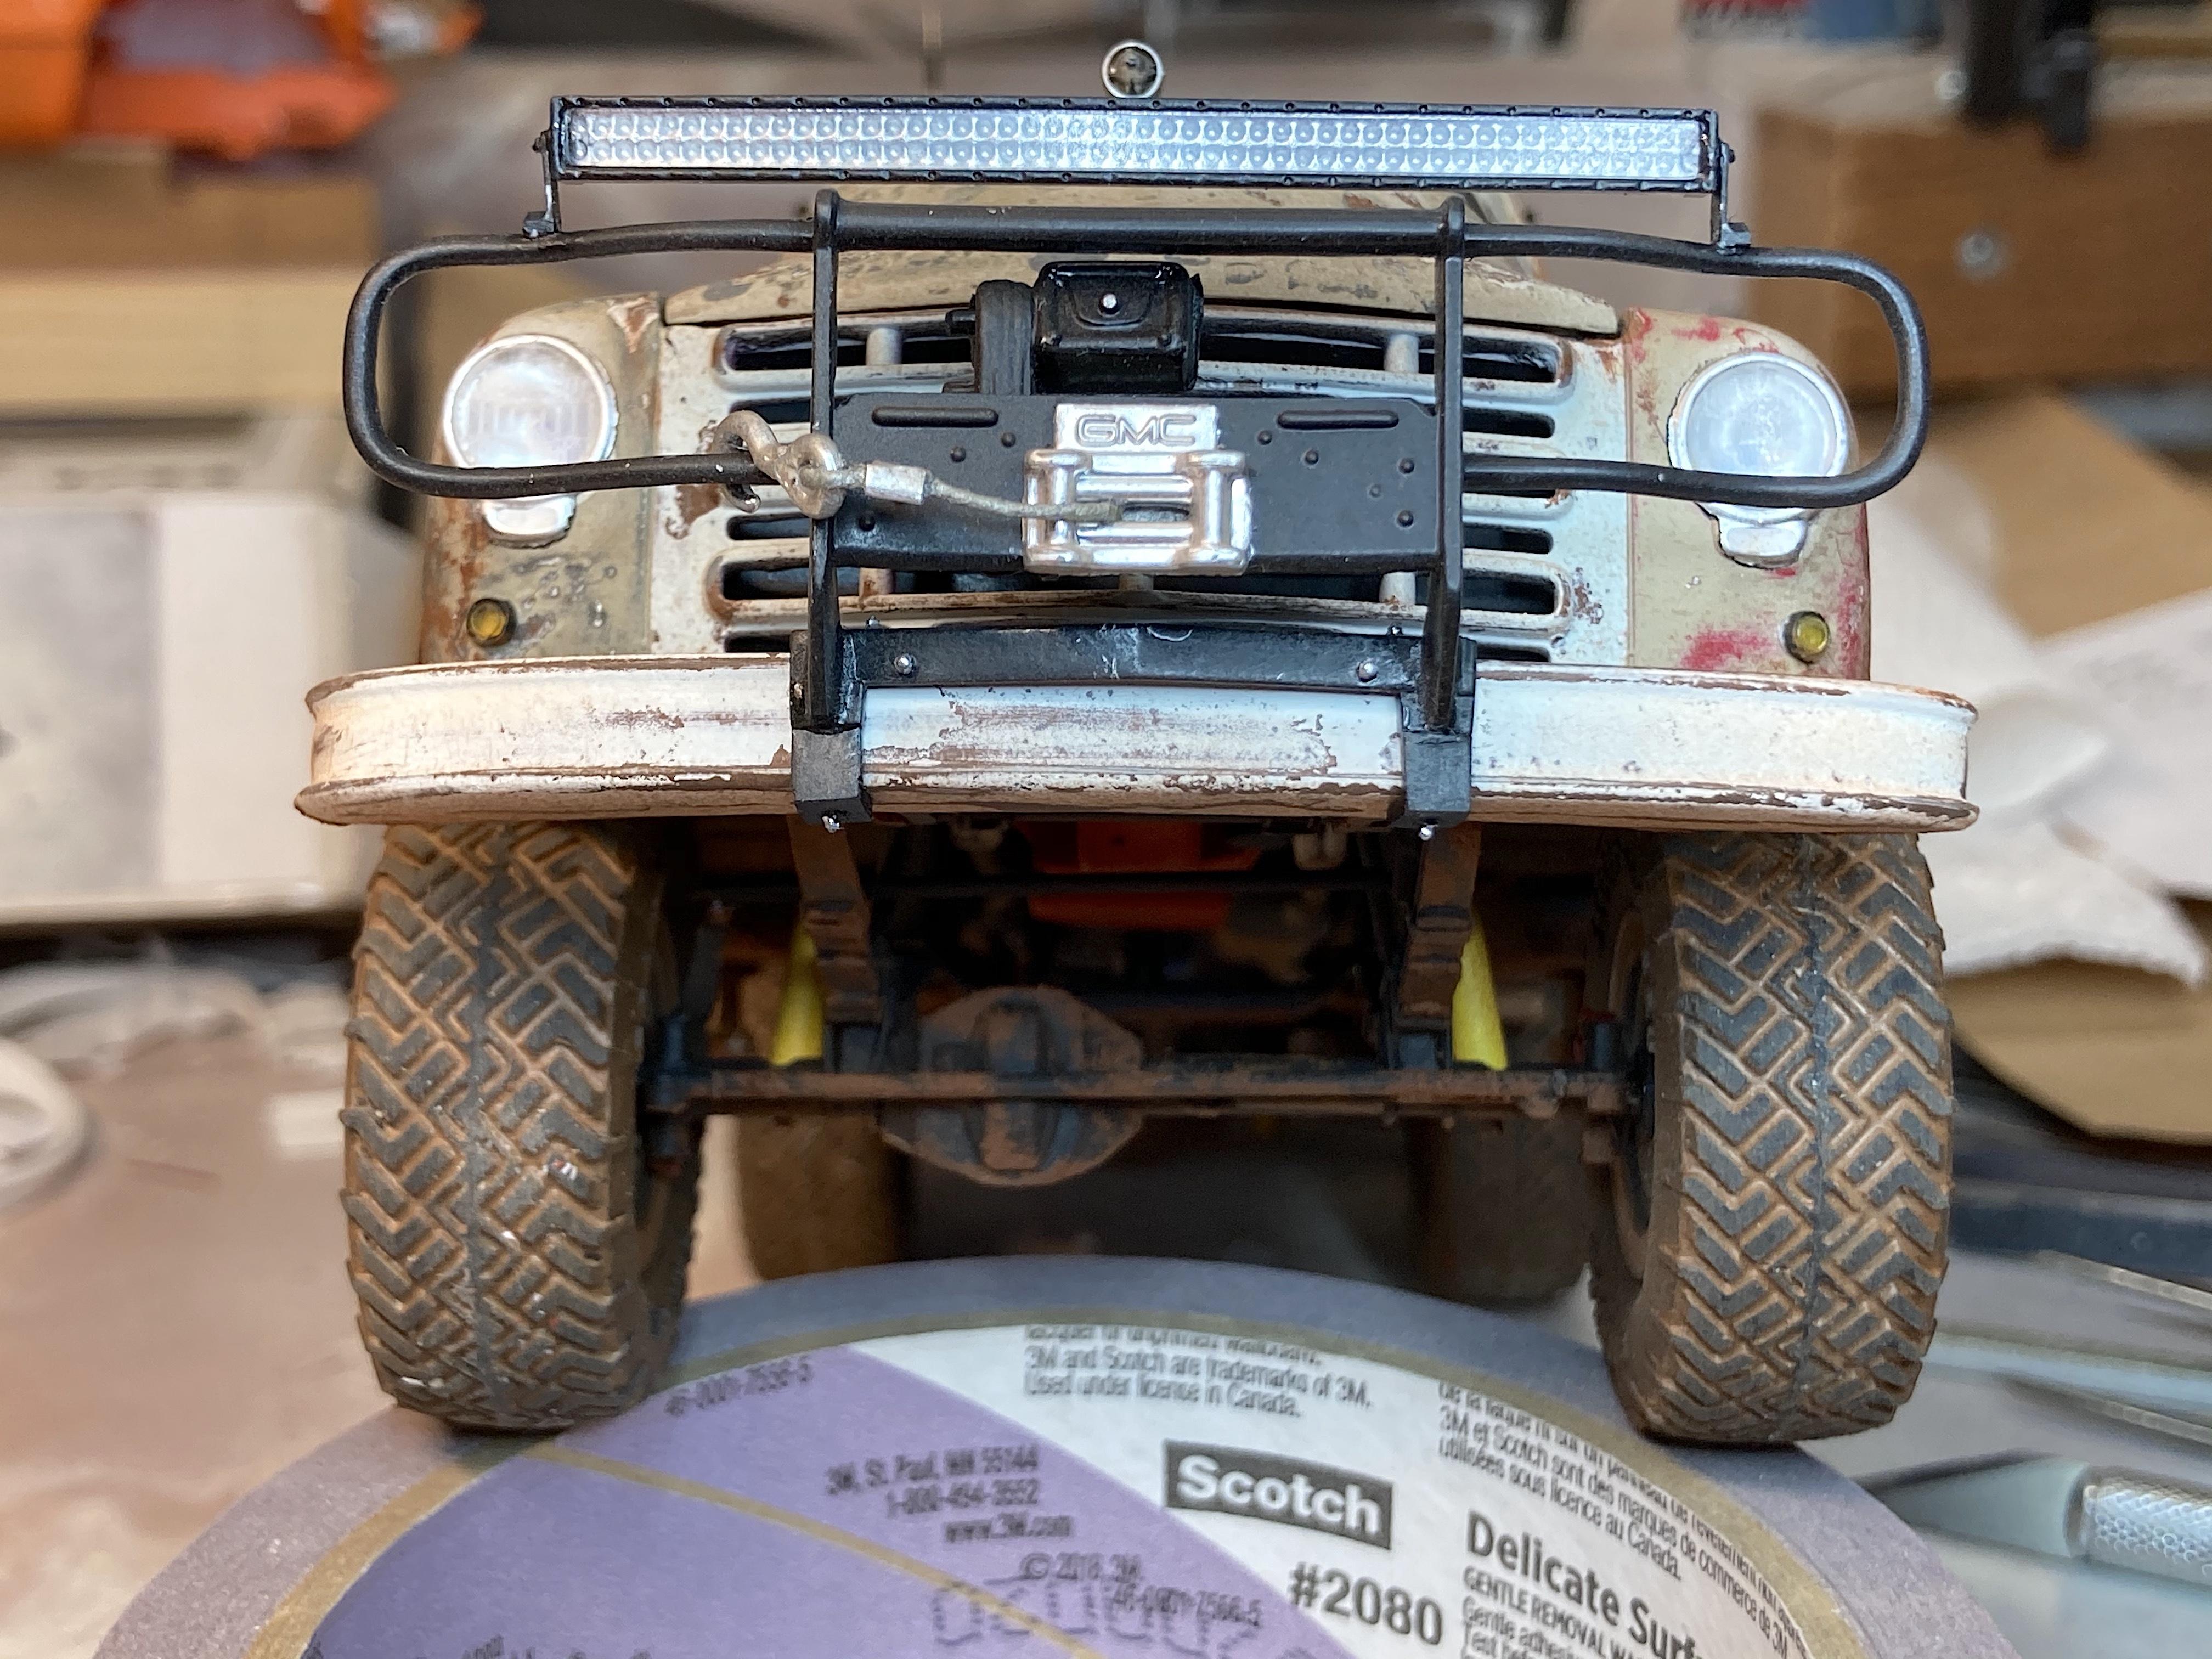
Dredging up this WIP because I got the Fireball Modelworks parts that I ordered for this project. The MPC carb is a lump of garbage, had it glued in with Titebond so it could easily be removed. Didn't want to ruin the beautiful part, made a standoff out of a radio antenna tube, so I could remove the air cleaner. Did I ever say I hate brush painting? Gloss black base for the AK Interactive chrome. Got the chrome done, and semi-gloss black. I had commandeered the 48" jack from another WIP, this is the 60" Farm Jack, changed my mind to paint it black. Hammered shirt pins into the block of wood, then snipped off the heads, for the painting jig. Painted the Holley carb with Splash paints aluminum. Added a wire for the throttle linkage, but that's as far as I'm going! Got the wire at GSL, so I got the weatherstrip done for the back window. Since the brush guard had broken off en route to GSL, added some angle to the bottom. Now I can declare it is done! When I go to Sedona, or better yet Monument Valley, I'm taking this for more glamor photos.
- 108 replies
-
- 3
-
-
- 1953
- studebaker
- (and 2 more)
-
My order from Fireball Modelworks came yesterday, Joseph is up and running after his move.
- 39,135 replies
-
- 2
-
-
- johan
- glue bombs
- (and 1 more)
-
I built that too long ago, so of course I love it! Plug wires were fun, eh?
-
on leaked documents
-
I just picked up a kit, because I saw your WIP. Came out very cool. ?