89AKurt
-
Posts
8,426 -
Joined
-
Last visited
Content Type
Profiles
Forums
Events
Gallery
Everything posted by 89AKurt
-

What did you see on the road today?
89AKurt replied to Harry P.'s topic in General Automotive Talk (Trucks and Cars)
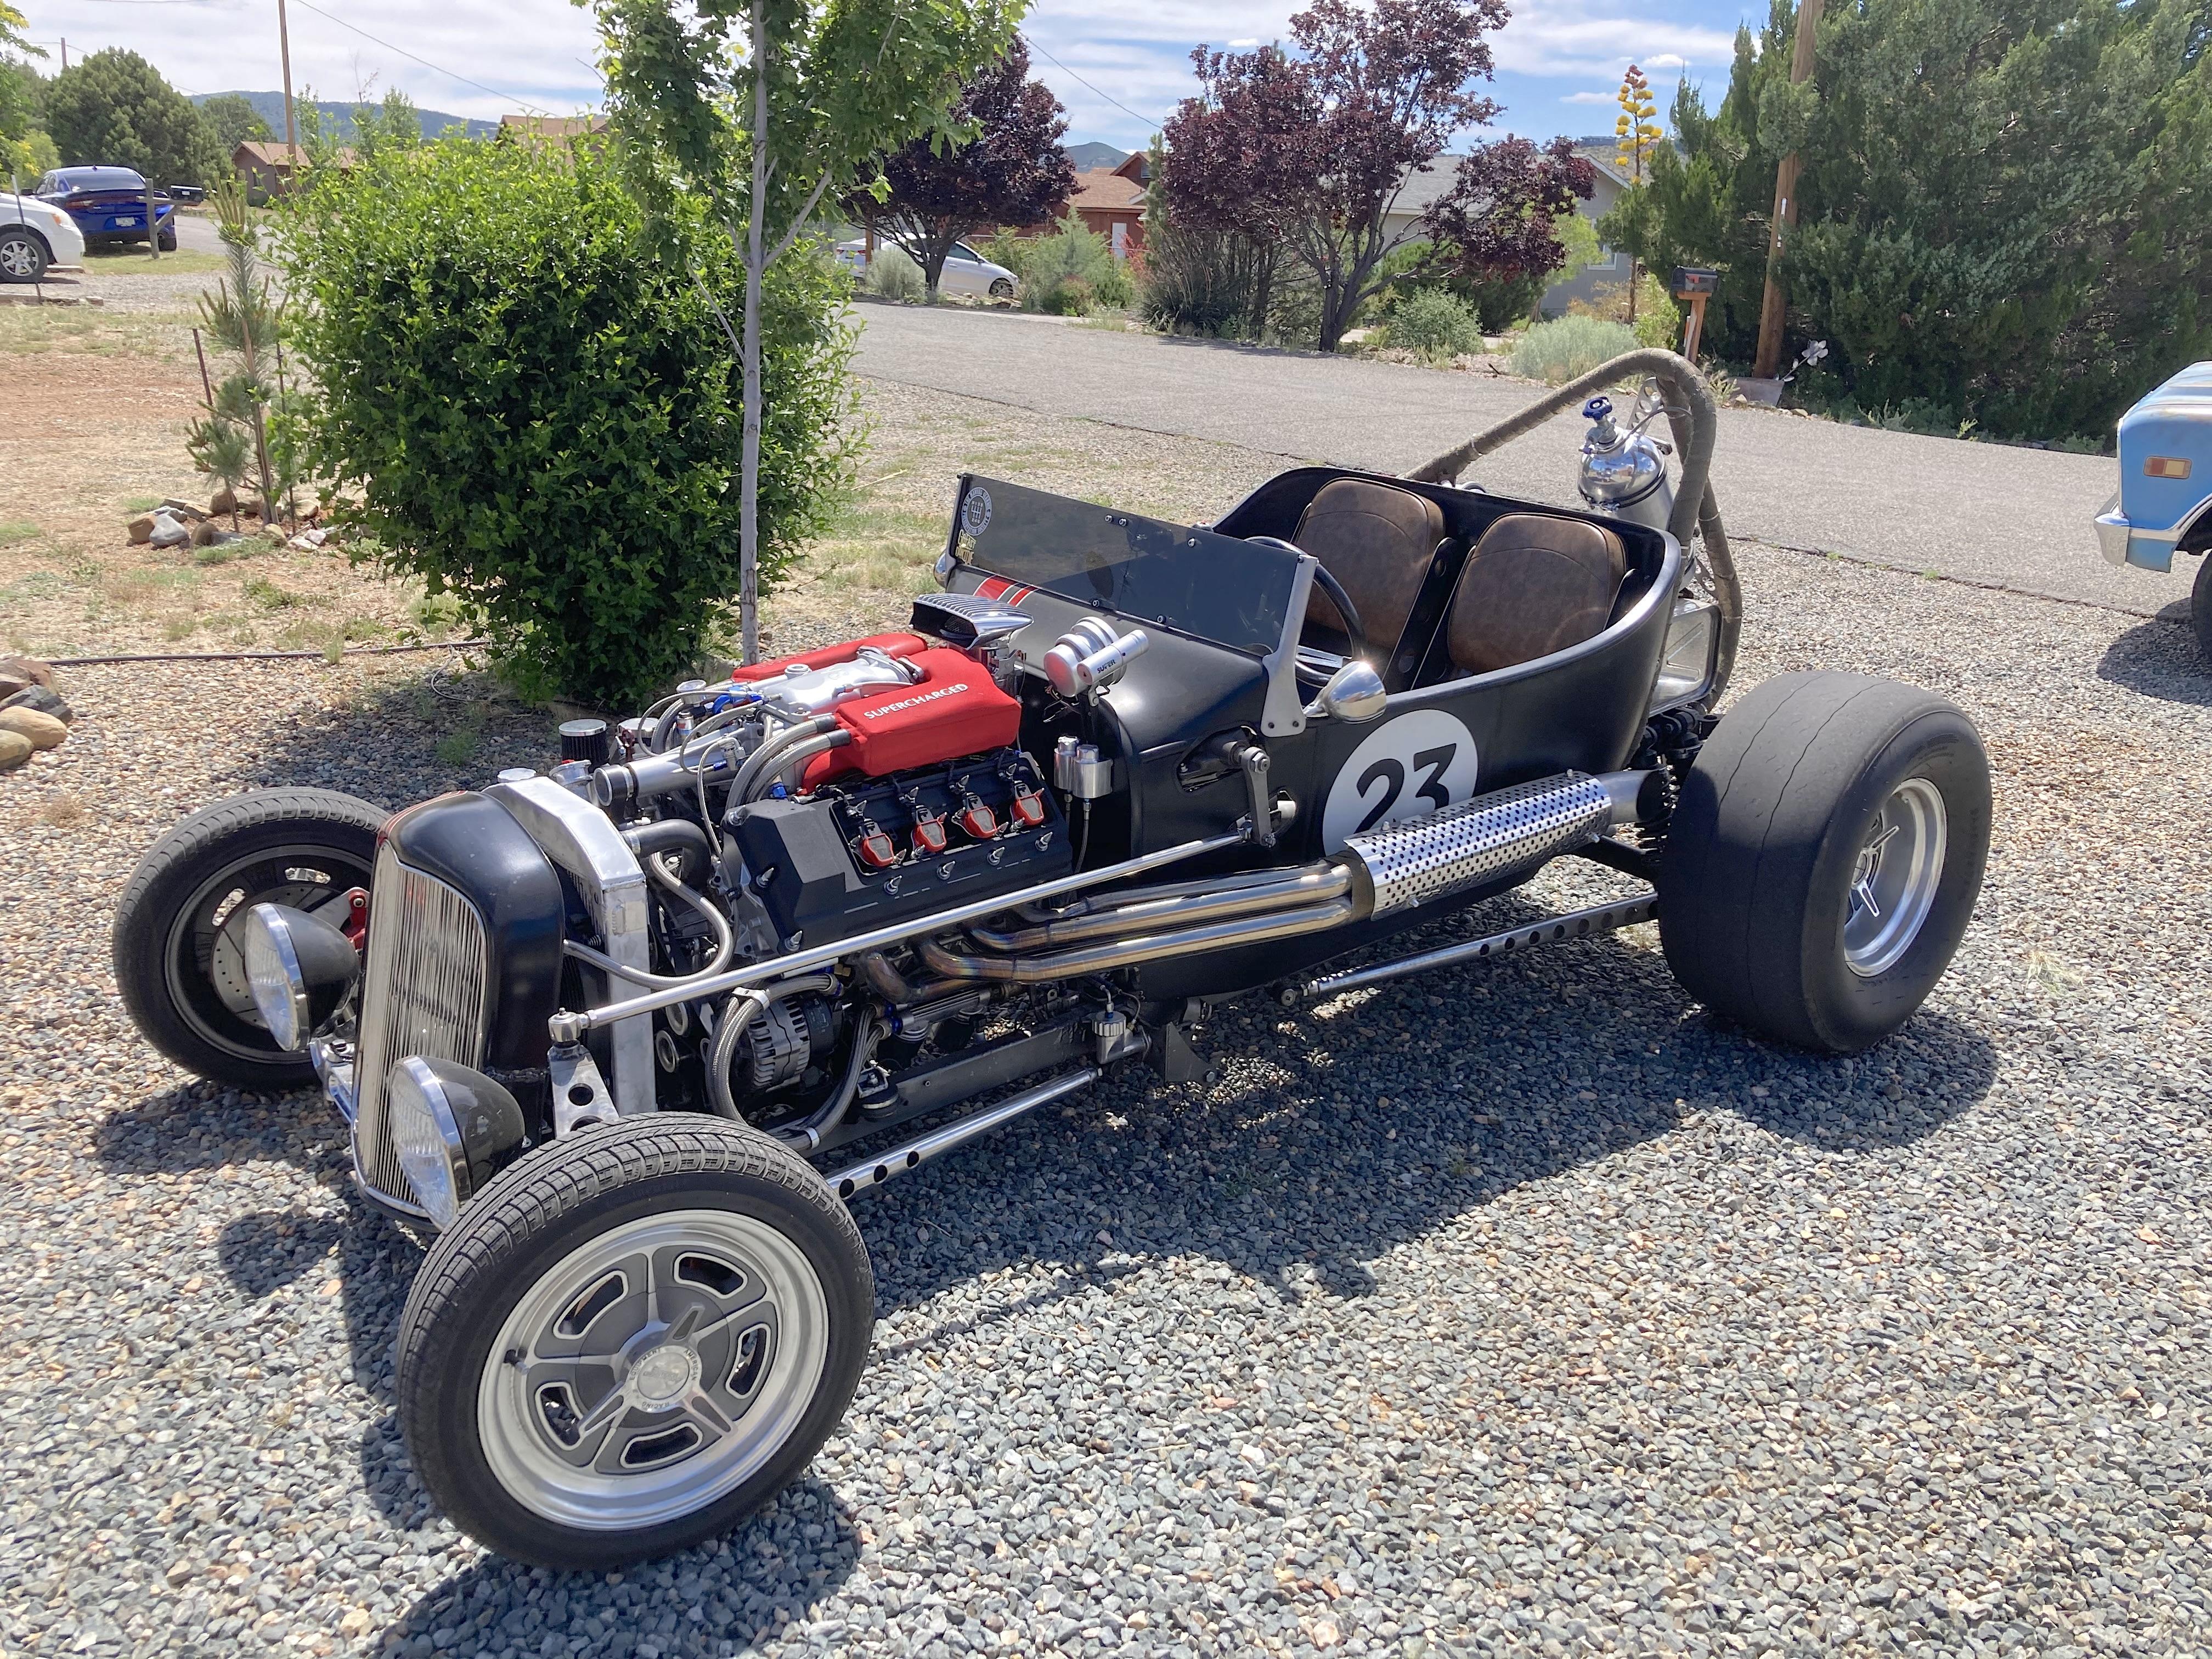
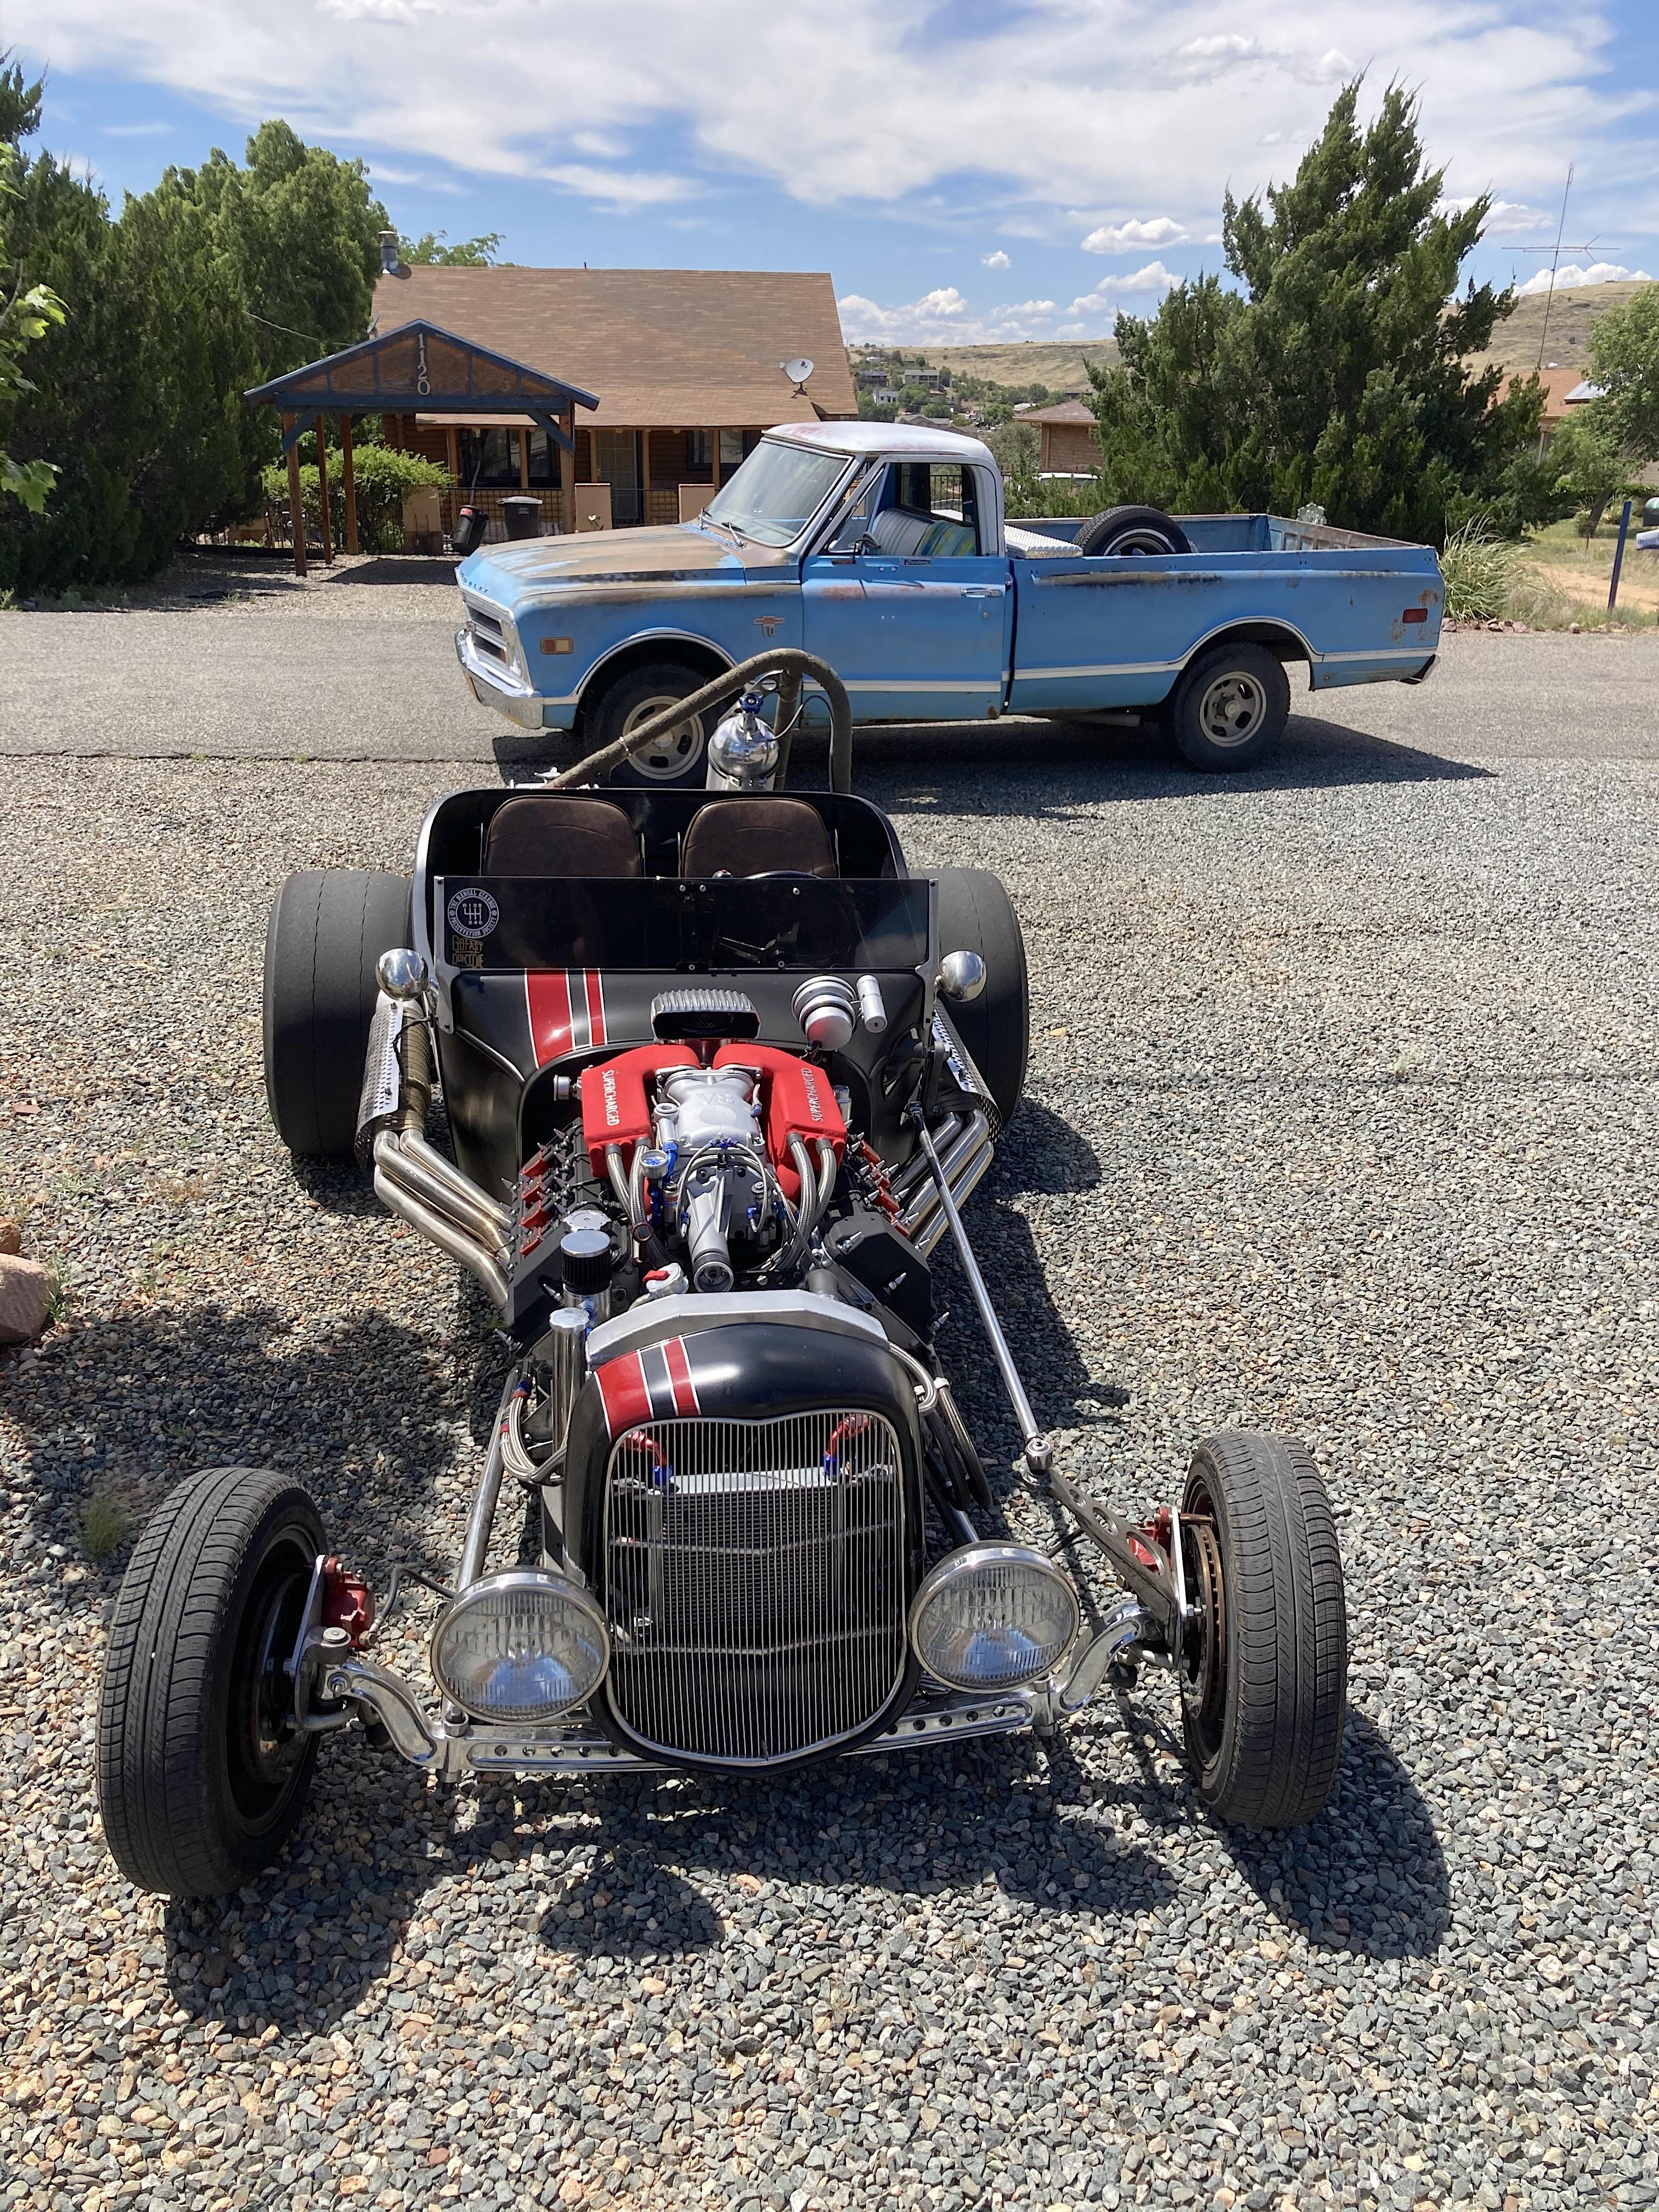
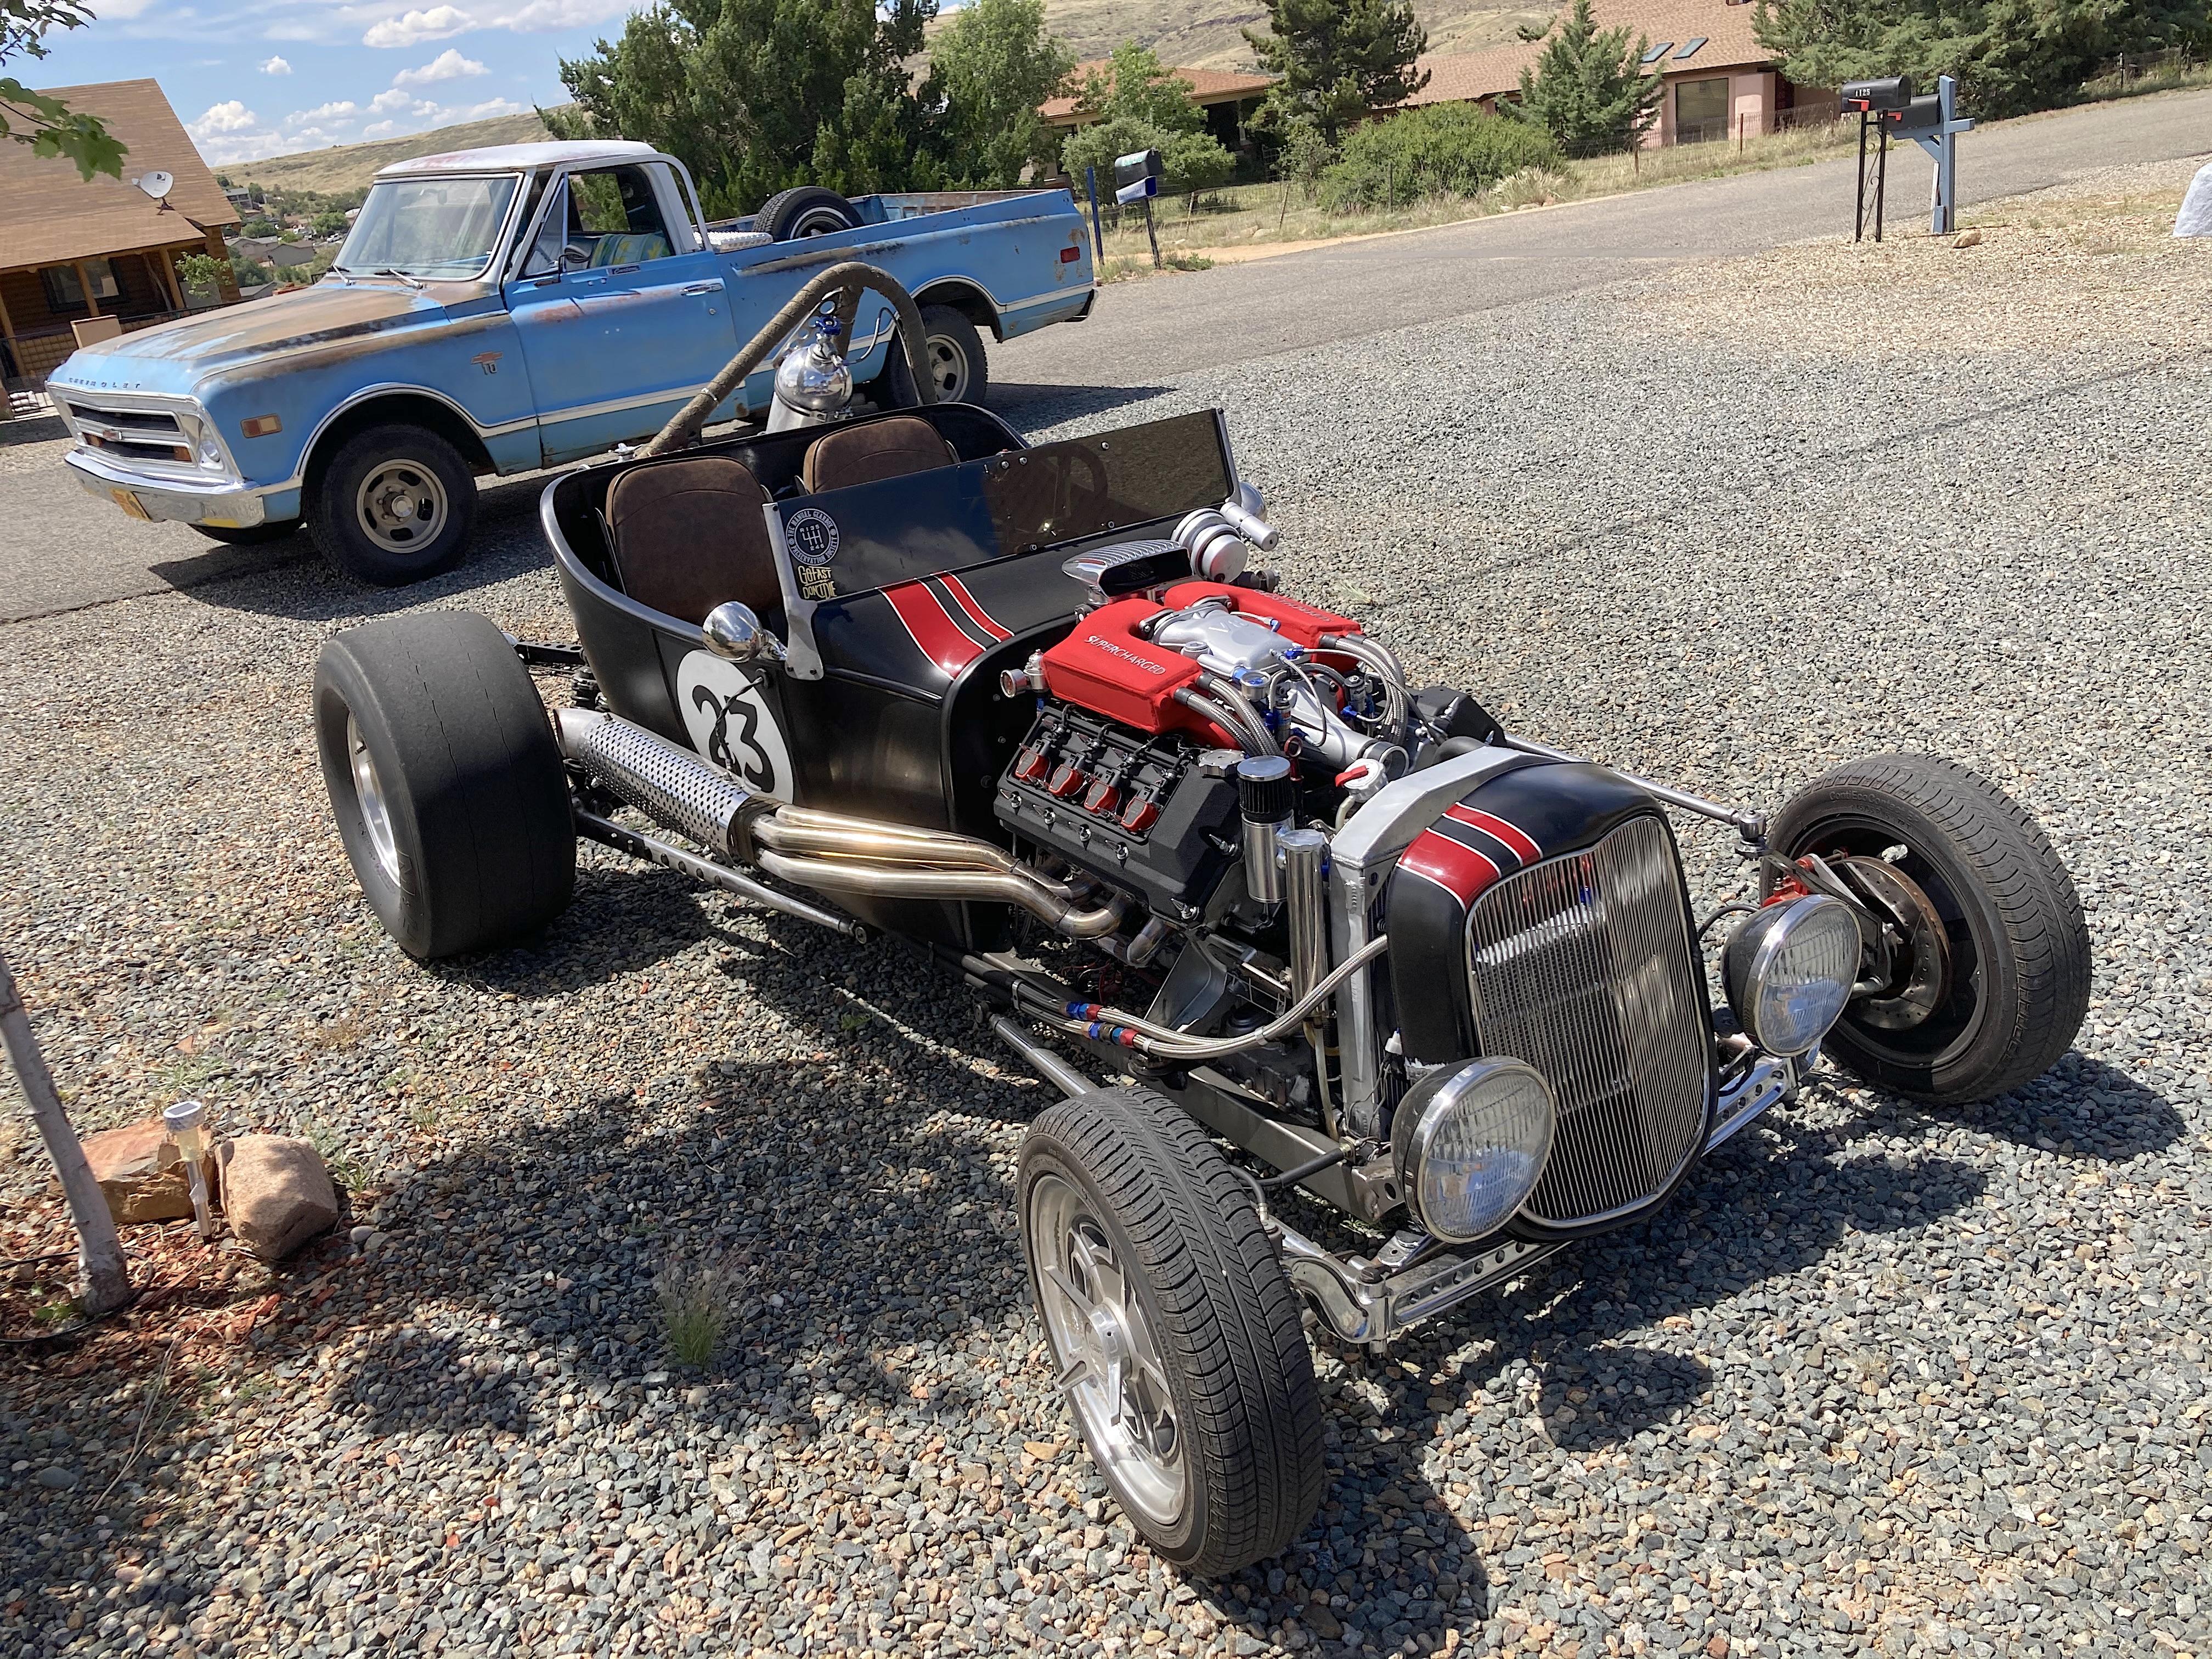
Technically not "on the road" but my neighbor's driveway. Guess the engine.
-
For 18 days, because my Civic was in the shop waiting for backordered parts, this has been my reliable trusty daily driver. Got the car back this afternoon.
-
You're welcome! Thanks for the info.
-
There a model kit of this?
-
to life than
-
Everything fake nowadays
-
What fun! I built the Lamborghini Silhouette by (Gunze - Sangyo) Testors, it requires a bunch of work to look half decent. I got the Boomerang kit via eBay a few years ago, still wrapped, I know it's lousy kit. That "Lamborghini" looks like the BMW M1, which I have the ERTL/ESCI kit of. So of course I think that was a great gift.
-
The whole project is nice, impressed with the engine. Where do the tiny springs come from?
-
Bridge to nowhere
-
Boeing shoots its own foot once again...
89AKurt replied to Ace-Garageguy's topic in The Off-Topic Lounge
Welcome to the New Normal. Seems like everything is becoming a cluster, the more advanced technically humans get, and the more complicated bureaucracy gets, the worse it gets. The home construction industry is driving me nuts now, the codes are written by lawyers, the building departments are getting more onerous...... oh wait, wrong forum thread. -
Passing other cars like it's nothing.
-
Why is it a bad idea to fart in an Apple store? No Windows. ?
-
Child prodigy should run for president.
-
trampoline endurance jumping
-
What did you see on the road today?
89AKurt replied to Harry P.'s topic in General Automotive Talk (Trucks and Cars)
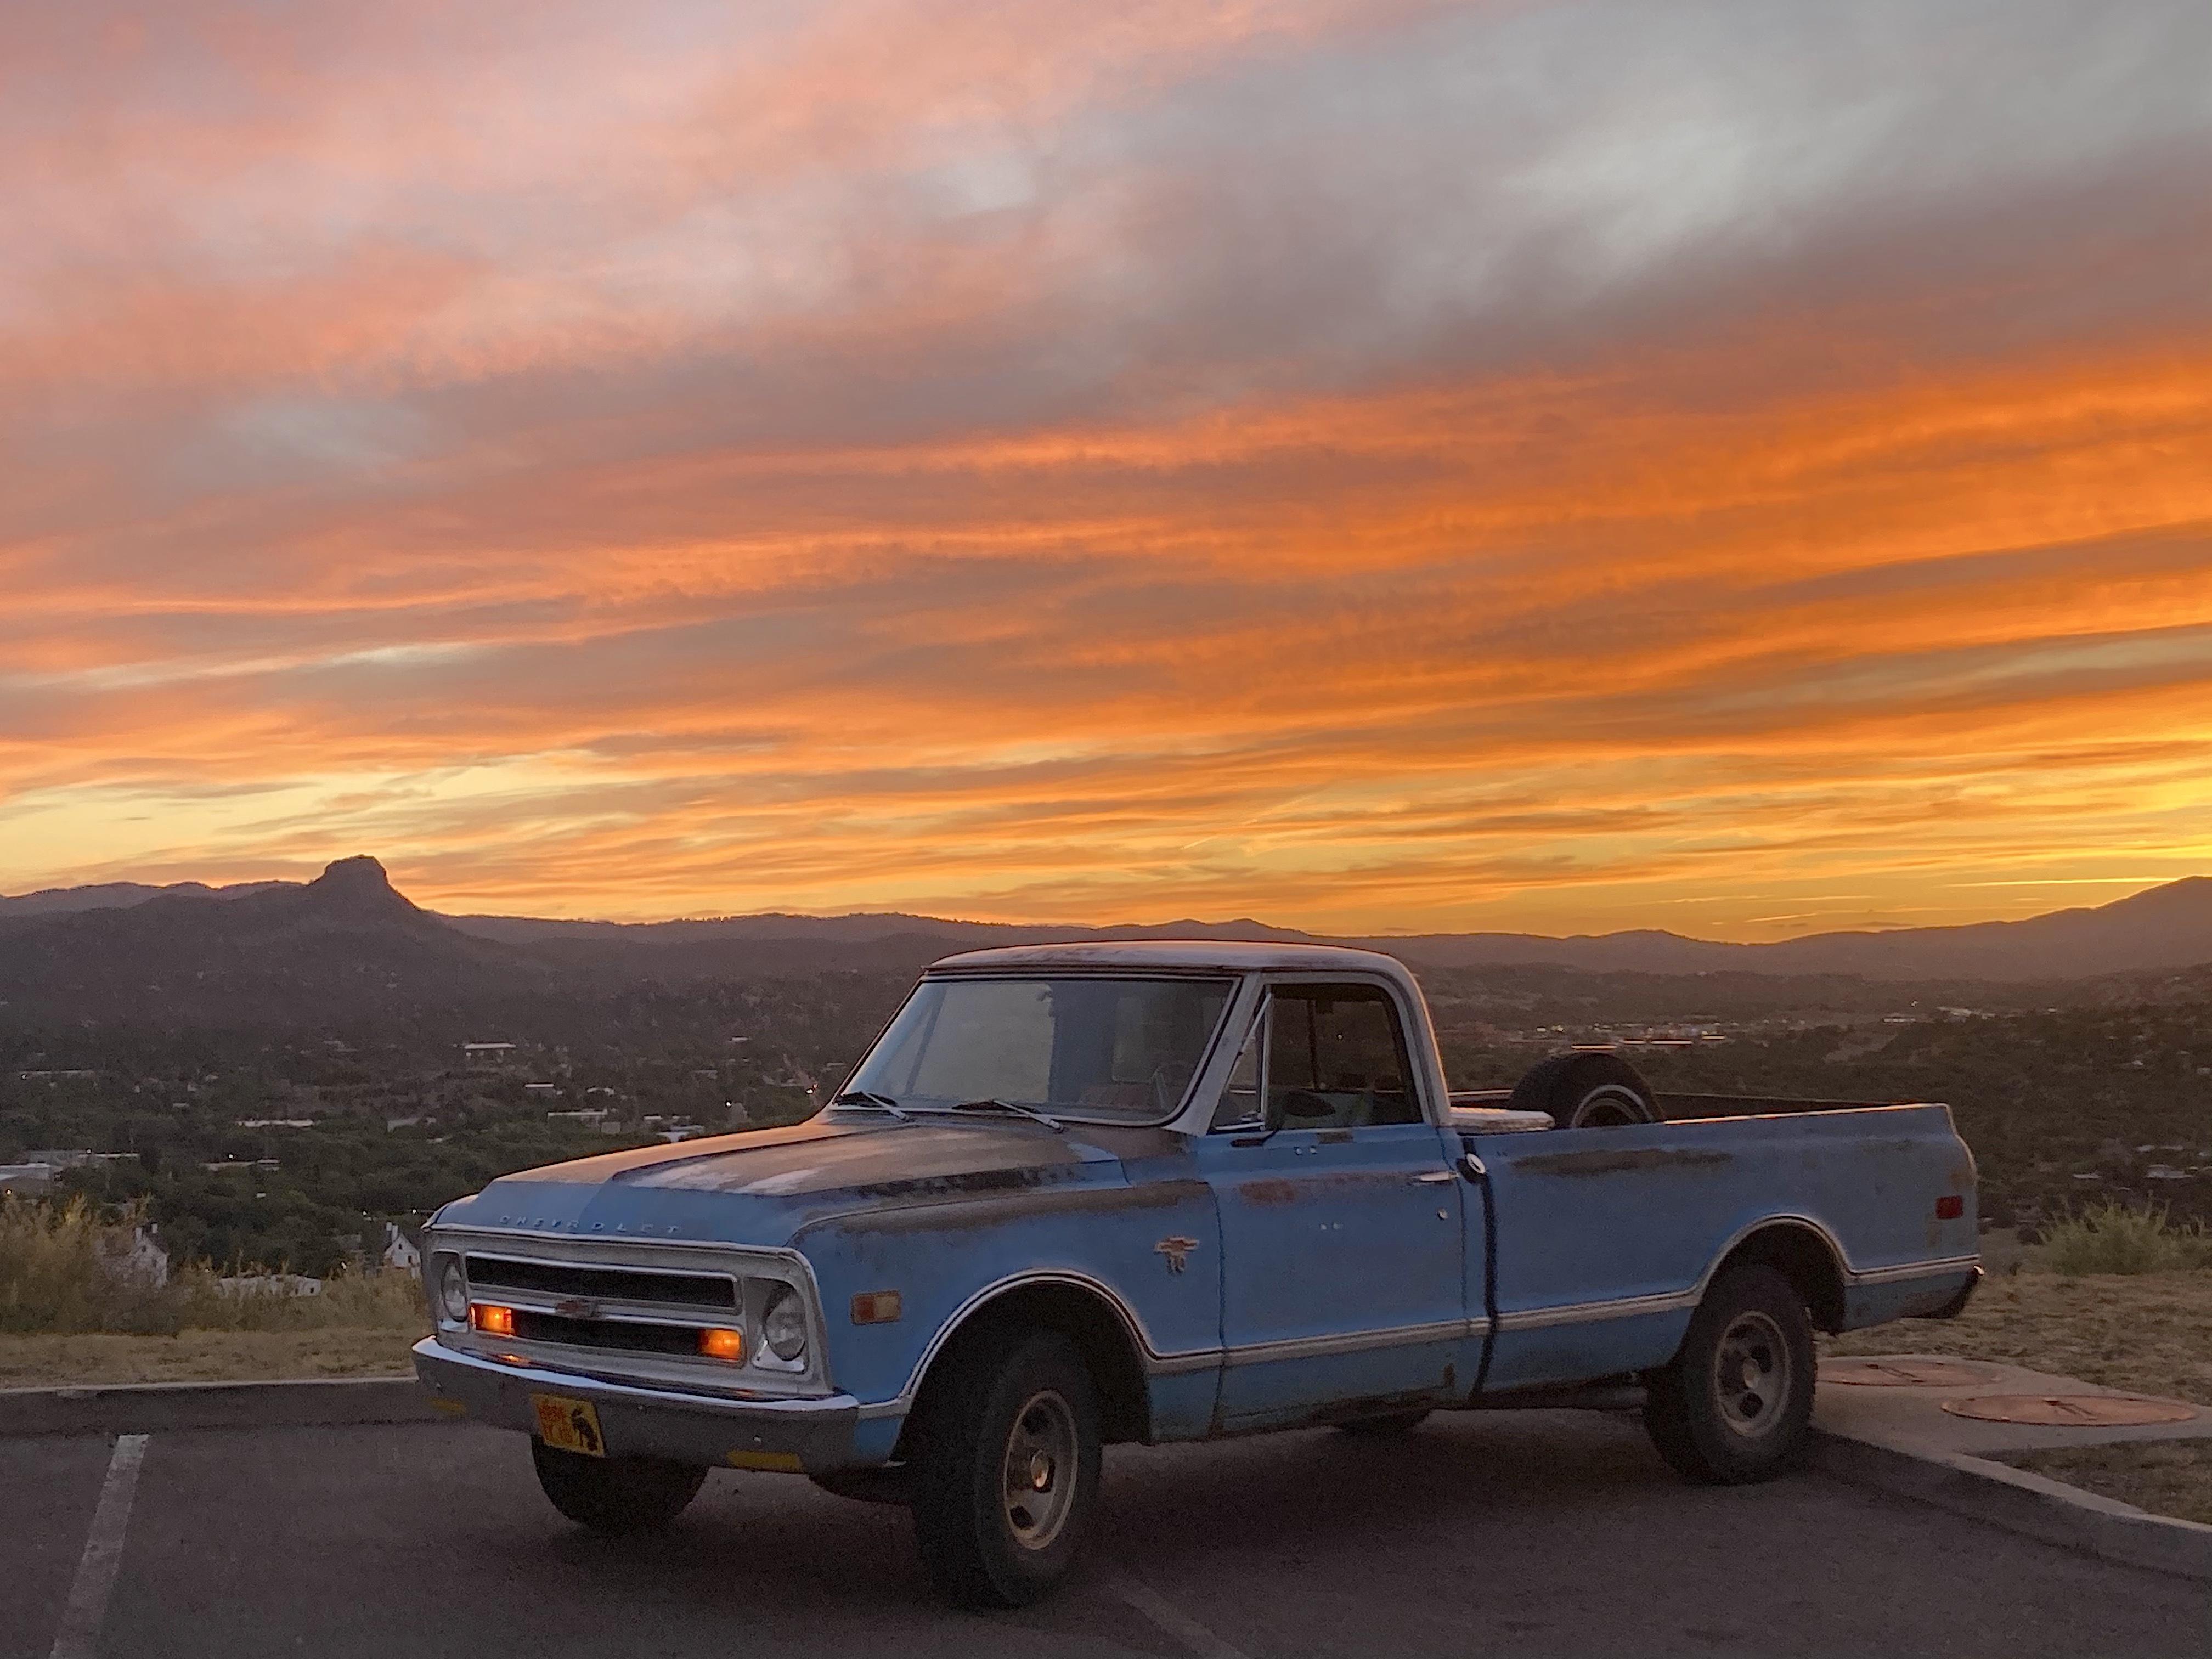
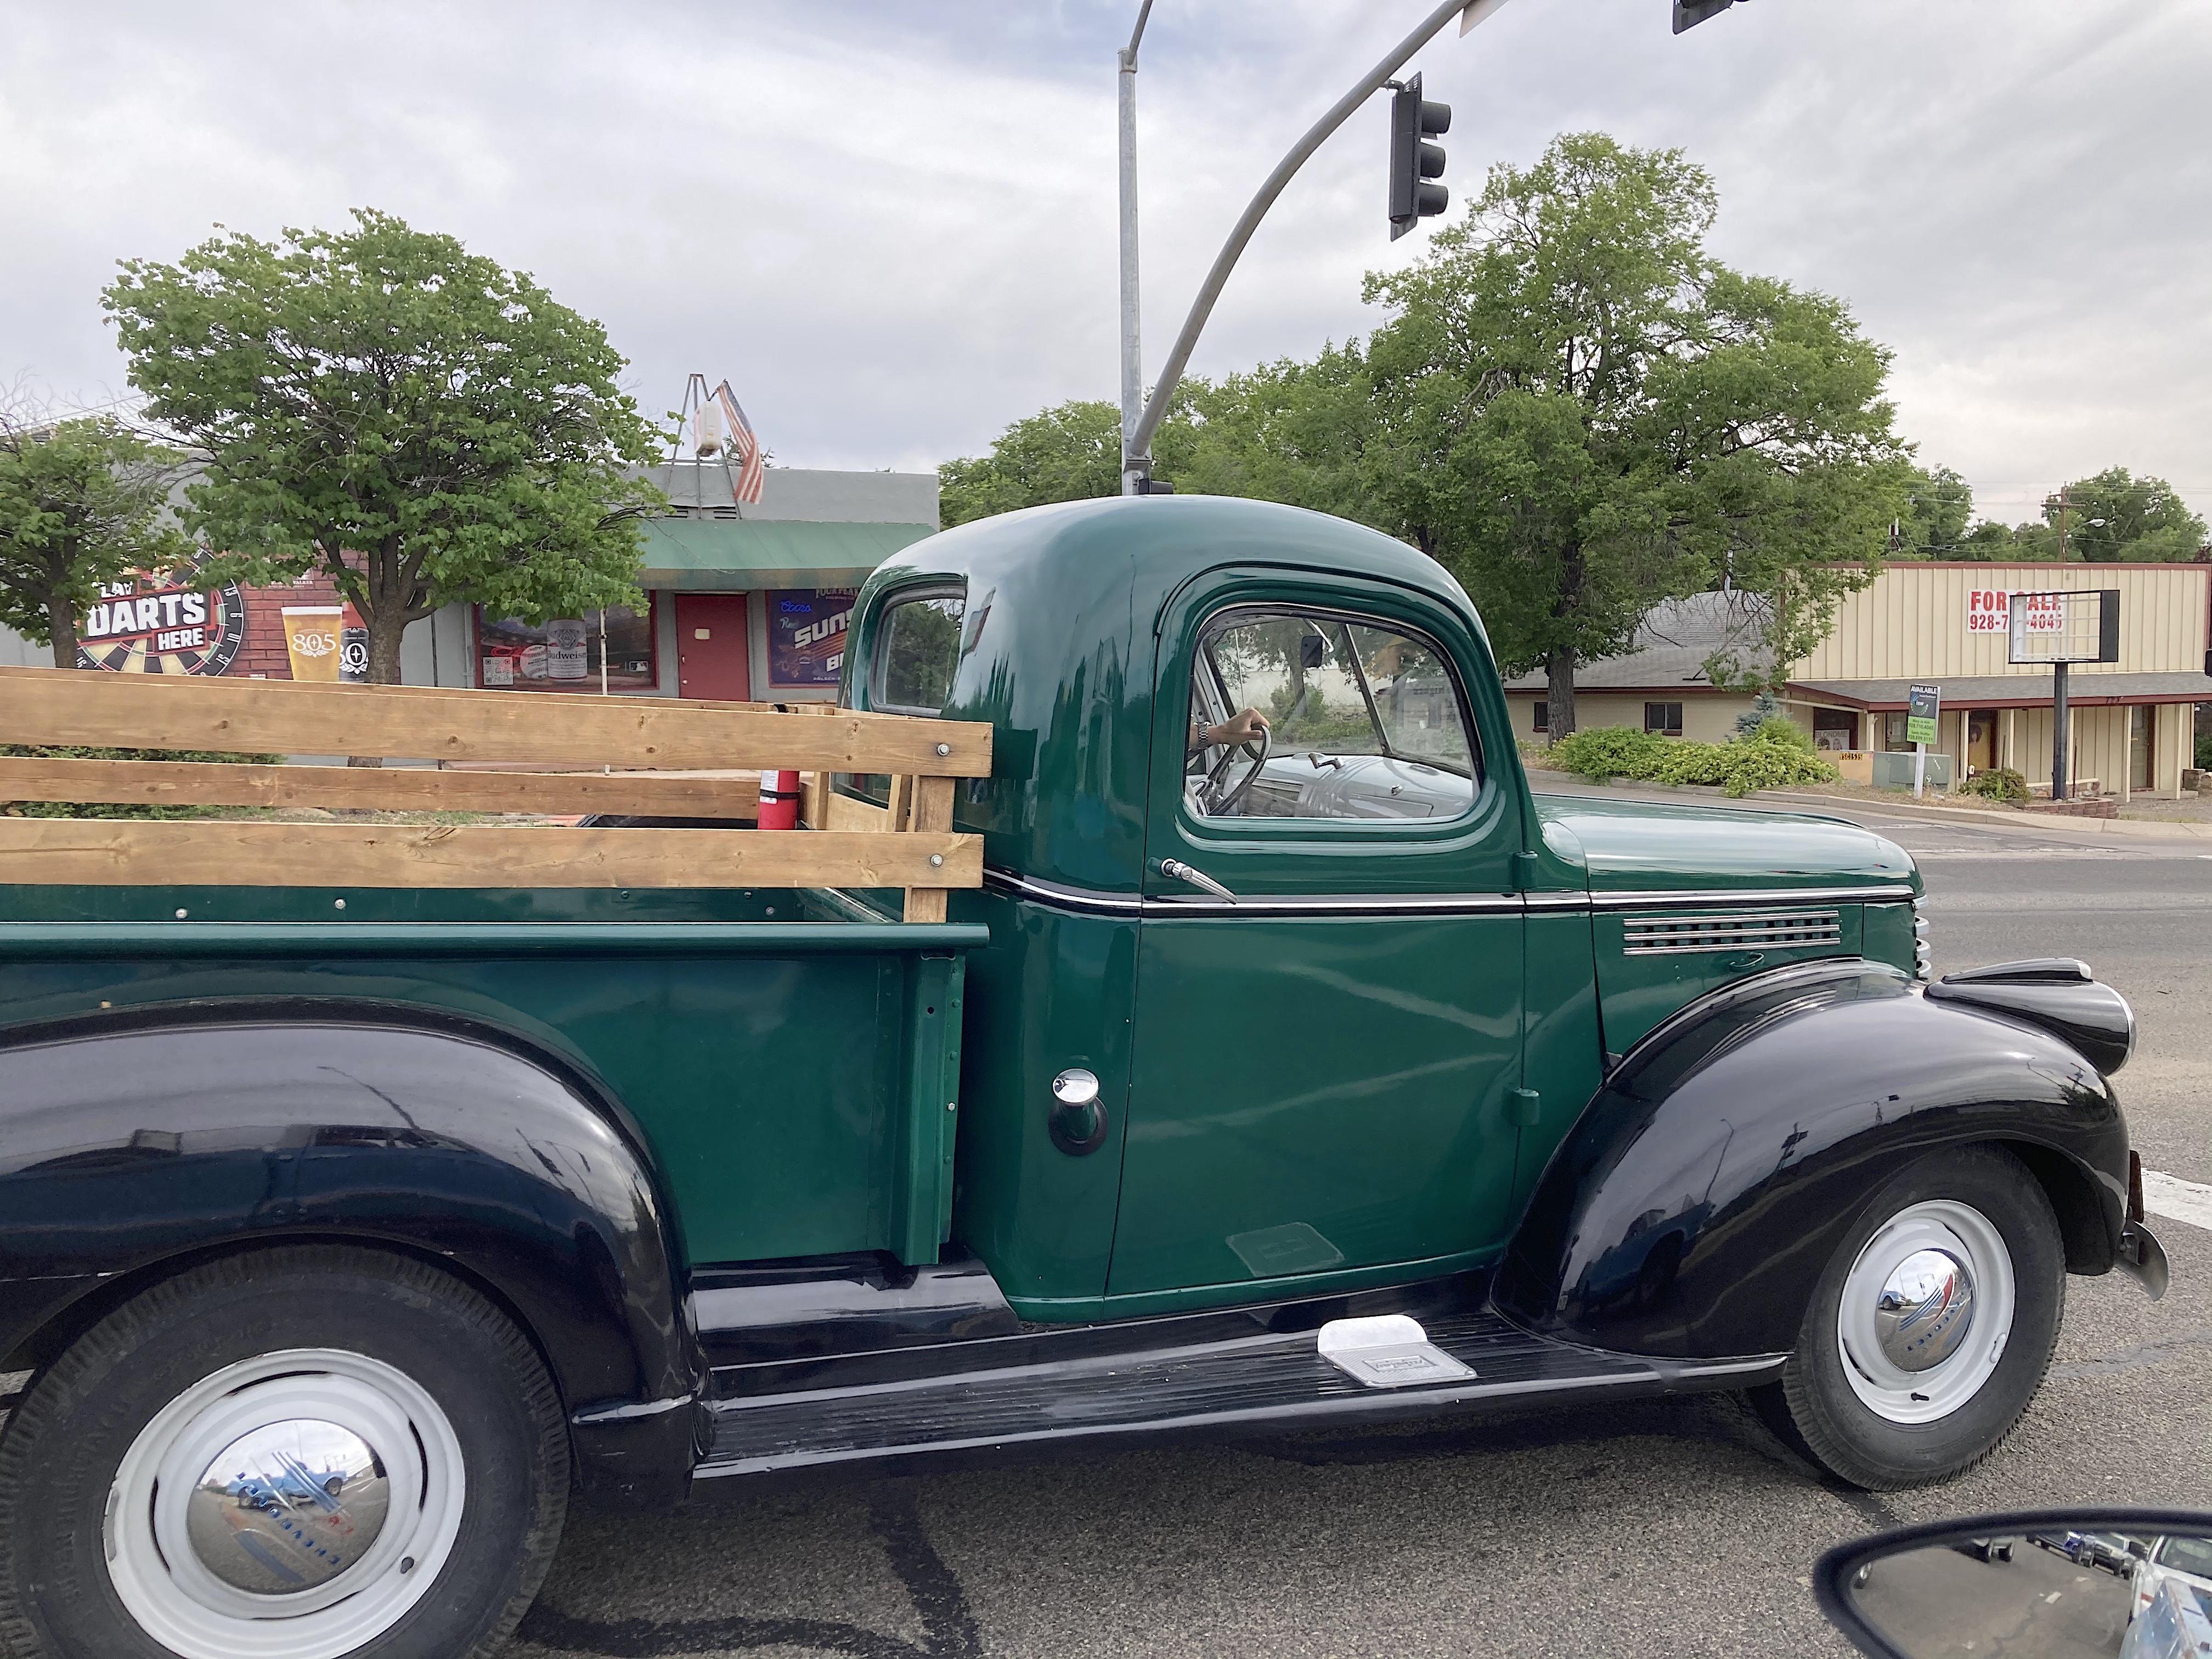
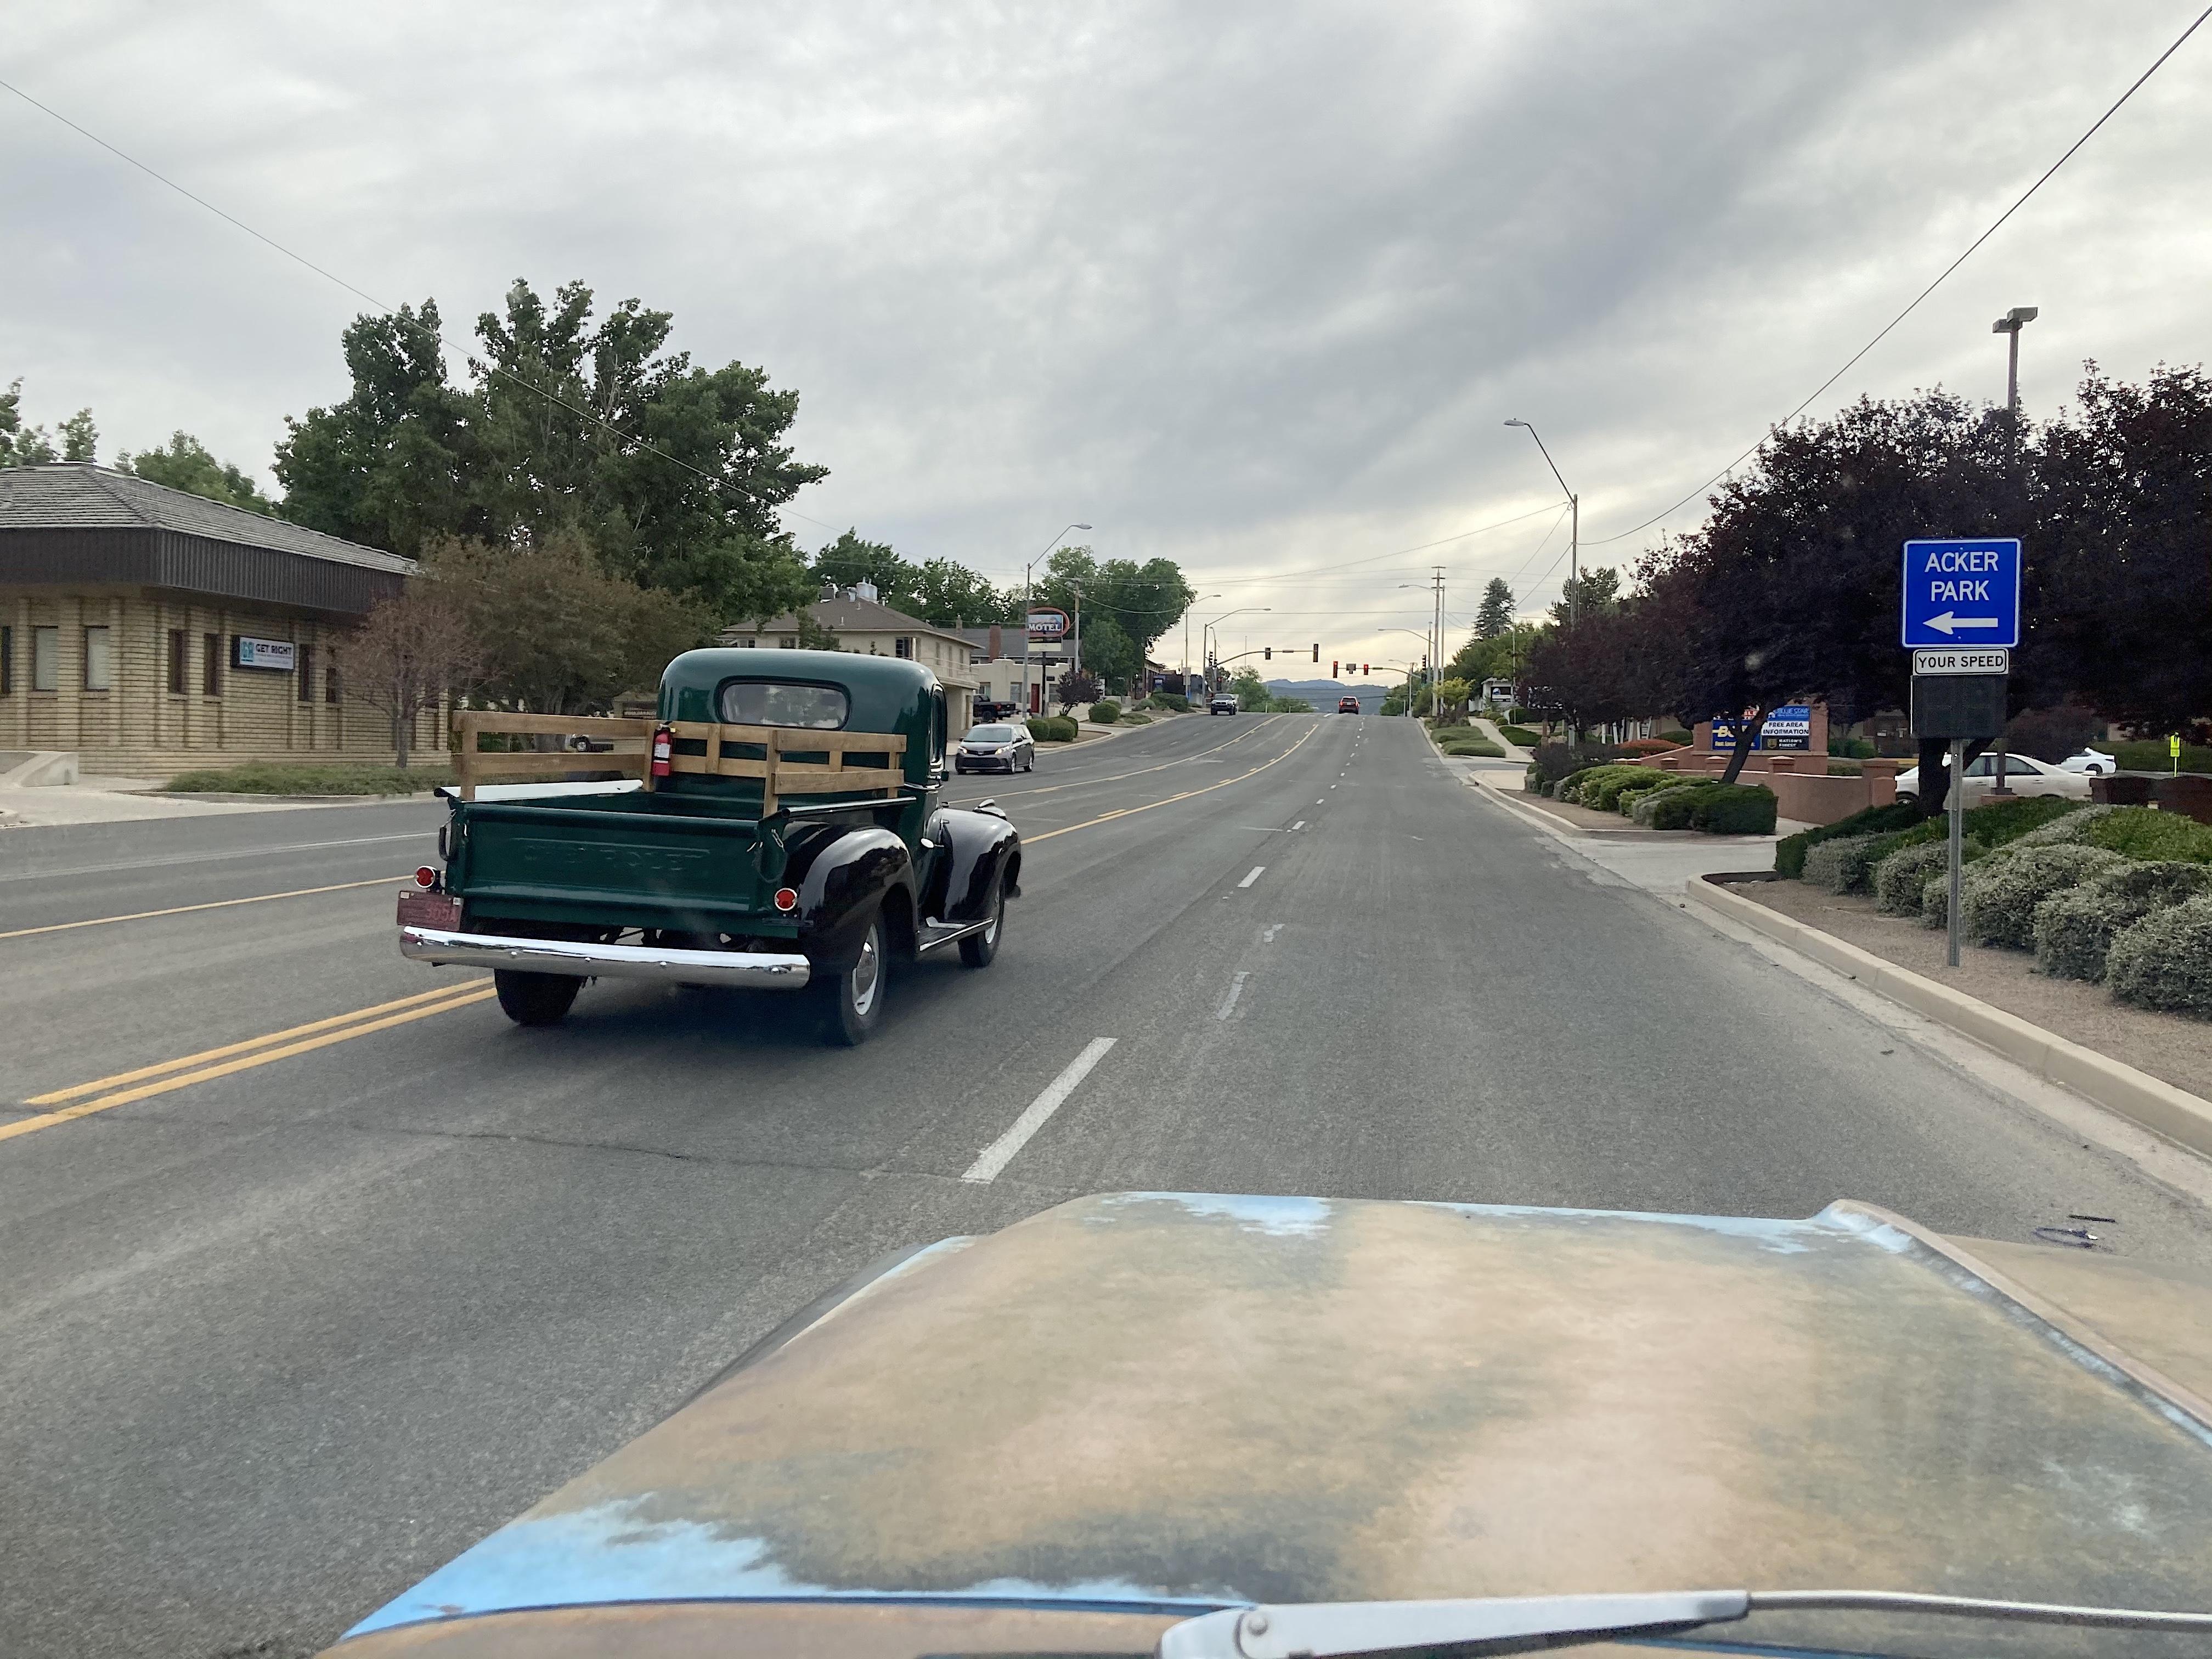
Digging the '68 Chevy plant bed! ? You know how cellphones go to sleep, and you have to click click swipe to wake them up to take a picture, so I miss many cars on the road around my town. Saw this coming behind me so I had the opportunity to take pictures. That's my '68 tonight, Blue Cloud has been my daily driver for 9 days because parts for my Honda have been back ordered.
-
This is on my street, I was on a walk, had to stop and take the picture.
-
I got one of these kits in a small collection, looks like a decent kit for a Revell. What are you using for a camera? If anyone is familiar with it, we can help with the focus.
-
≠º¡§™ Um, not with my MacBook. ¢ option 4 Thank you! Glad I'm not the only one.
-
Some will think this is a stupid thing to be annoyed about, but because I had the toughest teacher in High School, who taught Senior English, it's bugging me. I got an F the first quarter, but he was a great teacher, and I improved each quarter. Are schools teaching to put the $ AFTER the numbers now? I'm seeing this more nowadays. This person is American, so don't give me the Euro thing coming after the amount. Topic was a model shop in Burbank CA.
-
voodoo doll looking
-
Cooked Salmon on a Mesquite plank, on a Mesquite fire. Shoulda taken a picture. I will again soon, before fire restrictions come along.
-
nothing goes well
-
1950 Chevrolet 3100
89AKurt replied to jjsipes's topic in WIP: Model Trucks: Pickups, Vans, SUVs, Light Commercial
One of my favorite subjects, lurking in the shadows and won't talk about paint. Glad to see you went with the blue. What is the front suspension from? -
Very nice build! Years ago I did a Viper DPS, decals from Chimneyville, which are extinct. You happen to have a link for the decals?
-
Top notch build! I have the kit, and the photo-etch, didn't know there are (were as time passed) turned parts too. Didn't know about the leveling thinner either. Hope I can find this (Follow topic) whenever I get around to building it.