Safire6
-
Posts
612 -
Joined
-
Last visited
Content Type
Profiles
Forums
Events
Gallery
Everything posted by Safire6
-
I love it, crazy cool!
-
Very nice! Along with everything else, I like the white lettering on the tires. I built this kit a few years ago and painted it white with red interior. I built it with Cragars also but didn't foil the trim like you did. Nice job!
-
Coronavirus (Tom Hanks and Rita Wilson tested positive)
Safire6 replied to NYLIBUD's topic in The Off-Topic Lounge
Reminiscent of George Orwell's "War of the World" panic but on a much larger scale thanks to social media , etc. -
1/25 International 2575 Cement Mixer
Safire6 replied to dragstueck's topic in Model Trucks: Big Rigs and Heavy Equipment
Wow the weathering is spot on-you even have streaks on the windshield from the wipers! I bet if I look closer I'll even see bugs on the glass! Excellent job! -
Wow ! And I thought the Garlit's Swamp Rat you did was perfect. This one is way beyond that!
-
That is cool, nice job on all the details!
-
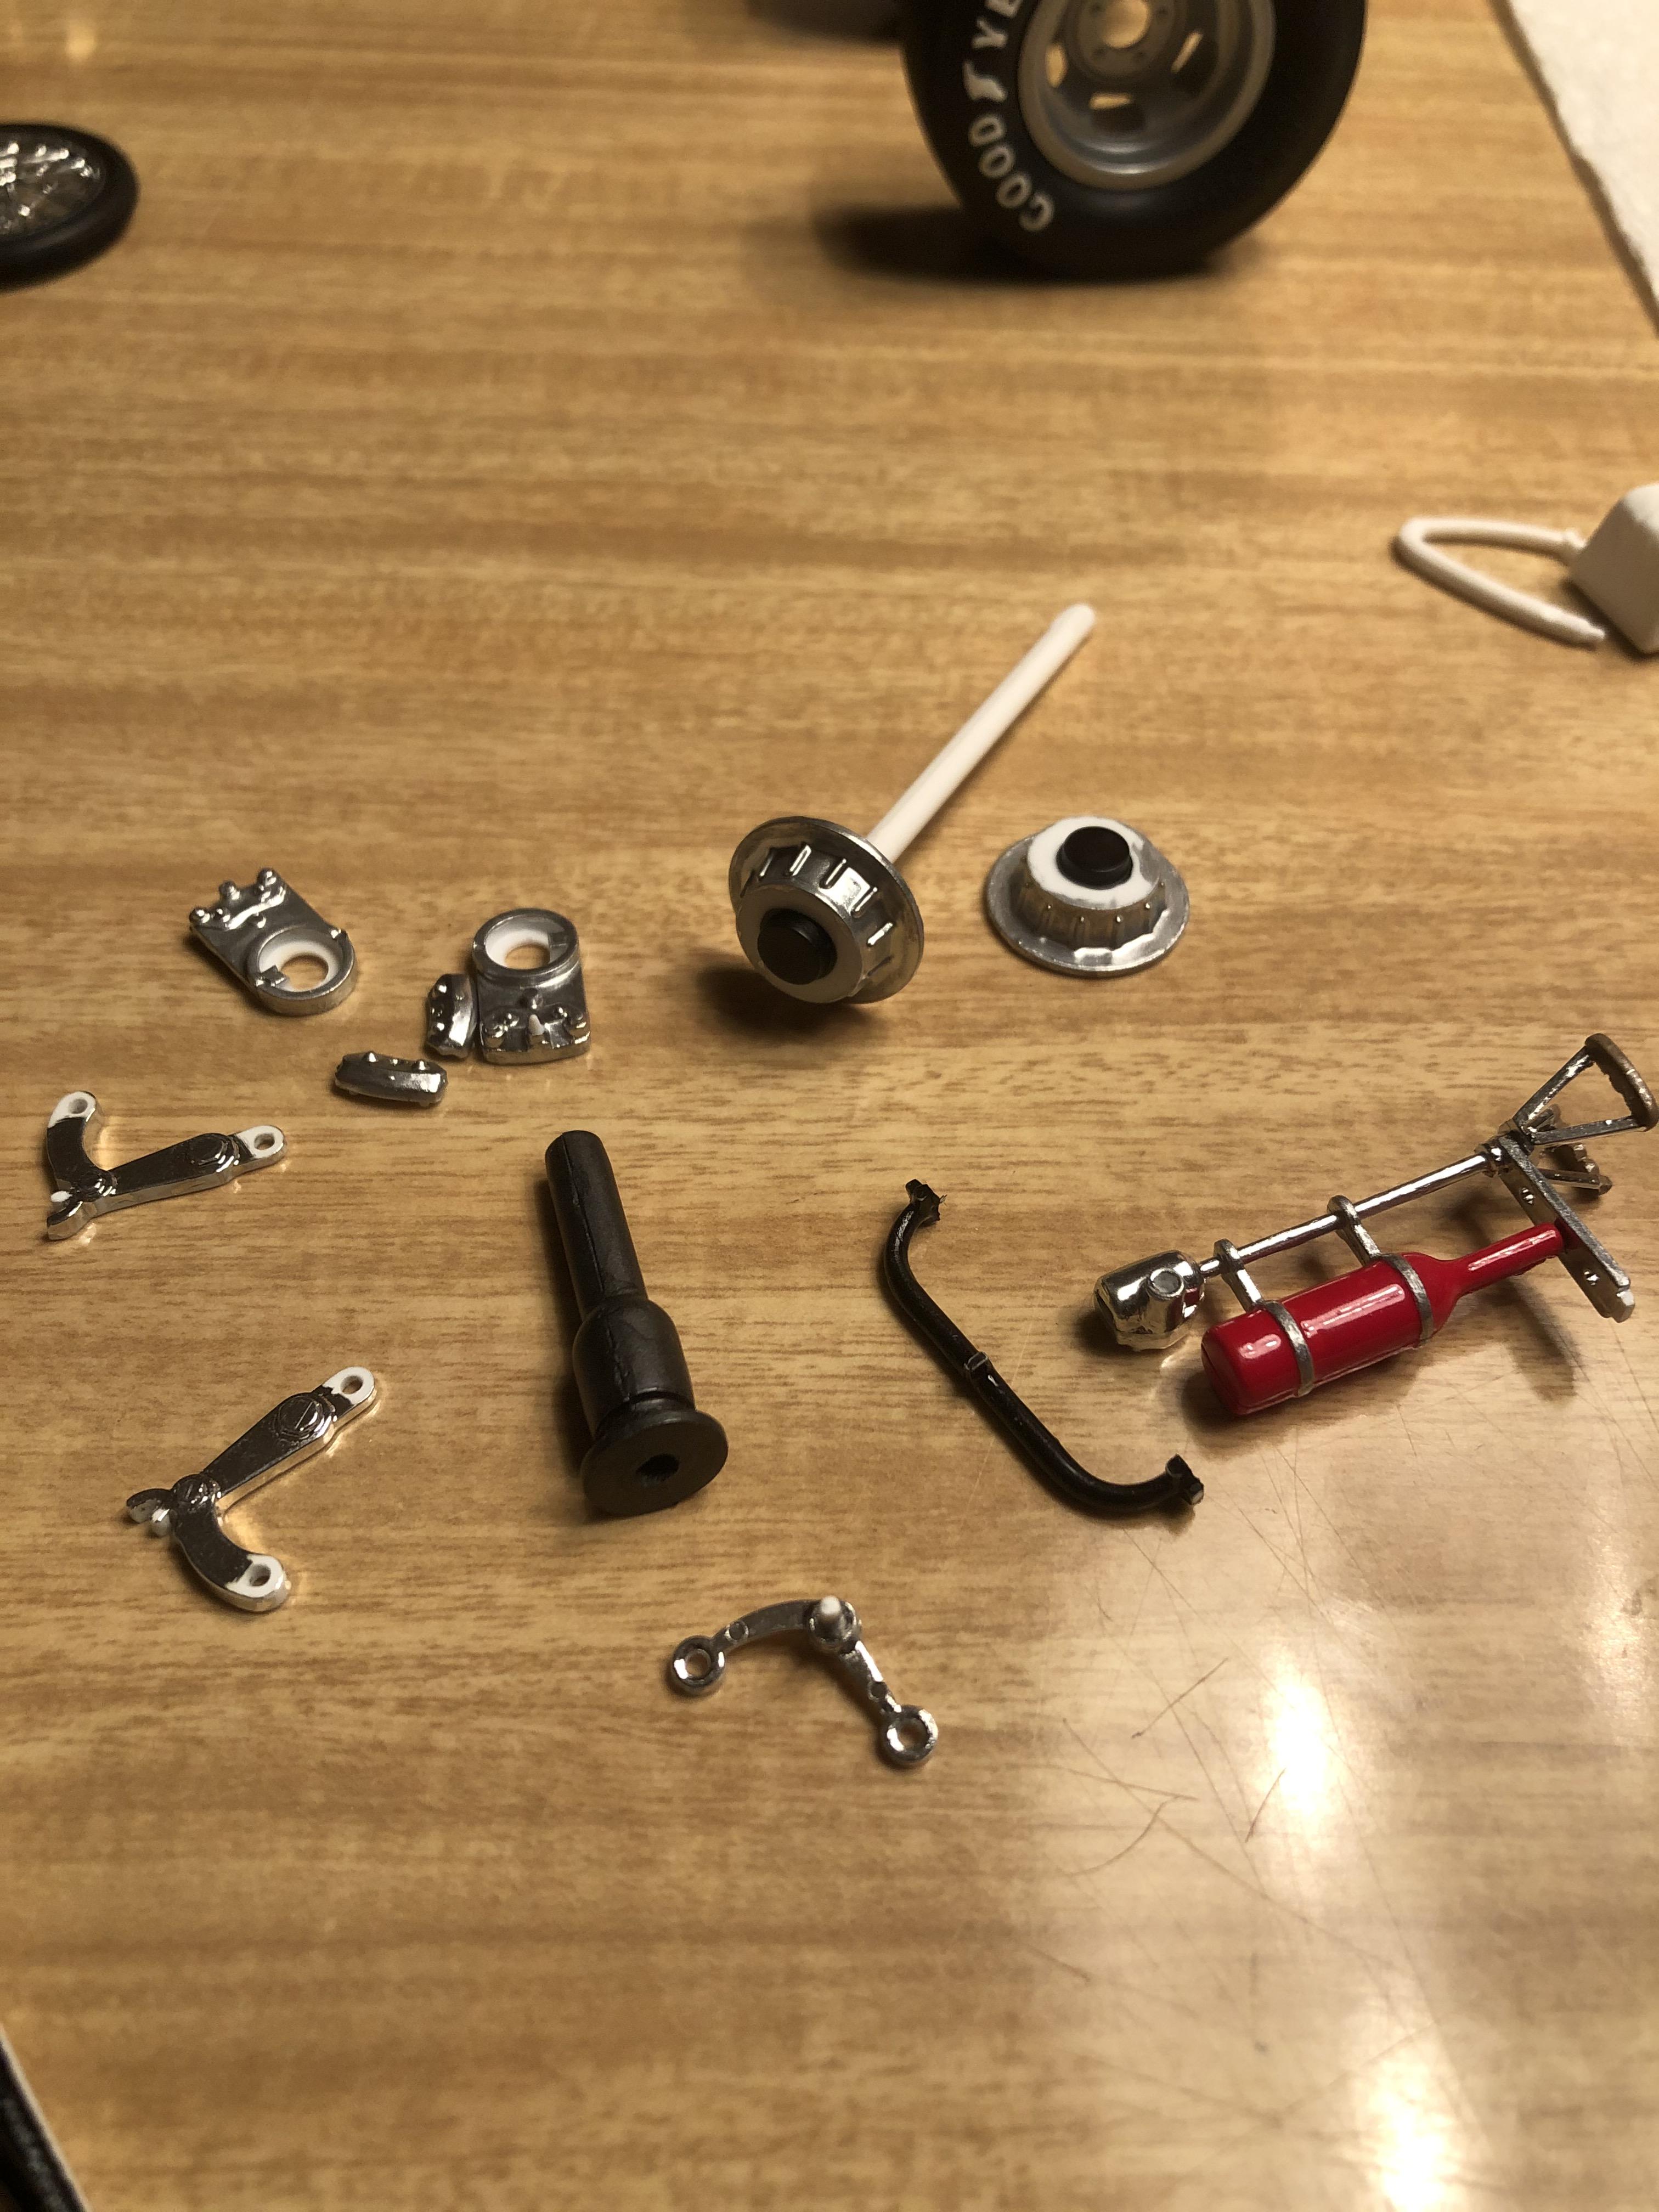
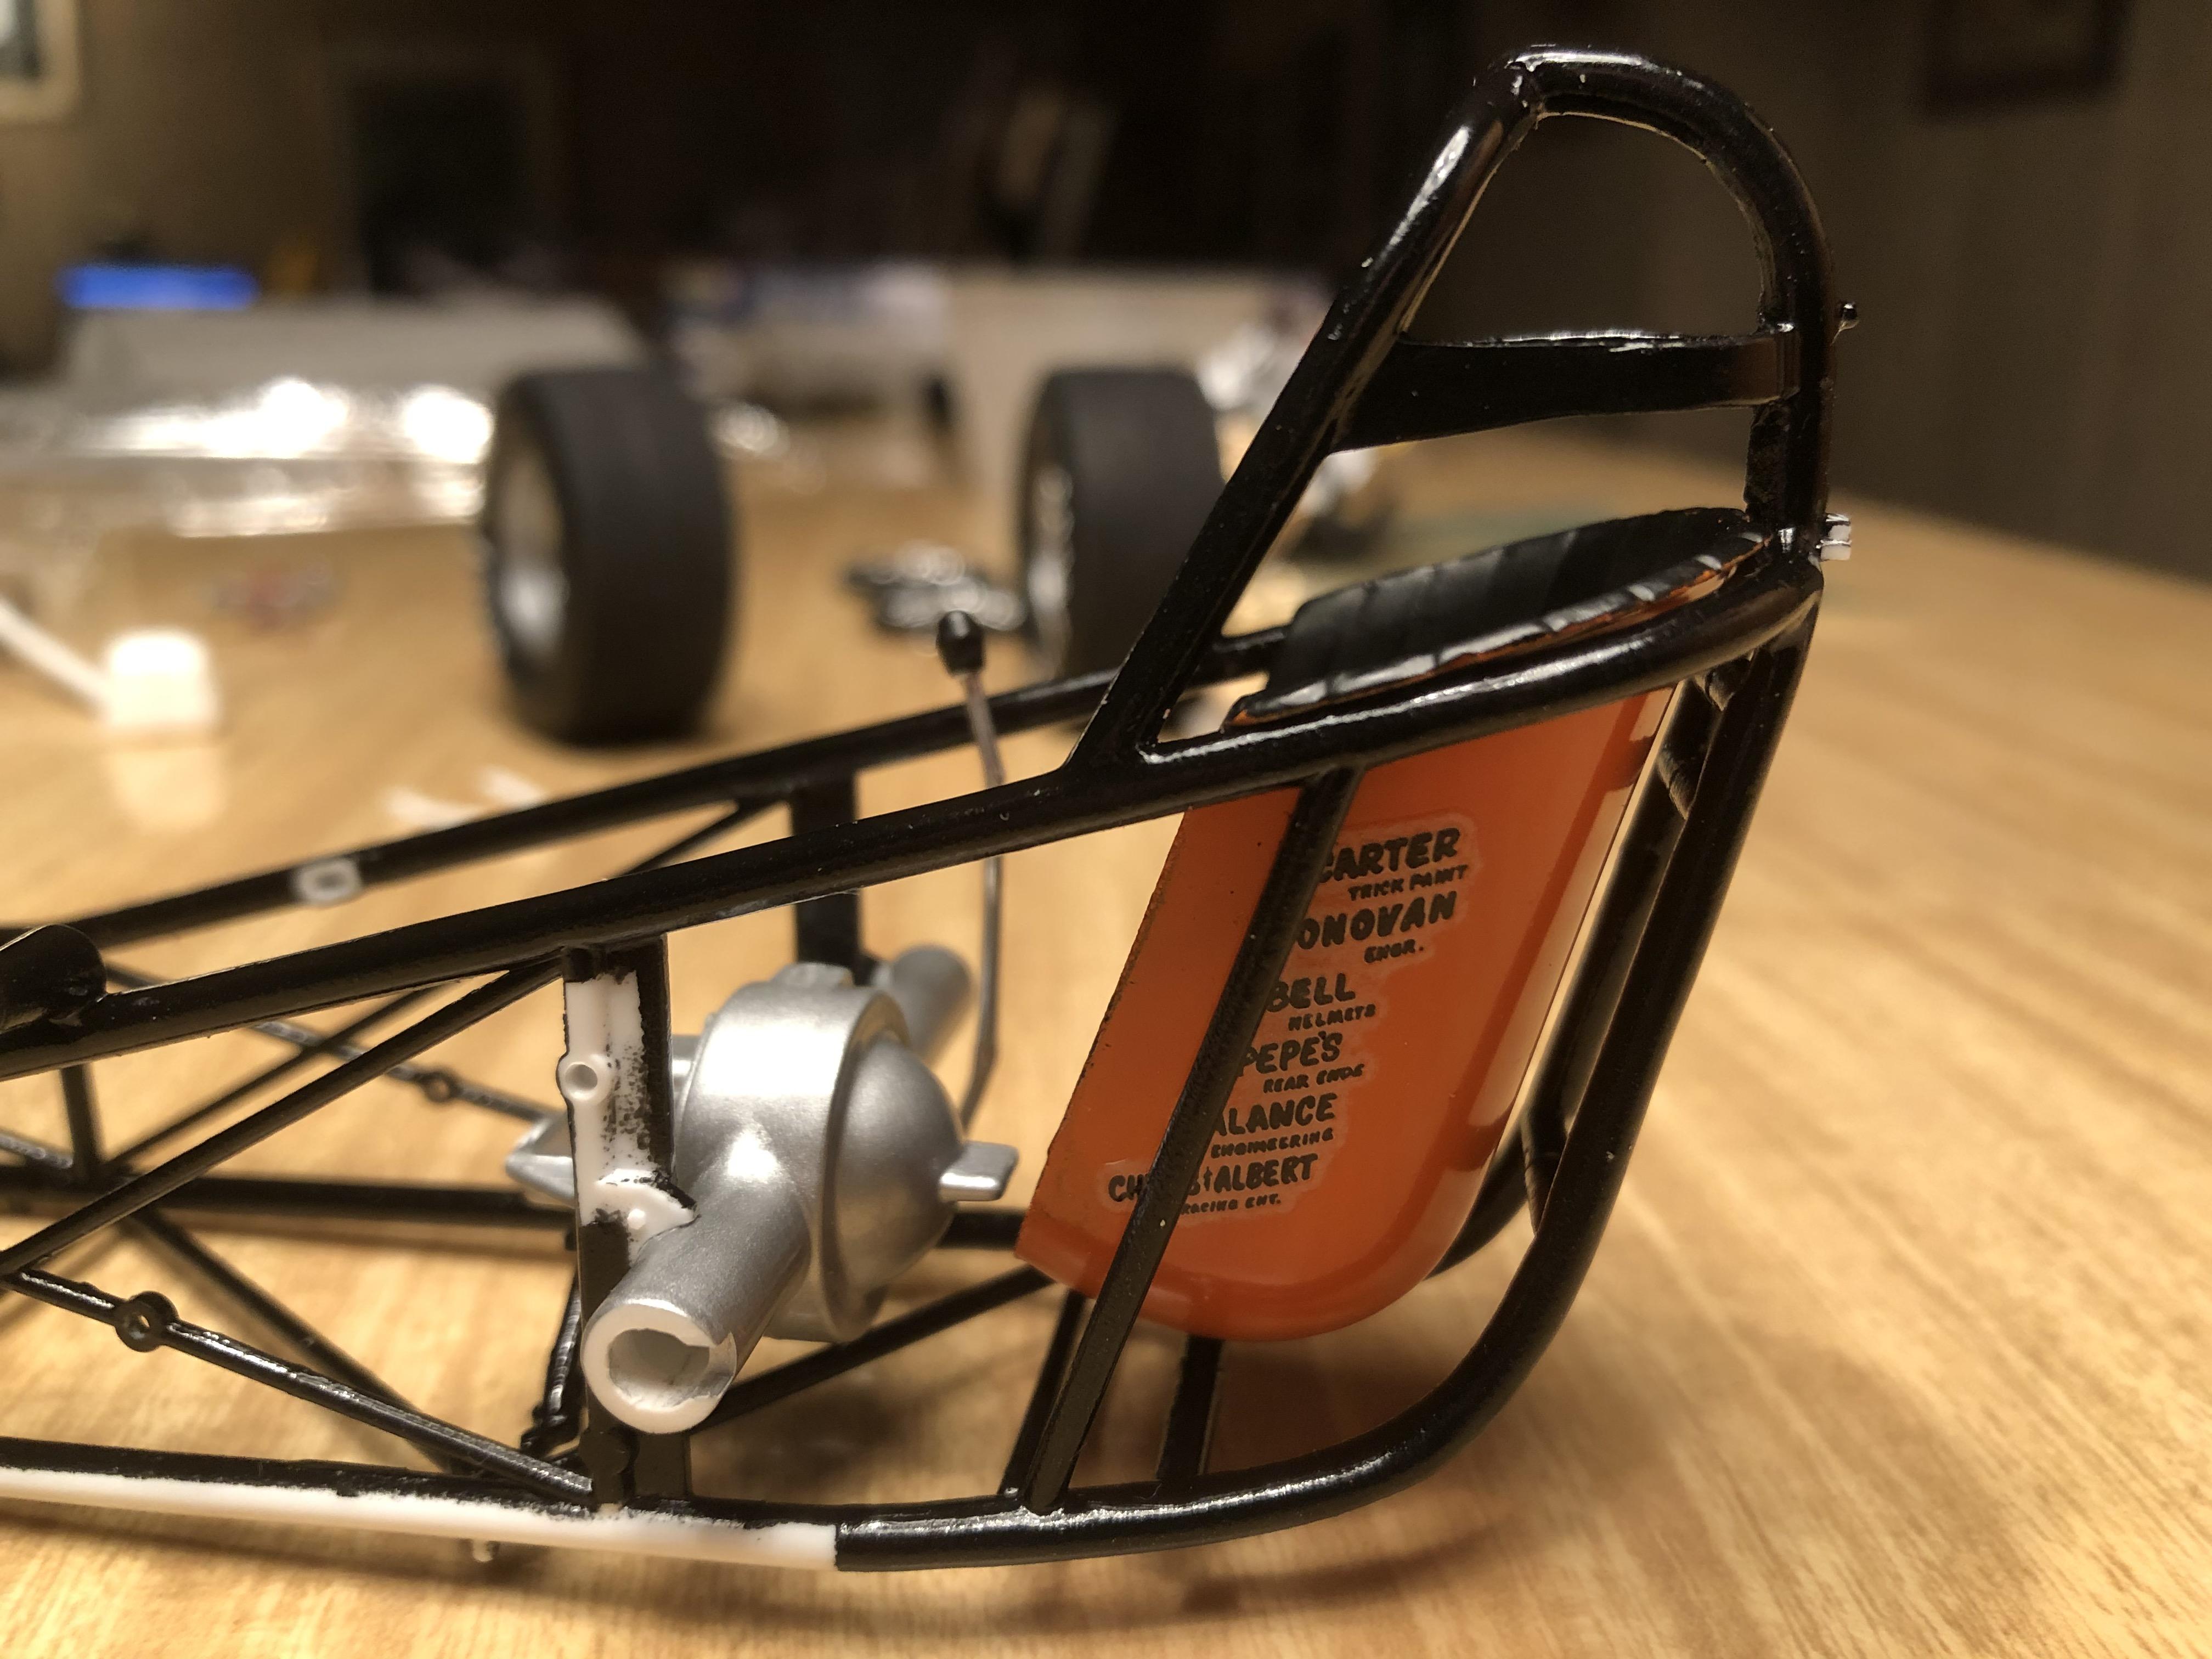
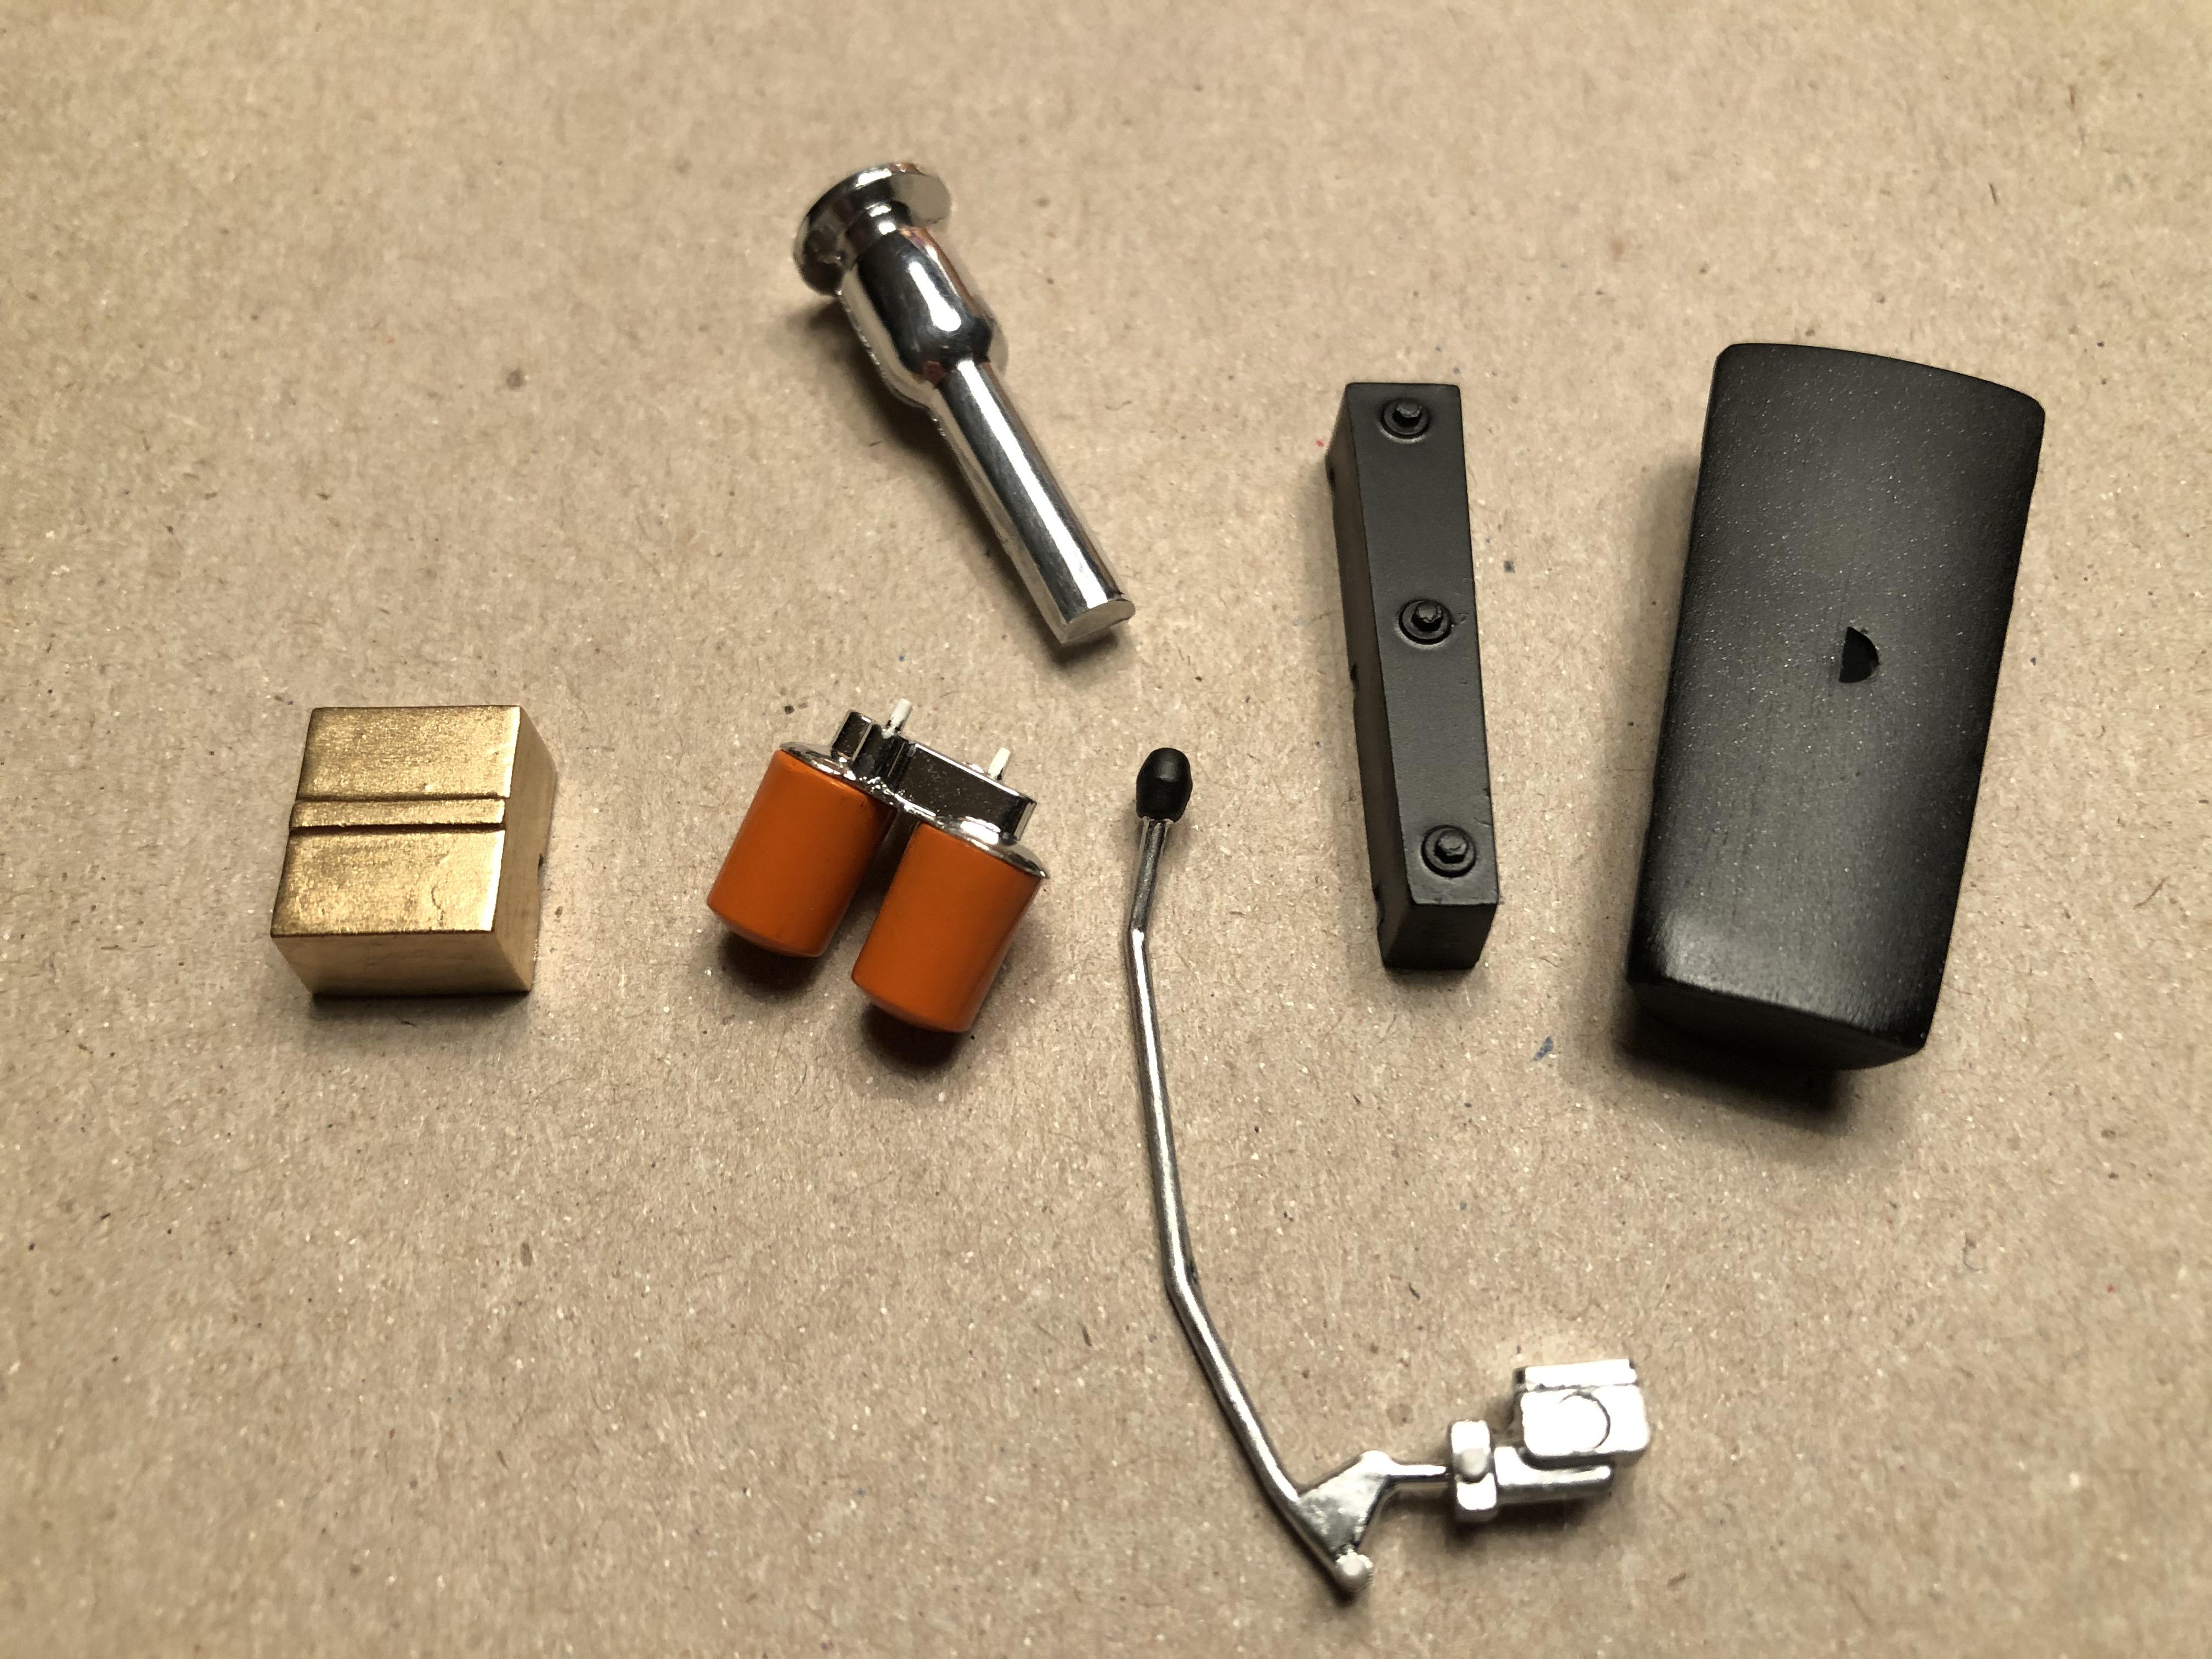
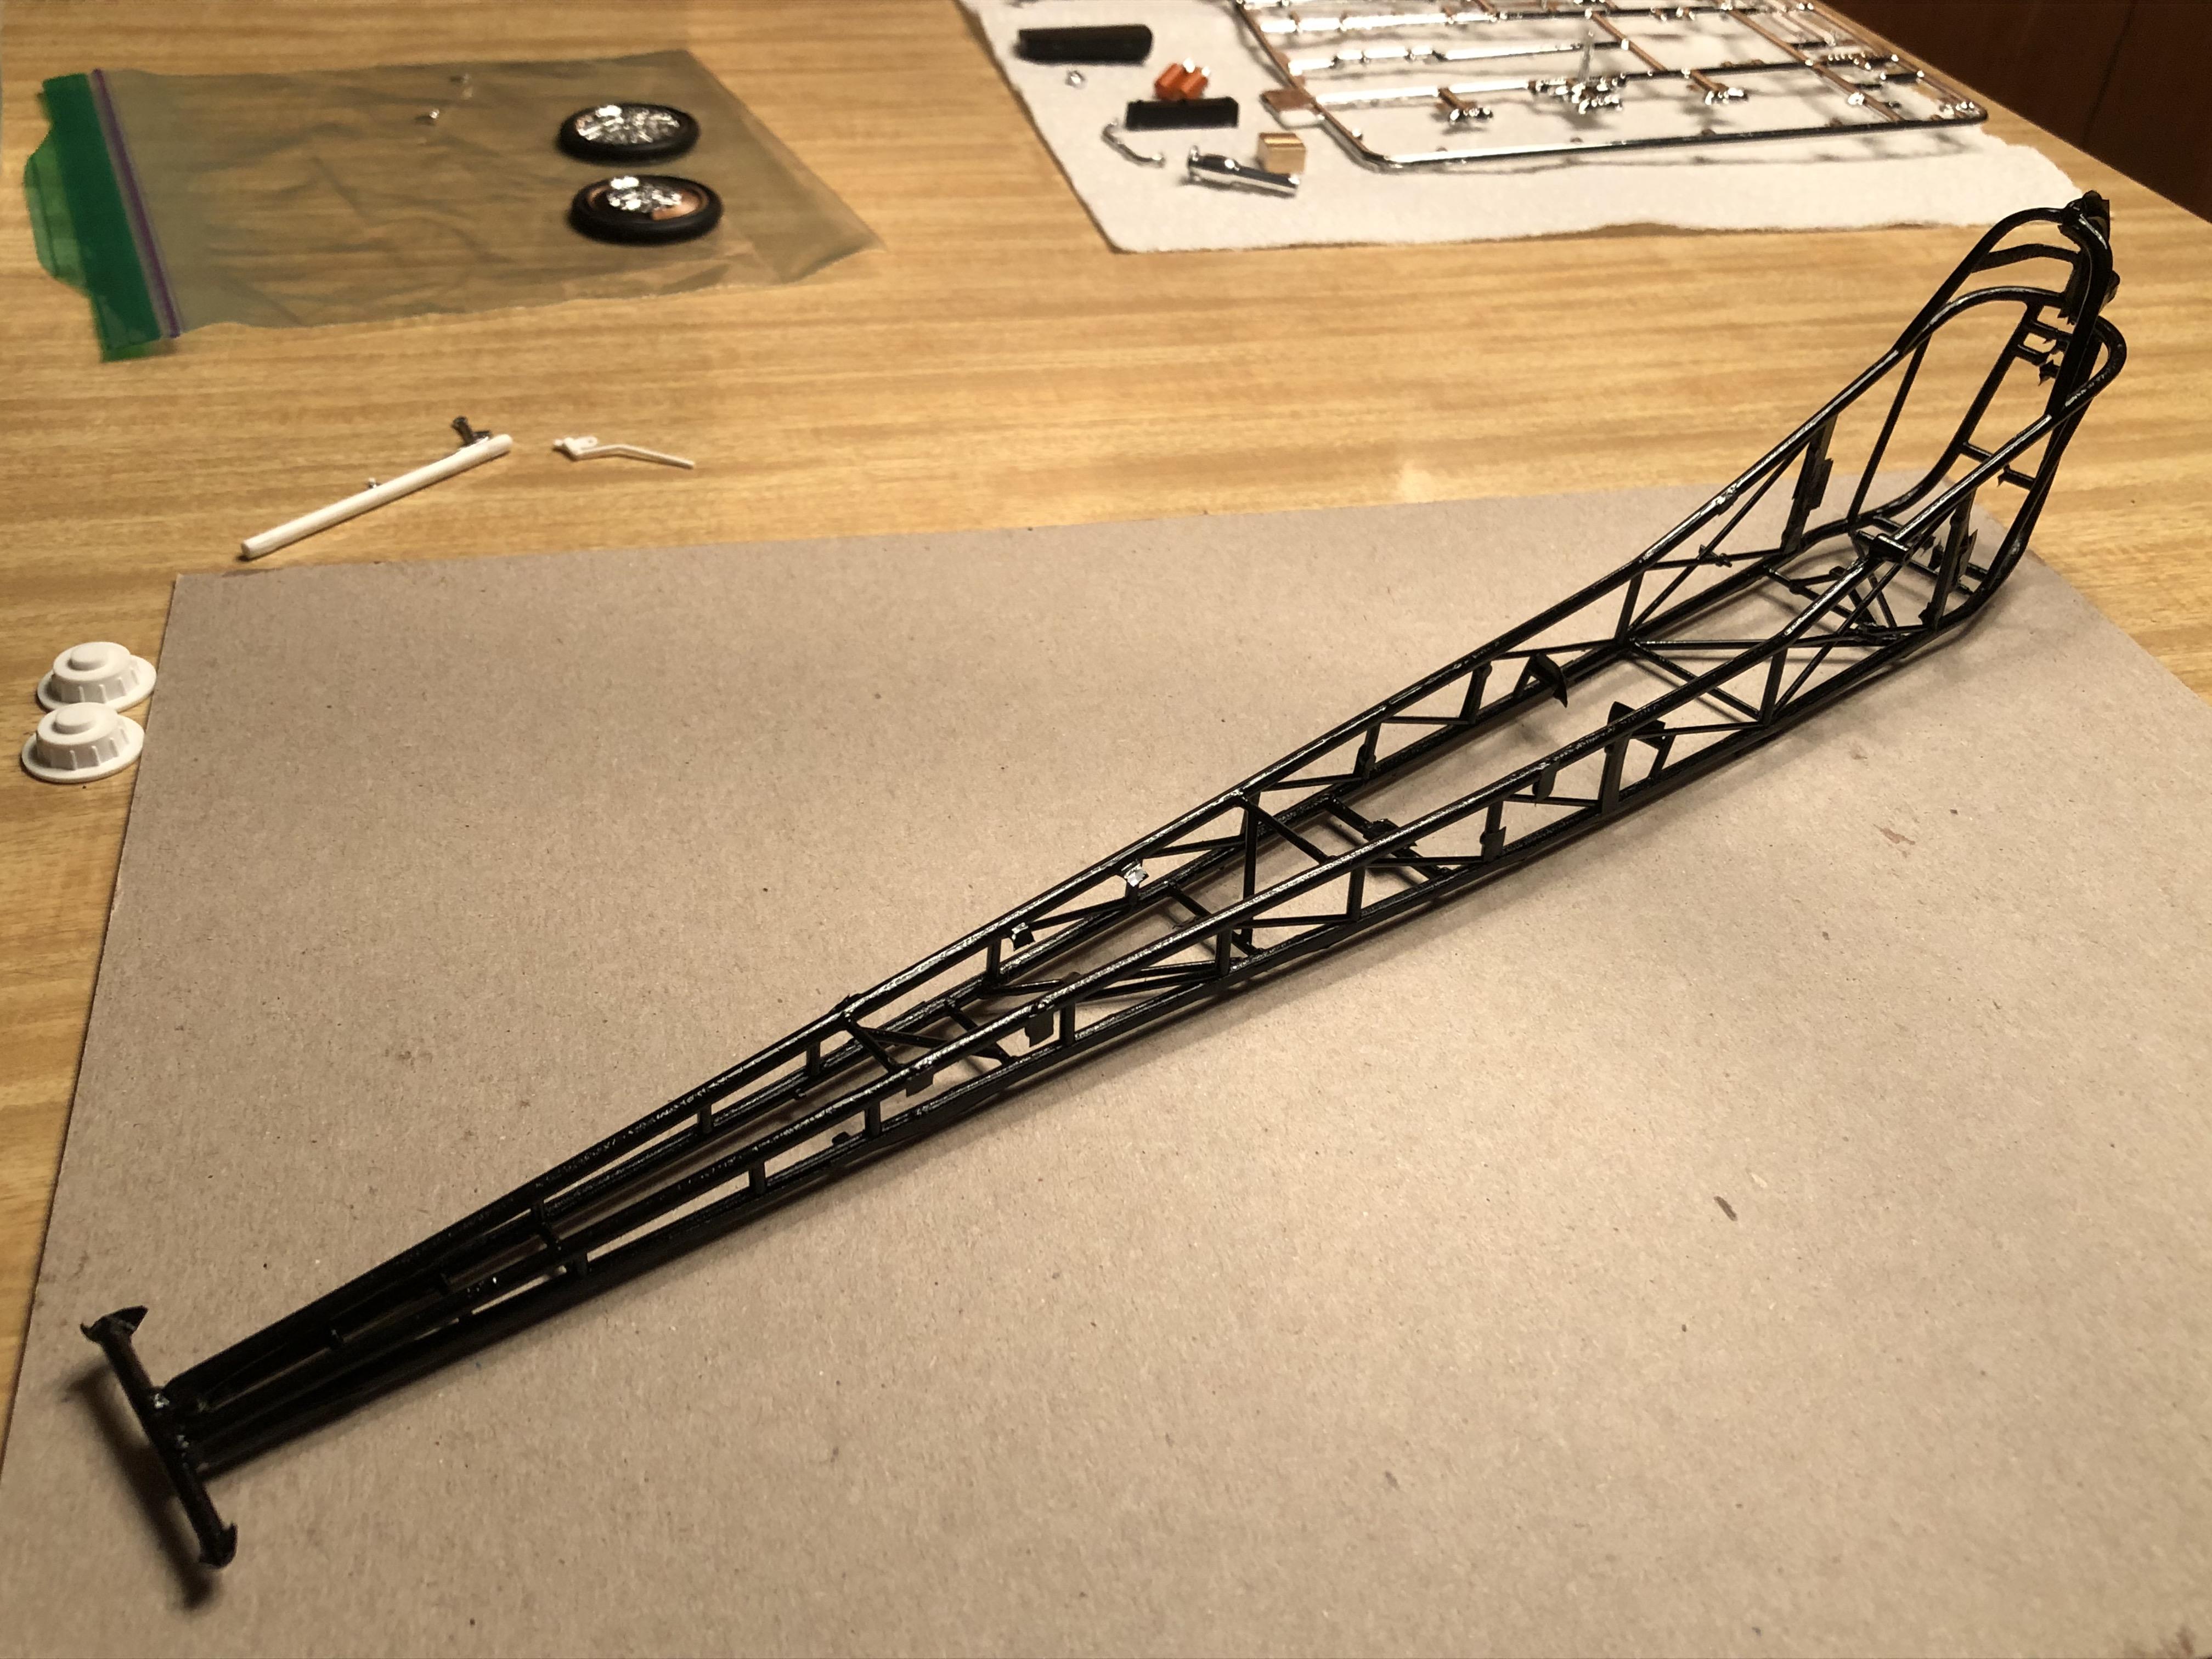
Making some progress. Got the chrome stripped off the radius rods and drag link and sanded smooth successfully without breaking them. I feared that I might snap the 11' long drag link while handling it. Molotow'ed most of them so far. Got a lot of other bits and pieces painted and ready to go on. Seat and harness painted and glued to frame. Getting ready to paint the body panels soon. I think I'm gonna use Tamiya TS56 and TS98 brilliant orange and pure orange. Comments welcome.

-
That is cool! My mother in law got me something similar for Christmas. It is a wooden car kit, 1:10 scale, 735 parts, with 75 page instruction manual. Lots of moving parts. I believe it is powered by a couple of stout rubber bands, not a spring. Made by a company in Ukraine: ugearsmodels.com. It looks like this could take a LONG time to build! Looks like a great retirement project when I retire at the end of the year!
-
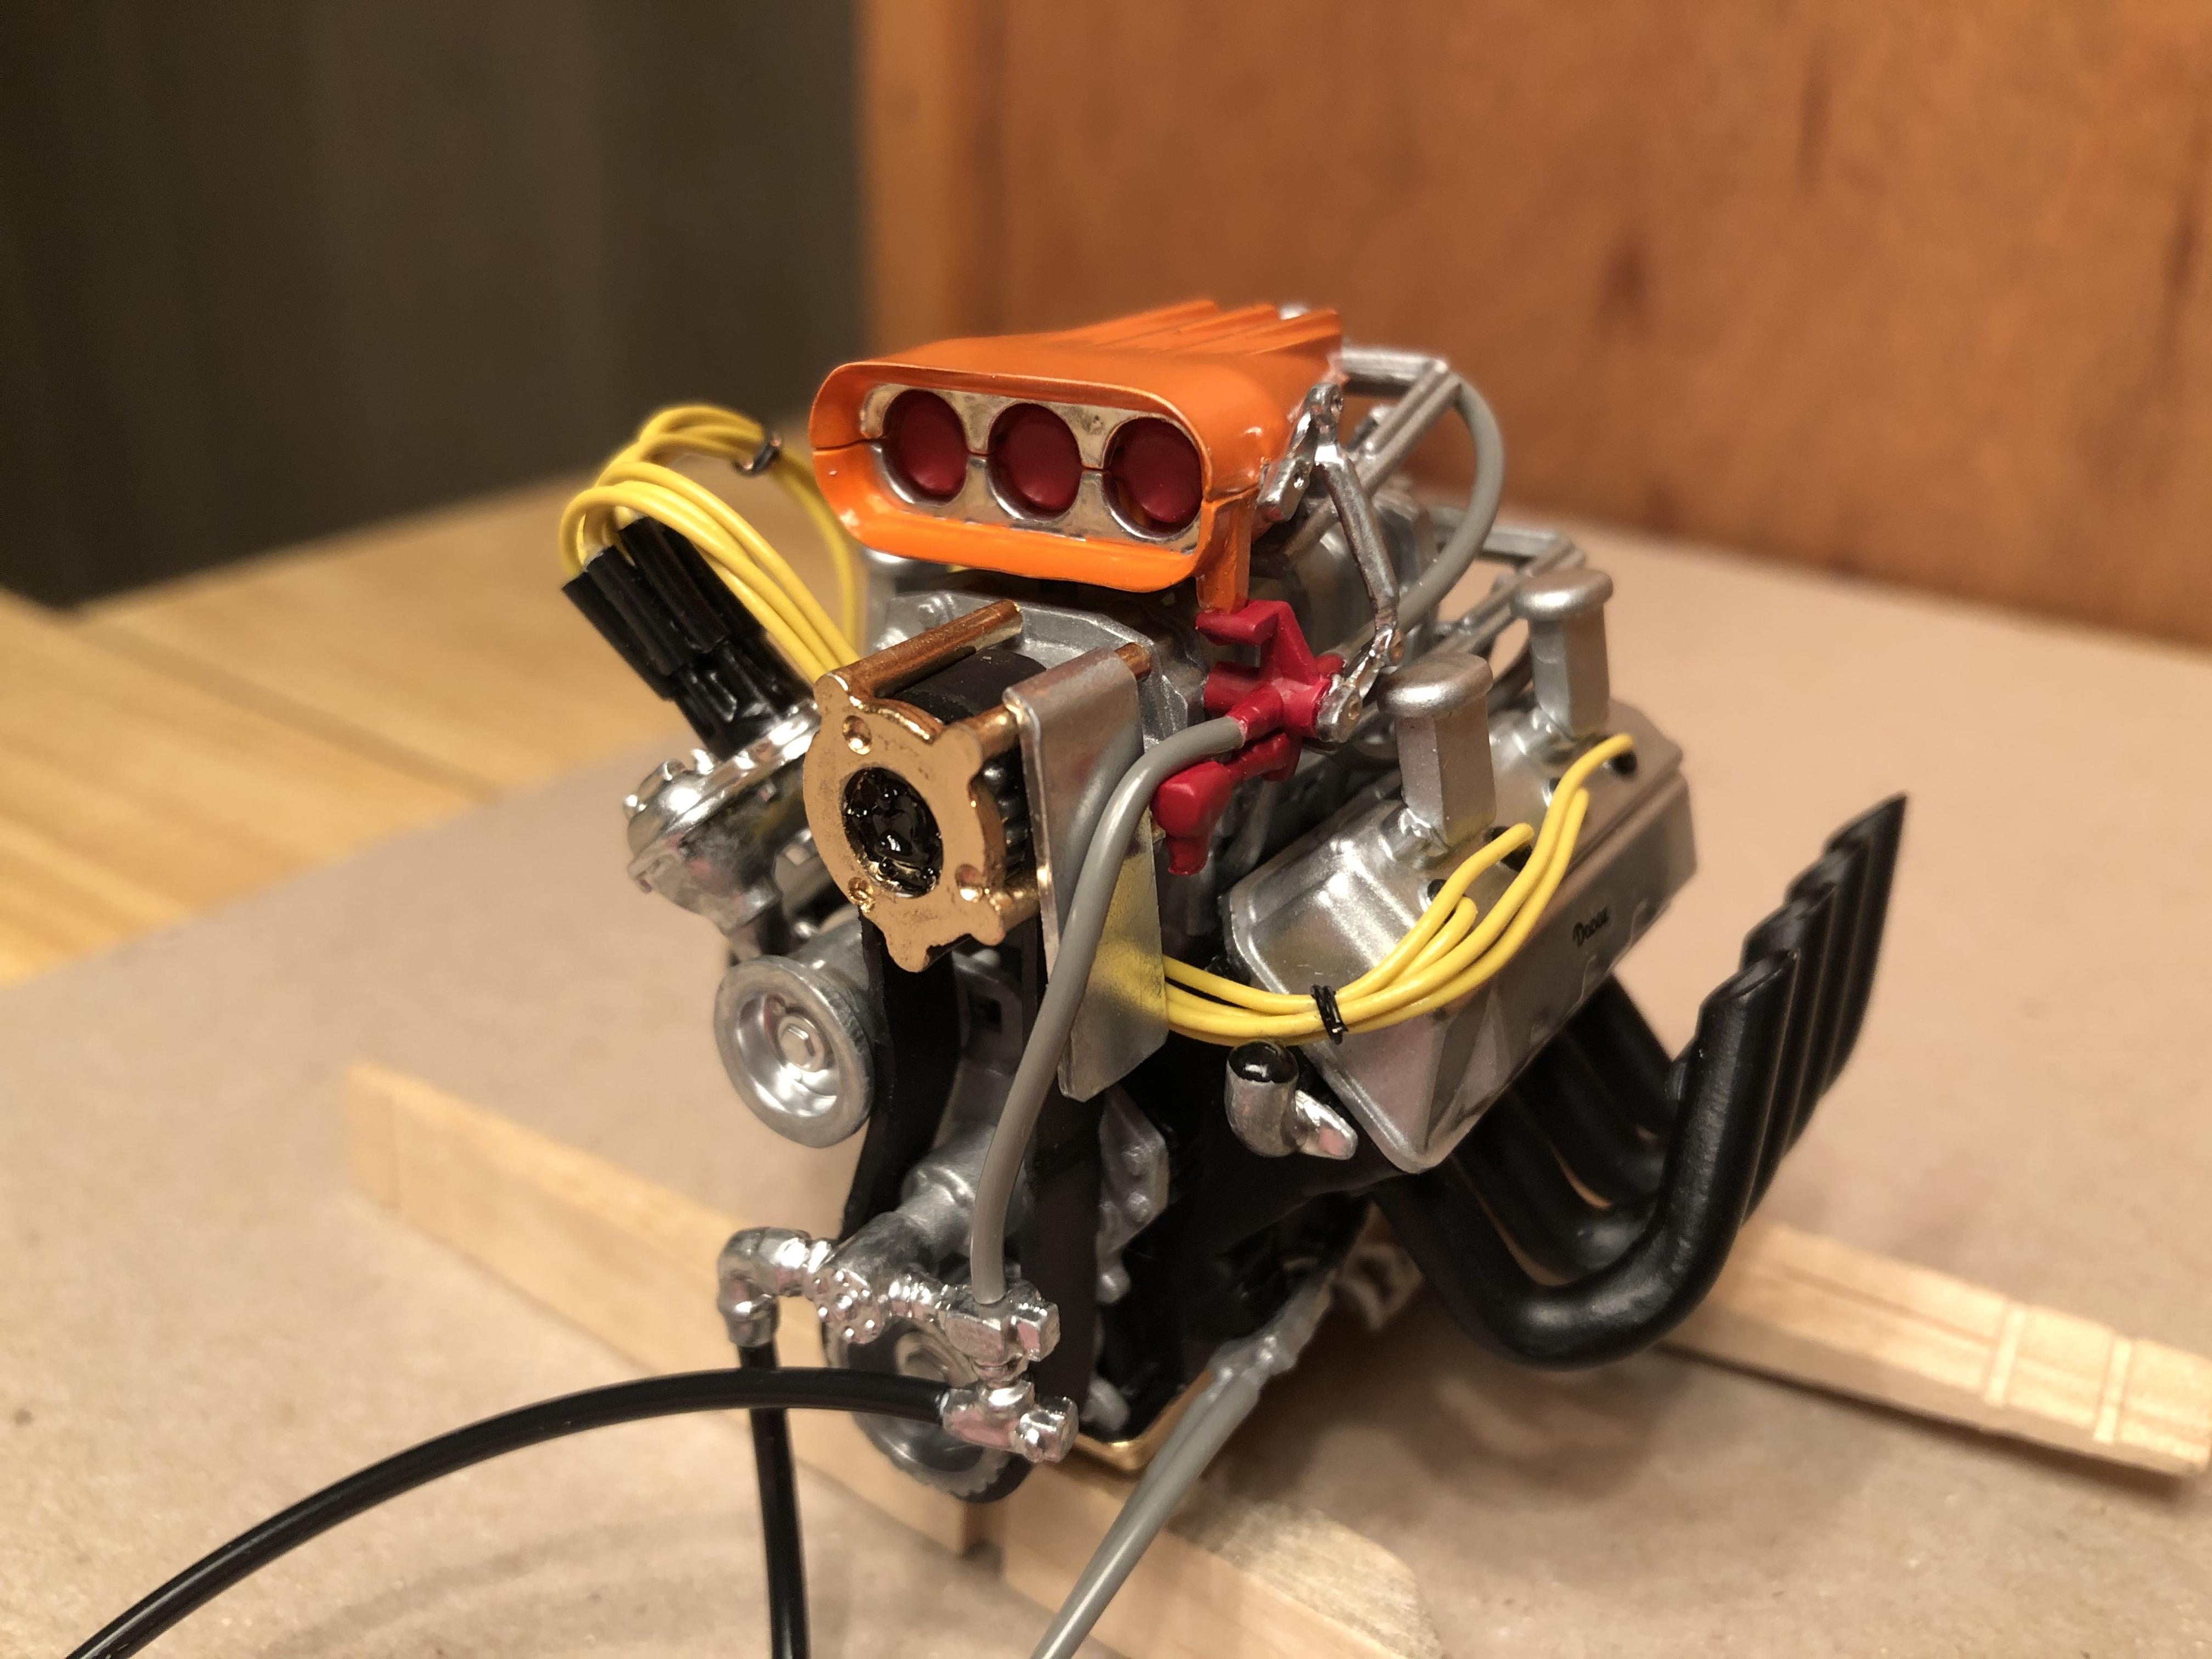
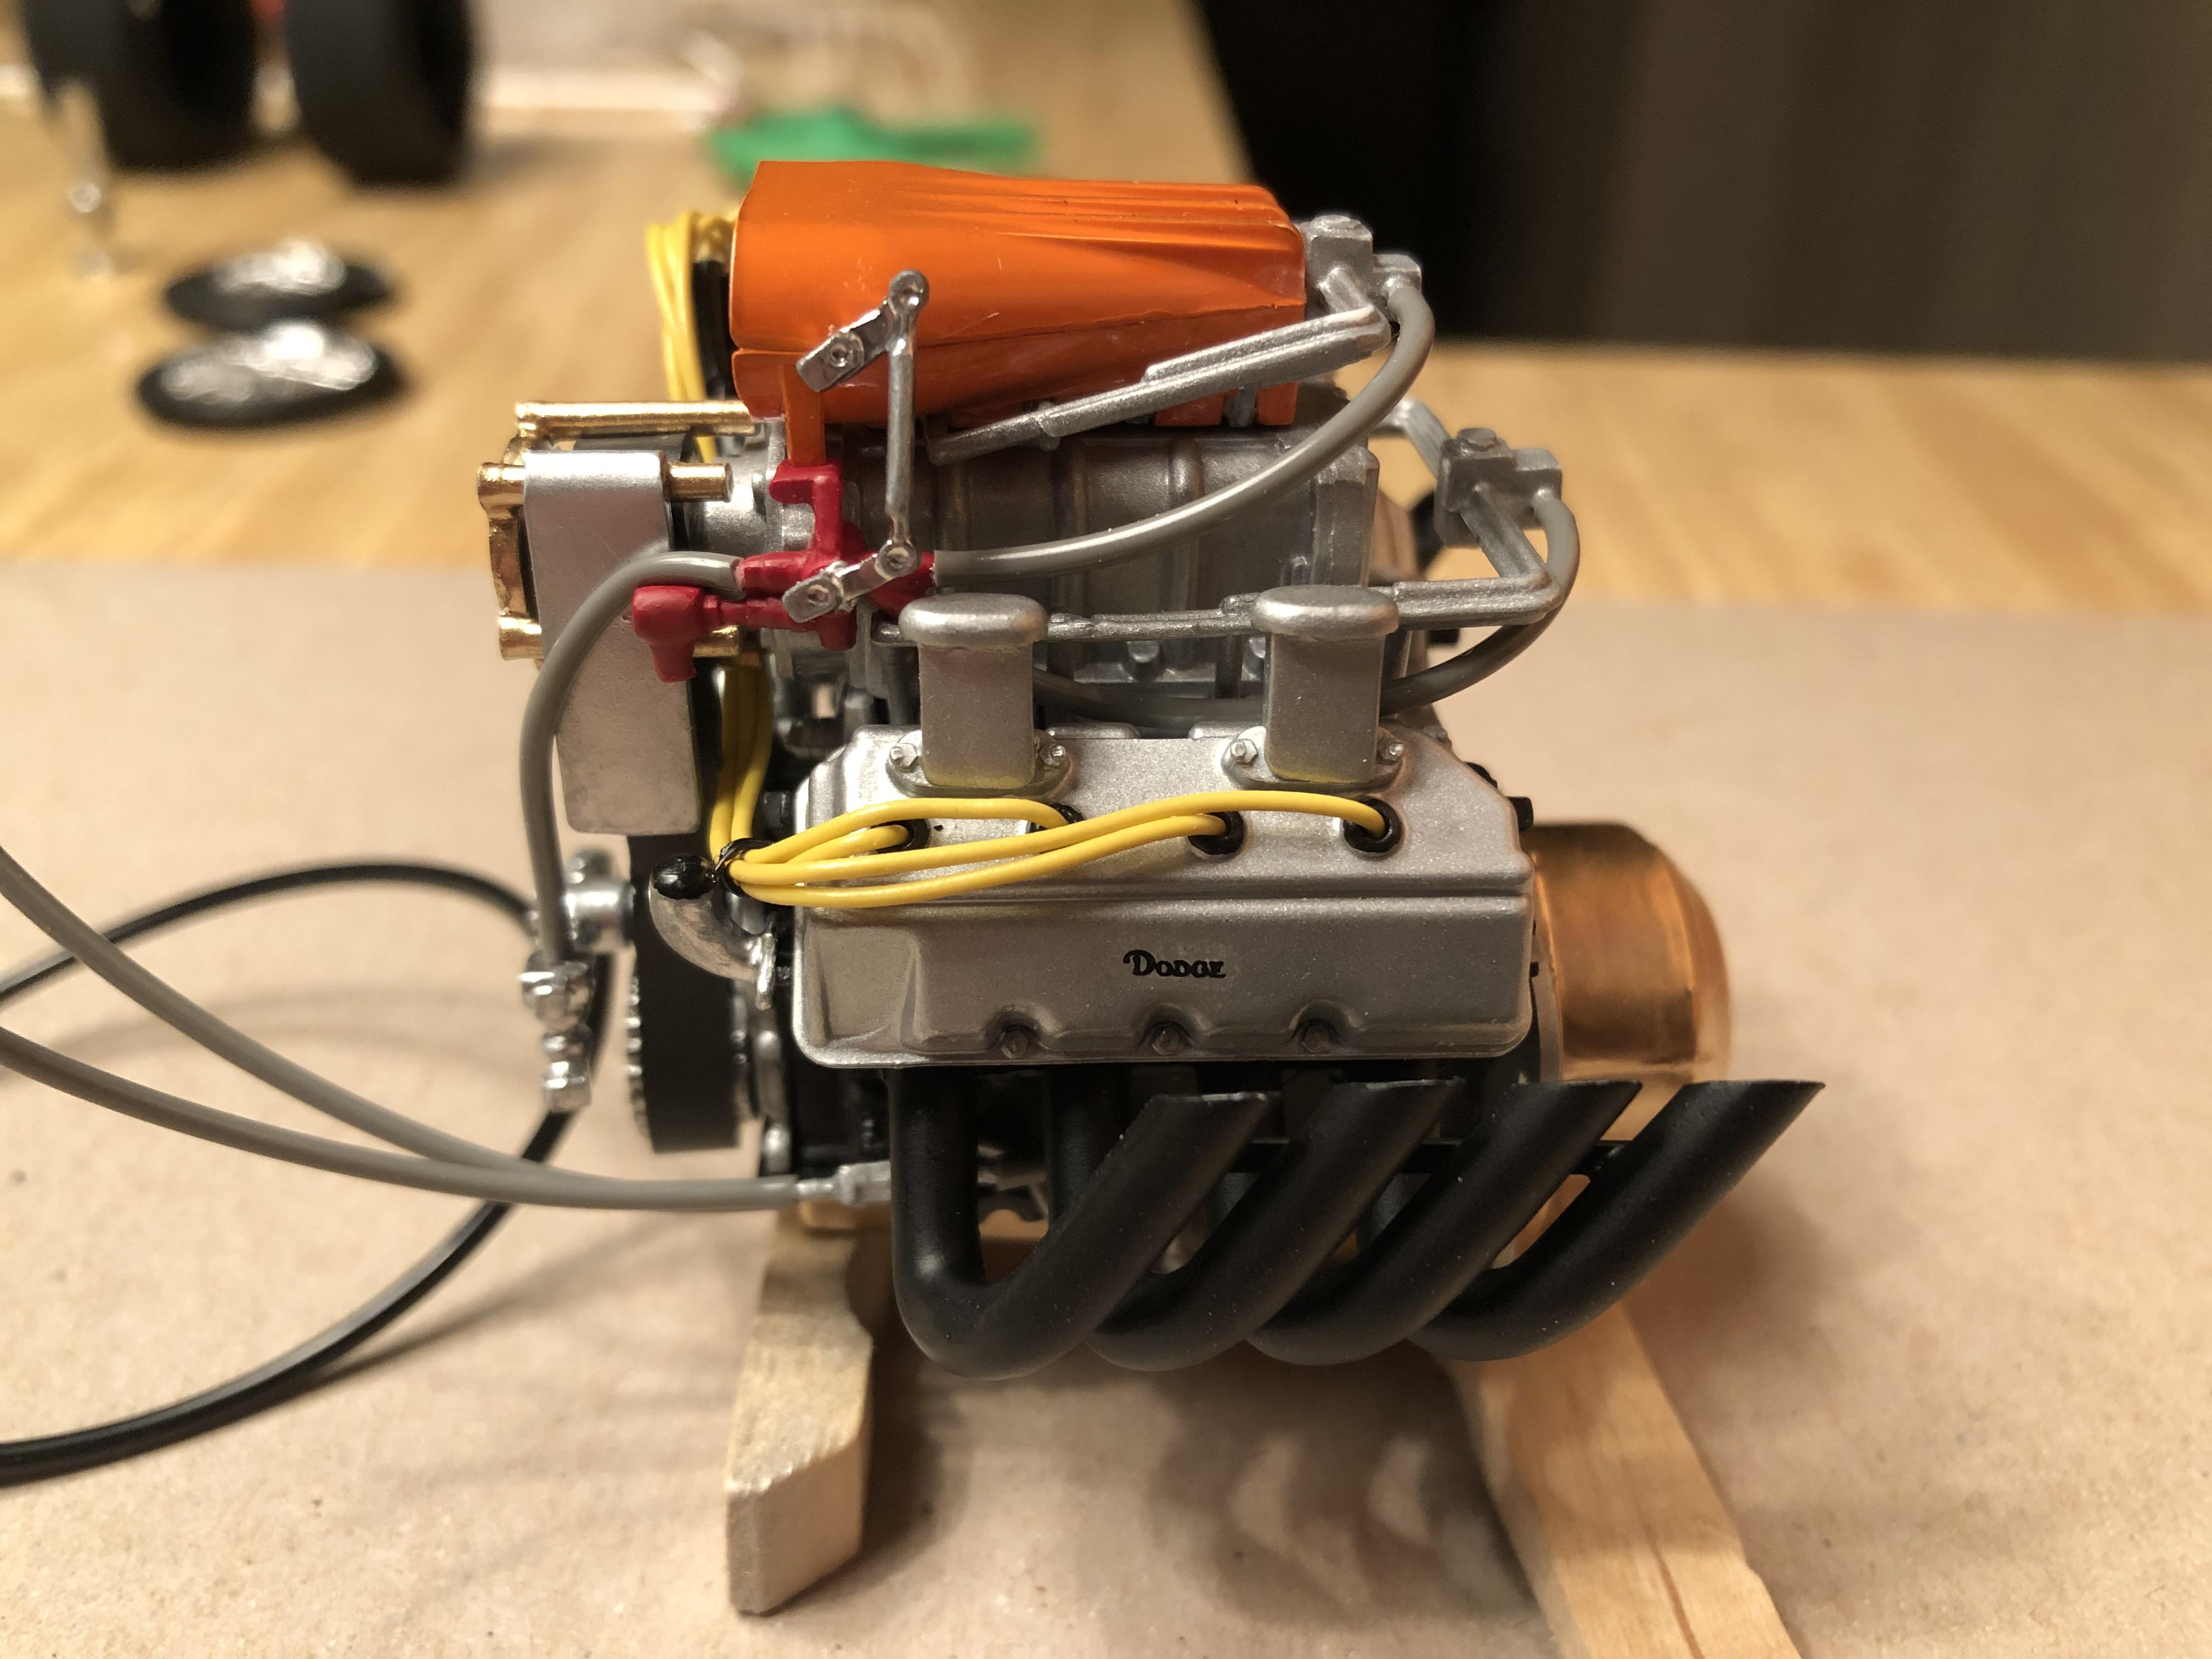
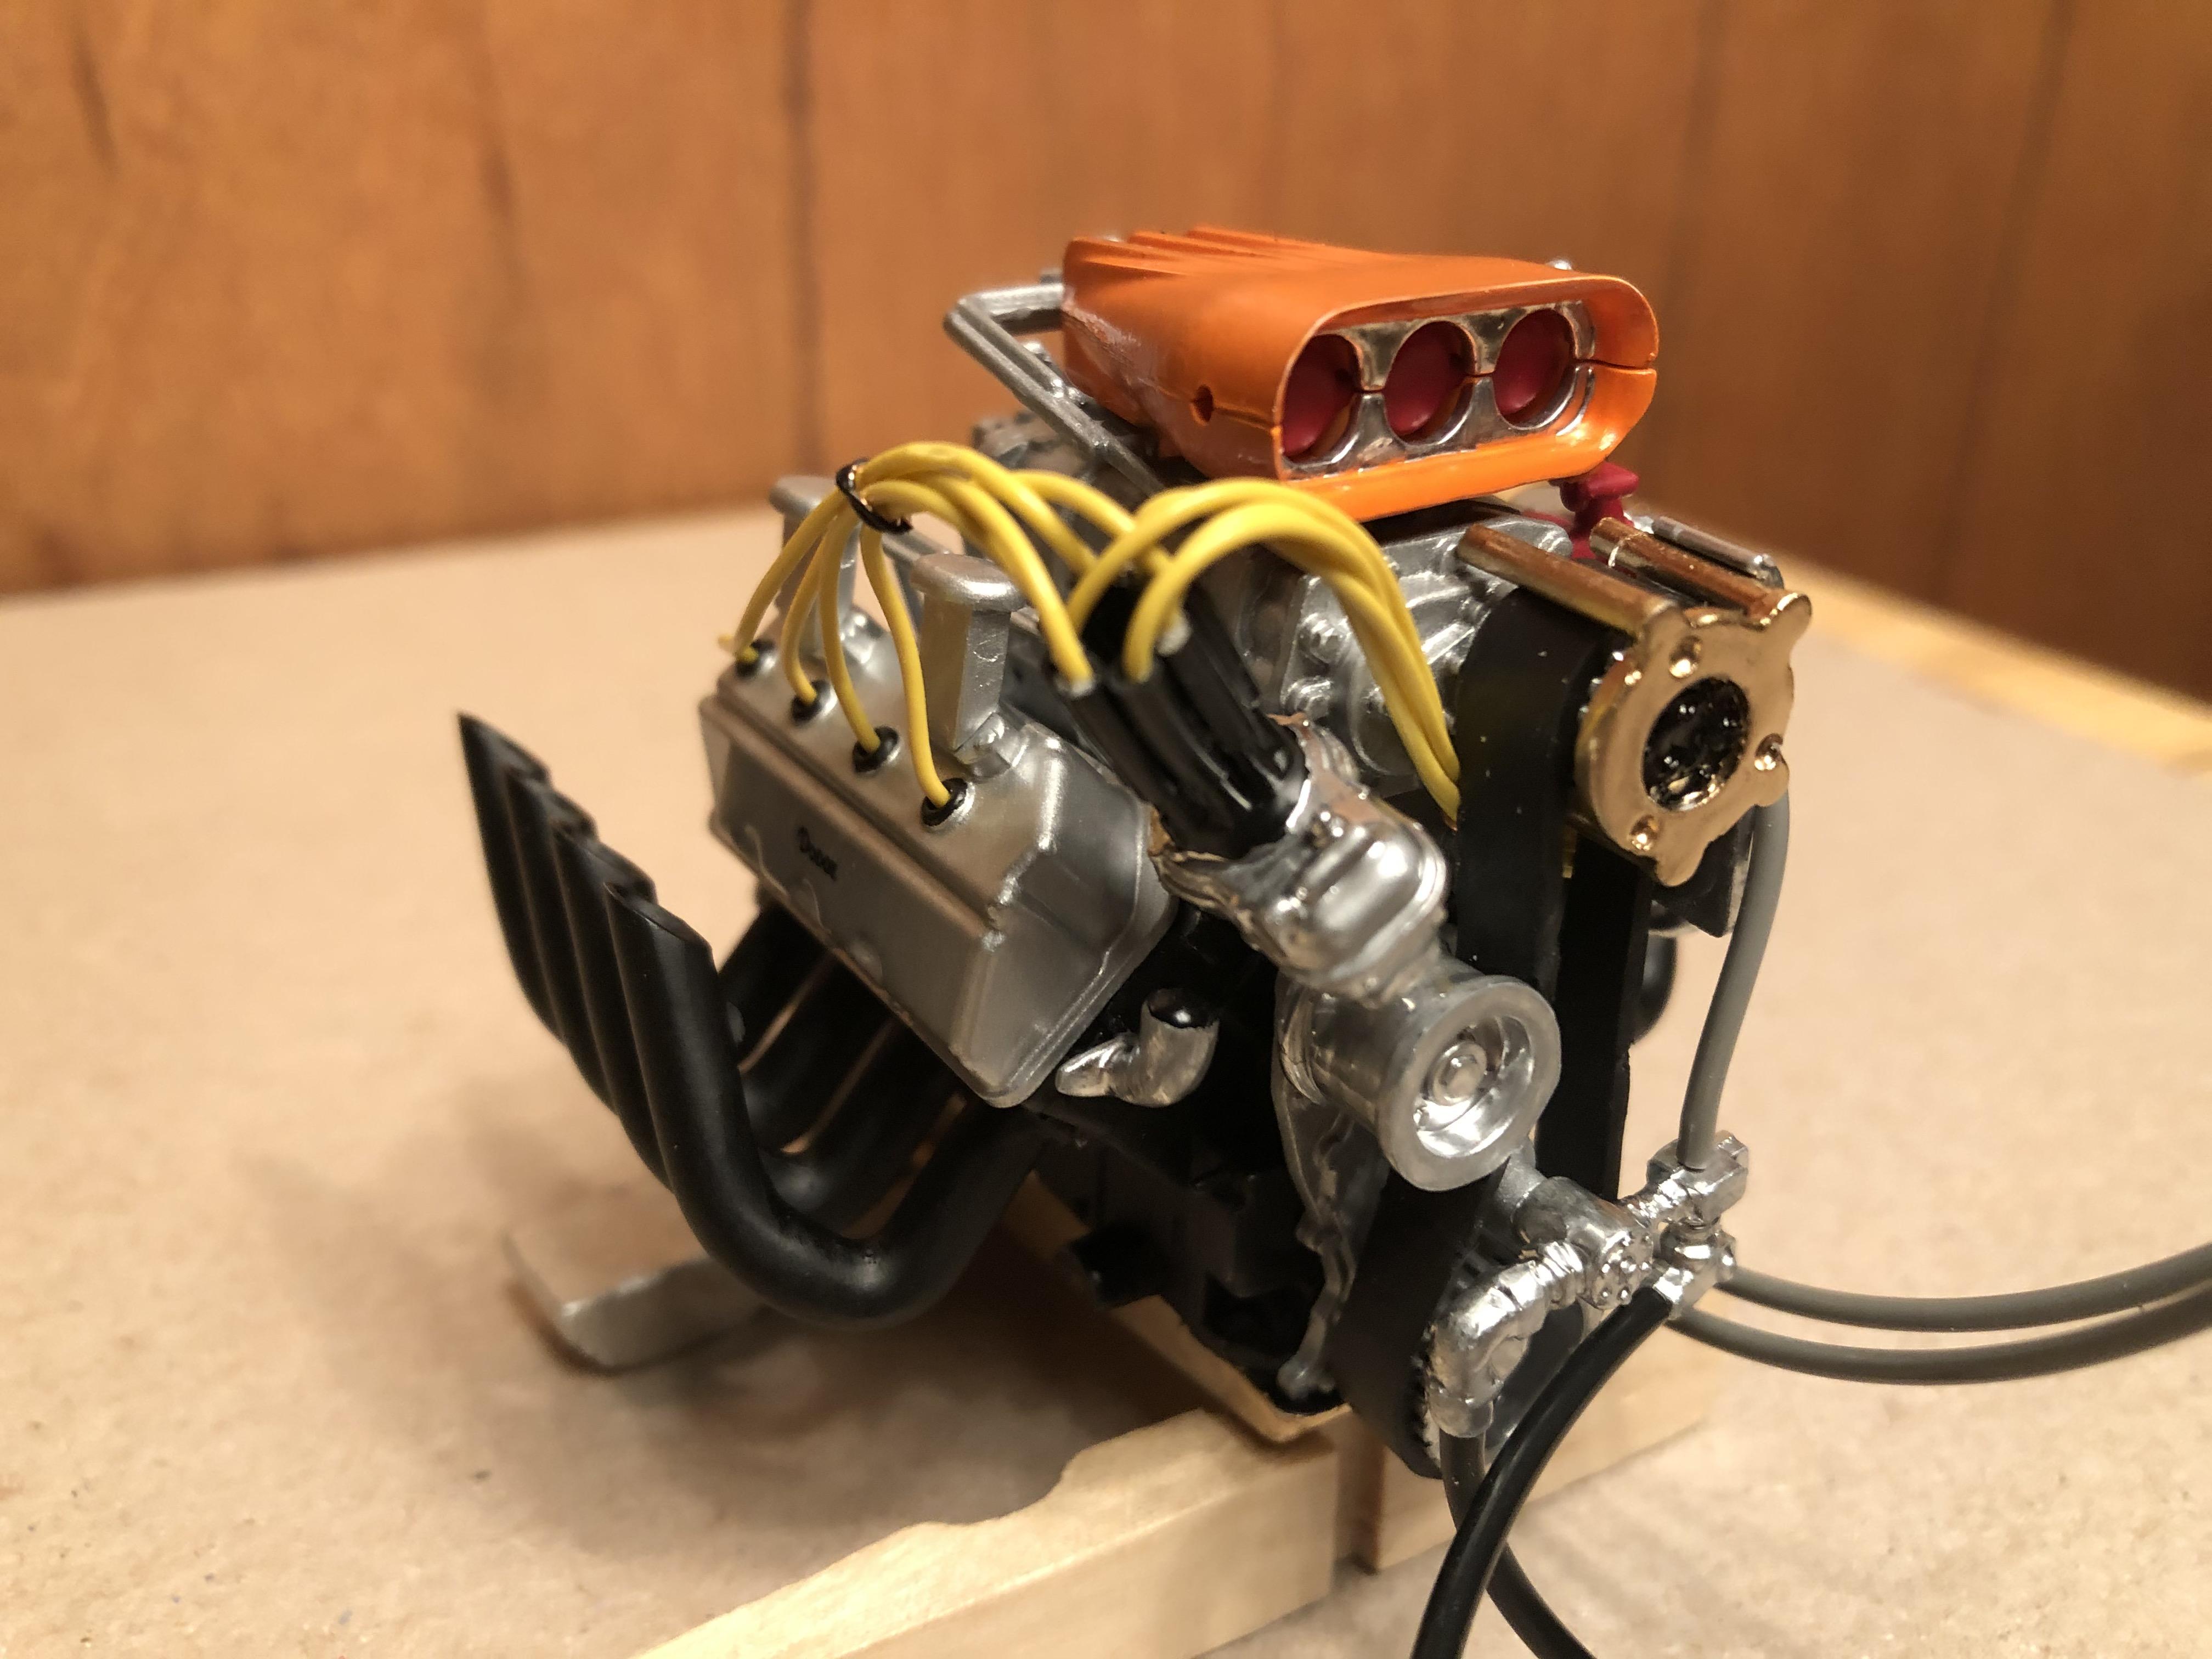
I wish this thread was around 3 or 4 weeks ago! I just finished building the engine for the Tony Nancy 1:16 front engine dragster. The black rubber "belt" that came with the kit was a little to small to fit over the pulleys I thought. It looked like if I used the belt that came with the kit, it would put too much stress on the plastic part and something would surely break. So I carefully tried stretching the belt out with my fingers, a little at a time. Of course I stretched it too much and it snapped. OK now what do I do? I thought that maybe I could use a bicycle inner tube and cut a thin section out of it, IF I could find the right size. So I calculated the inner tube diameter that I needed and went to the local bike shop. I got lucky and found almost exactly the tube diameter needed to make the belt, with about a 5% stretch. it took me about 4 tries cutting thin sections out of the inner tube to get one that looked acceptable. At about $6 for the inner tube, this was not a cheap blower belt! But if I ever need one that size again I'll be able to make hundreds of them!
-
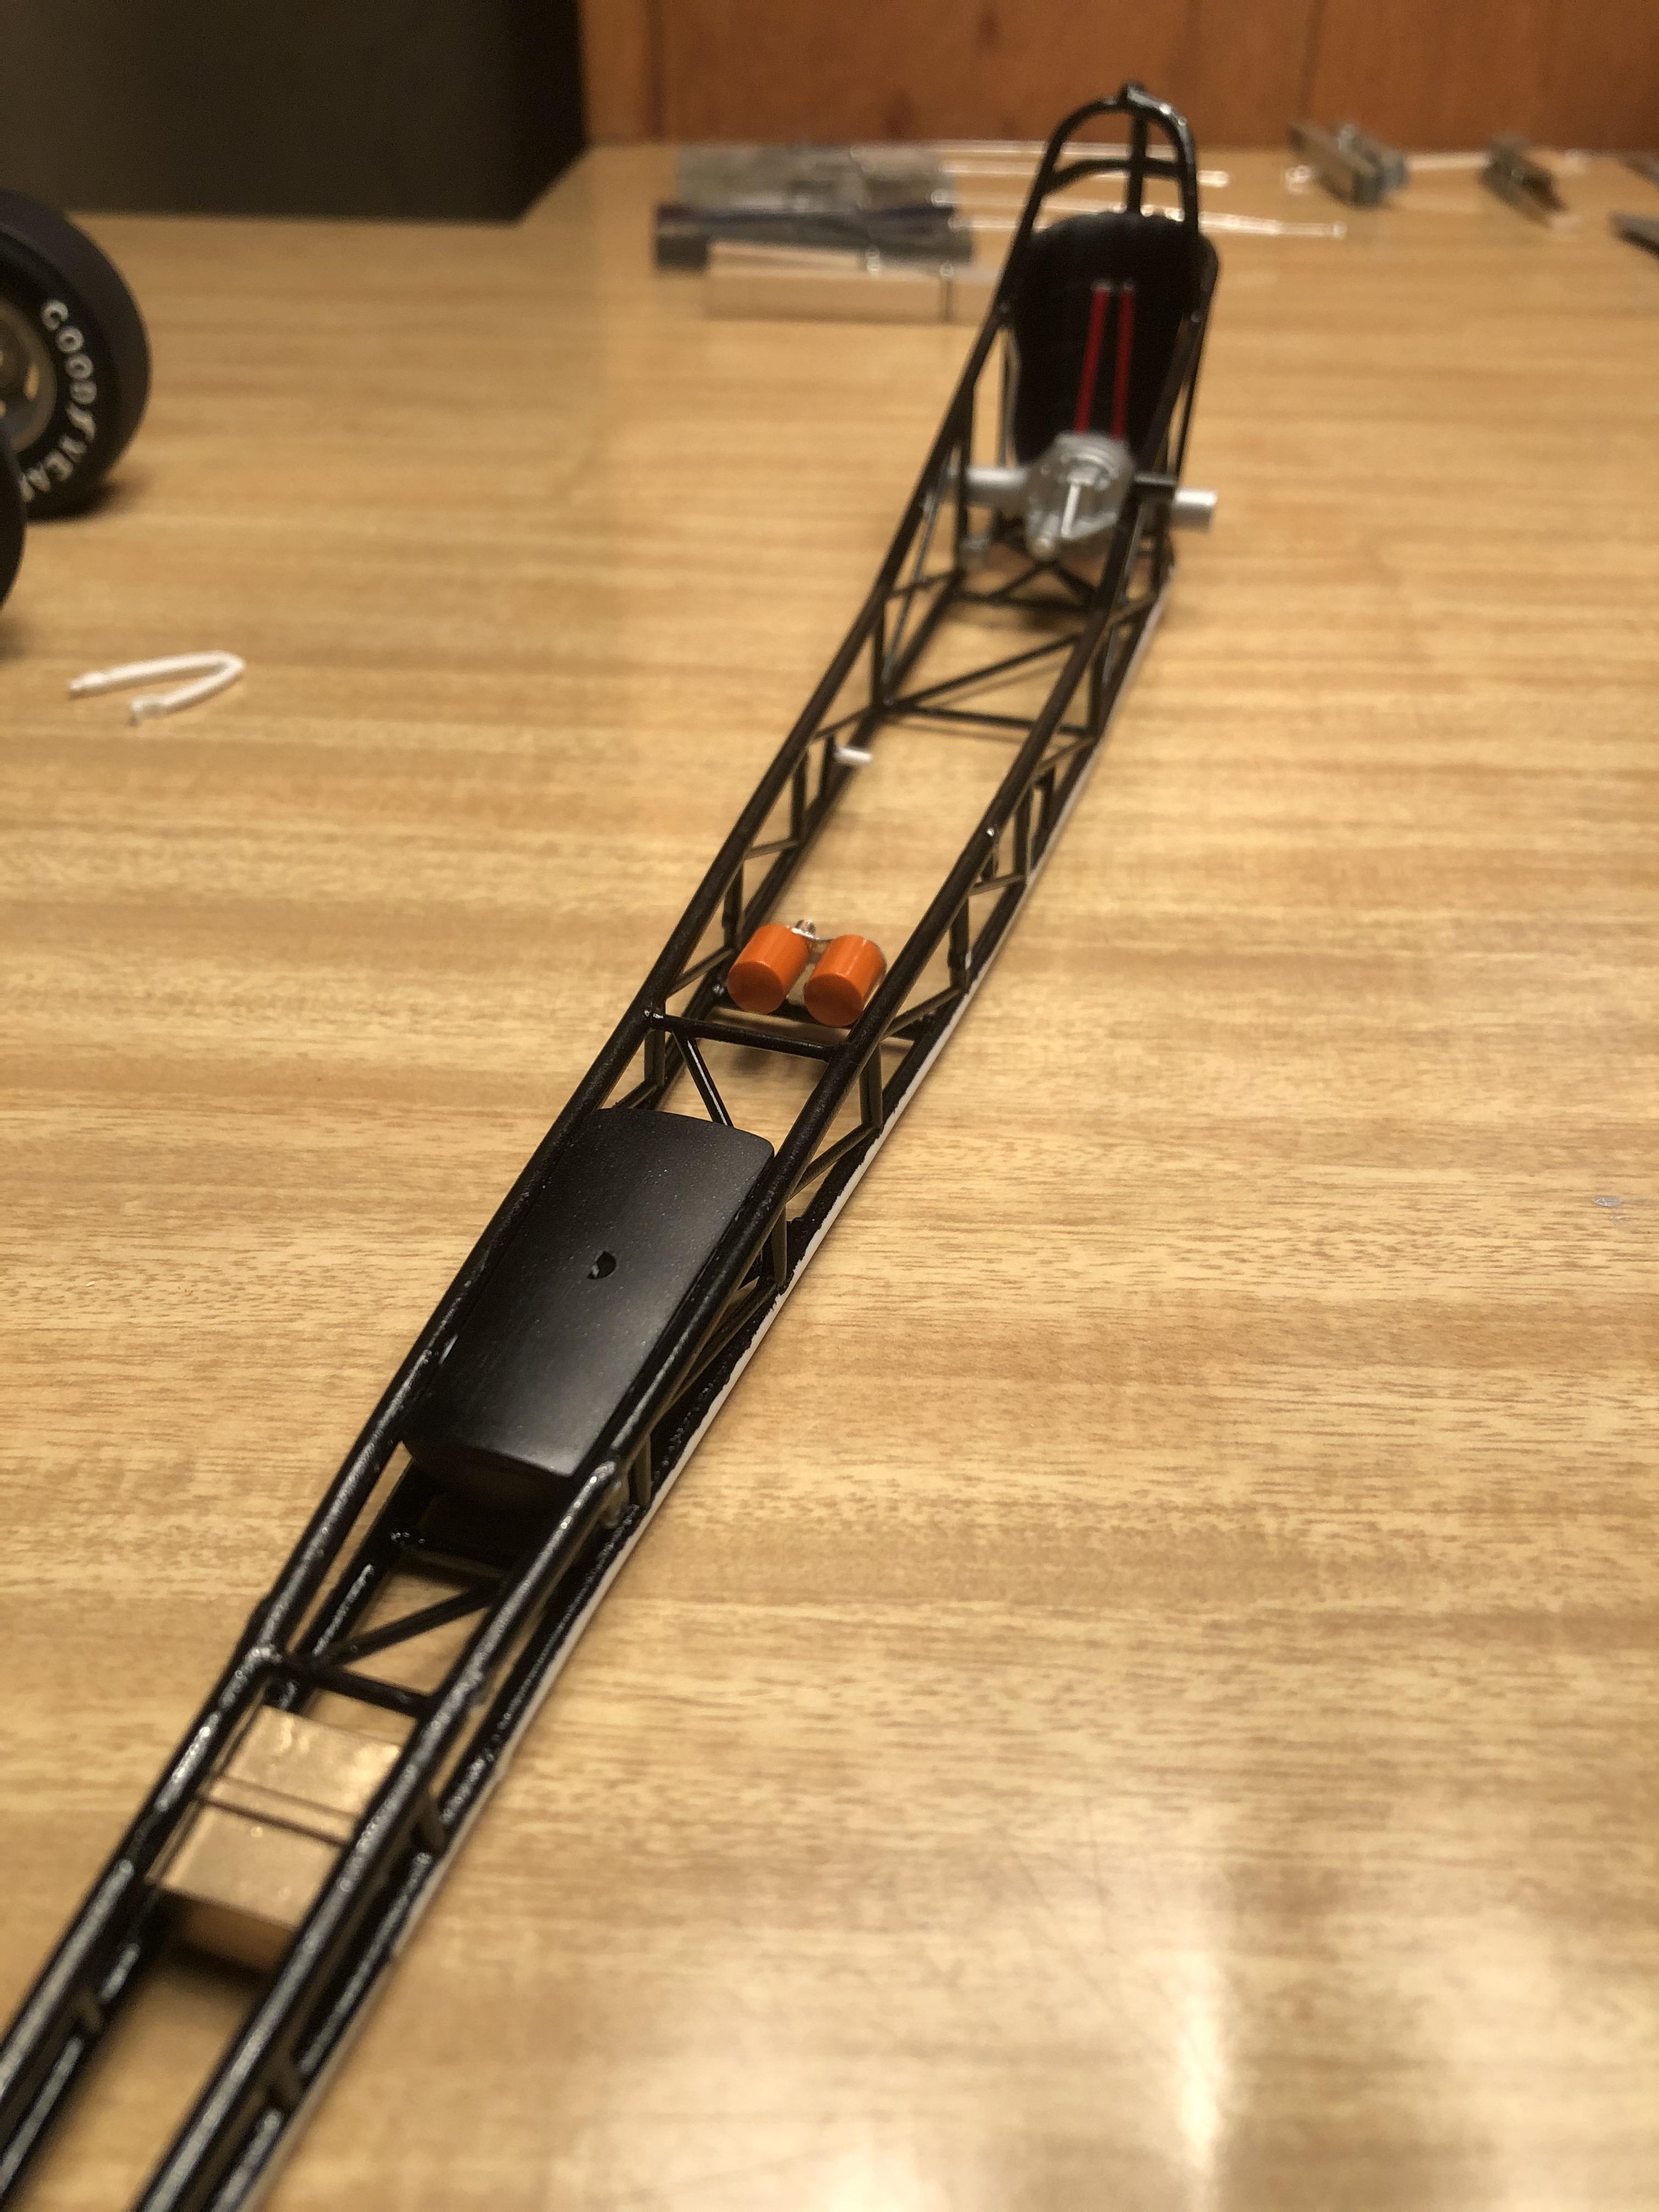
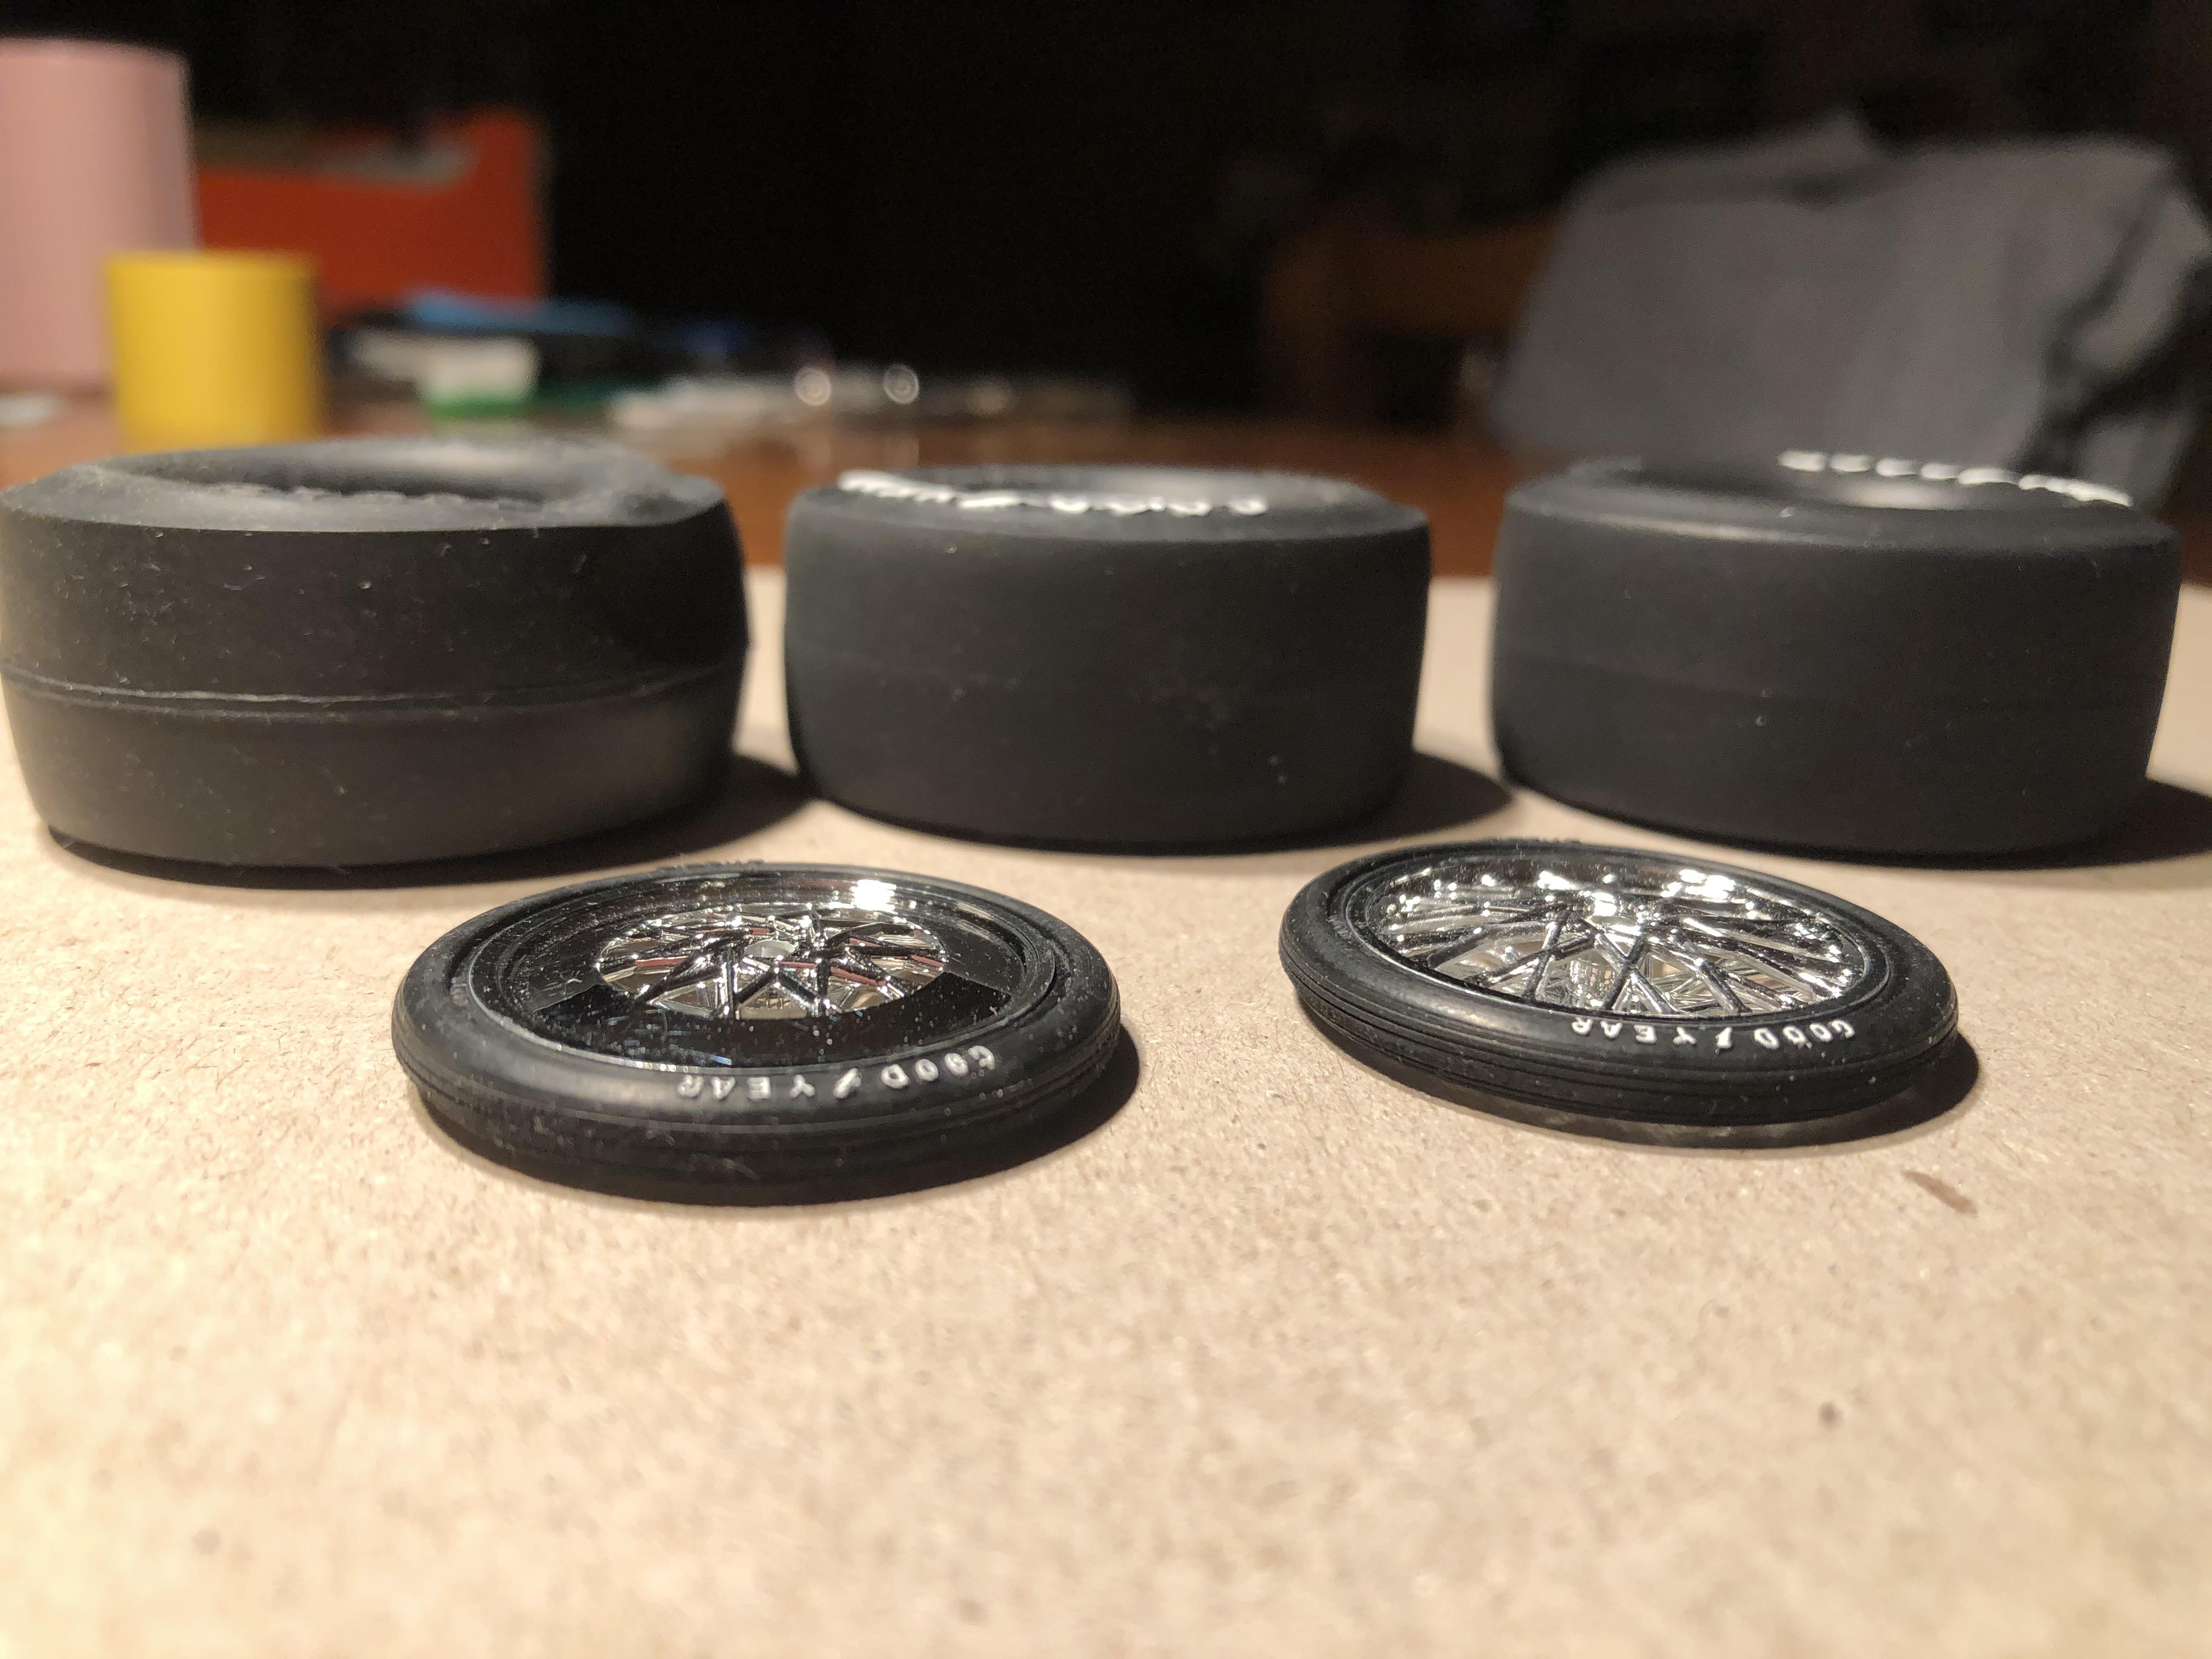
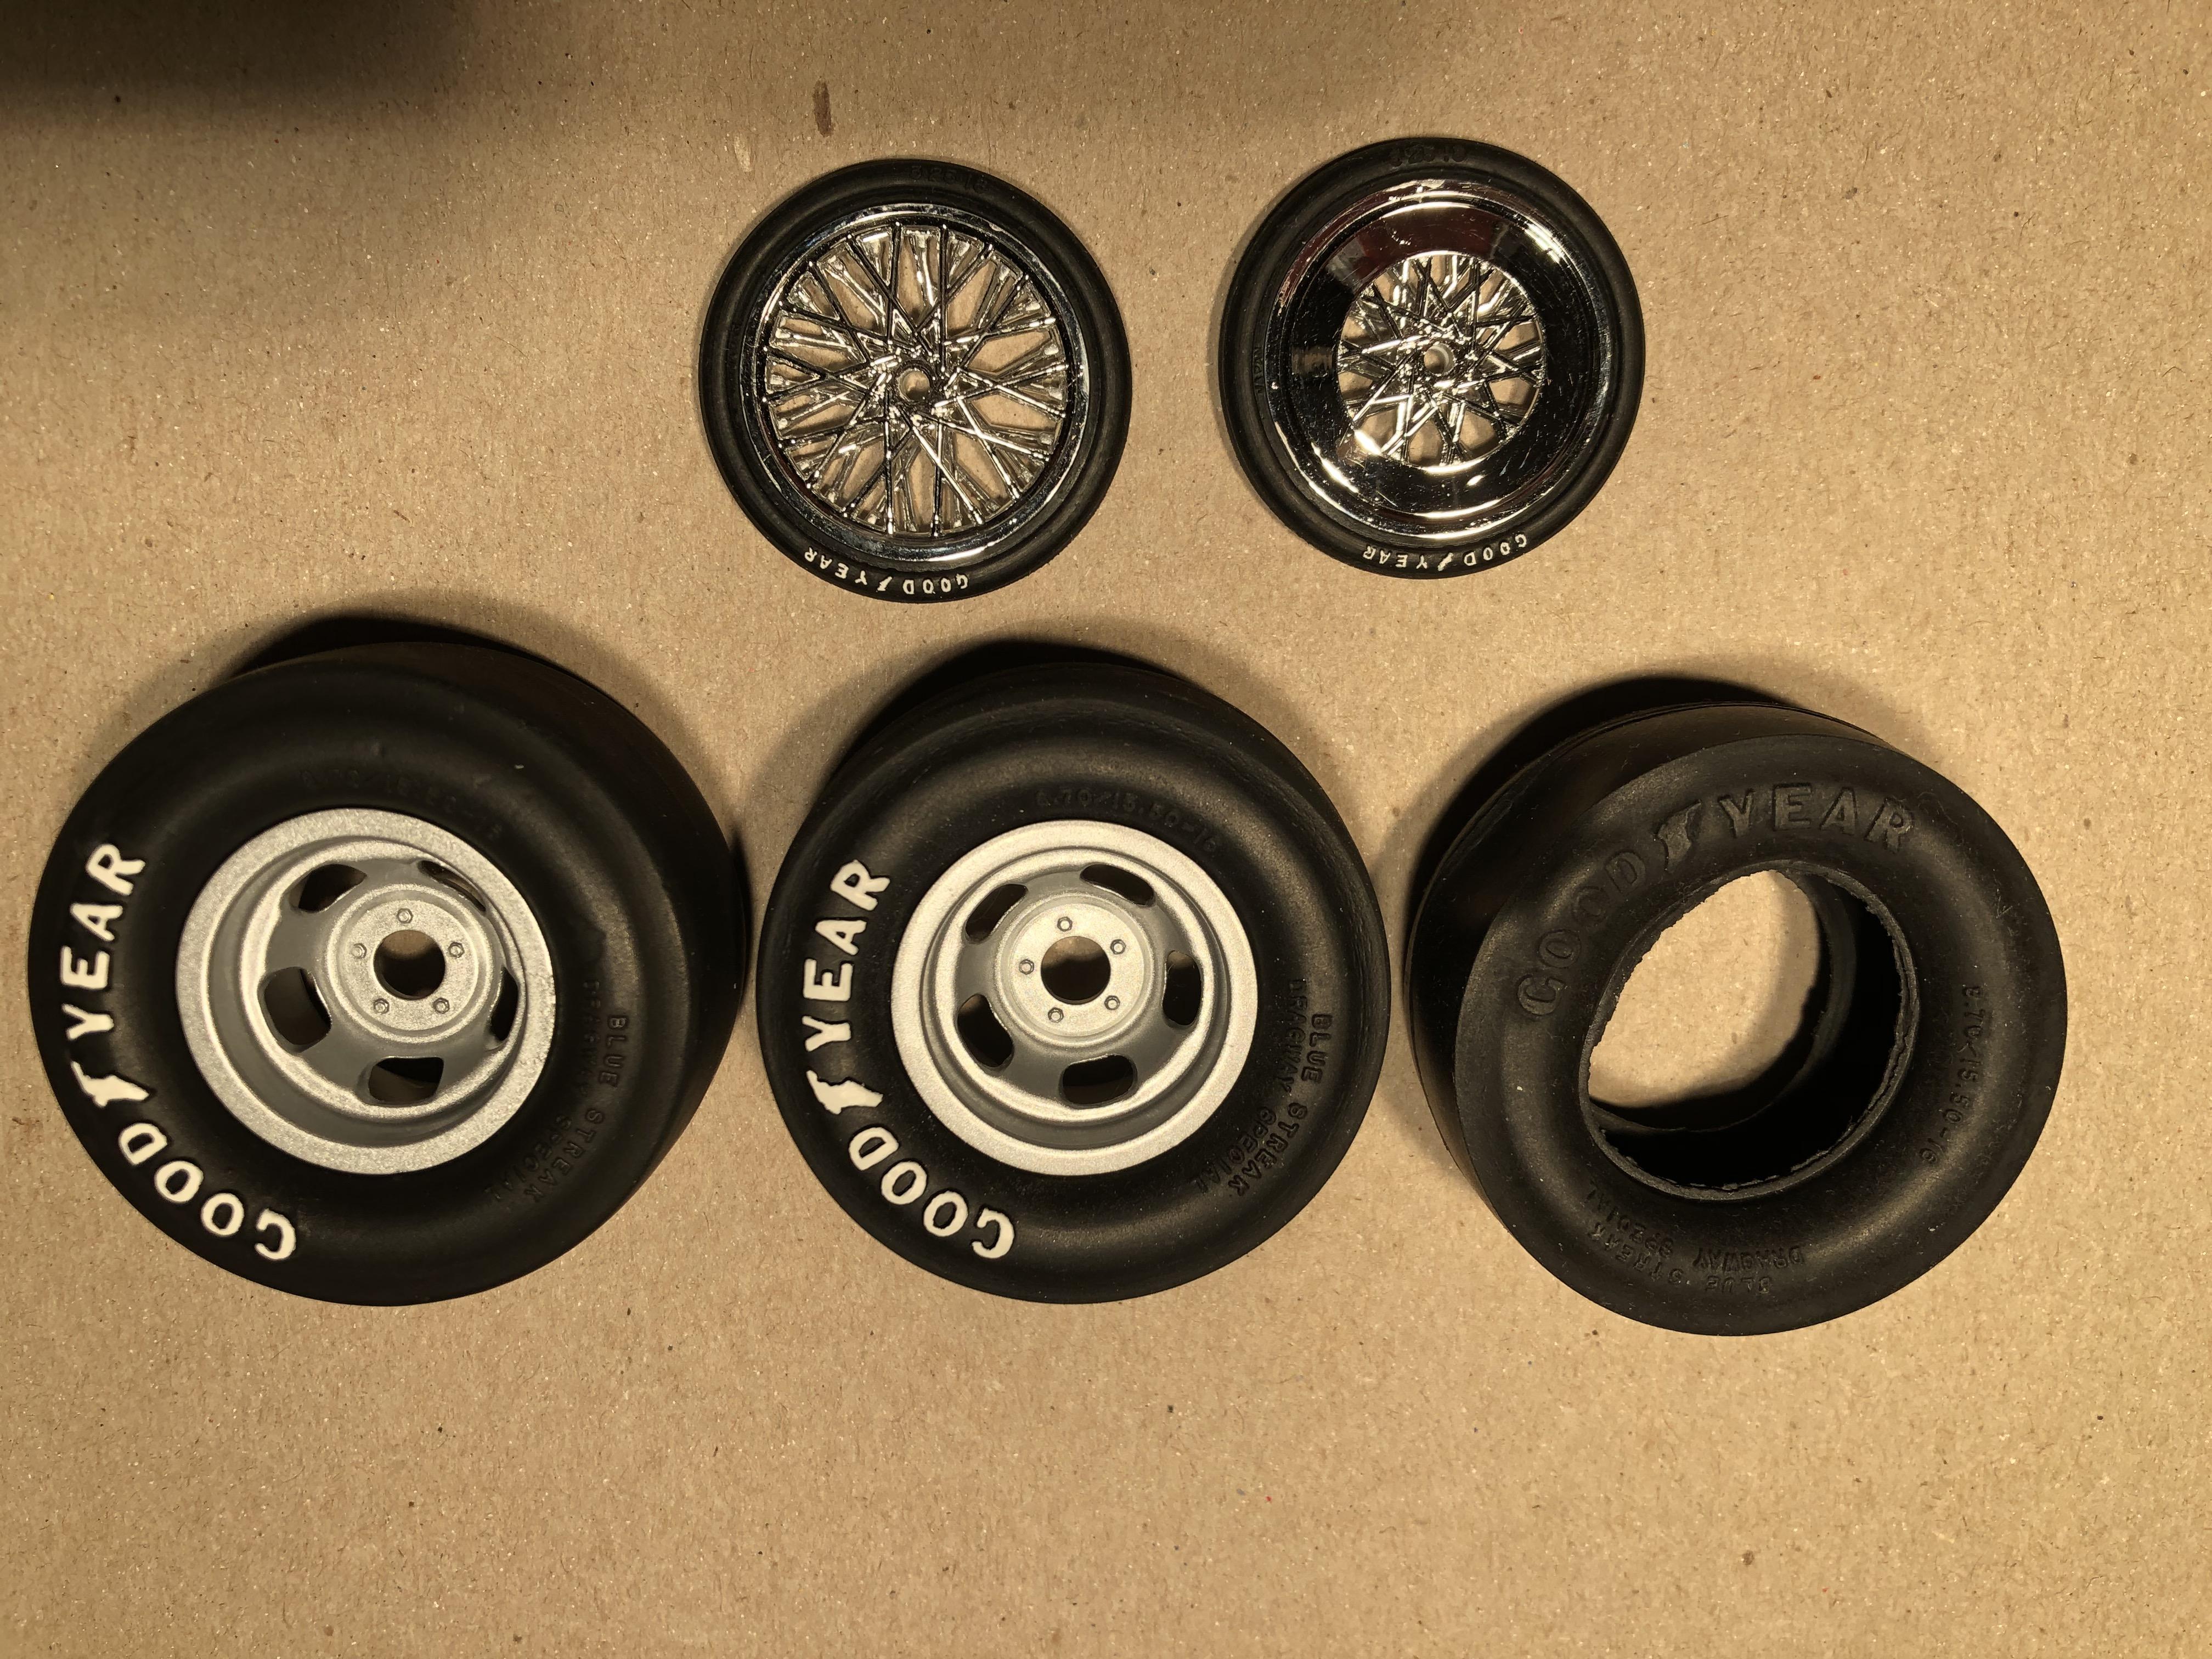
Finished the wheels, frame and some other details tonight. Still have to un-mask areas on the frame where parts will be glued. One of the slicks that came with the kit was deformed as the photos show. Very lucky for me (and unknown to me until last month) my youngest brother saved one of the slicks from the first time I built this kit about 45 years ago. Unfortunately the rest of that original build was torched as mentioned previously. I stripped the paint off that old slick and repainted the lettering. Can you tell which was the original slick from 45 years ago?
-
Very nice! I like the paint scheme, great job!
-
International Unistar CO-7044a
Safire6 replied to dragstueck's topic in Model Trucks: Big Rigs and Heavy Equipment
Wow that is beautiful! I really like the 'trade show' theme. -
Thanks Espo, it's the most detailed engine I've built since I got back into modeling a few years ago. I built one as a kid about 45 years ago but torched that one as I got older. This one should turn out better I think.
-
Building the Revell 1:16 Tony Nancy front engine dragster. I just finished the engine. Comments welcome.
-
how do I straighten a FED frame?
Safire6 replied to Safire6's topic in Model Building Questions and Answers
Thanks for your response Bill. I thought that heat would play a part in fixing this but I never thought about boiling water. Since I've never had to correct something like this before, should I just let the styrene cool in air after the boiling water or would it be better to pour room temp water on it to cool it? Also do you have any suggestions on how to secure the frame to the flat board? I was thinking small finishing type nails bent over the rails. -
I'm building the Revell Tony Nancy 1:16 FED. The frame is warped slightly and bends a bit to the right side. Any tips or recommendations on how to straighten it OR should I just rely on the frame cross-members to straighten it out? I'd like to try to straighten it before gluing the cross-members?
-
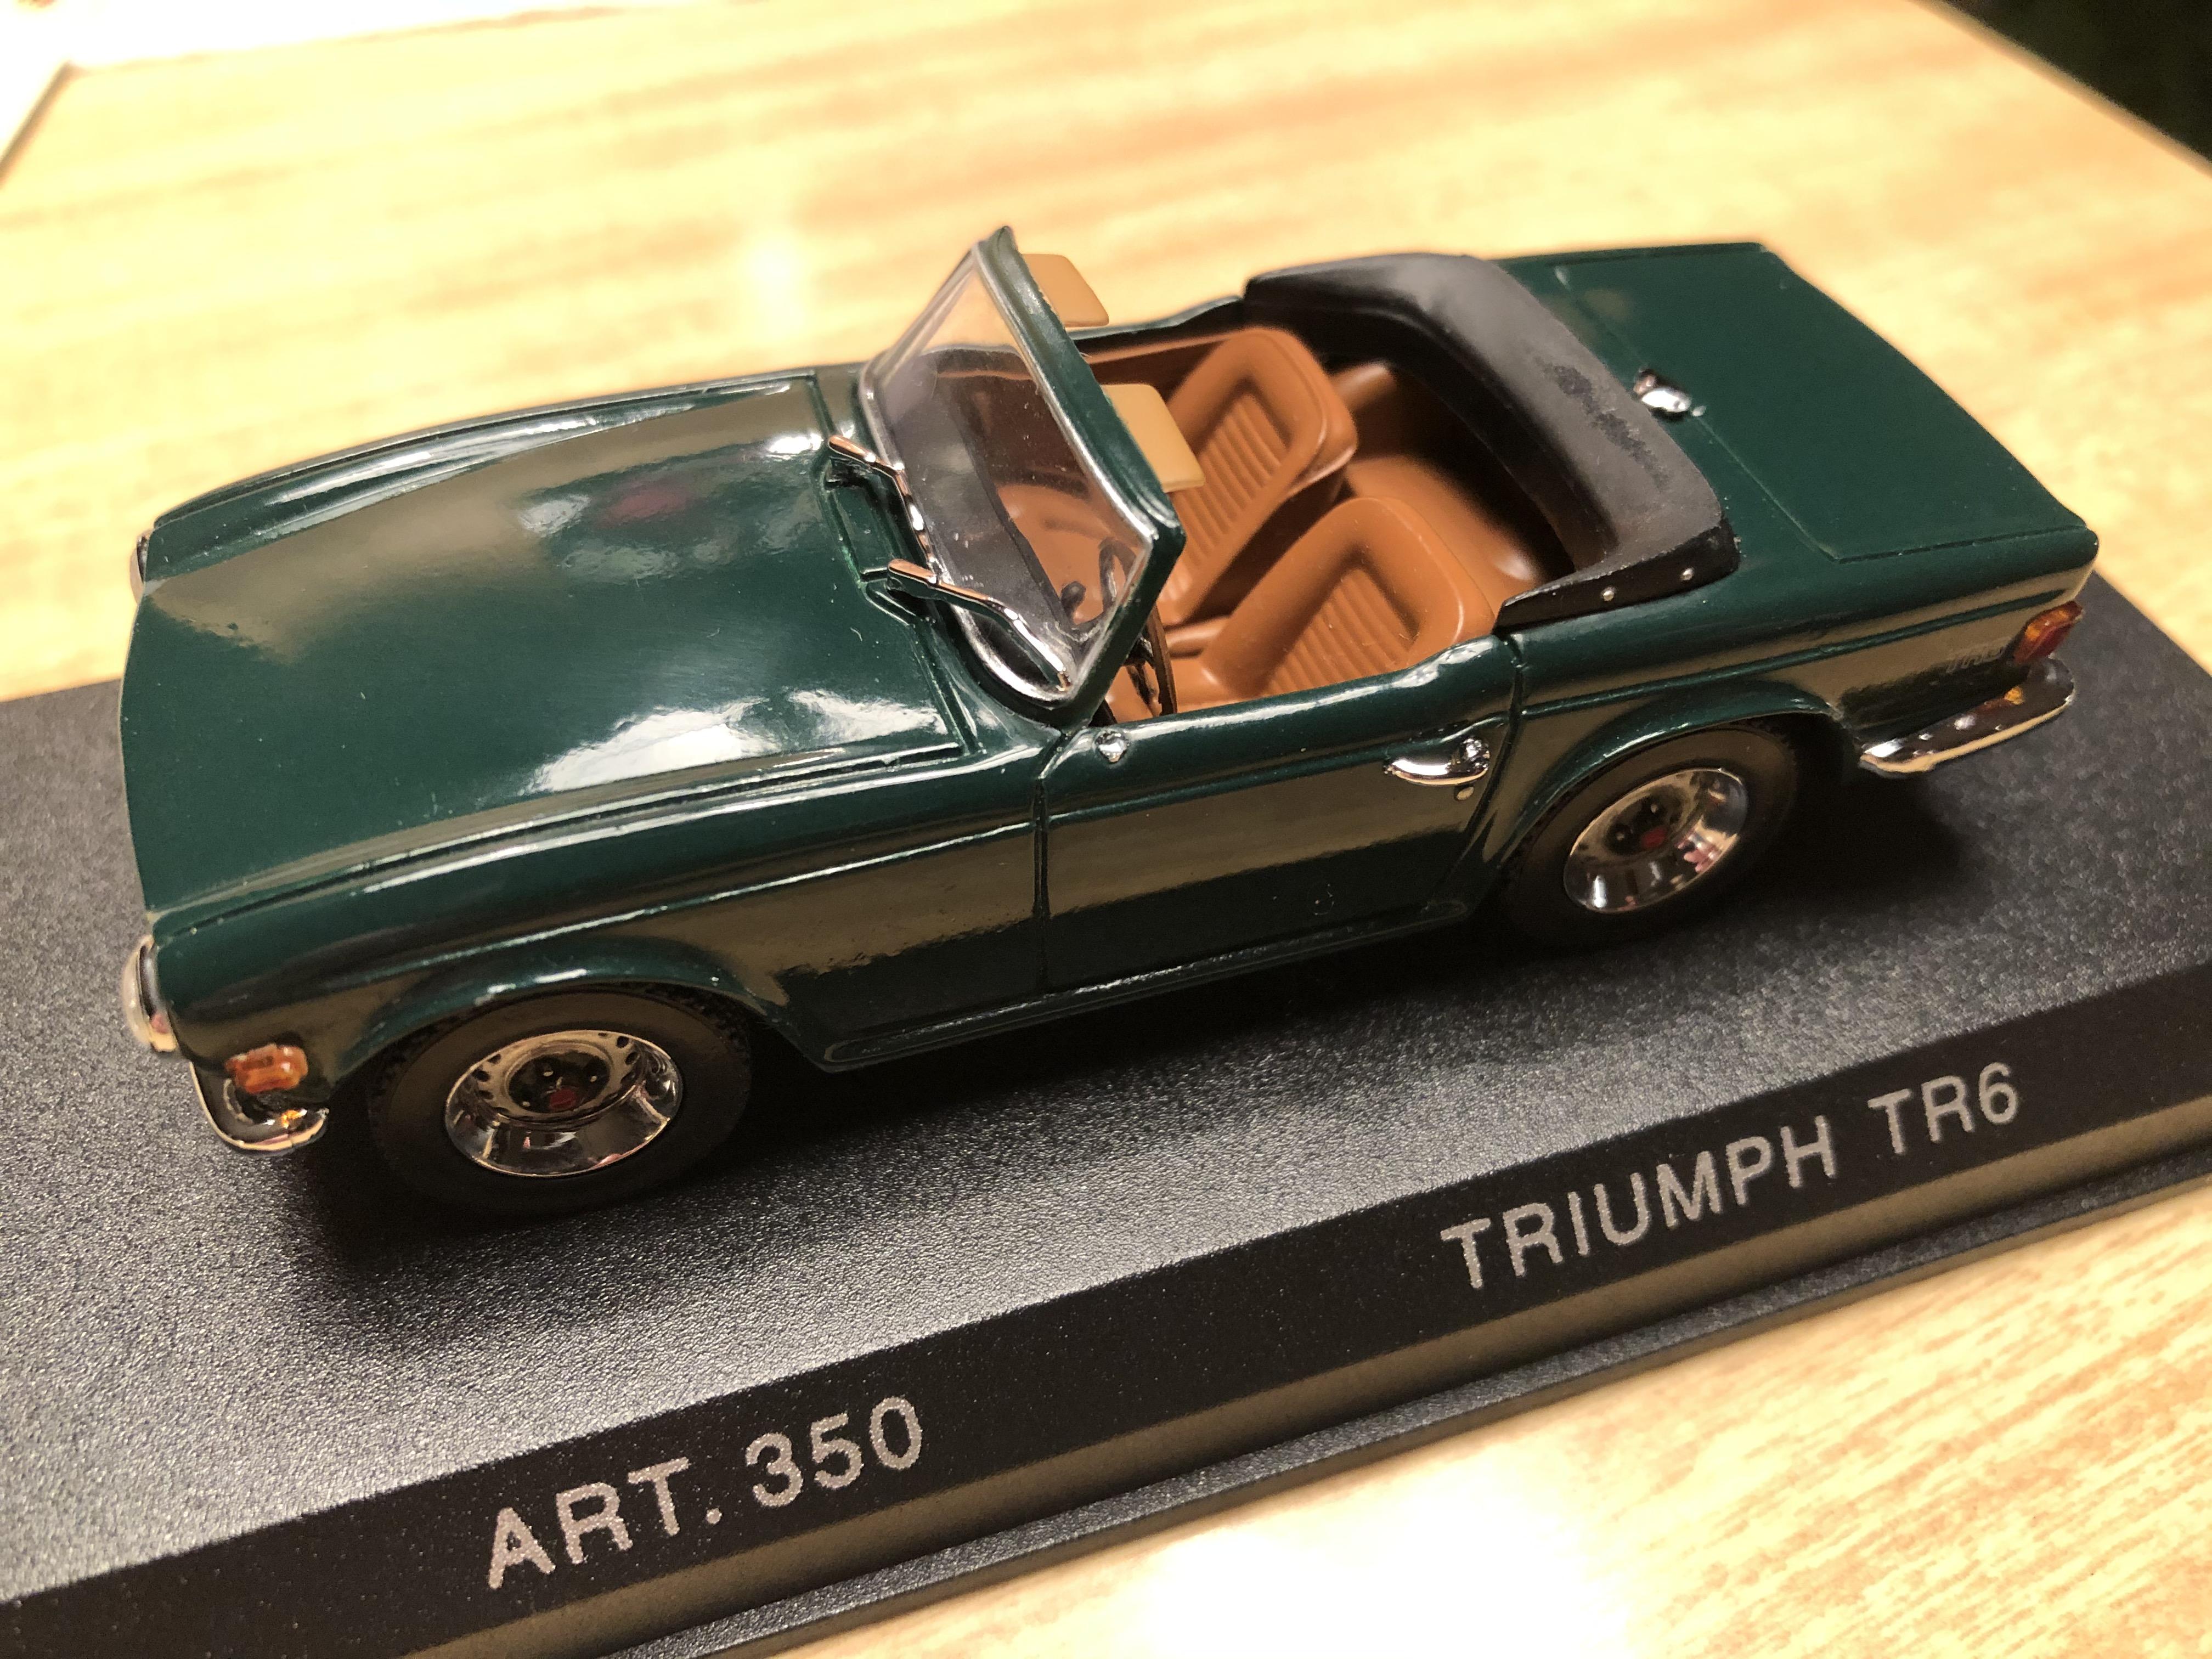
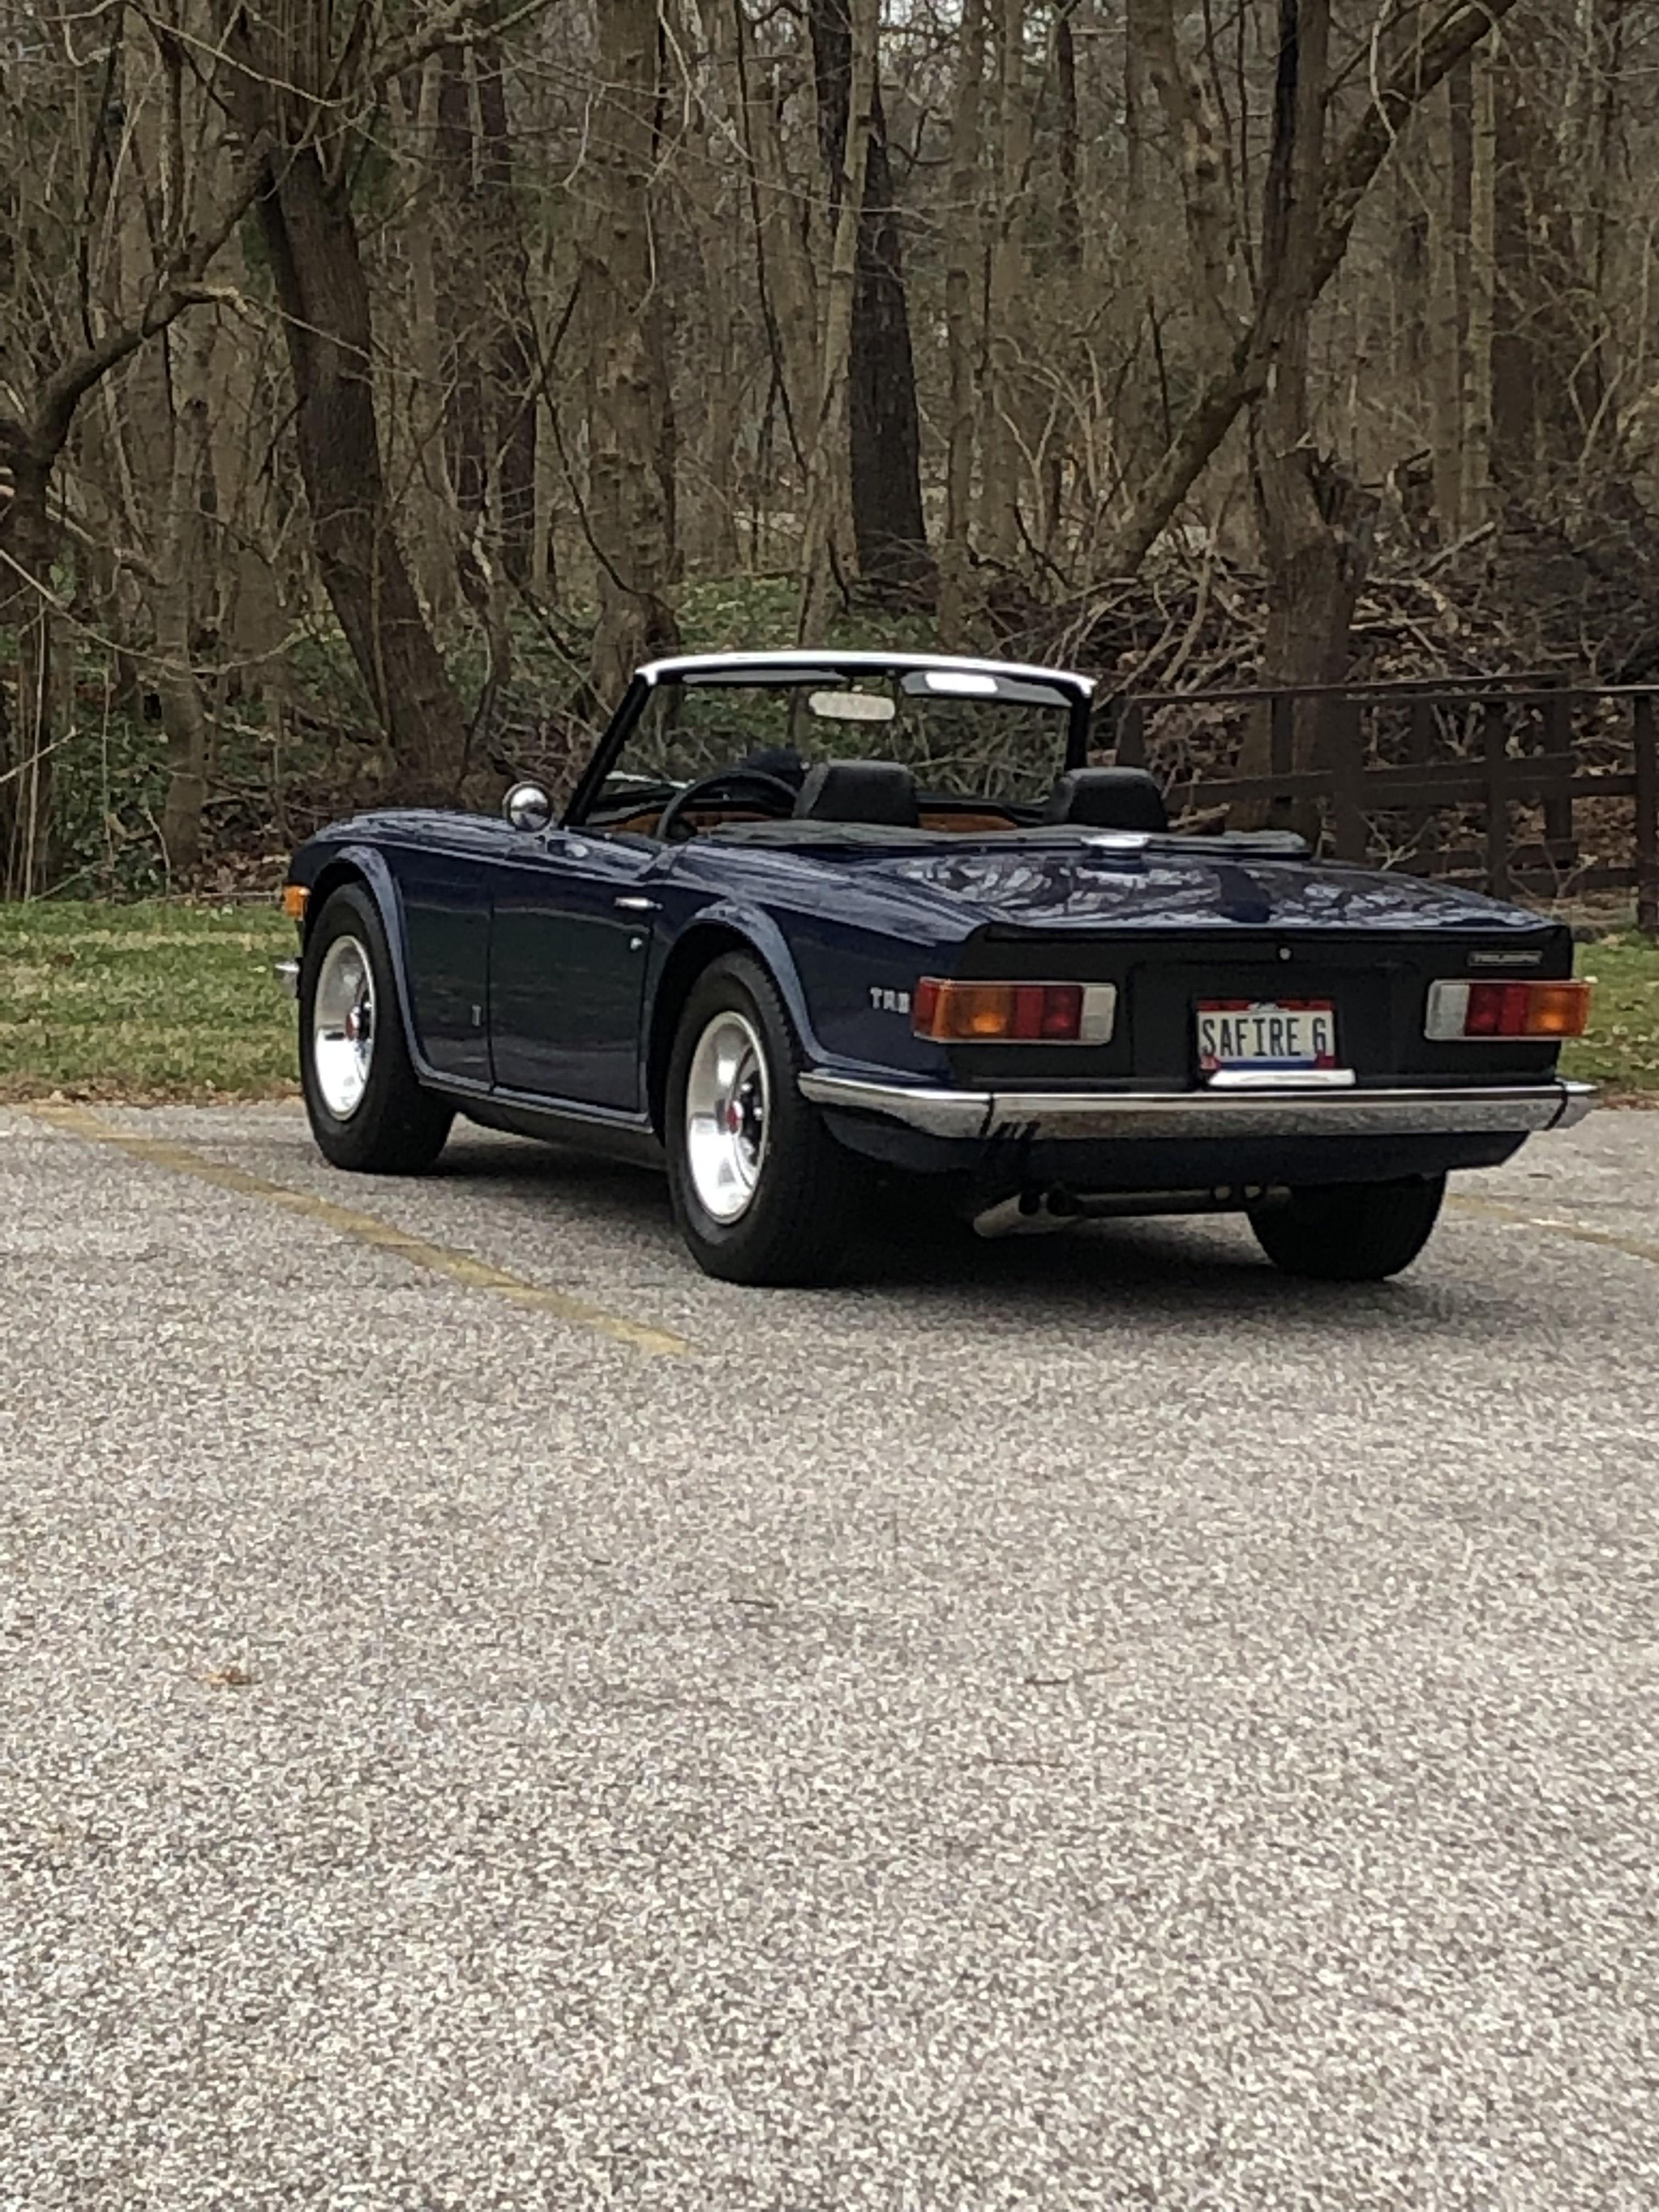
Thanks David. I also have a 1:43 scale TR6 from "Detailcars". Got it a long time ago and somewhere along the way I accidentally broke off the side view mirror. See pics below. It looks like there still may be a yellow '73 available from Target, the same online store I got my 1:18 sapphire blue one from: https://www.target.com/p/1973-triumph-tr6-convertible-lhd-yellow-limited-edition-to-402-pieces-worldwide-1-18-diecast-model-car-by-minichamps/-/A-75466779 Ever since I was 15 years old and saw a TR6 for the first time in Cincinnati, I wanted one. I've had mine for about 30 years now I like the looks of the TR7s and 8s, mostly the fixed head models. I had a chance to buy a really nice white TR8 fixed head about 10 years ago. Couldn't afford it at the time and I regret it now.
-
Thanks everyone! It is very accurate for a '73 model. I wish it had the wheel trim rings that my 1:1 '72 USA spec car has and the TR6 emblem (instead of the Union Jack) on the rear wing, but I cannot complain. Even the color is spot on my 1:1 car. Only 350 made of this particular model. An opening bonnet and detailed engine would take this diecast to the next level.
-
Thanks Snake! It looks a lot like my 1:1 1972 TR6. Guess that I should have posted it in the diecast section though.
-
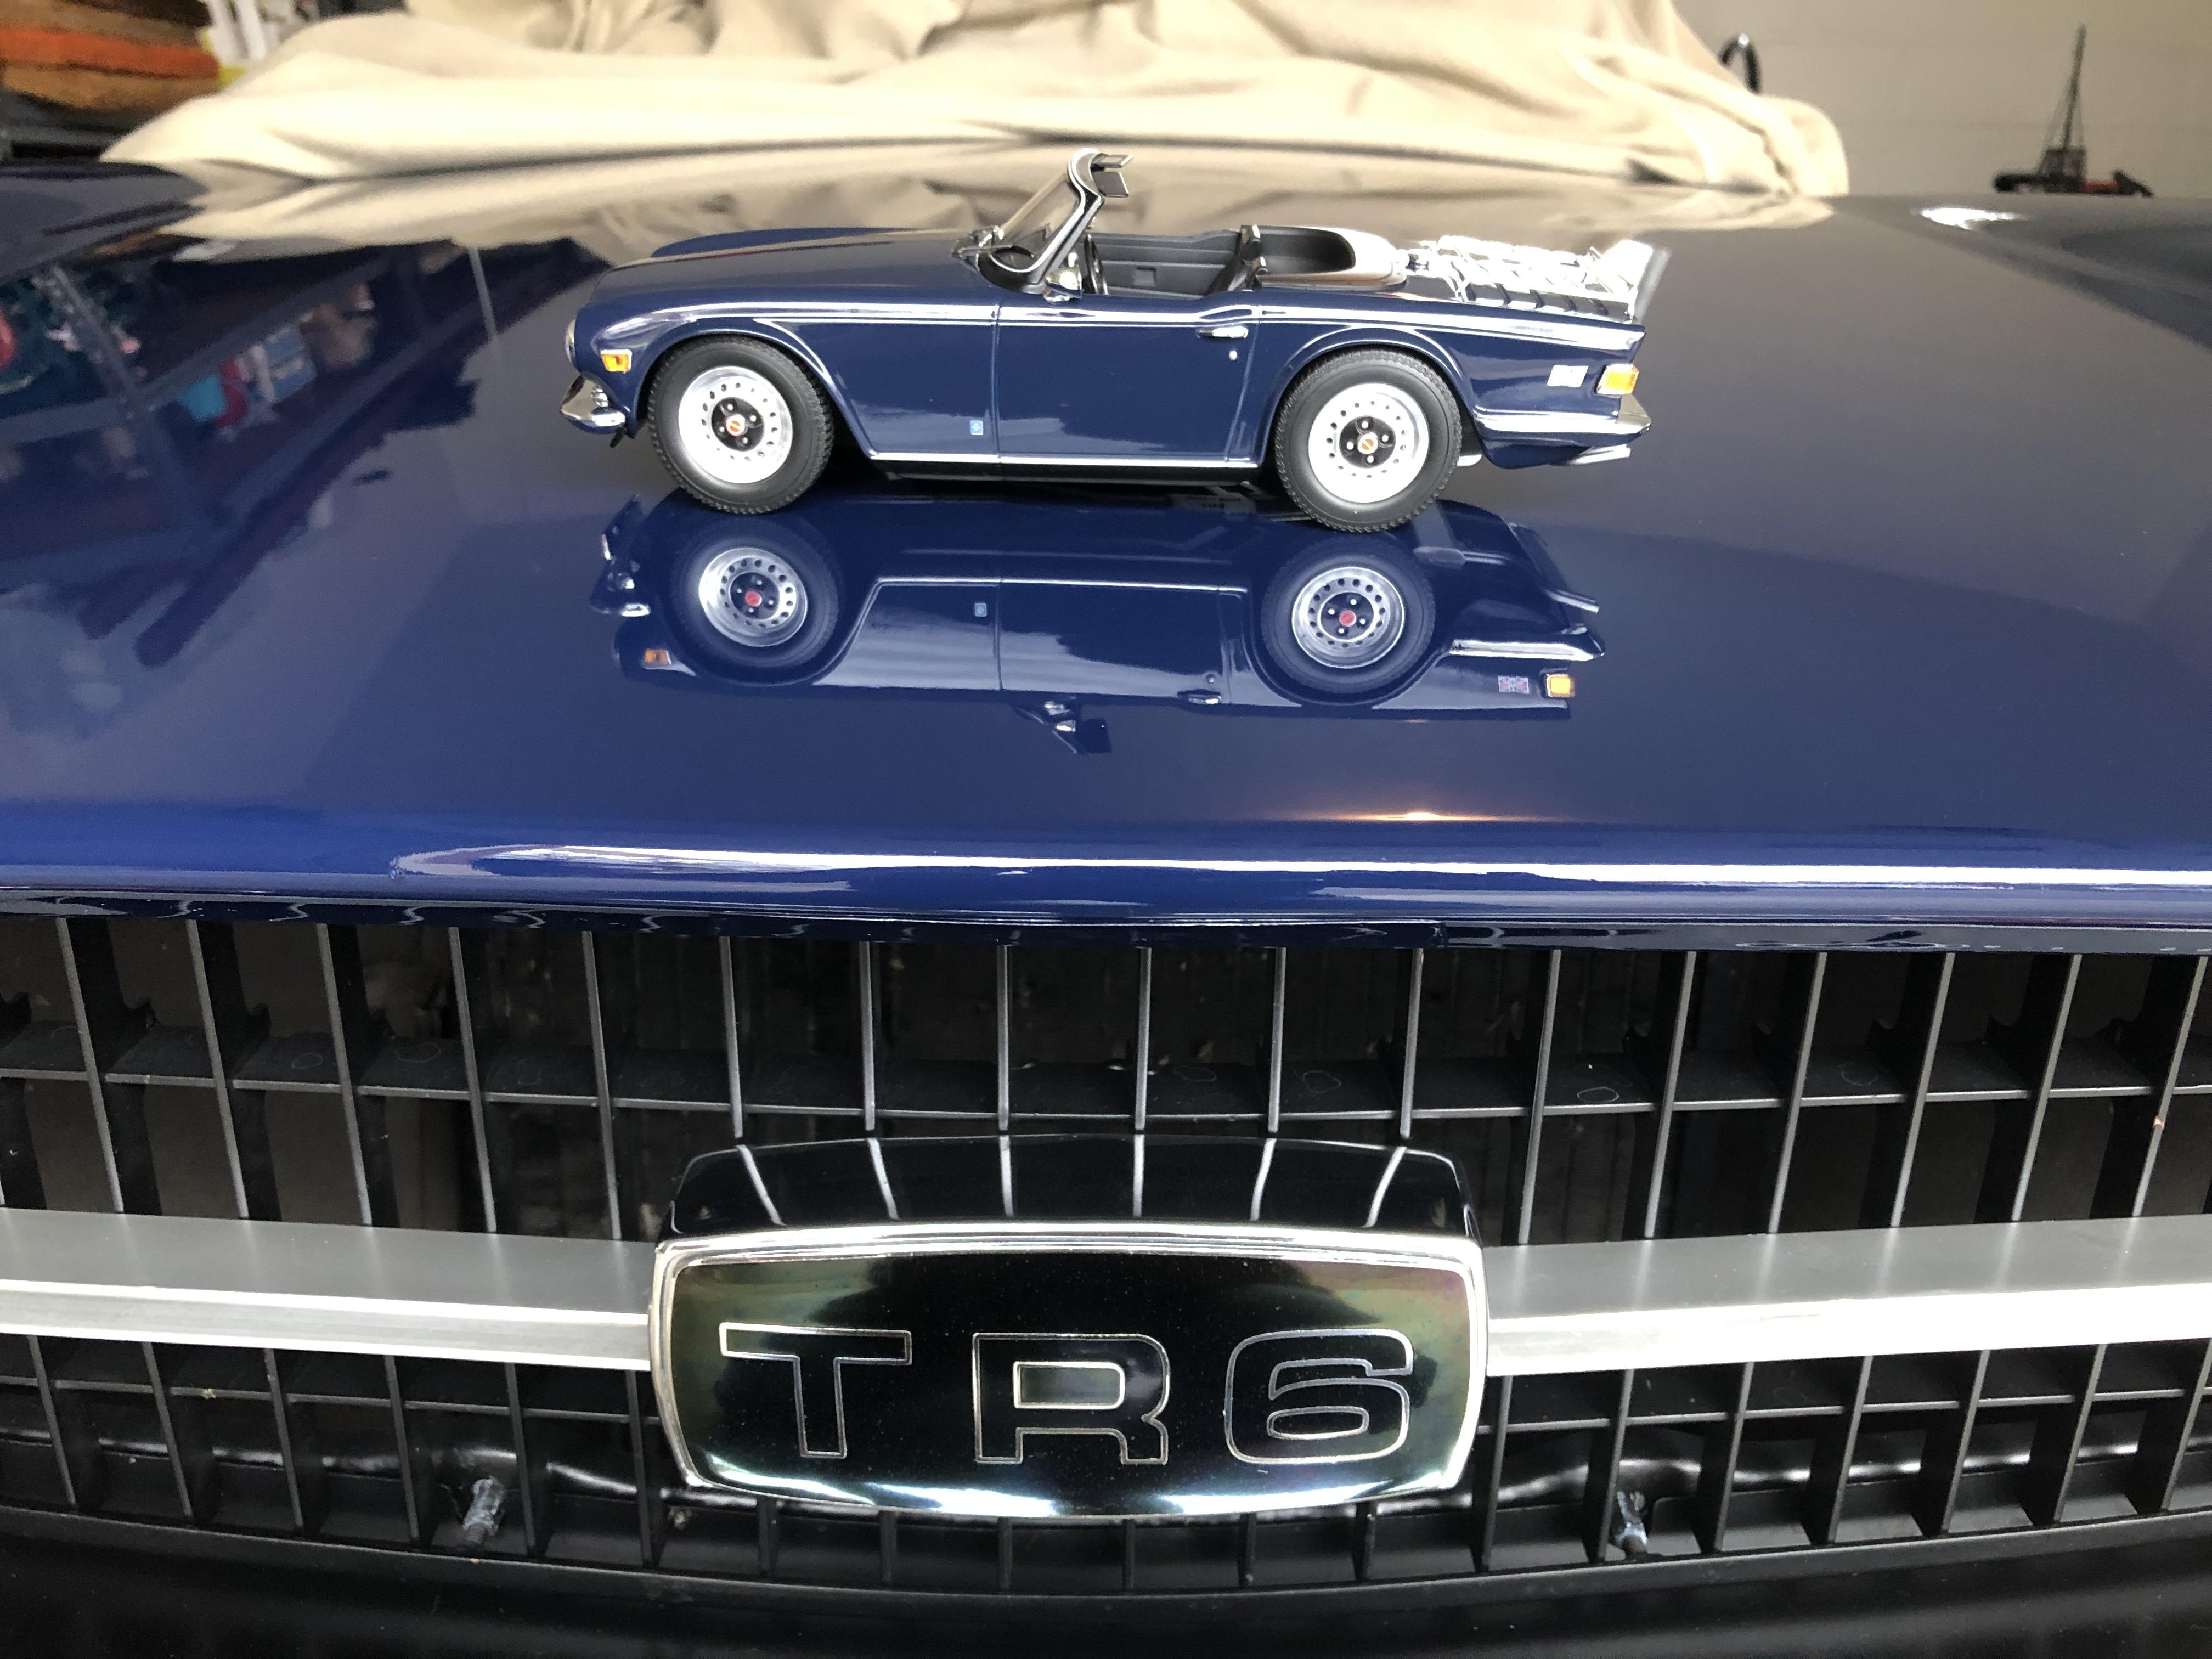
My wife got me this Minichamps 1:18 scale '73 TR6 for Christmas.
-
Wow all of them are beautiful, it's hard to say which one's I like the best, they're all so fine!
-
+1, beautiful build!
-
Me too! The 442 top looks like real fabric, nice job on all of them.
-
Very cool! Nice color and details.
-
All very cool, especially The Undertaker. Nice job!


.jpg.5267f37dbdcc7f690ebc1cdd0abe3fd7.jpg)