NOBLNG
-
Posts
9,982 -
Joined
-
Last visited
Content Type
Profiles
Forums
Events
Gallery
Everything posted by NOBLNG
-
This is what I did on my Willys. I made an entire crossmember from cardboard to fit under the motor and up against the motor mount locations. Then I trimmed the width to fit between the frame rails and then transferred it to styrene. On my Jeepster, I was able to attach a strip of heavy styrene to the top of the intake manifold and lay it across the top of the fenders. I managed to cobble together some mounts but it was tough since the mounting tabs were at different locations and heights on each side of the motor. I would file them off and start fresh next time. Every one will be different, and these two both challenged me. I hope to see some other ideas.

-
I got an e-mail from apple this morning. They are raising the cost of apple tv from $5.99 to $8.99 a month. That is a 50% increase!?? I will likely cancel my subscription, but sadly they will come out ahead. They would need more than 1/3 of their subscribers to cancel in order to lose.
-

1966 C10 “ truck “
NOBLNG replied to Immortal Chips's topic in Model Trucks: Pickups, Vans, SUVs, Light Commercial
Absolutely beautiful work!? -
That does look fantastic!? As others have said, that is the most realistic bare metal look I’ve ever seen.
-
Your biggest blunder
NOBLNG replied to LL3 Model Worx's topic in General Automotive Talk (Trucks and Cars)
I have on more than one occasion poked a hole in my finger with my little spring loaded micro drill. -
Your biggest blunder
NOBLNG replied to LL3 Model Worx's topic in General Automotive Talk (Trucks and Cars)
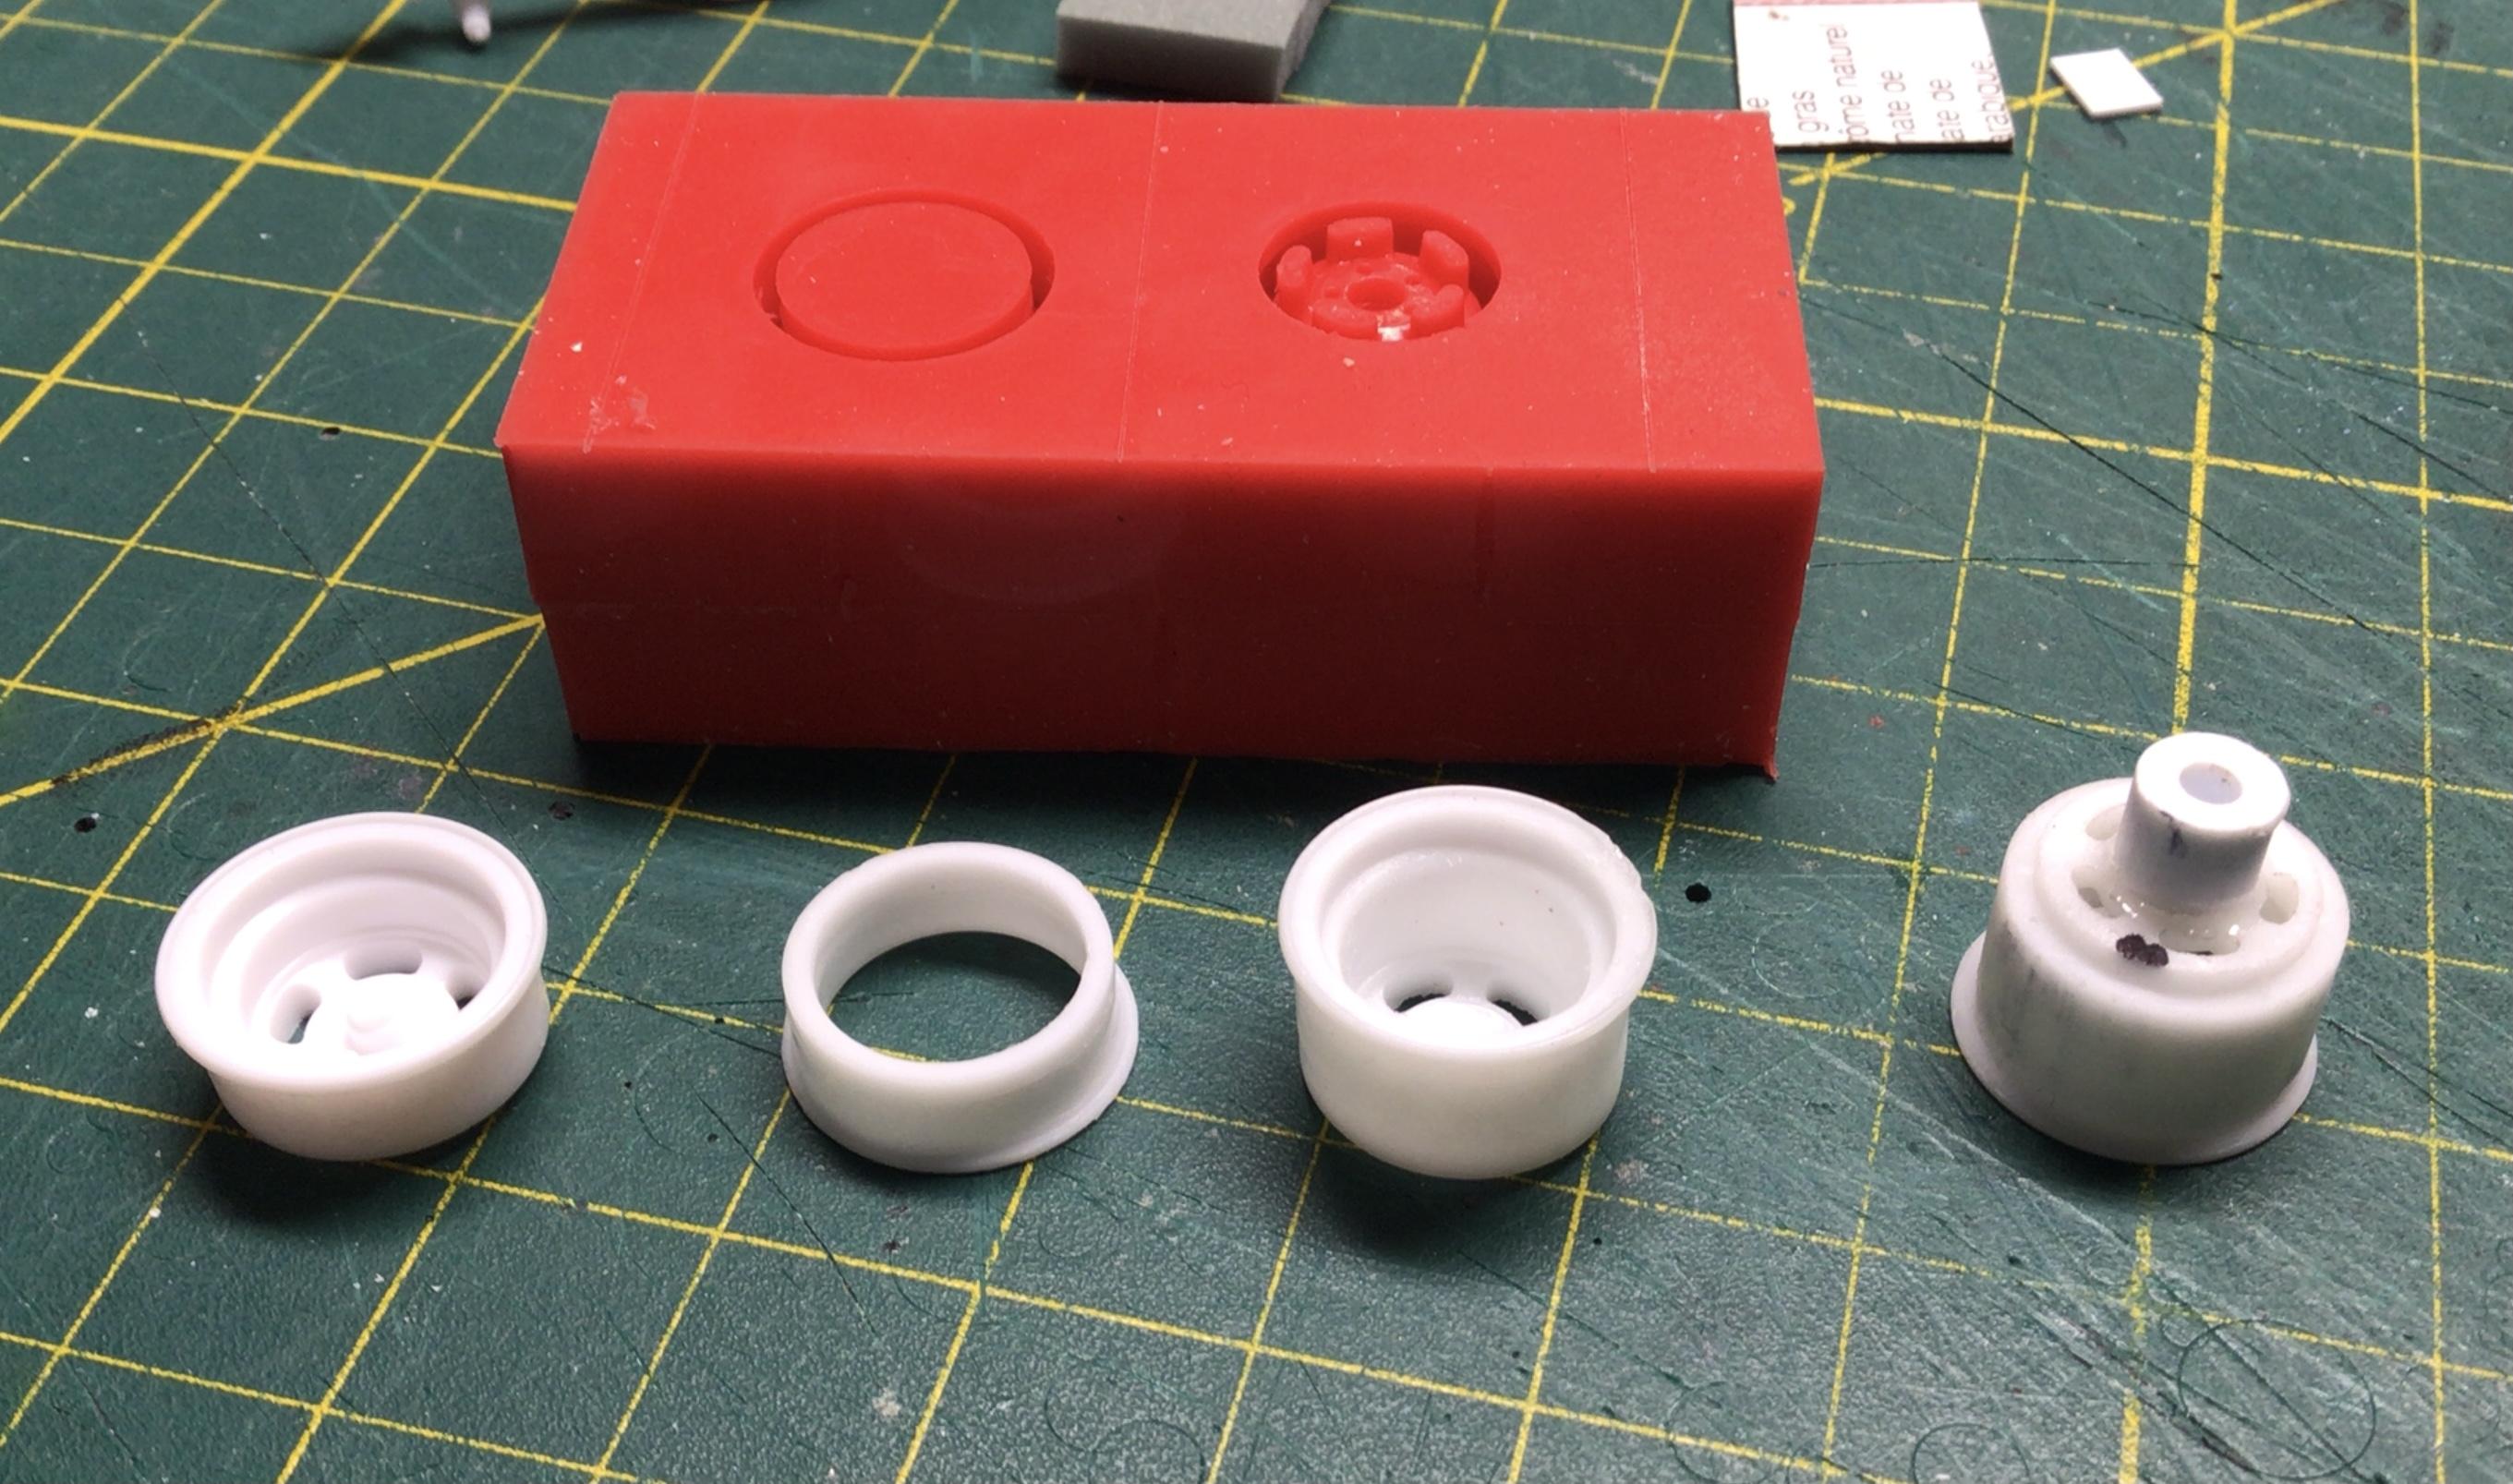
Good to know! I made a mold to cast differential center sections around a piece of aluminum tubing. -
Wow, no detail left un-tended to! It is really looking fantastic Andrew!?
-
Years ago, 36 IIRC, I met my wife….but we never officially tied the knot.
-
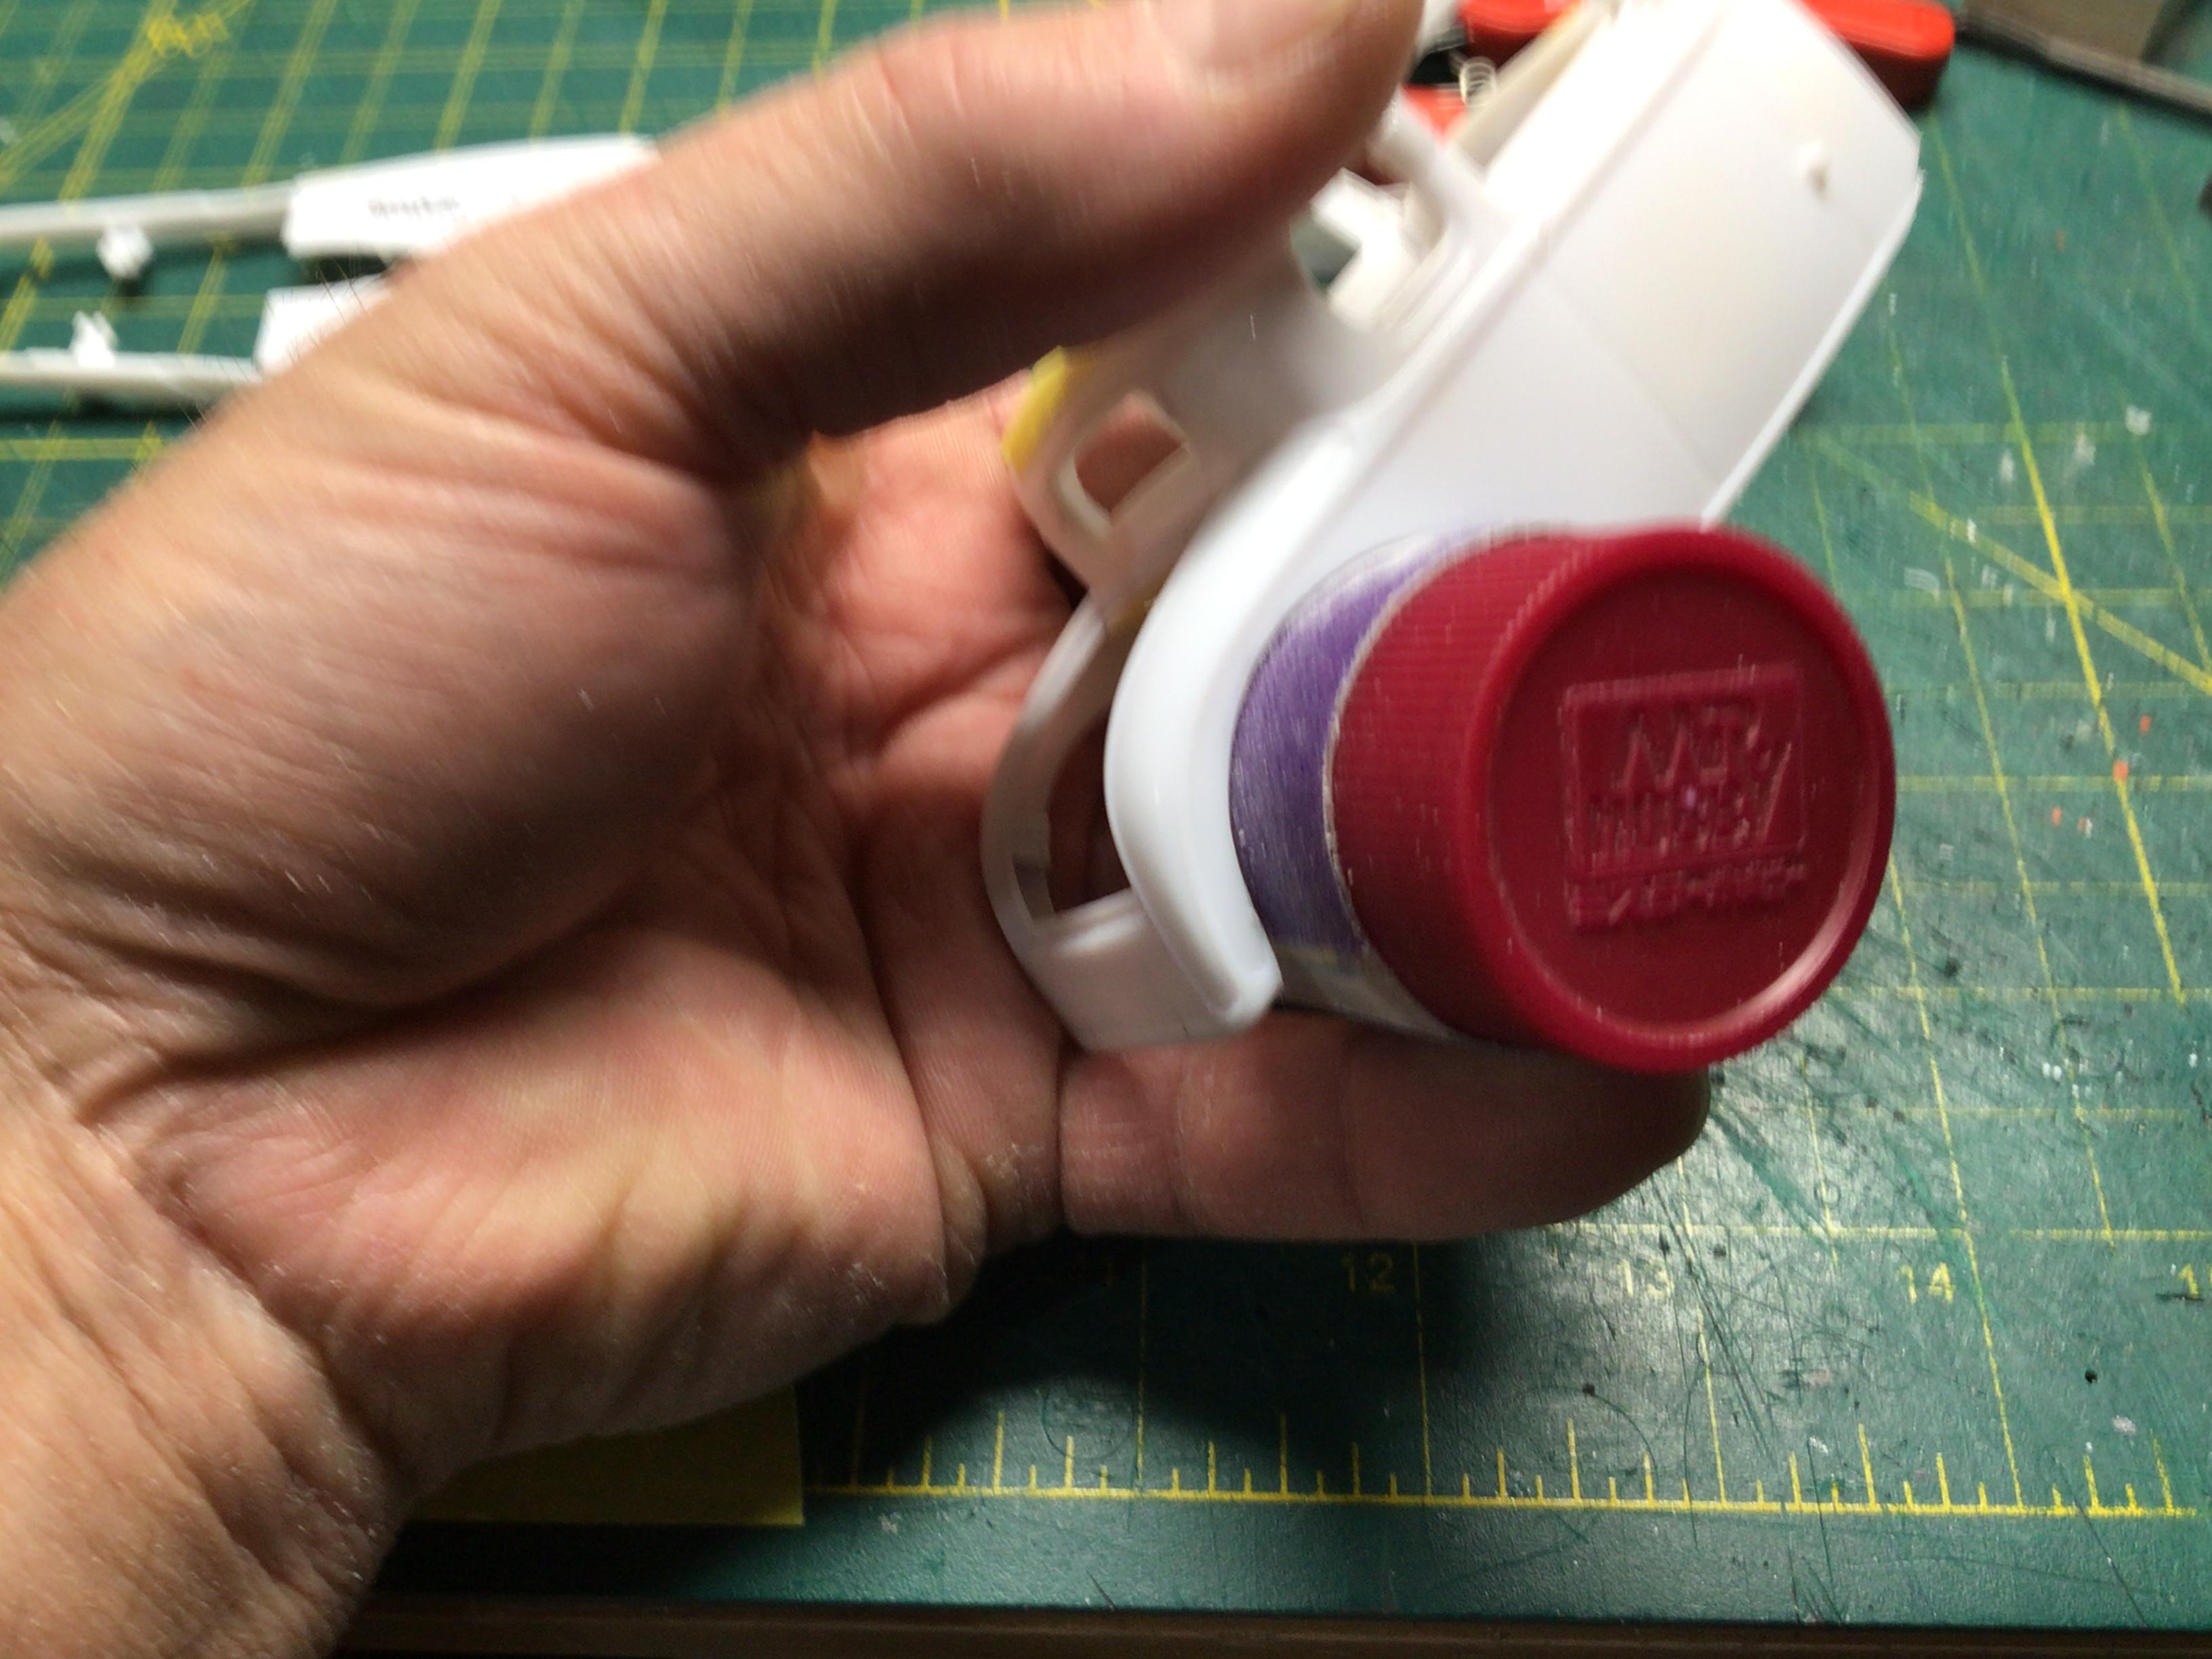
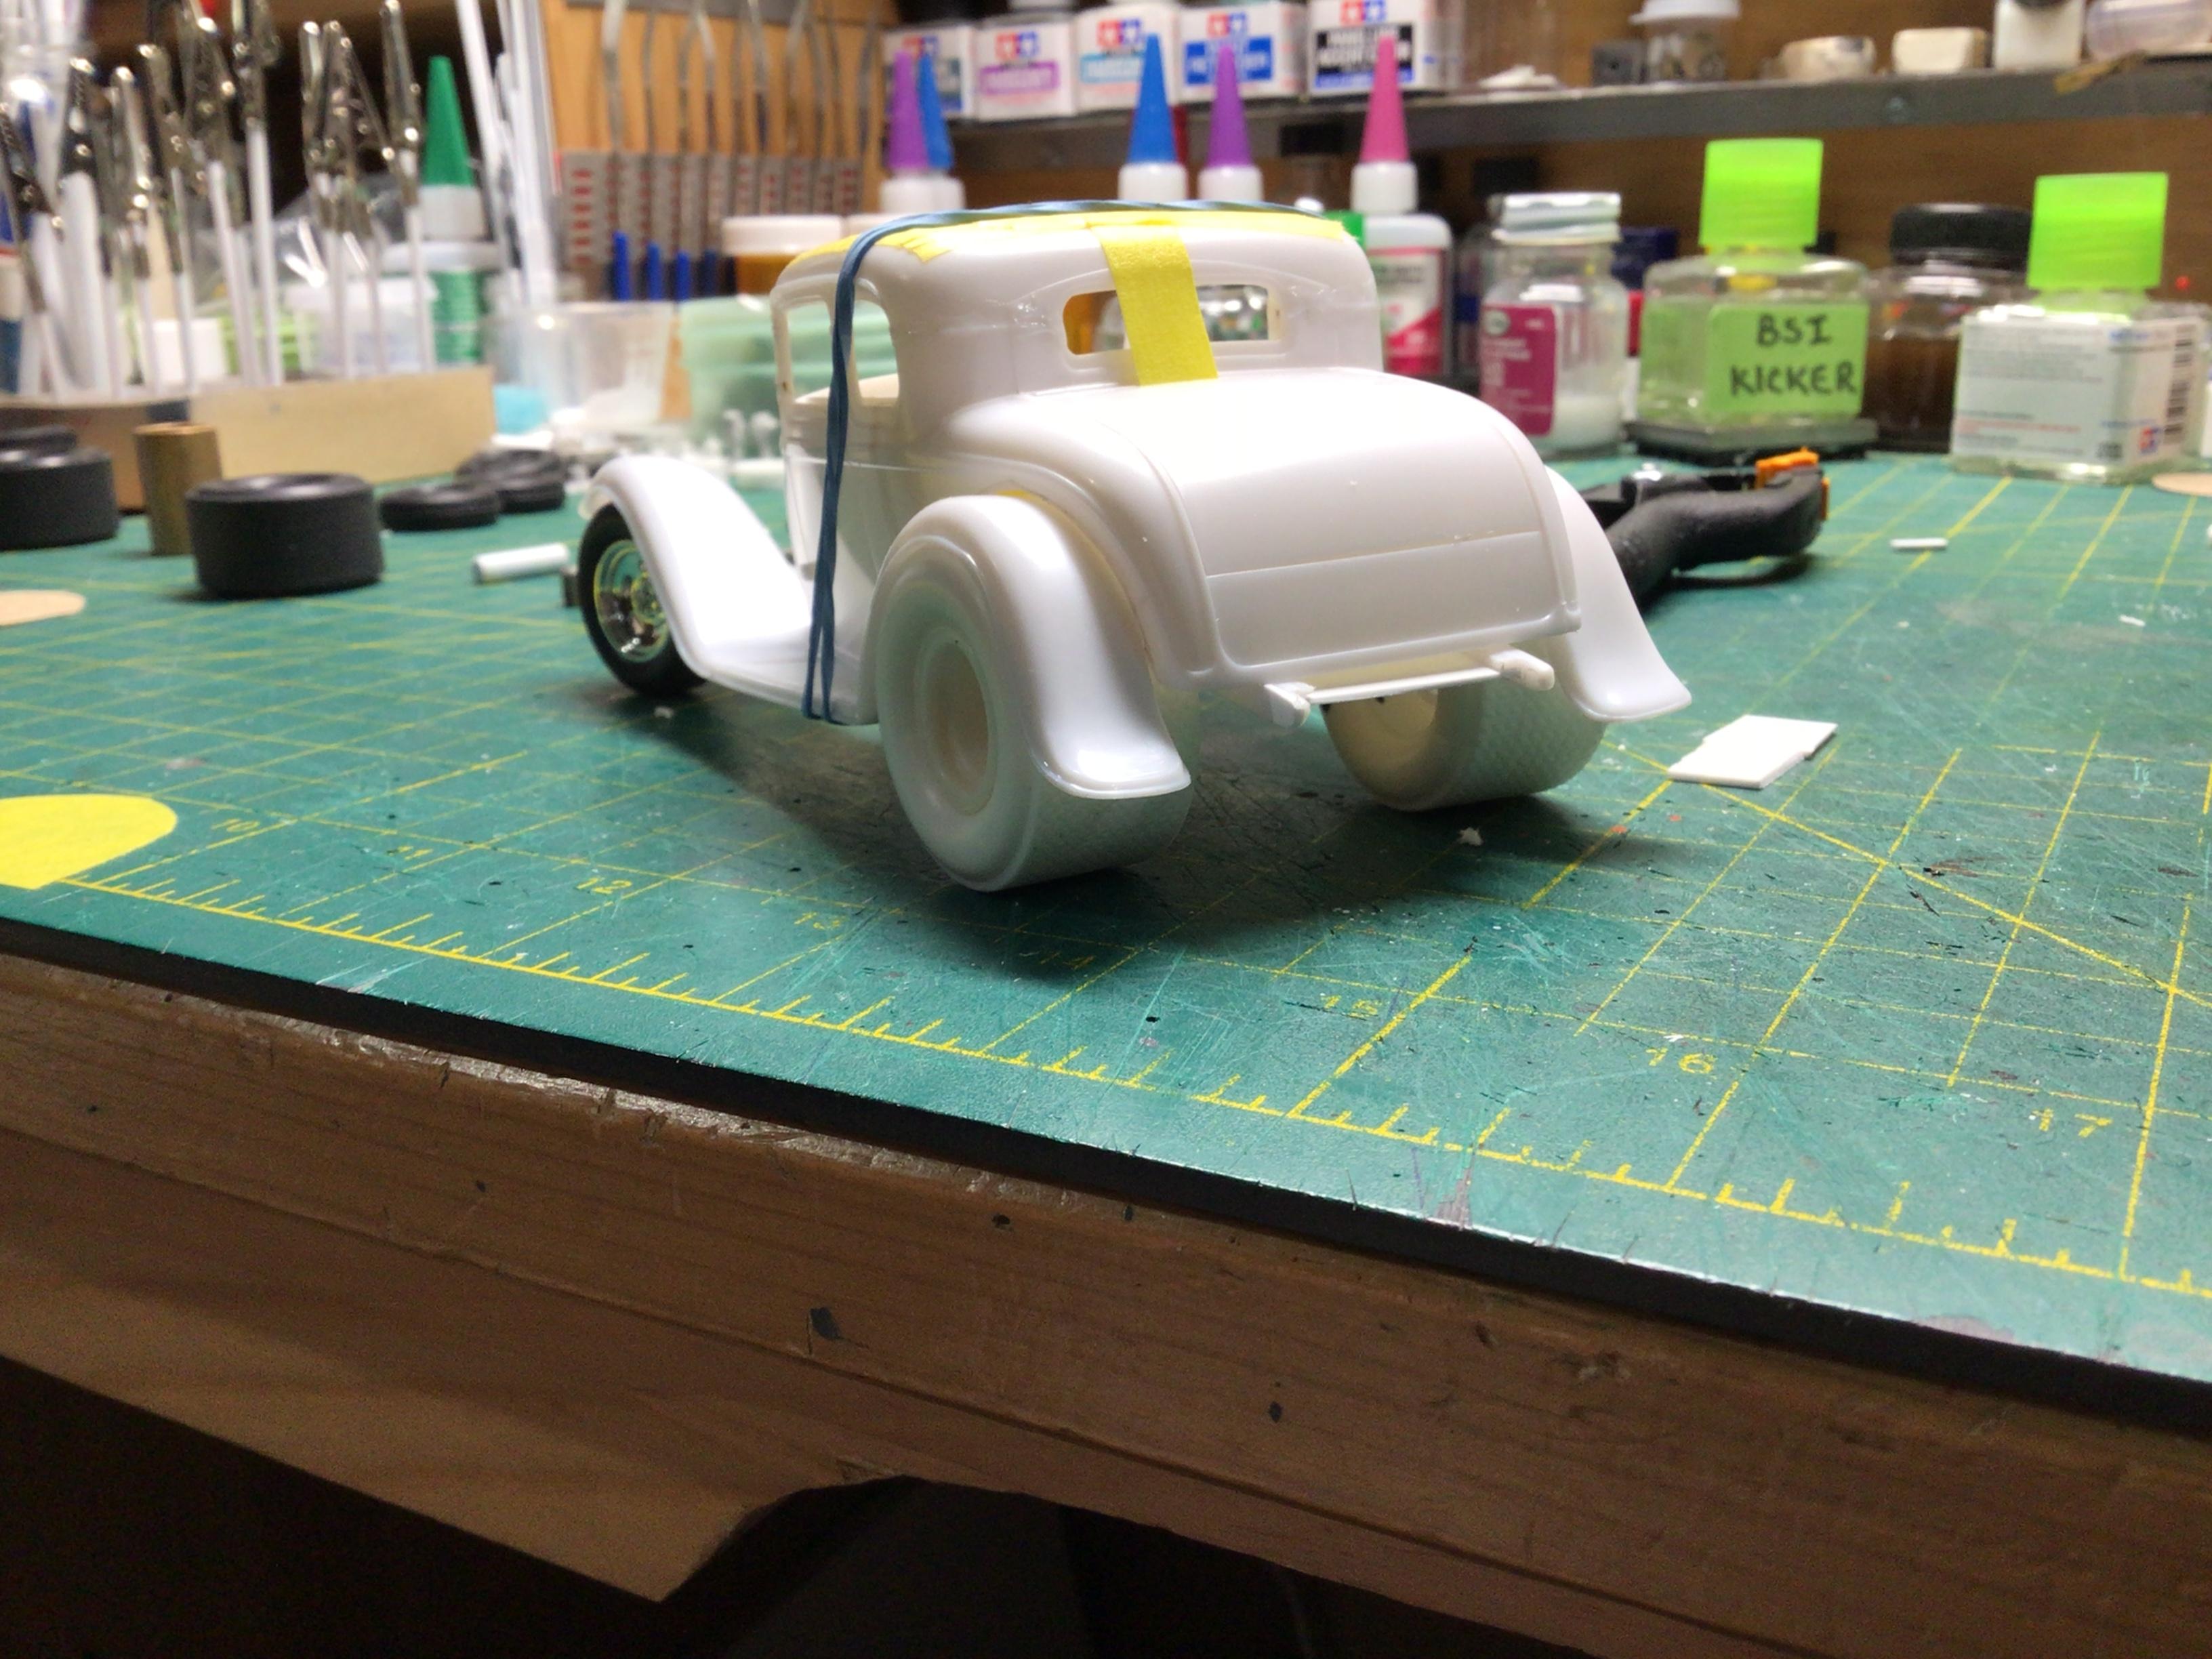
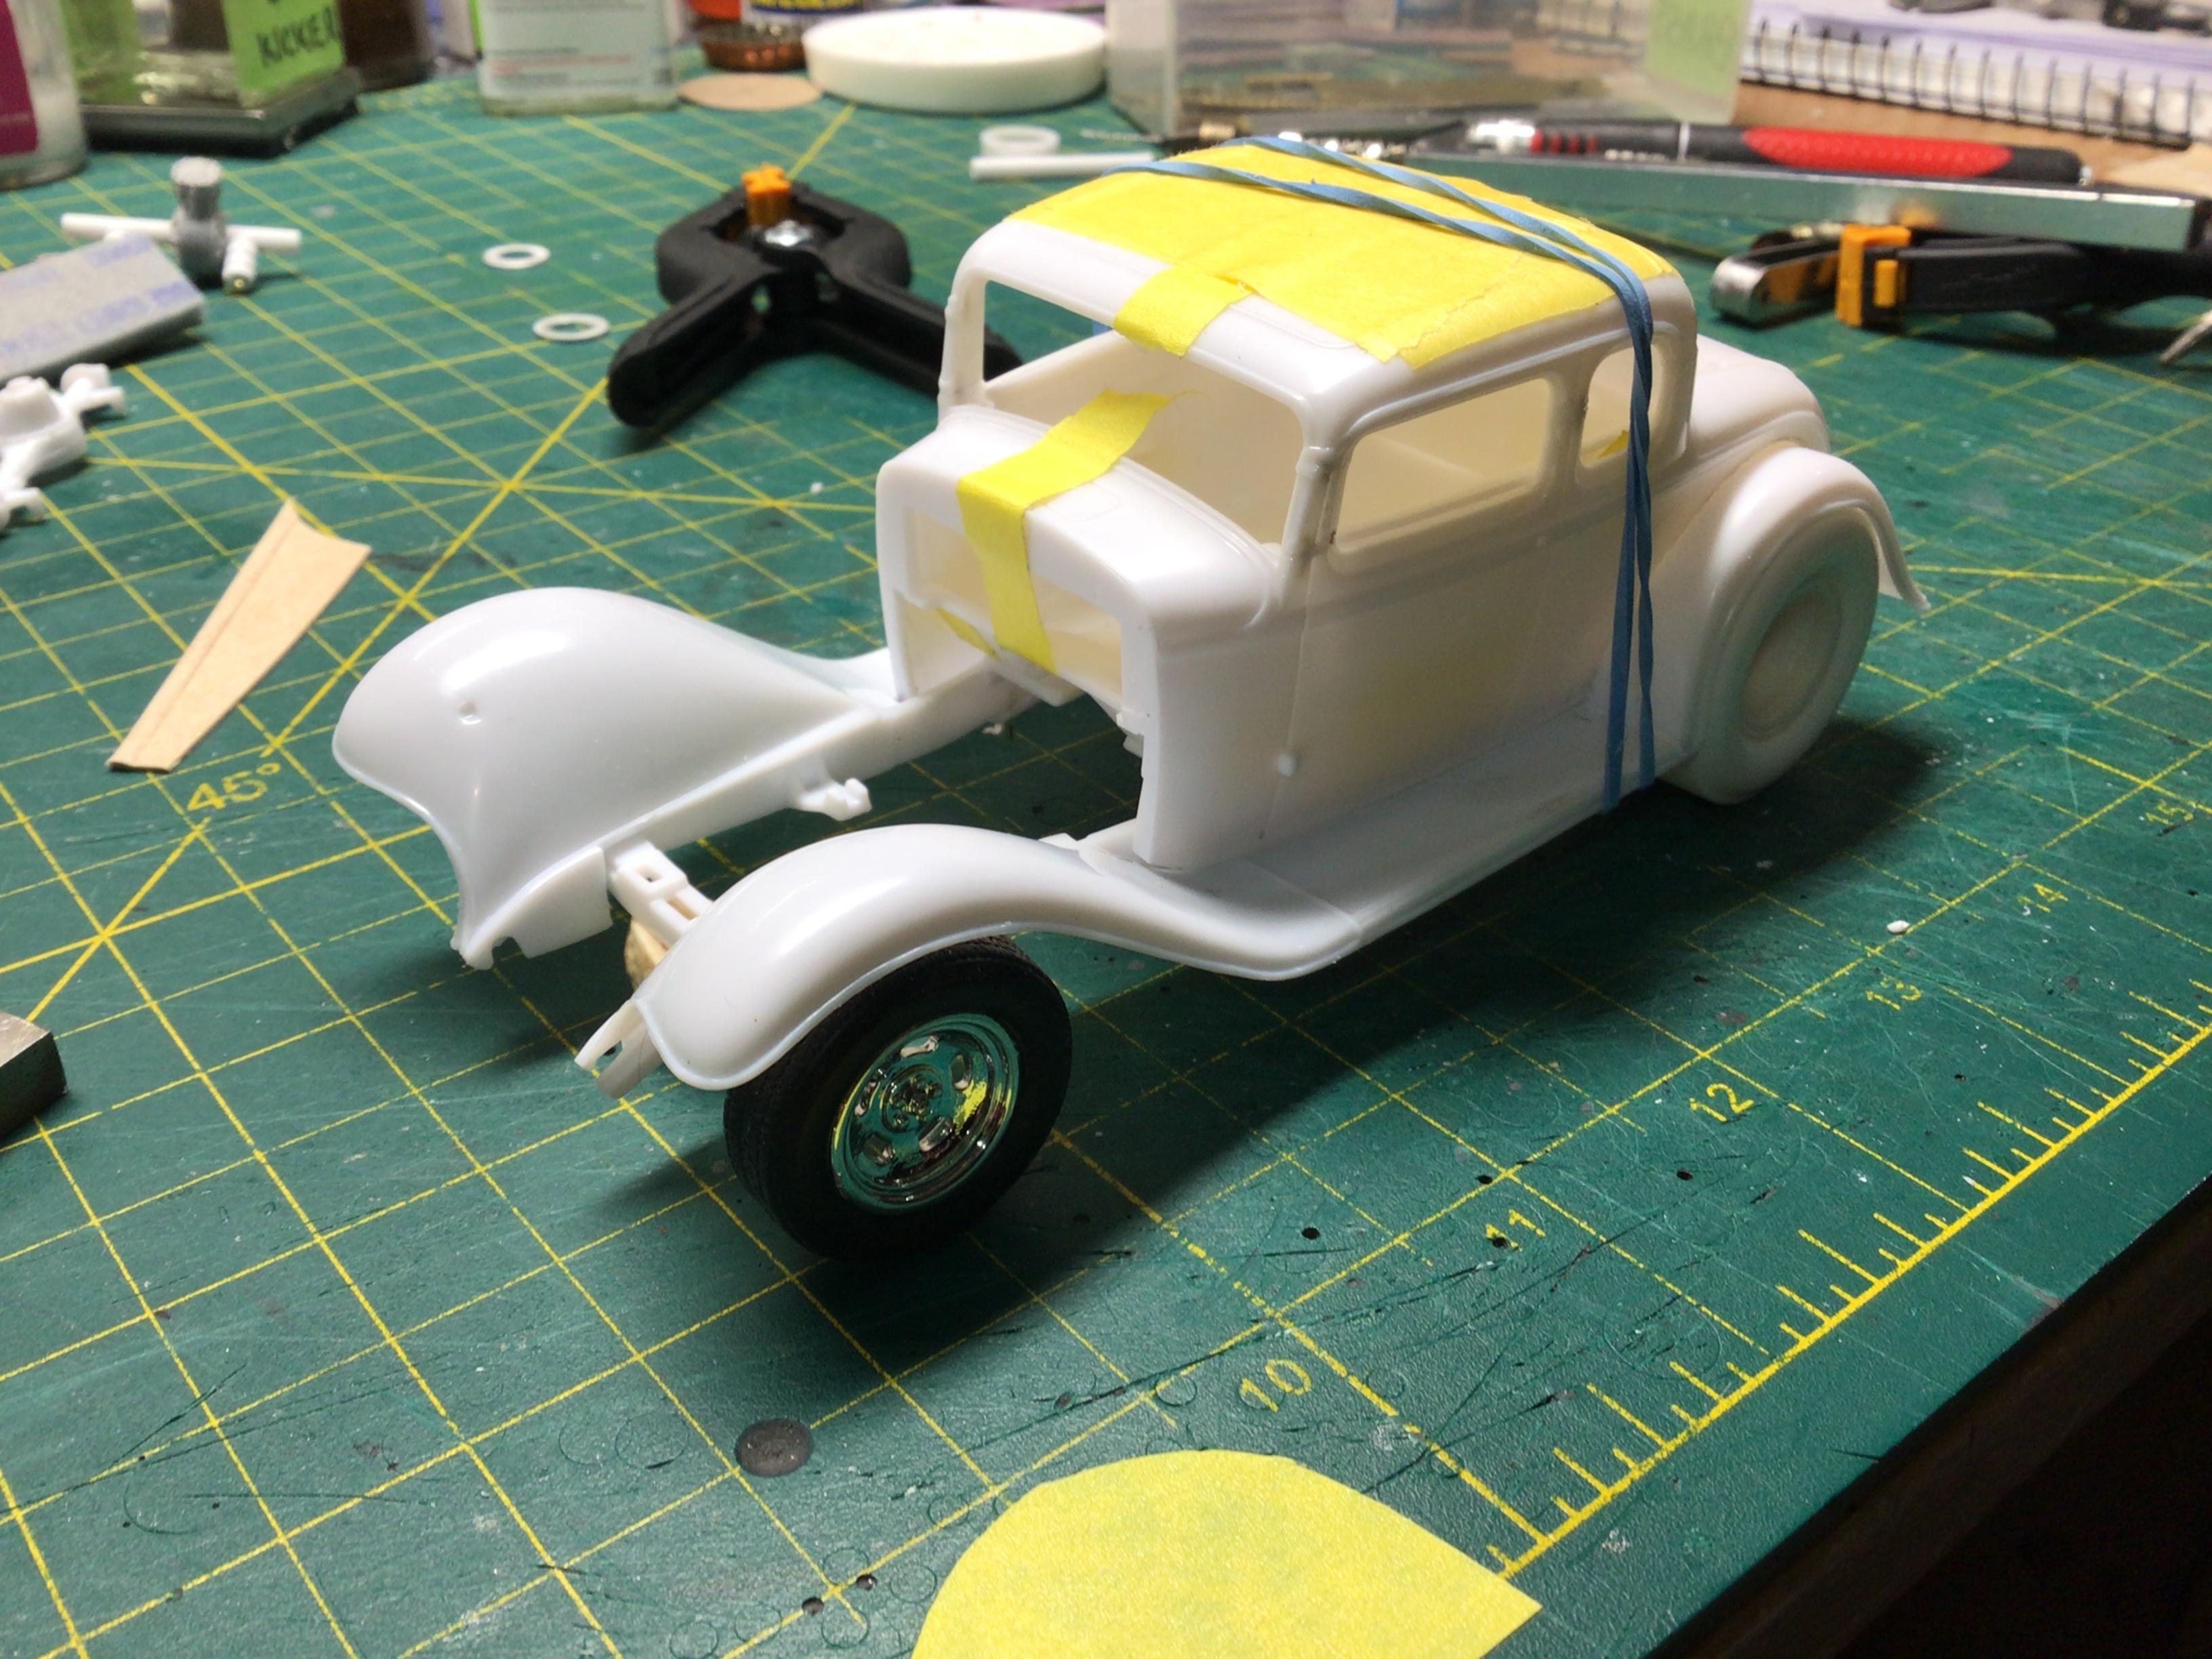
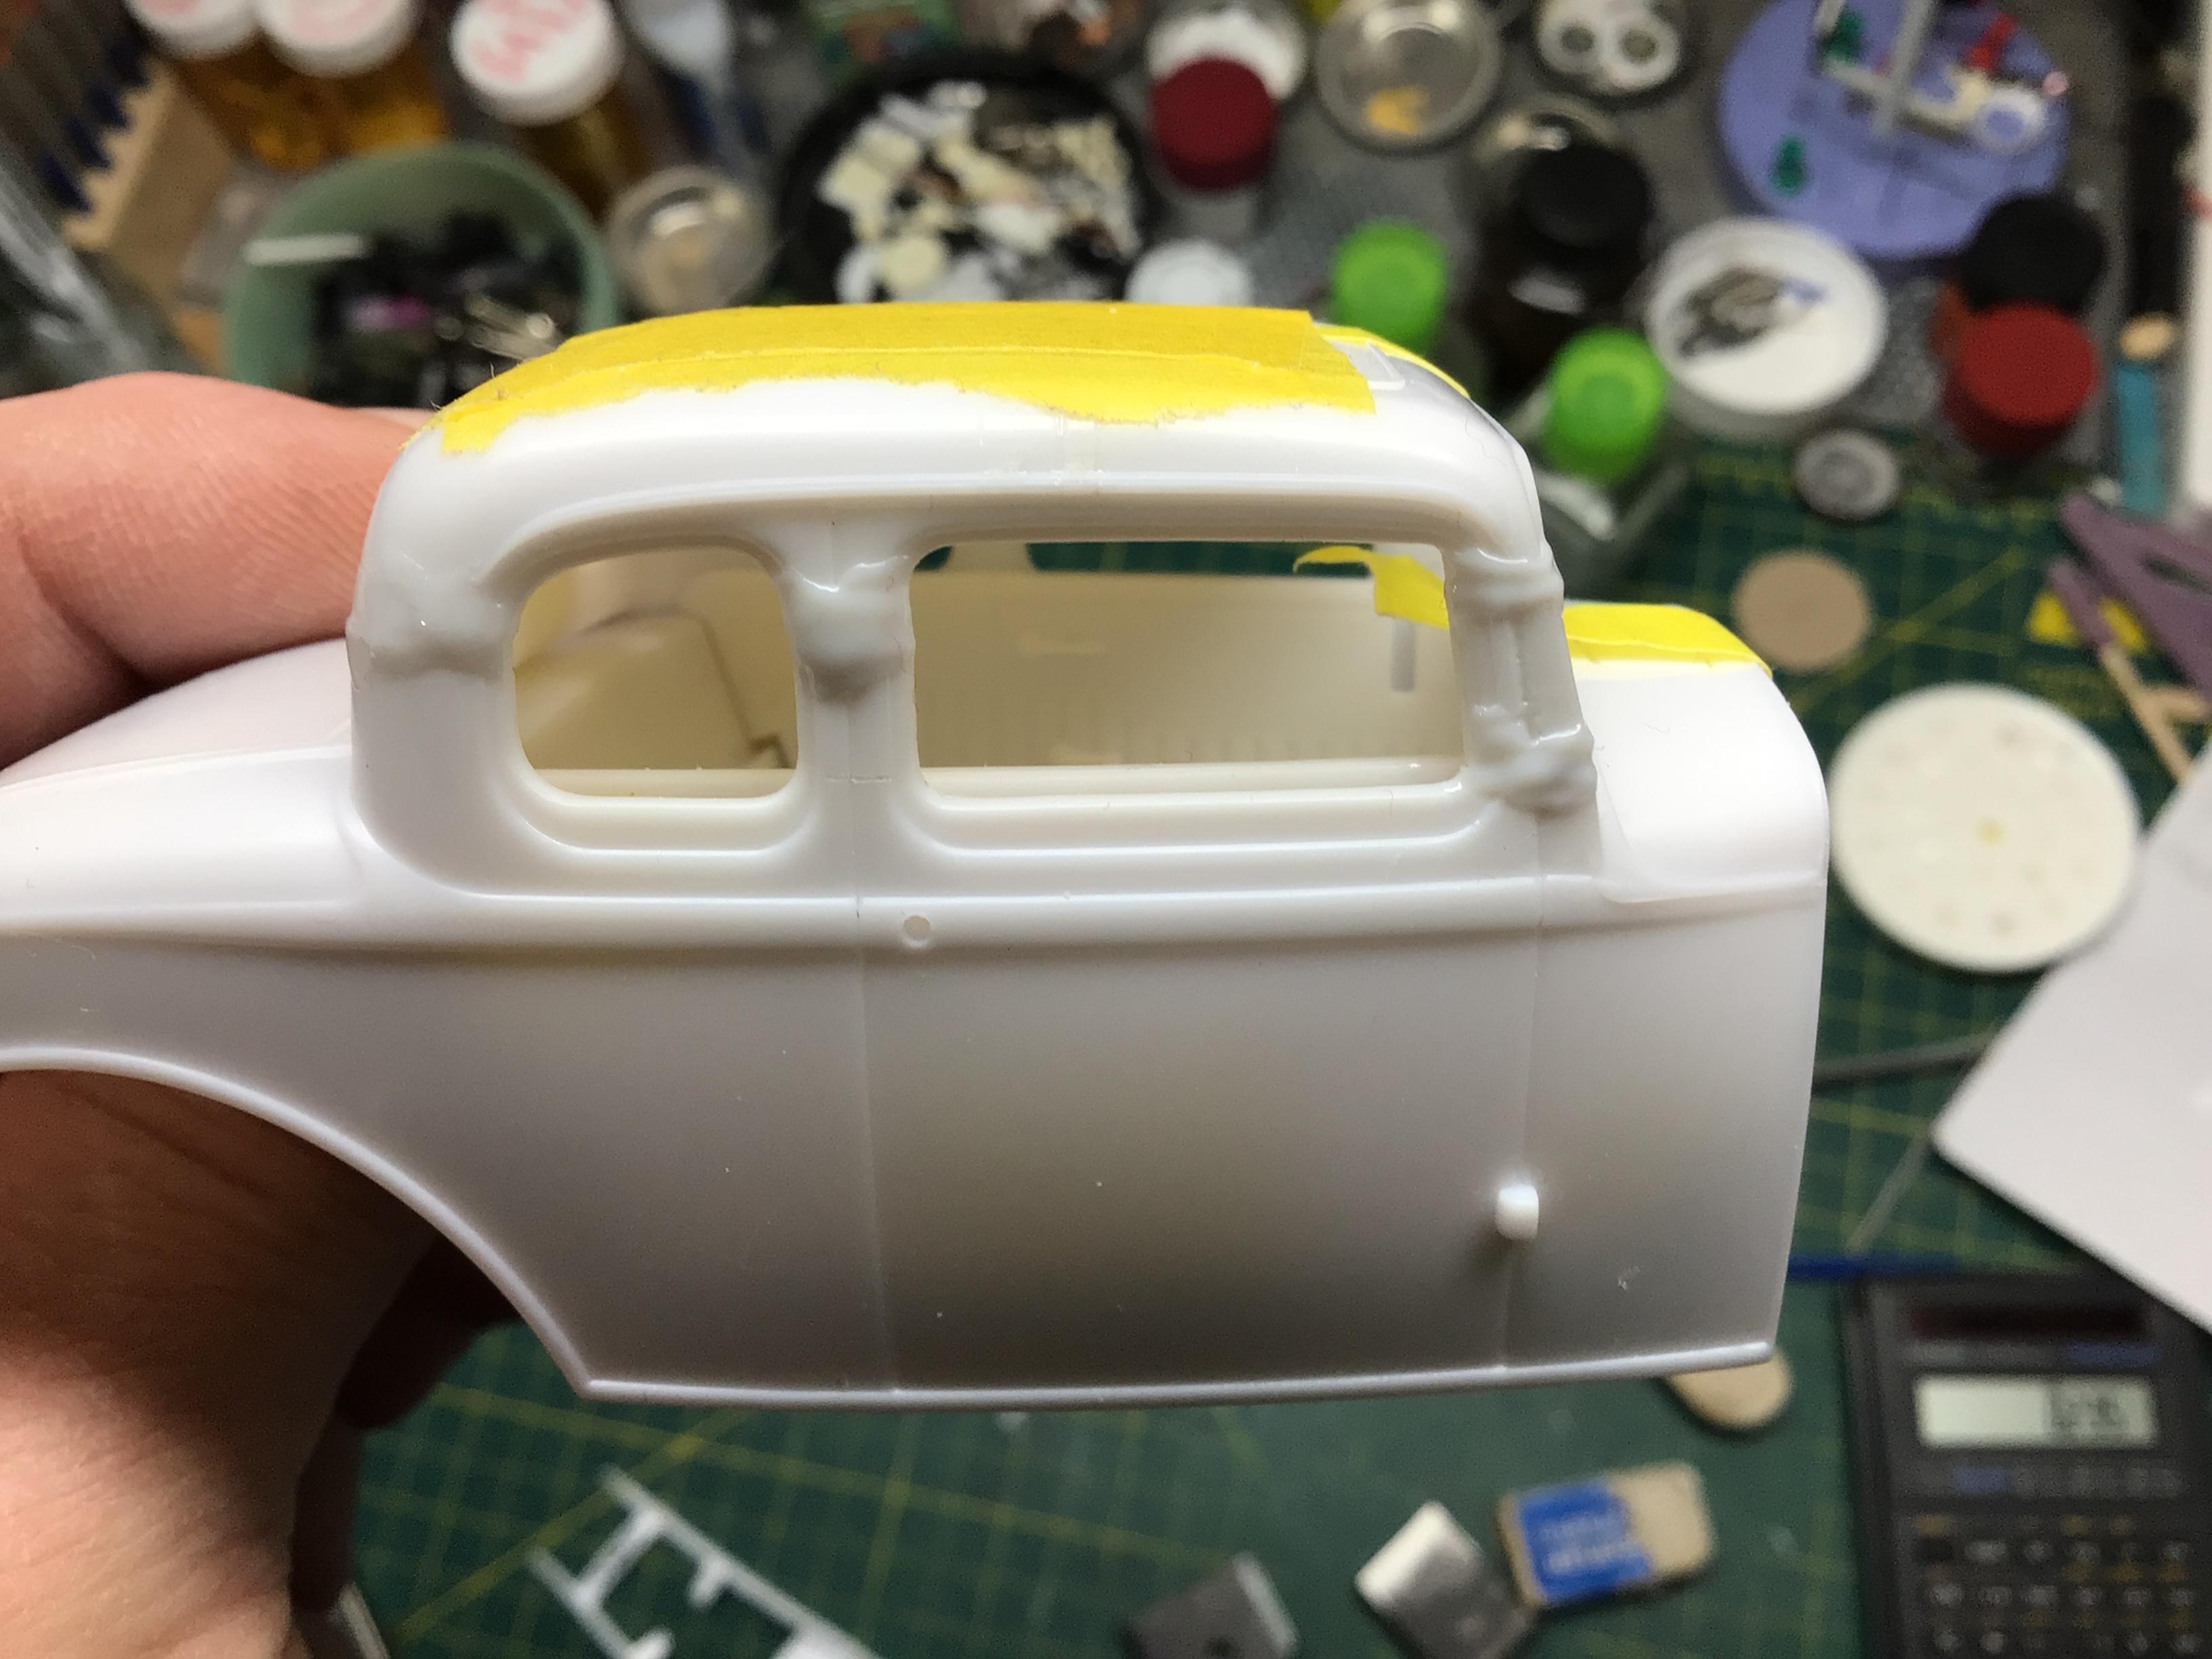
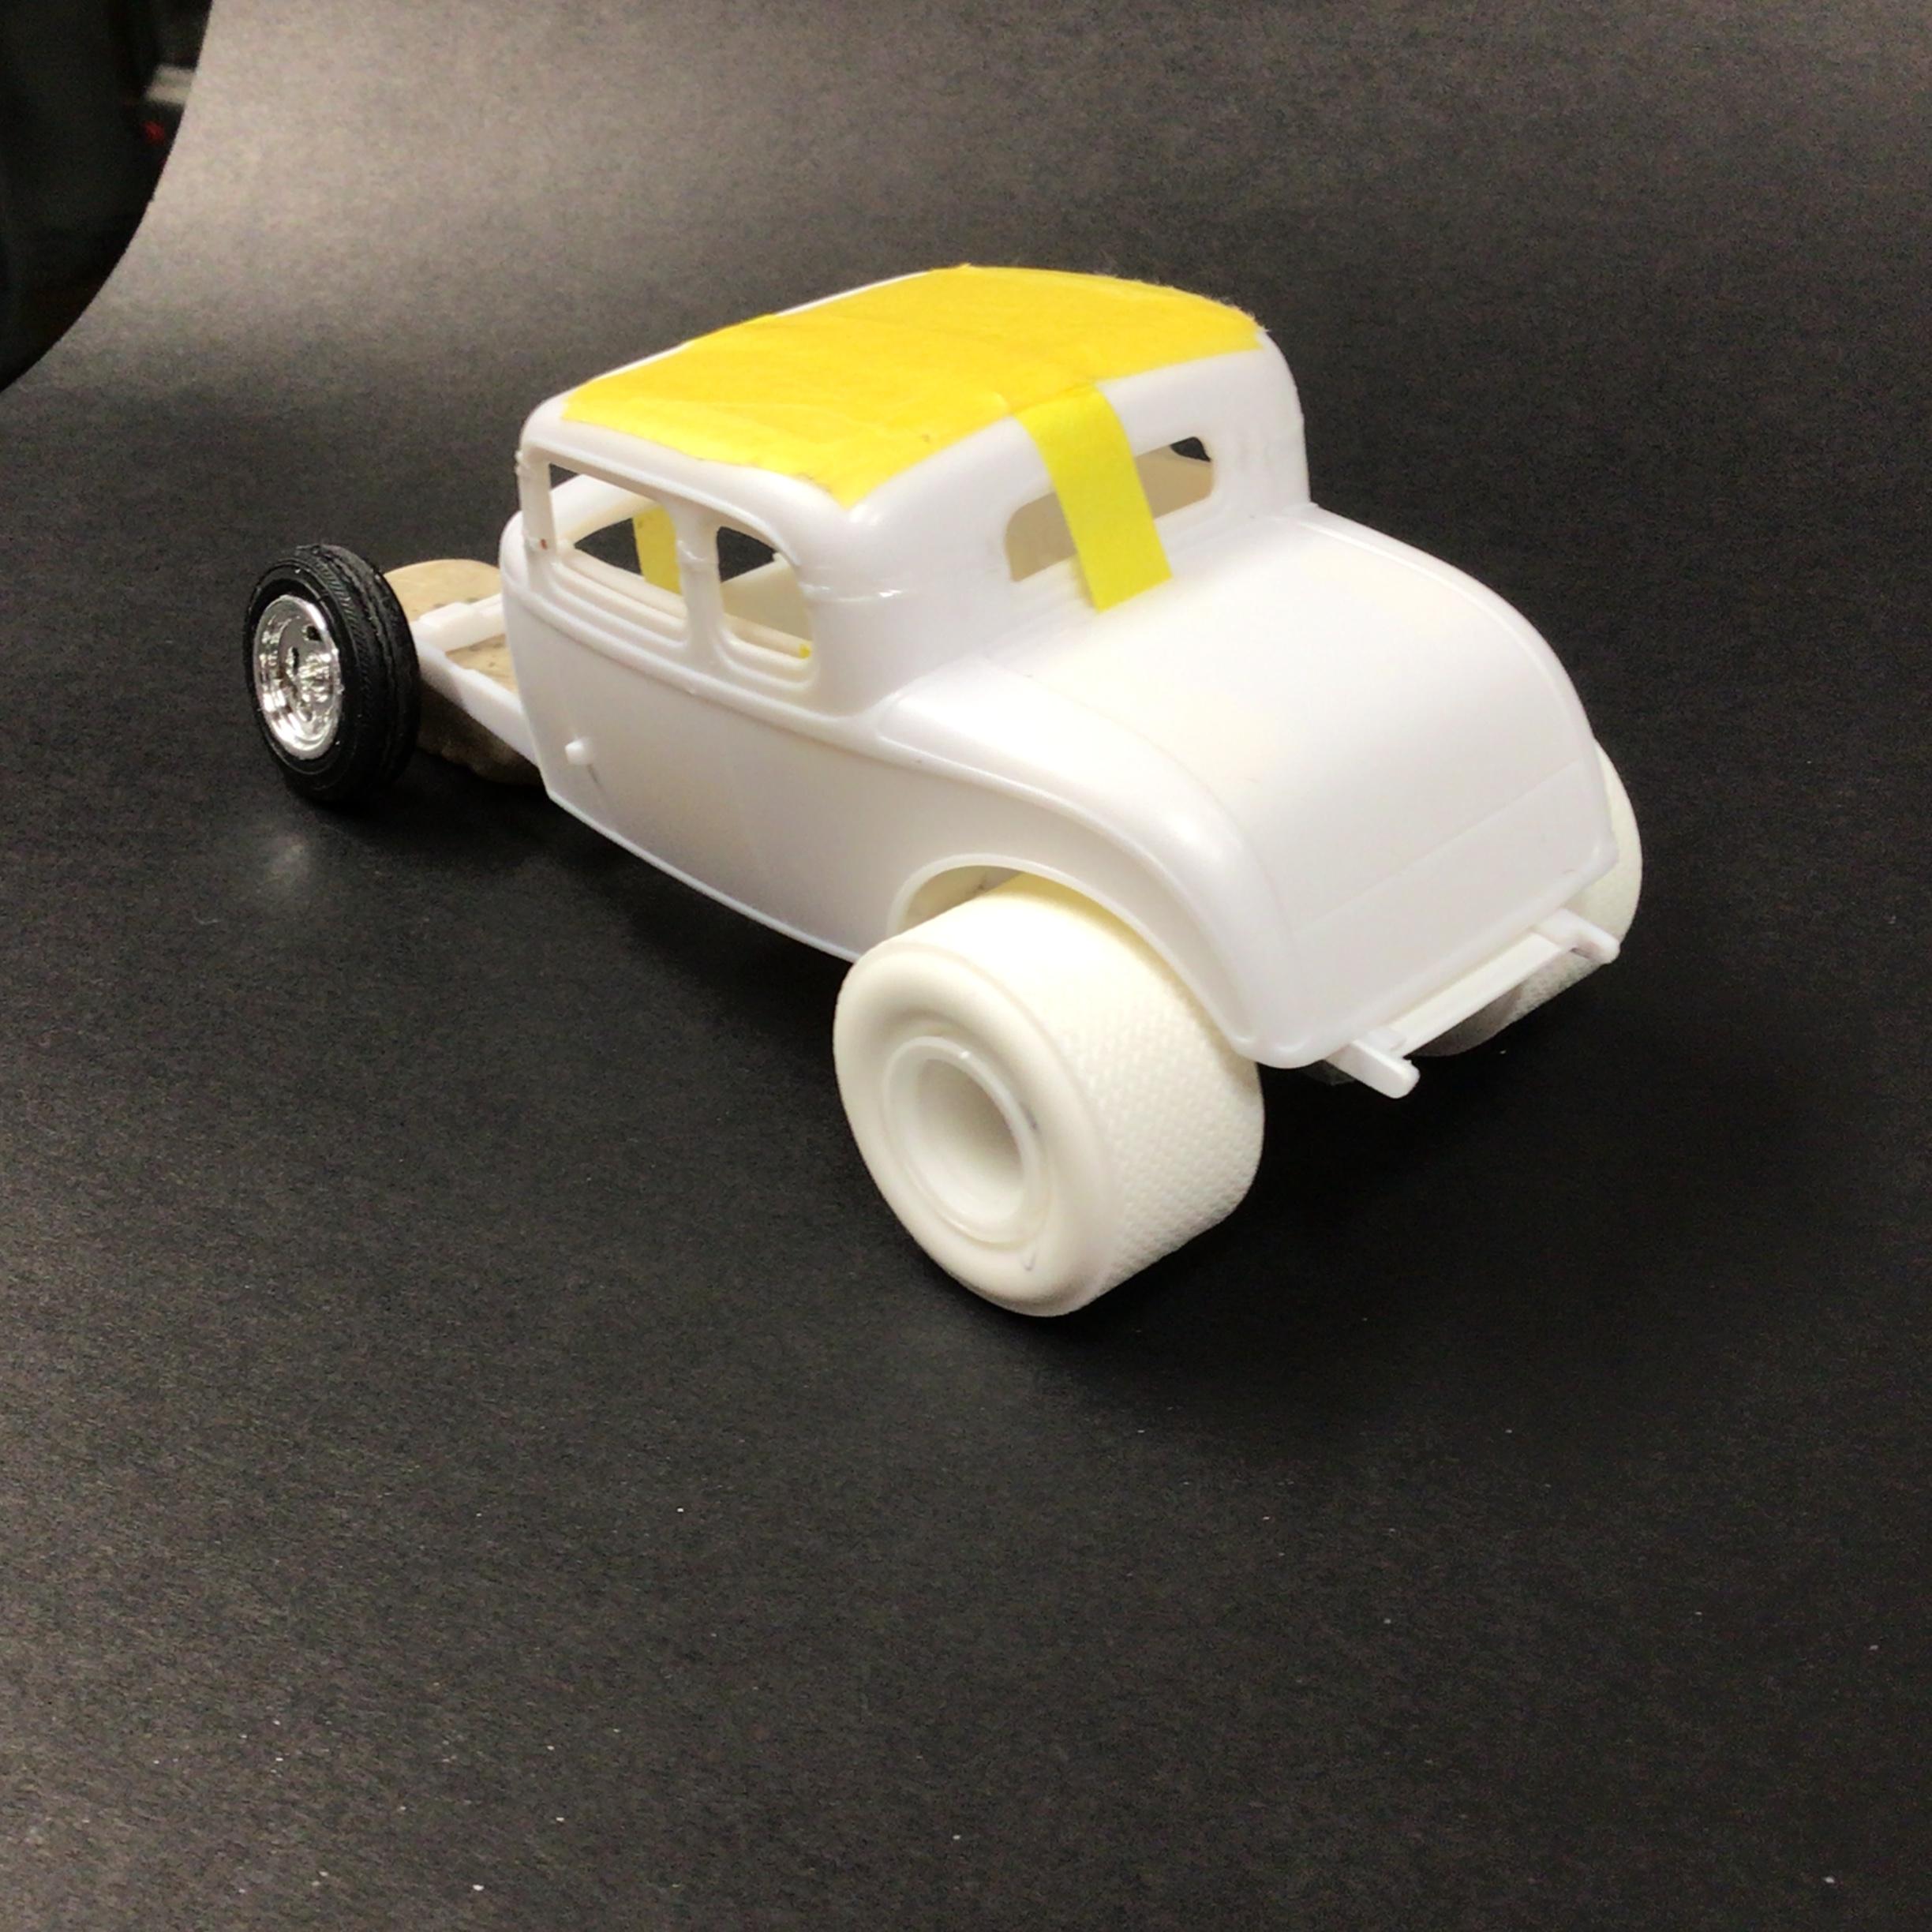
For anyone channeling Revell’s ‘32 ford five window…..I just happened to stumble across this idea. Take a Mr Hobby or Tamiya paint jar (I’m sure everyone must have one?) and attach some sandpaper to it with some thin double face tape. The diameter matches the diameter of the rear fenders almost perfectly, making for a very close fit.
- 1 reply
-
- 2
-

-
A big Thank You to everyone who has served!
-
Shadows can be used creatively to get spectacular photographs.
-
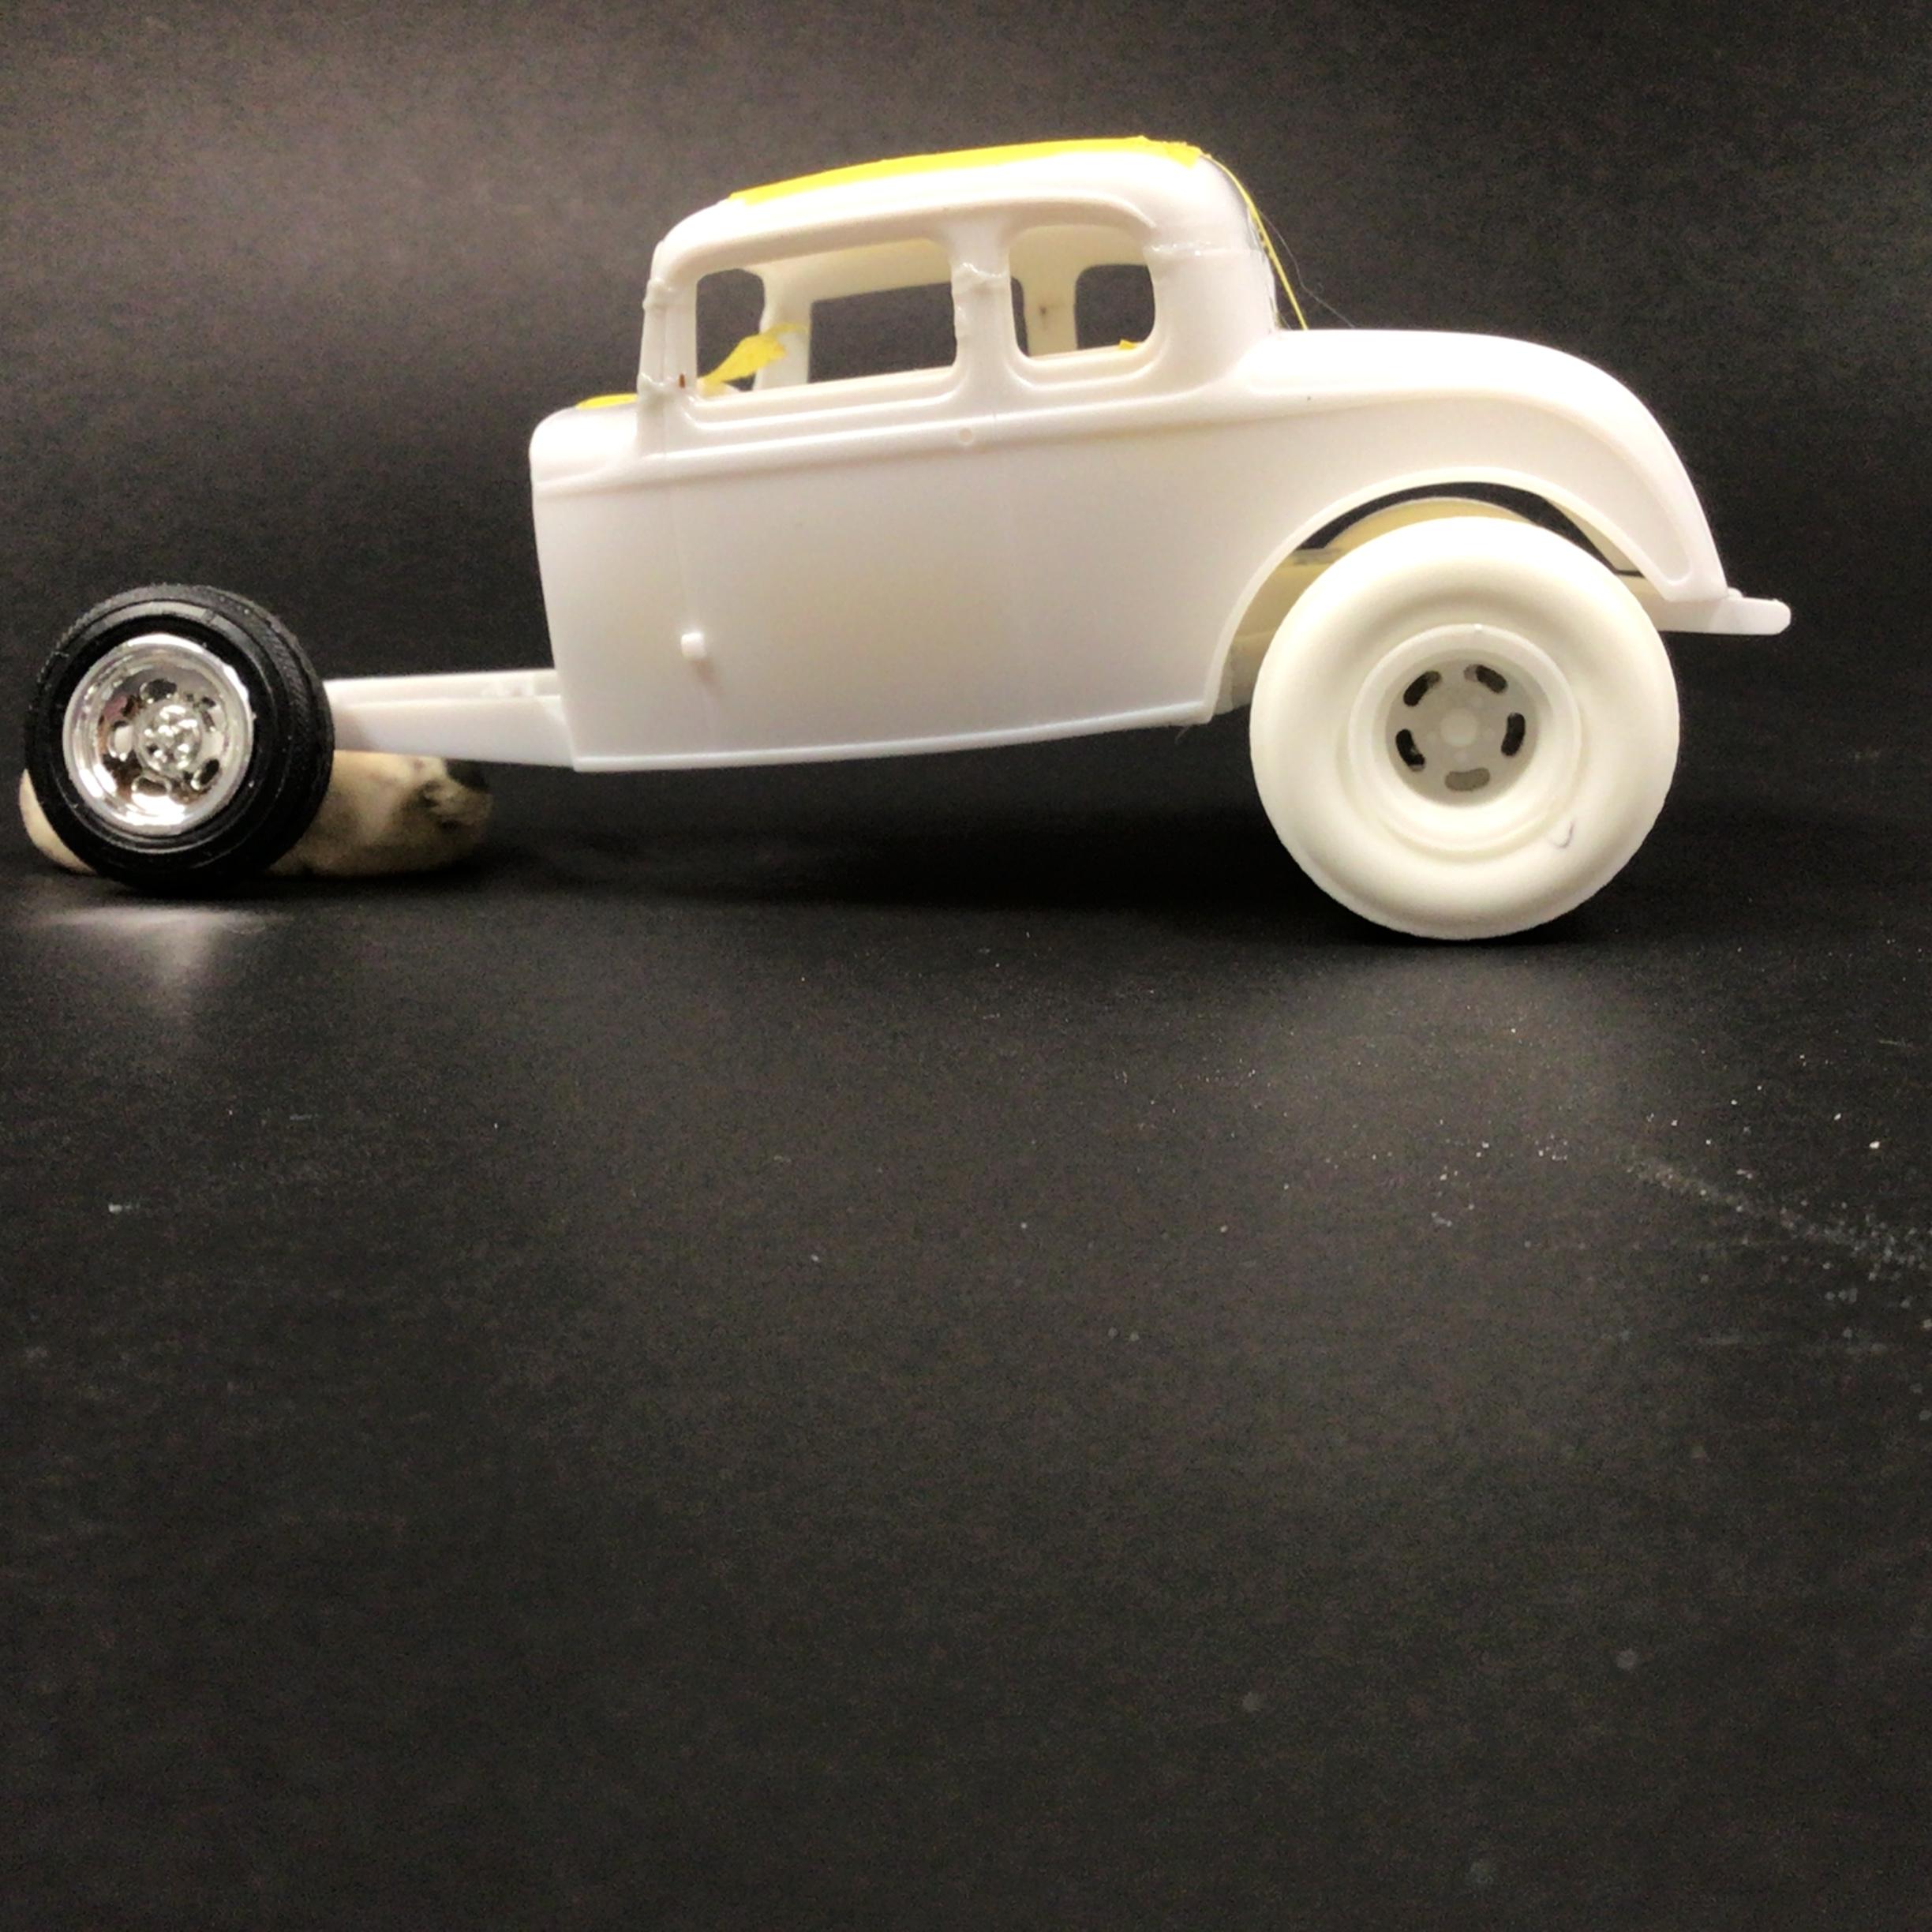
It almost looks like the larger rims are on the front??? It still looks a hundred times better than the box art!
-
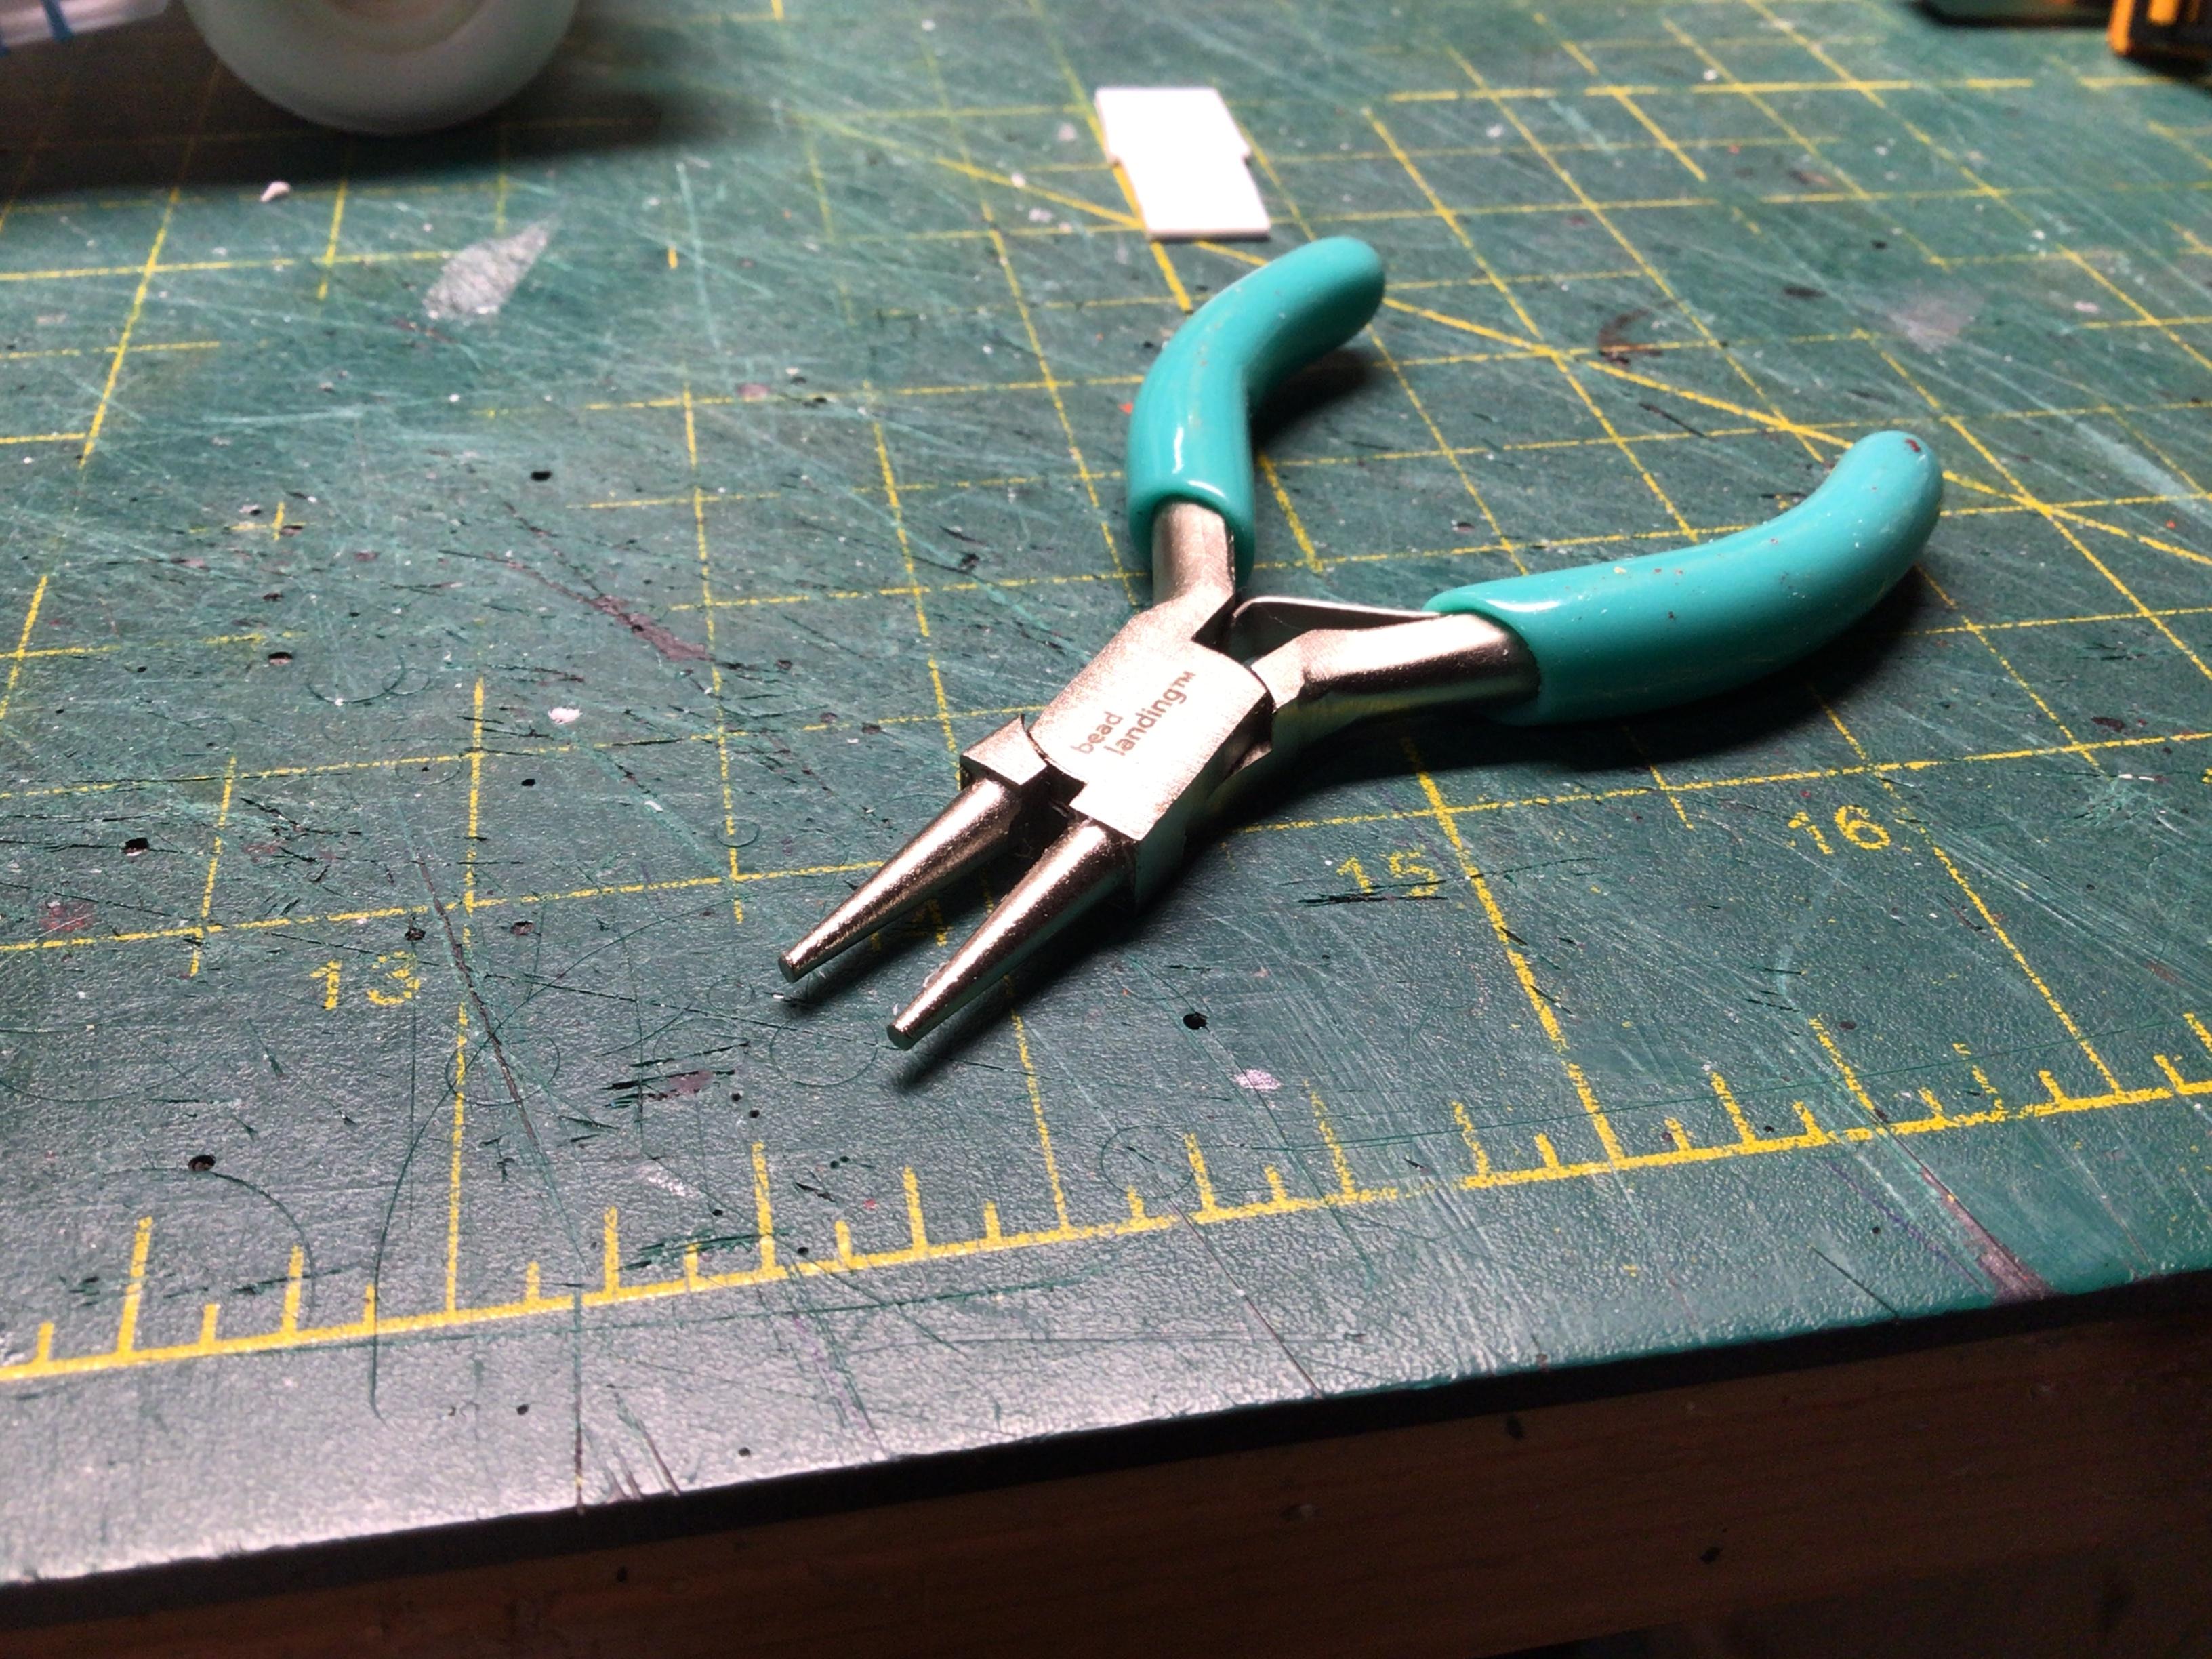
Michaels has various sized round nosed pliers in the jewelry making dept. You can get smooth bends of different radius’s depending how far up the jaws you go.
-
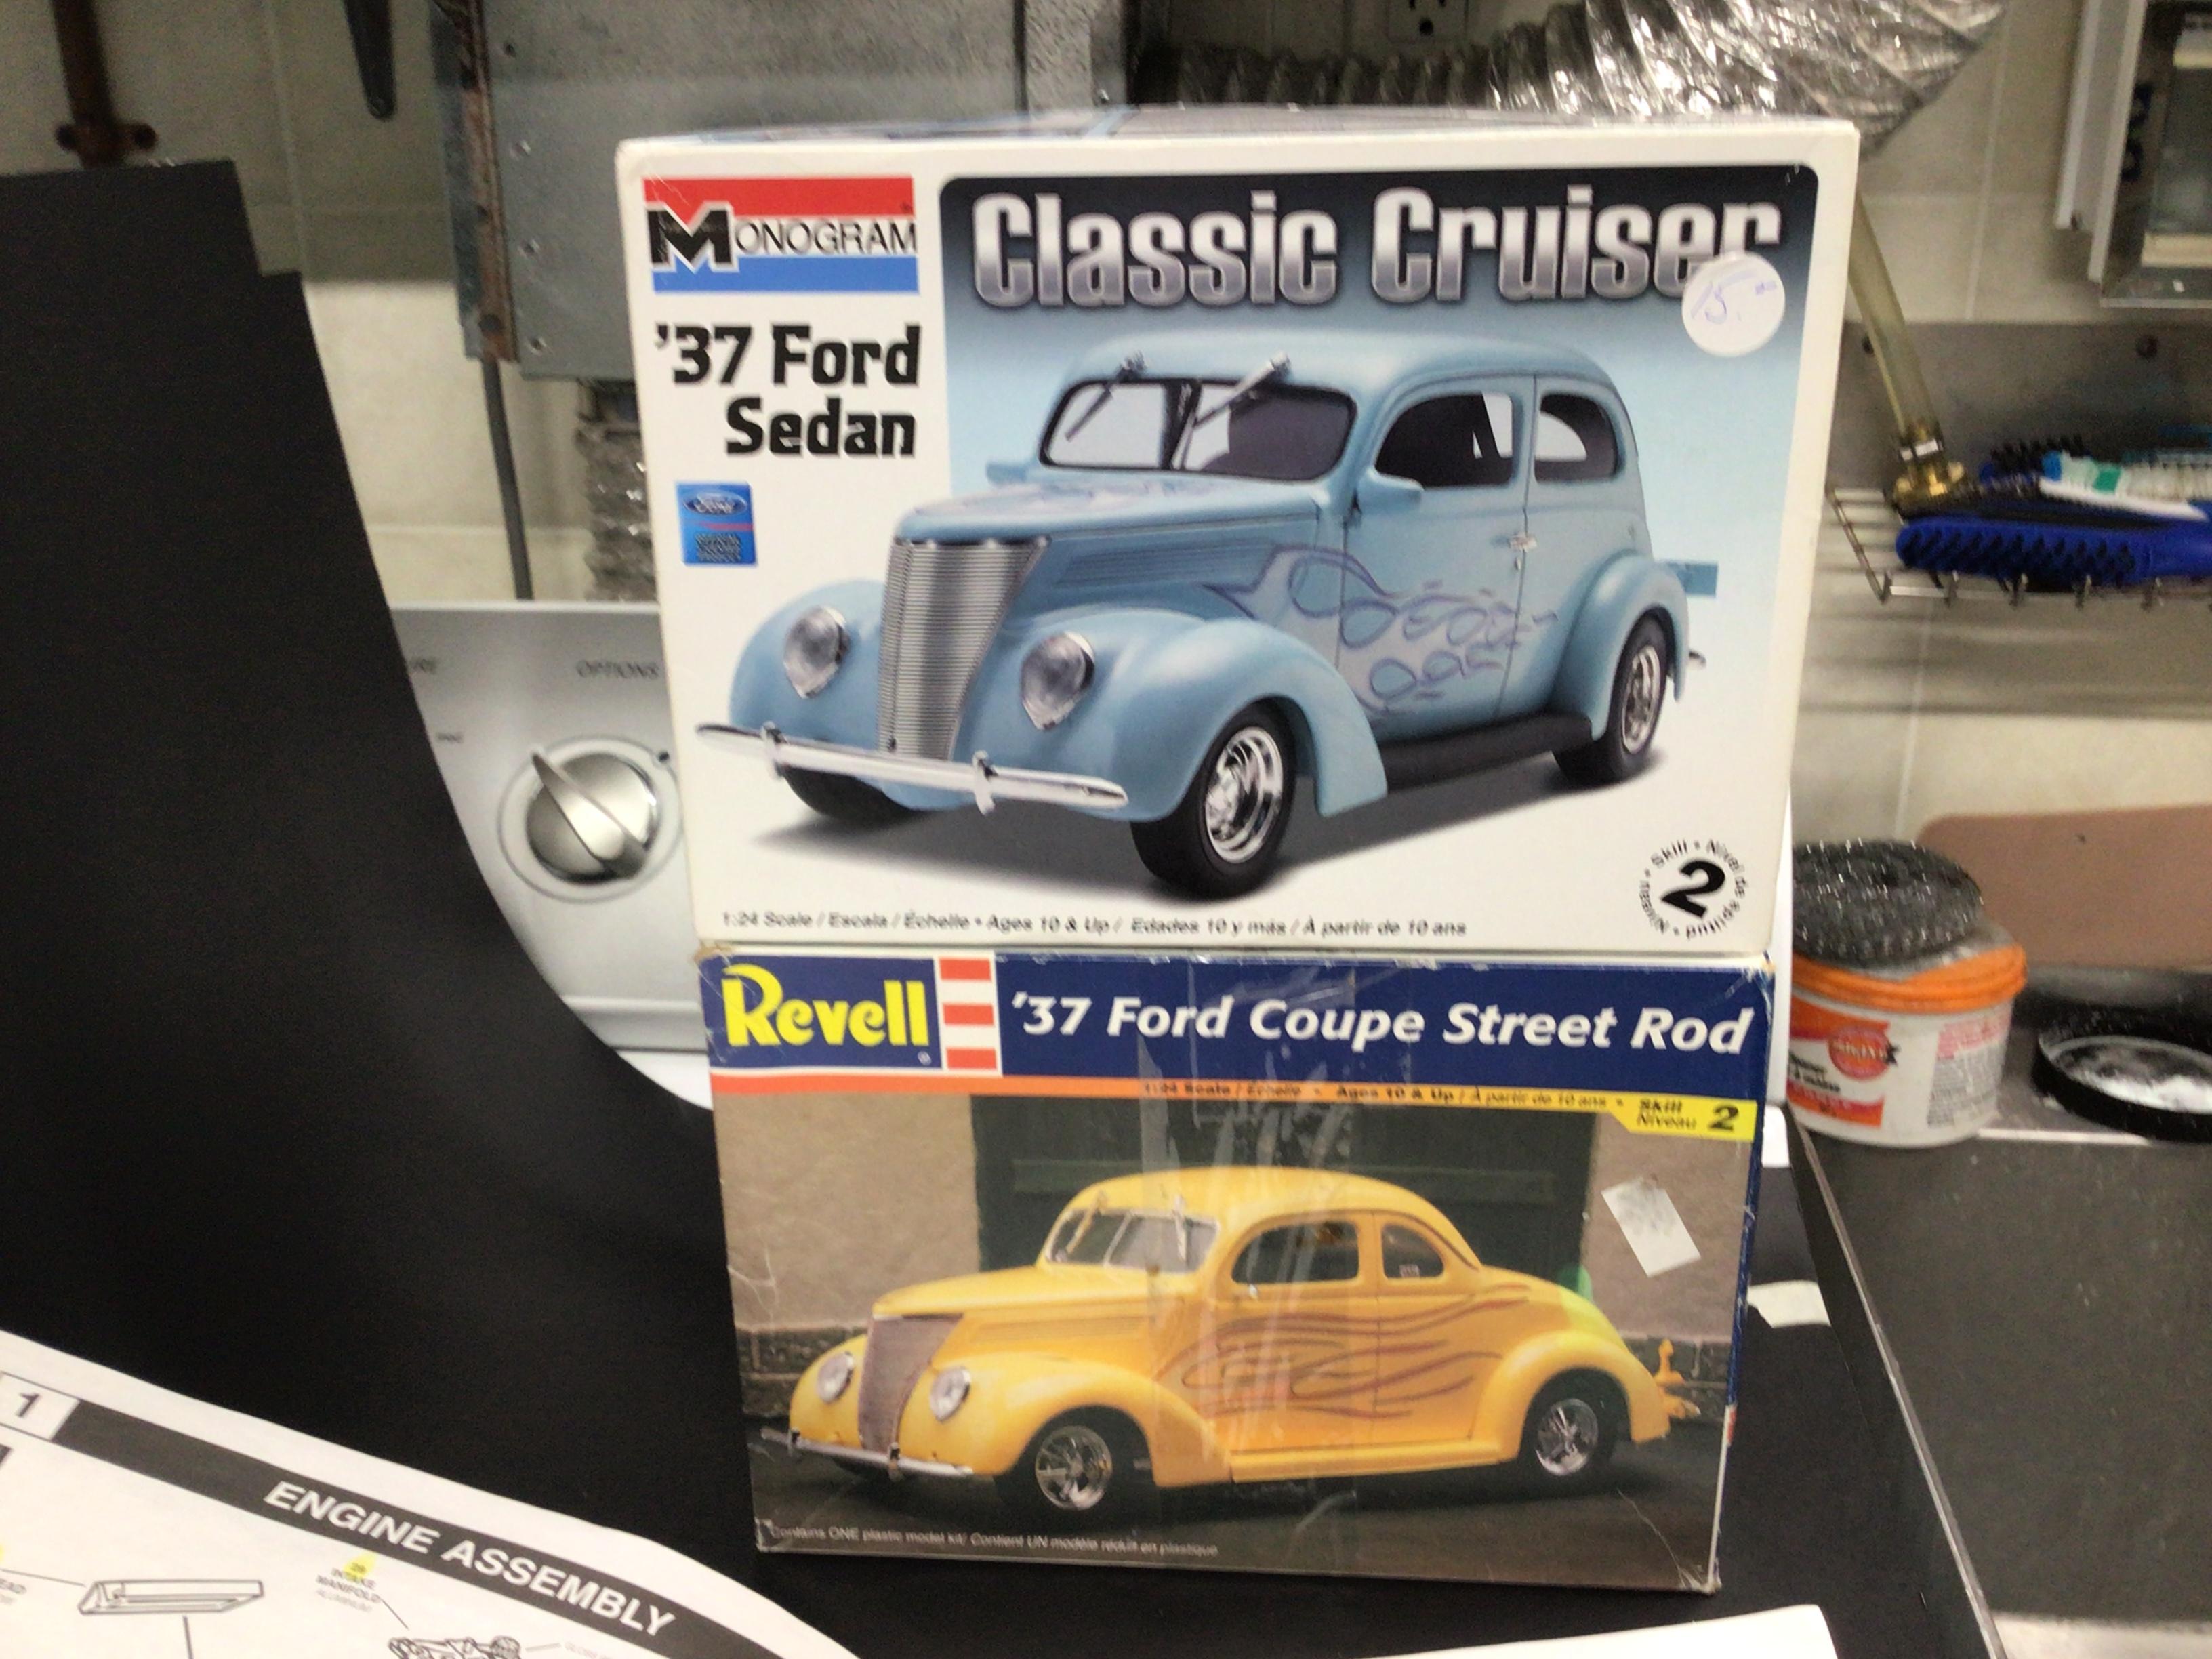
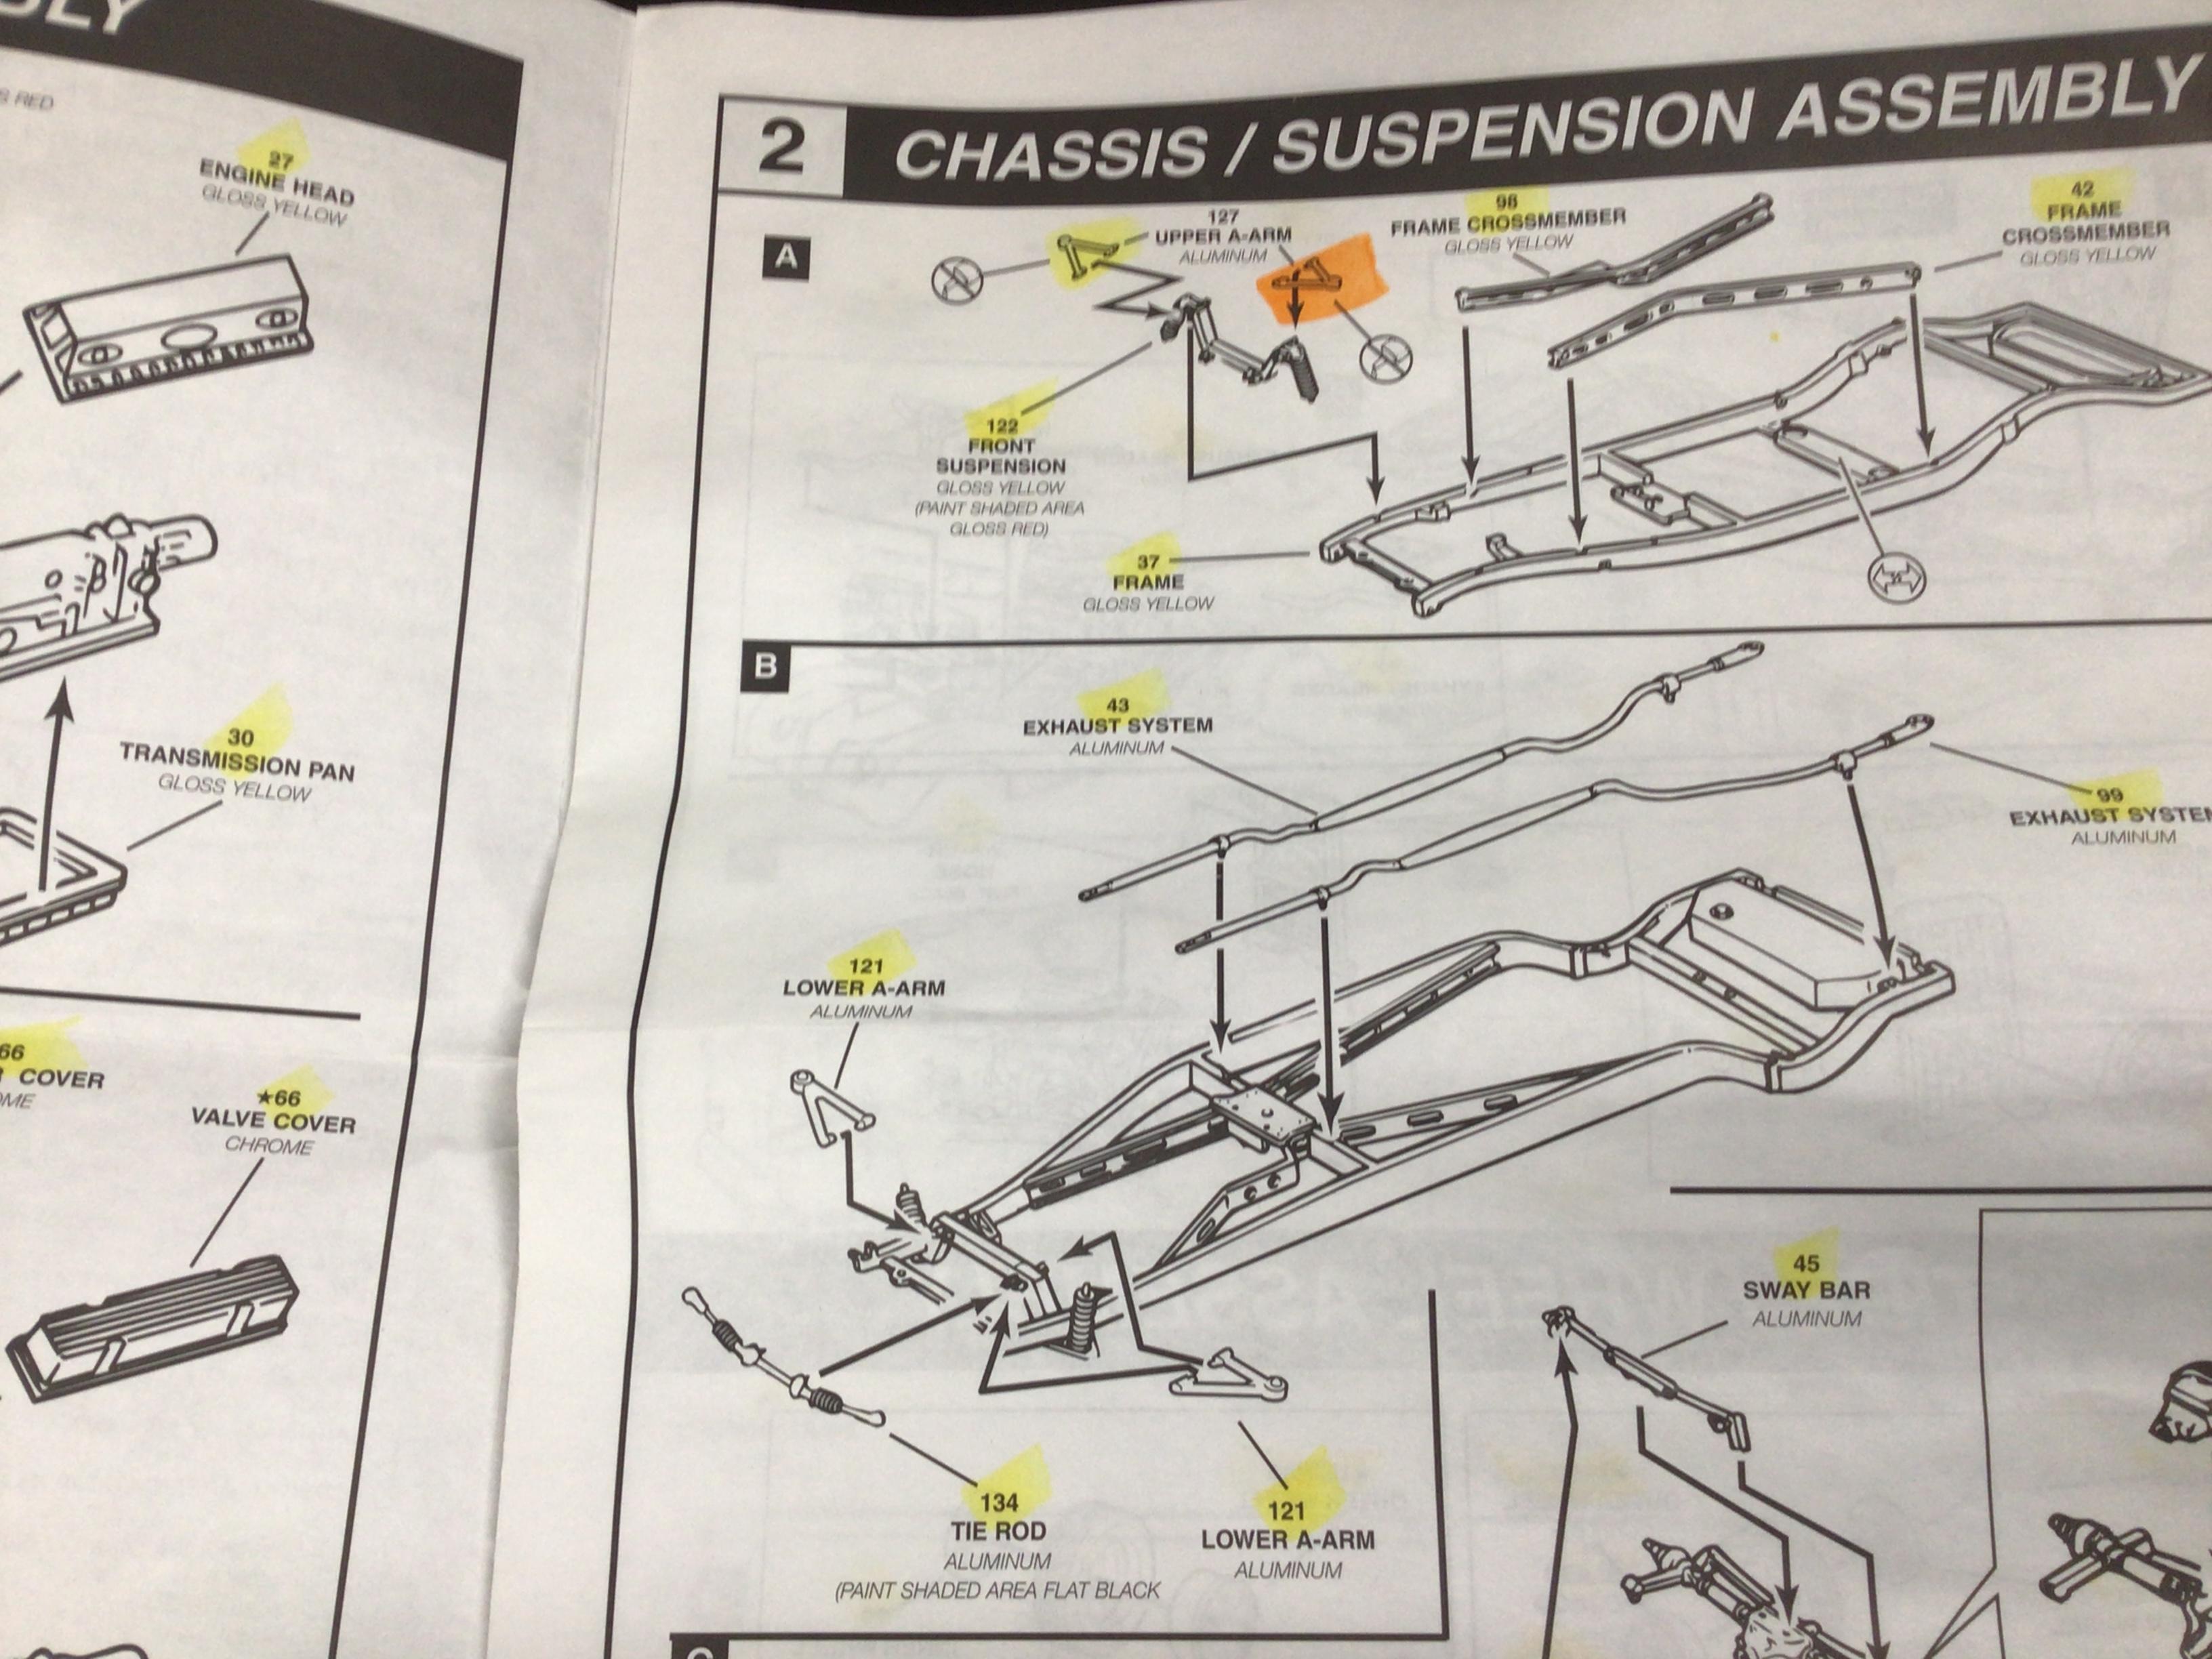
These ‘37 Fords have a front suspension that might work. They have an independent rear also. They are 1/24 scale but the chassis seem to be good donors for 1/25 scale.
-
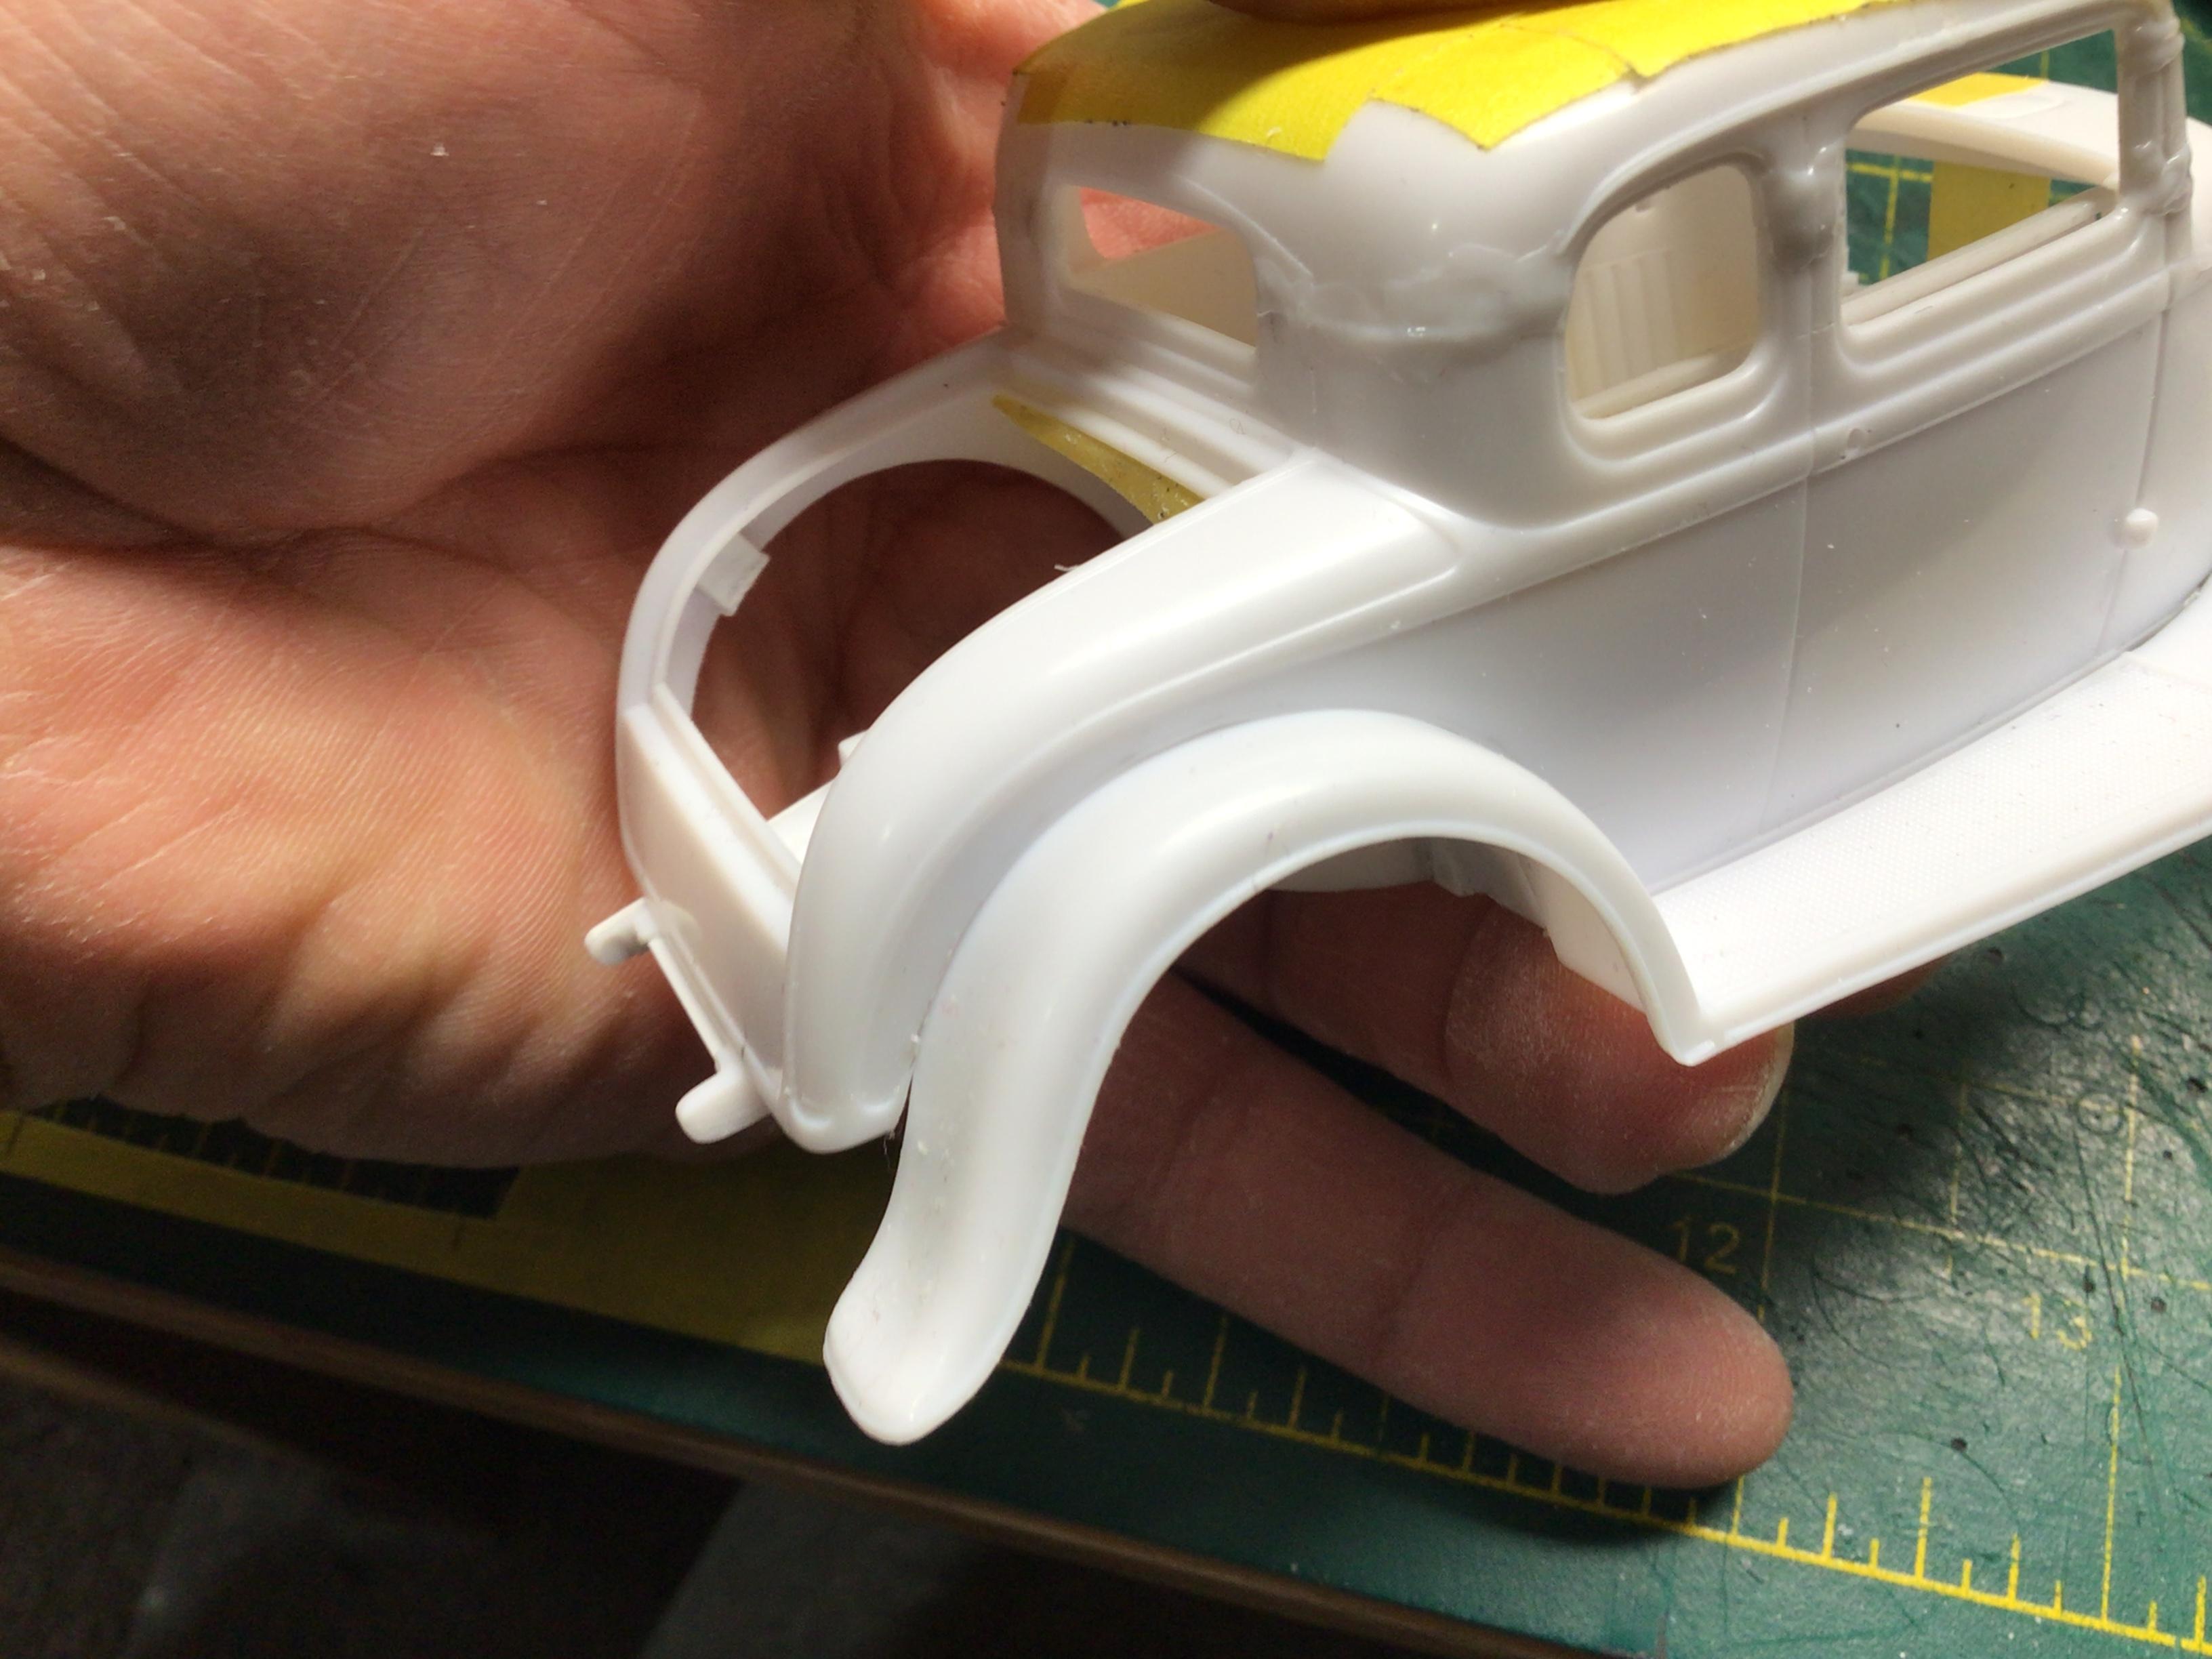
I think I like the look with fenders better. I may have to narrow the rear frame a bit more to get them under there. So much for the old saying “measure twice…cut once”.?
-
Looking very nice!?
-
Ambitious project, but it sure looks like you’re up to the task. She was looking really beautiful in that first paint job!?
-
Super fine work inside and out. It’s beautiful!?
-
Looks just fine to me too!?
-
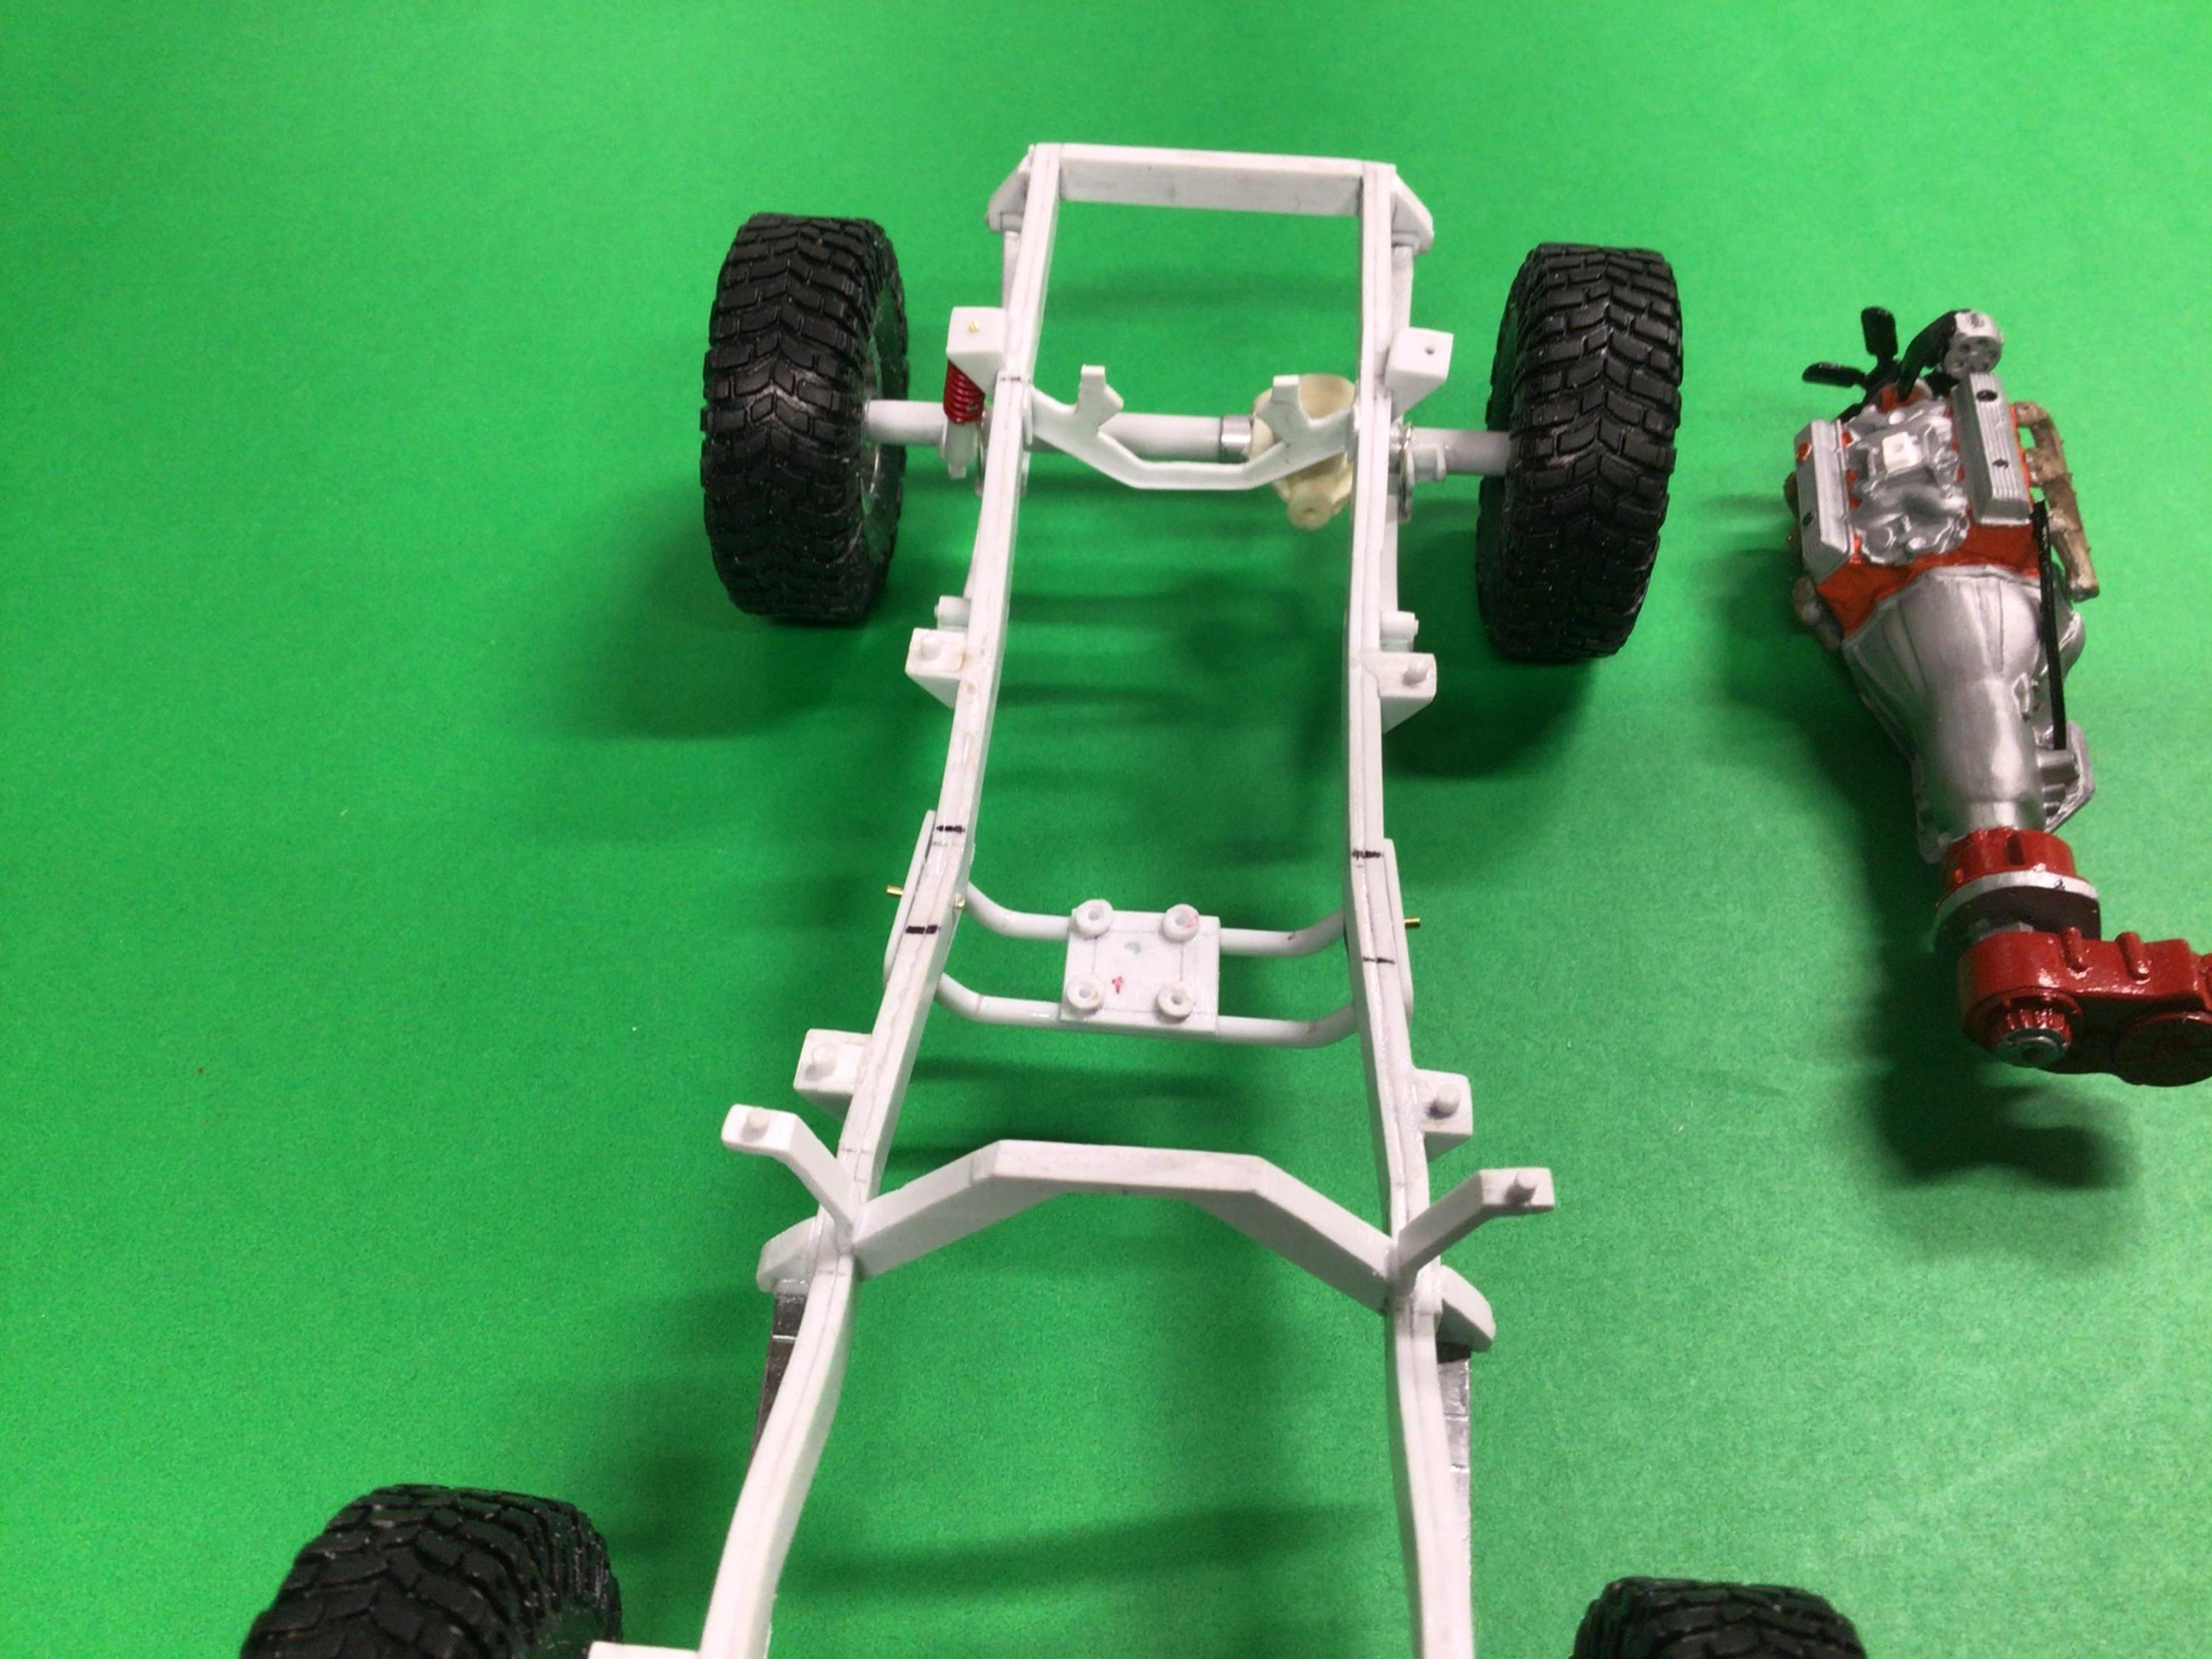
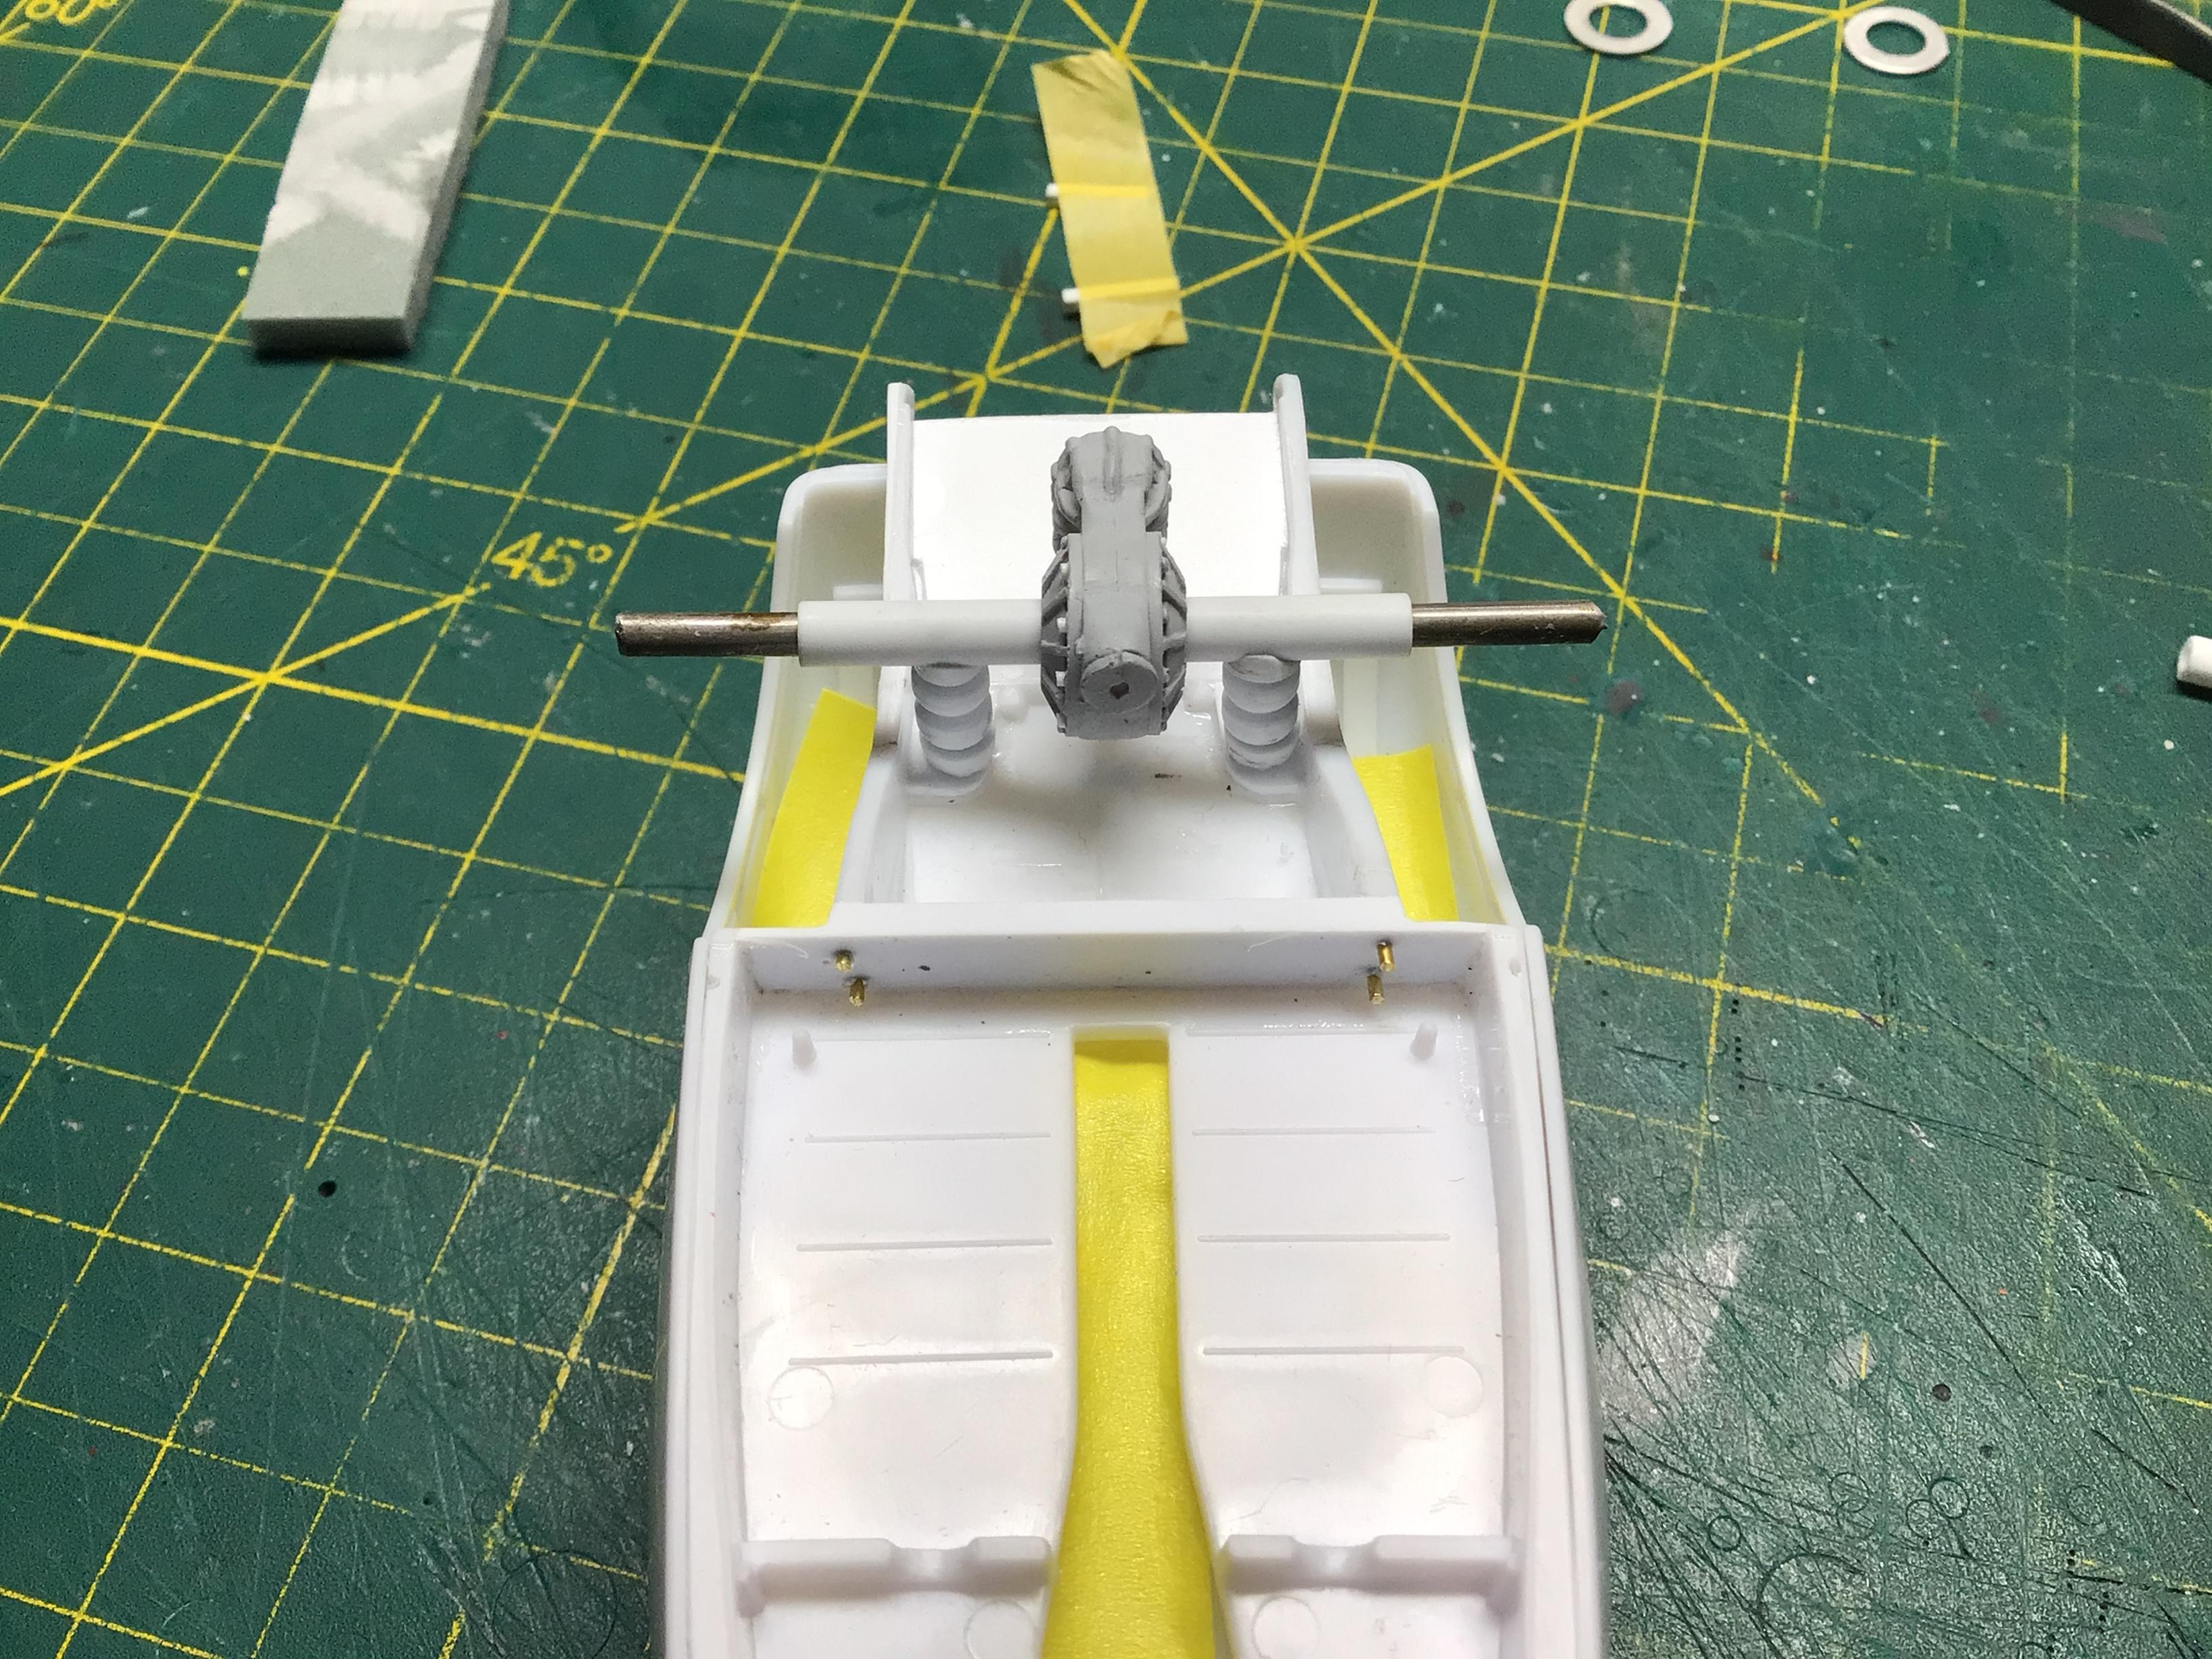
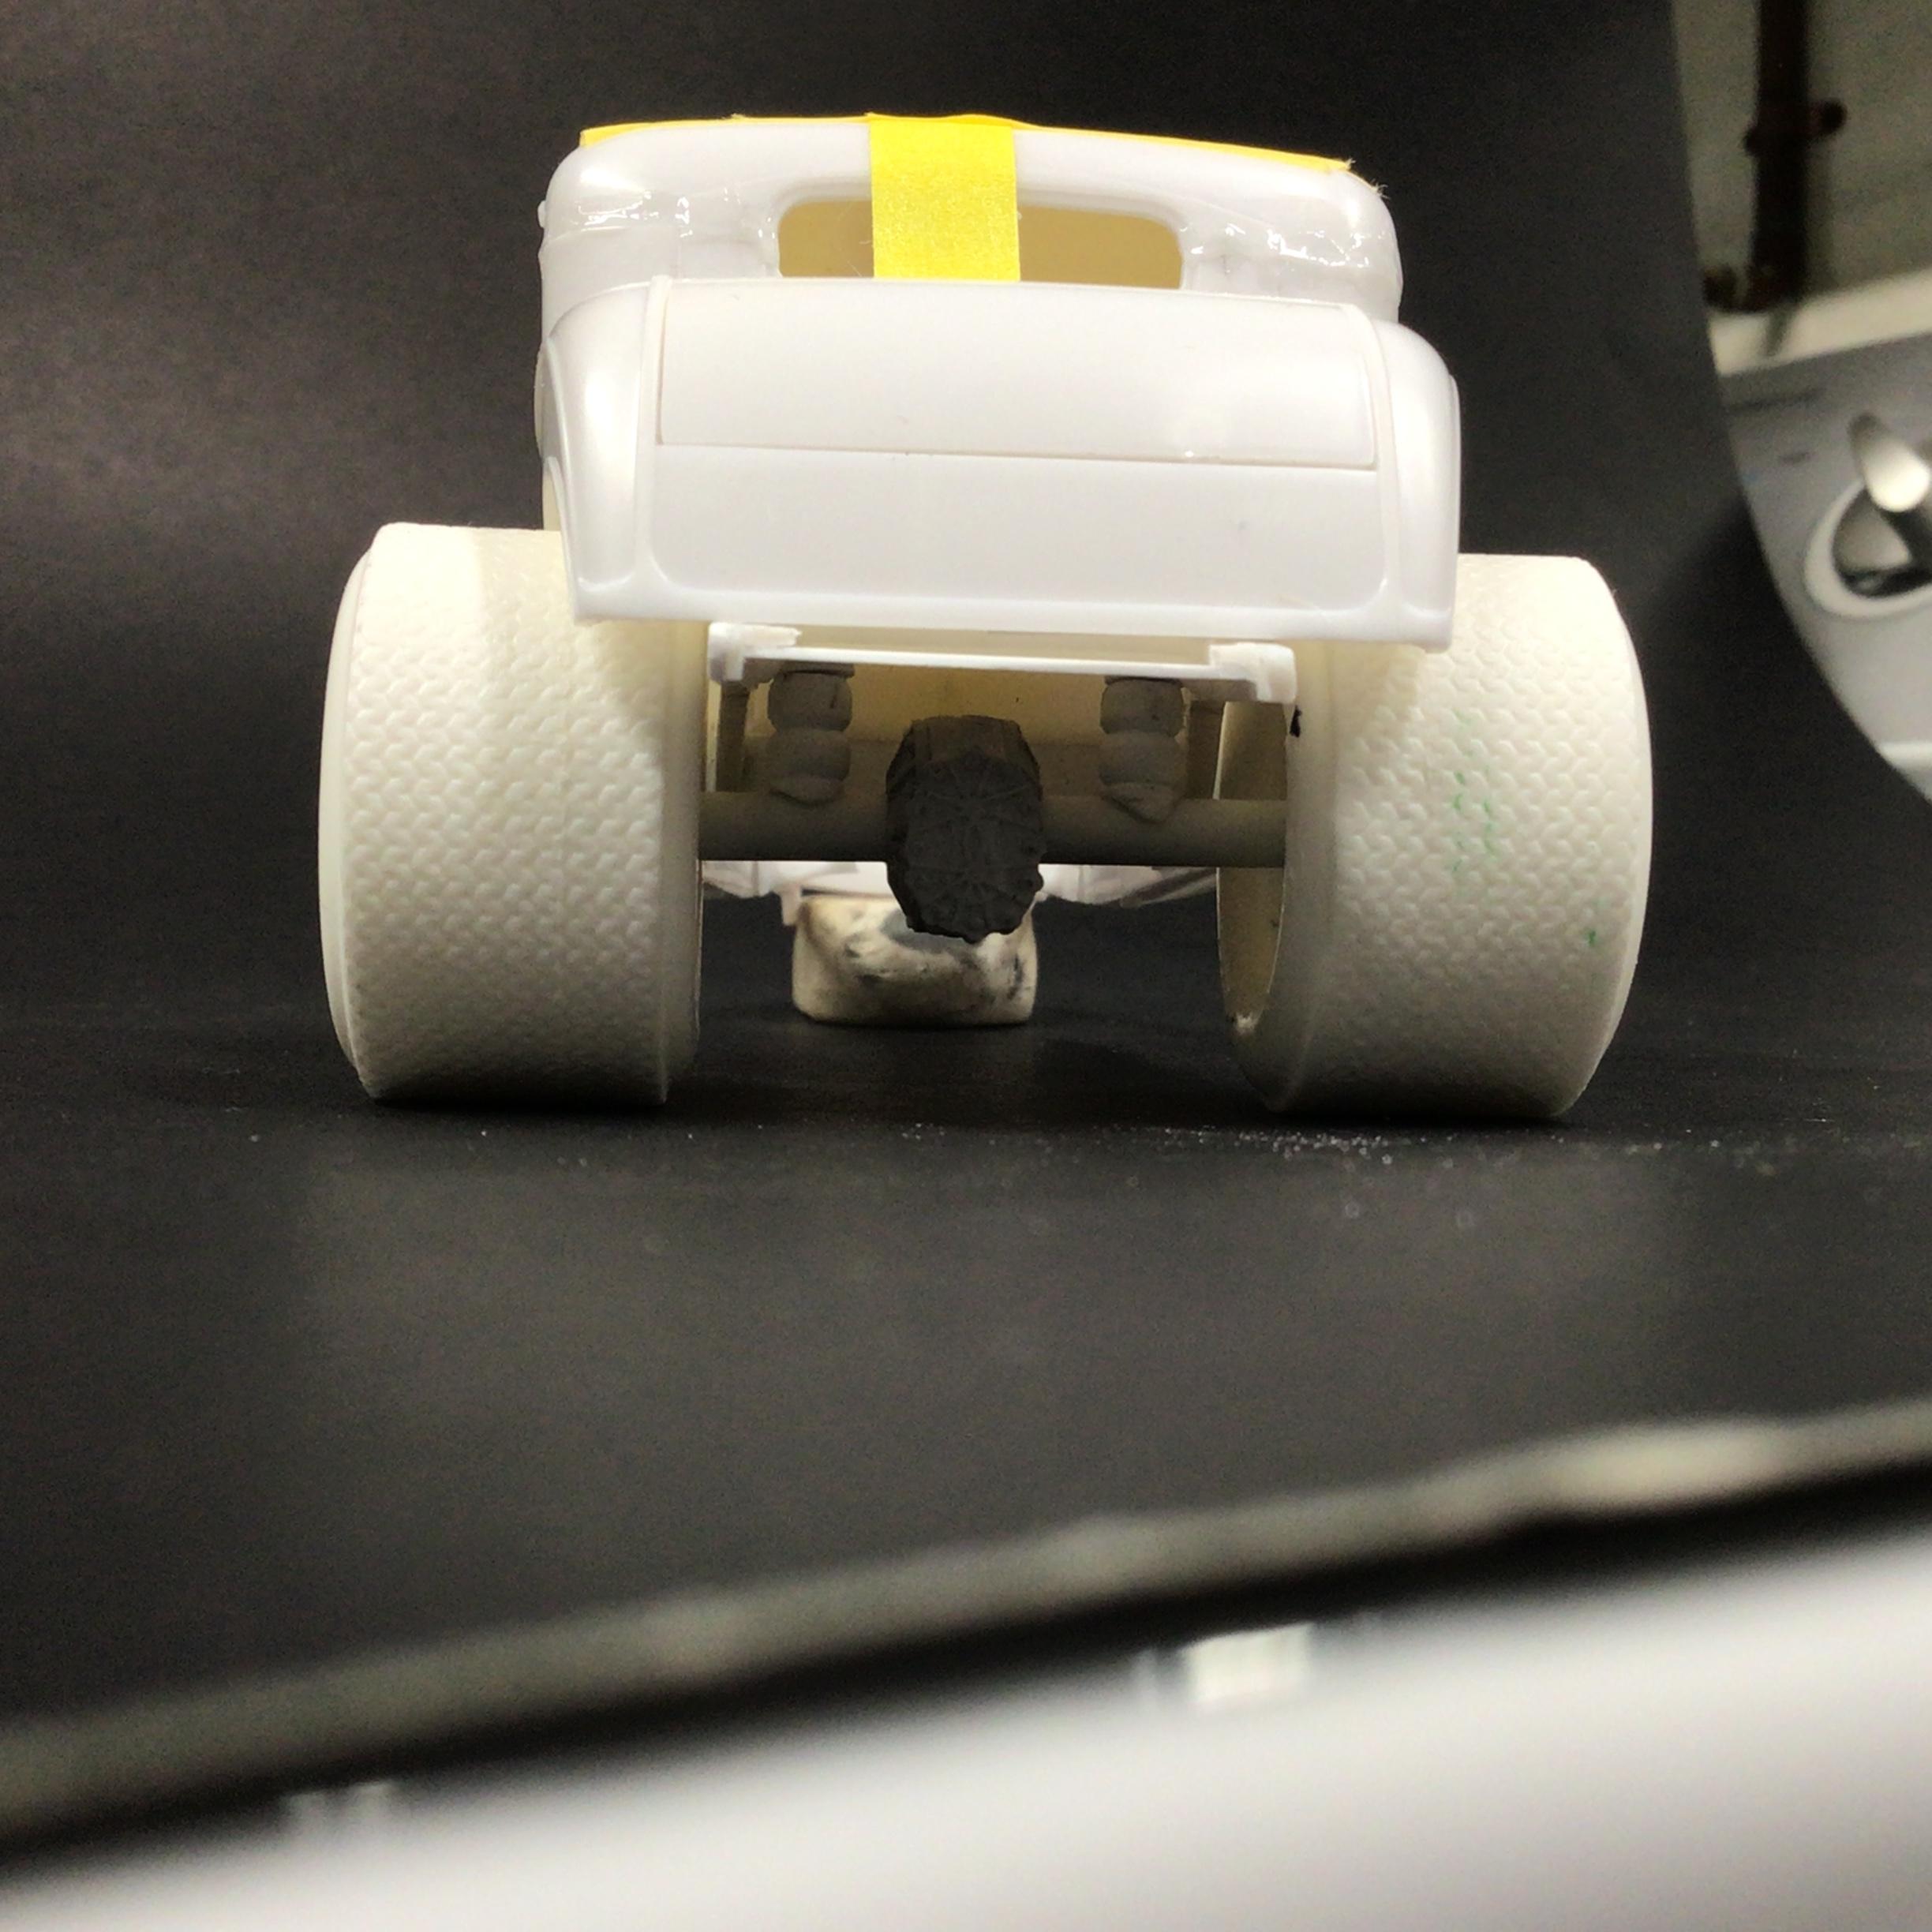
Since this suspension is taking longer than I figured, I mixed up some sprue glue to fill the seams on the chop. It should have plenty of time to set.? I am trying to use the rear tires I cast from the AMT ‘67 Chevelle. They are a little big but…I have nothing else close.? I don’t like those rims though, so I widened the ones from the MPC ‘34 Slammer kit and cast them too. I figured I would need a very narrow center section because of the tubbing, so I scratch built a quick-change rear for it. It looks a lot bigger under the vehicle (I scaled it down off of a schematic) than when I was building it? Due to the channeling, I have to lower the entire rear end with the body and it looks too high in the back I think, so I may wind up radiusing the rear wheel arches.
-
Current building techniques
NOBLNG replied to Bobjernigan3's topic in General Automotive Talk (Trucks and Cars)
I built only maybe a dozen models as a kid. I got back into the hobby a few years back mostly to keep track of my eyesight and dexterity (at least that’s what I told my wife?). I try to push the envelope a little on each build if I can, but I don’t want absolute perfection to be my goal, as I think it would take the enjoyment out of it for me. That said….I do admire and am inspired by the elite builders on this forum and I hope they all continue to post their builds here. At the same time I can appreciate the efforts of anyone who doesn’t have the top level of dedication and skills. The main best thing is that it brings enjoyment.? -
Yes, a light touch is key for panel lines. For window and wheel well trim i made this by sharpening and bending a piece of wire….welding rod, coat hanger etc.
-
Pace spraybooth size question
NOBLNG replied to Joe Nunes's topic in Model Building Questions and Answers
All good advice above! And I agree….bigger is better! I built my own booth in my garage originally for powder coating. The best upgrade i did was a two foot led light from Home Depot. -
Living comfortably is good enough for me, I don’t need to be a bazillionaire.
-
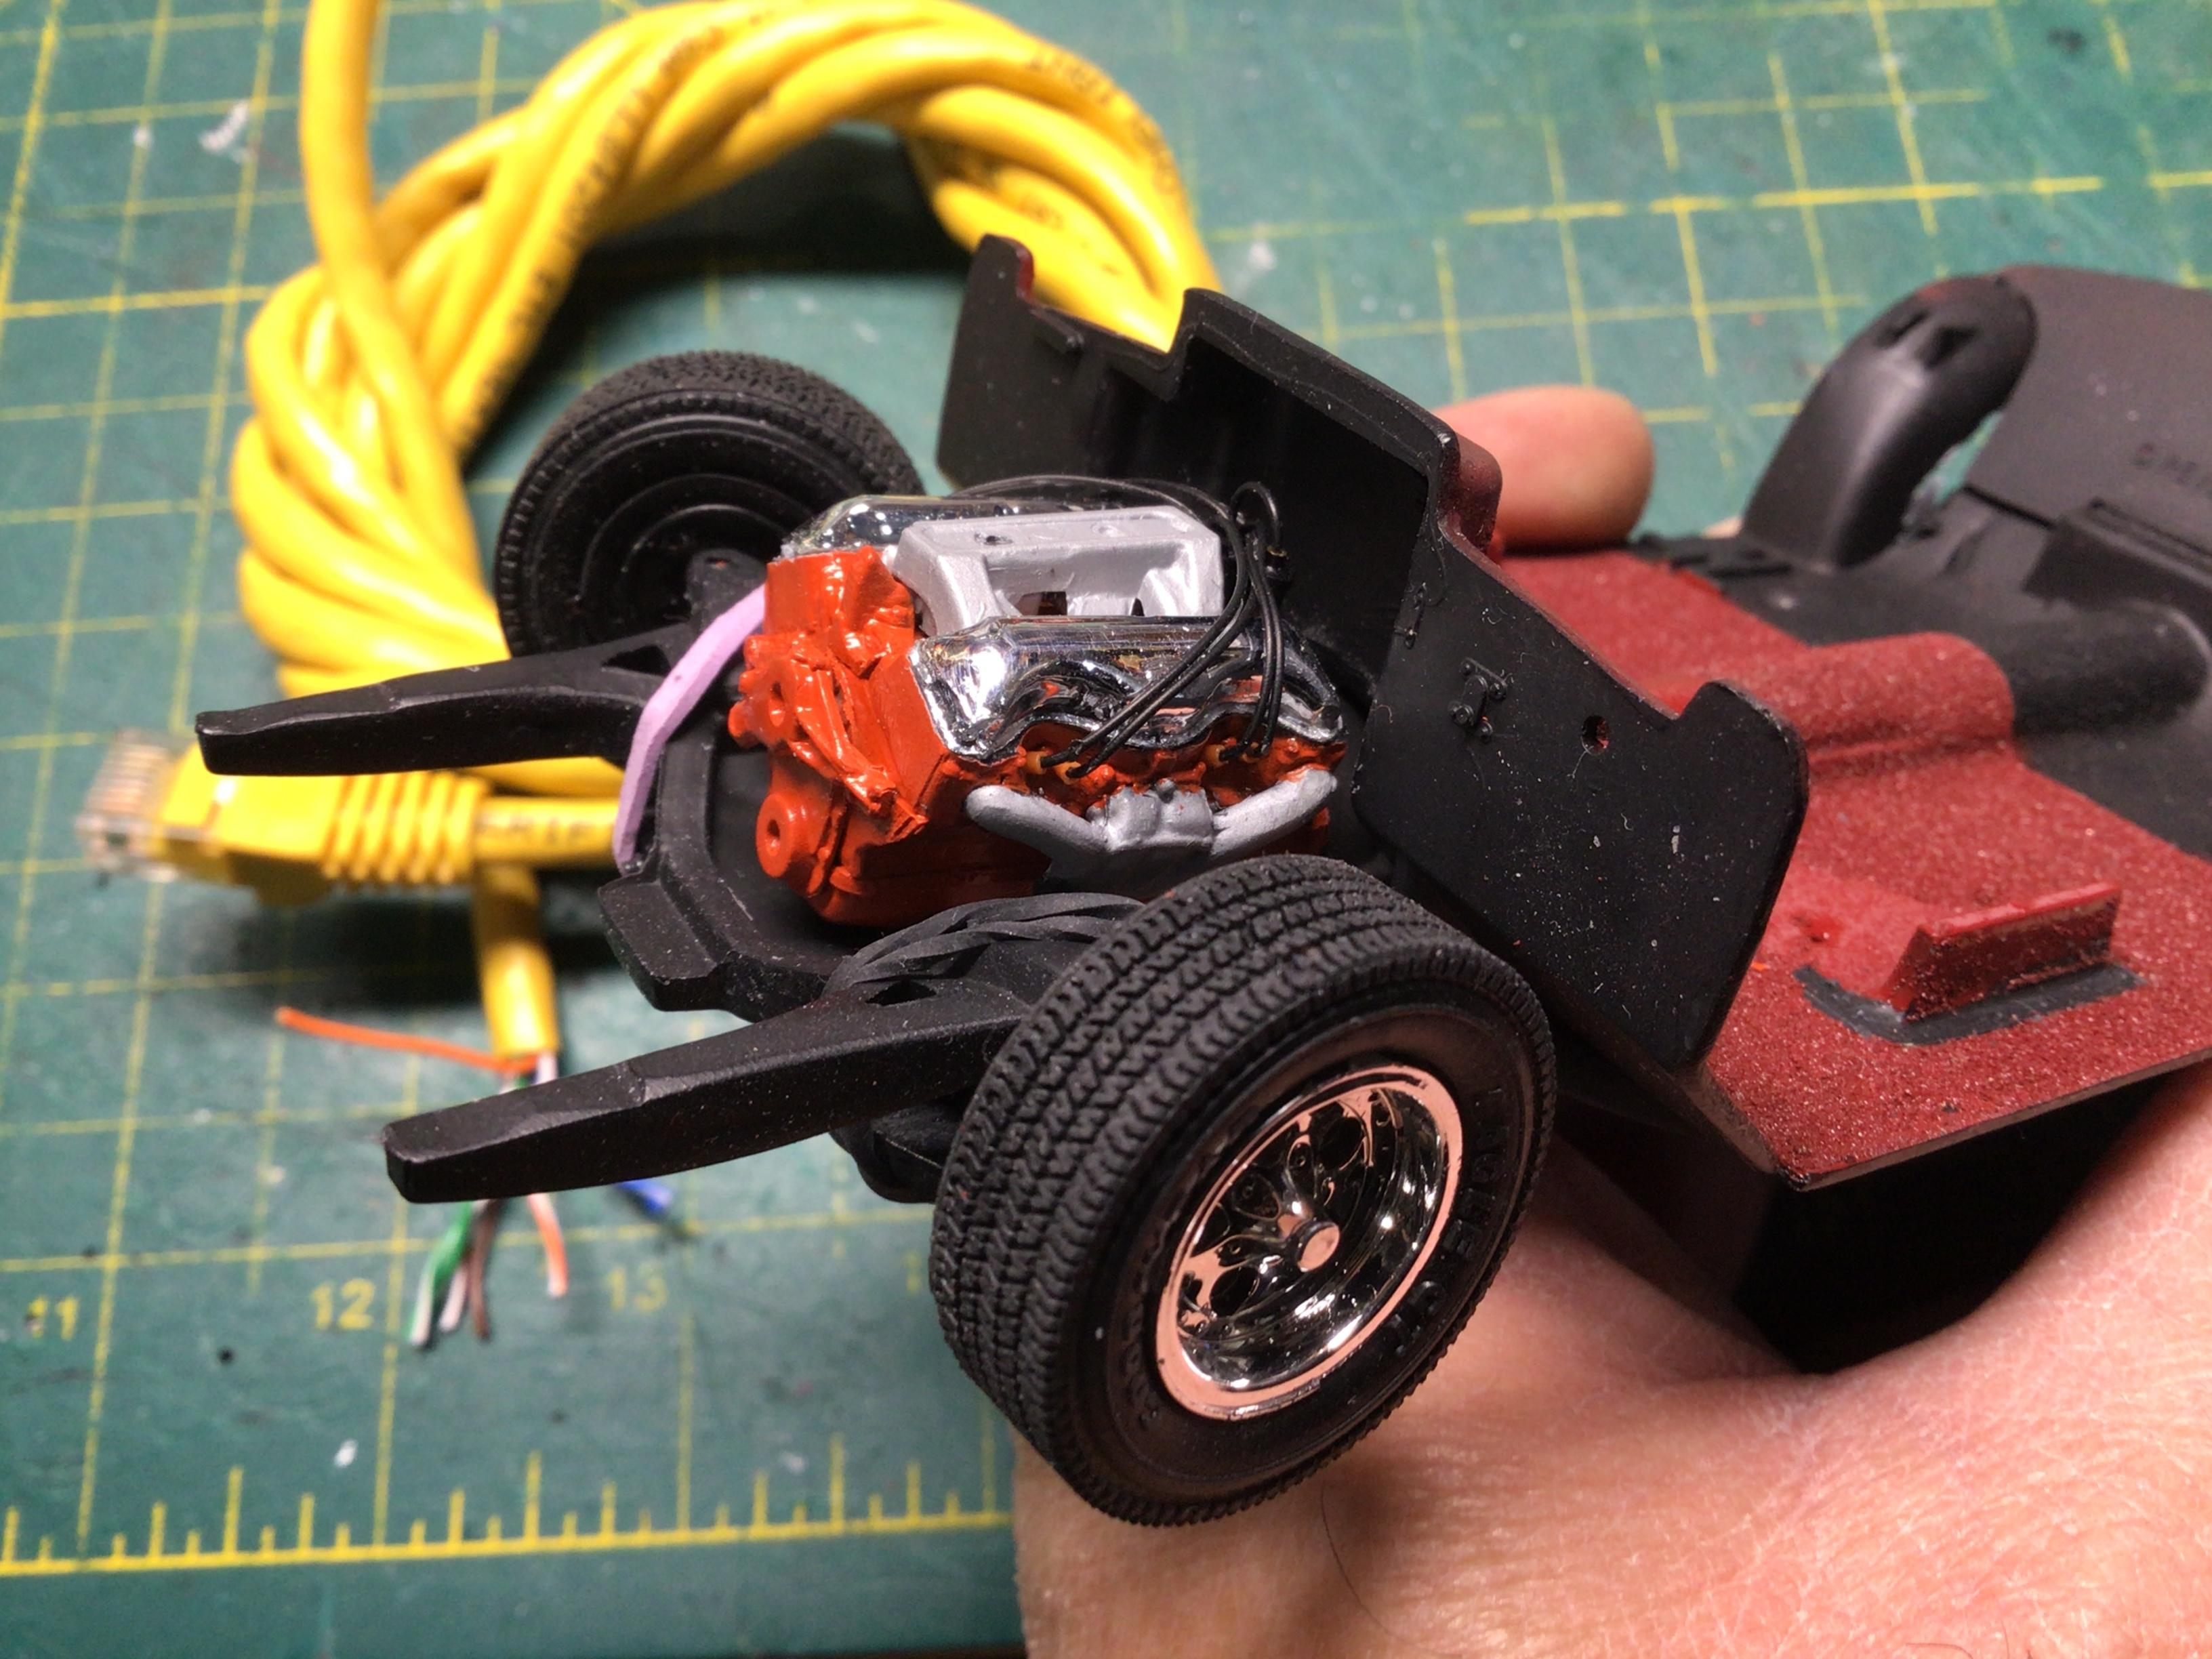
I used the insulation off the orange wire from this cat 5 cable for plug boots, and 30 gage wrapping wire for plug wires.