NOBLNG
-
Posts
10,231 -
Joined
-
Last visited
Content Type
Profiles
Forums
Events
Gallery
Everything posted by NOBLNG
-

Retro-Future Weirdness
NOBLNG replied to Richard Bartrop's topic in General Automotive Talk (Trucks and Cars)
Where's the kick stand? -
Probably not, and it doesn't claim to be, unlike the DAP stuff. I just broke those two pieces of yellow sprue apart. They were stuck pretty good, but nothing like good old model cement would do. I did buy some other thick super glue at the hobby shop and it was so thick that I couldn't squeeze it out of the bottle. This LePages stuff applies beautifully, and that is what I love about it! I wish I could find the DAP stuff to try. The video says it is stronger than polyurethane (Gorilla) glue and more durable than super glue (cyanoacrylate)...but what is it? Edit: I Just looked on DAP website and they say it can be dissolved with acetone. So it is their own special formulation of cyanoacrylate (superglue).
-
All you Canadians...does anyone deal with a supplier up here for stuff like pre-wired distributors, photo-etched parts, wheels and tires and factory color paints? If you do, please post the name of the supplier and/or a link to their website. Thanks in advance, Greg.
-
I have been wondering on my latest project, how to make the wheels more sturdy. They flop around like crazy. I had considered gluing them solid, but wasn't sure if rotating wheels was considered better than not. Thanks for the answer, mine will get the glue from now on!
-
Terrific tip! as I was reading it, I was imagining the tape underneath the foil. I was going to question you Steven if that would also work, but I see Richard has answered that for me. Thank Guys!
-
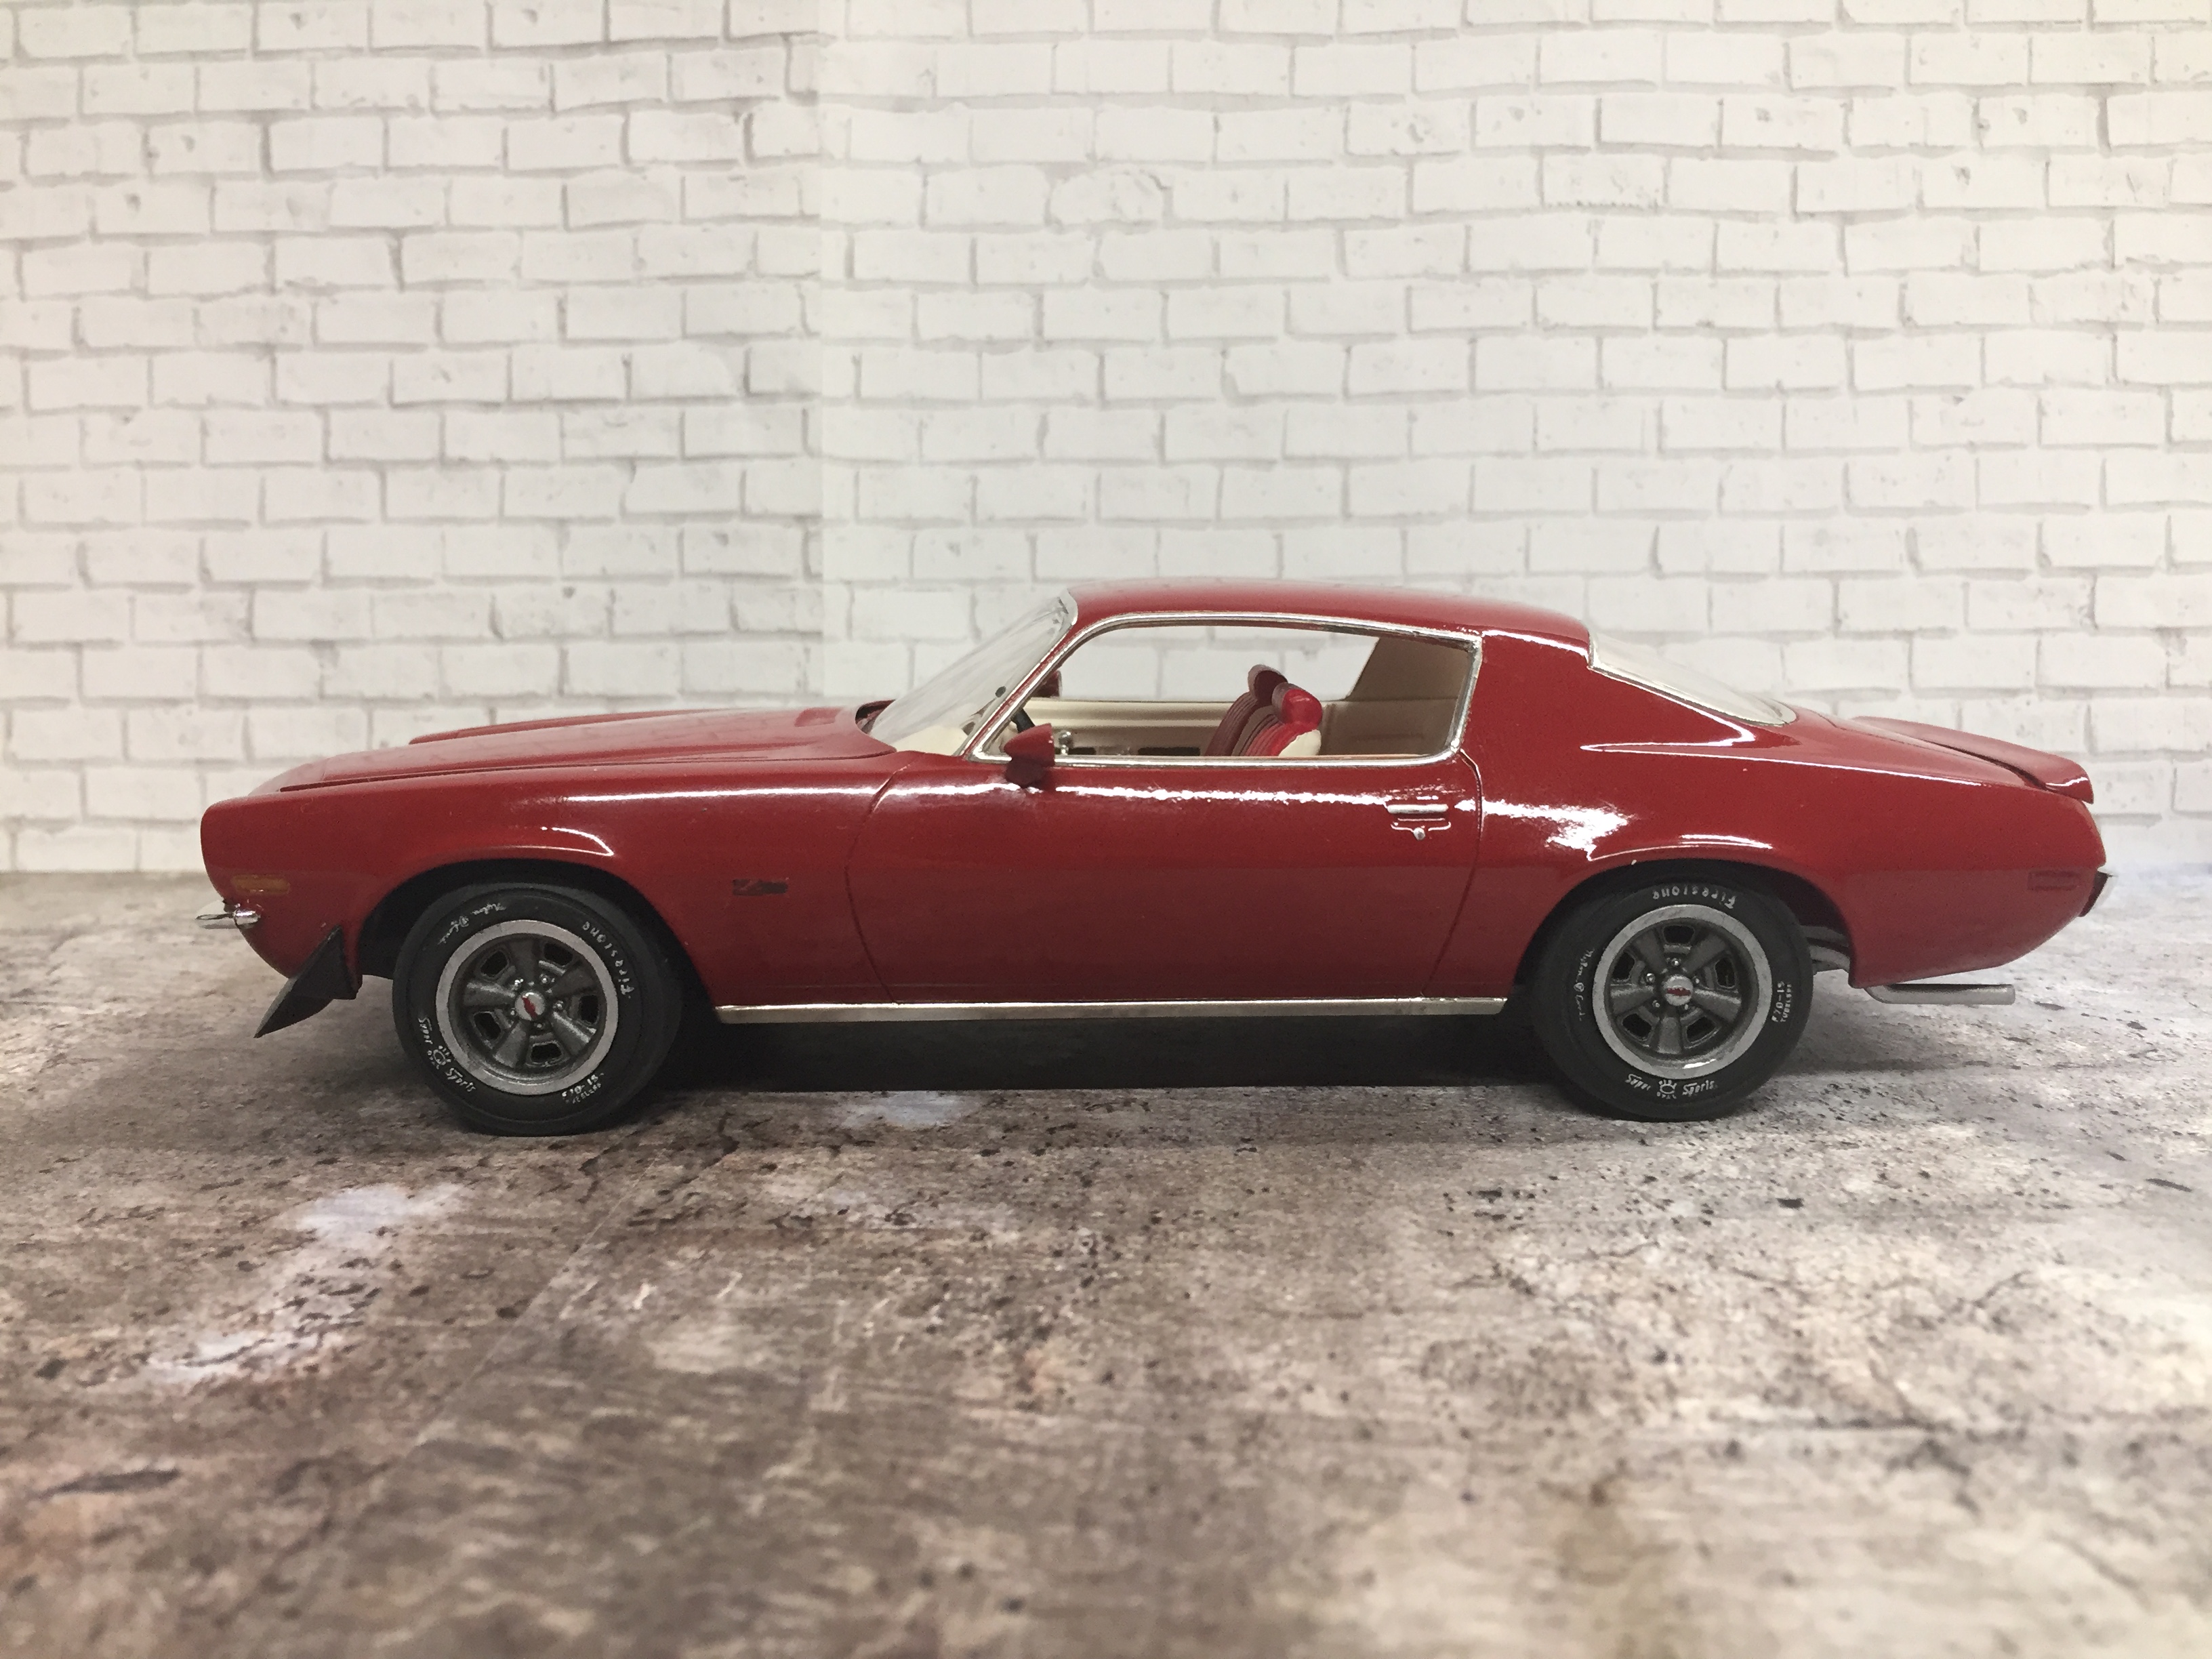
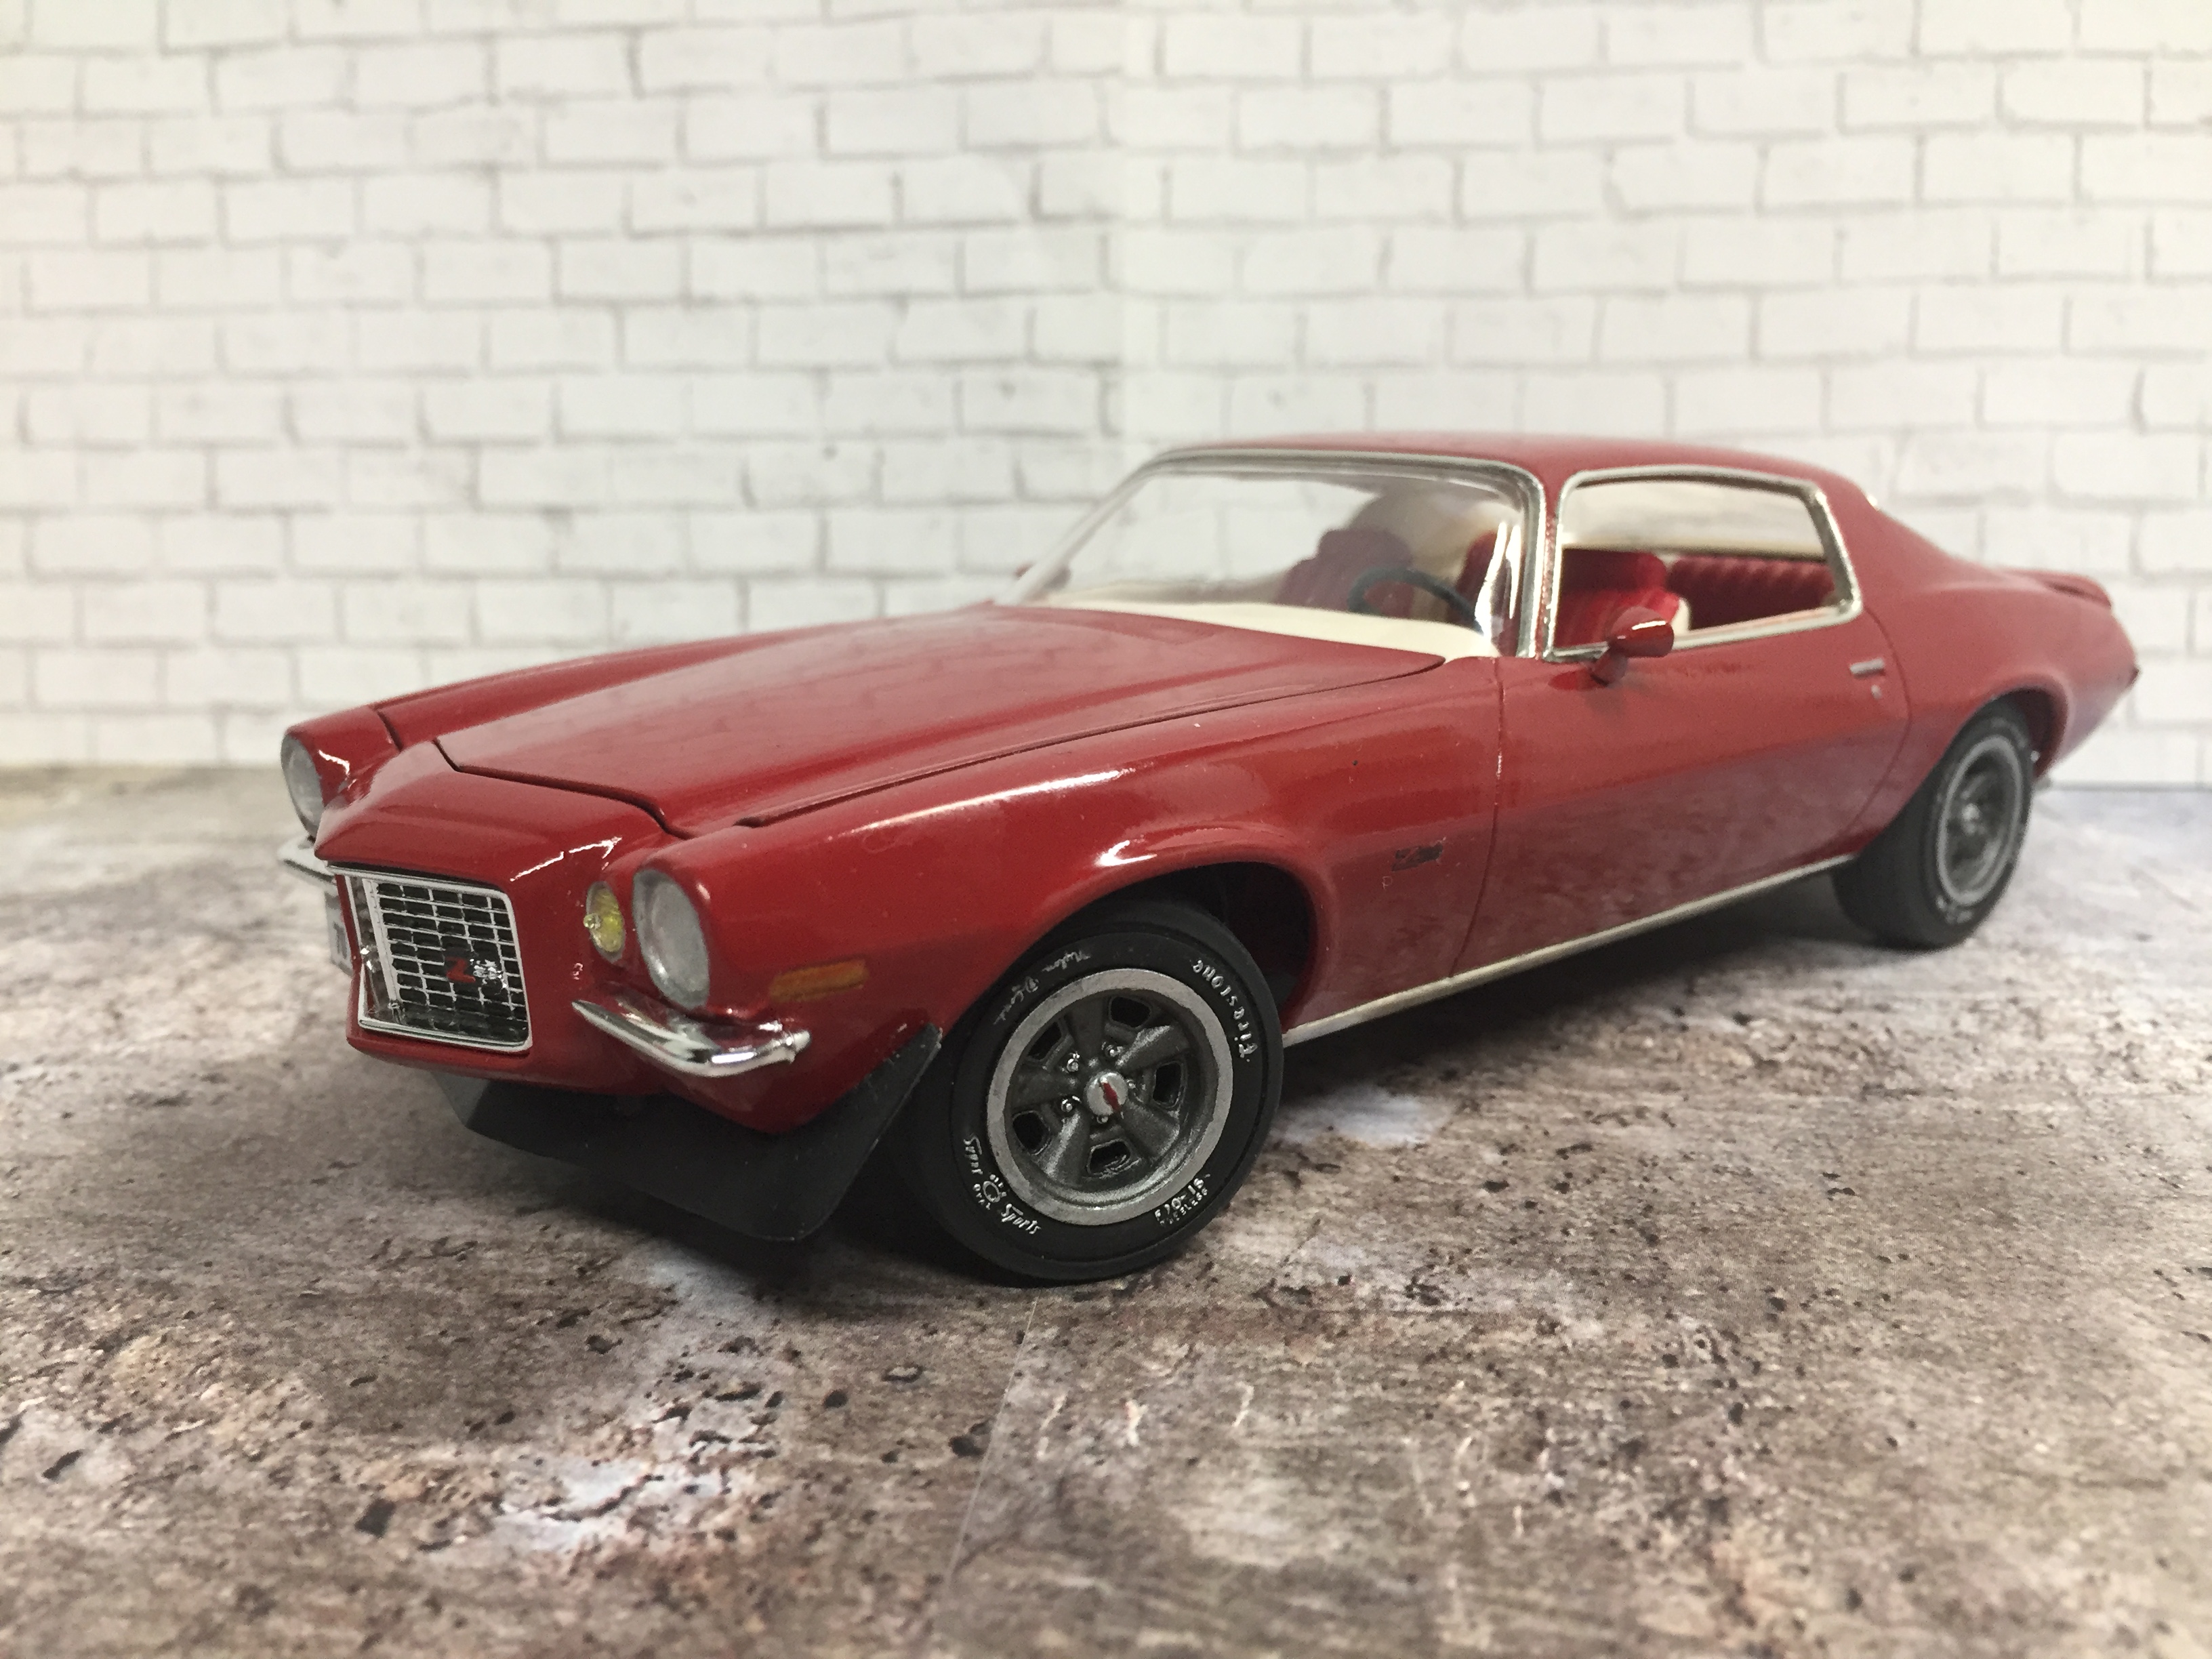
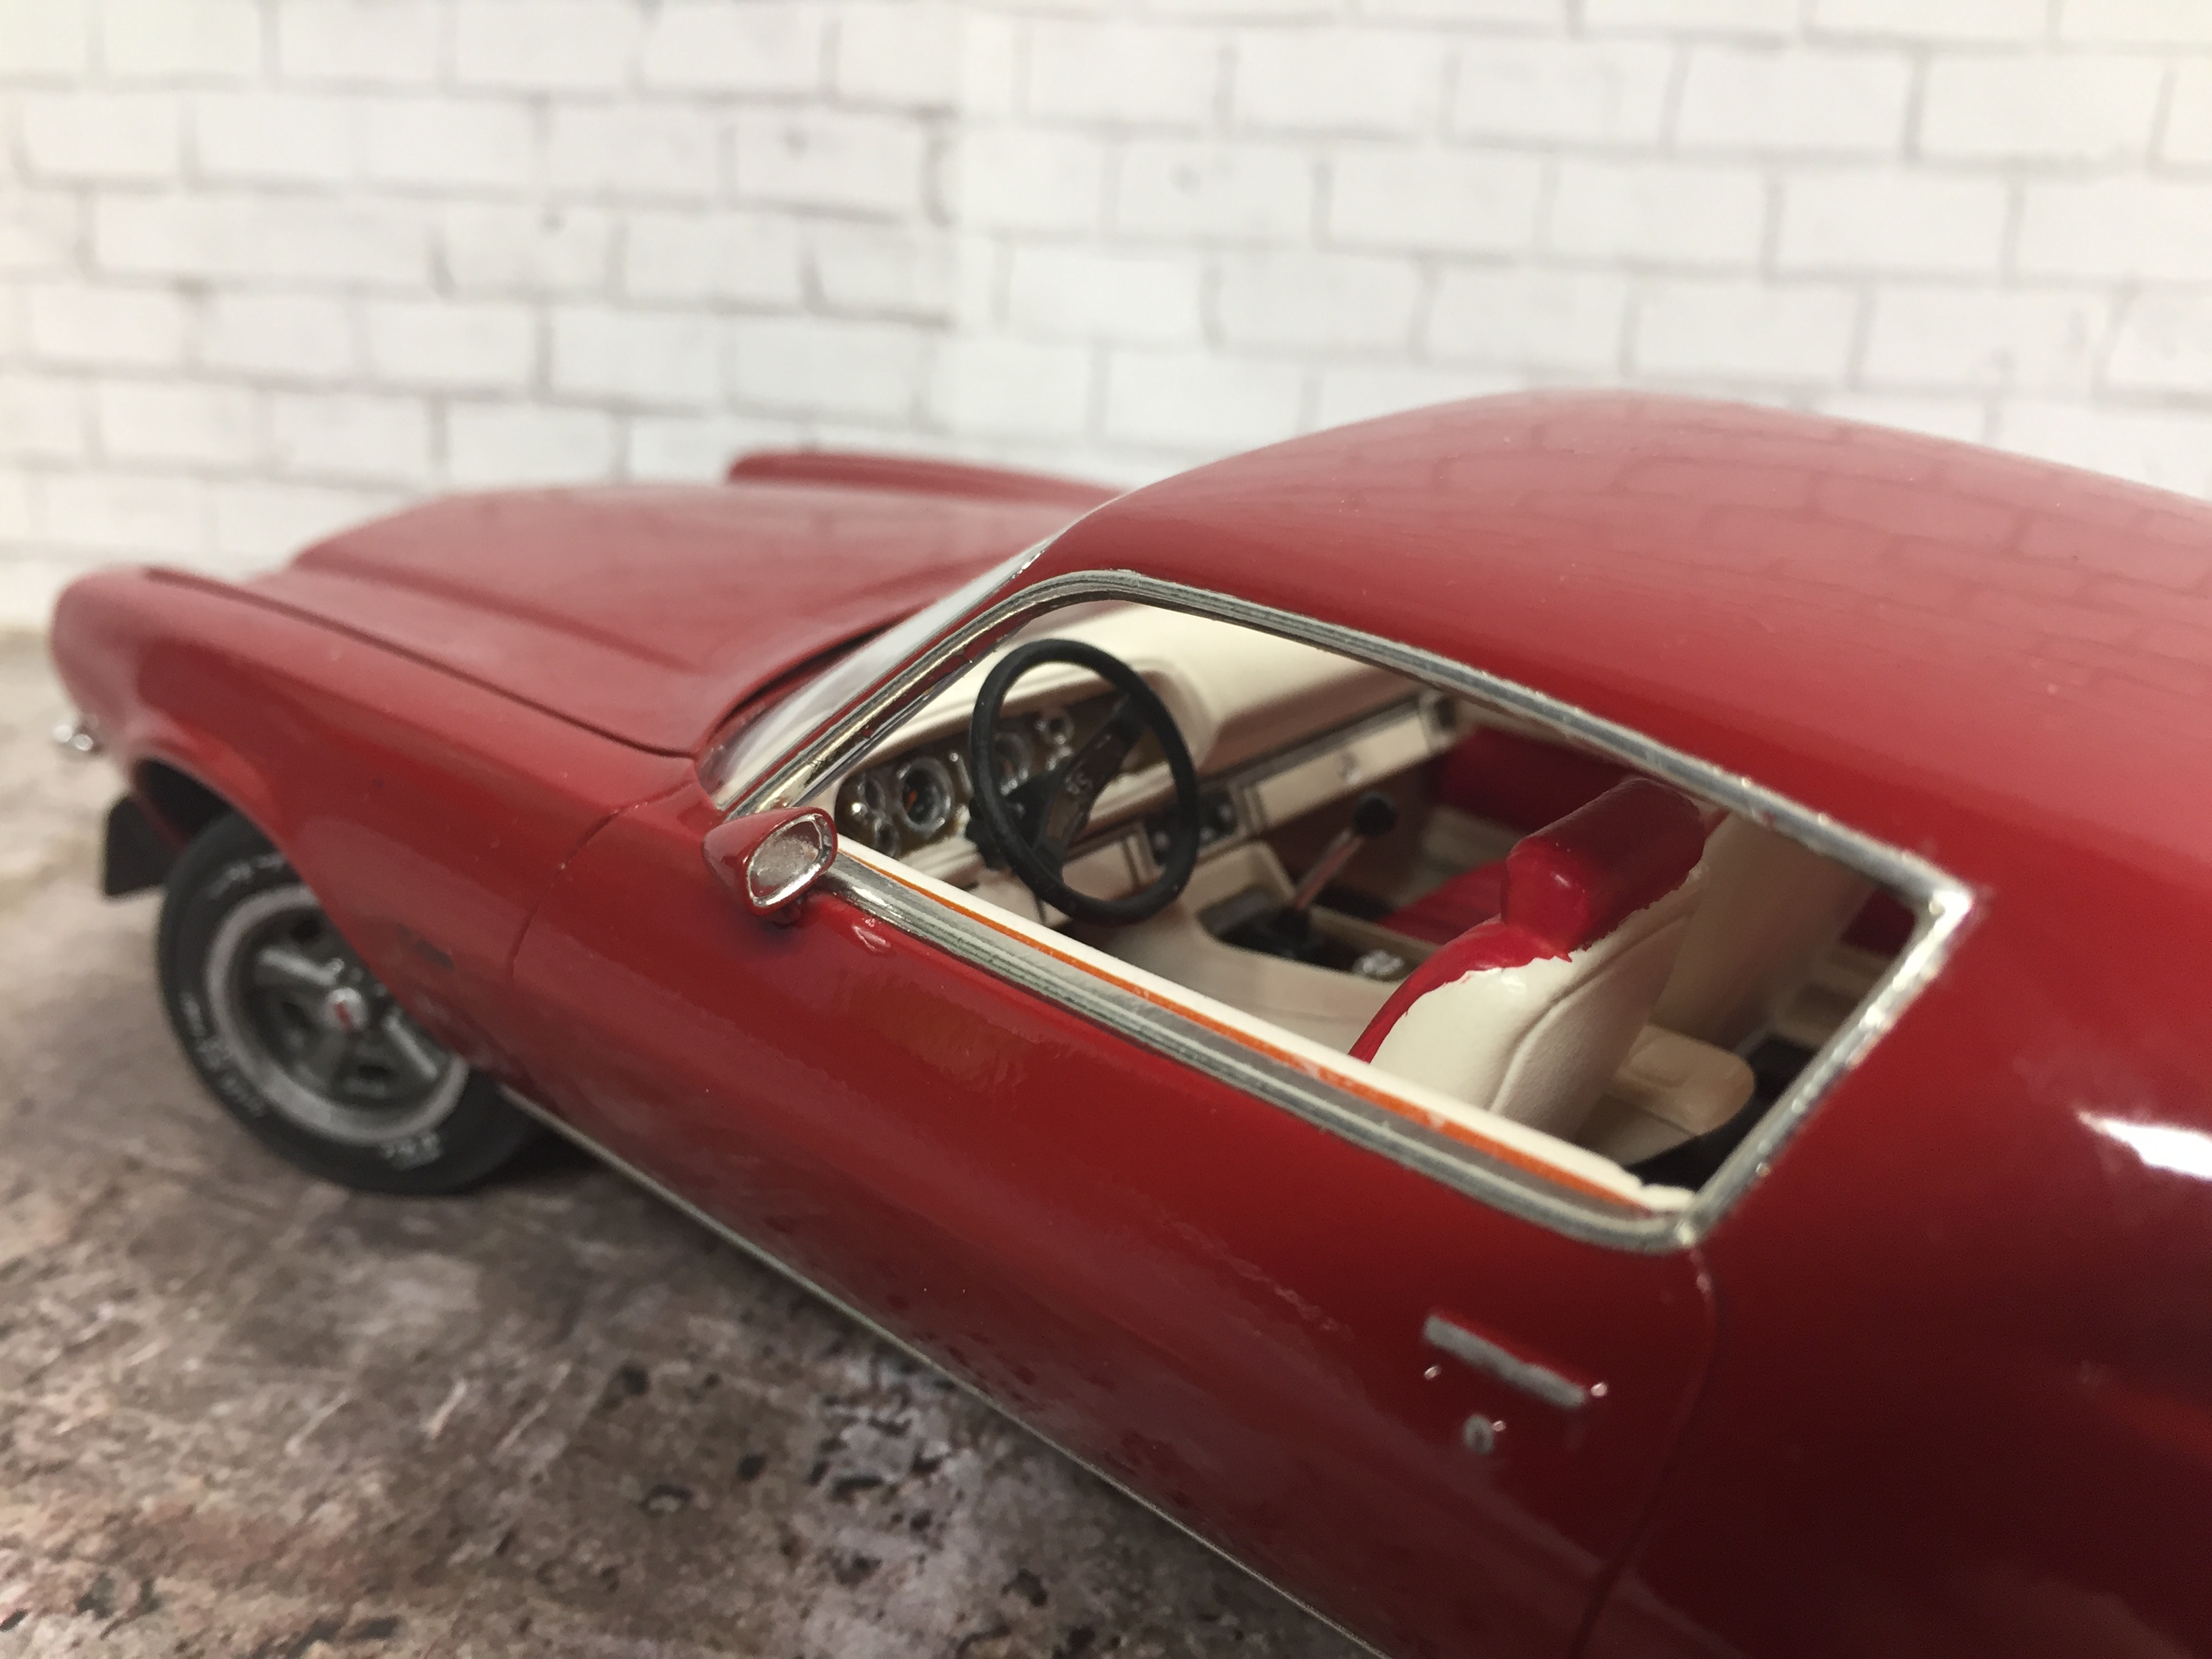
This one is pretty much done. I still have to fix the door panels so the orange plastic doesn't show, re-coat the side mirrors with molotow and raise the exhaust tips some as I think they are hanging to low. I am not thrilled with how the paint came out, but good enough for this one. I will try to do better on the next one. Baby steps...

-
Thanks. I love the detailing on that engine. I am not going to get close to that level. My fingers are getting fatter with age!
-
Thanks Bill. This is for the engine, and once again I am not striving for factory correctness. I am just trying to choose the best of what I have on hand. Nice Daytona by the way! Are those exhaust manifolds painted engine color also?
-
Which one of these would be closest to Hemi Orange? Testors #1127 orange enamel. MM #2731 Chevrolet engine red enamel or #4629 Chevy engine red acrylic? This is going to be for a 1970 Hemi Cuda. Thanks, Greg.
-
I love it! Fantastic job on the details. Beautiful color. Nice stance. I love everything about it!
-
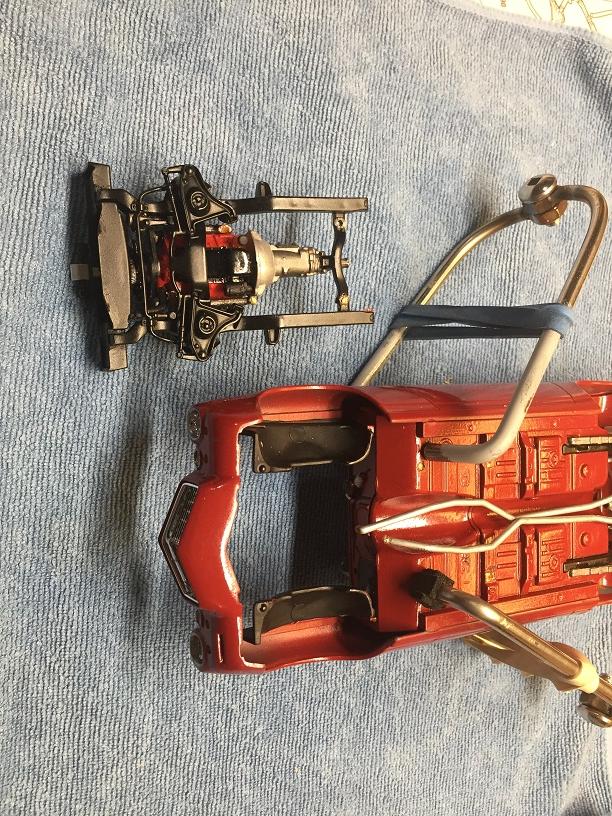
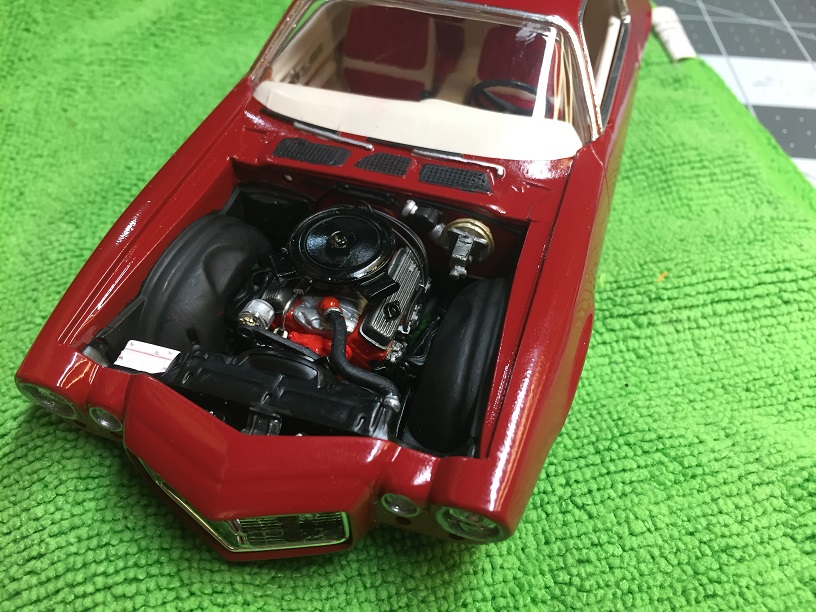
After all that mucking around I finally got the floor pan to meet up nicely with the firewall. Then the front sub-frame c/w engine and radiator support just slid nicely into place as if it was supposed to be installed last! Big sigh of relief!!
-
Thanks! I made a big mistake in assembling this particular model. I glued the front and rear lower body panels on so that I could fill the seams and do a nice paintjob. However... once that is done, it is impossible to fish the floor-pan/front sub-frame into place. I determined at this point, that the best solution would be to remove the front sub-frame from the floor-pan and install it after the floor-pan was in place. It came apart with minimal glue points. Whew! Now, I go to install the floor pan, which is no longer easy, since the rear body panel (that holds the tail lights) is in place. It was a process of: fish the floor-pan in so that the rear wheel wells are inside the body, pull it forward and stick a finger in through the side window and pry the floor pan downward so the two locating tabs would mate up while pushing the floor-pan rearward again. I thought the first attempt was a little tedious... and then the front of the floor-pan would NOT meet up with the fire wall like it was supposed to! Well to make long story short...there is a huge fitment problem between the dash/inner door panels and the grossly thick wind shield. after 20-30 repetitions of trimming and fishing the floor-pan/tub in and out, I got it to fit. Some pre-fitting would have saved me a lot of work.?
-
1968 Chevy Corvette 427 L/88 Convertible resto Update! 2/2/19
NOBLNG replied to MrObsessive's topic in WIP: Model Cars
Very nice work. I'm watching and learning! -
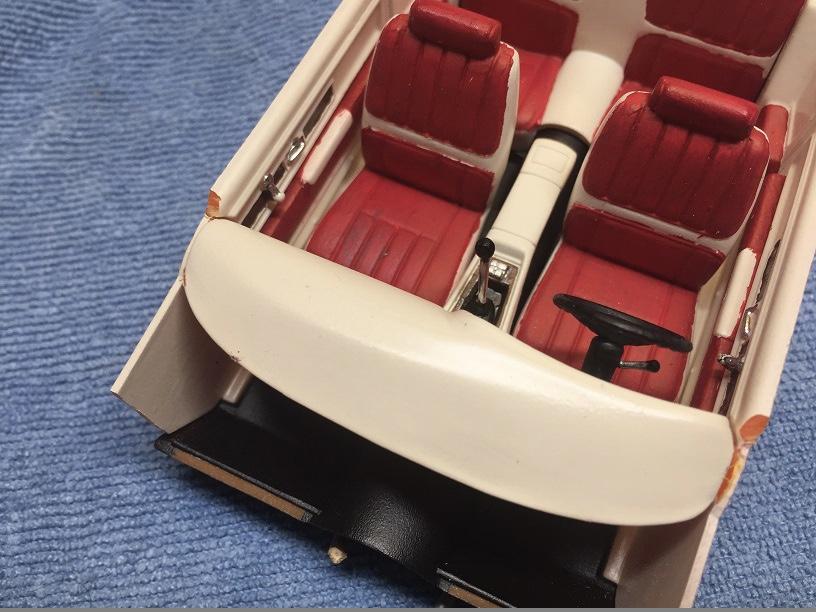
The weather sure helps don't it! To darn cold to go outside. Absolutely fabulous job on that interior! What do you use to glue the embossing powder with and do you paint it after to get the color?
-
WOW! ... Uh...WOW!
-
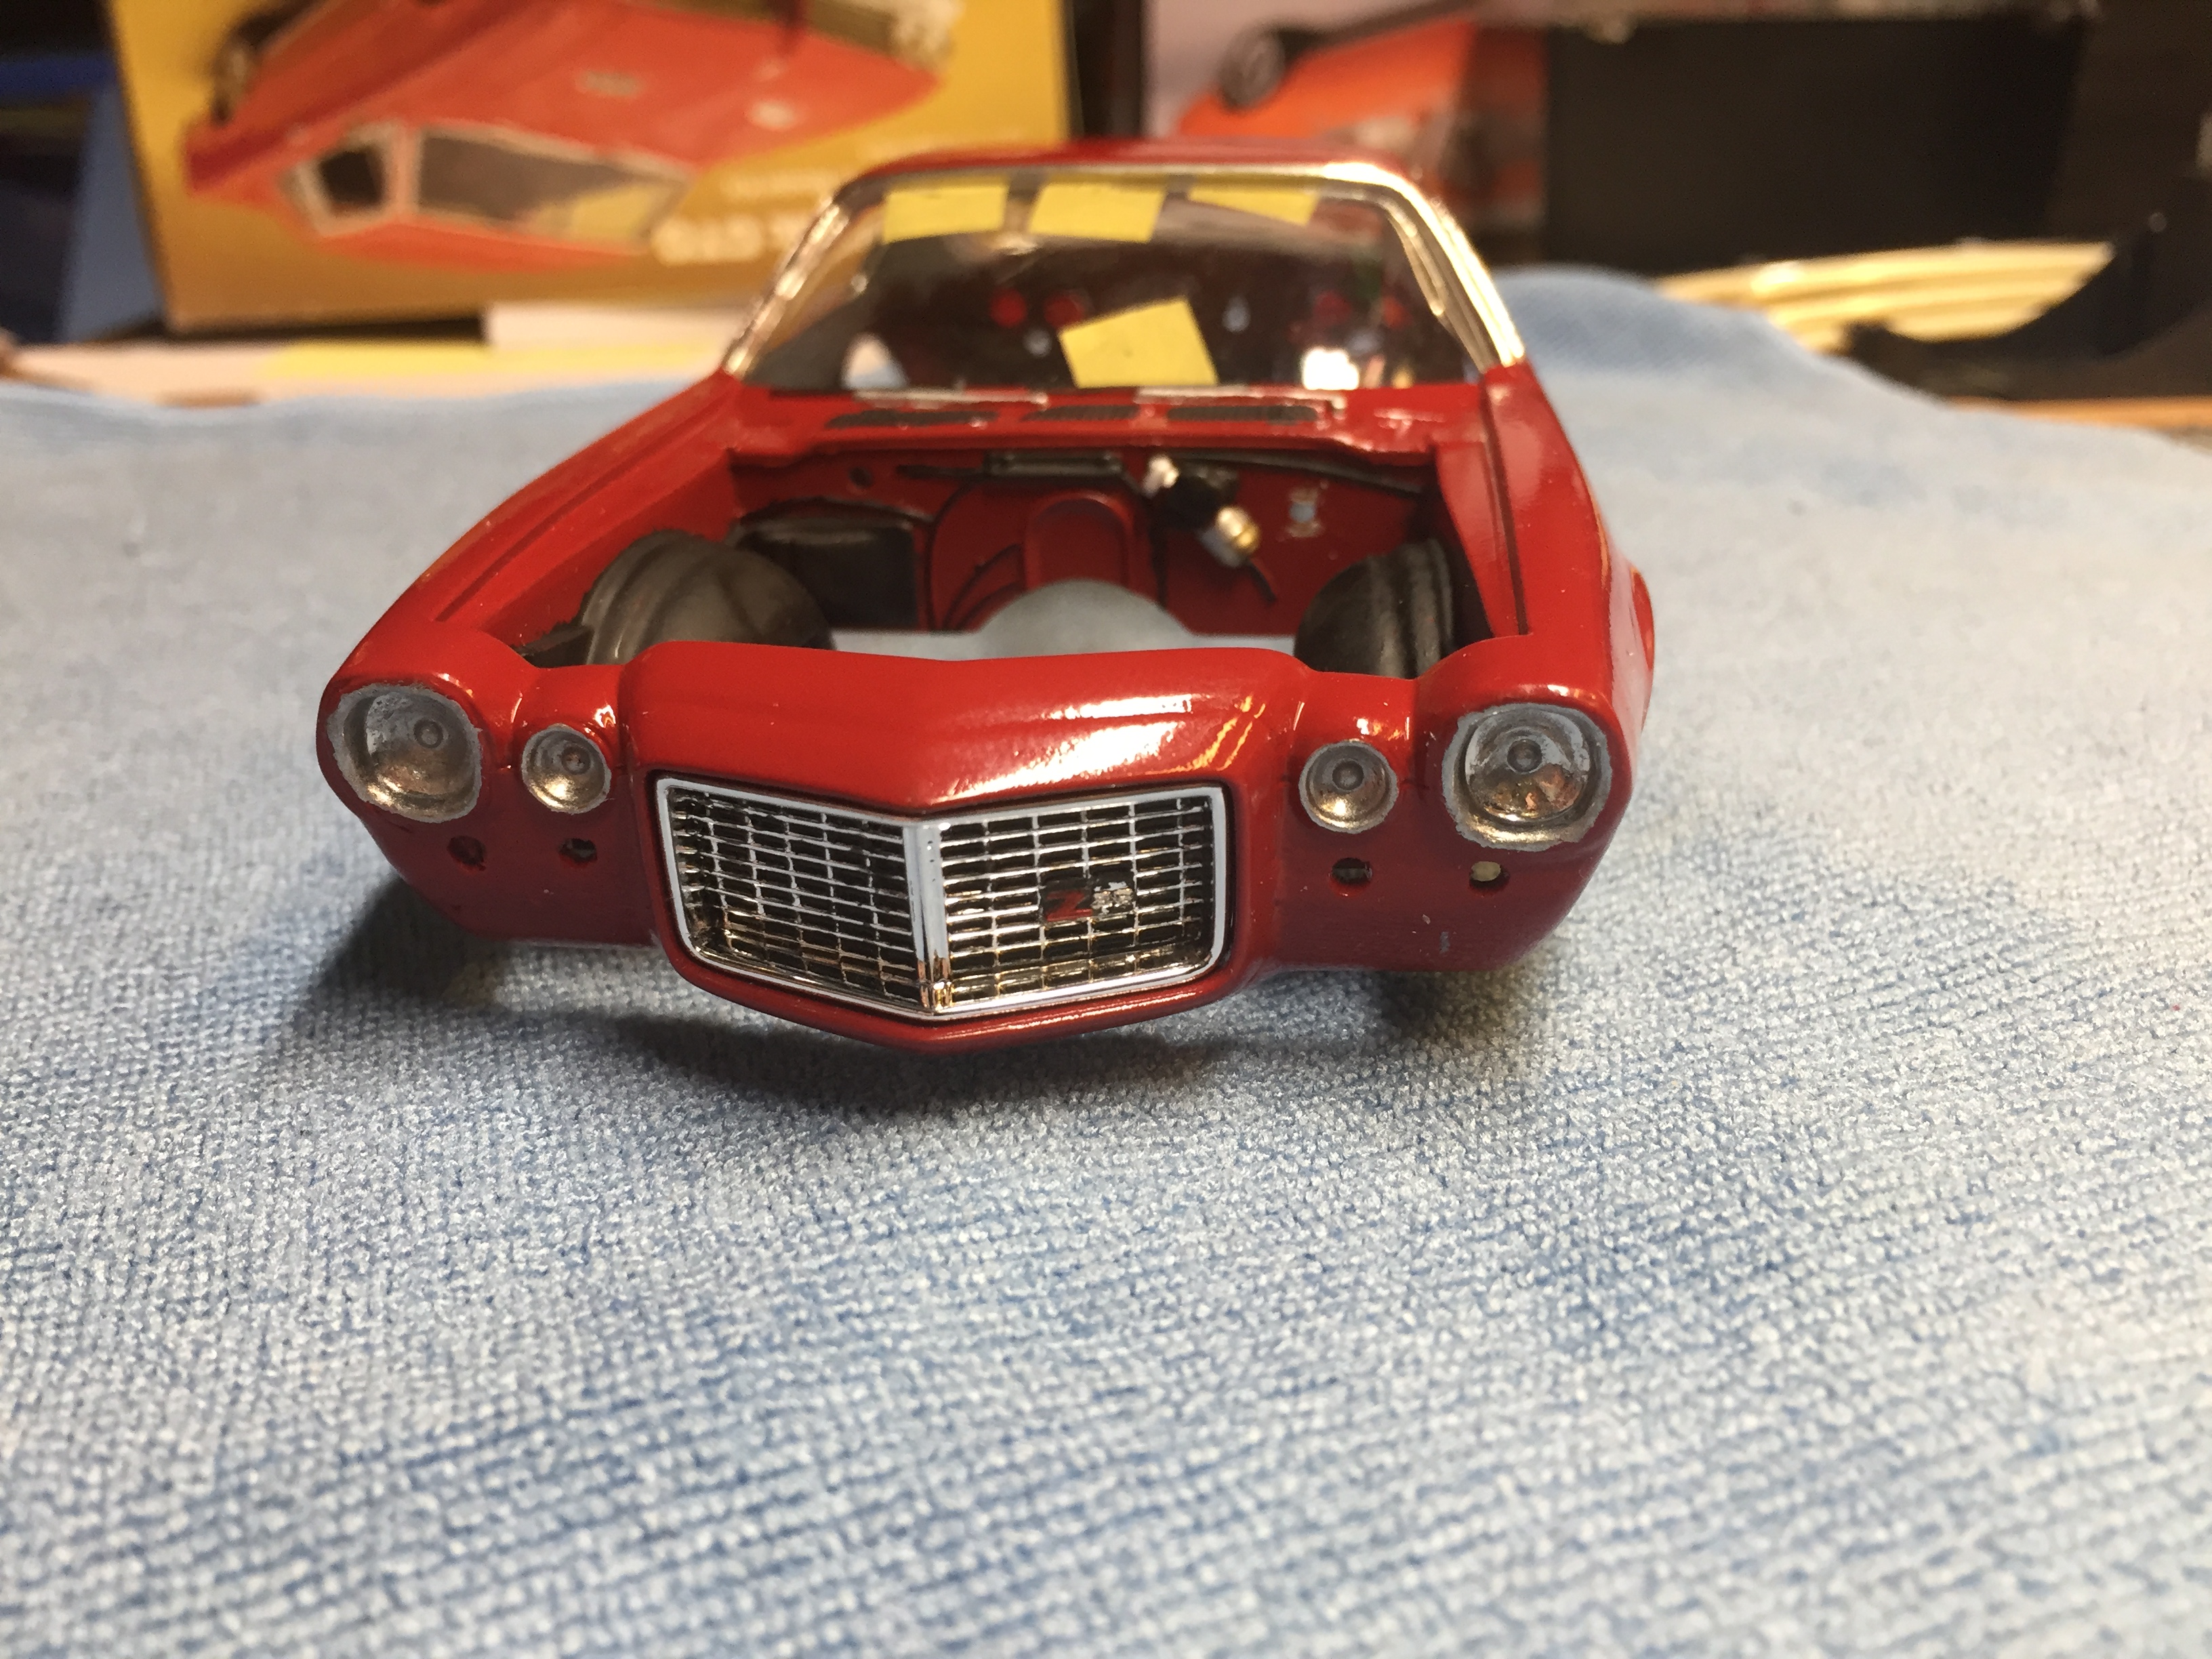
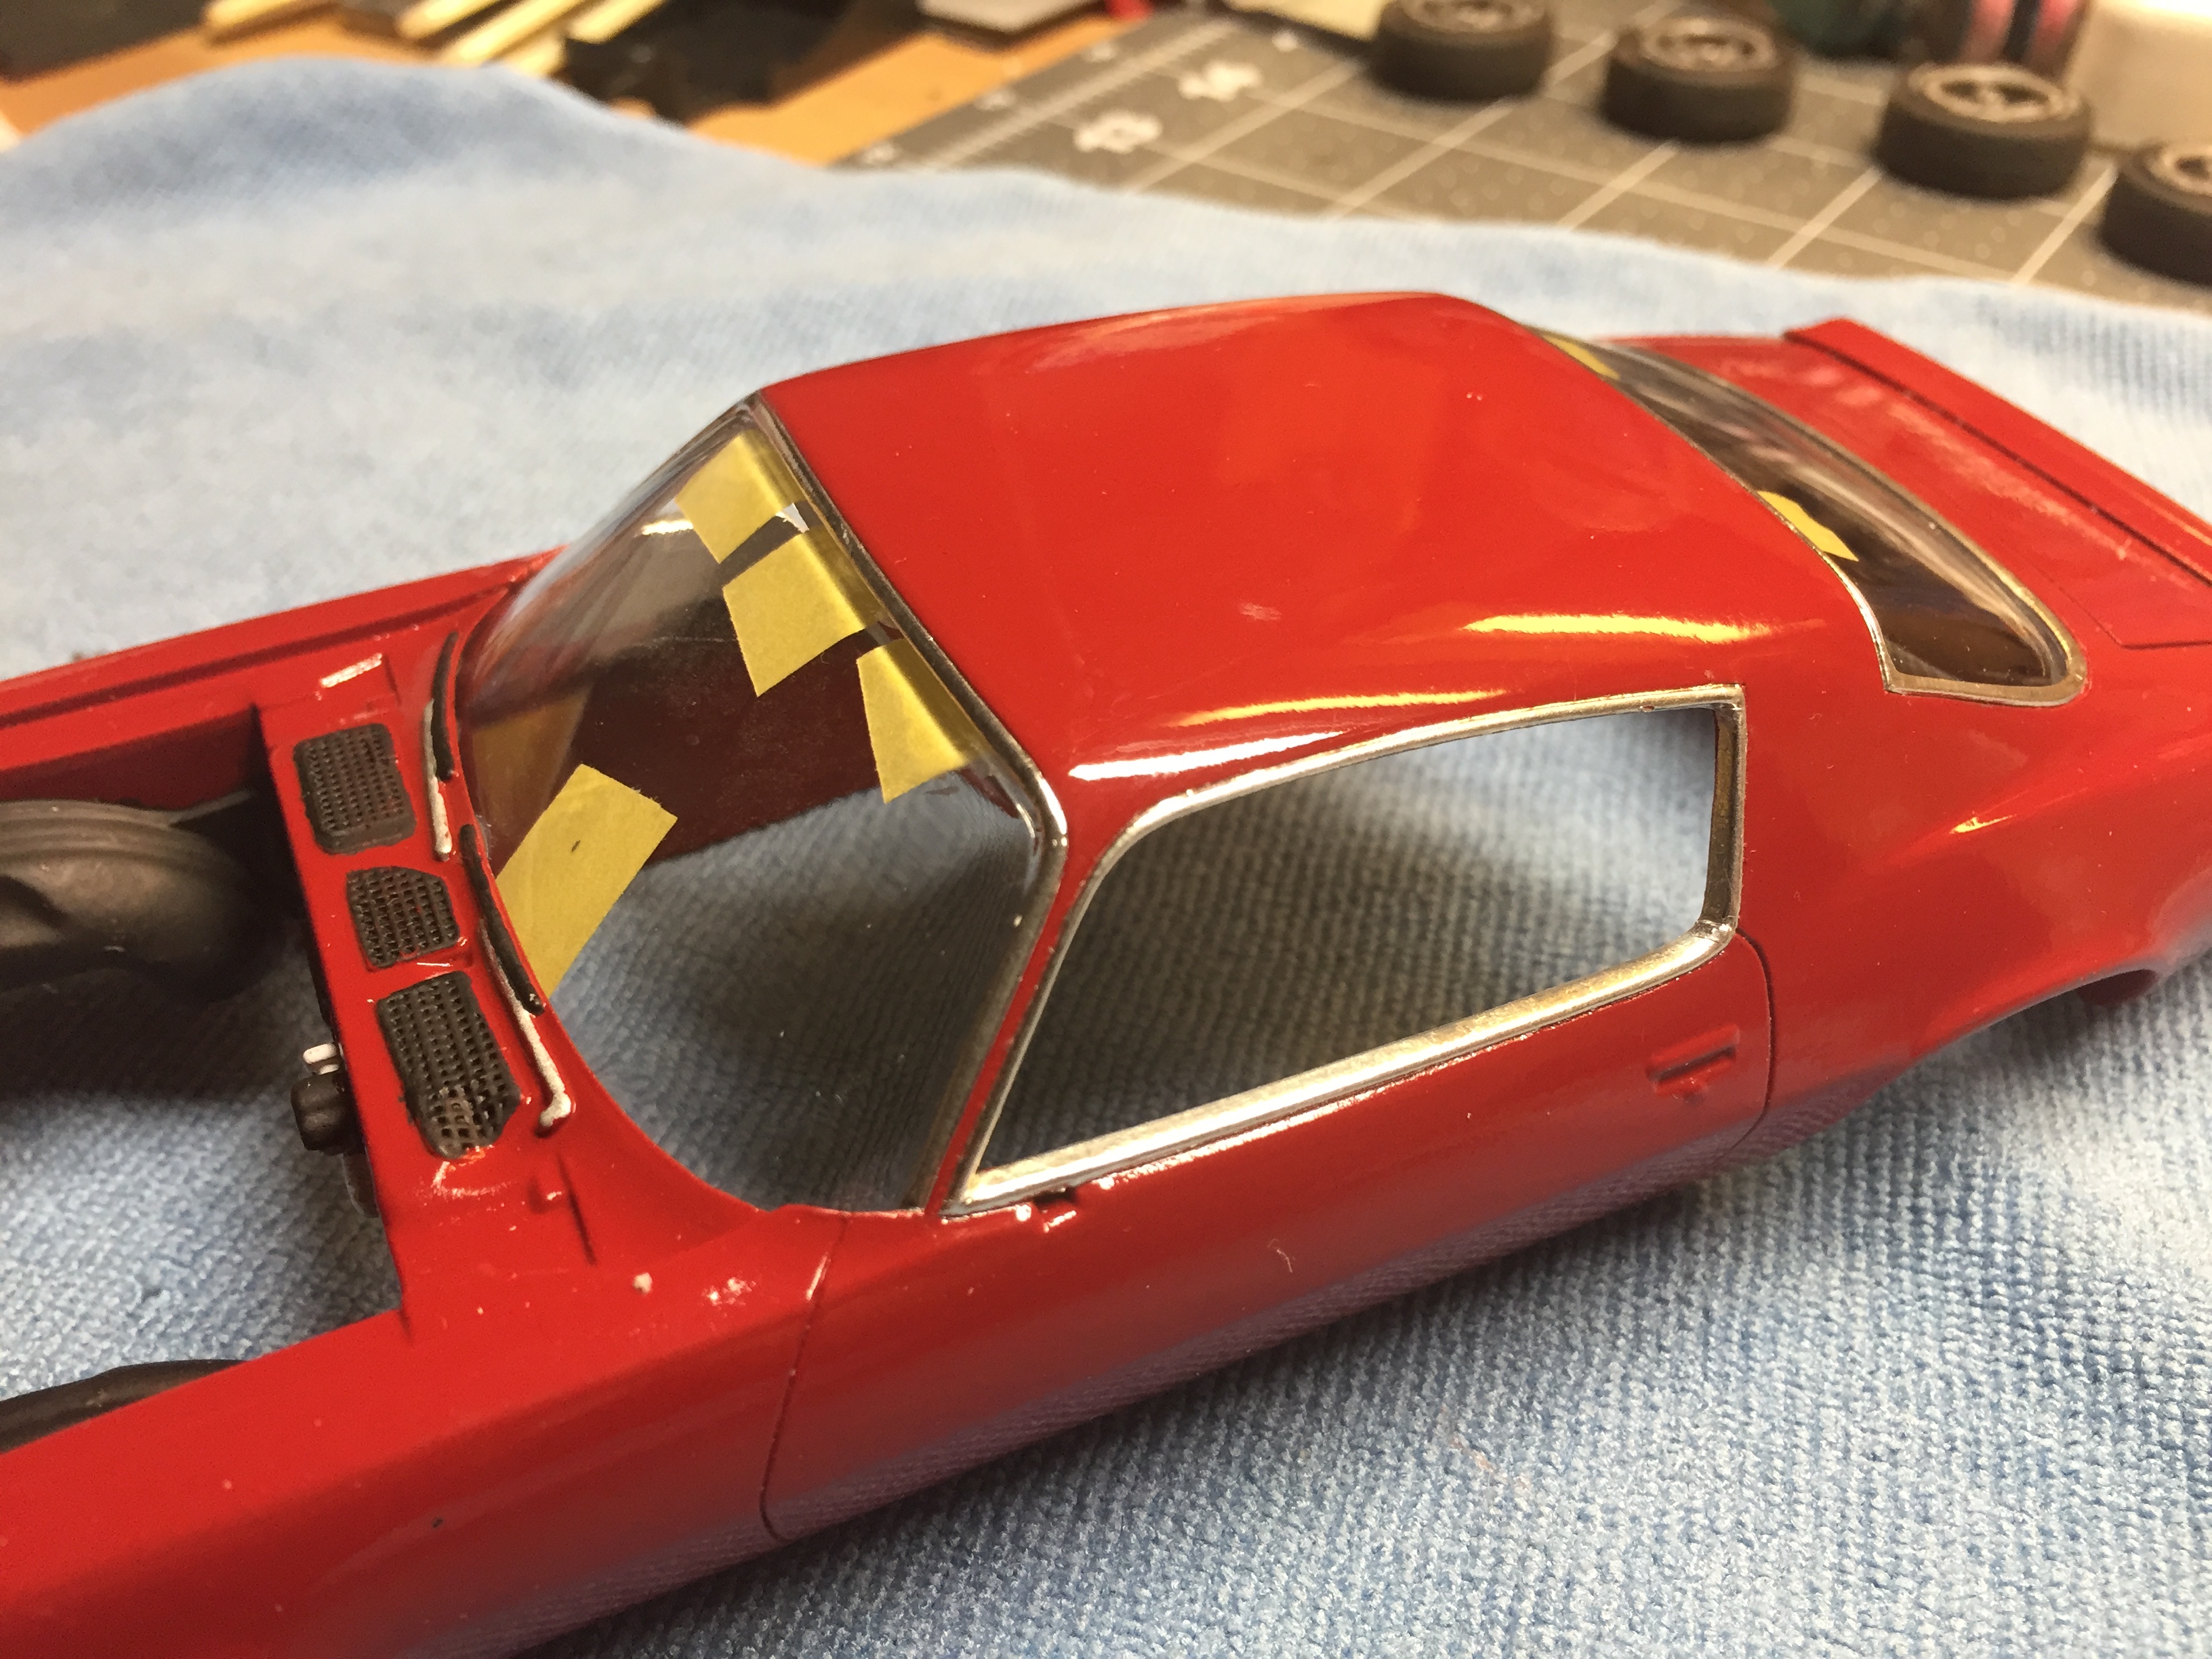
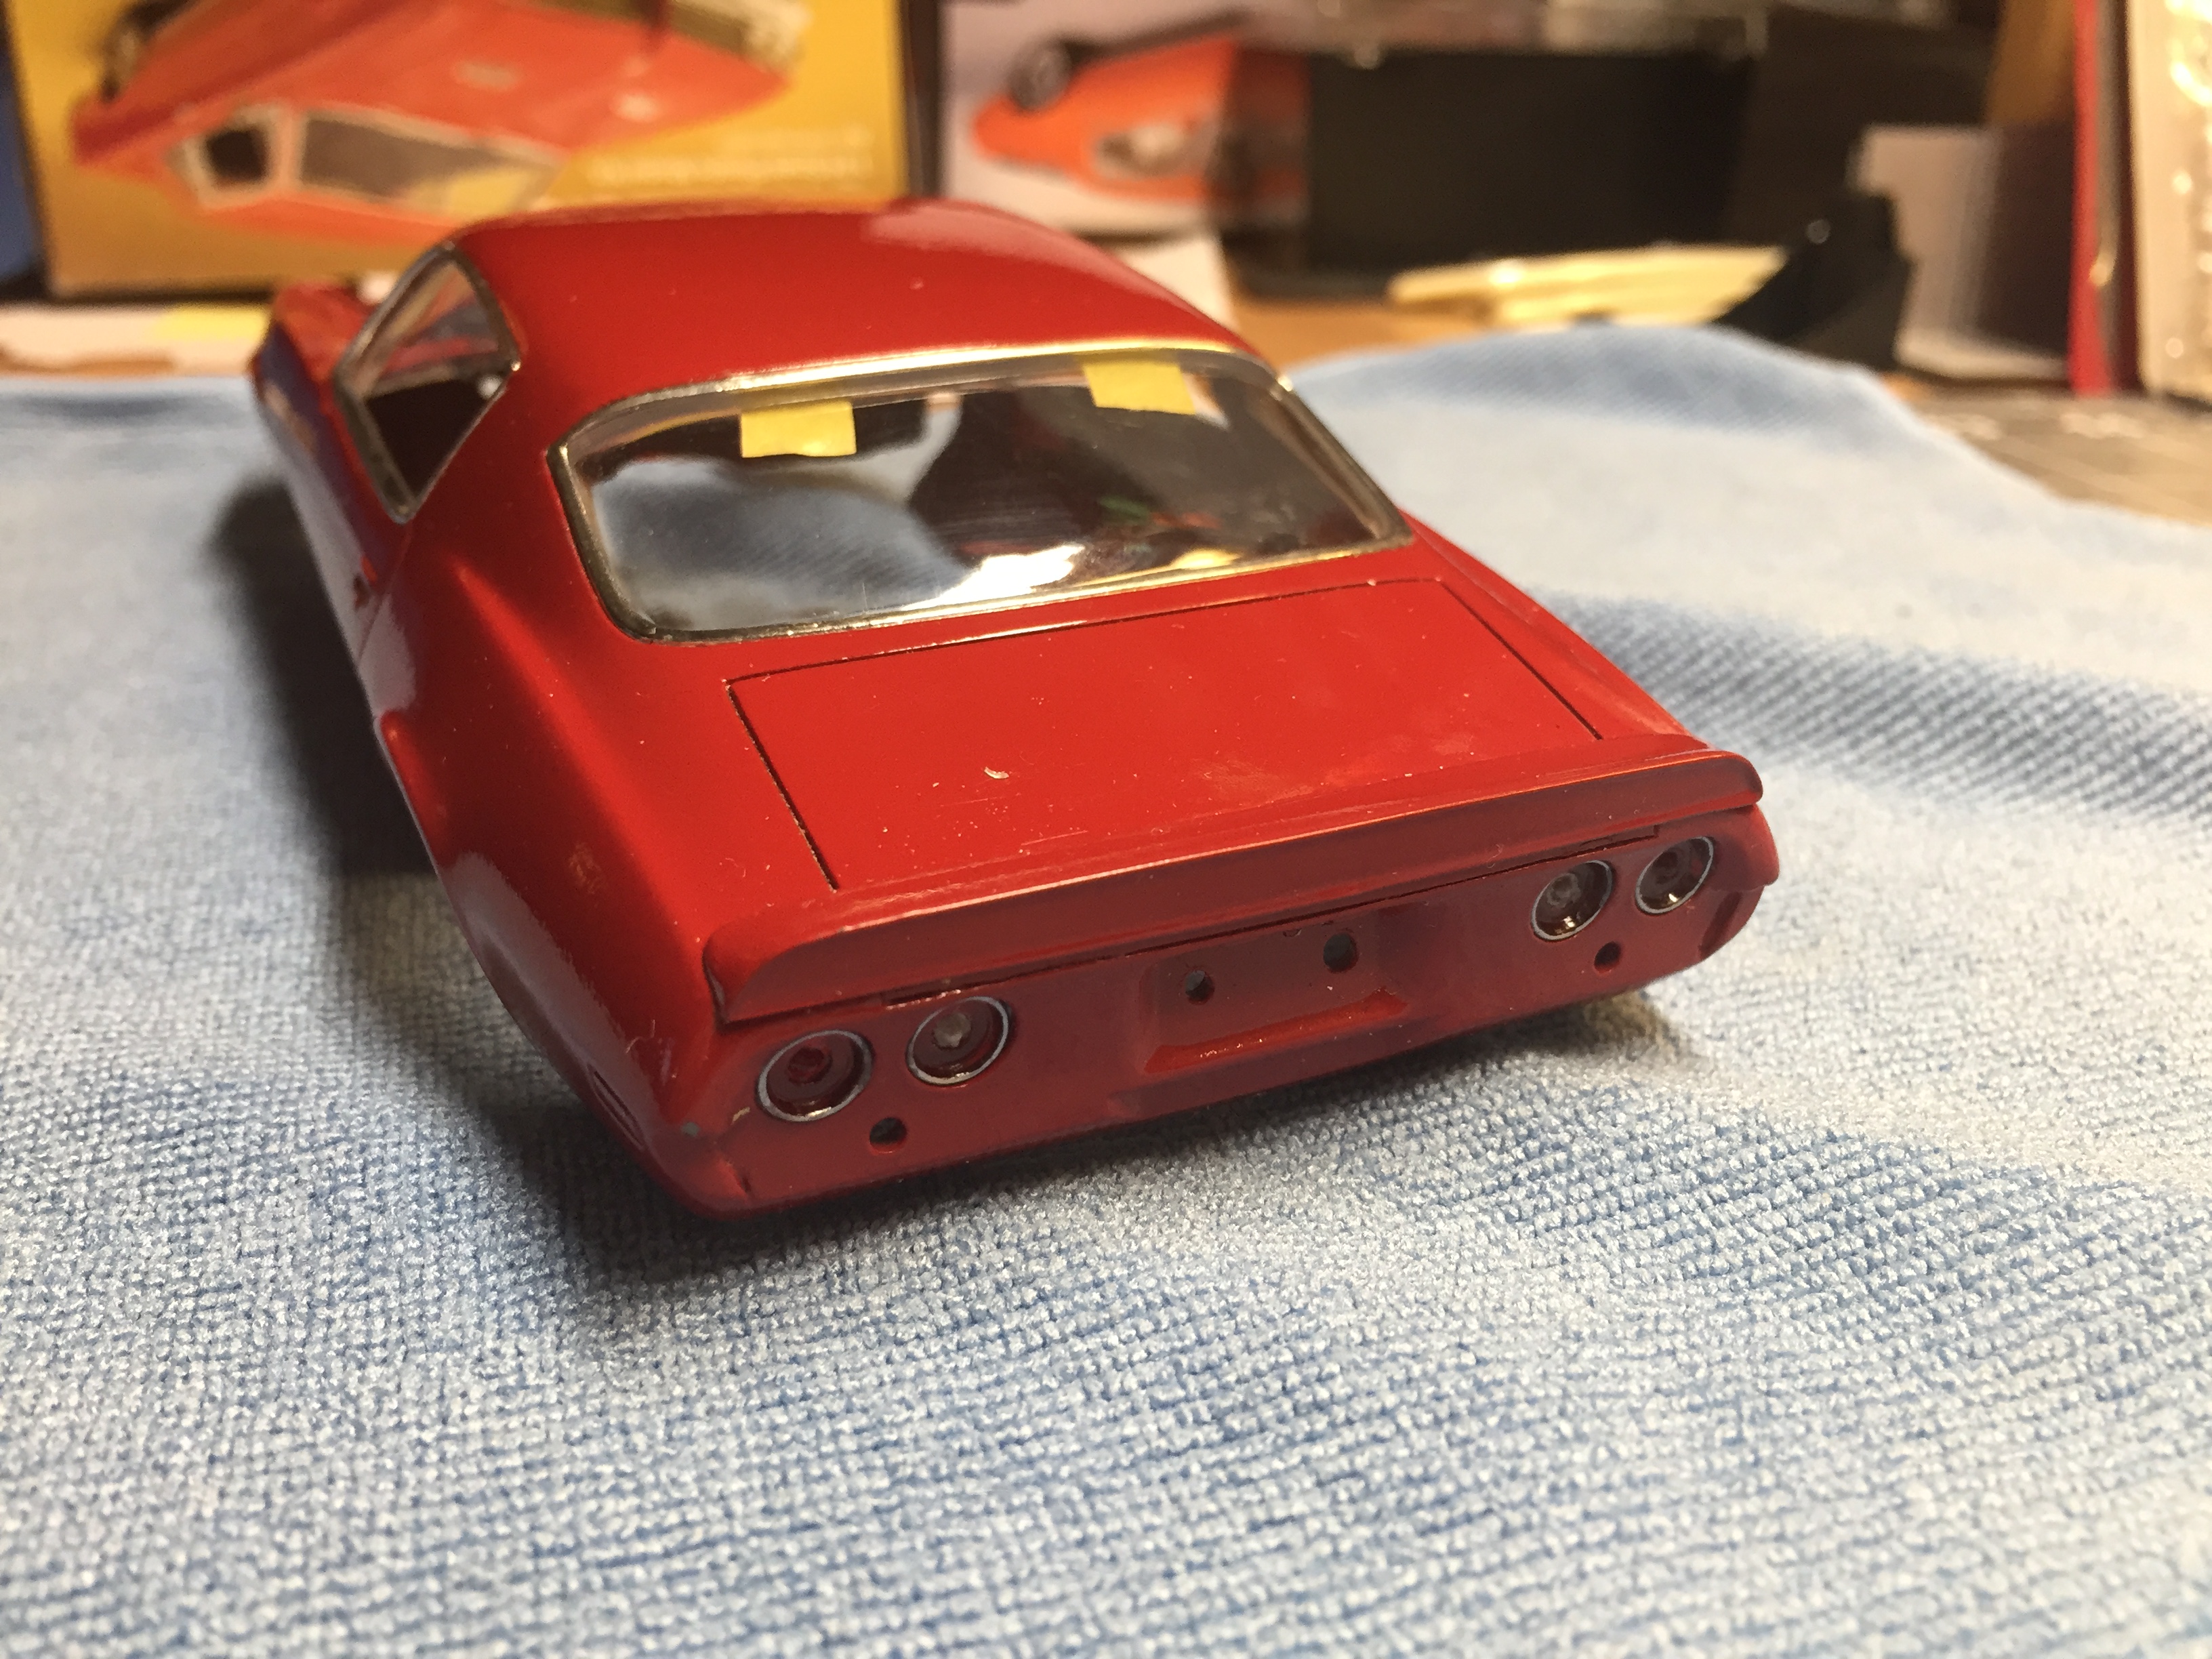
I cleared it with Testors Gloss Lacquer and completed the Foiling. I attempted to foil the headlight buckets, but I found it tough to trim it nicely. I wound up coating them with Molotow instead. I hope I can get glue to hold the headlight lens into the buckets now.
-
That looks a ton better. The top really did come out nice.
-
Nice! What did you use for the braided rad hose?
-
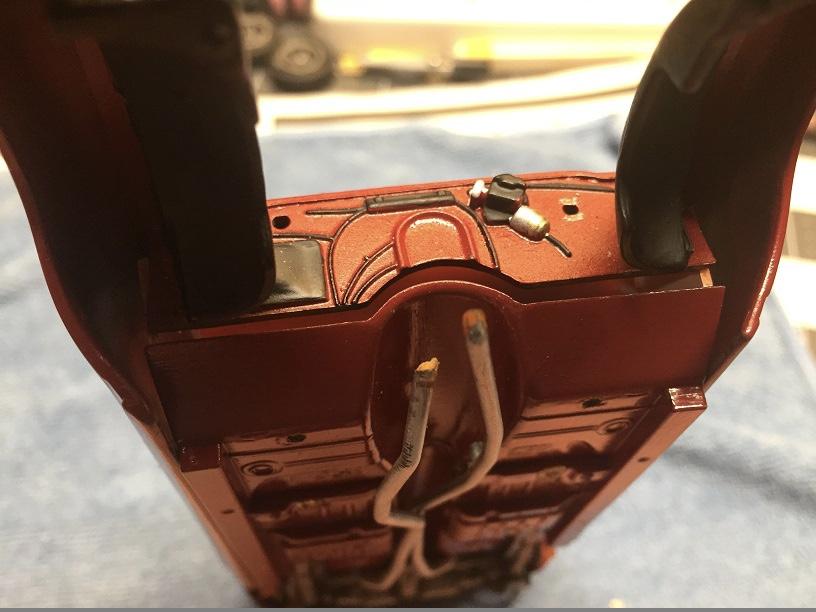
I went looking for that stuff at Home Depot, but they didn't have it. They did have this stuff on sale though. I filed a slight flat spot on two pieces of sprue and lapped them inline for about a half inch. They are stuck together real good! I really like the applicator on this bottle too. You squeeze the blue tabs on each side to dispense the gell-like glue. It is very easy to control minute amounts coming out.
-
A couple more pics.
-
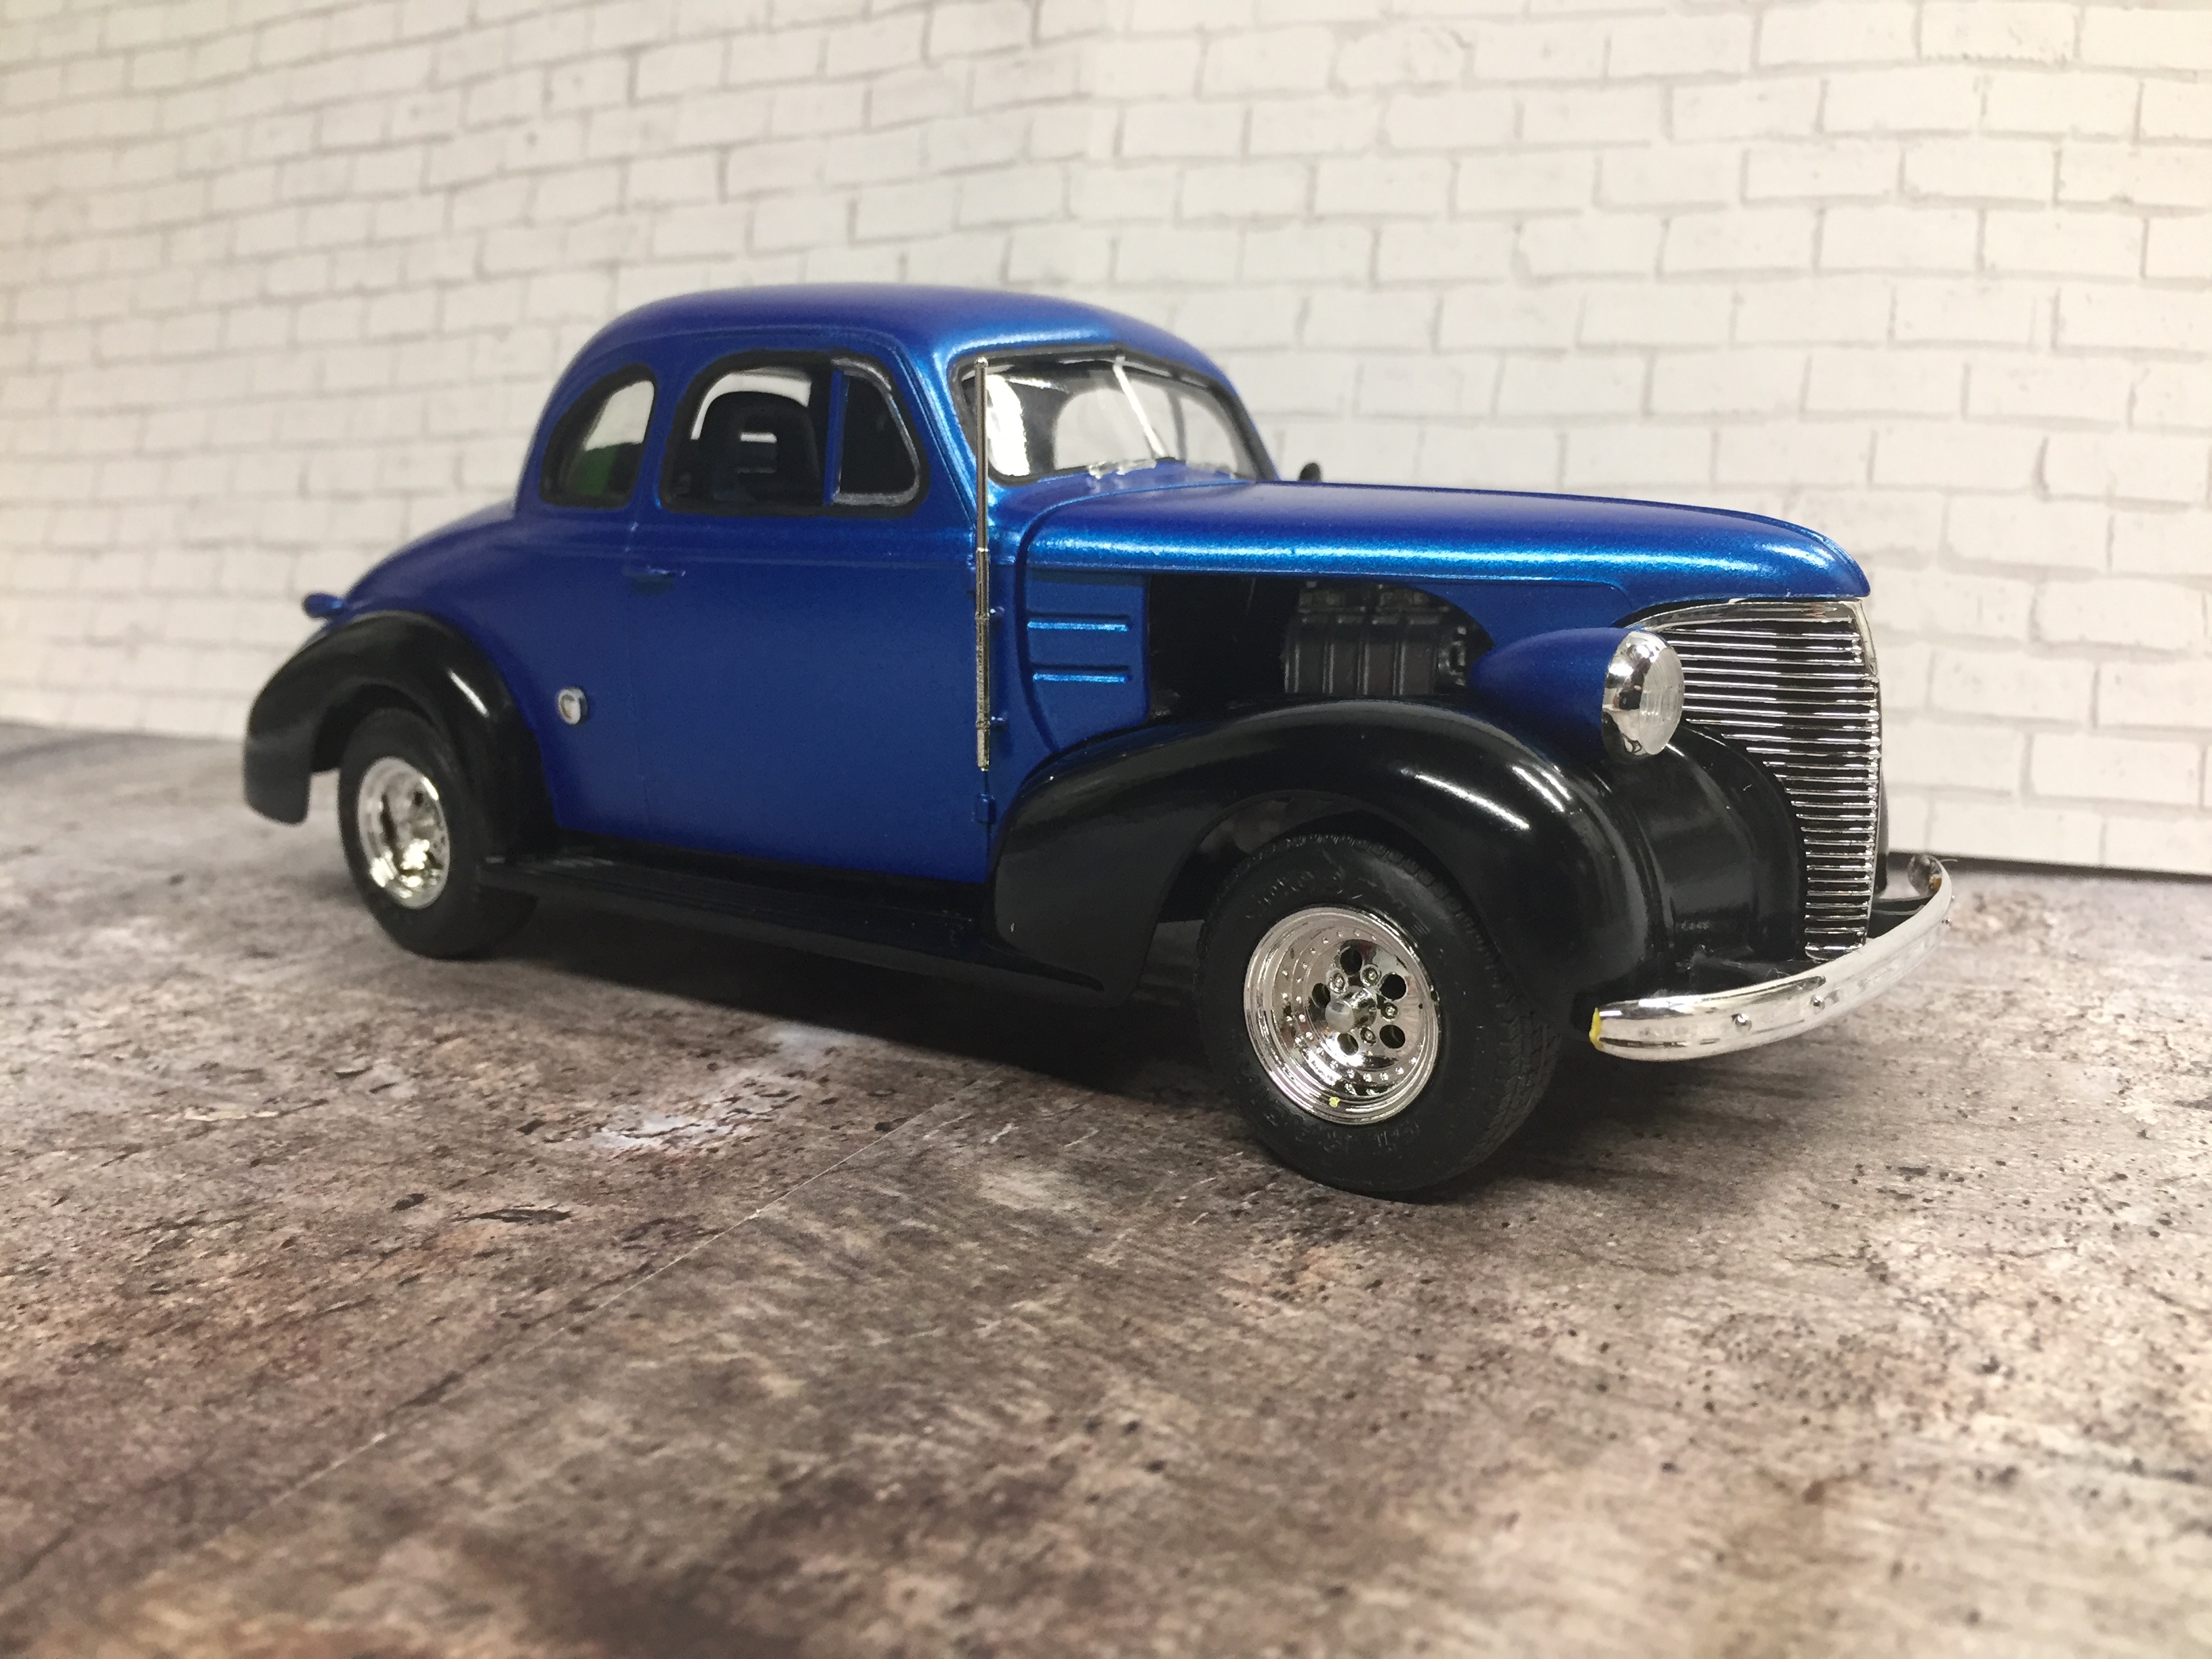
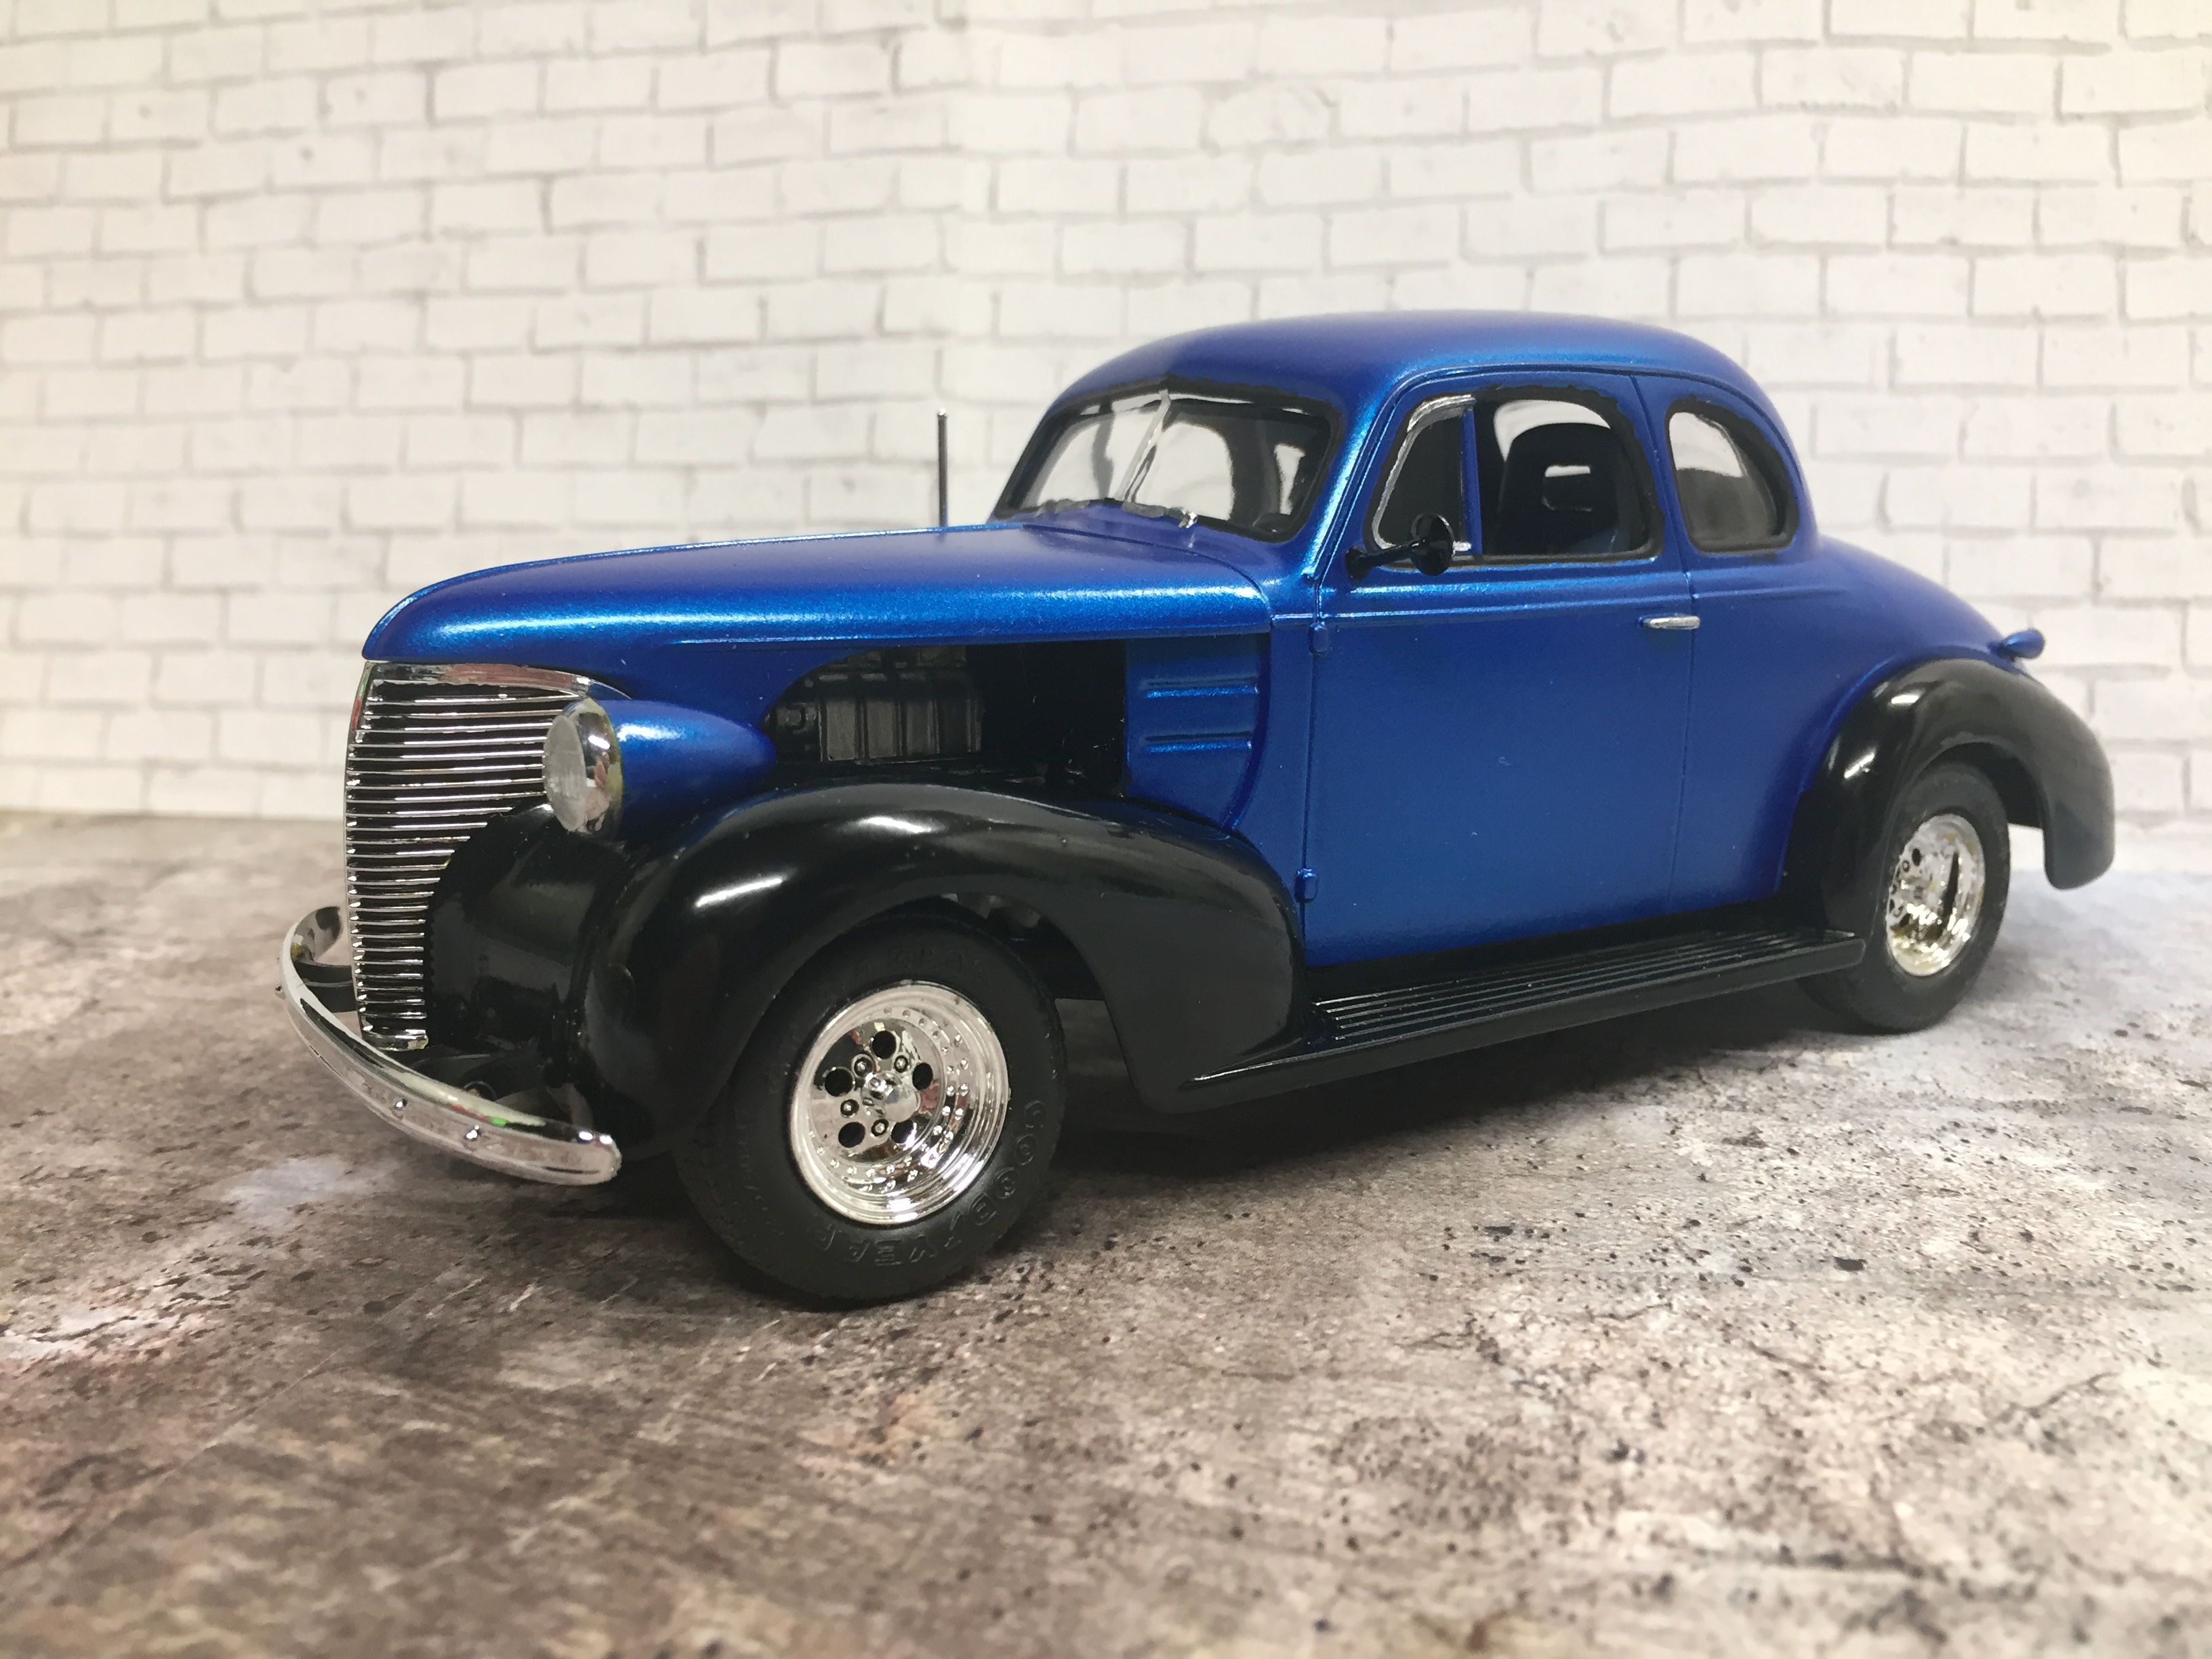
This is my Revell 1939 Chevy Street Rod. Overall a fairly nice kit. There are some fitment issues regarding the interior tub that I addressed in my build thread. Thanks for looking. Greg.
-
Well I am calling this one done. I have not installed the driving lights supplied for the front bumper, or the chrome grills on the lower front fenders. They are way too thick and the chrome on them is very poor. I may possibly attach the license plates yet. More pics under glass.
-
AMT '60 Chevy pick up
NOBLNG replied to Paul Hettick's topic in Model Trucks: Pickups, Vans, SUVs, Light Commercial
Very nicely done! Thumbs up!! -
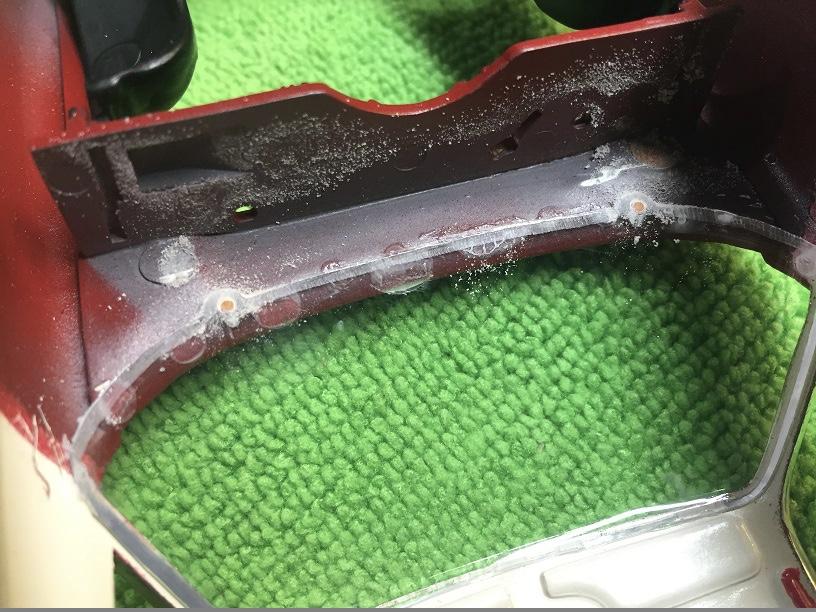
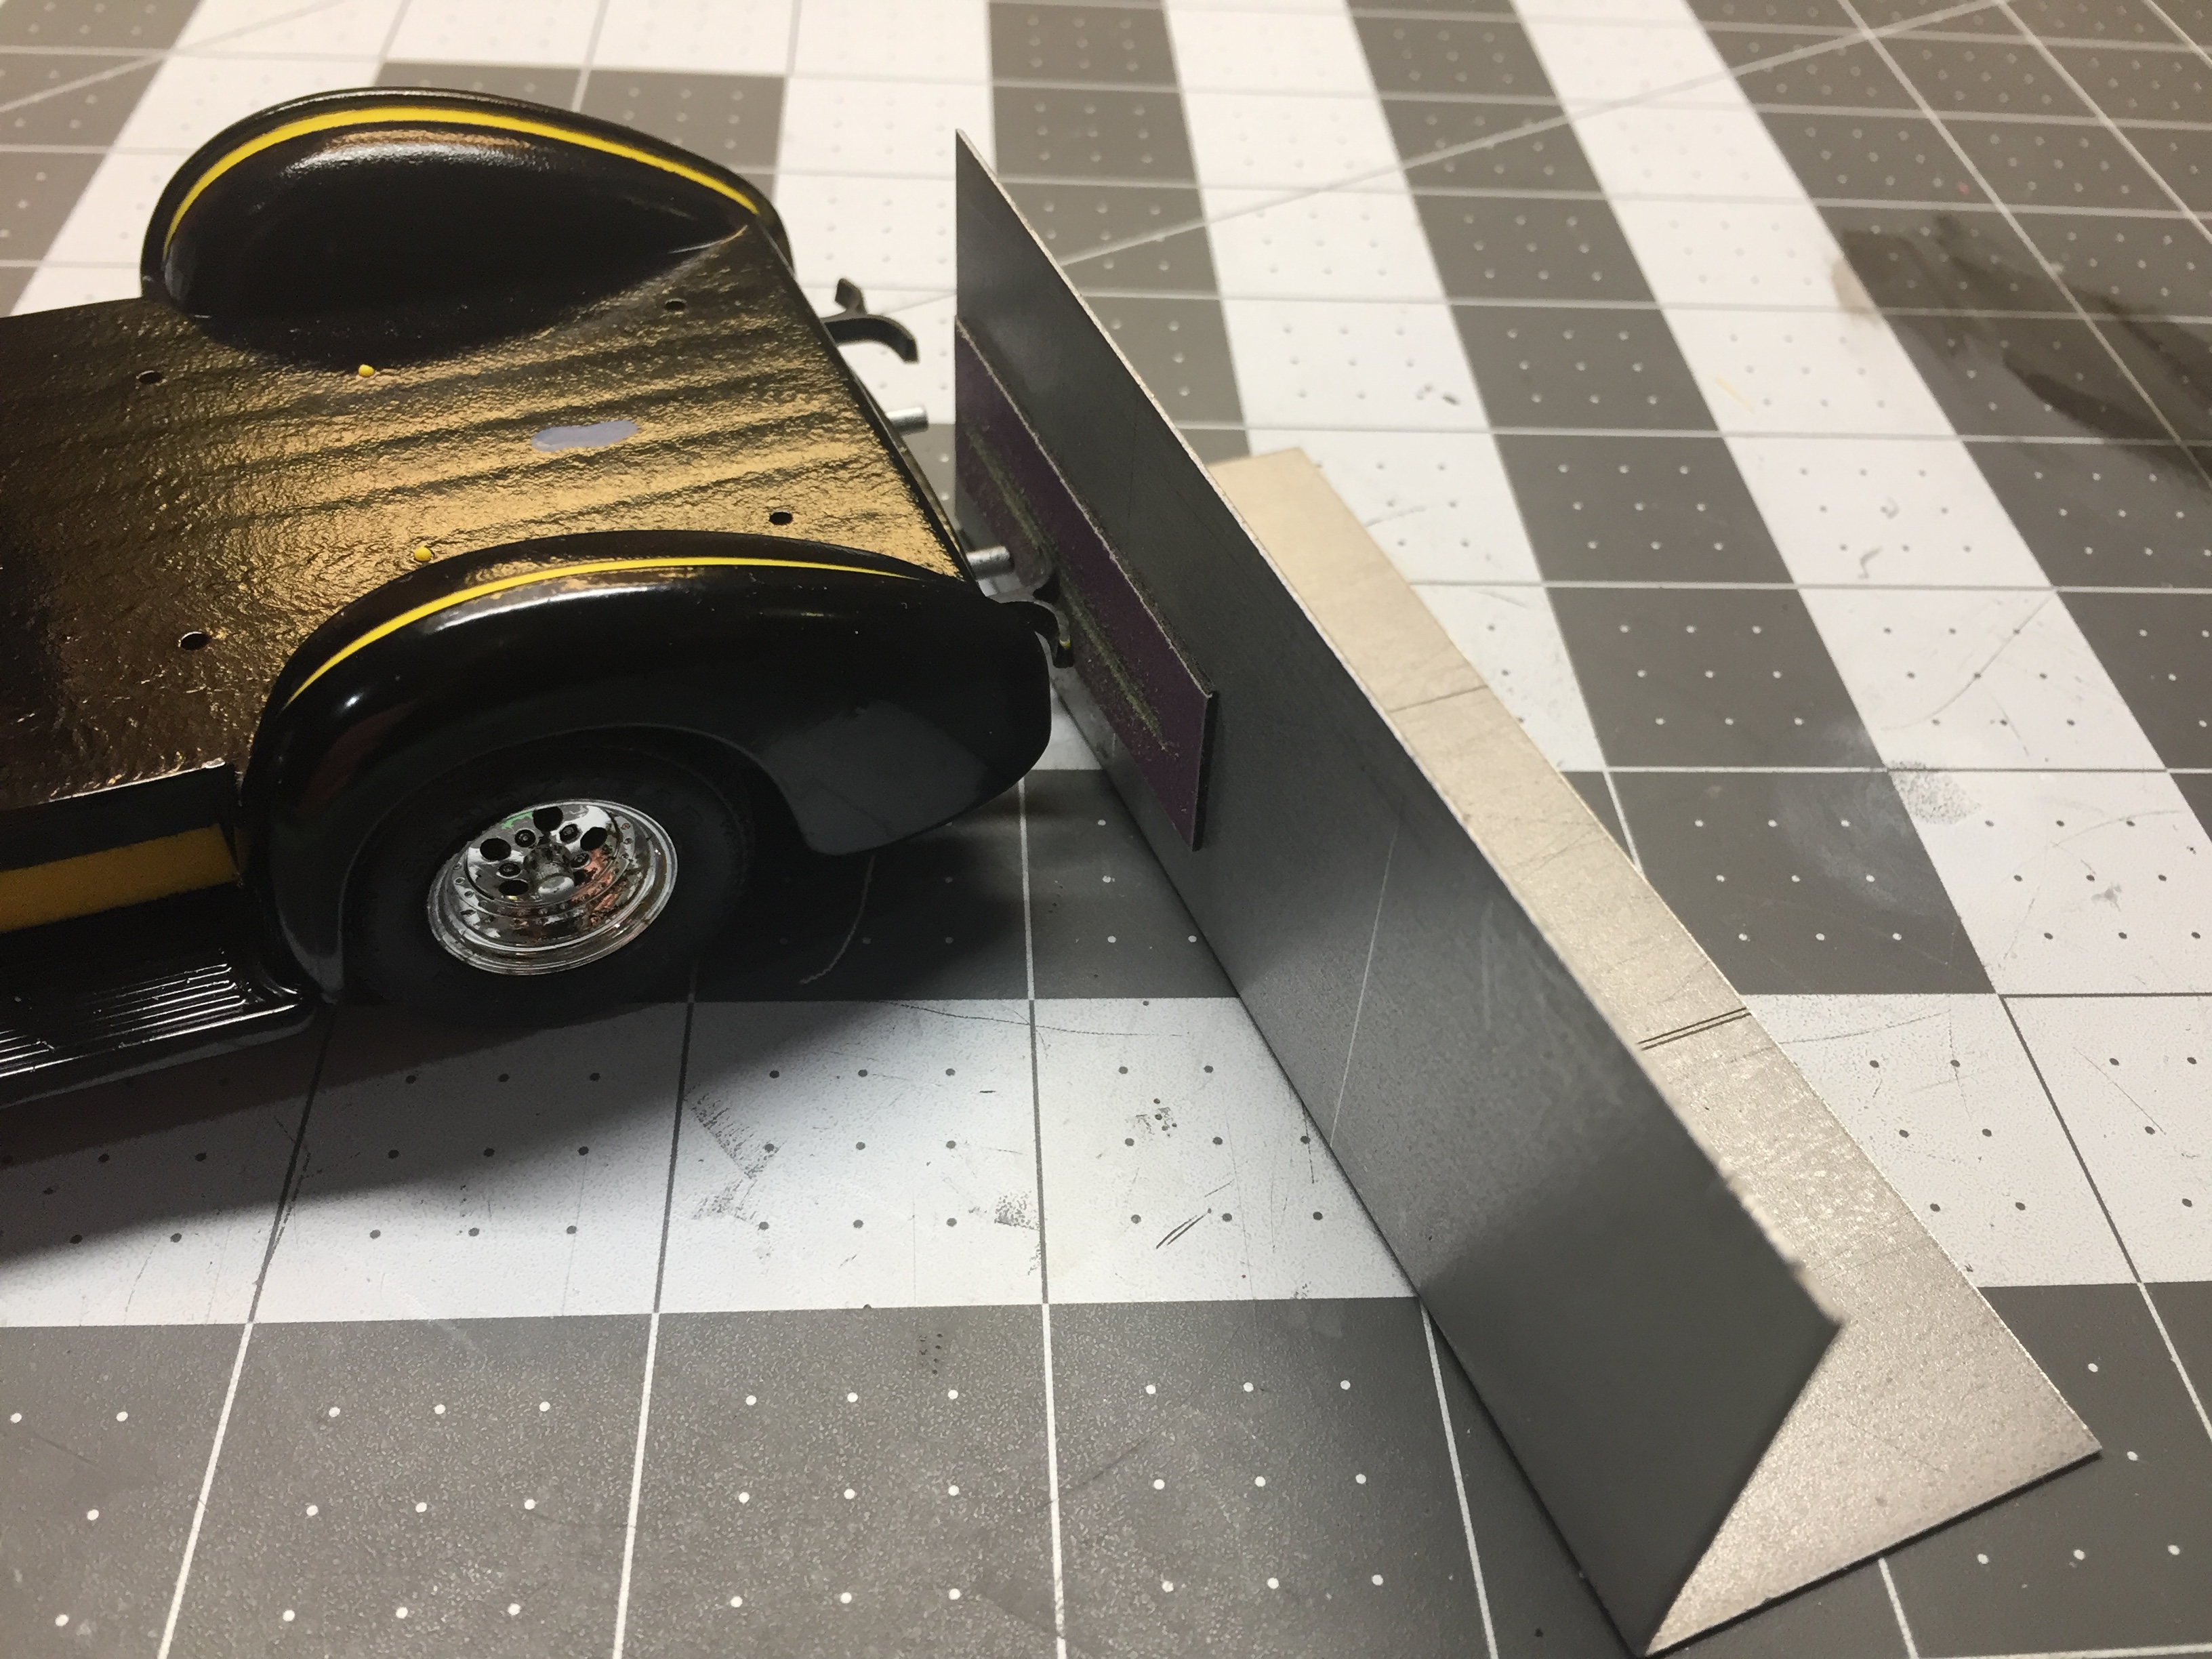
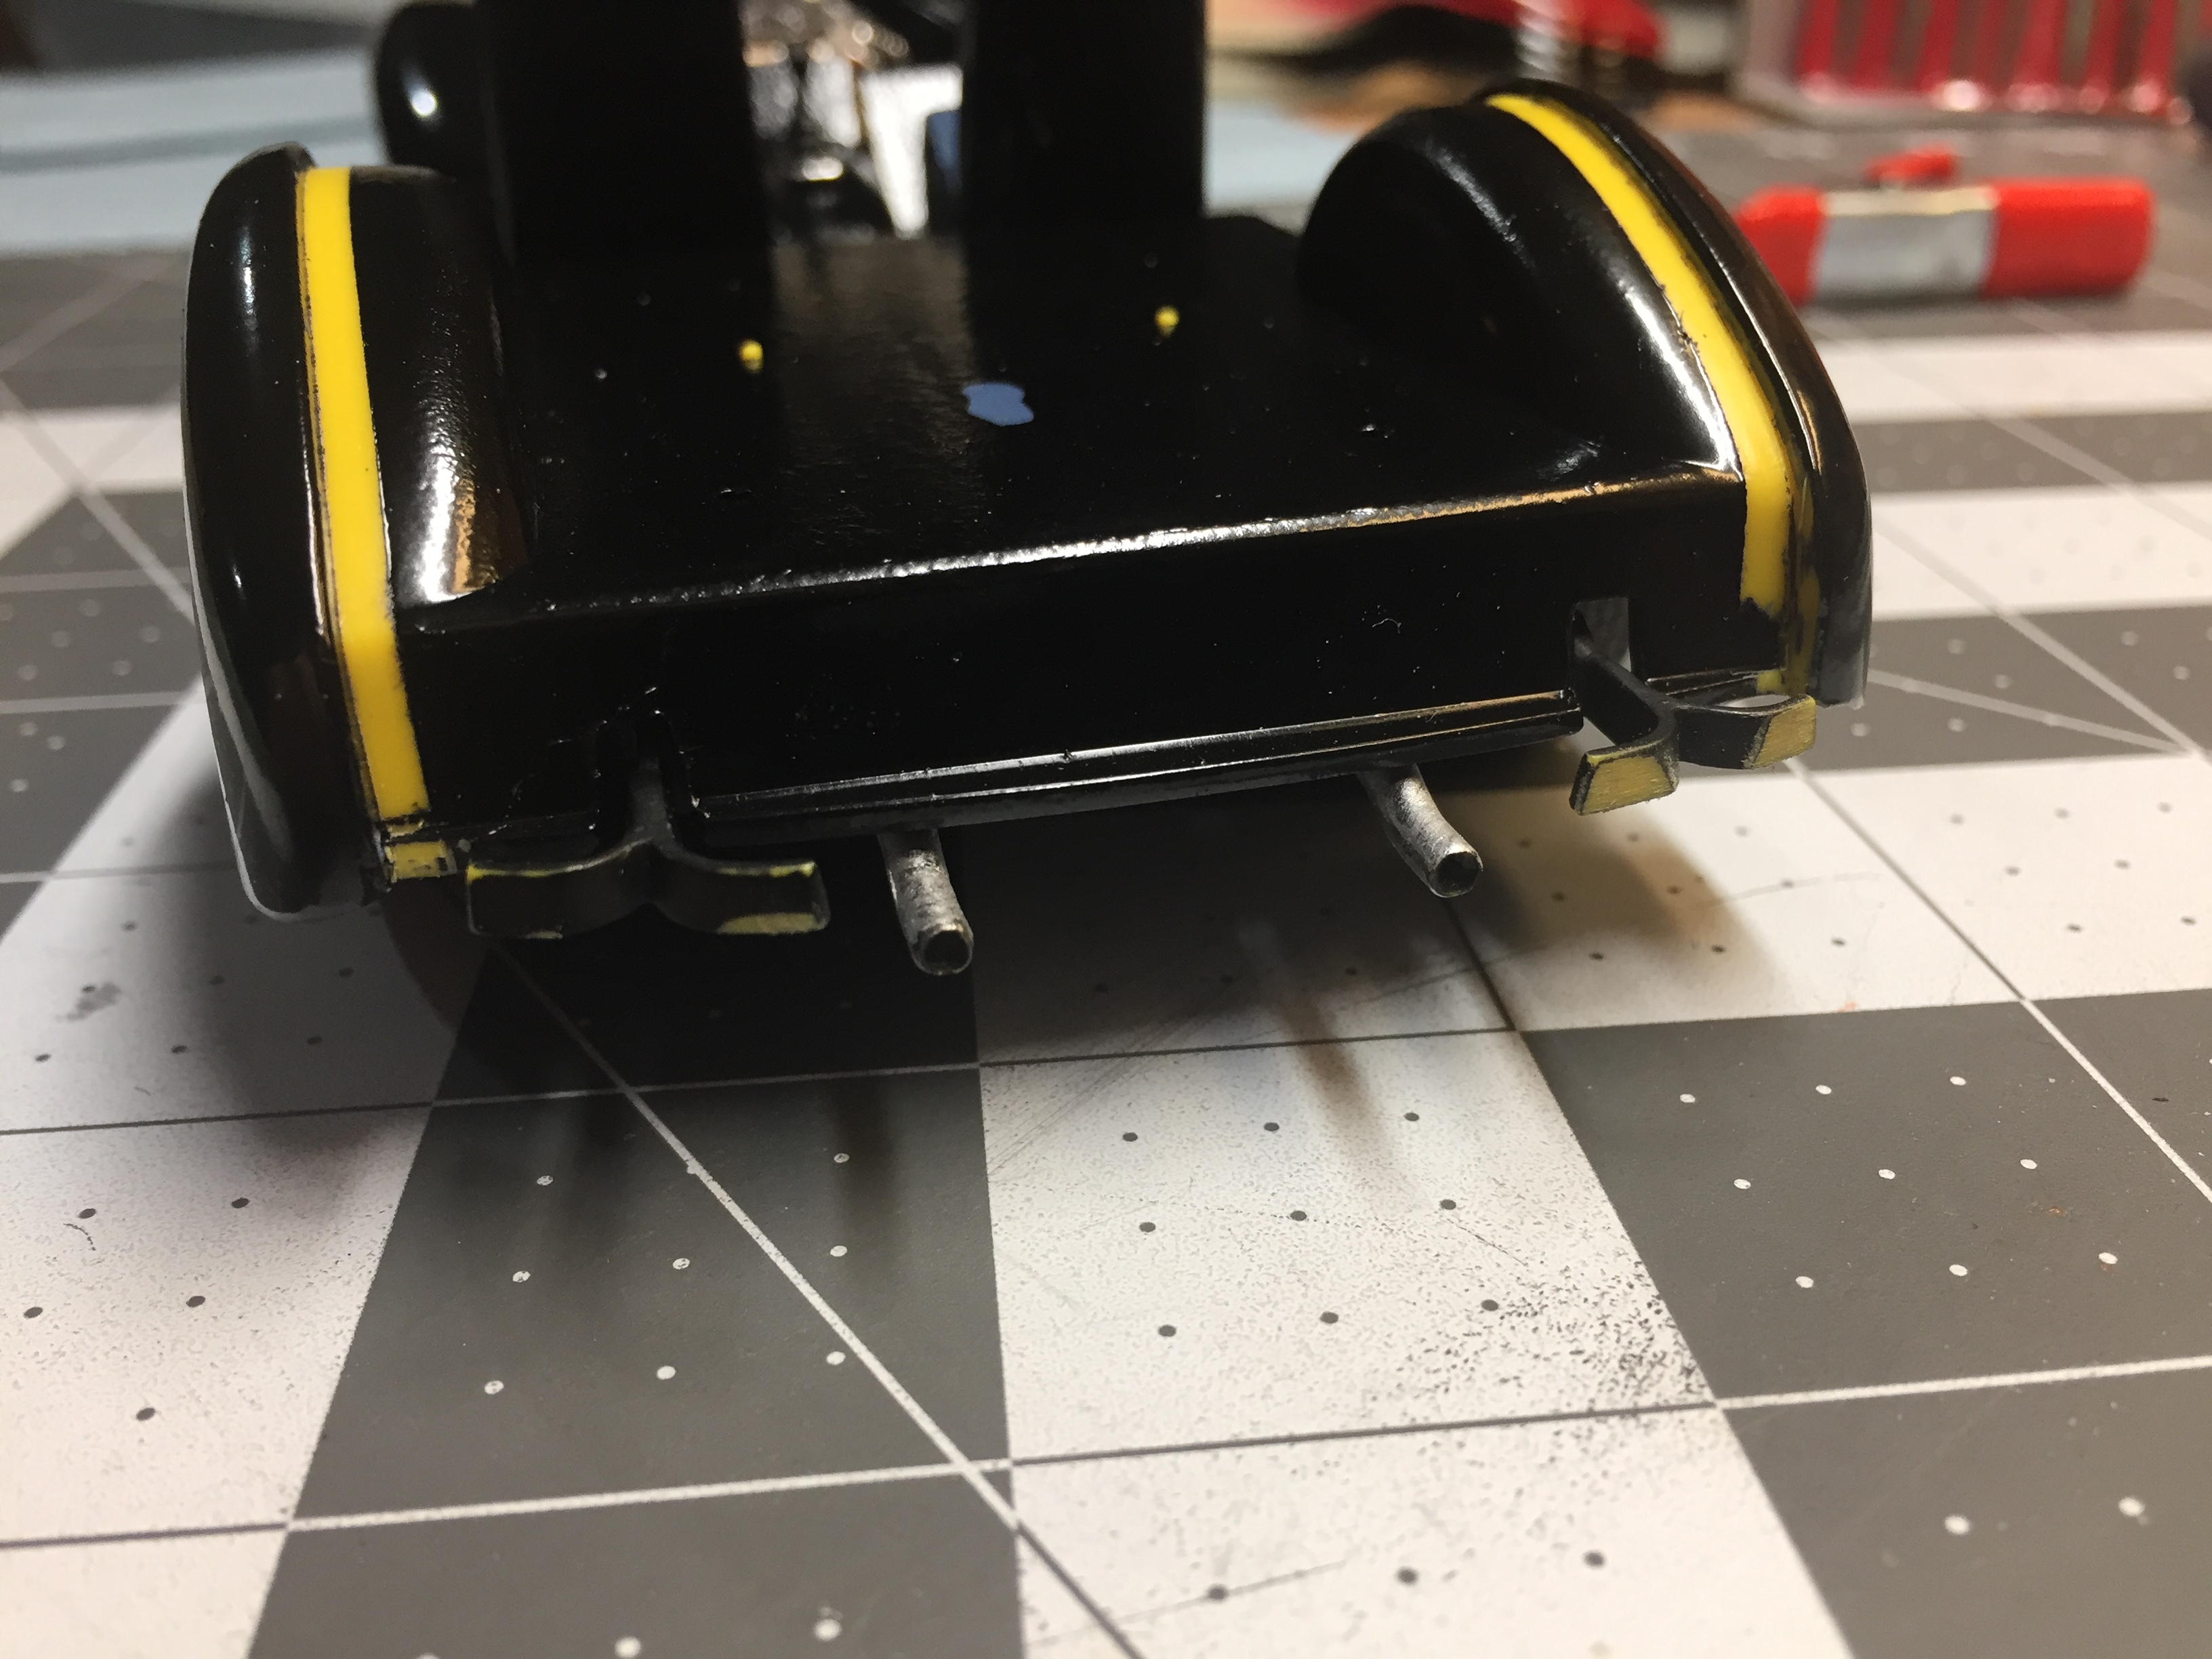
On this Revell '39 Chevy Street Rod, the bumper mounts have very pronounced bevel. This would make the outer ends of the bumpers tilt down drastically. The front ones I trimmed with a hobby knife to roughly perpendicular to the ground. For the rear, I came up with this idea. I mounted sandpaper to a piece of angle with double faced tape. I then just sanded the mounts until they were square to the ground by sliding the angle back and forth on the workbench. It worked like a charm
-
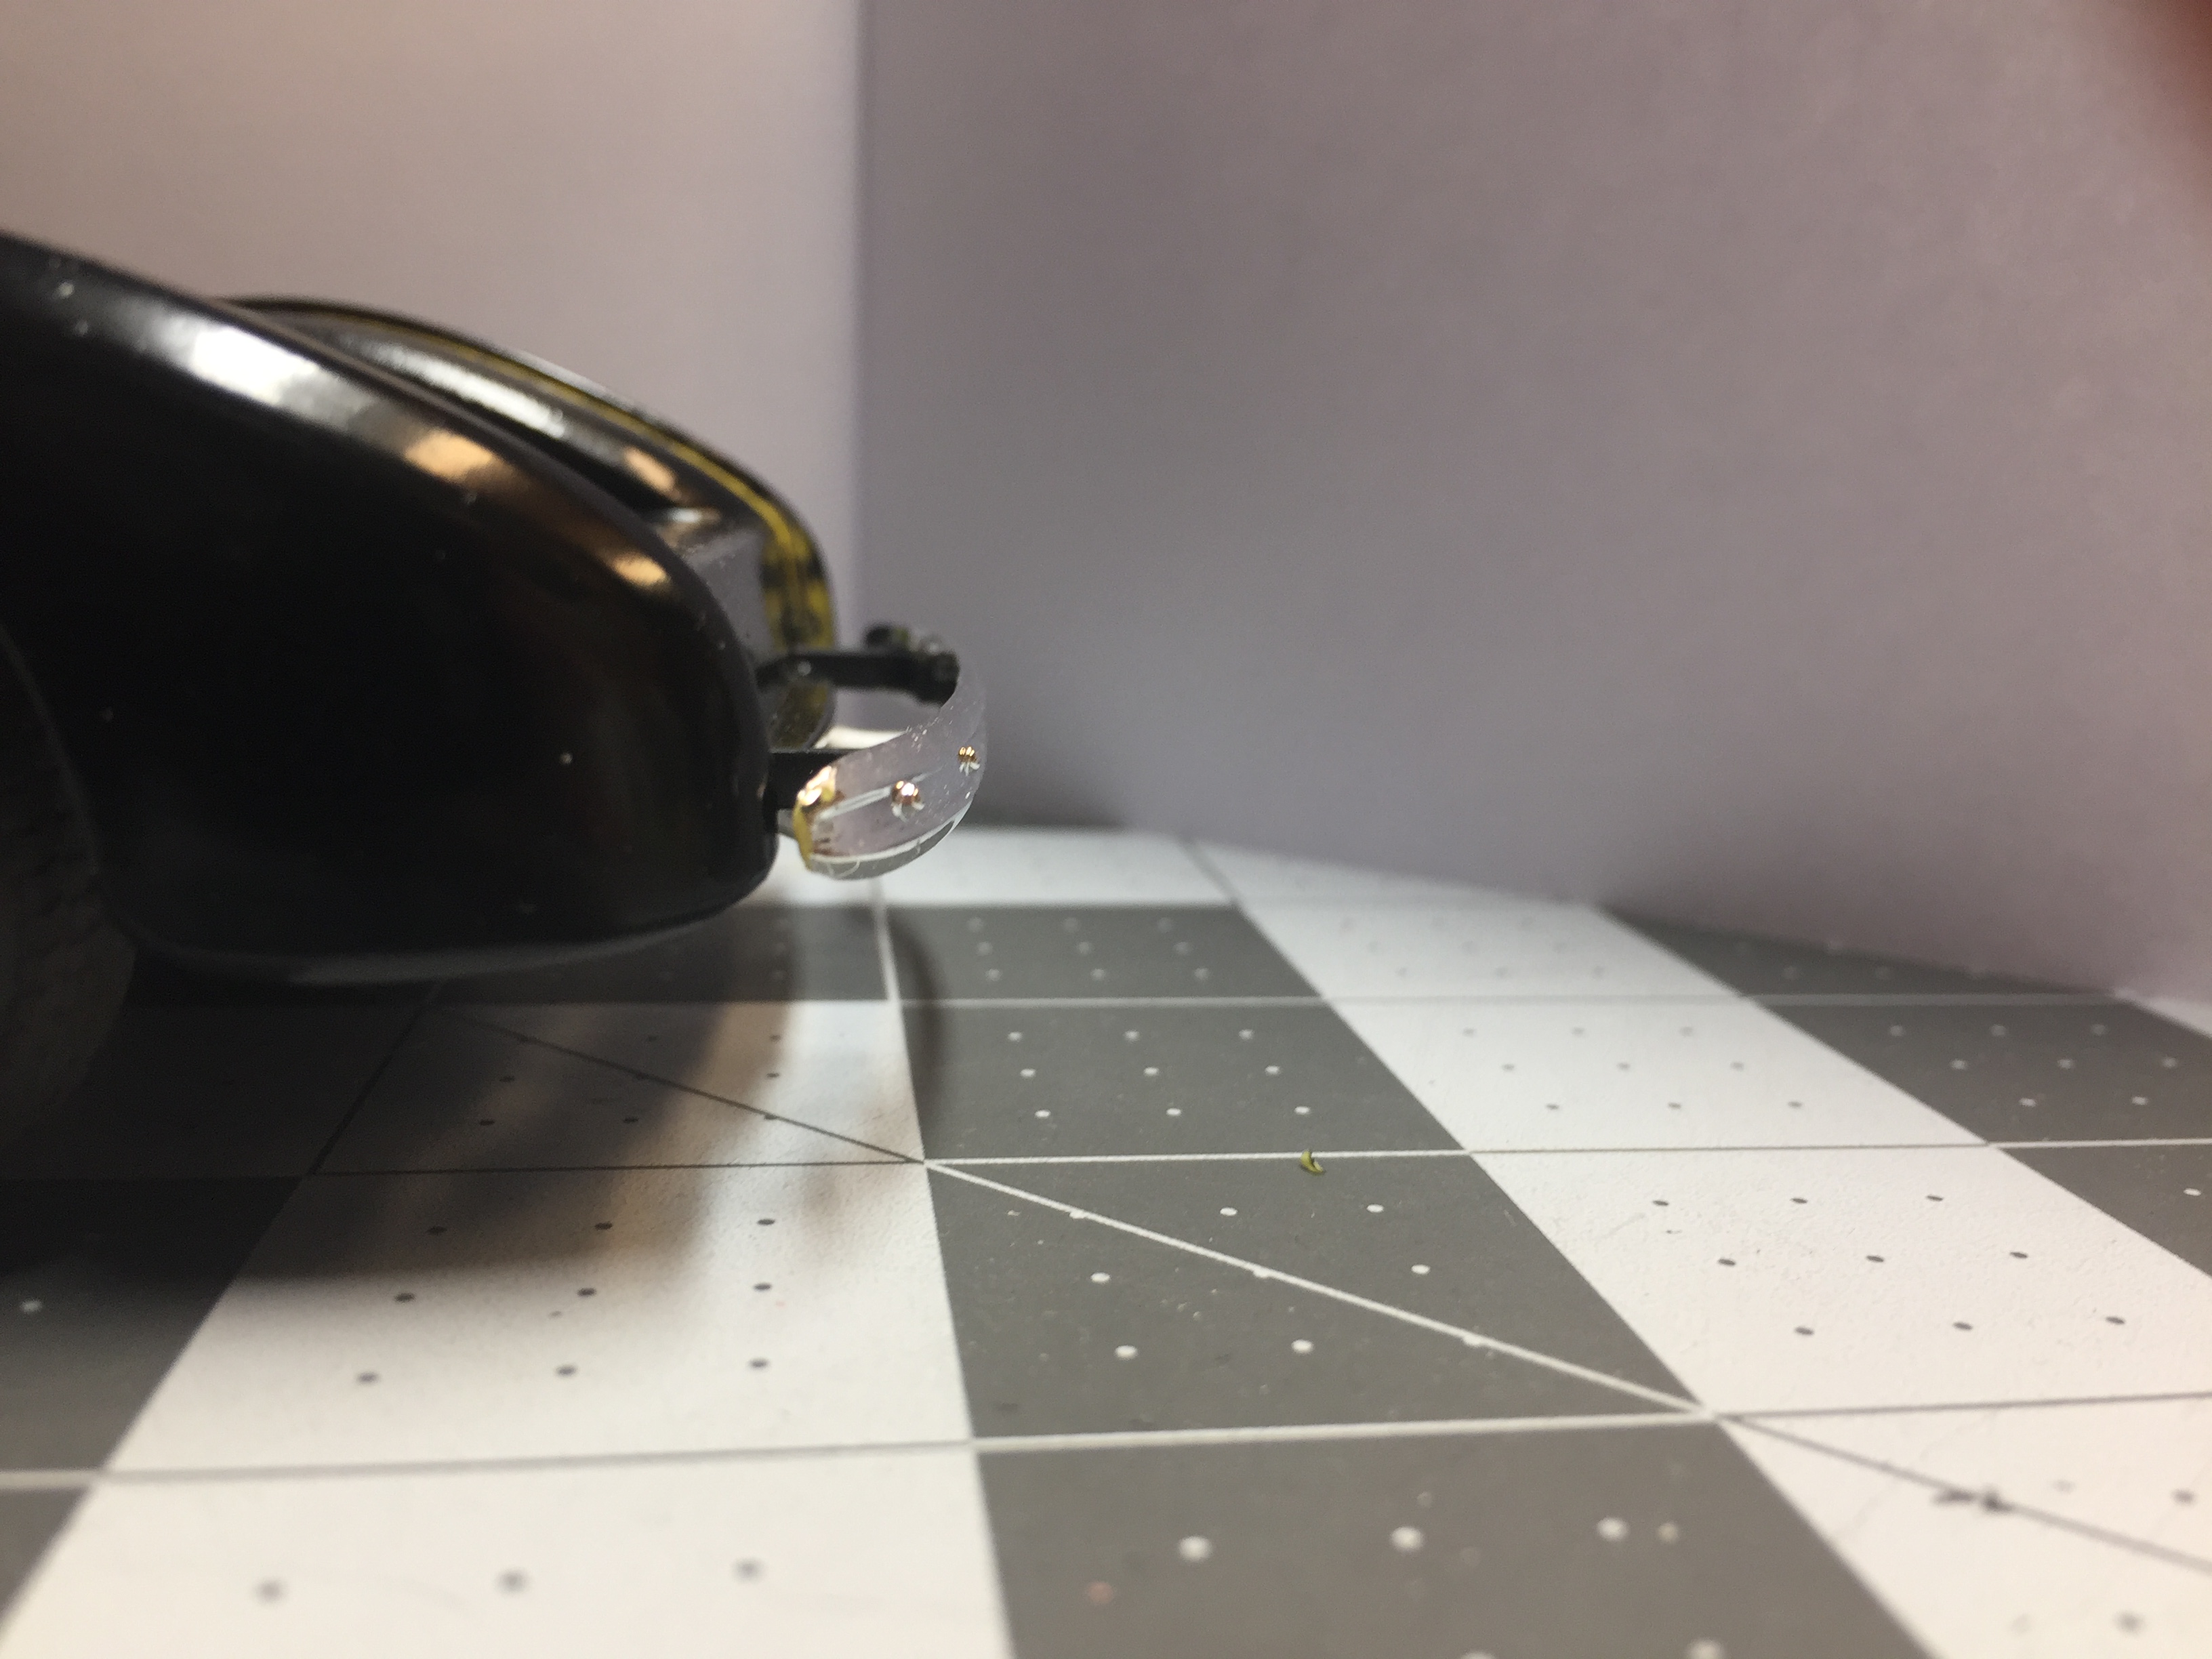
My hood wobbled on the body also, I managed to get it to sit nice. Now I notice the body wobbles when I set it down on the work table so... until I get it mounted to the chassis?