NOBLNG
-
Posts
10,231 -
Joined
-
Last visited
Content Type
Profiles
Forums
Events
Gallery
Everything posted by NOBLNG
-
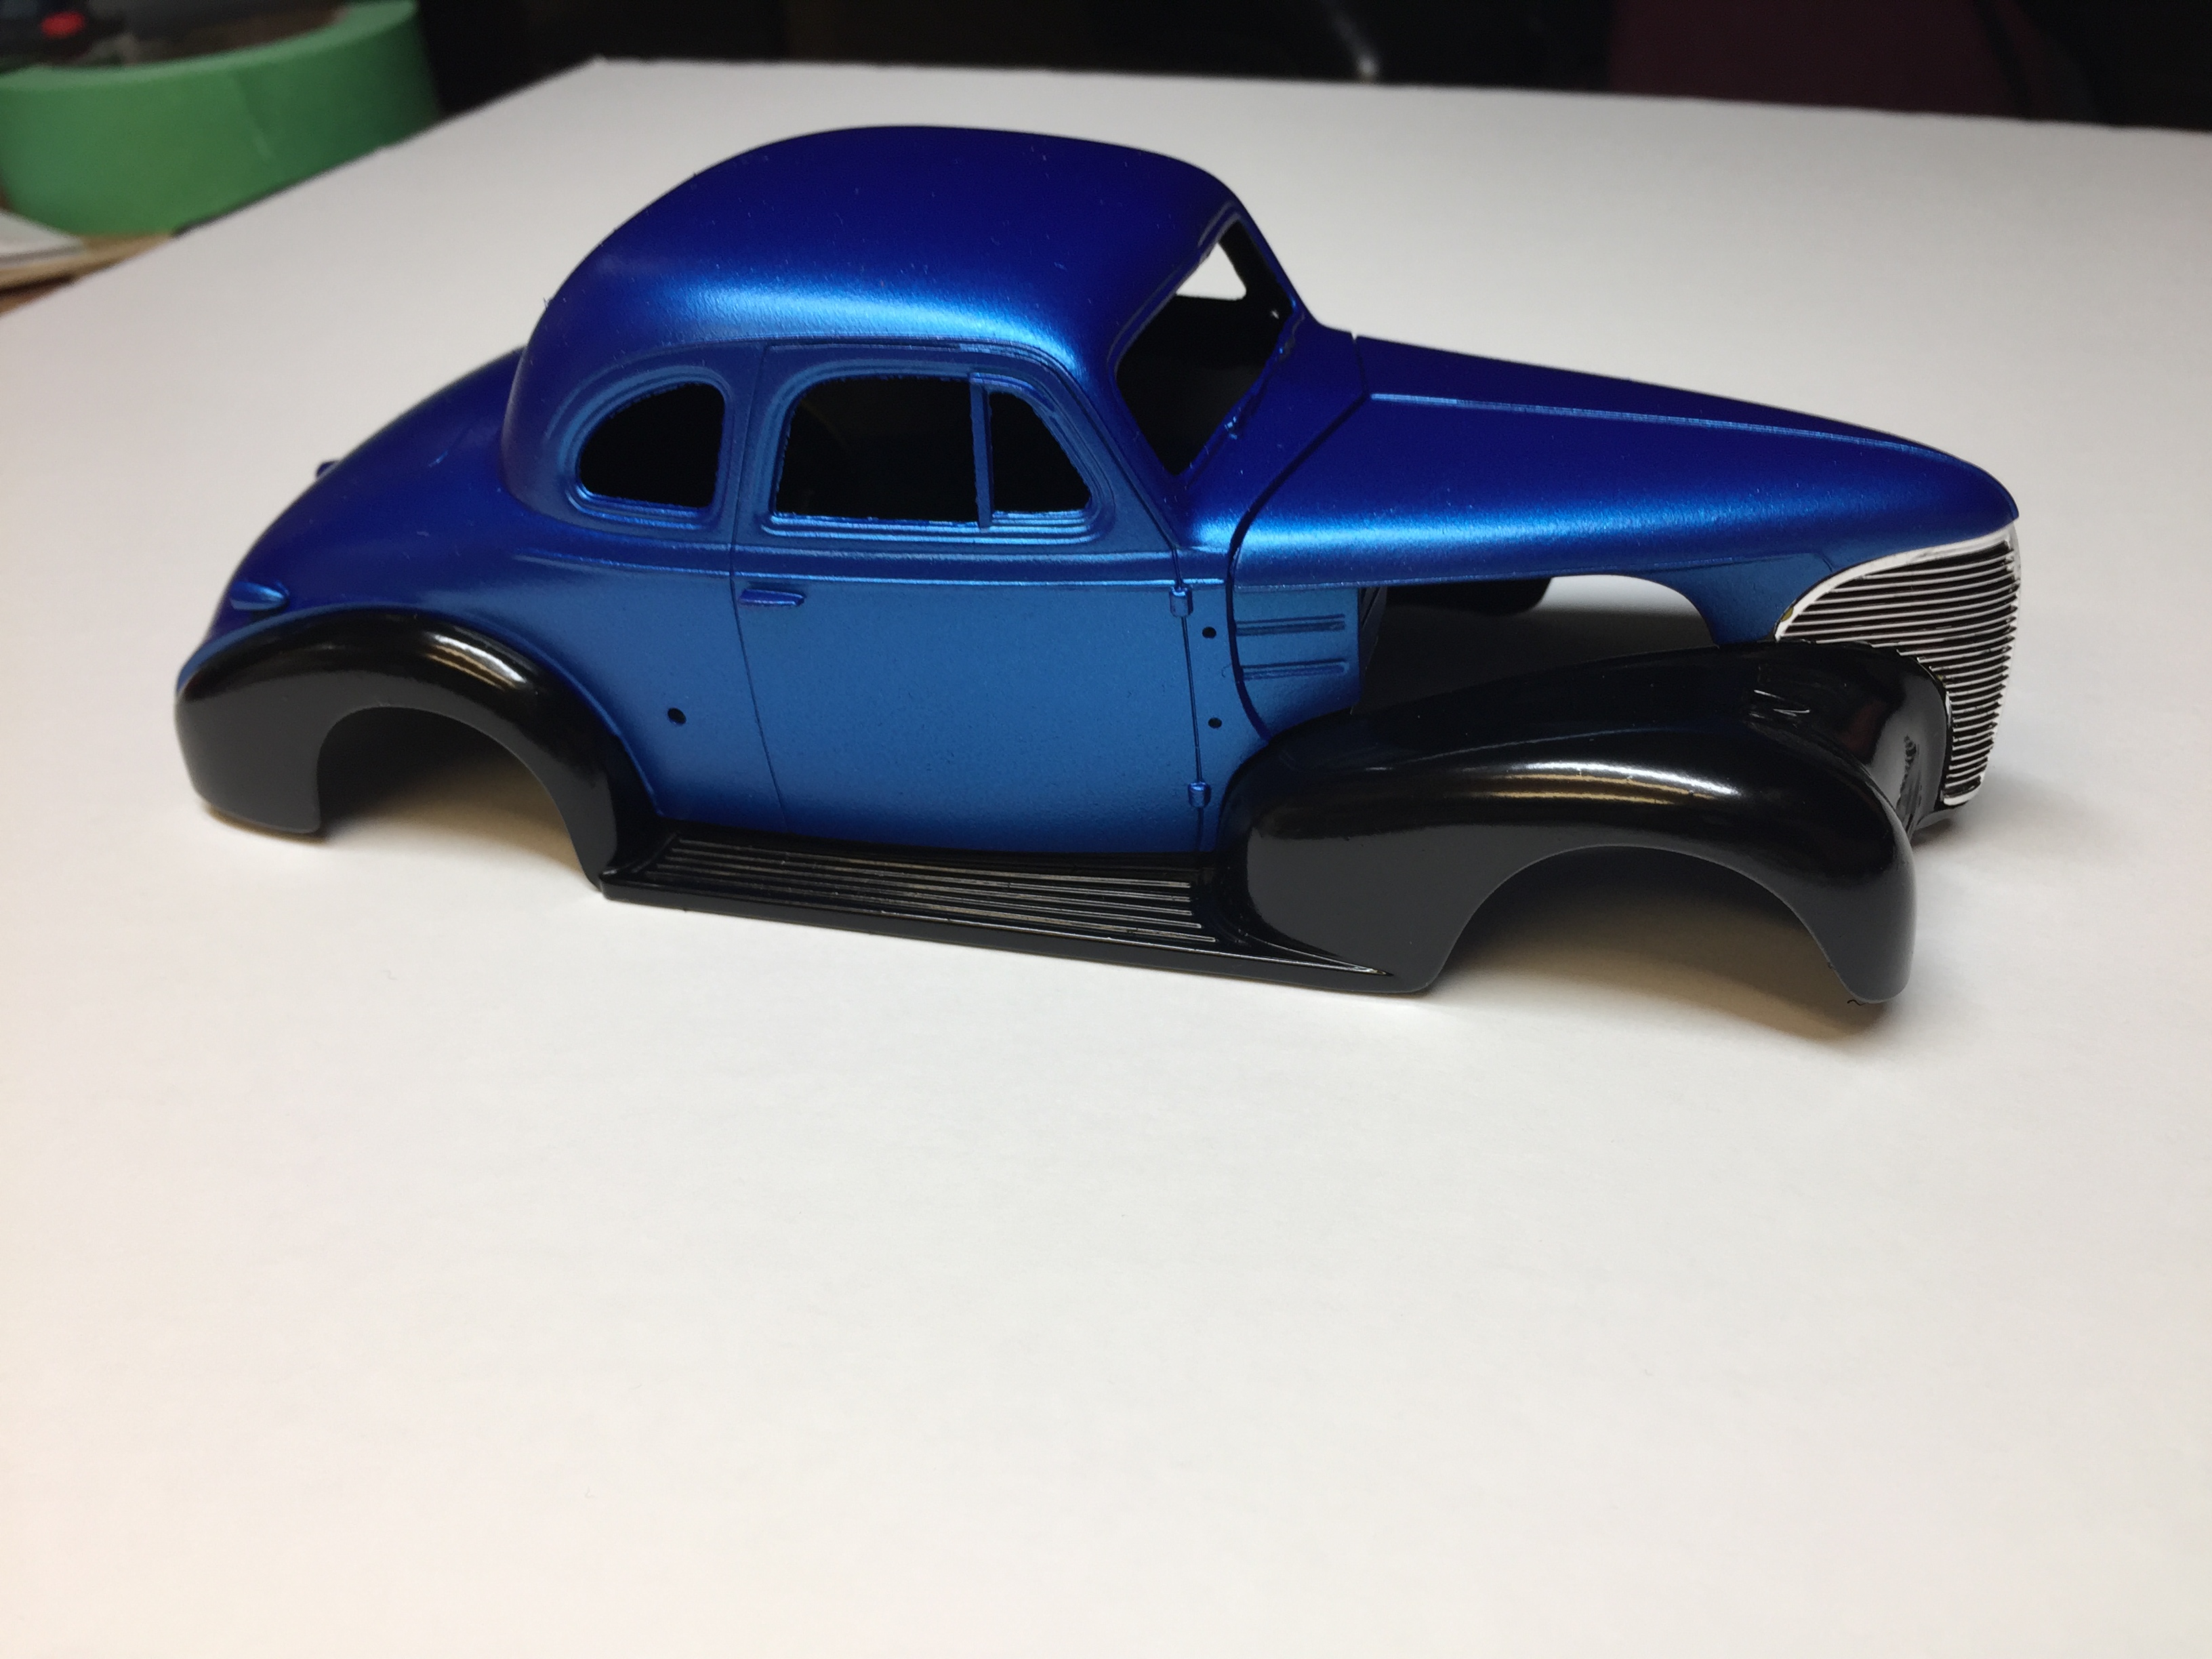
I've got two coats on this one now. I wet sanded after the first coat and this is after wet sanding the second coat with 3m Trizact 3000 grit. I get quite a bit of orange peel which I attribute to my minimal airbrush experience. I've sanded through slightly on a couple edges and probably should do another complete coat but I may just try a touch up before clear coating it. Comments welcome, thanks for lookin. Greg

-
Beautiful work! I too thought you nailed it with the weathered green look.
-

1932 Ford Roadster: Channeled, Nailhead-Powered Early 50's Hot Rod
NOBLNG replied to Dennis Lacy's topic in Model Cars
Now THAT is Beautiful!! -
Wow, that is awesome looking! Your talents and patience amaze me!
-
That's OK. I like huge pictures! This is turning out real nice. I have a Revell 911 Cabriolet. It is not nearly as detailed as your kit is. You have inspired me to get a start on it. I have no experience with foreign cars, so I will sort of follow what you are doing. Great Job so far!
-
A bit of green painters tape works. You could also use a 1/8" square piece of double faced tape on the end of a chunk of sprue.
-
You are right Bob! I didn't check well enough obviously. There is interference where the interior meets the front angled section of the floorboards. I wound up trimming about 1/16 off the bottom of the entire interior "tub" including the rear seat. The recess inboard of the rear fenders is not deep enough for the body to sit down into properly (passengers side is worse than drivers). Edit: Another spot where there is interference is the rear jump seat. It is cast into the interior tub which has the locating tabs on it also. If the passenger front seat is glued in place on the locating ridges, the rear seat will hit the back of it! I had to move the passengers seat ahead about 1/8" to clear the rear seat.
-
Wow, that is nice! Love the color. I haven't decided what color to go with yet, I was thinking red or black, but my mind changes a few times daily. Thanks for the pics!
-
Humbrol Acrylic spray paint ?
NOBLNG replied to Goodwrench3's topic in Model Building Questions and Answers
Can you copy and paste a link here? -
I don't like the chrome tail lights they supplied in this kit so I fabbed some new ones from some tail light sprue.
-
I AM putting a 1966 engine in it from a later kit...
-
Thanks for the tips! I am debating which way to go. I do like the hardtop look better.
-
Humbrol Acrylic spray paint ?
NOBLNG replied to Goodwrench3's topic in Model Building Questions and Answers
The external mix is one thing I like about the H. Cleaning it is easy, there are 3 parts that the paint can get to ( I have only used the little gravity feed cup, not the bottles yet) the cup, the needle and the nozzle. They are easily removed and separate from the AB itself. The needle seems to be far less prone to damage than the Iwata? The duel action brushes are really versatile and my Iwata Eclipse will do anything the Paasche H will and more, but right now I am enjoying the user-friendliness of the H. I have no experience with Badger. I would suggest watching some YT videos on each. -
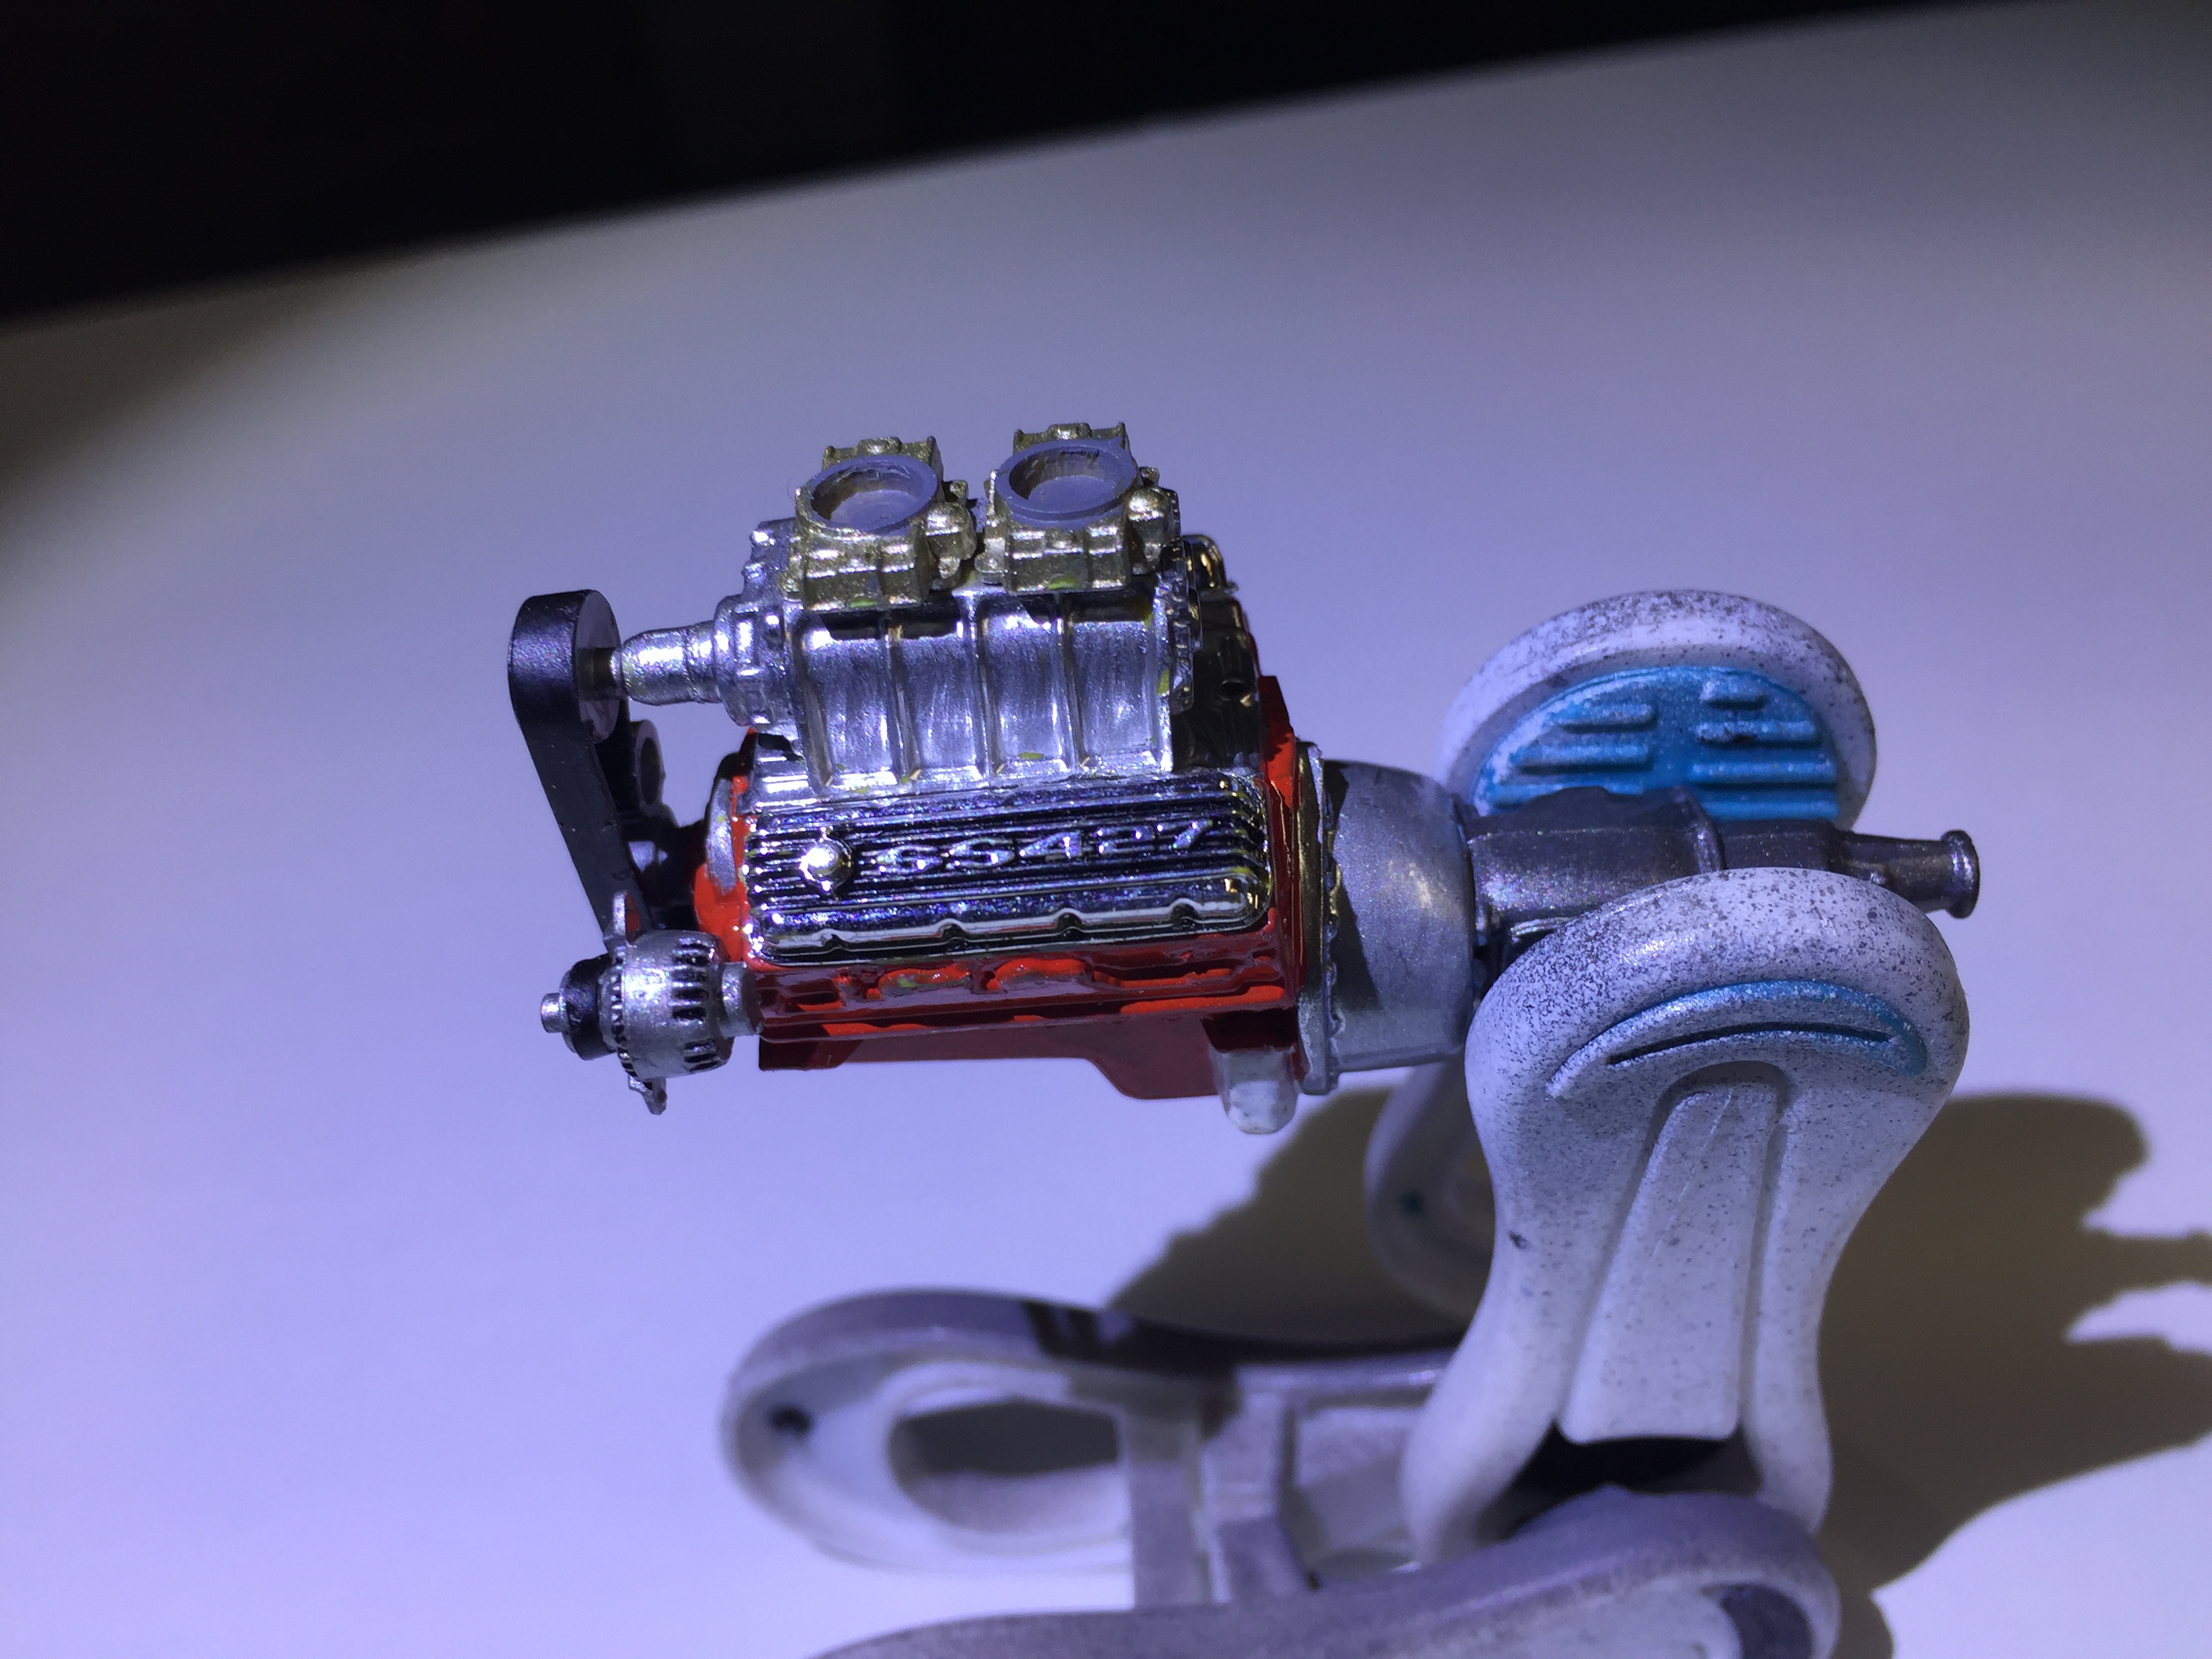
I got a start on the engine already. I can see from googling pics, that the upper rad hose connection is not correct but I think I will leave it as is. I will be wiring it though.
-
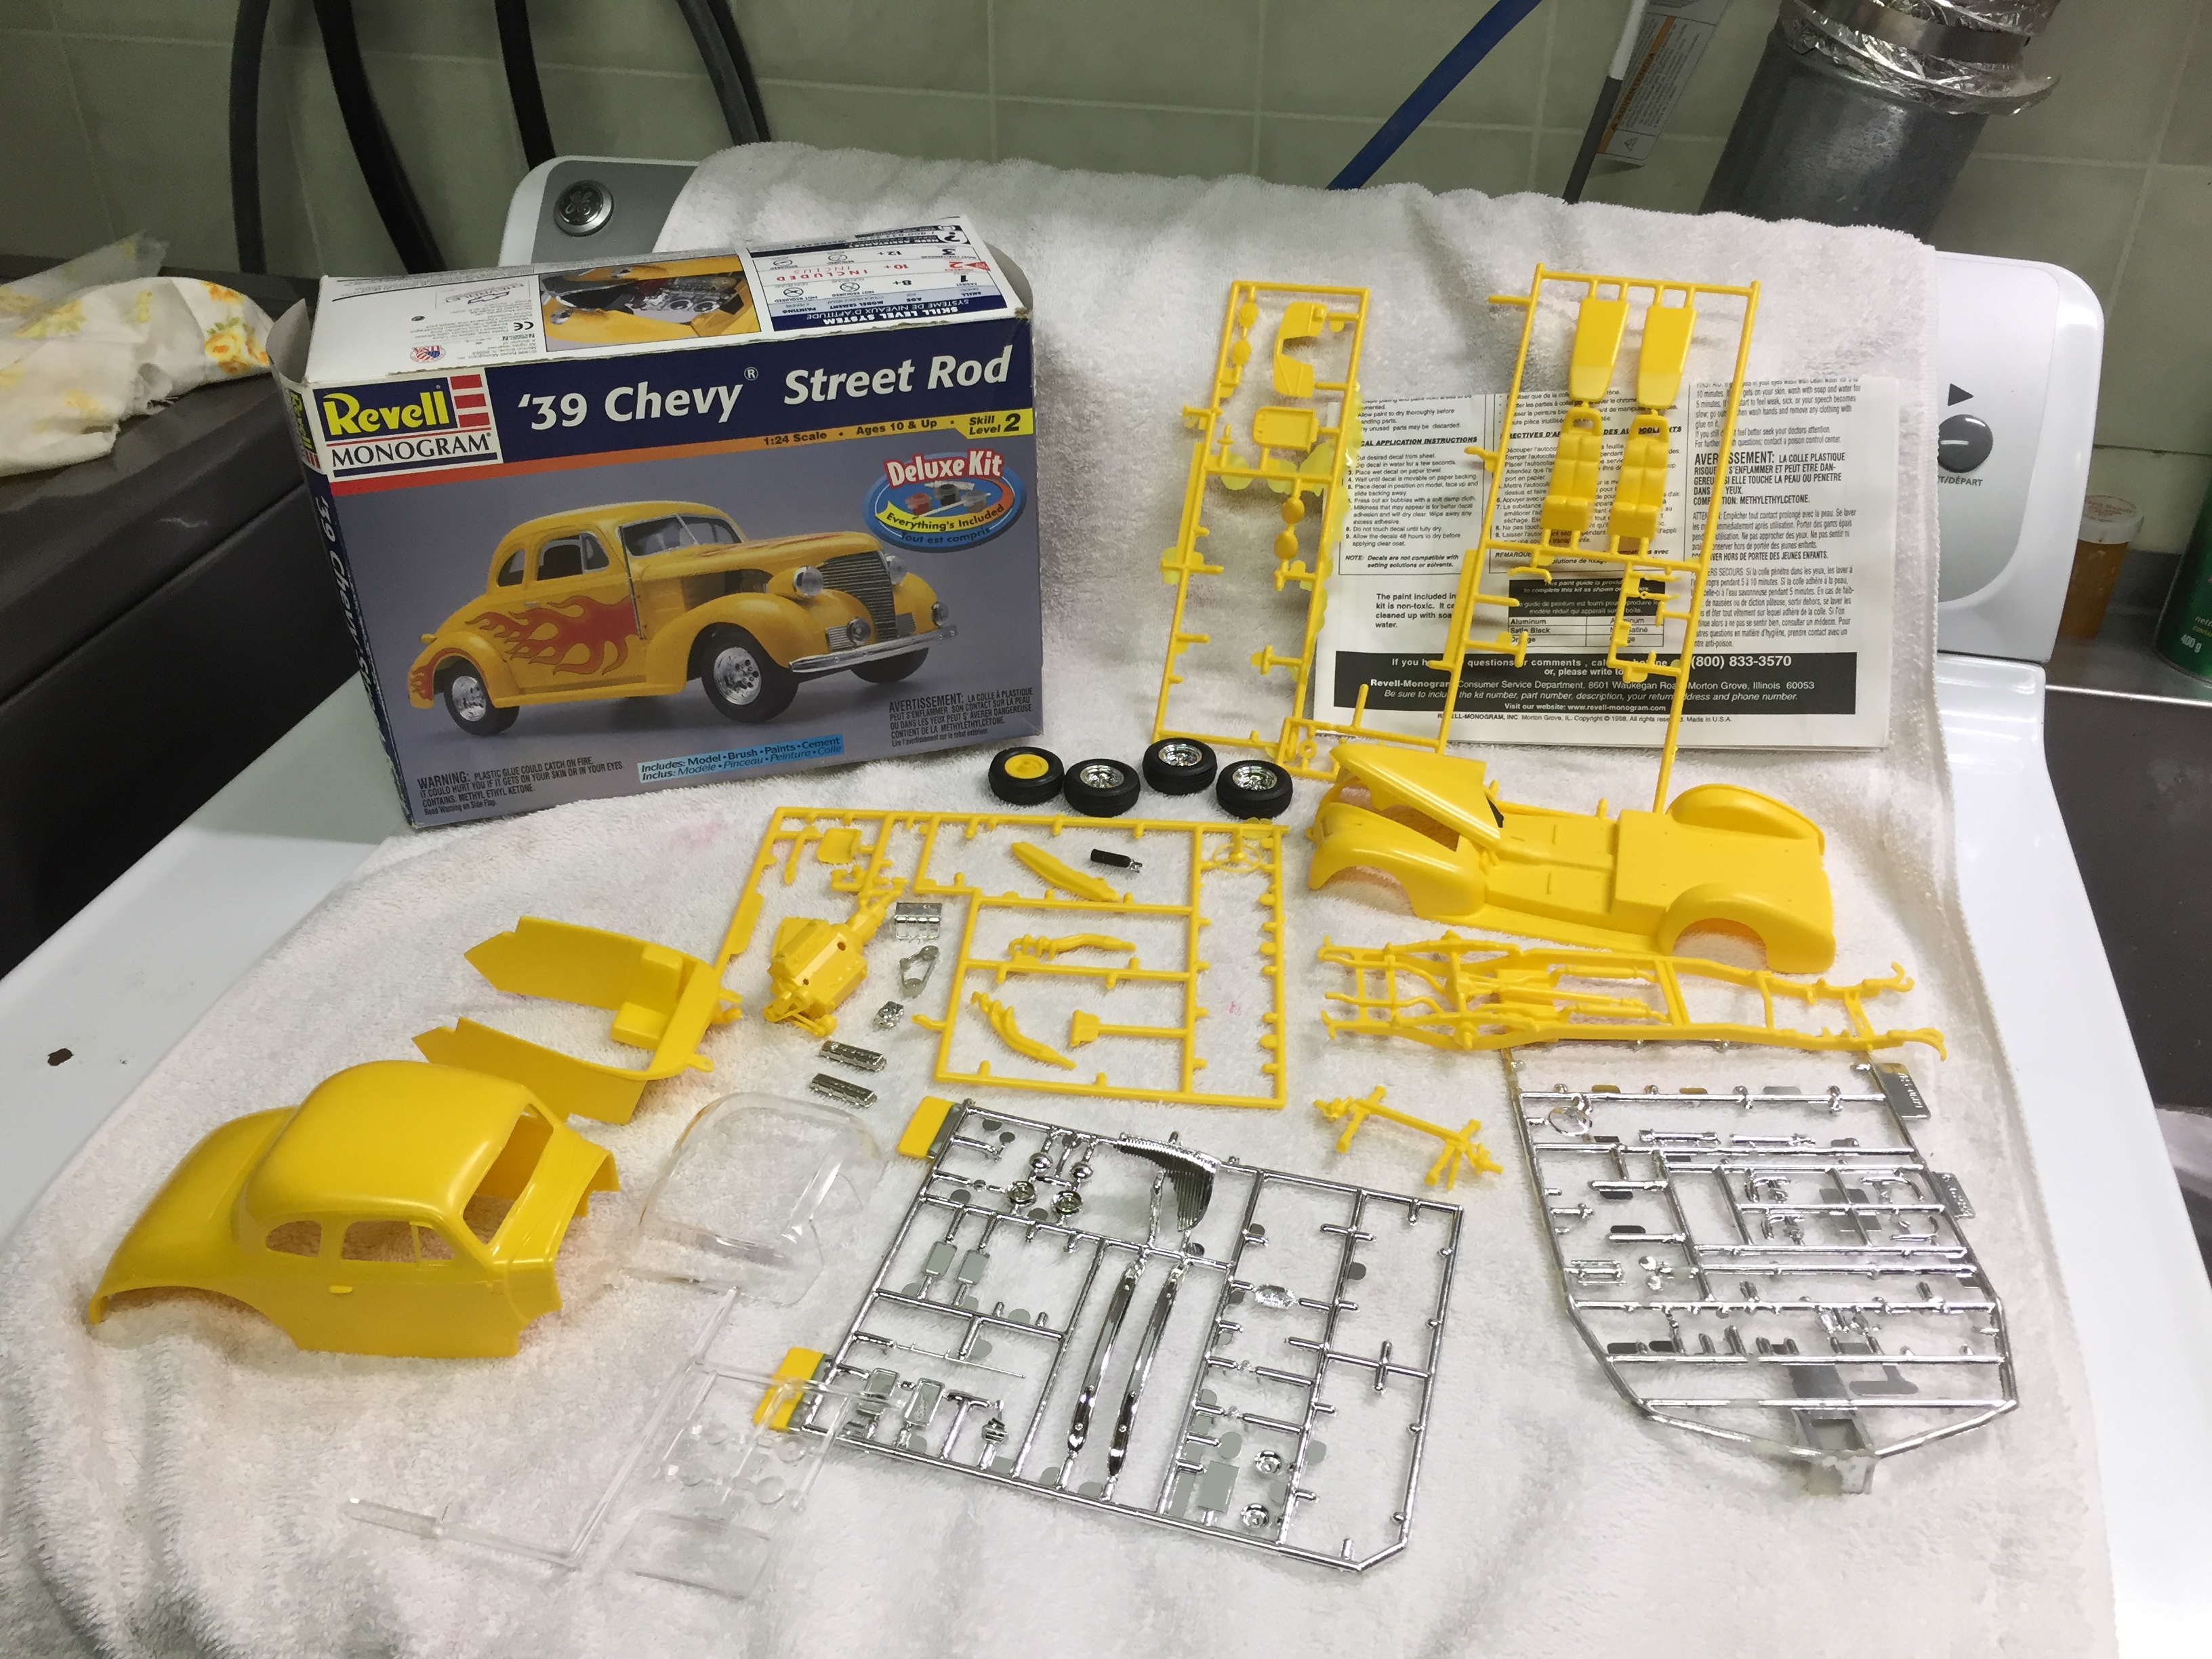
I'm starting on this one while things dry on my other projects. Has anyone done one of these? I searched and didn't find anything on here? It's not the greatest kit...part of the front fender wells and the frame are molded with the floor pan. The interior is a one-piece bucket with the center consol molded in place??? Oh well, I can't complain, I got it at the flea market for $2.00
-
Humbrol Acrylic spray paint ?
NOBLNG replied to Goodwrench3's topic in Model Building Questions and Answers
The thing about an airbrush (compared to spray bombs) is that there is a lot less paint used, less overspray and fewer paint particles to get circulated around the house. That said, laquer or enamel paints will still irritate your wife. My wife is very sensitive to chemical smells also, so I do all my spraying out in the garage. She even notices the small bit of brush cleaner (mineral spirits) I use indoors. I have an Iwata Eclipse which I believe is similar to the Neo. It does a very nice job, but is a pain to clean thoroughly. FWIW, I recently bought a Paasche H and find it a lot easier to use and to clean. Good Luck! -
Here's a little inspiration! I can't give you advice on what's good or bad, 'cause I've only built this one. Have Fun!
-
Getting a little more done on this one. Interior is done. Rims and tires painted. I found a tip on another website on how to do the lettering. Just rolling the side of the tip of this pen across the lettering worked amazingly well! Pardon the color scheme, nothing is factory on this one.
-
Tamiya painting stand maintenance
NOBLNG replied to aurfalien's topic in Model Building Questions and Answers
I just made this one today with a coat hanger and a chunk of 1x4 and have not used it yet. While sipping on a cold one to celebrate and marvel at my creation, I decided it needed some modifications to allow for better airflow in my new dehydrator. The holes also make it easier to hang onto!
-
I read somewhere on here about someone spraying into a funnel. Thank You whoever that was! The milk jug handle trick above would also work great I think.
-
Food Dehydrators & Paint Dryers
NOBLNG replied to JayVee's topic in Model Building Questions and Answers
I bought this dehydrator last year because it was on sale for a good price. I finally got around to modifying it to work for drying paint. I didn't want to hollow out all the plastic trays, as I might want to use it for making Doggy Treats also. I made a 4" spacer from 26 gage metal to raise the tray up away from the heat a bit. Then a 6" spacer for the main compartment. Edit: I changed the upper section to 8" tall. This way I can put a full size spray bomb in there to warm up. It is -30C here right now. I have 2 electric heaters going in the garage and they barely keep up!
-
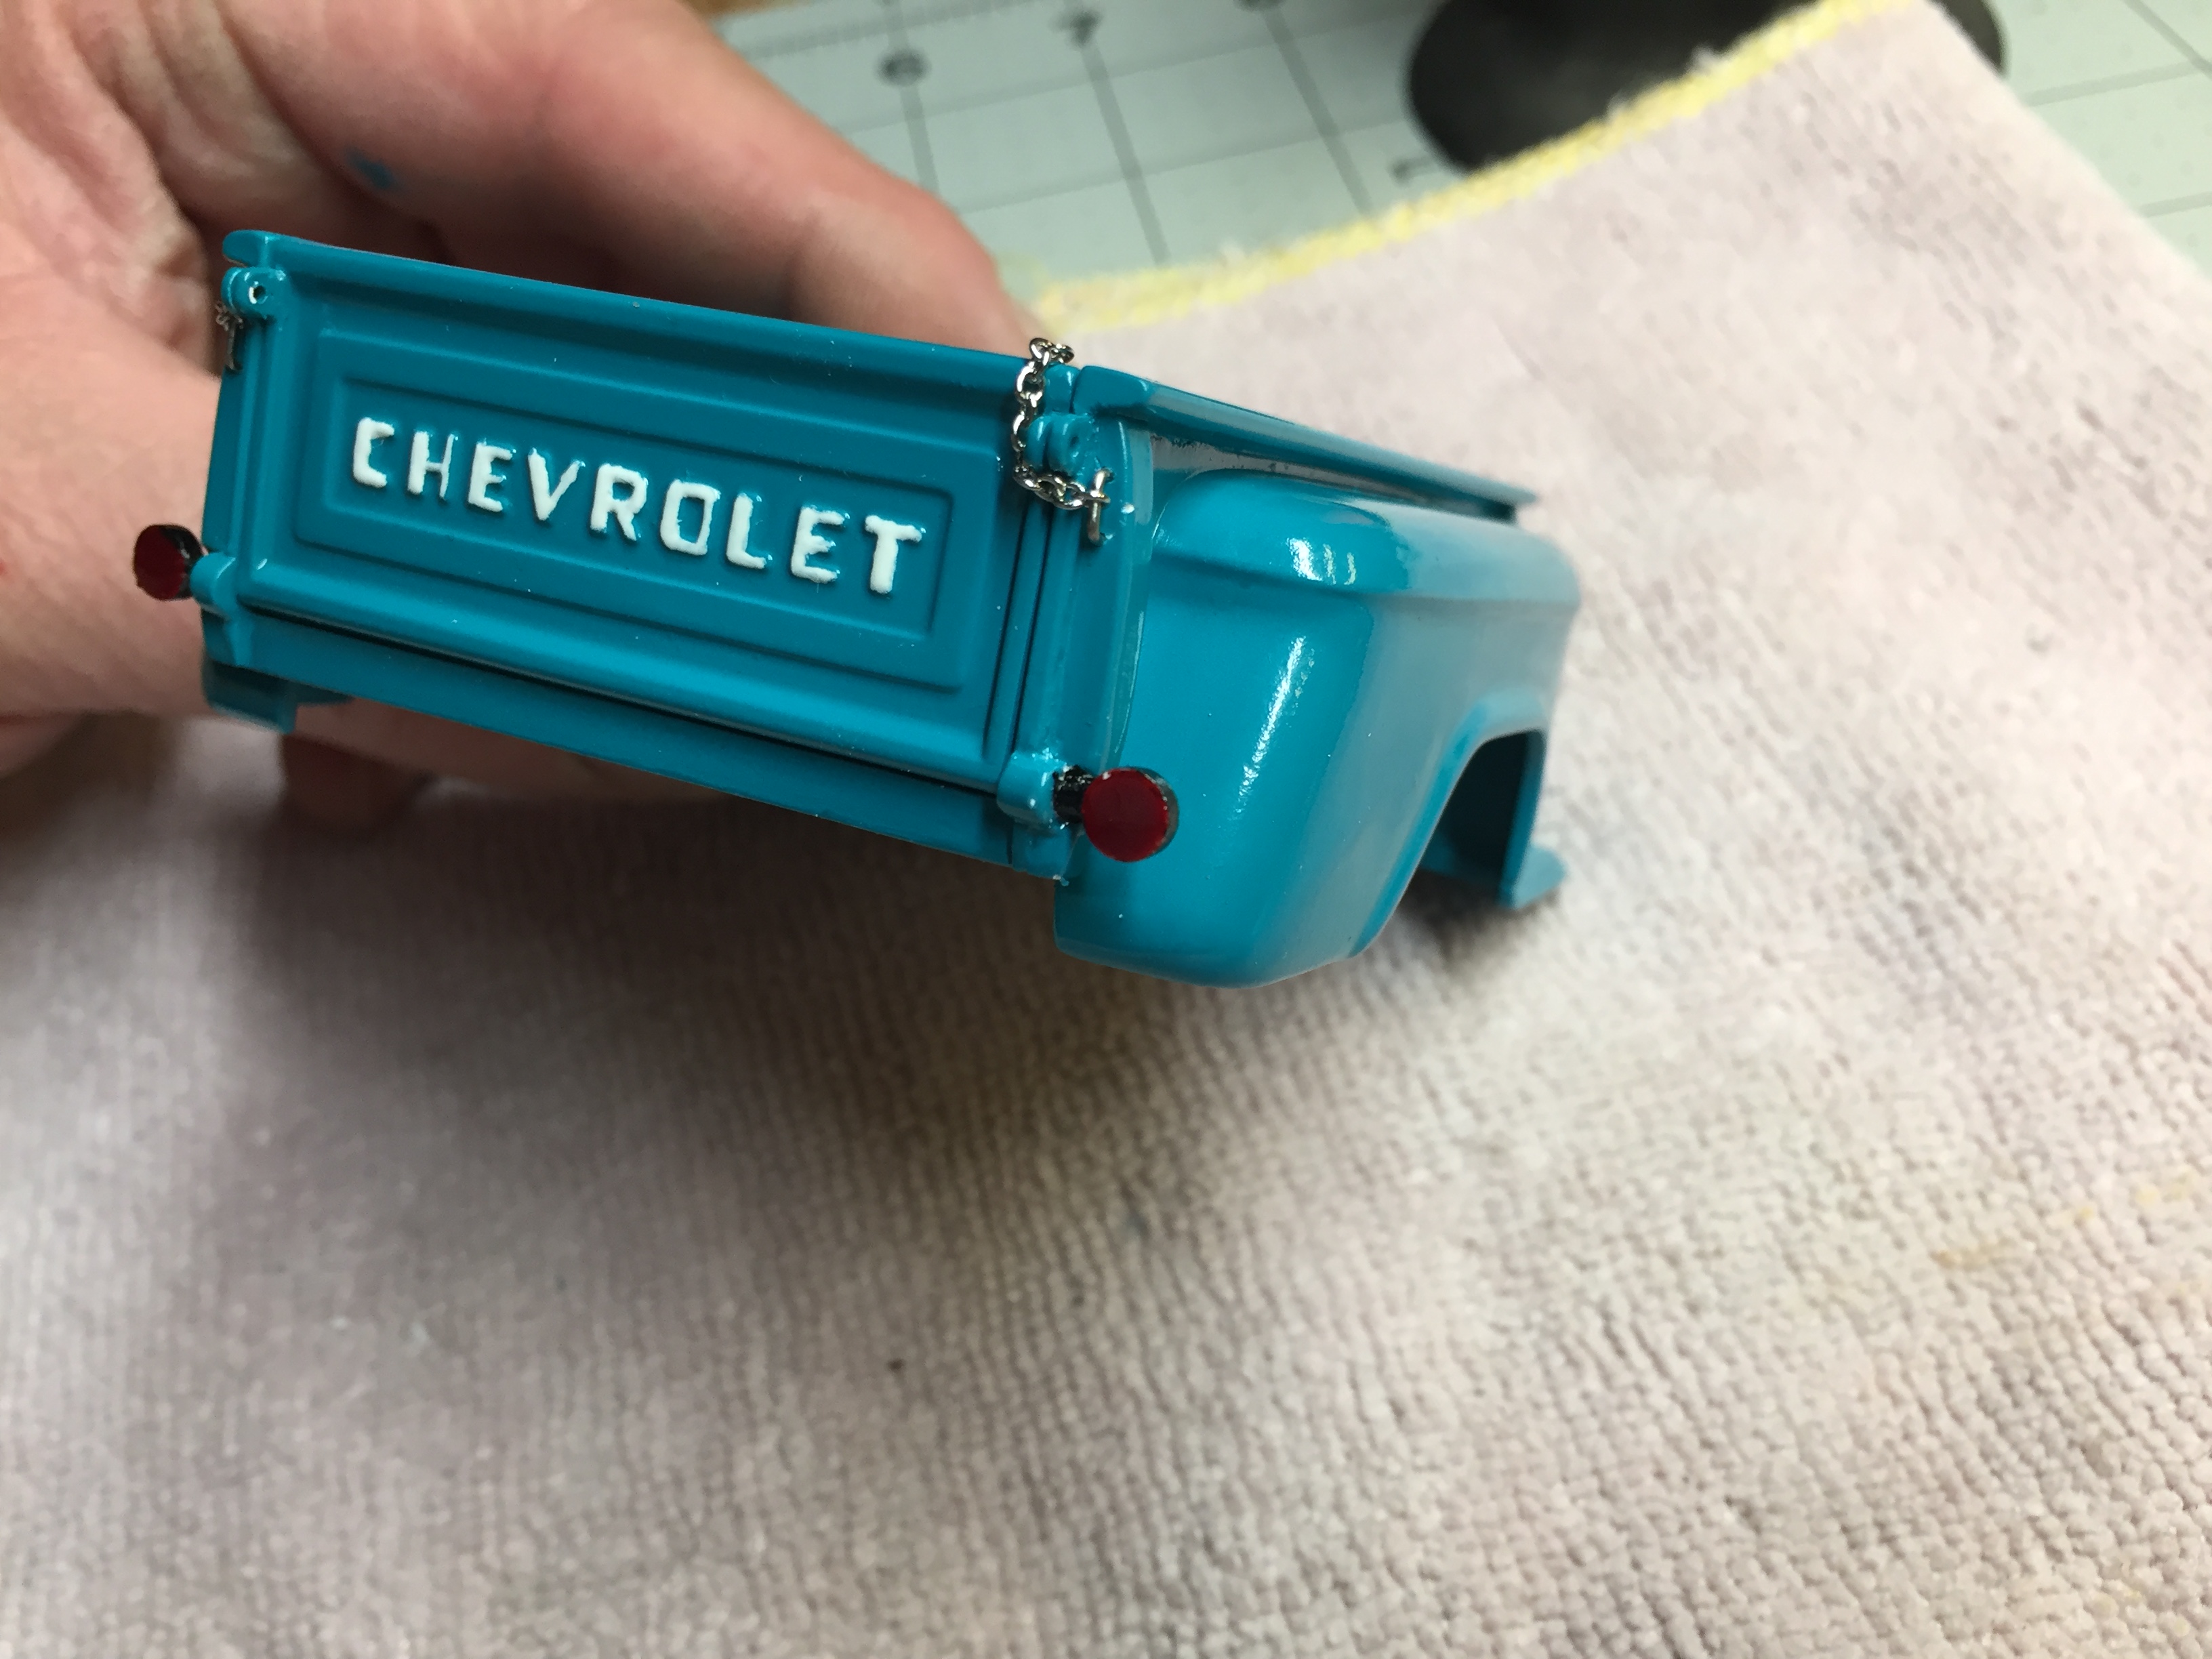
Thanks. Yes, that chrome sprue on the right does not belong to this kit. I went through the instruction sheet and the only missing part was a front shock which I fabbed from a chunk of sprue . The hole behind the door is for the fuel filler cap. I did test fit body to fenders and it seemed to be OK.
-
I sprayed the fenders with a gloss black spray bomb. The body is Mission model sprayed through my new Paasche H. I have got to say that after only one use, I like it better than my Iwata Eclipse. It is so simple to use and super easy to clean! Love it!
-
I'm trying to get motivated by starting a few kits at once to see what peaks my interest. I bought this kit at a flea market last year. The PO had barely started it, and assembled 3 of 4 wheels backwards (thankfully not glued). The heads on the engine were glued on backwards, with the exhaust ports facing the intake manifold! It's not a super detailed kit, but what is there is cast fairly nice I think. I don't care for colored plastic much, just a coat of primer makes the car look so much better!
-
Anyone ever used glass stain on chrome tail lights?
NOBLNG replied to Monty's topic in Model Building Questions and Answers
This is Model Master Stop Light Red Metallic on a slice of white styrene rod. I hollowed it out slightly and put a heavy droplet of paint in it. I think it would look great over top of chrome.