NOBLNG
-
Posts
10,231 -
Joined
-
Last visited
Content Type
Profiles
Forums
Events
Gallery
Everything posted by NOBLNG
-
I have two cheap food storage container from the dollar store, about 8"x12". I don't use the lids, but use the second container as a lid (for more height) secured with a couple small clamps. The second I'm done painting it goes in and gets covered. After a while it can go in the dehydrator. I also build in the house and paint in the garage, so this keeps snow, rain etc. off the model as I run back and forth.
-
This is your friend.

-

Bronco half-cab
NOBLNG replied to Allen Wrench's topic in Model Trucks: Pickups, Vans, SUVs, Light Commercial
Nice looking truck! those wheels and tires look good on it. Nice job fixing up that bed also! -
Very nice! I like it a lot!
-
Really nice job on that Rubi... it needs some dents and scrapes on that skid plate though, and that chrome exhaust tip wouldn't last long off road! Edit: And you need a hook dangling from that winch.
-
Super job of detailing that engine bay! The whole thing looks great!
-
Cool! I have this one waiting in the wings. Lots of pics please!
-
So why would the paint draw away from the seams? Too thin of paint? Or is there a sharp edge like flash that needs to be sanded smooth?
-
Looking Good there.
-
Wow! I am absolutely amazed at your diligence and attention to detail.
-
That is really nice looking. beautiful job on the interior! Here's one I did a while back.
-
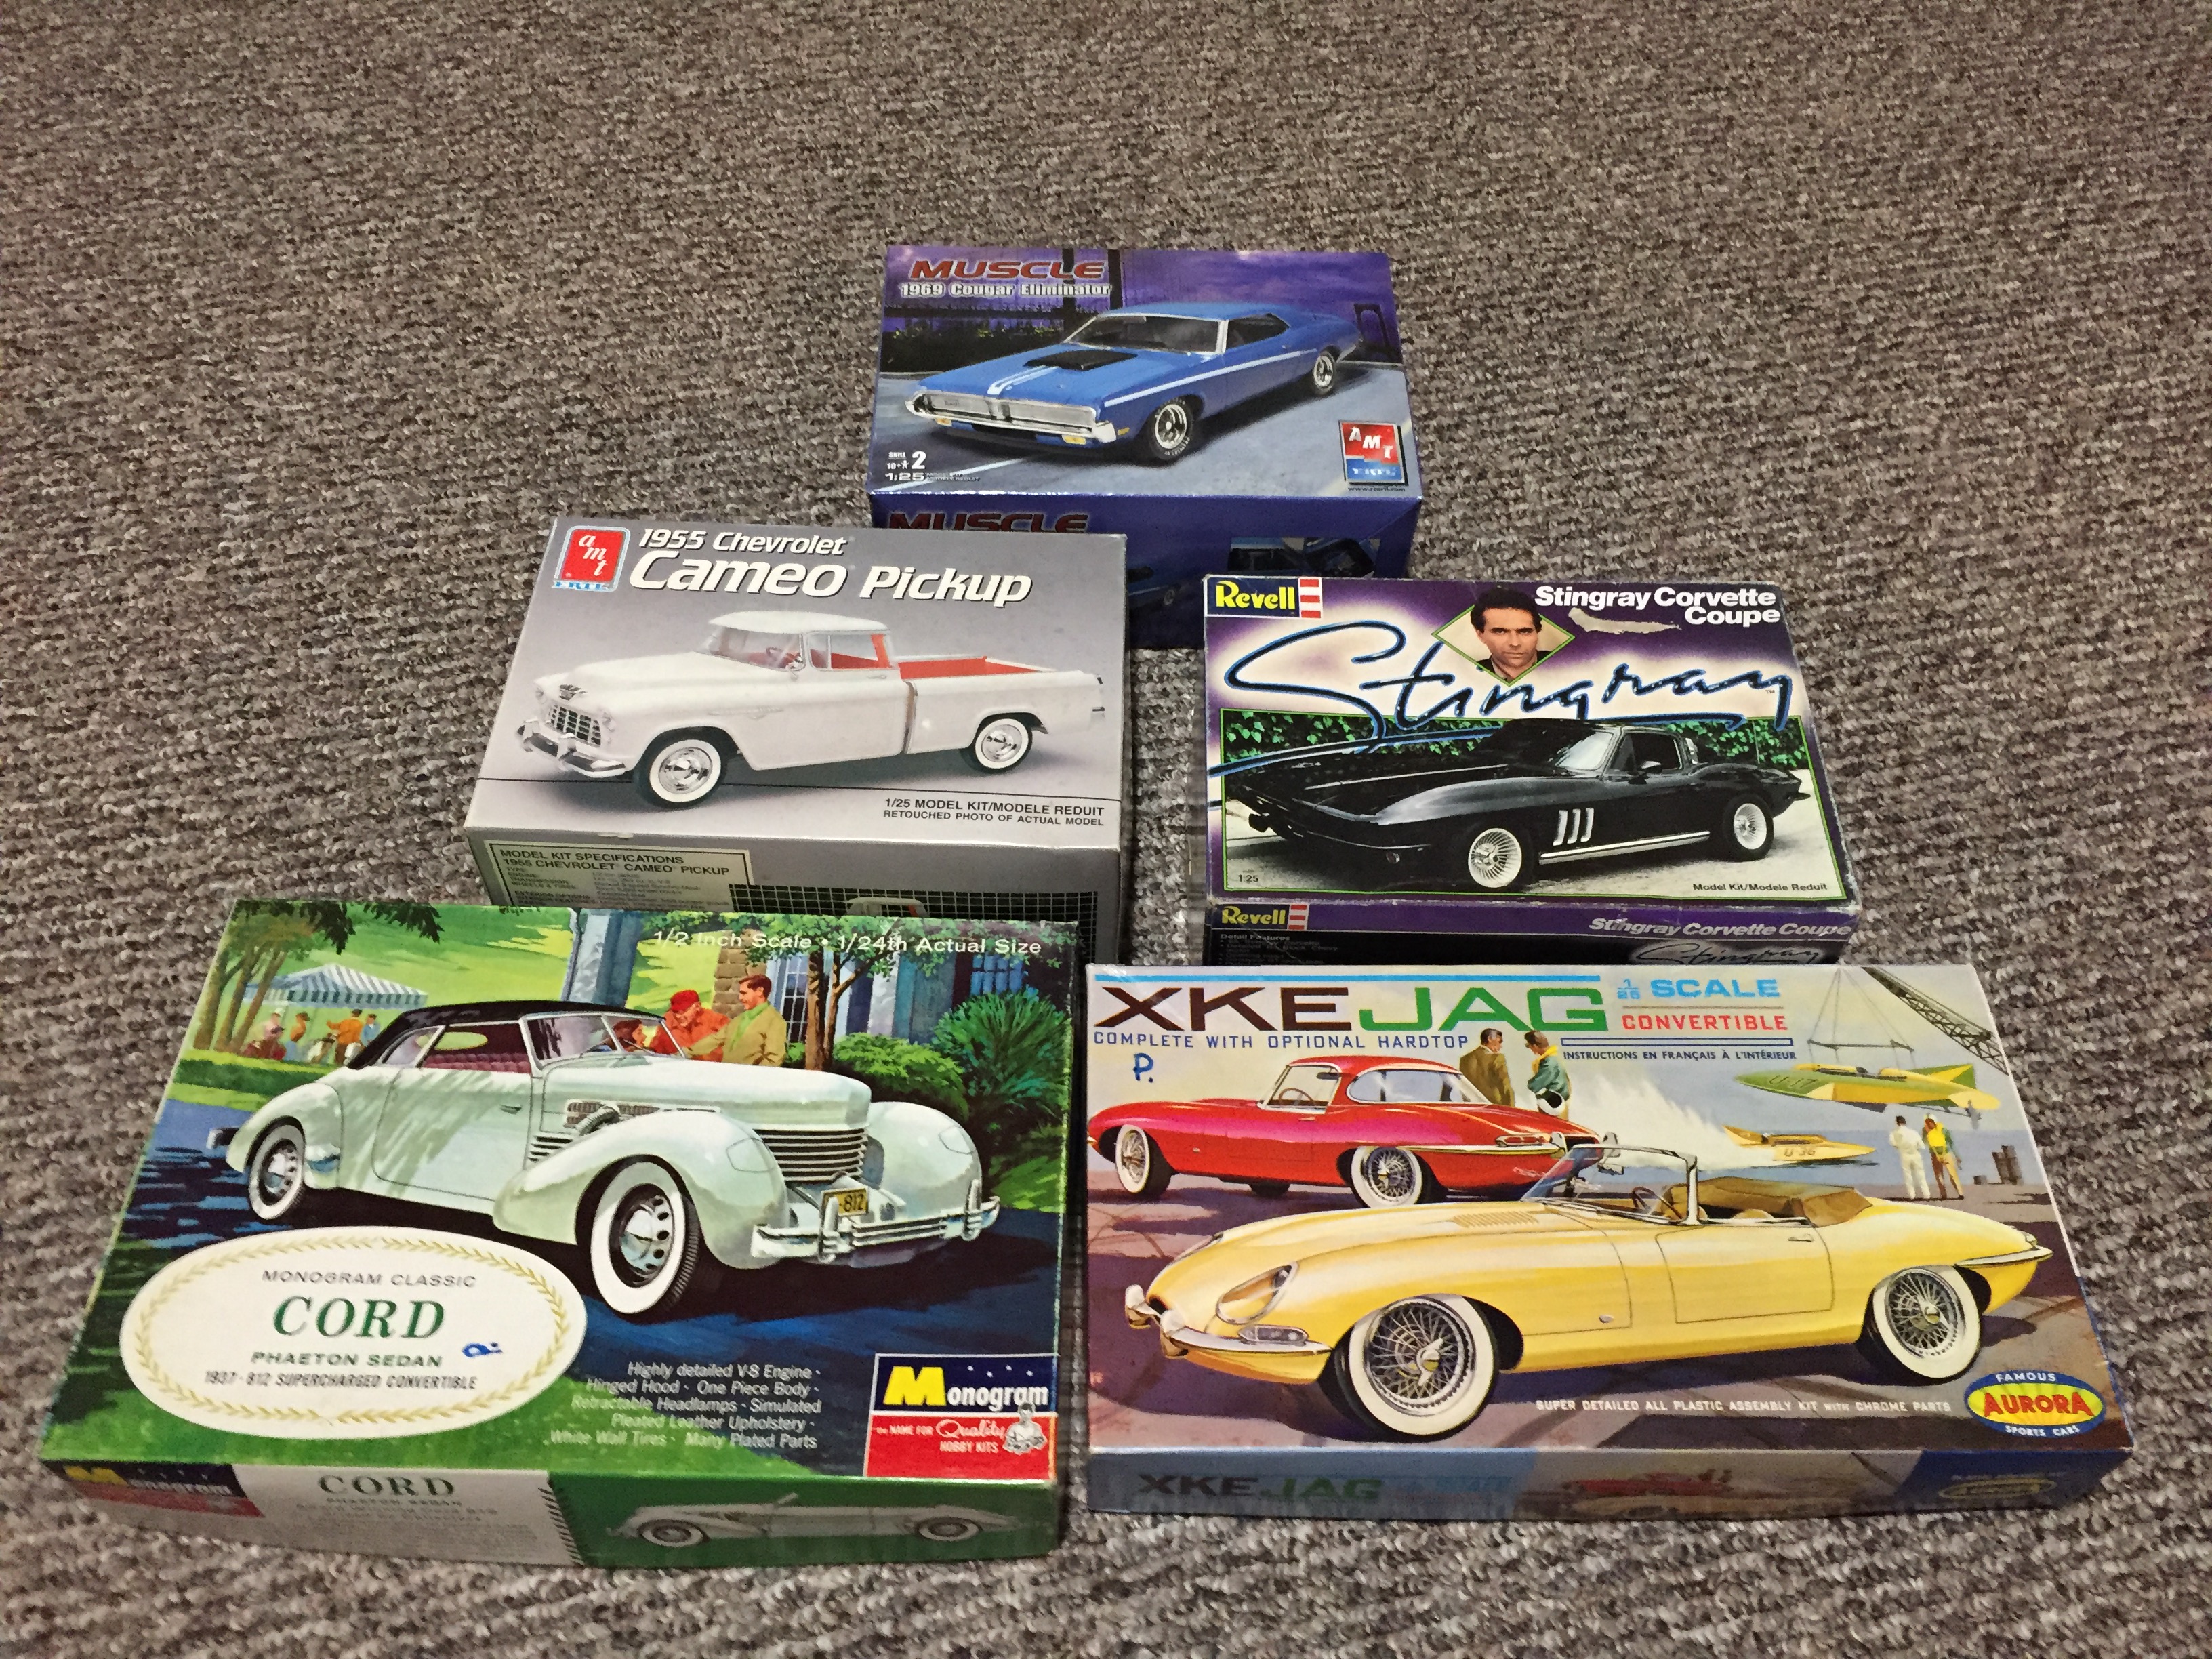
Well I only paid $25.00 for both the Cord and the Jag, so I will build them eventually.
-
These kits are not valuable to collectors though, correct? I want to build these even if they aren't the best quality.
-
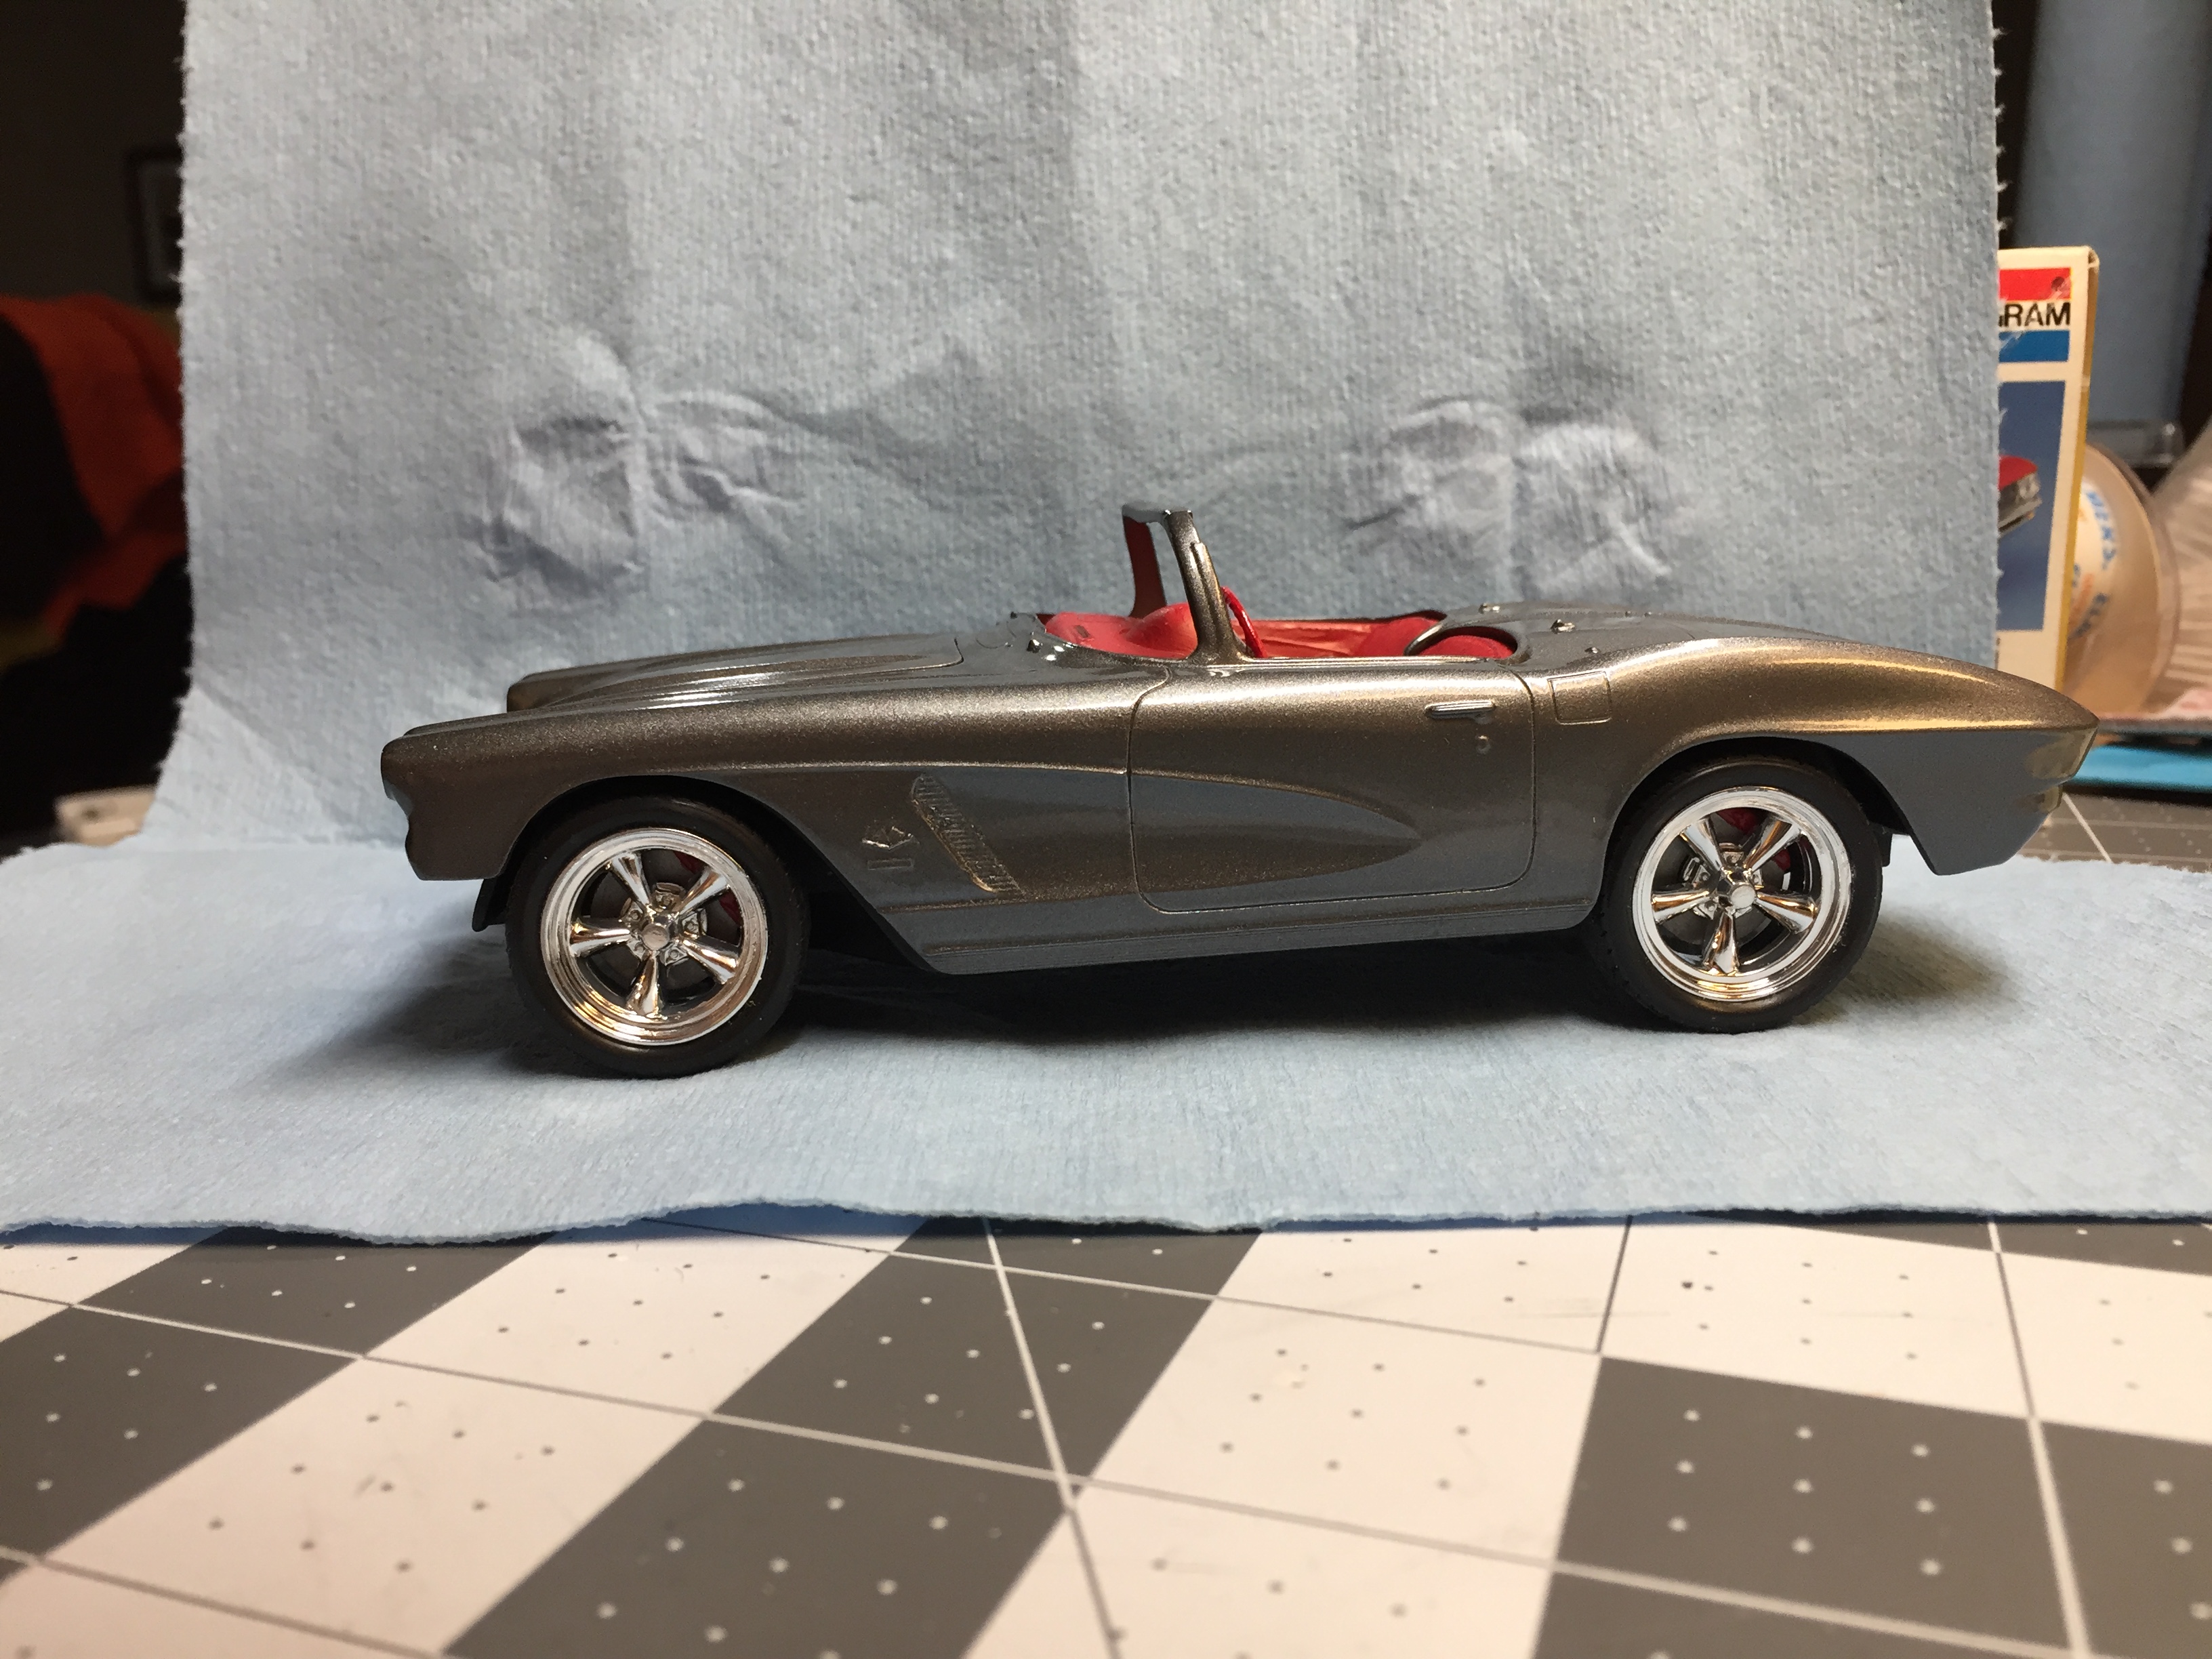
I never thought of that. I imagine an office supply store like Staples would carry it? That stuff is pretty thin I believe, so I may have a bit of a gap where it meets the dashboard. The windshield that came with this AMT '62 Corvette scales out to 2" thick in 1-1. I could use it but there is a gap on both sides where it does not mate up with the windshield frame.
-
It was .015" thickness, and there was no protective film on it. It did have the tissue paper between the sheets.
-
Very nice looking car! I just picked up a Monogram 1937 Cord. I will use this one for inspiration.
-
Just curious if anyone has used Evergreen clear styrene? I recently bought some that was not what I would consider clear. I called the toll free number and they offered to send me replacement sheets if I sent them a picture of it. However the HS where I bought it gave me a refund so I did not bother. I guess I will just use clear packaging if I need it!
-
First finished build of the year, 1970 Hemi Cuda
NOBLNG replied to Furiousgeorge's topic in Model Cars
Very nice. I am working on one of these off and on. Any more pics of the interior? -
If you can remember where they are... I can't find my tweezers half the time. LOL. Seriously, this bondic stuff is good for lots of little things. I just made a shifter lever for a Corvette with a little dab on a straight pin. I hate the little plastic kit parts.
-
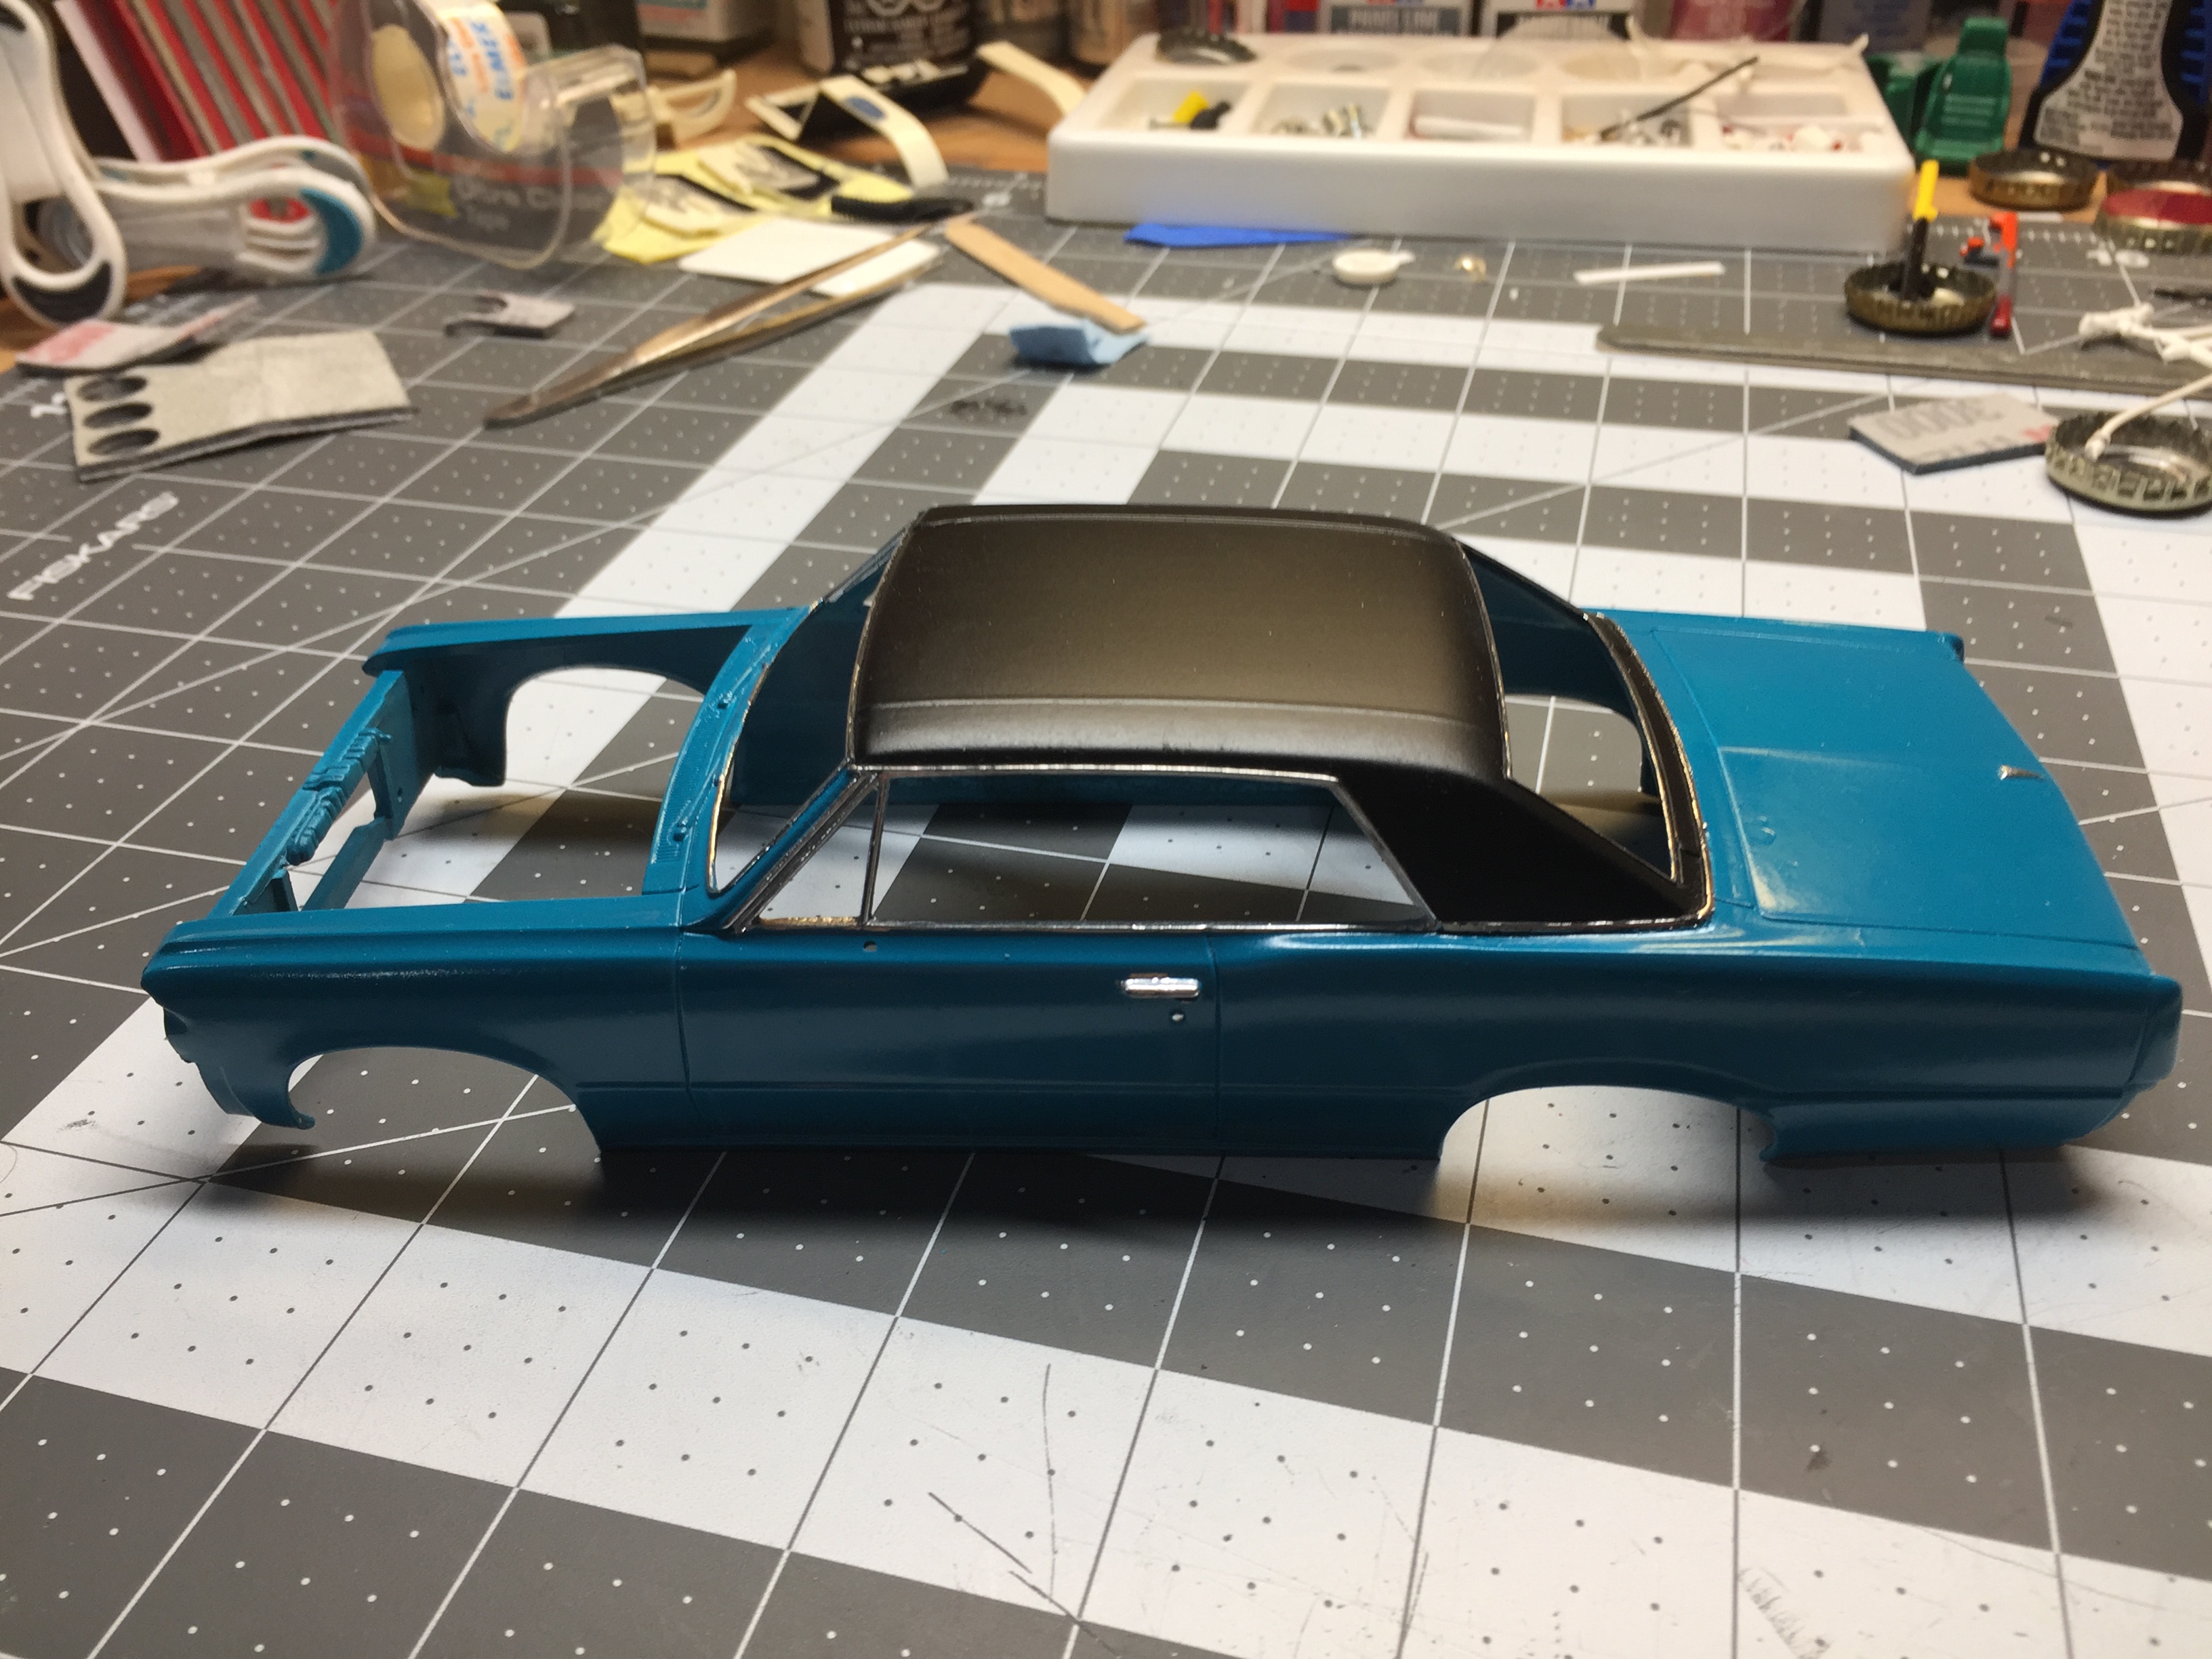
I have never done a vinyl top before, but I want to do one on a kit I am working on. I figured I would practice on this Polar Lights '64 GTO that I don't plan to build. It is now my test bed for new endeavors. On the driver's side I used .020x.030 strip, which I wound up sanding down to more like 0.010 thick. On the passenger side I used .030 half-round which I sanded down also (but not enough). The dividing trim is also .020x.030 strip. I first painted it with Tamiya semi gloss, but it was too shiny. I gave it a second coat with Tamiya Matt black, which I think looks better. It also picked up more texture with the second coat. The blue is just cheap Craftsmart premium acrylic with a coat of pledge over top.
-
Picked these all up at the flea markets today.
-
This is coming along nicely!
-
Now that is a cool project!
-
I made up a little plate to fasten the back of the transmission. Otherwise the only mounting point is the oil pan glued directly to a front crossmember and the engine did not want to sit level. I also had to raise the radiator so the fan would be more or less centred in the shroud.
-
I managed to get a couple of coats of paint on the body. This is Testors extreme laquer, Graphite Dust. I like how this stuff sprays right out of the can. I did have the can sitting in the dehydrator with some parts, so it was nice and warm!