NOBLNG
-
Posts
9,960 -
Joined
-
Last visited
Content Type
Profiles
Forums
Events
Gallery
Everything posted by NOBLNG
-
Forever is a looooooong time.
-
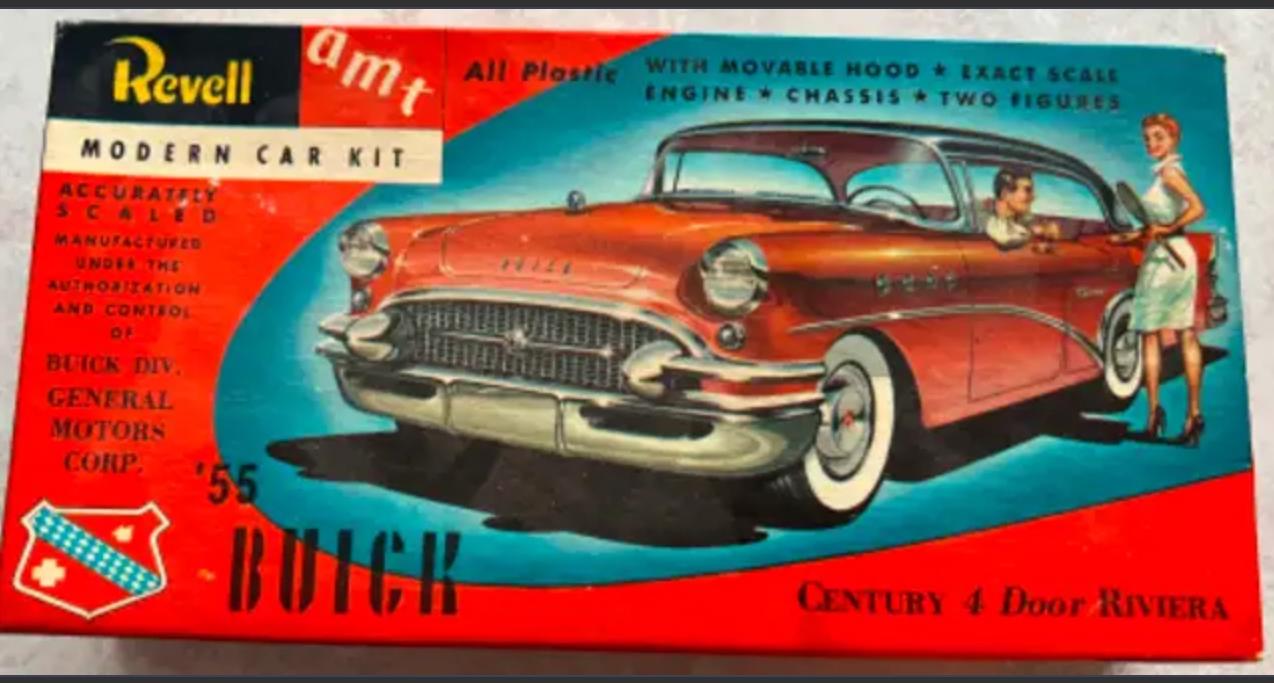
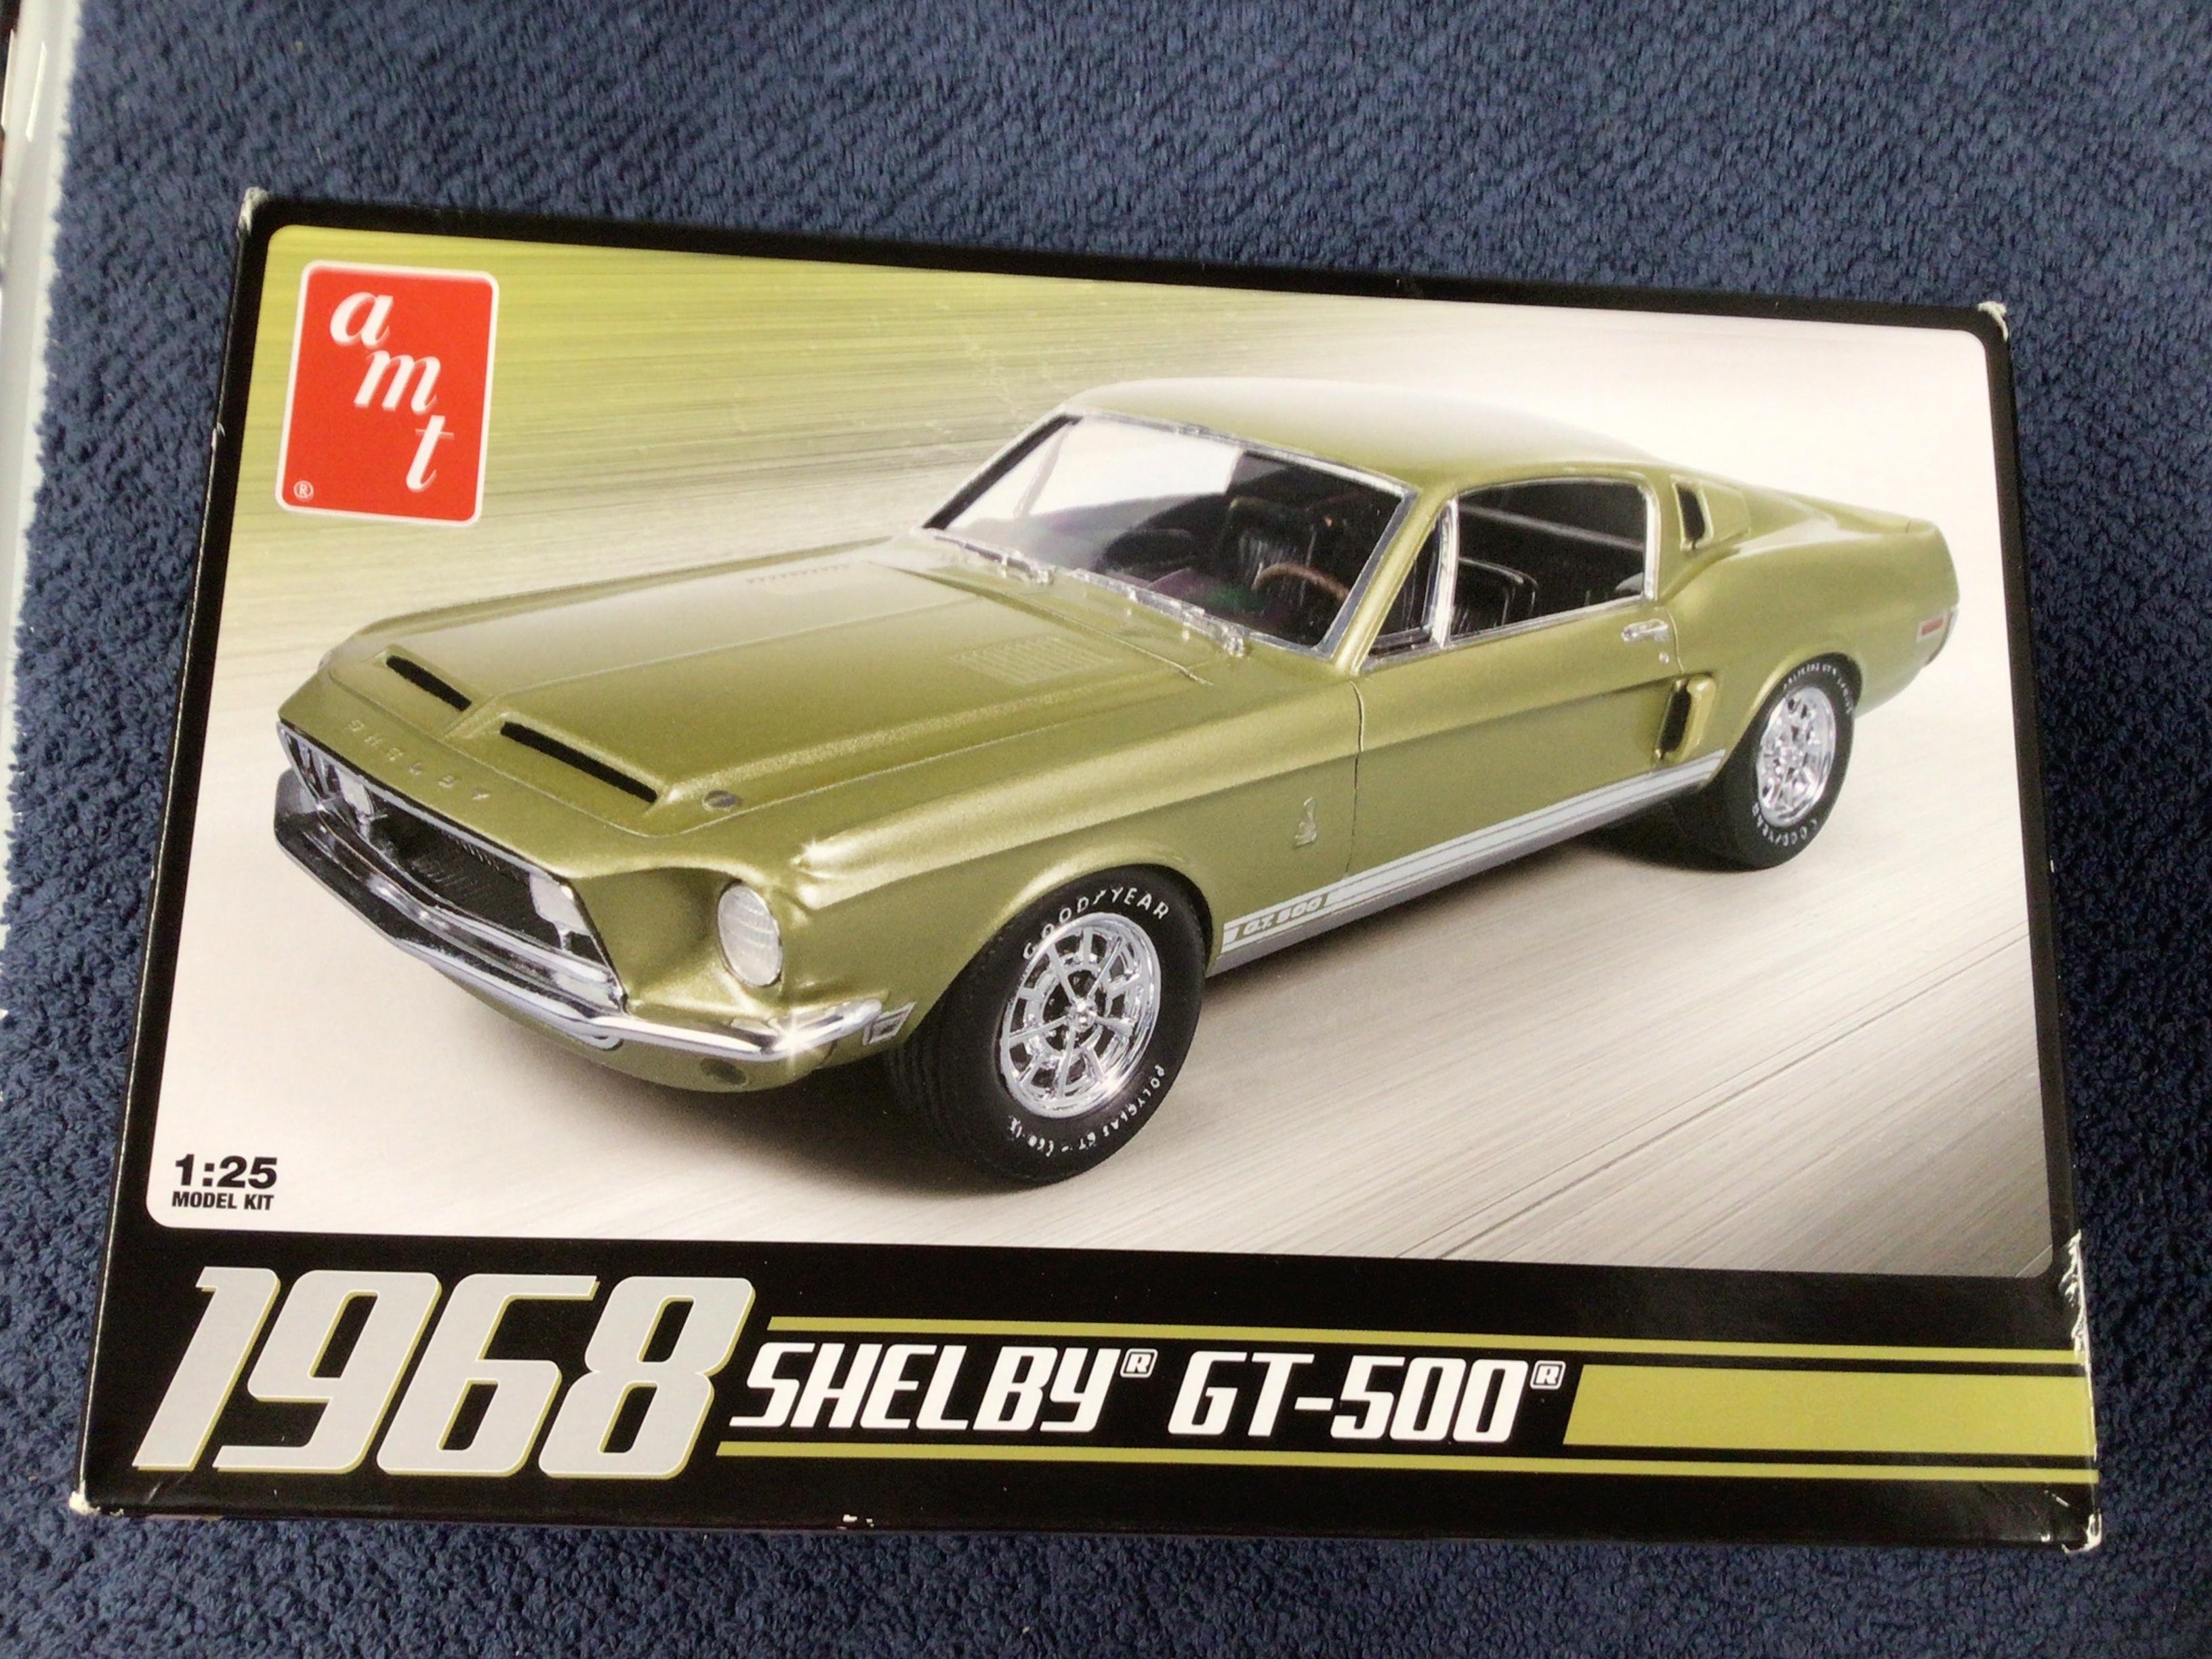
Are these kits any good for building? They are for sale locally. Are there any newer, better versions? Opinions anyone? Thanks, Greg.

-
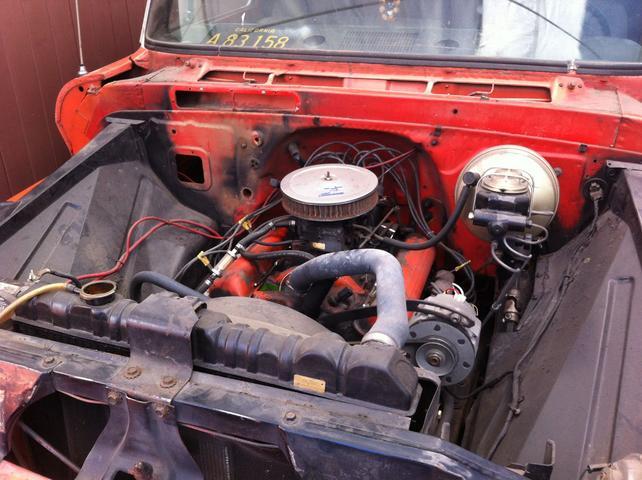
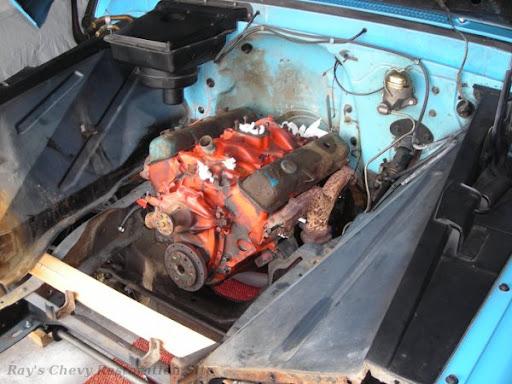
From the factory, the firewall was body color and the inner fenders and radiator cradle were black.
-
 Fabulous looking pair of Mercs. Excellent engine detailing on the burgundy Revell.?
 -
Any “diet” pop (soda) worth trying out there?
NOBLNG replied to Monty's topic in The Off-Topic Lounge
You could try a Sodastream maybe. You can get all sorts of flavourings for it And you can control the amount of sugar/flavour. -
VW BEETLE CRASH SIMULATIONS
NOBLNG replied to Ace-Garageguy's topic in General Automotive Talk (Trucks and Cars)
Never owned one, but I think the survival estimates are a little suspect.? -
Looks pretty real !?
-
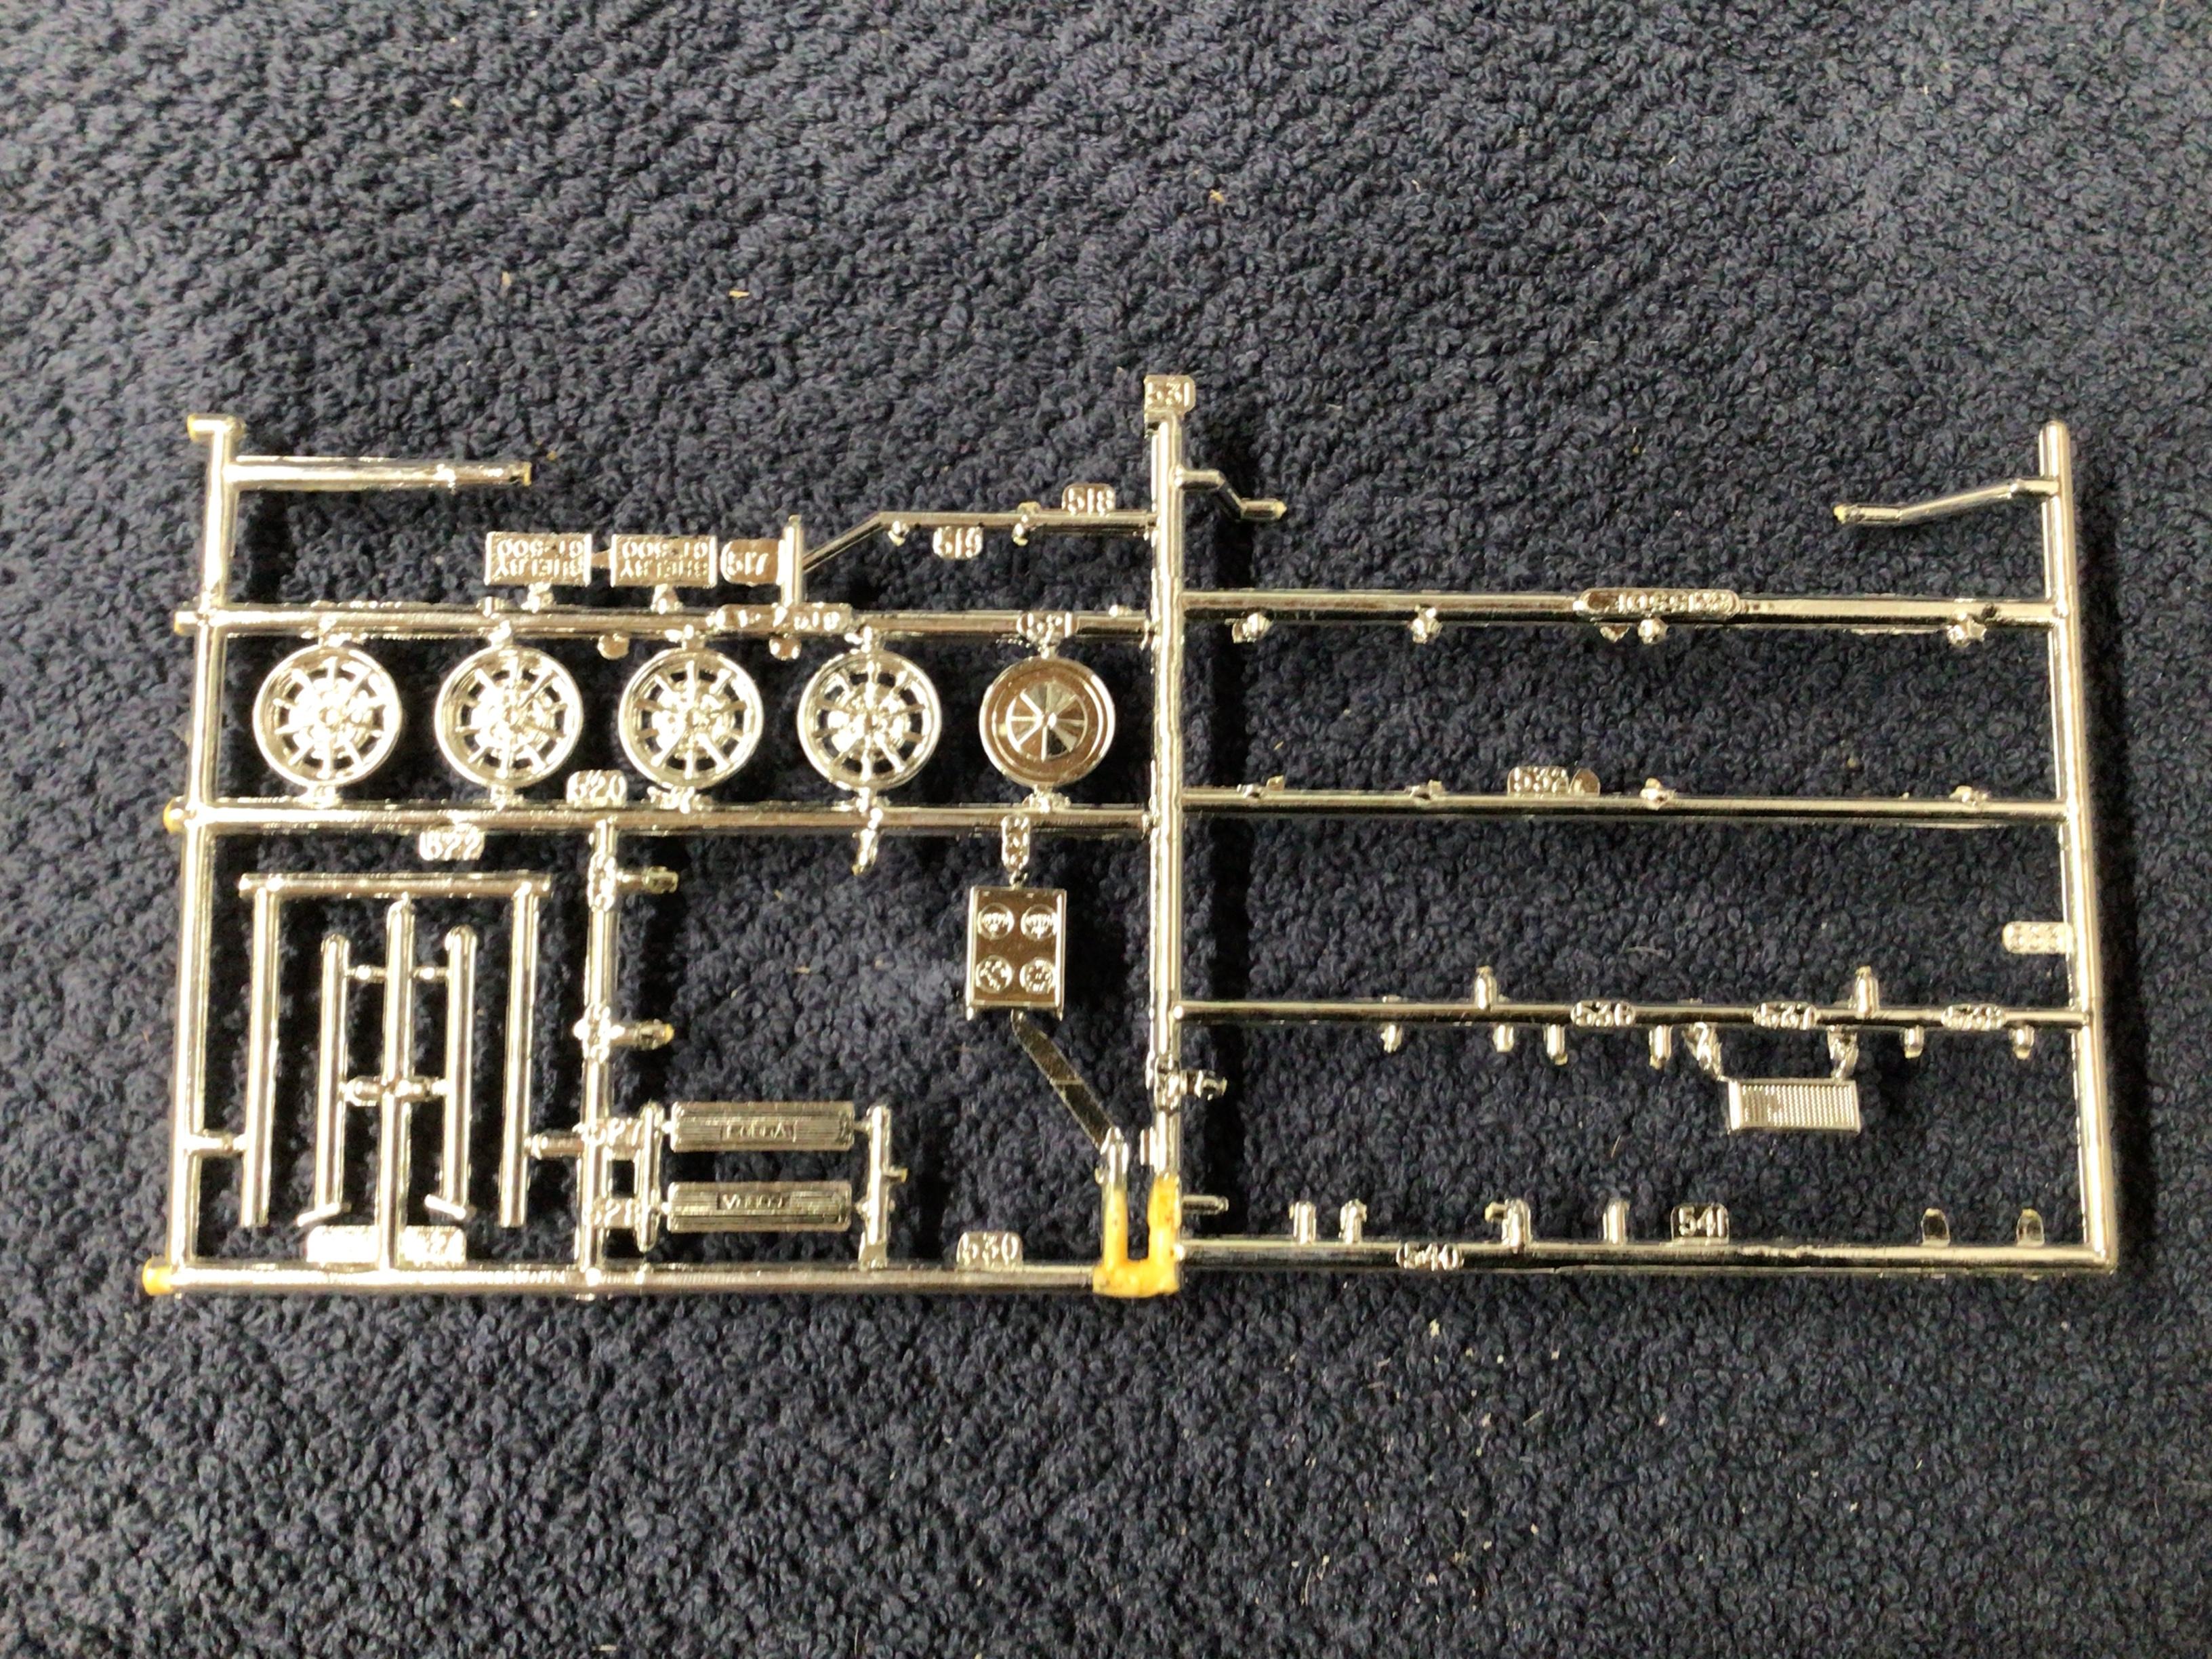
Sorry, here are pics of the ‘67 GT350 sprues if you need them?
-
That really looks fabulous John!???.
-
It’s looking good Calvin.? I had trouble getting the floorpan to sit up tight against the firewall on my ‘65, which is from the same tooling I think. And the windshield doesn’t fit great, so check those issues before paint.?
-
The engine looks great! Nice work adding all the details.??
-
Terrific work Kit!?? The proportions look just right and the bodywork is that of a true artisan.
-
Everything will come to an end eventually, but hopefully I won’t be around to be a witness.
-
You are correct Mark. I must have put them back in the wrong box when comparing them. I deleted those pics.?
-
Possess as many model kits in your lifetime as possible.
-
Looking fabulous Topher!??
-
Great job on foiling that beast Jim!?
-
Can someone give me a painting tip, please?
NOBLNG replied to dazzed's topic in Model Building Questions and Answers
What airbrush are you using and what size of needle and nozzle do you have? -
Can someone give me a painting tip, please?
NOBLNG replied to dazzed's topic in Model Building Questions and Answers
I don’t want to turn this thread into another soap opera, but I wouldn’t call the Paasche H “crude”. It is a very well made, no-nonsense workhorse. It is a single action external mix airbrush. It may be simple, but it’s not crude.? -
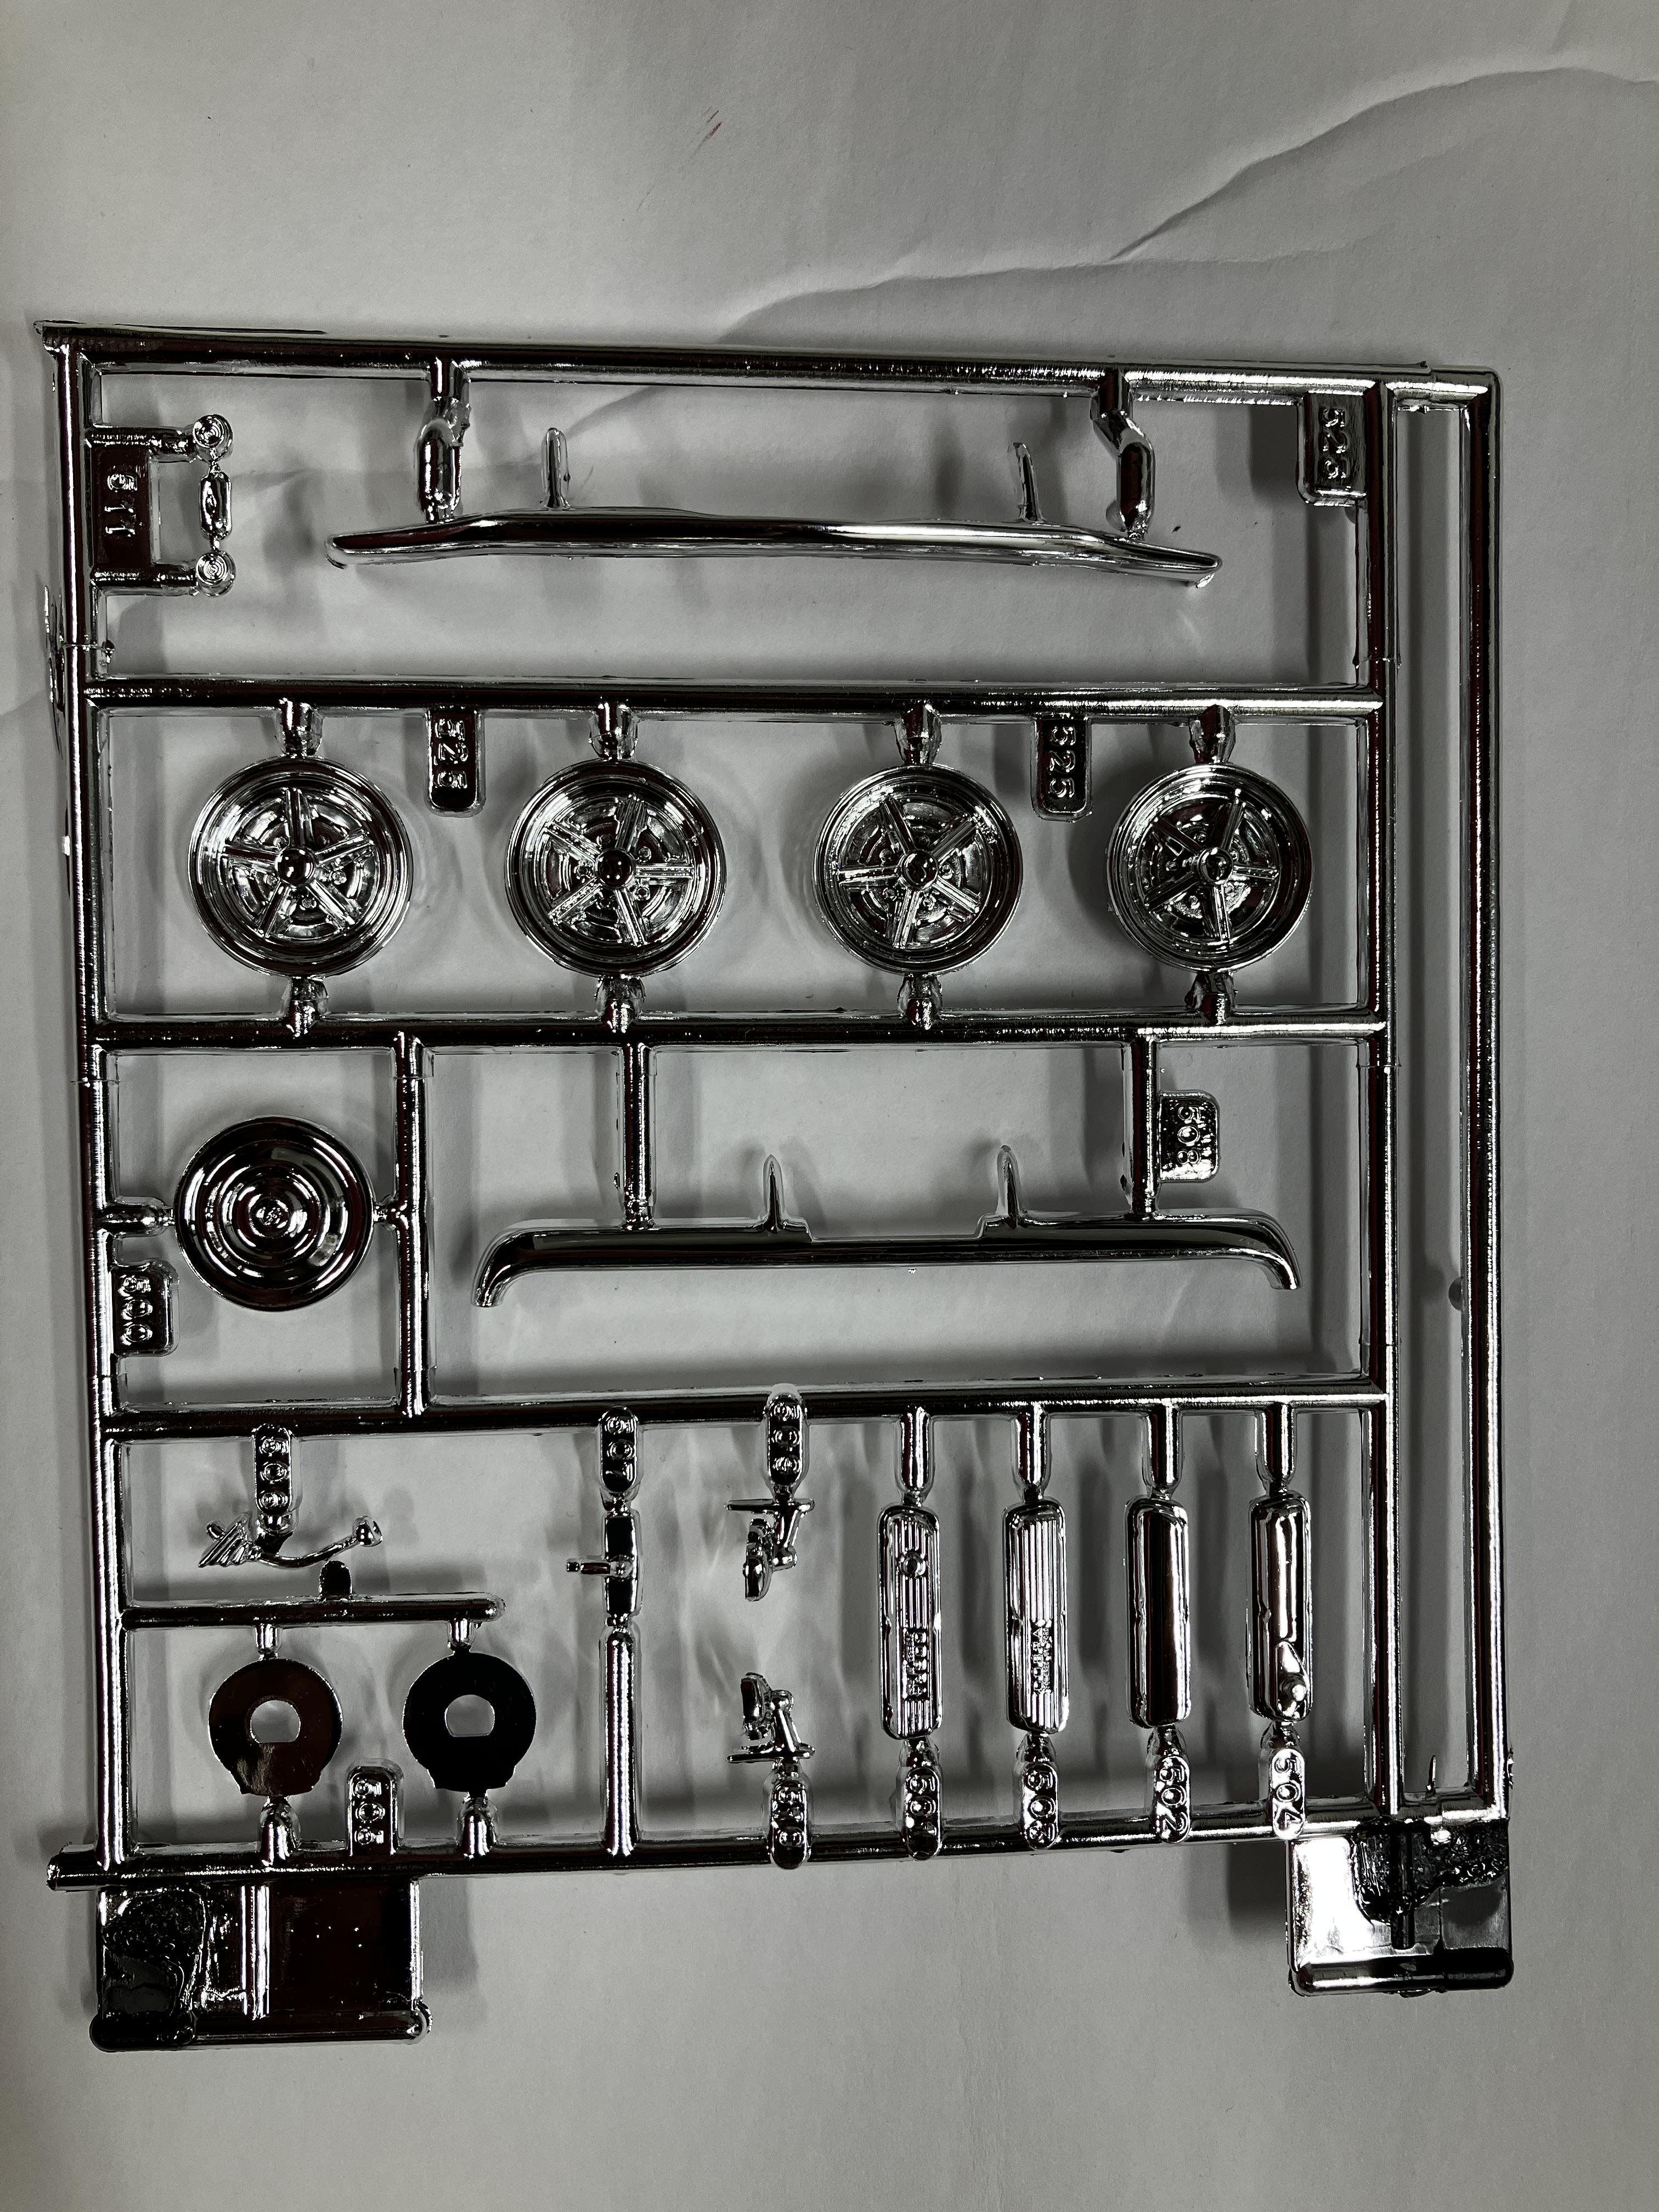
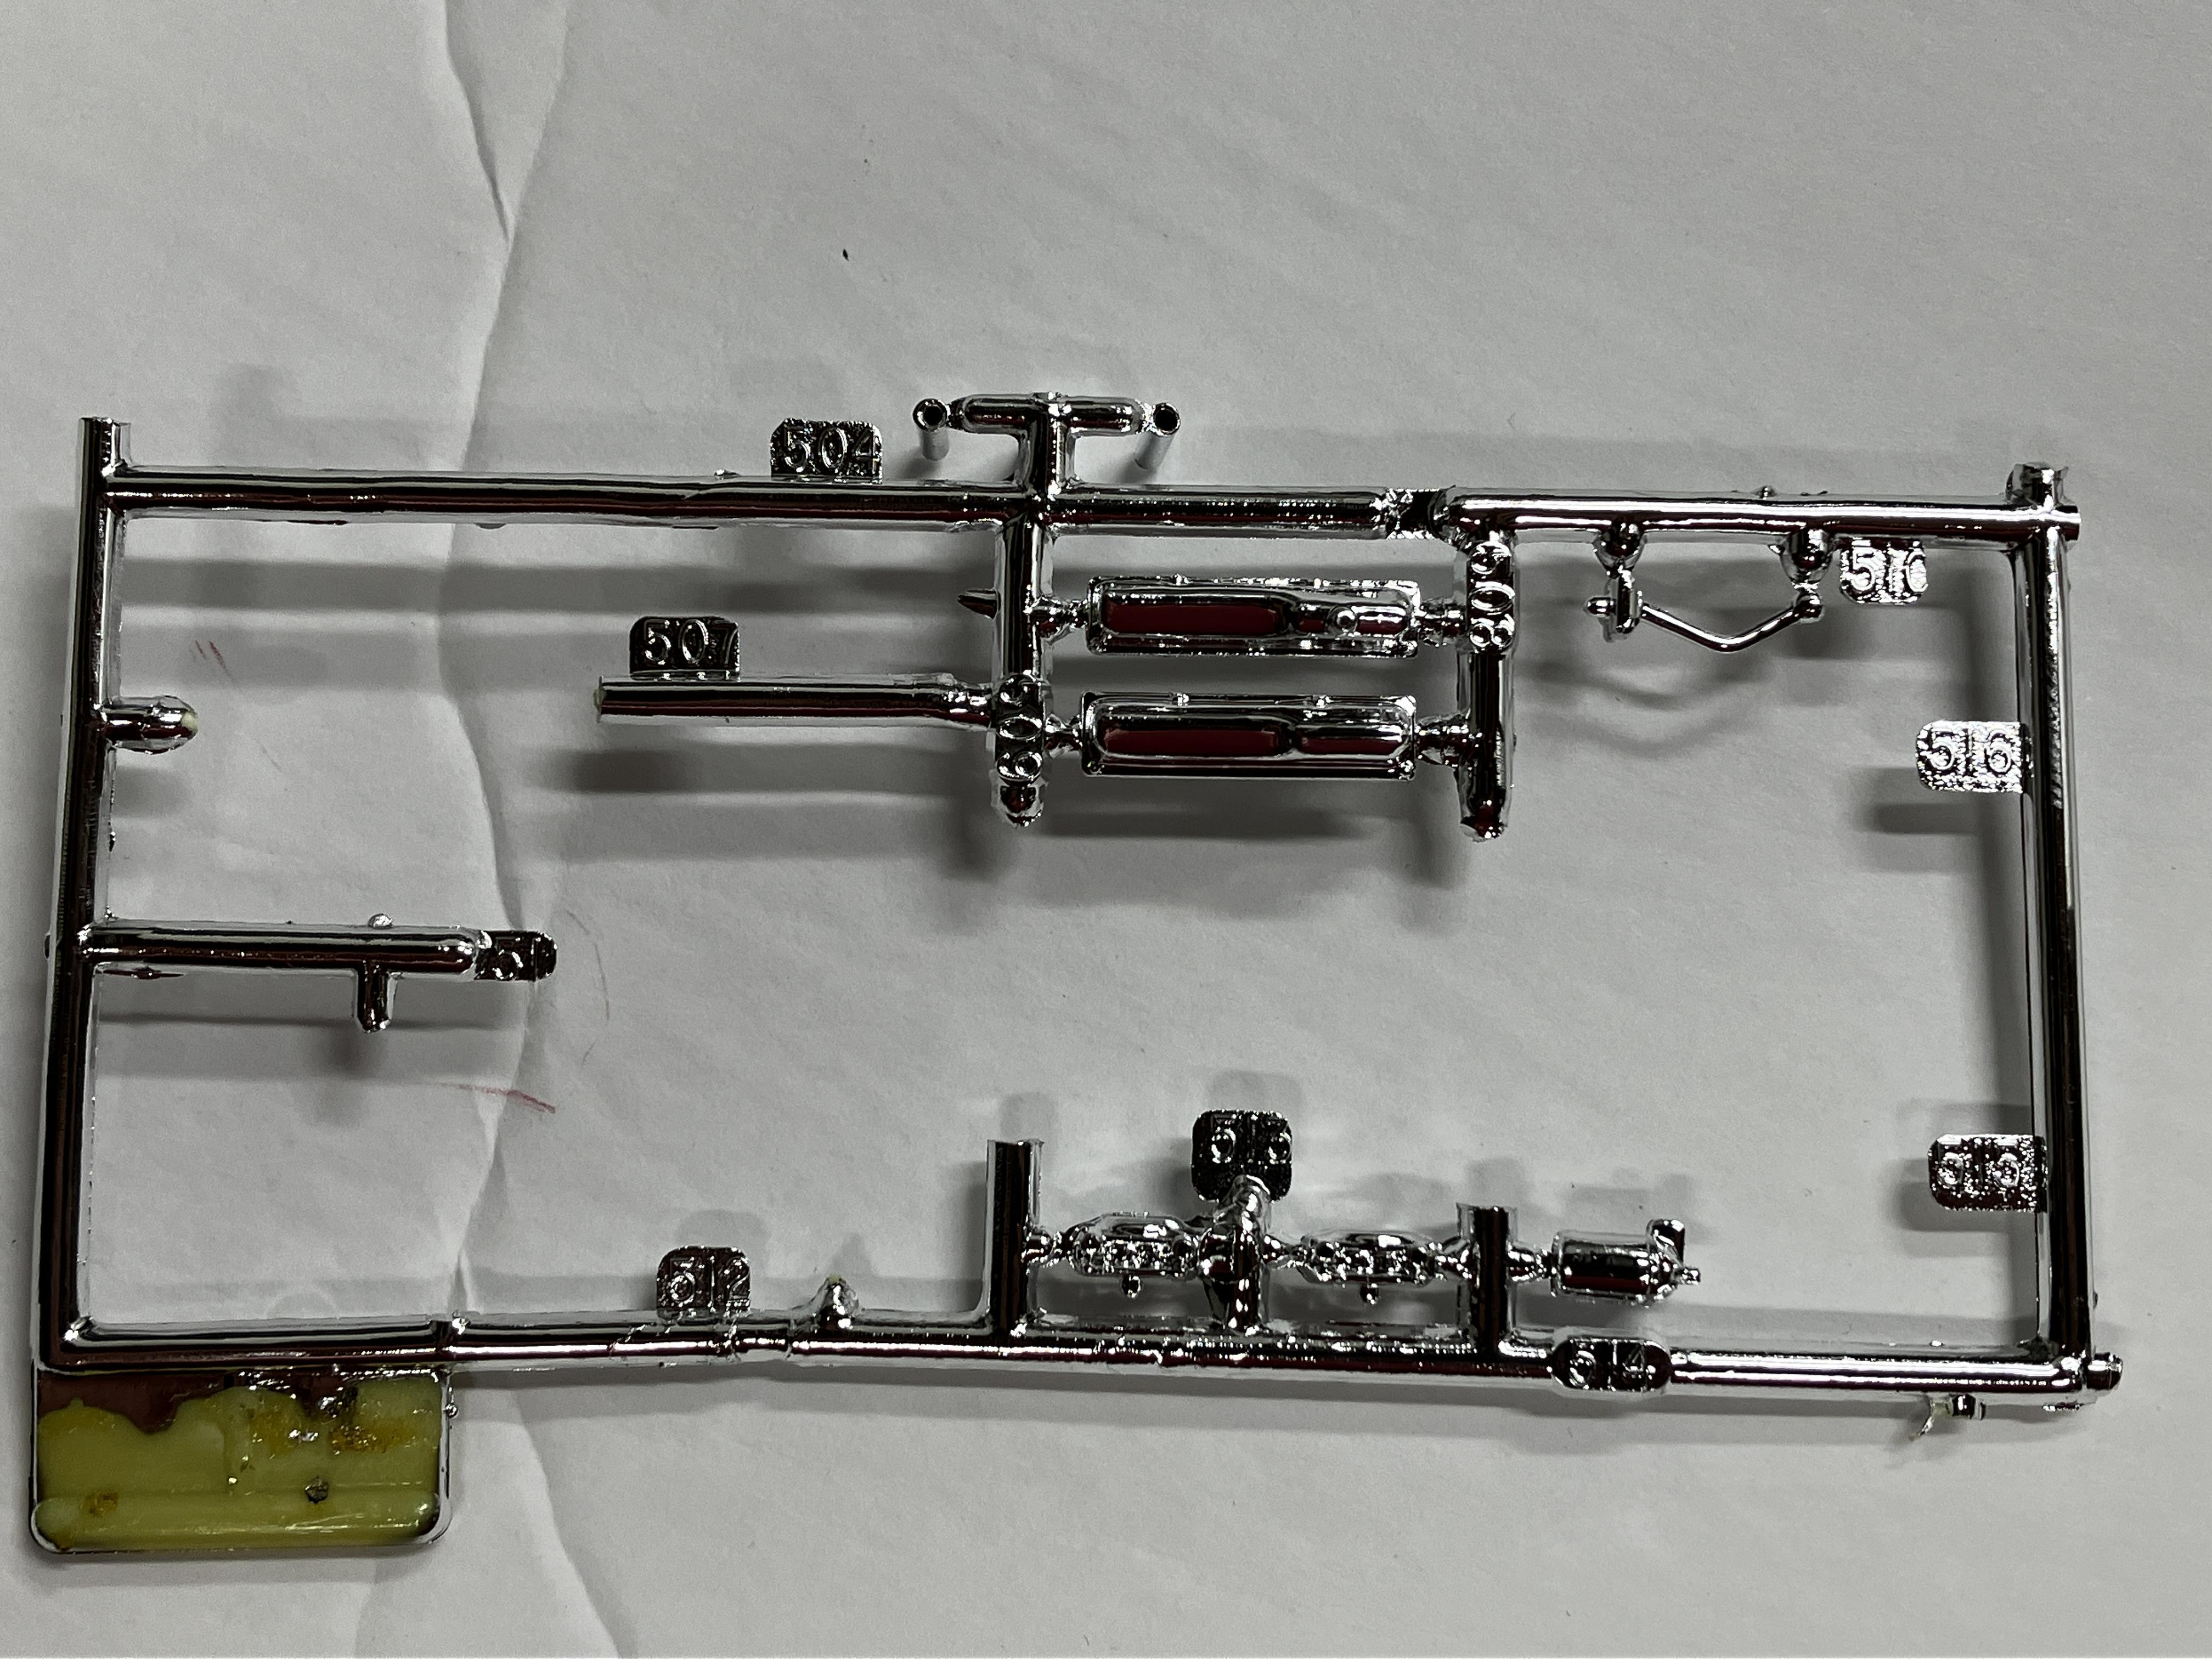
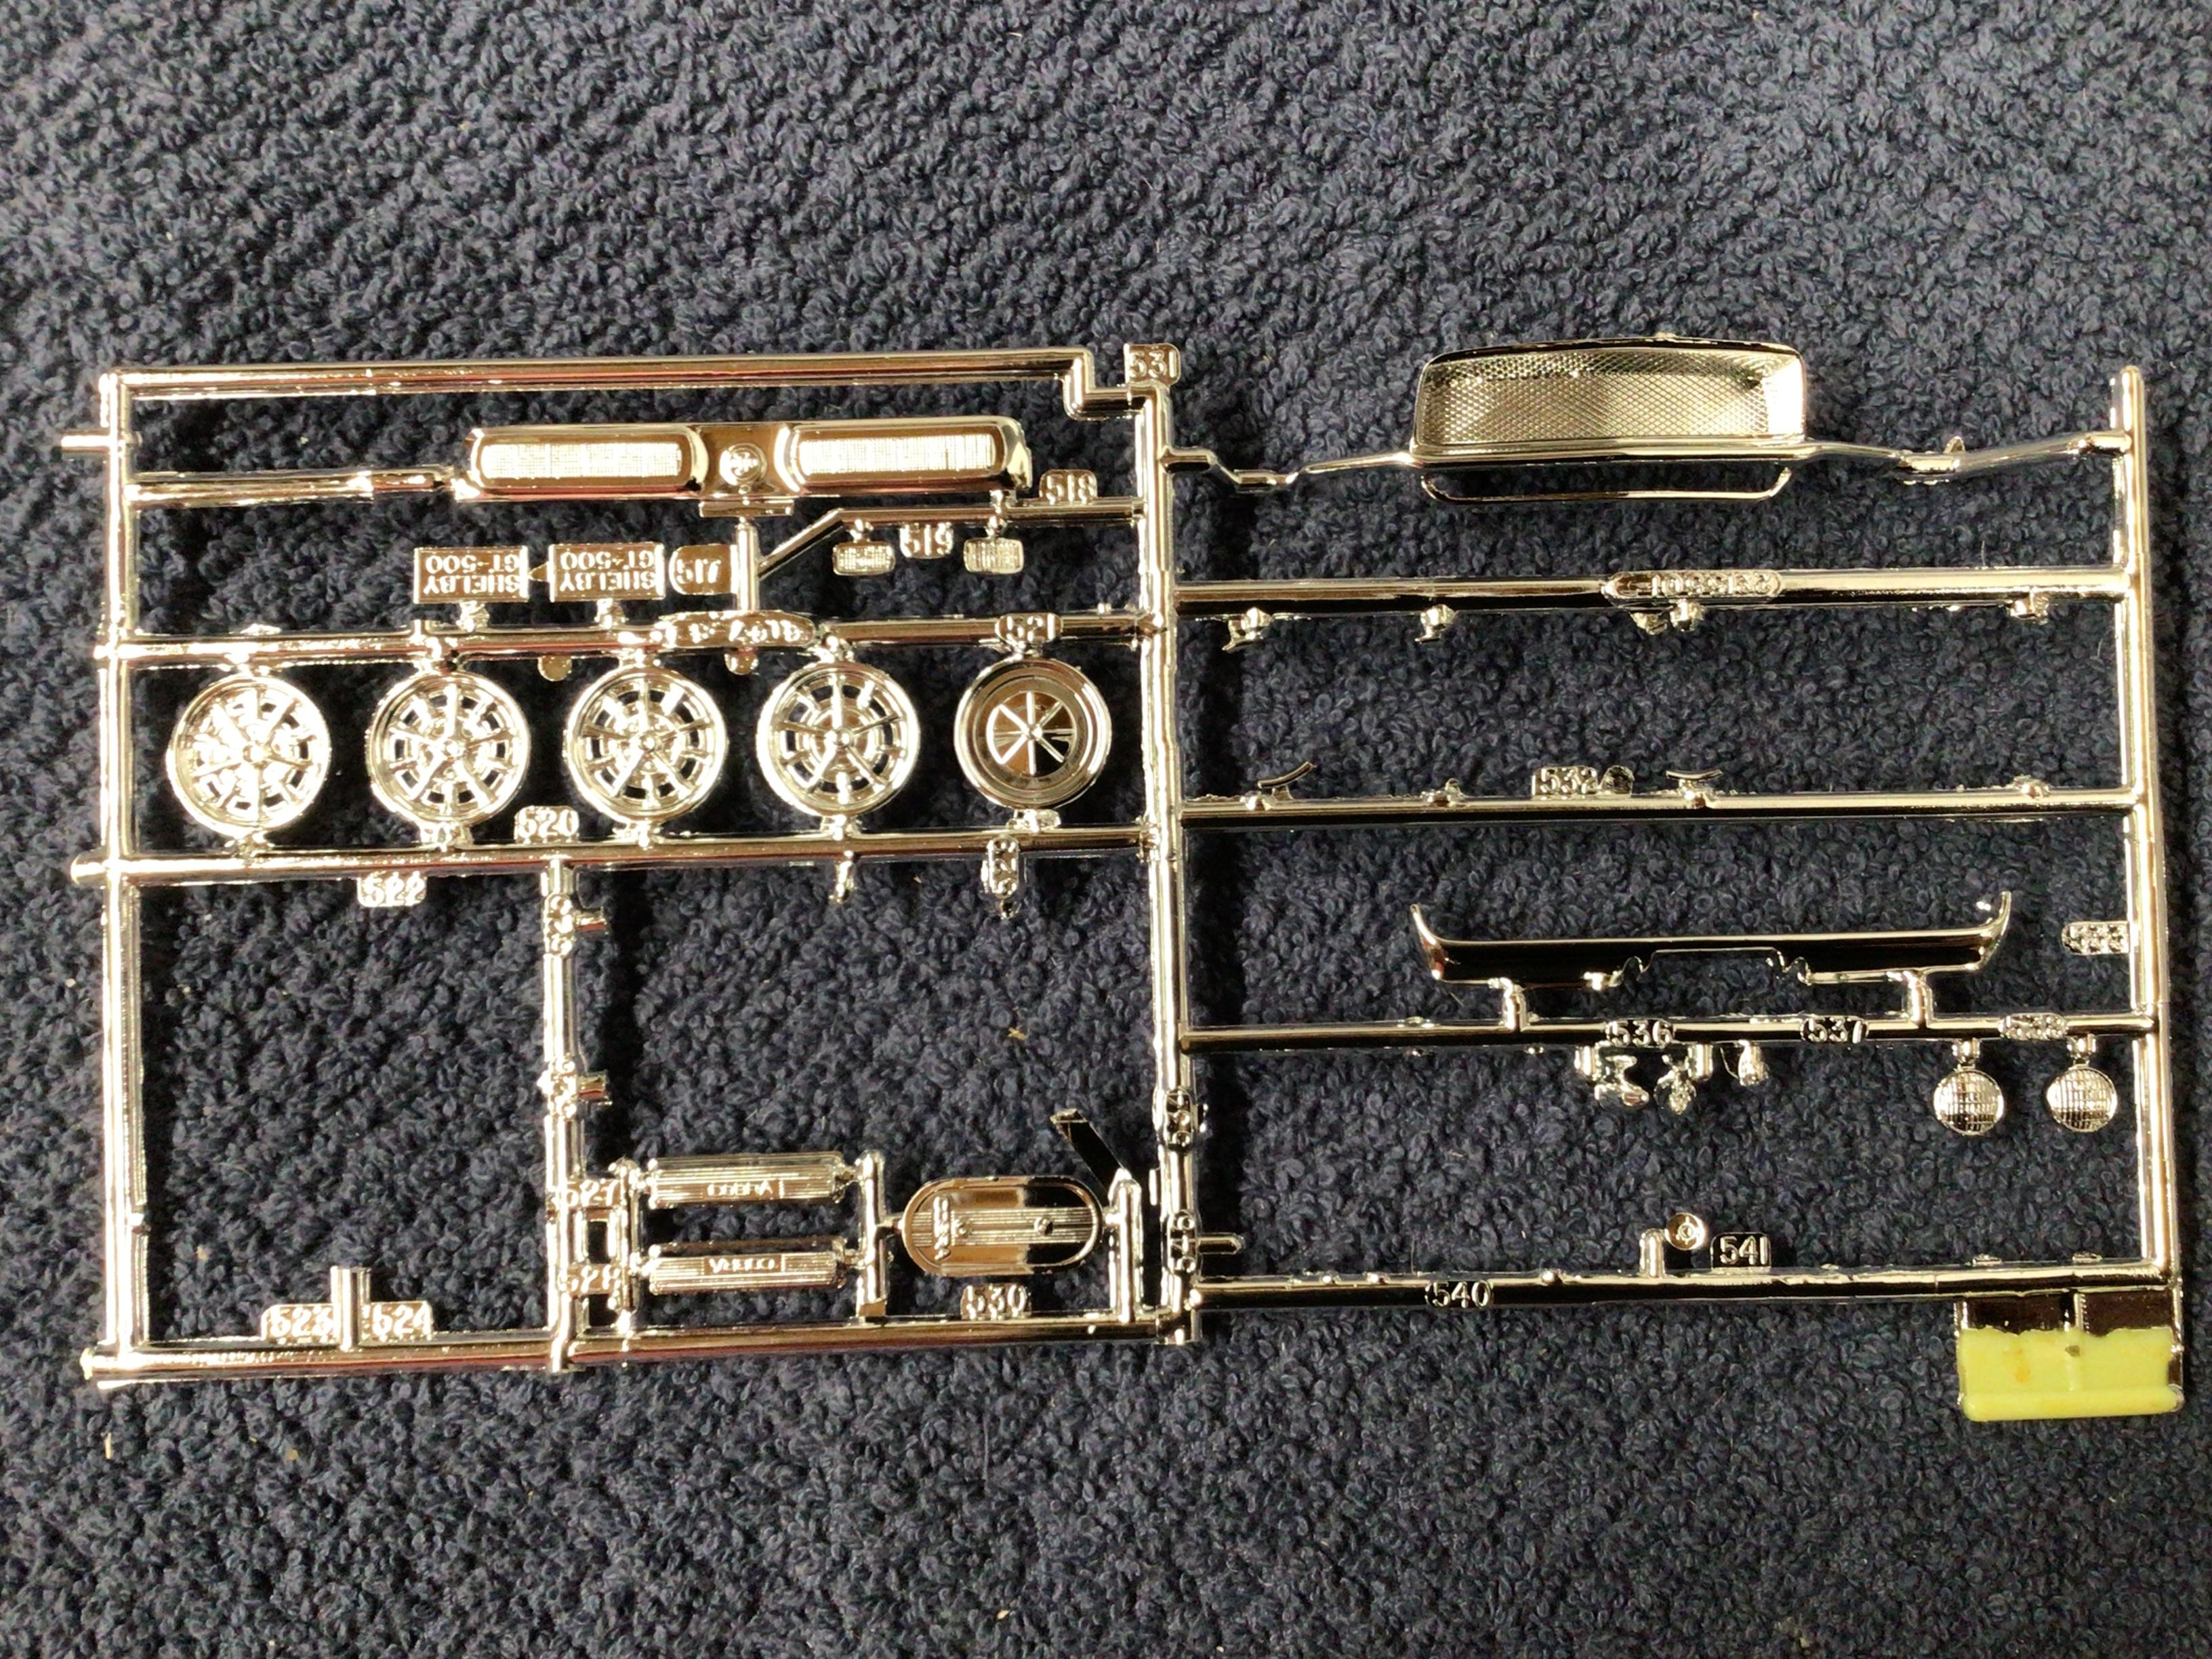
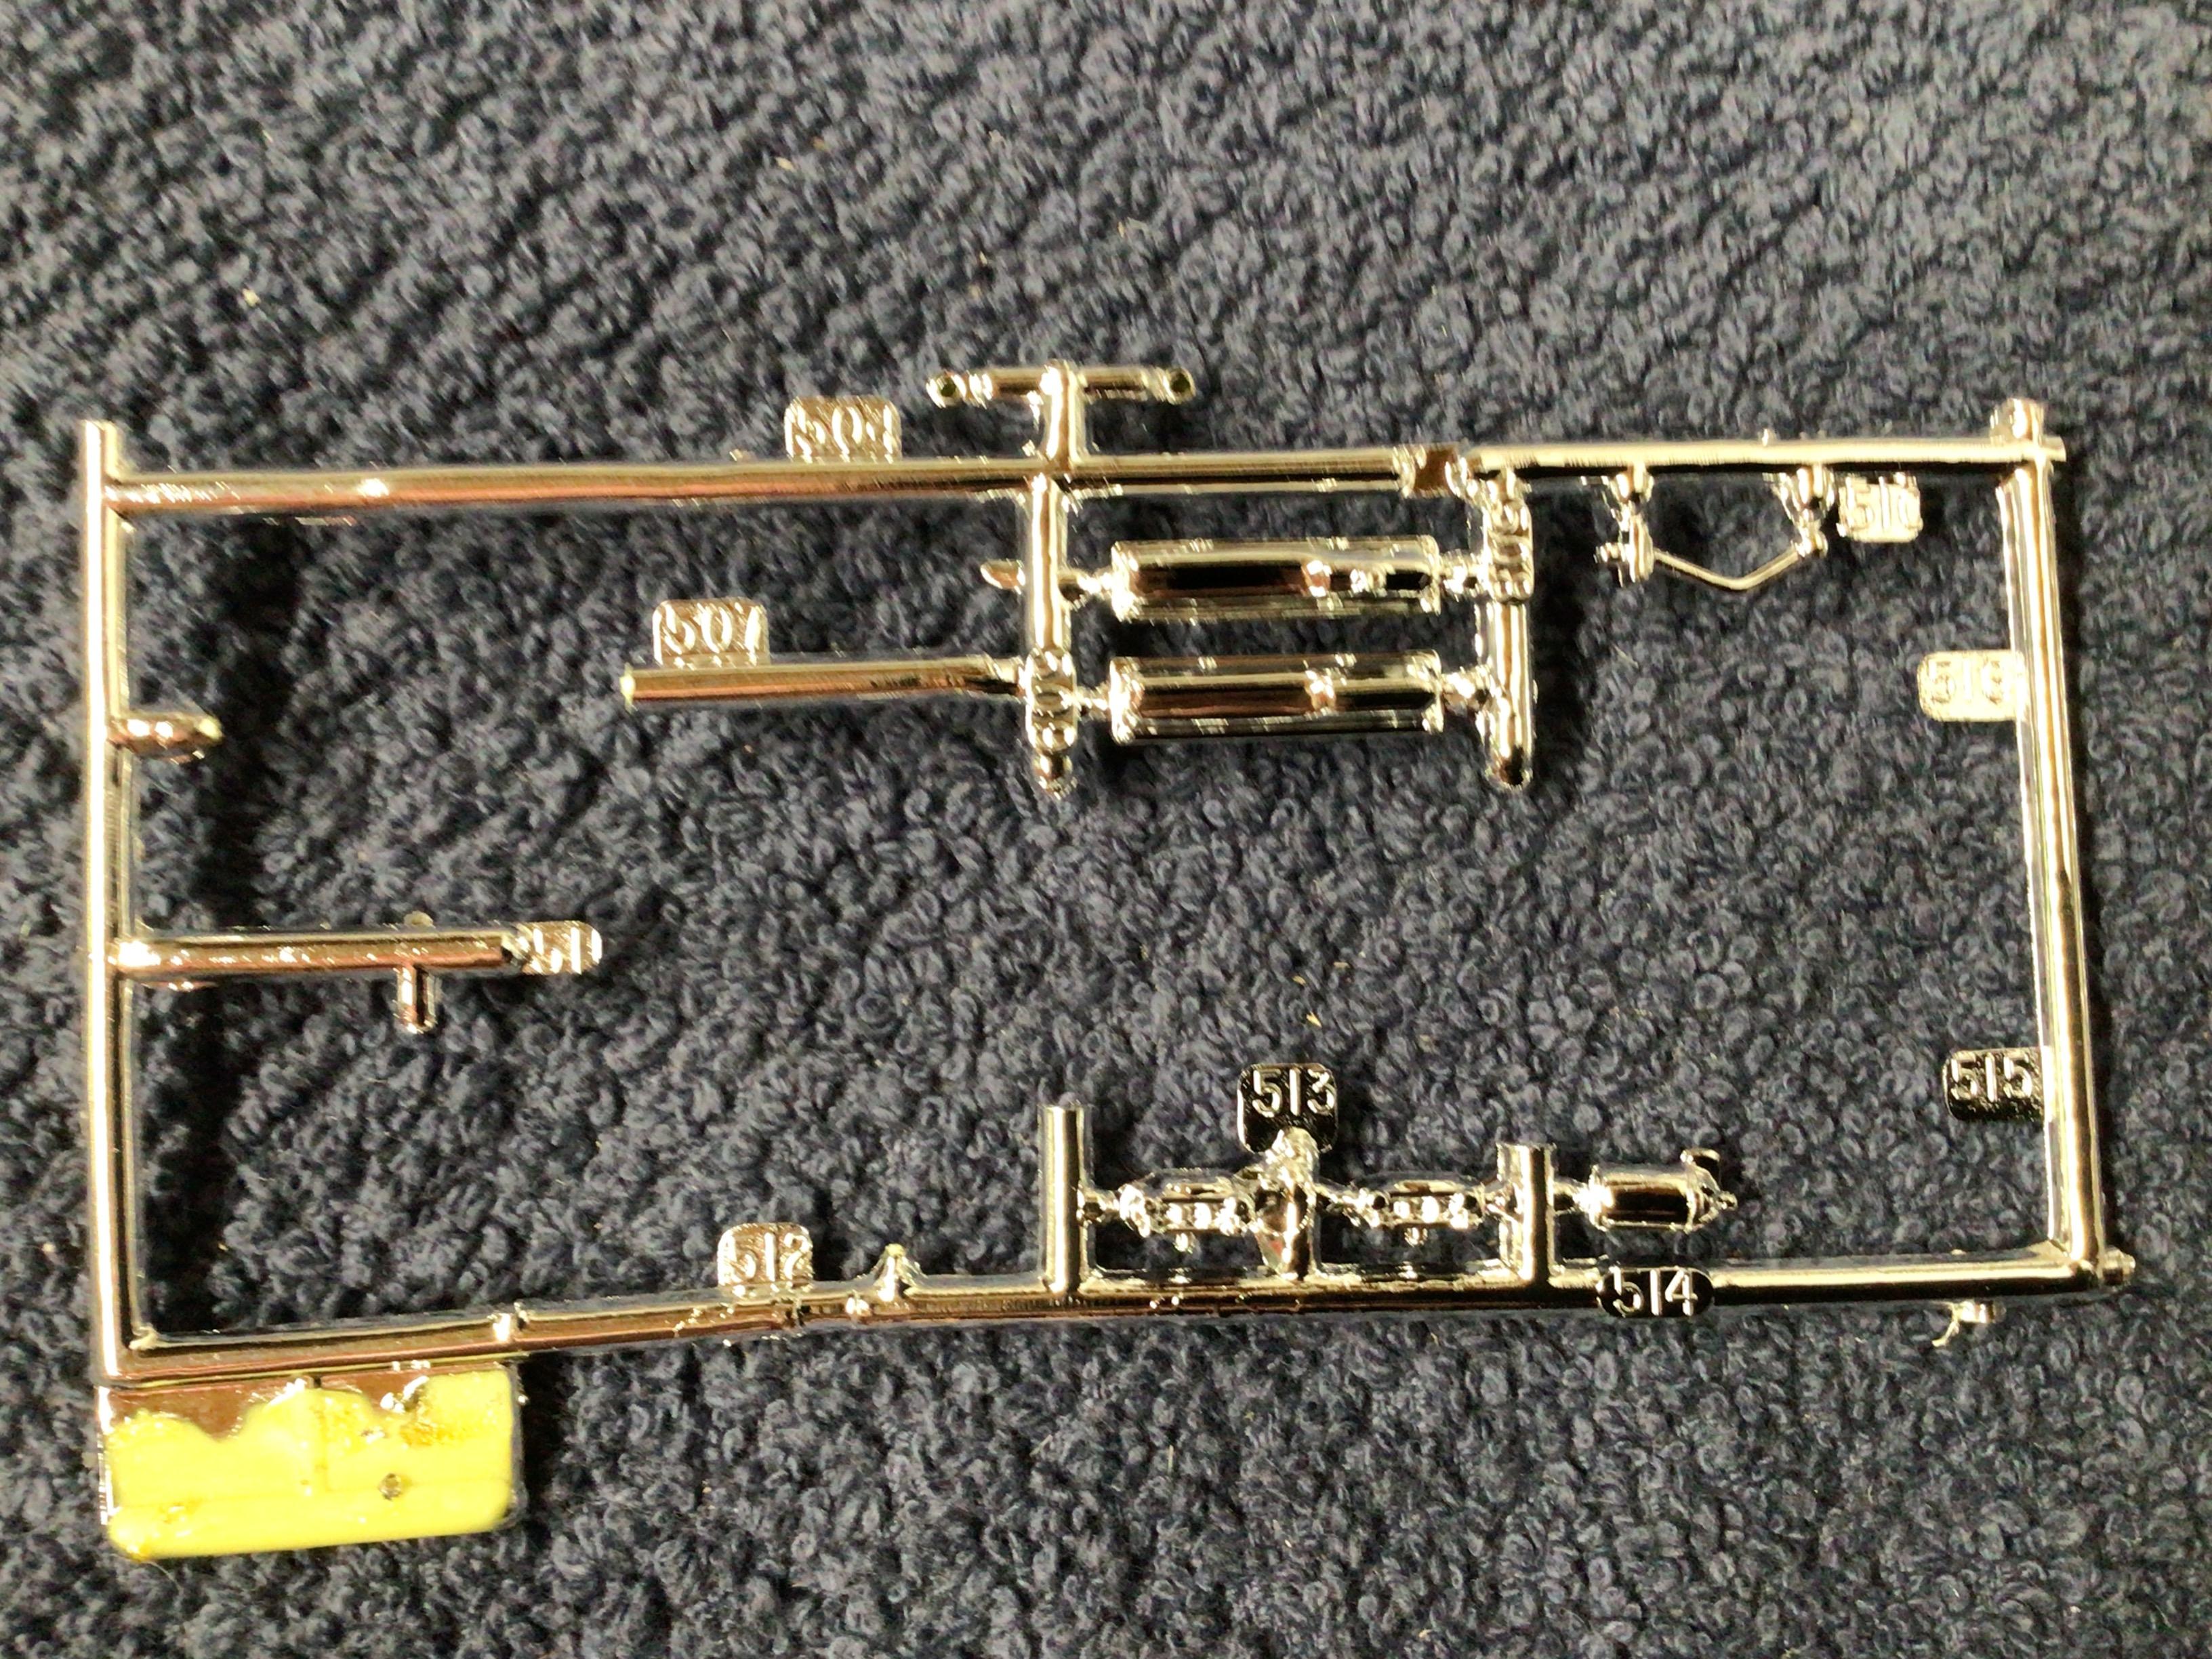
Is it this kit? The numbers are legible on these trees. Here’s some pics if it helps? Deleted two irrelevant pics.?
-
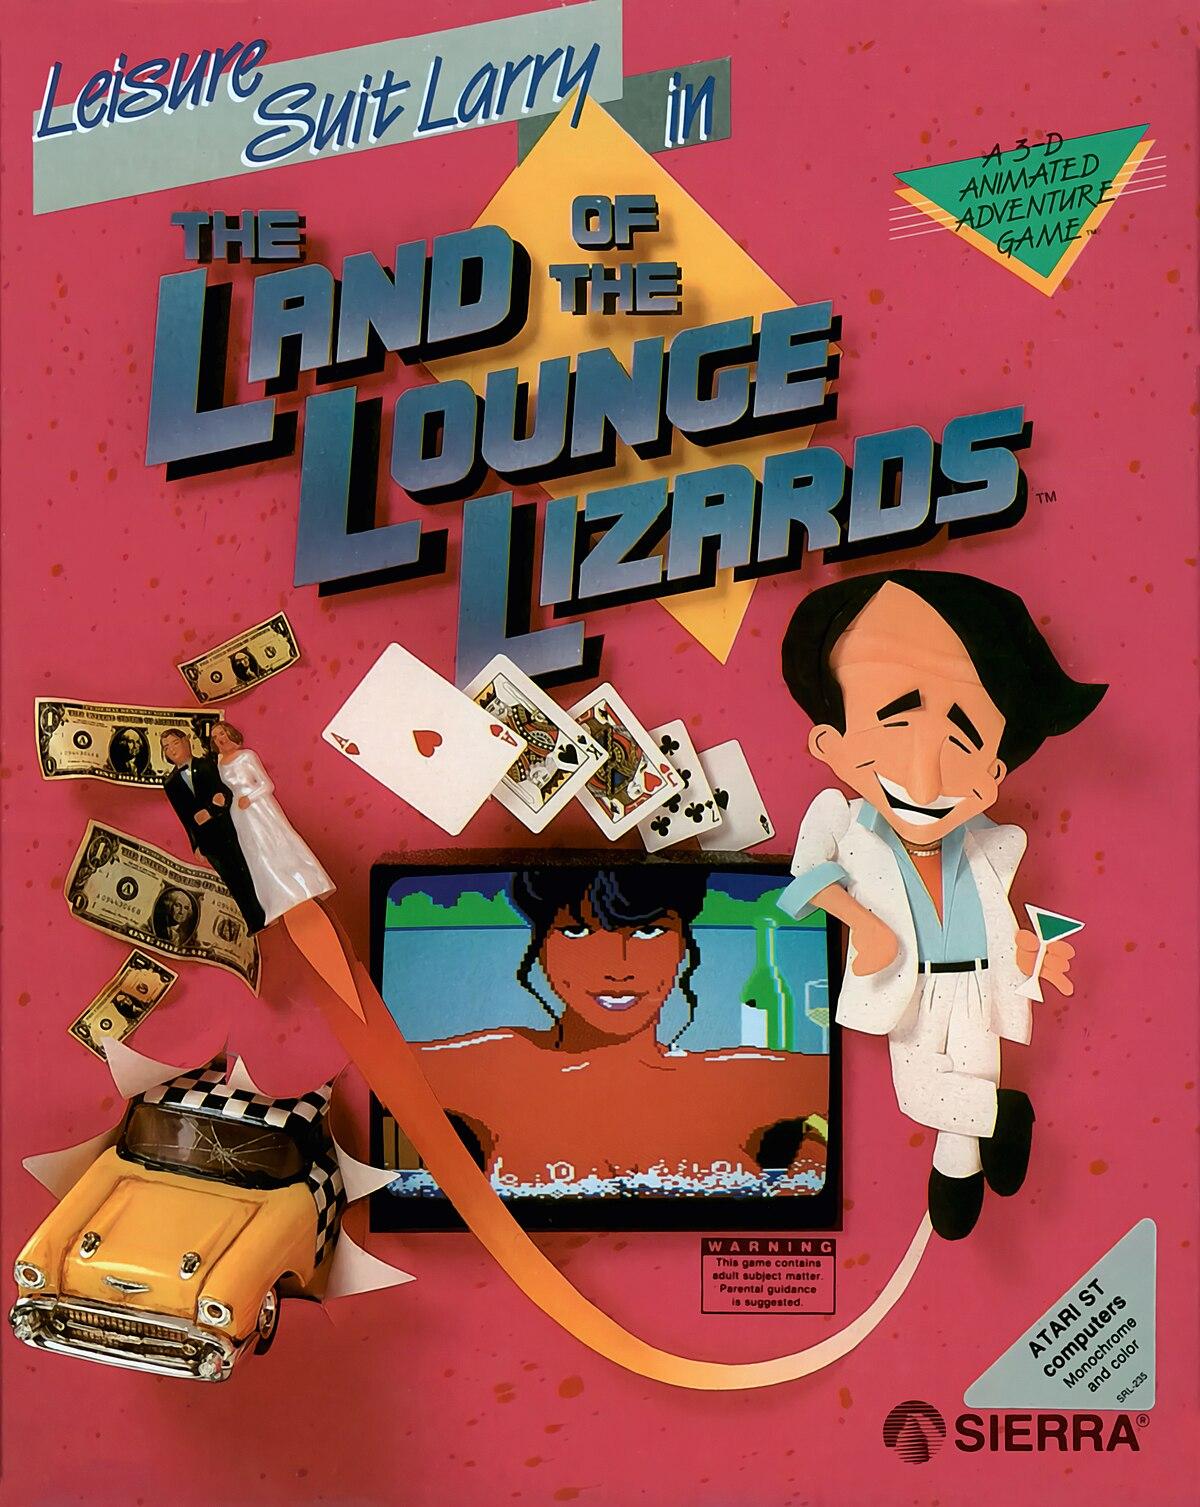
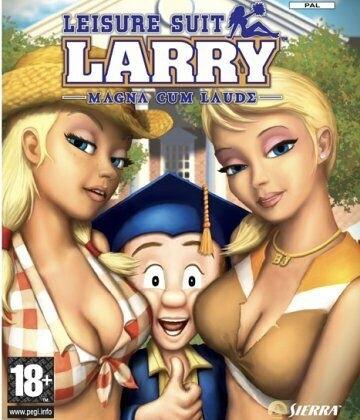
“Leisure suit Larry in the land of the lounge lizards” video game apparently had some sequels.?
-
I traded an AMT ‘21 Bronco for this today. Then I went to a flea market and picked this up for $5. It had a complete built Gran Torino in the box with it, so I figured I couldn’t go wrong?? Unfortunately, the glass for the Barracuda is missing along with the #17 tail light center piece.?
- 38,883 replies
-
- 5
-

-
- johan
- glue bombs
- (and 1 more)
-
Dr. Ben Dover…Proctologist.
-
Dr. Hugh G Finger…. Proctologist.
-
I.P. knightly…Urologist.