bill-e-boy
-
Posts
853 -
Joined
-
Last visited
Content Type
Profiles
Forums
Events
Gallery
Everything posted by bill-e-boy
-
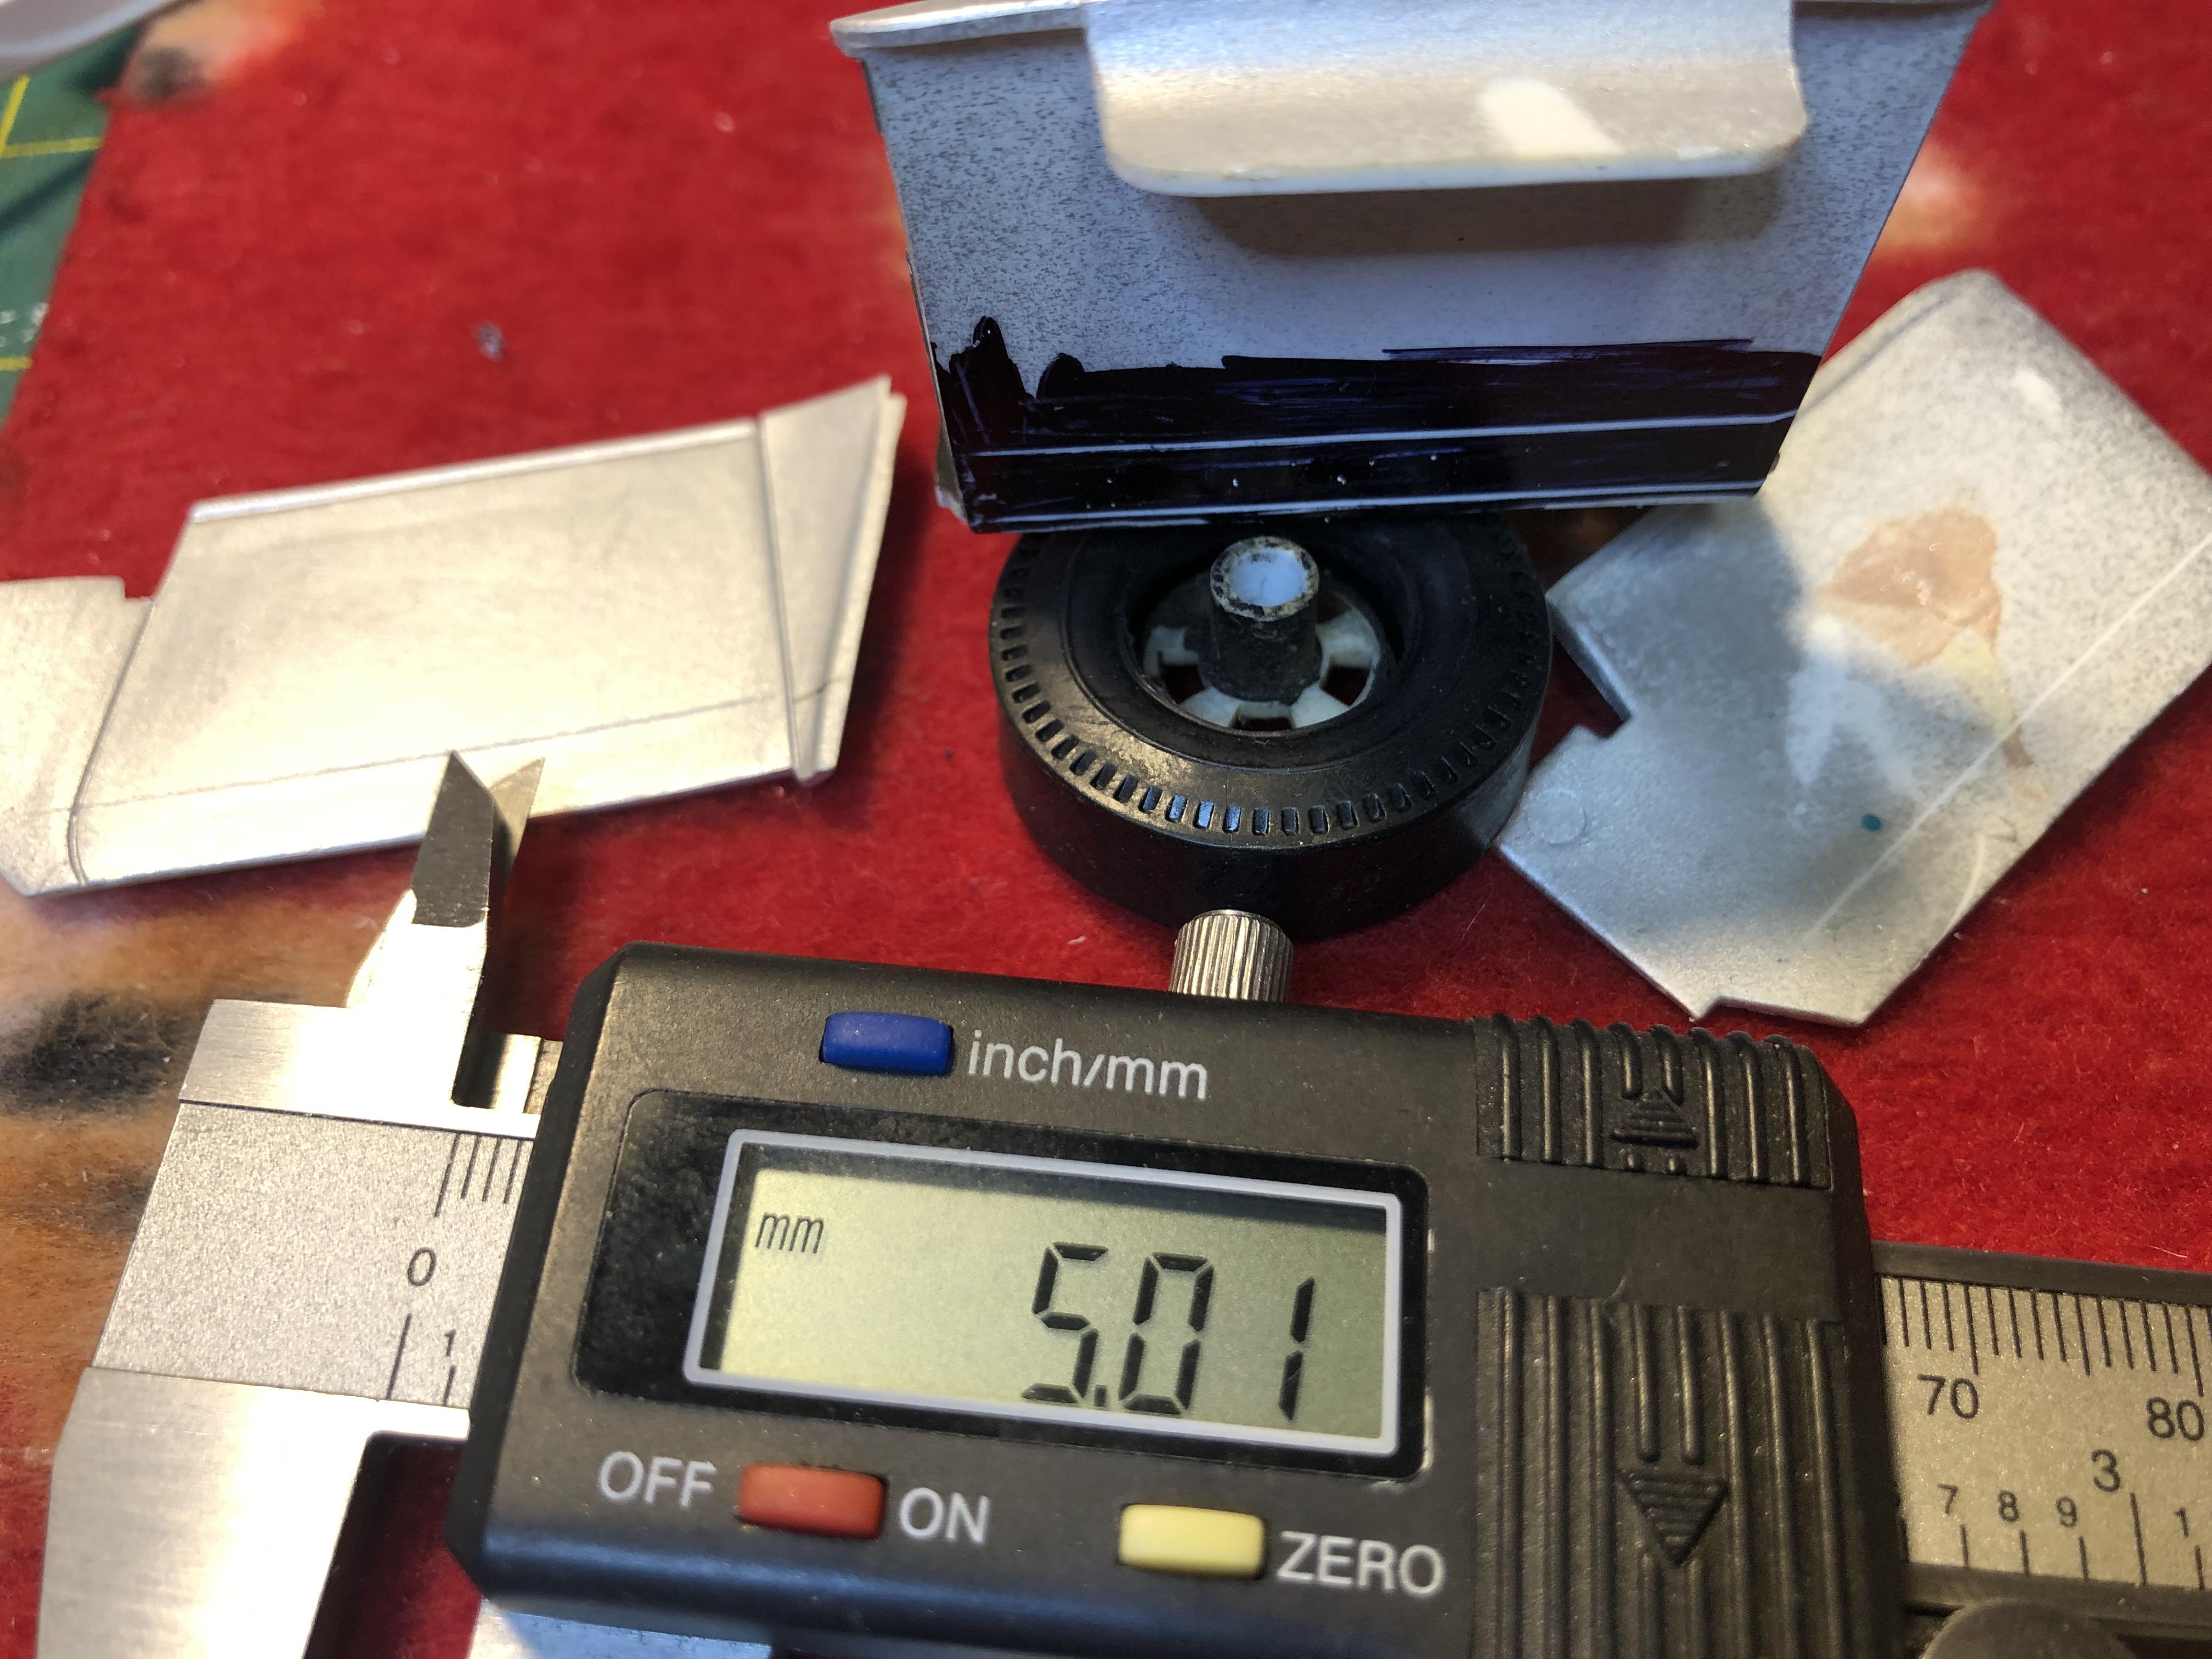
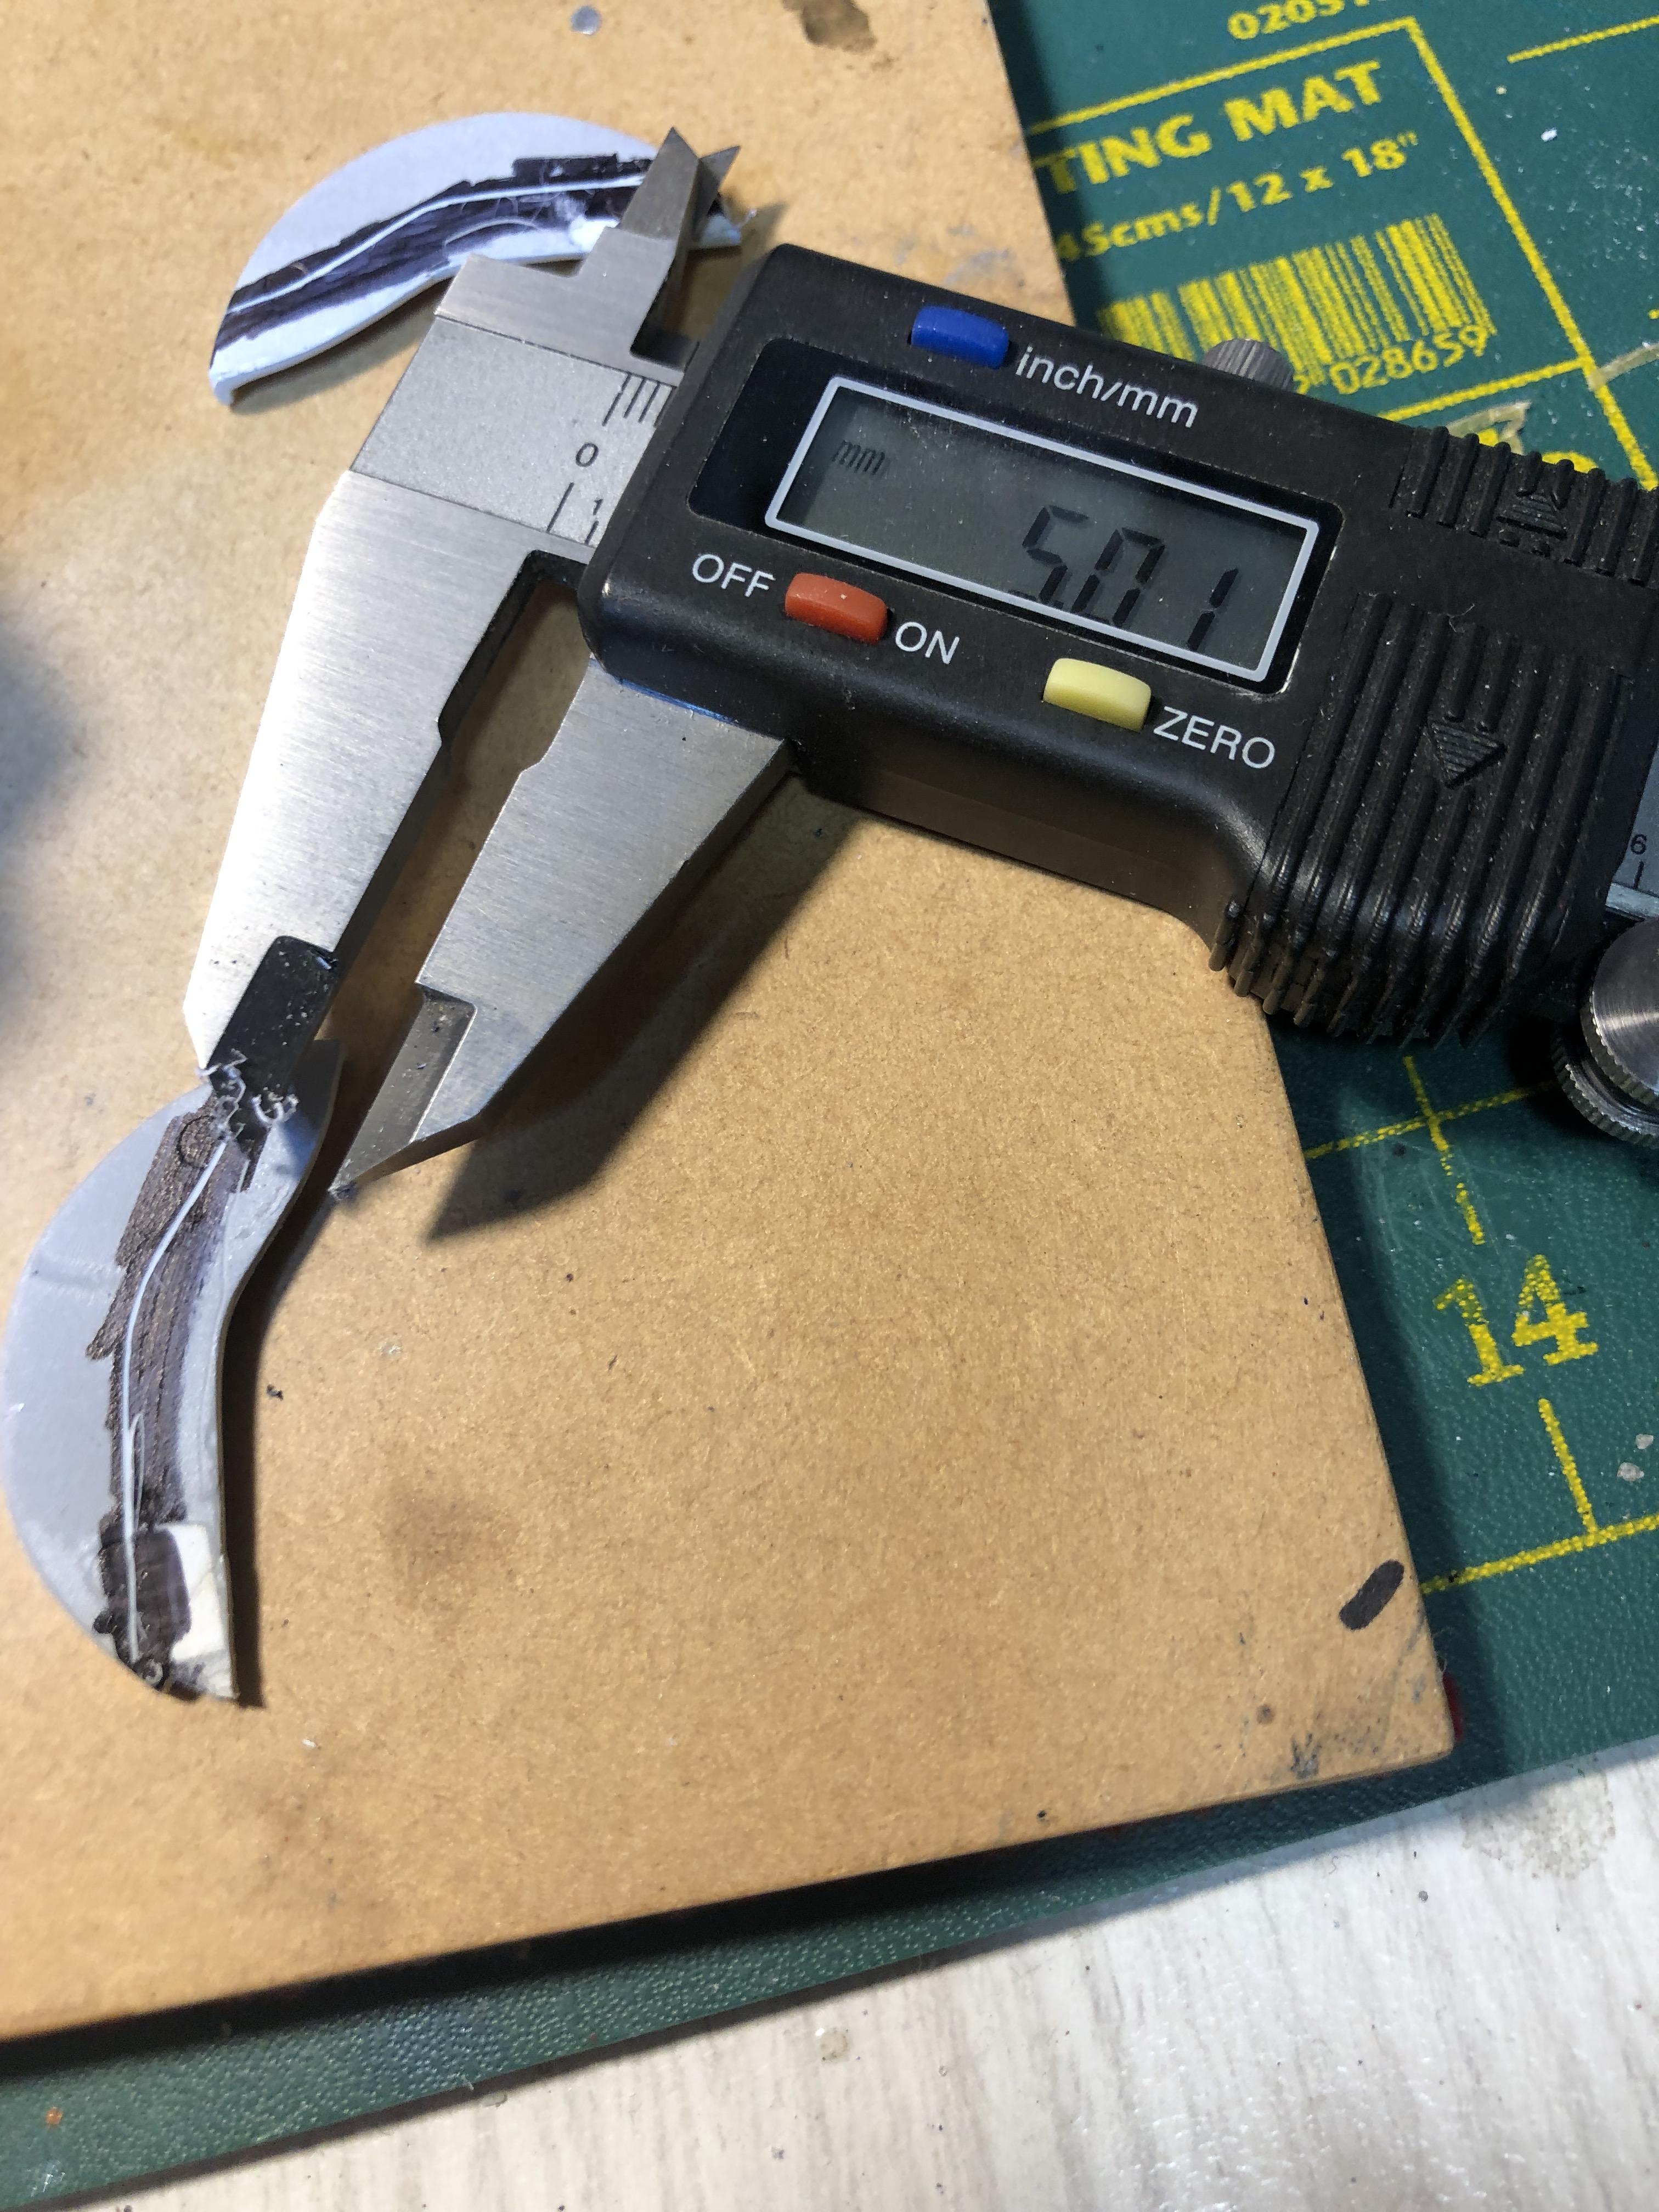
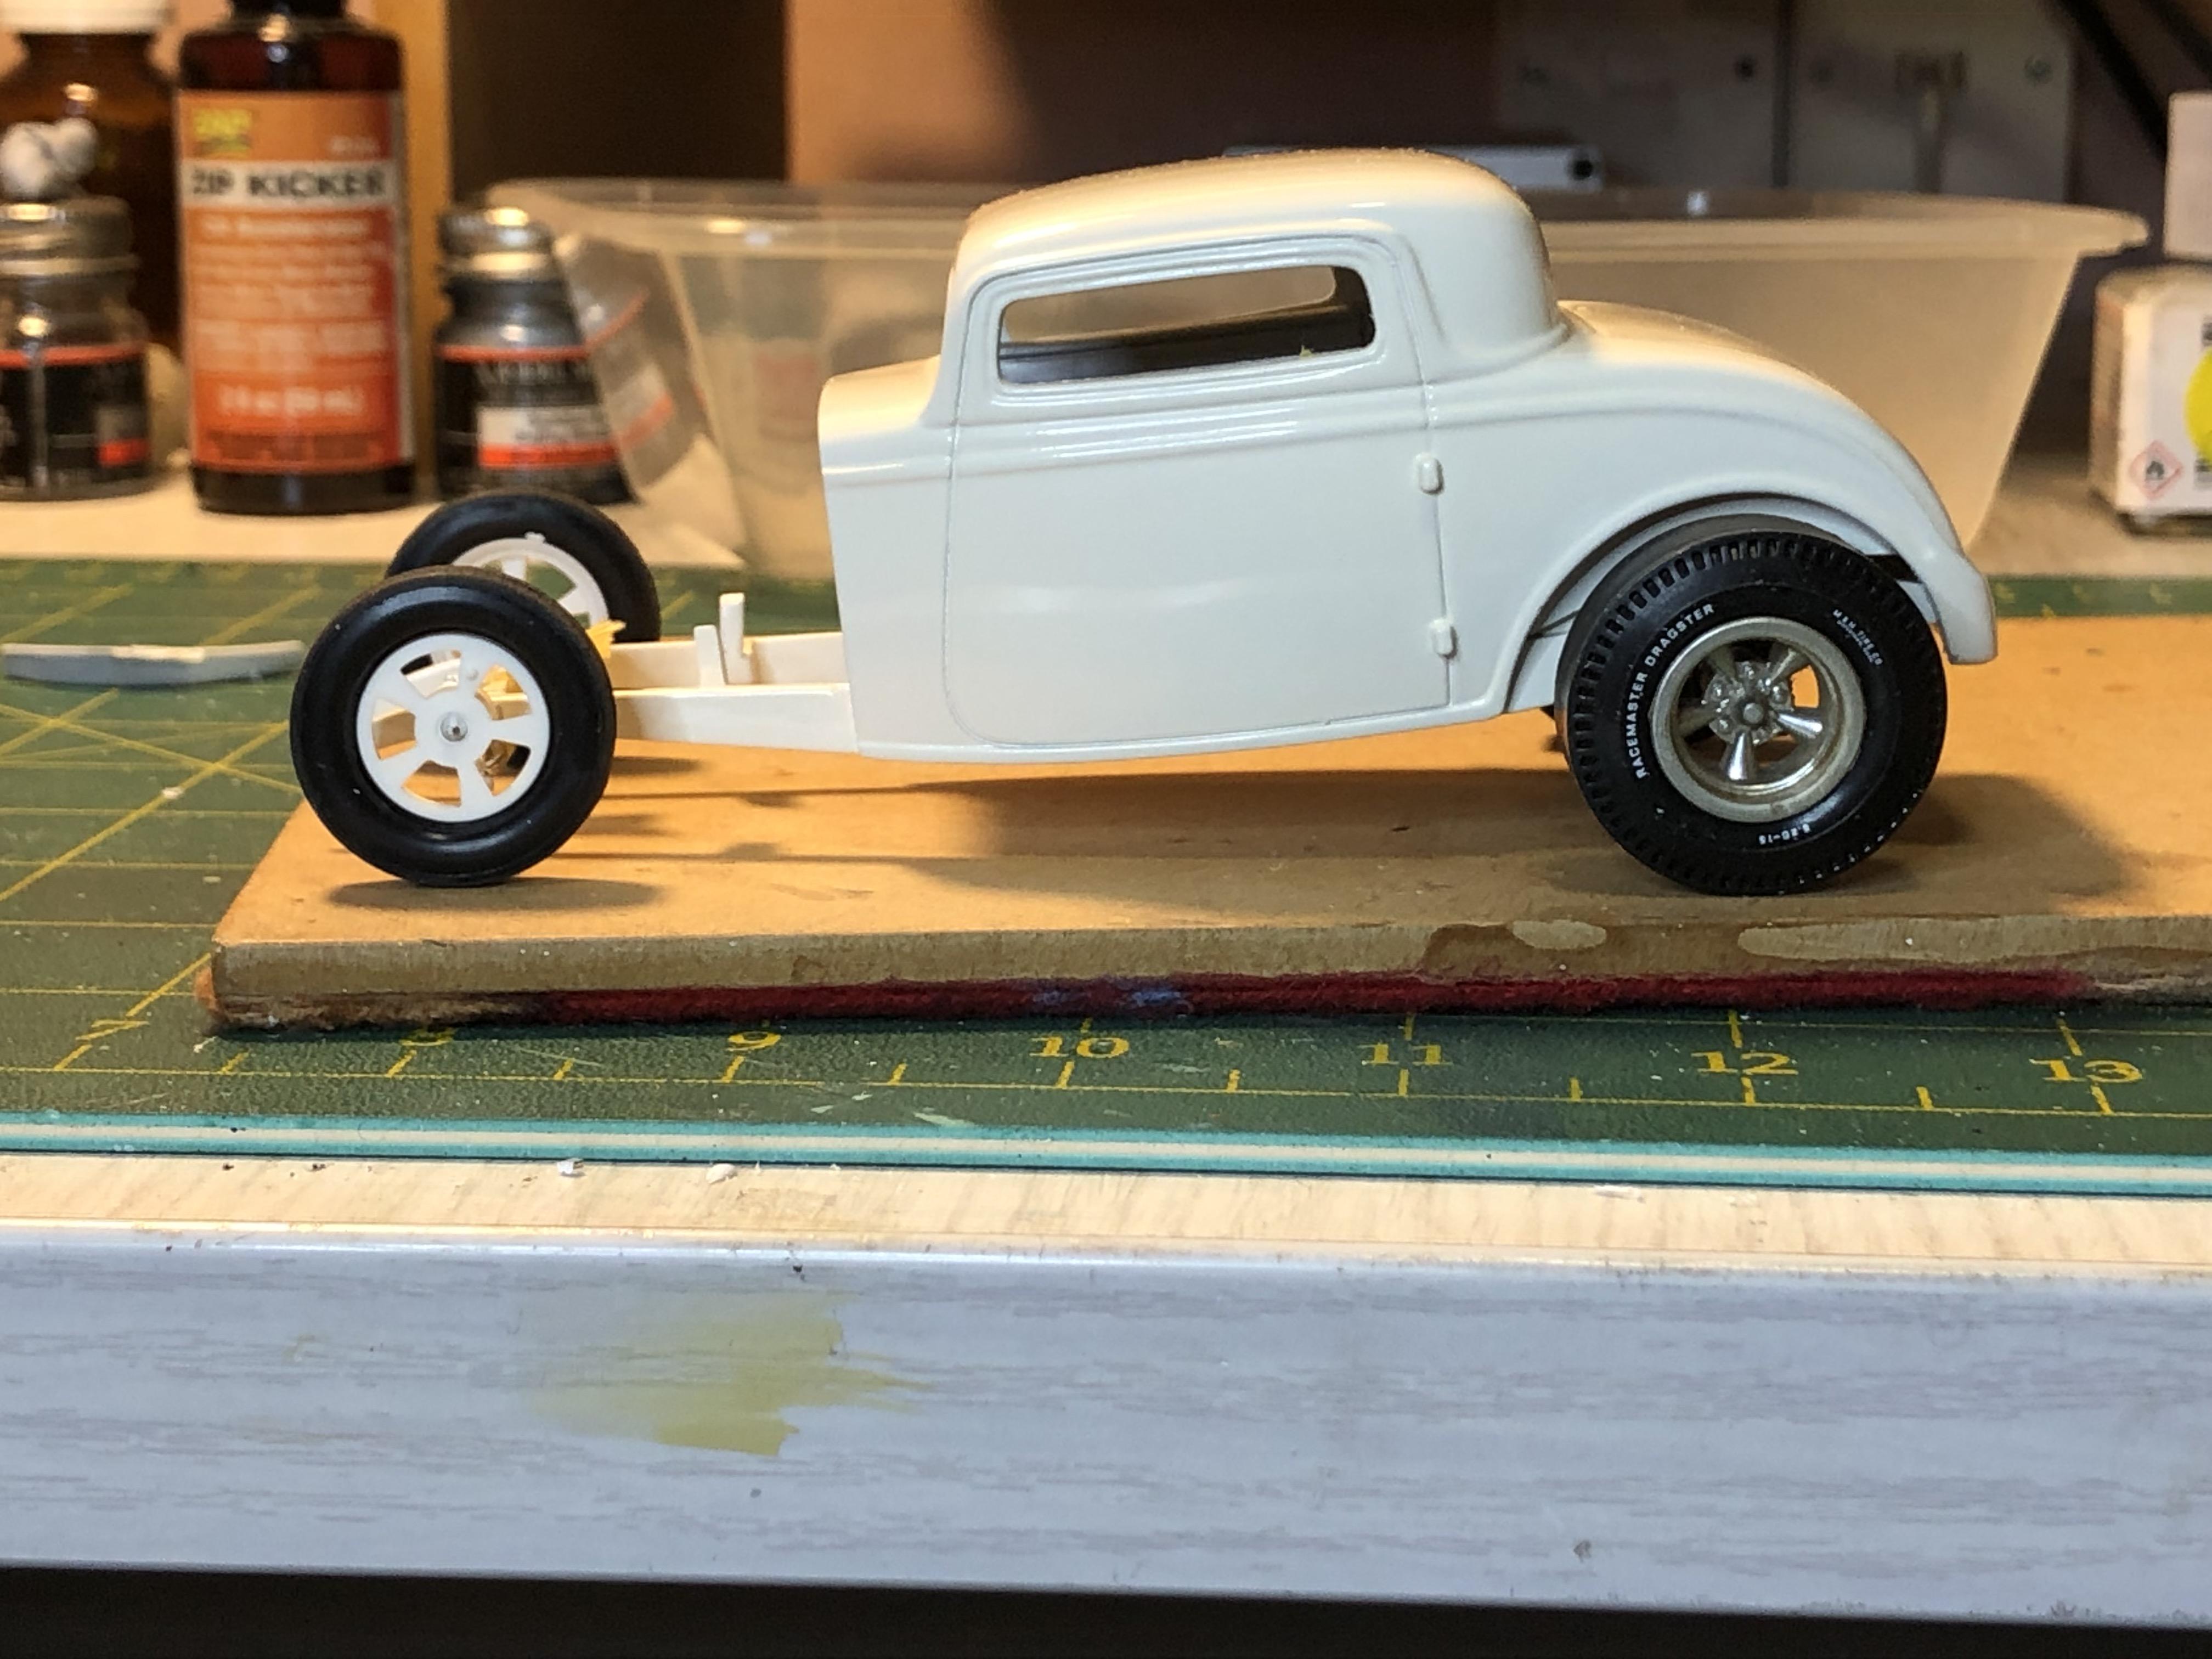
Going with the channeled version Marking and cutting the interior And marking the rear inner guards ready for cutting And filing the front spring for more drop - can never be too low This gains about 3mm drop in the front On being low - my street car has been lowered and I need to be careful when the front suspension bottoms out - it rubs metal off the sump - darn - I have fixed it once and no doubt will need to again And a mock up with the interior inserted into the body.

-
I missed this earlier - what a cool build. And right hook to boot
-
Kewl Kustom
-
Who doesn't love a mock-up? Let's see yours!
bill-e-boy replied to Belairconvertable's topic in WIP: Model Cars
And as a Hiboy - see thread now in WIP
-
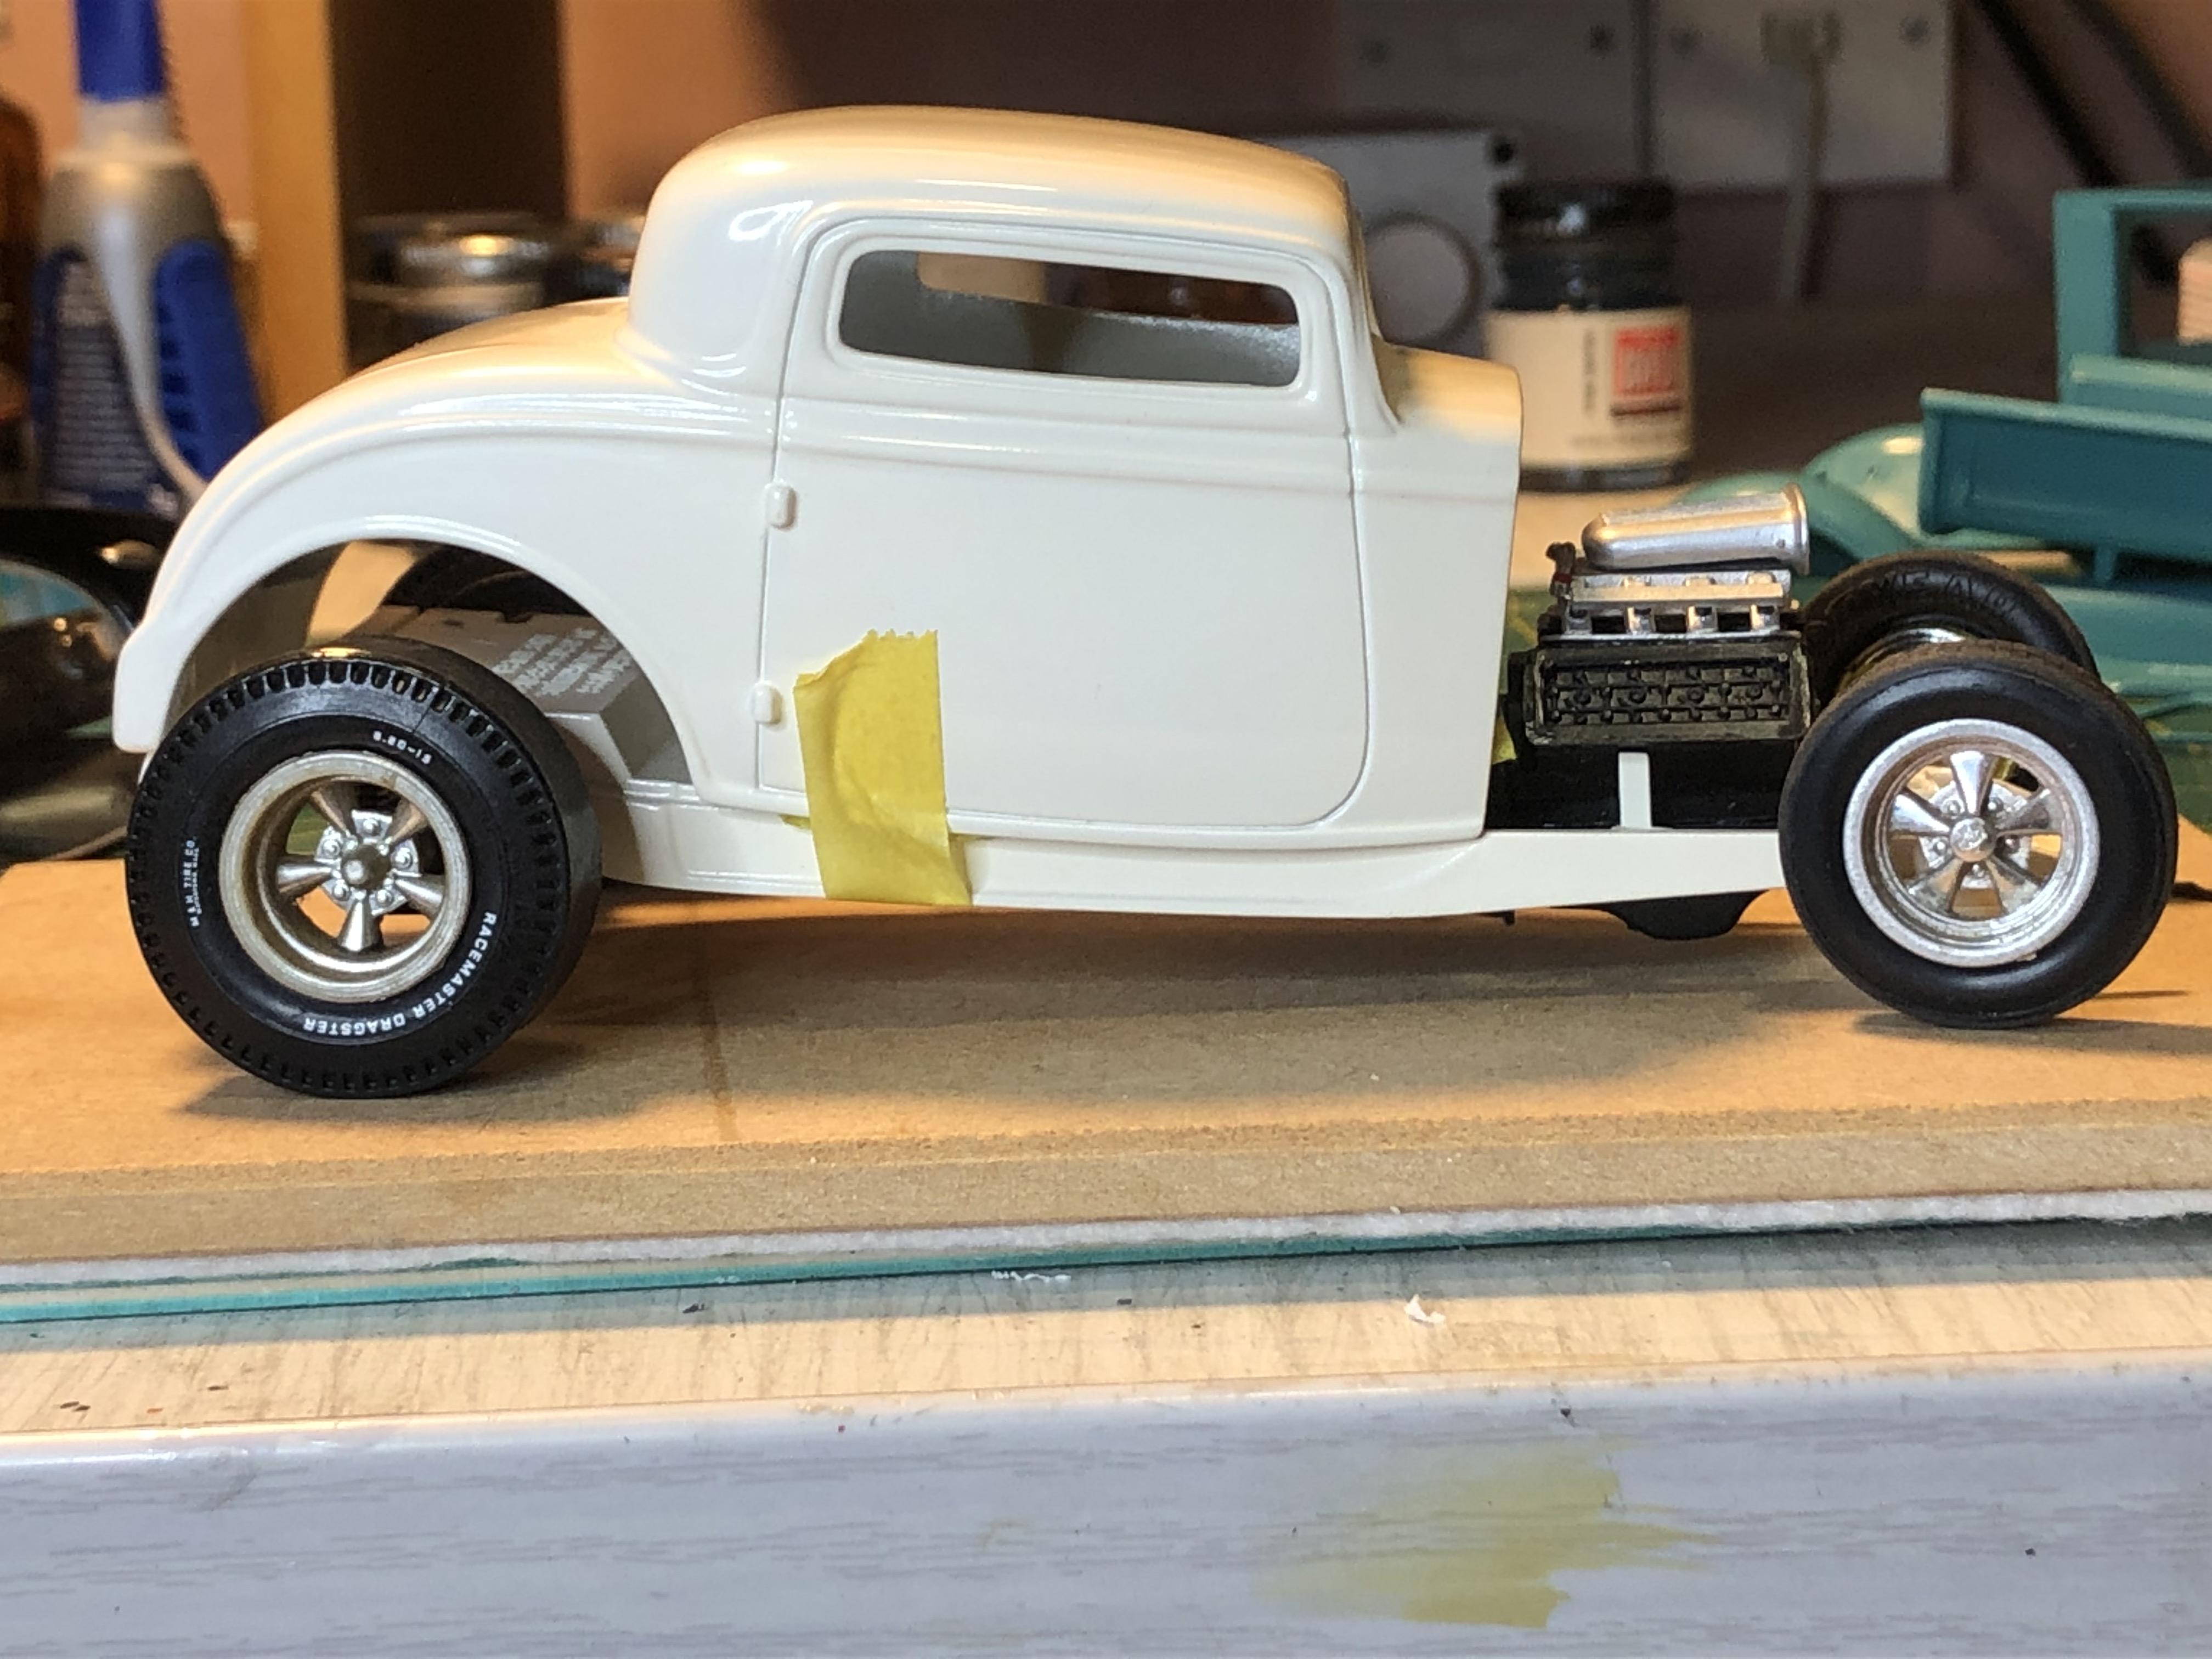
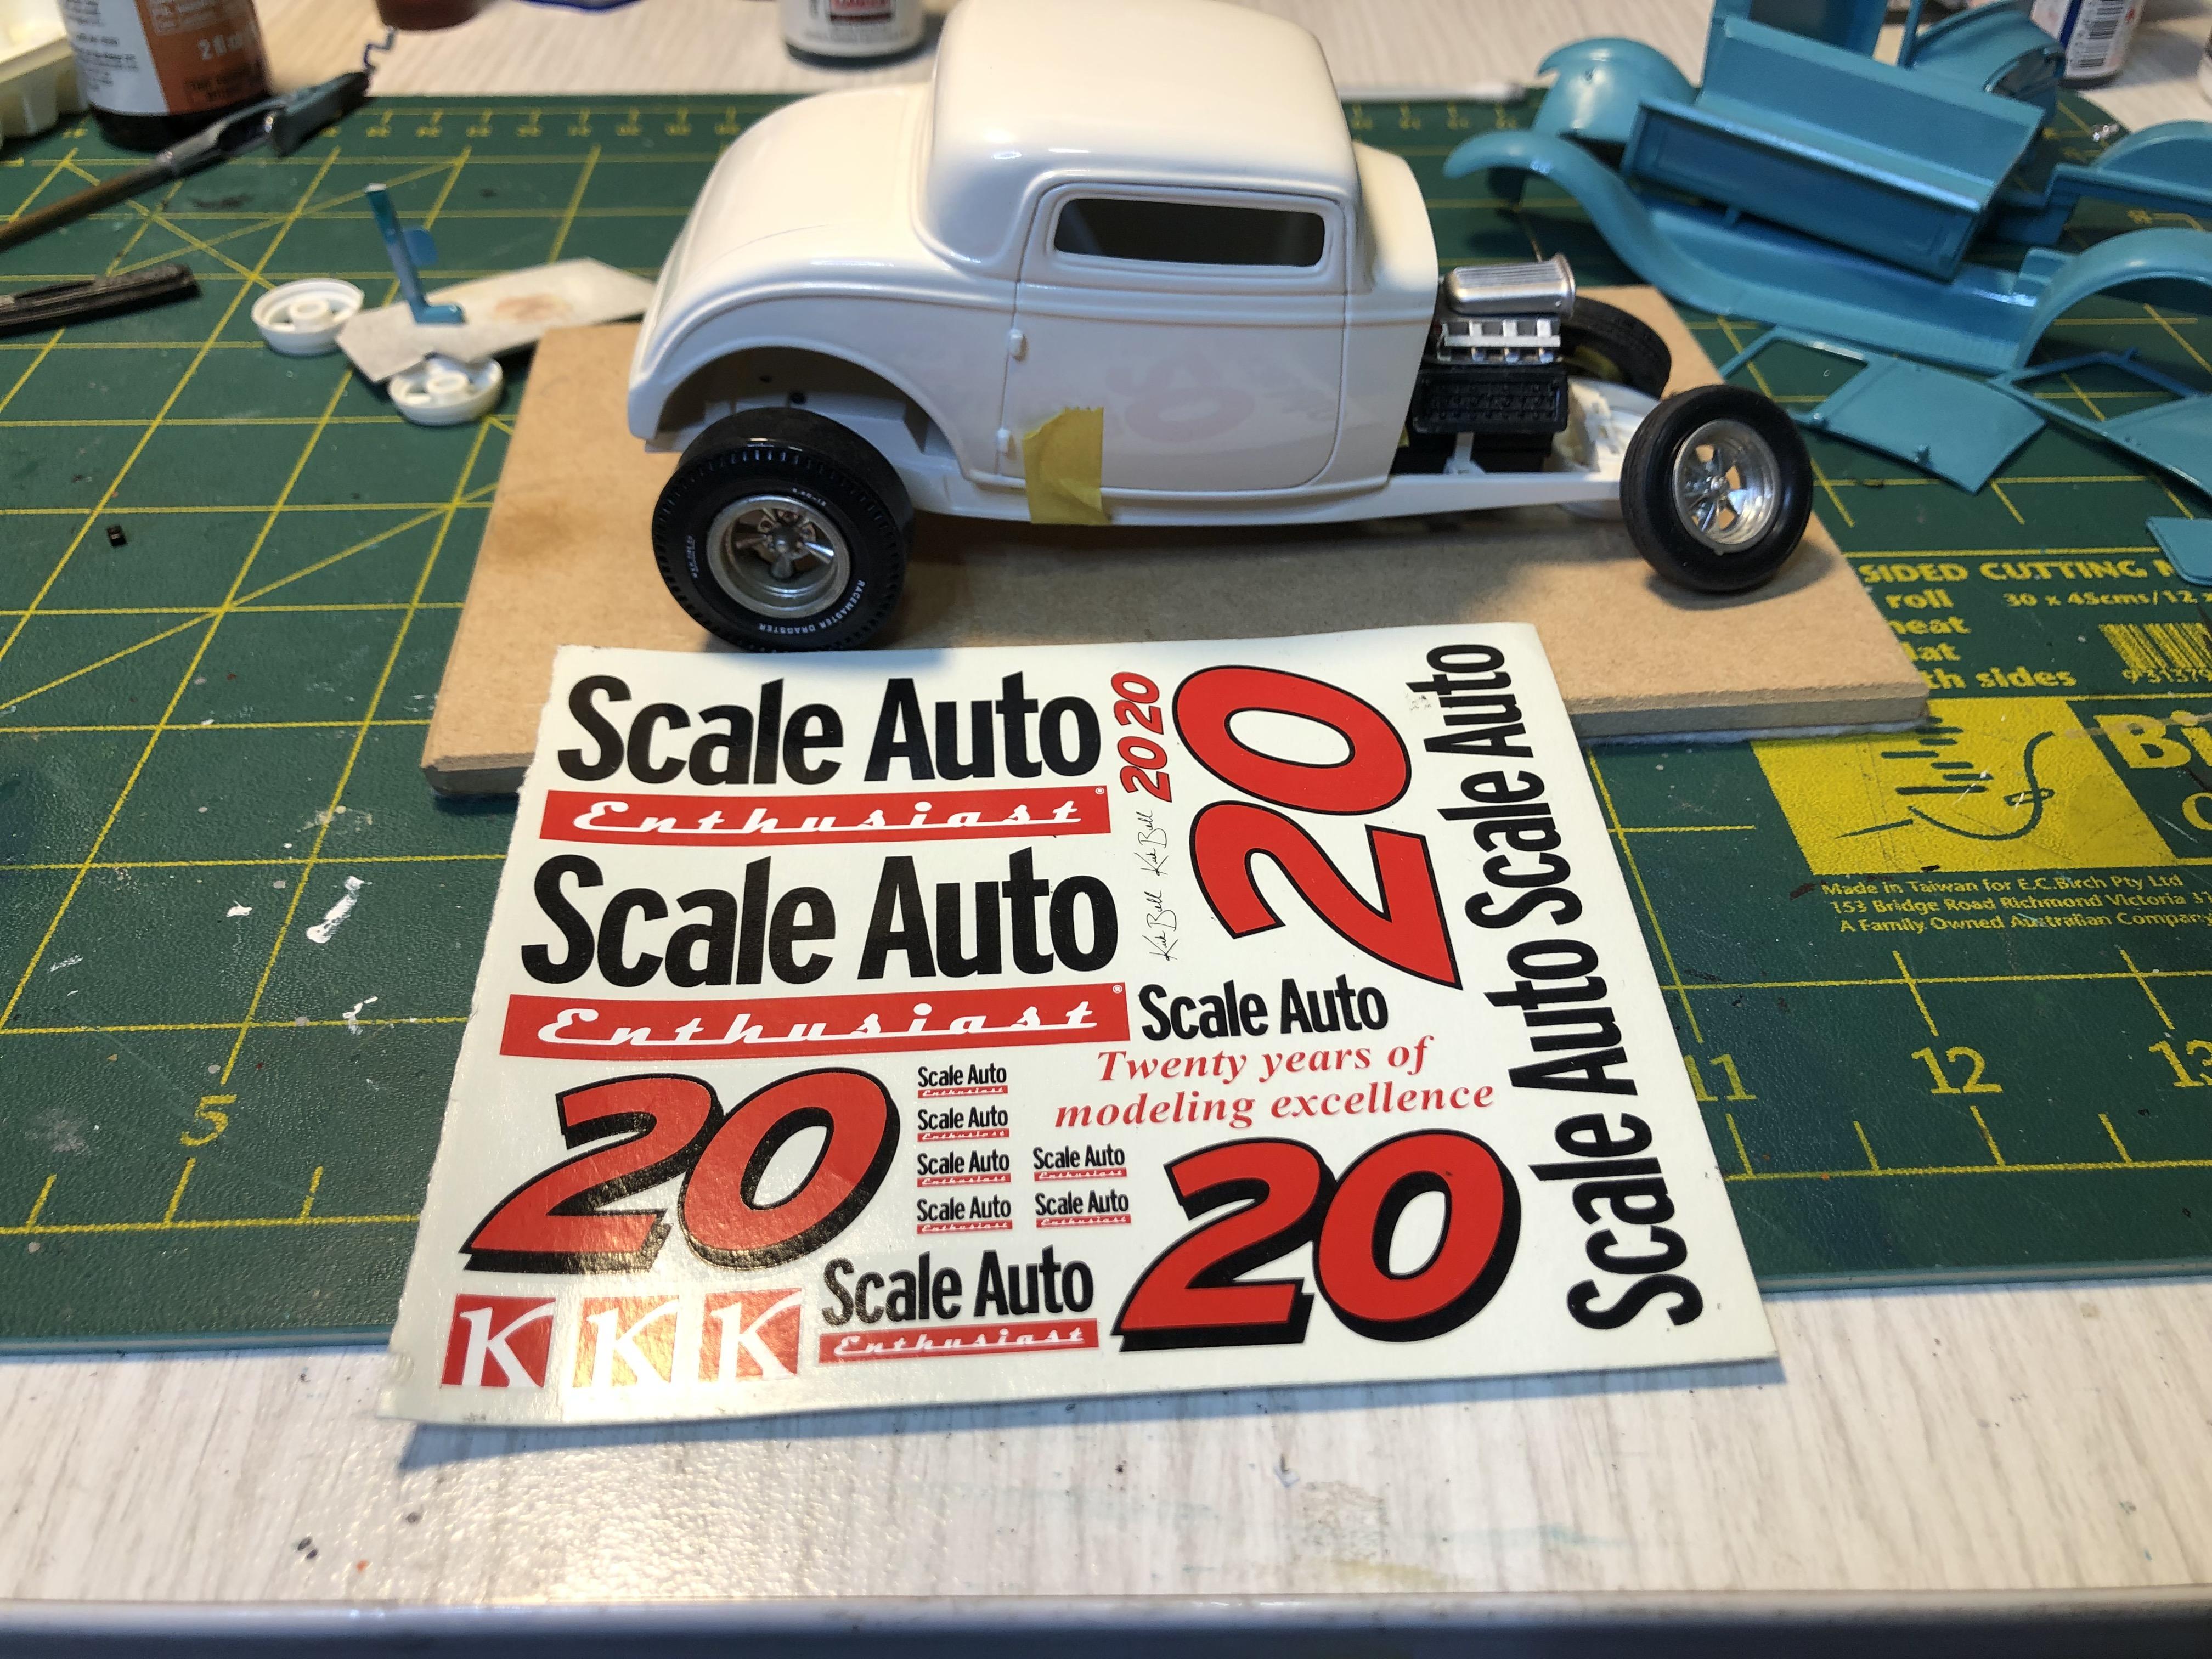
And as a Hiboy The gap is just too much above the rear wheels so I am tending to favour the channeled look And the reason for refrigerator white is to show off these decals from the "other magazine" I am looking at the smaller two #20 decals which will fill out the doors nicely. Maybe even the large #20 on the trunk lid There are a lot of prepped parts with the coupe such as smoothed interior painted silver and a roll cage. If I channel it all these will need to be altered but I am a beggar for punished
-
Looks like a neat project Bob. I did something similar to a coupe a number of years ago but used narrower rear tires that fit into the uncut wheel wells
-
Kit - the pickup is lookin good Been slowly working on mine. I have the chassis nearly done - drive shaft needs paint so will fit that when done. Pix of chassis
-
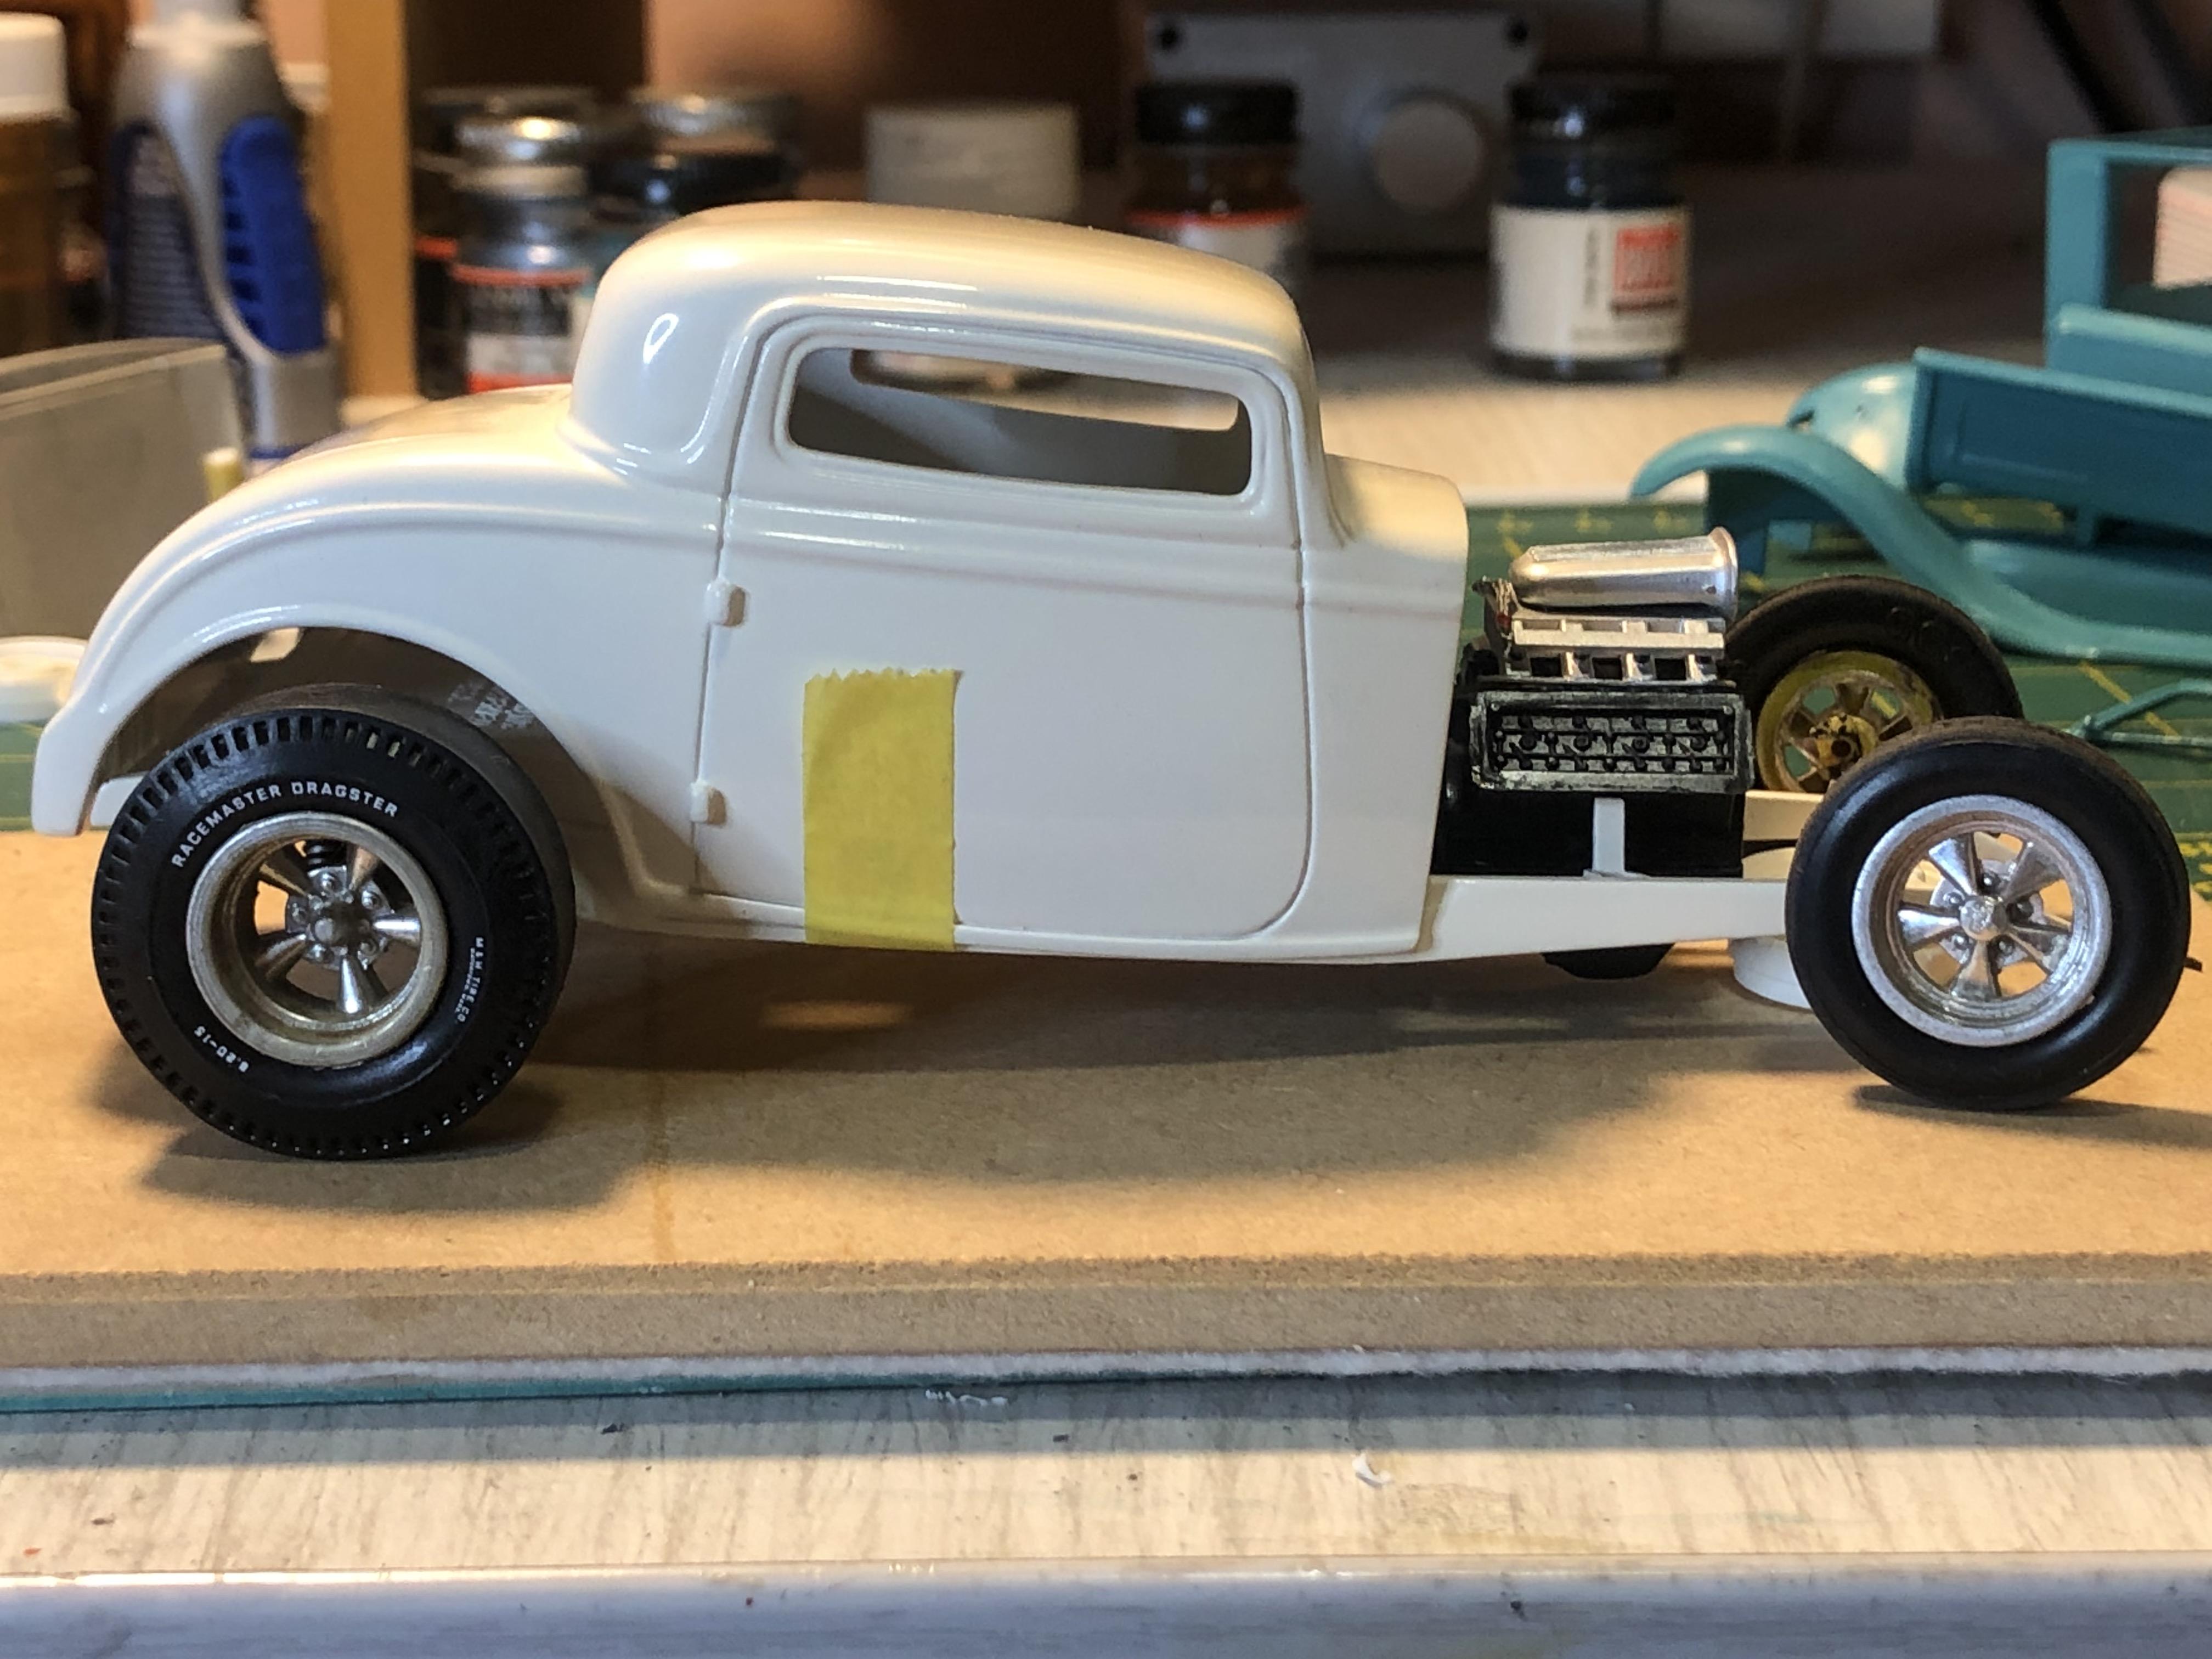
This is my effort towards the 1932 90th anniversary I started this way back in 1997 when the kit was first released. The top was cut at least 3" with the top of the turret stretched. The build theme started as a road coupe then I thought of building a hemi powered Bonneville racer. The hemi is from an AMT parts pack as has modernised induction with port injection and using the blower scoop as air inlet. The original intent was to leave it as a Hiboy but I saw a pix in a recent mag of a channeled Tudor with some very tasty early AR mags with slicks - a light bulb moment. So I dug this out of storage and nearly put it back as the box did not have the chrome tree with the front end etc. I had a further look and found it in with another project. So to now - below is a mock-up of the coupe channeled I will look at it as a Hiboy next but am liking what I see
-
Who doesn't love a mock-up? Let's see yours!
bill-e-boy replied to Belairconvertable's topic in WIP: Model Cars
It's the 32 Ford (and other makes) 90th birthday. I have a coupe that was started back in 1997 when I was away from home on a project. The top got cut then and painted and the hemi was started. I have picked away at it over the years. The question is Hiboy or Channeled - this is what it will look like channeled
-
I tired painting with clear black but although better it still had that frosted look So I bit the bullet and made one from clear sheet. Much more better now. So back to the model cabinet and back to working on my WIP's
-
Roger - a very nice clean build up of a rarely built kit. All the mods you have made just look like the kit came that way, so kudos. Nice to see a different take on the 1932's 90th anniversary
-
An excellent build. The colour combo is spot on with a nice glossy finish and I like the wire wheels too
-
The 56 Dodge looks good too
-
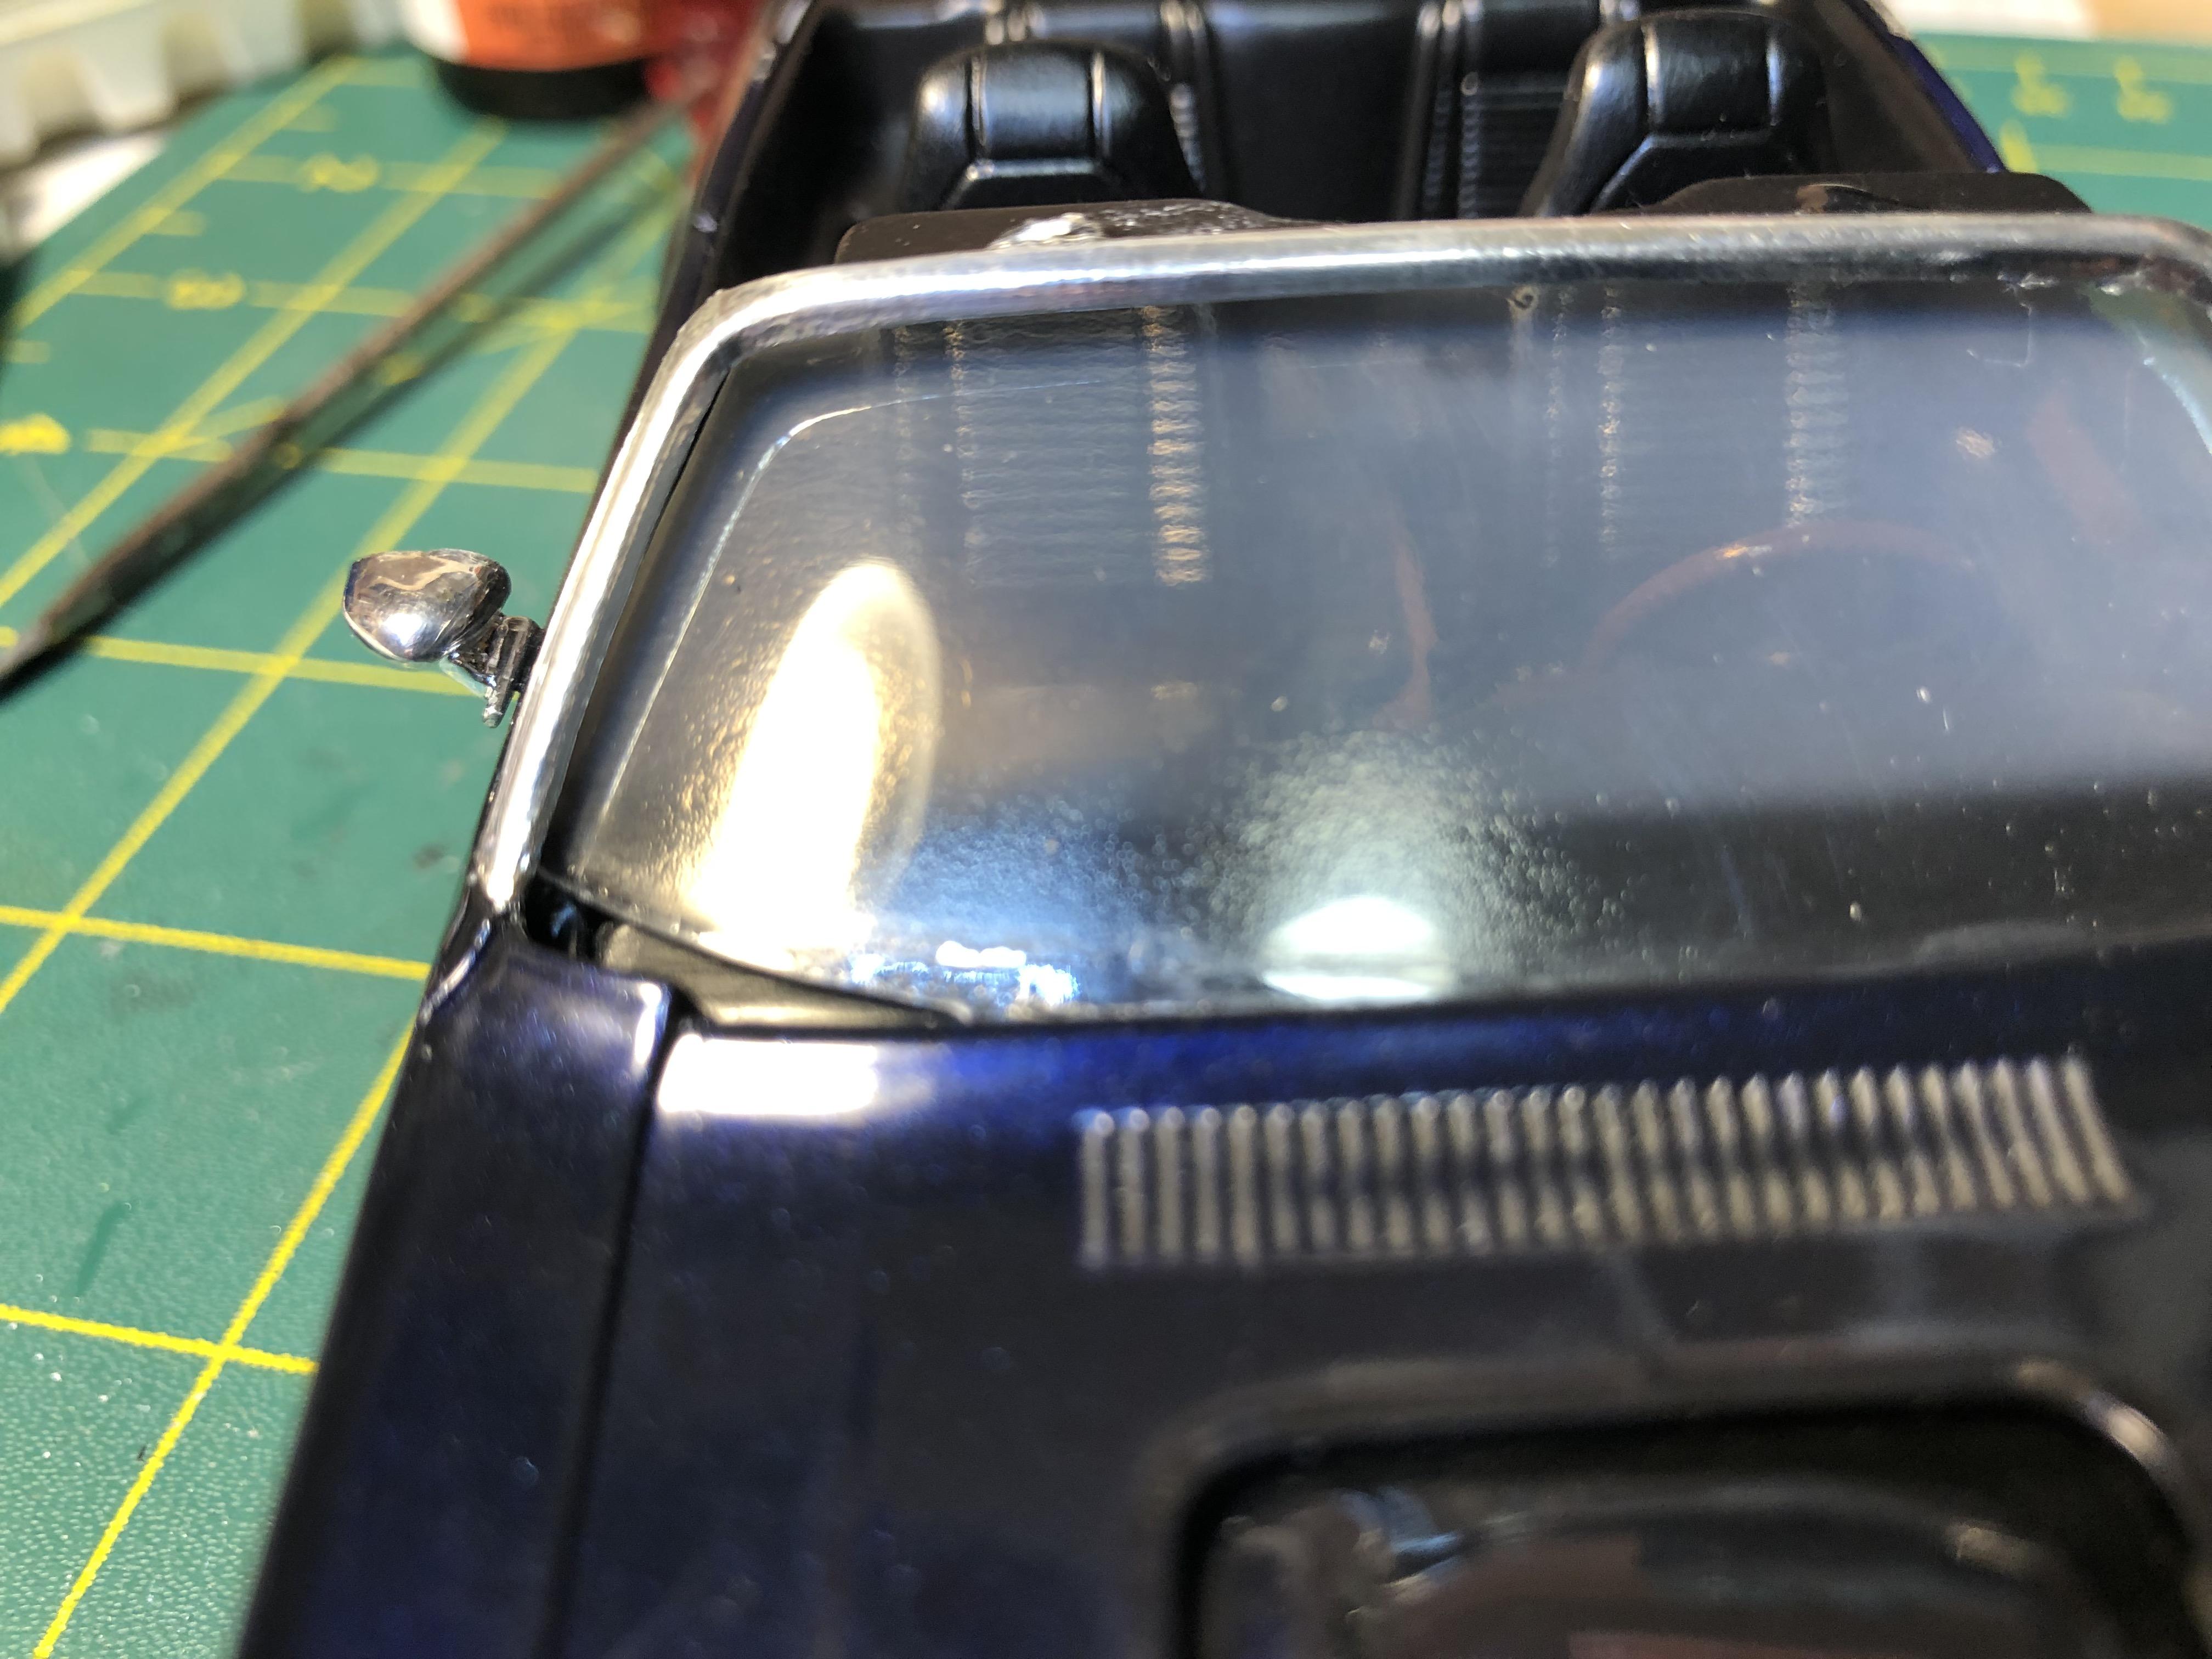
I sanded to screen for about an hour and a half and I could not cut through the haze so I gave up. Future wont work as I will end up with a nice shiny hazy screen. If the smoke tint doesn't work out I will cut out a screen from clear film And yup I always use paper tissues as well for packaging but I like the micro fibre towel idea. Yje only issue I see is that the fibres always seem to catch on something
-
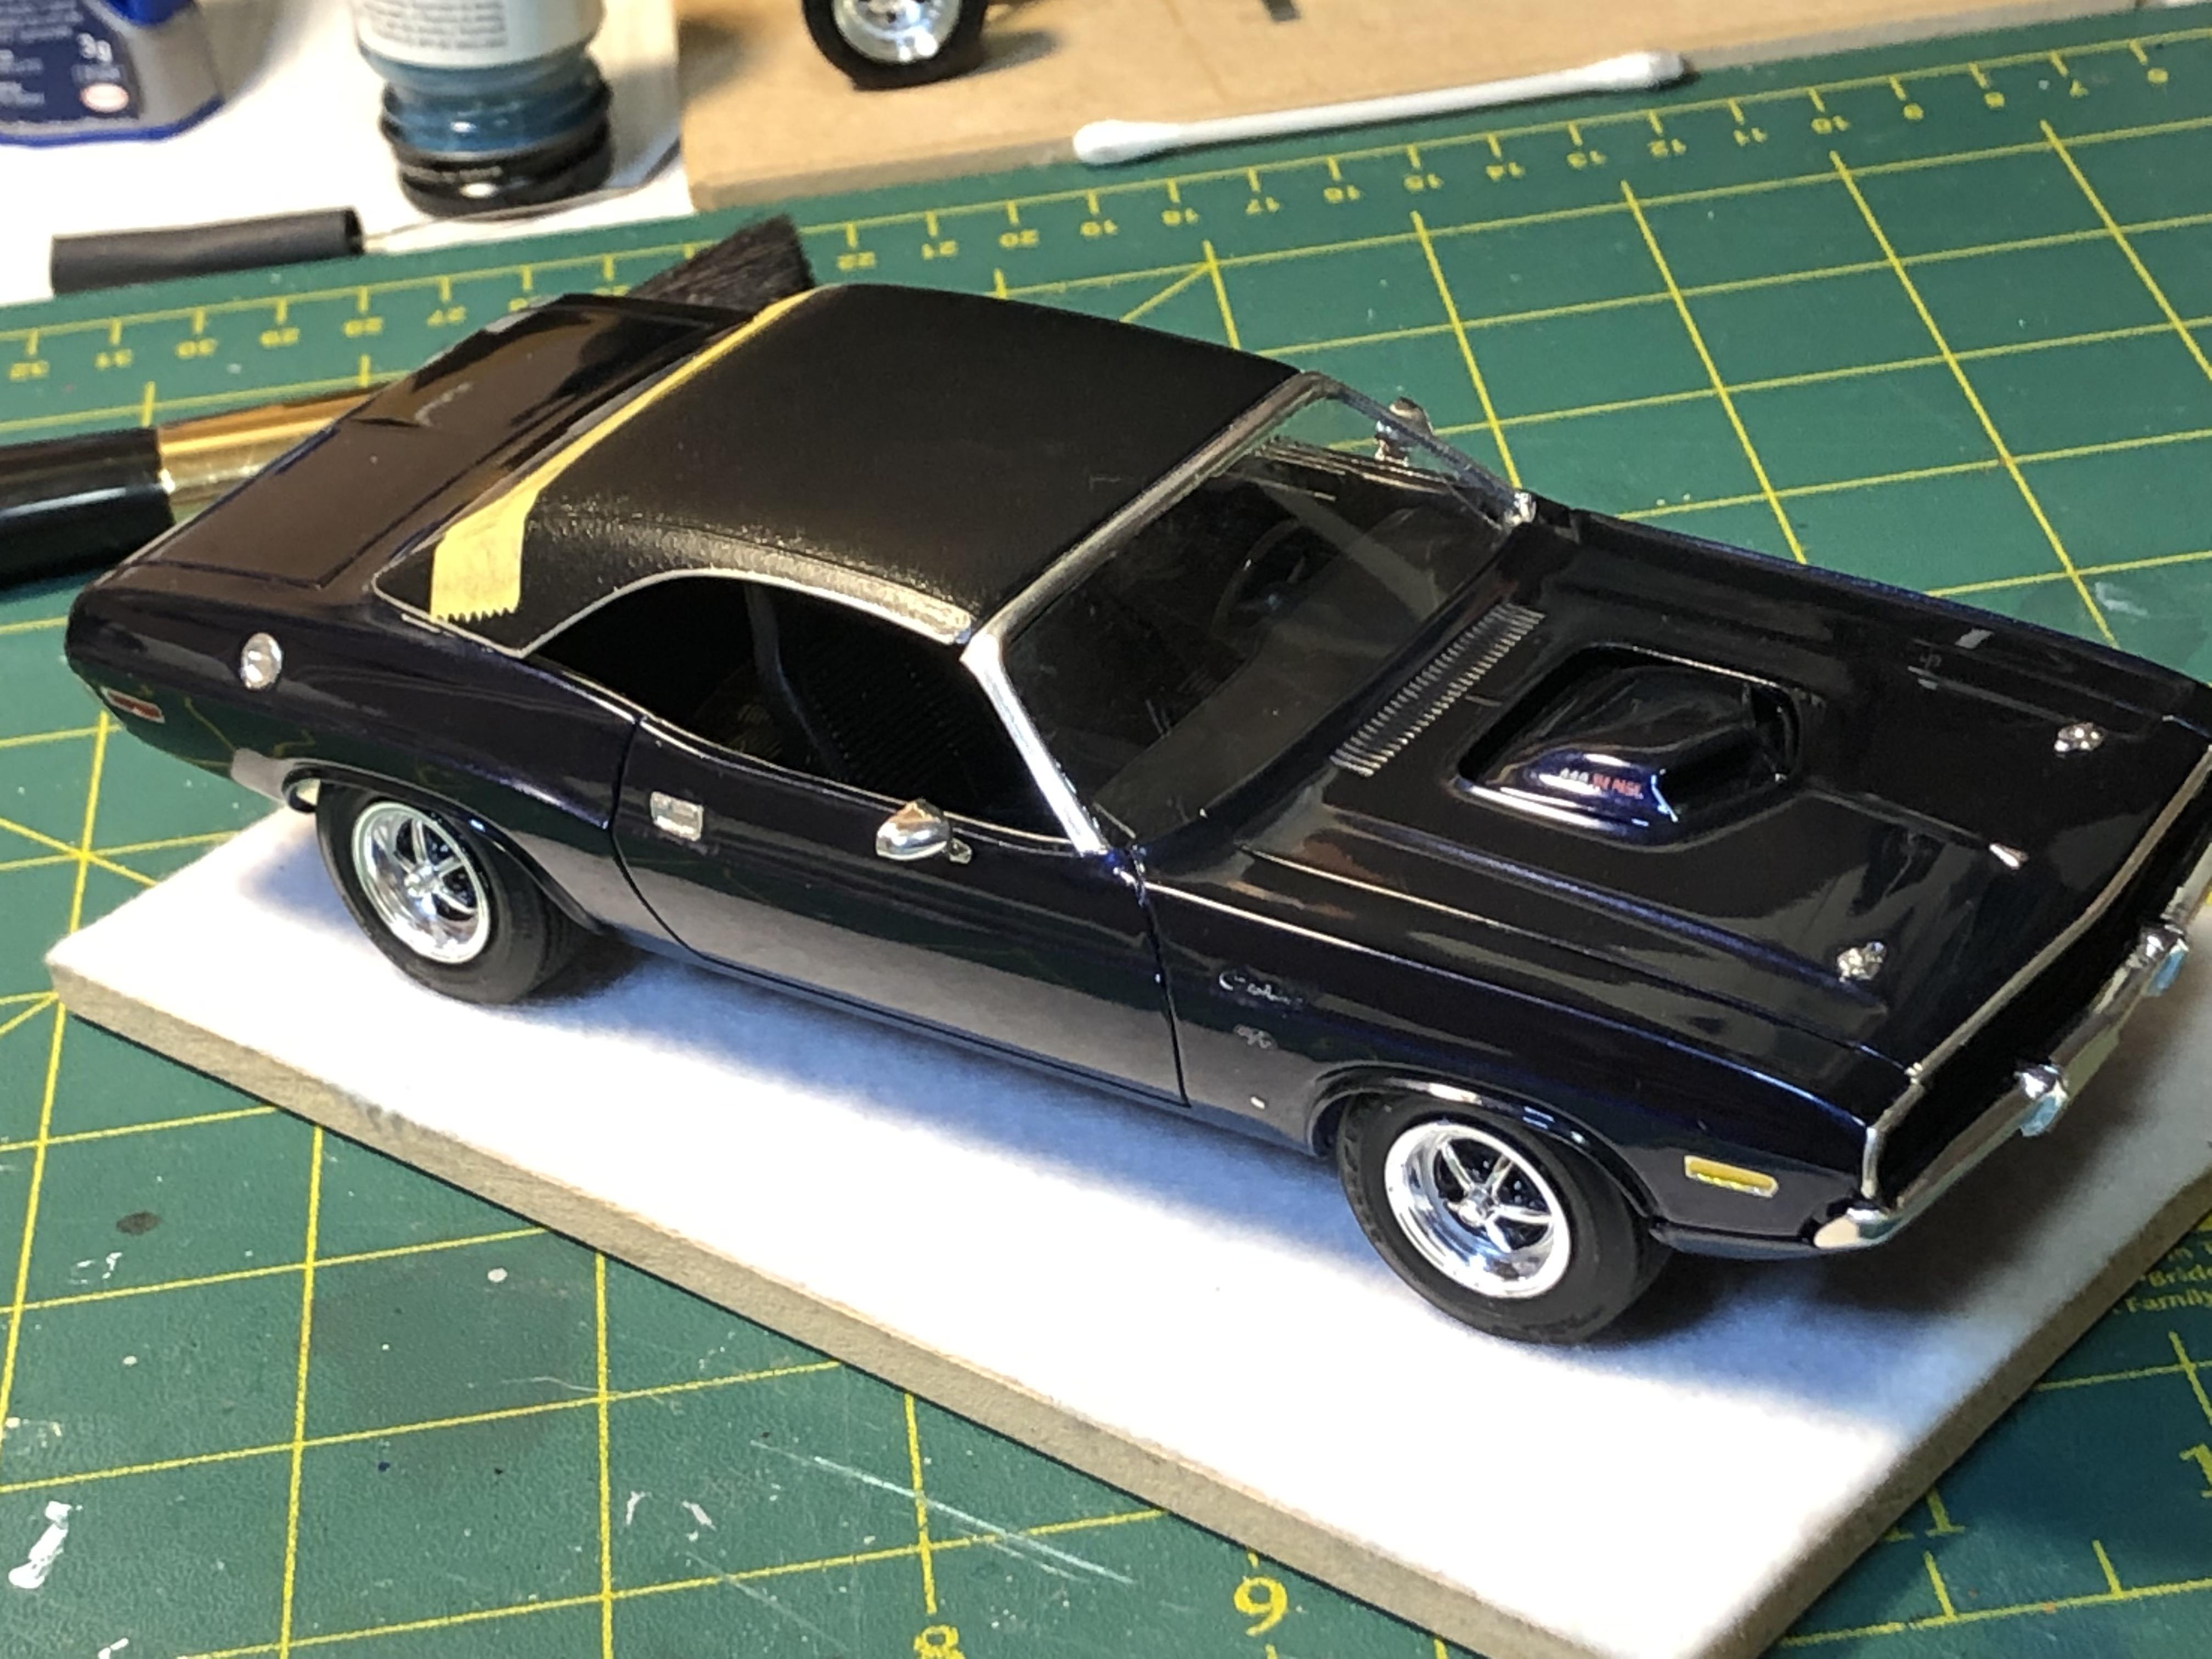
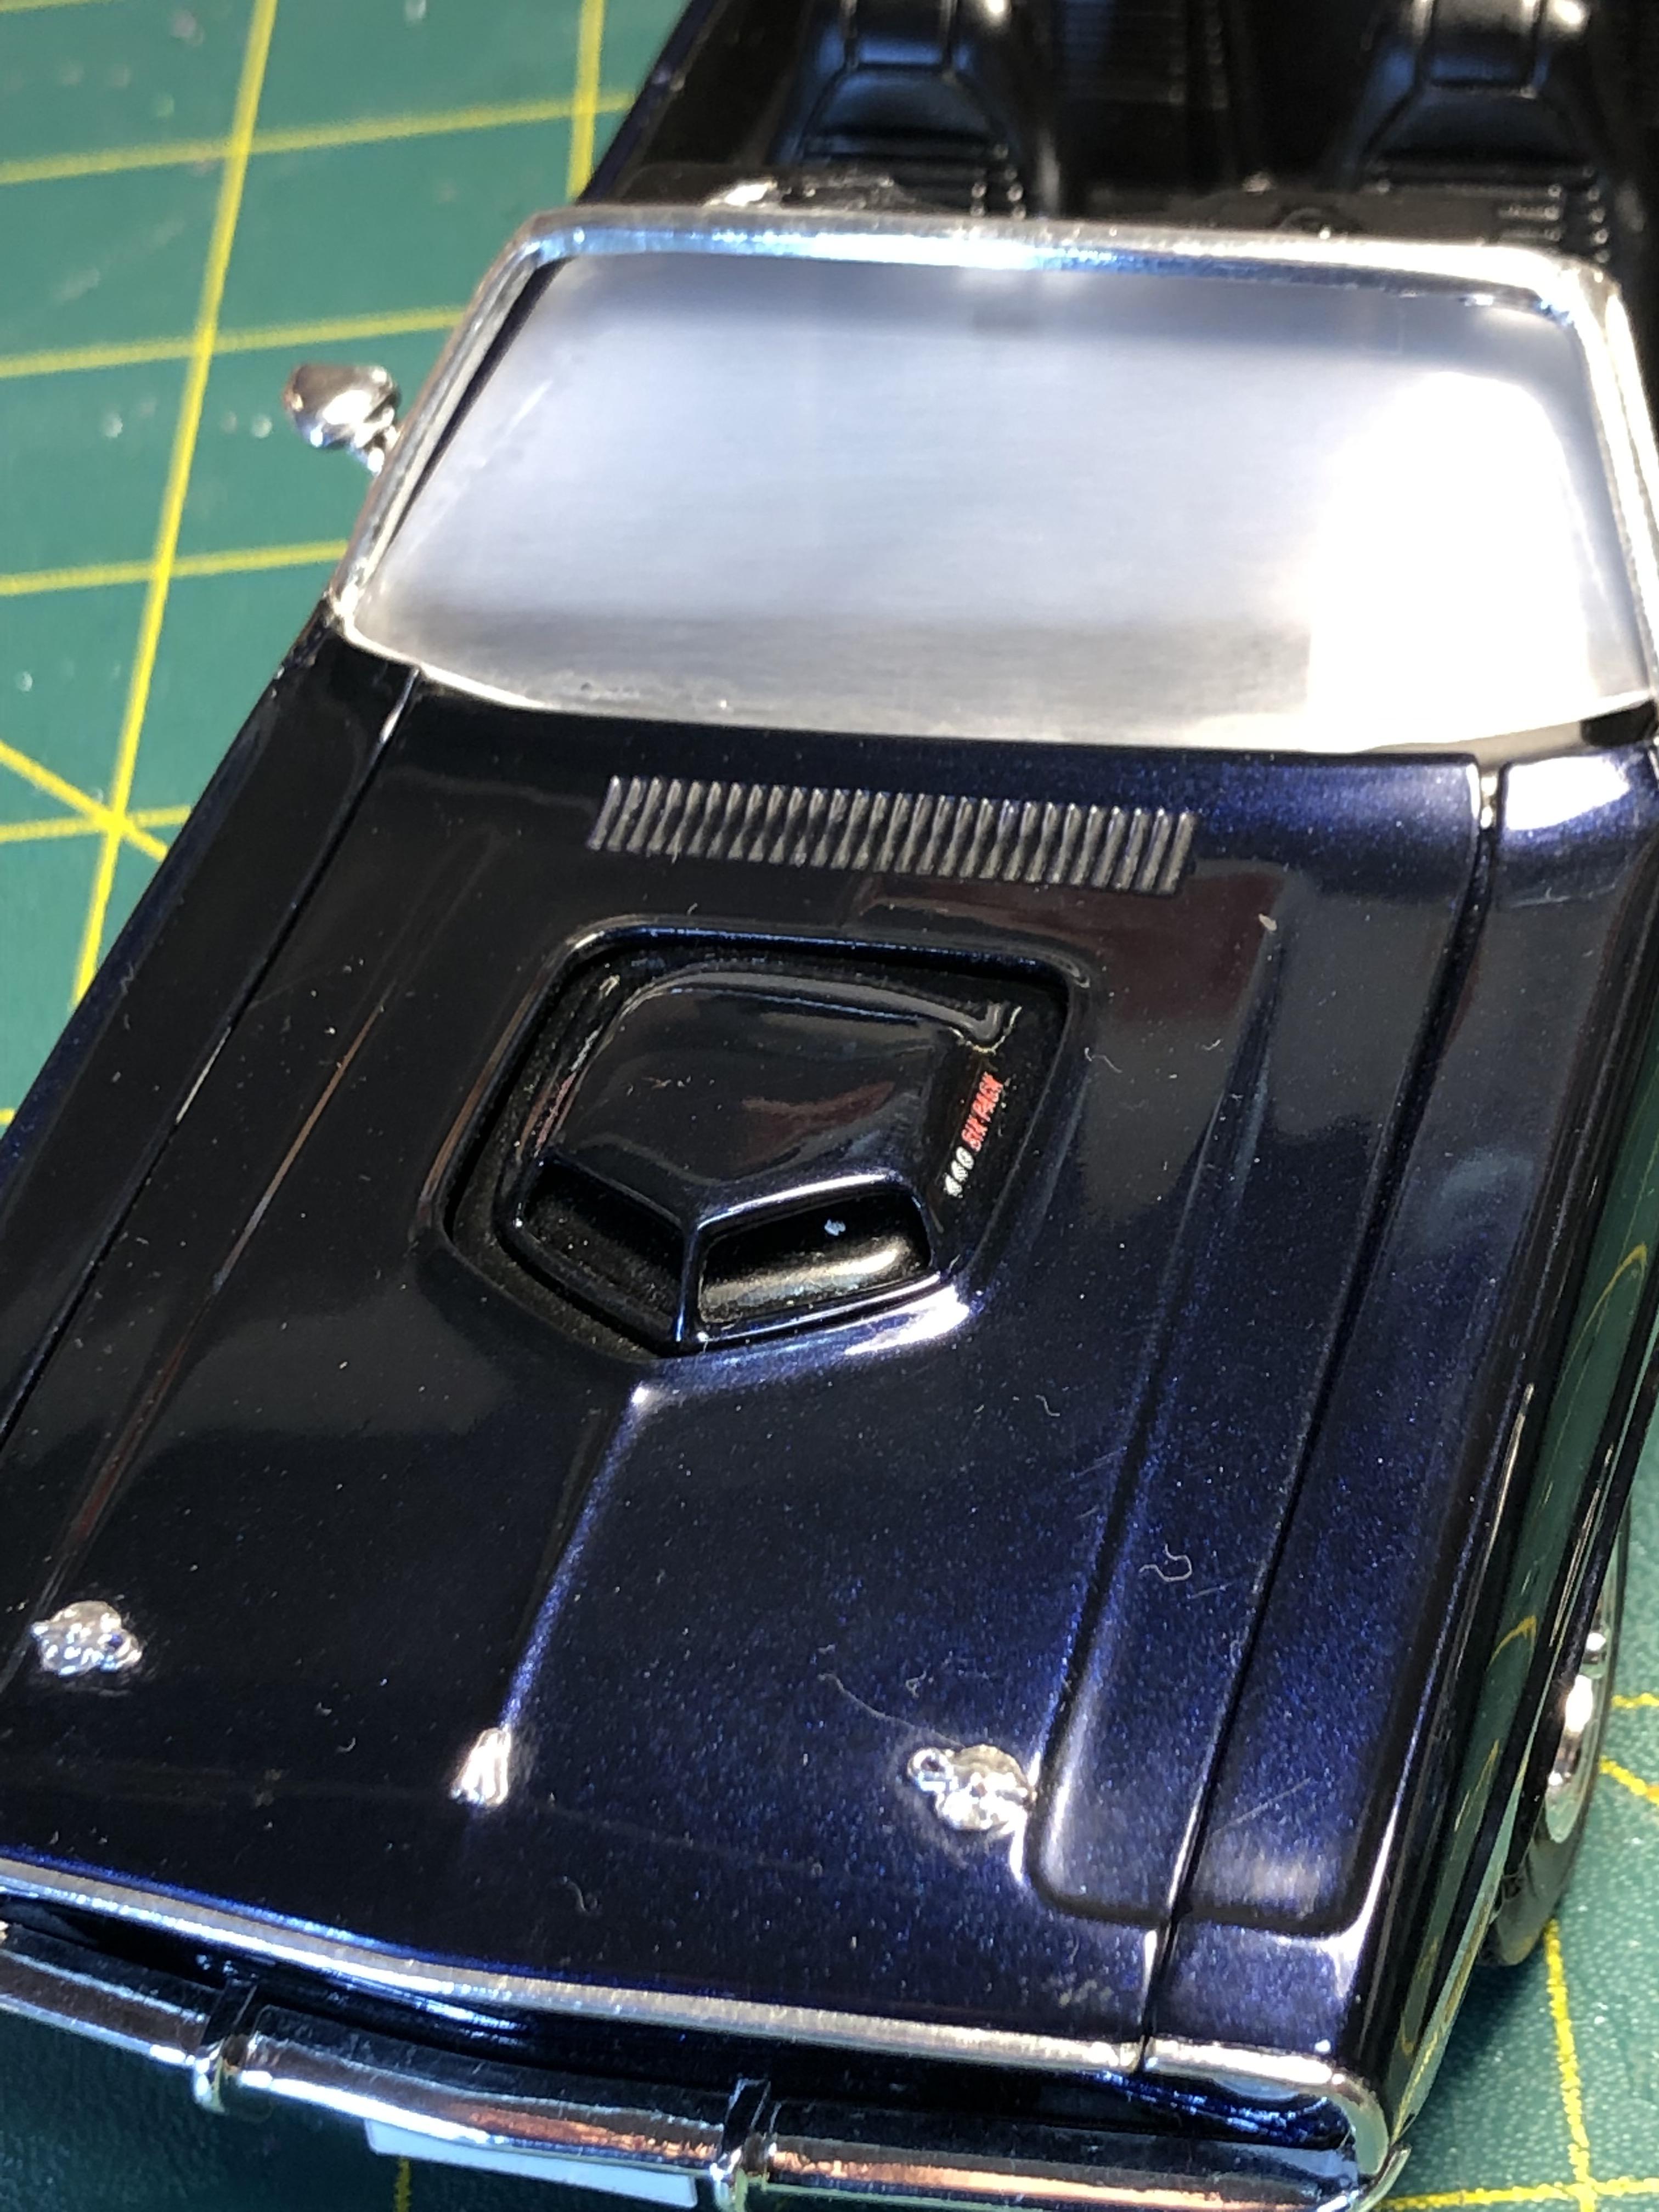
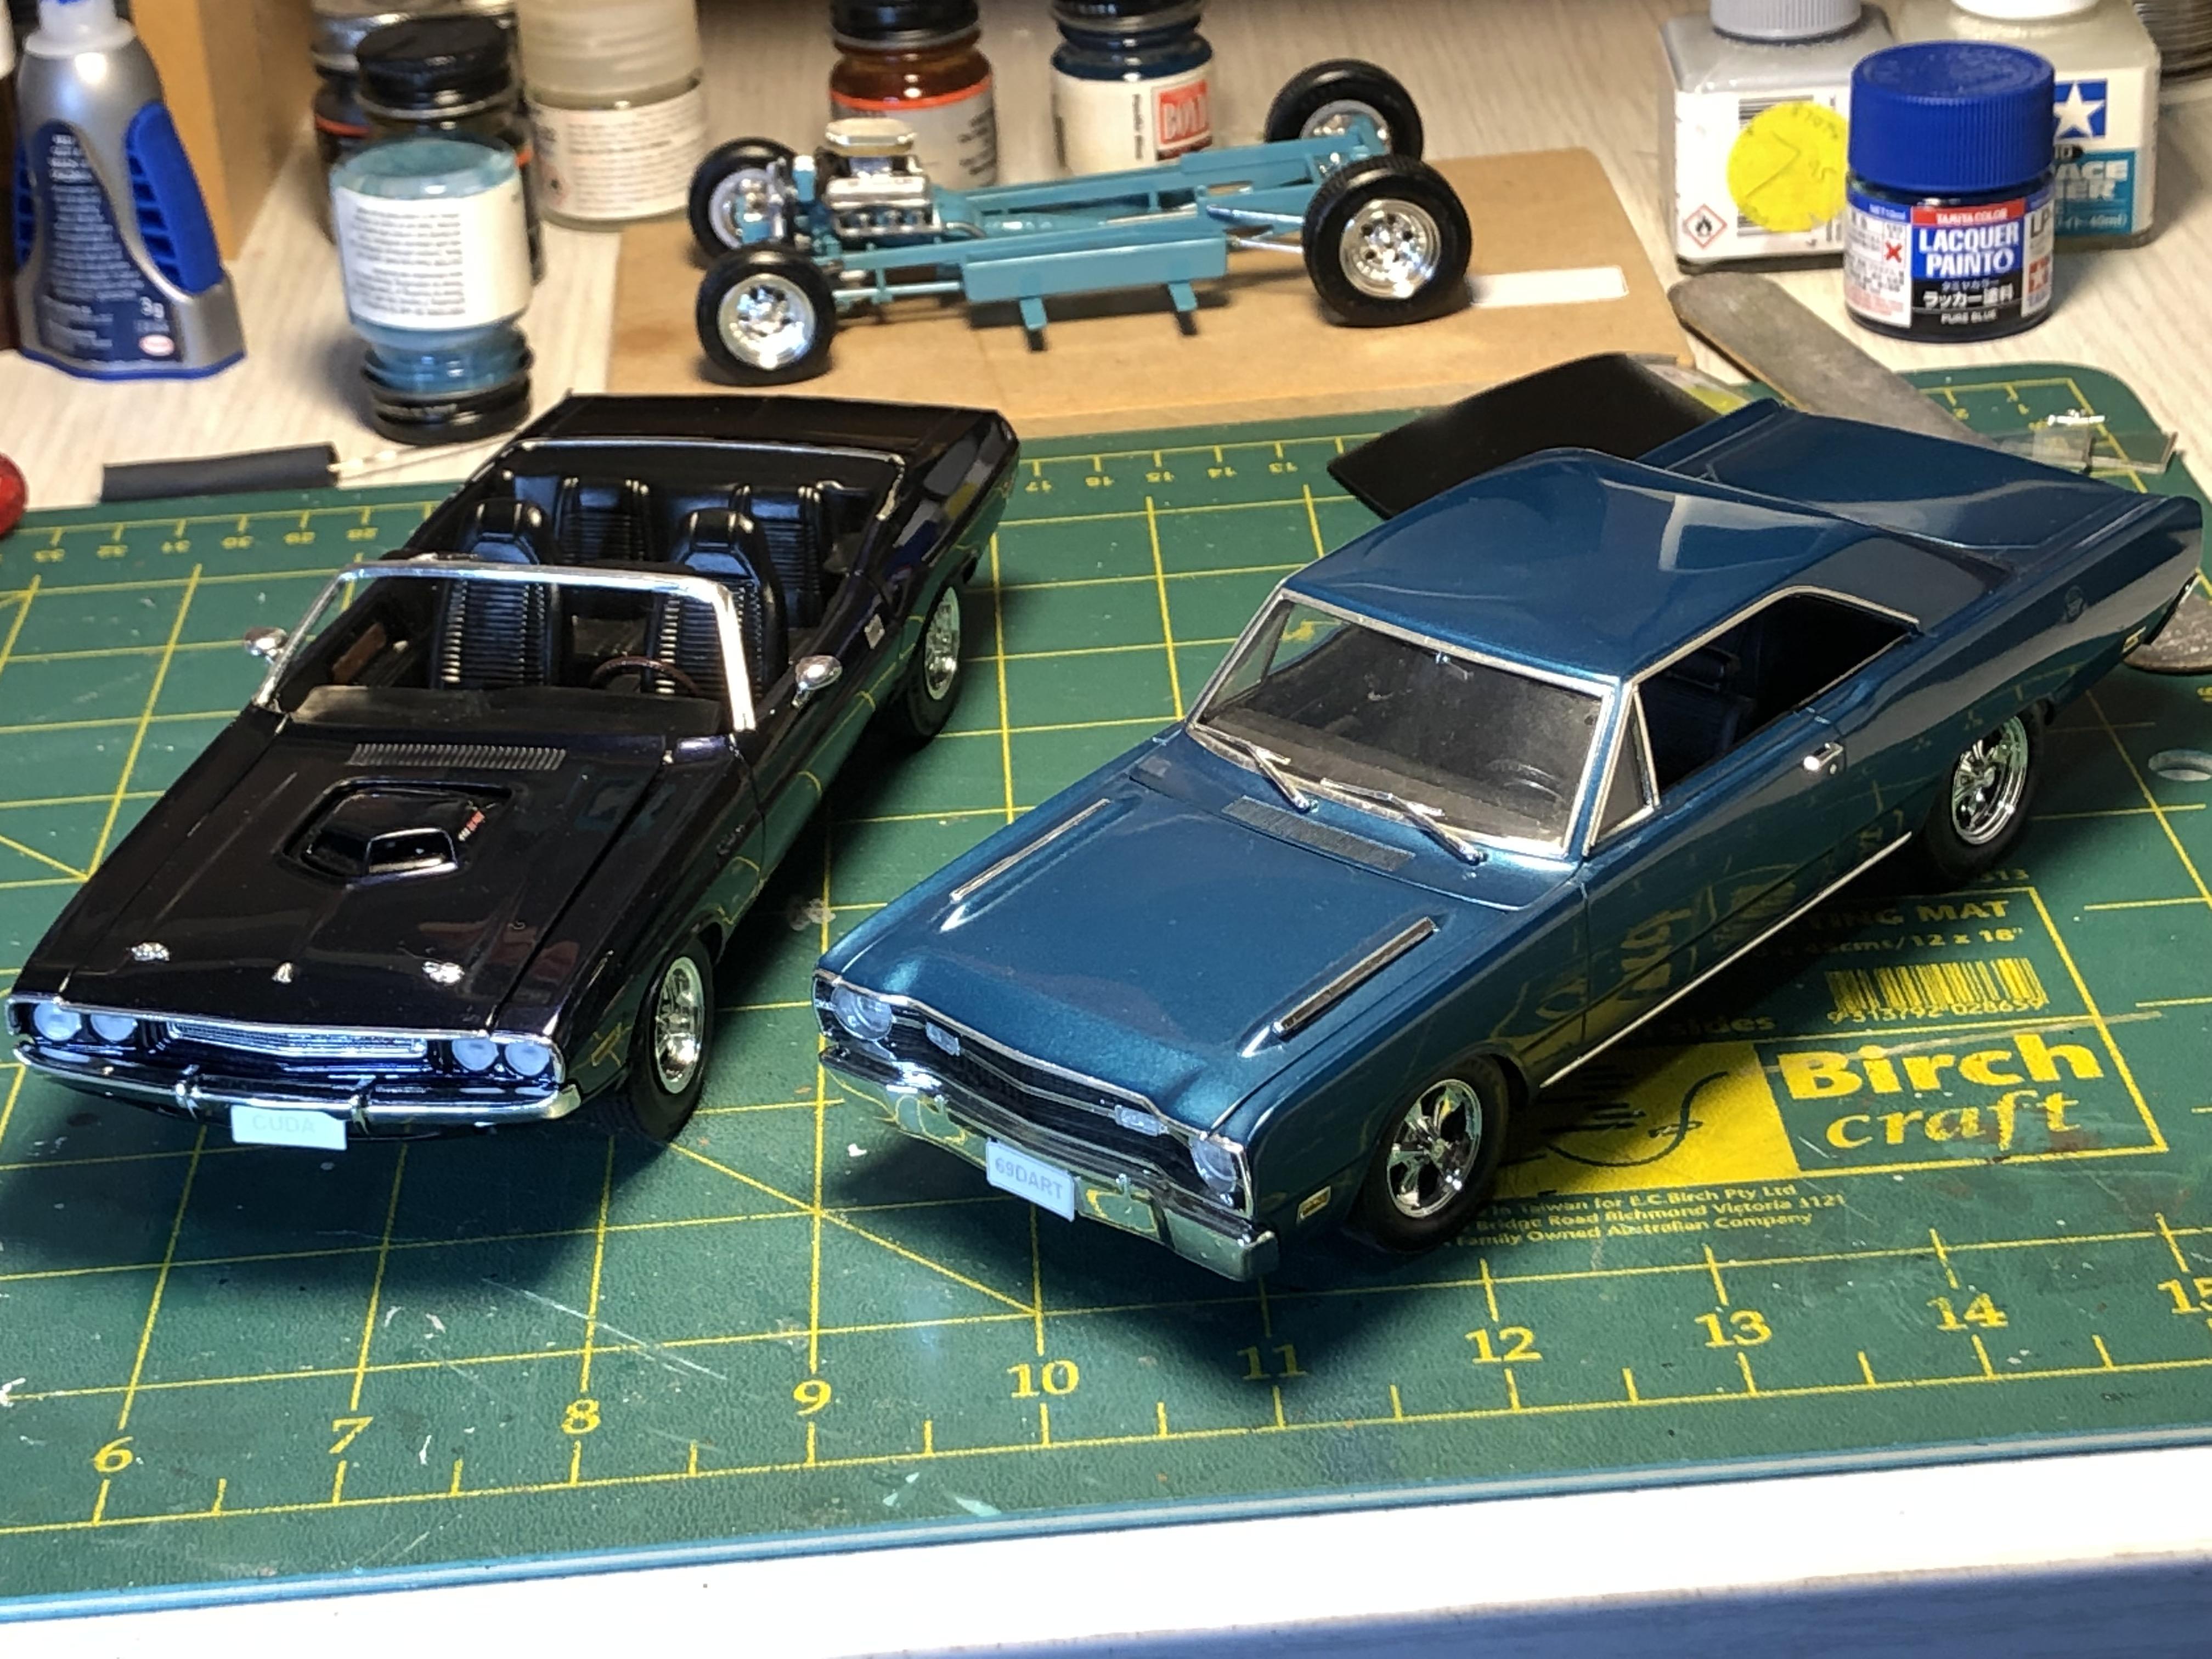
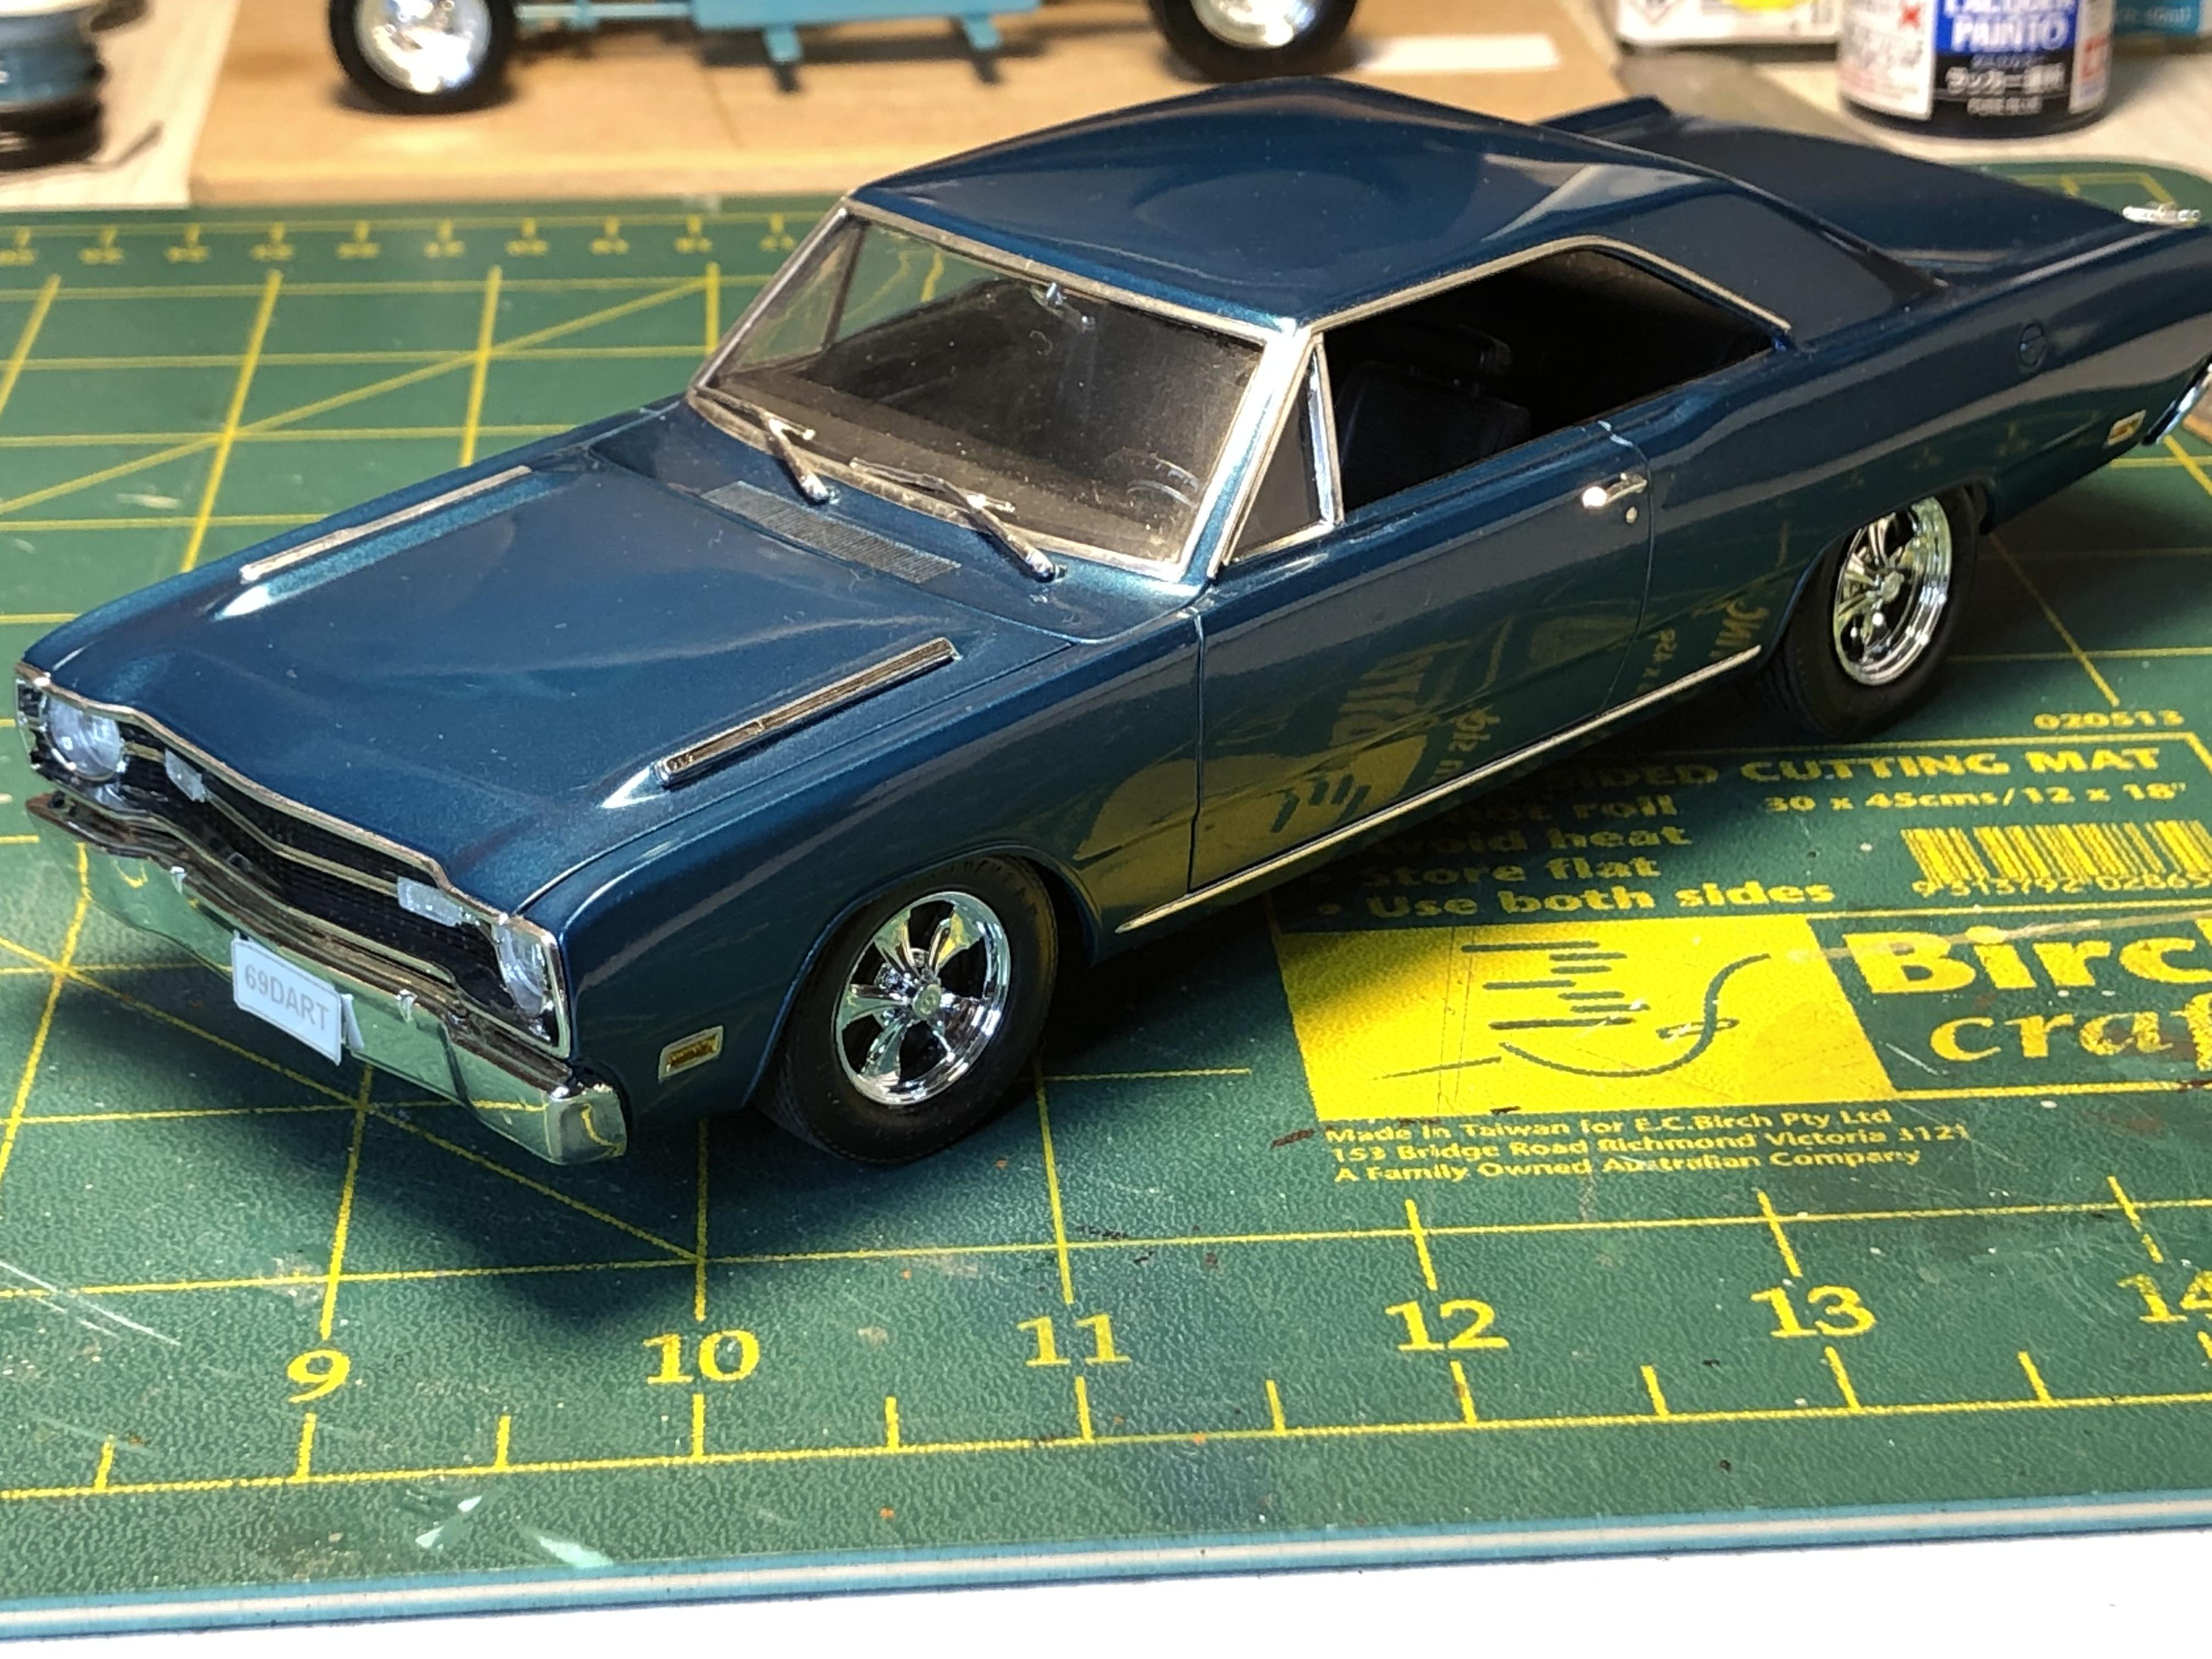
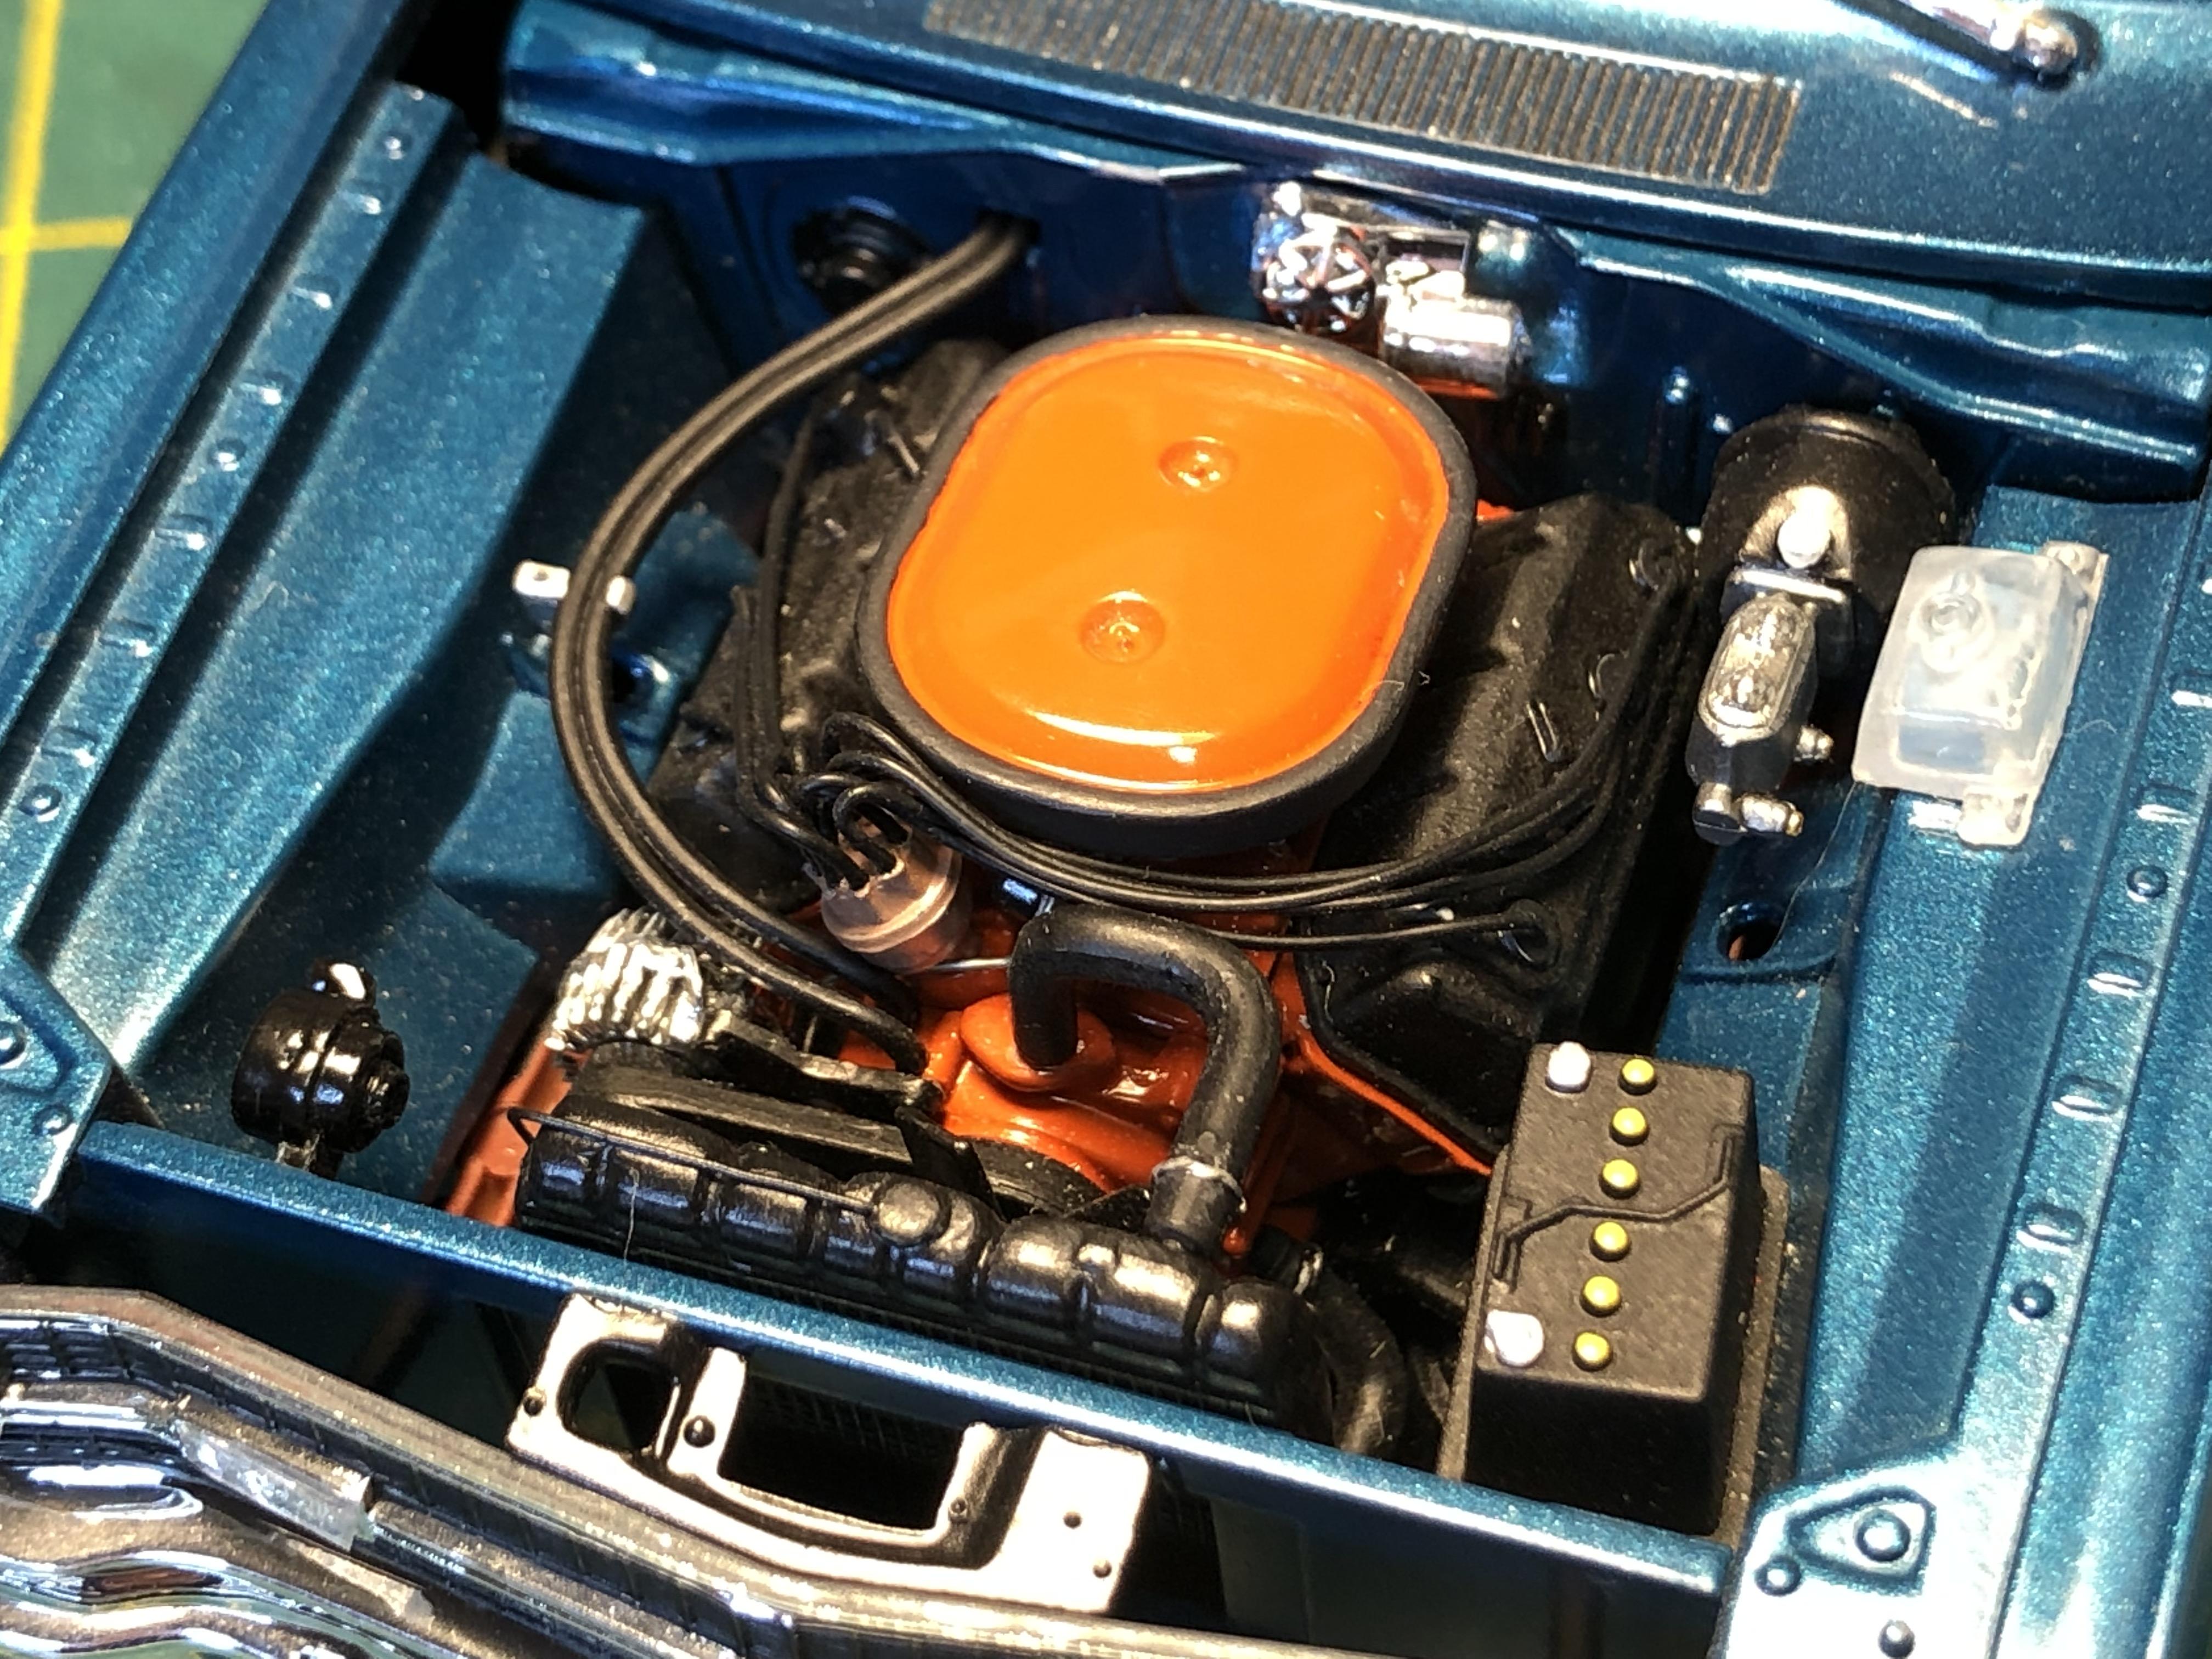
A couple of my models in for some service Dodge Challenger - Our local model club put on a display and I could not get there to pick up my models. A fellow modeler being a good Samaritan wrapped the model in bubble wrap. My jar dropped when I unwrapped it - the windshield had been fogged up by the plasticisers in the bubble wrap. I partially dissassembled the kit to get the glass out. Tried to sand back the fogging with first 3200grit cloth - made no difference. I worked my way back to 800g and still no joy. I then polished out the exterior of the glass to 1200g and the inside to 2400g. I will paint the inside with smoke transparent paint to see if that makes a difference Next up was the 68 Dart. The windscreen had fallen in - an easy fix with some Kristal Klear to glue it back in The intersting thing about the Dart is that I shoehorned a Hemi from the Revel GTX into it well before the Hemi Dart became available. The build style is a "what if" if Dodge went into full production with the Hemi Dart so it represents a day 2 car It has been a week of repairing some damaged kits - a 29 Roadster, 34 Tudor and a Viper got the once over as well and are now residing in full glory in the model cabinet Thanks for looking
-
1937 Ford Pickup By Revell
bill-e-boy replied to Zippi's topic in WIP: Model Trucks: Pickups, Vans, SUVs, Light Commercial
Looking good Bob. Paint came out nice and I like your method for the spark wire tubes. I have used brass tube in the past and it looks OK too A word of advice re the Tamiya X series of paint - colour sand it with all the grits down to a fine as you want and then let it gas out for a few more days before you hit with the polish. It is too soft if you don't wait for the gassing out process
-
'32 Chevrolet Cabriolet....Traditional-ish...Update 7/23/22
bill-e-boy replied to Plowboy's topic in WIP: Model Cars
Looking good Roger. Keep up the good work "But, it's annoying to think you're almost there and then realize you have to start over." - ain't this the truth. Its seems to to be every time you start kitbashing you come up against some wall that needs to be scaled or knocked down. -
Excellent job of representing an iconic model car. I remember seeing a big Deuce for the first time. What a revelation and it was not even painted. I wanted one but still haven't got round to getting one yet and that was in the late 70's?
-
Kool Koops! Well done
-
Paint is looking good Bob With the BB Chev and the boat anchor (Y-Block) you would need to cut the firewall to get them in - OOPS! you have very nicely painted the coupe
-
Nice looking 48 fat fender Must be a real ex cop car complete with a bullet hole in the drivers side windscreen
-
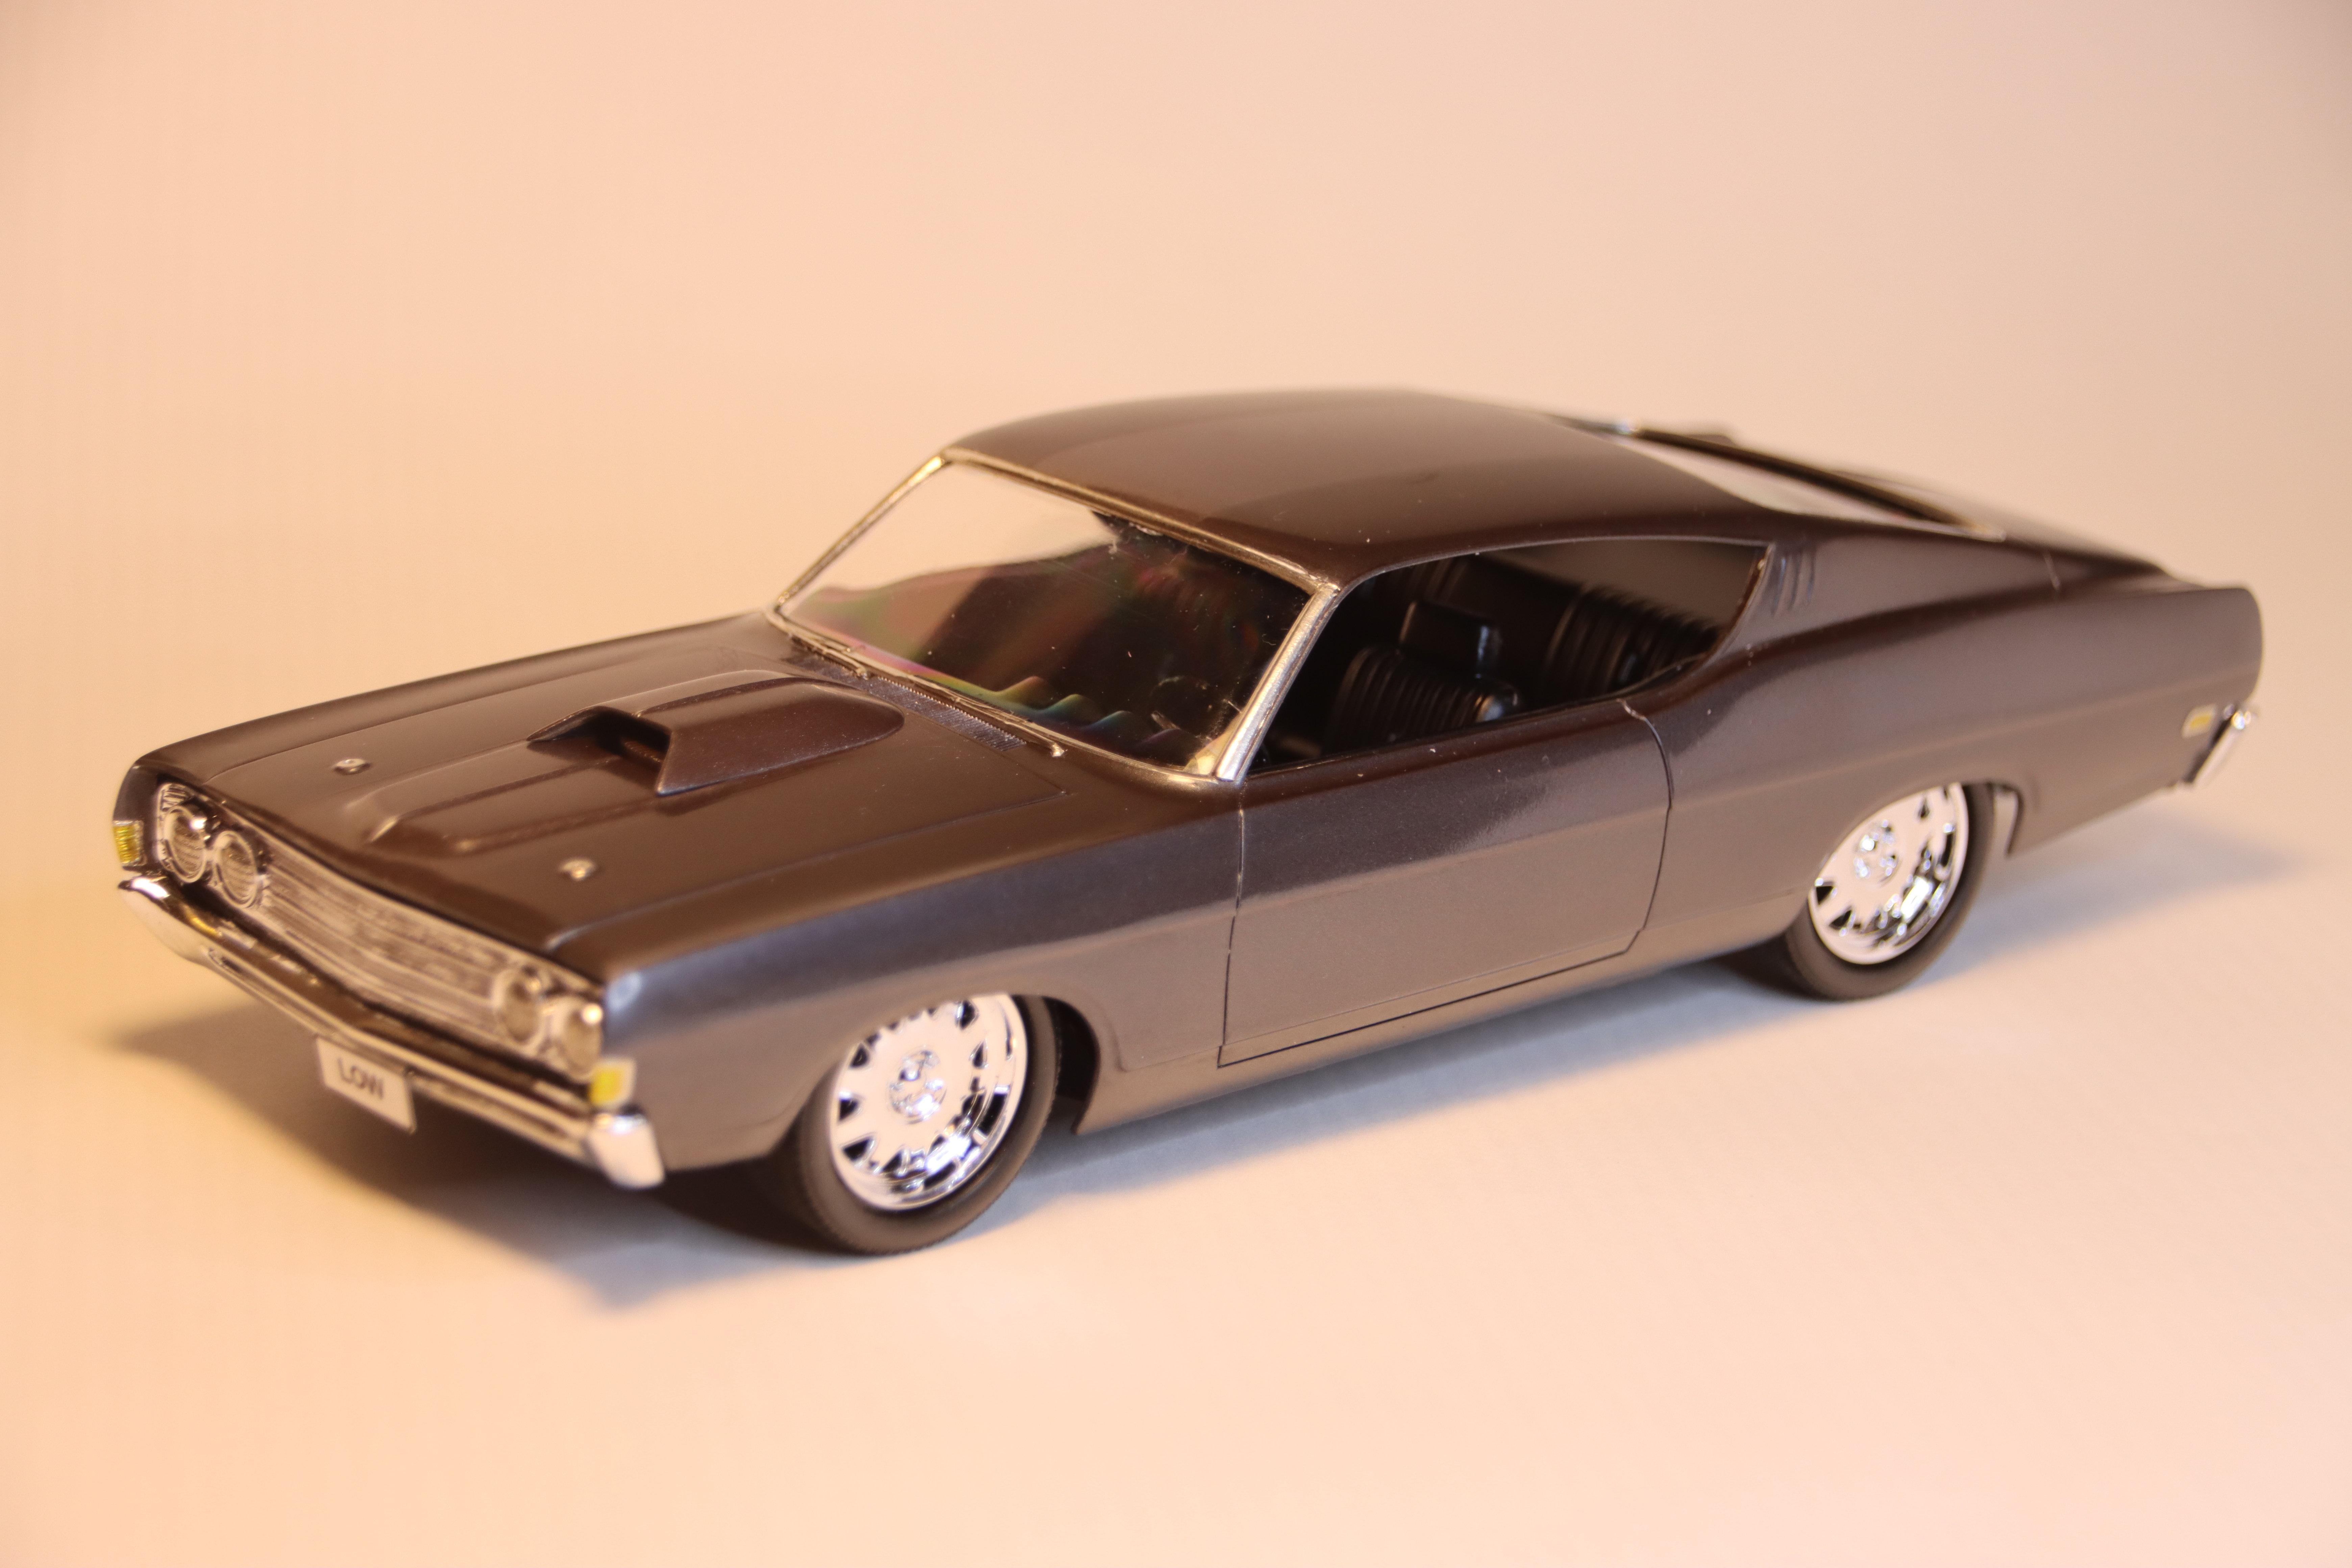
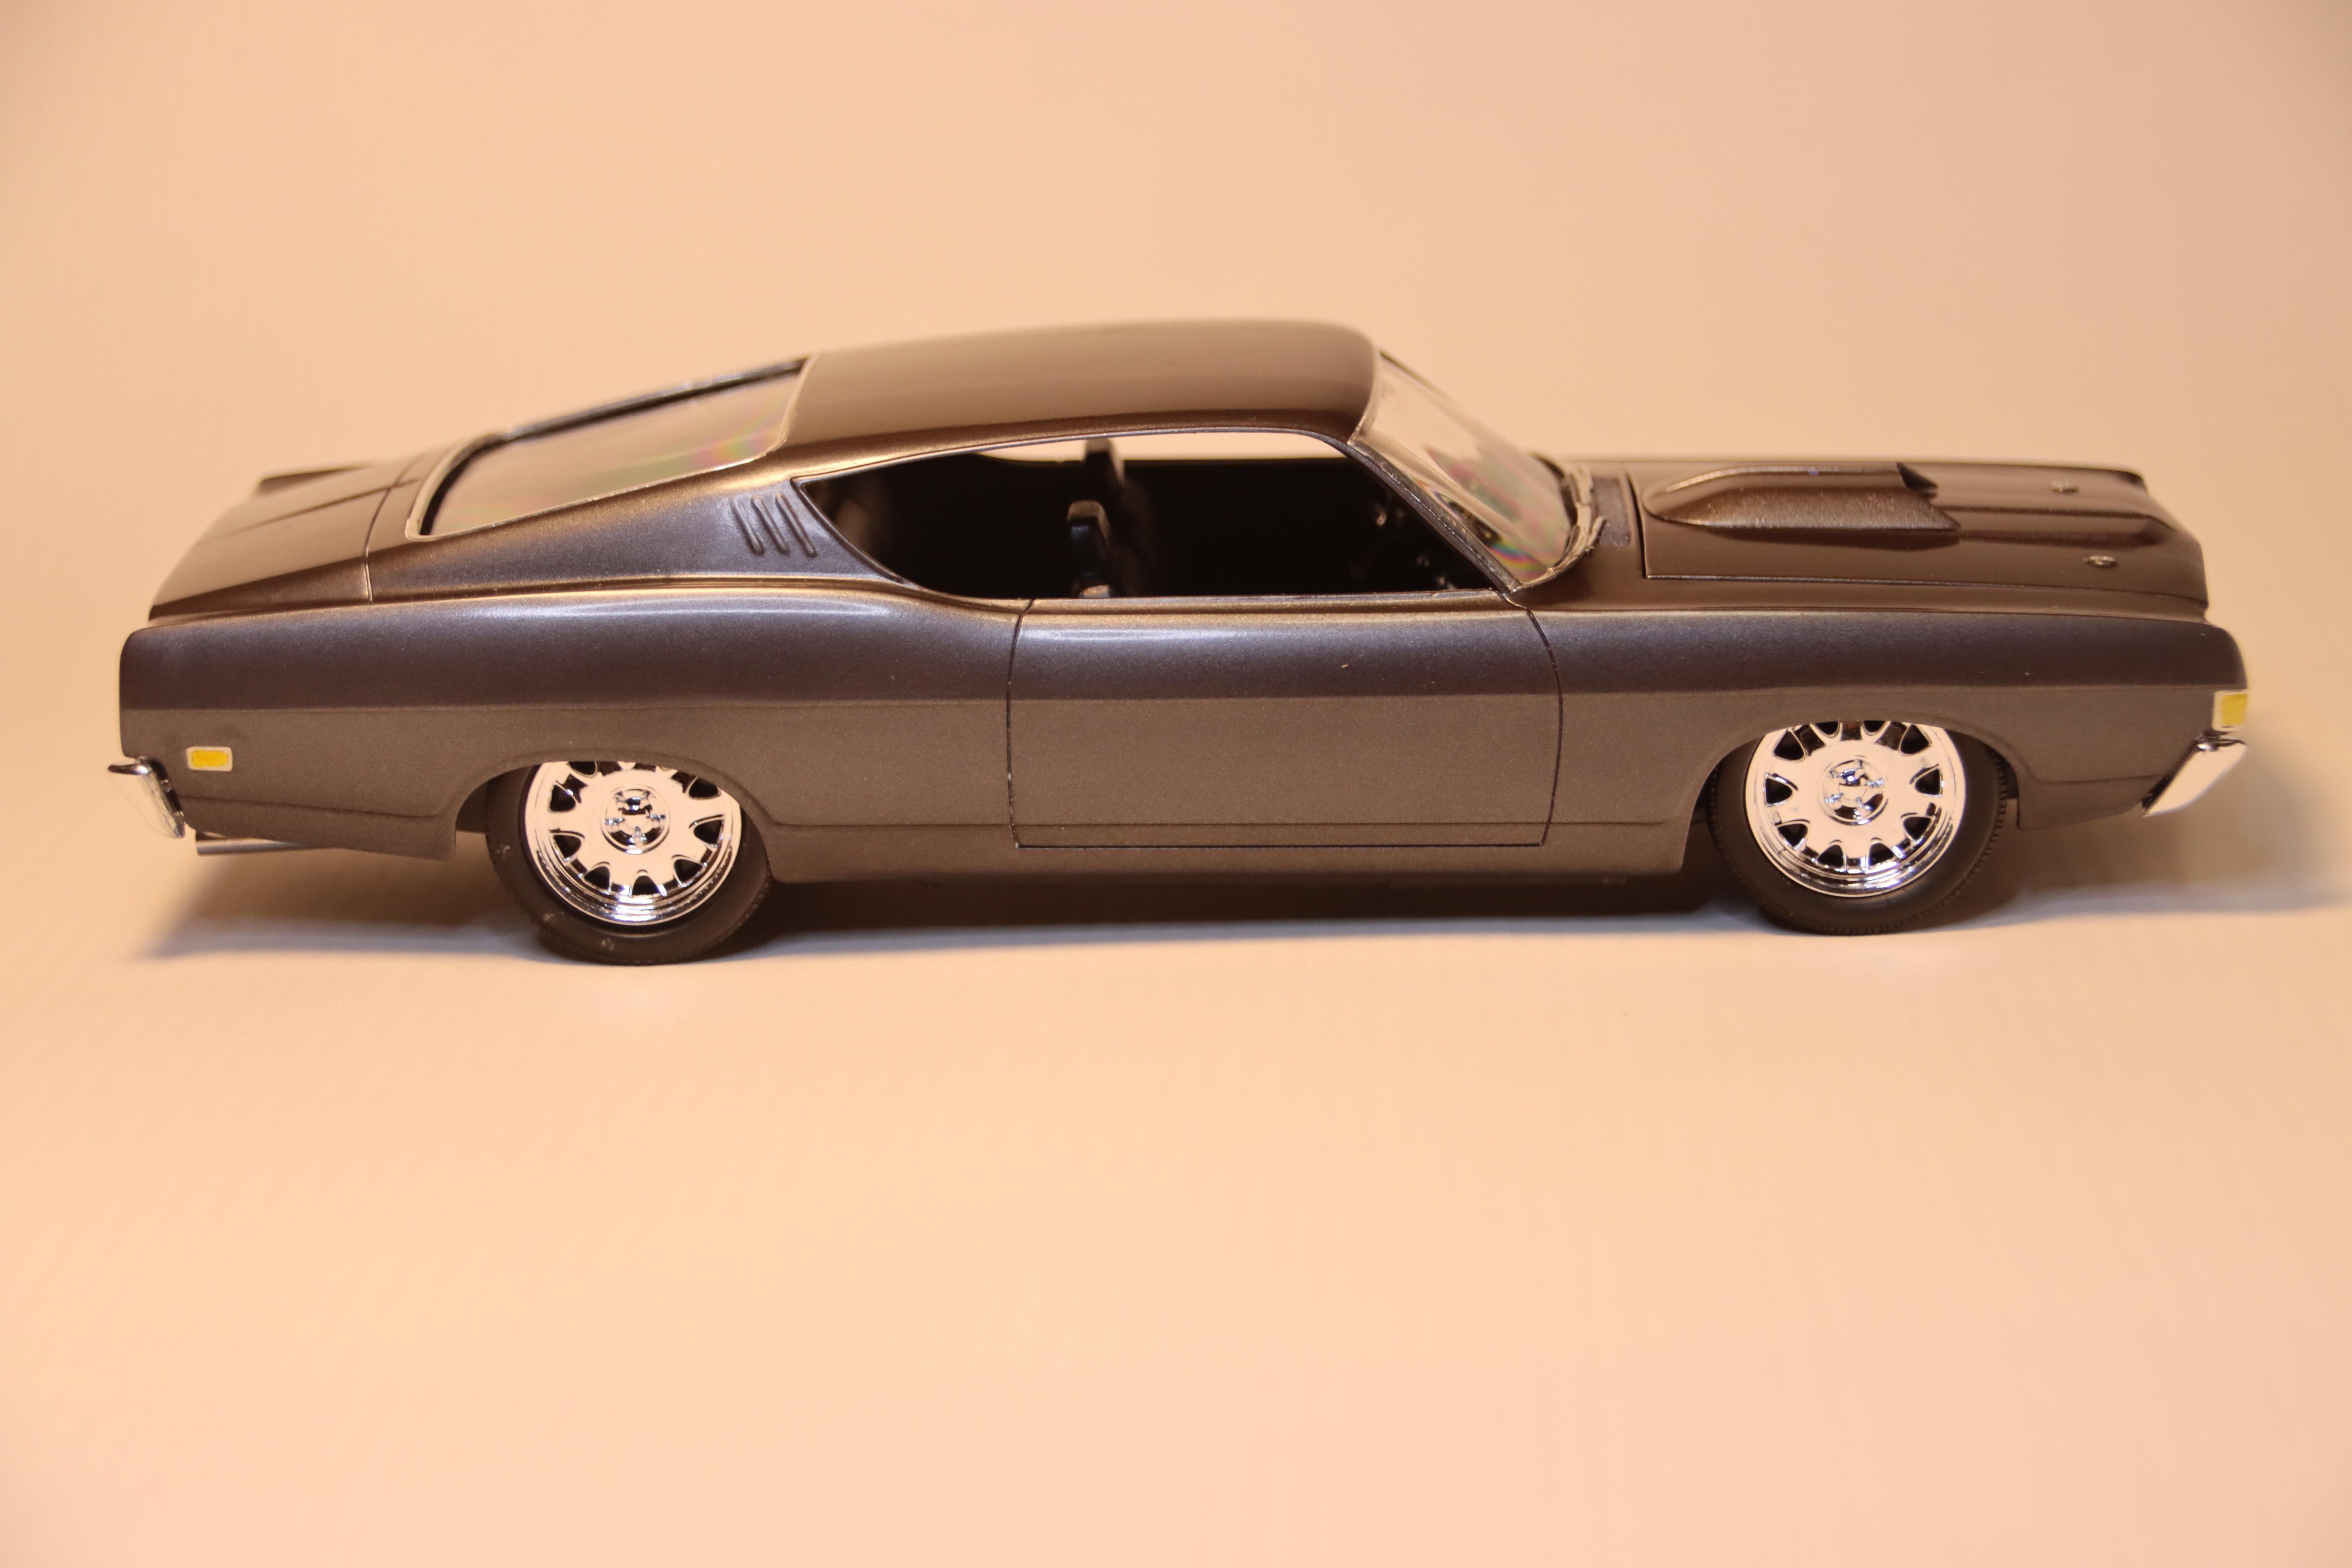
This is my take on the re-issue of an old annual kit - Colour is Tamiya Gun Metal with a Light Gun Metal stripe - Slammed to the ground with big inch wheels - The bonnet scoop was changed as I wanted a scoop and after opening the hood up to fit the air cleaner the kit scoop was too small. Found a section of the belly of another kit that i tweaked to look like what I have now - No additional detailing added except for paint detail and BMF The original kit has separated exhausts bit all other chassis detail is very basic.
-
Kool - nailed it on all accounts
-
Great job on both kits Tim I have only recently got my hands on a sample so this and Zippi's built will give me some incentive to get one built - then I will need to fork out for some more but they are $80 NZ over here in the stores
-
Looks good Bob. I like the colour a lot too Gives me the incentive to build up the one I have