Bills72sj
-
Posts
4,589 -
Joined
-
Last visited
Content Type
Profiles
Forums
Events
Gallery
Everything posted by Bills72sj
-
 I agree, that looks like the real thing.
 -
-
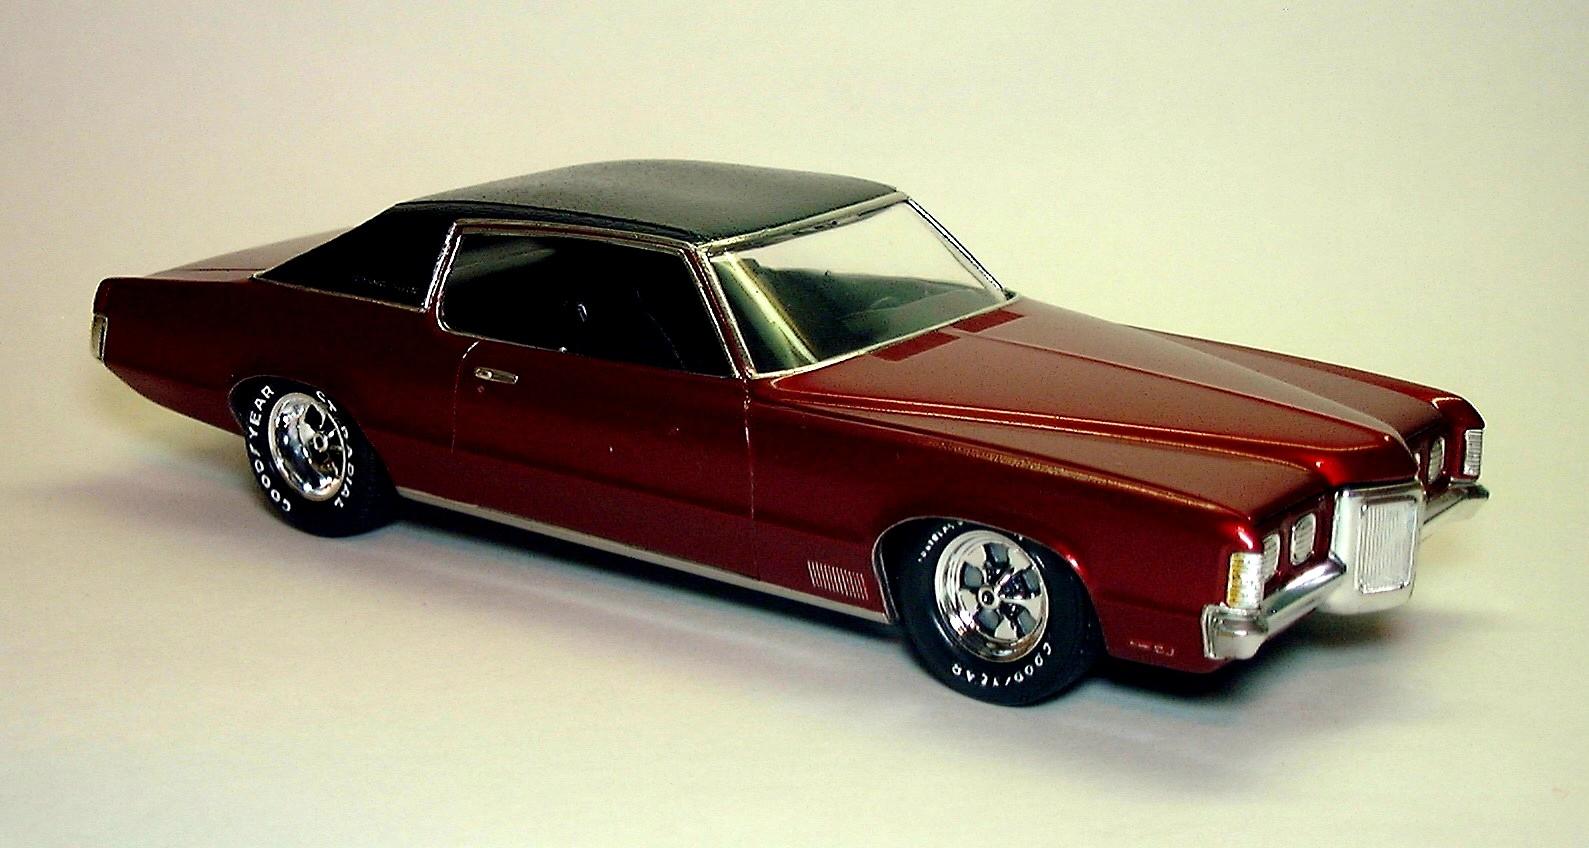
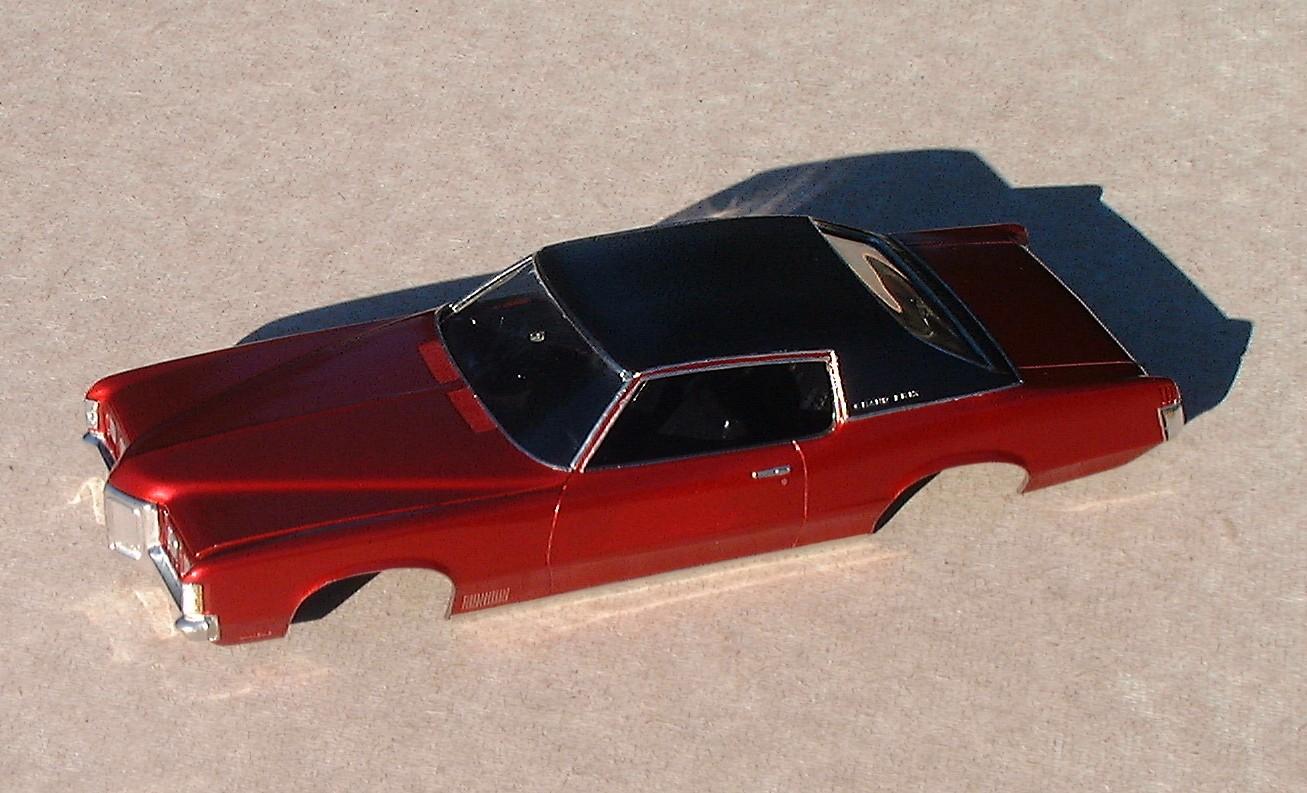
David, The vinyl roof was easy. It is already moulded in. All I had to do was mask and paint,
-
Moluminum Tires and Wheels
Bills72sj replied to Warren D's topic in General Automotive Talk (Trucks and Cars)
Buy some 3/8" foam window "packing rod" from Home Depot for like $3. Cut to length and stuff it in the tire. It really helps scrawny AMT tires push the tire bead out to the rim lip. One bag/roll will probably do 4-5 semi trucks.
-
Skip the tweezers on small decals. Once you see the decal let go of the paper in your water dish, stick you finger on the face and pull it out of the water. Remove the paper and "roll" the decal from your finger onto the surface. Make sure you have one drop of dish soap in your warm water dish to permit you to slide the decal of the surface. Once in place on the model, dab it with a cotton swab to wick up the water.
-
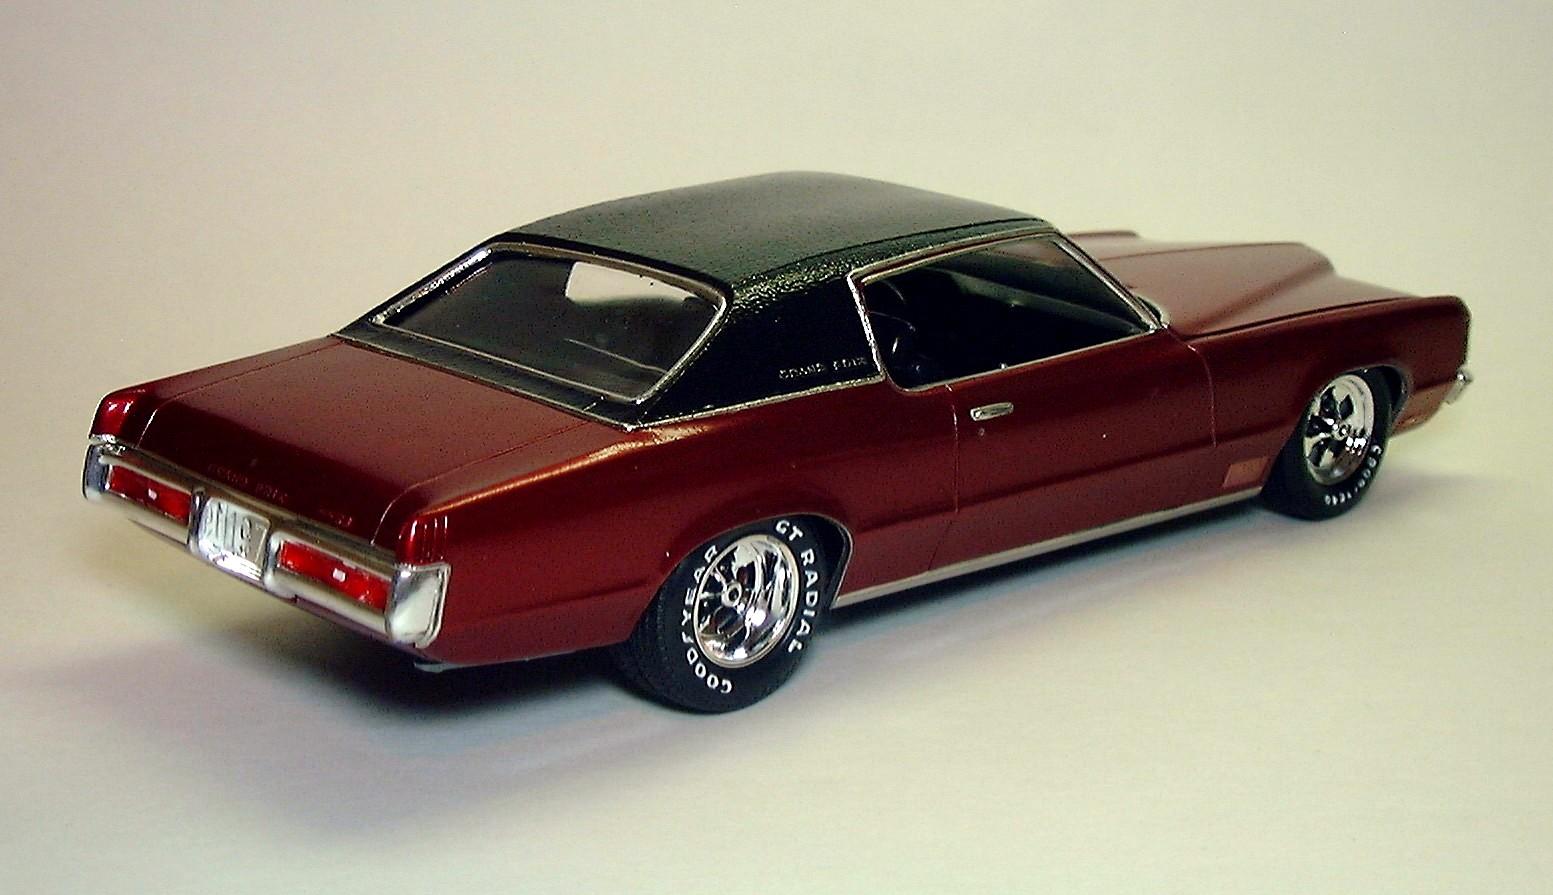
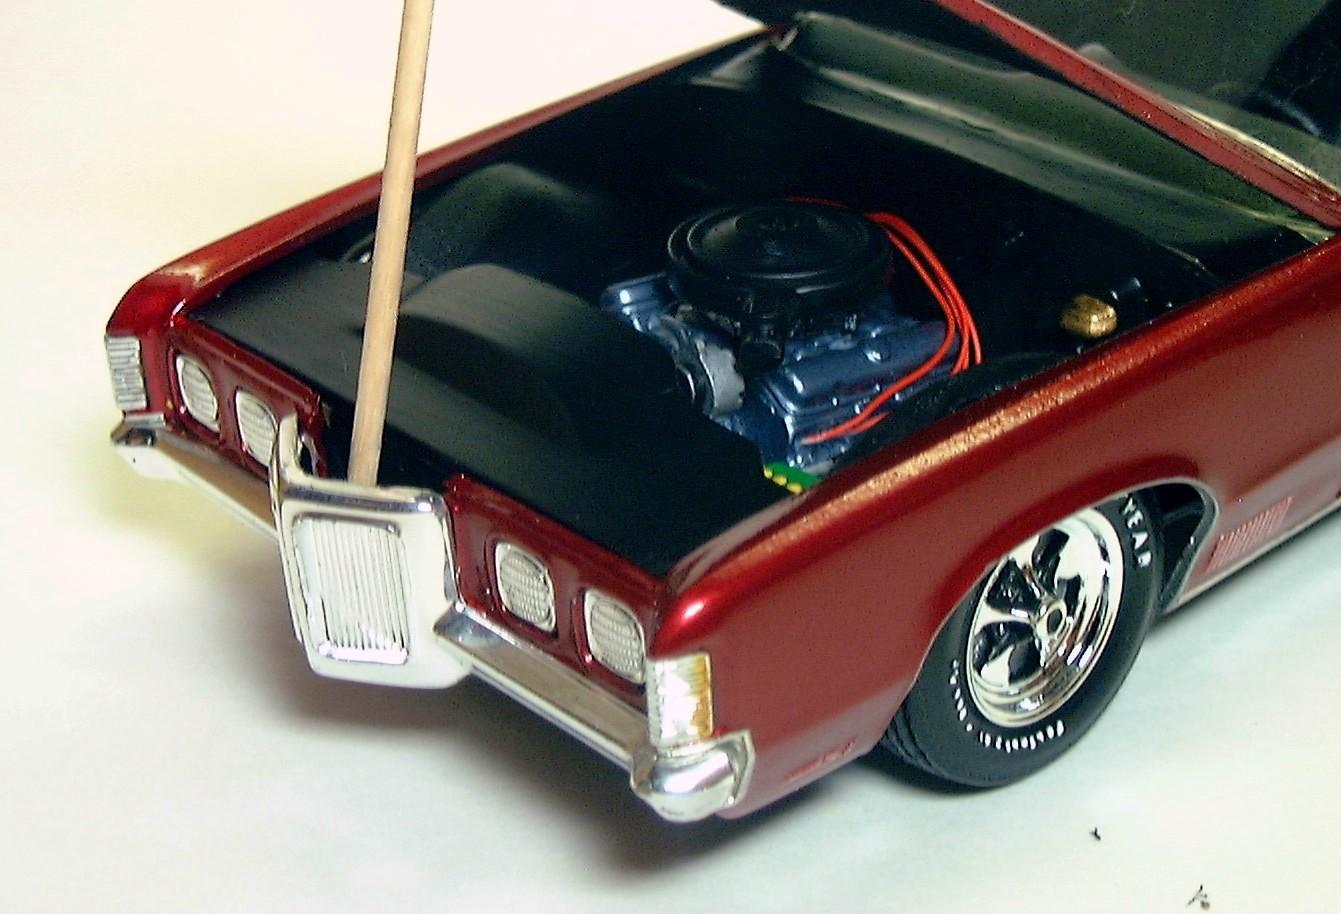
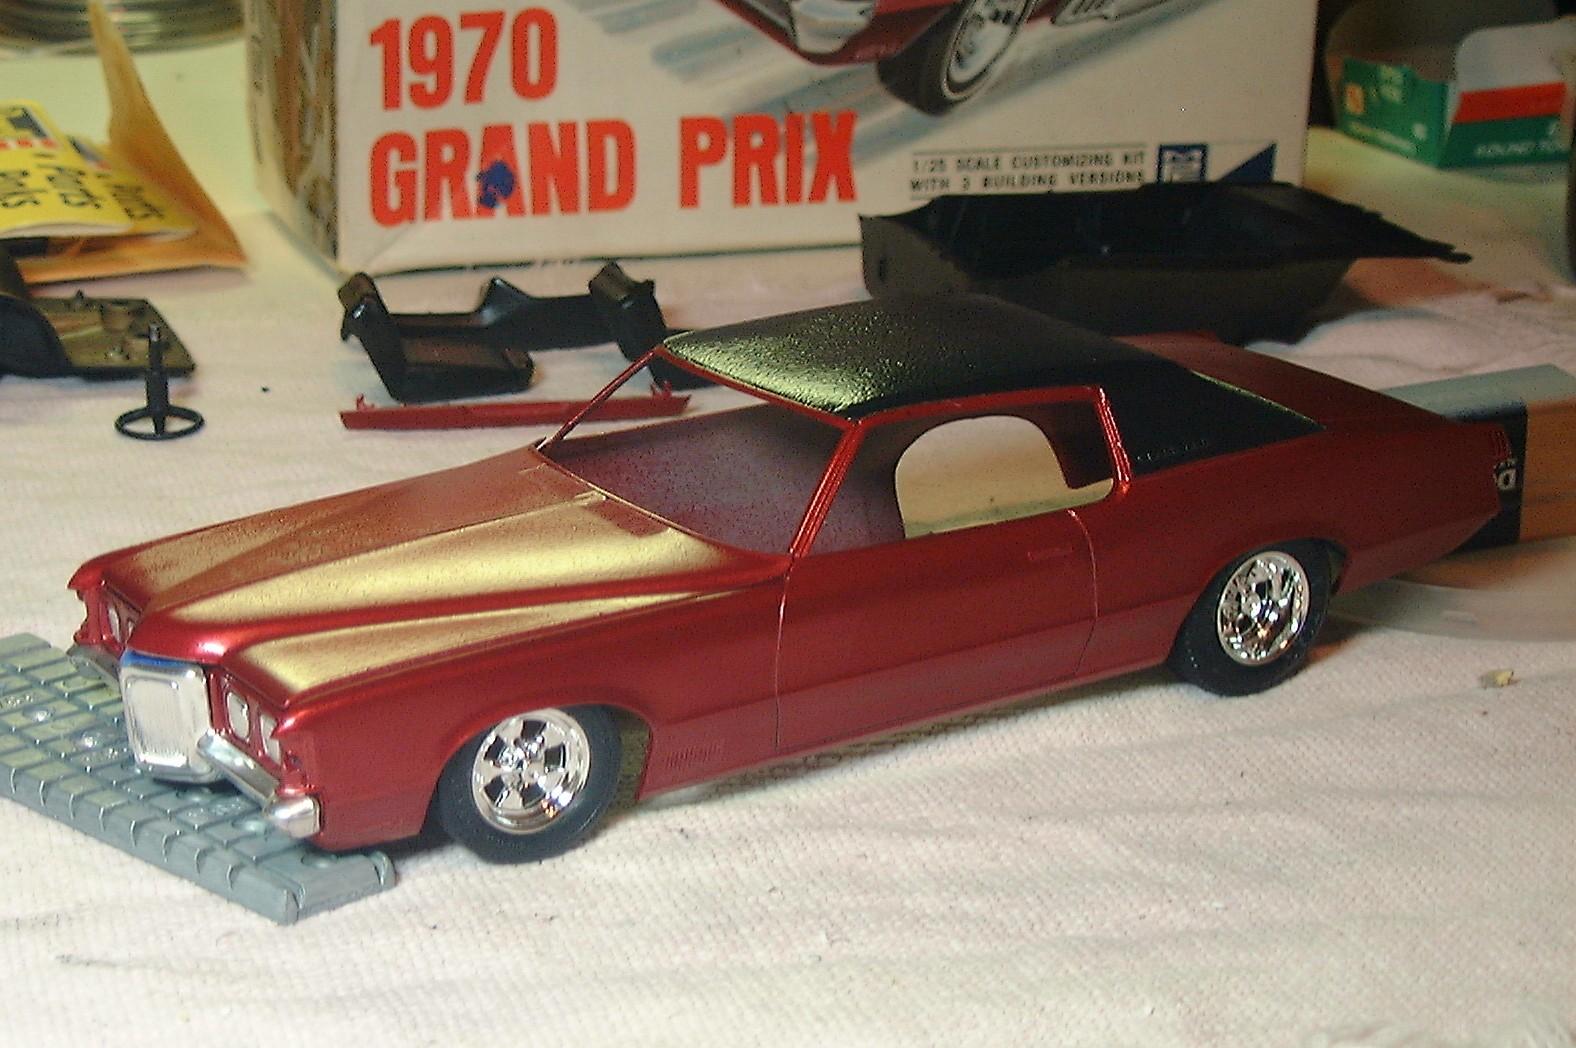
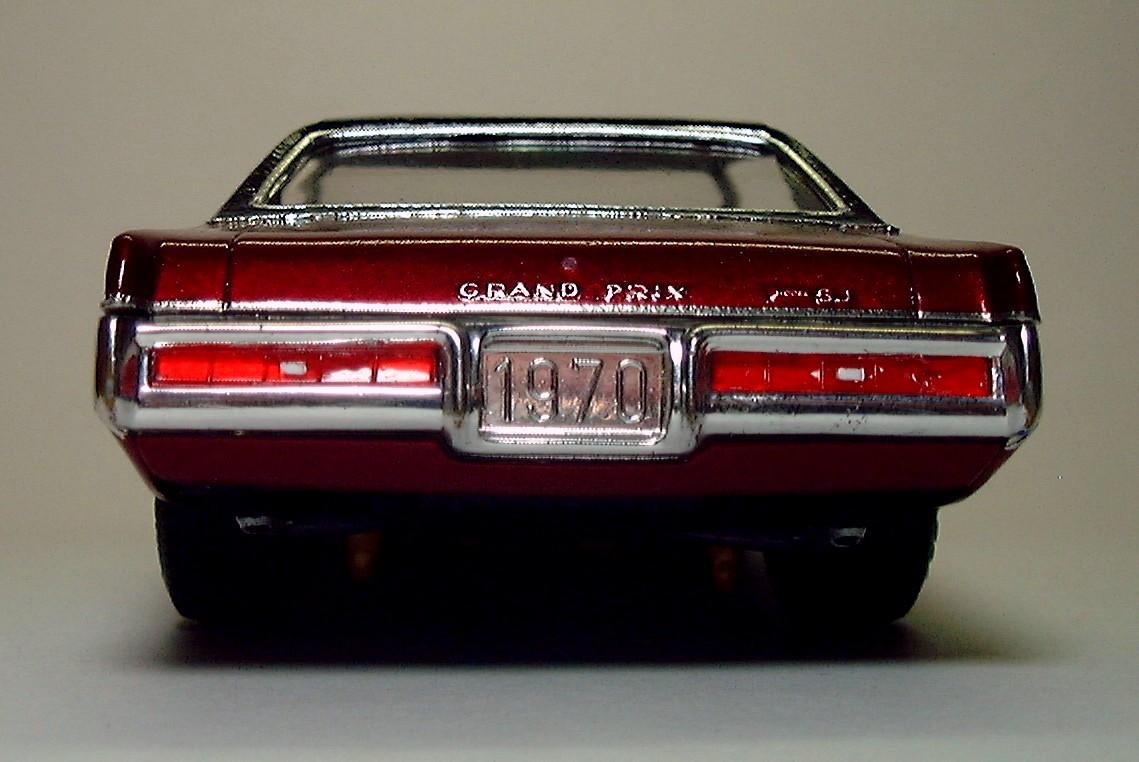
This model was built to loosely resemble a black over red 70 Grand Prix I owned for a number of years in the late 90's. It started out as a built-up glue bomb purchased on ebay. It was brush painted blue and looked pretty bad at first. After a dip in the "purple lake" I surveyed what was salvageable. The body, bumpers and interior were fair but the engine was a blob. Fortunately, I had a Revell Parts-Pack Pontiac 421. I soaked it in Westly's to dechrome it and sourced the stock air cleaner and other items from the parts bin. I actually made my own wired distributor from supplies picked up at Radio Shack and Hobbytown USA. I used a technique I learned on Drastics about BMFing emblems BEFORE painting and then scraping off the paint on the raised areas to expose the letters. It actually worked quite well. Especially since the "Grand Prix" emblems are separate block letters. It did a fair job on the front fender louvers as well. The interior is pretty basic, with just some minor detailing. The underside being an old MPC offering with chassis screws, is nothing to write home about. I did do my signature red mufflers (a throw back to the Cherry Bomb glass pack days). The engine compartment is anatomically all wrong compared to a real GP. Especially in the fan shroud/radiator areas. I did not have the parts to correct it though, so it is what it is. The mags are Modelhaus Keystone Klassics which have been painstakingly detailed. I performed my signature rear tire widening technique to fill in the rear wheel wells. The tires have been lettered with a "Gelly Roll" pen from a local stationary store. The windows were boogered up but, using progressively finer grit polishing cloths, finished off with a coat of Future, they look as good as new. Sharpie markers applied here and there round out the small details. I am pretty pleased at how my first restoration turned out.
-
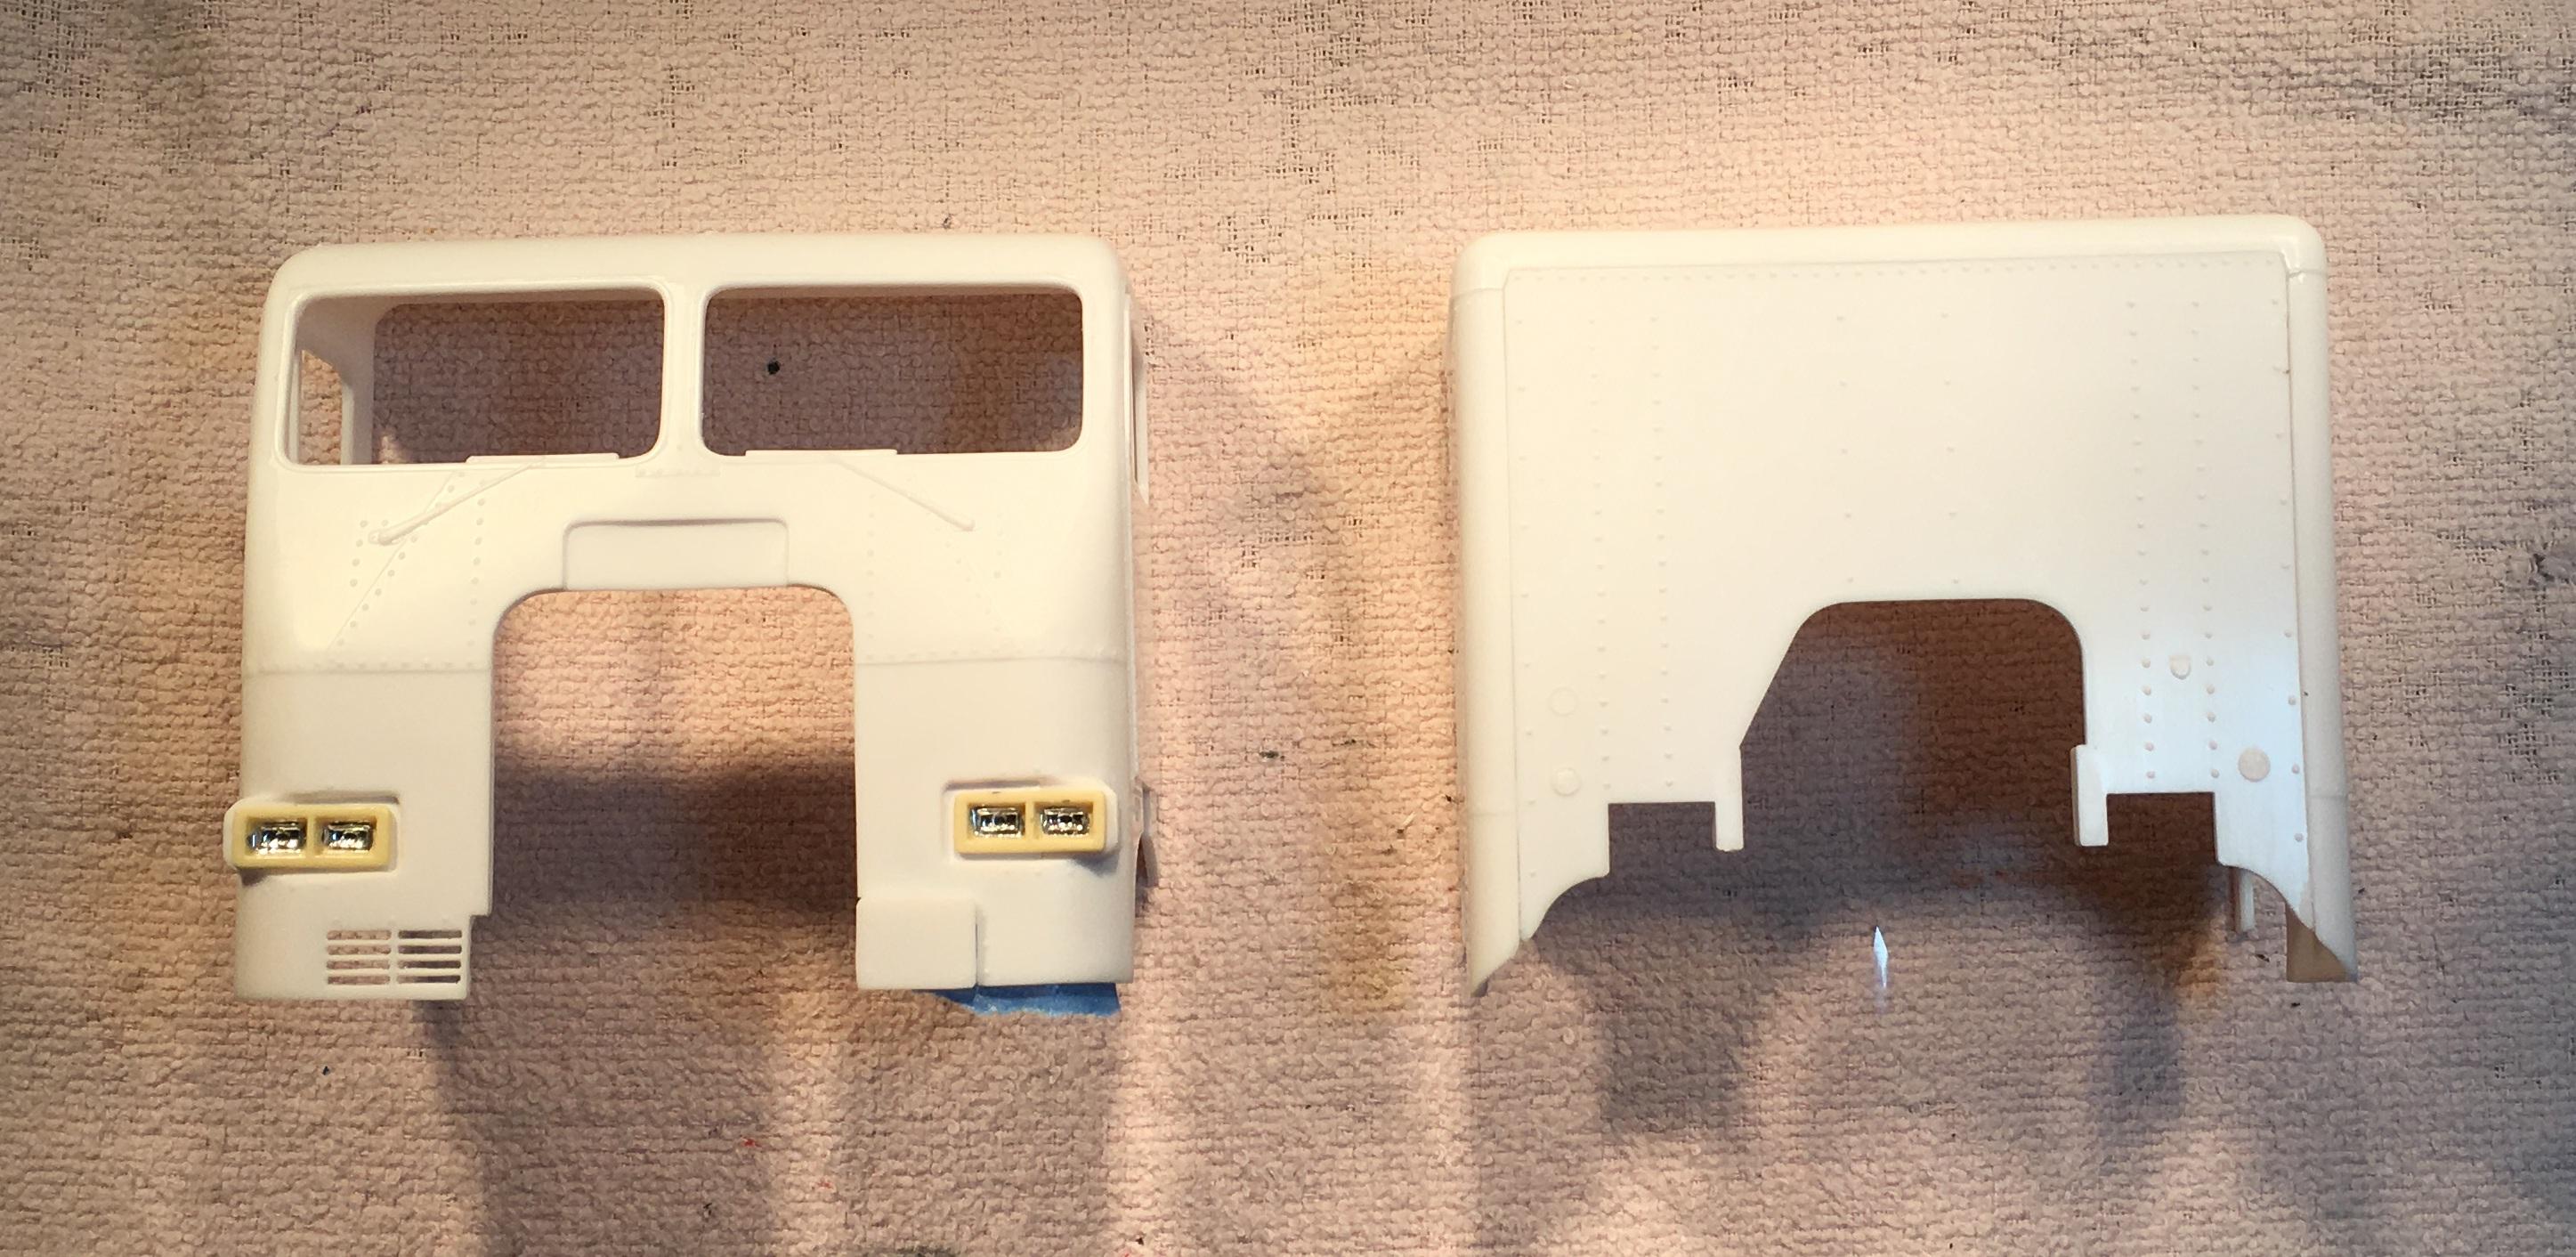
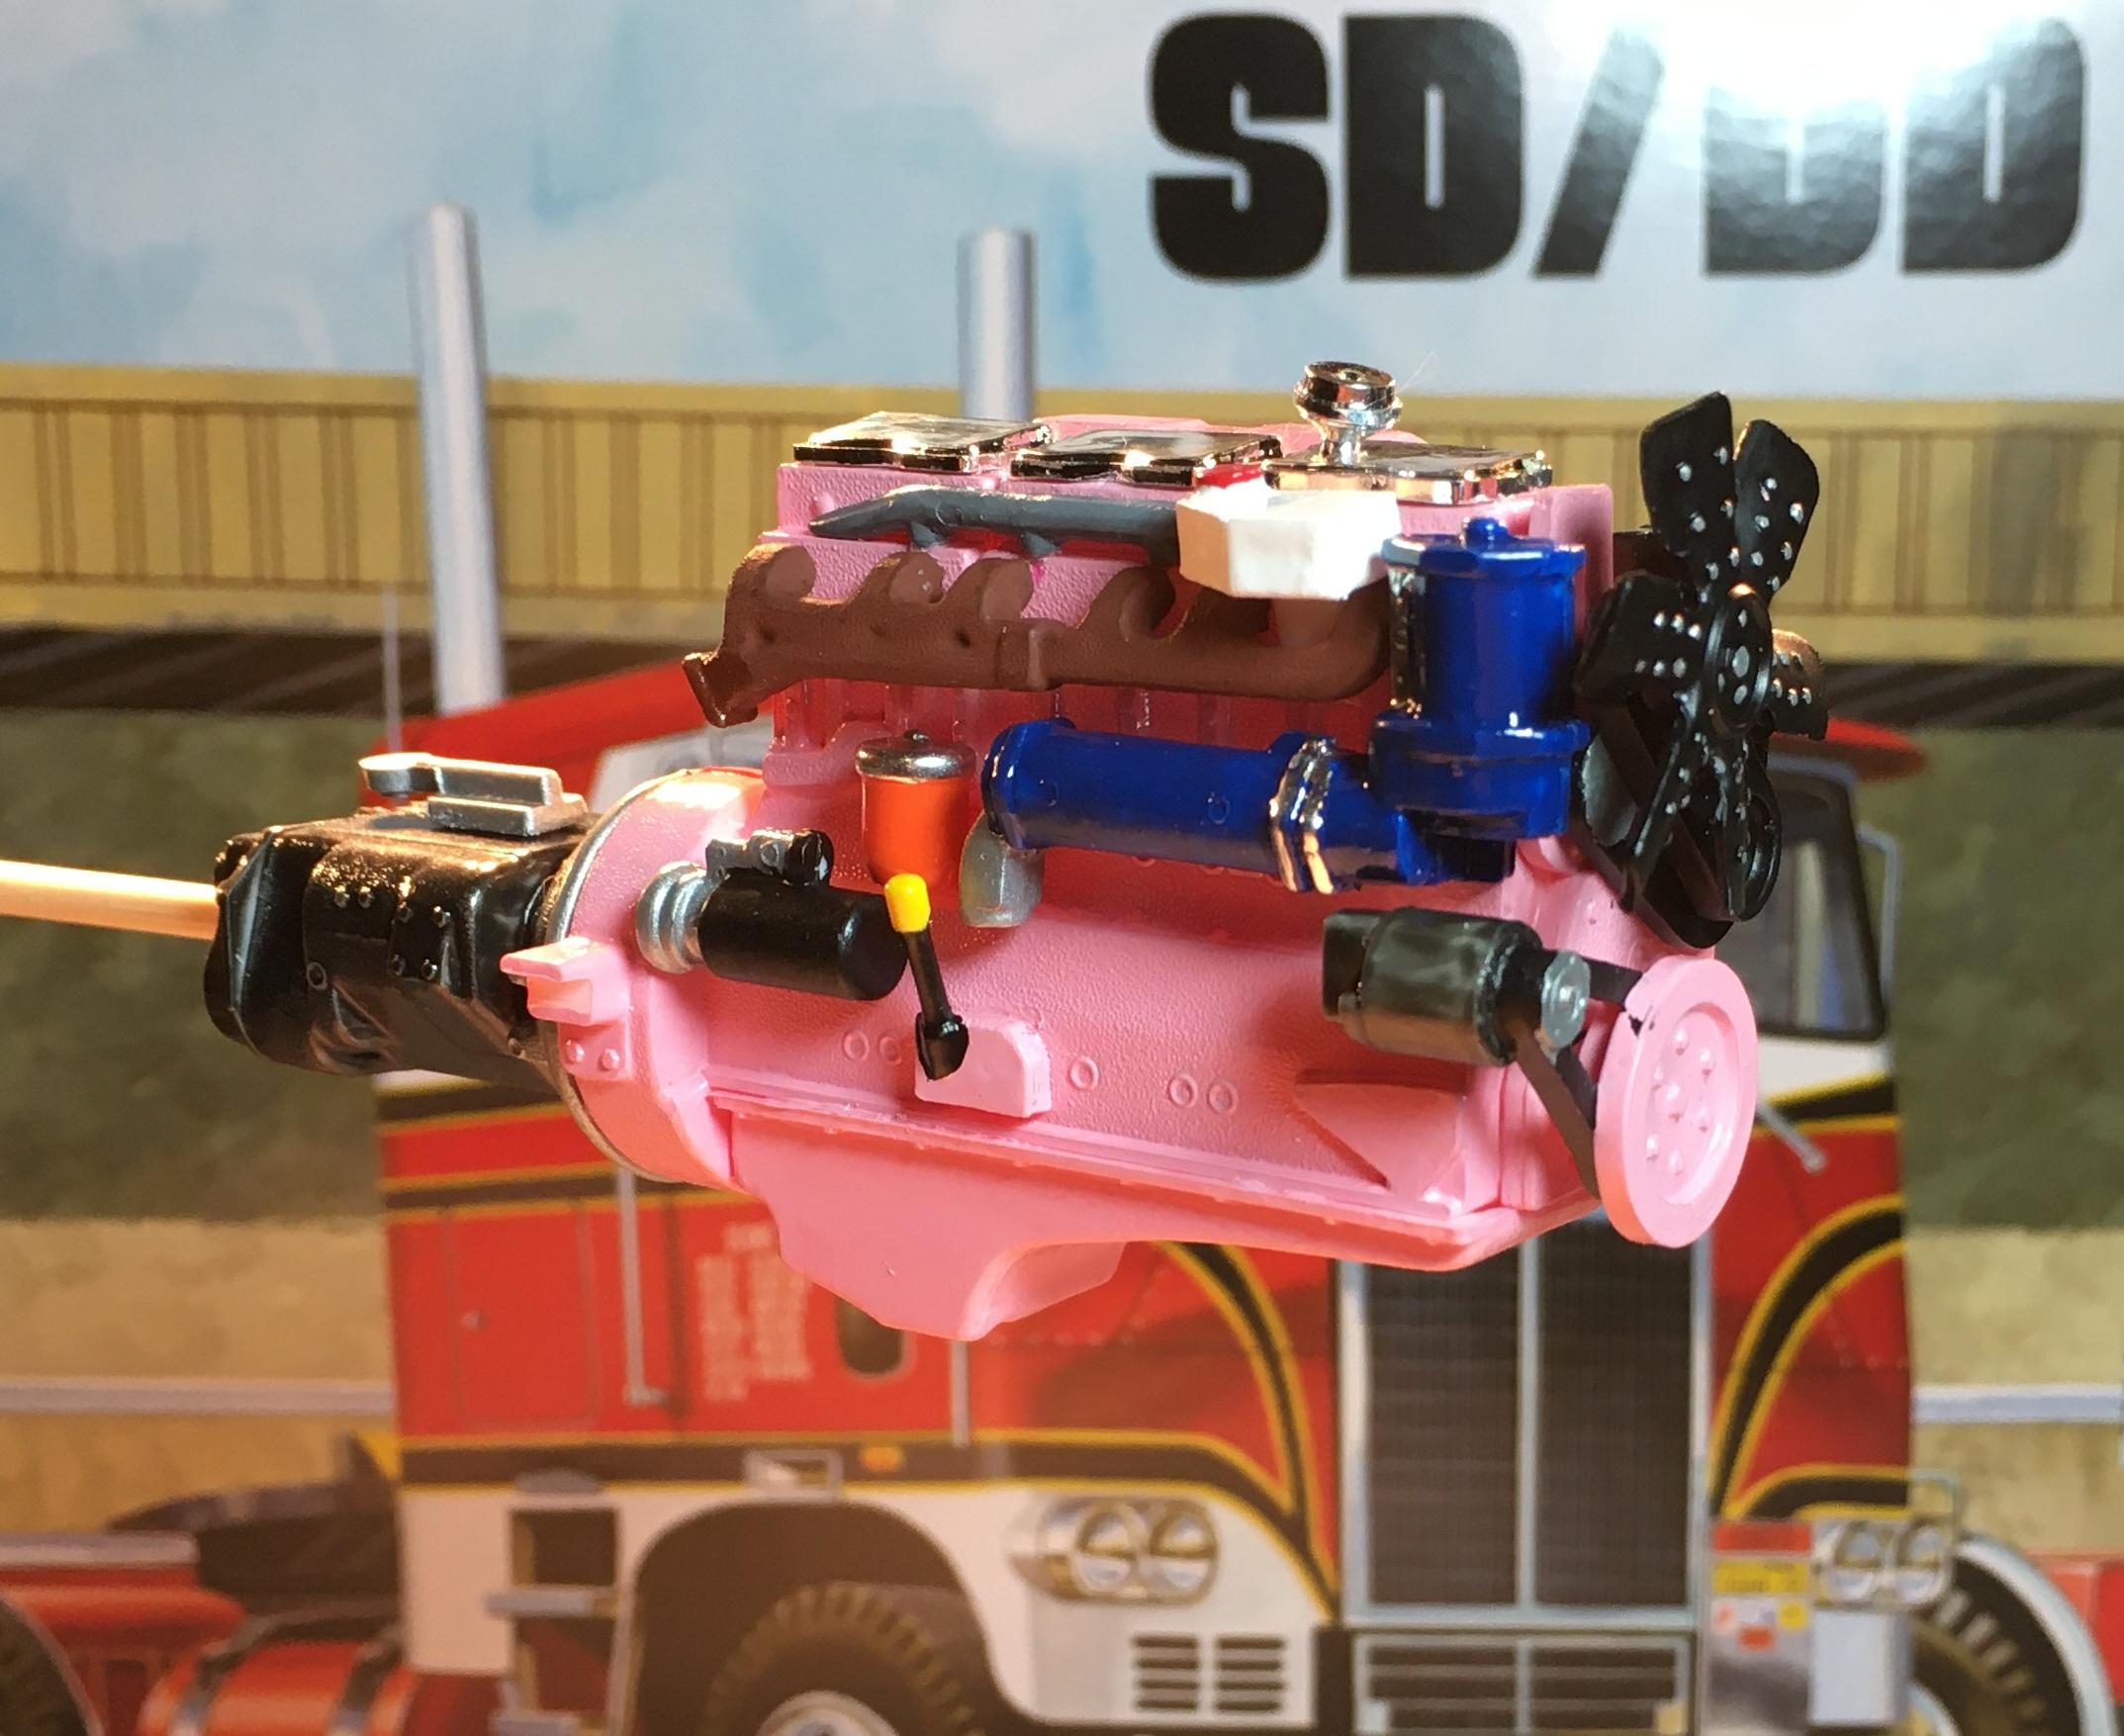
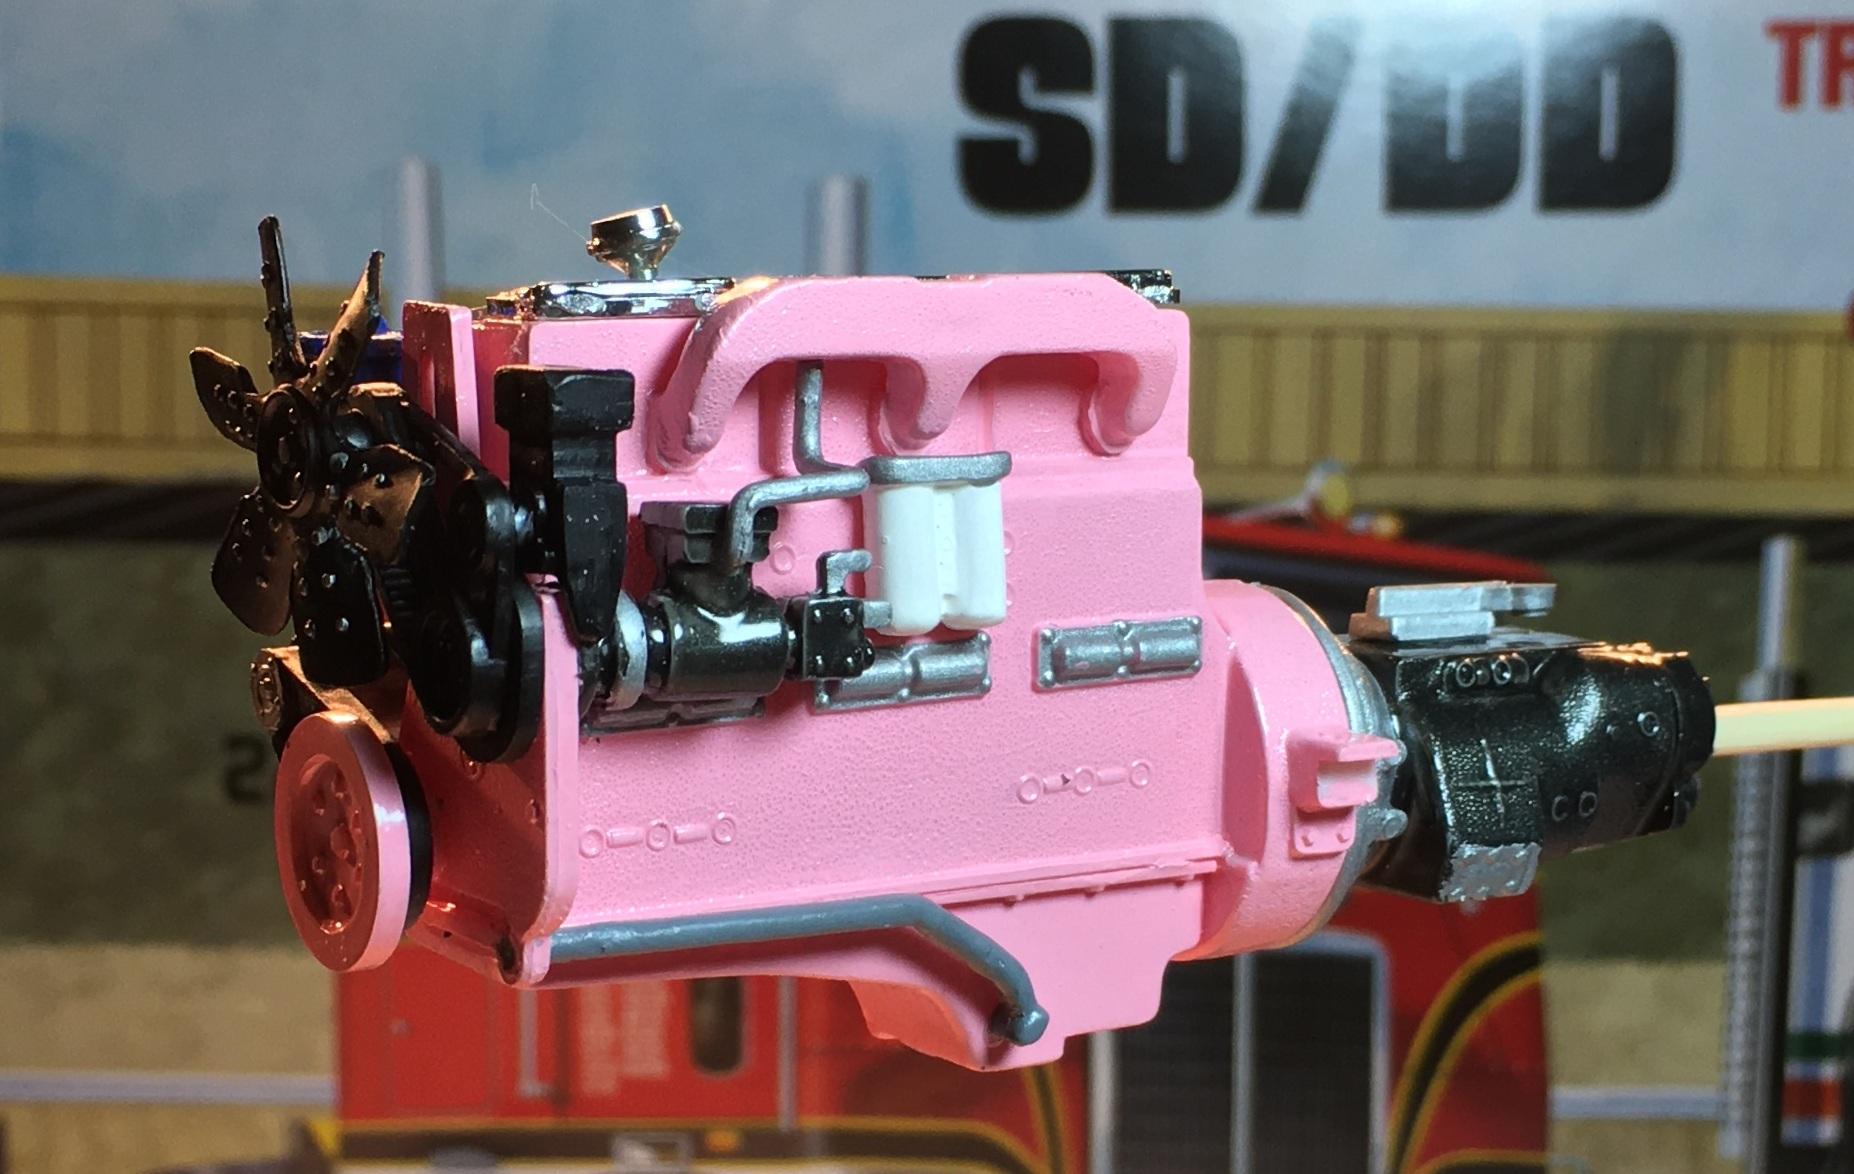
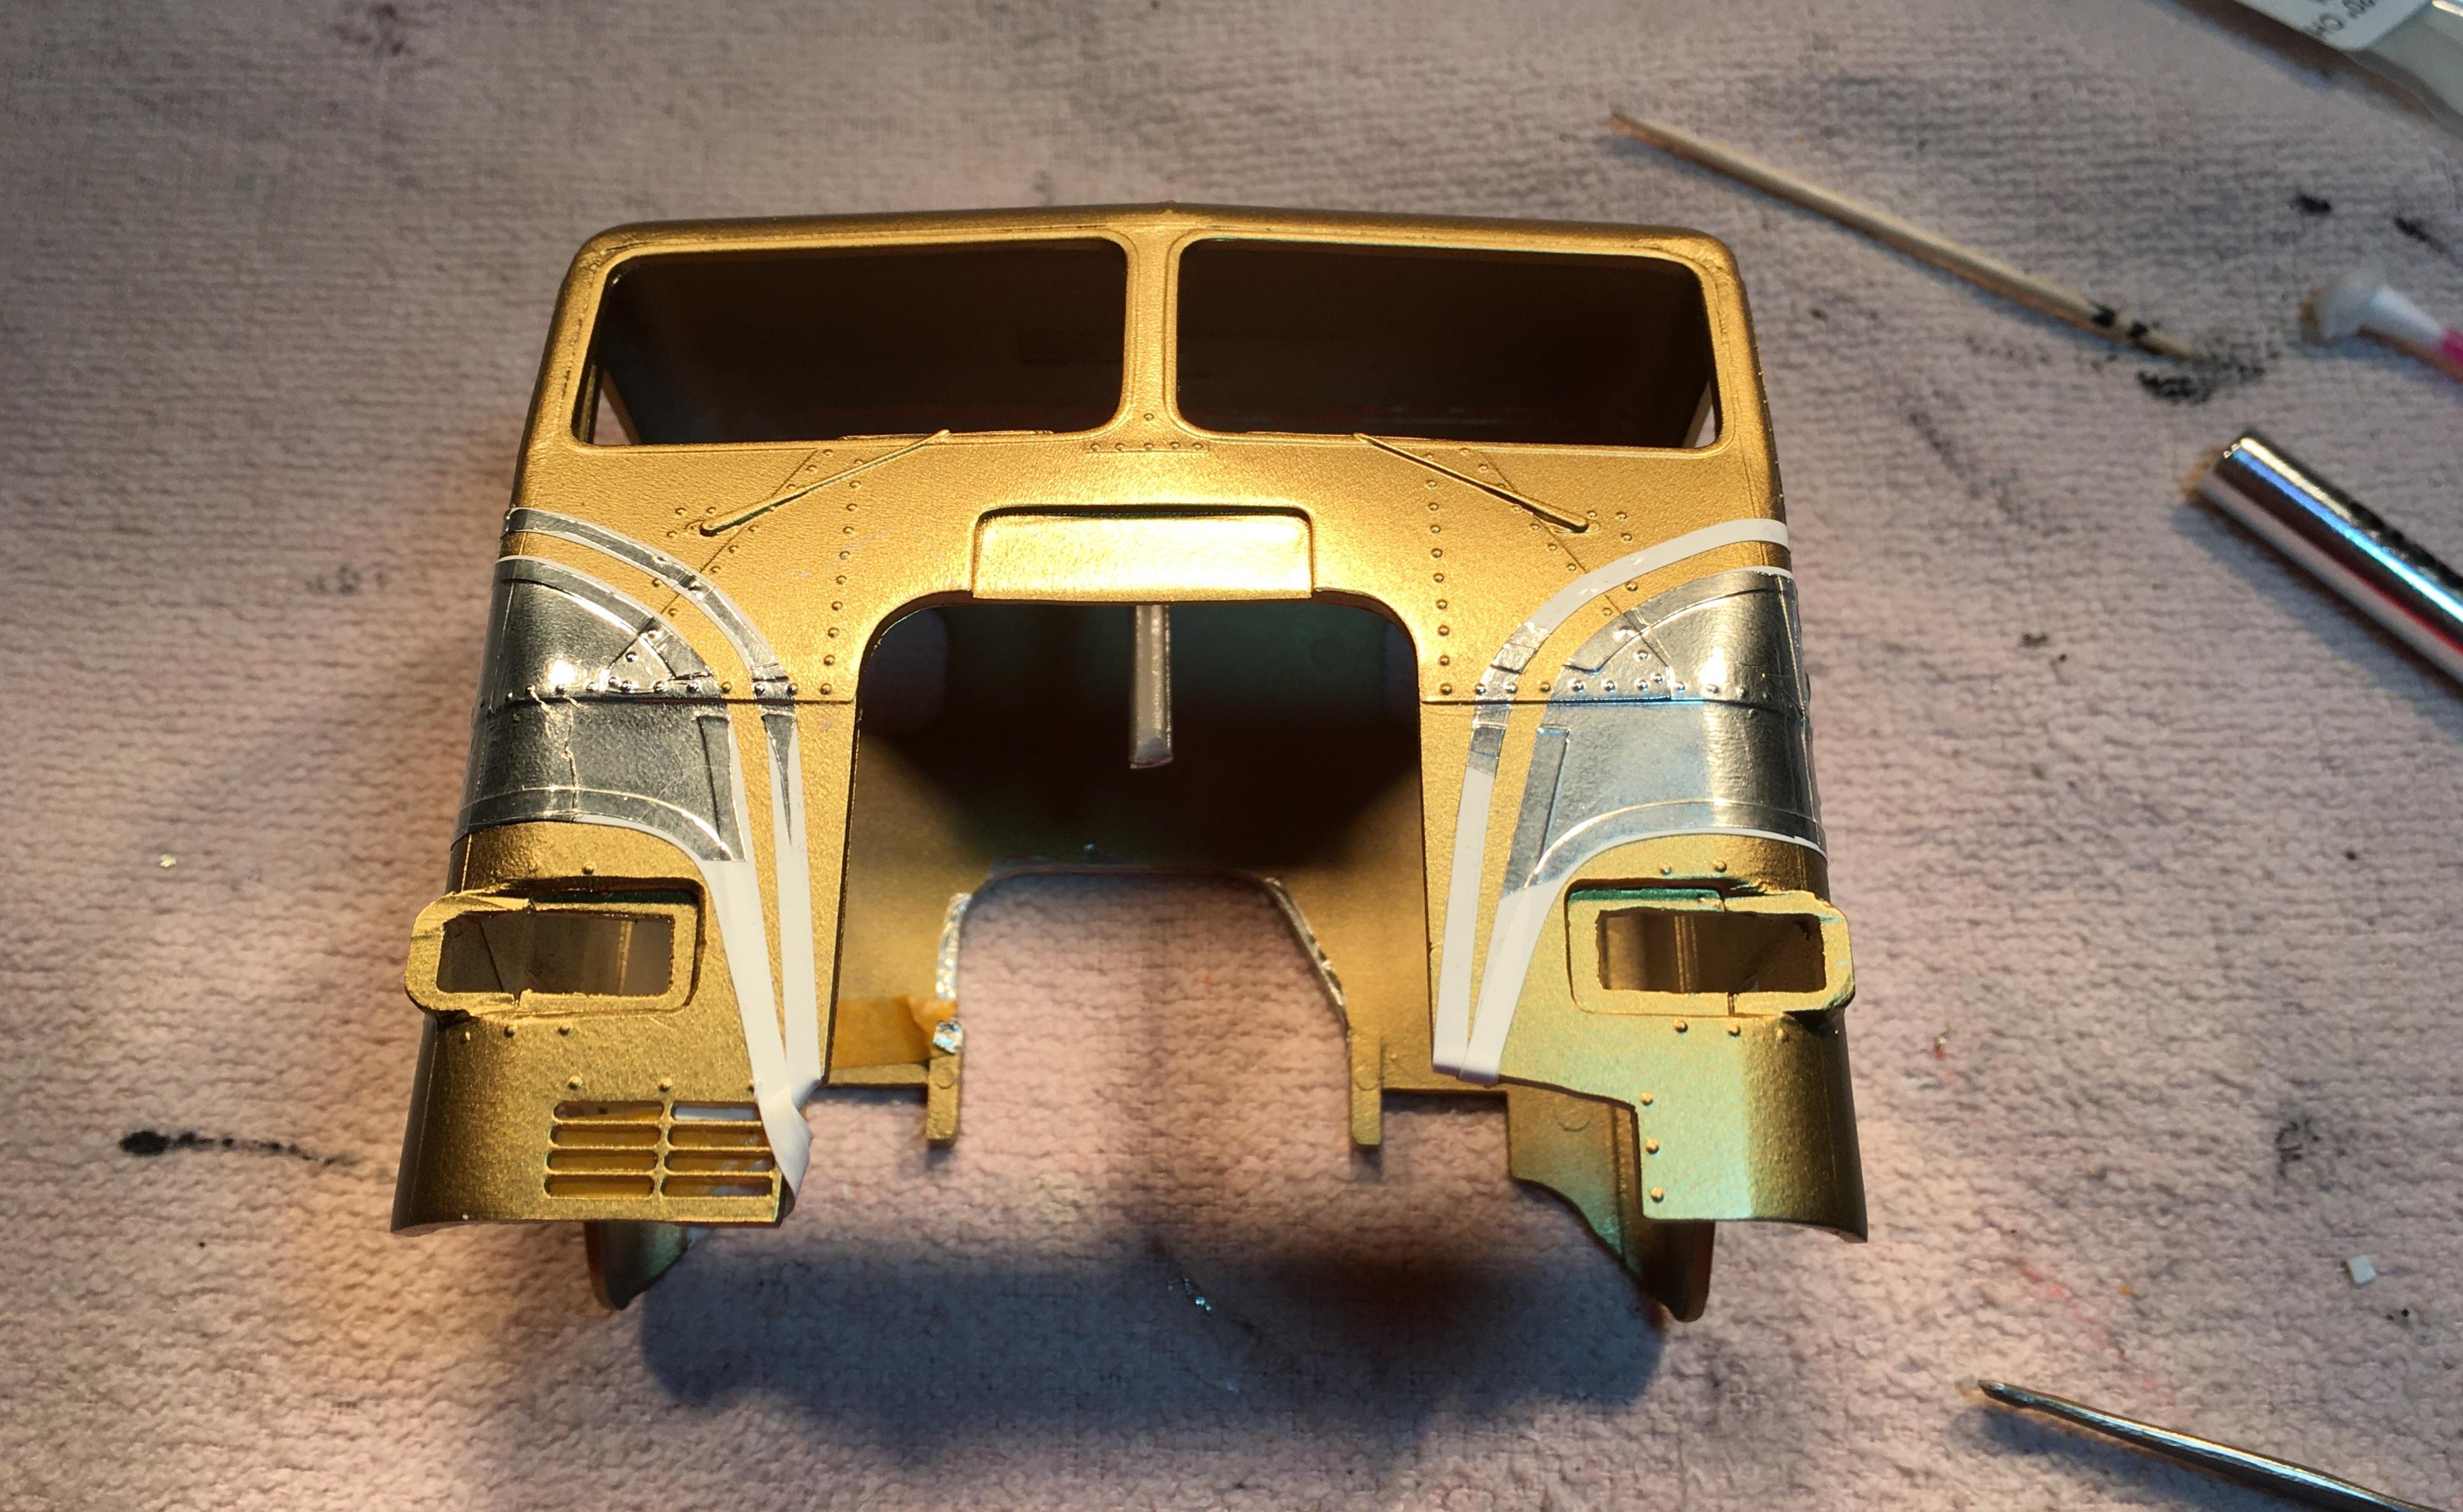
I am building two Freightliner COEs simultaneously. Here is some of the slow progress on the 2nd more ambitious project.
-
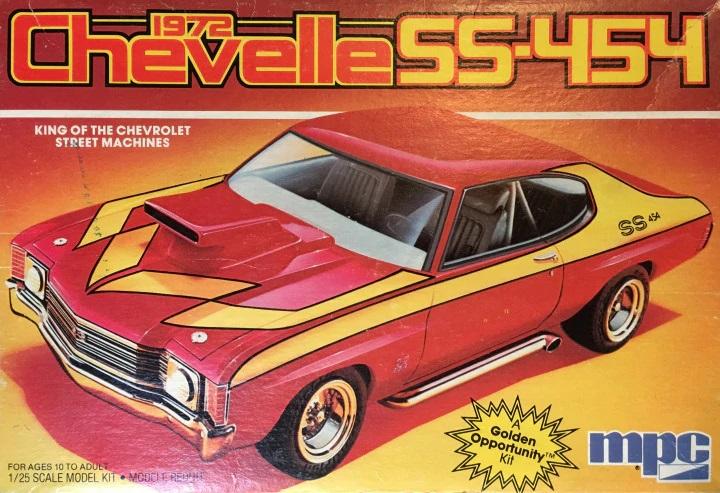
What Kits were molded in RED ?
Bills72sj replied to Greg Myers's topic in General Automotive Talk (Trucks and Cars)
I believe the is the 1984 version of this kit. It is distinctly different than most of the 72 Chevelle kits floating around out there.
-
Thank you all for your compliments. I found another pic of when I took it to a SABA show.
-
I just found this thread. I love your project. My question to you is, are you happy with the mag/rims you have? If you want actual Pontiac Rally IIs I would be willing to mail you a set for free.
-
This is a restoration of an 1987 reissue 69 Chevelle SS. I have taken some liberties with it, insofar as mixing and matching parts with another reissued kit. The "Stinger" hood is from Drag City Casting http://www.dragcitycasting.com/ And has the scoop opened up via Dremel tool. The 'Yenko' and 'SYC' decals are leftovers from a Keith Marks decal set. The pinstripe is from the newer kit. The rear tires were widened and the Cragar SS rims are from the parts box. The cross ram dual quad manifold is from the parts box as well. The distributor and wires are scratch built. The paint came out so-so mostly because it was a really old can (20+ years) and had lost some of its pressure. Other details include BMF and Sharpie marker treatments. This car reminds me of the first stick shift car I ever drove. A genuine red with black SS stripes SS396 4-speed.
-
I really like what you have done with it. I have desired one for quite some time.
-
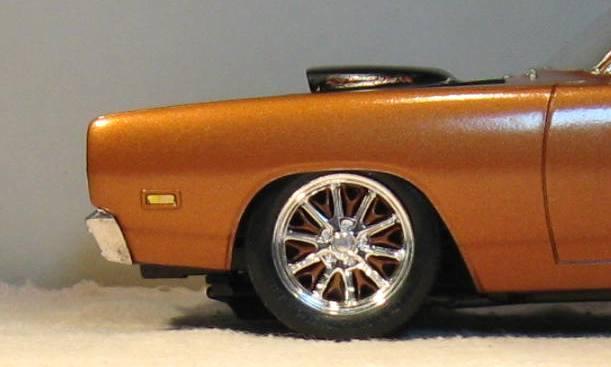
The paint is automotive touch up paint. It is a Nissan color I believe. The wheels turned out way cool. Like I said, I wish I had more to try other colors.
-
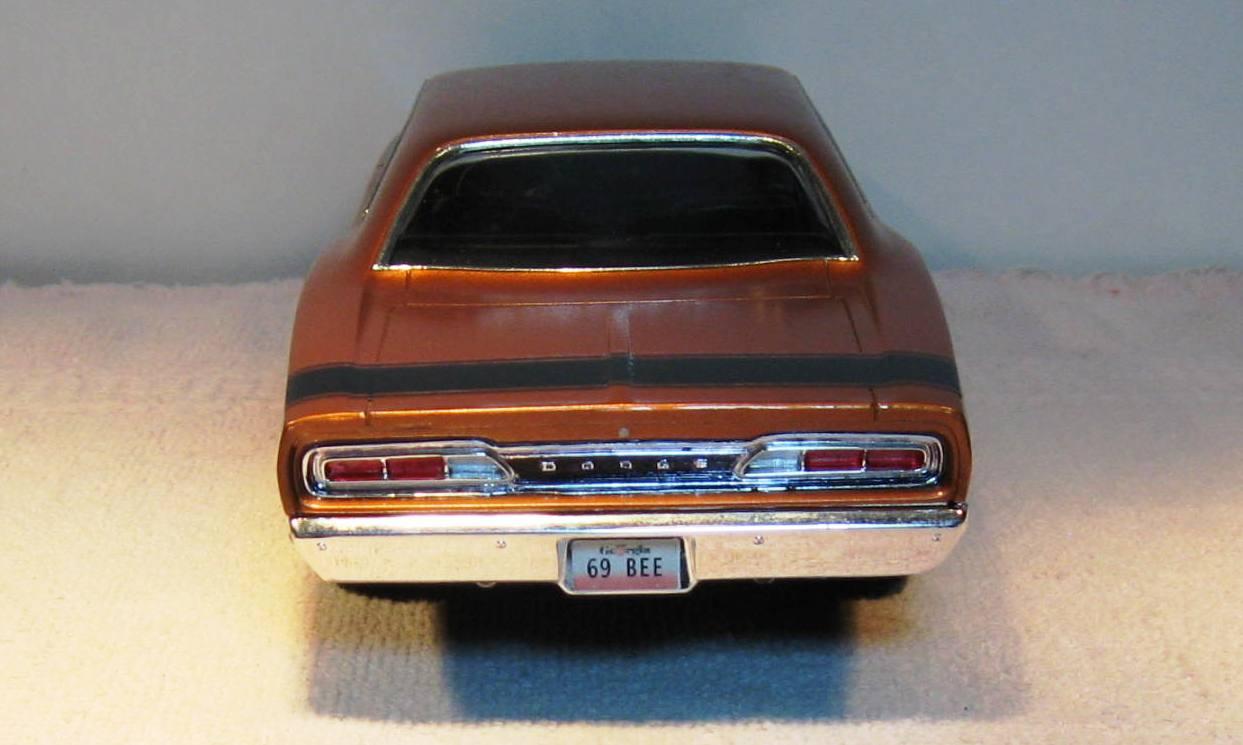
I LOVE Chargers, I LOVE that color. (used it this Summer). Do you have any direct shots of the tail panel? I would like to know how you detailed it.
-
1979 Cadillac Limousine Stretch "Moloney-Embassy" style
Bills72sj replied to Jeffcad's topic in Model Cars
How did you make the hood ornament? Great build BTW. -
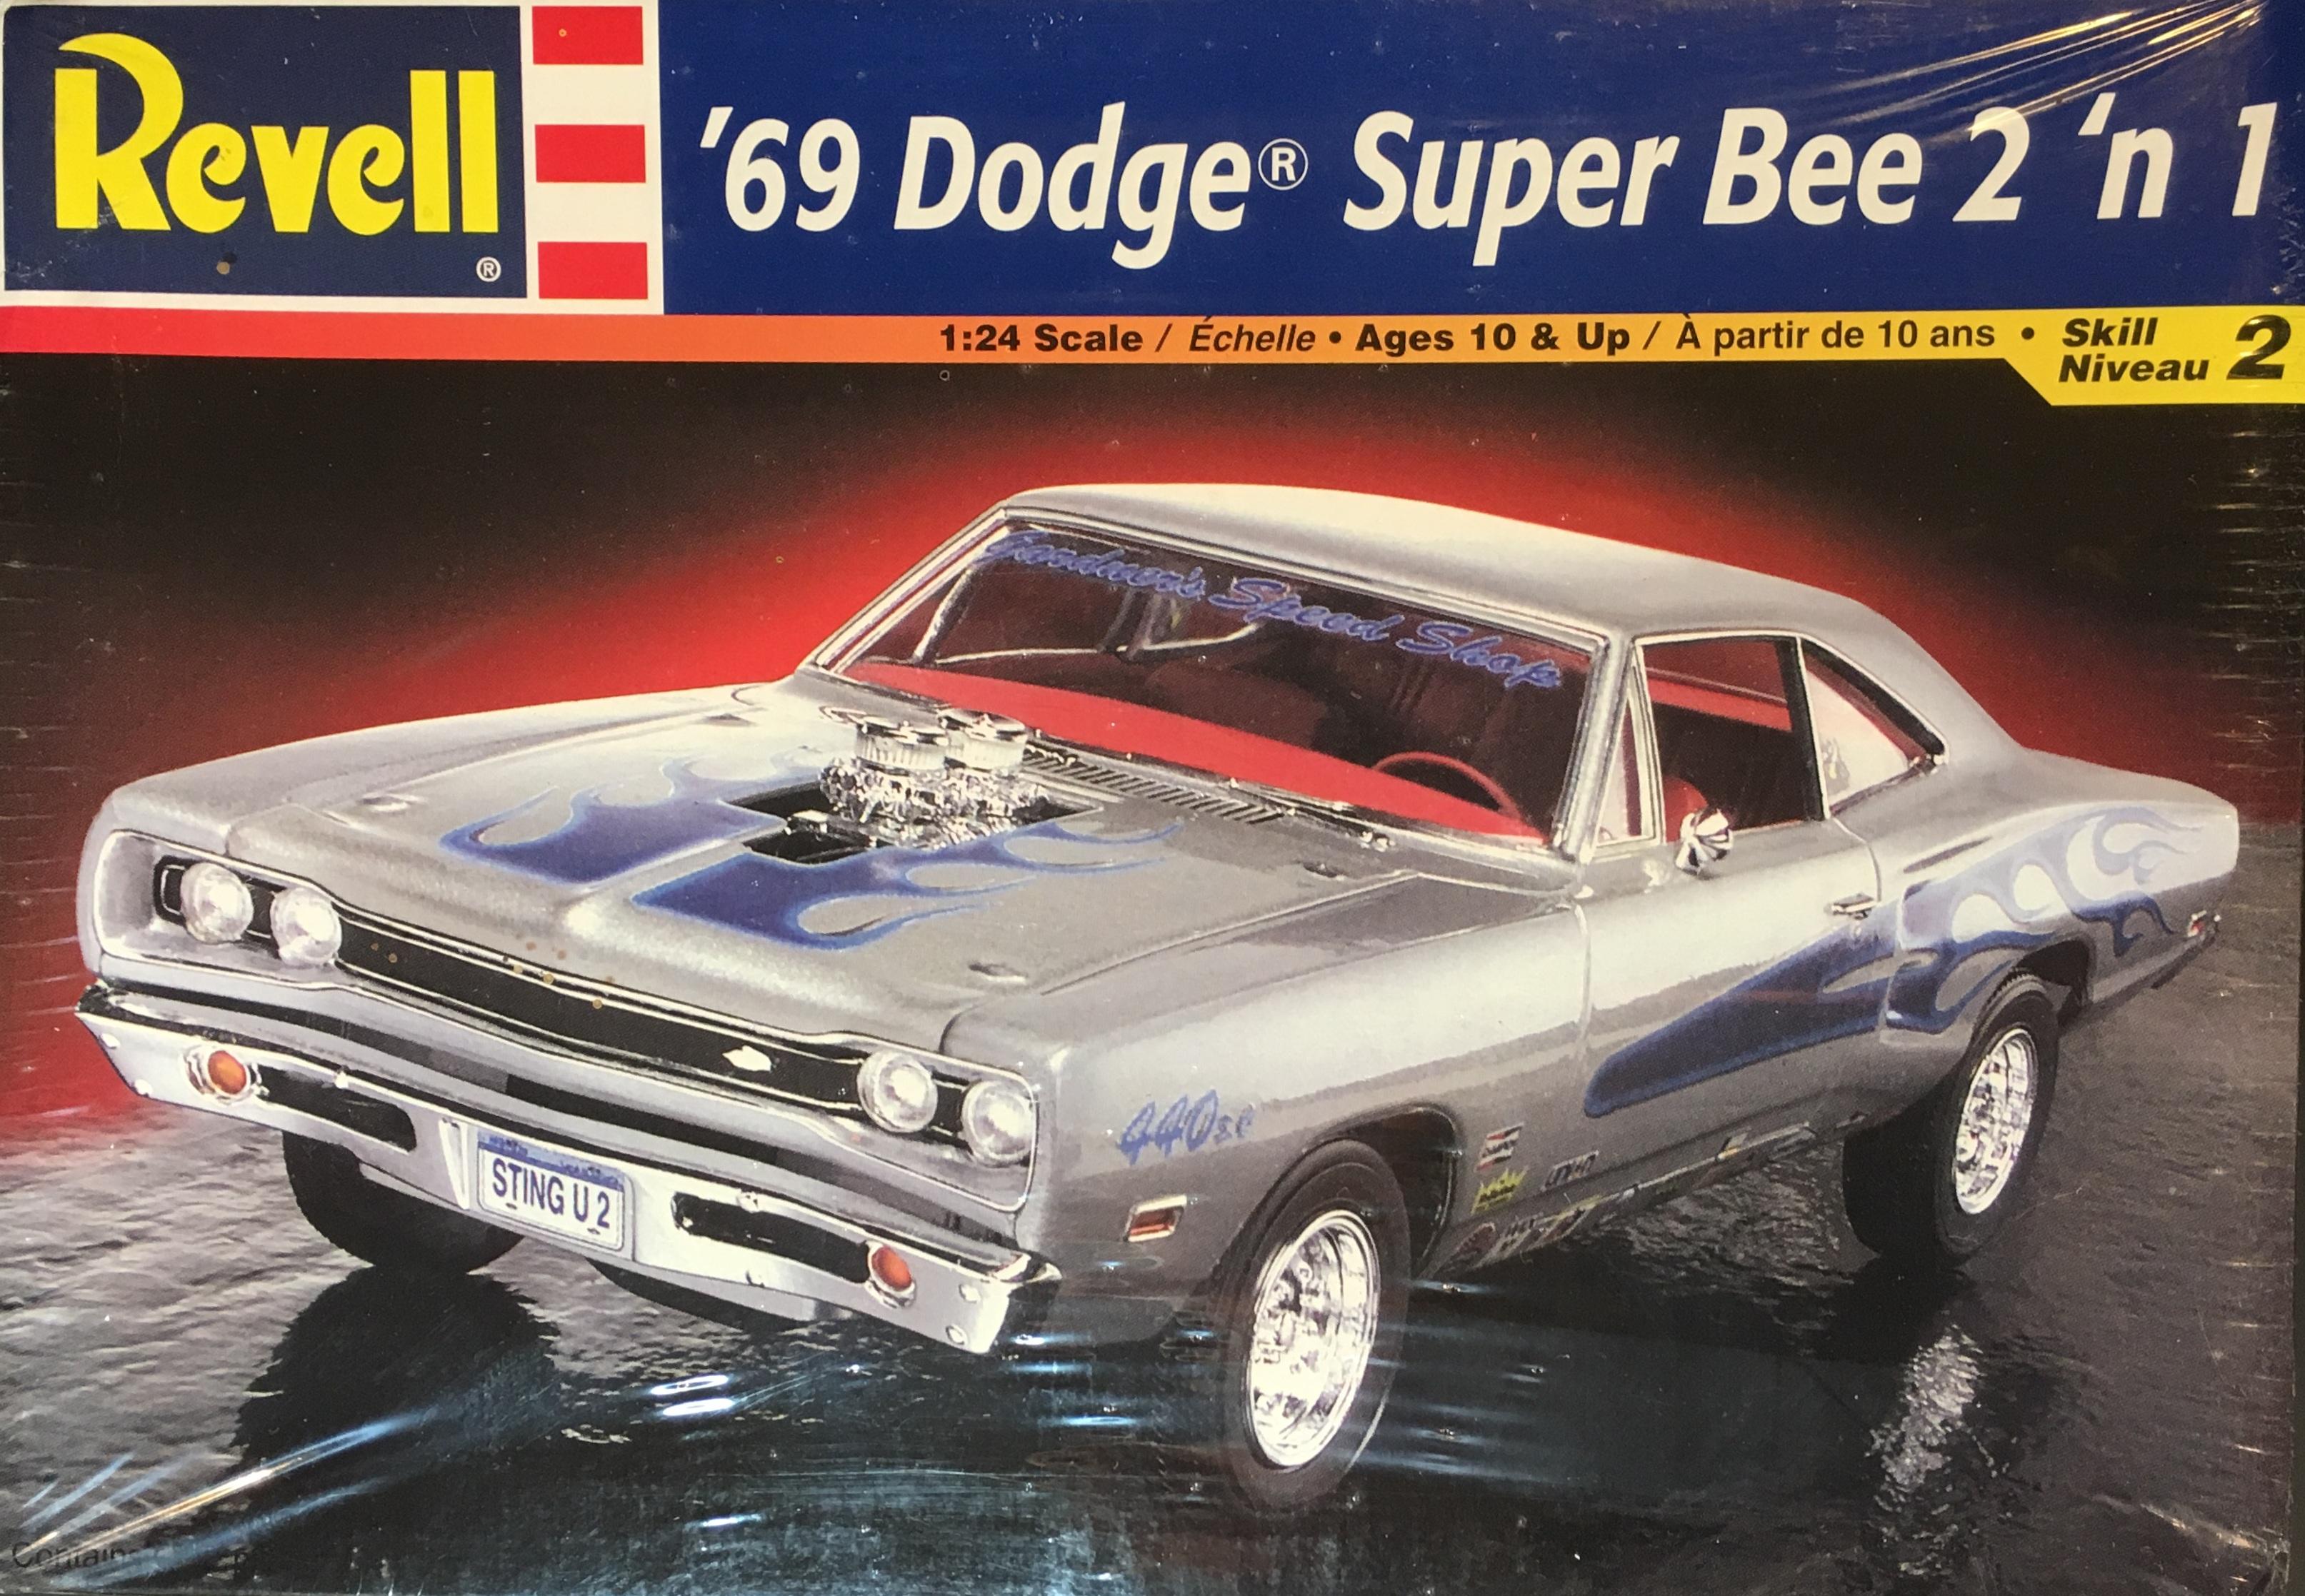
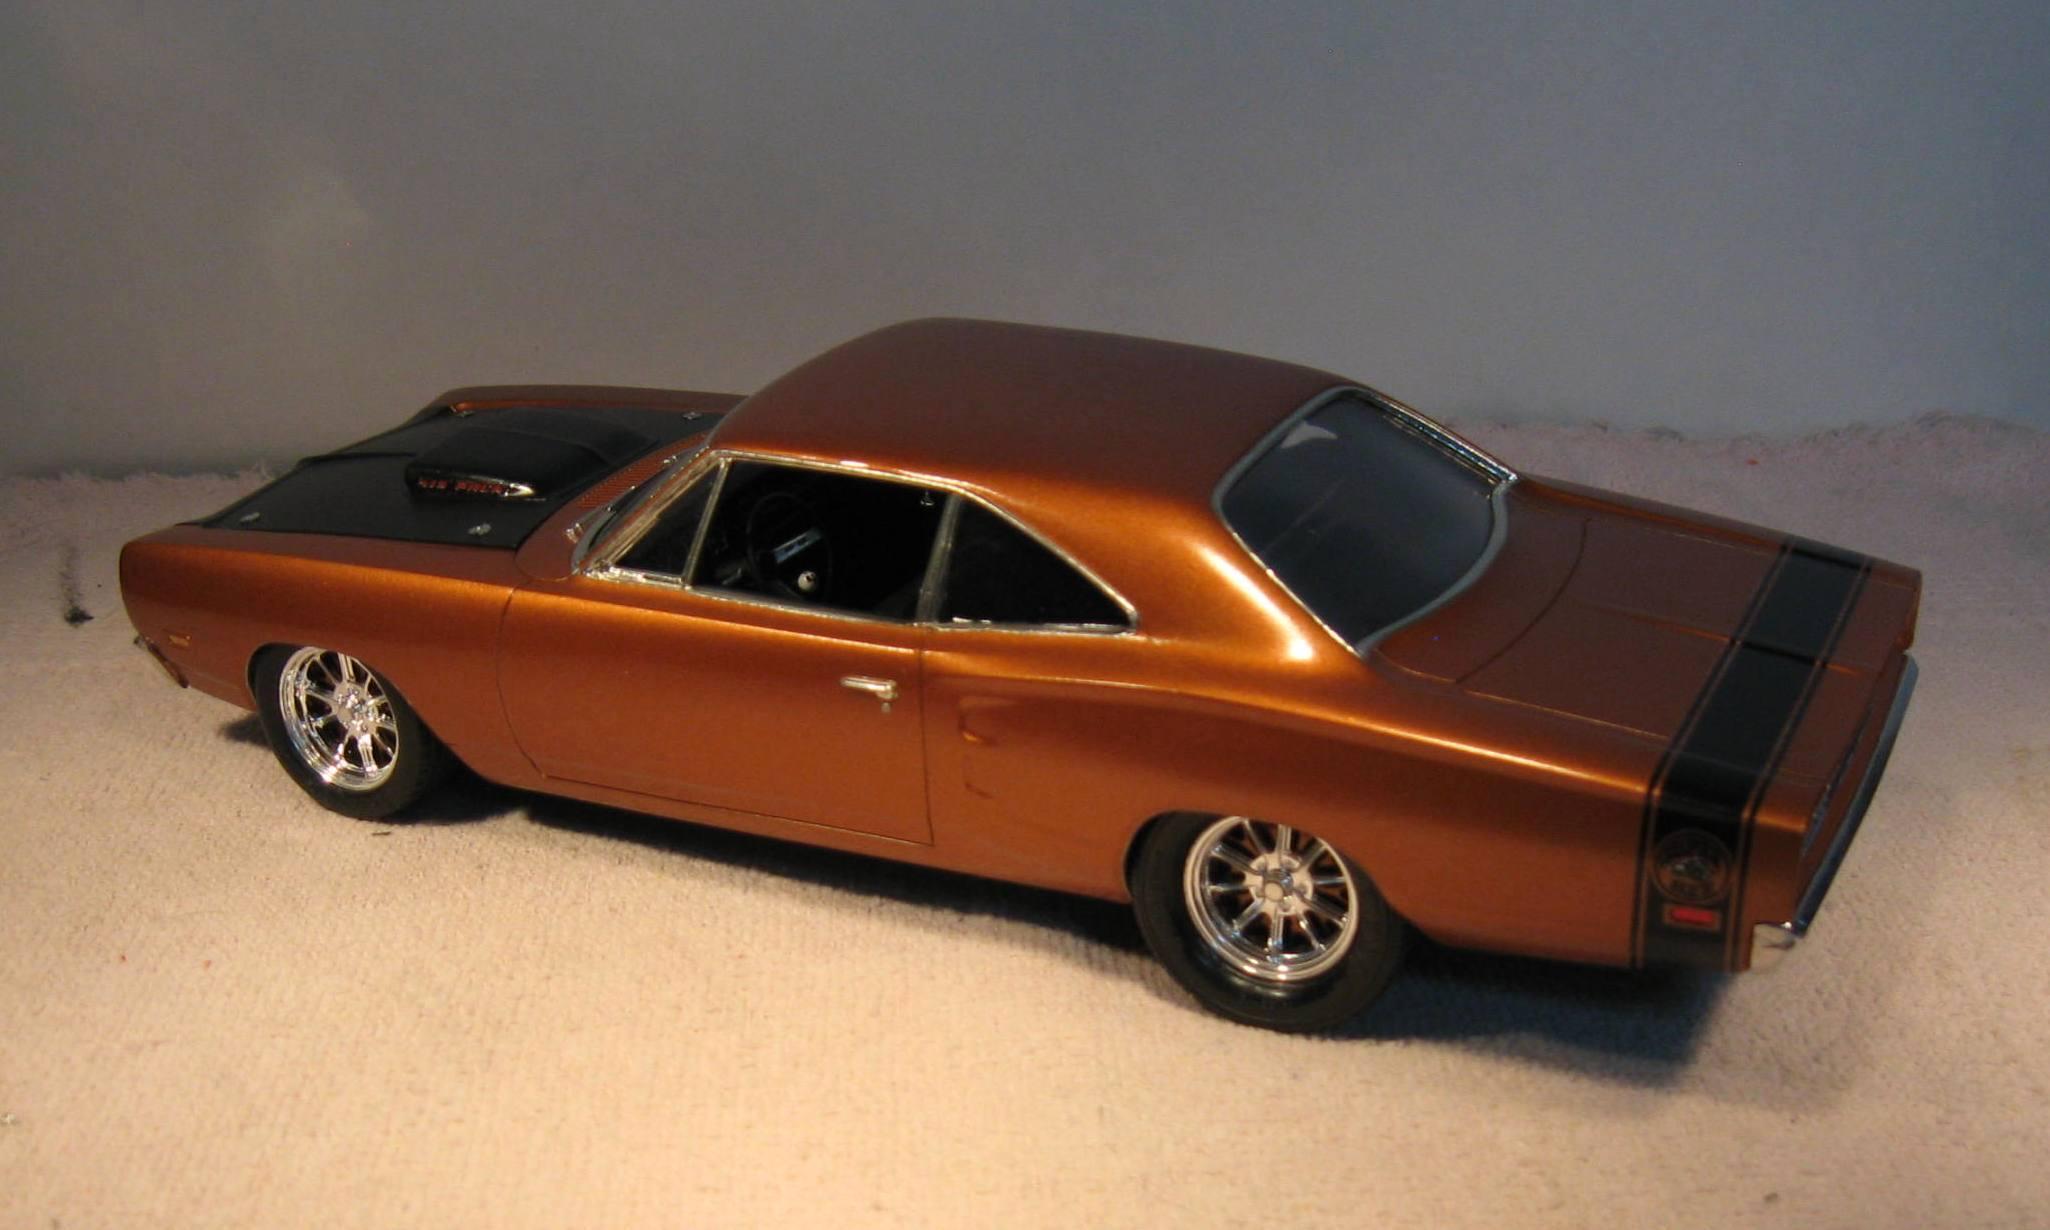
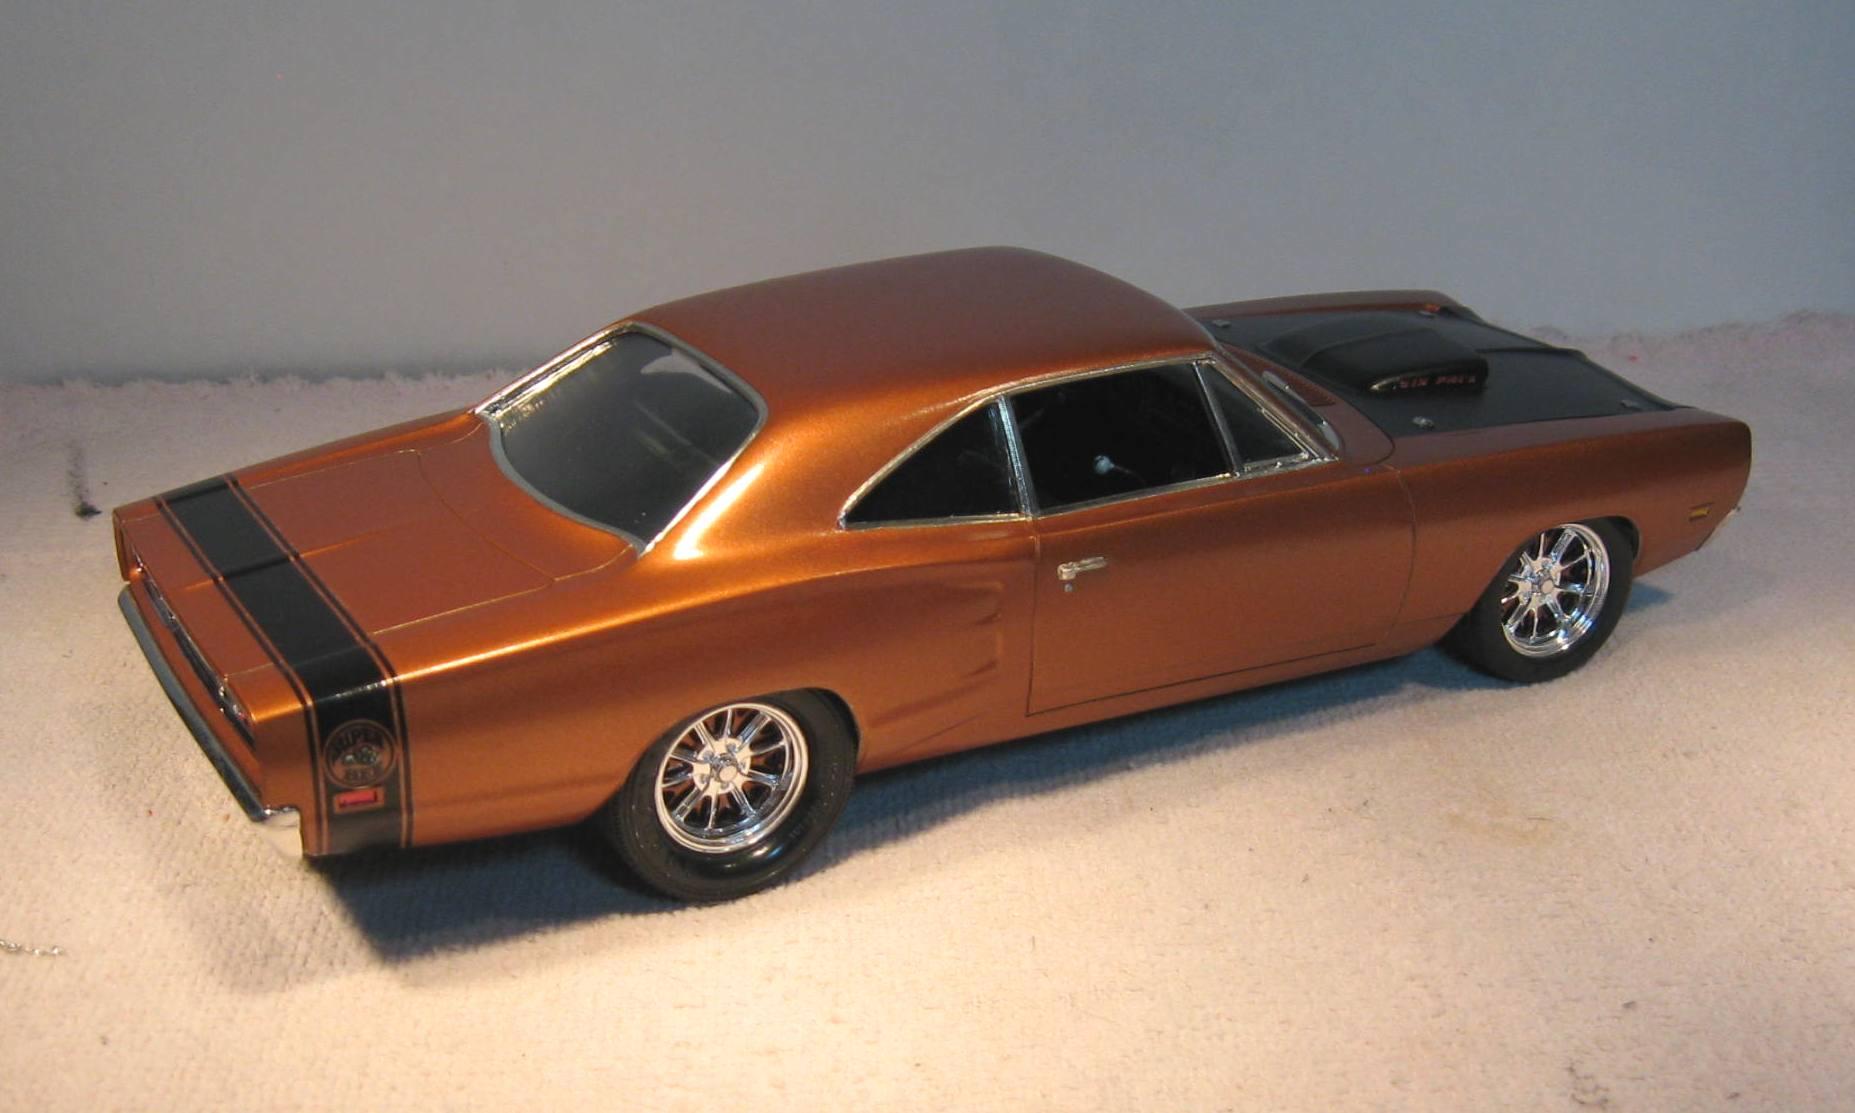
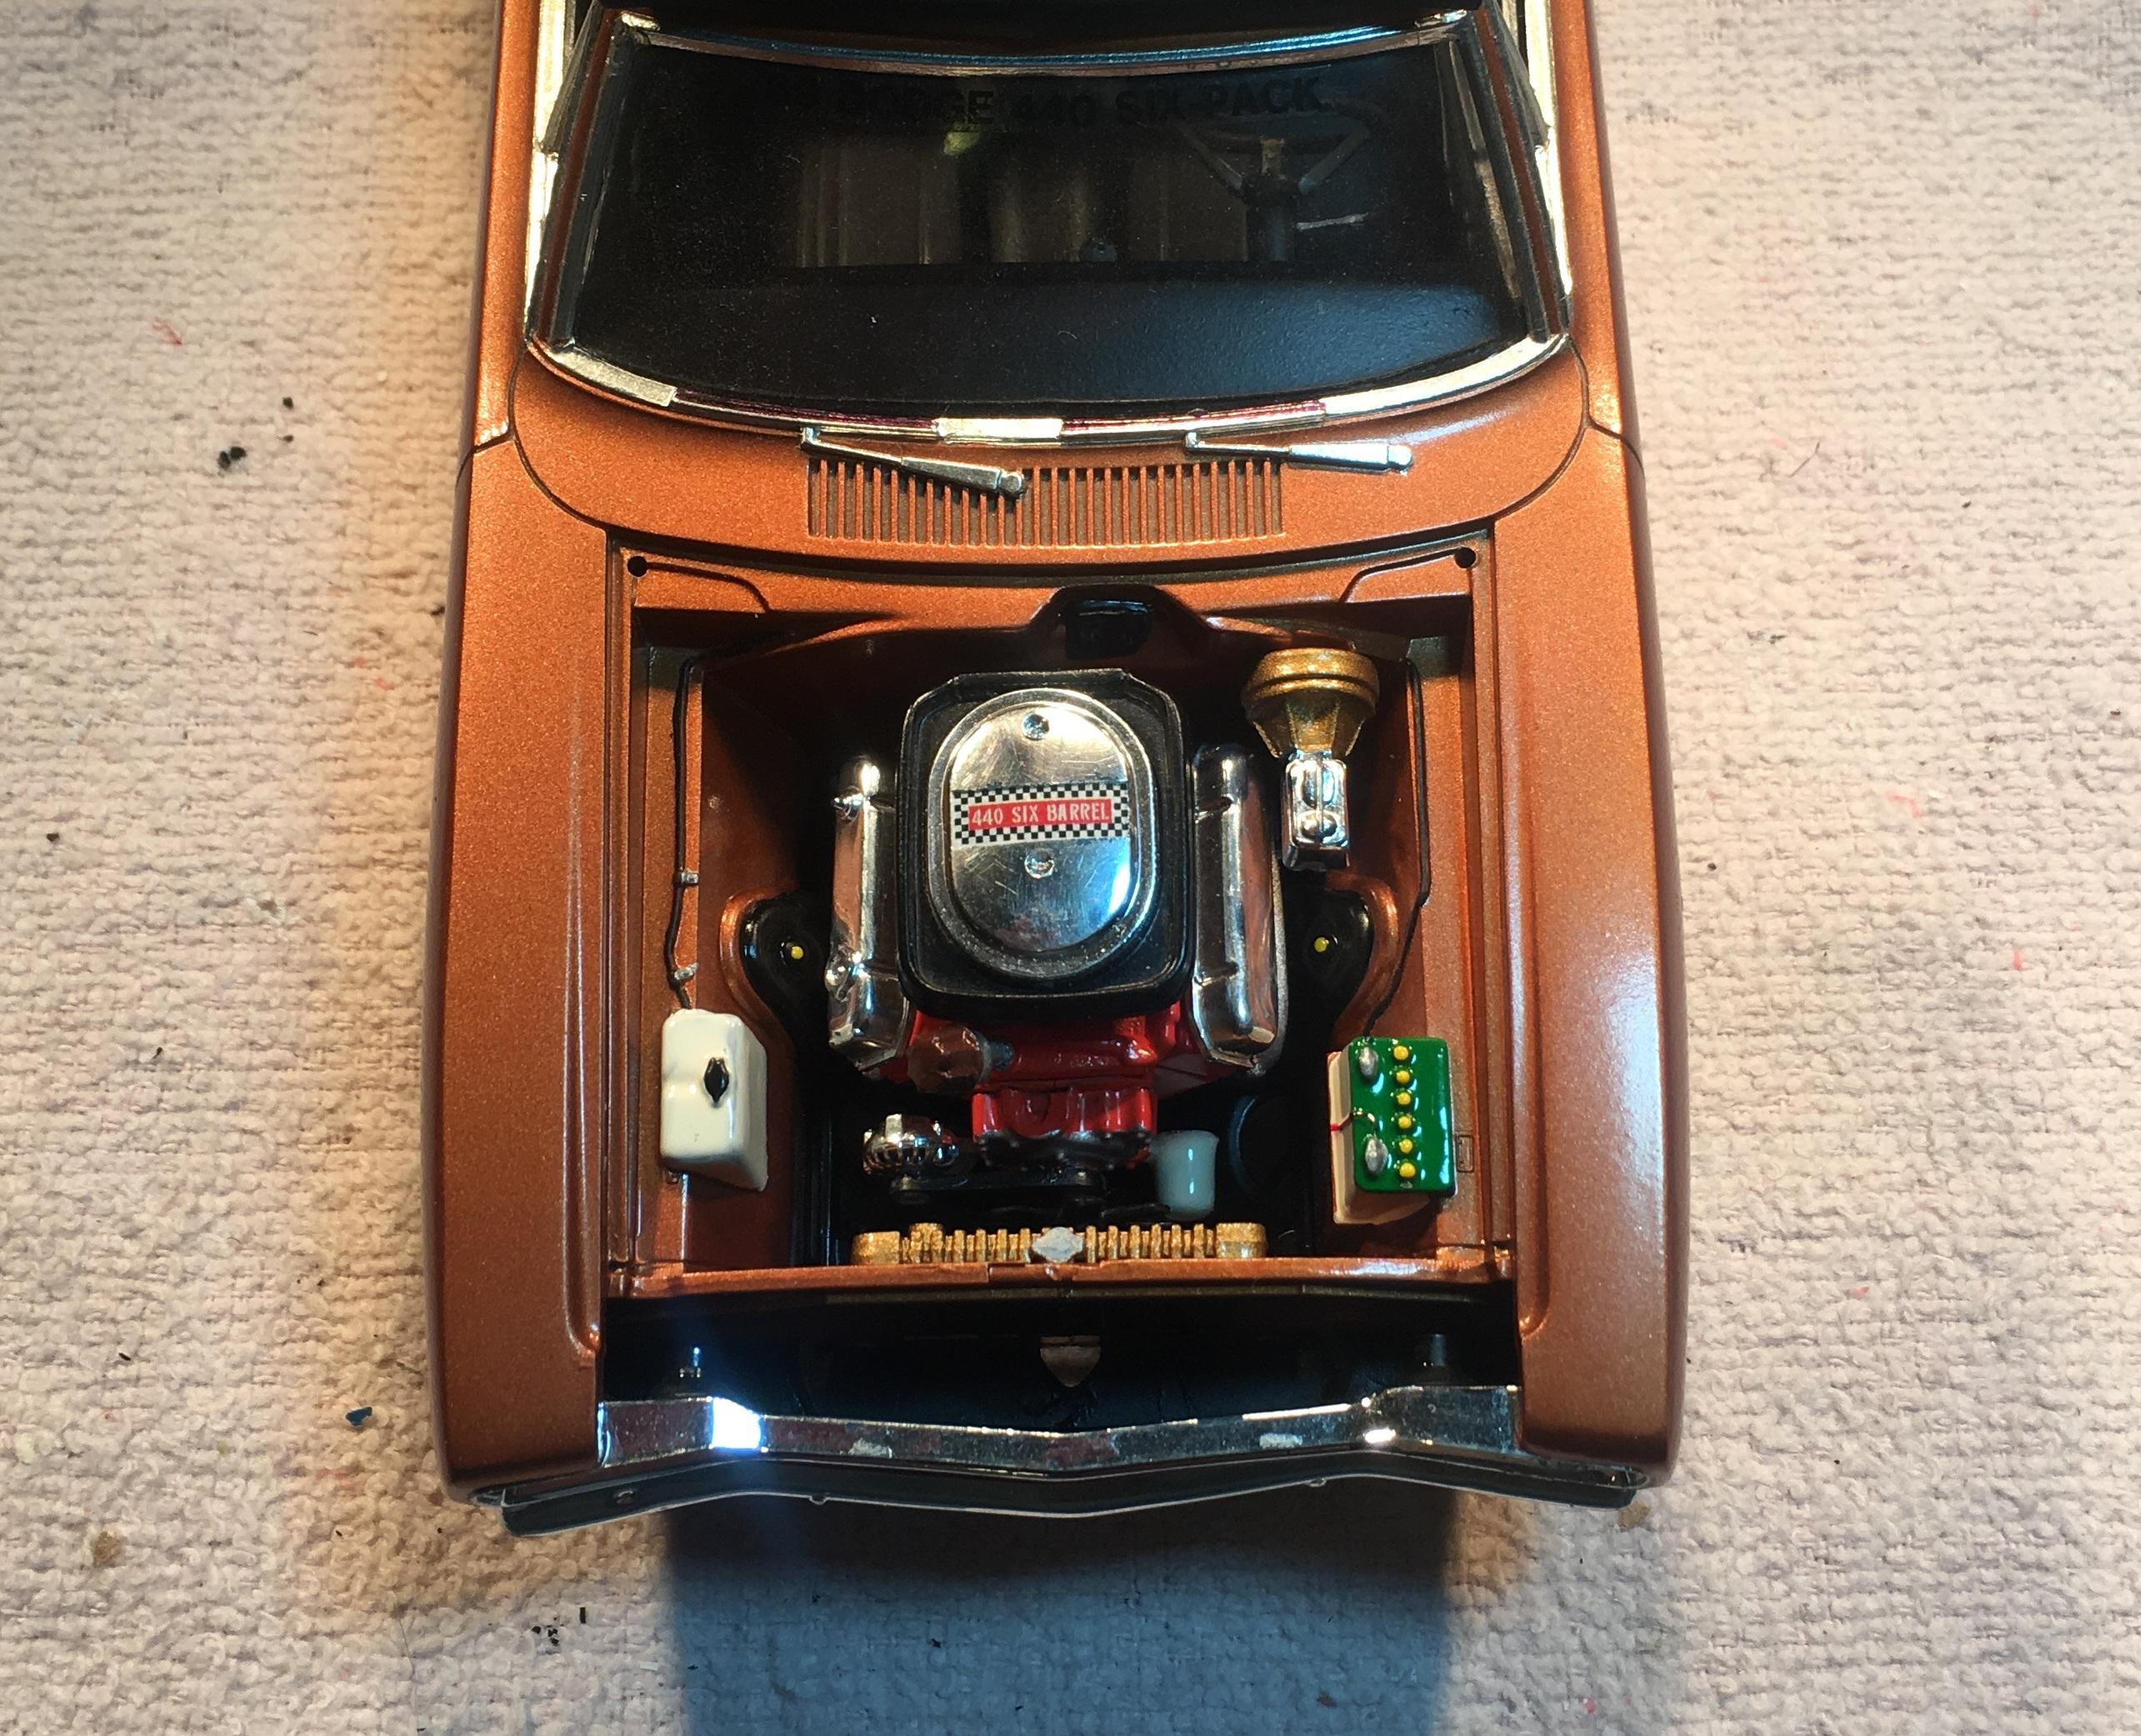
This is my second 69 Dodge Super Bee build. The first one was built (in silver) to be a slot car body. This one is the mixture of a glue bomb and the left overs from the slot car. . The wheels are custom one-offs built by marrying the 10 spokes from a 77 Monte Carlo snap kit with a set of forked, spoked wheels from an undetermined BMW kit. I wish I had more so I could try different colors. The decals were quite a challenge as the were VERY old and may have gotten damp sometime in the past. I did the usual BMF and lighting details in red and amber. I researched the real car details so I could duplicate them on the grille and tail panels. Overall the finished product came out pretty well.
-
Finally got the pesky frame together enough to do a mock up. I like the beefy Moebius wheels and tires. With the day cab on the dual drive frame, I'll have plenty of room for a scratchbuilt headache rack. I will have to move the exhaust stacks outward which means I'll have to move one of the fuel tanks rearward. Such as the price you pay when you choose to deviate. The trailer in the background will eventually be built to go with this truck. I have mods planned for it as well.
-
Thank you. I have a pretty good eye for alignment. Adding a drop of dish soap to the decal water gives you plenty of time to slide them around. Once parked, a dry Q-tip is great at wicking up the water and decal set solution.
-
WOW, Thank you all again for the compliments.
-
At this point in time I have no idea. In the early 2000s I bought a number of wheel and tire lots on ebay. So I am afraid I have no answer.
-
2020 Round2 Car Kit News & Announcements
Bills72sj replied to Casey's topic in Car Kit News & Reviews
I agree. Though that is available on the Motion Baldwin kits. -
I checked out your builds. Your GTO hybrid is AWESOME!
-
Peterbilt revell of Germany
Bills72sj replied to Ken Gilkeson's topic in Model Trucks: Big Rigs and Heavy Equipment
I really like the paint scheme and your background shop too. -
This model was built mostly box stock. The color is a really pretty Jade Metallic green from Testors long ago. The wheels are Minilites as used on vintage Trans Am racers. The side stripes are silver water slides from Keith Marks. This model spent a couple of years in pieces after our cat knocked it off of a high shelf. Fortunately nothing was lost because I keep everything in a zip-lock baggie. And for your really attentive people, yes I know the spoiler is on backwards. I did that on purpose because I think the "right" way just looks wrong.
-
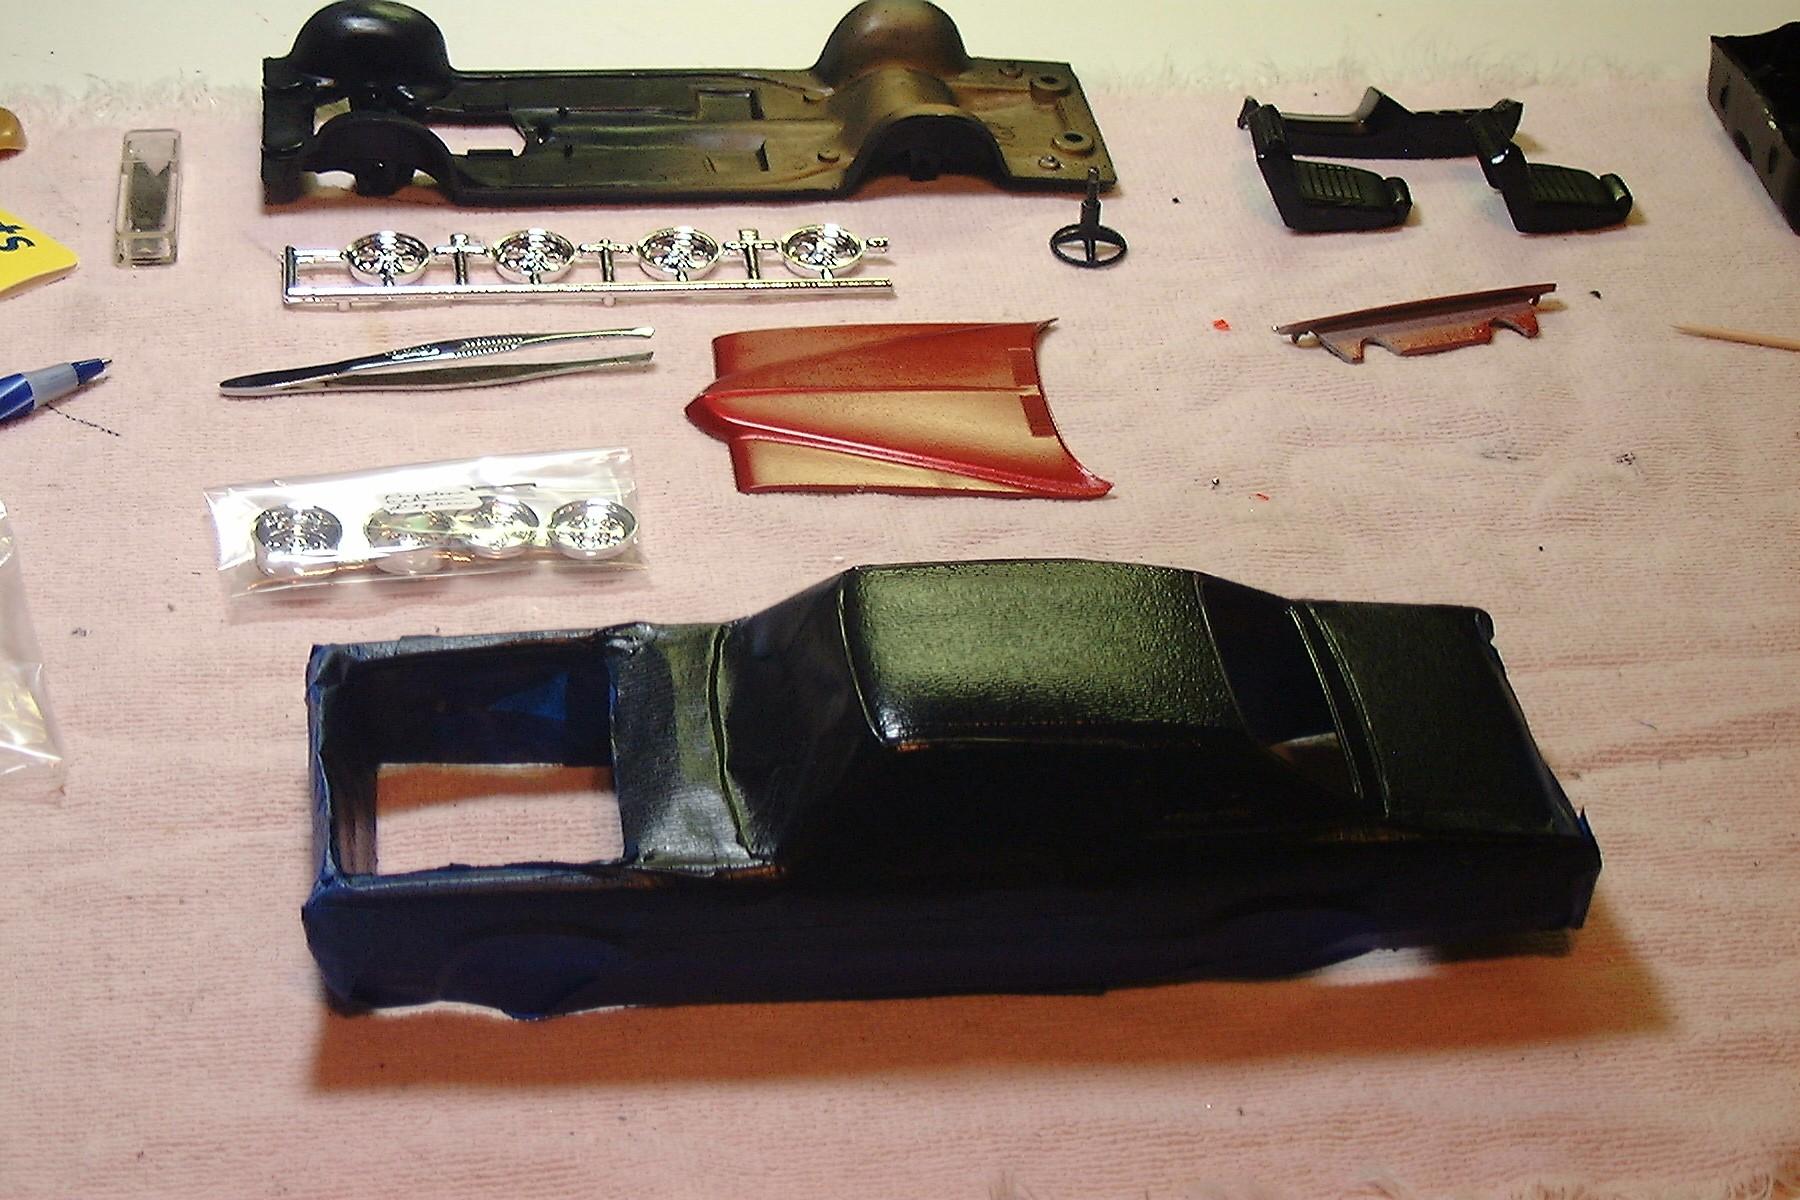
Got the stripe color on the body then attempted to mask it. The thin white vinyl tape did not want to stay in the crevasses. So, I burned up some BMF for masking the valleys and steps. Since it was working so well I went ahead and used it to mask/fill the wide stripe. I am itching to get the black on it but I have multiple issues holding me up. I can't paint in the house and it is too cold and humid to paint outside. If I had a basement I would sneak it in when the wife is out shopping but I don't. My previous house had a hobby room on the opposite side of the garage. I miss that room.