Bills72sj
-
Posts
4,586 -
Joined
-
Last visited
Content Type
Profiles
Forums
Events
Gallery
Everything posted by Bills72sj
-
I like this kit too. I have built two and picked one at HL this week. Nice detail on the alternator
-
You NAILED the weathering! Most impressive.
-
Way cool build.
-
I too have seen the box art online and was not sure what to think of the kit. Your craftsmanship has really upped its reputation in my book. It does seem like it could benefit from some taller front wheels proportionally however.
-
Well done builds. You have the stance nailed on all of them.
-
Quite impressive. I love the dash detail and front grille detail.
-
Good job. 4 nice clean builds.
-

Bending Styrene Rod -Making Ehaust Pipes
Bills72sj replied to 69NovaYenko's topic in Model Building Questions and Answers
Steve put out a tutorial recently using a candle to soften the styrene. -
Well done and gorgeous color.
-
Welcome Joe! This is a supportive place to learn and share. This forum has inspired me to build much better models.
-
I like them both. Though should there be T/A stripes to go with the T/A hood?
-
Figures in dioramas; is it cheating to 'contract' them out?
Bills72sj replied to W Humble's topic in WIP: Dioramas
James, It is your life and your stuff. I say do as you please. Don't give yourself heartburn trying to conform to some rule to get a $5 trophy. Pleasing yourself will be much more rewarding. Here is a link to my limited space diorama for inspiration. -
"Miss Dolly", a White Freightliner
Bills72sj replied to TruckerAL's topic in Model Trucks: Big Rigs and Heavy Equipment
Very nice build. I enjoyed the two I did last year. -
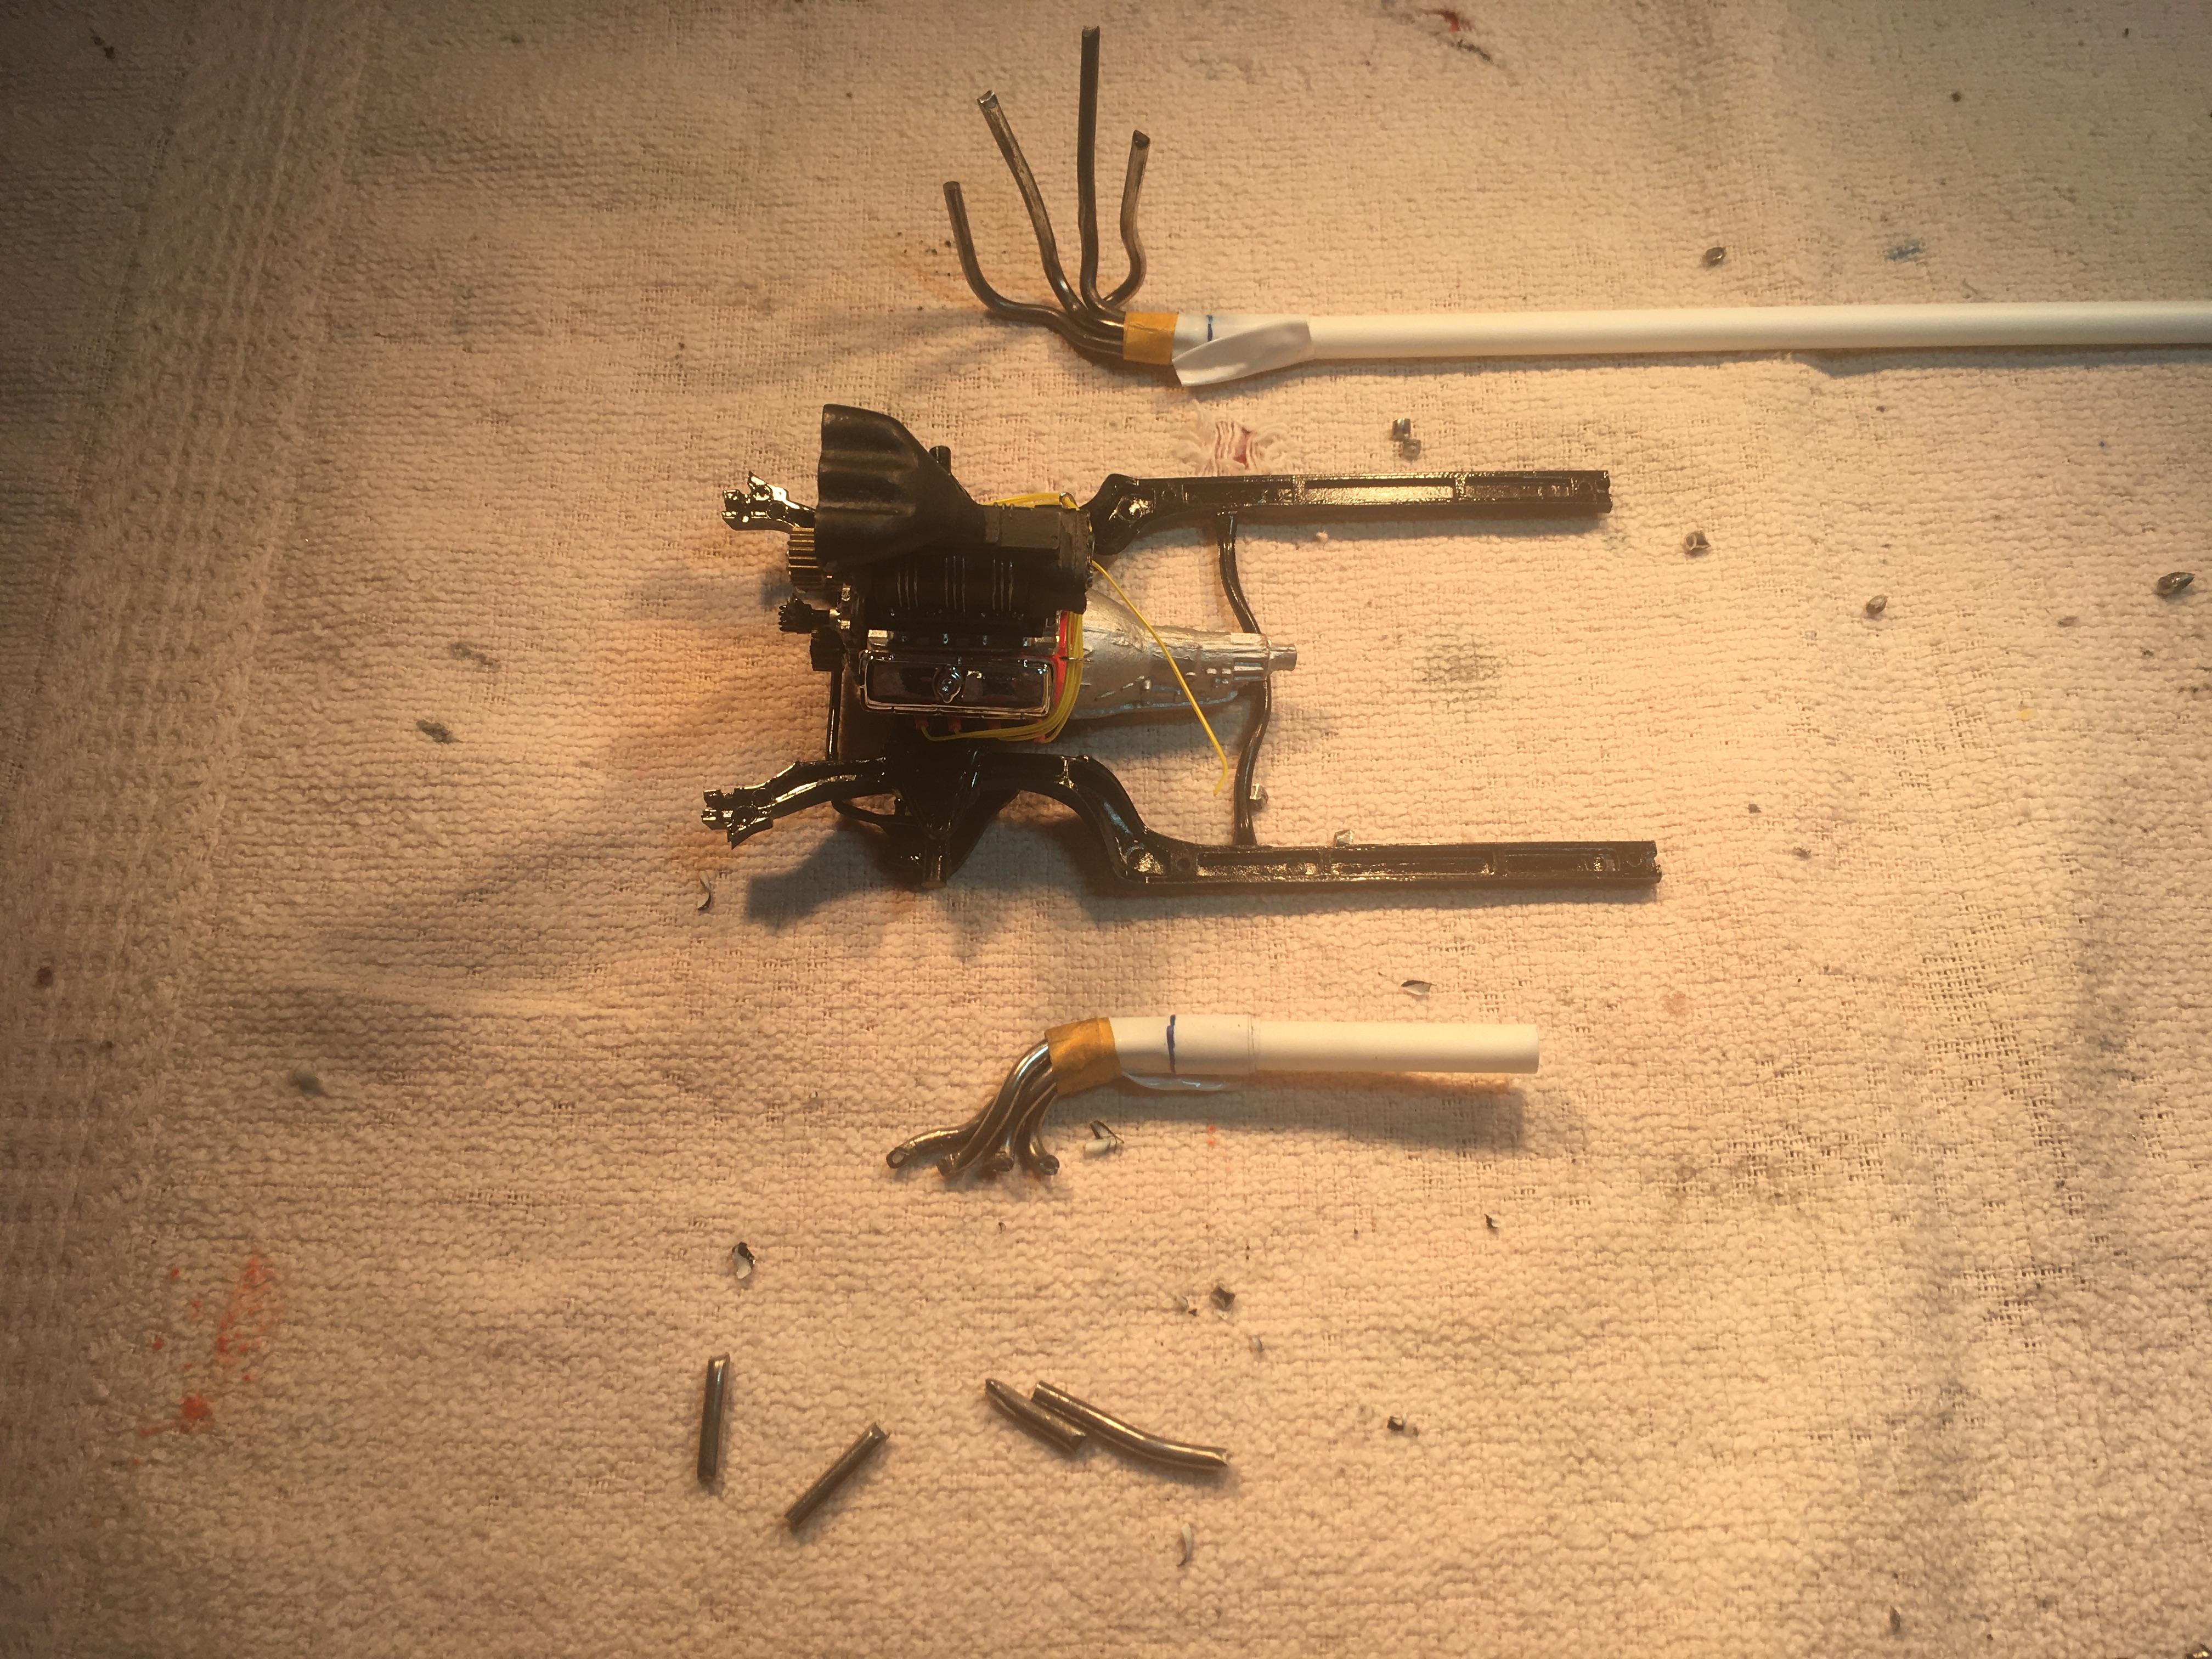
Exhaust header fabrication in progress.

-
Thank you Don.
-
I had some cash in my pocket and headed over to my closest LHS to find it just closed. ? There is some inventory in the store but I have no way to get a hold of them. I'd be happy to take as much of the Evergreen stock as I could get for $200 but it shall be a missed opportunity. I headed to HL and picked up a couple of kits. 67 ProStreet Chevelle for parts and a 69 Super Bee that I have forgotten I already have.
-
Welcome back. We look forward to seeing your builds.
-
Great job on the roof and the decals. ?
-
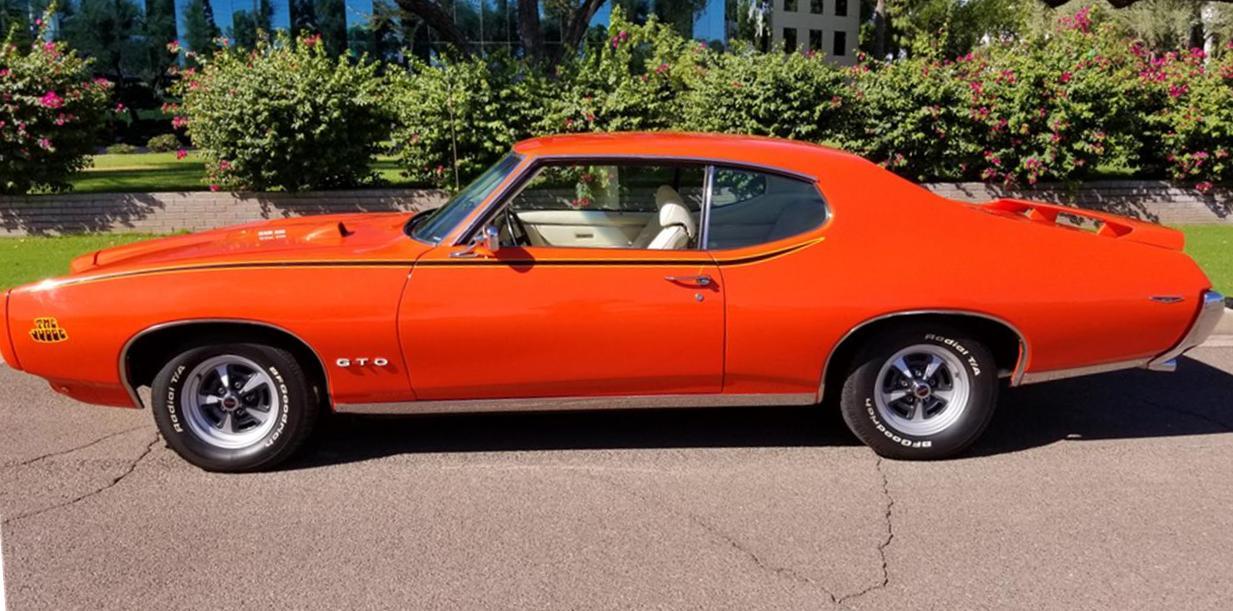
Beautiful paint and detailing. Your choice of background and photography is well done. It would look real except the all one finish rims let it down. Overall excellent result. Here is a pic of Rally IIs sans trim rings.
-
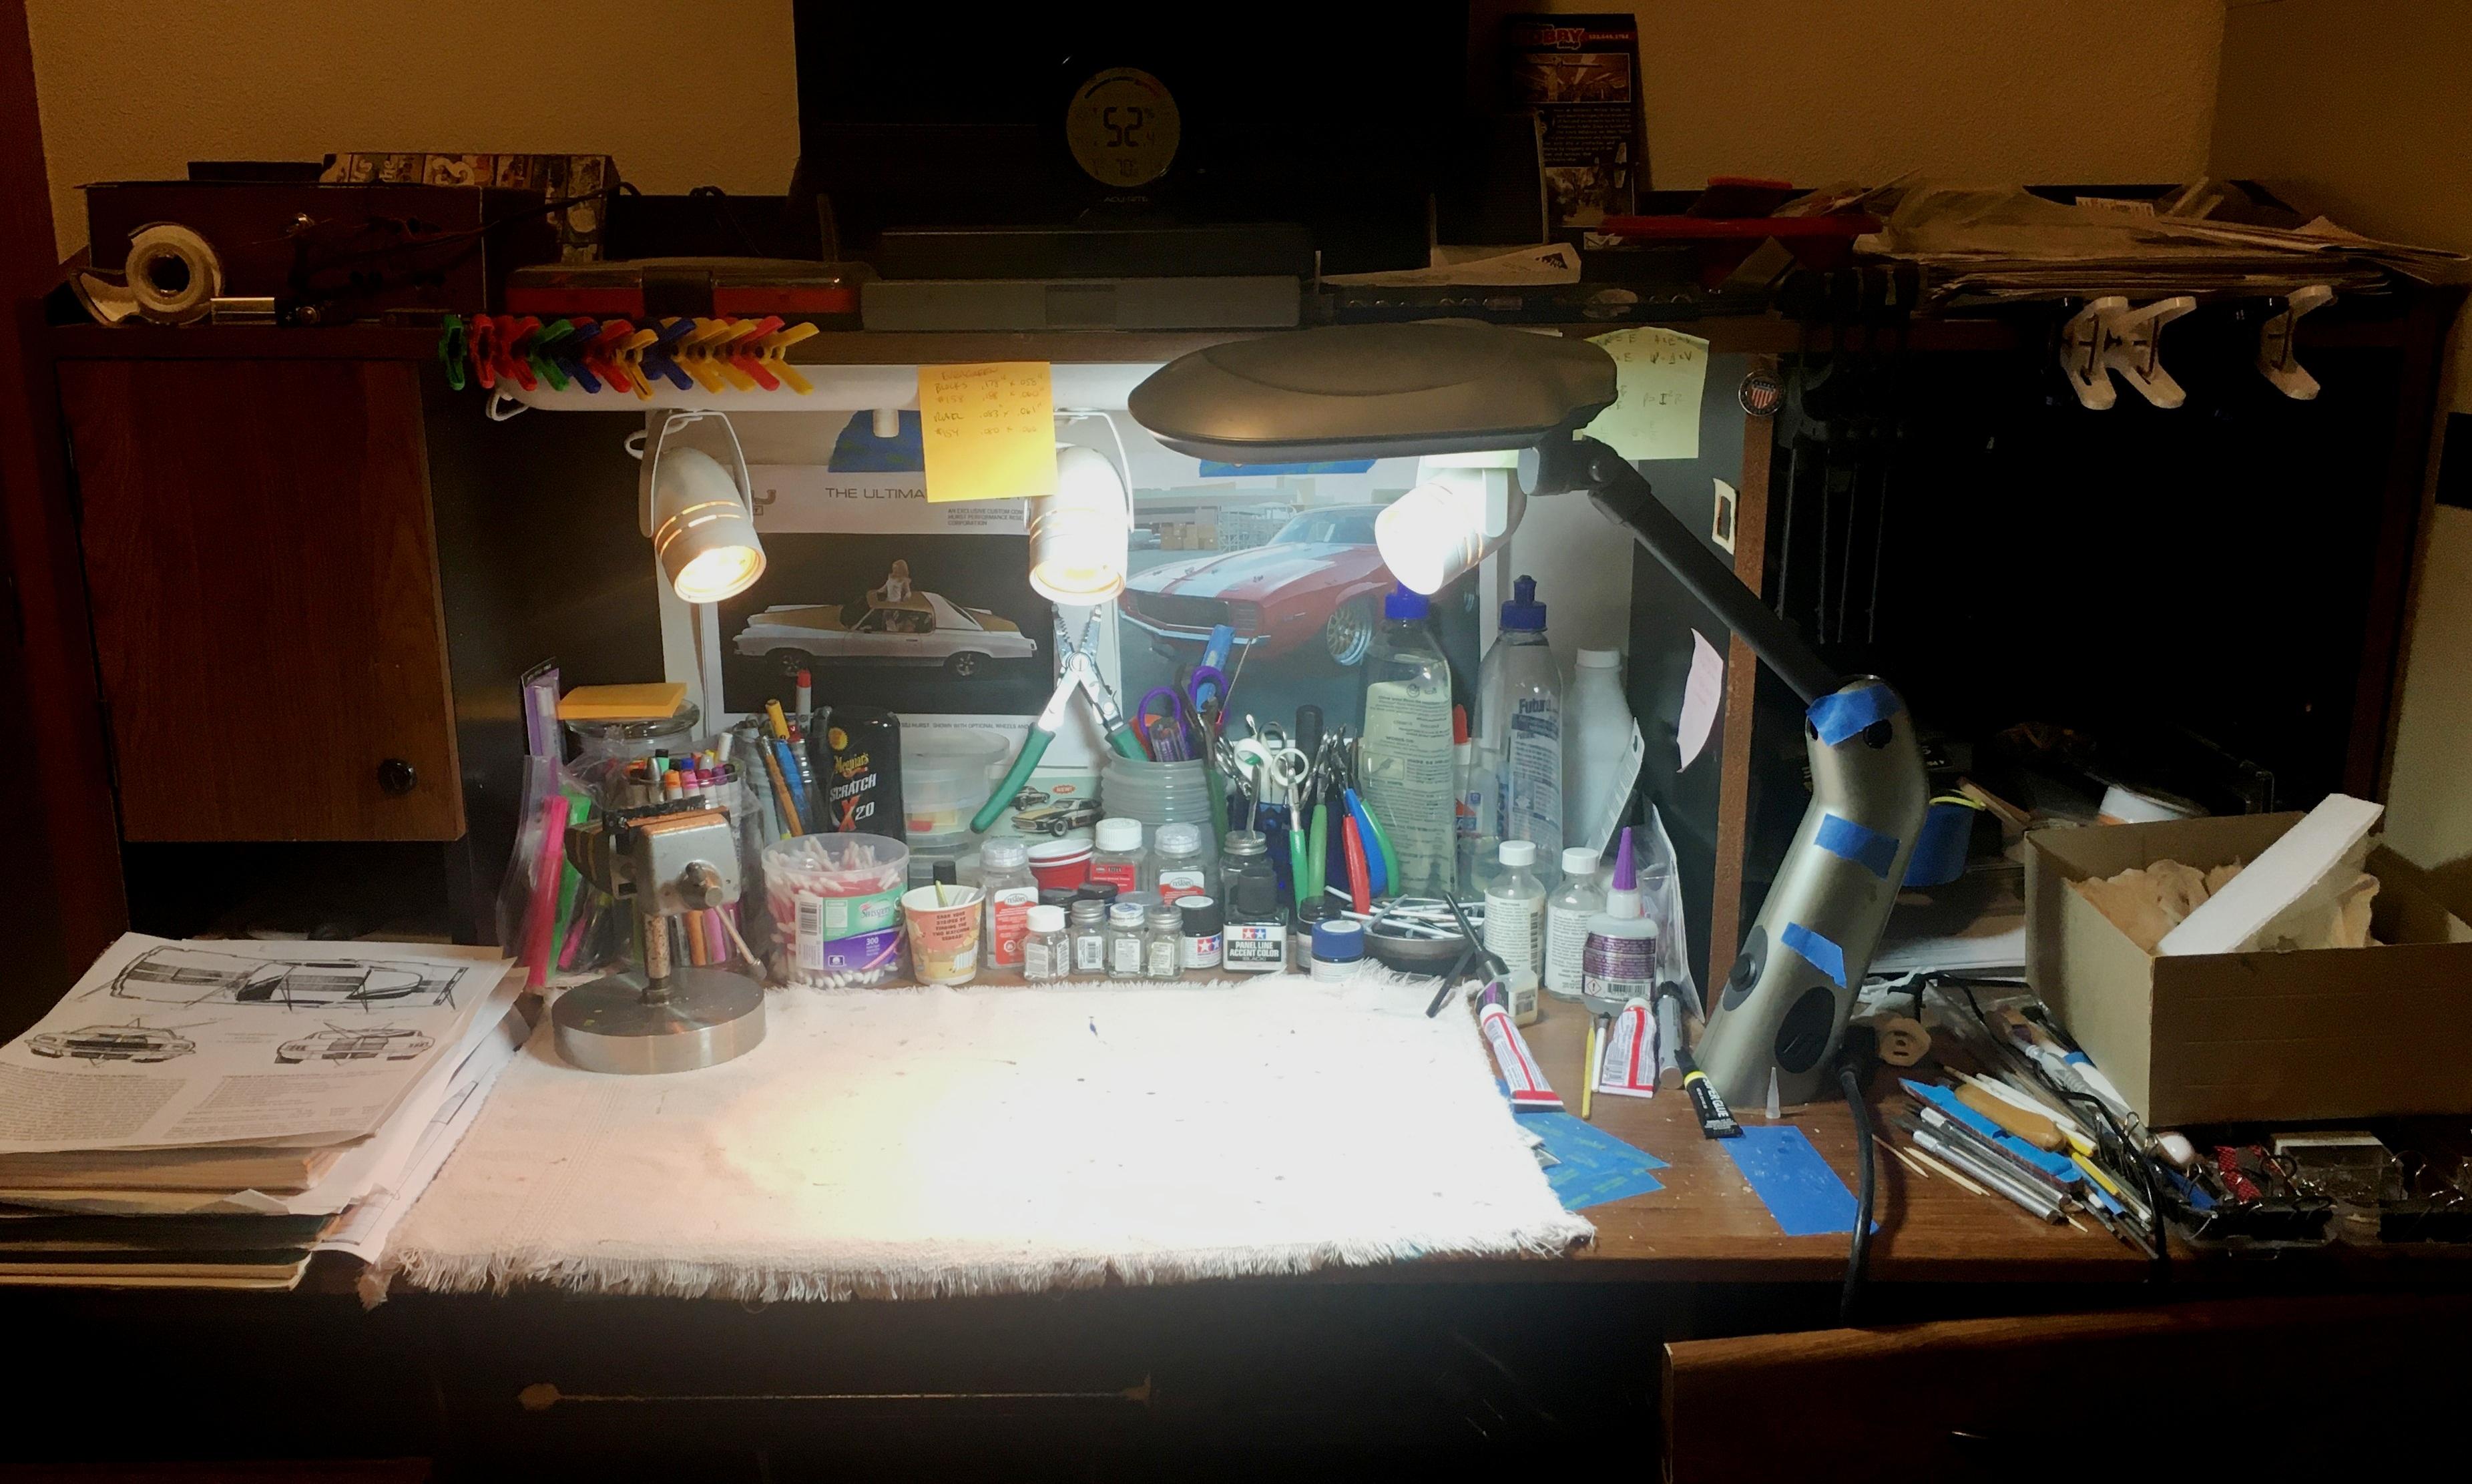
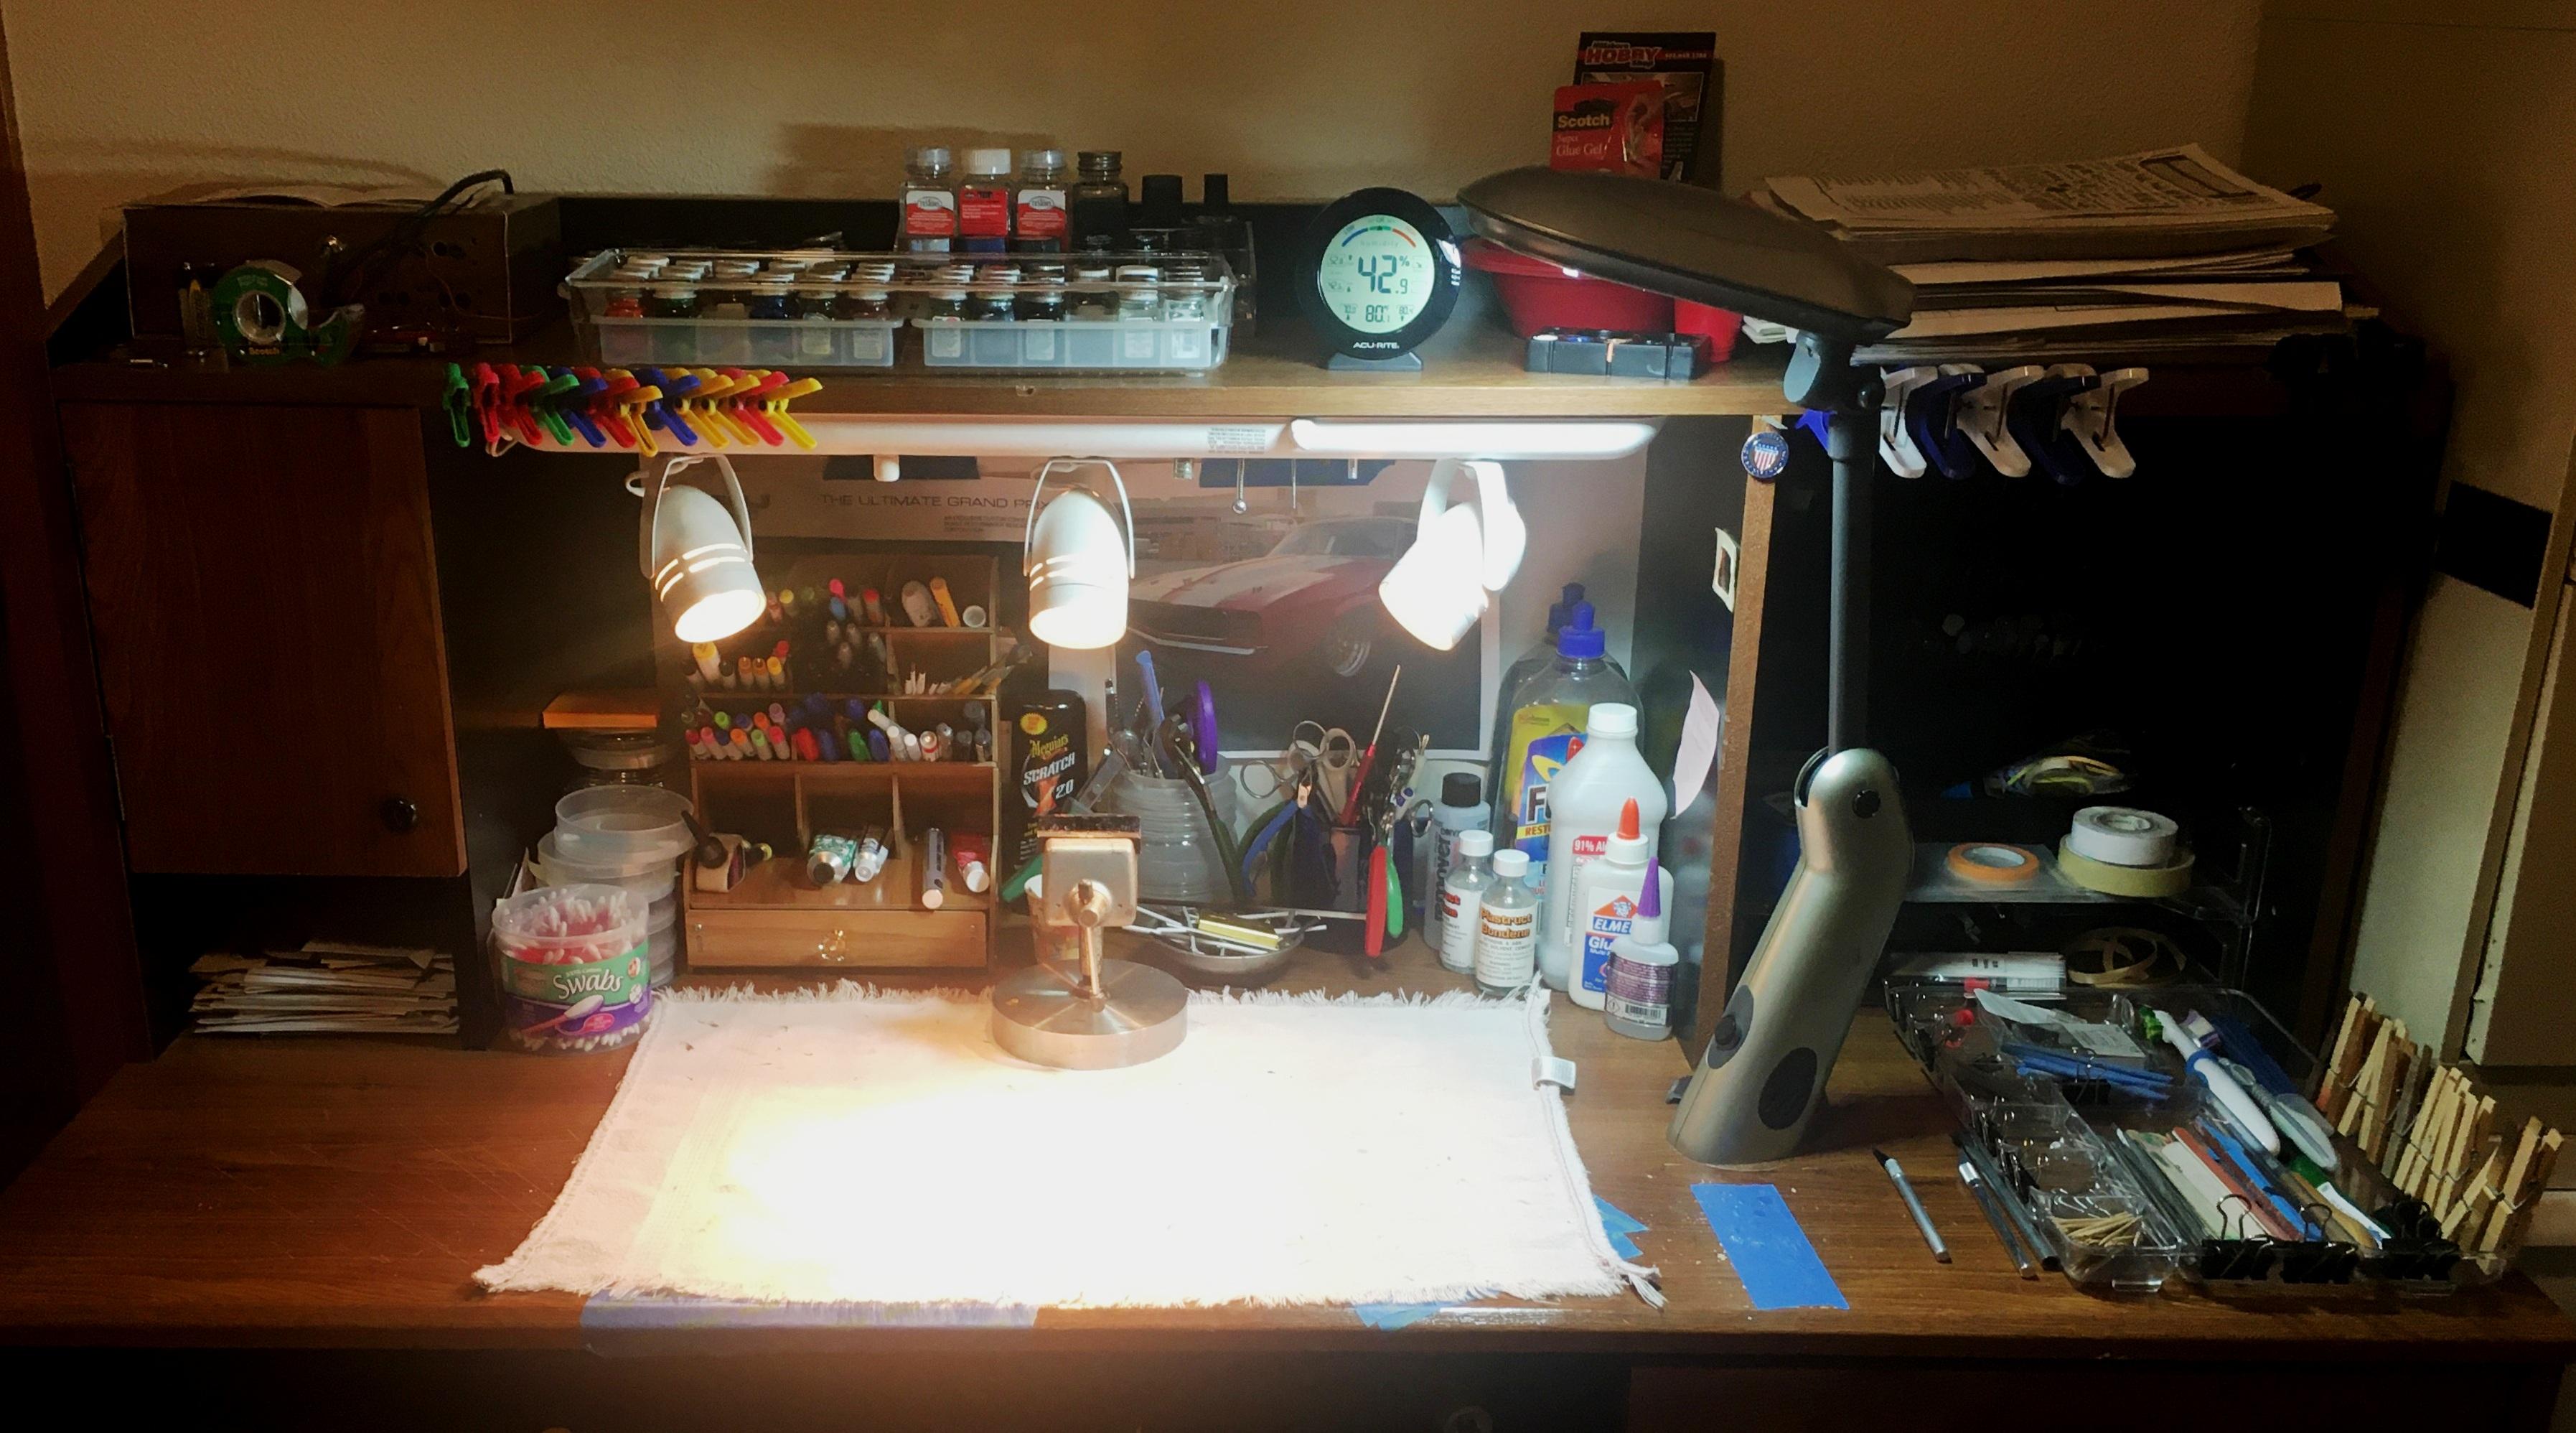
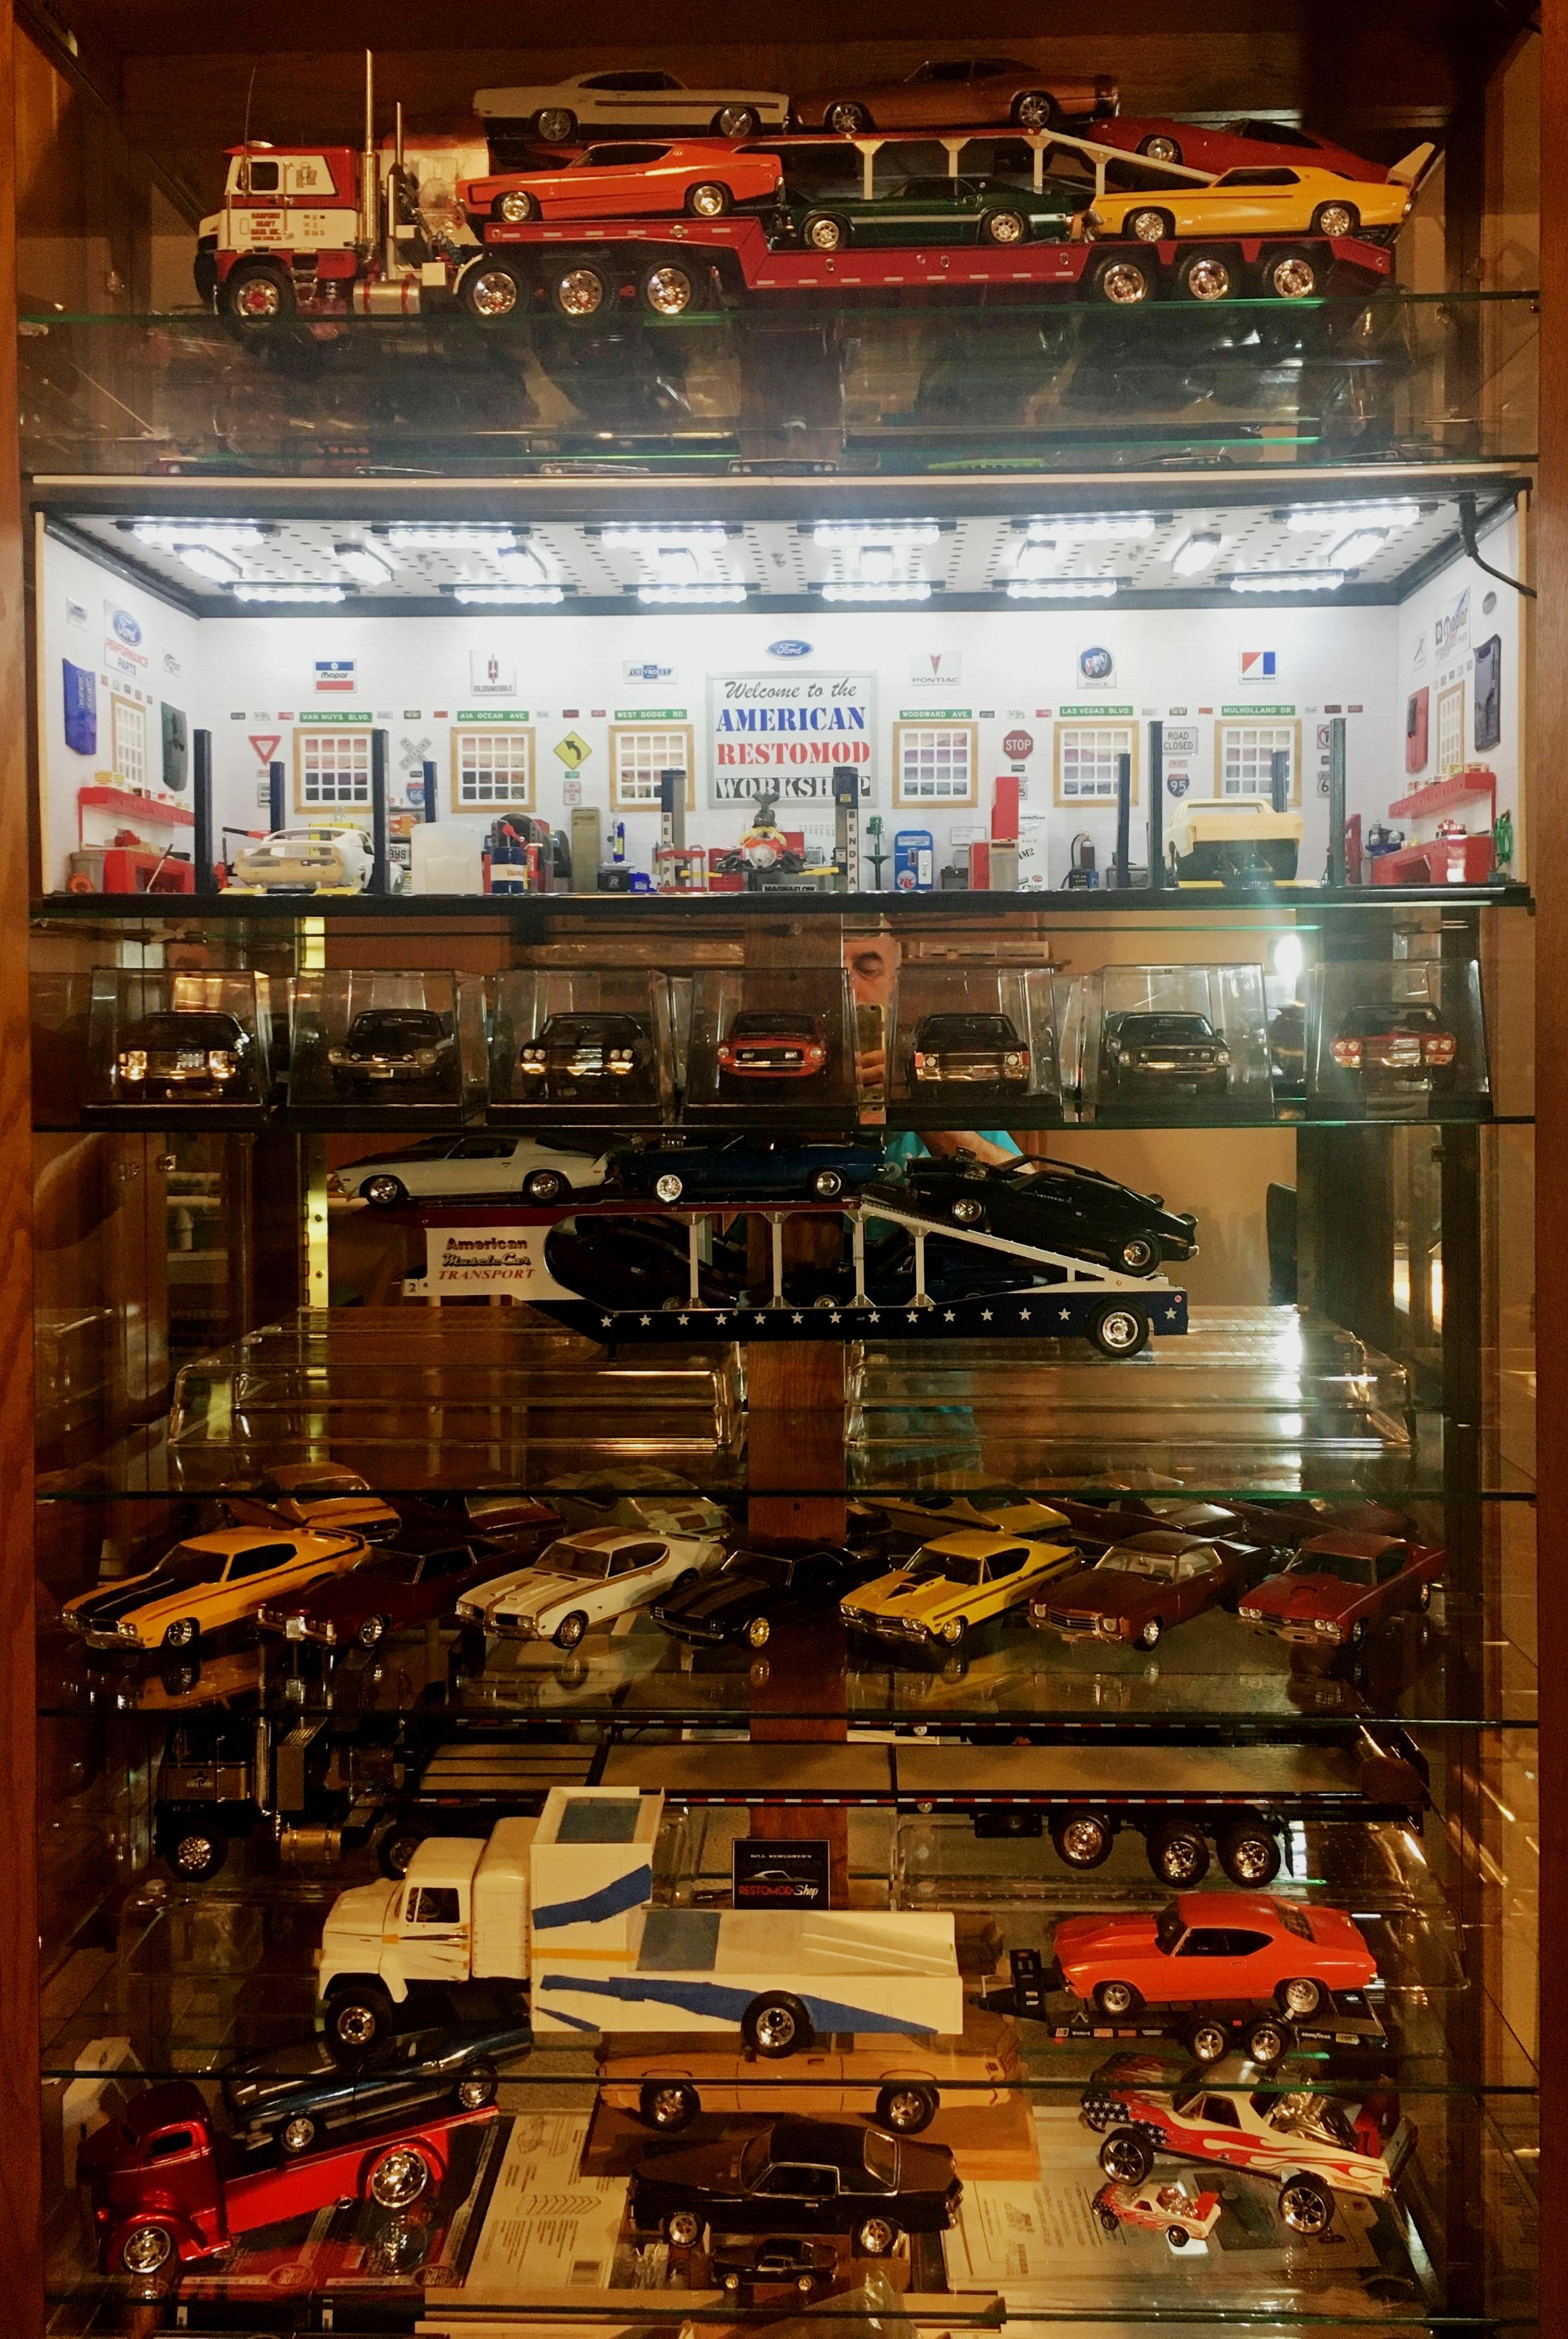
Now that I am down to 4 stalled builds, I took the opportunity to pause and organize my bench. I found a few low cost desk organizing items online and cleaned up my bench. I moved the PC which has not even been turned for couple of years to the attic. I even pulled out everything in my display case to dust and reorganize it as well. It is nice to not have piles of dust all over my bench. I also found some items that have gone missing for awhile.
-
You sir are a top notch artist and engineer. I am always inspired by what you show us can be done when putting forth the effort.
-
I like it. Did mother Mopar paint their steelies body color back in the day?
-
Very nice! Copper BMF... Hmmm...
-
Sweet El Co. Still working on mine slowly.
-
The gloss, the colors, the stance... SaWEET!