.jpg.b9265433dc8c3b550370b1d0e4e4d2fc.jpg)
MarkJ
-
Posts
4,688 -
Joined
-
Last visited
Content Type
Profiles
Forums
Events
Gallery
Everything posted by MarkJ
-
.jpg.b9265433dc8c3b550370b1d0e4e4d2fc.thumb.jpg.915f5b46e3c9402eeaa6972073121c87.jpg)
2022 Nextgen Camaro
MarkJ replied to MarkJ's topic in WIP: Stock Cars (NASCAR, Super Stock, Late Model, etc.)
Thanks Steve. I have a question for you or anybody else reading this. The rear deck that goes over the fuel tank is molded in white, but the instructions say to paint it black. I wonder if anybody has a picture of the rear deck in an actual NextGen car. Finding ref pictures for these cars is very hard. Thanks, if anybody can post a picture here. -
2022 Nextgen Camaro
MarkJ replied to MarkJ's topic in WIP: Stock Cars (NASCAR, Super Stock, Late Model, etc.)
Instruction box 17
-
2022 Nextgen Camaro
MarkJ replied to MarkJ's topic in WIP: Stock Cars (NASCAR, Super Stock, Late Model, etc.)
Instruction box 16
-
2022 Nextgen Camaro
MarkJ replied to MarkJ's topic in WIP: Stock Cars (NASCAR, Super Stock, Late Model, etc.)
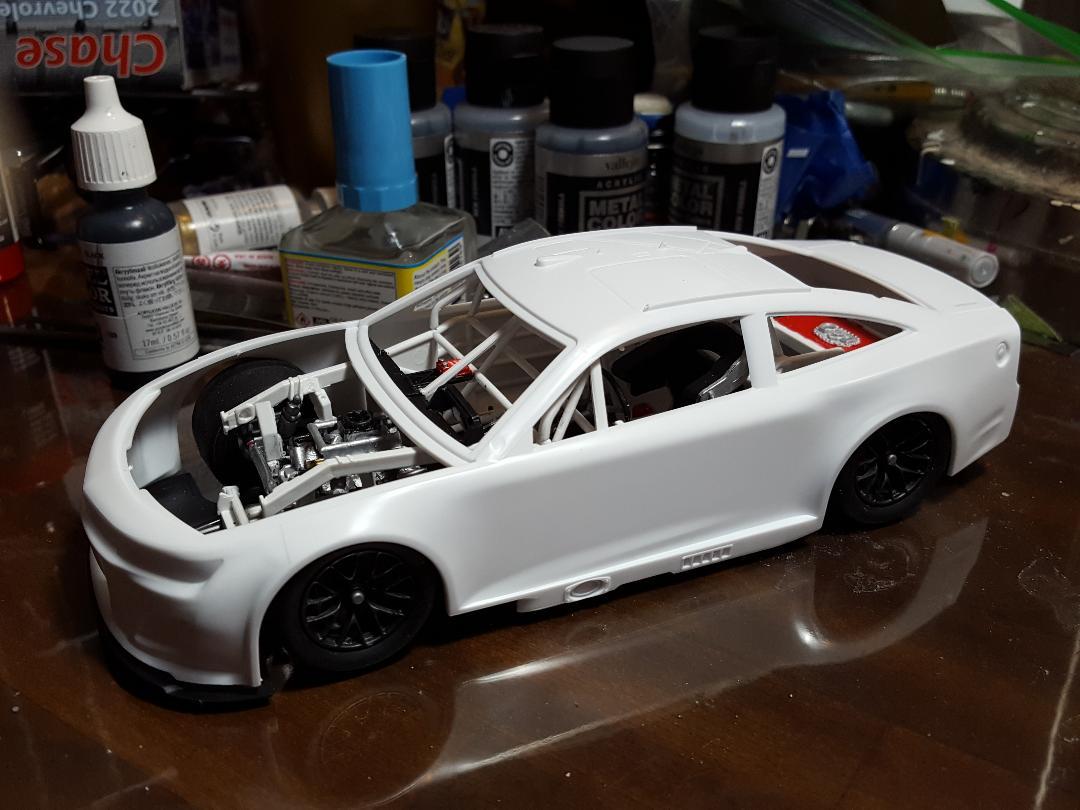
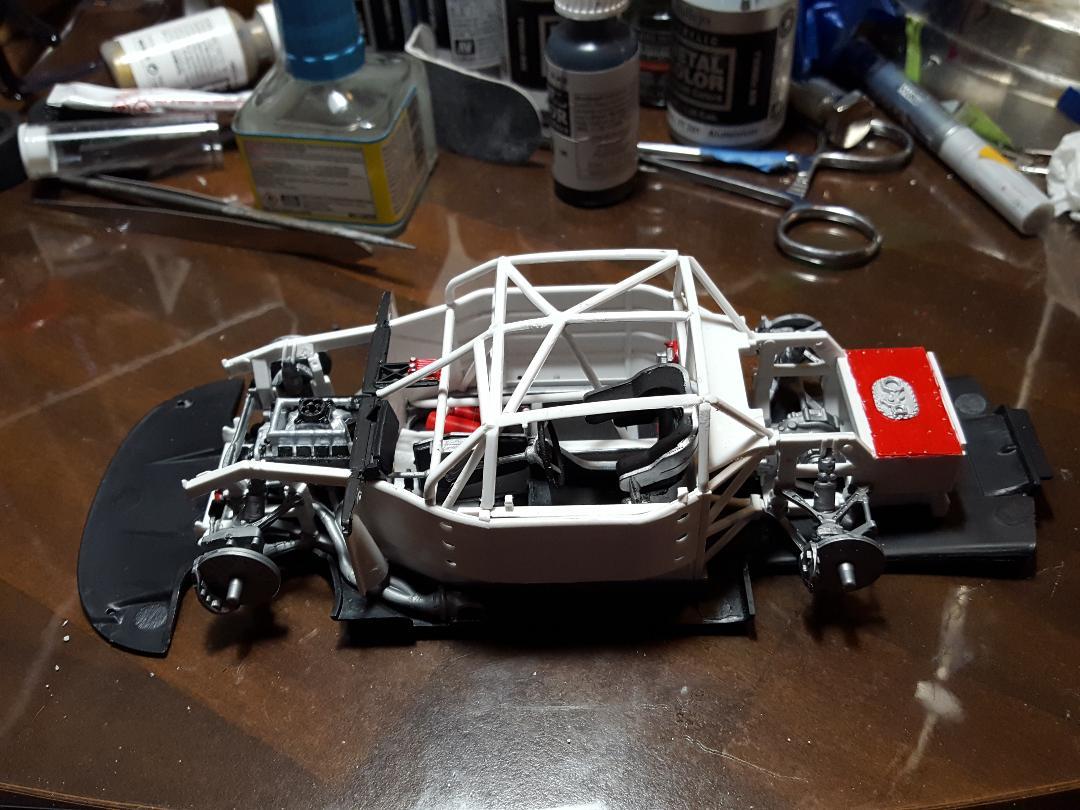
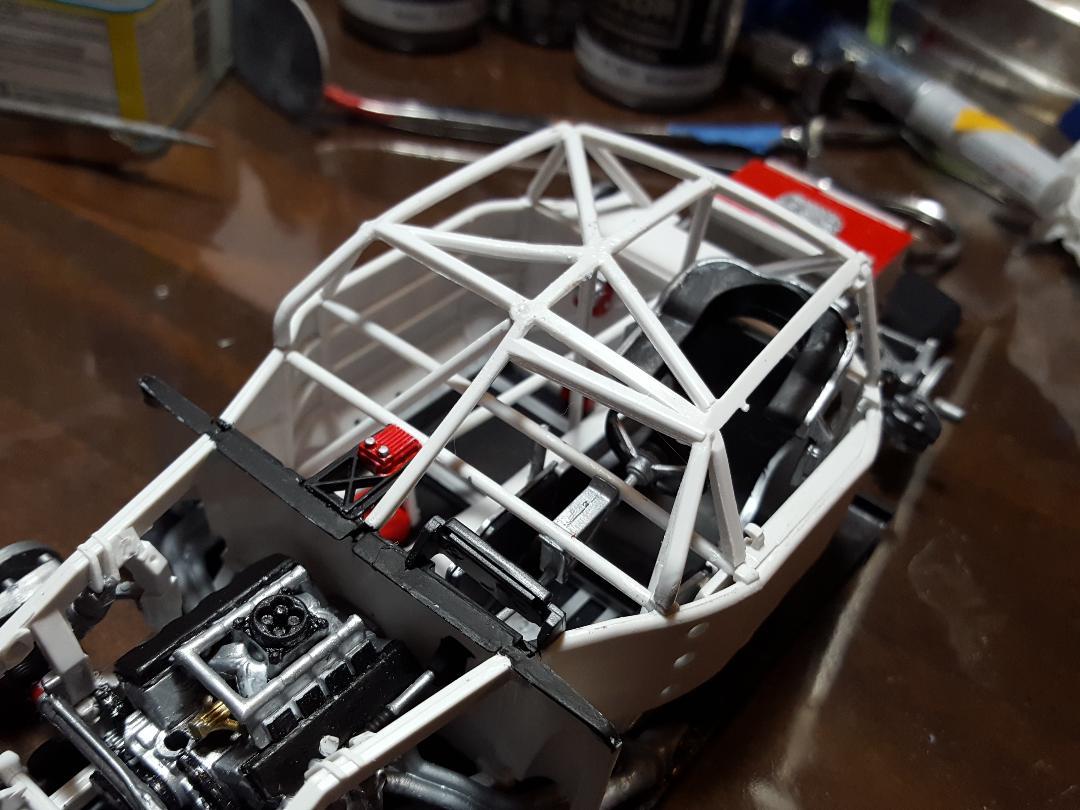
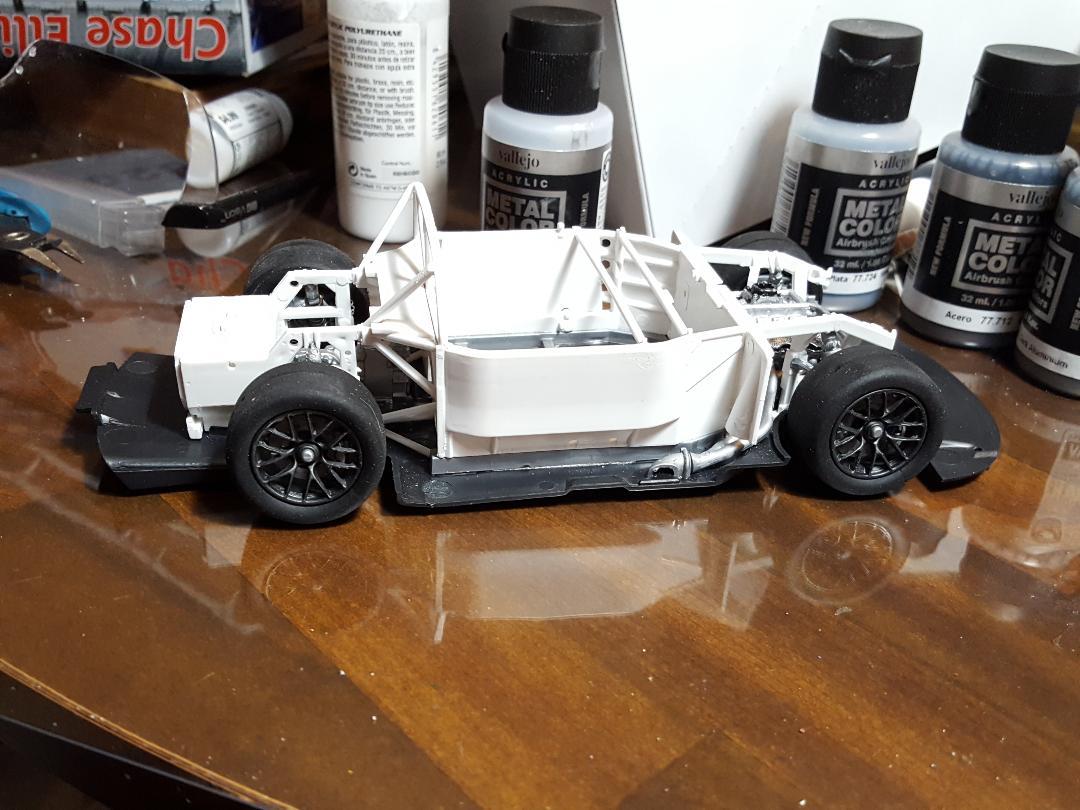
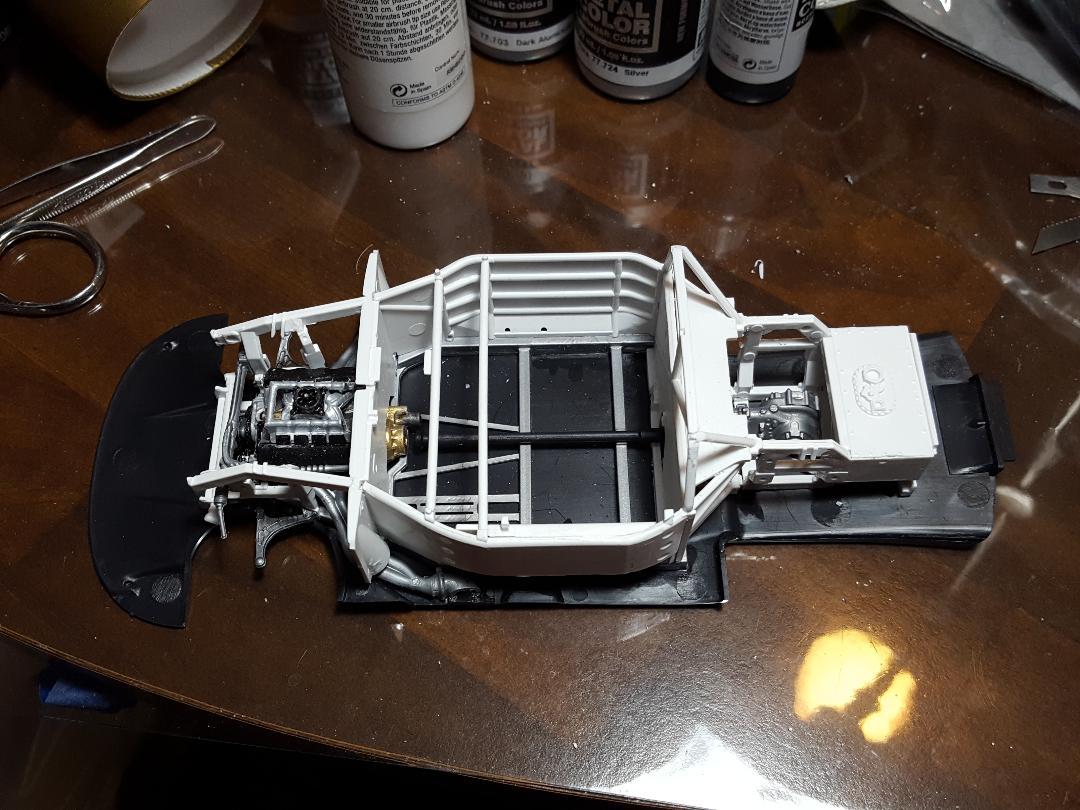
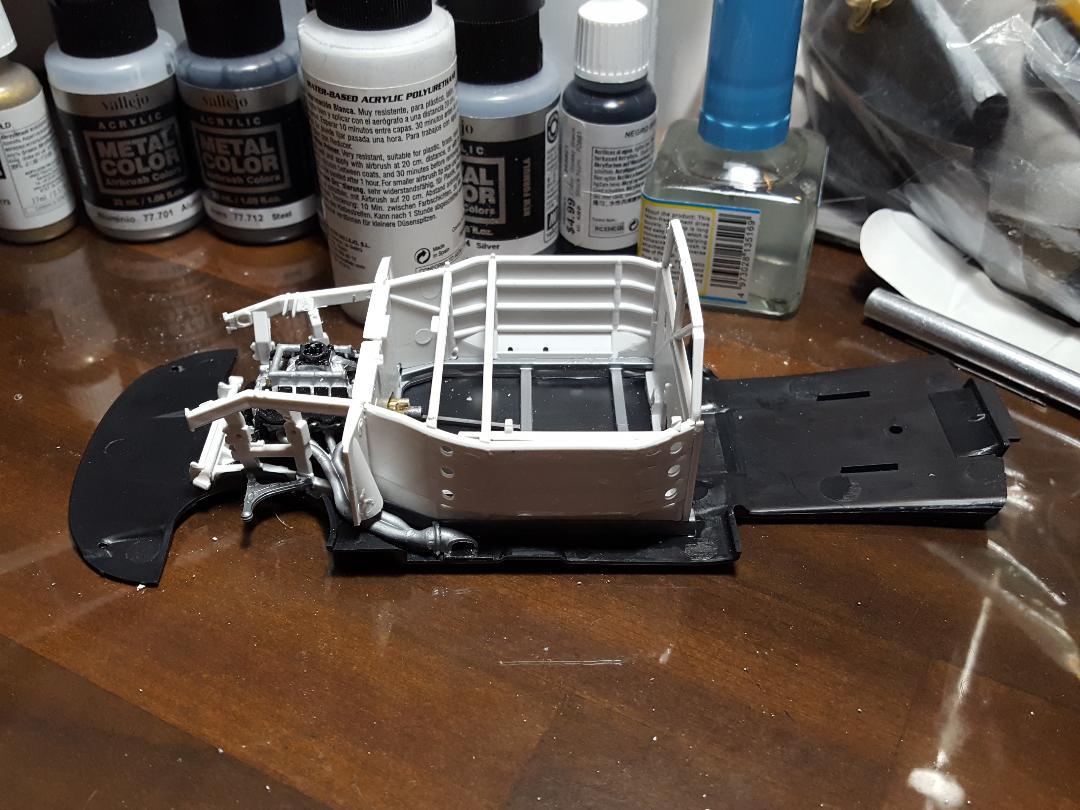
This is what the model looks like, halfway through the build, 15 of 29 instructions have been completed.
-
2022 Nextgen Camaro
MarkJ replied to MarkJ's topic in WIP: Stock Cars (NASCAR, Super Stock, Late Model, etc.)
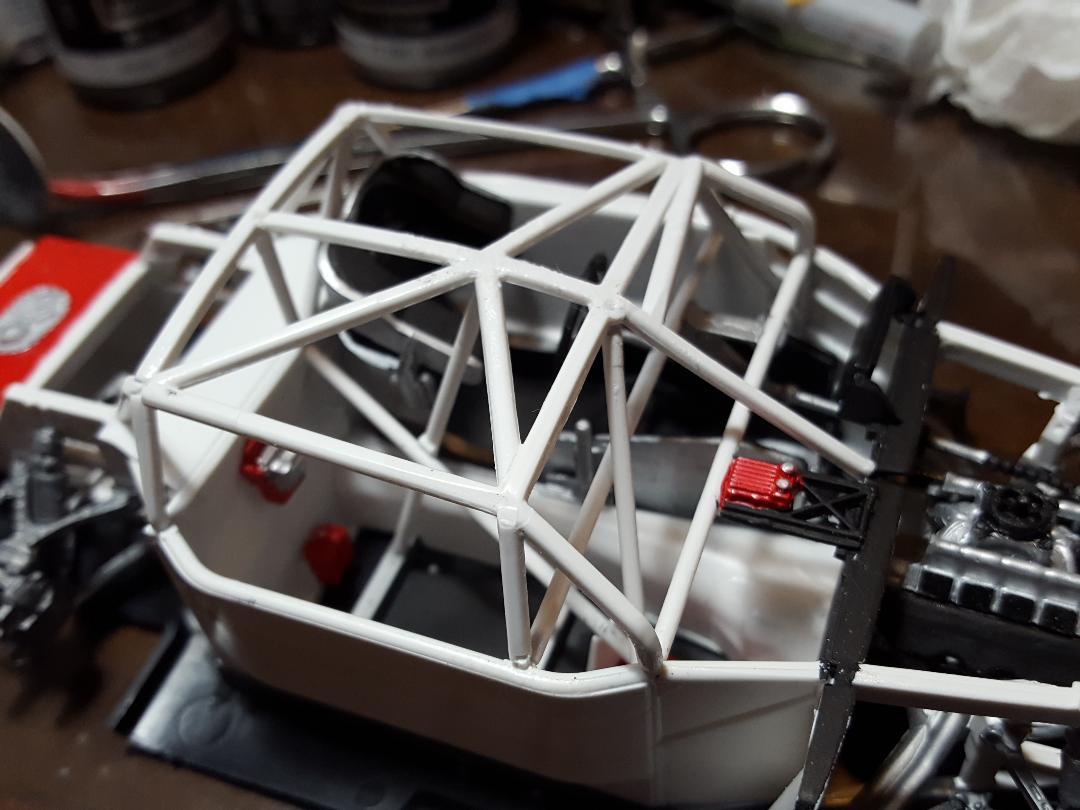
Here are the pictures for instruction box 15.
-
2022 Nextgen Camaro
MarkJ replied to MarkJ's topic in WIP: Stock Cars (NASCAR, Super Stock, Late Model, etc.)
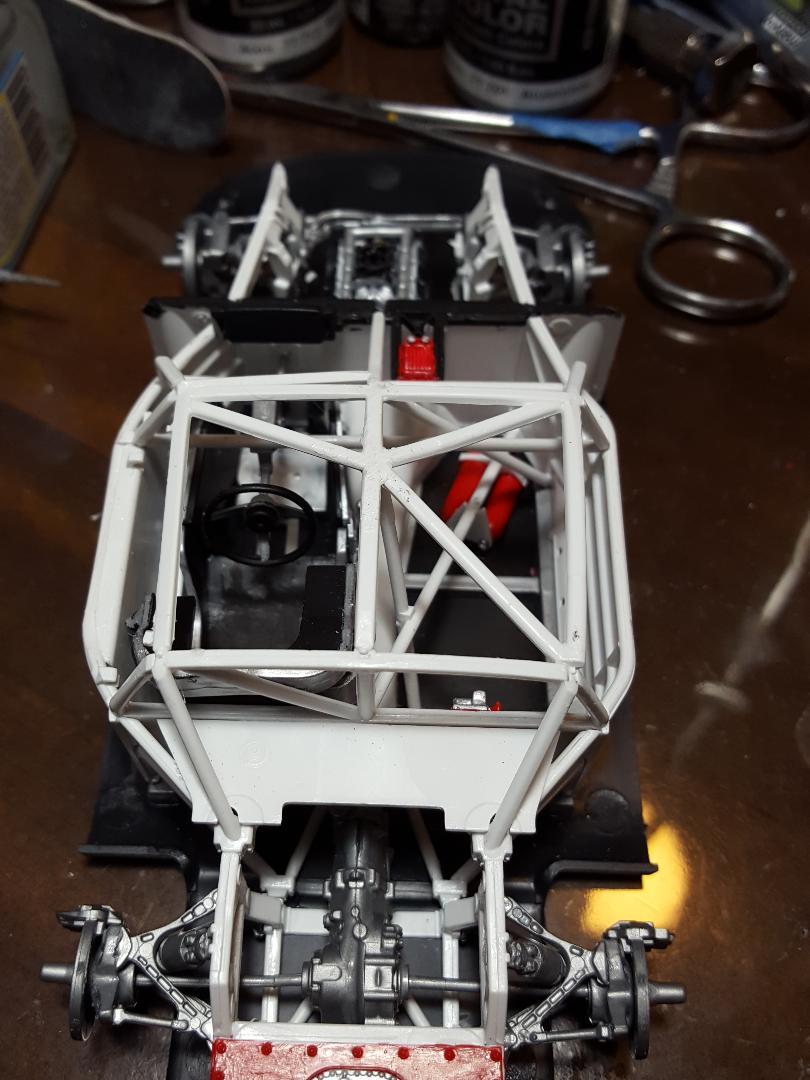
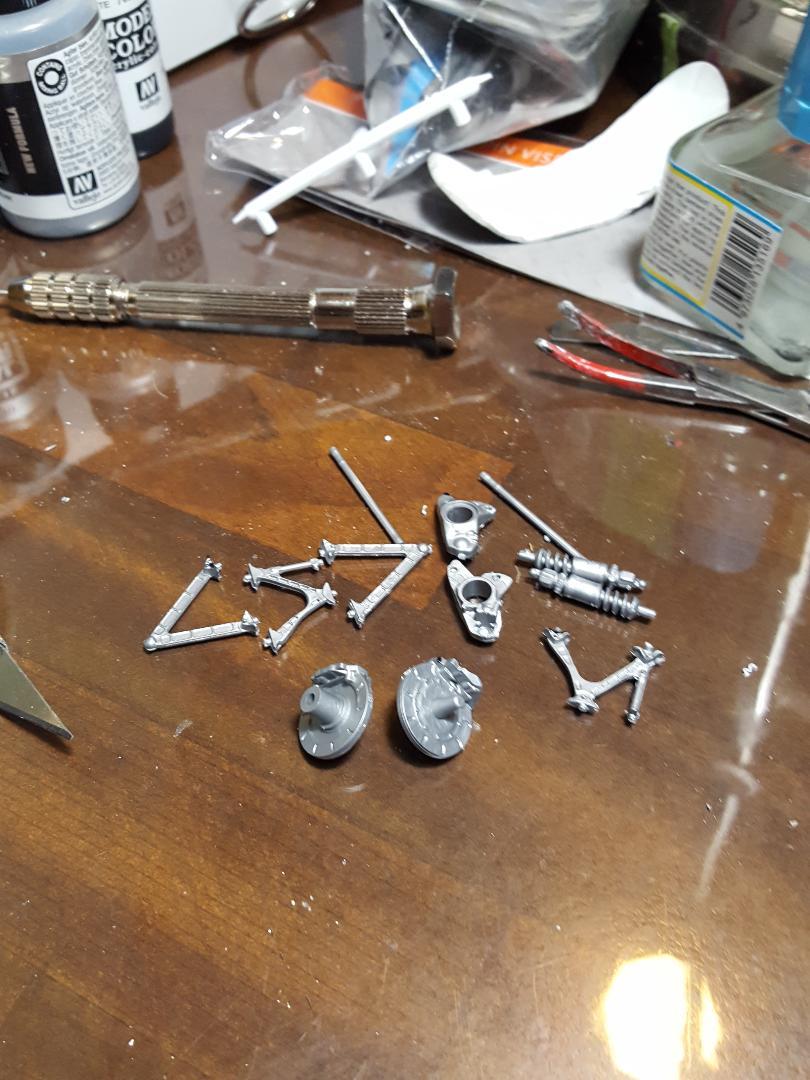
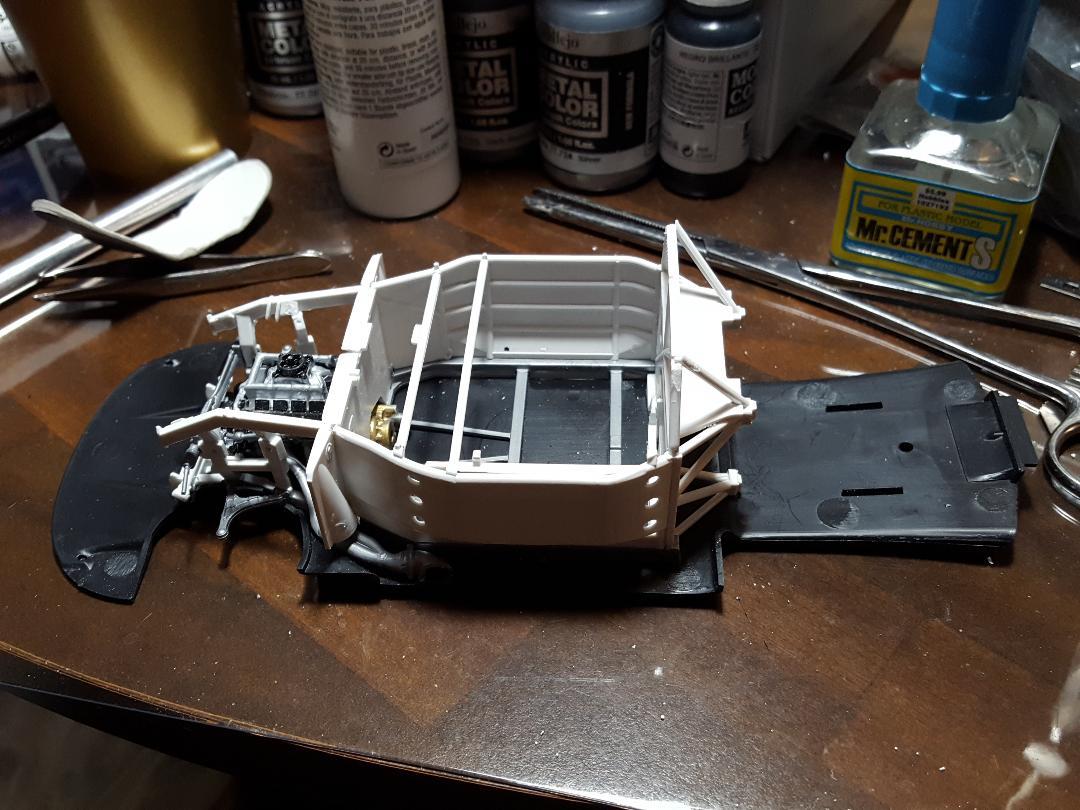
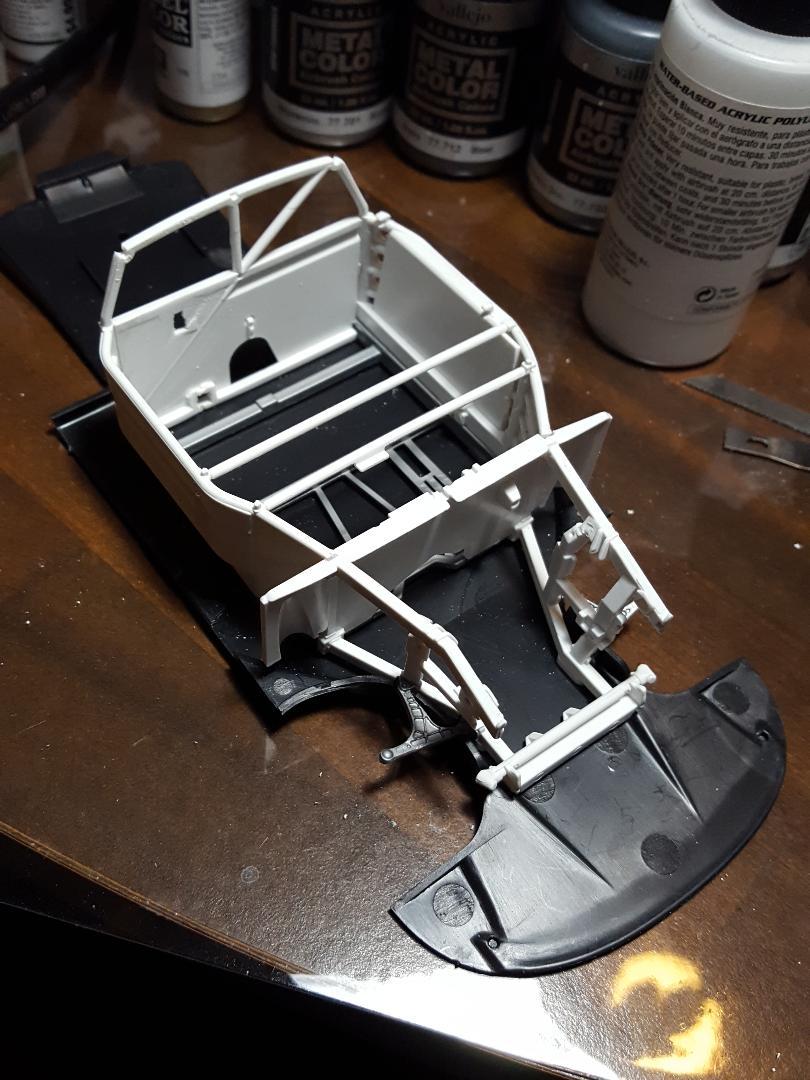
I got instruction box 15 done yesterday. I forgot to take a picture of the parts involved in that box, but they were the Petty and Earnhardt bars along with the fire extinguisher bottles and the top part of the cage. I ran out of time to take pictures of the finished instruction box but will try to do it today. that one was a little challenging to say the least. There are so many glue points, and some are hard to see much less get glue on them. I had to start with the rear of the cage and move forward. The two bars coming up from the floor are hard to do because you can't see the holes they go into. I finally got it done after much cussing and discussing with myself about how much finger dexterity I have lost over the years. I previewed the instructions ahead and they look a lot easier then these first 15 have been. So, I'm hoping to coast easy to the finish of the chassis and then go onto the body. Overall this kit has proved not to be as daunting as I thought it would be and the next one, I do depending on my memory, should be a lot easier. Well, you'd think it should. I will find out. -
2022 Nextgen Camaro
MarkJ replied to MarkJ's topic in WIP: Stock Cars (NASCAR, Super Stock, Late Model, etc.)
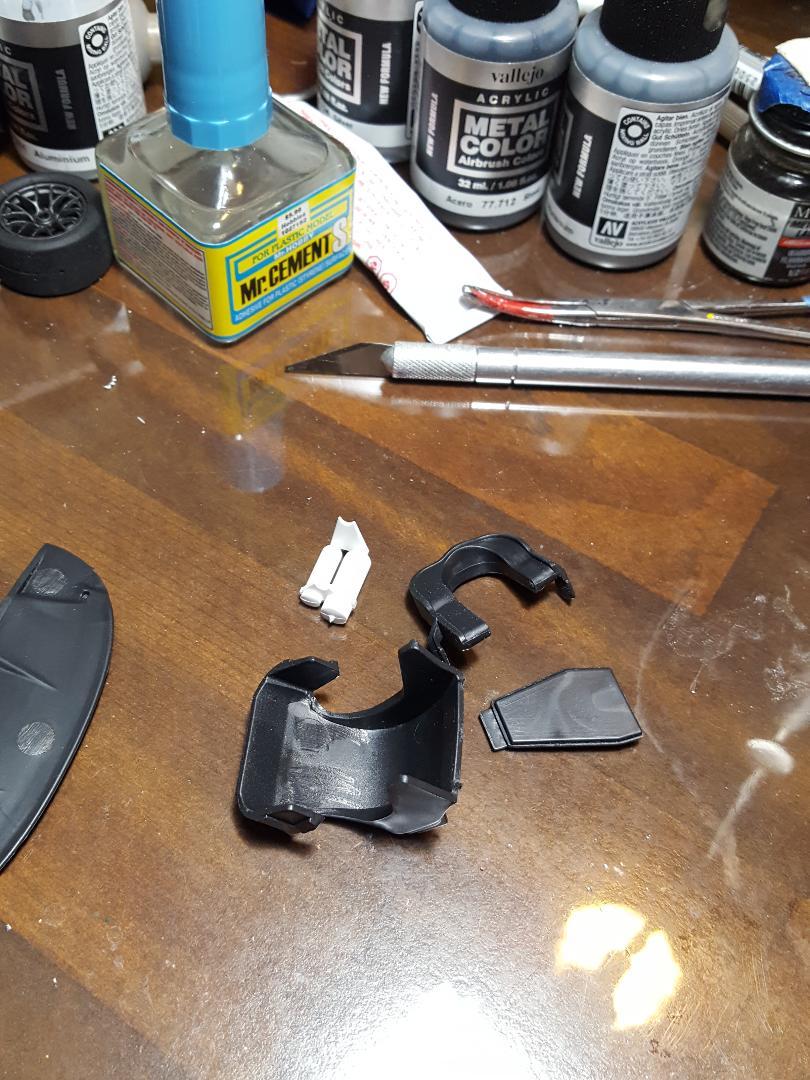
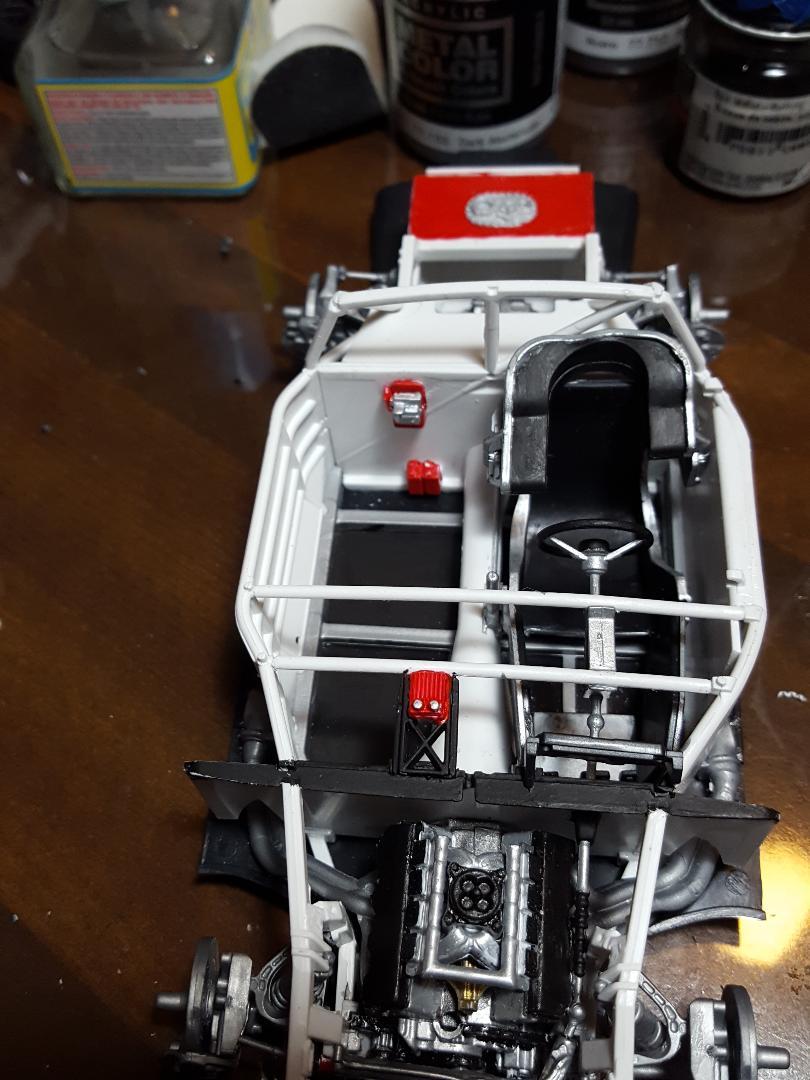
This covers the 14th instruction box. the fire extinguishers are in this box but just for the paint instructions. They are installed in the 15th box. I had removed the 2 items you see painted during this part of the build. Clay Kemp had recommended removing them with a razor saw painting them and then installing them back. I think on future builds I will just paint them without removing them. If you get some red on the rear bulkhead you can scrape it off easily with an exacto blade because I see no reason to paint the white bulkhead white. I might hit it with some clear.
-
2022 Nextgen Camaro
MarkJ replied to MarkJ's topic in WIP: Stock Cars (NASCAR, Super Stock, Late Model, etc.)
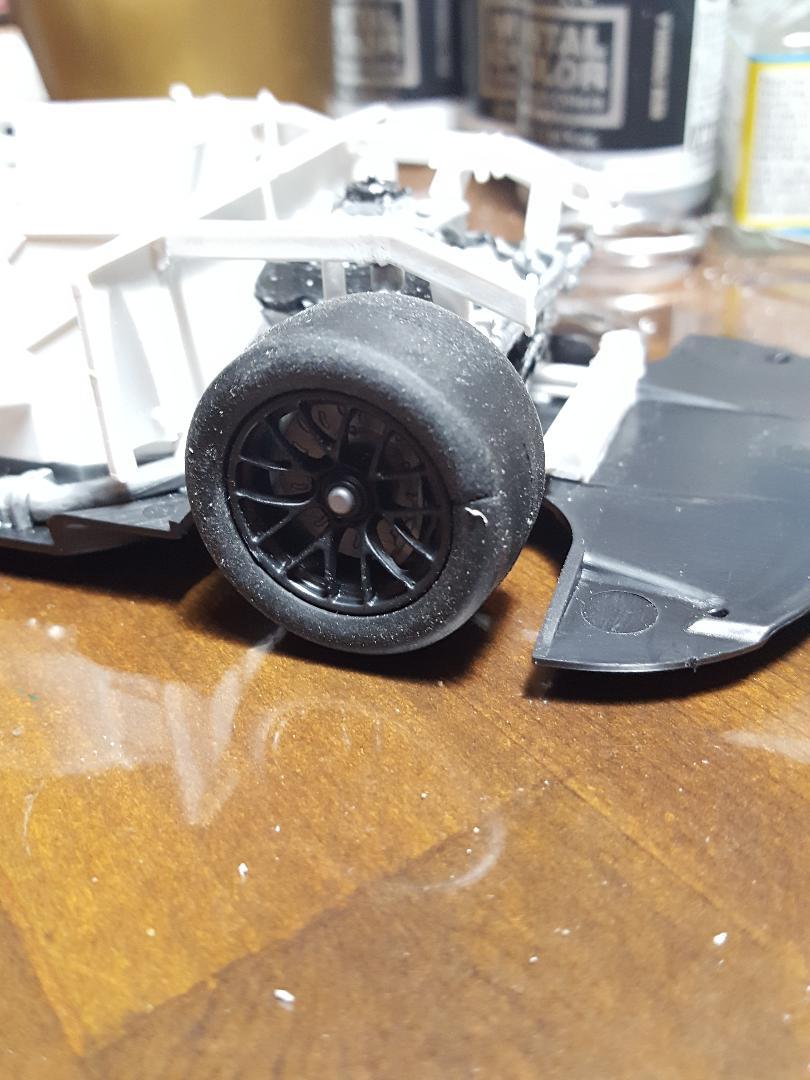
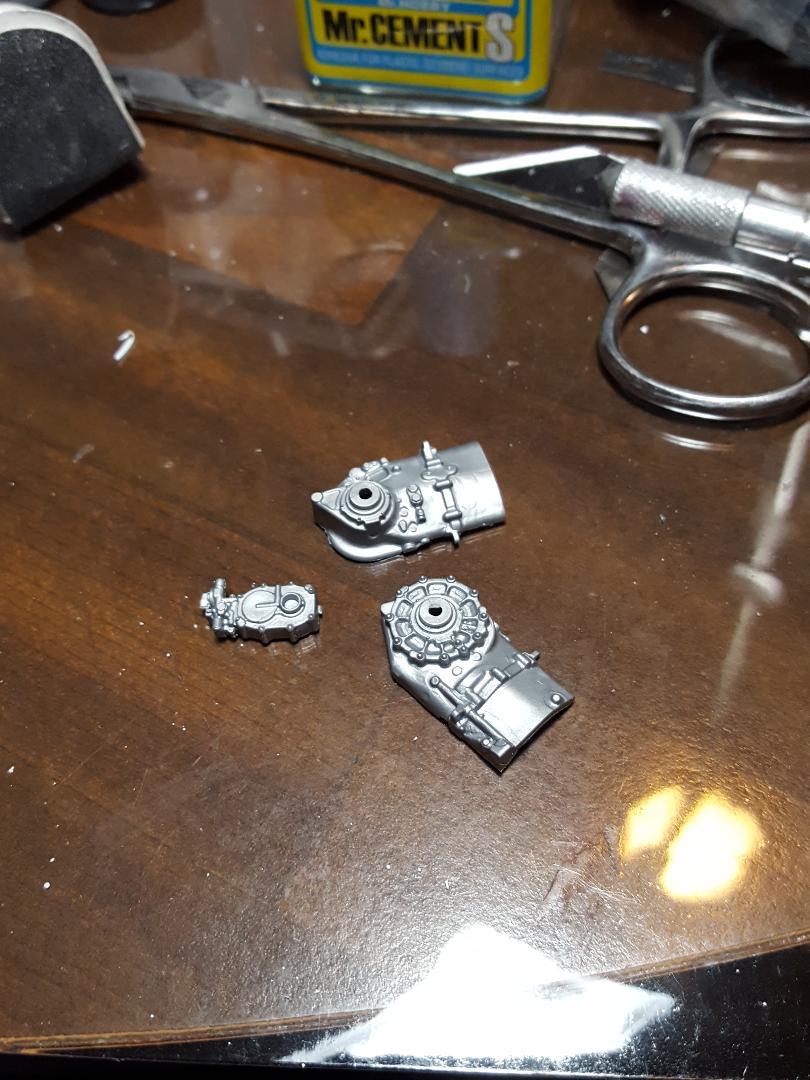
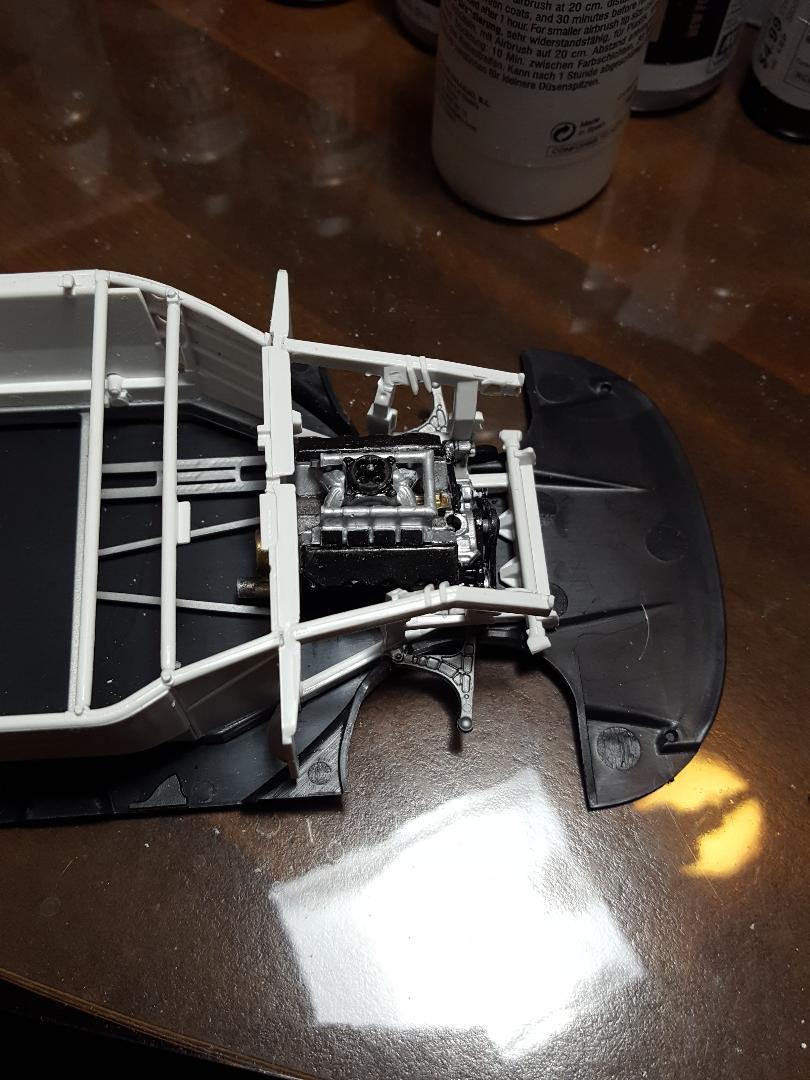
This is the 13th instruction box. I also painted and assembled the wheels and tires. I also did some touch up around the chassis that I have been putting off. Some of the stuff was hard to get to. A picture showing that will be in the next entry.
-
I believe this is the one Childress and Trackhouse cars use.
-
2022 Nextgen Camaro
MarkJ replied to MarkJ's topic in WIP: Stock Cars (NASCAR, Super Stock, Late Model, etc.)
Thanks, Bruce. Glad Im not the only one having trouble deciphering the instrutions. -
2022 Nextgen Camaro
MarkJ replied to MarkJ's topic in WIP: Stock Cars (NASCAR, Super Stock, Late Model, etc.)
So true, Jason. I did too. Anybody who wants to do one of these kits should watch it first. -
2022 Nextgen Camaro
MarkJ replied to MarkJ's topic in WIP: Stock Cars (NASCAR, Super Stock, Late Model, etc.)
I found a really good video that covers the Nextgen car pretty well. Click on the graphic below -
Salvino JR NextGen Camaro
MarkJ replied to jjsipes's topic in WIP: Stock Cars (NASCAR, Super Stock, Late Model, etc.)
I bet you're going to do the Moose livery with the Martinsville stripe, errrrrr, right side totally destroyed version, I should say. -
2022 Nextgen Camaro
MarkJ replied to MarkJ's topic in WIP: Stock Cars (NASCAR, Super Stock, Late Model, etc.)
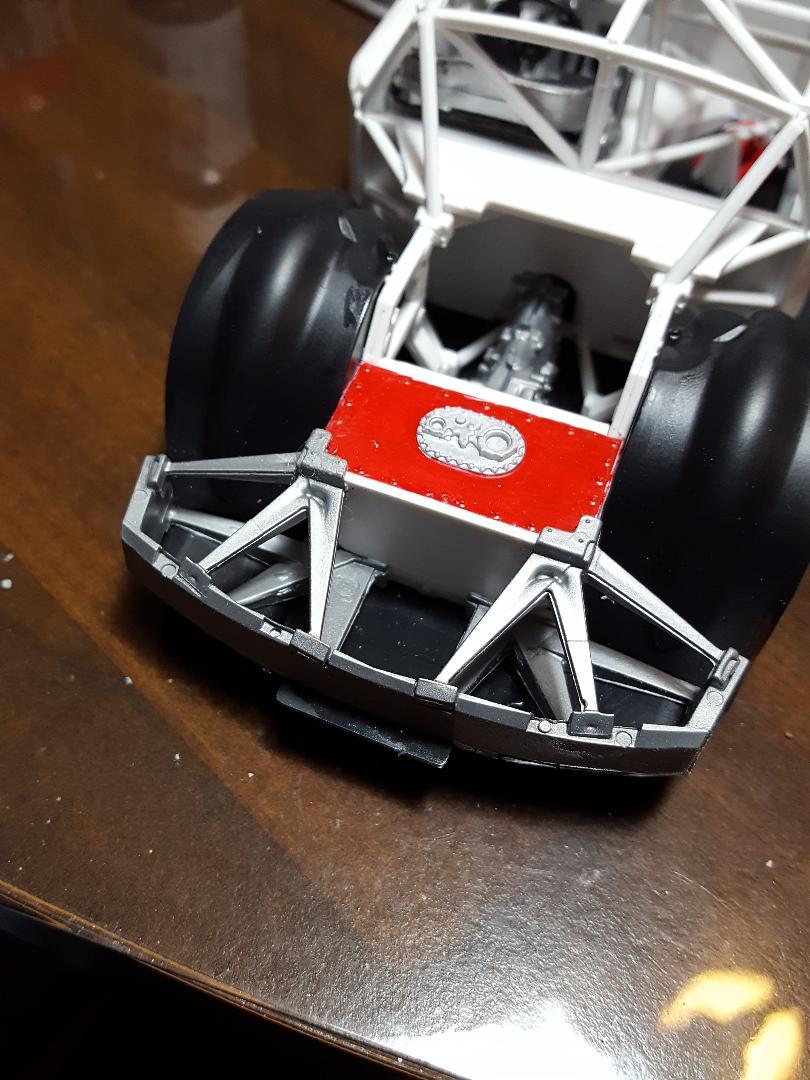
I found out what I did wrong. The rear lower control arm for the rear suspension looks symmetrical but it's not. One arm is a little bit longer than the other one so if you get it wrong side up or down you won't be able to install the half shafts. Looking at the instructions there is no way to tell which side is up or down, but I figured it out. One side is not cast as pretty as the other and you want to put that side down facing the black floor pan. Just make sure you're using the right number part for the left or right side. Luckily, I was able to disassemble the right side and flip the lower arm over then everything fit correctly. This was instruction #12.
-
2022 Nextgen Camaro
MarkJ replied to MarkJ's topic in WIP: Stock Cars (NASCAR, Super Stock, Late Model, etc.)
Thanks , Pierre. This new car has got me interested in modern Nascar again. It seems to be making it a more level playing field and the same 3 or 4 drivers aren't winning every week like before. And the car being run this year is actually available for us modelers to build this year, so I had to get me a couple of them. It has been a very good kit so far except I'm having issues with the rear suspension. I'll fake it if I have to. -
2022 Nextgen Camaro
MarkJ replied to MarkJ's topic in WIP: Stock Cars (NASCAR, Super Stock, Late Model, etc.)
I'm doing instruction #12 which is the rear suspension, but the shock is blocking the half shaft from getting to the rear end. What am I doing wrong? That is if any of you guys have done one of these and are reading this. I guess I could file a gap in the side of the shock to allow the half shaft to reach the rear end tranny. -
2022 Nextgen Camaro
MarkJ replied to MarkJ's topic in WIP: Stock Cars (NASCAR, Super Stock, Late Model, etc.)
After a lot of lamenting on how bad my dexterity has gotten, I was able to complete instruction #11. Very tight fits on this one. Almost put the disc /caliper assembly's on backwards. That would have really looked dumb.
-
2022 Nextgen Camaro
MarkJ replied to MarkJ's topic in WIP: Stock Cars (NASCAR, Super Stock, Late Model, etc.)
Thanks, David. I agree with your assessment on everything. I have been having some honeydoos lately and a trip out of town so hopefully I can get back on it today. If you have any close-up pictures of the front suspension on one of your models, I would be happy to view them. Instruction #11 is kind of hard to decipher how the parts actually fit. -
2022 Nextgen Camaro
MarkJ replied to MarkJ's topic in WIP: Stock Cars (NASCAR, Super Stock, Late Model, etc.)
Thanks, Jonathan. You won't be disappointed if you do. It's a fine kit so far for me other than the body roof Moulding that doesn't extend far enough and the drive shaft that is too short, but you really can't see the driveshaft after its built, so it doesn't really matter. Just put a drop of glue between it and the floor to make sure it doesn't rattle. Instruction #11 is a little sketchy, so I need to find a picture of the completed front suspension for some help on that. -
Salvino JR NextGen Camaro
MarkJ replied to jjsipes's topic in WIP: Stock Cars (NASCAR, Super Stock, Late Model, etc.)
So, Jason. Are you opting out on fixing the strip on the roof? Your chassis is looking Awesome. -
2022 Nextgen Camaro
MarkJ replied to MarkJ's topic in WIP: Stock Cars (NASCAR, Super Stock, Late Model, etc.)
-
2022 Nextgen Camaro
MarkJ replied to MarkJ's topic in WIP: Stock Cars (NASCAR, Super Stock, Late Model, etc.)
instructions 8-10.
-
Thanks, Barry and Larry for your interest in the build.
-
2022 Nextgen Camaro
MarkJ replied to MarkJ's topic in WIP: Stock Cars (NASCAR, Super Stock, Late Model, etc.)
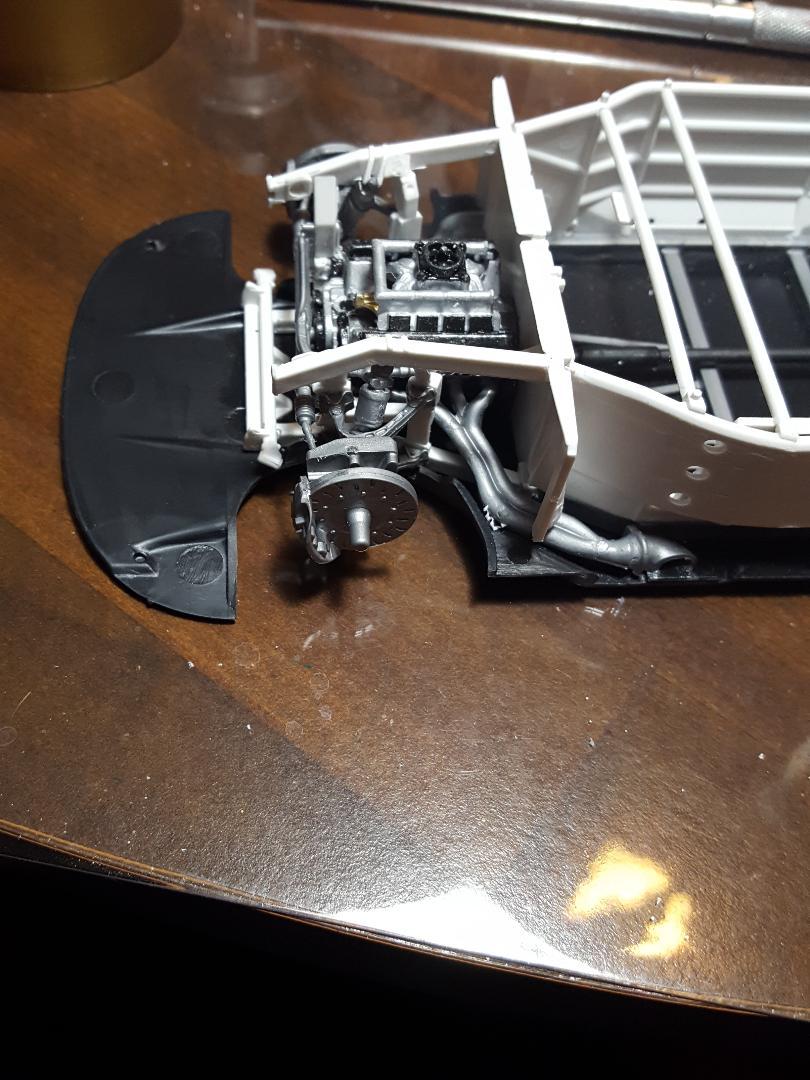
Did direction sections 4 through 7 today. The photos below cover those. The lower pan is no longer a jig. It's glued to the cage and other things.
-
Thanks, guys. I really appreciate the kind words about the build.