Steve H
-
Posts
2,535 -
Joined
-
Last visited
Content Type
Profiles
Forums
Events
Gallery
Everything posted by Steve H
-
That’s a beauty Tony. As the others have said, both the model and the photography is fantastic, thanks for sharing. Cheers, Steve
-
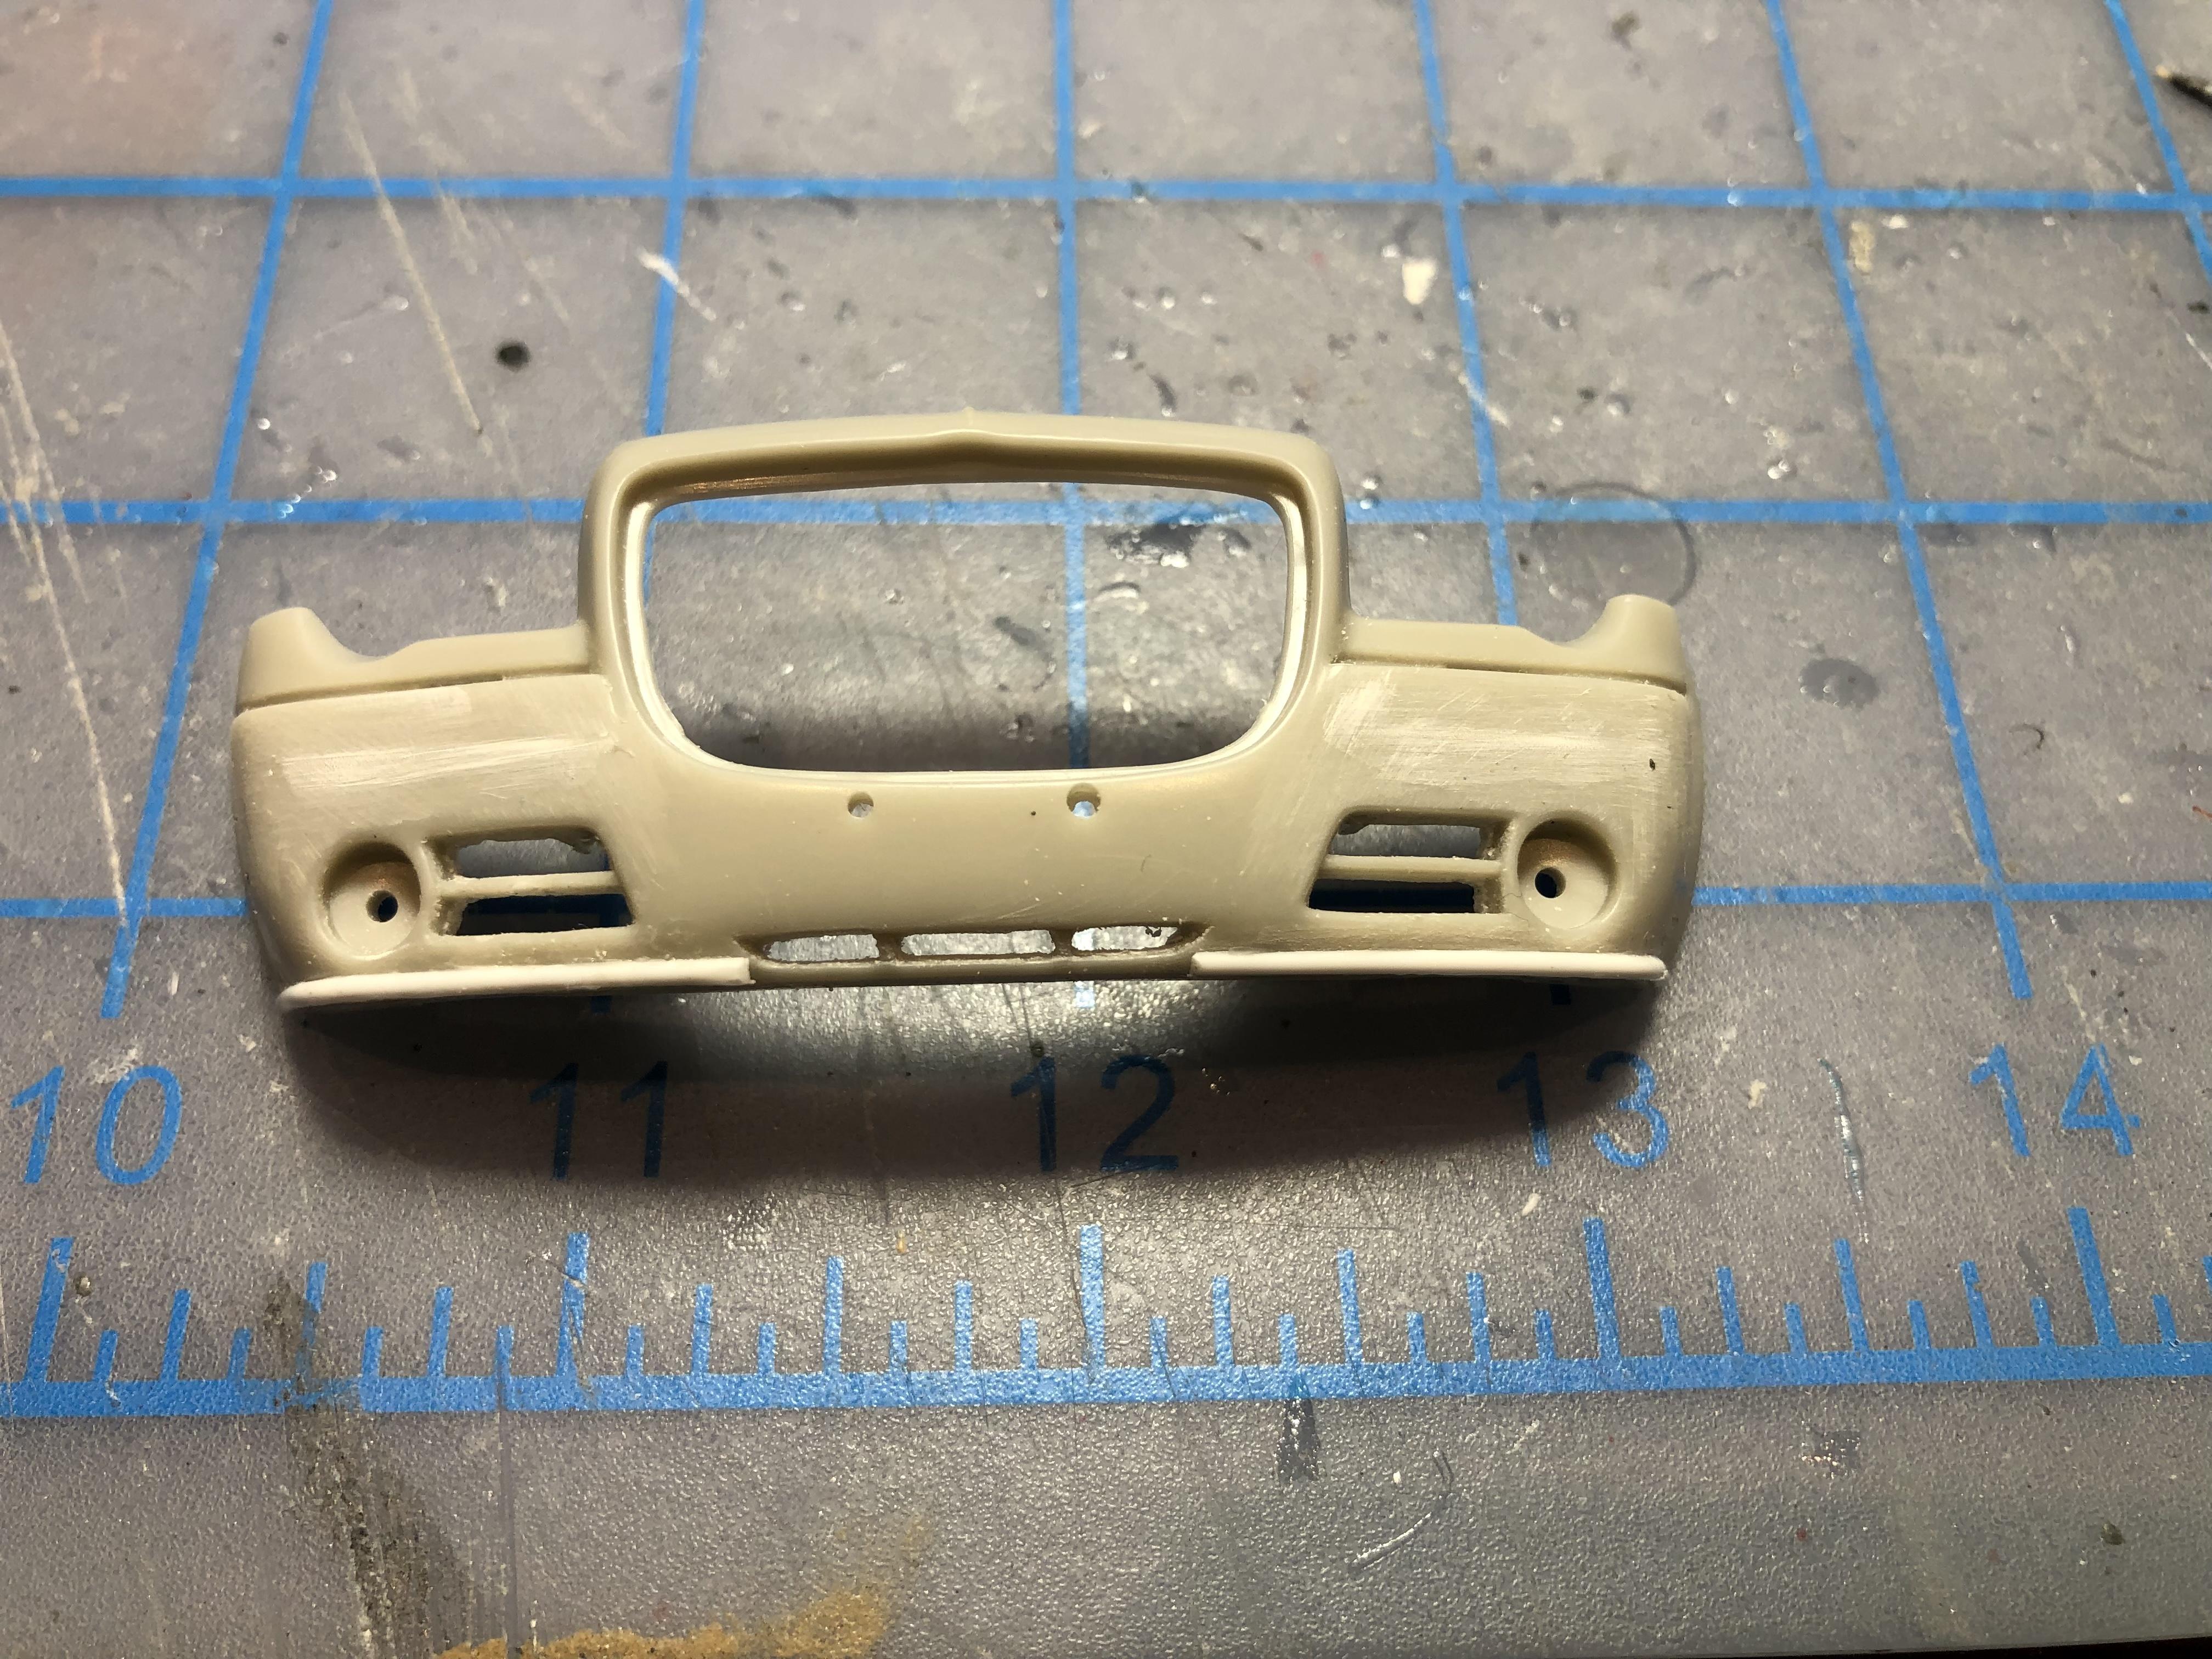
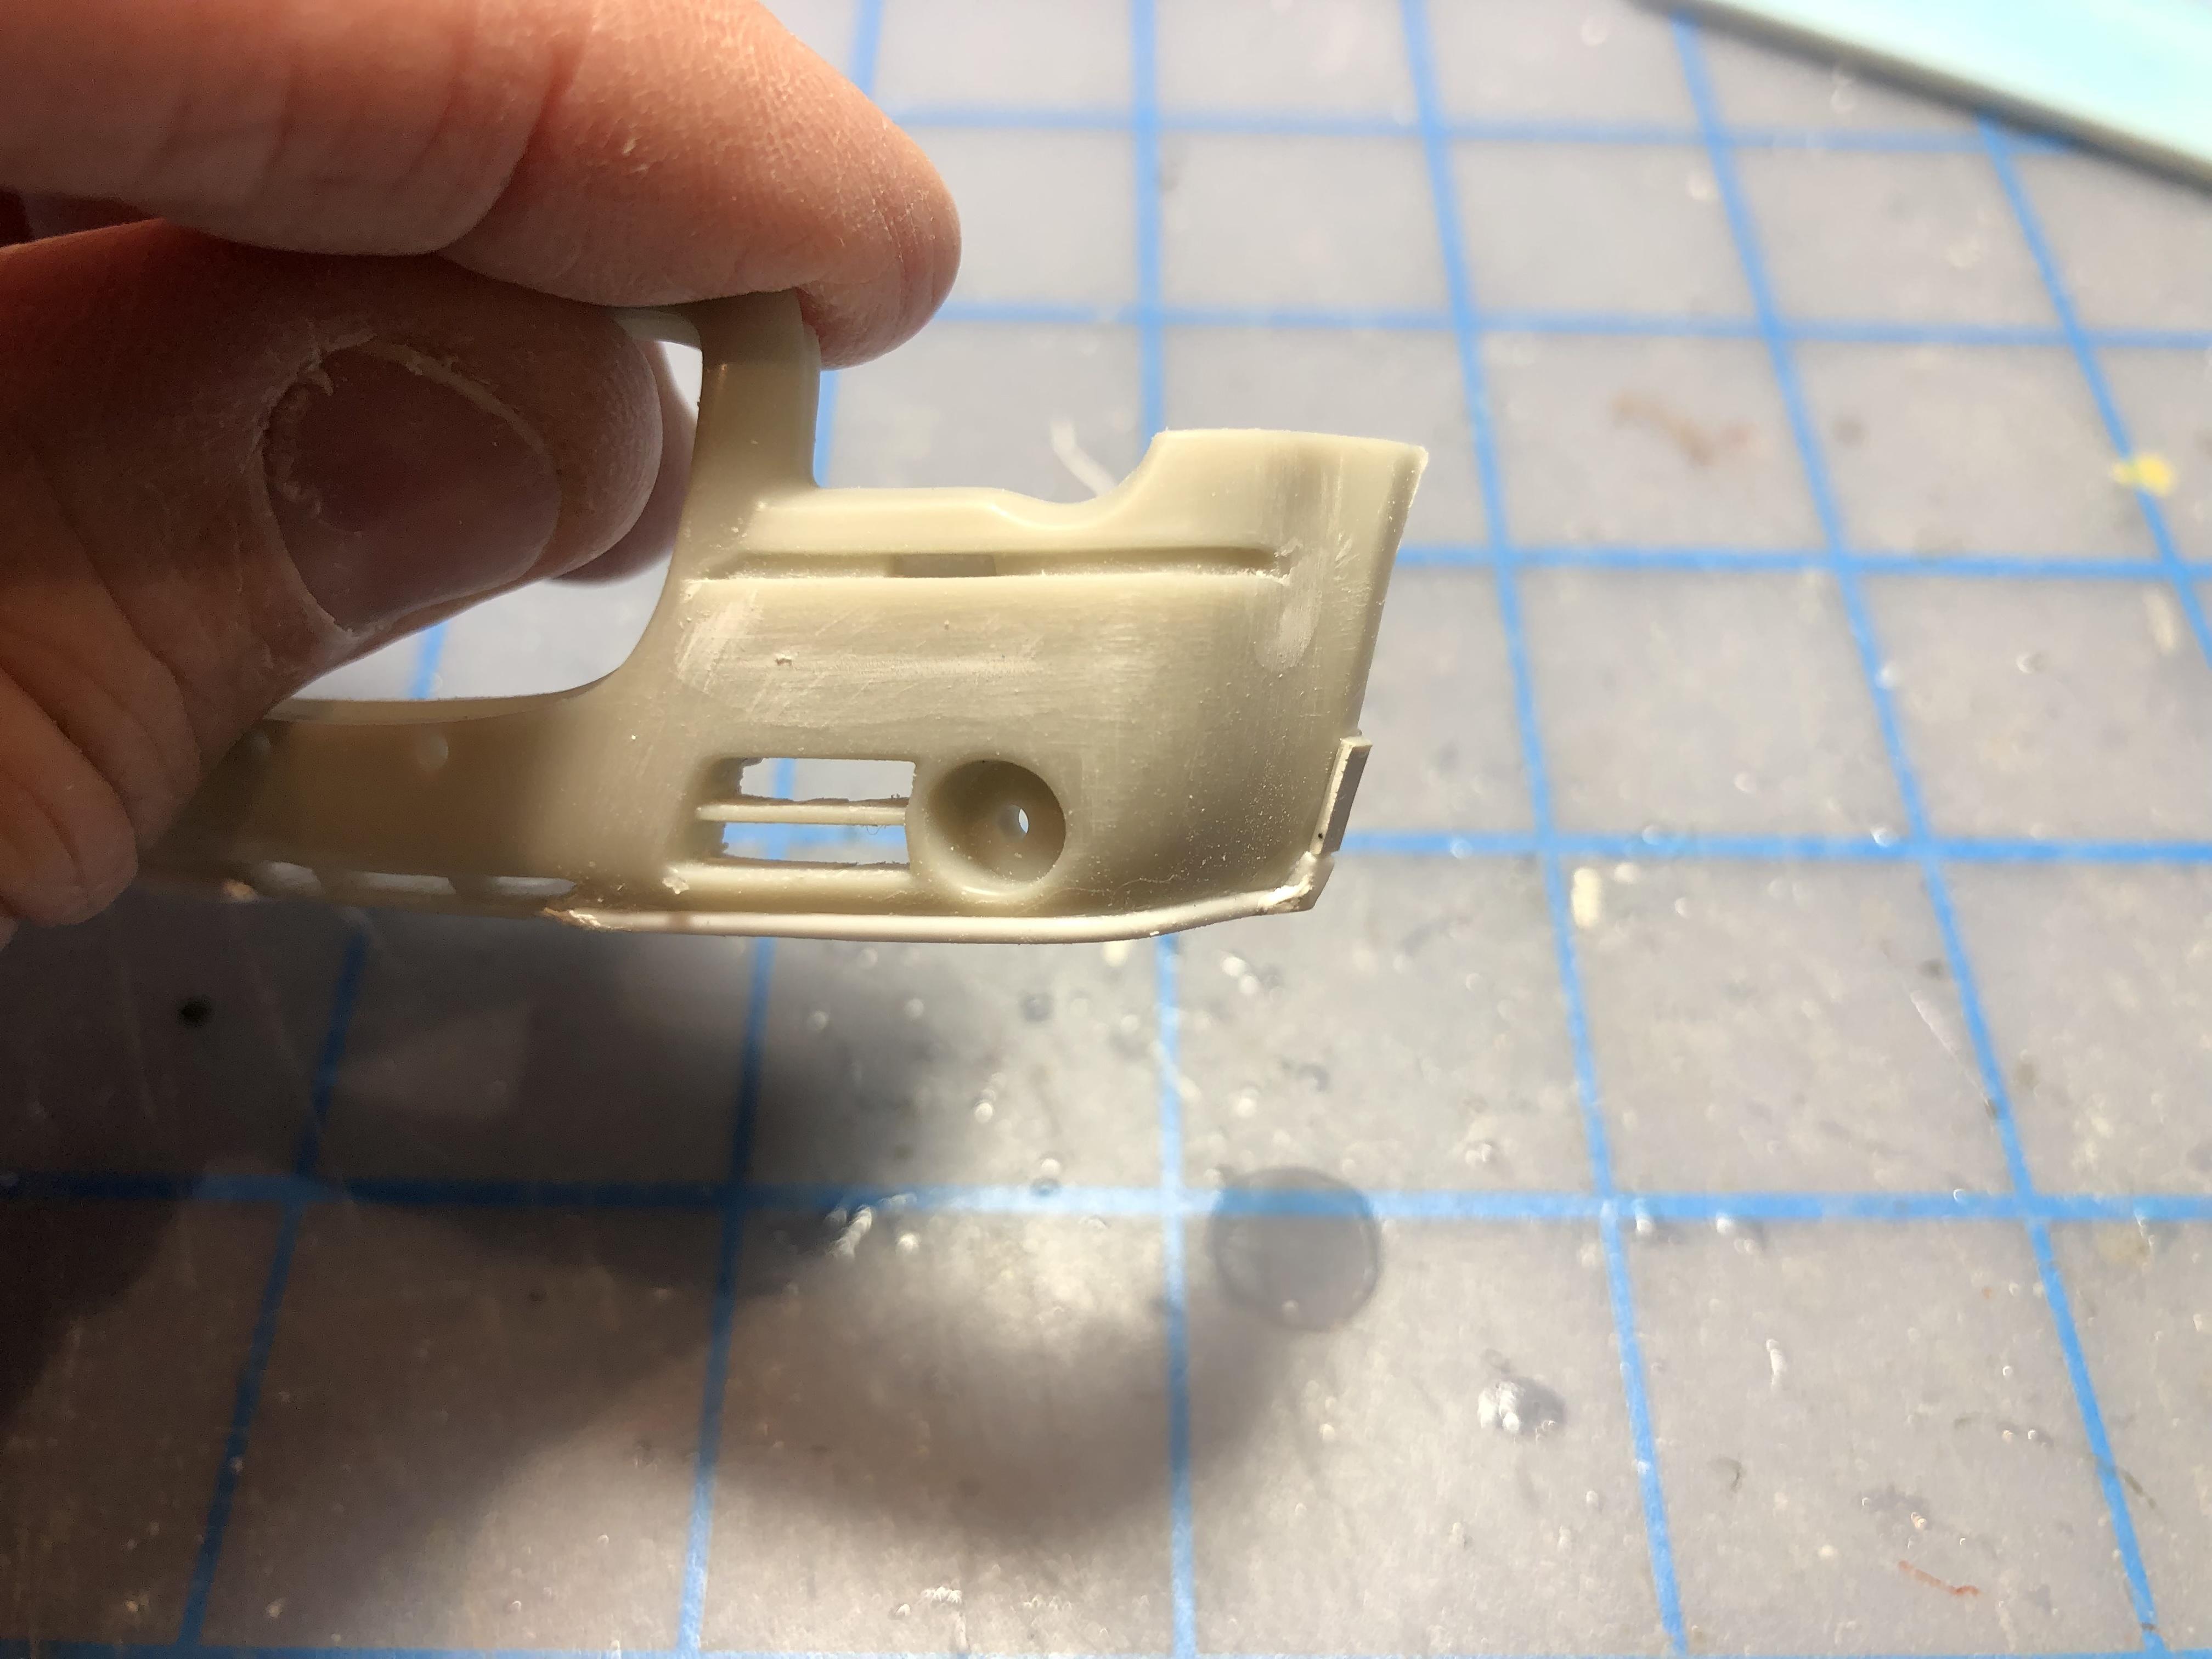
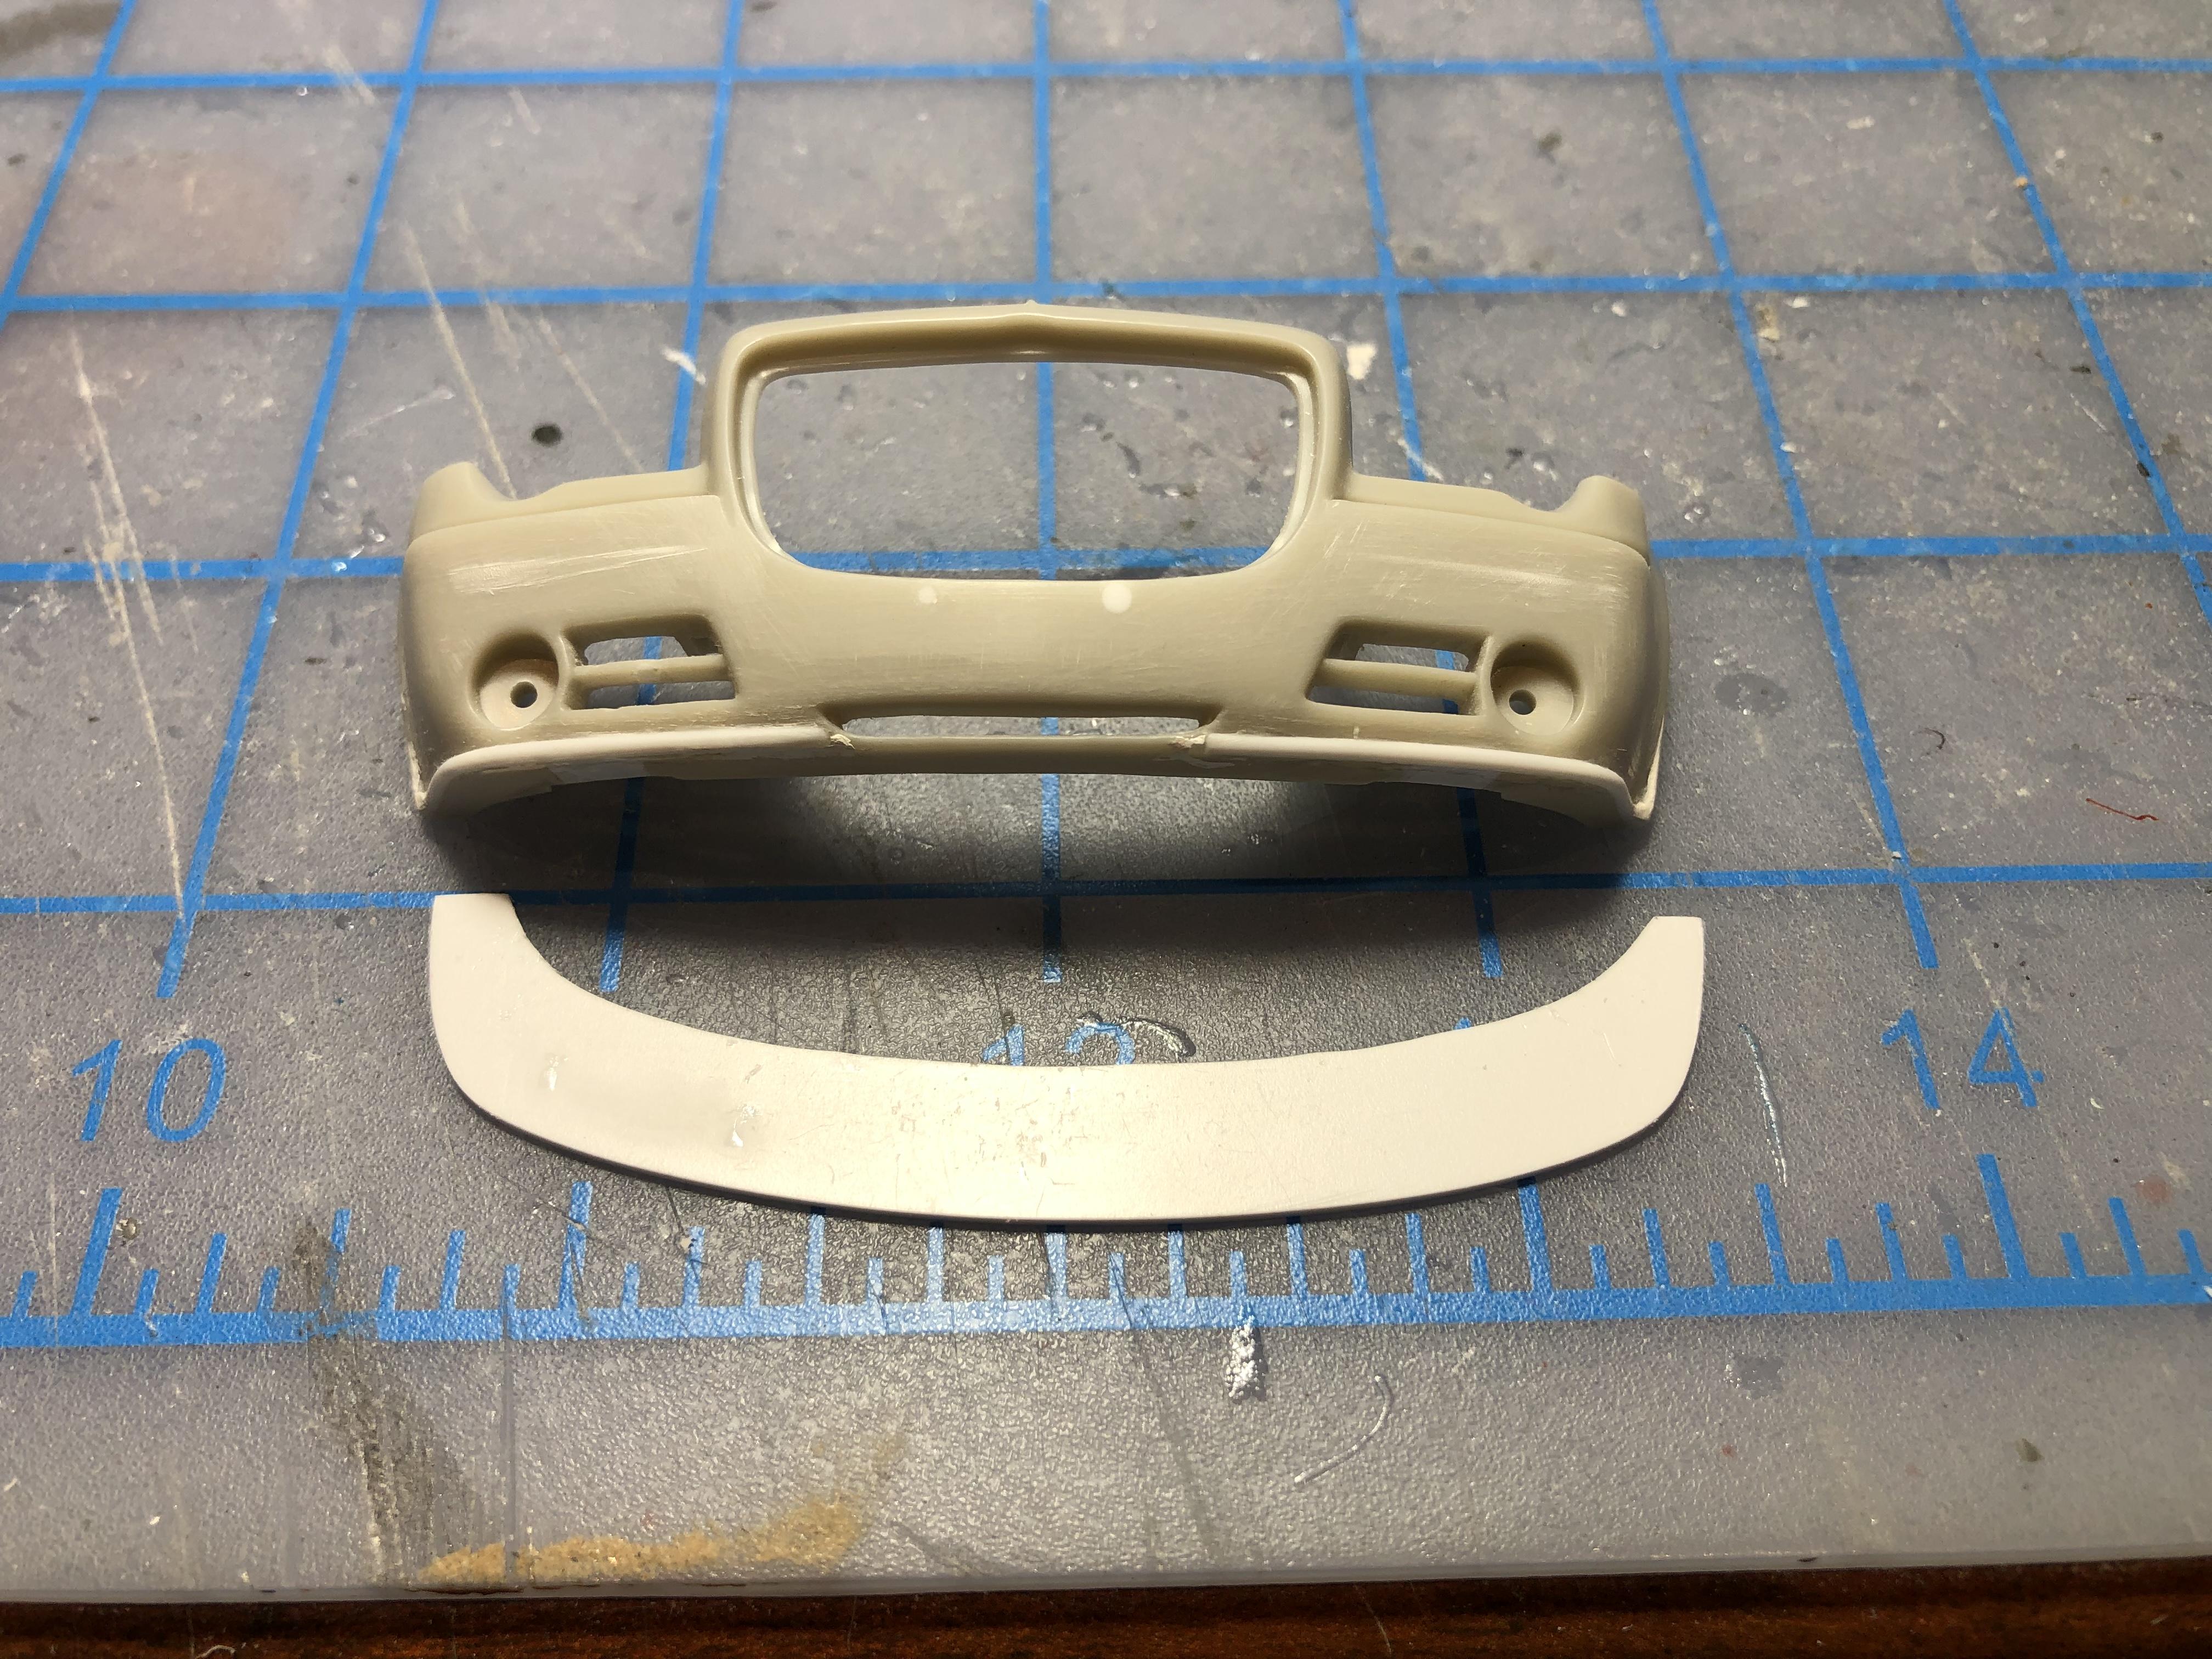
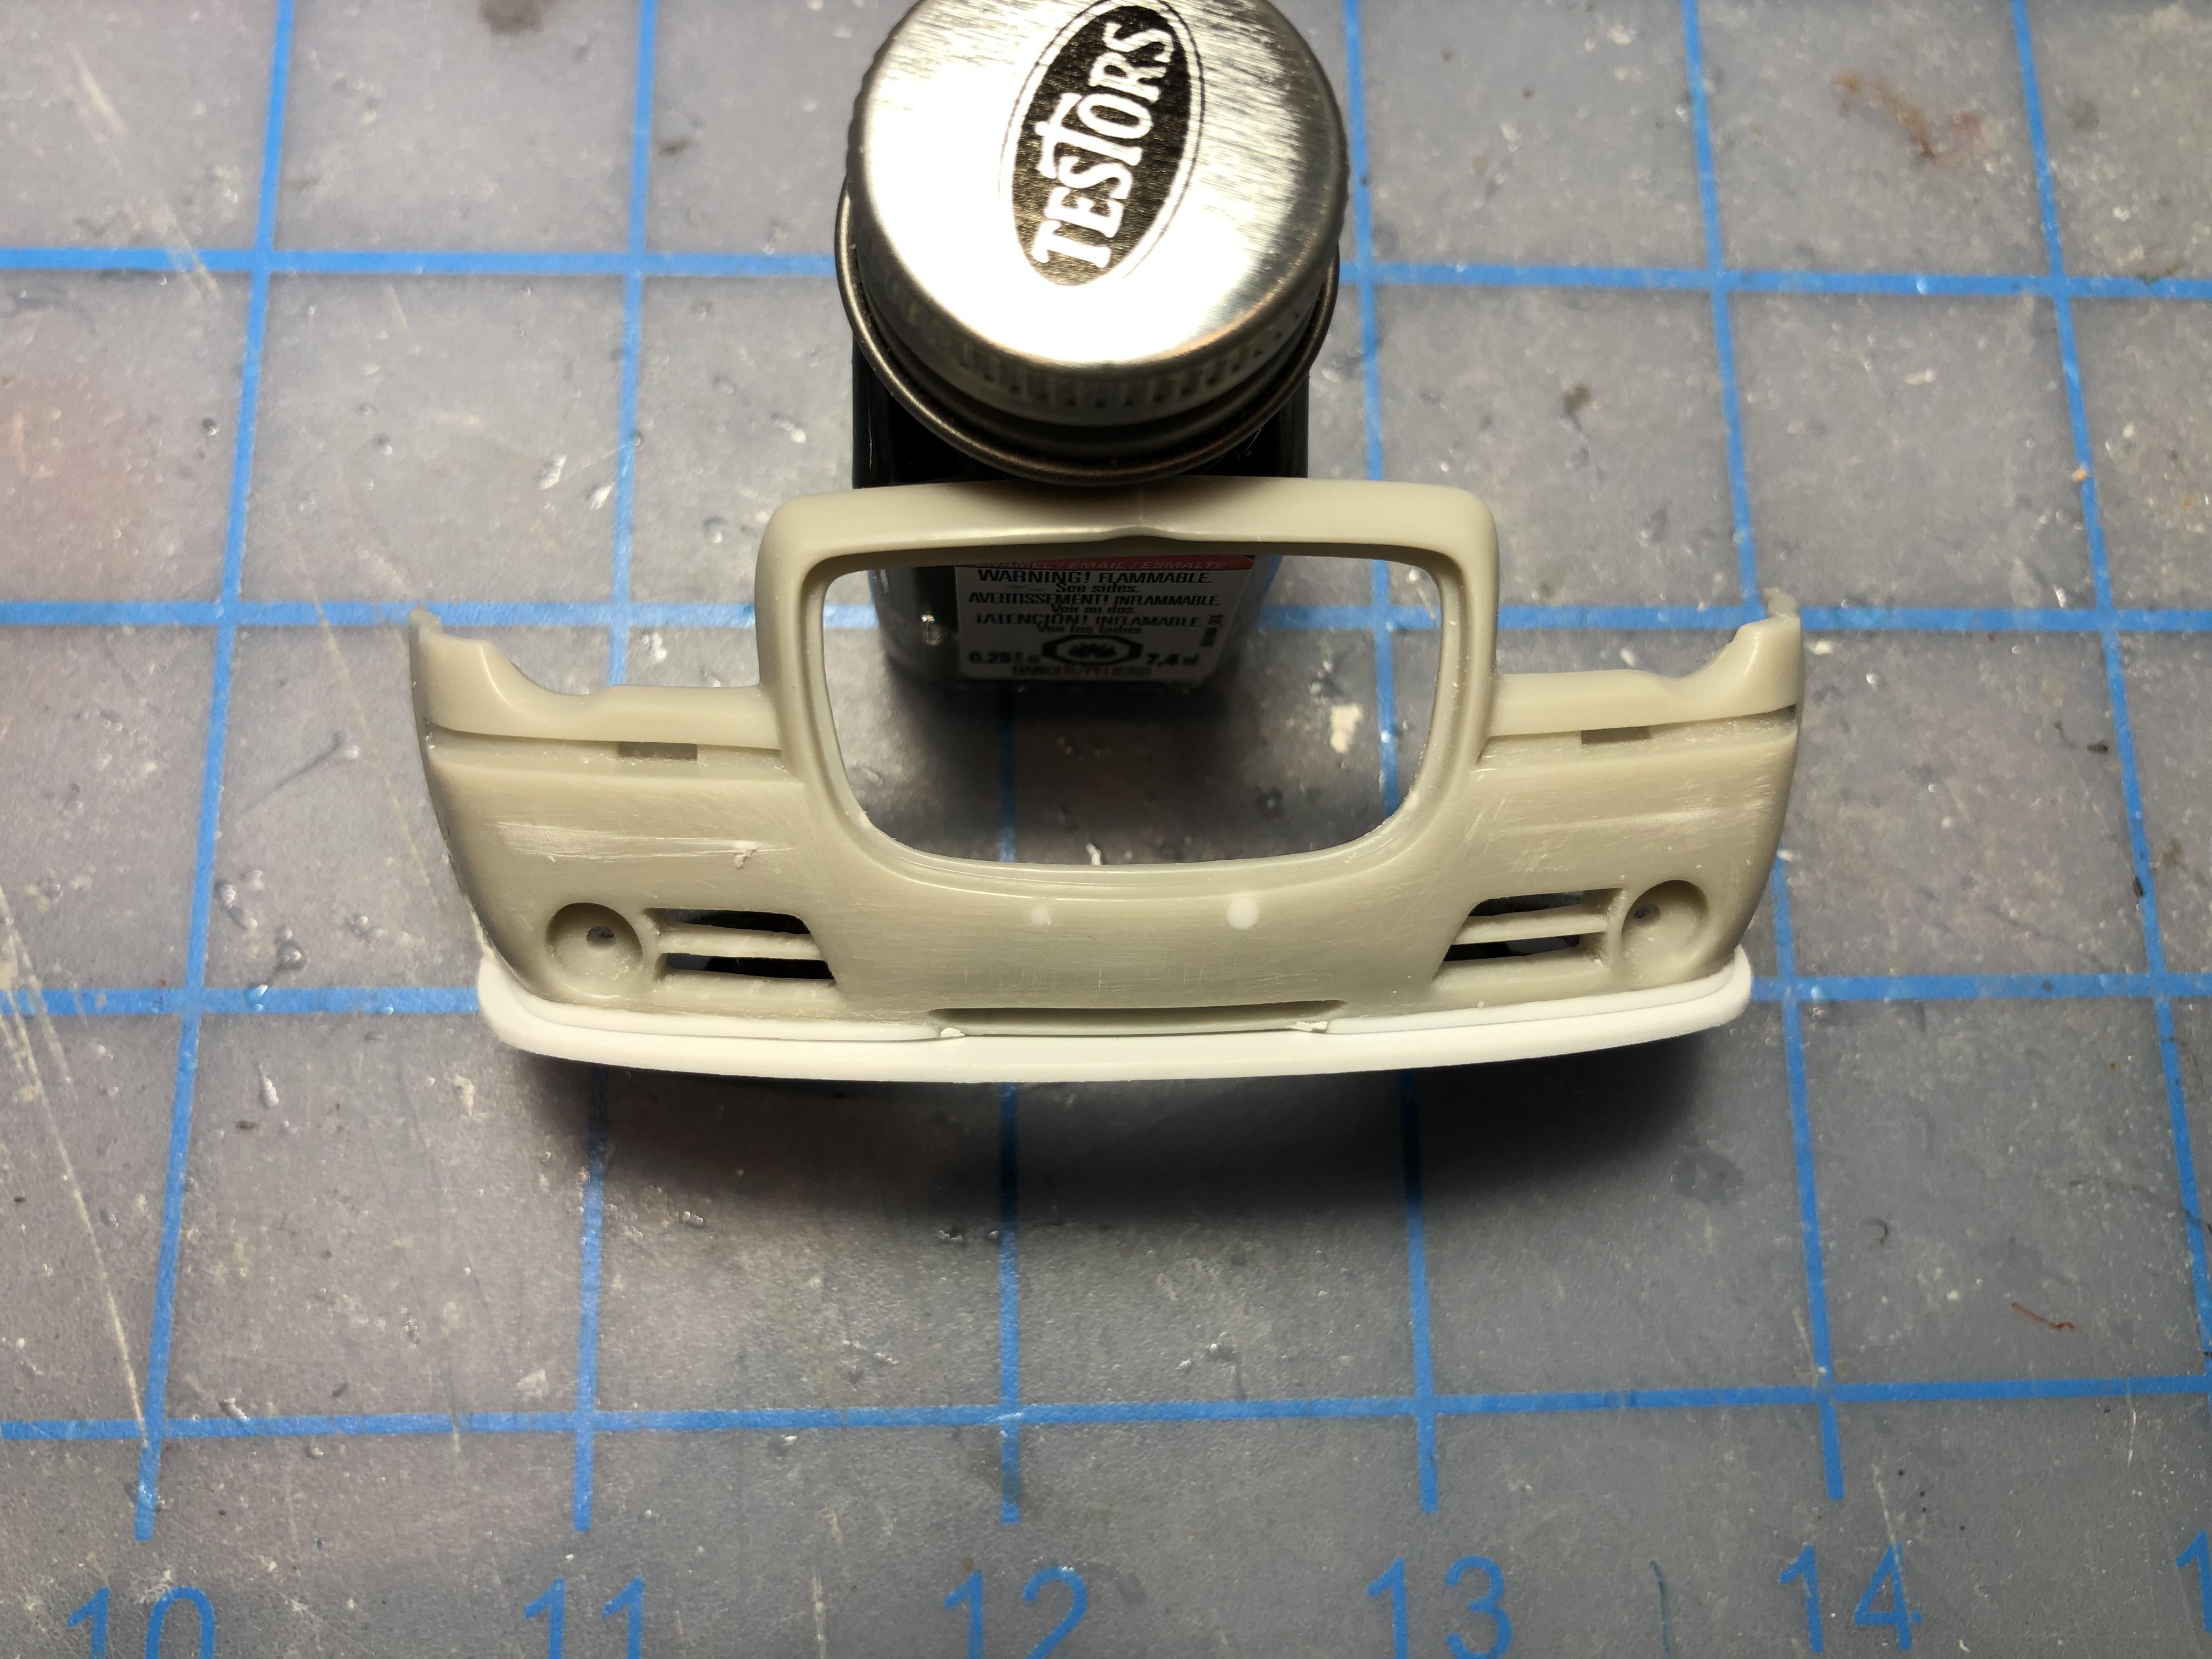
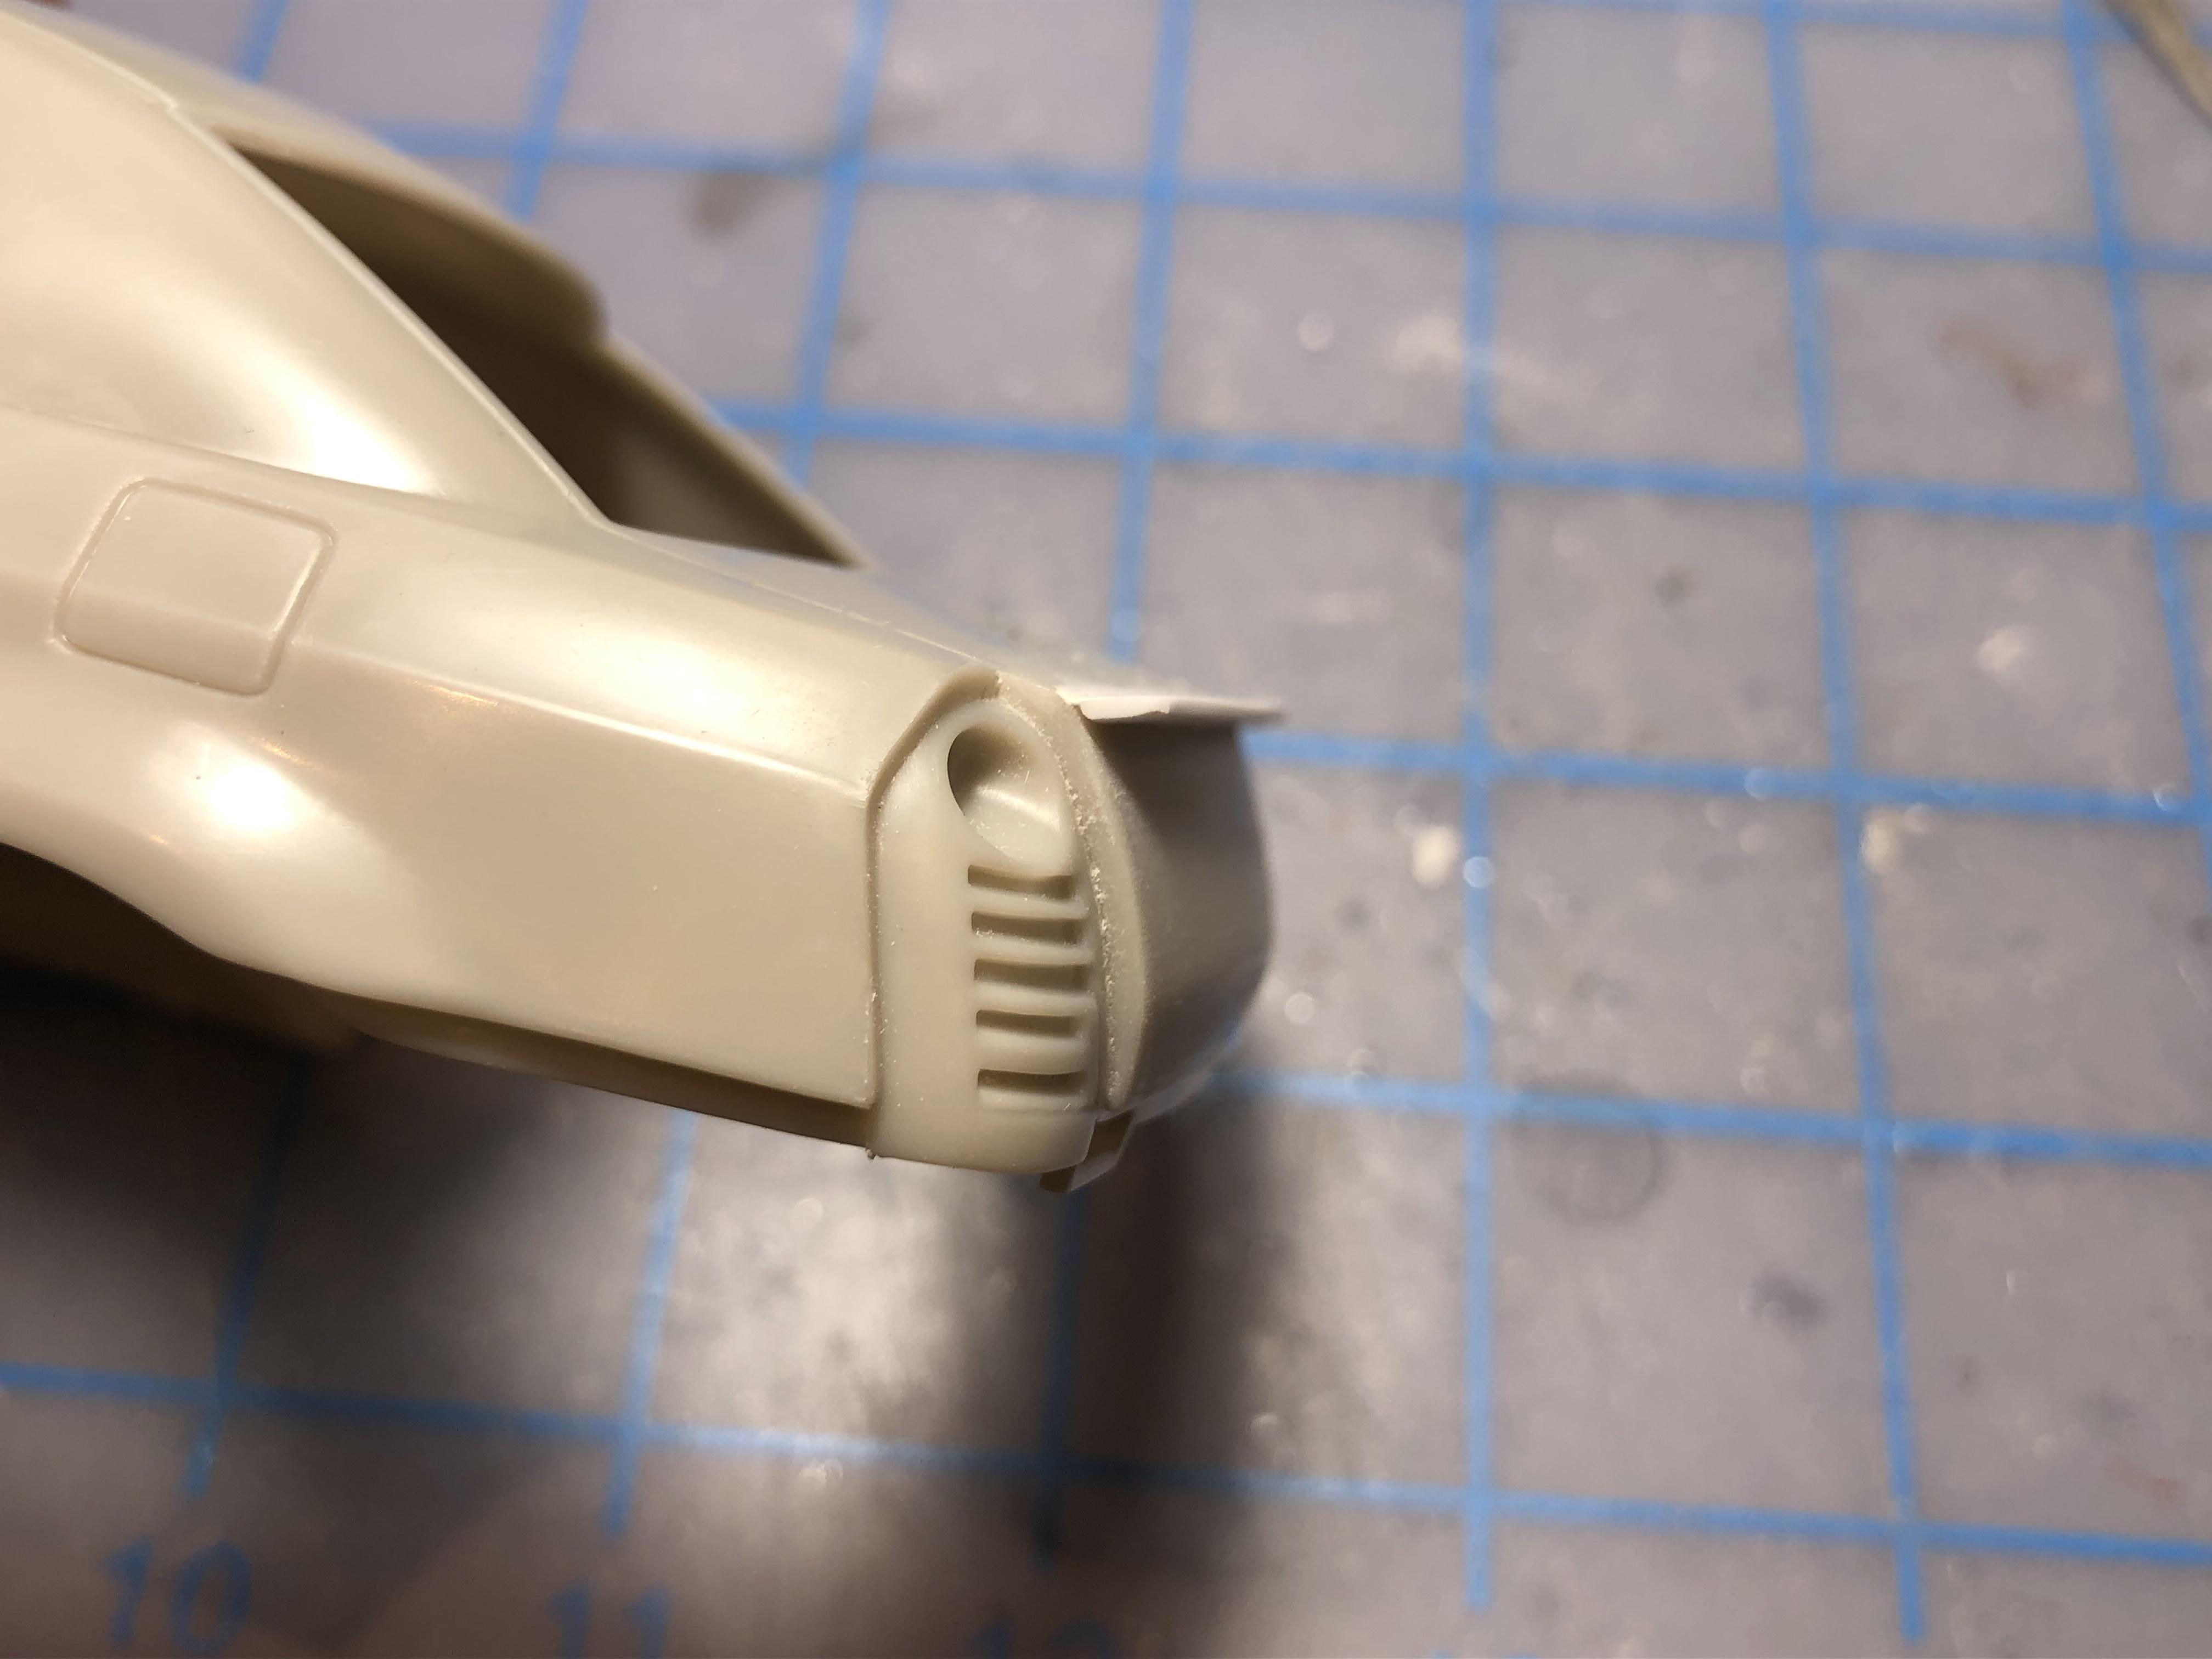
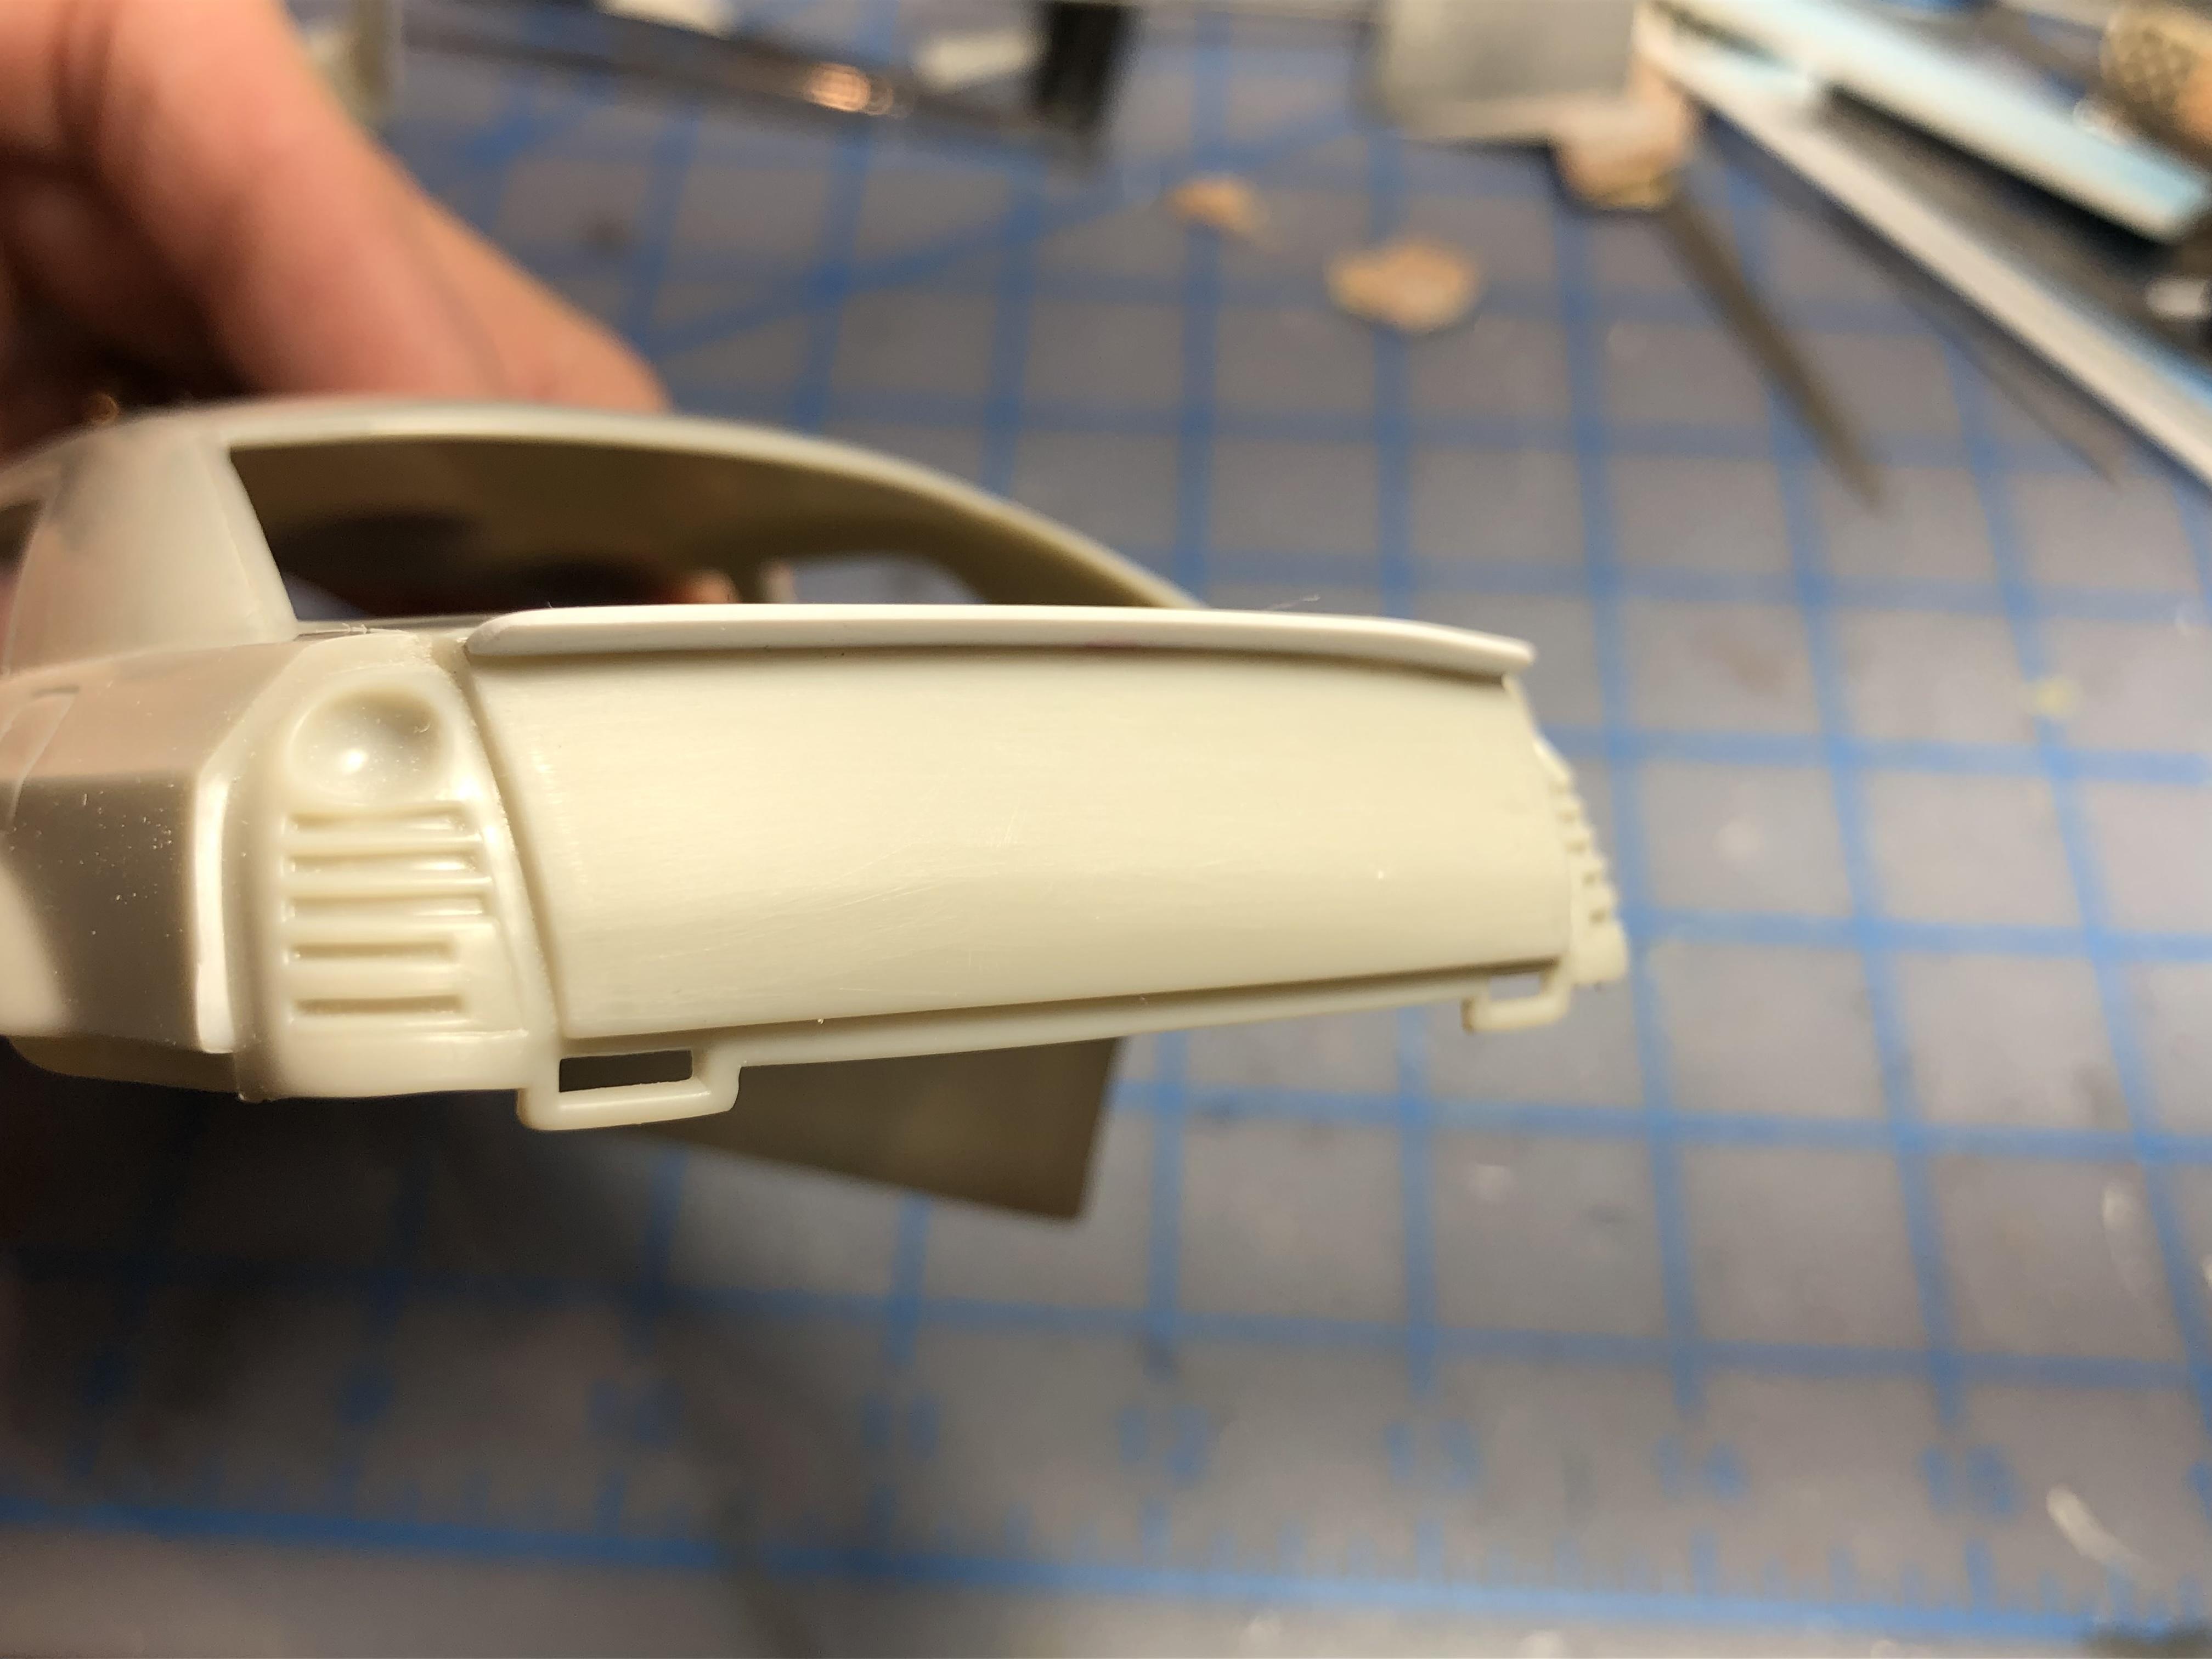
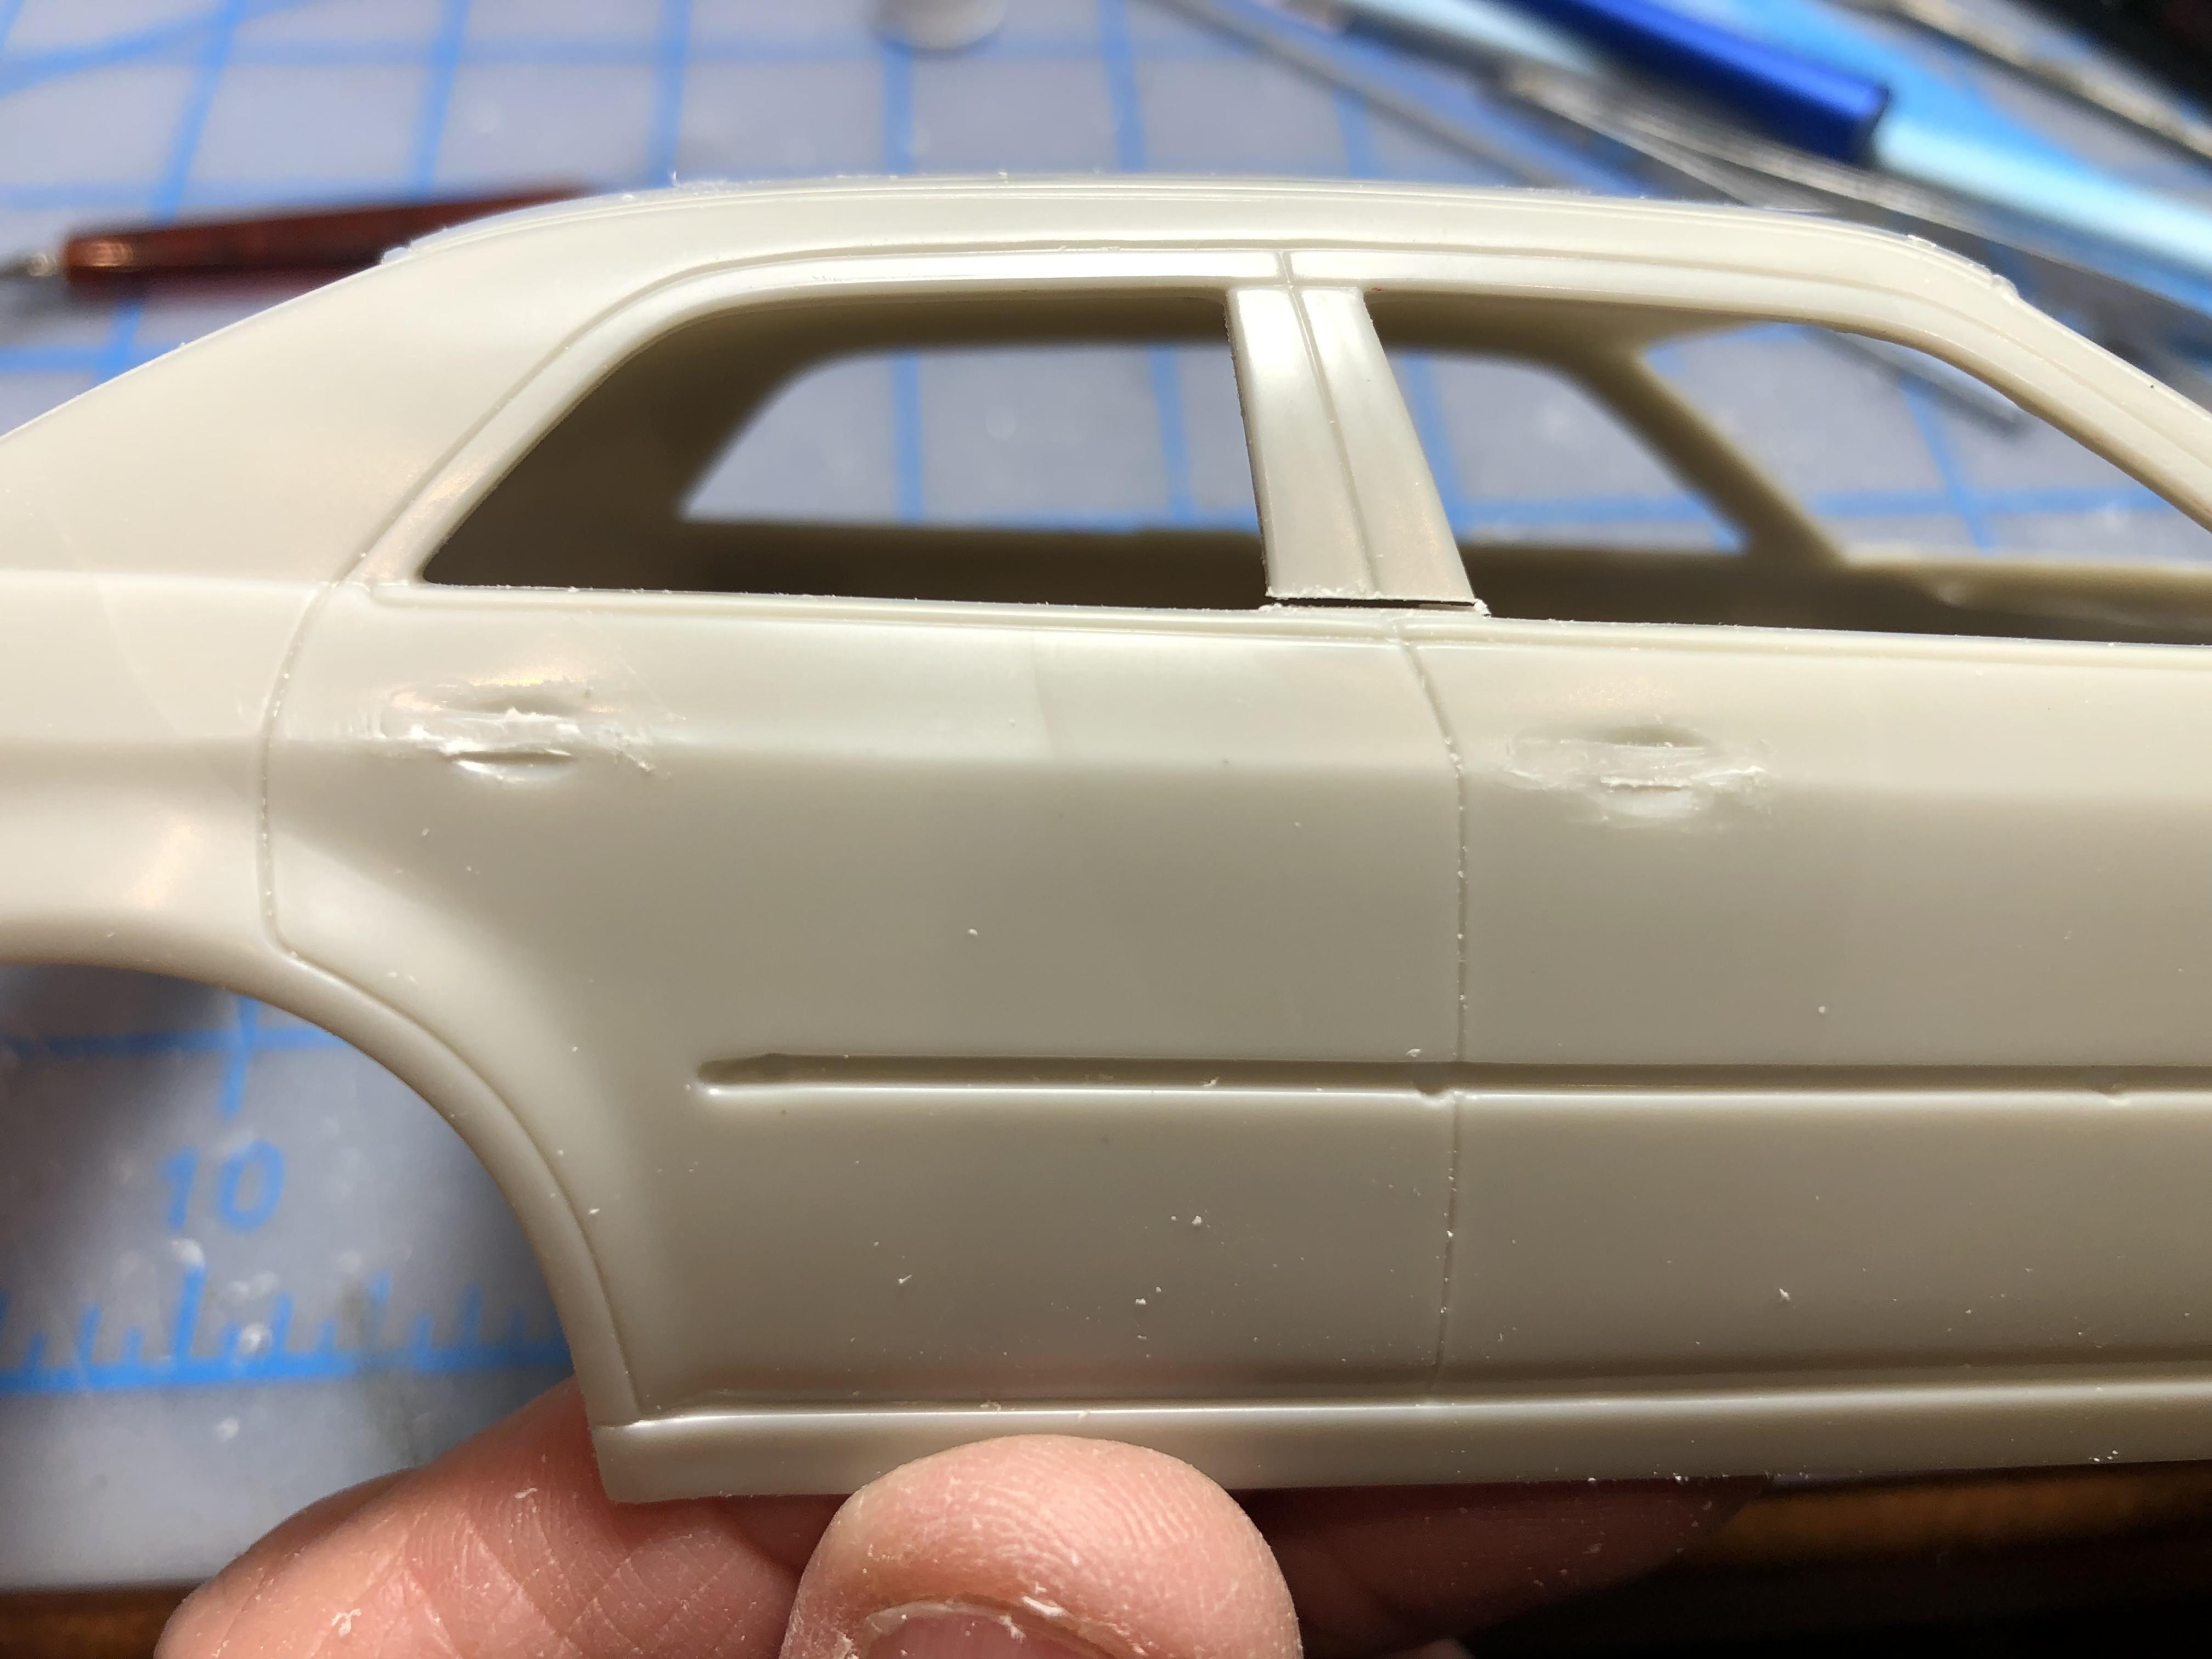
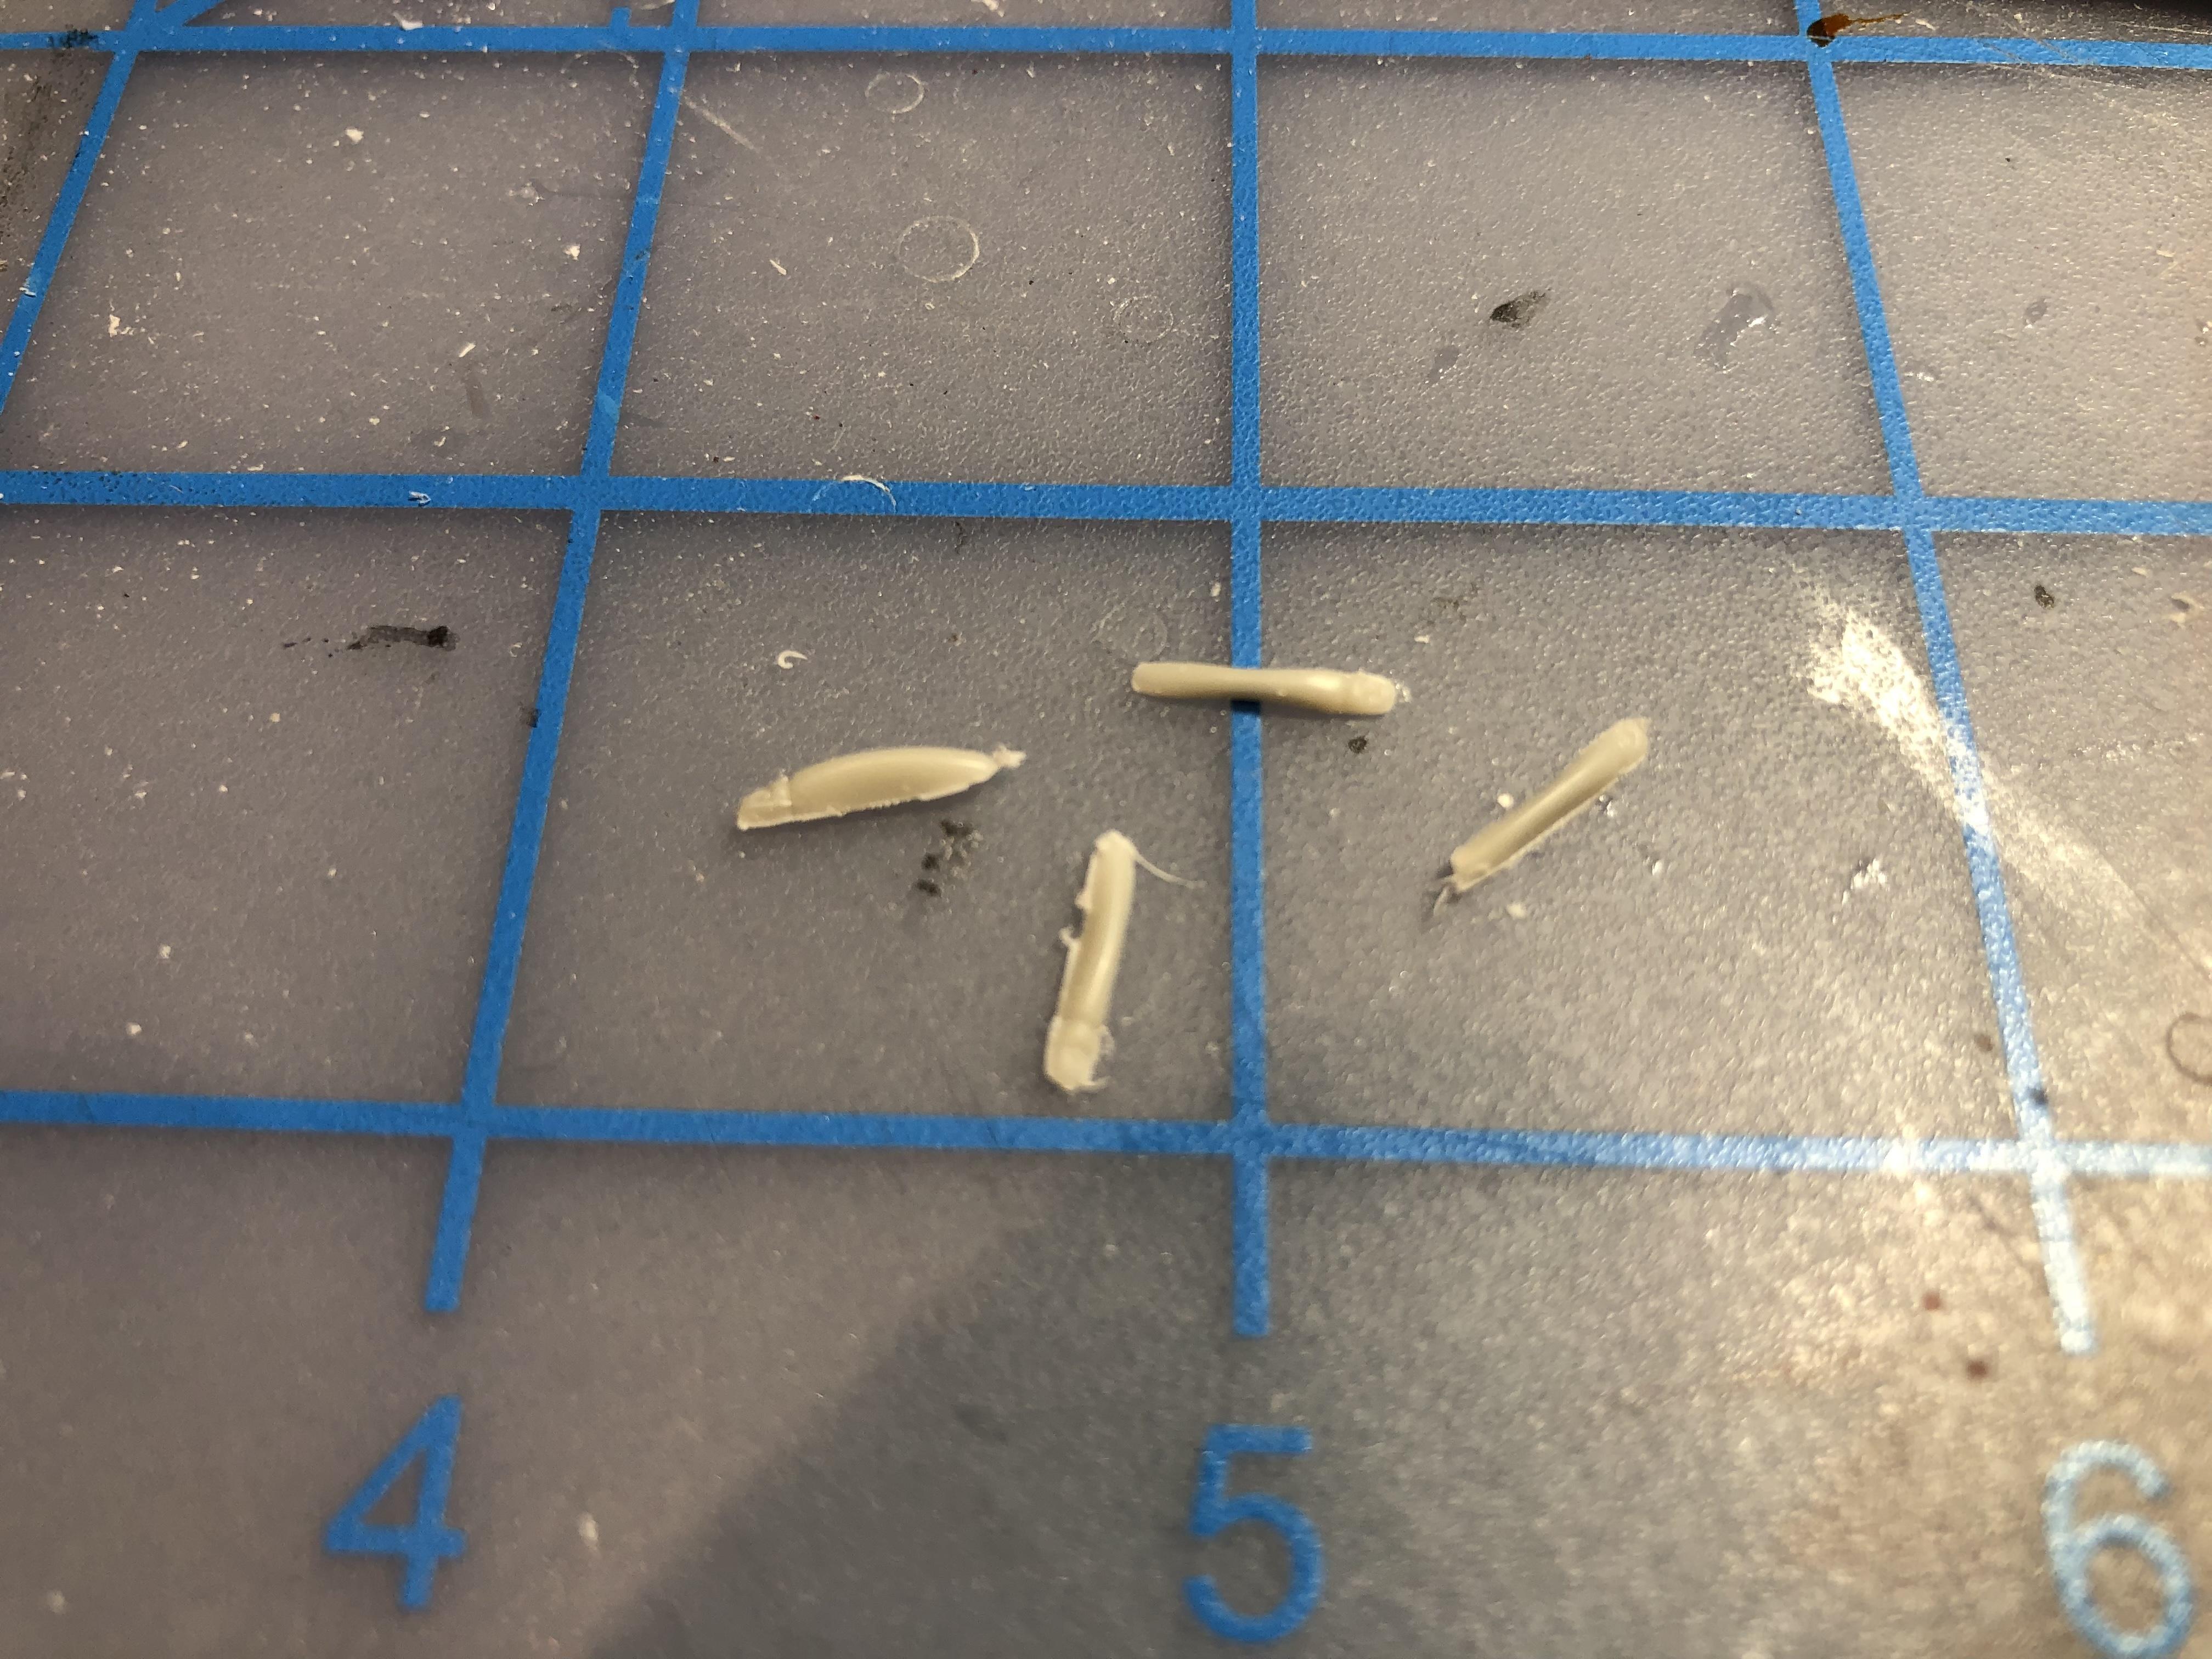
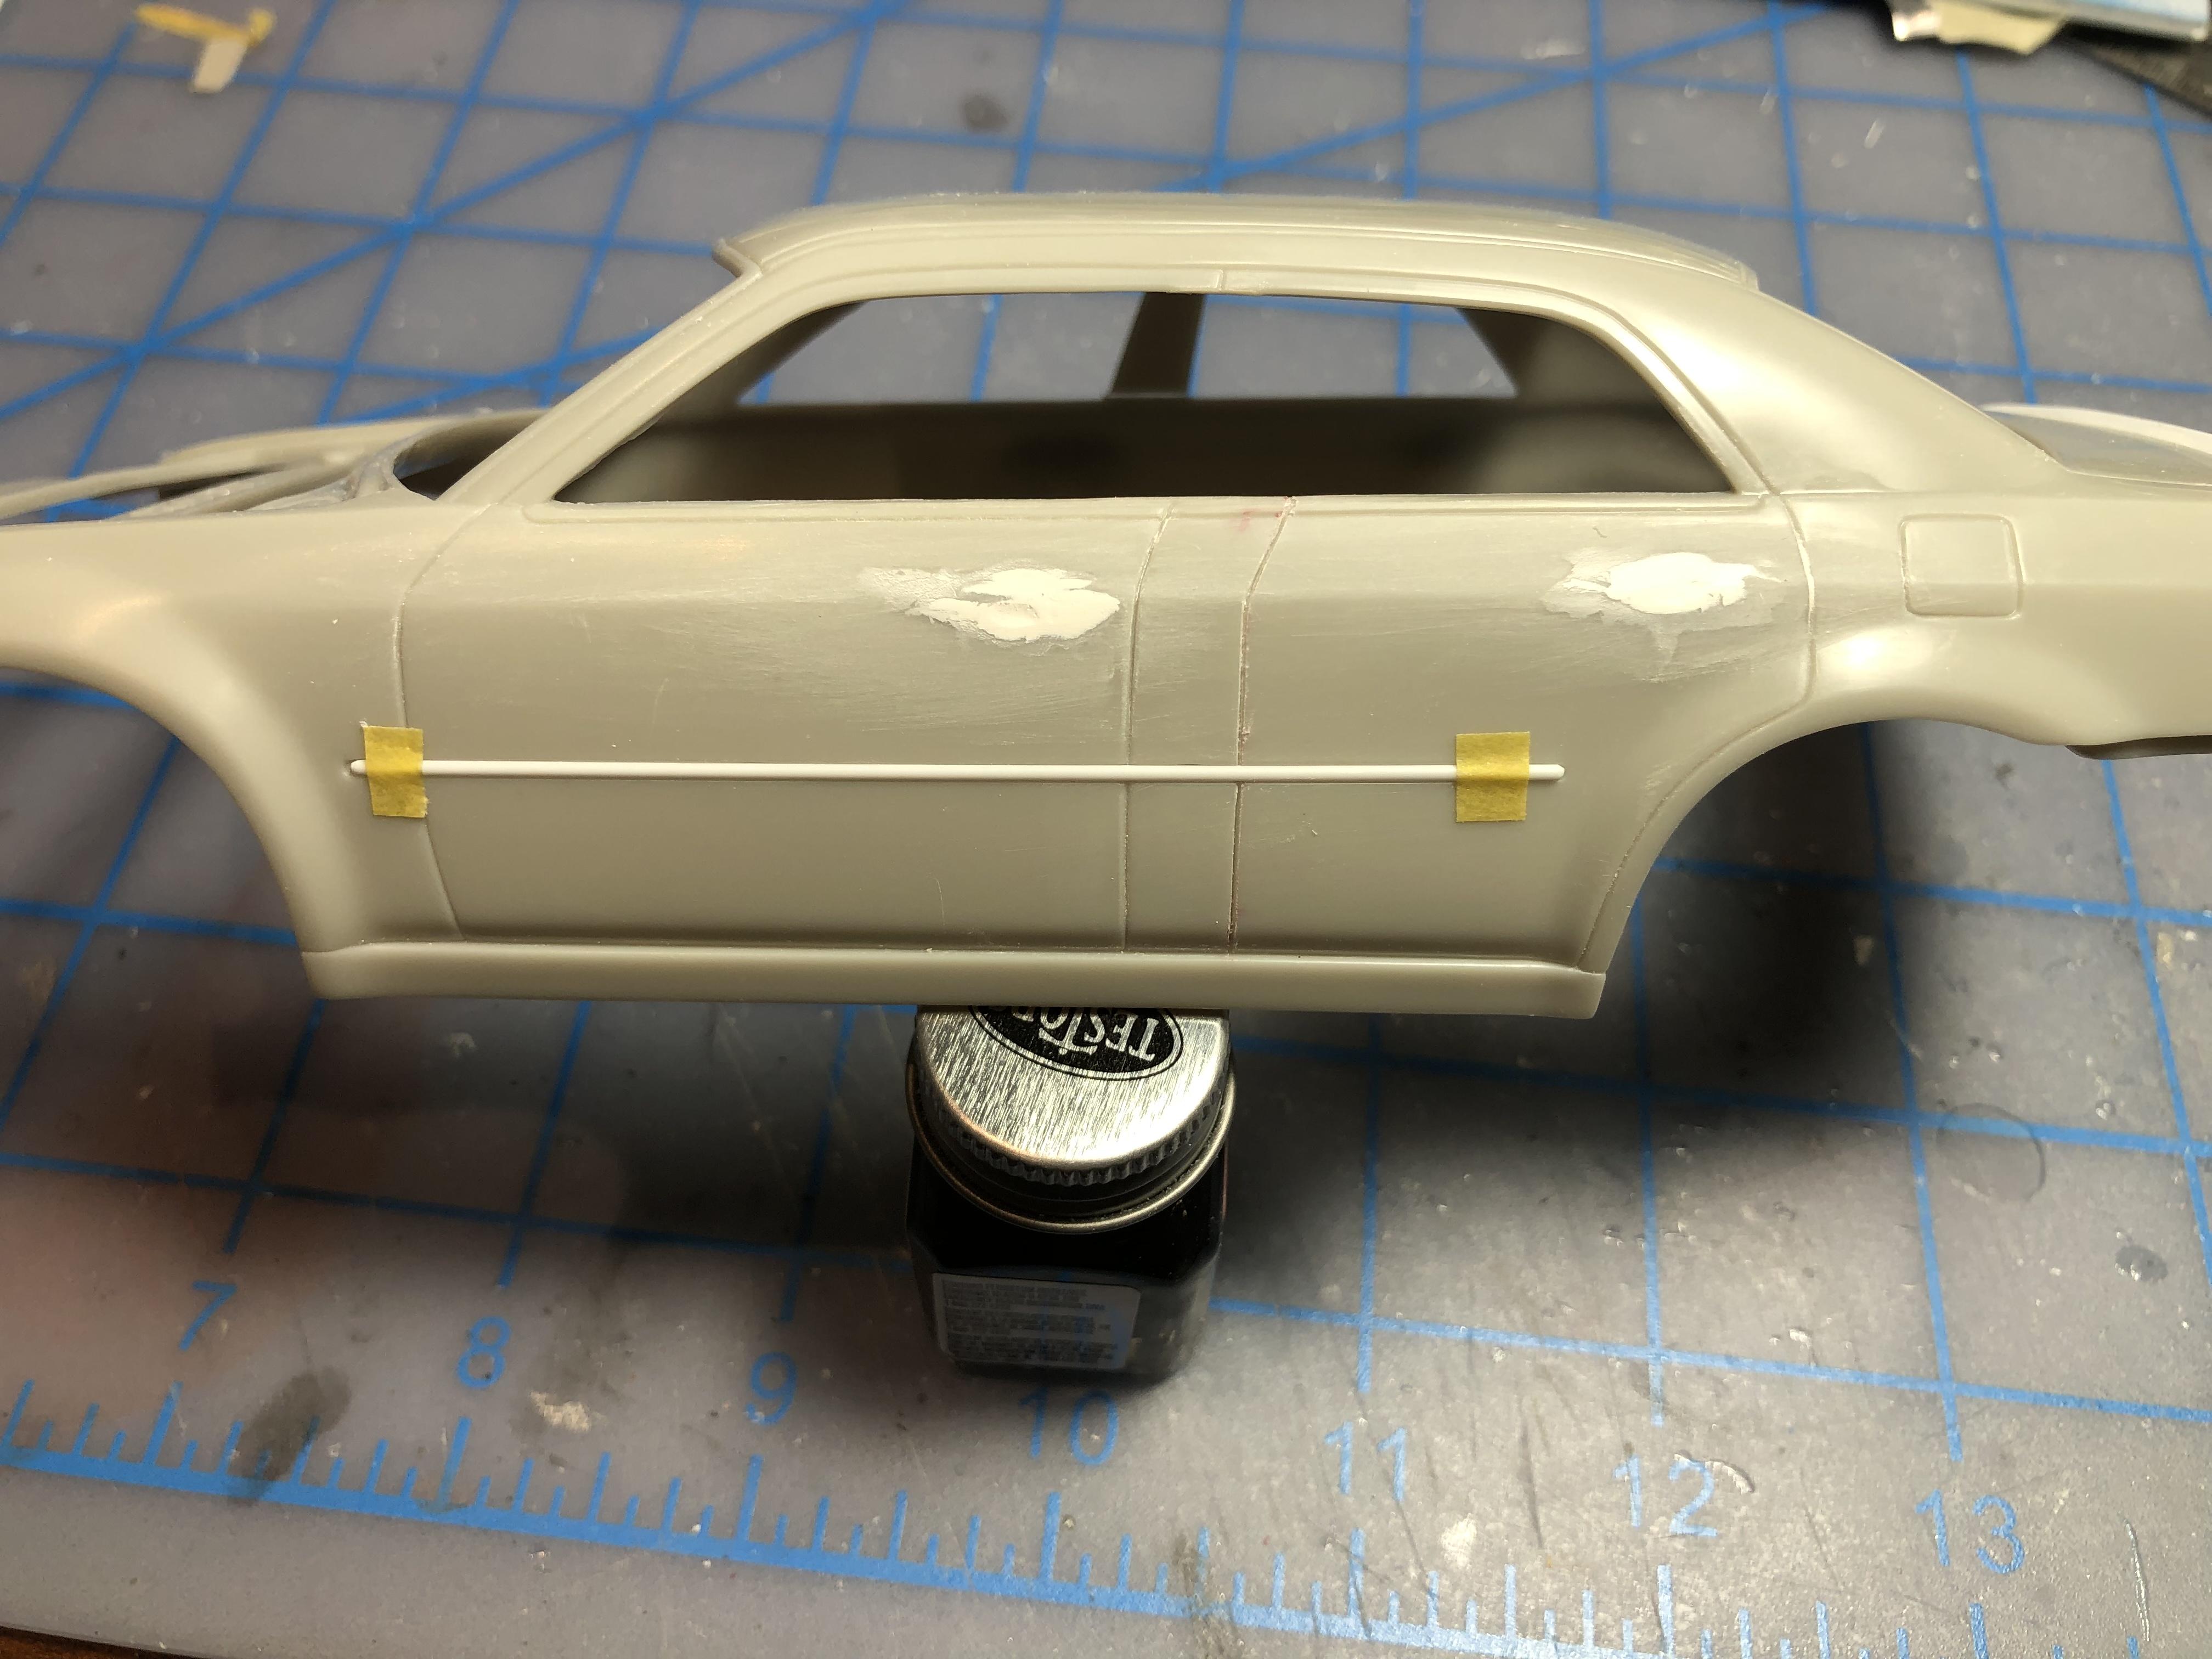
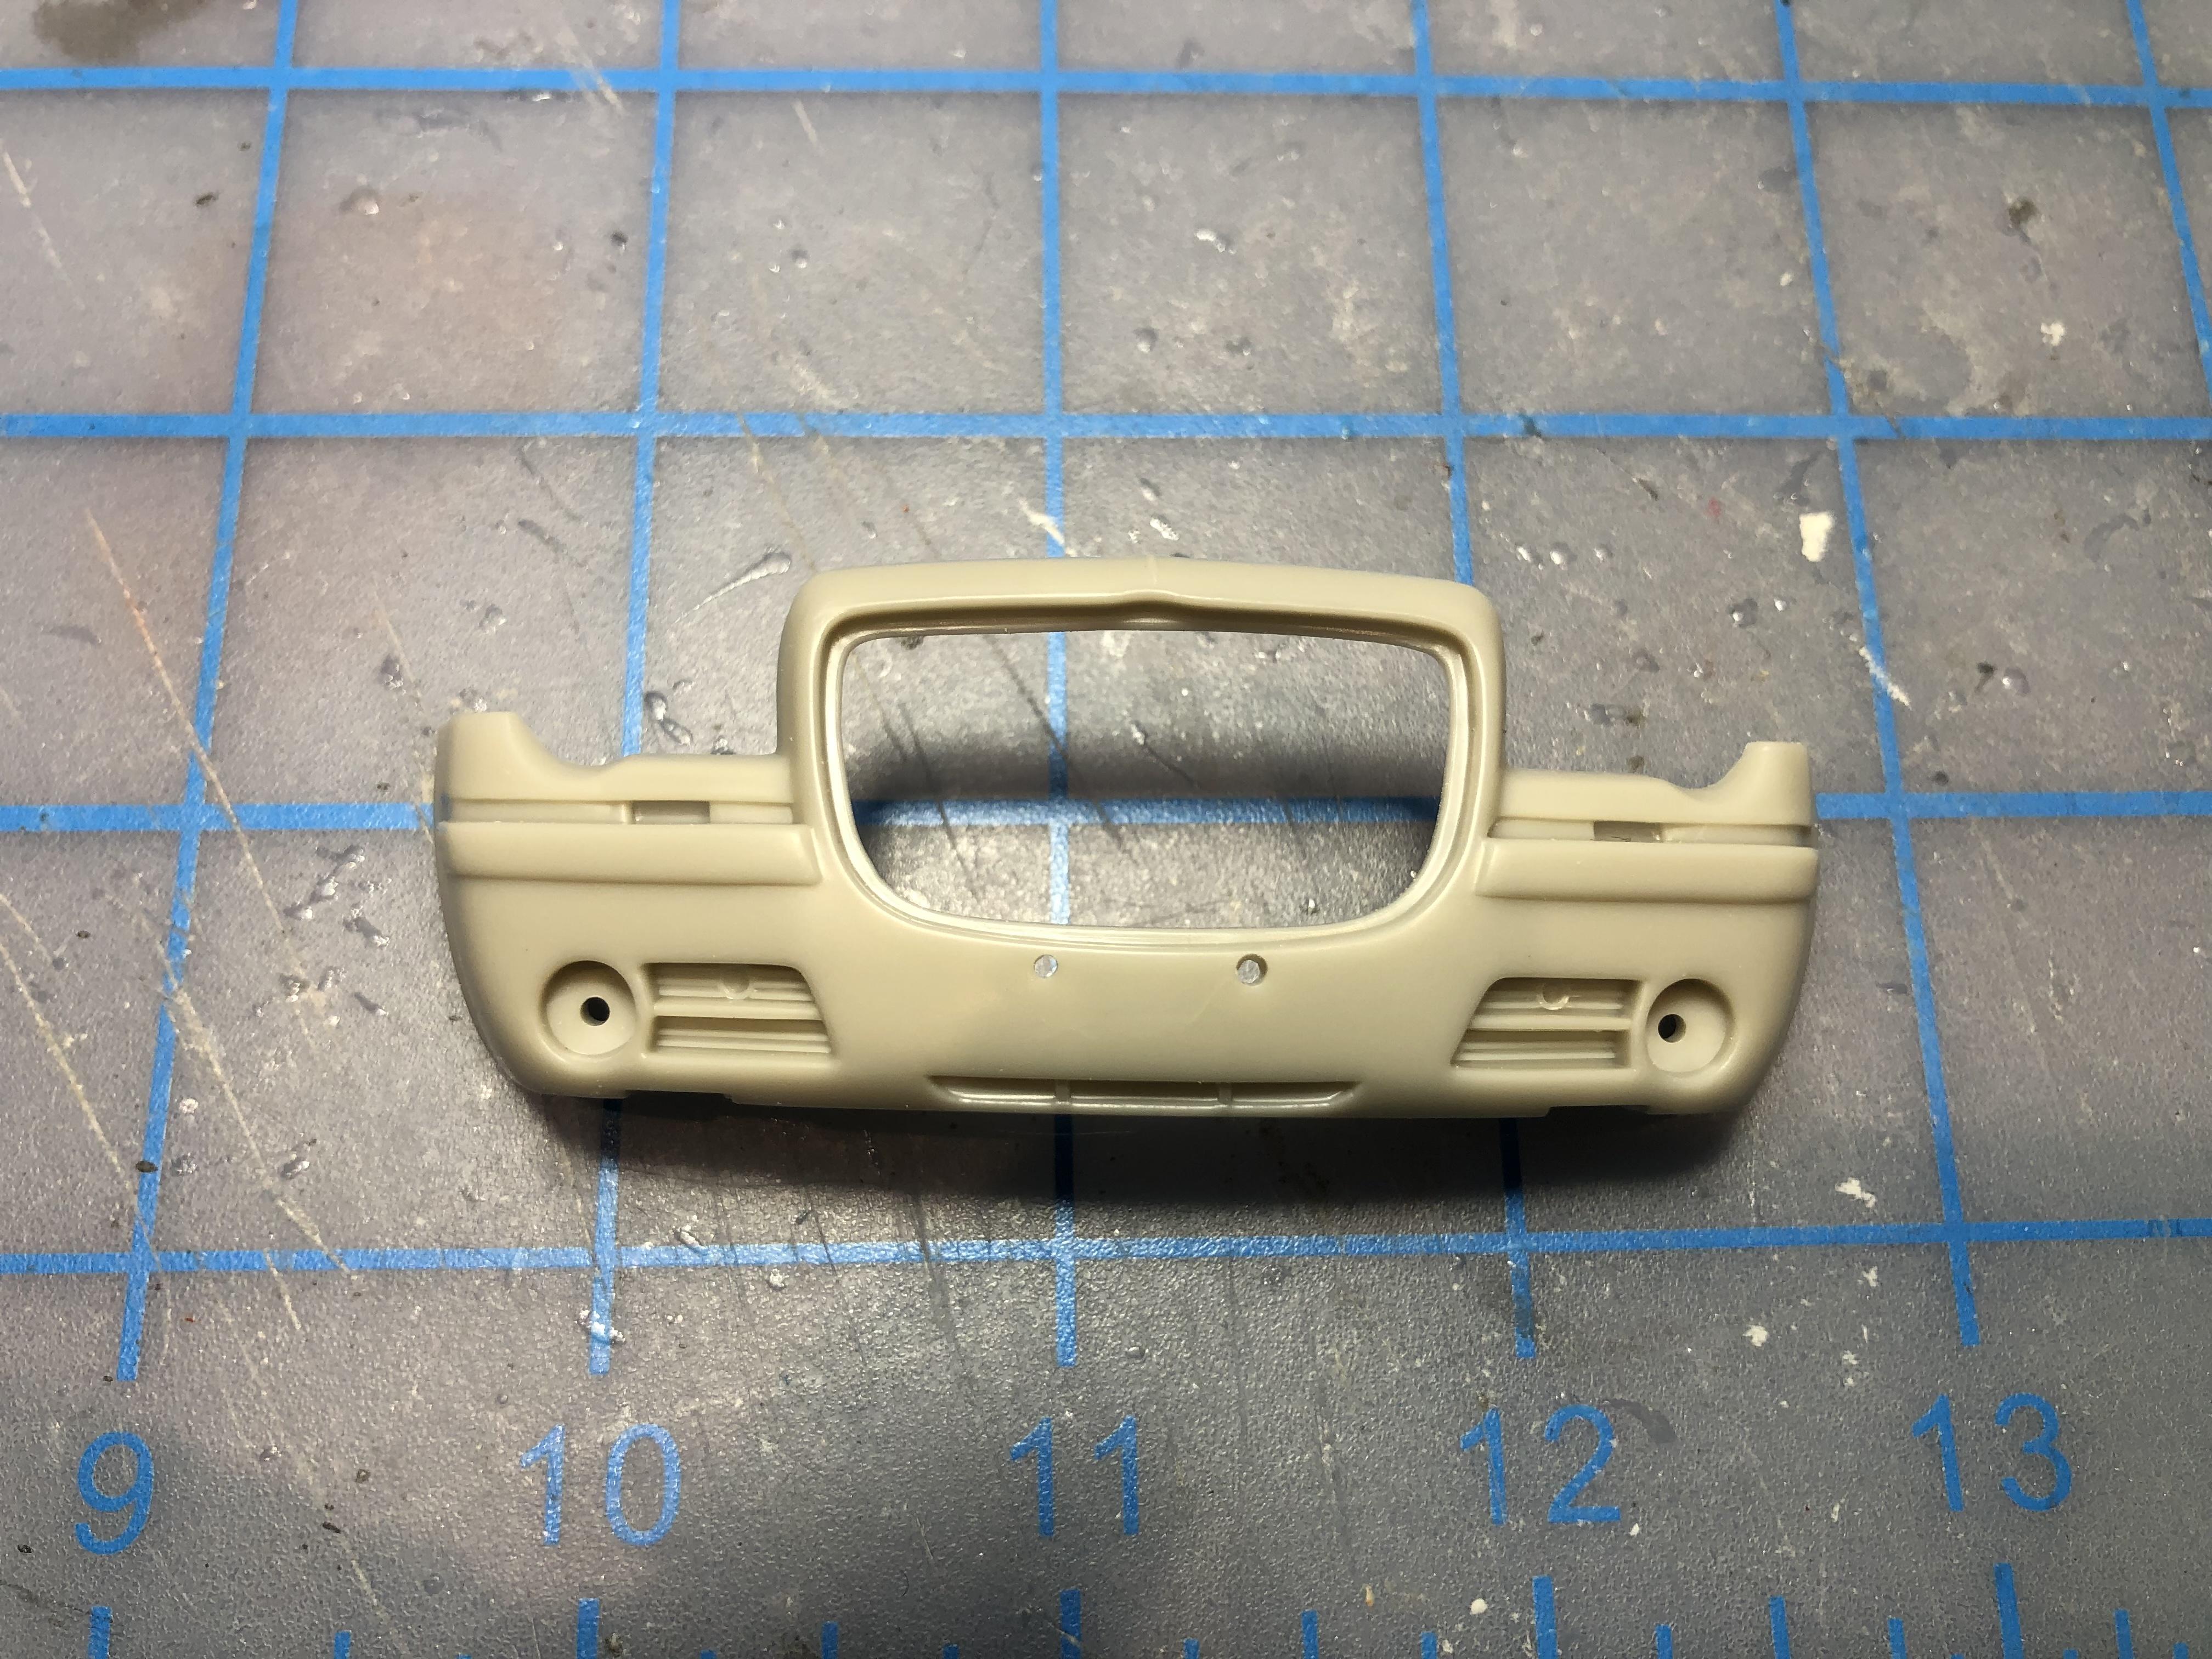
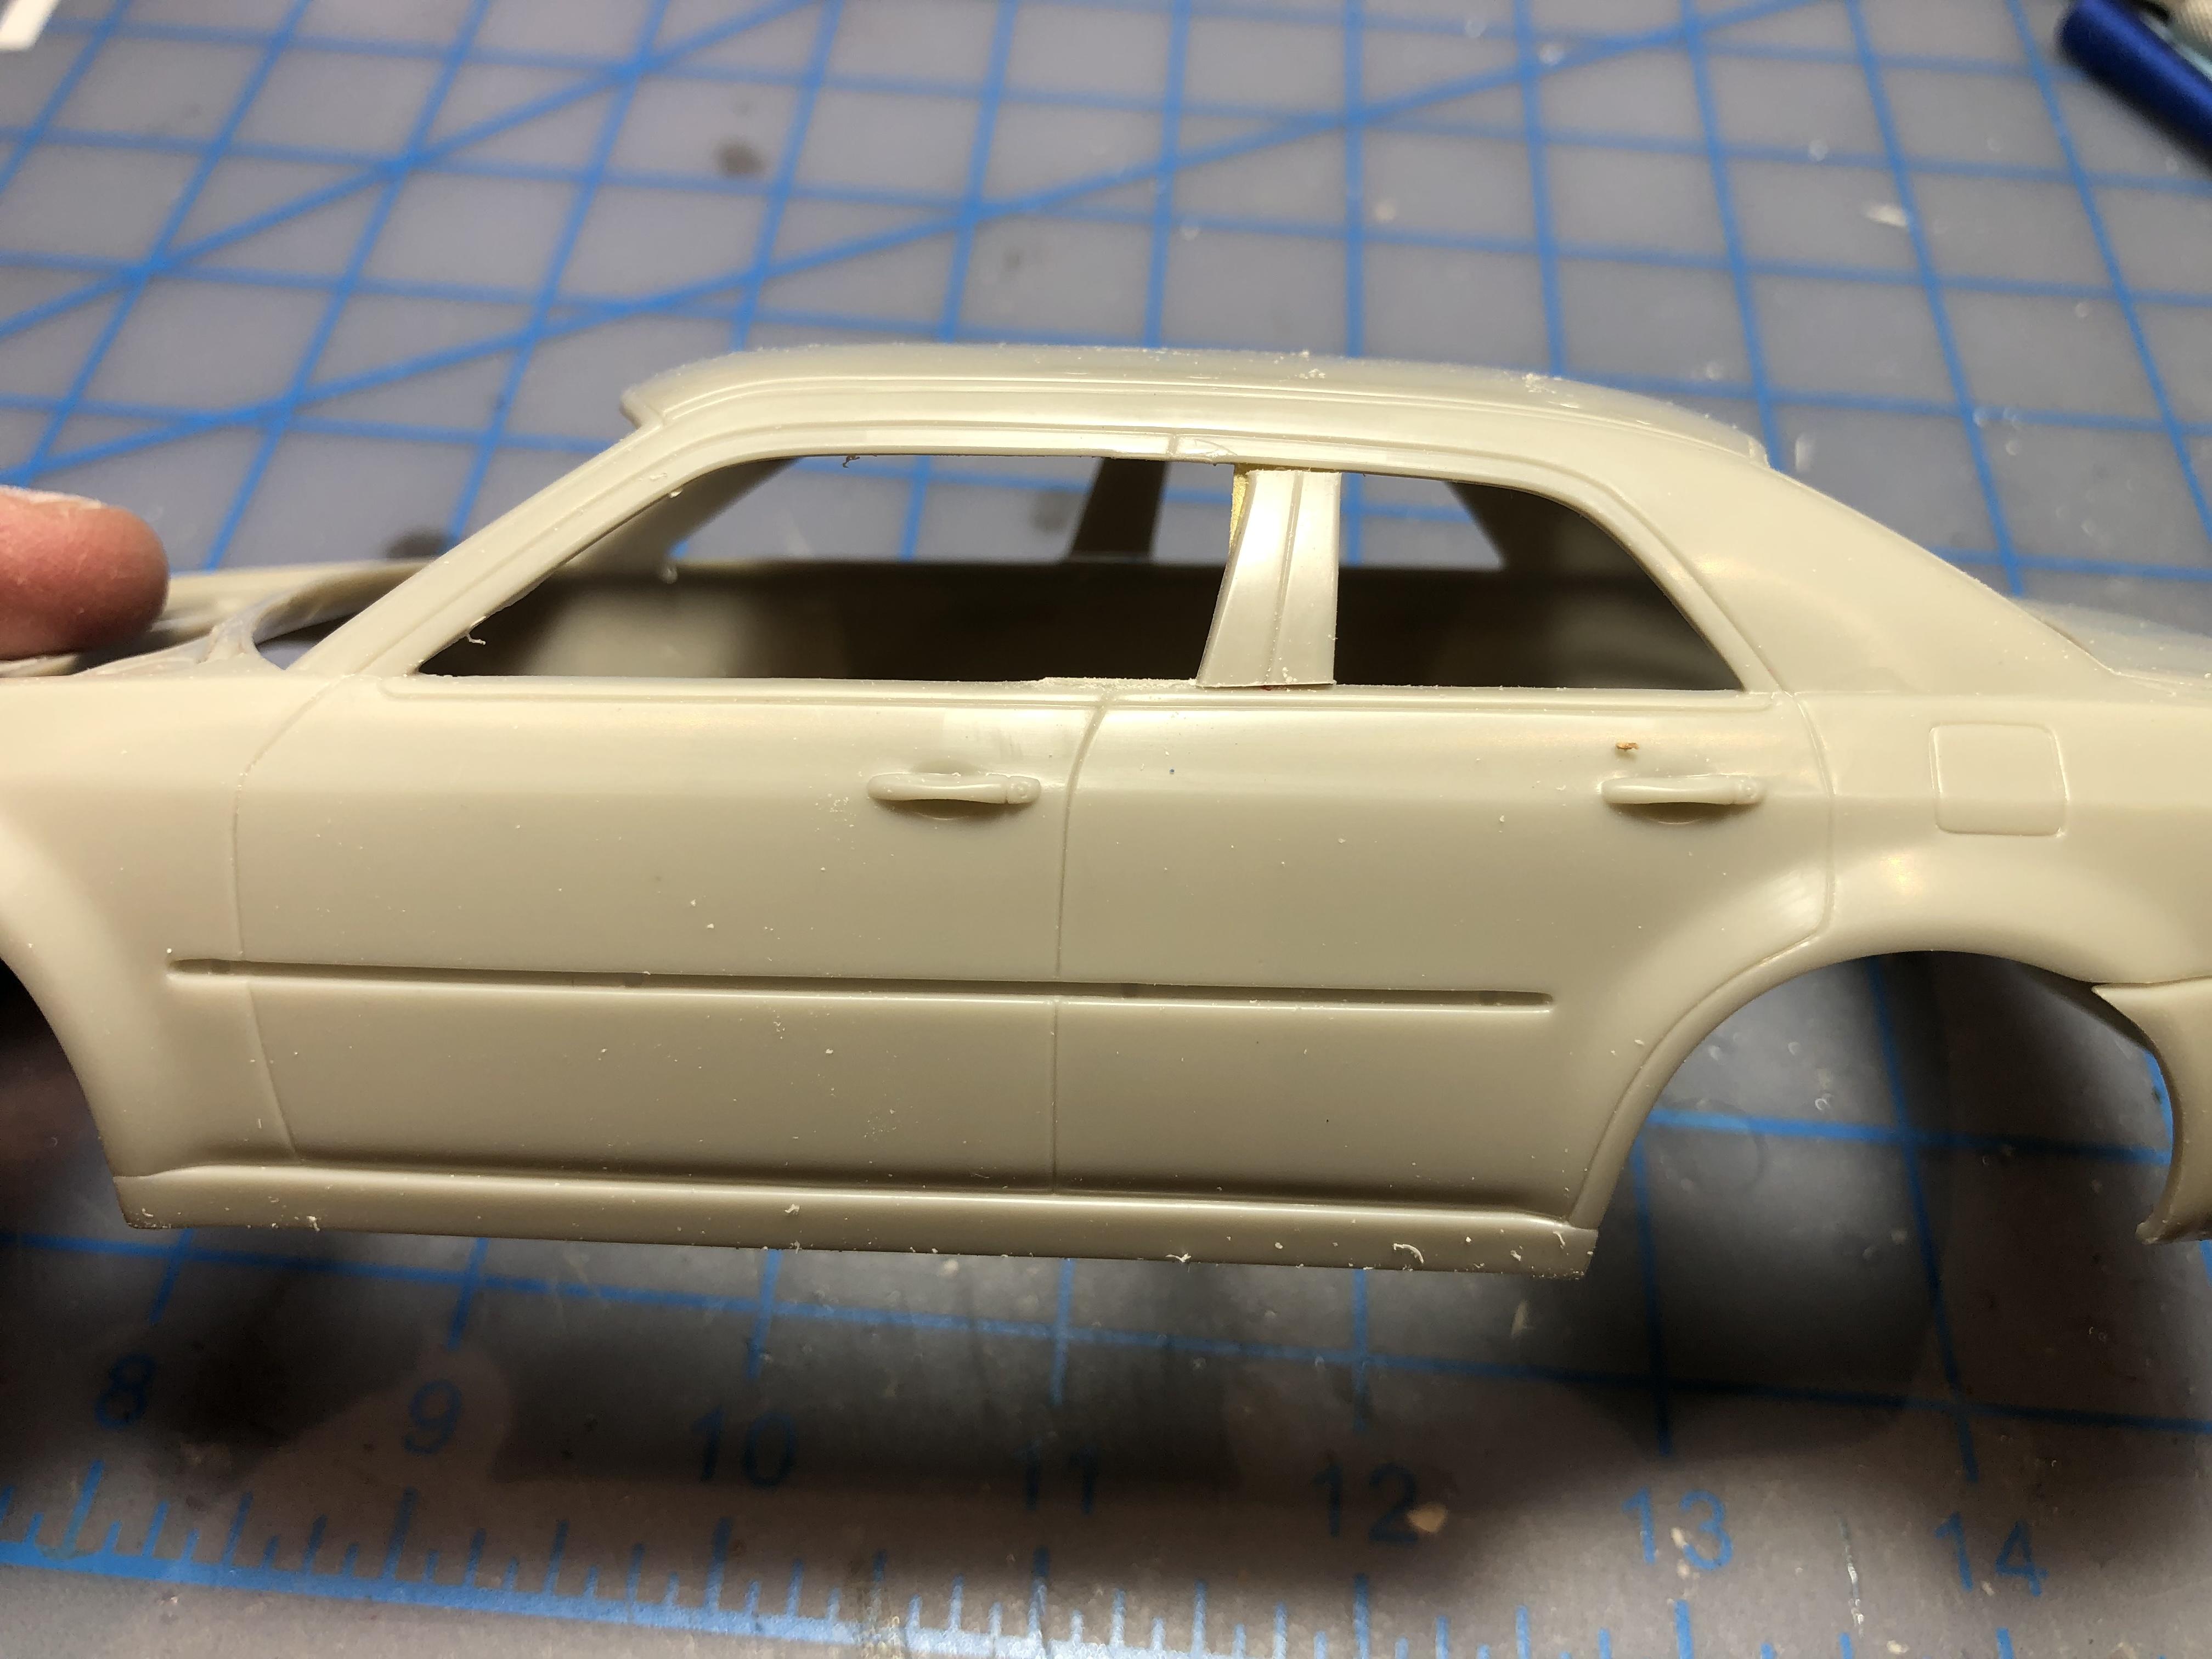
Hi guys, I enjoyed some desk time today, reasonably productive by my standards. Lots of fiddly work on the front fascia. The very bottom is quite rounded and I didn’t like how it looked with the spoiler I made. So I added some half round styrene to help fill the void. The leading edge of the front wheel opening also has more curve at the bottom than I want, so I added some styrene to that area to create a more vertical line to the spoiler.I decided to open the area below the grill up by removing the vertical strips. Definitely needed a spoiler at the back too. Not too big, but enough to give it some attitude. Managed to remove the door handles successfully. Haven’t decided if I will use them yet, that decision comes later… Finally, I made some measurements and cut the new door. I used the same method as on my ‘65 Impala wagon. Made a template with aluminum and taped it in place so I had secure guide to scribe against. In the last picture you can see I’m playing with ideas for new side trim. I still might just fill/remove the side trim to keep it “clean”. However, it might break things up a bit having a black “spear” down the side. All trim will be black, the only chrome will be the headlights and side view mirrors. That’s it for now, as always comments welcome. Cheers, Steve

-
Nice work Tom. That section job really improves the look. As Greg said, it cuts a mean profile, makes it look like it’s in motion. I’ll be following along. Cheers, Steve
-
How about the red ‘65 GTO ? It’s been taunting me….
-
Hi Misha, nice to hear from you sir. Déjà vu converting another 4 door to a 2 door. I’m aiming for full-on gangster with this one sir! Thanks Dennis, I will try not to disappoint. Haha!! Stay tuned Tom. It will definitely be low, and fairly aggressive looking. Thanks for checking in sir. Cheers, Steve
-
Thank you Carl ! I very much appreciate your compliment Oliver, glad you like it. Thanks David, nice to hear from you. Francis!! Thanks for having a look. To have someone of your talent compliment my work is very rewarding. You are an inspiration to all of us this forum, your incredible work is quite simply spectacular. This one wasn’t quite as “precise”, or “enjoyable” as I would have liked, but it does look good on the shelf. Having said that, I really do enjoy this wonderful hobby, as Claude says, “hours of fun with styrene”. Take care my friend, and keep up the amazing work on the Dodge!! Thanks so much Josh, I’m very happy with how the colour combo looks. Not everyone’s taste I know, but I like it. Thank you for the kind words Larry. Cheers, Steve
-

'62 Ford Galaxie 500 Update! 12/23/22 Finally Done! Pic pg. 7
Steve H replied to Plowboy's topic in WIP: Model Cars
Looking really good Roger. Yep, I smiled when I read “it’s way to high”. As you know I like em low too, drop ‘er down some sir!! Cheers, Steve -
Thank you Greg! I appreciate your feedback on the fillers. Cheers, Steve
-
Hi Anton, I used several light coats of Tamiya “smoke”. Do some tests on a spare set of wheels. From my experience, the key is several light coats, if you try to go thick the results aren’t as good. It is a bit tricky to get it even on the deeper offset, but with your skill, definitely doable. By the way, where did those wheels come from? I didn’t see that in the thread, I really like them. Cheers, Steve
-
I totally agree with Chris, perfect wheel tire combo for this build. Maybe consider a dark smoke job on them? Gives them a dark but still shiny look. I think it would look killer with a gunmetal paint job. Regardless of what you decide, I know it will look fantastic. Cheers, Steve
-
Hi Derek, engine looks really nice. Question if I may, tell me about the Elmers clear glue. I have been using embossing powder and thinned white glue for my “carpet”. Is the clear glue thinner than the white glue? Keep up the nice work sir. Cheers, Steve
-
Thanks Sam! I hid all the flaws!! Hi Mike, thanks for following the WIP. I knew the wheel colour wouldn’t be a hit with everyone, but they came out as I wanted. Thanks for the honest reply. The interior is one of my better efforts, thanks to all the inspiration from the talented builders on this forum. Matthijs, thanks for the kind words, and thanks for your input on the WIP. Cheers, Steve
-
I sincerely appreciate the comments guys. Nice to have positive feedback after a challenging/frustrating build. If not for this forum, it may have ended up back in the box…
-
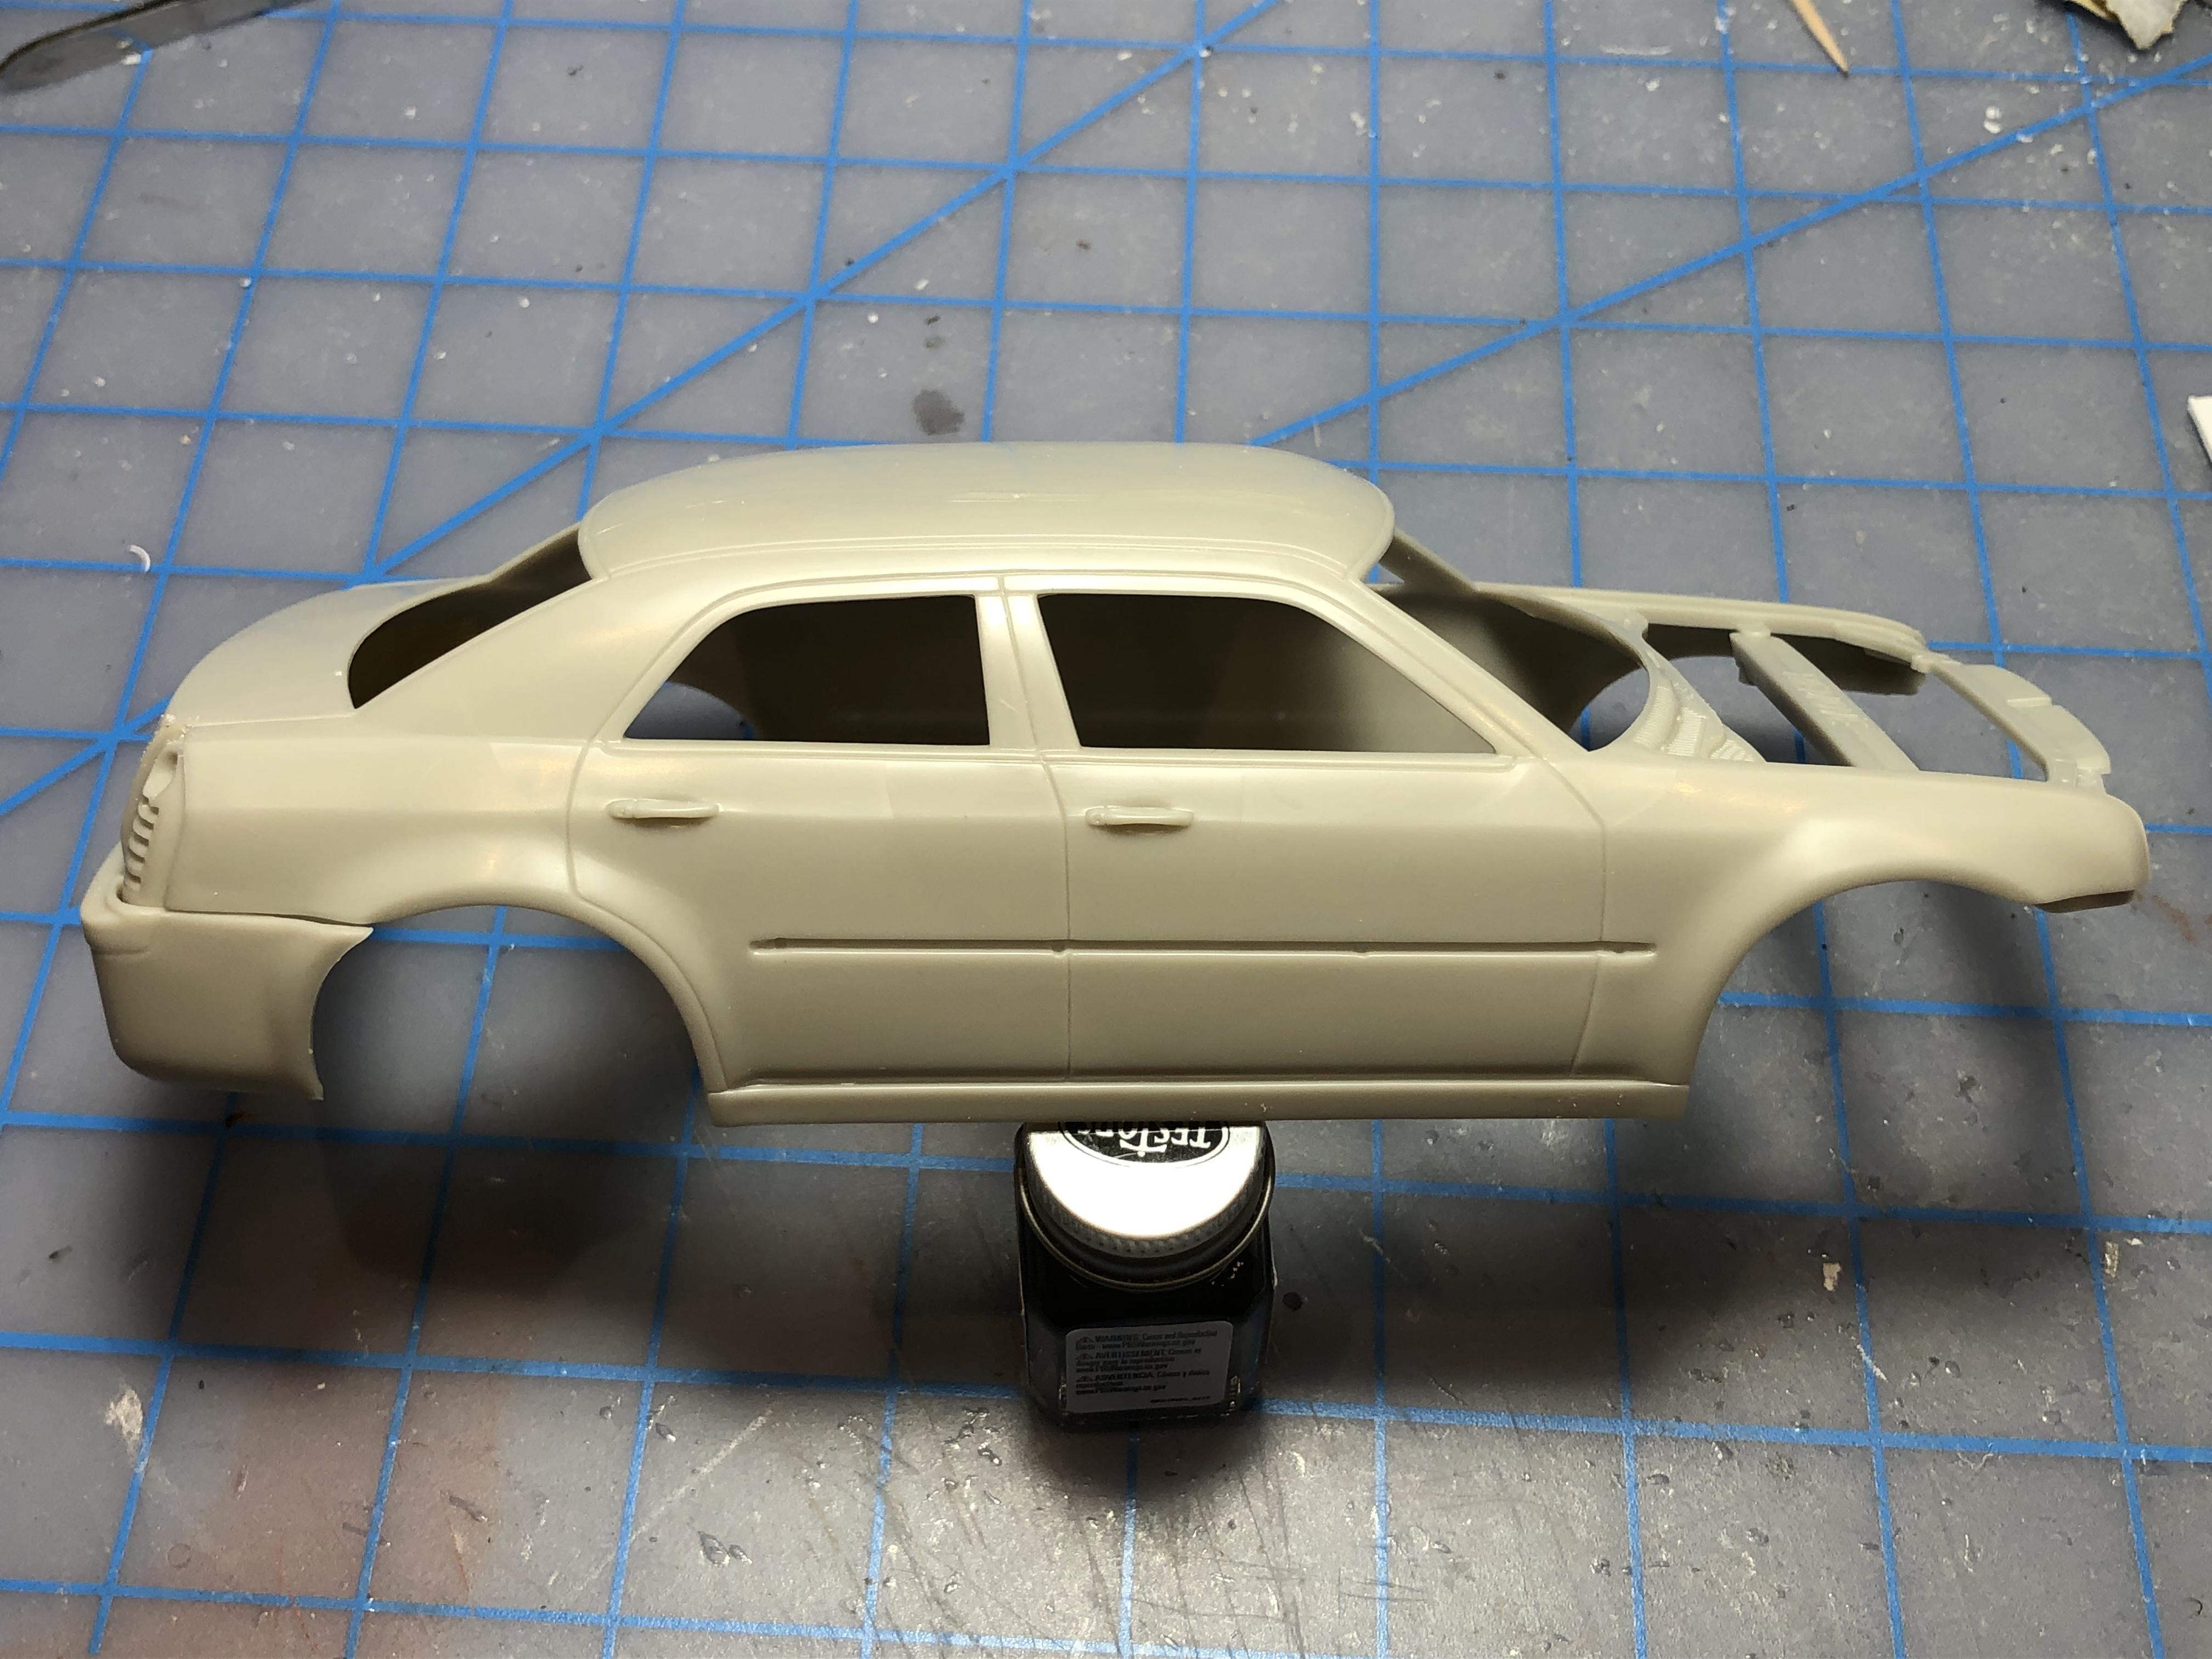
Hi guys, with the Impala wagon finally done, time to jump in to this build. Started work on the front end mods. Opened up the all the recesses, shaved off the raised “bumper” below headlights. I will still use the bumper inserts here but they will be slightly modified to tuck in a bit, and they won’t be chrome. I have several ideas for the grill, this one is a definite contender. Still lots of clean up to do but it’s a start…. The openings below the grill will likely become larger. I also removed one of the B pillars too. Slid it back to get a feel for where pillar will go in 2 door configuration. Taped in place here, it’s close. I have 2 thoughts for the door handles. The easy out, shaved handles which will suit the build. The other thought is the cut out around 2 of the handles, flip them (driver side to passenger and vice versa) and mount them at the front of the door to create suicide doors. Hmmmmm. A lot of extra work. I might be able to trim off just the handle part, but it is pretty thin. More on that later. As always, thanks for looking, comments welcomed.
-
Great looking bodywork Derek. I’ll be following along. Steve
-
'62 Ford Galaxie 500 Update! 12/23/22 Finally Done! Pic pg. 7
Steve H replied to Plowboy's topic in WIP: Model Cars
Roger! Another beauty in the making. That is some seriously delicate work on the side trim, it turned out amazing. Looking forward to seeing your trunk hinge solution. Cheers, Steve -
Snake, you sir are the king of rescues. Every time I see one of your rescues I think, hmmmmm, I should rebuild one of my old glue bombs. Although it is fun to look back and realize that I actually am getting a bit better!! Nice work. Cheers, Steve
-
Yep… what Oliver said. This is wicked cool !!
-
Very nice build Harry. The colour combo looks fantastic, I’m a huge fan of embossing powder for carpet, you did a great job on the interior. All around beautiful build sir. My only slightly critical comment would be the lack of brakes… Pegasus (and others) do make disc brakes for their wheels, might have looked nice with body colour calipers? Cheers, Steve
-
Hi David, that looks great! Nice colours, and those wheels look sharp under the ‘57.
-
Thanks Mike, and thanks for following and contributing to the WIP, your input was indeed welcomed. Cheers, Steve
-
Thanks fellas, I appreciate all the kind words.
-
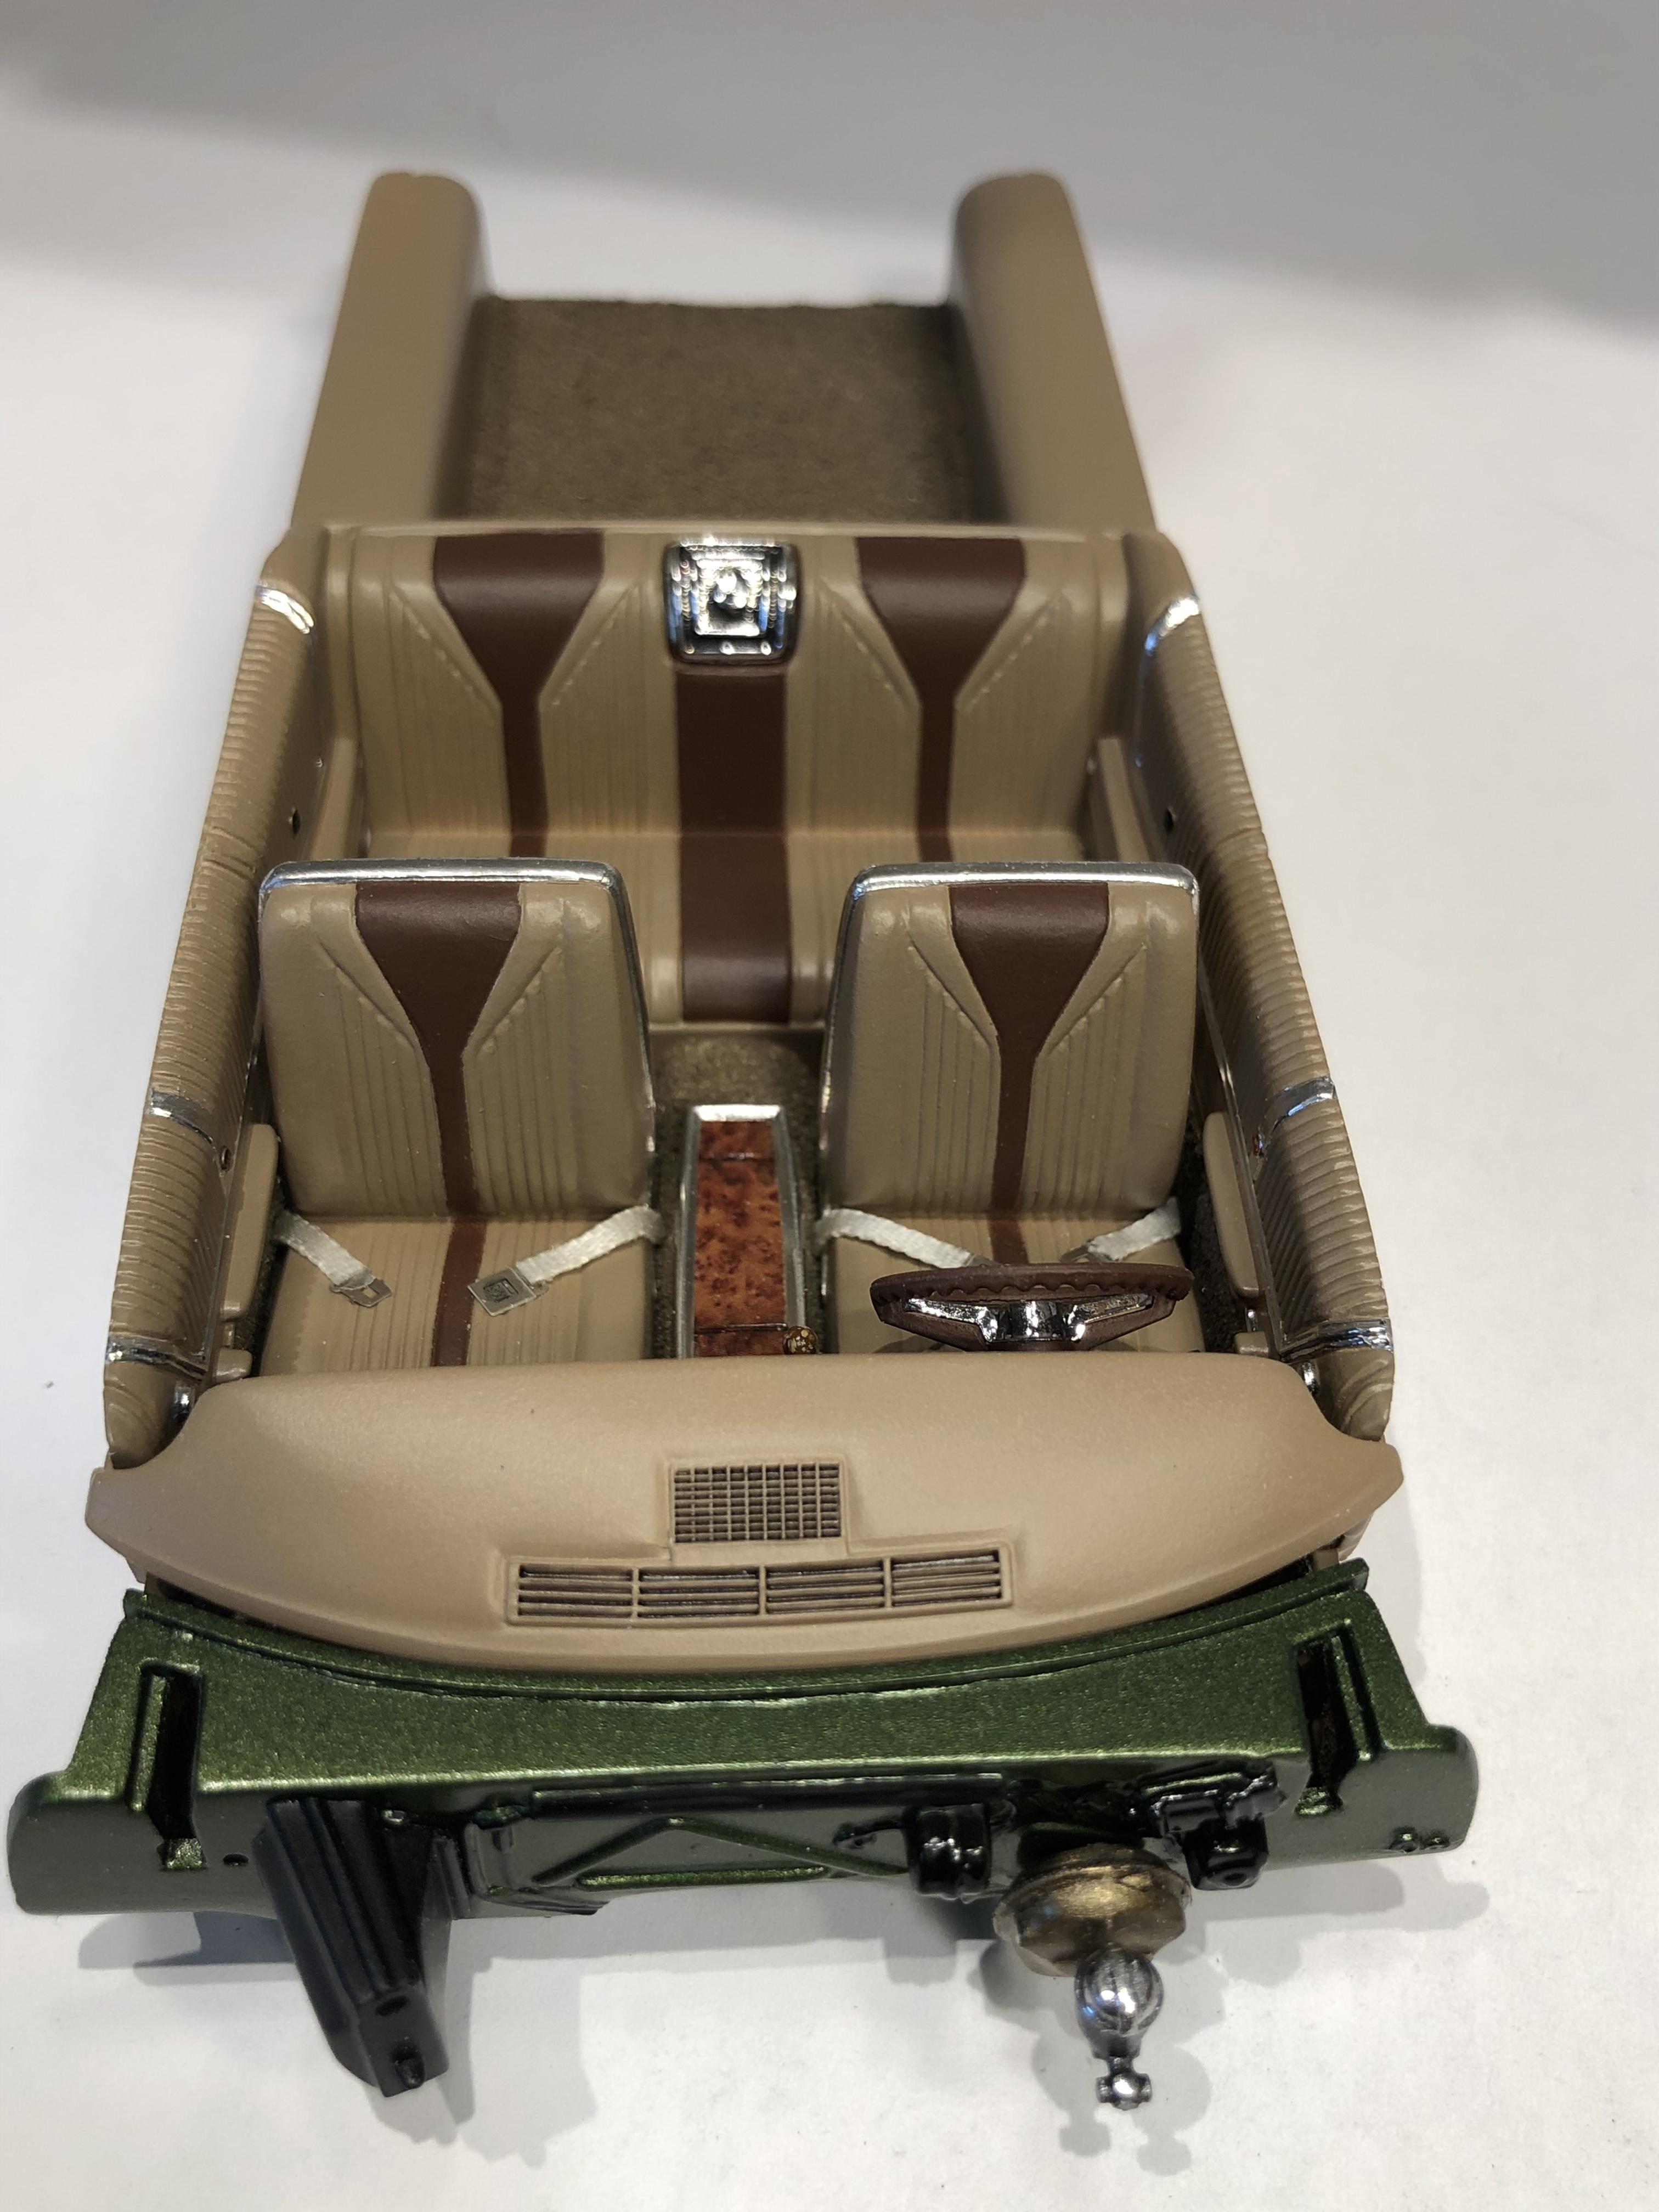
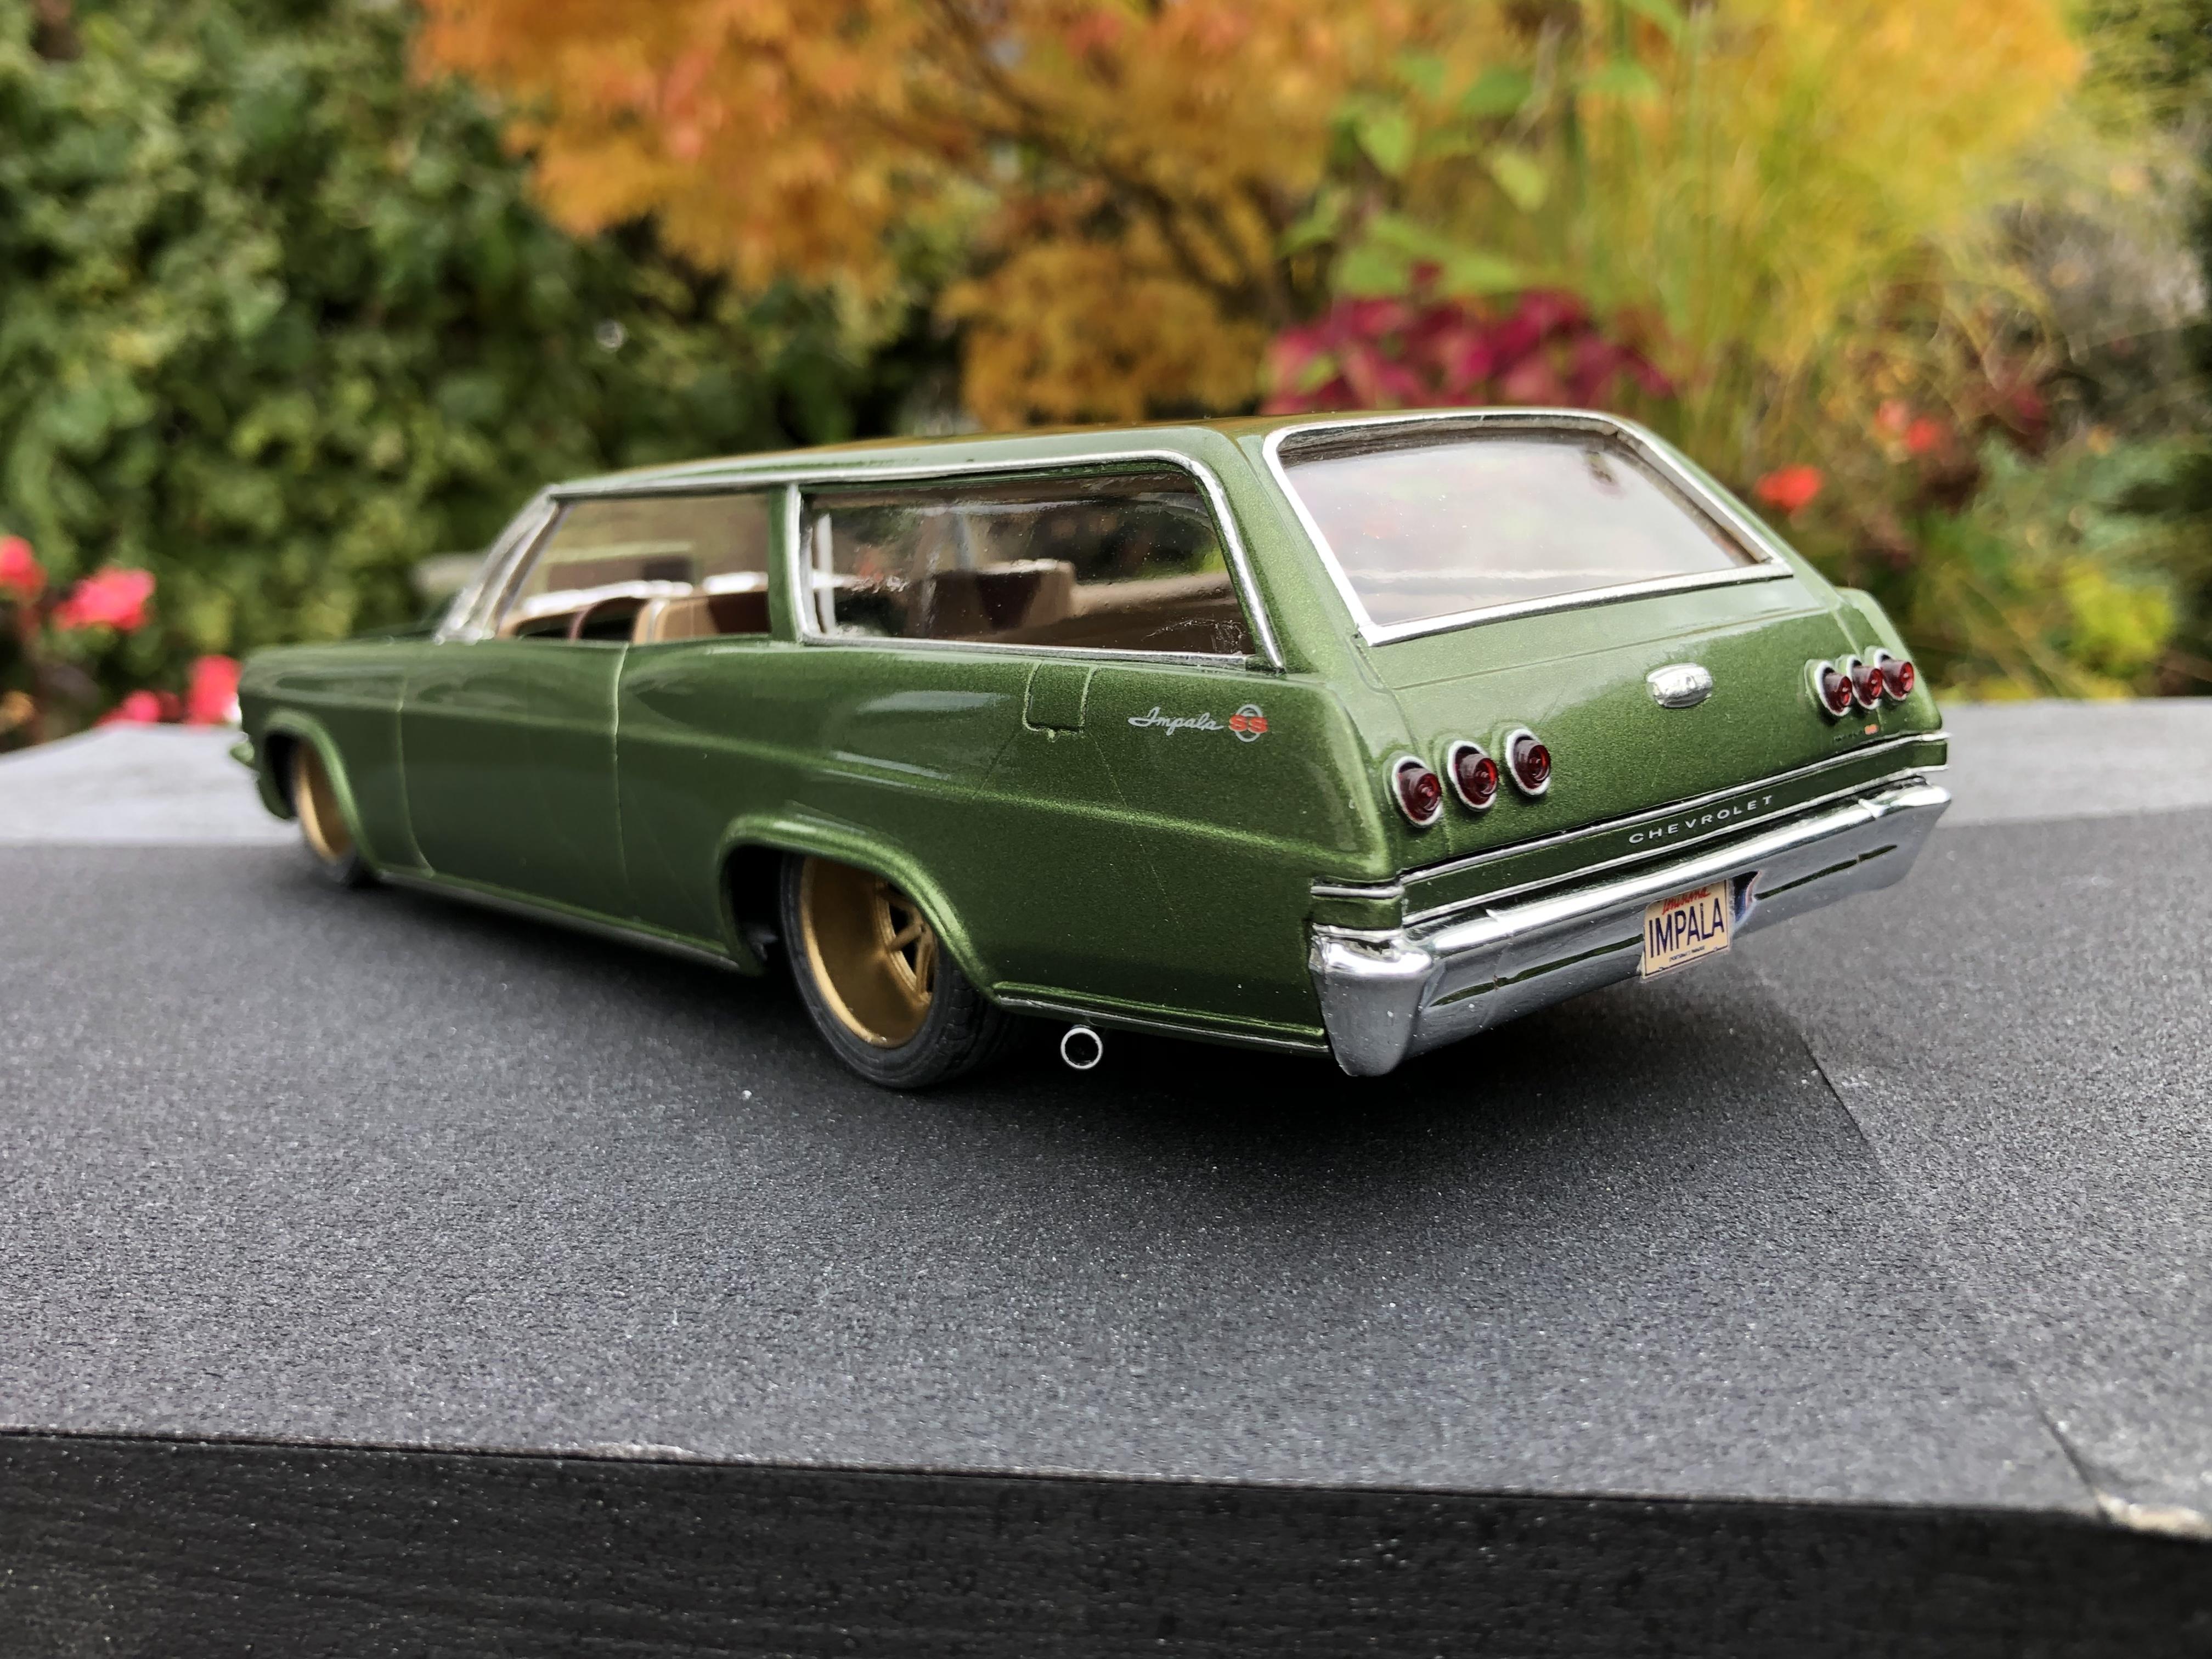
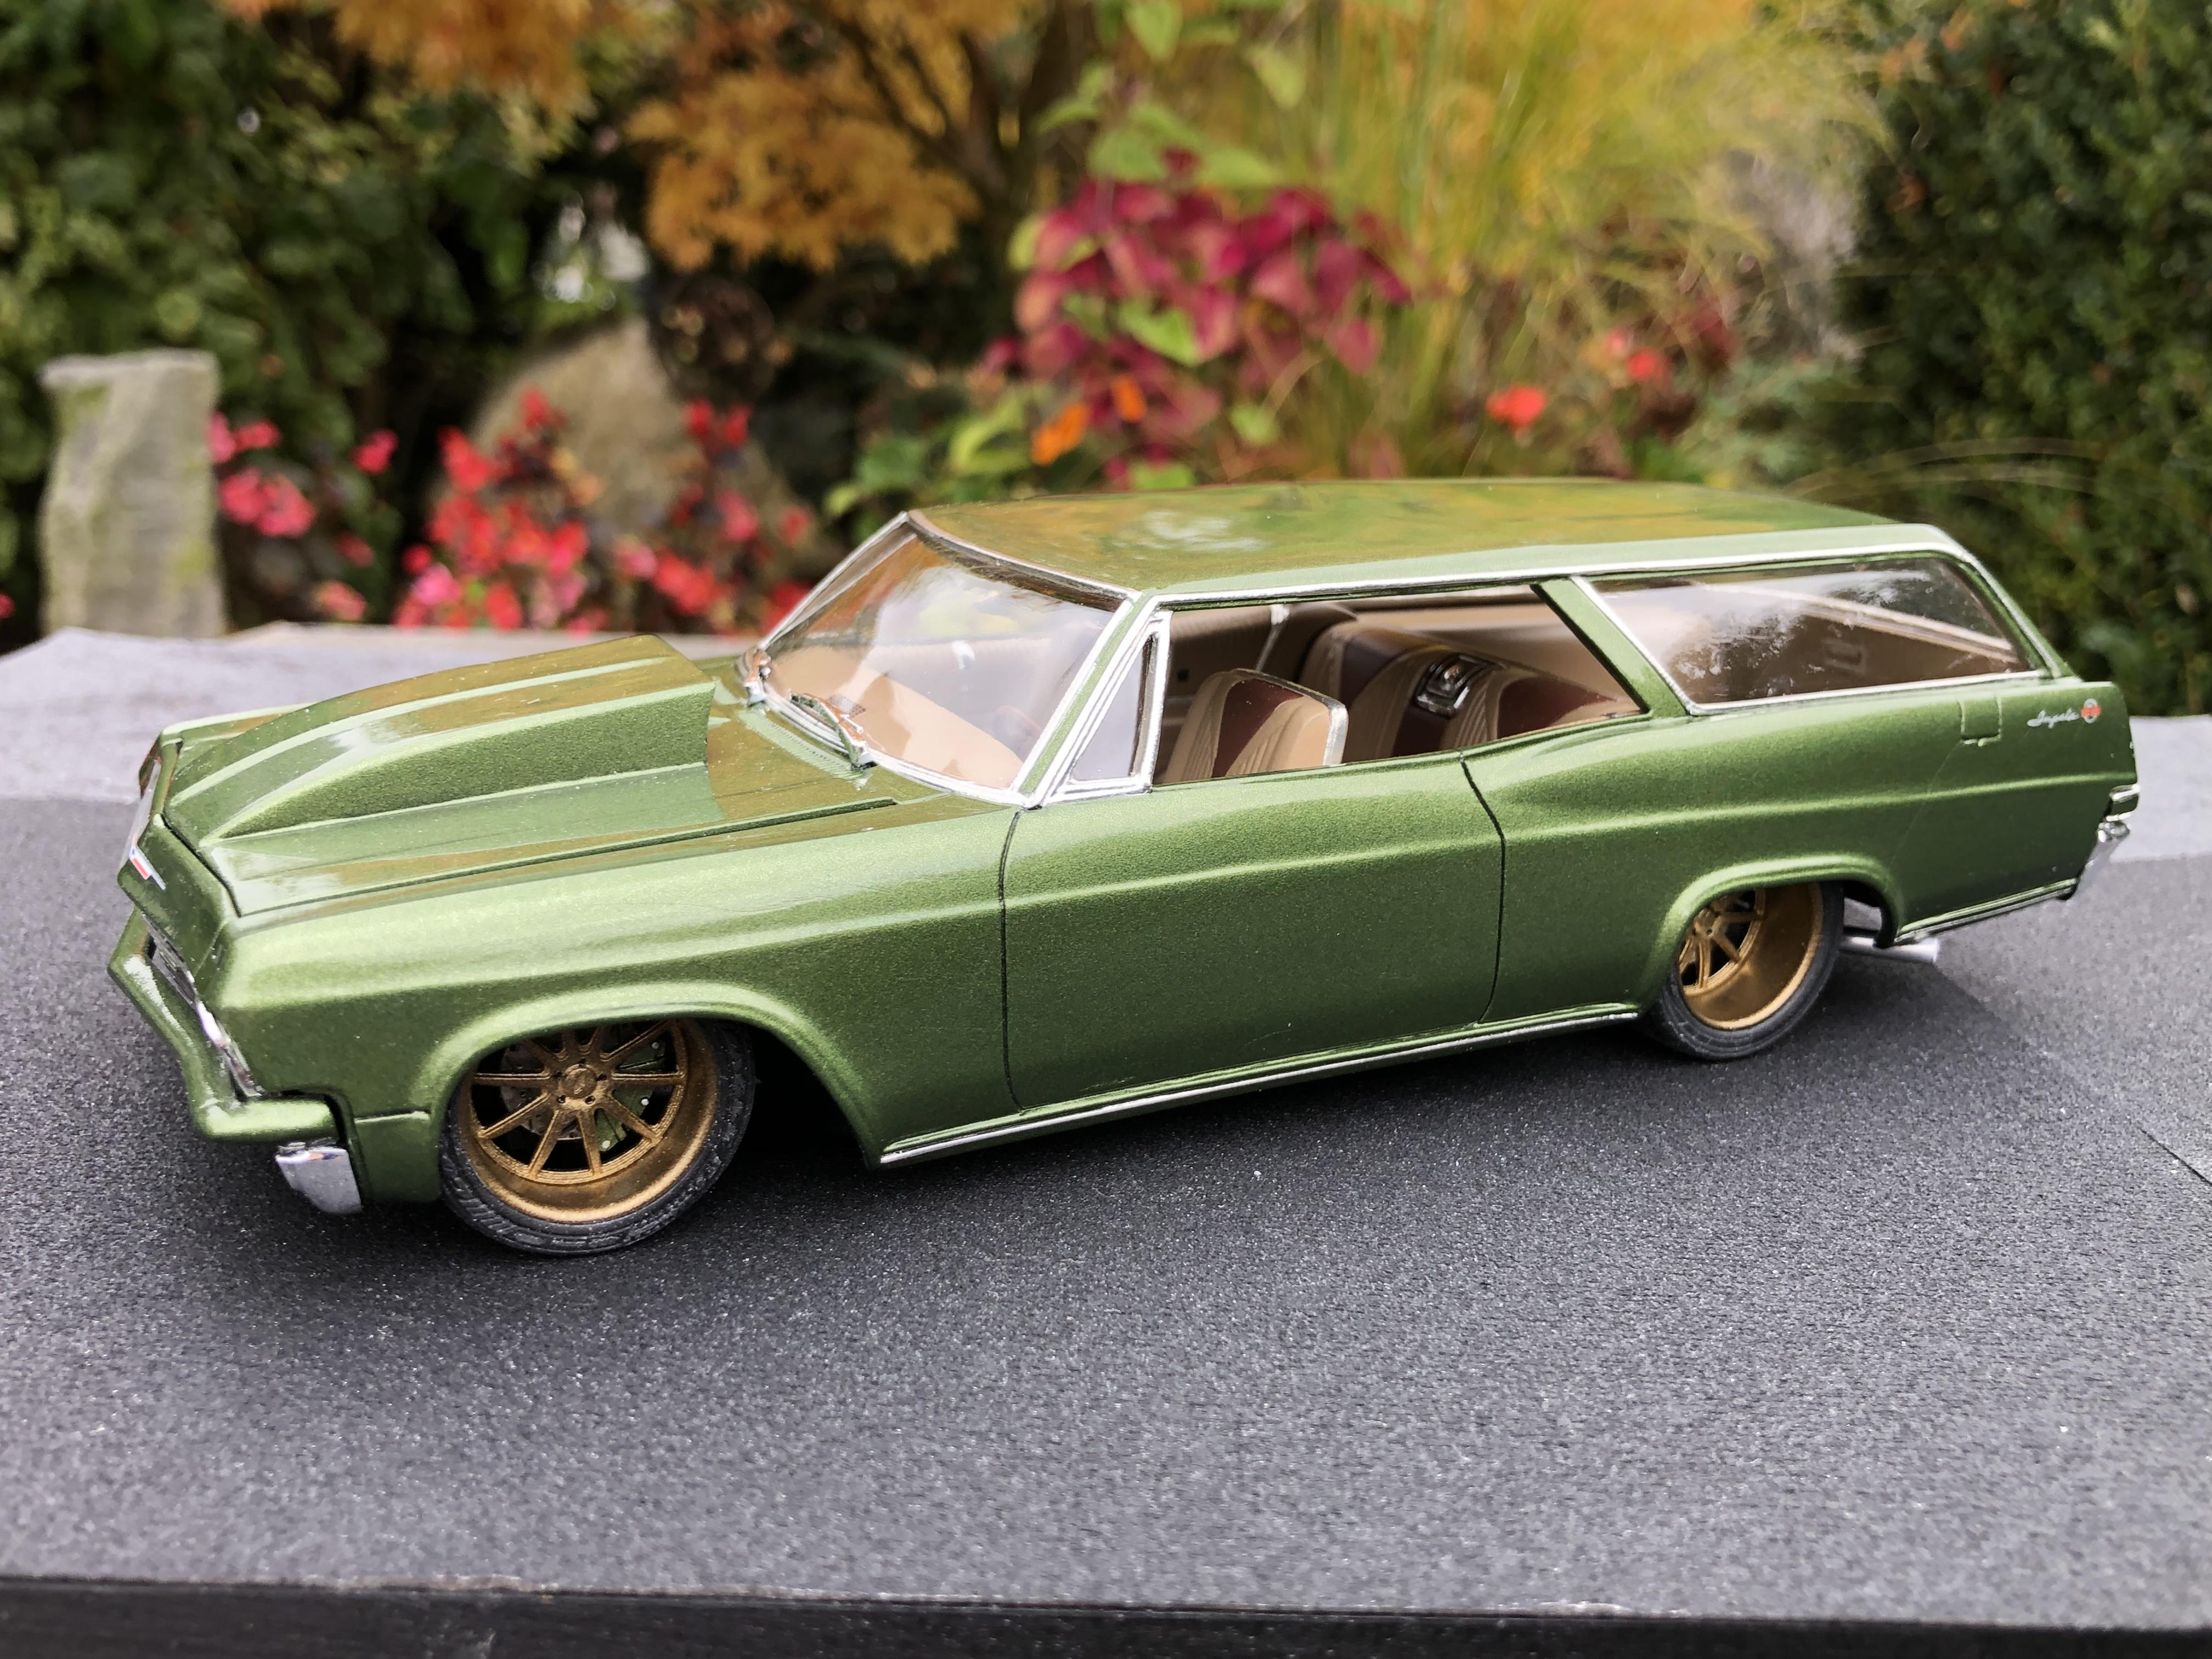
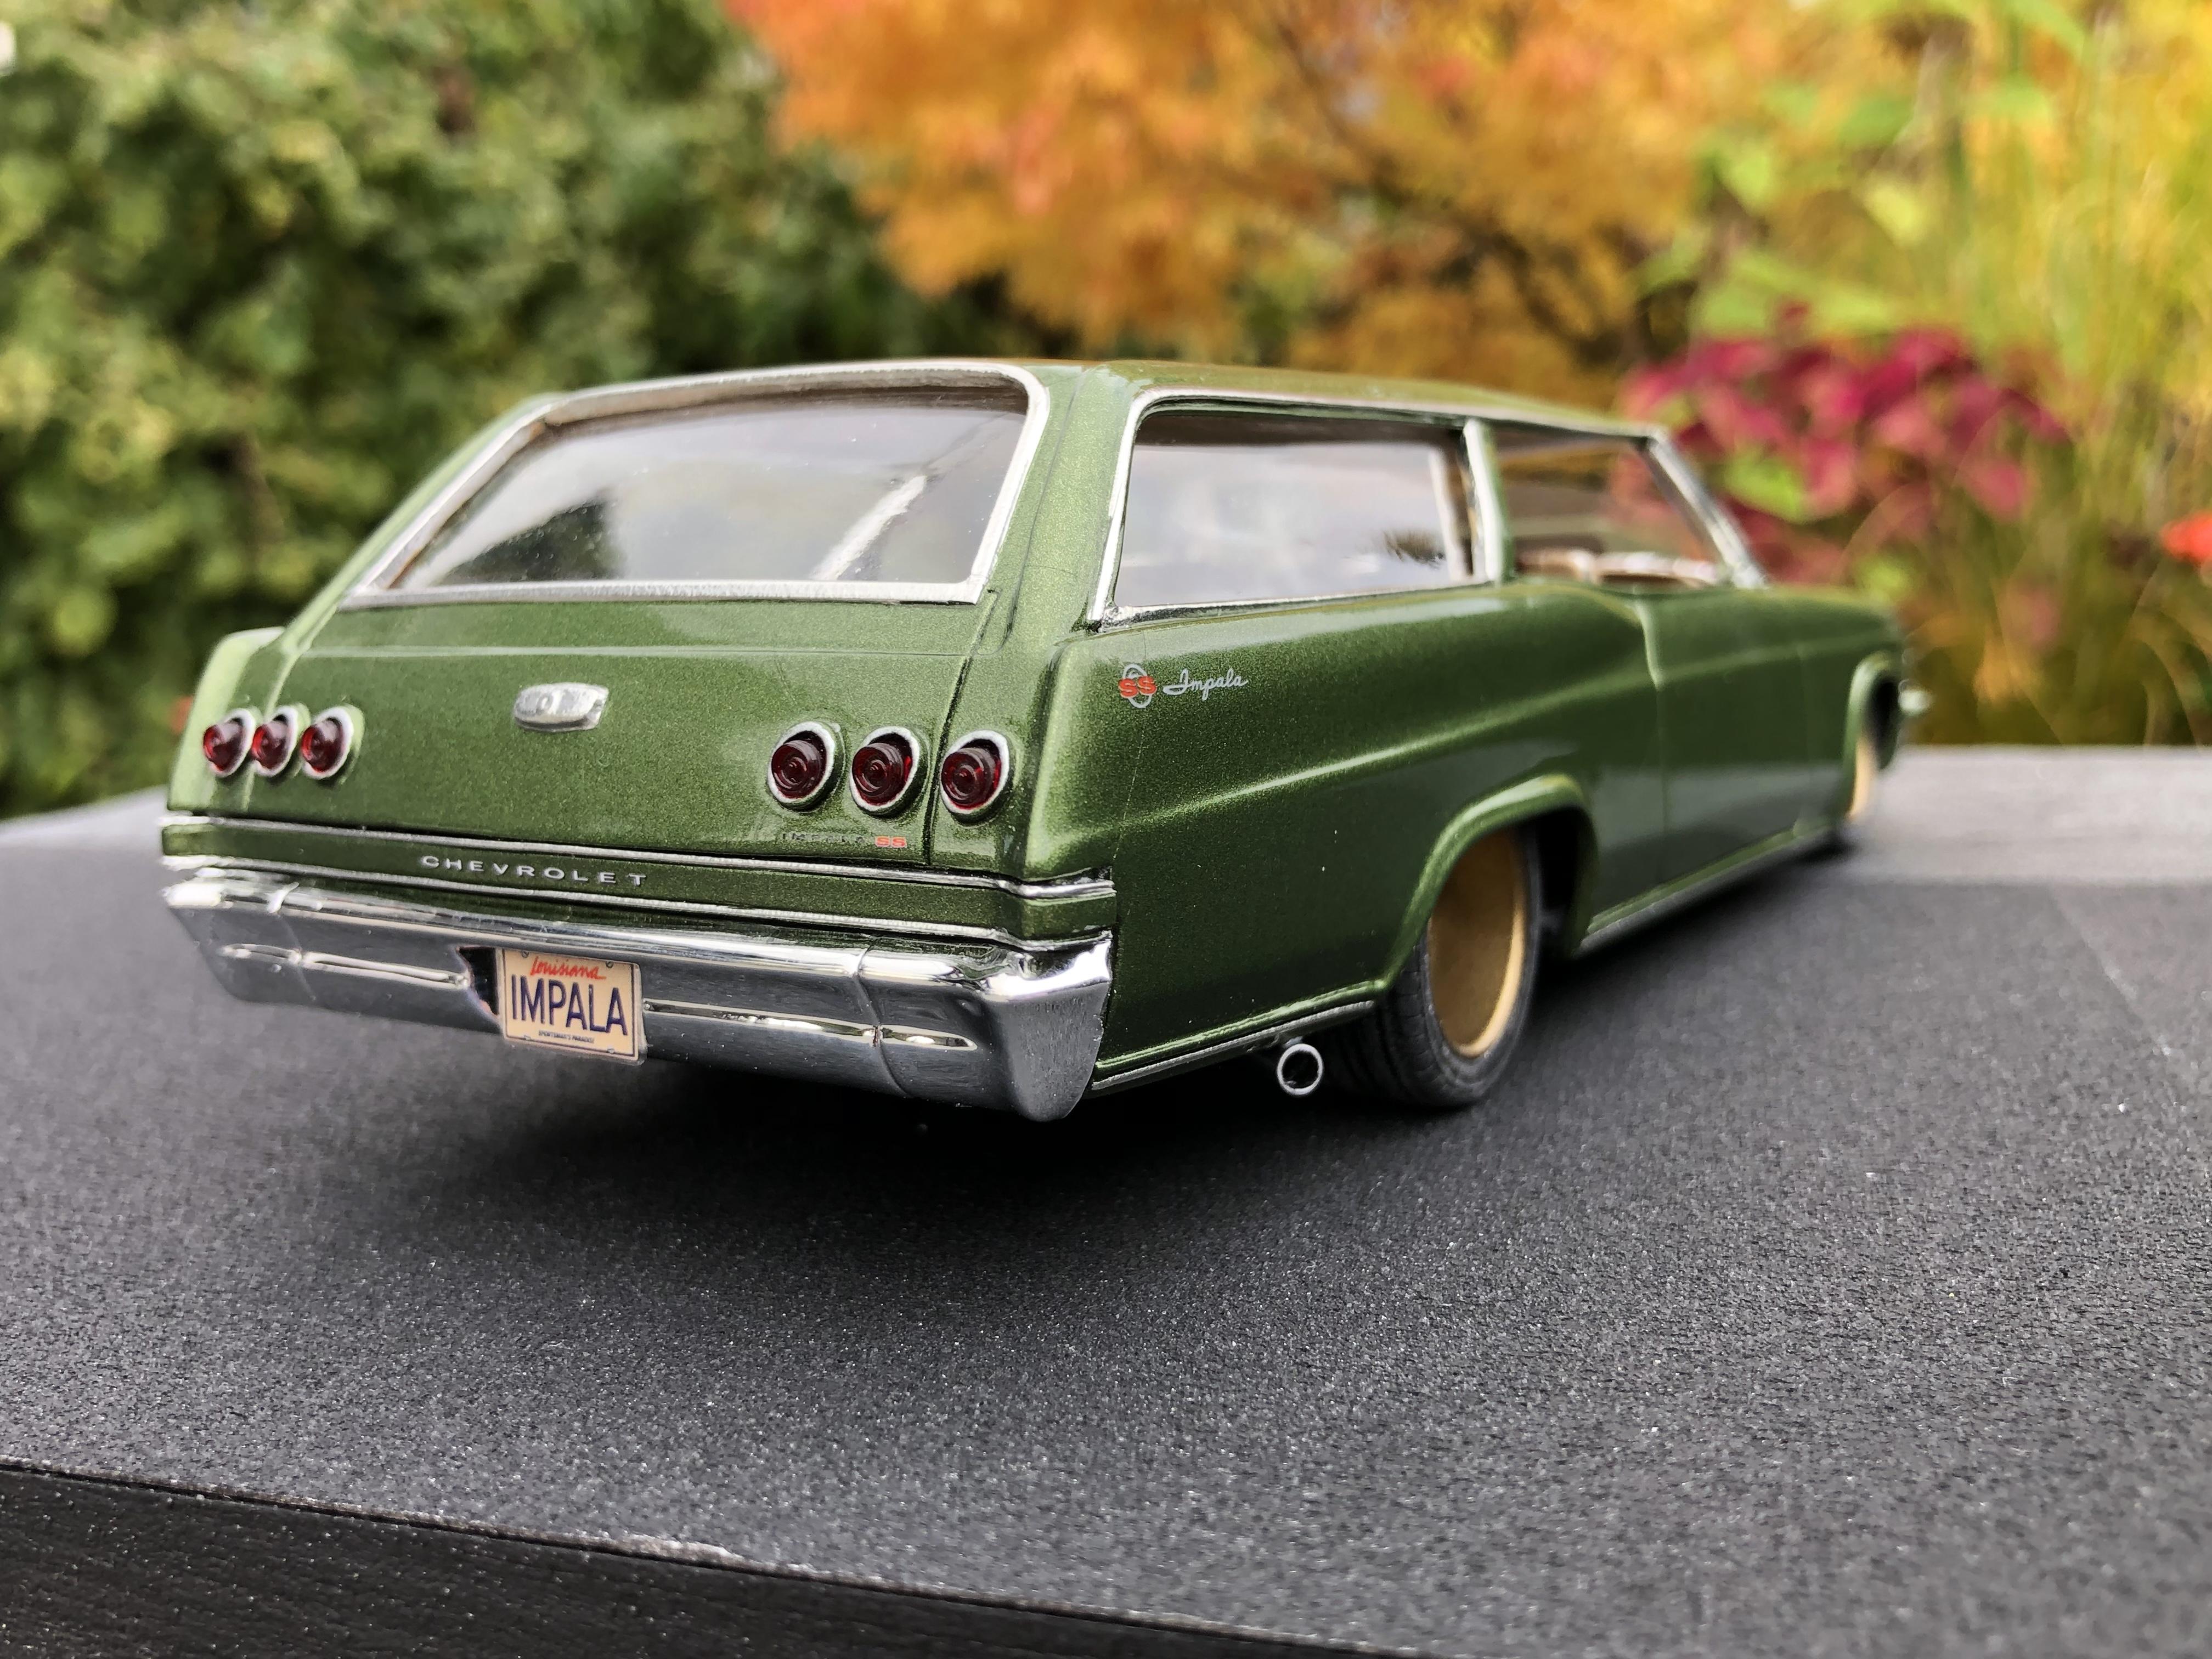
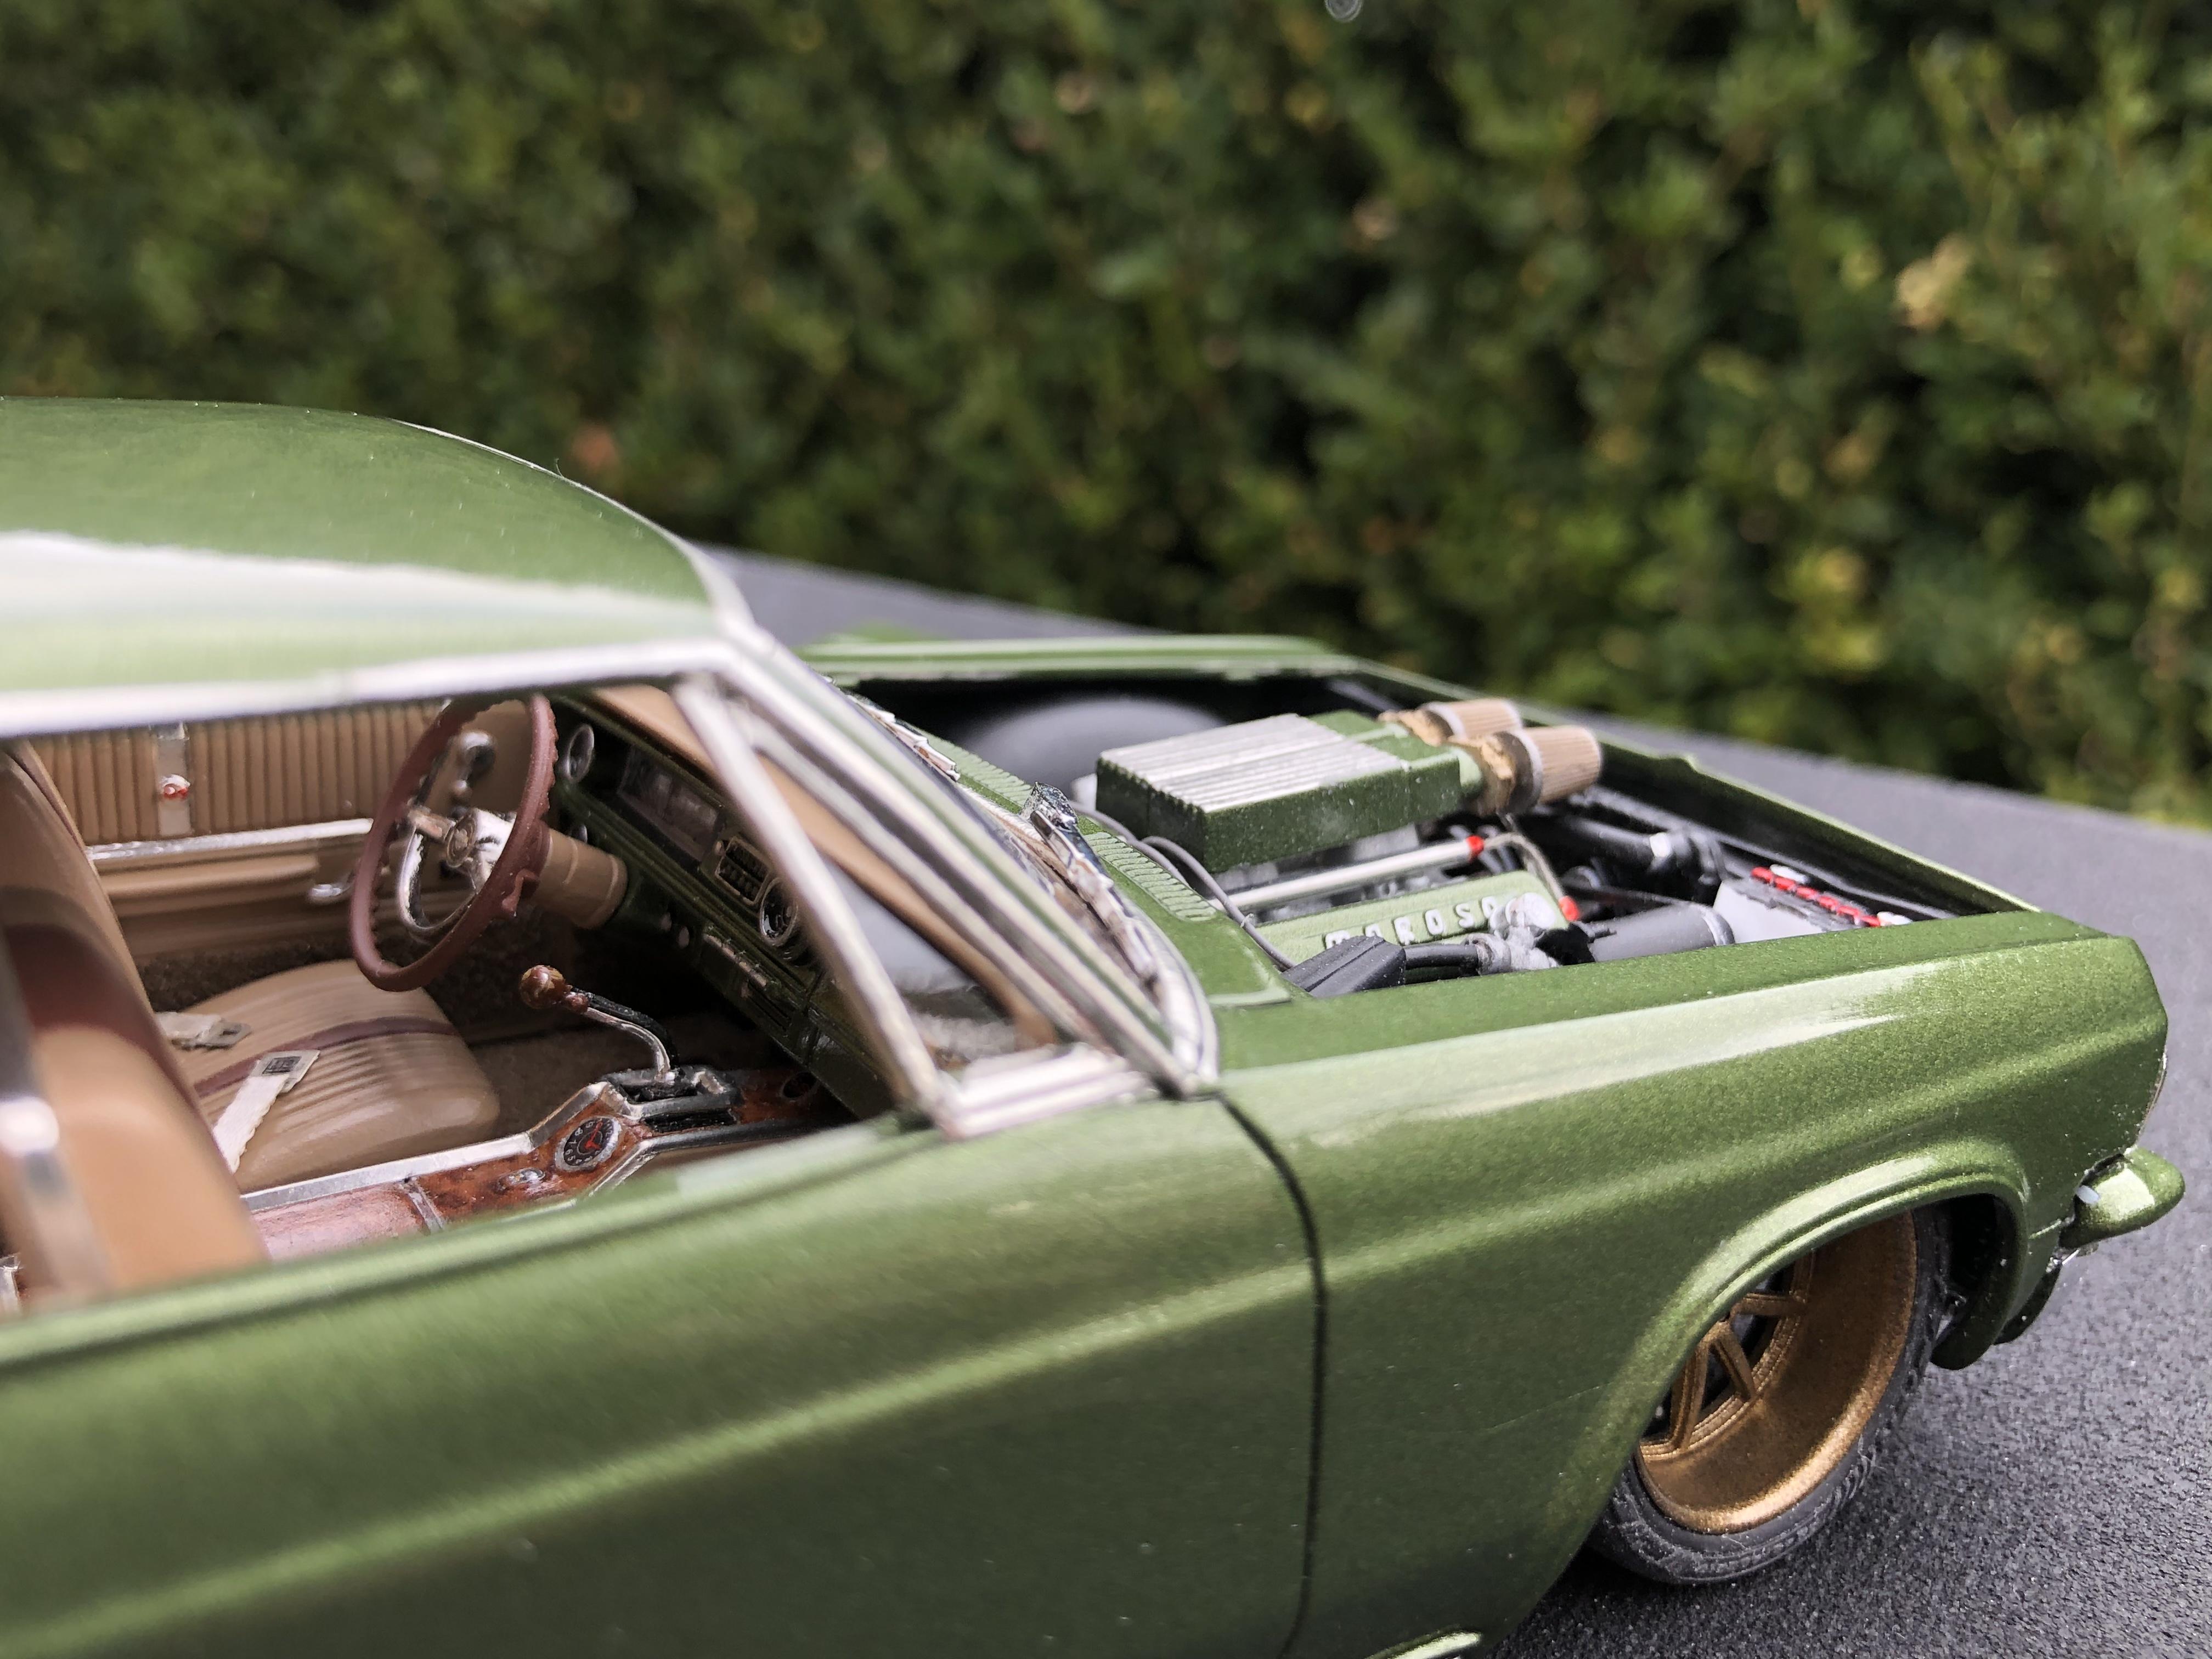
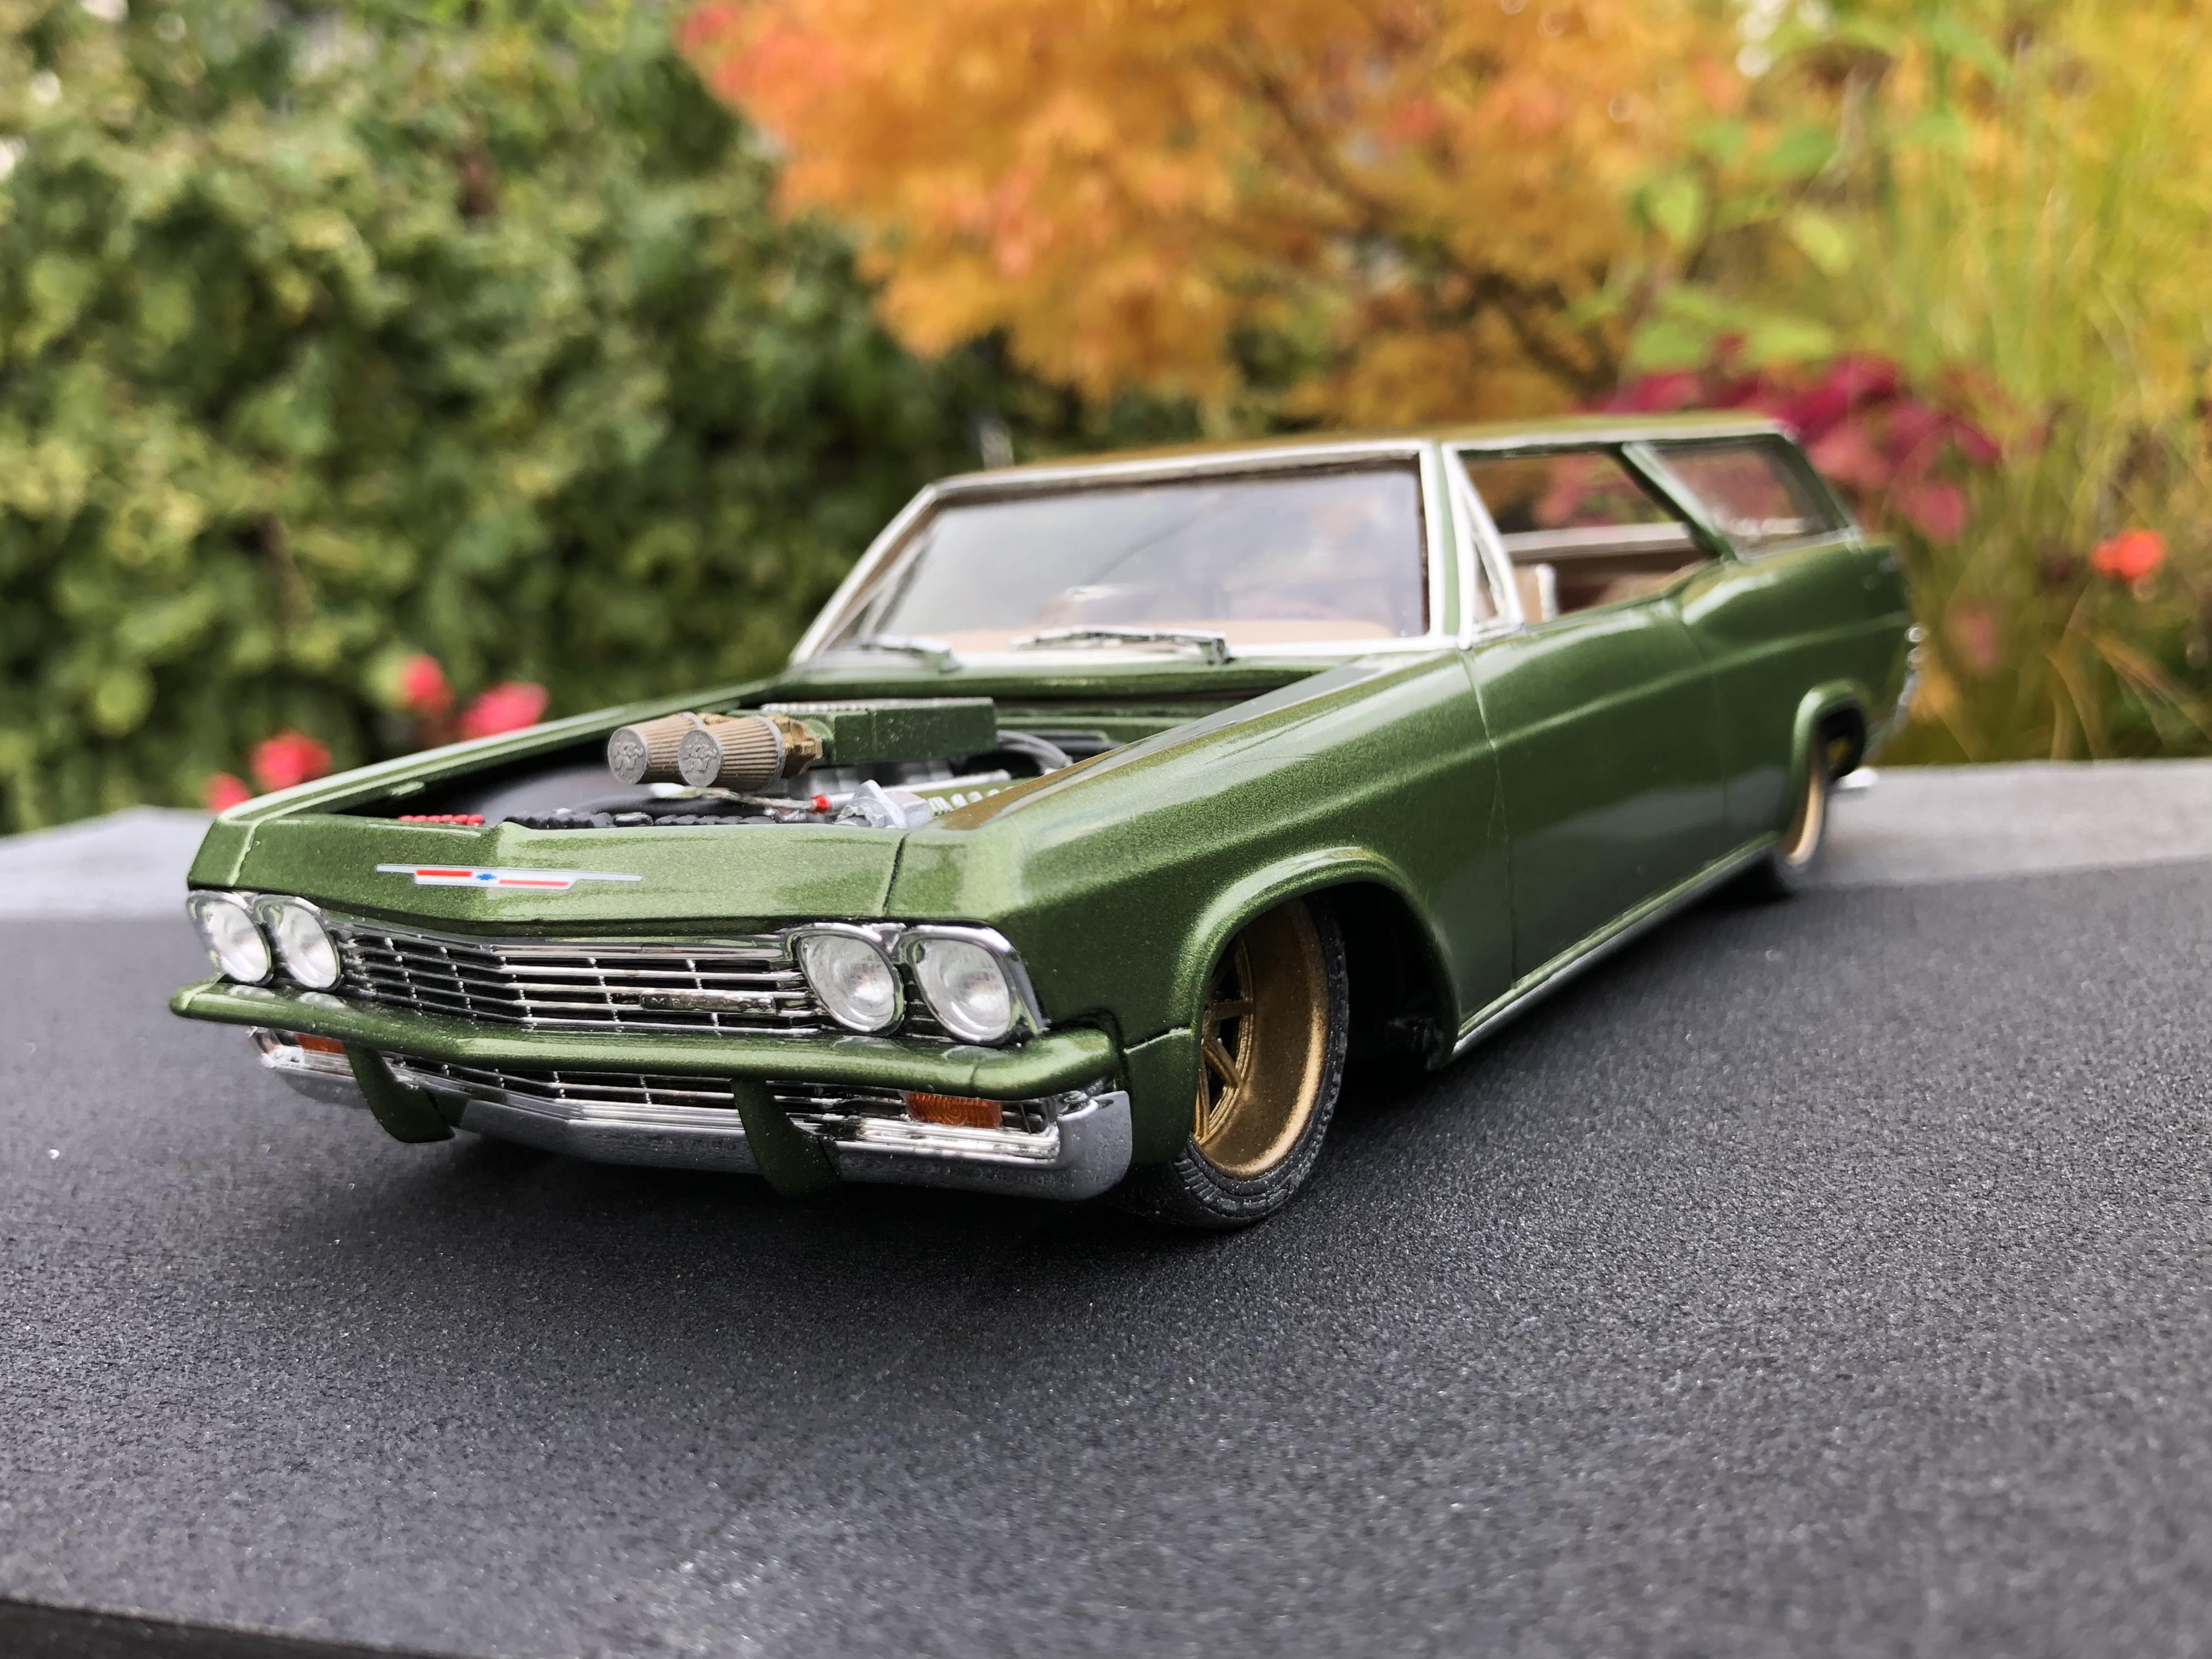
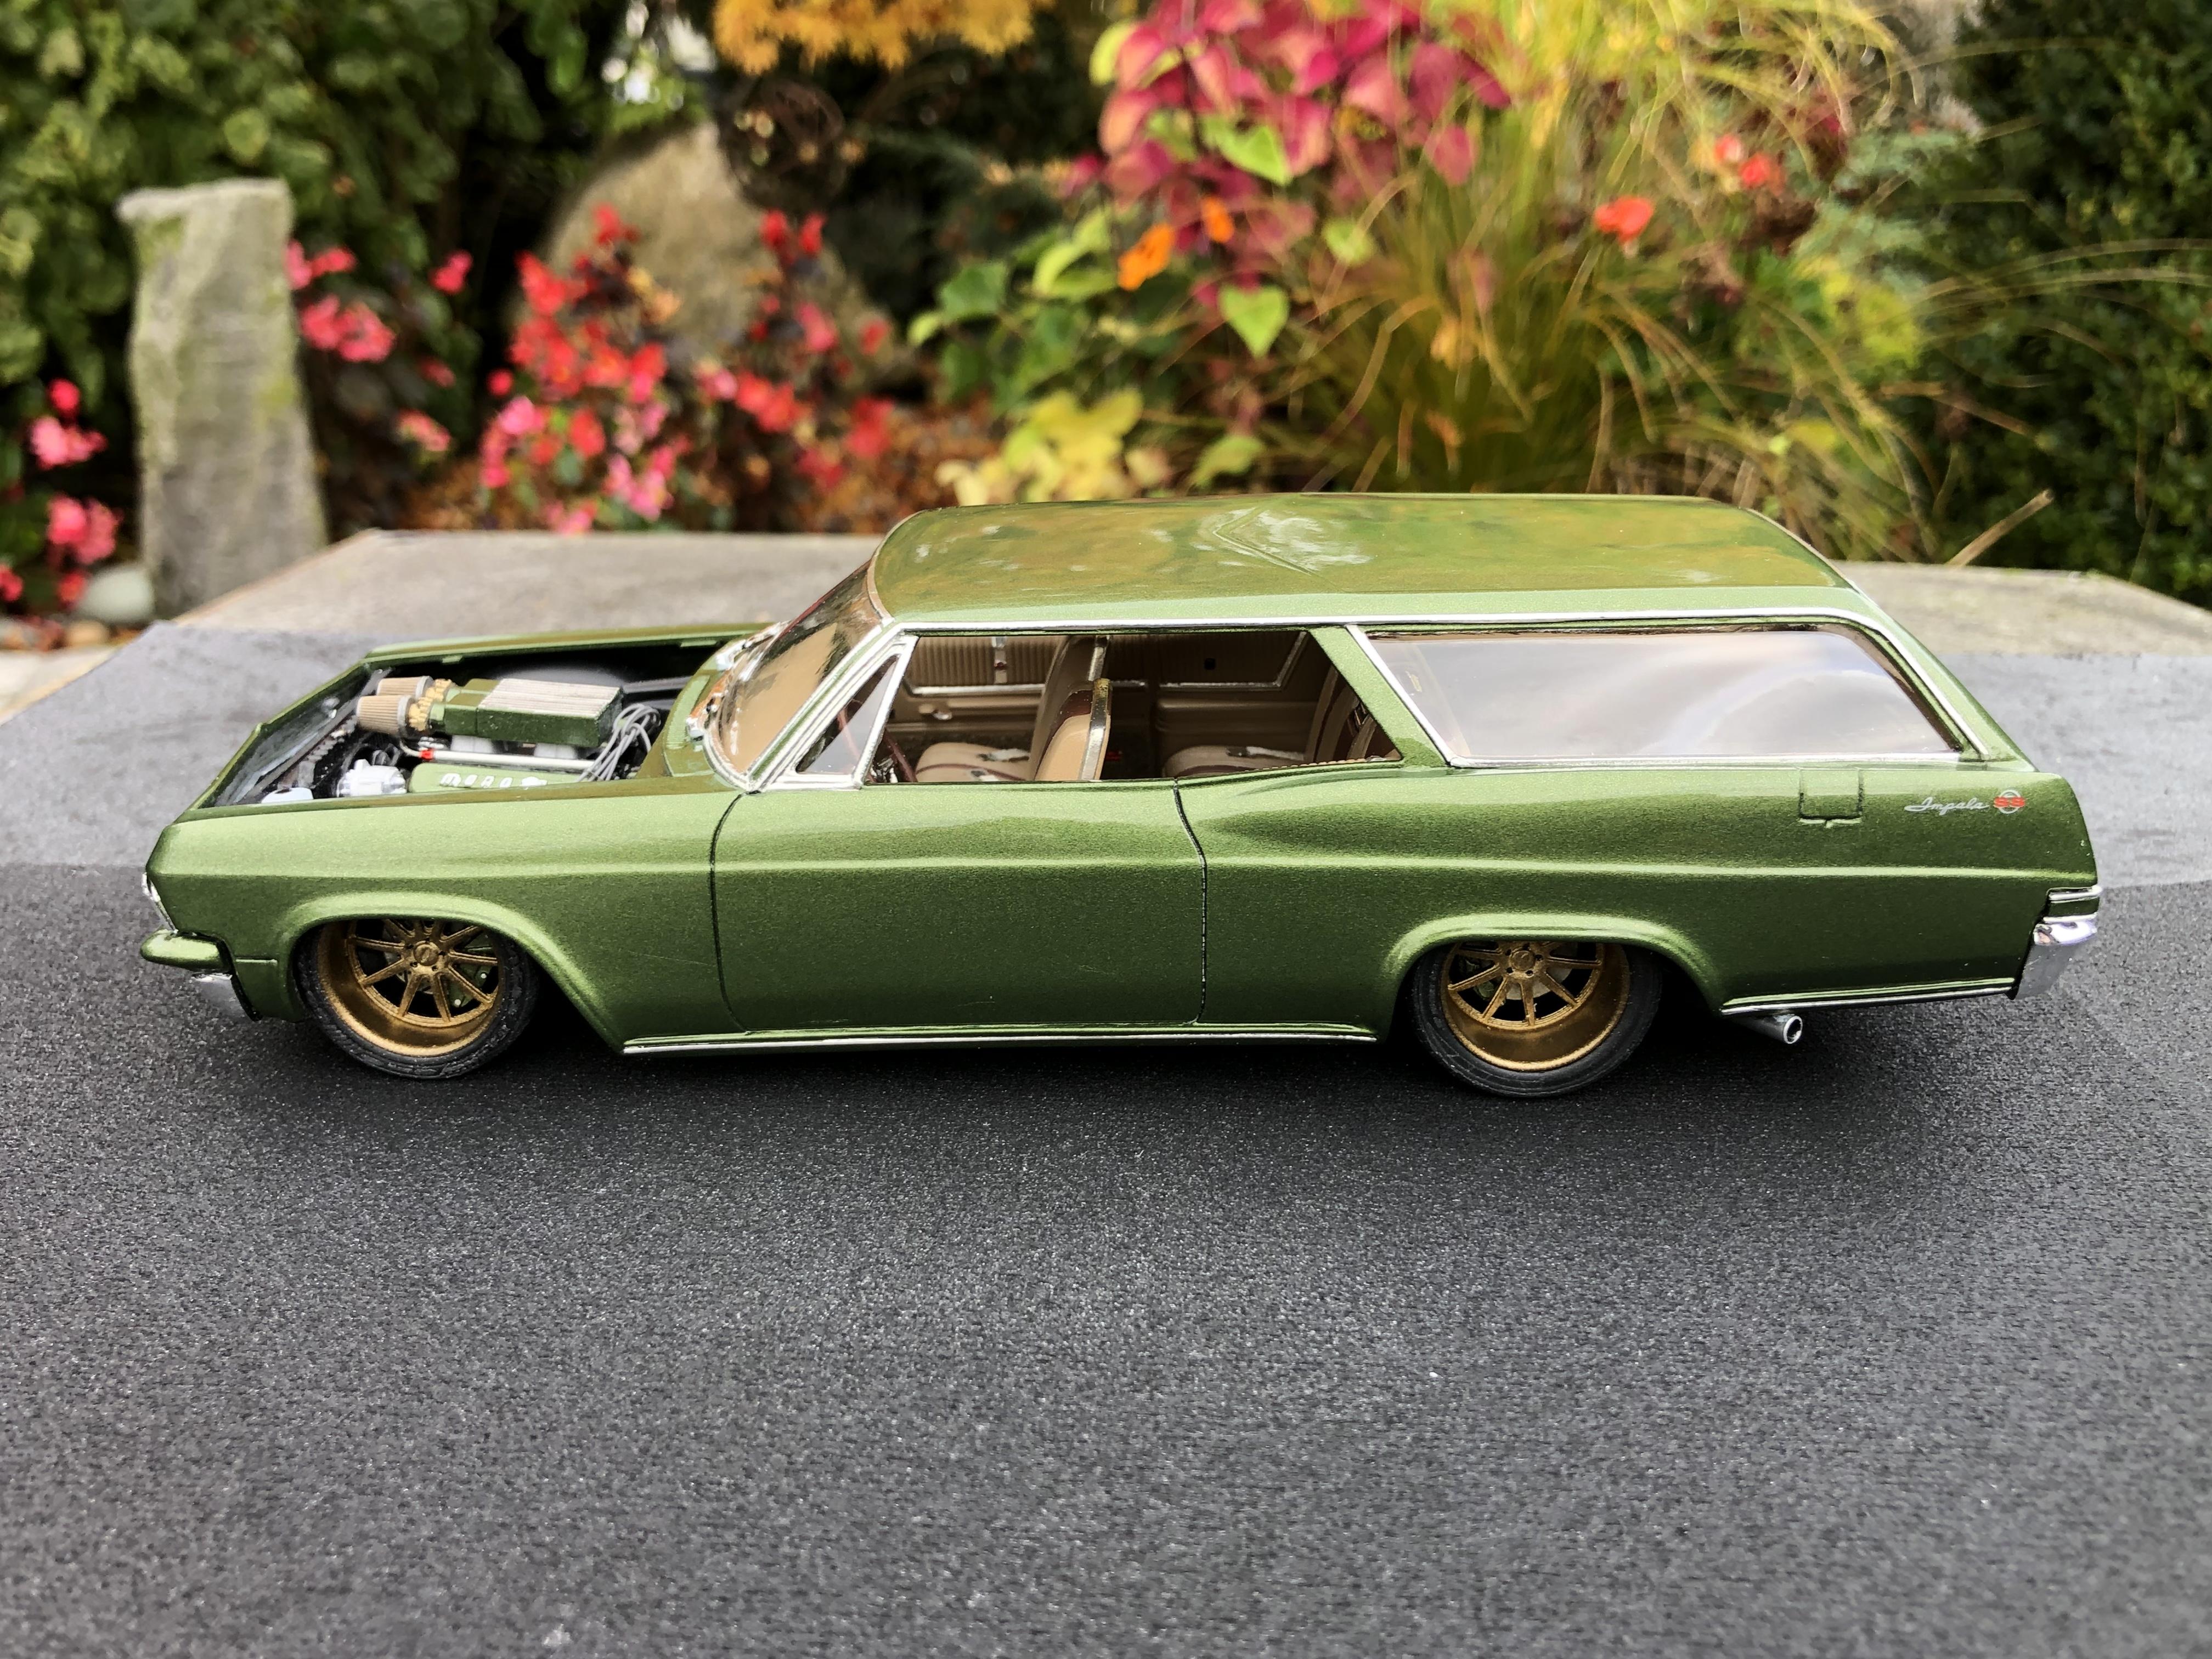
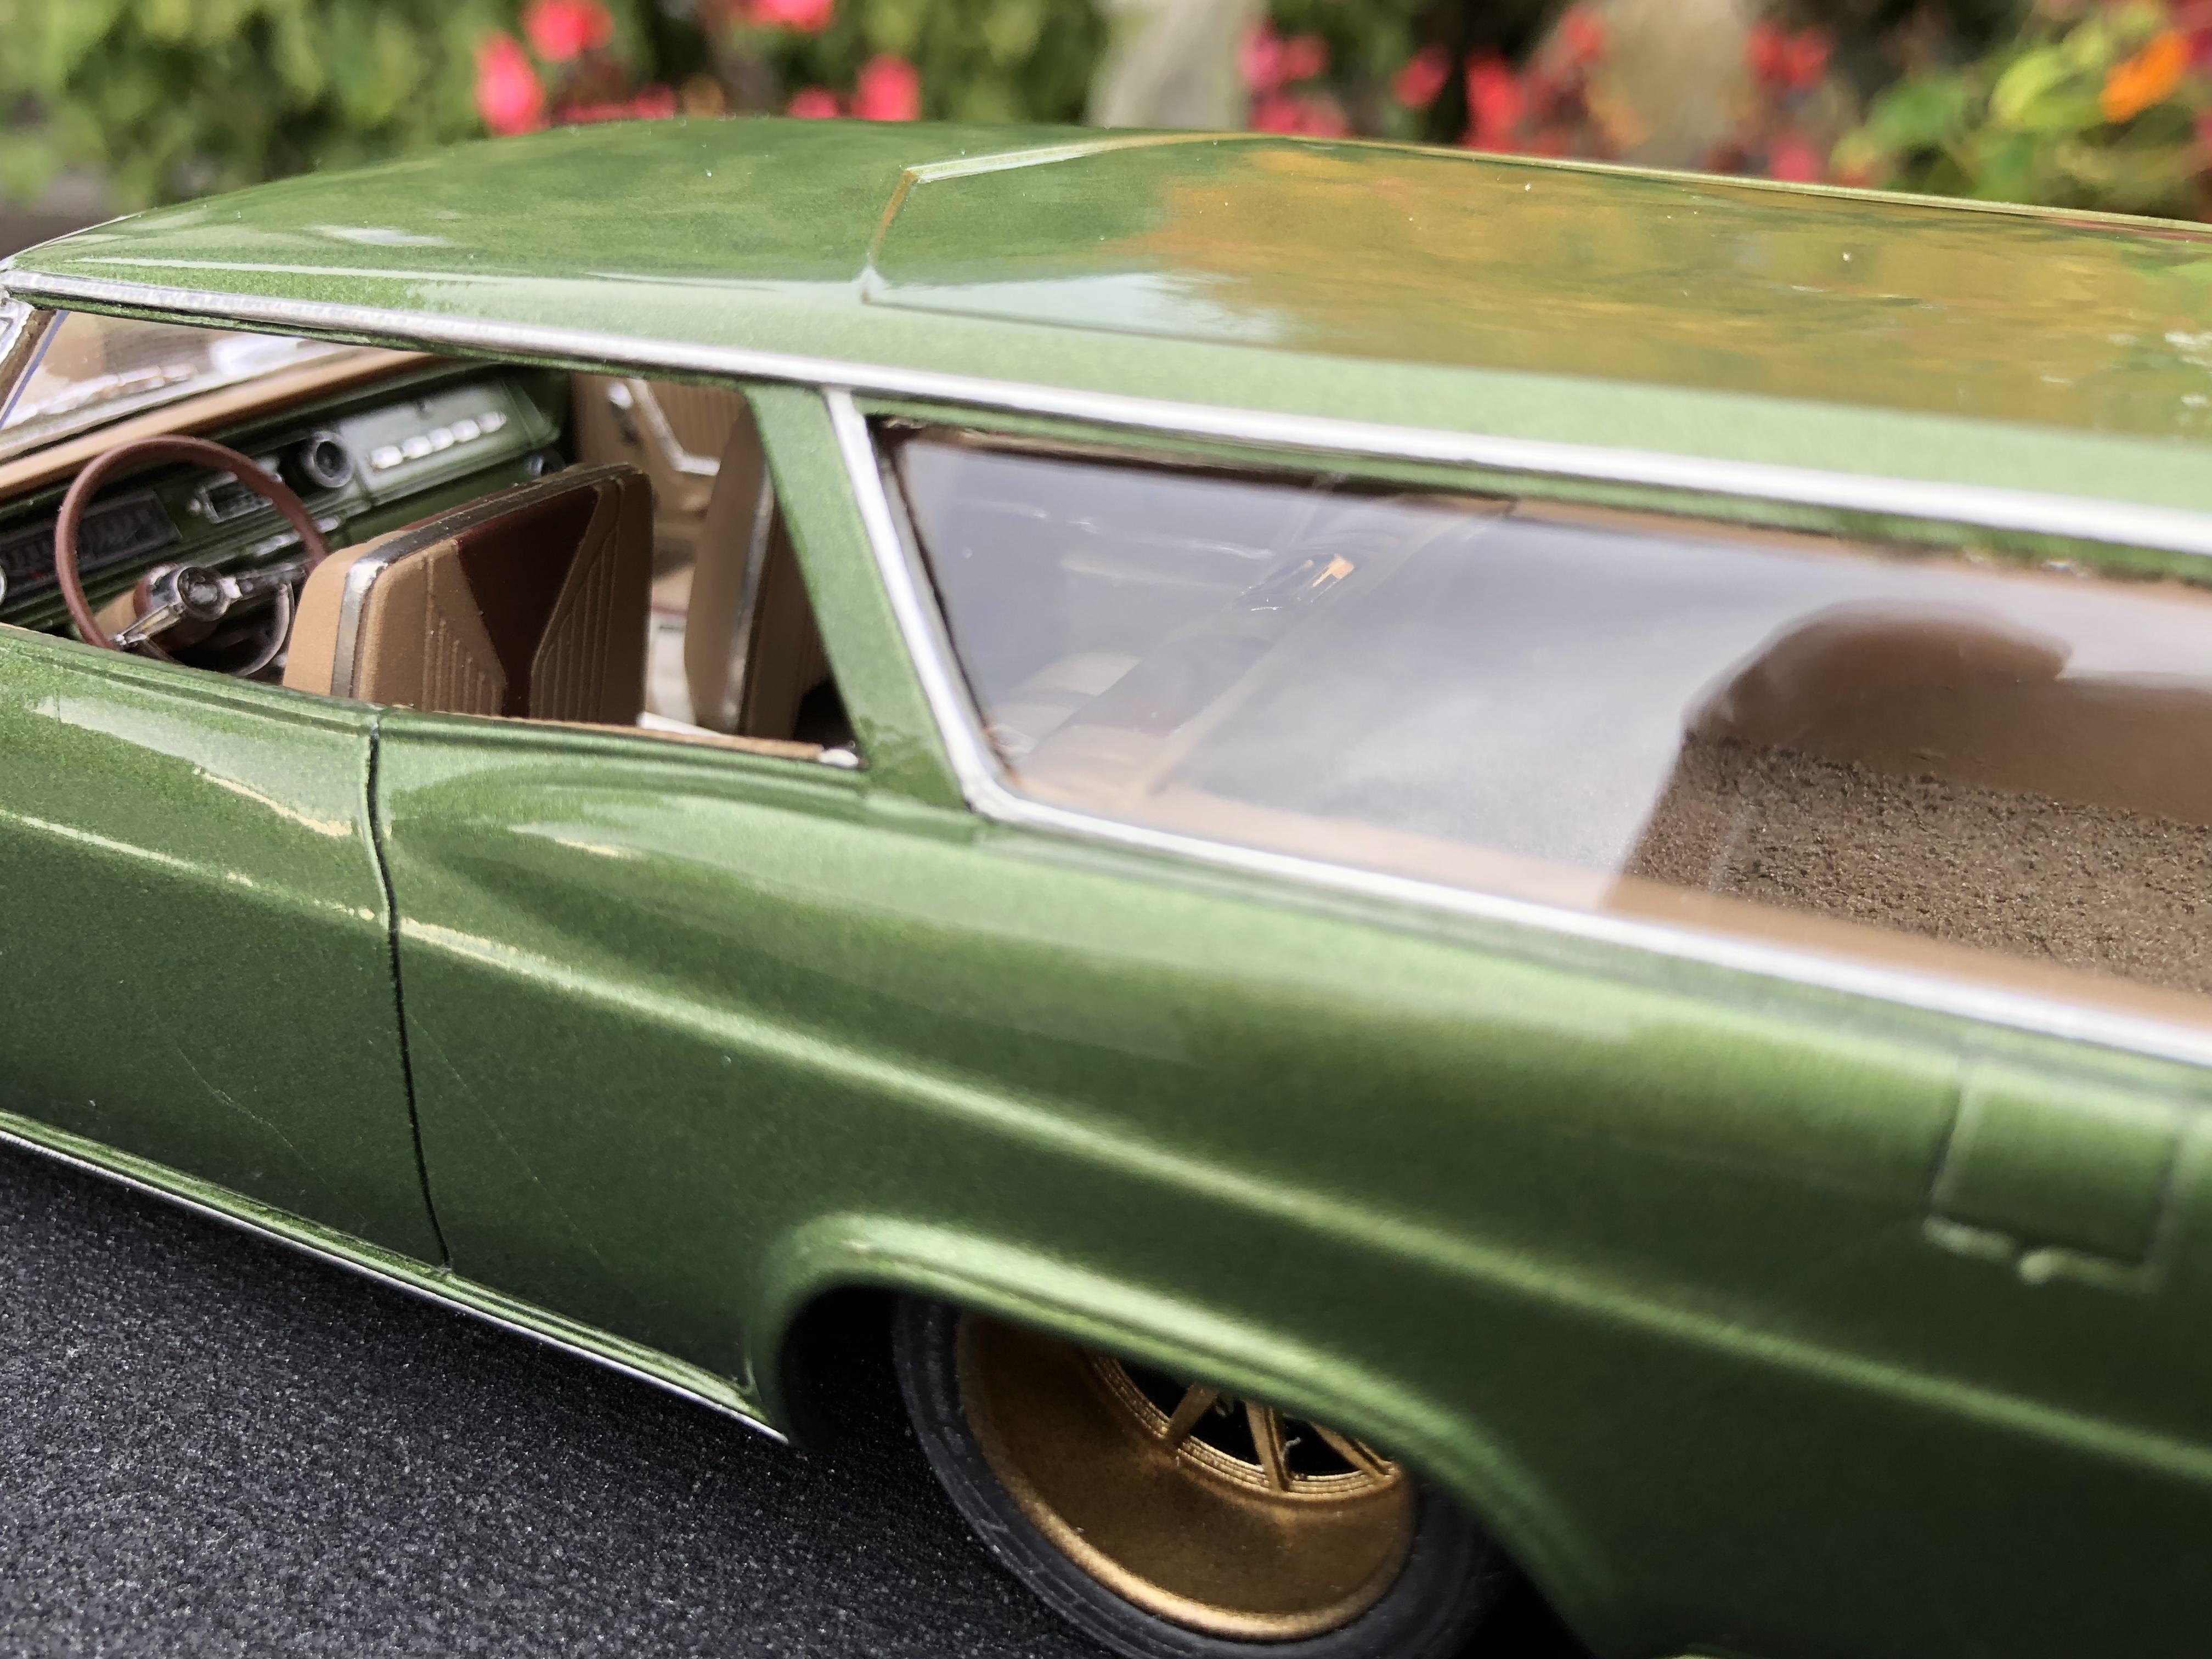
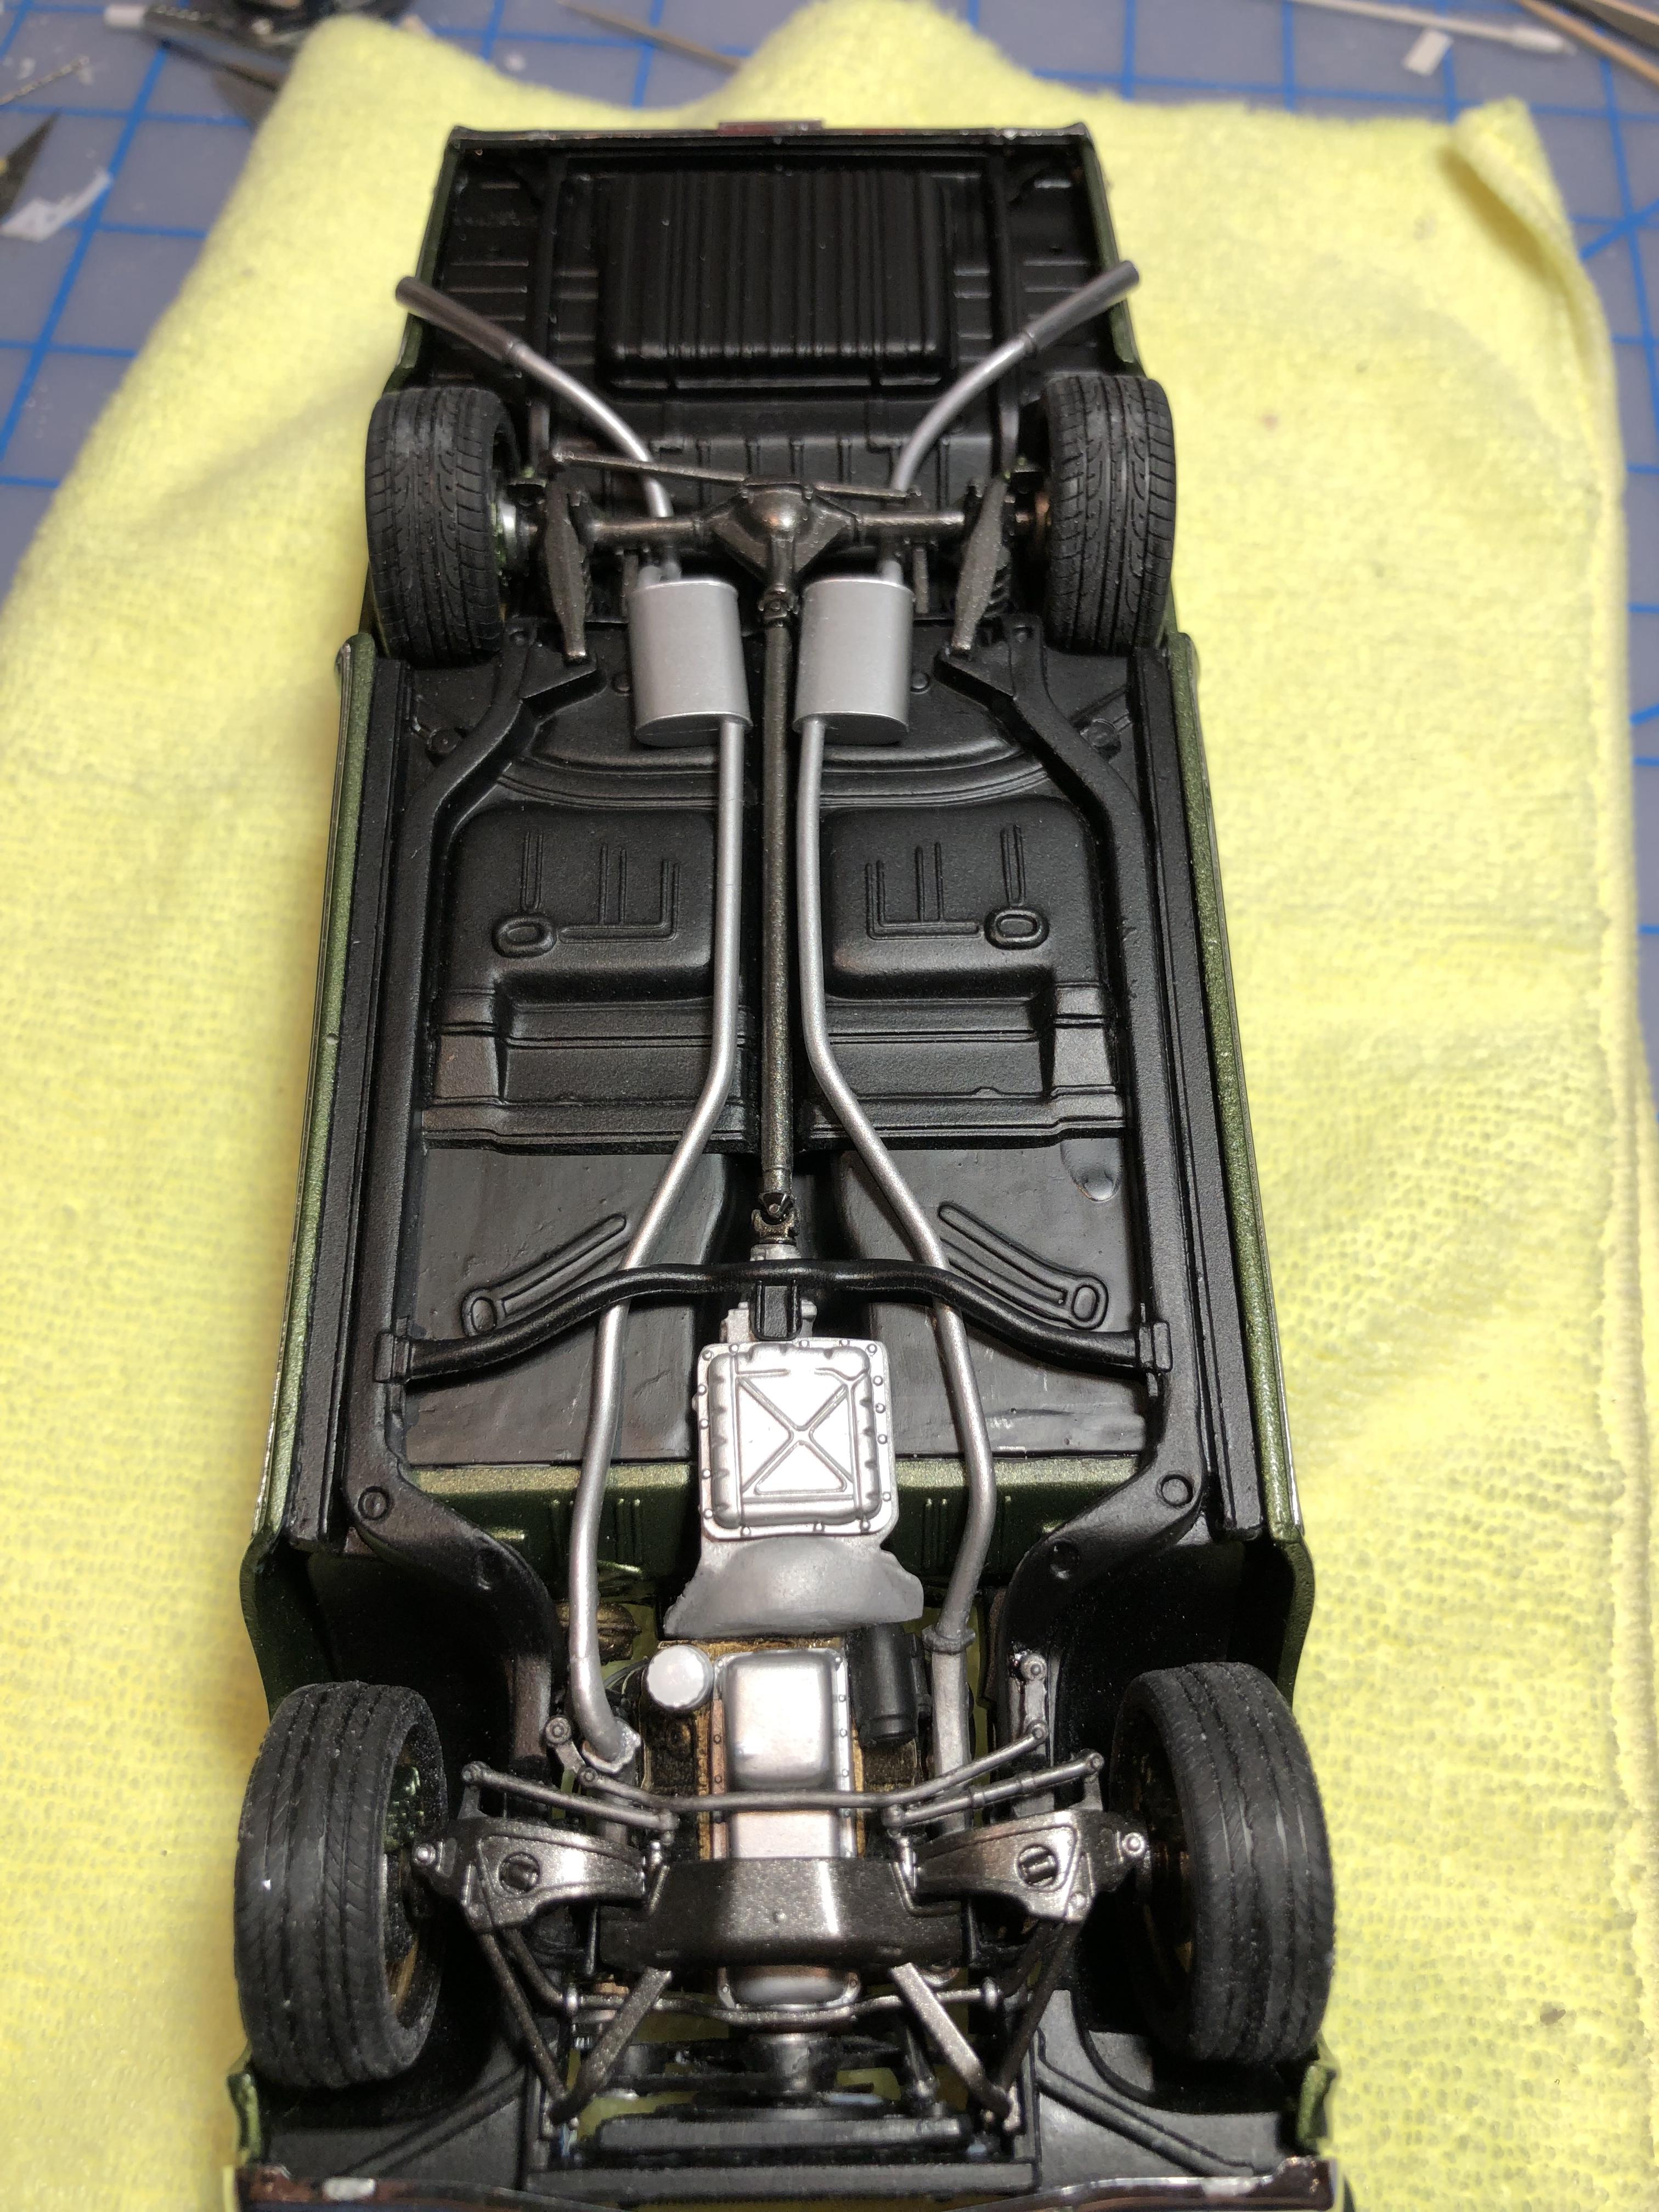
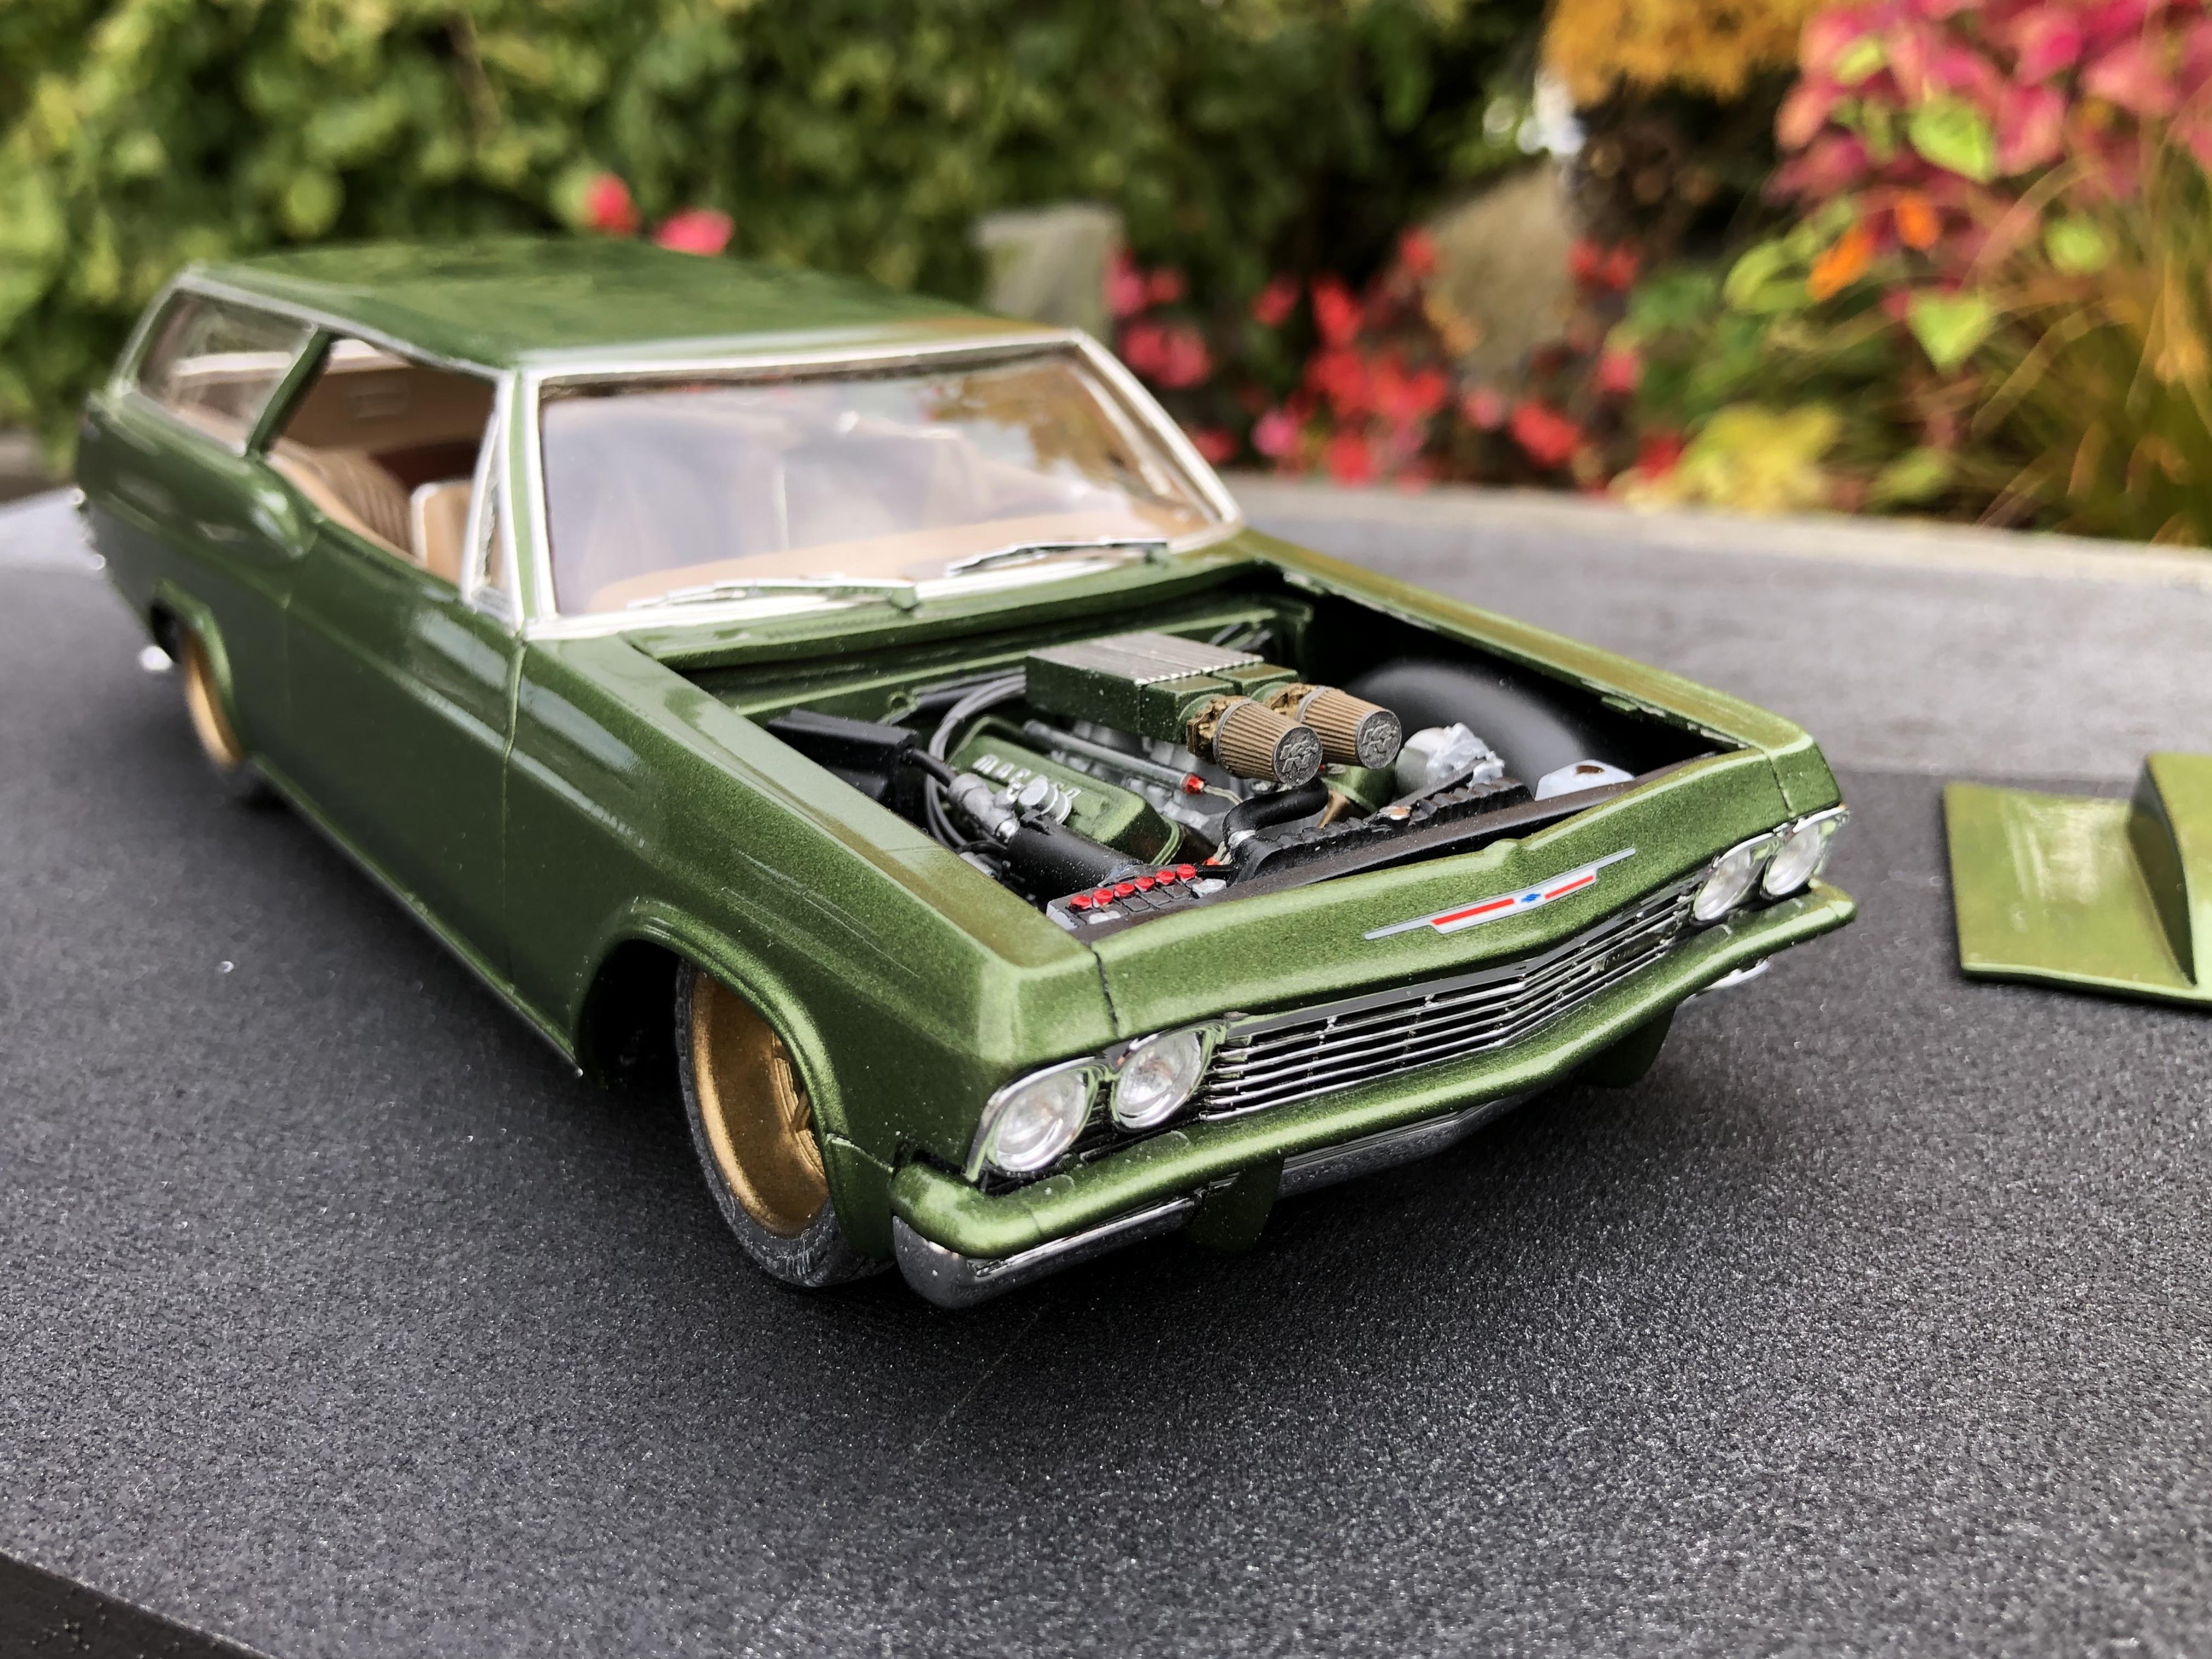
Hi all, finished this one yesterday. Thanks to all who followed, and contributed on the WIP thread, all of your input and expertise were much appreciated. So, this is a kit bash of a Modelhaus resin 4dr wagon, and the Foose ‘65 Impala. The body was modified to a 2dr hardtop, door handles and emblems were shaved. There were a few issues with the body, the biggest being that it had a “twist”, (which I was able to make a bit better) and the cowl vent panel was bowed up about 3 scale inches. The build really wasn’t that complicated, but this thing fought me at every turn, funny how some builds go that way. I didn’t bother documenting all the “little” issues, but there were many. On to the positive! I was very pleased with how the interior turned out, it is definitely one of my best efforts. I’m inspired by the many talented builders on this forum to improve my skills. Paint is “Automotive Touchup” paint Vedoro green, JPS resin wheels painted gold then a few coats of smoke, BNL resin engine with fuel lines and ignition wires. The paint has suffered a few blows (so has my ego), first the door lines I filled ghosted thru on final clear coat. I decided I could live with that as it’s only noticeable in certain light. Now, several days after polishing and assembly, the paint is self destructing! There are strange creases showing up all over the body, never seen anything like it. If you look close you will see some of it in the photos… just don’t look too close! Although it was a frustrating build, I am happy with the overall look and colour choices, and despite all the issues, it looks good in the display case. Thanks for looking, comments always welcomed. Cheers, Steve
-
Hi guys, last post here, it is finished. Got the exhaust built using styrene rod and a few bits from the spares bin. The kit exhaust needed to be modified, so I just started from scratch. Added my usual signature polished tips. So before showing the finished photos, I just want to thank everyone that commented, complimented, shared their knowledge, and looked in on this build. The photoshop visuals were particularly fun, thanks guys. This SHOULD have been a much easier project than it was. Warped body, warped chassis, parts that just didn’t fit or line up. At times I felt the thing was possessed!! So now not only do I have some ghosting issues with the paint, but the paint is literally self destructing! You will no doubt see in the pictures that there are “creases now visible in the paint. They’re appearing everywhere!!!! Not cracks, but actual creases you can feel. They weren’t there when I polished, they started showing up yesterday, then more today. It probably should have gone into the pond (or the wall), but after polish, foil, windows etc. are all done, I don’t have the stomach to start over. I’m calling it done, and it does look good in the display case…. for now anyway. Glad it’s done. on the positive side, it is one of my best interiors and I’m quite proud of how that part turned out. I’m also pleased with the overall look and colour combo. I learned lots. I will be very careful next time I use the touch up paint. Here’s a couple of photos, I will post more under glass later today or tomorrow. Thanks again to all that followed along!!
-
Thanks Greg, and thanks again for sharing your thoughts on my paint issue. It got worse…. Thank you Derek!