Pierre Rivard
-
Posts
2,579 -
Joined
-
Last visited
Content Type
Profiles
Forums
Events
Gallery
Everything posted by Pierre Rivard
-
PERFECT!
-
The essence of the 935/78 is the long tail. It is the ultimate expression the group 5 styling & excess. The 935/78 is outrageously excessive. Not pretty but damn interesting. The MFH's tail looks quite accurate and with efforts normalizing such an abnormal car you might lose the wild look that is the DNA of this car.
-
Happy new year Daniel. The key components are just components until the wiring/plumbing is achieved and ties everything together and creates a system. This fuel system is wonderful and we can envision it's functionality by looking at it. Great stuff!
-
Chassis and engine have the look of a well used car. Well done Fabrizio. Please share your methods for weathering, it's very lifelike
-
Mercedes Benz SSK
Pierre Rivard replied to Pierre Rivard's topic in WIP: Other Racing: Road Racing, Land Speed Racers
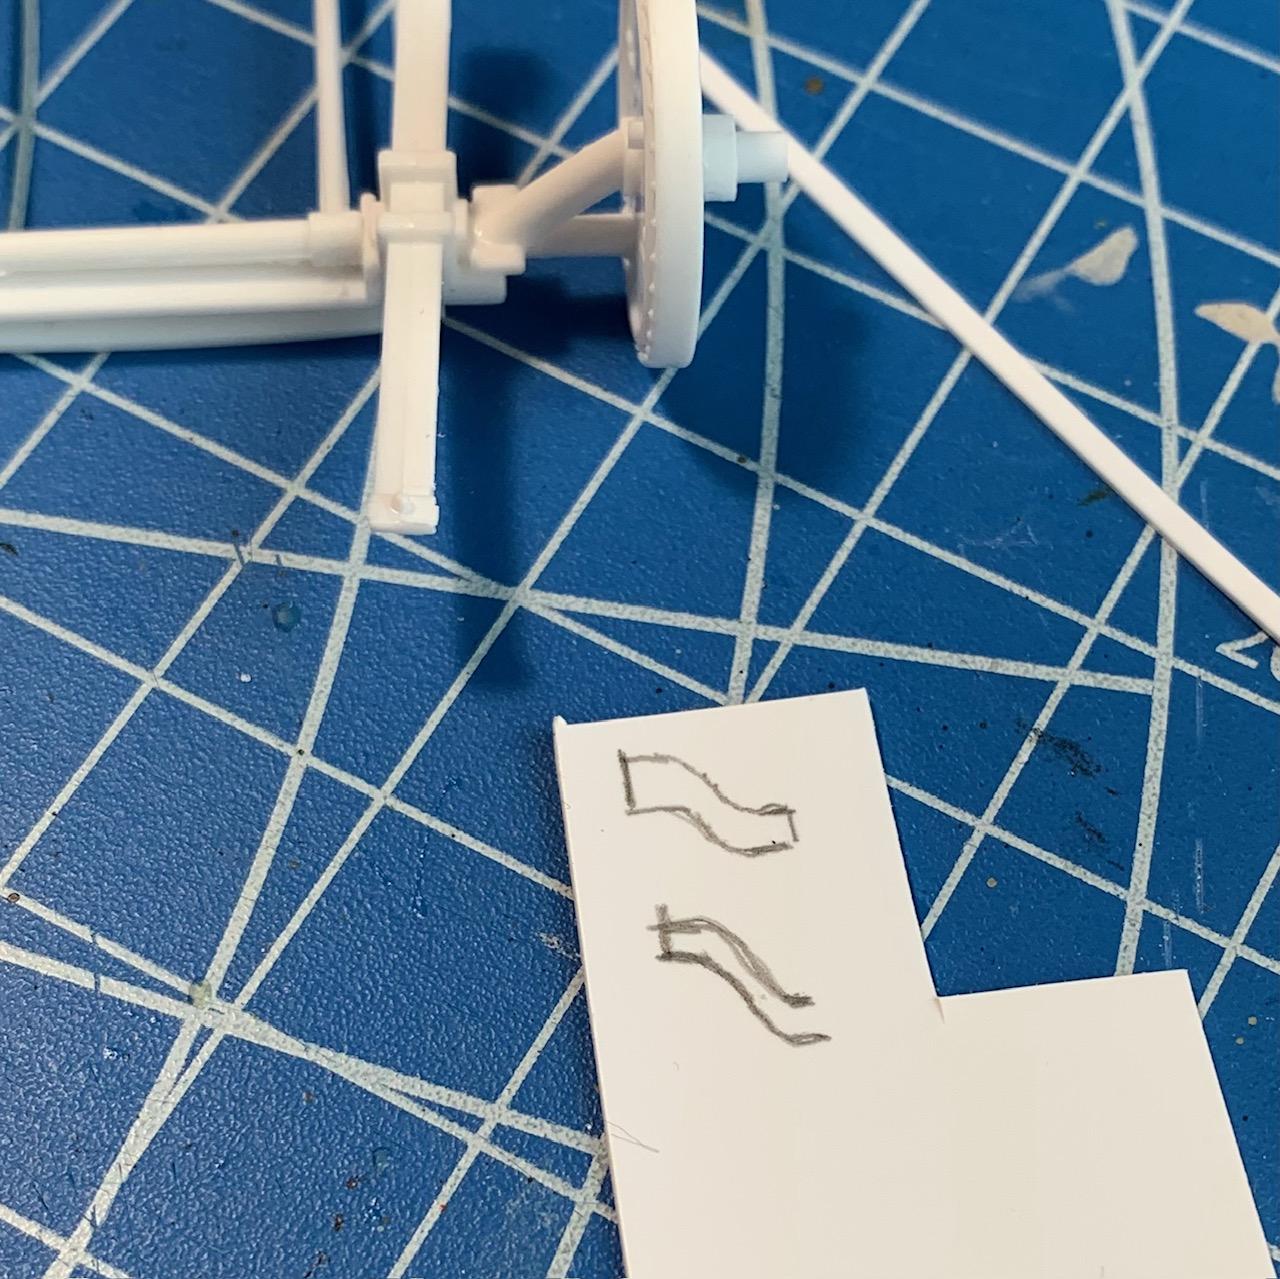
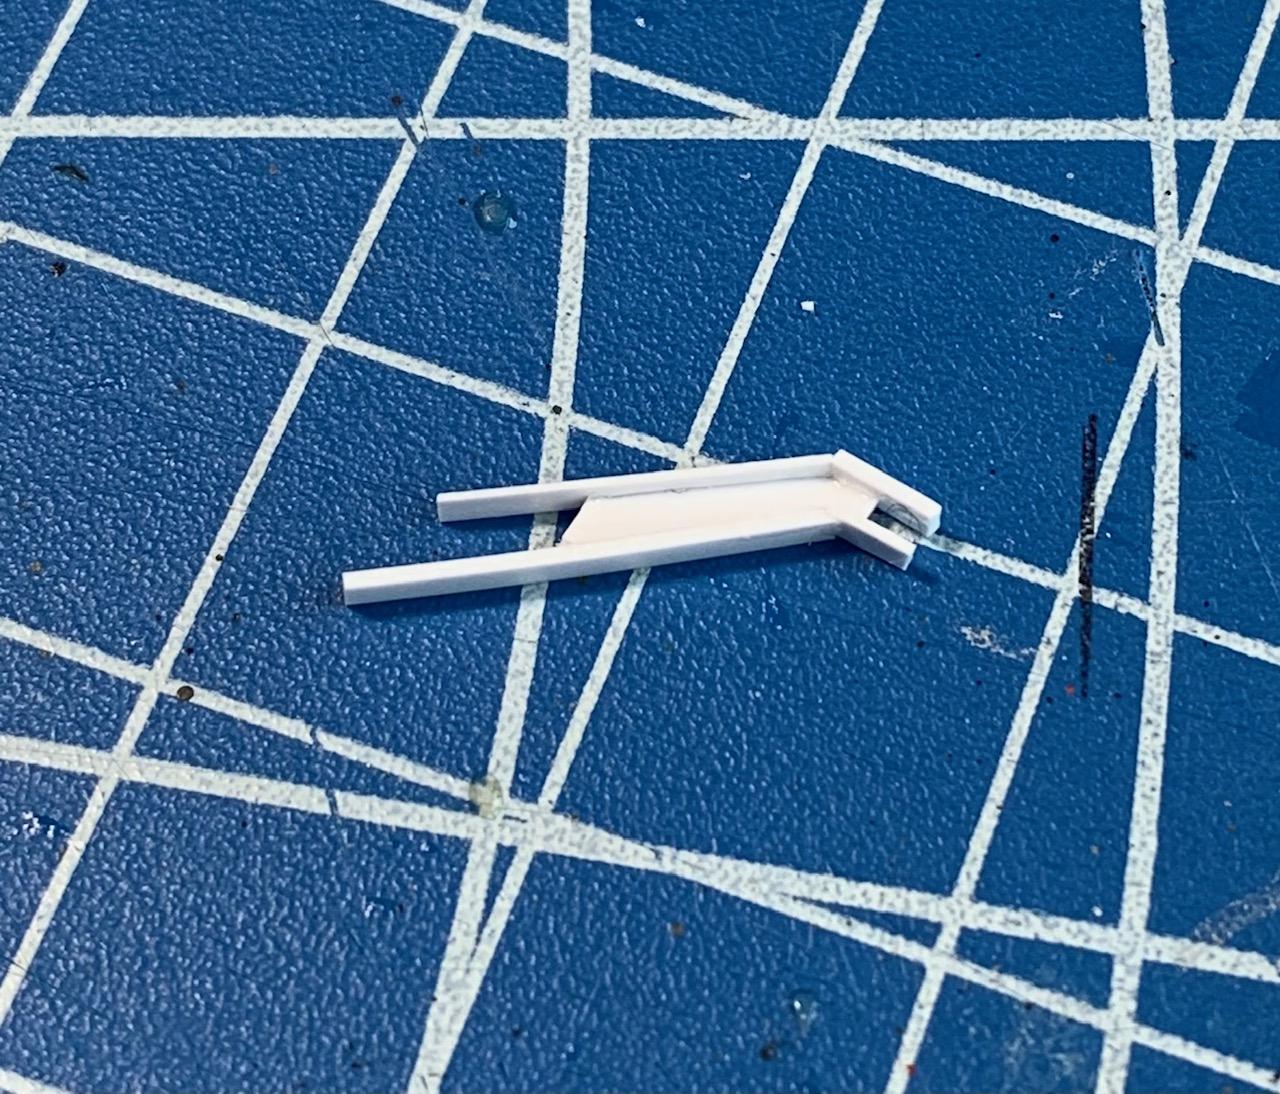
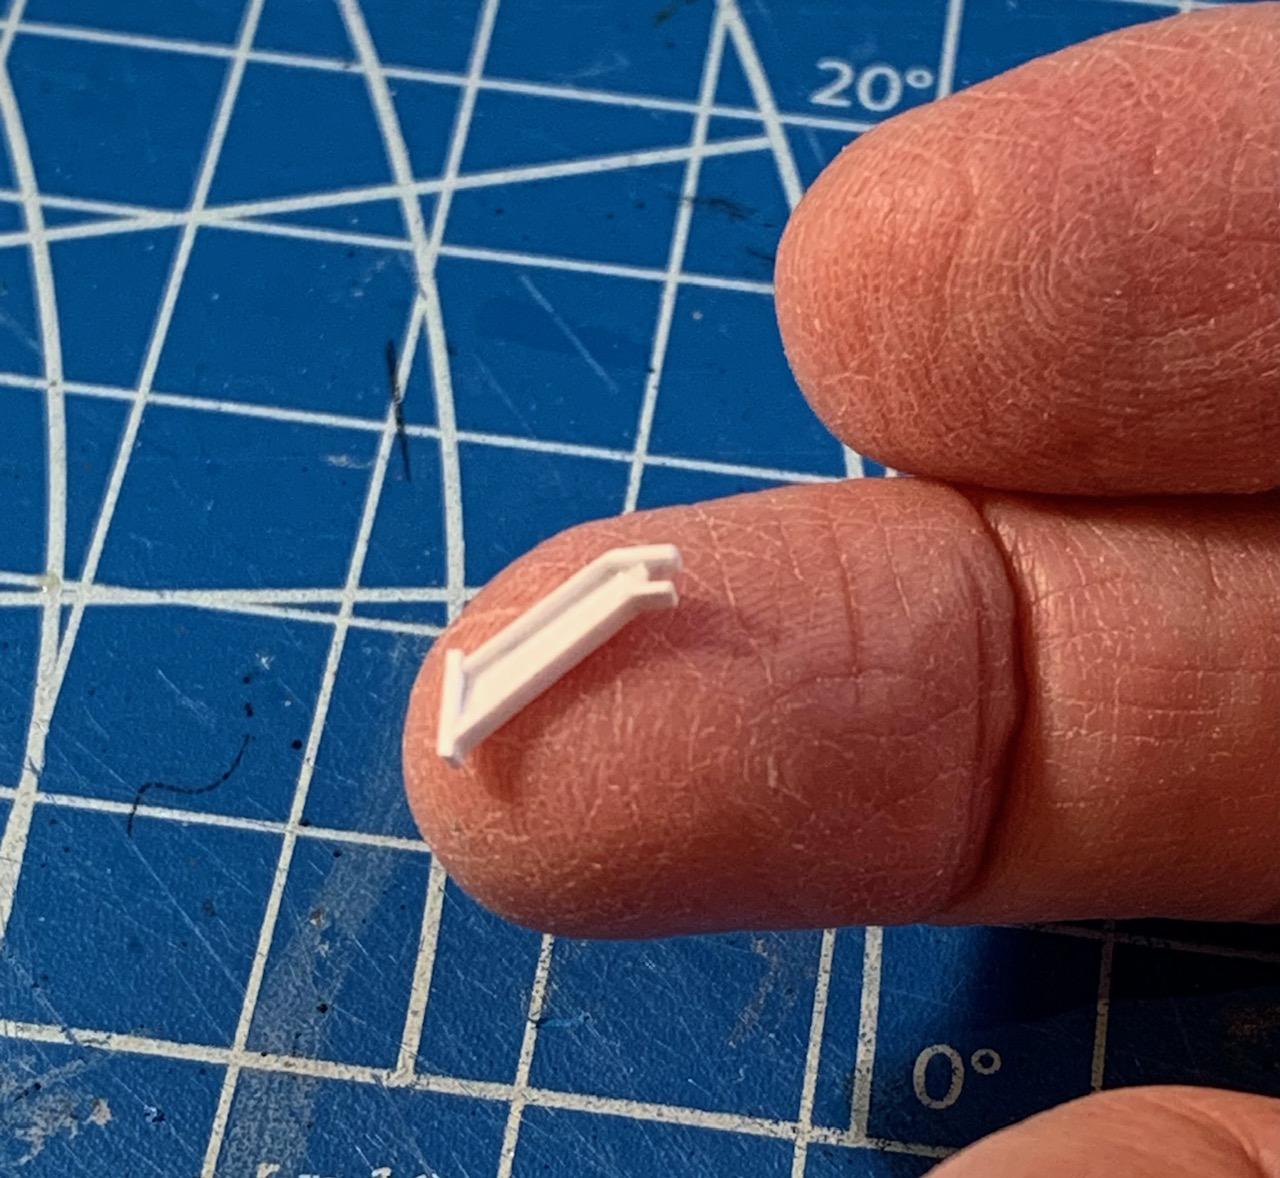
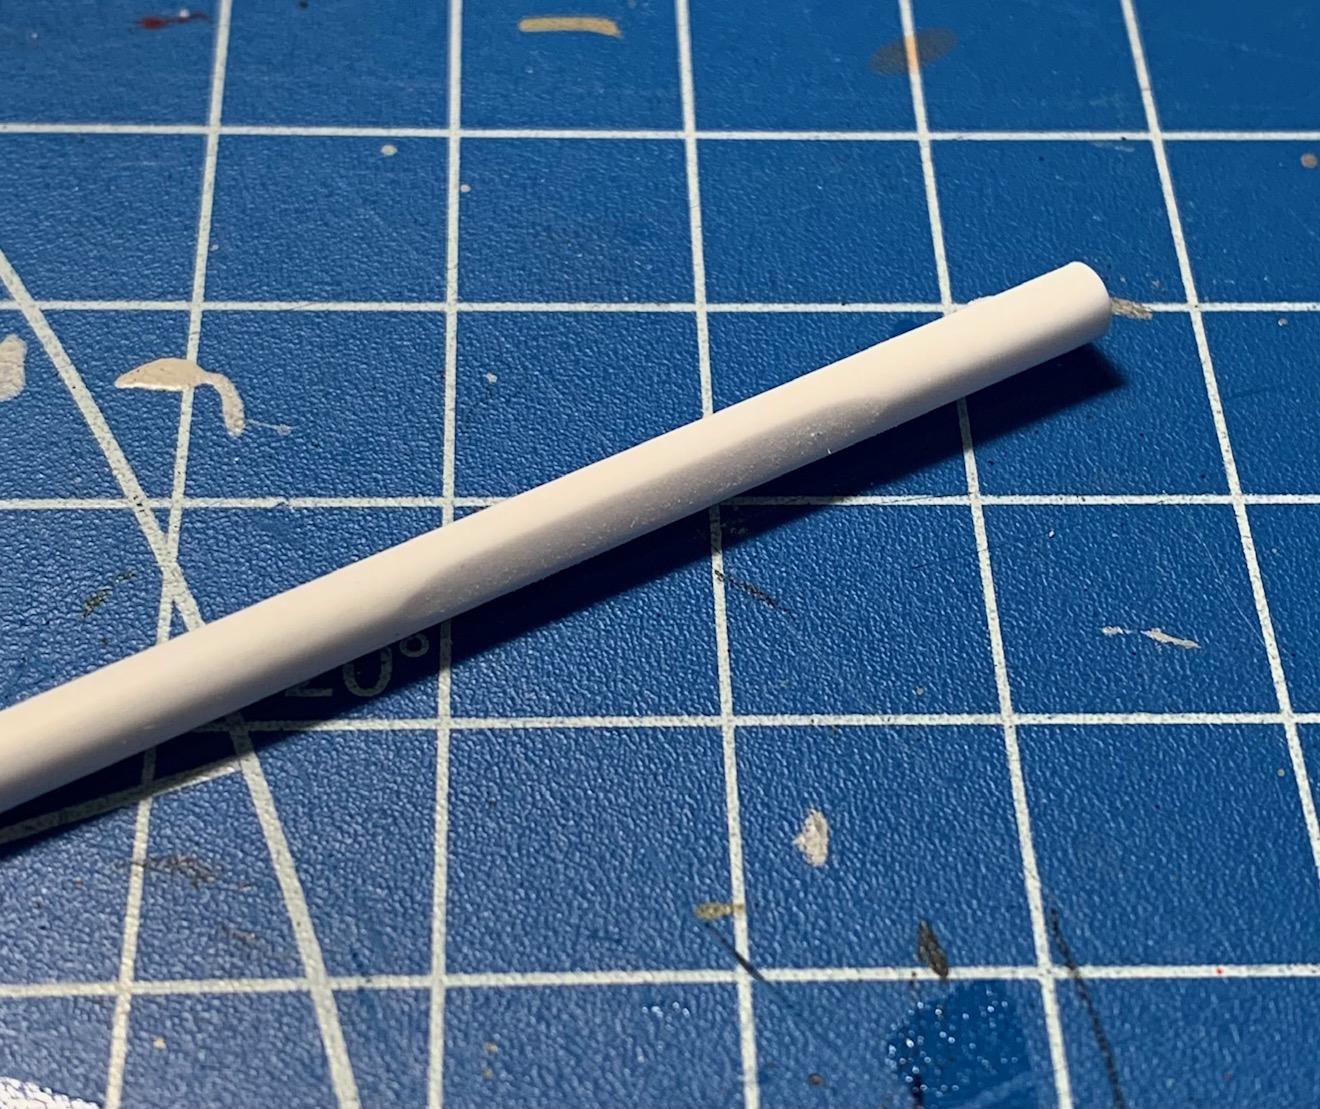
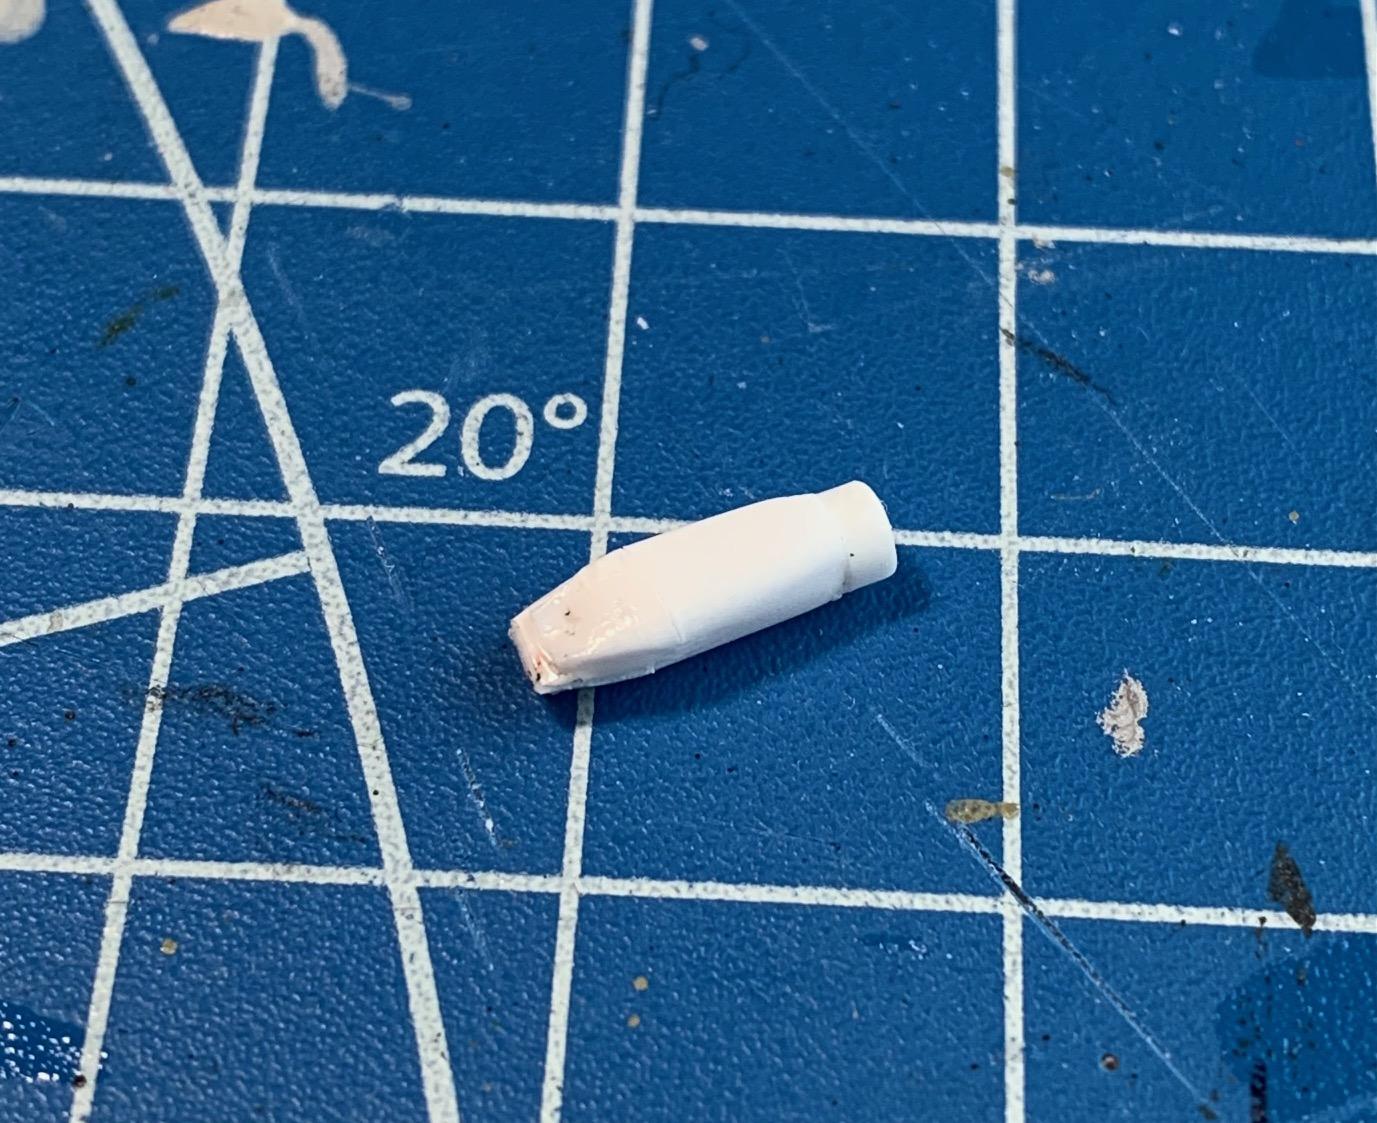
Happy new year folks. Before the party begins, summary of last 2 day's work. First picture shows the front end of the 1 part steering system supplied with the kit. I decided to fabricate replacement parts to add a more functional looking unit and a worm gear box that was just not part of this kit. It's all a bit oversized but should look ok with some paint and weathering
-
1962 Ferrari 156 sharknose F-1
Pierre Rivard replied to Rich Chernosky's topic in Other Racing: Road Racing, Salt Flat Racers
Gorgeous replica Mr. Chernosky. Low part count, metal kit... we should not expect much but again you have defied the odds and created a rich, full of realism model. Another one hit out of the park. -
Ferrari 375 Plus Le Mans 1954
Pierre Rivard replied to TC's topic in Other Racing: Road Racing, Salt Flat Racers
I love this era of racing and your replica portrays it very well. Has Fernando provided an engine with this beauty? -
Alfa Romeo 2900B Mille Miglia 1938
Pierre Rivard replied to TC's topic in WIP: Other Racing: Road Racing, Land Speed Racers
Wonderful subject. Looks like you already have a lot done. Does this kit have a complete chassis/engine or curbside? -
Another cool one to follow!
-
Mercedes Benz SSK
Pierre Rivard replied to Pierre Rivard's topic in WIP: Other Racing: Road Racing, Land Speed Racers
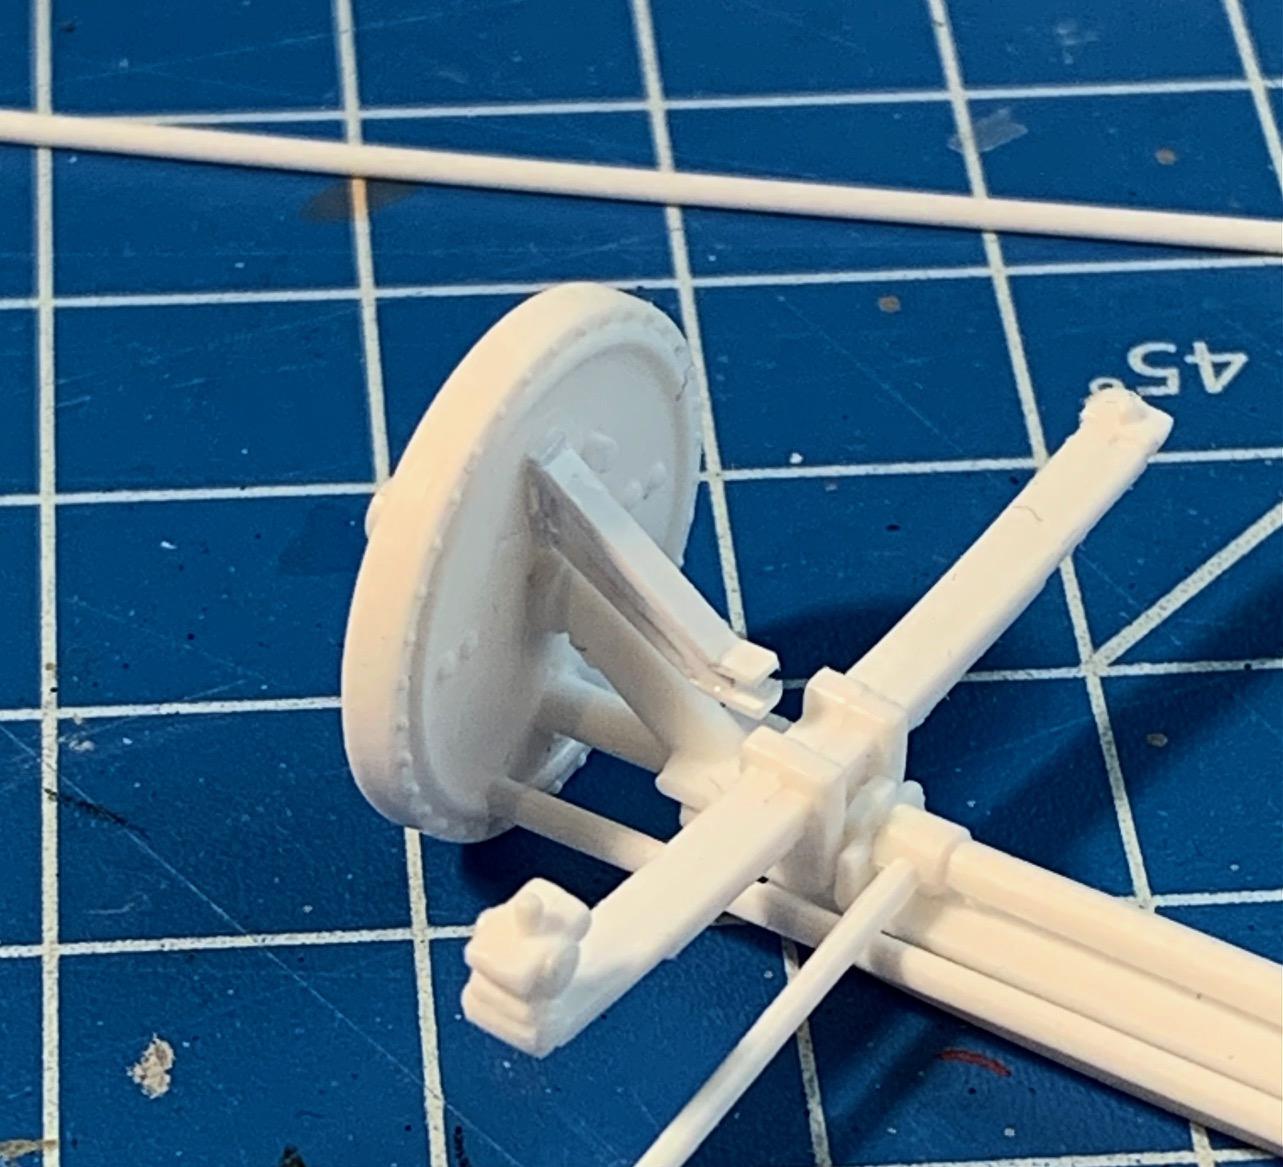
While research on how to make and route this "oiling system" goes on, I started adressing the steering system. Picture below shows the nonsense steering system that comes with the kit. The designer really mailed it in with that one. Worm & gear box and all links to front left wheel need to be built in a way that appears more like it should. Updates coming.
-
Mercedes Benz SSK
Pierre Rivard replied to Pierre Rivard's topic in WIP: Other Racing: Road Racing, Land Speed Racers
Thanks Rich, this is the fun stuff Could be. Finding the routing of all these lines would bring light to it. Only time I plan to use the dime, as a homage to your great work. Back to the bench! -
Mercedes Benz SSK
Pierre Rivard replied to Pierre Rivard's topic in WIP: Other Racing: Road Racing, Land Speed Racers
Thanks for posting that brilliant cutaway Cliff. I think we're all converging to some sort of oiling system. Sort of knowing for sure if we could find the routing of these lines to I could try to mimic that.... within the limits of my old eyes and fat fingers. -
A toss up between Bill's choice and this one
-
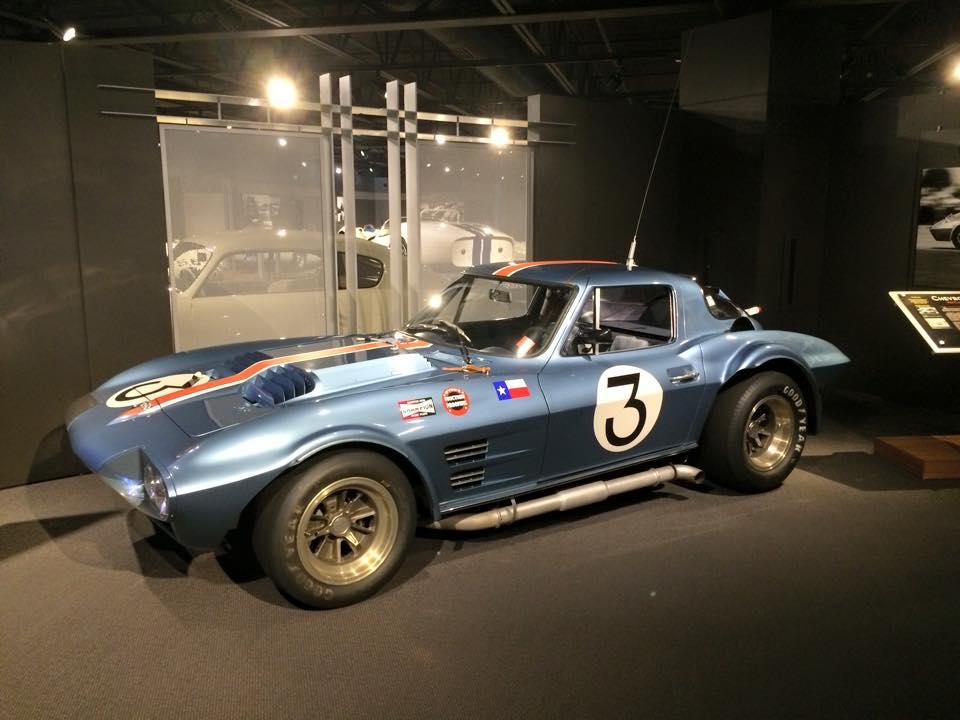
A great year Bruce. CA cool and diverse bunch. I'd love to build a Daytona some day. Looking at peer's builds does that, expand our own wish list...
-
I built it with the metal body. Same as your's apart from the body material. Nice kit, chassis vintage Monogram.
-
So happy this one circled back because I missed it when it was first posted (gotta check the model car section more often). I find this replica both gorgeous, convincing and very inspiring. Very creative and I'm sure research time was just as extensive as building time. Awesome work Noel, Bugatti Fan should be renamed Bugatti Master!
-
Mercedes Benz SSK
Pierre Rivard replied to Pierre Rivard's topic in WIP: Other Racing: Road Racing, Land Speed Racers
I could not resist. Francis has a dime, and I have a dime!
-
Mercedes Benz SSK
Pierre Rivard replied to Pierre Rivard's topic in WIP: Other Racing: Road Racing, Land Speed Racers
Thanks for the input fellows. Ken and Cliff are pointing to some sort of oiling system, and I could trace one line to the blower. But for today, throttle linkage... I think 🥺
-
I am in Montreal, Francis in Quebec, so your go to places. Hurry across the border before tariffs kick in. This grand meeting would be good for US-Canada relationships... show the big guys how it's done. Oops... hope the censors are off today...
-
Mercedes Benz SSK
Pierre Rivard replied to Pierre Rivard's topic in WIP: Other Racing: Road Racing, Land Speed Racers
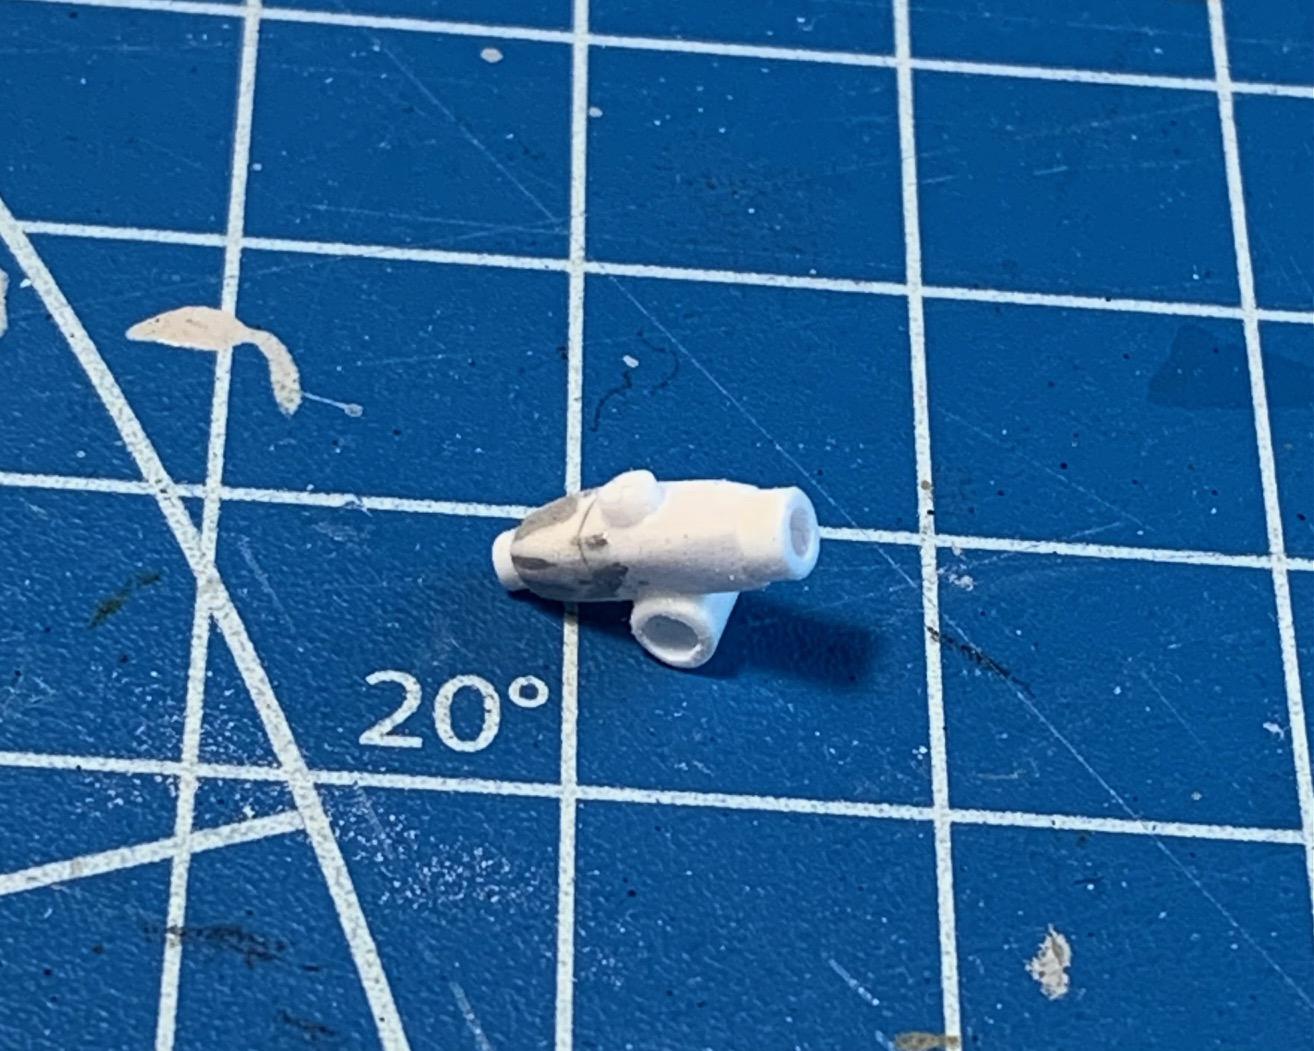
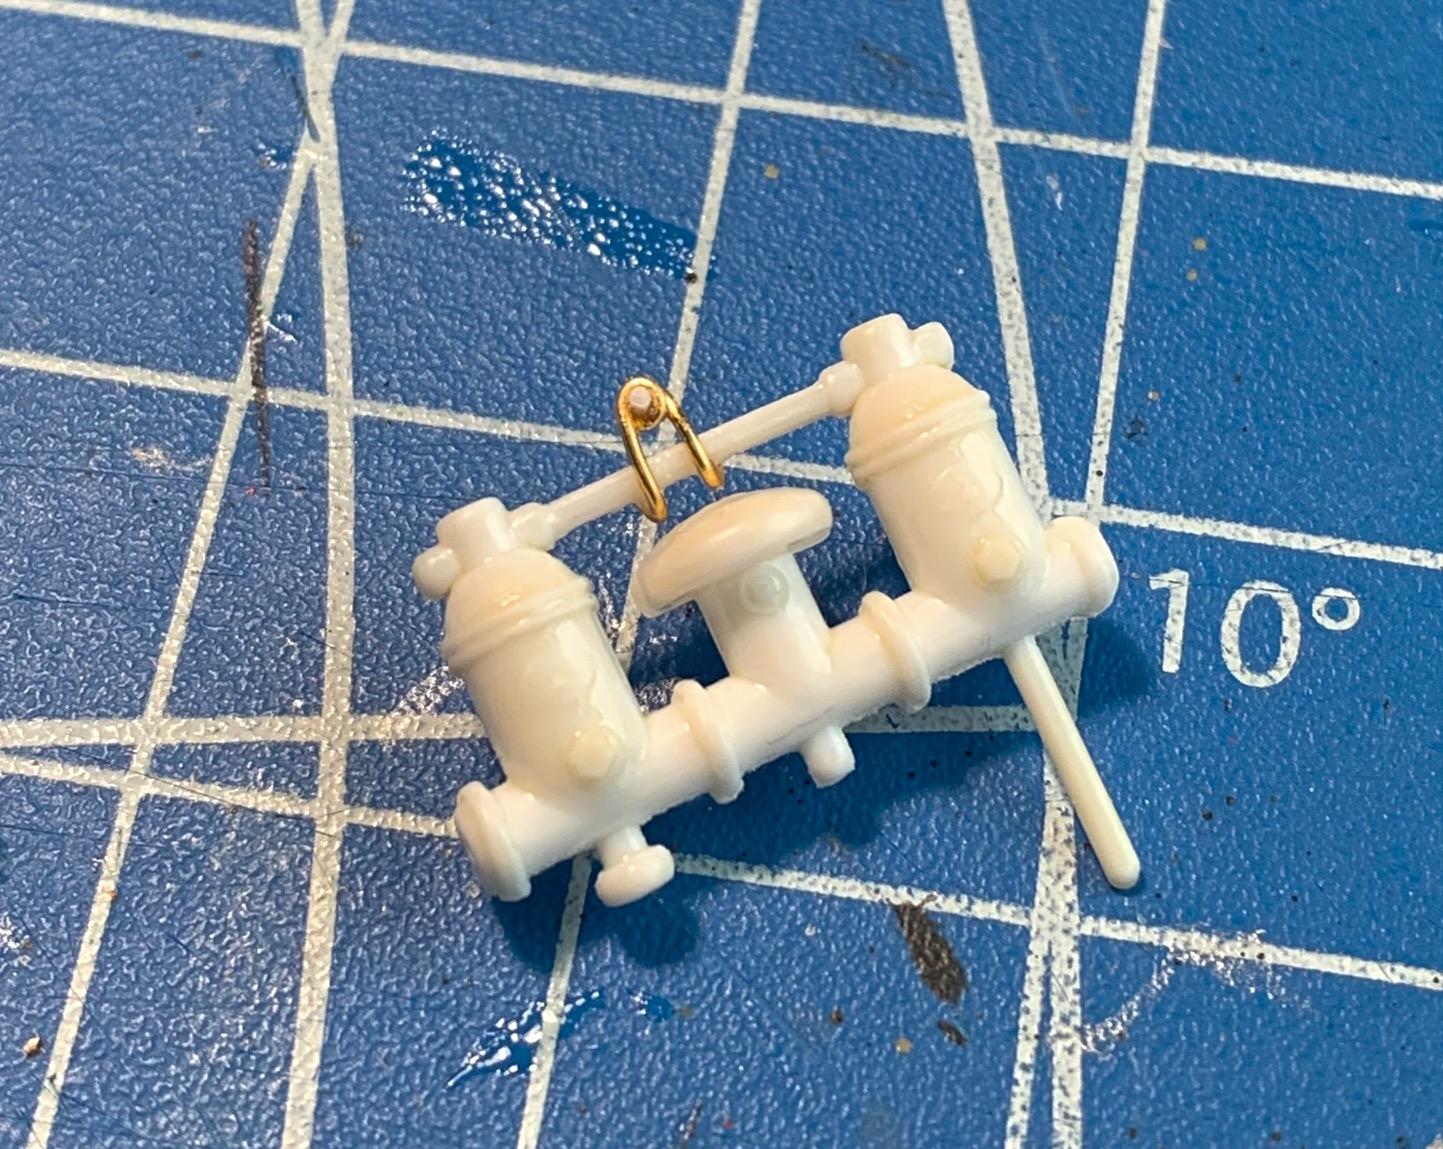
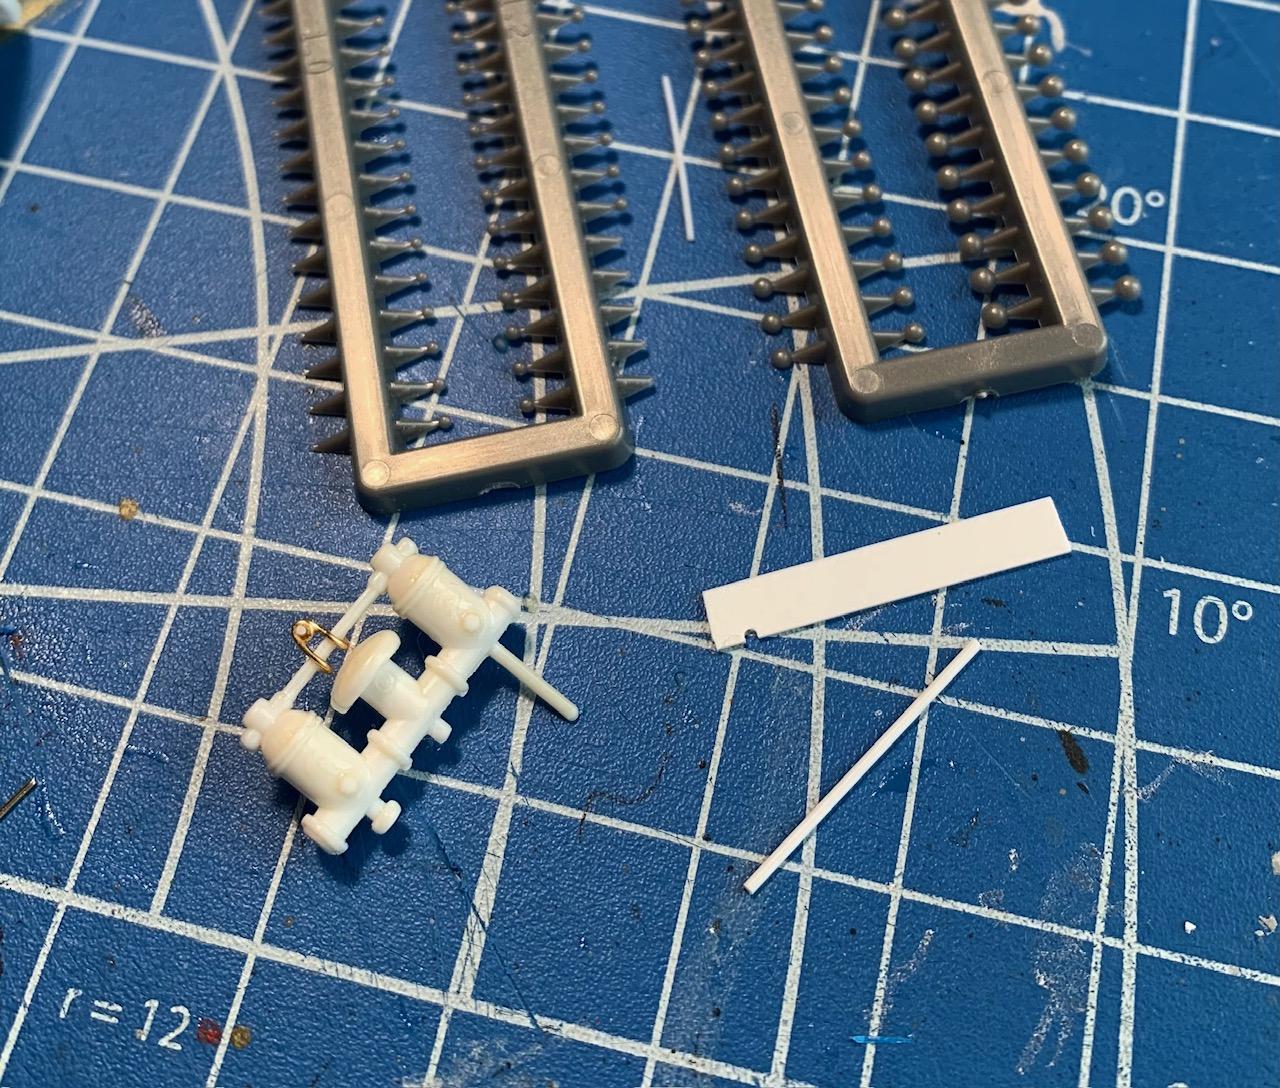
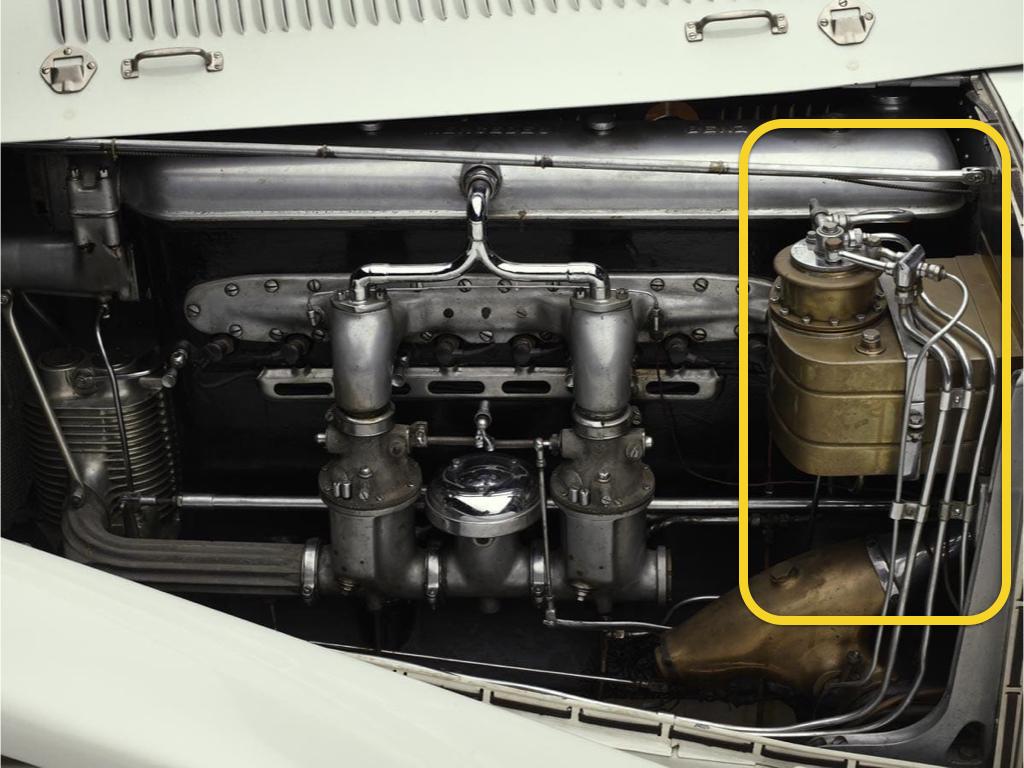
OK, making my first call... anybody know what this reservoir and lines are for. Guessing it may me part of oil system of oil distribution to external component like the roots blower... but I'm just guessing. What I know is that it is not related to the brakes as they are mechanical actuated.
-
Mercedes Benz SSK
Pierre Rivard replied to Pierre Rivard's topic in WIP: Other Racing: Road Racing, Land Speed Racers
One more component on the engine right side done. The coolant pump greaser (sort of...) loosely located above the dynamo. Plumbing and wiring will come in later after paint & assembly. Starting on the left side I fabricated the roots blower clutch linkage and loosely fitted it behind the carbs. On the real car the actuator is linked to the gas pedal. The pedal's very last portion of movement (pedal to metal mode) pulls the linkage to engage the blower clutch. Extra 80HP thank you!
-
Mercedes Benz SSK
Pierre Rivard replied to Pierre Rivard's topic in WIP: Other Racing: Road Racing, Land Speed Racers
Thanks Ken, yes a little bit of damage to fix or hide Internet is my friend and I found good material. However I have come up empty on components external to engine and the various hoses & hard lines so I'm trying to replicate stuff I don't fully understand. I'll try my best. Thanks Andy. I almost skipped on doing these but I knew I'd end up regretting it... Getting started is the hardest part isn't it. I don't understand all the components and associated plumbing but time to forge ahead and make stuff. -
Tamiya primer comes off the can so good doesn't it. No longer available in Canada. The good old days... What's the plan for the rear end... with the joint where there will be no bumpers to hide it?
-
’72 Dodge Demon Drag Racer 1/25 scale
Pierre Rivard replied to AmericanMuscleFan's topic in WIP: Drag Racing Models
That suspension is so so good Francis, and functional at 1/25 scale. Put the dime next to it friend, to put it in its proper perspective. -
Way way cool Daniel. It's these little things (literally) that delight when looking at a top notch scale model. I would have figured you would have gone to the sewing kit but I guess even the smallest sewing needles would be too big for what you want to do here.