WillyBilly
-
Posts
453 -
Joined
-
Last visited
Content Type
Profiles
Forums
Events
Gallery
Everything posted by WillyBilly
-
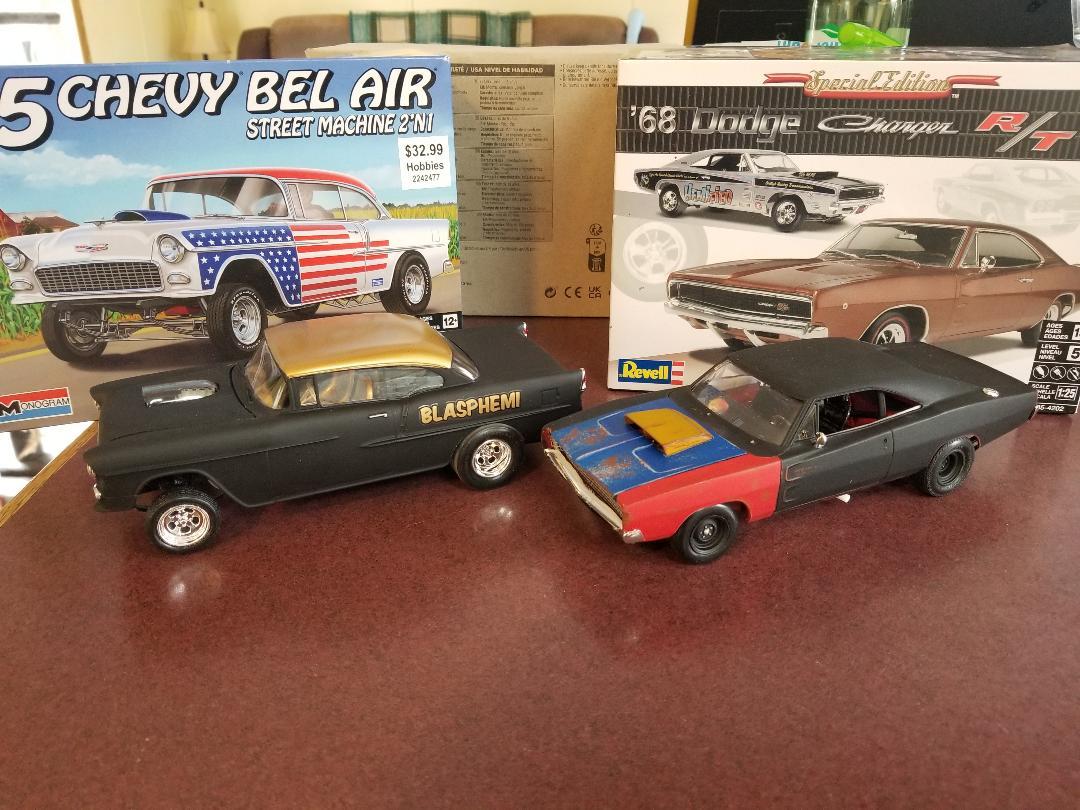
 Another fun filled day of adoptions. First to Hobby Lobby for the only model they sell I do not have. A Boss 302. Then a trip to goodwill netted an unopened Yellow Lambo, and a trip to a Big city Wal-mart and I found two that had been illuding me for years. The Monte, and the Nova.
- 39,006 replies
-
- 4
-

-
- johan
- glue bombs
- (and 1 more)
-
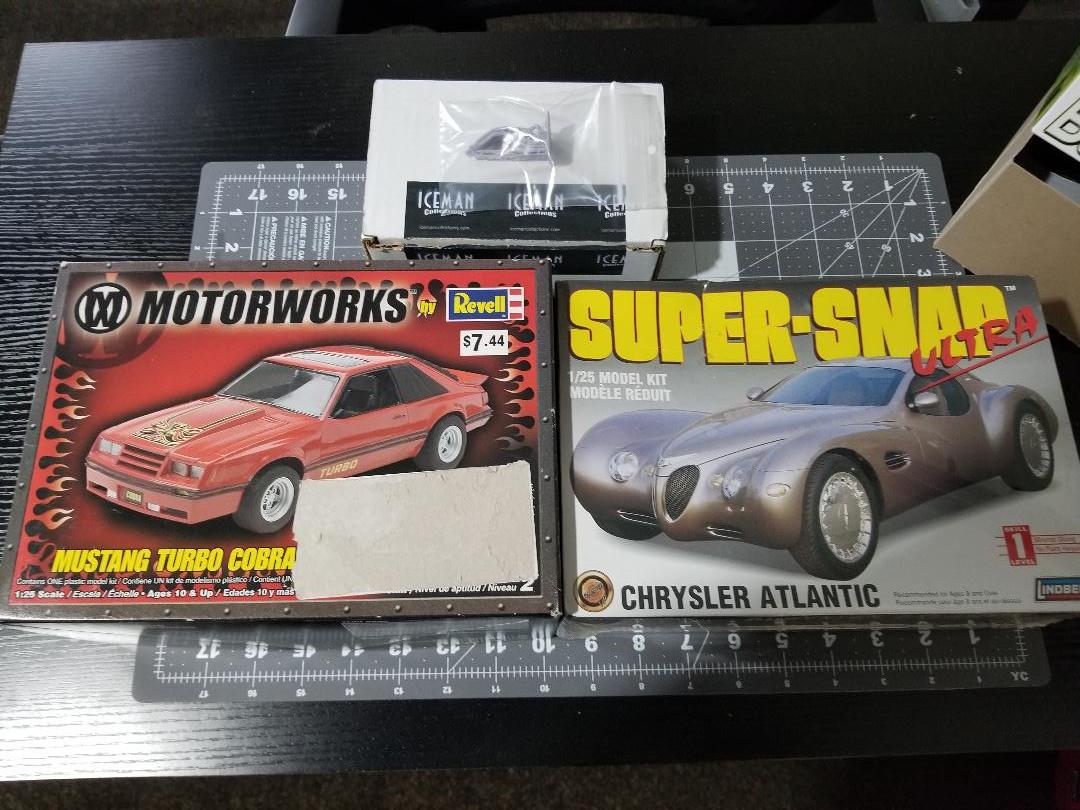
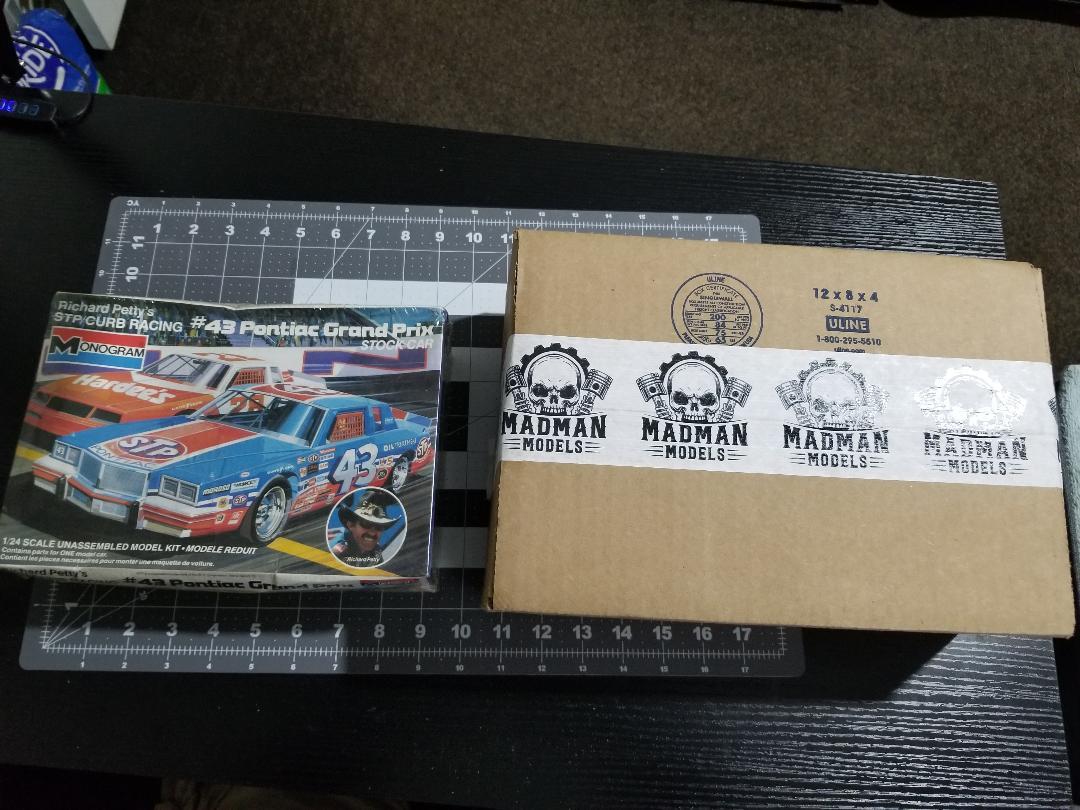
Another delivery today. A couple of obscure models I picked up on Ebay. I love the design of the Chrysler, and the Mustang is for a project. Iceman Hemi Headers too.
- 39,006 replies
-
- 1
-
-
- johan
- glue bombs
- (and 1 more)
-
Omni GLH and GLHS 4 door bodies
WillyBilly replied to WillyBilly's topic in Car Aftermarket / Resin / 3D Printed
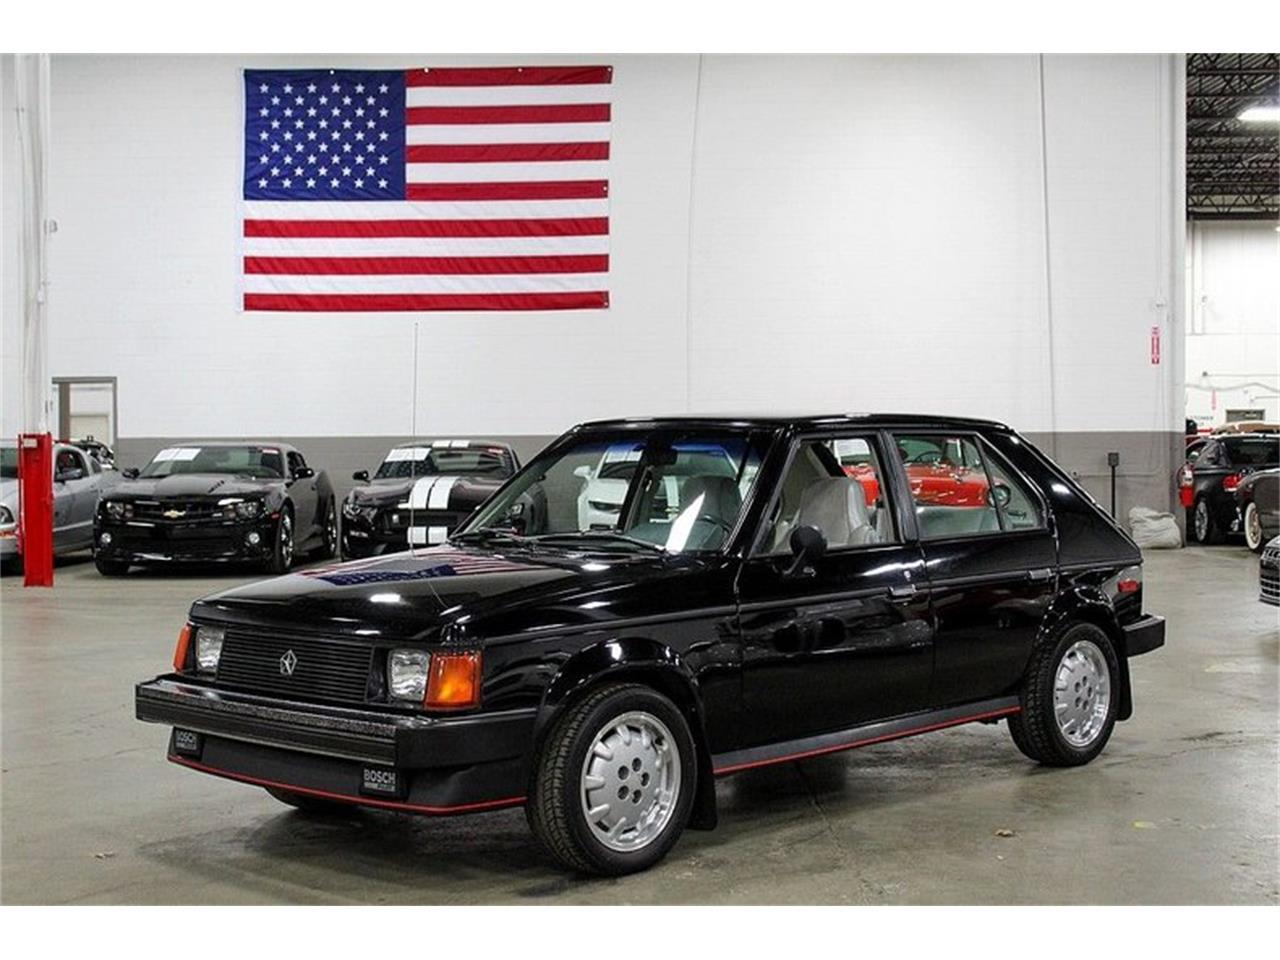
I did some research on the Talbot Horizon. The only thing I have come up with is a file for the Omni GLH. One company made a 1/24 die cast in several colors, but they seem to be ultra rare, and somewhat expensive. I know they are an obscure car to begin with, so it was a long shot a actual body existed. Being a young Lad, 70s and 80s are the cars that appealed to me when I got my license in the mid 80s. 1985 Dodge Omni Motor Max 1:24 Diecast Collection Car 73200 | eBay -
While I owned several 5.0 powered Fox Body Mustangs including a 83 turbo GT, and a 79 Capri RS Turbo, one 87 Buick Grand National, four 94-96 Impala SS, 10 or so Caprice 9C1s, 86 IROC and 2 2009 Pontiac G8 GTs. One car that is always in the back of my mind is my 85 Dodge Omni GLH. It was a fun car that held its own against new performance cars of the time. So I was wondering if anyone makes a cast resin, or 3D printed 4 door body, or a full blown GLH 4 door body for the MPC 1/25 kits
-
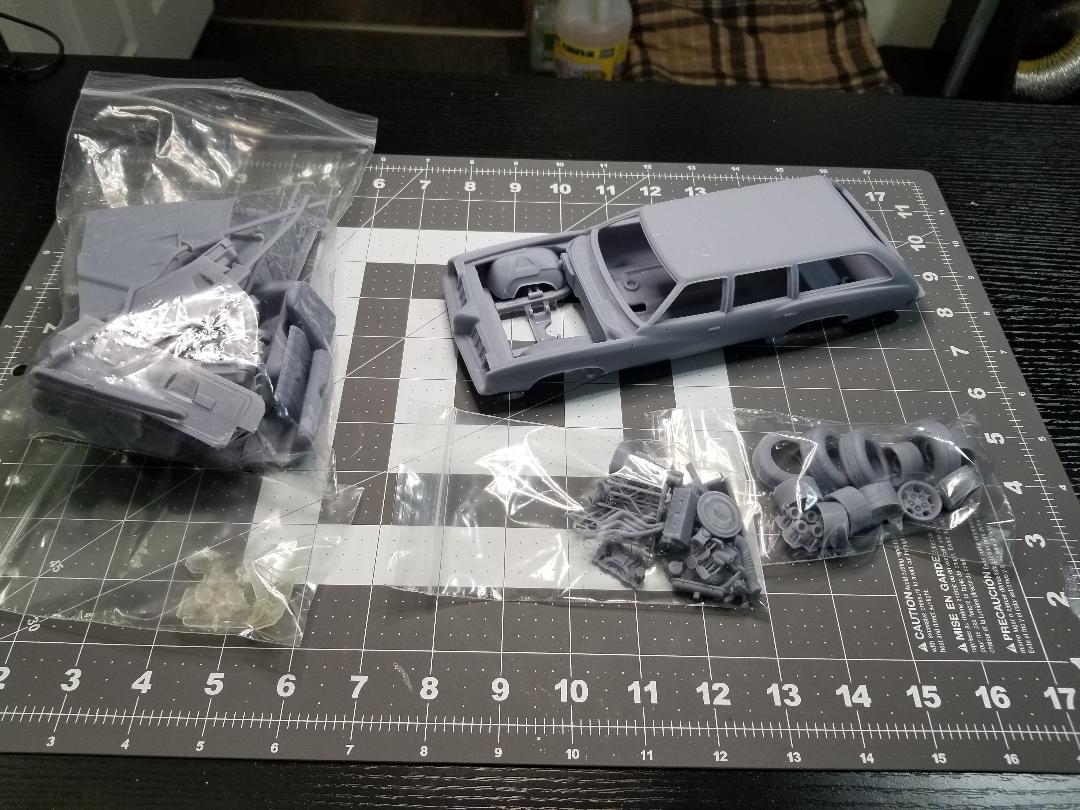
Progress is slow, but steady. Fireball Mopar steelies painted waiting for detail. Revell Dart hemi painted waiting for detail, and final assembly, and the body is painted. The back panel needs more work to get it right. One taillight is smaller than the other. I will need to address that. And the last pic was an action shot. Finnigan decided to highlight the Hemi for me in case anyone missed the big orange engine.
-
Looks great. I built two Roadkill cars myself, and your struggles are far worse than mine. Great job so far. The end result is so worth it. Making a model show room is an art. Making it weathered is a whole different art altogether.
-
Revell 1966 Pontiac GTO in Tamiya Titanium Gold.
WillyBilly replied to Dragonhawk1066's topic in Model Cars
Mother of pearl! That is gorgeous. -
I said I would not buy anymore kits. Now there is three I need. LOL
-
Me too.
-
1992 Chevy Silverado Sport
WillyBilly replied to av405's topic in WIP: Model Trucks: Pickups, Vans, SUVs, Light Commercial
The tires are a little tall, but not too big. The stock base tires were a 235/75/15 and the sport was the same, and the 454SS was 275/60/15 which is shorter than the 235 by 9/10". The tires in the kit look more like a 235/85 which would not be a 15 in, but a 16" for a 3/4-1 ton trucks. -
I like what you have done so far. I look forward to the finished product.
-
VCG Rocks. Great customer service.
-
Beautiful build. I love the color combo.
-
Monogram chevy crew cab
WillyBilly replied to happy grumpy's topic in Model Trucks: Pickups, Vans, SUVs, Light Commercial
Great build. I love the patina, -
Outstanding build. I am in the process of building a M1009, M1008, and a M880. Your build sure gives me motivation.
-
Red Lobster March 83G IMSA GTP
WillyBilly replied to Phildaupho's topic in Other Racing: Road Racing, Salt Flat Racers
What a great build. the decals must have been fun to apply. -
I did not know that. I assumed it could, but did not know that for sure. Thanks for the answer.
-
I wonder if spraying some Testors Xtreme Wet Look lacquer would make the chrome spray more durable. I use it for the shine, but also the durability. I am not sure how it would work on spray chrome, but it worth a test. Then the chrome is sealed.
-
Revell contact info in the USA
WillyBilly replied to WillyBilly's topic in General Automotive Talk (Trucks and Cars)
Thank you. I was able to find a link to leave the info needed with a US address. -
Does Your Truck Or Diorama Need Feed Bags?
WillyBilly replied to oldcarfan's topic in Tips, Tricks, and Tutorials
Great idea for reusing something most throw away -
I have been looking for a way to contact someone in the US about missing parts in one of their Bronco kits. All the links lead me back to a European website that offers a missing parts request, but only for European countries. Does anyone have a link to a US parts request page for Revell? Thanks
-
Hobby Lobby Inventory reduction sale
WillyBilly replied to magicmustang's topic in General Automotive Talk (Trucks and Cars)
Was in HL in Rochester, New Hampshire yesterday. No reduction sale. Just 40% biweekly sale. -
Paint Booths & Safe Ventilation?
WillyBilly replied to Synister's topic in Tips, Tricks, and Tutorials
A few years back I made a booth from a tote, and bathroom fan mounted on the back with a filter. I mounted it to a plastic cart and wheeled it to the window where I vented it out of. Then I added a LED light. It served me well for a couple years. Then the Stranger things Blazer from Revell showed up. I want to do a camo job on it, and rattle cans will not cut it. I decided that it was time to move over to airbrushing for detail work, and camo jobs. The old setup was not going to work, so a visit to a Salvation Army came up with a computer stand with an adjustable top. A stop at Walmart got some casters and screws so it can roll. The shelf below It was perfect to place to put compressor. So now I can have it at a more comfortable height too.
-
Finally, after 50 years of rattle cans, I am taking a dive into airbrushing. Look for stupid airbrush questions real soon. No, really. I have no clue what I am doing.
- 39,006 replies
-
- 6
-
-
- johan
- glue bombs
- (and 1 more)