STU111
-
Posts
964 -
Joined
-
Last visited
Content Type
Profiles
Forums
Events
Gallery
Everything posted by STU111
-

1966 Ford F 100 Flareside
STU111 replied to leafsprings2's topic in Model Trucks: Pickups, Vans, SUVs, Light Commercial
That is a really nicely built flareside. I like how you have removed the side trim, as a base level truck with a 6 cylinder probably wouldn’t have had any. I have this one in the stash and will build it similar to yours. Top notch.👍🏻 -
G’day Steve, several of the DDA kits have a standard 308, the non modified HQ Monaro GTS and Torana A9X do. It’s an okay representation but as the kits have a baseplate as opposed to a detailed chassis, the sump is not right. Hope this helps. 👍🏻

-
That captures the old school look nicely, notice she’s running a Desoto Firedome engine. Cool rod. 👍🏻
-
Beaut build Michelle, I’d forgotten that Ramblers were assembled in Australia for a while. These Aussie Javelins were pretty rare as they were pretty expensive compared to a Monaro, so for that reason few were sold. Nice work. 👍🏻
-
It’s a red 57 with SS Cragars, what’s not to like! Beautiful build, really like the engine detail with the dual carbs. 👍🏻
-
Sweet looking Shelby there. Bummer regarding the stripe decals, although I’m lead to believe that the stripes were optional on the 67 model, they applied them at the dealership if you wanted them. I’m happy to be corrected if wrong. Hope your granddaughter enjoys building hers. 👍🏻
-
G’day Luke, I noticed the date of the original post and I see you have been laying down glass like black finishes for some time. I reckon l could comb my hair ( assuming I still had some left ) in the reflection! Oh, by the way, that is a tuff looking Chevelle. 👍🏻
-
Beautiful work on this Vette, the colour looks superb. I have this in the stash but wasn’t aware of under hood fit issues. Cheers for the heads up. 👍🏻
-
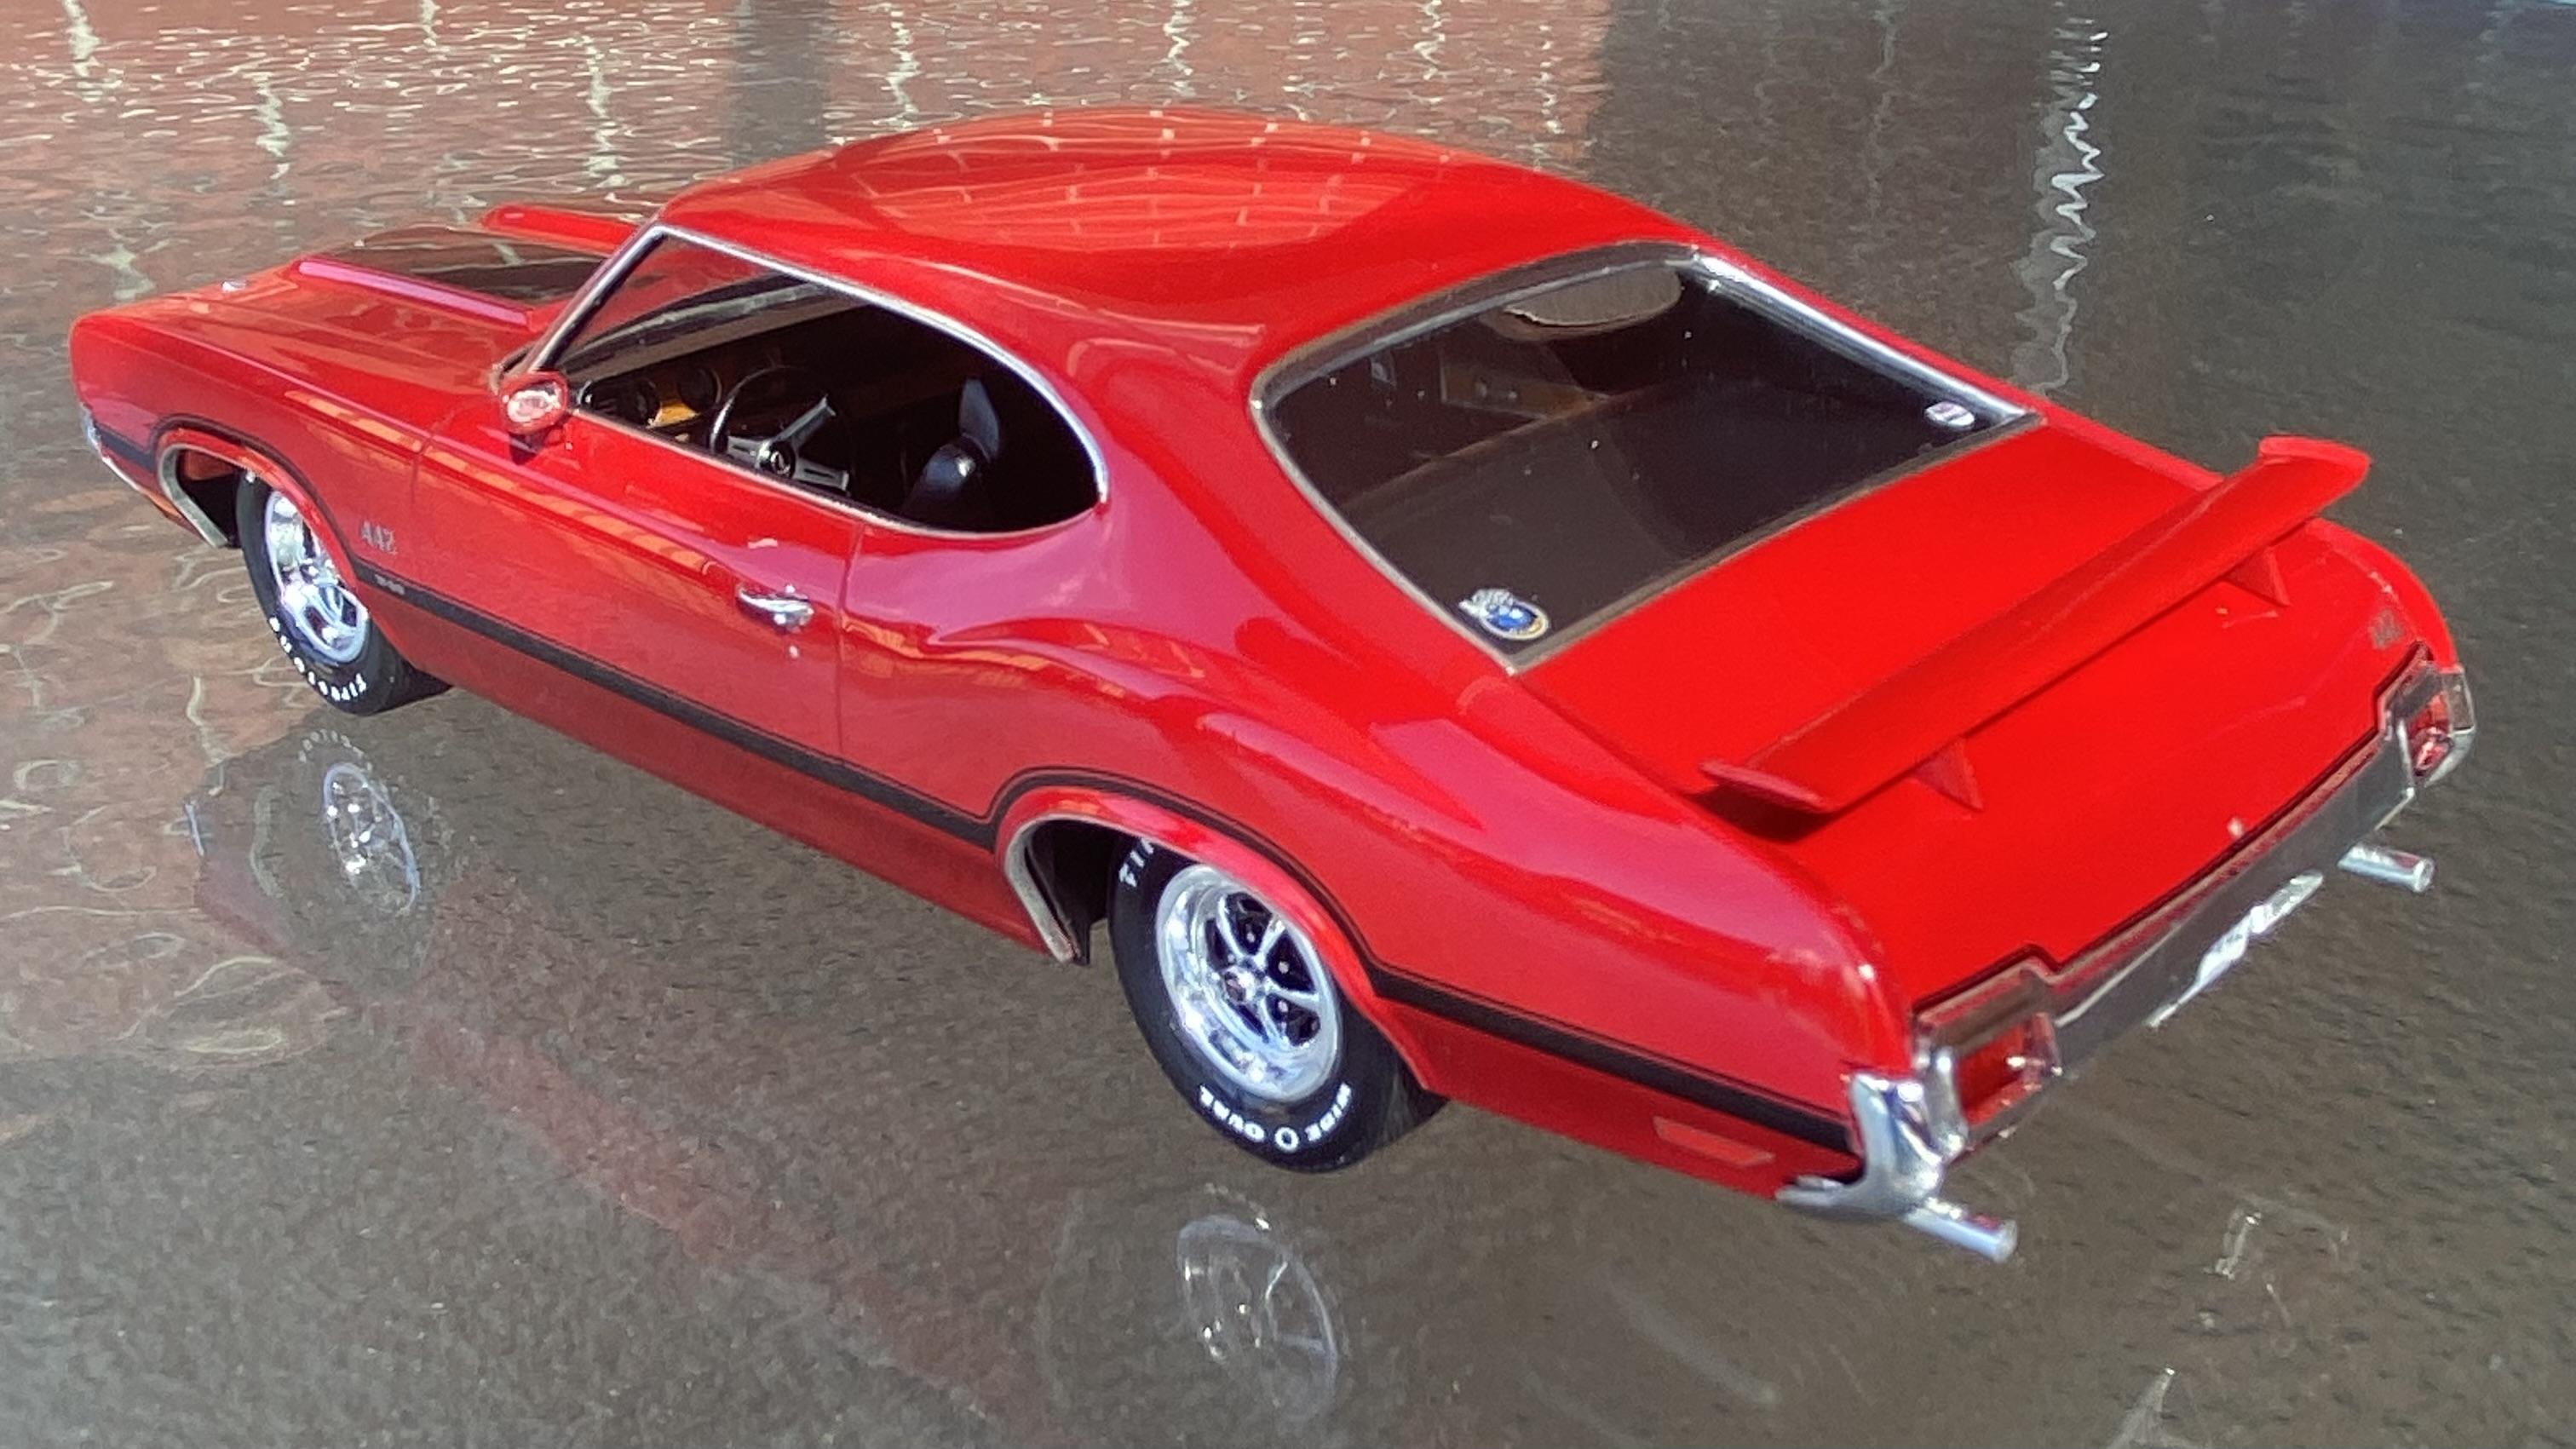
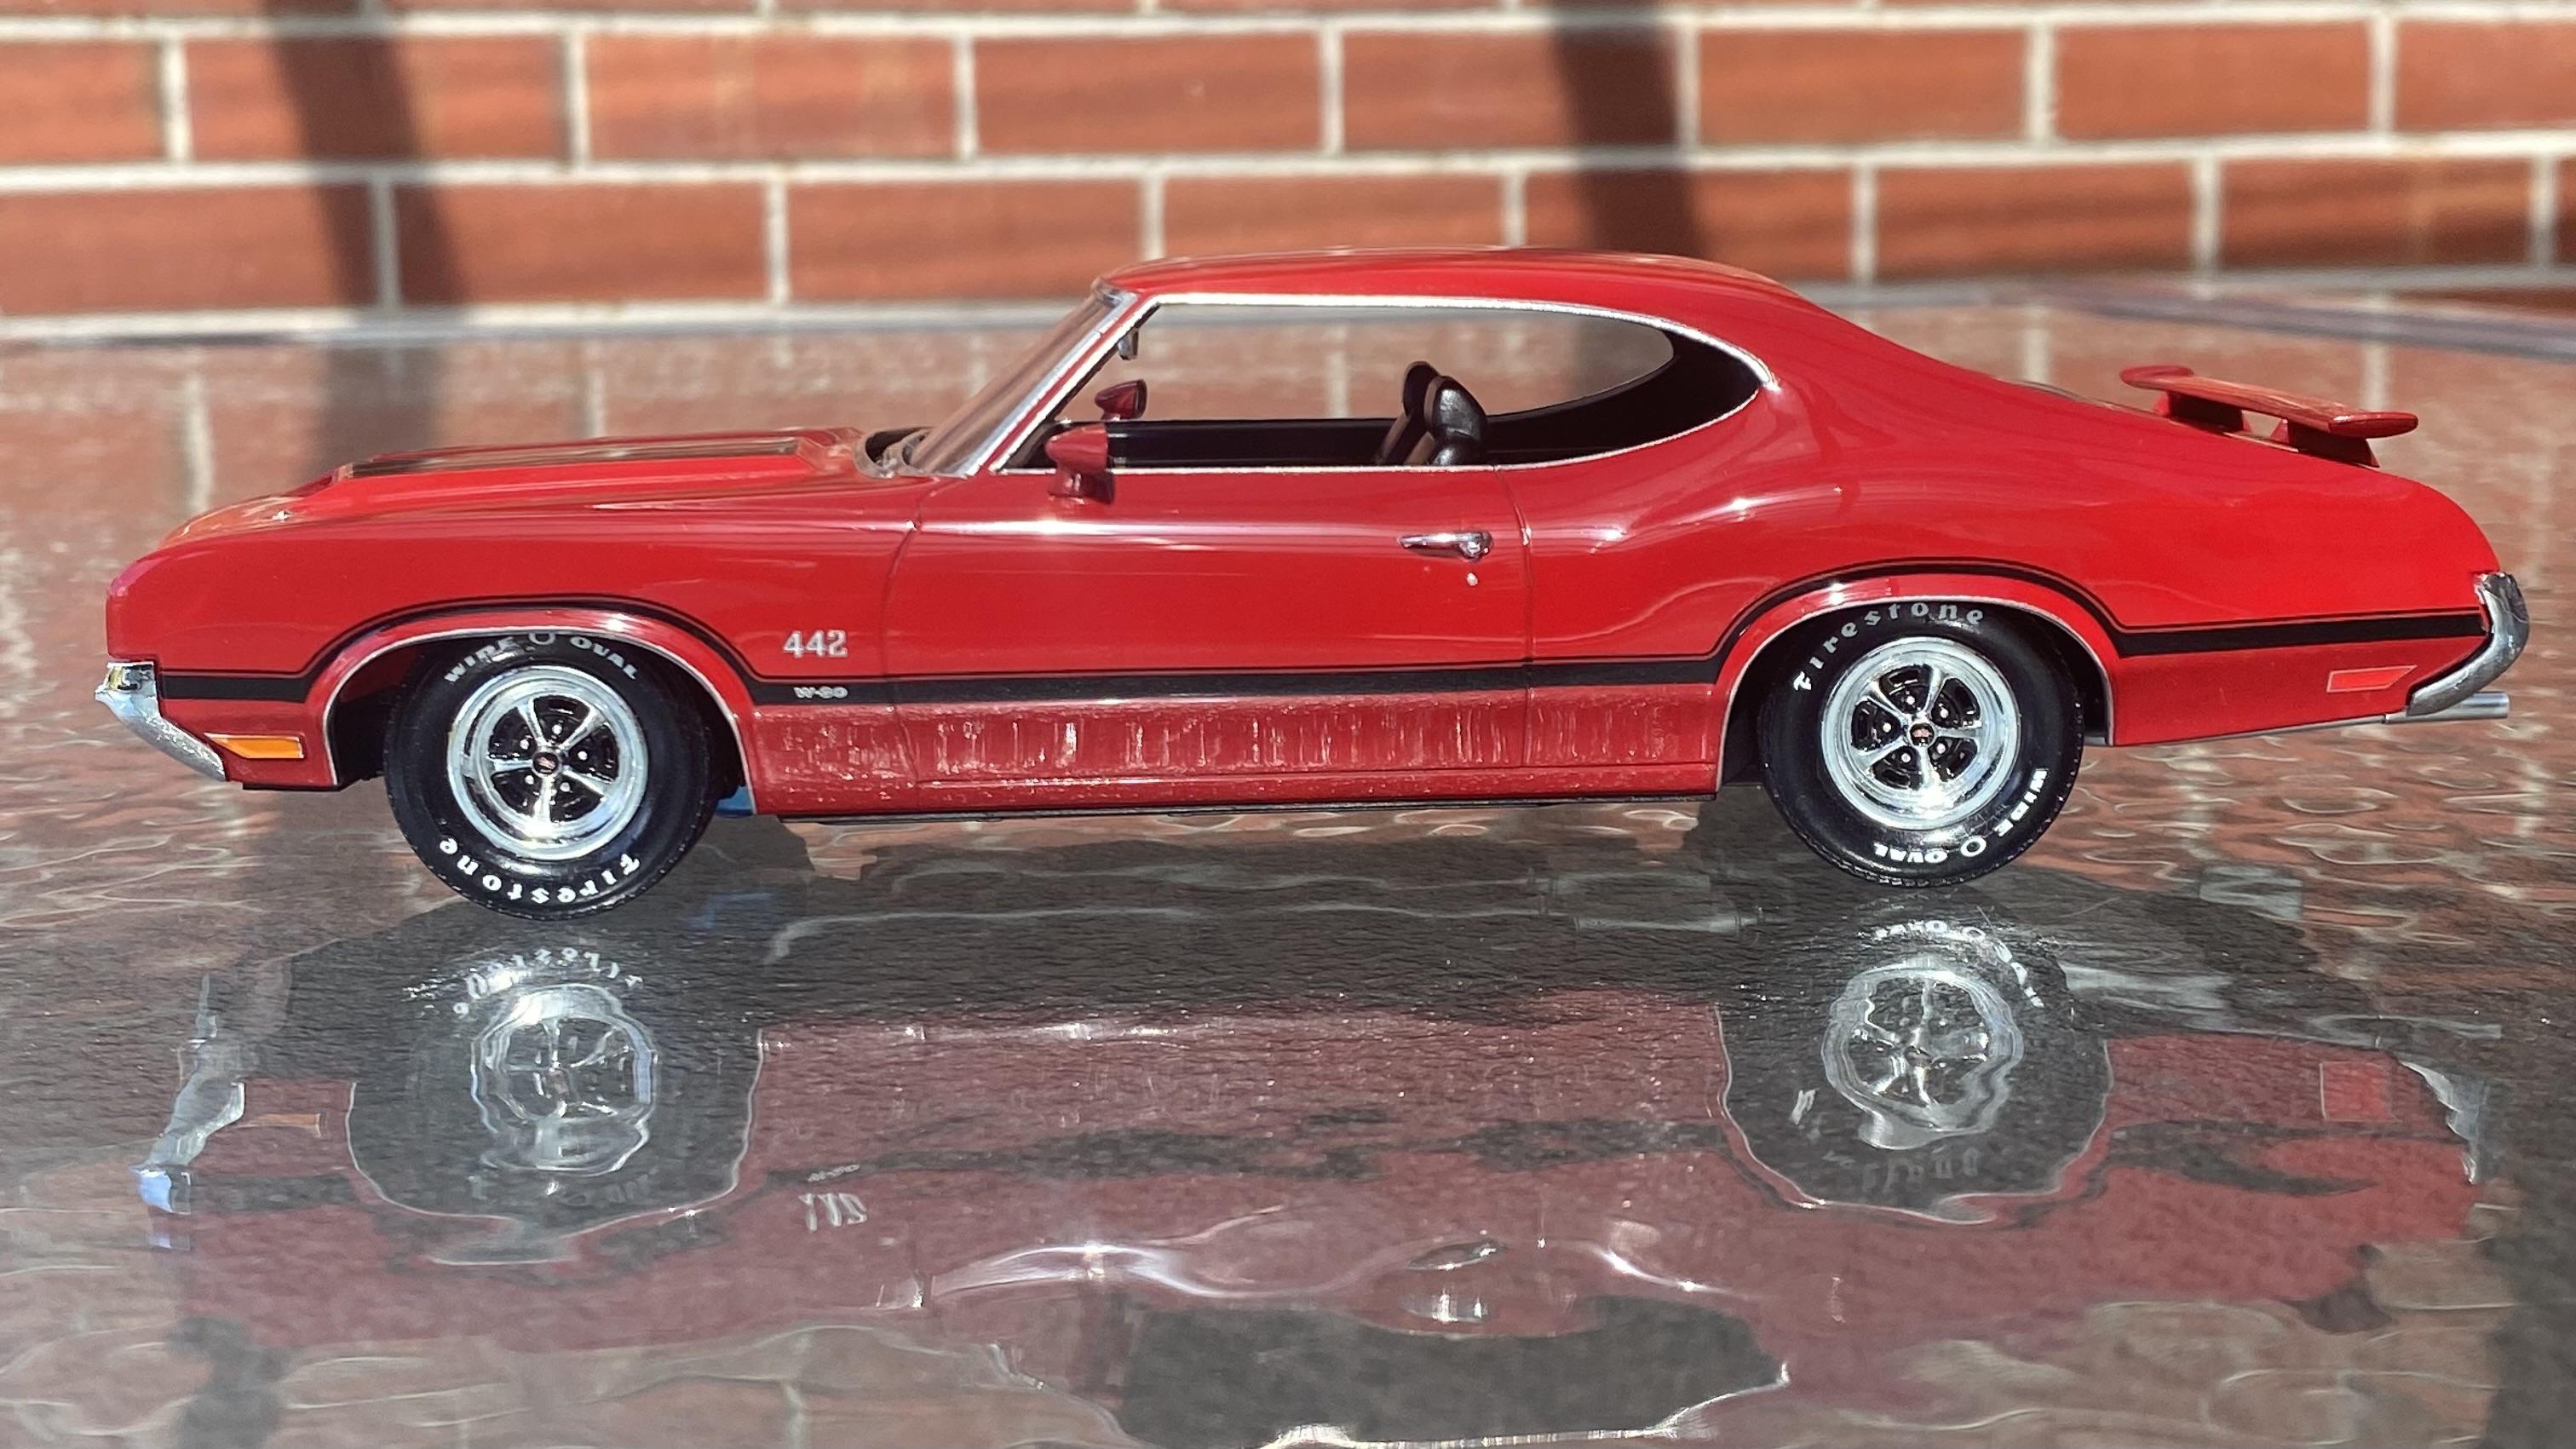
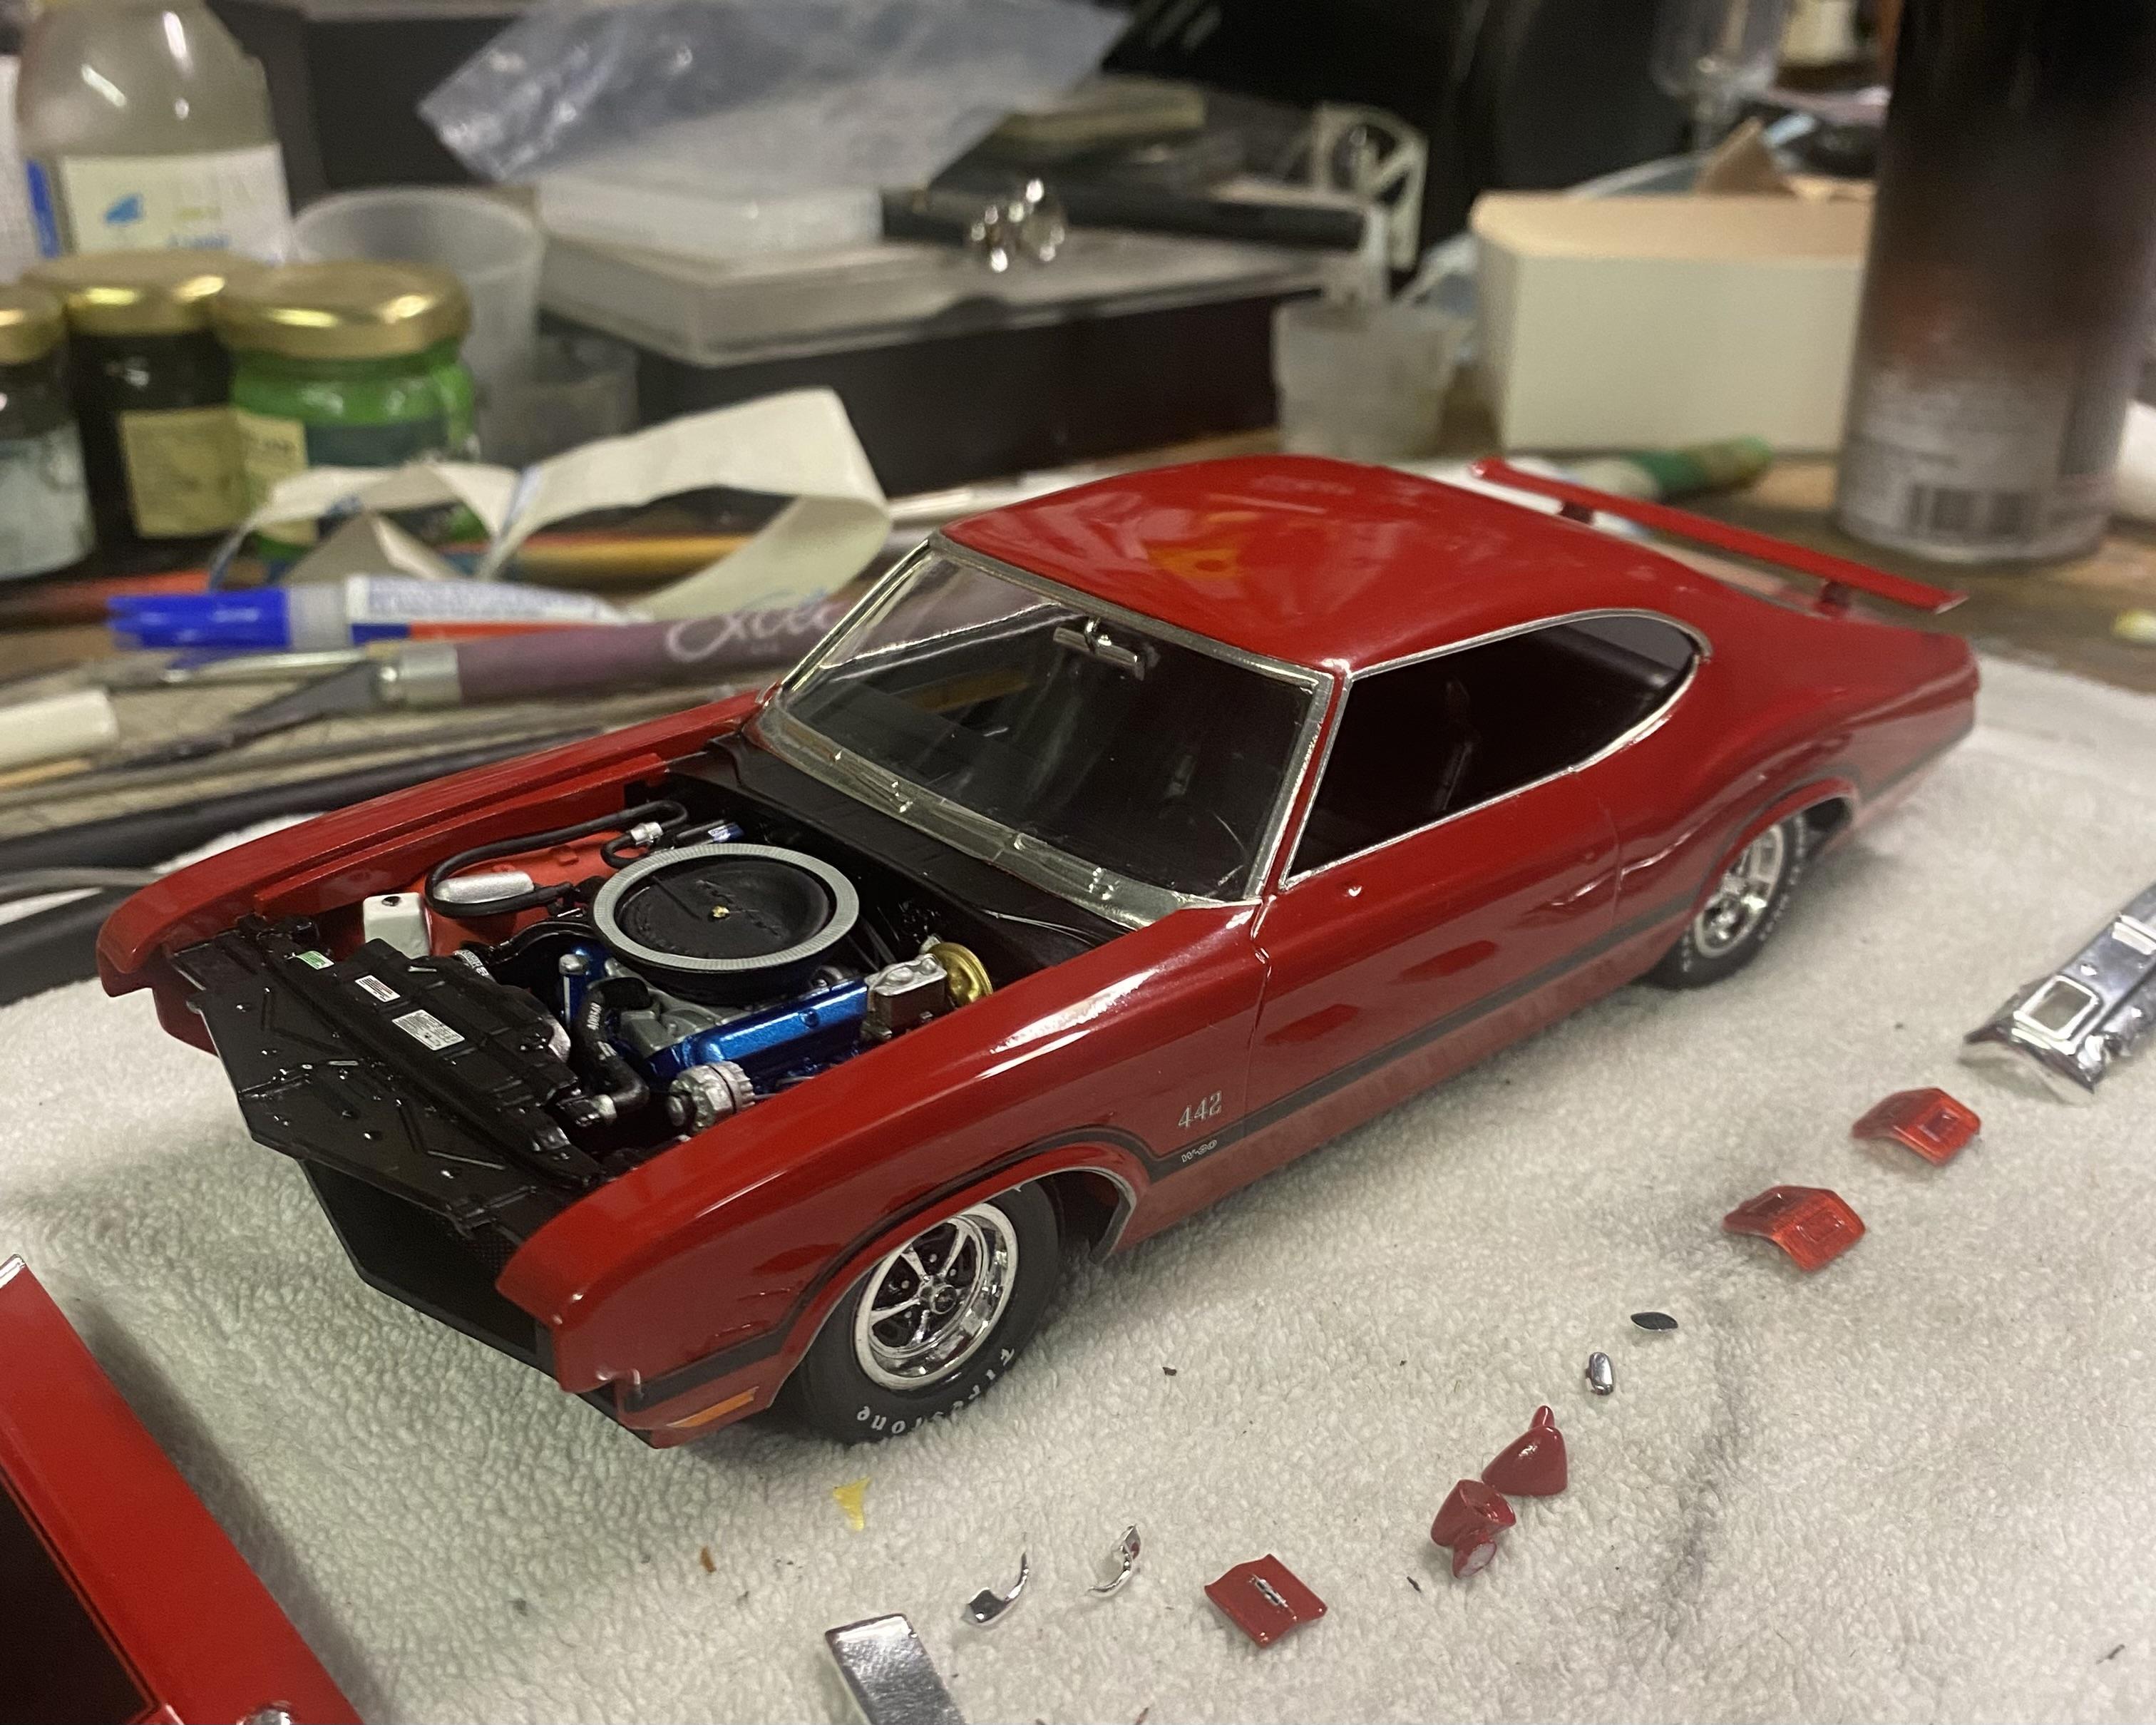
Thank you everyone for your kind words on the Olds. Apart from my botched attempt at painting it first up which resulted in a dip in the isopropyl alcohol bath, it was a very satisfying build. I’m really happy with how it turned out, I think being involved with the forum has helped me with pushing myself to try new things with model building. Cheers, Stuart. 👍🏻
-
Mate, I’m envious. Would have been an awesome feeling driving out of the dealership when you picked it up. 👍🏻
-
That is one sweet looking Mustang. Top stuff. 👍🏻
-
Hey Michelle, I like this, but, I don’t think it would stand up to the jumps the Duke boys did in the 69 General Lee. Seriously though, nice work. 👍🏻
-
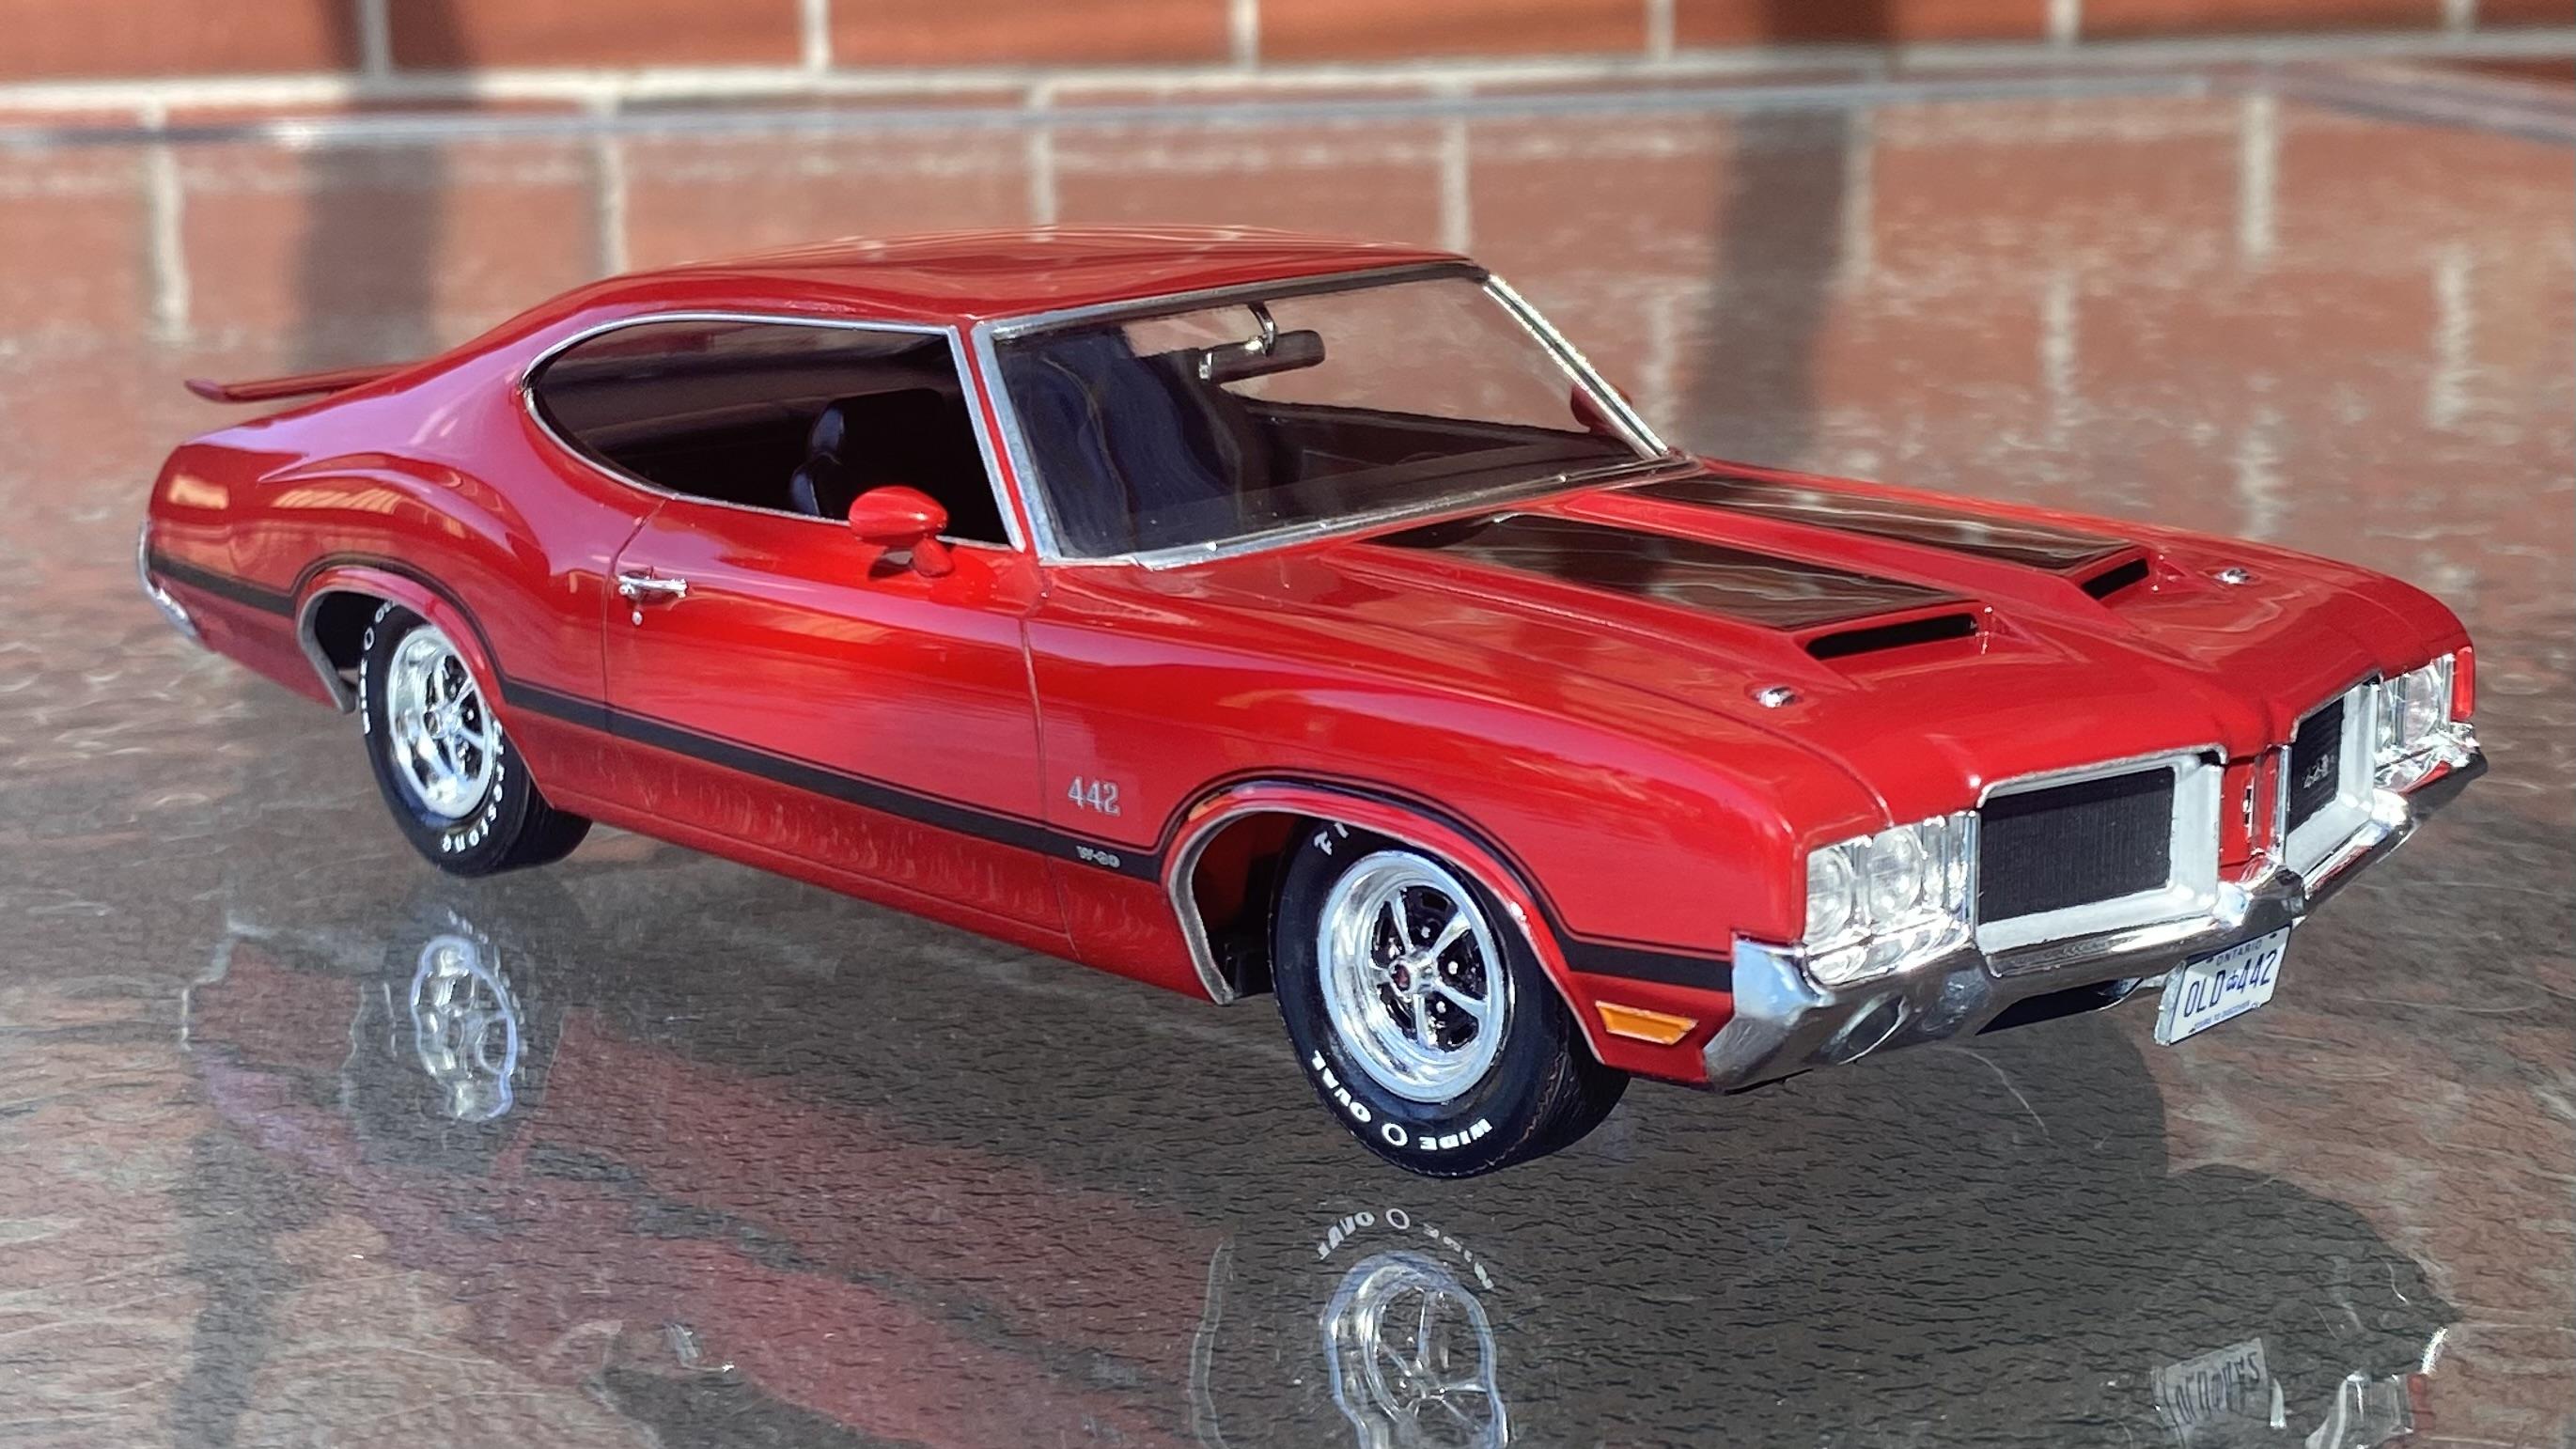
My sister gave me this kit as a gift. She knew I liked US muscle cars. Mustangs and Camaros are pretty common here in Australia, not so much Oldsmobile 442’s. I loved the look of the Olds, but I didn’t know much about them. I did a lot of research on them in conjunction with building this kit and I came away a big fan of this car, if l win the lottery, I’d like to have a pristine example shipped down here to Australia for me, but while I wait for that highly unlikely event, I have this 1/25 version. As usual with anything I post, any comments are welcome, the good , the bad and the ugly. Thanks for looking. 👍🏻
- 41 replies
-
- 19
-

-
And, finished. Will post up some pictures in under glass soon. Thanks everyone for looking in. 👍🏻
-
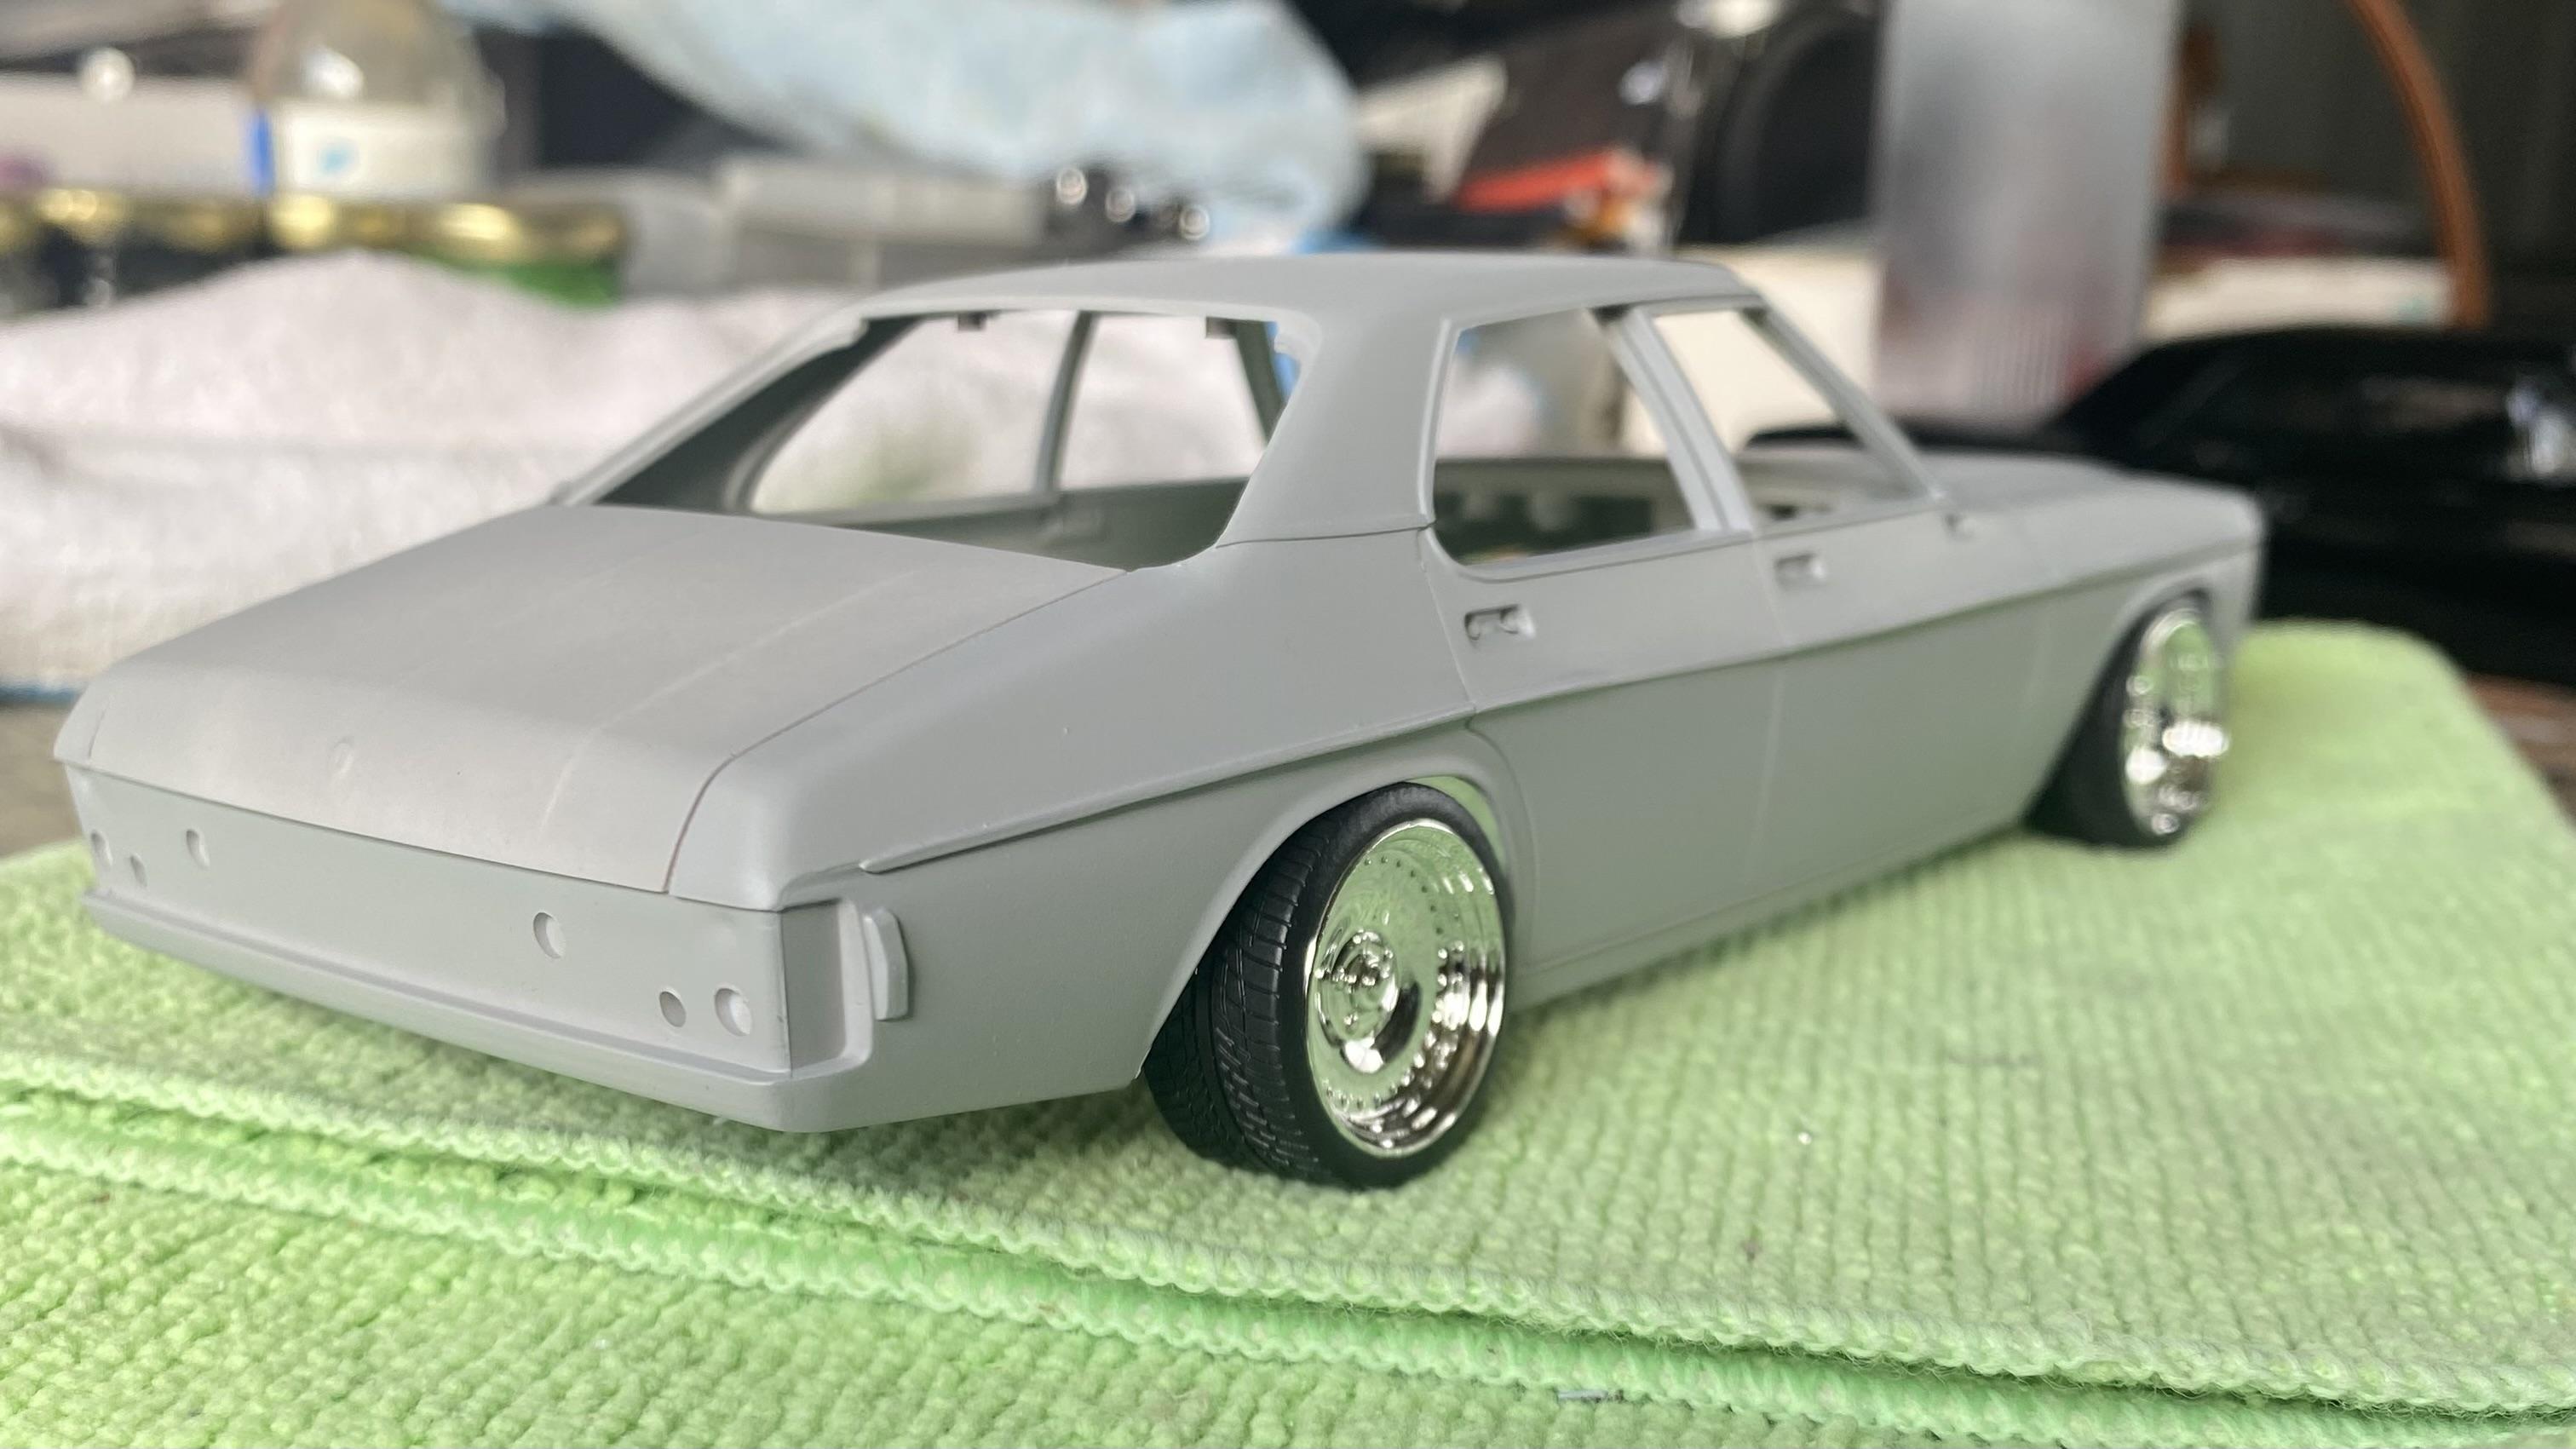
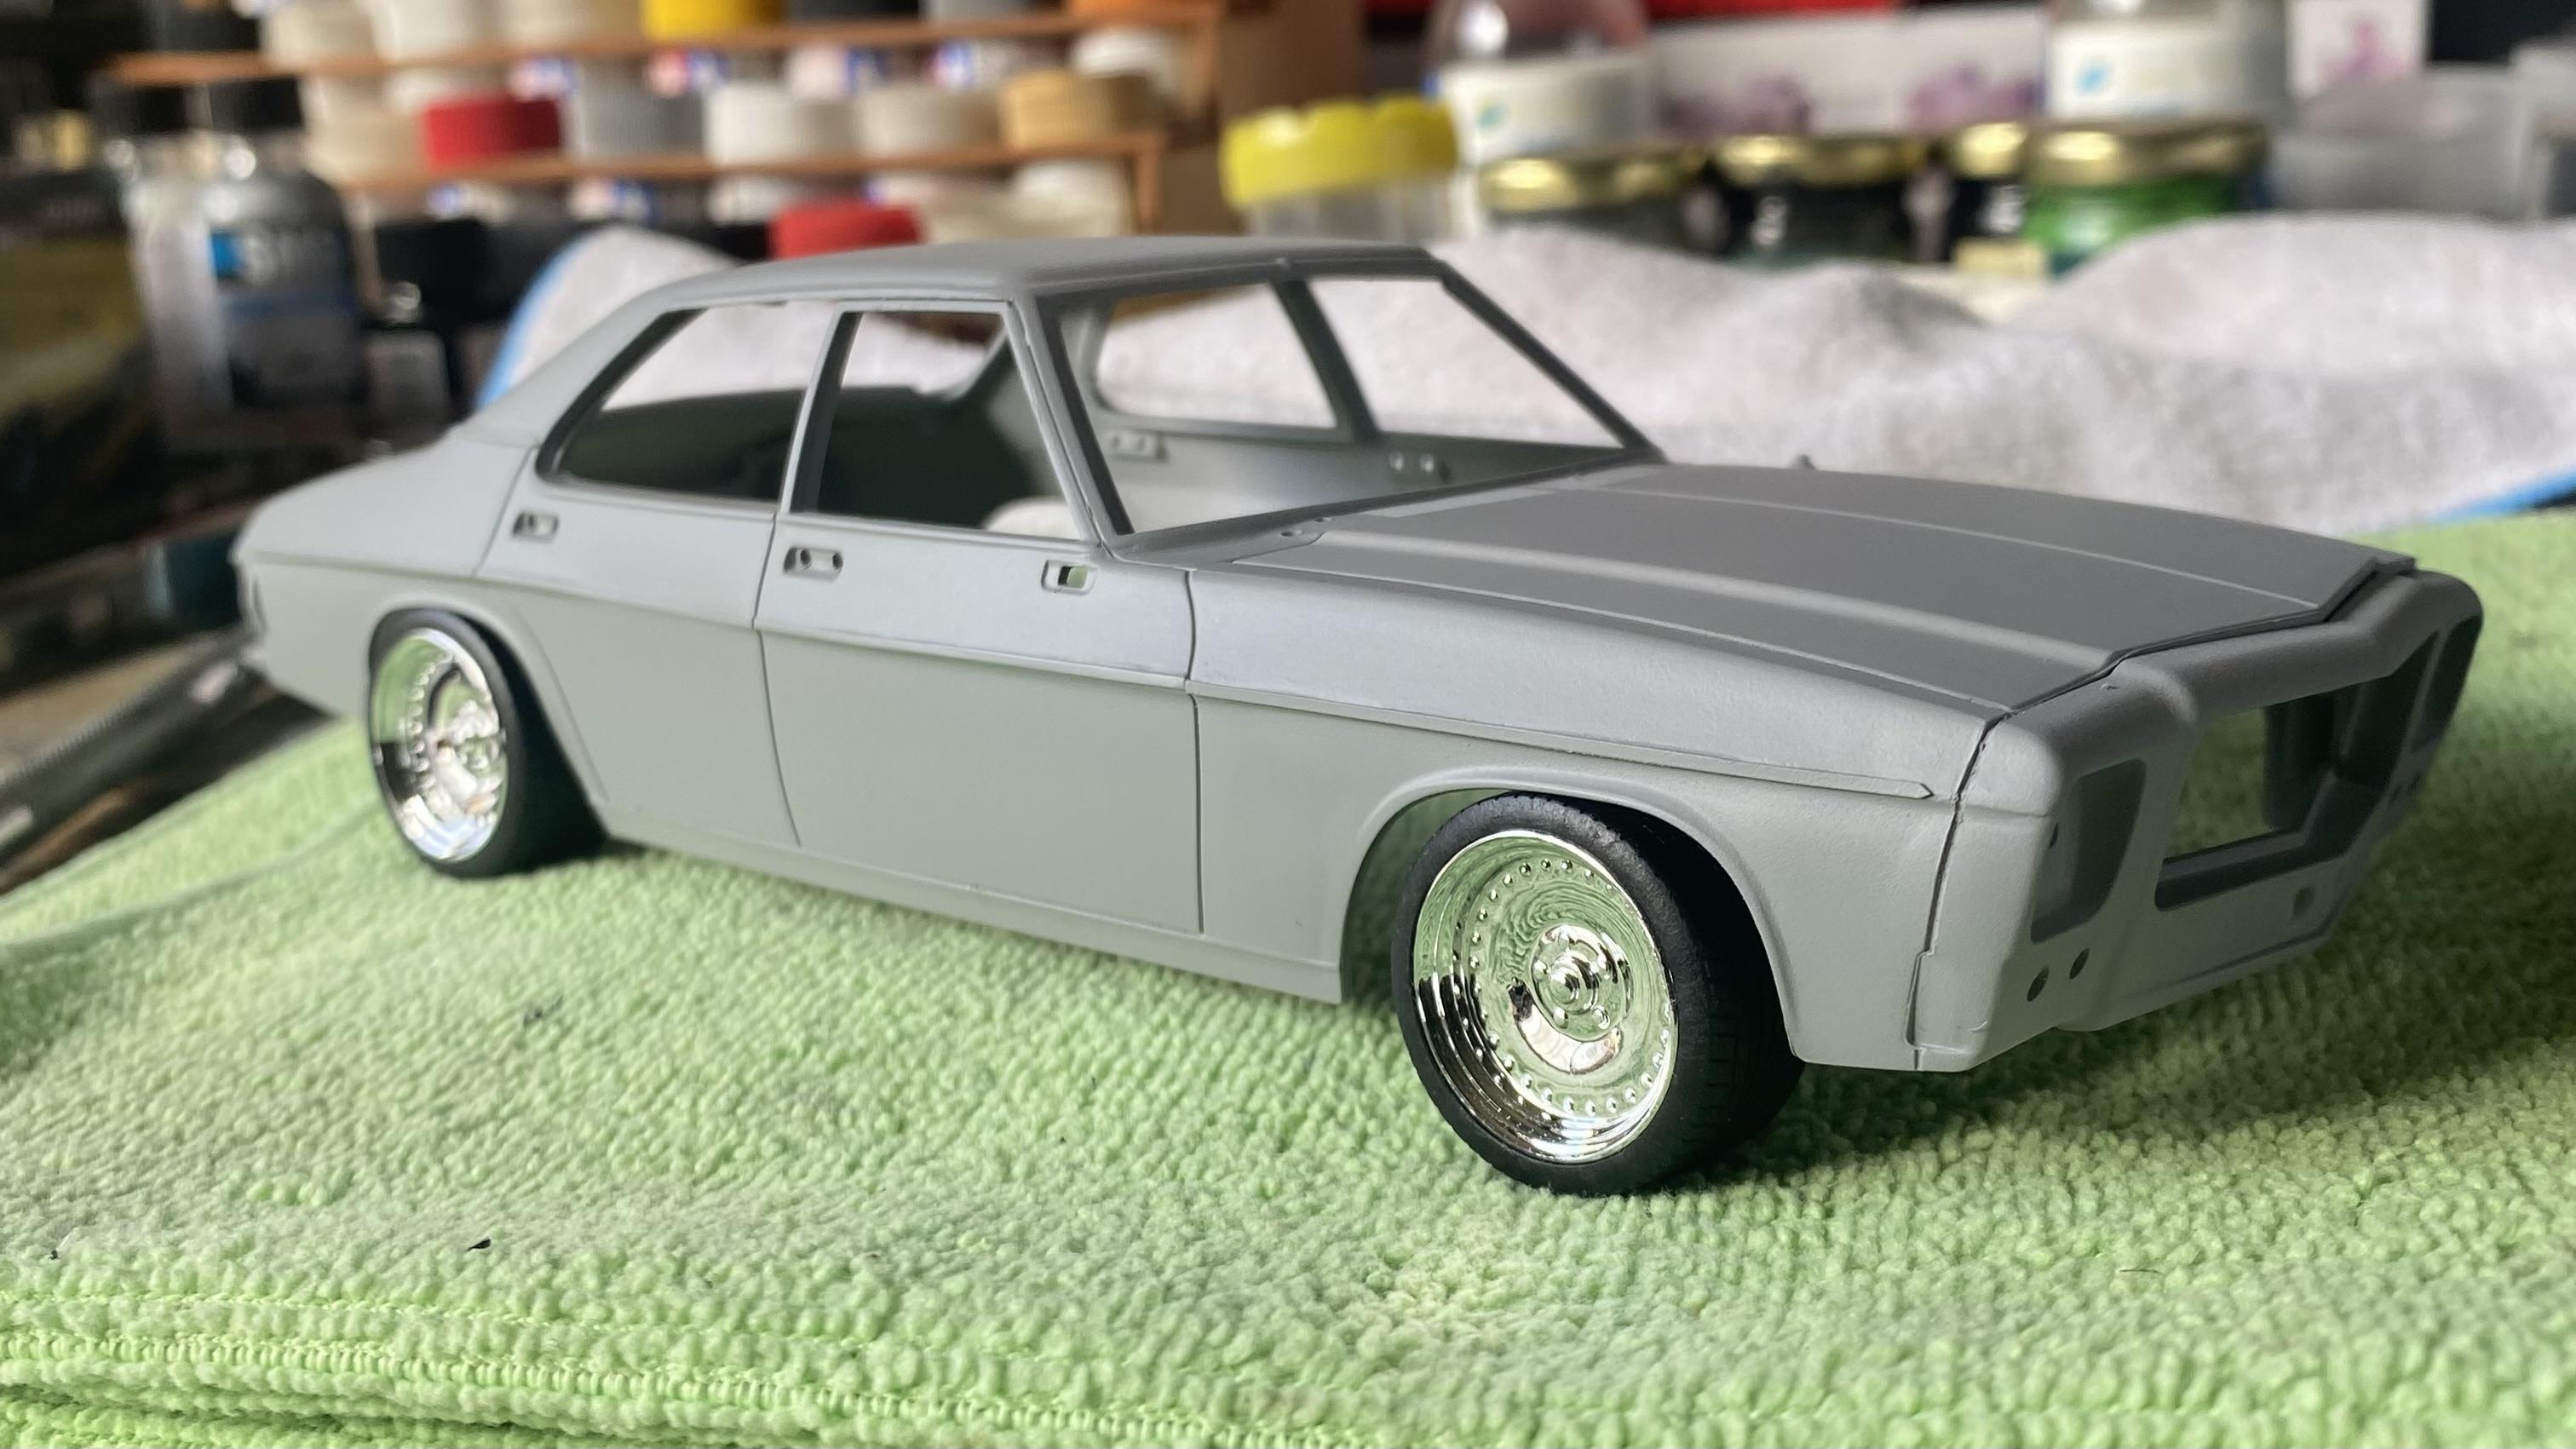
Got some primer on the body. The bump strips on the side were a pain to do as the revell contacta l usually use didnt seem too want to work real well. I’d heard that the plastic in DDA kits was difficult to glue, and I’m starting to think that’s true. After some perseverance ( and a bit of CA glue ) I got there in the end. This mock up is pretty much how the stance will be. I’ve got the SMS factory colour paints, so hopefully the mild weather will hold out and I can get some paint on it. Cheers, thanks for looking.👍🏻
-
Revell 1966 Pontiac GTO in Tamiya Titanium Gold.
STU111 replied to Dragonhawk1066's topic in Model Cars
The whole car looks awesome, but the pics looking through the drivers and passengers window at the dashboard shows the level of work dedicated to this one. Top notch. 👍🏻 -
Truly awesome work! That is stunning. I have this kit, it’s one of my all time favourite cars. I’ll start building it when my skills are better. Again, that’s a great looking Z car. Thanks for sharing. 👍🏻
-
Thanks! I’m still learning how to use it but I’m happy with this result, better than some of my earlier efforts. Yes, it is the new improved chrome. I purchased it online from BNA models in Melbourne, ( I’m in Australia ) that was around 12 months ago, so unsure if they currently have it in stock. Hope you can track some down, it burnished down and cut very nicely.
-
You’ve done a great job replicating that Nova. It’s beautifully finished. I enjoy seeing builds based on someone’s actual car. Top stuff. 👍🏻
-
Putting the headlights in today and made the unfortunate discovery that the bumper mounted lights ( part number 186 ) had one of the lenses short shot. Rummaging through the parts box and had nothing close, so l mixed up some X22 gloss clear with a touch of gloss white and dropped it into each light opening. Came out okay.
-
Agreed regarding the seatbelt decals. In hindsight I wish I hadn’t used them but as the interior is black they aren’t super noticeable. The euro boxings of the Revell kits usually feature them.
-
Nice work on an unusual subject. Only needs a figure of the Chinese president waving to the crowd. 👍🏻
-
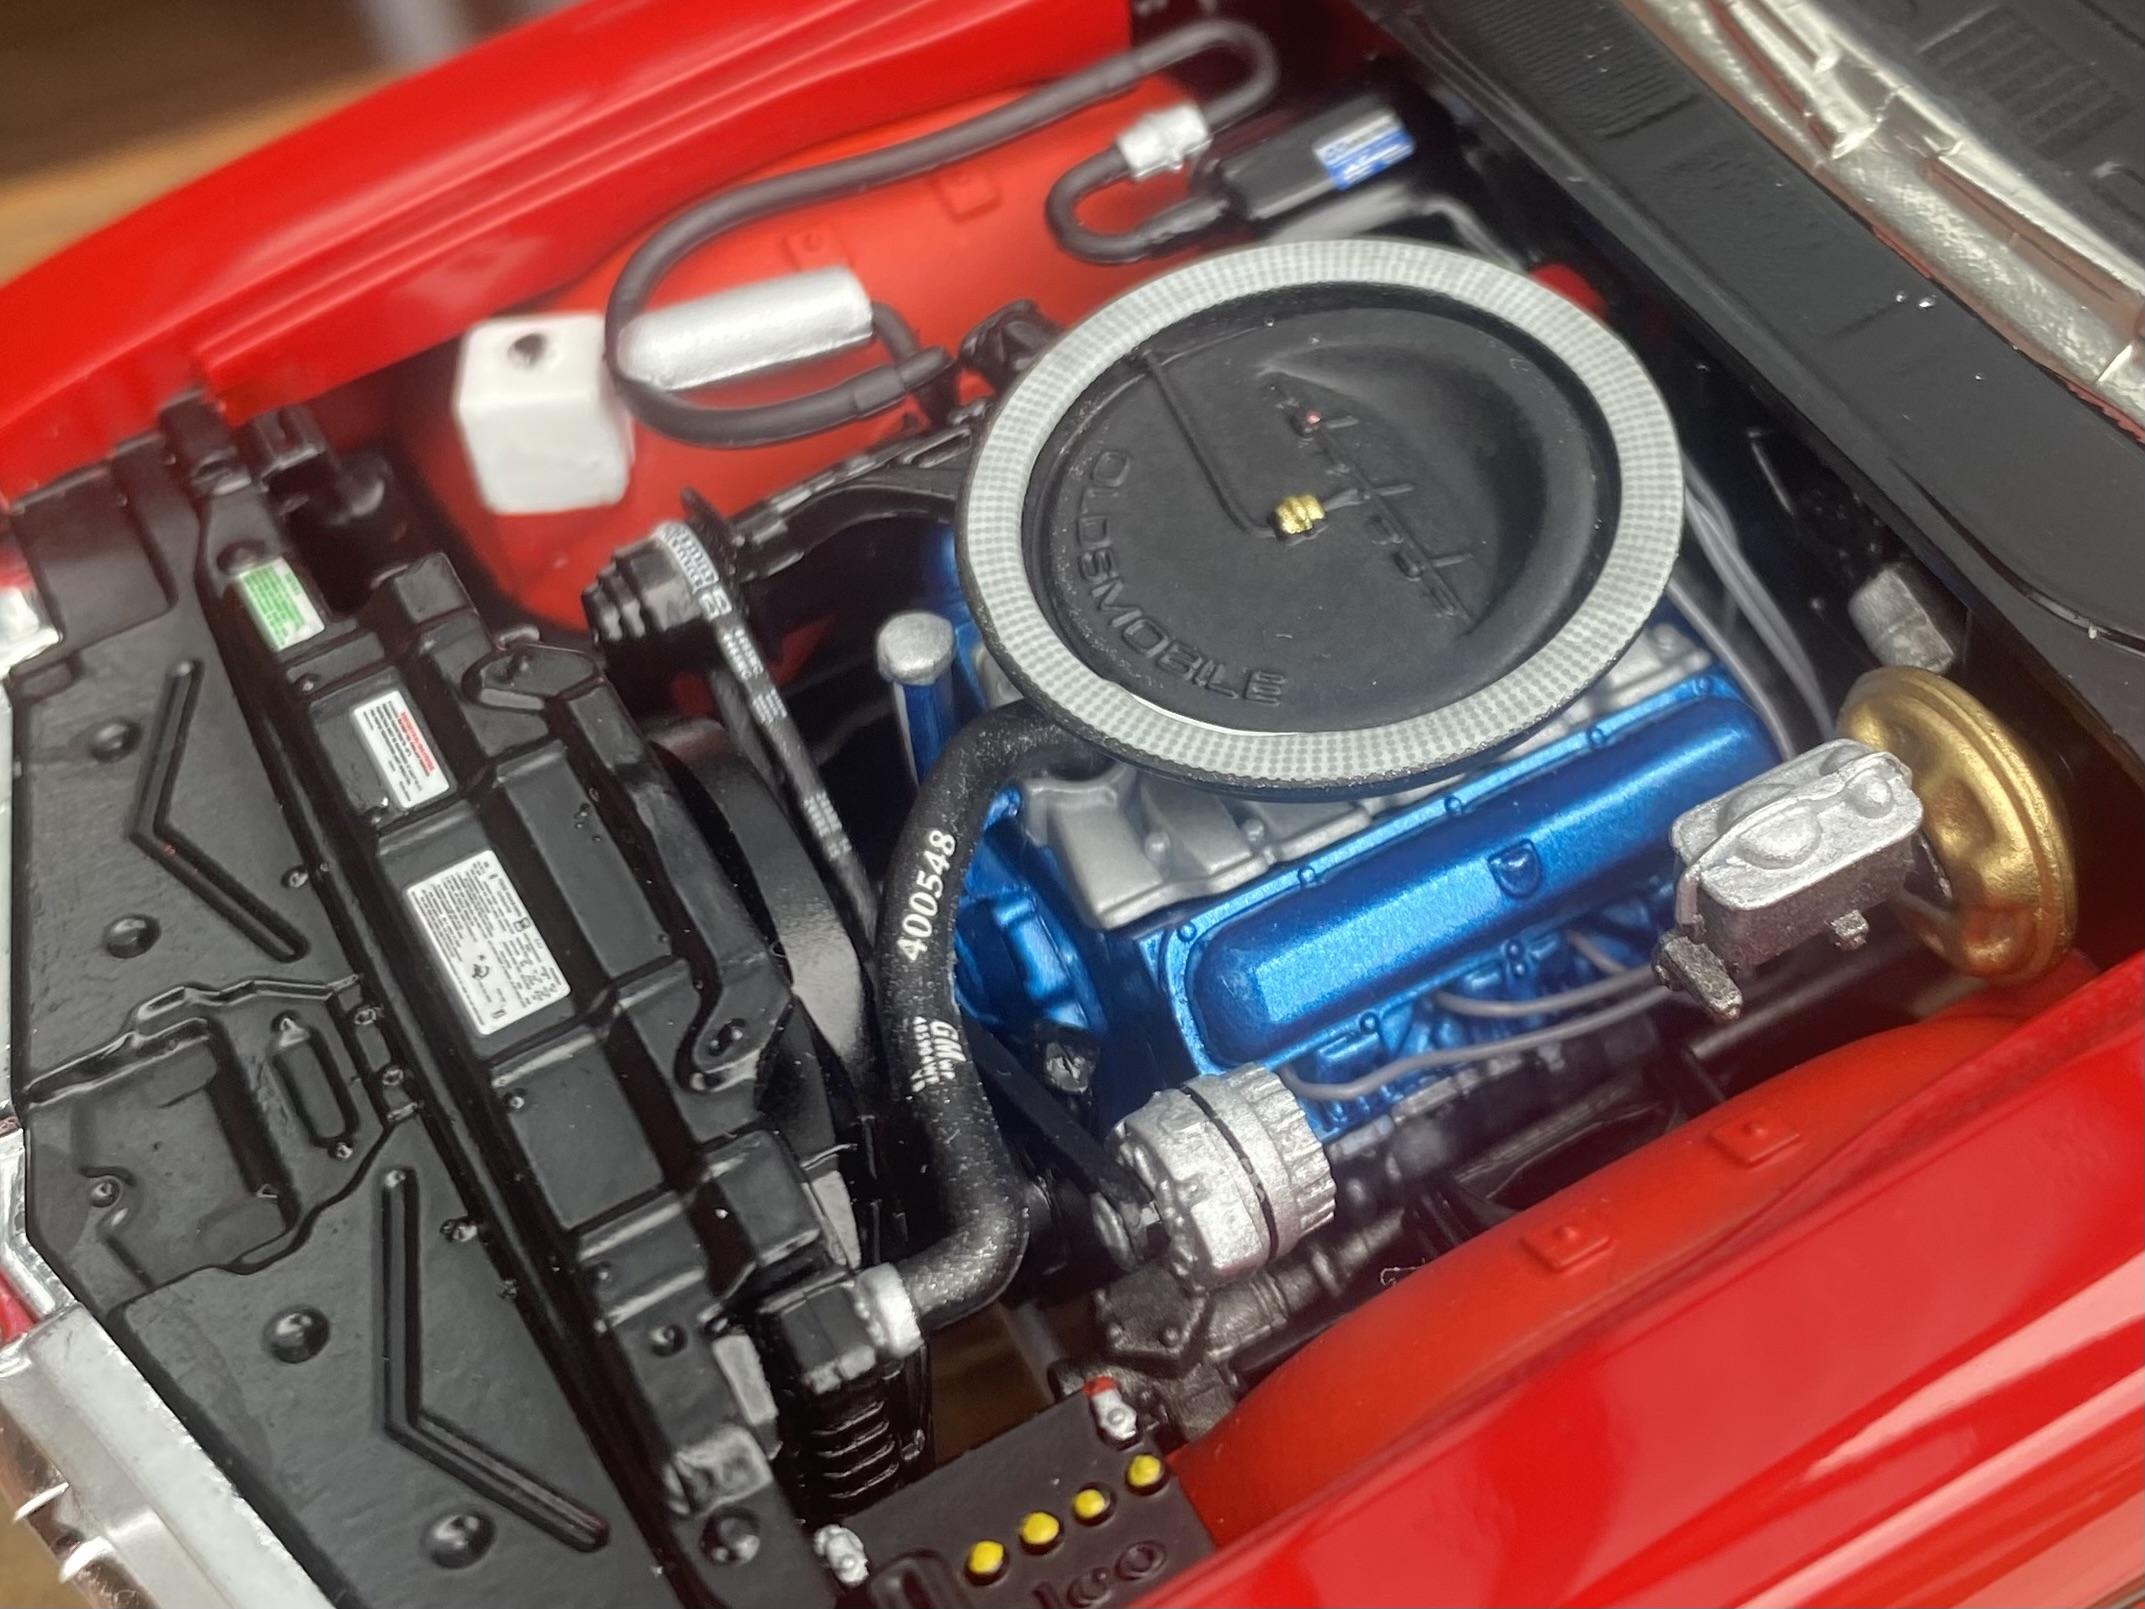
On the home stretch now, only drama was the rear window needed to be trimmed slightly to fit. This is a really nice kit. I added a prewired distributor, but even without that, the engine bay would look great straight out of the box. I’ll put some pics in the under glass section when it’s done. Thanks for looking. 👍🏻
-
The best of US Mopar dressed up in the stripe package from the best of Aussie Mopar. Nice combination. 👍🏻
-
G’day Jeff. Excellent work on this one. I’ve just started this kit, any thing I should look out for? Again, sweet job on yours. 👍🏻