OldNYJim
-
Posts
251 -
Joined
-
Last visited
Content Type
Profiles
Forums
Events
Gallery
Everything posted by OldNYJim
-
 I really don’t have a thing to add to all the praise posted before this comment - but I’m so thankful you shared the process of building this beautiful work of art in such great detail, and shared the finished product with us. I hope you’re proud of your accomplishment! Masterful and inspiring work
 -
I’ll be in for a wagon, a bunch of Deuces and a Cop Out or two, even if it’s not called a Cop Out any more…
-
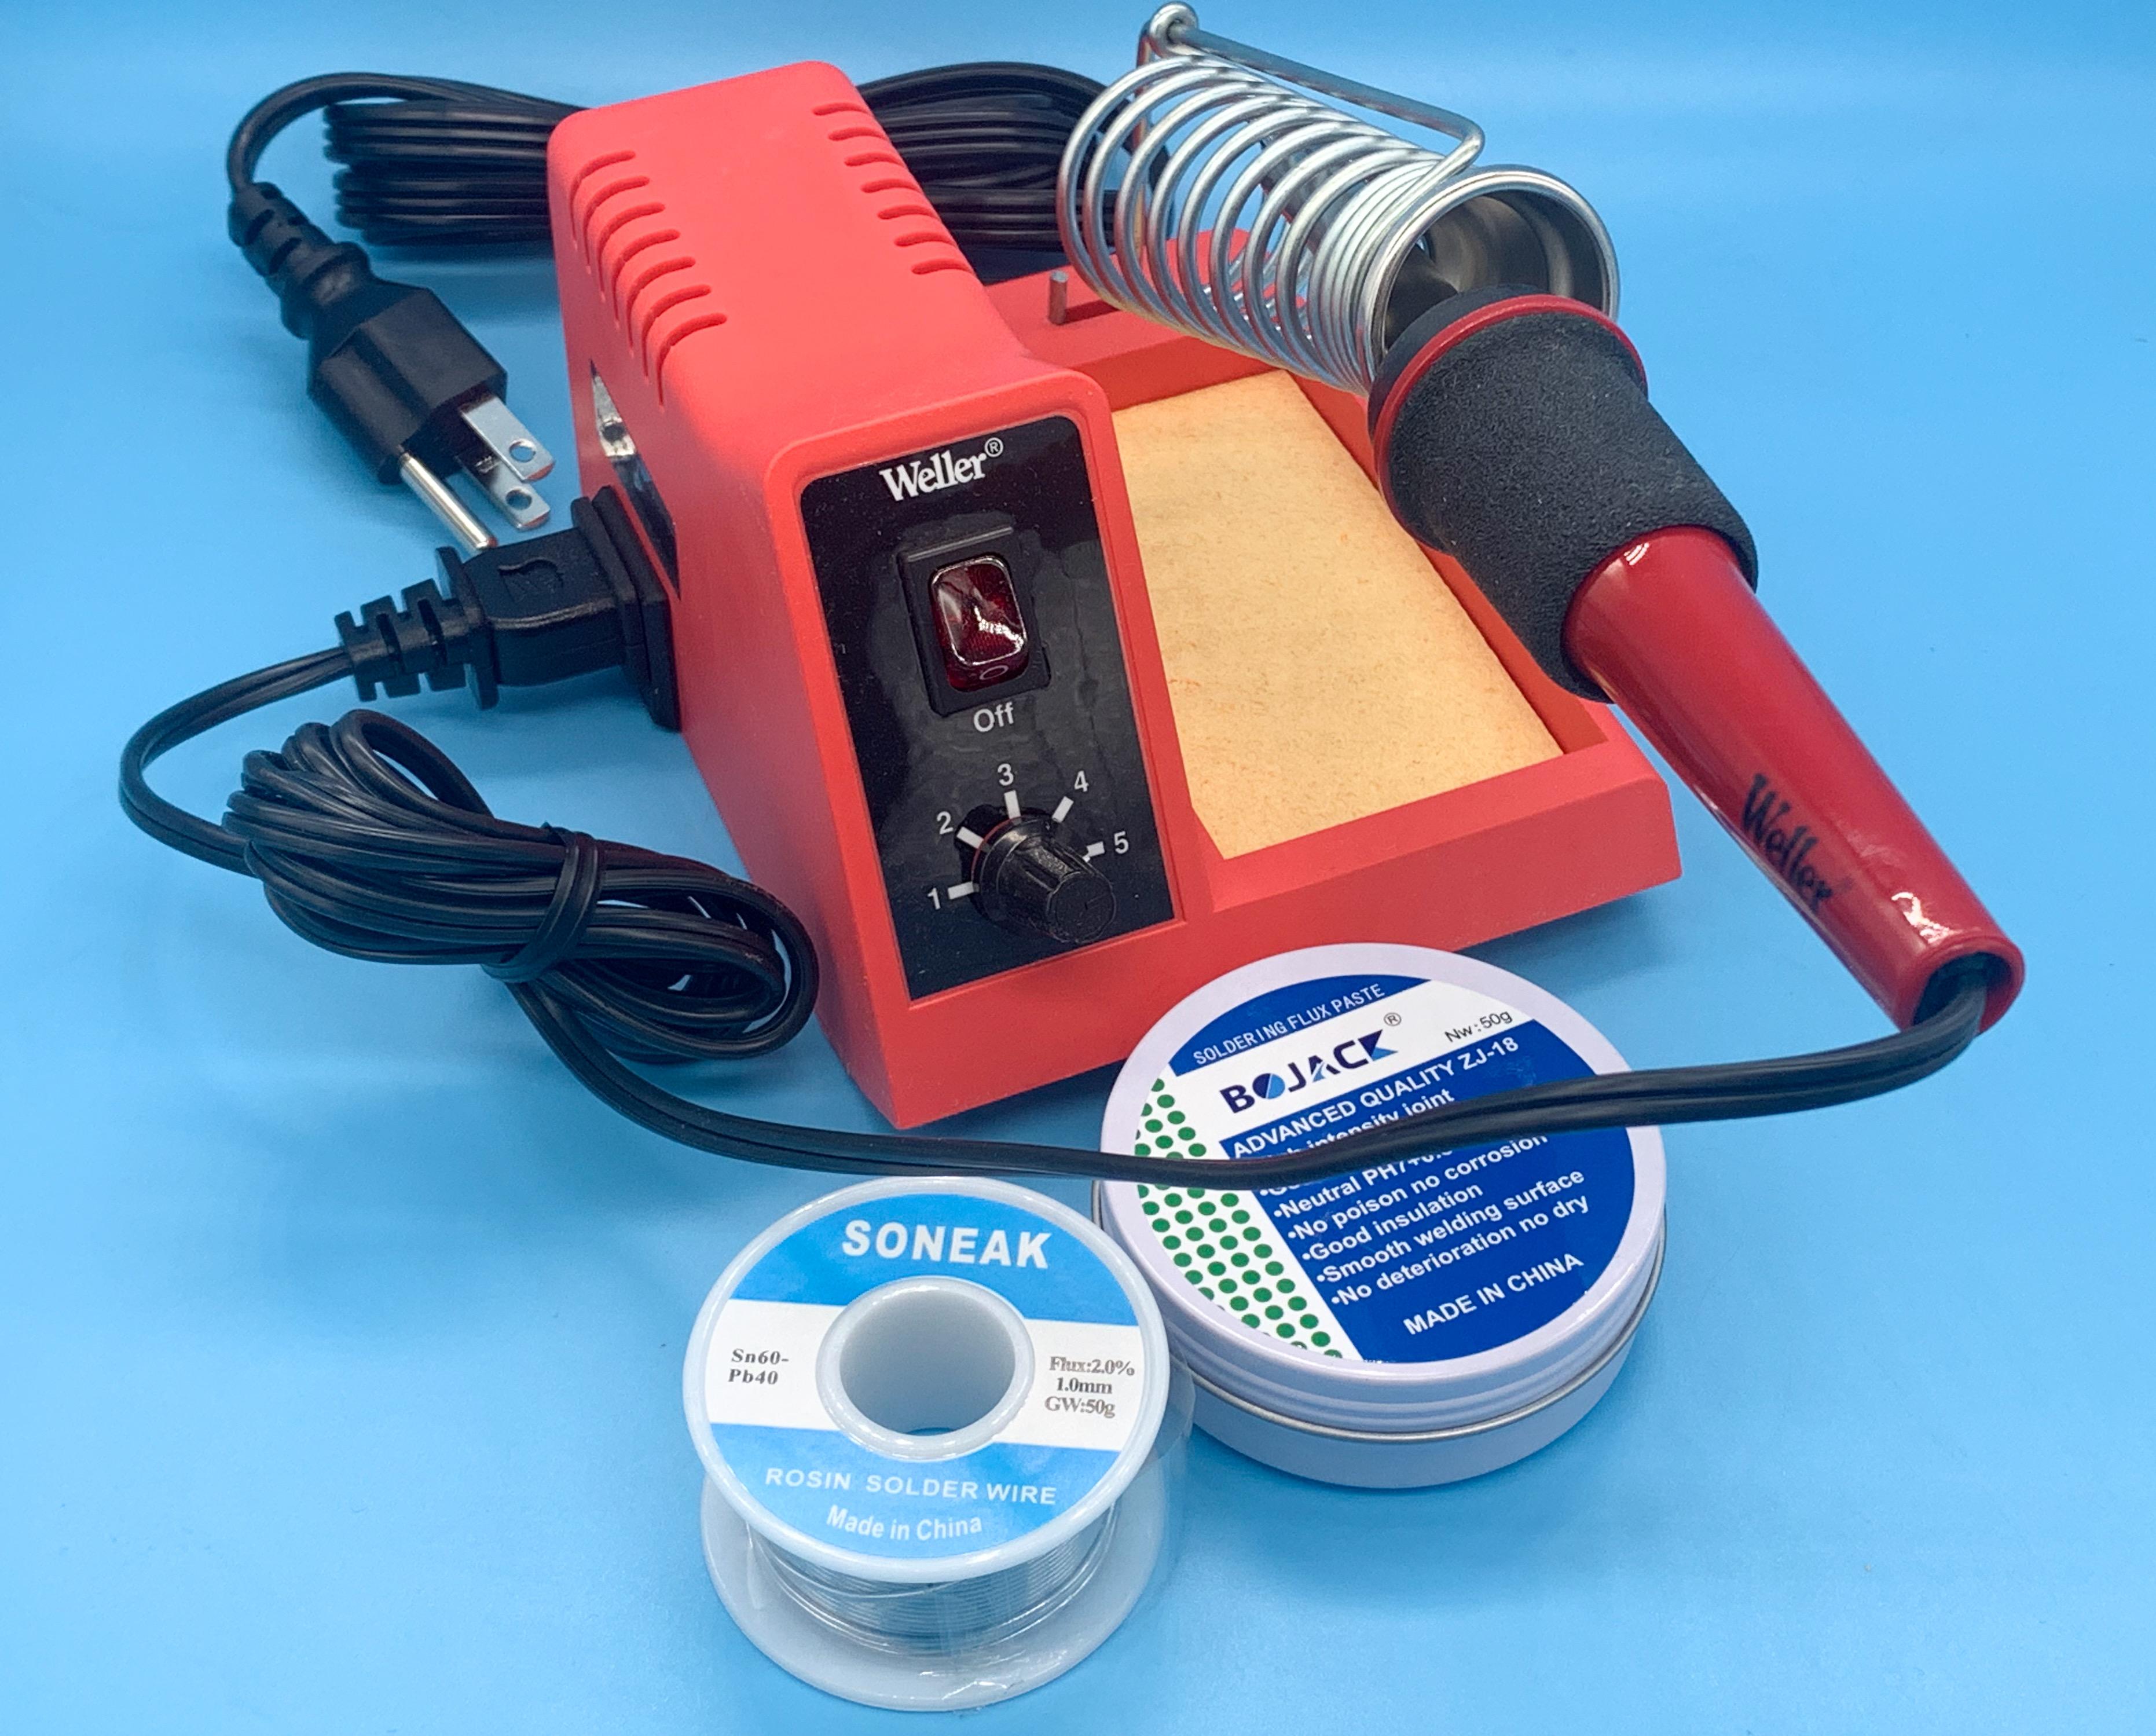
I’ve been wanting to start working with brass a little, and I can solder ok but never got a decent setup. These Weller irons were on a flash sale on Amazon Prime day for $20 and I managed to grab one - excited to start playing with some metals!

- 38,884 replies
-
- 1
-

-
- johan
- glue bombs
- (and 1 more)
-
The lacquer or the enamel? The enamel is my favorite - I still have probably 10-15 bottles of it left and a half dozen cans, but when I run out I'll be switching to this stuff: https://mcwfinishes.com/shop/ols/products/1017-clear-enamel It's meant to be near identical to spray and gives similarly great results, from what I've seen... EDIT: This only helps if you have an airbrush, obviously...
-
Yeah, that's a really nice solution to the problem! Great thinking!
-
Not as fancy or precise, but the same tip with a Gelly Roll works with a circle template too.
-
Not sure why Michael’s has their Mustang kits for $16 (have they always been that cheap?), but this followed me home tonight...
- 38,884 replies
-
- 1
-
-
- johan
- glue bombs
- (and 1 more)
-
If you're nearby on a weekend, there's some decent 1:1 car and bike shows most weeks here in Valparaiso (just north of the bottom of the lake there). I like Hawker Hobbies in Schereville, IN for the scale stuff that you actually asked about - good selection of car kits and a HUGE range of paint, and it's right next door to a cool little diner with a model railroad running all round the building. Worth stopping for a burger and to buy a engineer's hat or souvenir whistle...
-
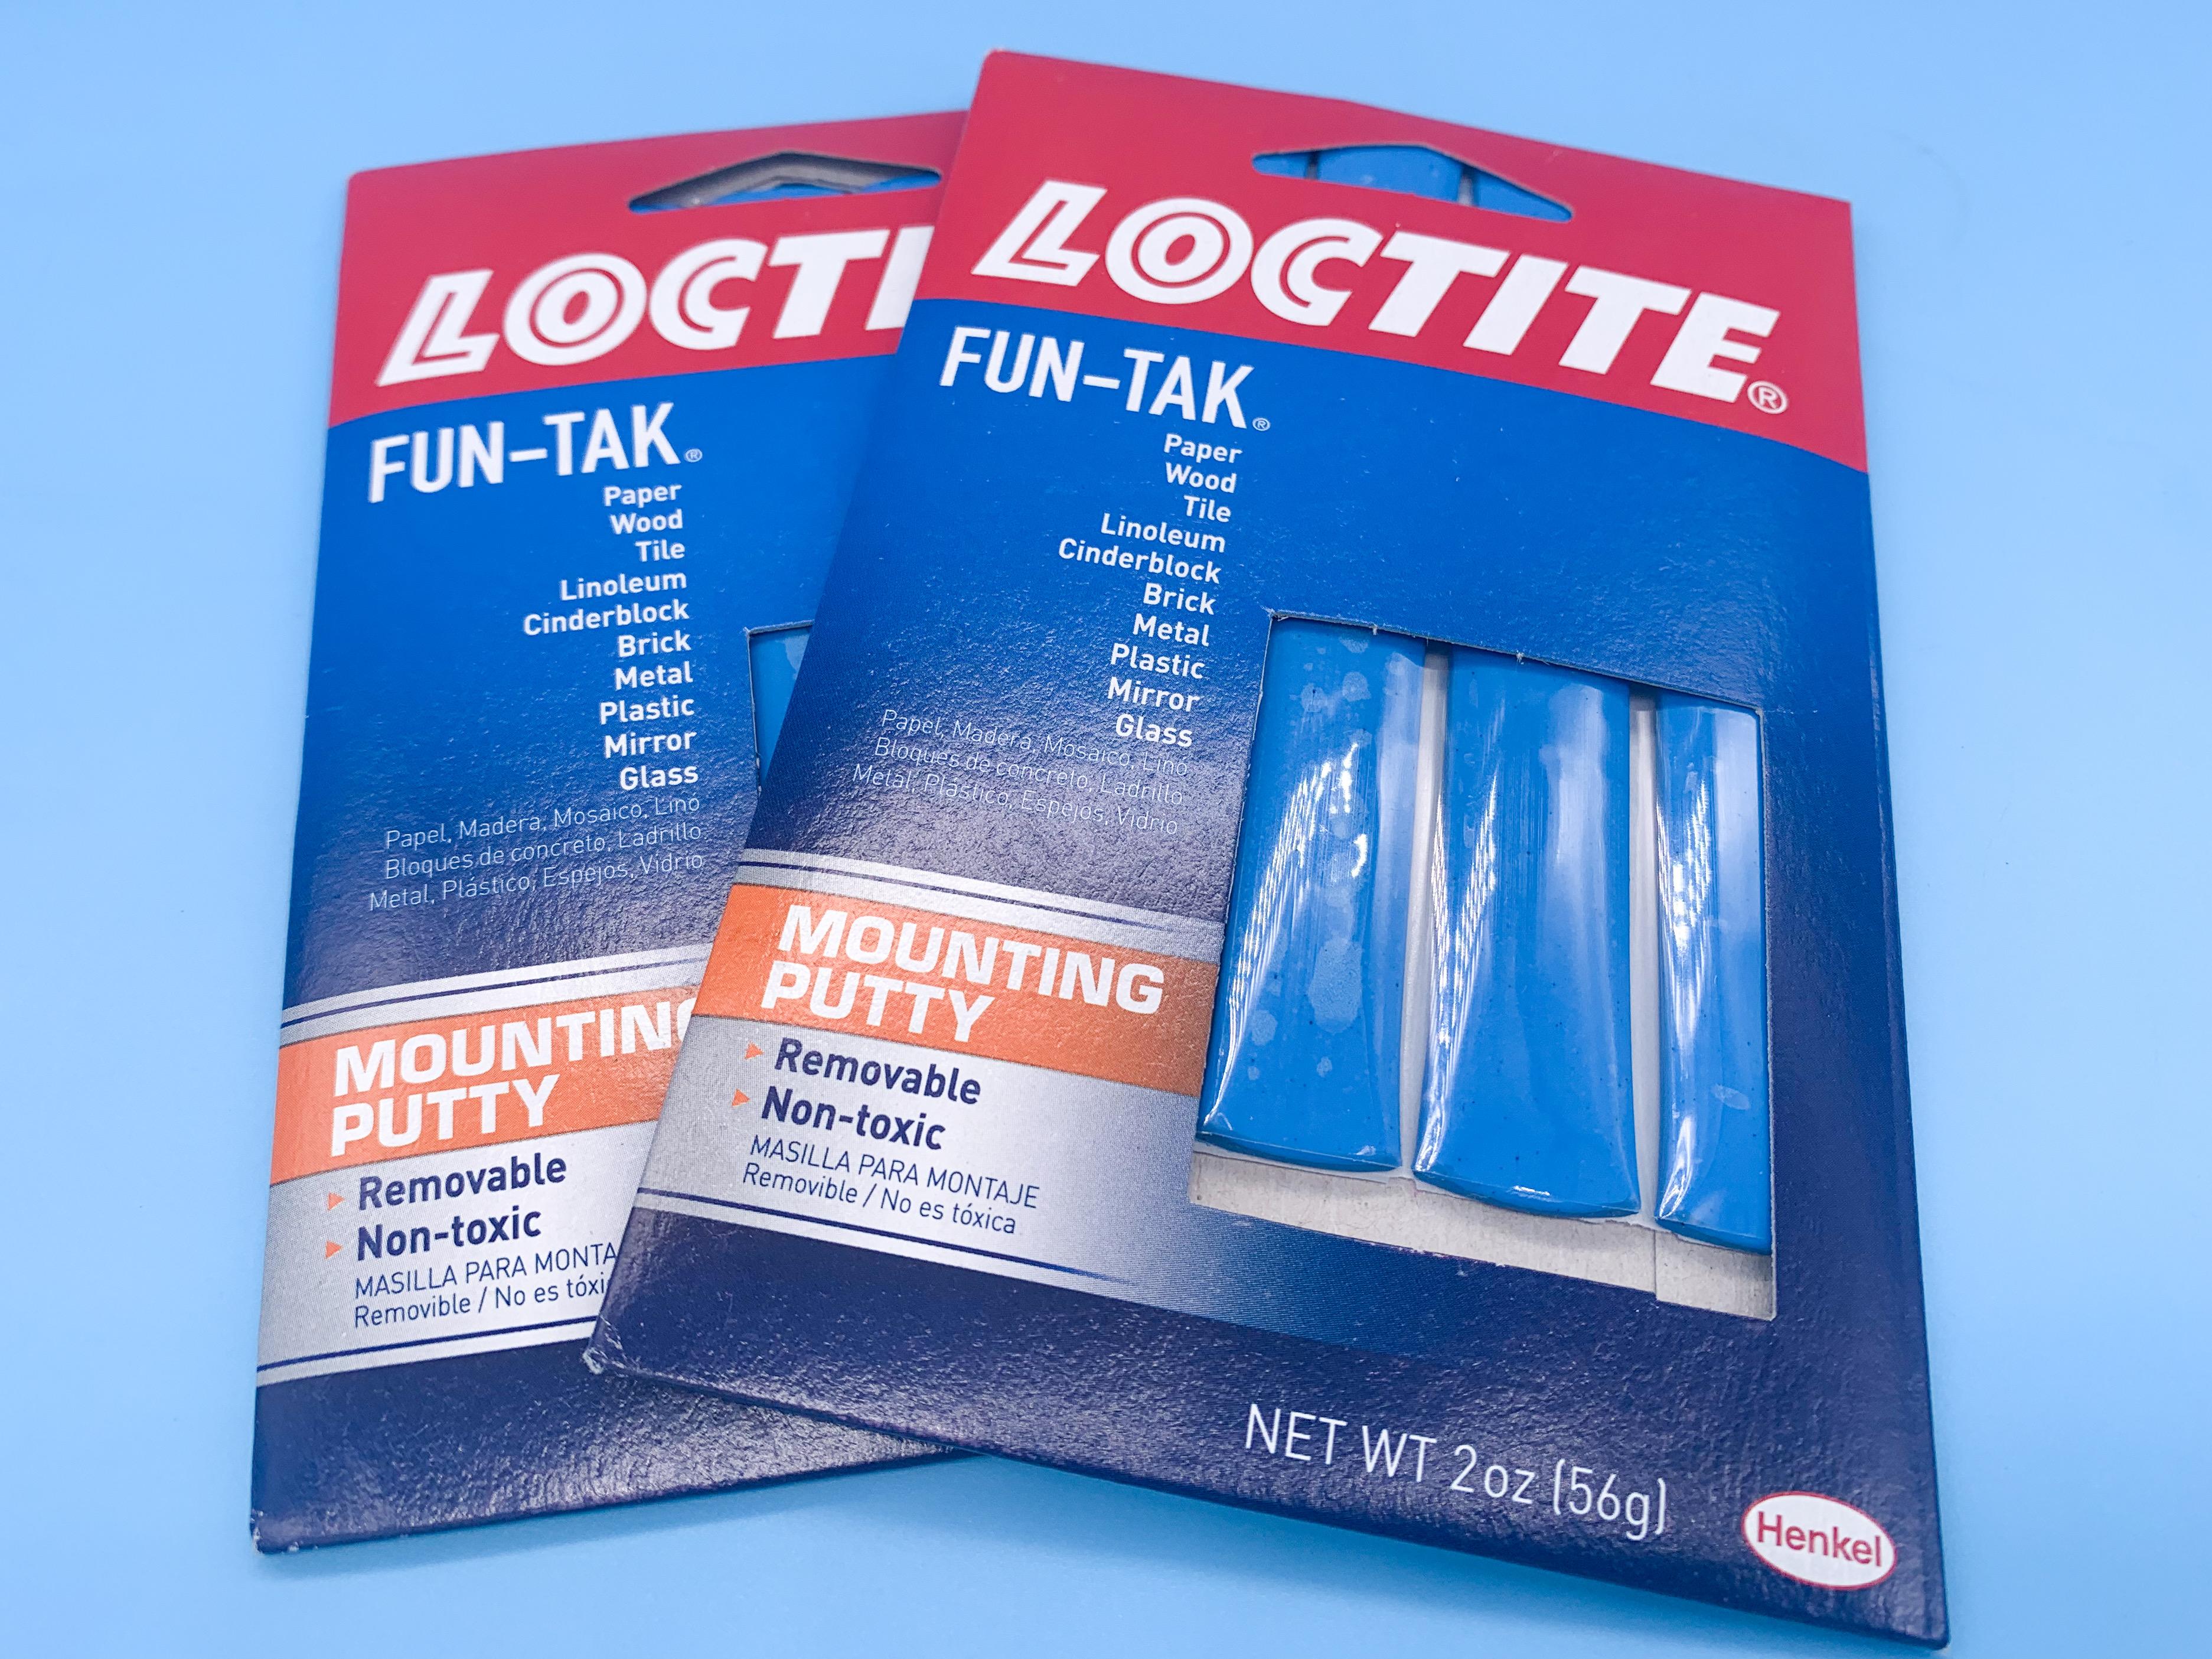
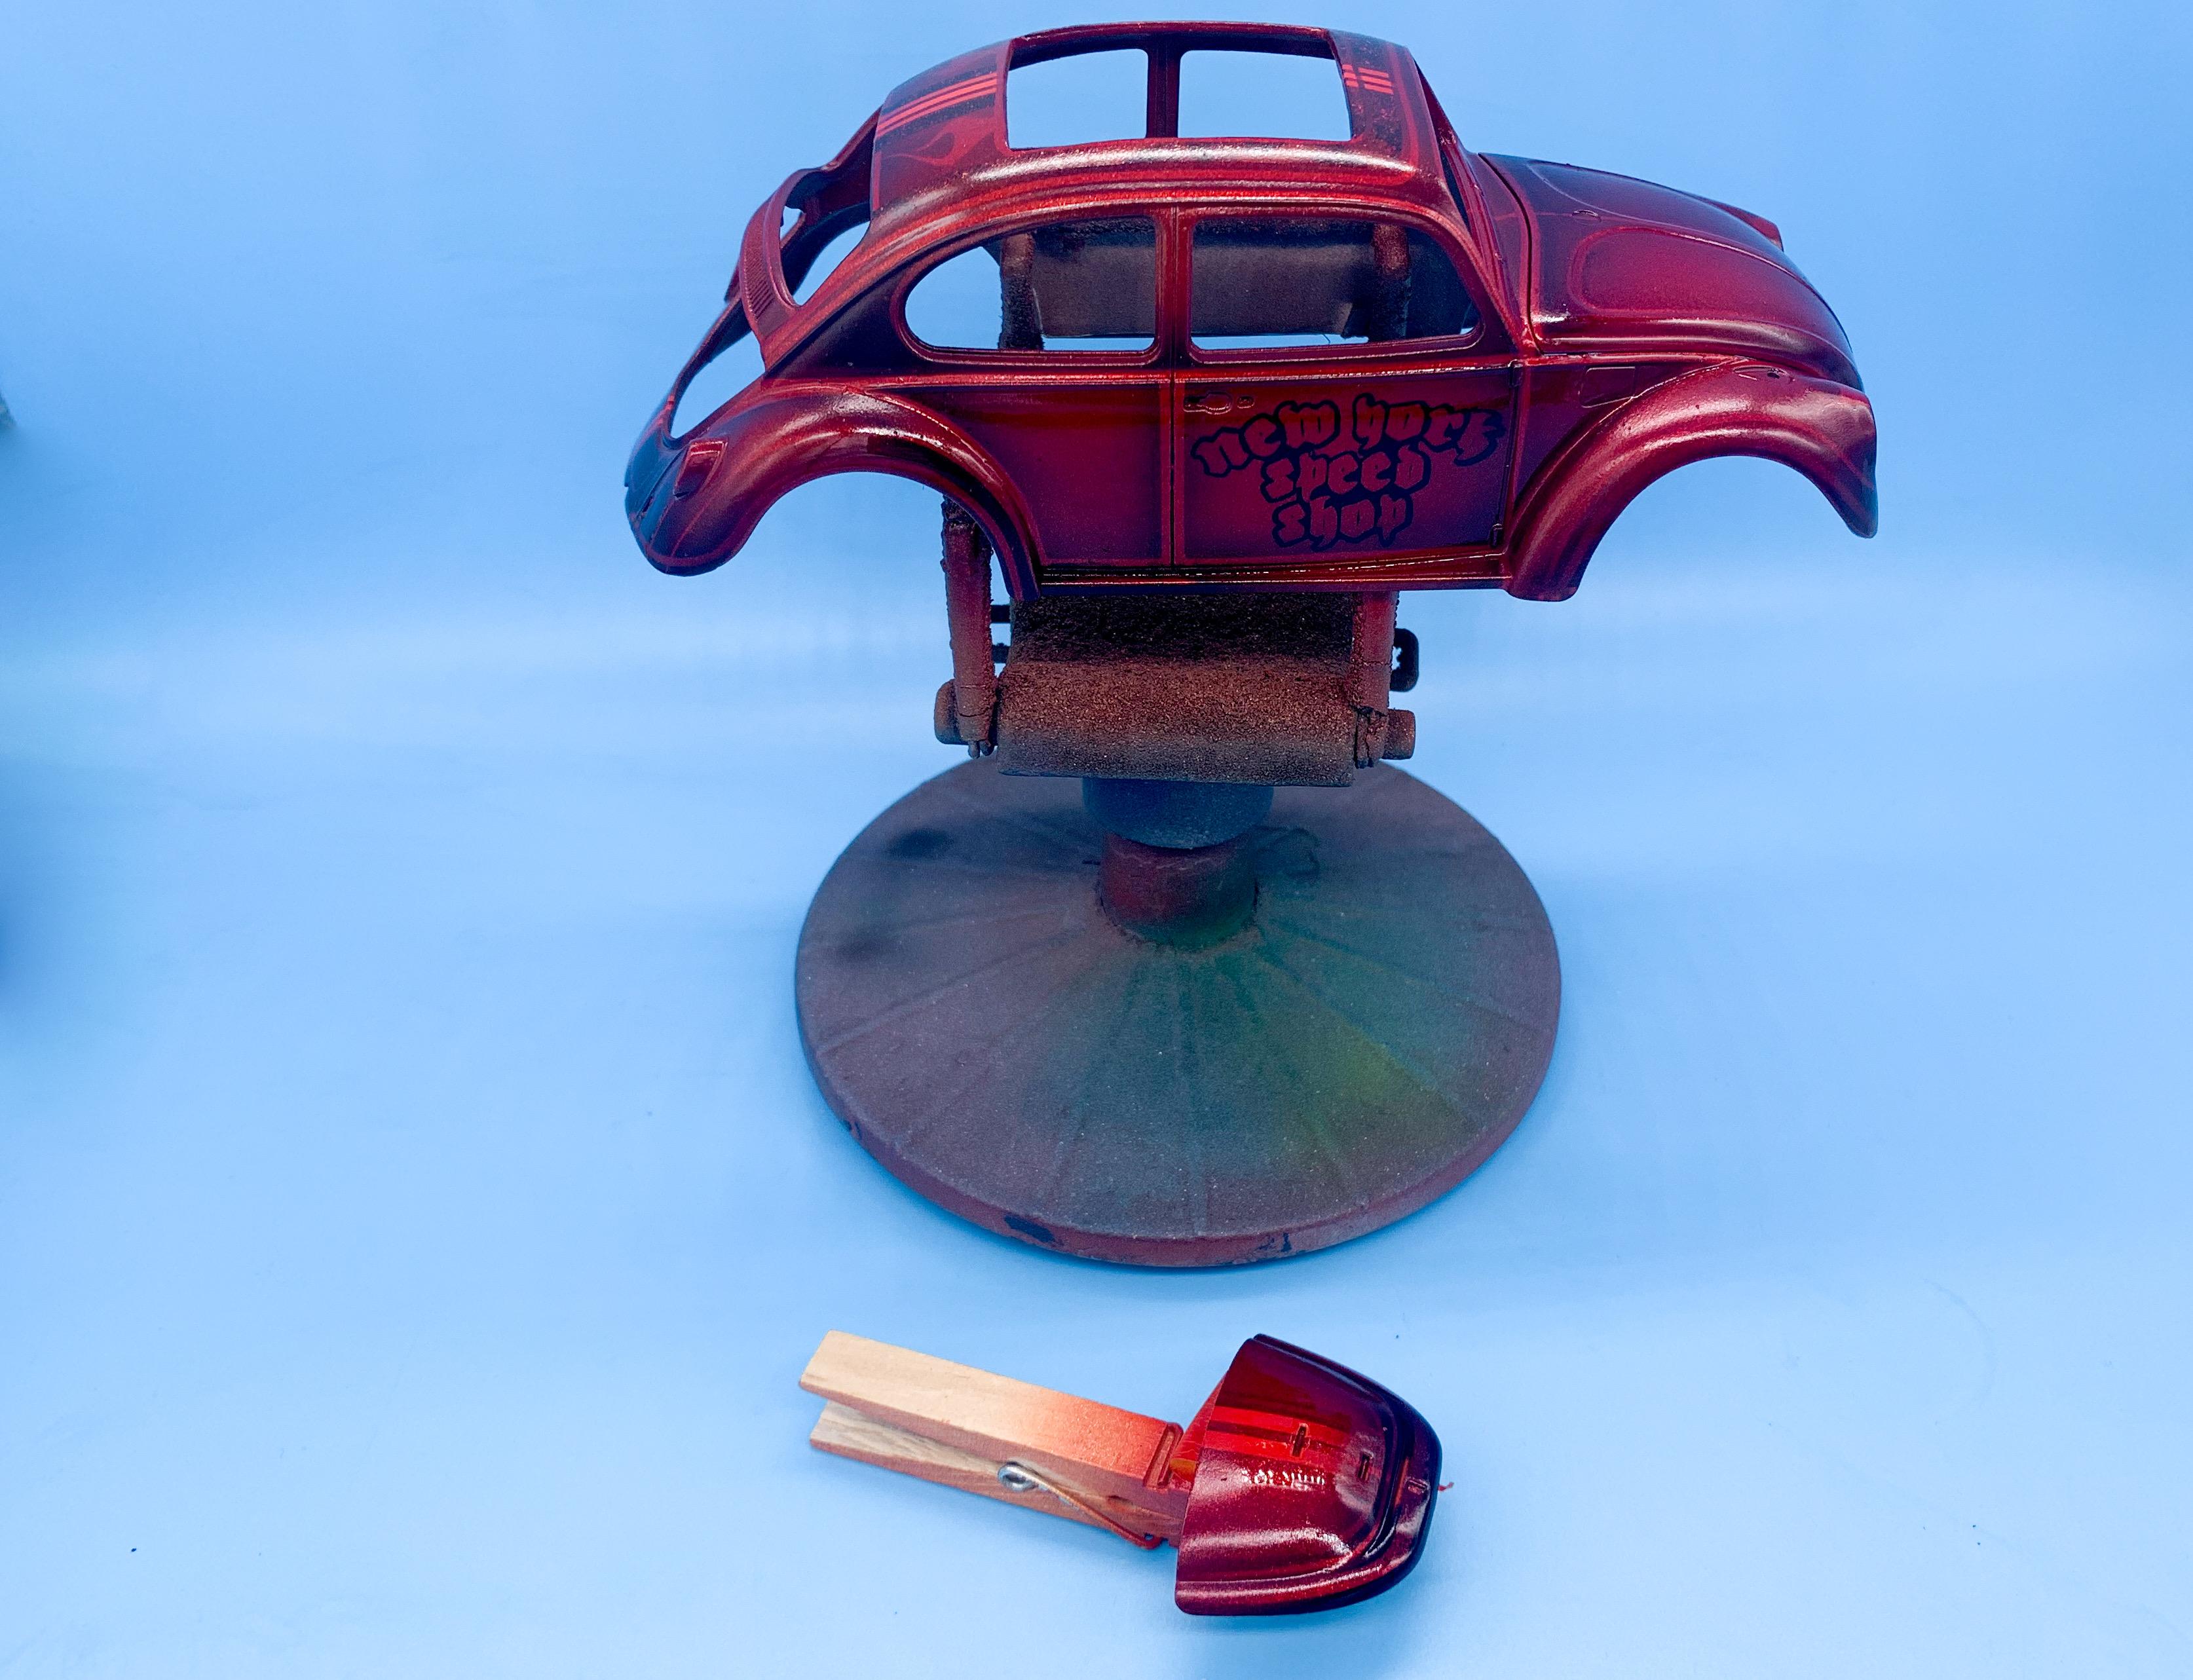
Got a care package from a modeling buddy today - sent me a tee, some stickers and a couple of coolers he painted. I love getting gifts from modeling buddies! But wait! There’s more! Picked up some LED lights and USB plugs (so I can run lighting for a model from either a portable phone charger, or thru mains with a USB adapter) from Evans - SUPER fast service and really helpful. Impressive! And finally, the first of my Prime Day purchases arrived…this stuff is SO useful for mock-ups and holding parts for painting. I had a big tennis-ball sized blob of it but over the past few years it’s gradually shrunk to ping-pong ball size so I did a restock… Should be good until 2027 or so now once I ‘top up’ the ball ?
- 38,884 replies
-
- 2
-
-
- johan
- glue bombs
- (and 1 more)
-
50 cool rat rods- some great ideas
OldNYJim replied to gbdolfans's topic in General Automotive Talk (Trucks and Cars)
Up thru a manhole cover ? -
On a barely-related note, I wonder where the Boothill Express tooling went? I wouldn't mind seeing THAT come back (not that Round 2 would have it, I'm sure...)
-
50 cool rat rods- some great ideas
OldNYJim replied to gbdolfans's topic in General Automotive Talk (Trucks and Cars)
Note to author: if a car won a Ridler, it isn't a rat rod. Similarly, if a car won the Indy 500, it too probably isn't a rat rod. -
The Valpo store has had two or three in the shelf for a few weeks now; they kept putting out a new one once a week and I kept buying it, but I have probably a dozen now so they’re starting to pile up over there ??
-
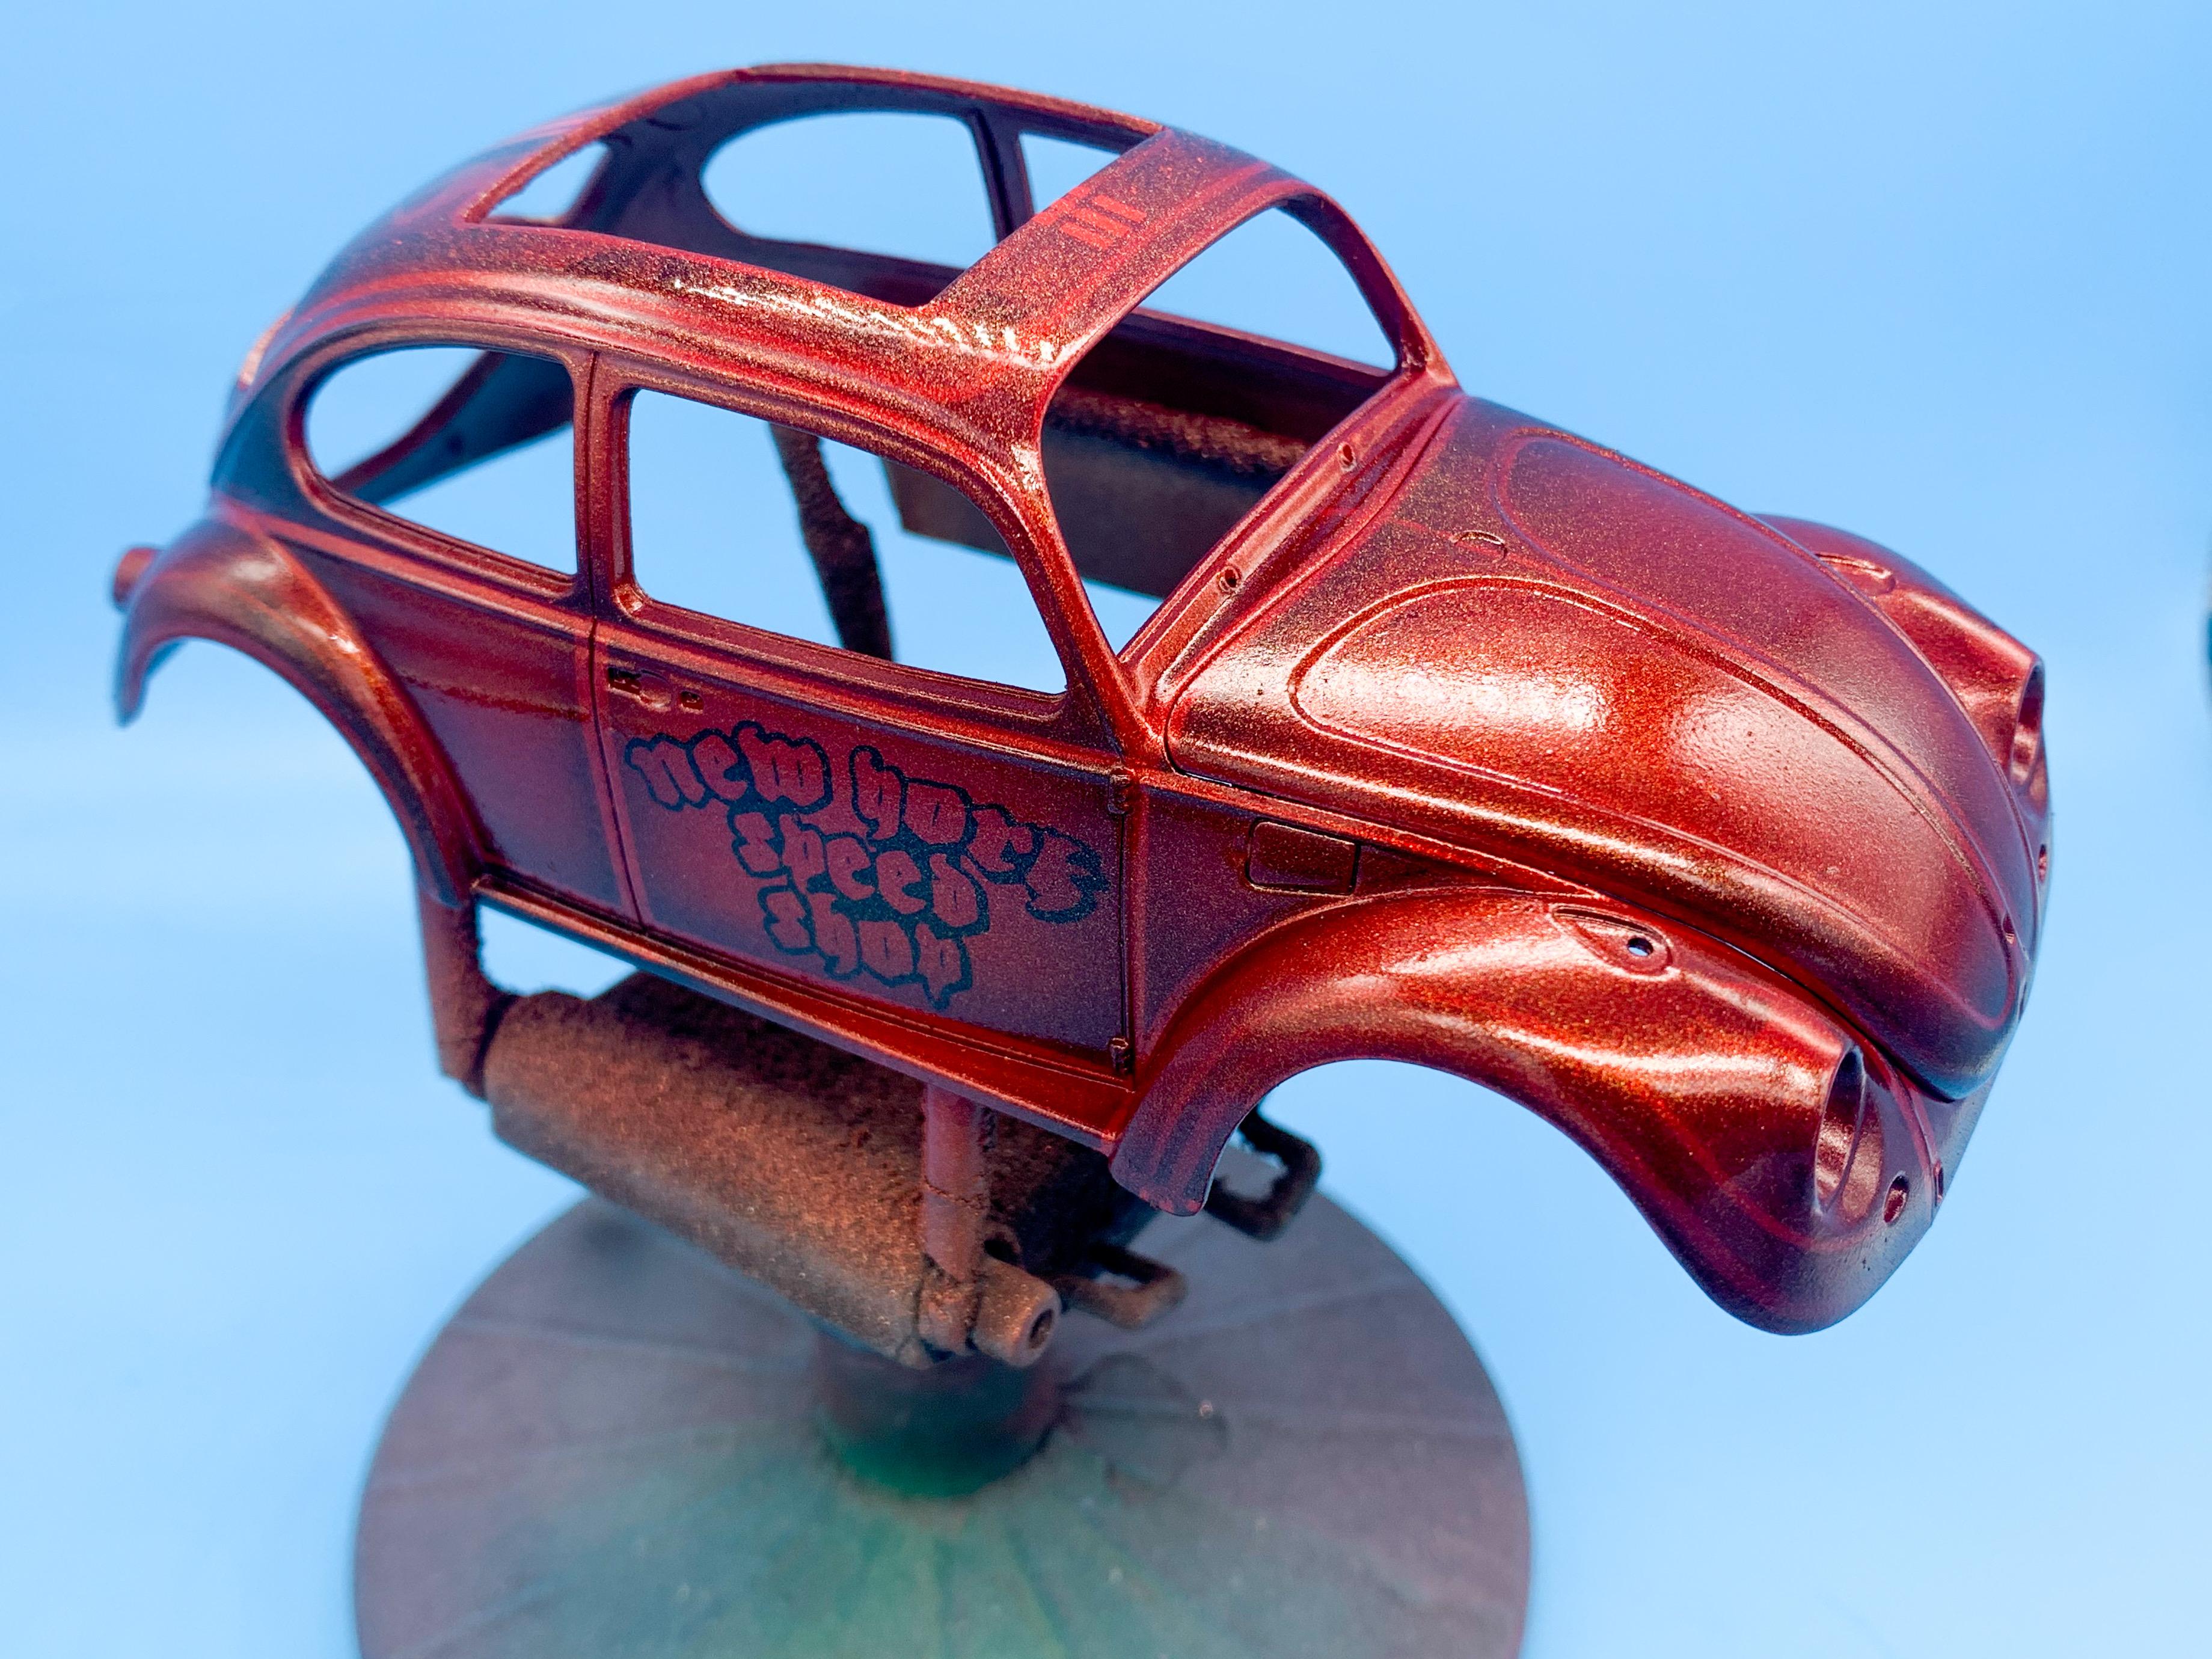
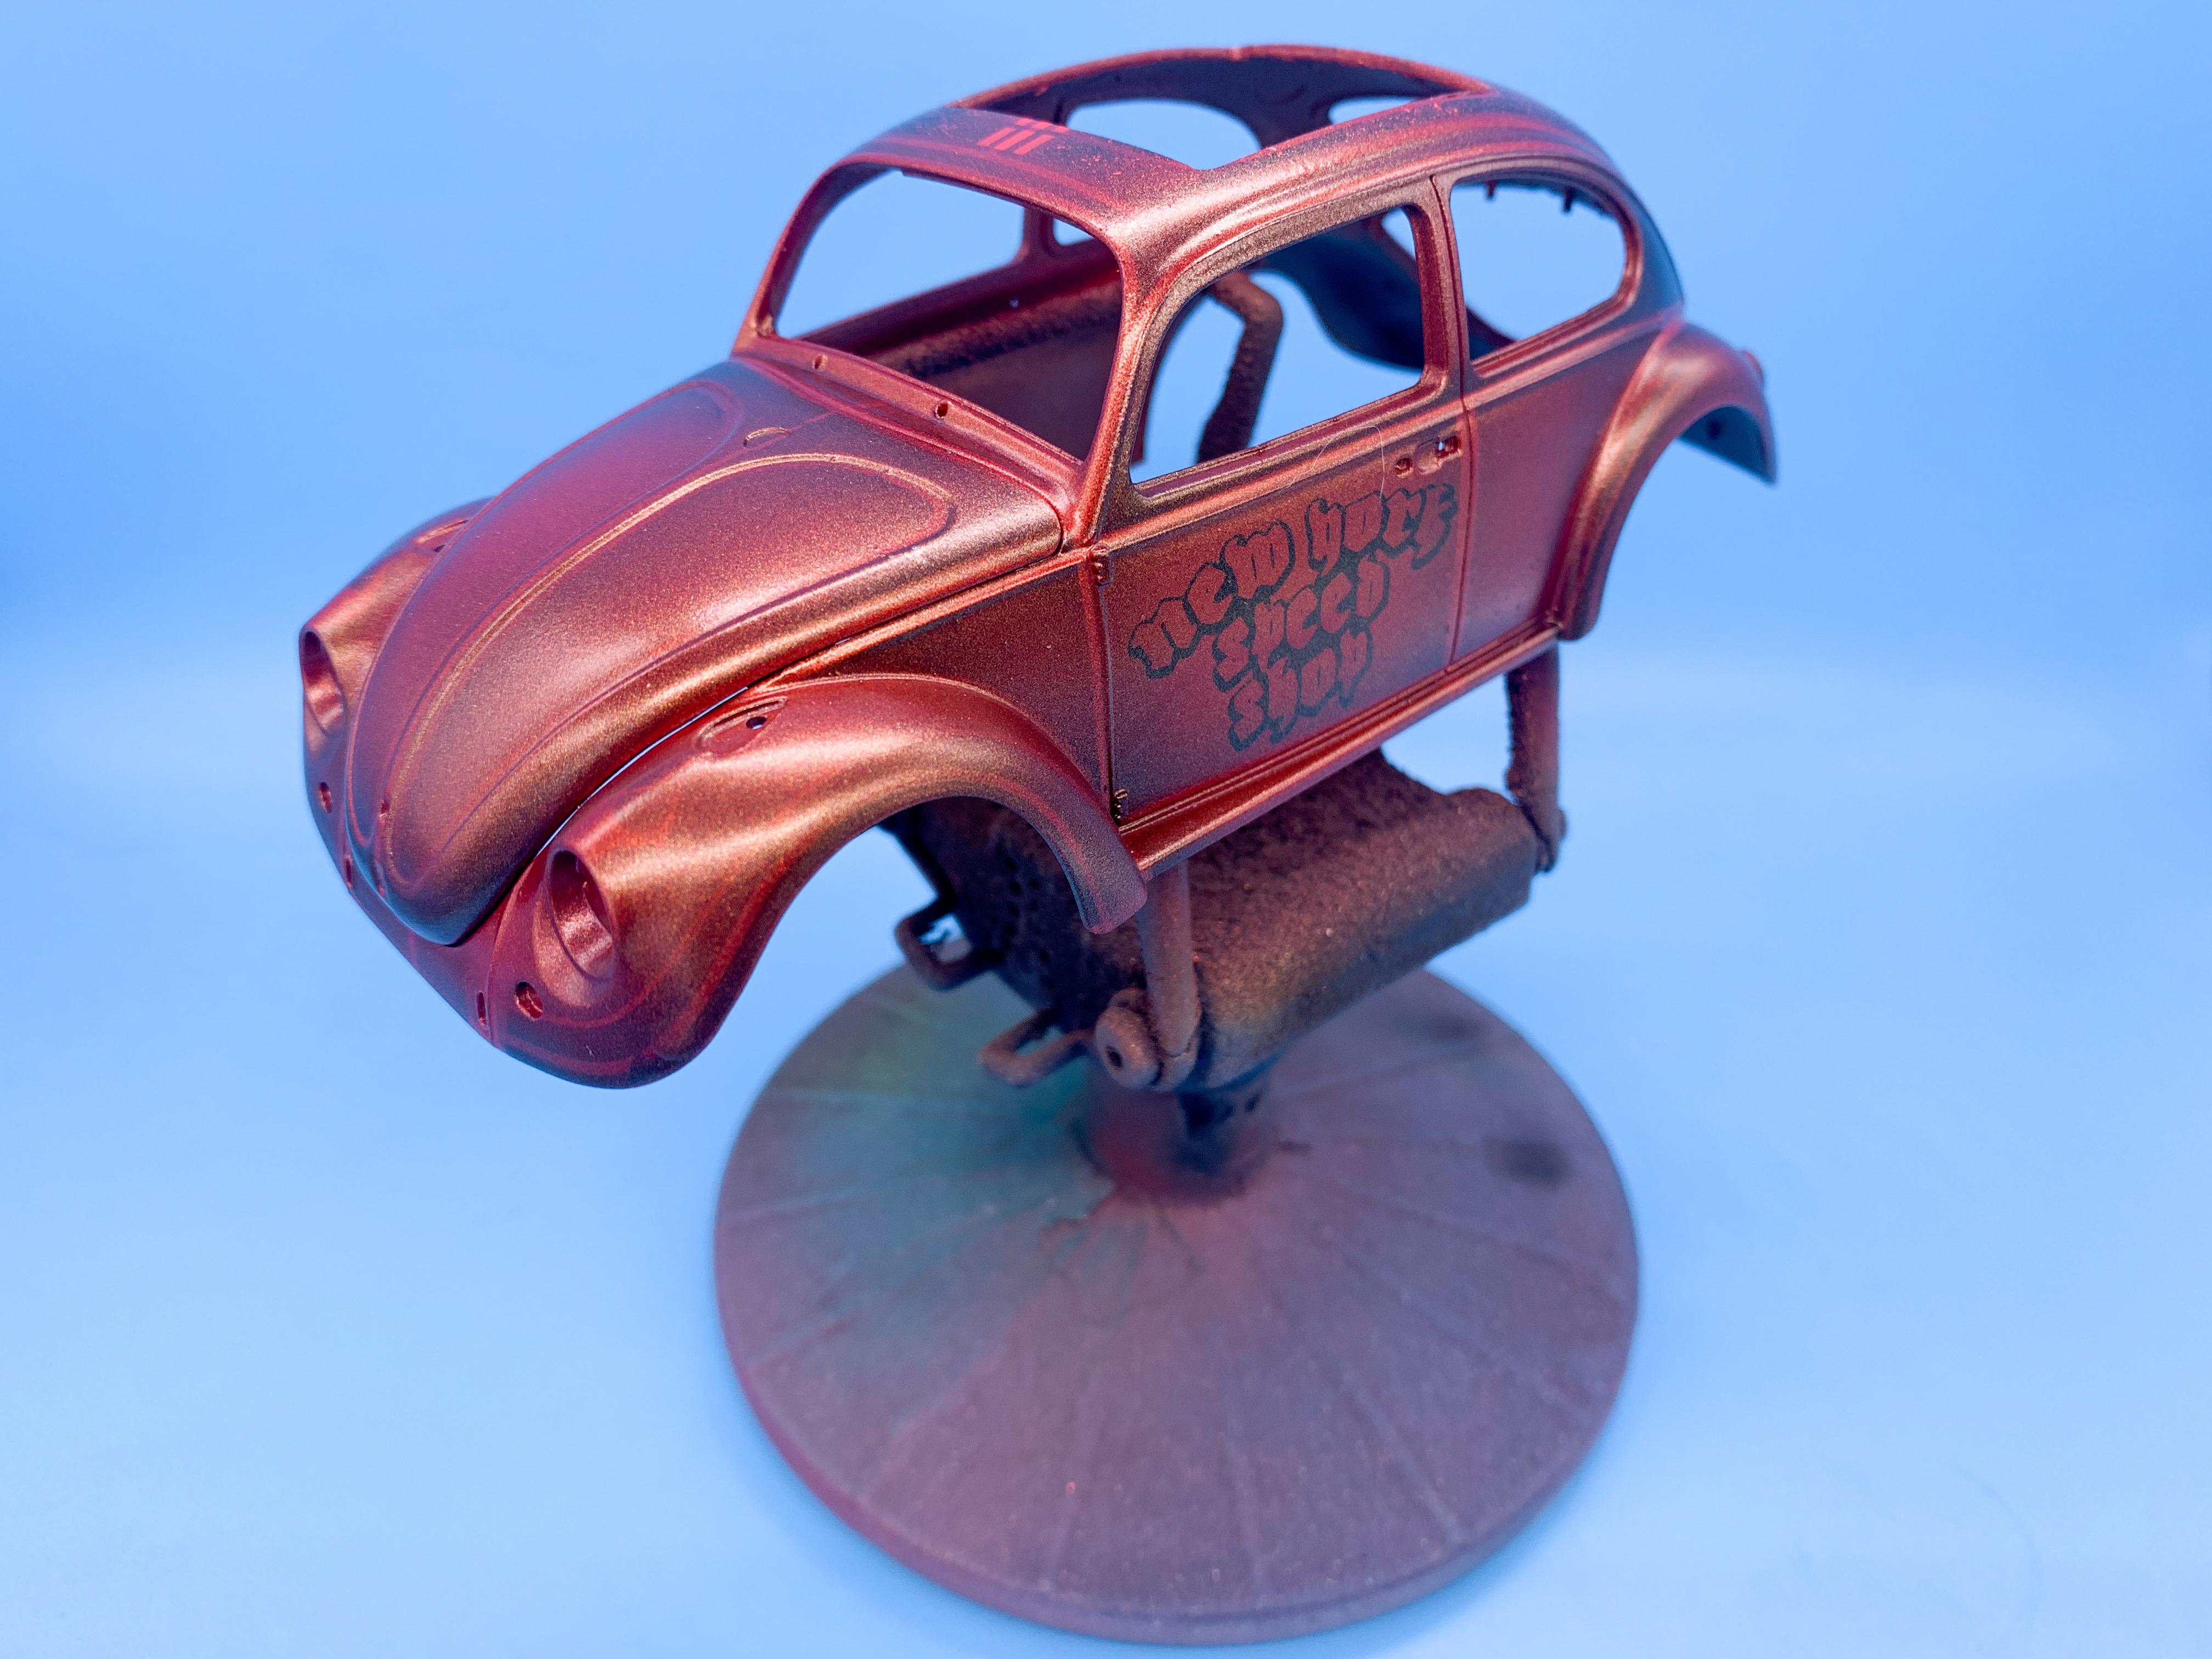
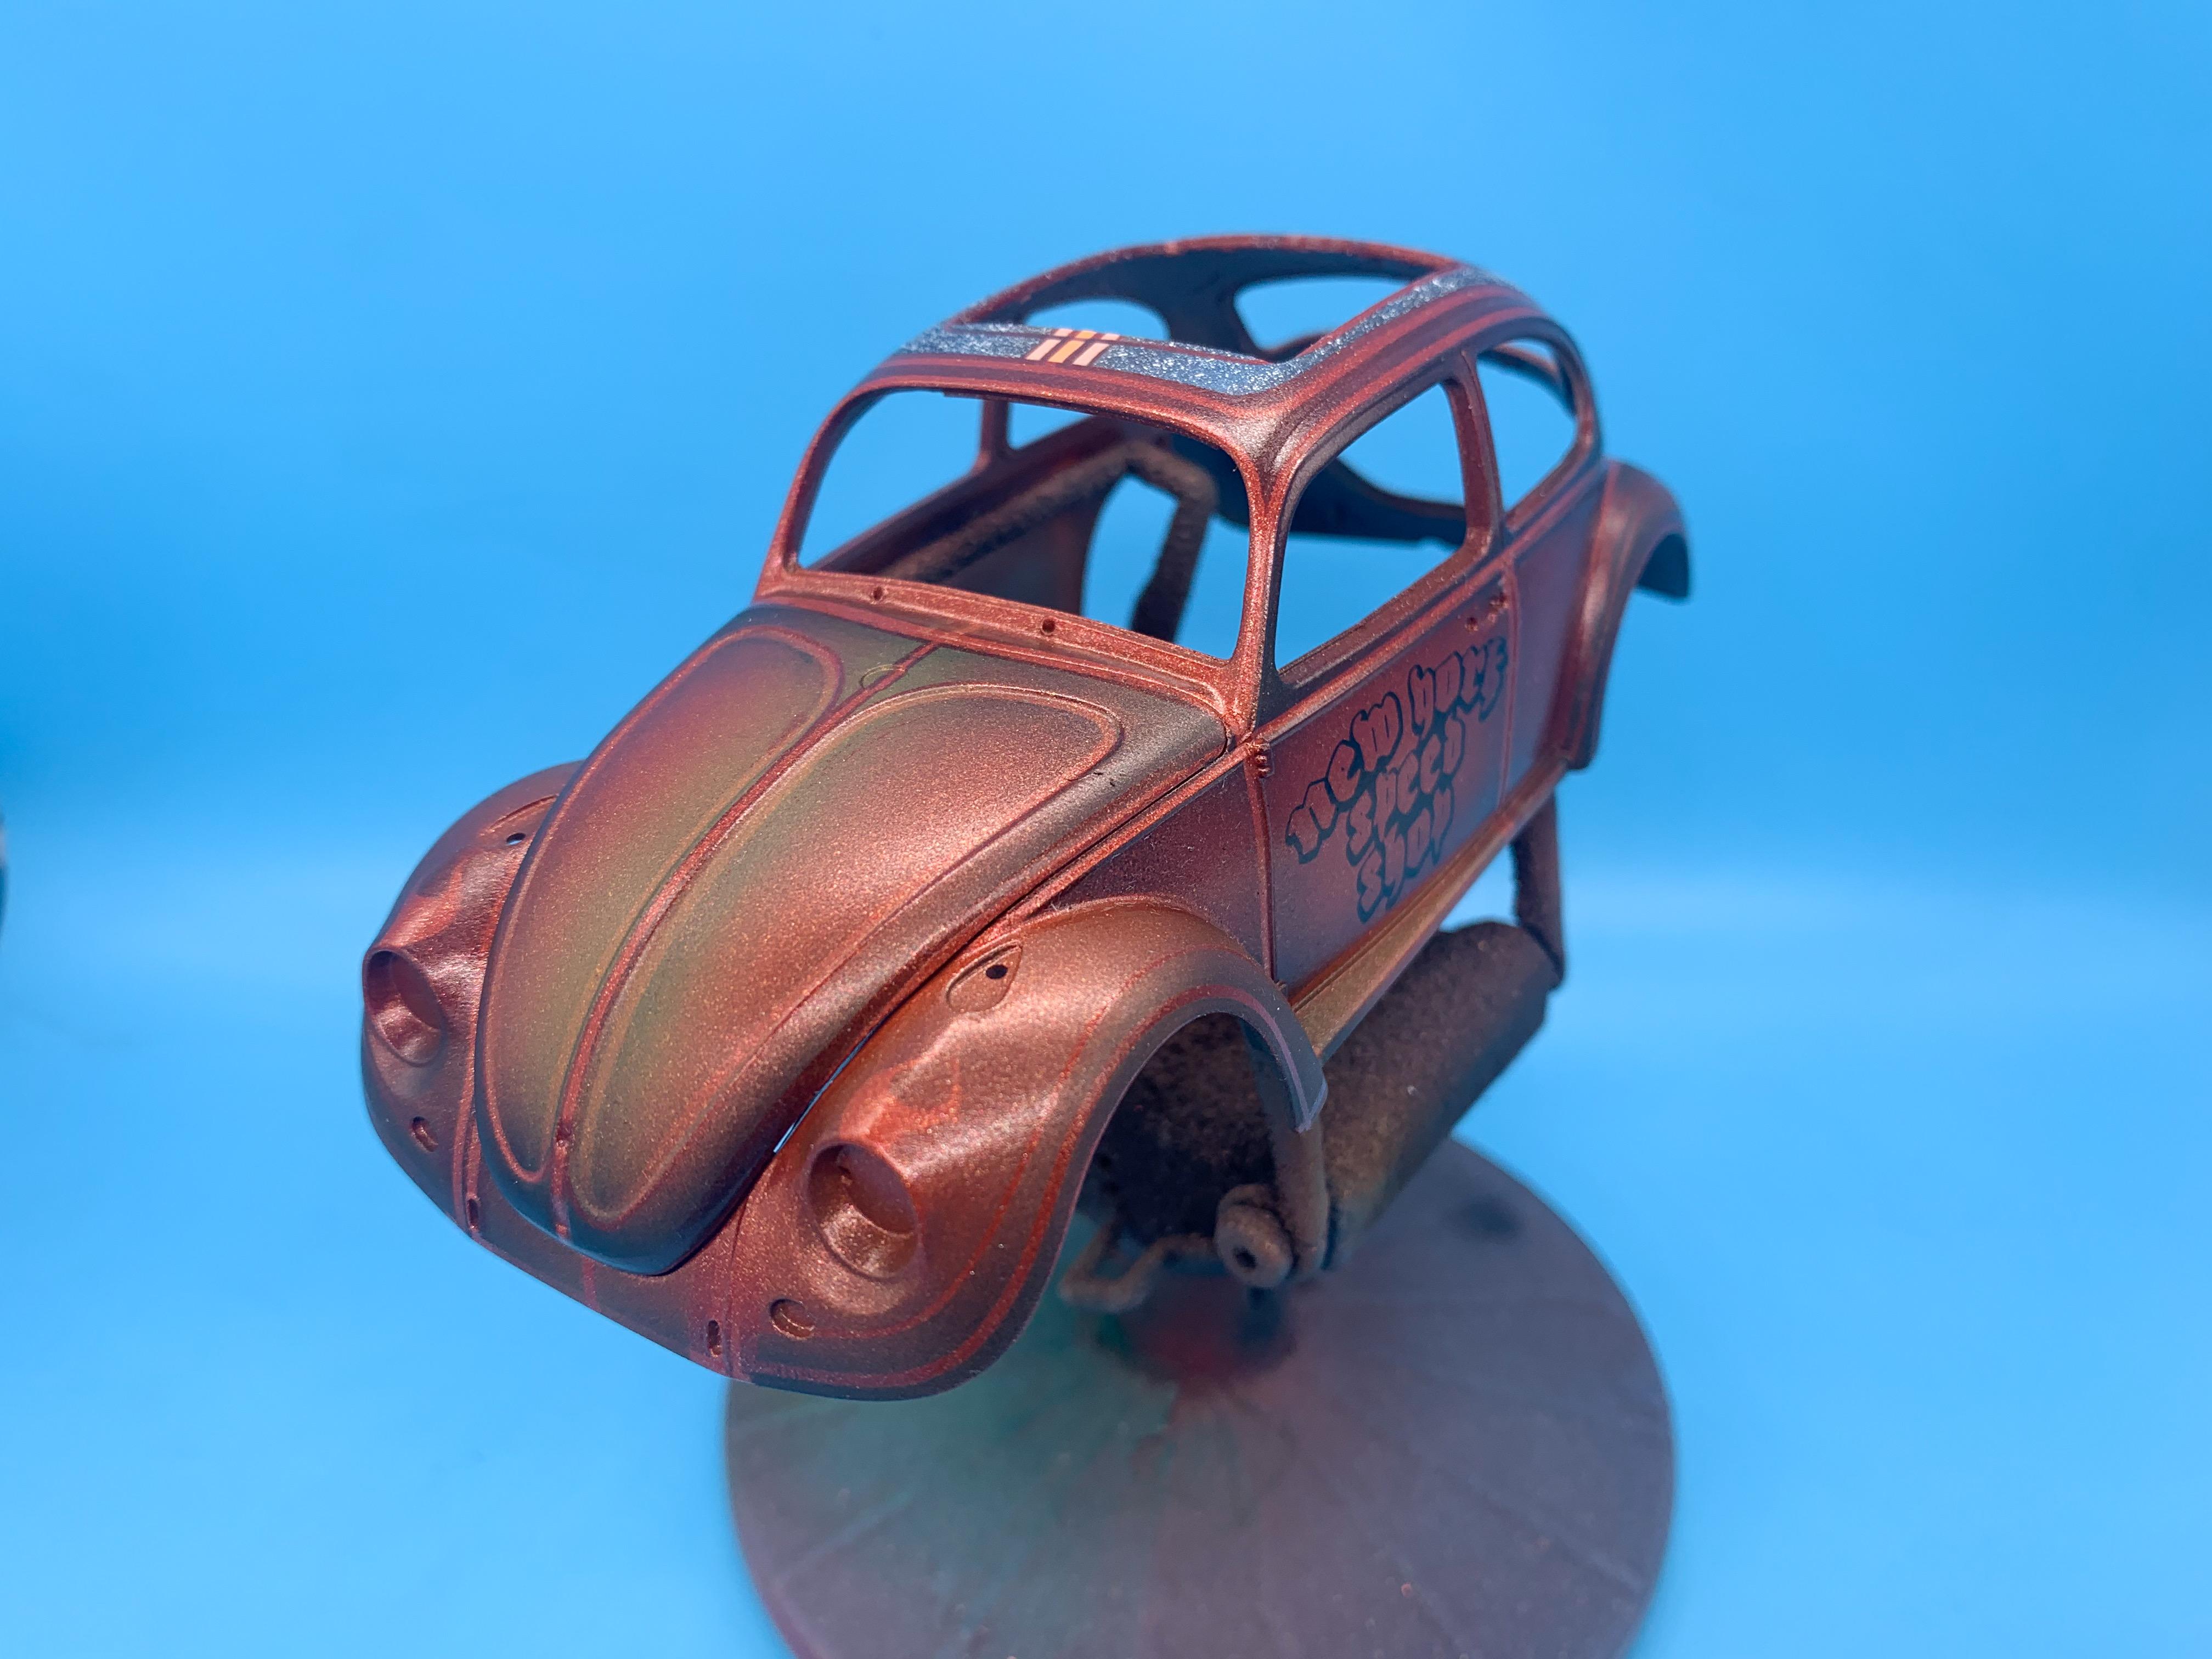
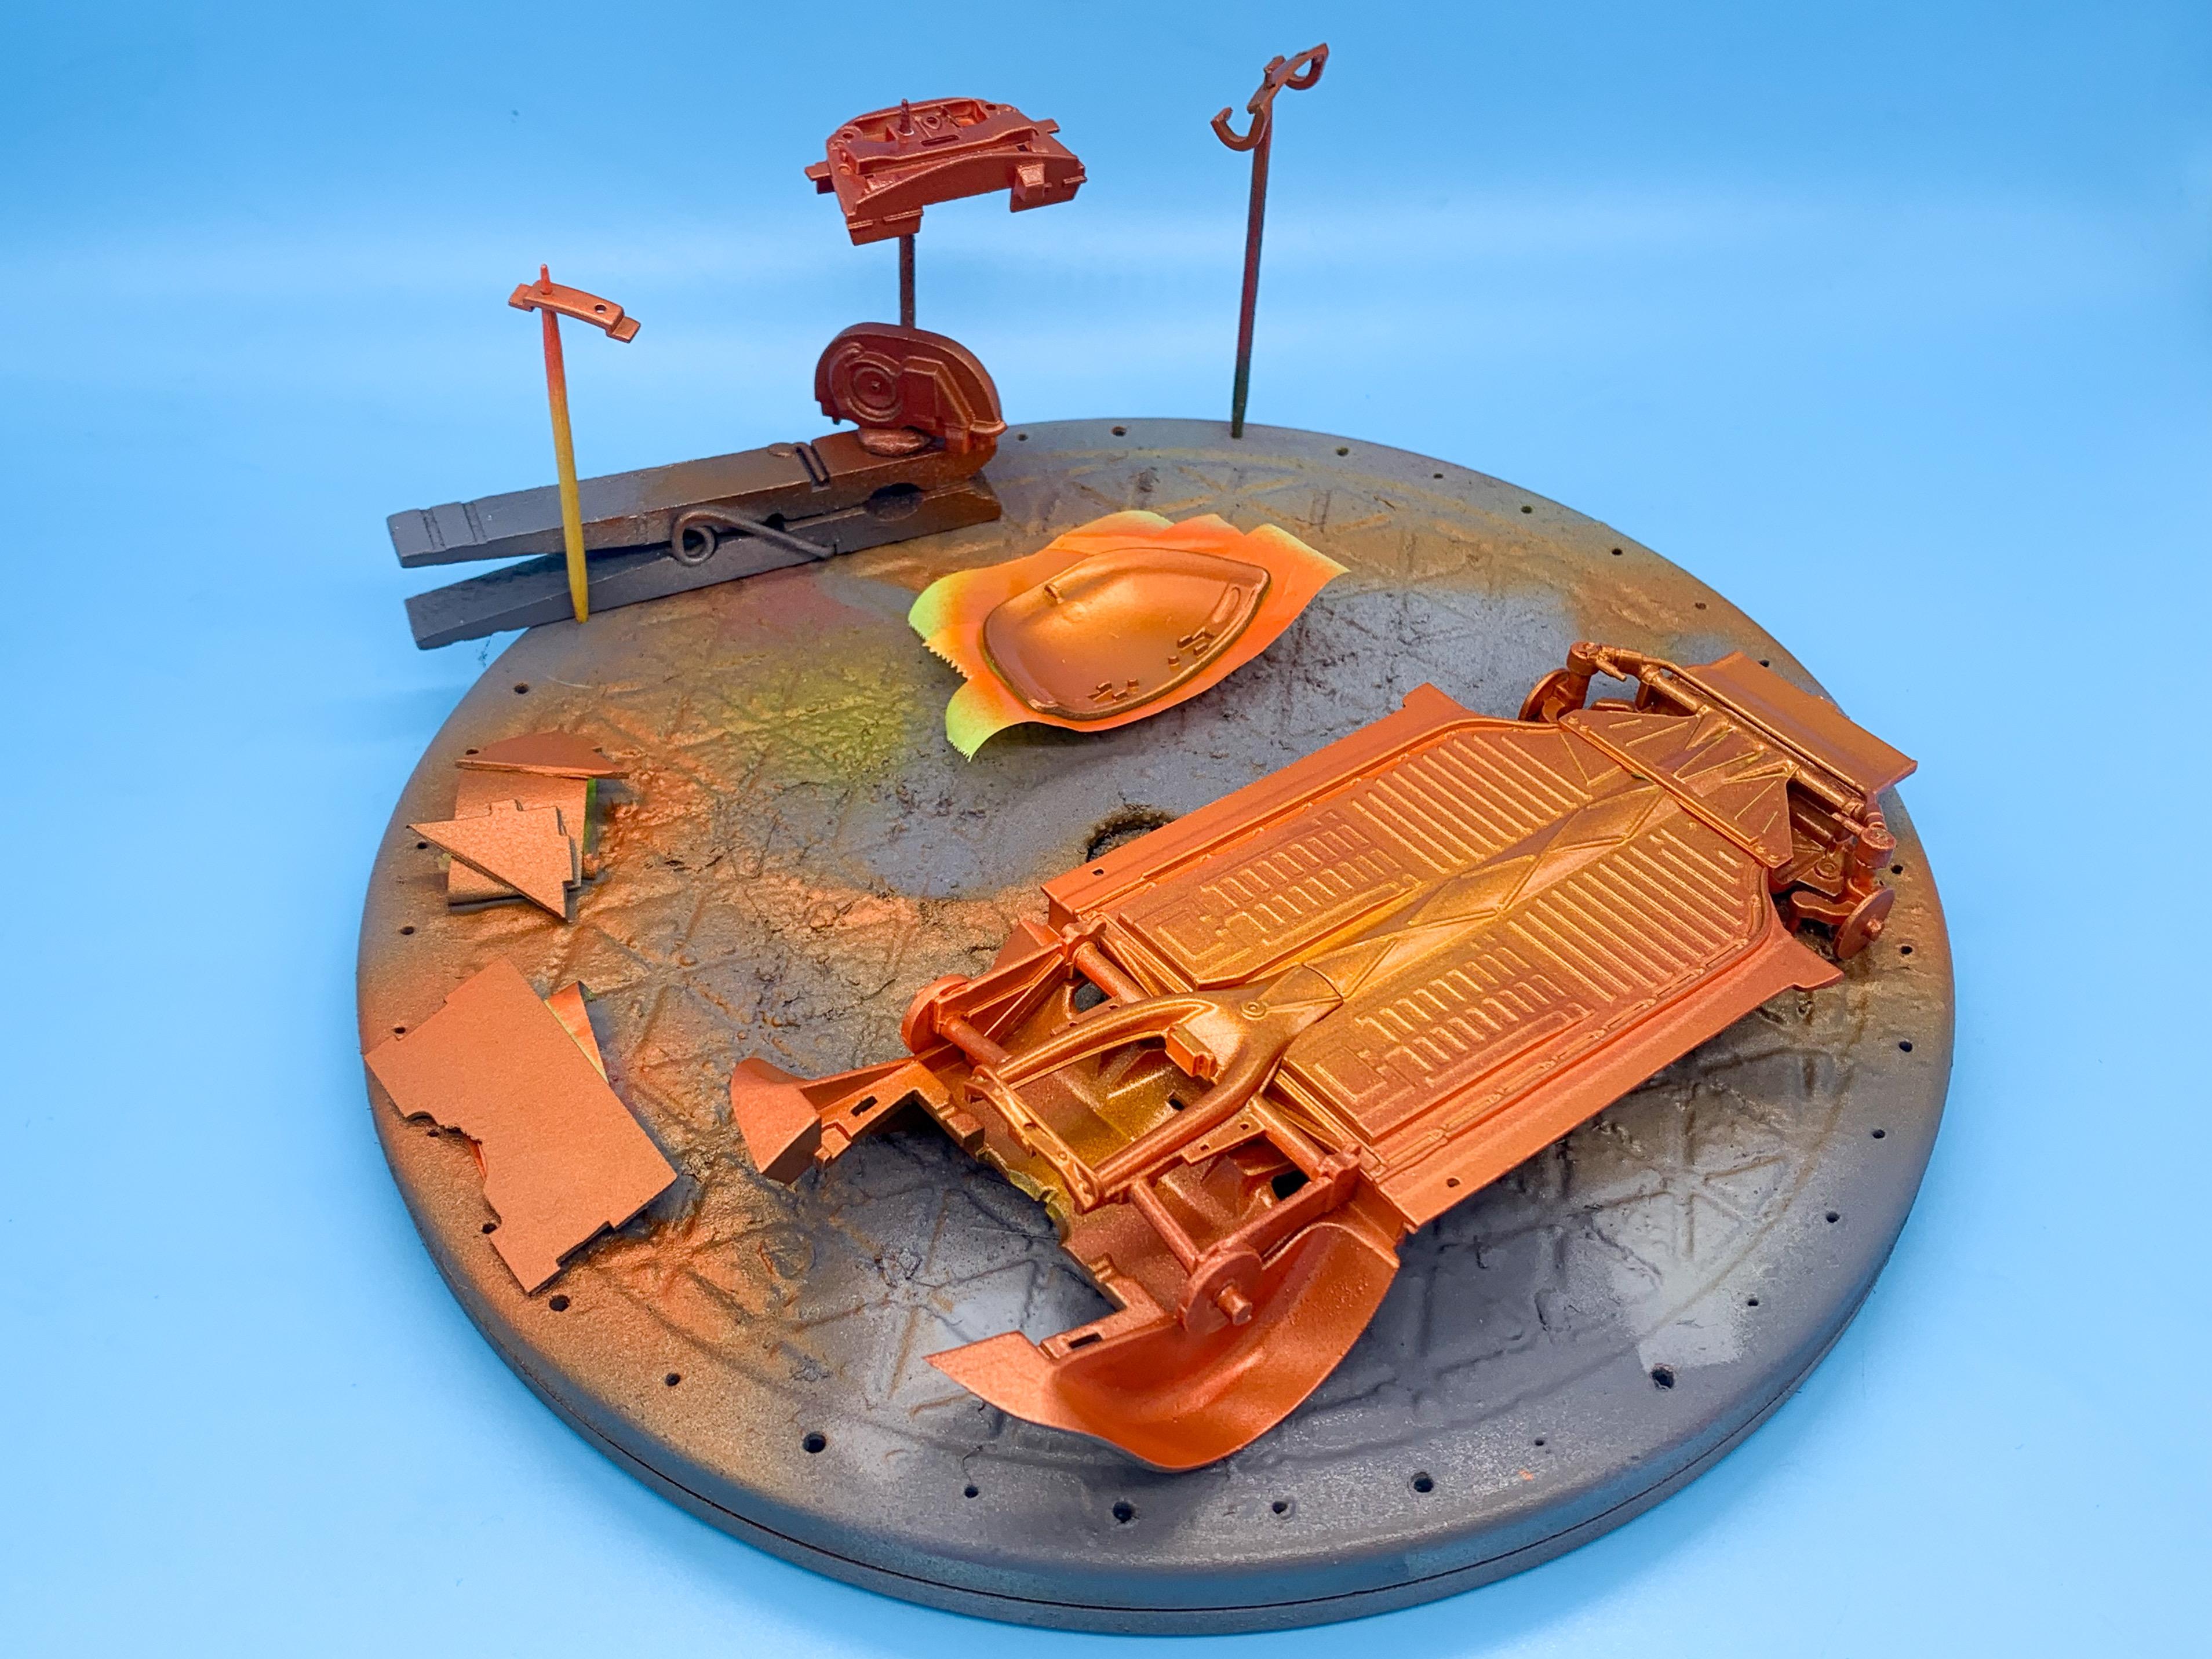
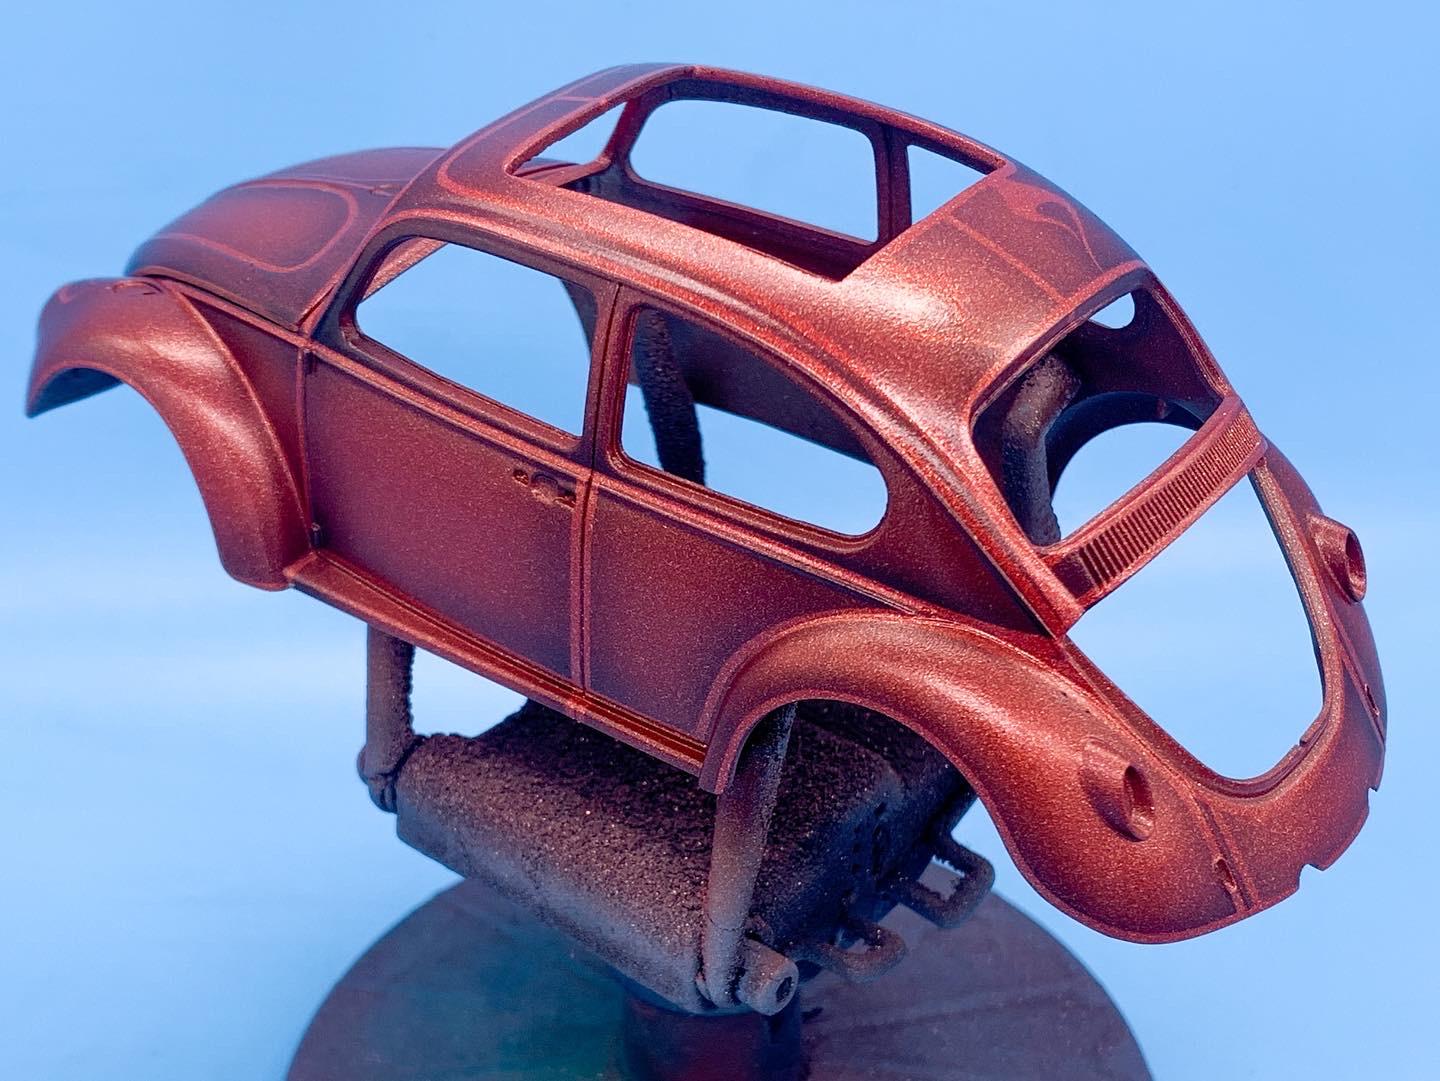
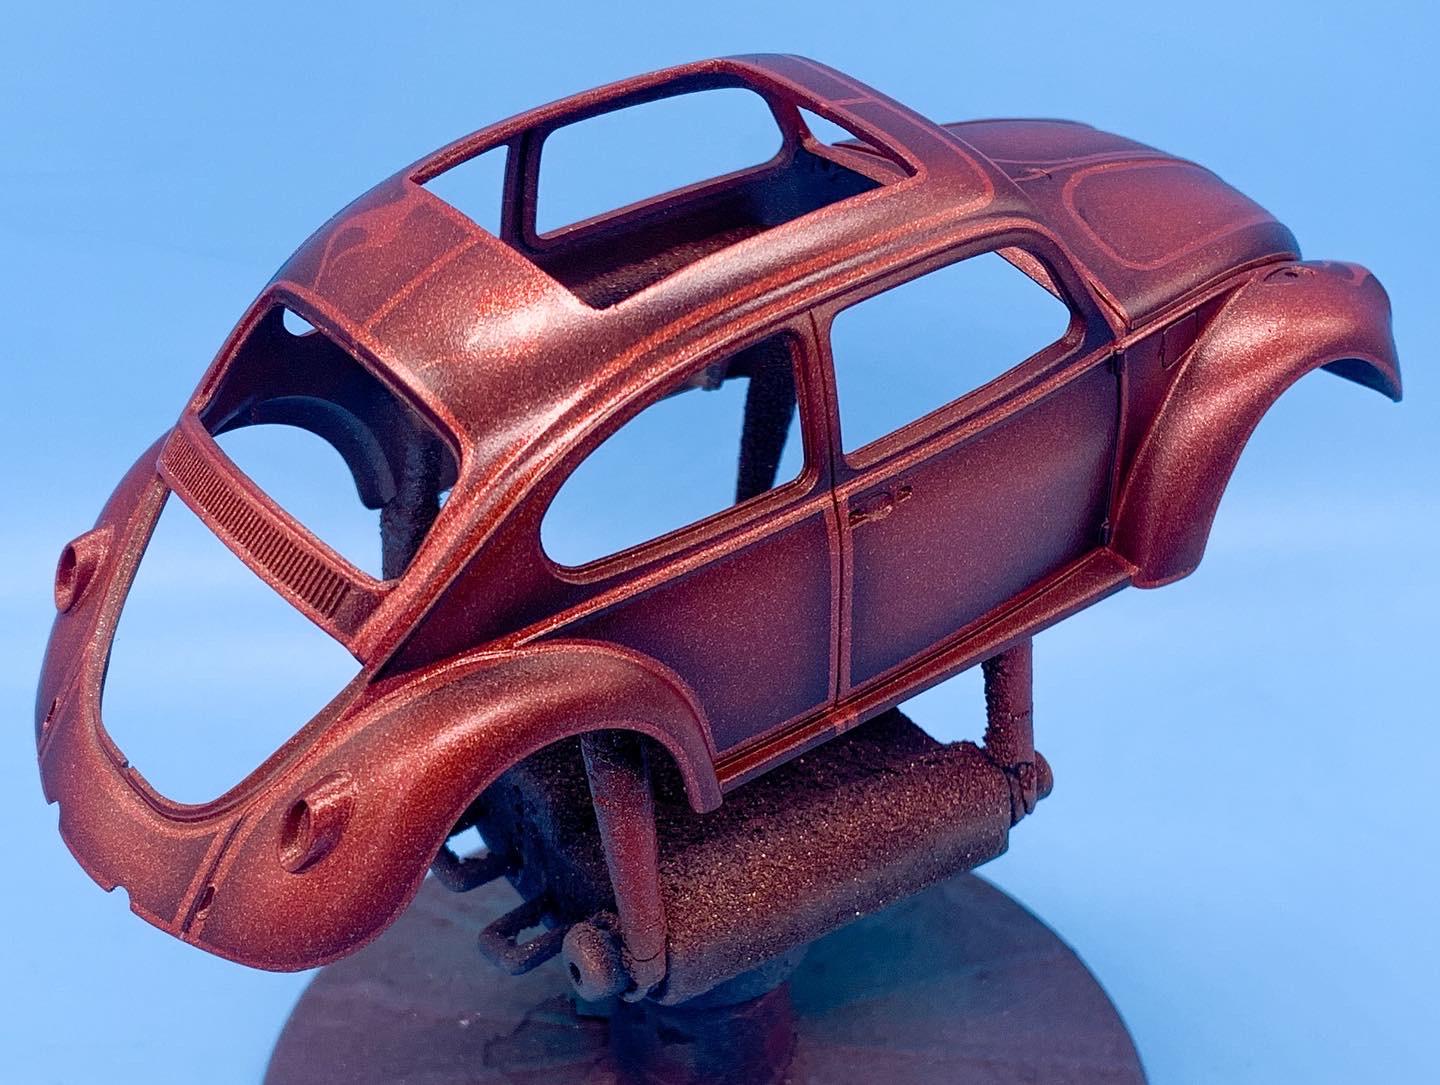
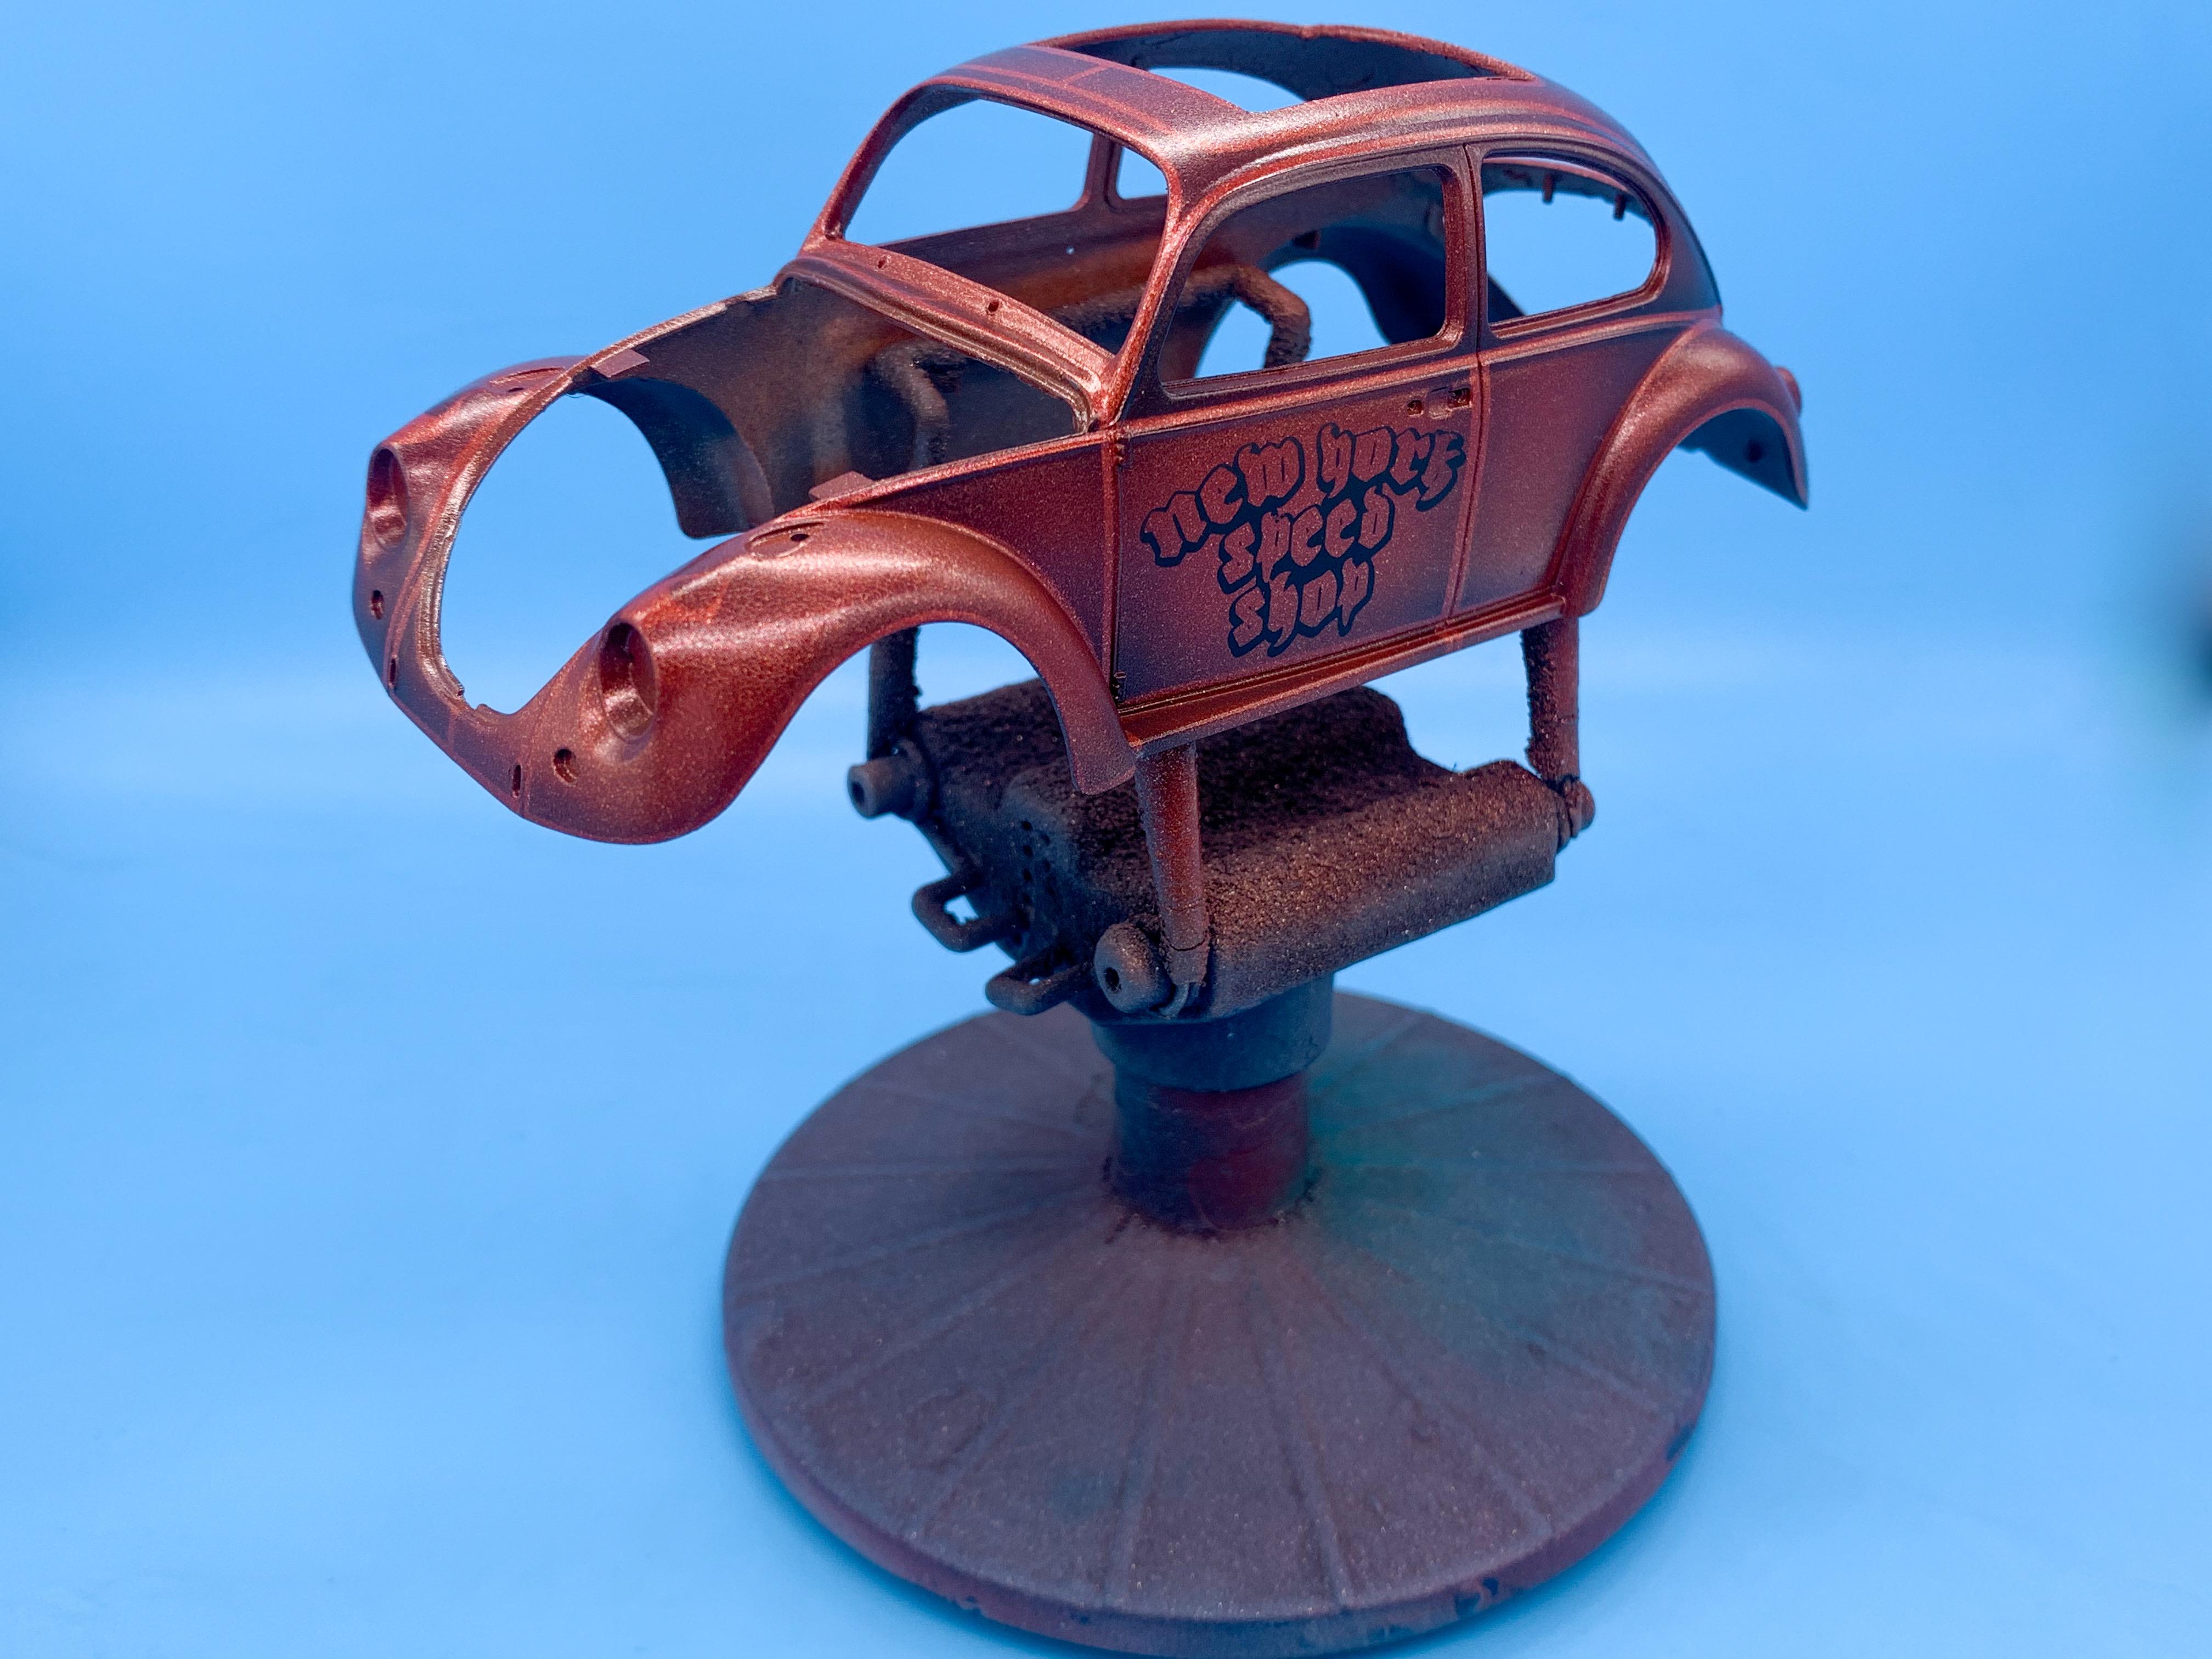
Thanks fellas! Tiny update; shot Pearl-Ex tonight to wrap up the main paintwork I had to do on the body before clearing it…first up a coat of copper and burgundy powder (which still needs some more mixing here…) Which got me to this color - note how the red is starting to flip to more of a bright tone now on the highlights: And then, finally, a second mix of yellow and gold which looked like this… …which I laid down three coats of until it hit the orange shade I wanted: If it looks good when it’s all satin-y like this, it usually looks good with a nice glossy finish too…I’m pretty pleased with how it came out! A mostly monochrome-looking paintjob that reveals a bunch of detail to anyone who takes a second look (and maybe a little more at a third glance too…) Whilst I had the Pearl Ex powders out, I shot a little on the underside too so that they can sparkle and shine in the sunlight that they’ll never see ?. Thanks for looking - excited to get a bunch done on this one over the weekend! More soon!
-
Expecting a DIFFERENT result. Expecting the same result from the same process would be a sane conclusion to come to
-
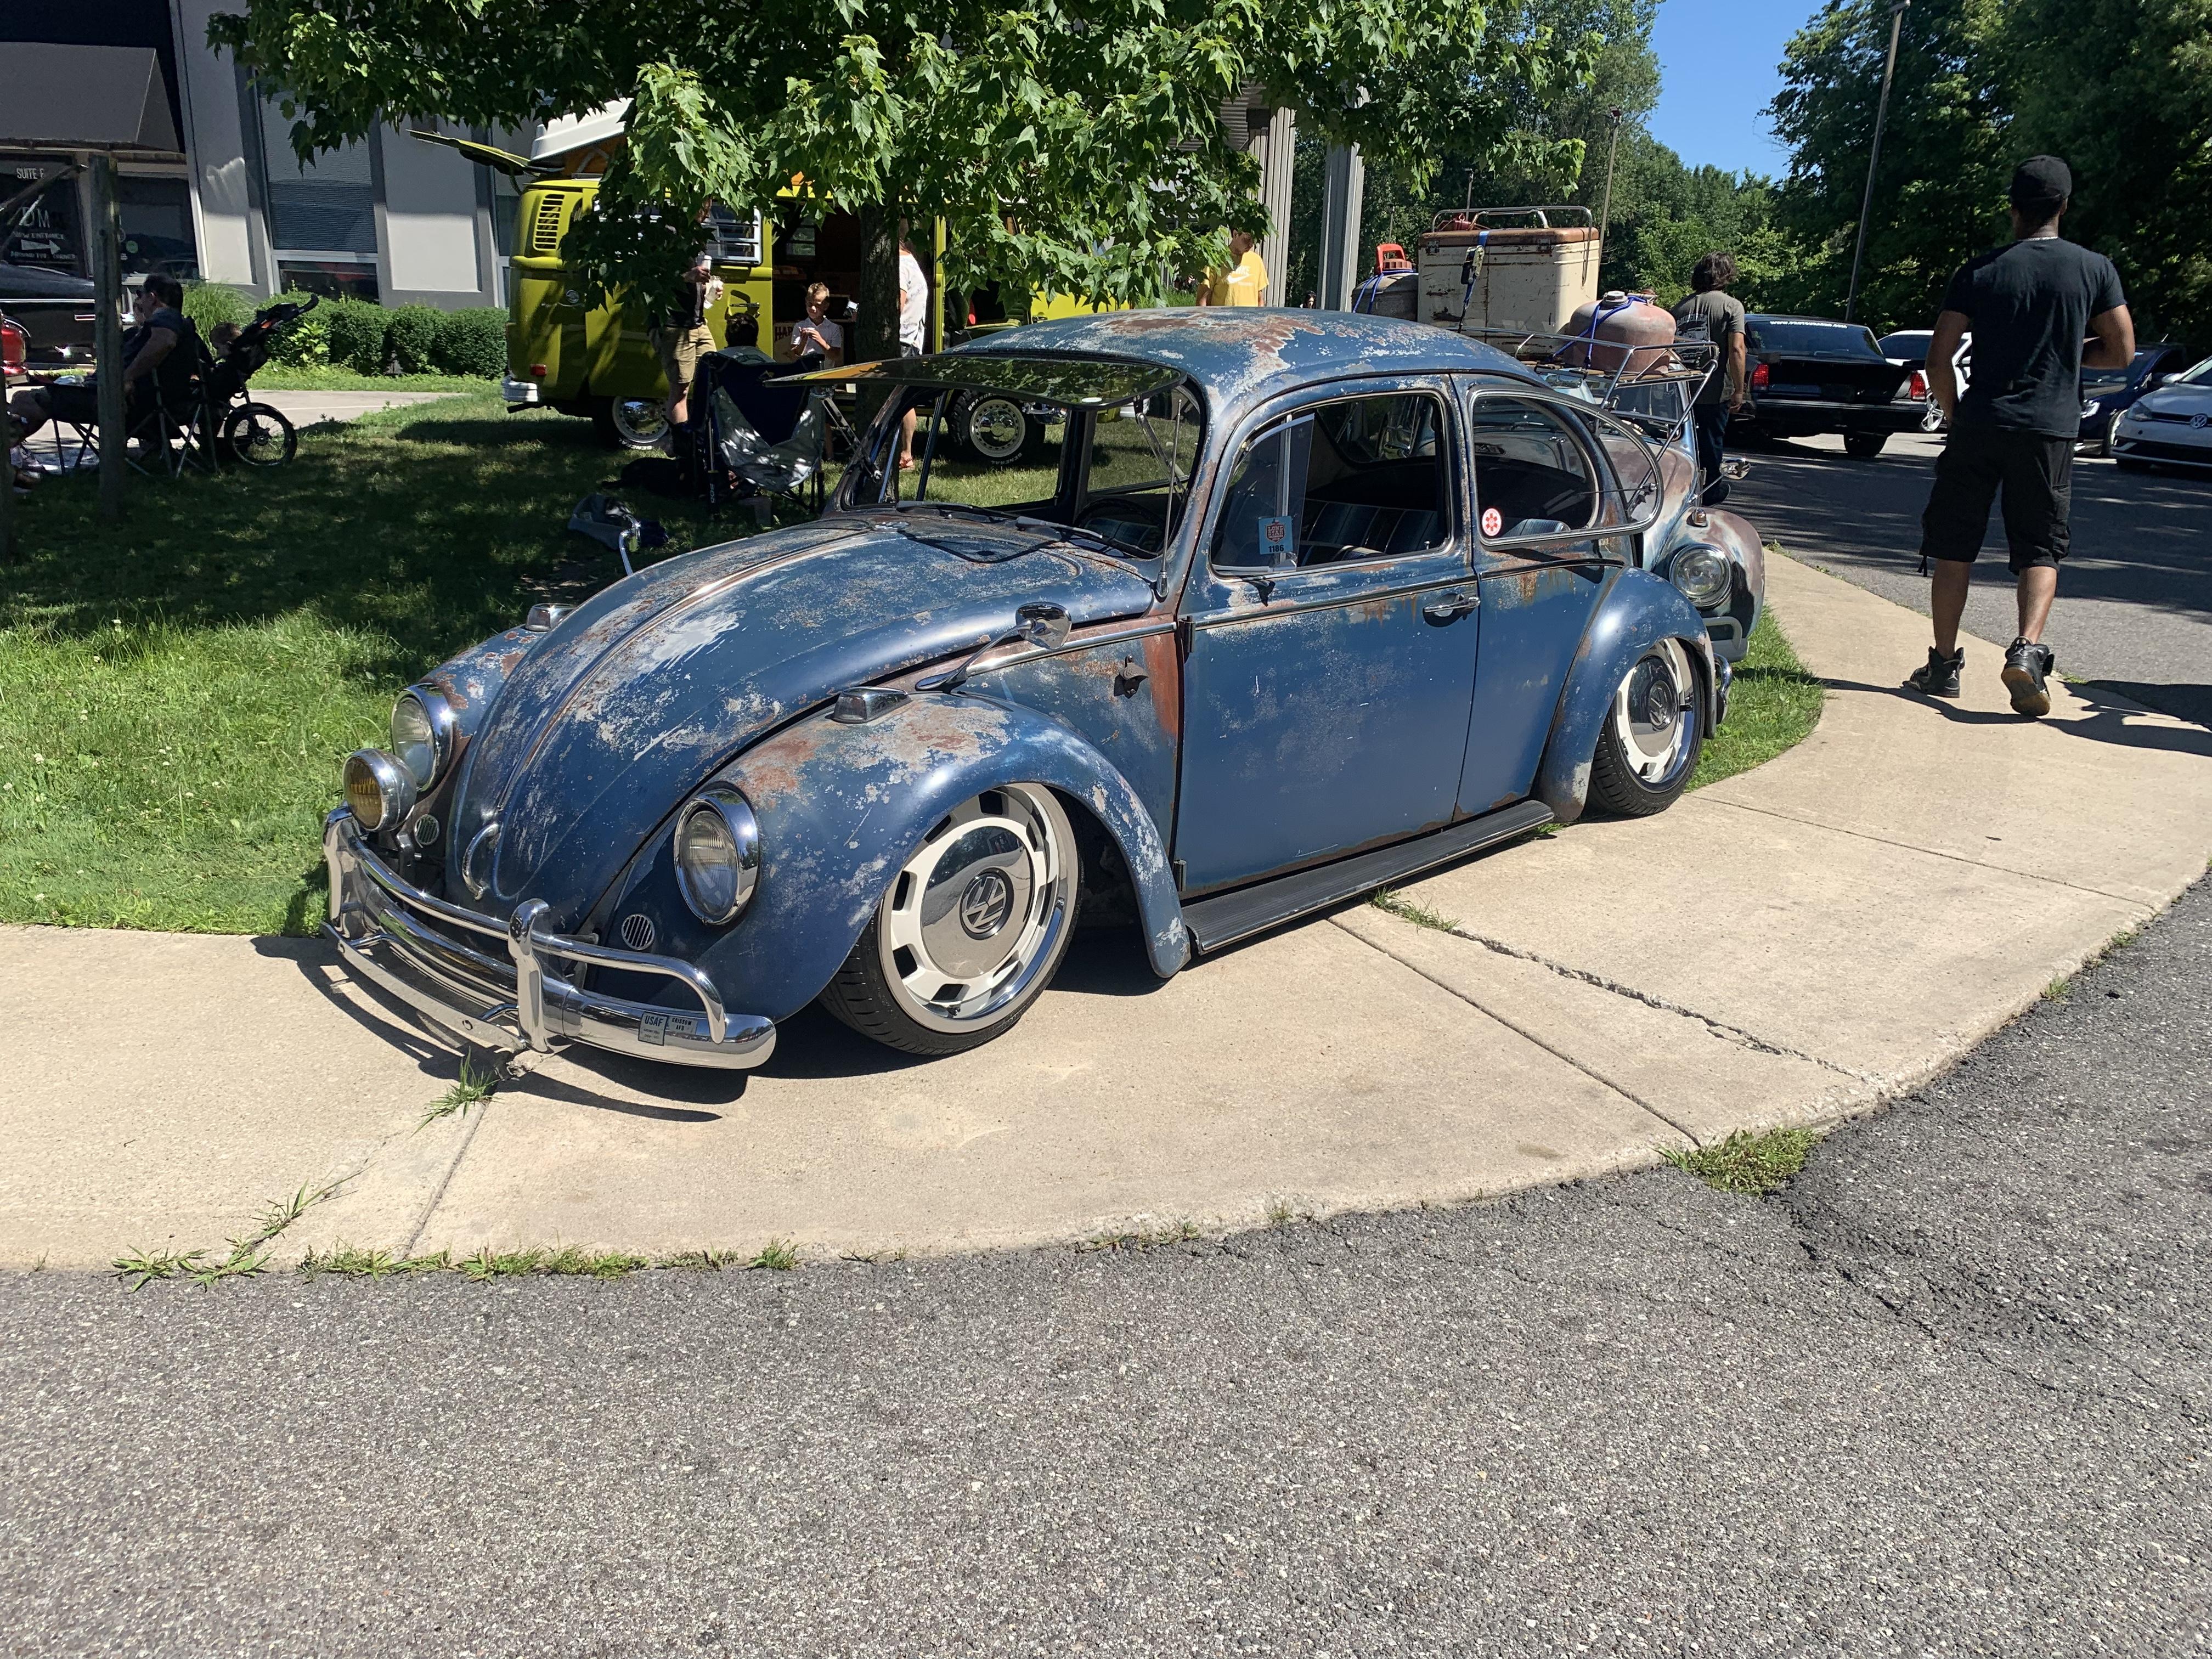
Yes sir! Createx clear orange ? Thank you brother! And thank you too! I like your 1:1 - the louvres in the step panels (whatever they’re called in Beetle terminology) are a nice touch! And is that a color-coded fire extinguisher in the interior there? I’d love to see that! That’s a cool idea - I’d rust it up and patina it and make it look like it did a million miles (all within a 20 block radius ?) Spent a few more nights on the airbrushing since the last update - laid down some more ‘reverse’ lines, with black fades and then masked again and did some lighter colored highlights, and THEN did a little airbrushing and some subtle splatter-patterning on the roof and ended up with this: Looks kind of a mess…but the next stage is where all that work pays off…candy coats! My idea here is to bury everything so far under a uniform color to tie it all together and make it look, at first glance, like it’s a solid color but with a bunch of little details to see as you work from front to back. A couple of coats of Createx candy red later, and we’re starting to see some progress finally… Fairly plain at the front: More complex in the middle: And most complex in the rear view: Next job, once this candy dries good and hard (and smooths itself out a little) will be some pearl powder to bring it back towards the orange and gold tones on the highlights when the light hits it. Excited to hit the bench again tomorrow for the next step! Thanks for looking - more soon, soon as I’ve done more!
-
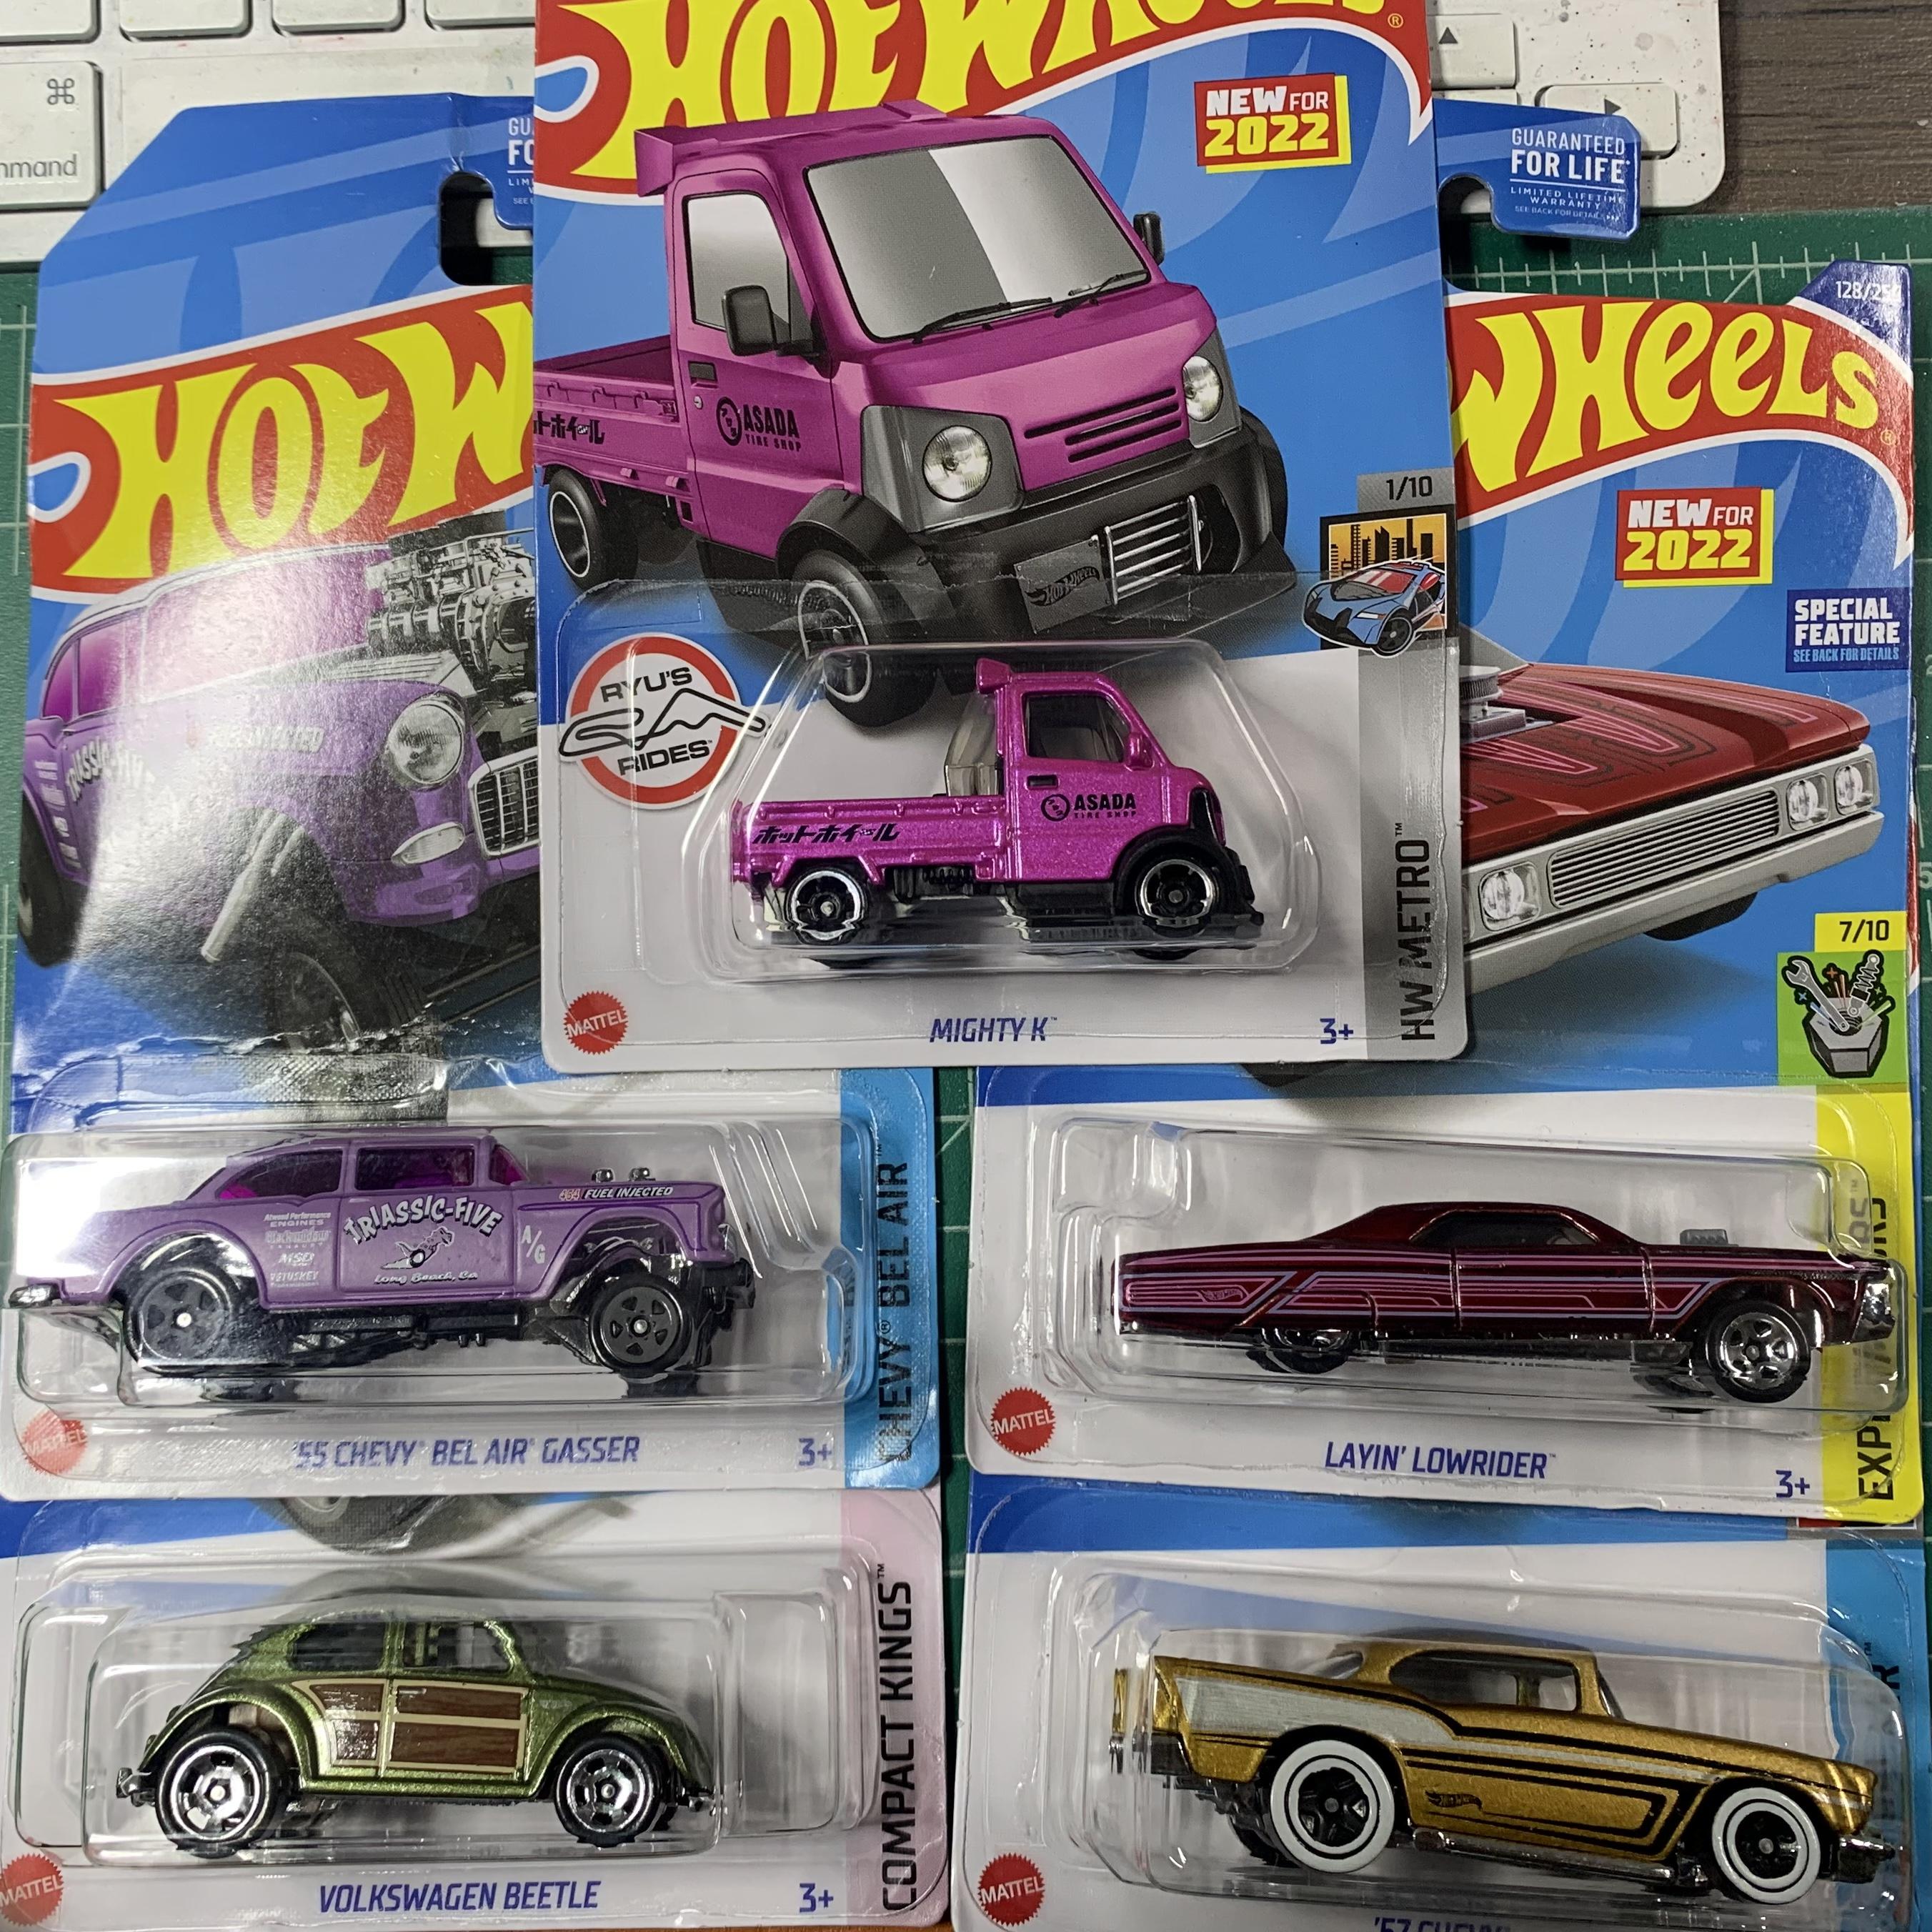
Five for three bucks Hot Wheels at the local grocery store! Mannnnn they make some cool cars
-
I had Scale Finishes enamel clear wrinkle their lacquer on a build recently. Took all the proper precautions I normally would with a hot lacquer, and the primer and lacquer coats were fine…but the enamel wrinkled the lacquer. I stripped, reshot and used a different lacquer clear, no problems - but I’ve got to wonder why they’re apparently using such hot solvents in their paint that even careful application could case this to happen. I mean, they’re mixing the paint themselves, why not mix with reducers that are actually suitable for the task? Same, even, with the lacquer color coats. Why mix them so hot that they can wrinkle and ruin styrene if an unsuspecting person doesn’t use exactly the right primer? DISCLAIMER: I know many of you get outstanding results with these automotive paints, and I’ve had SOME success with them too, but it’s certainly not as easy as it could be…
-
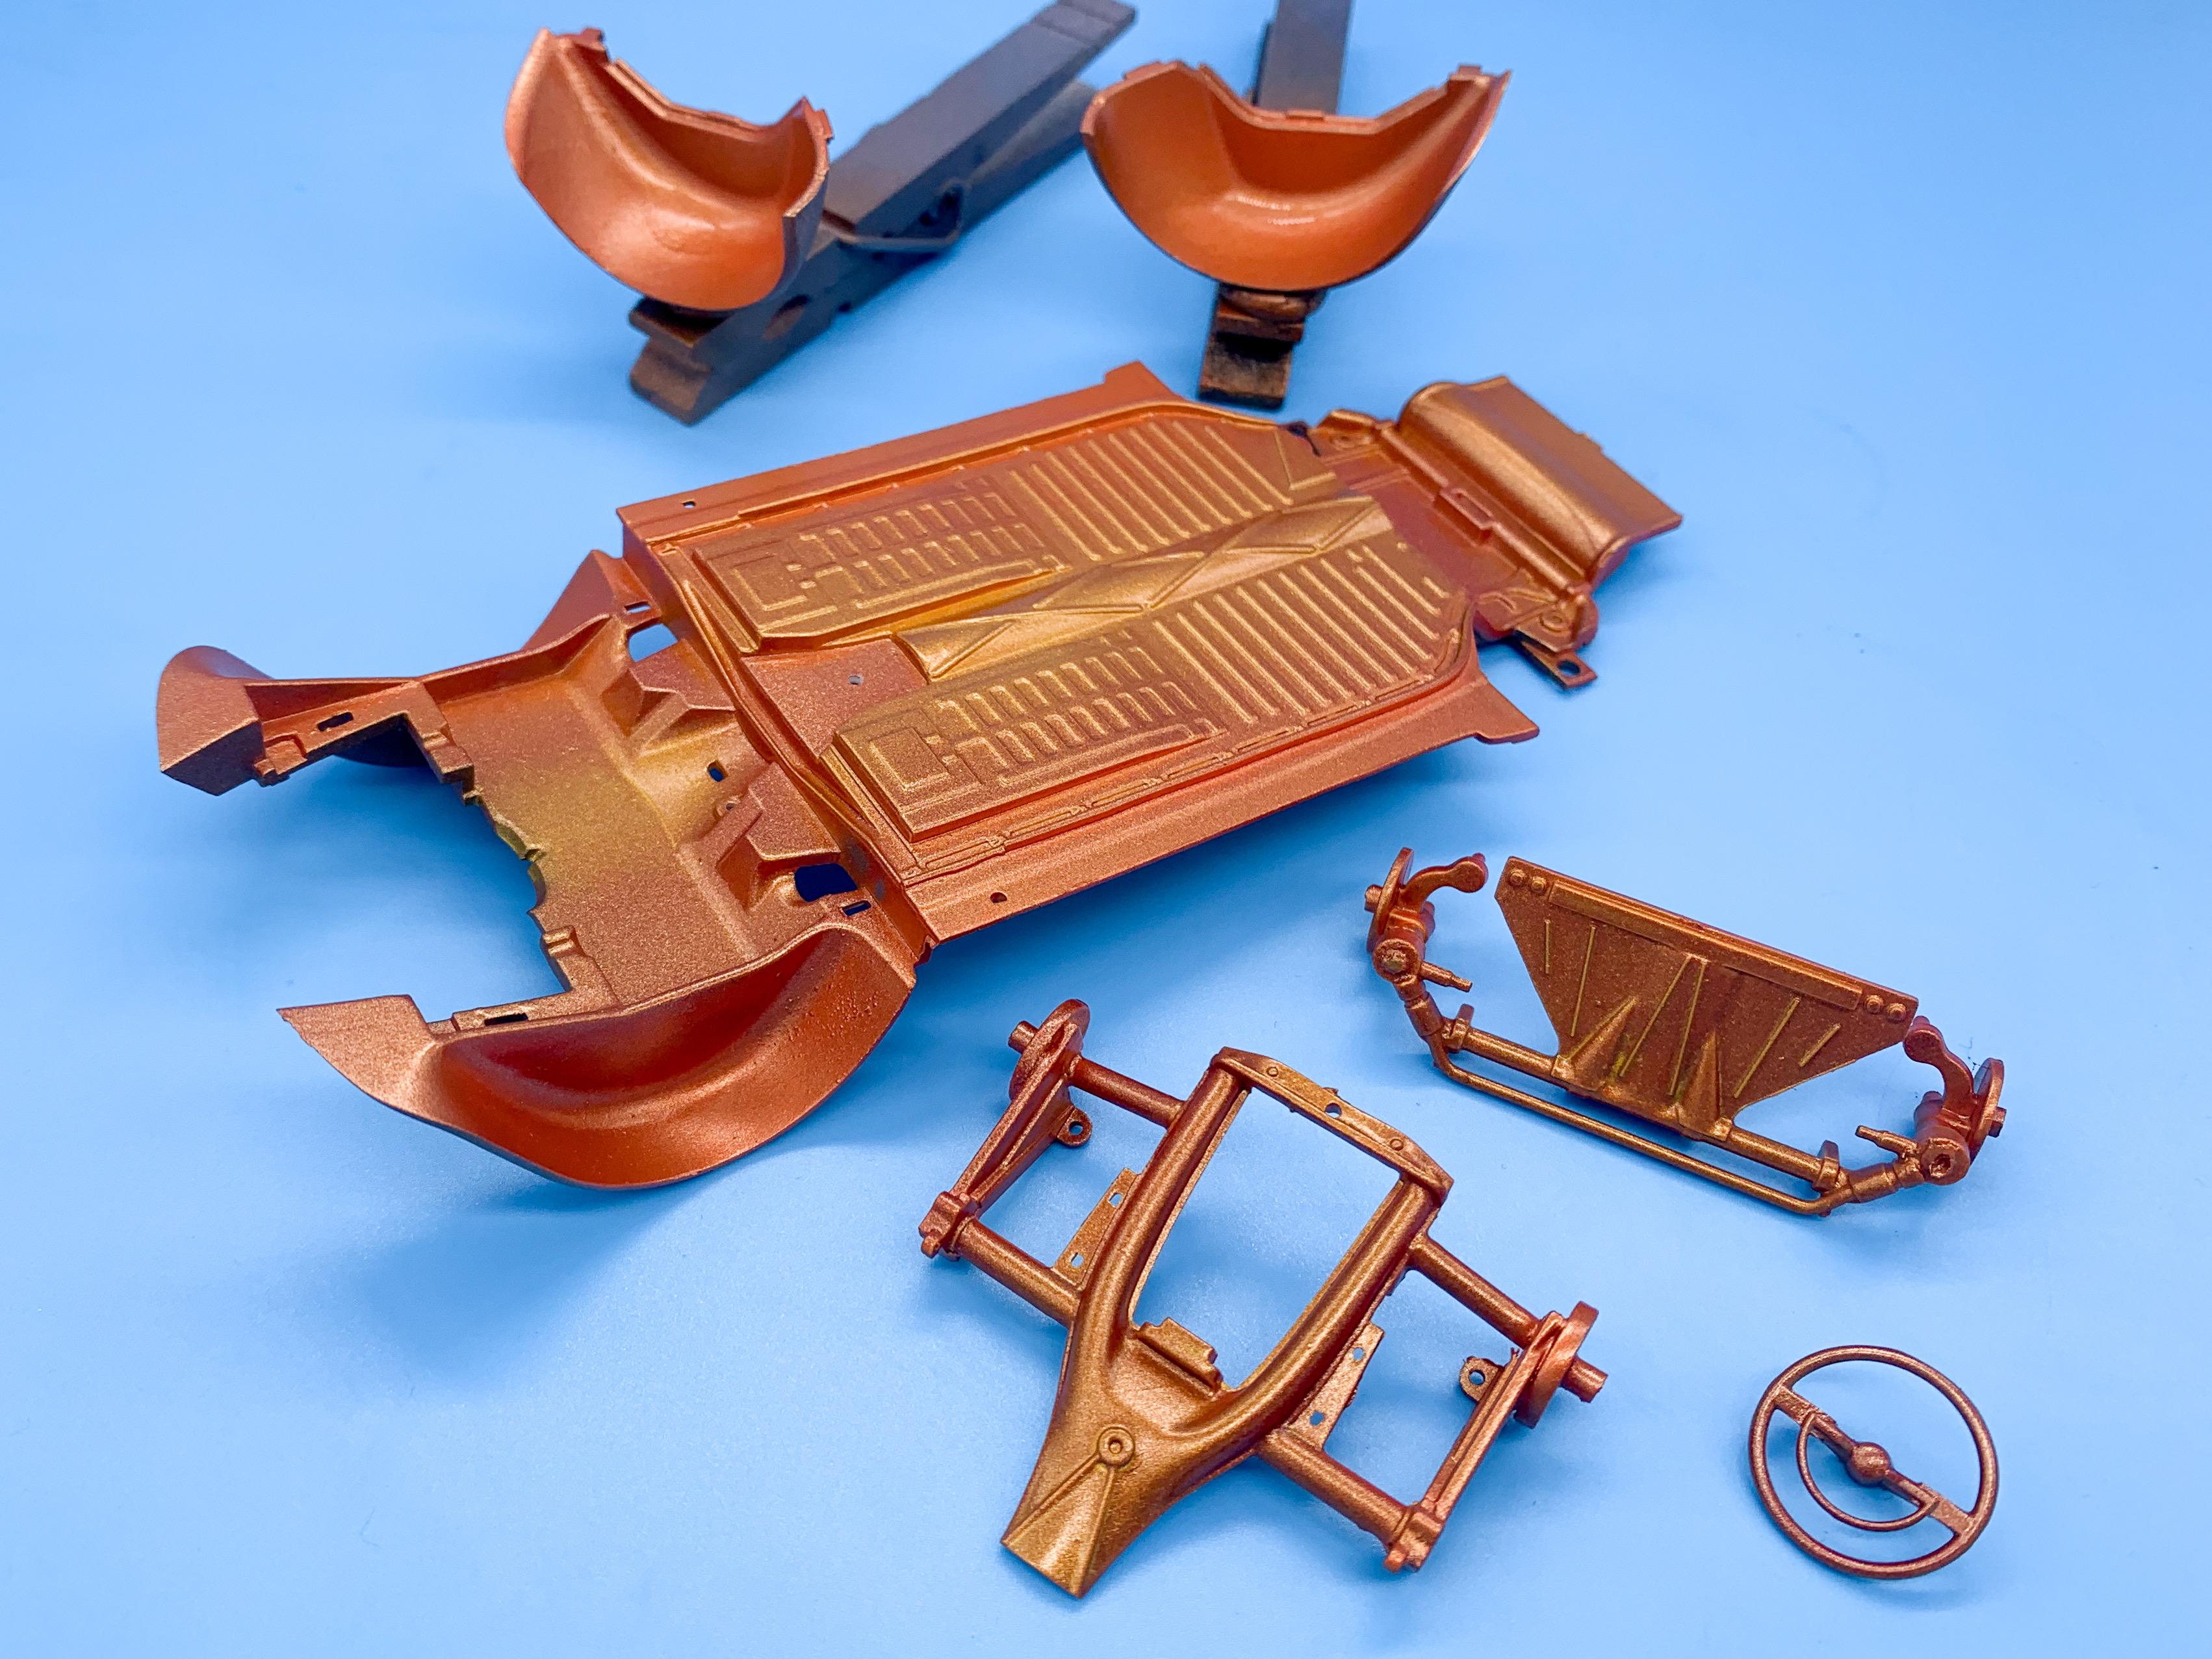
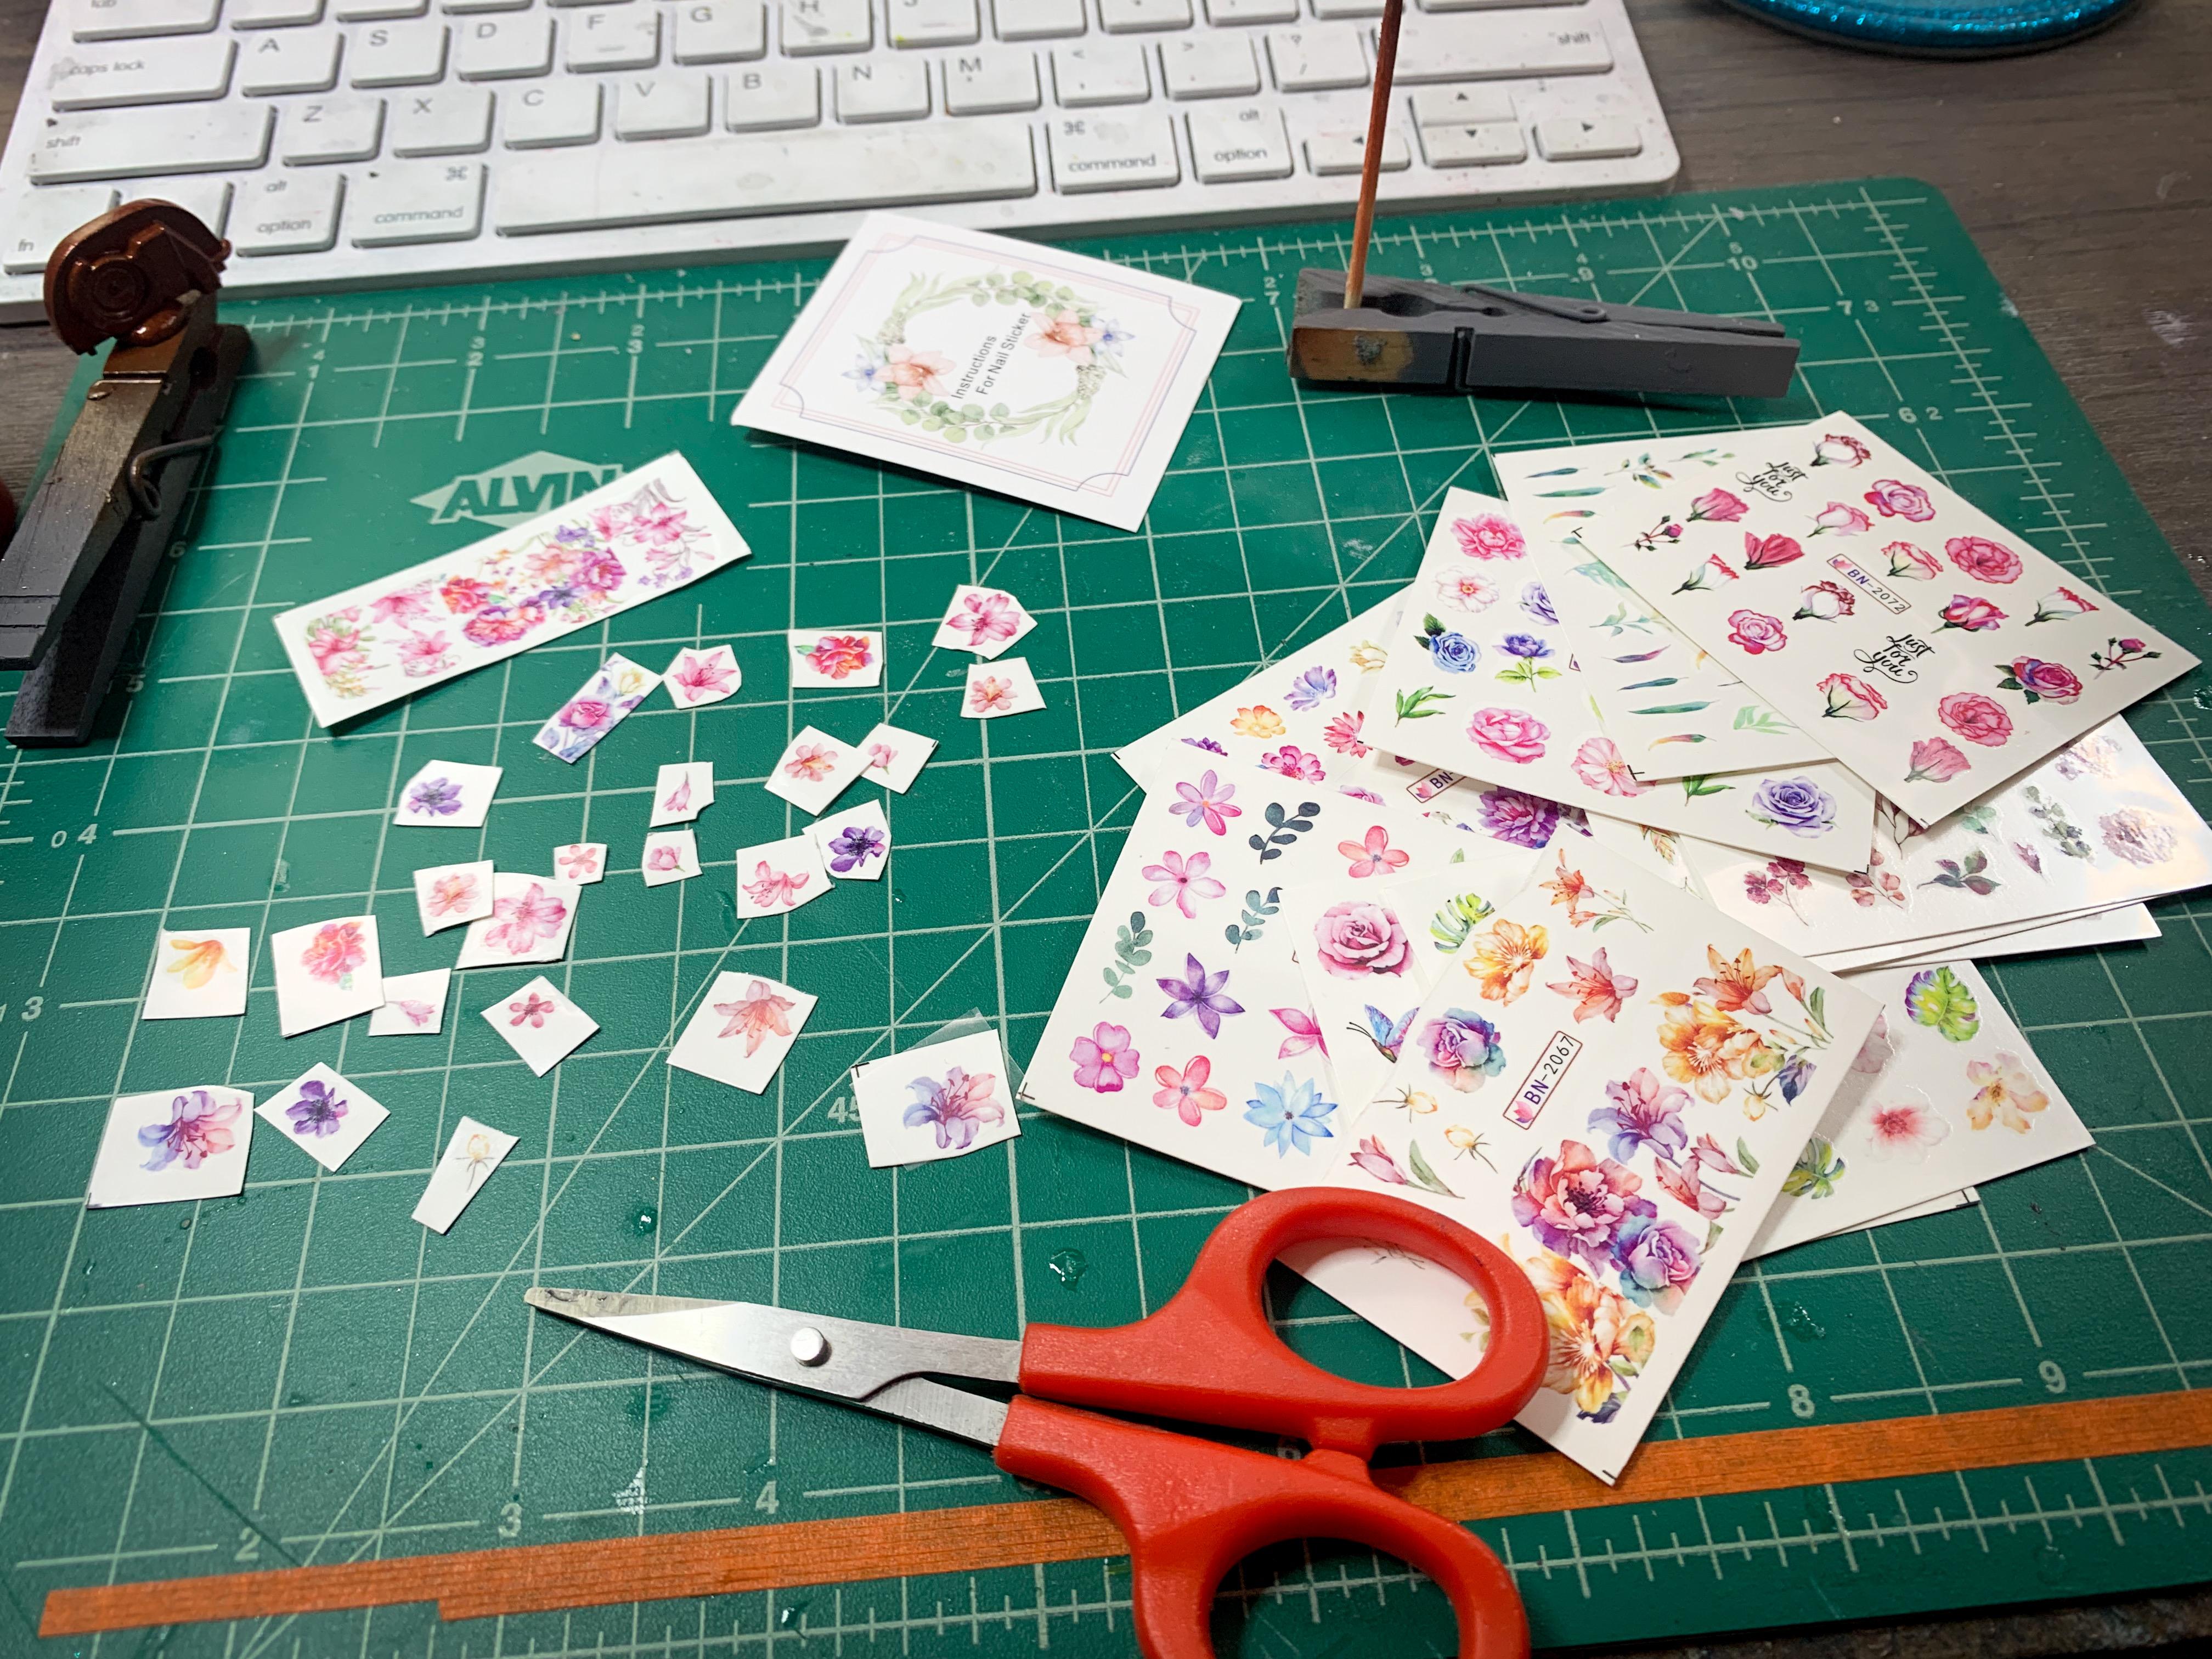
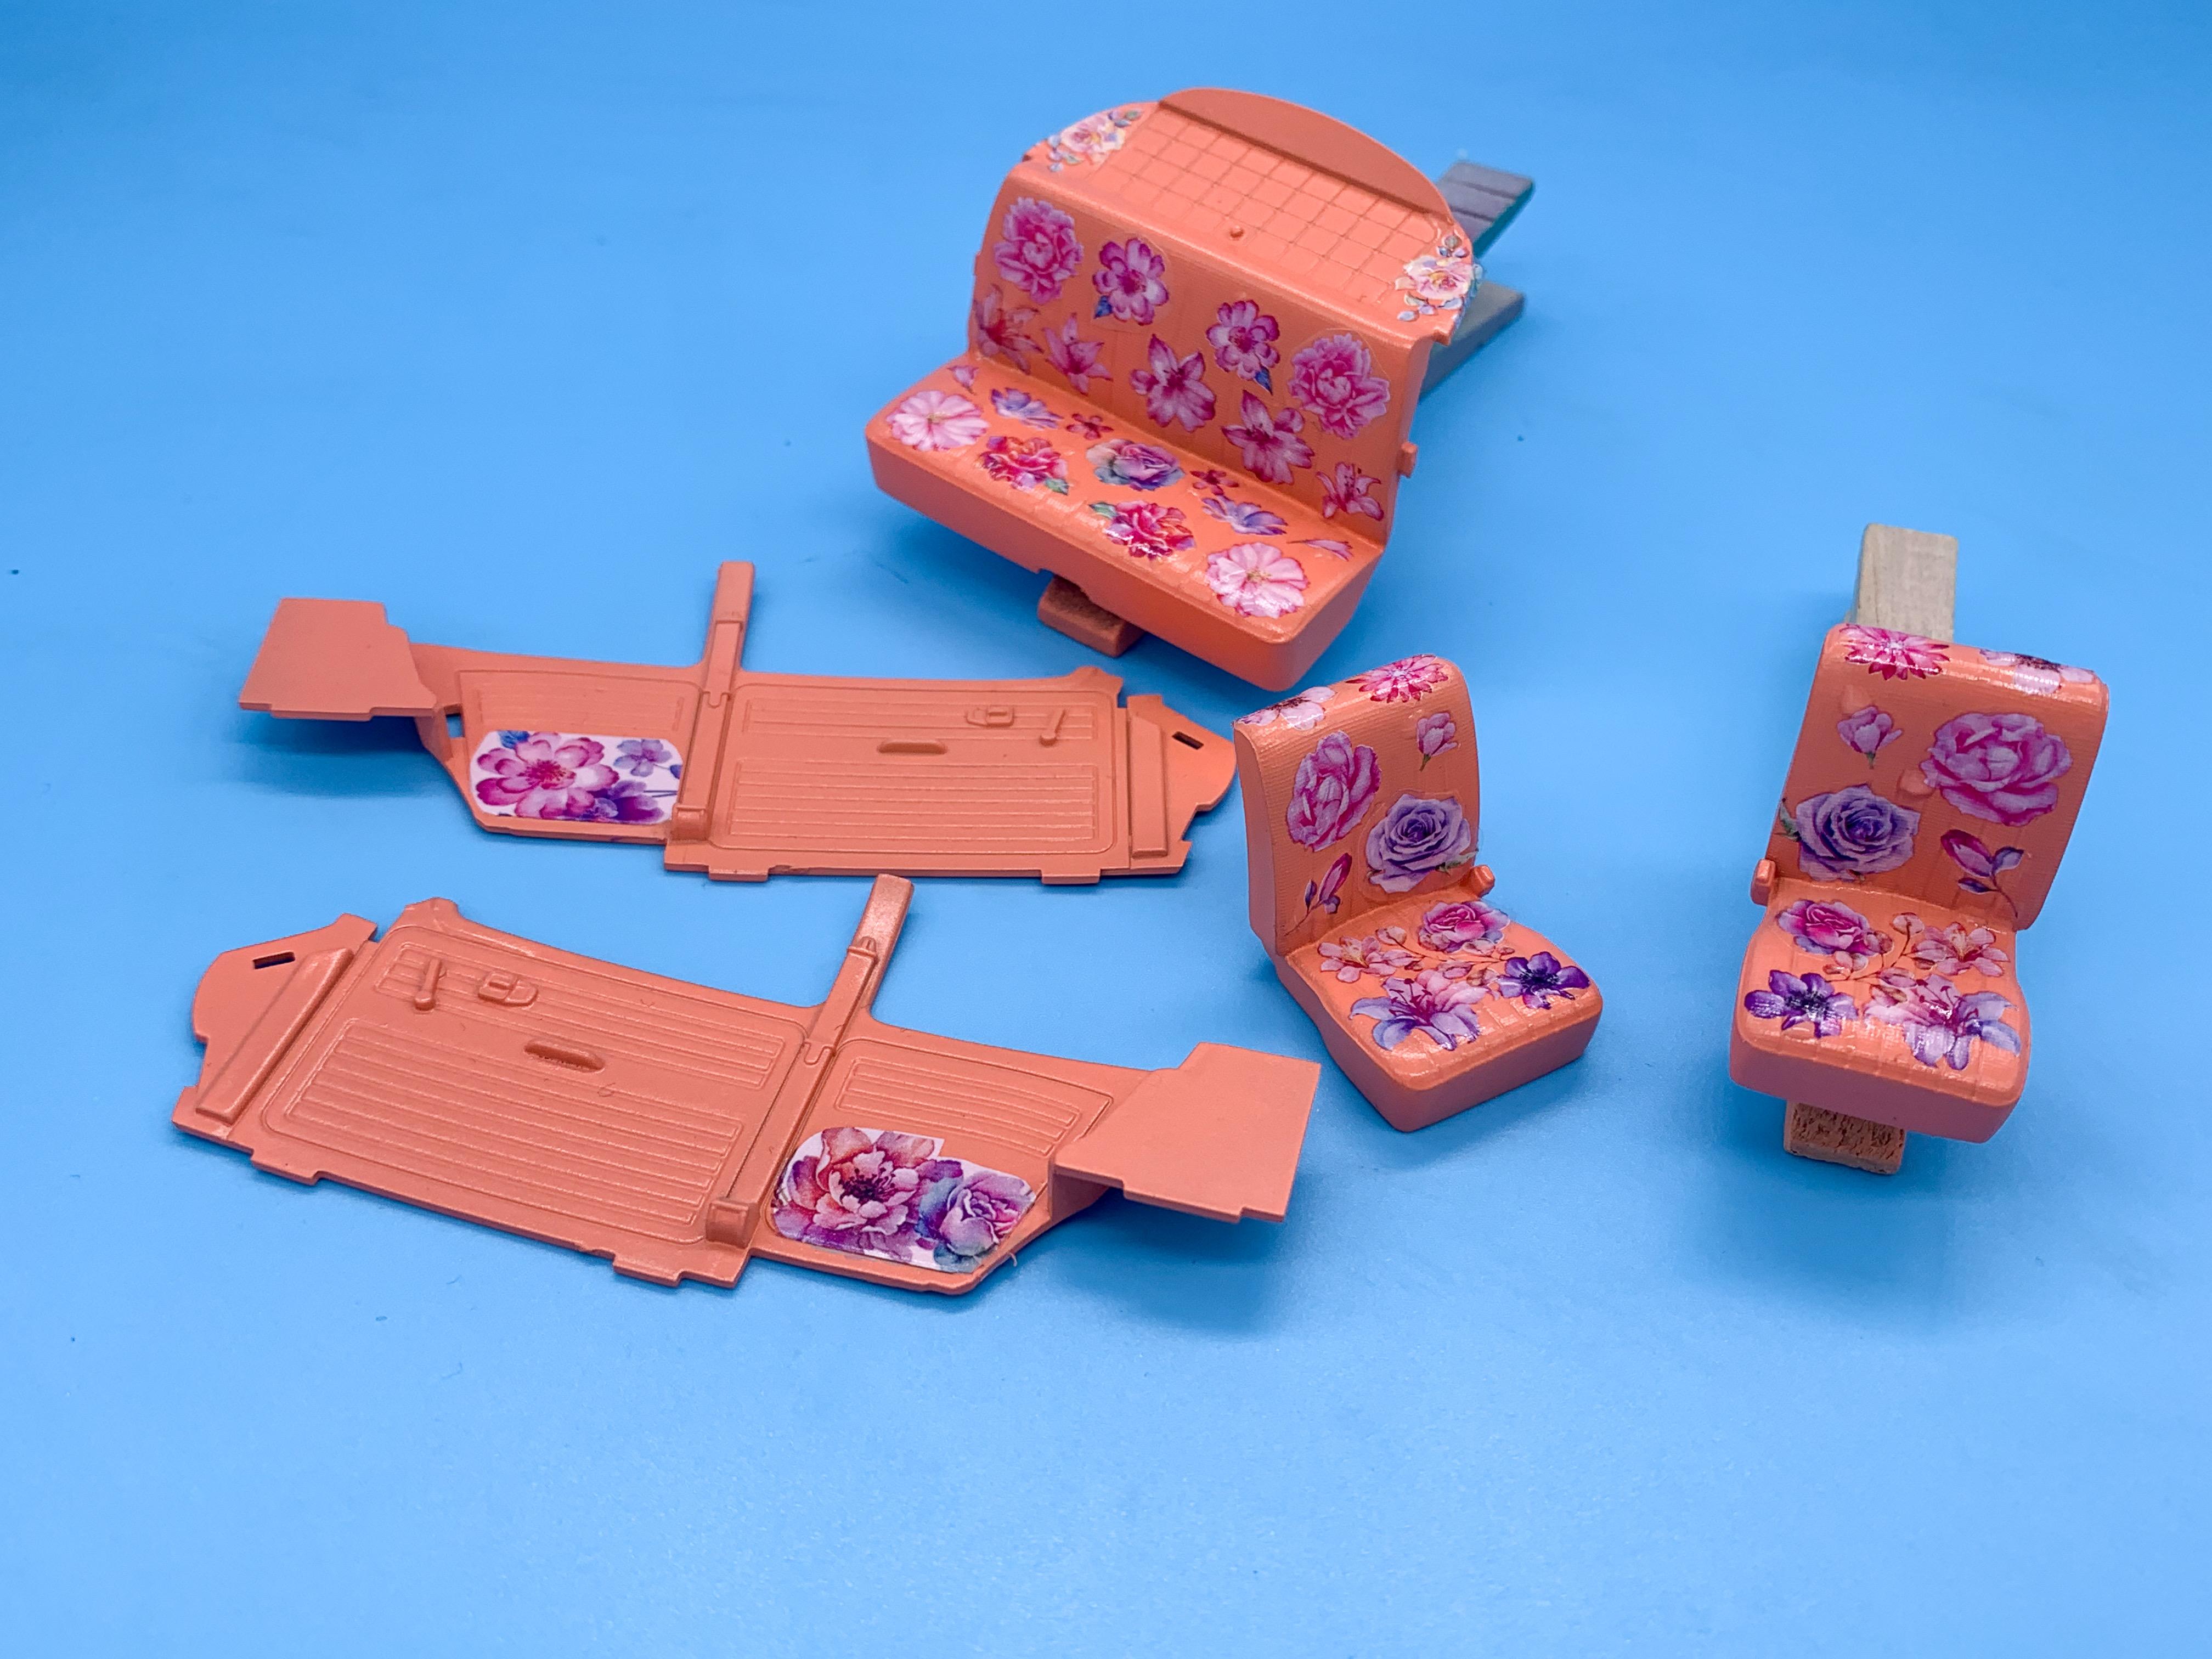
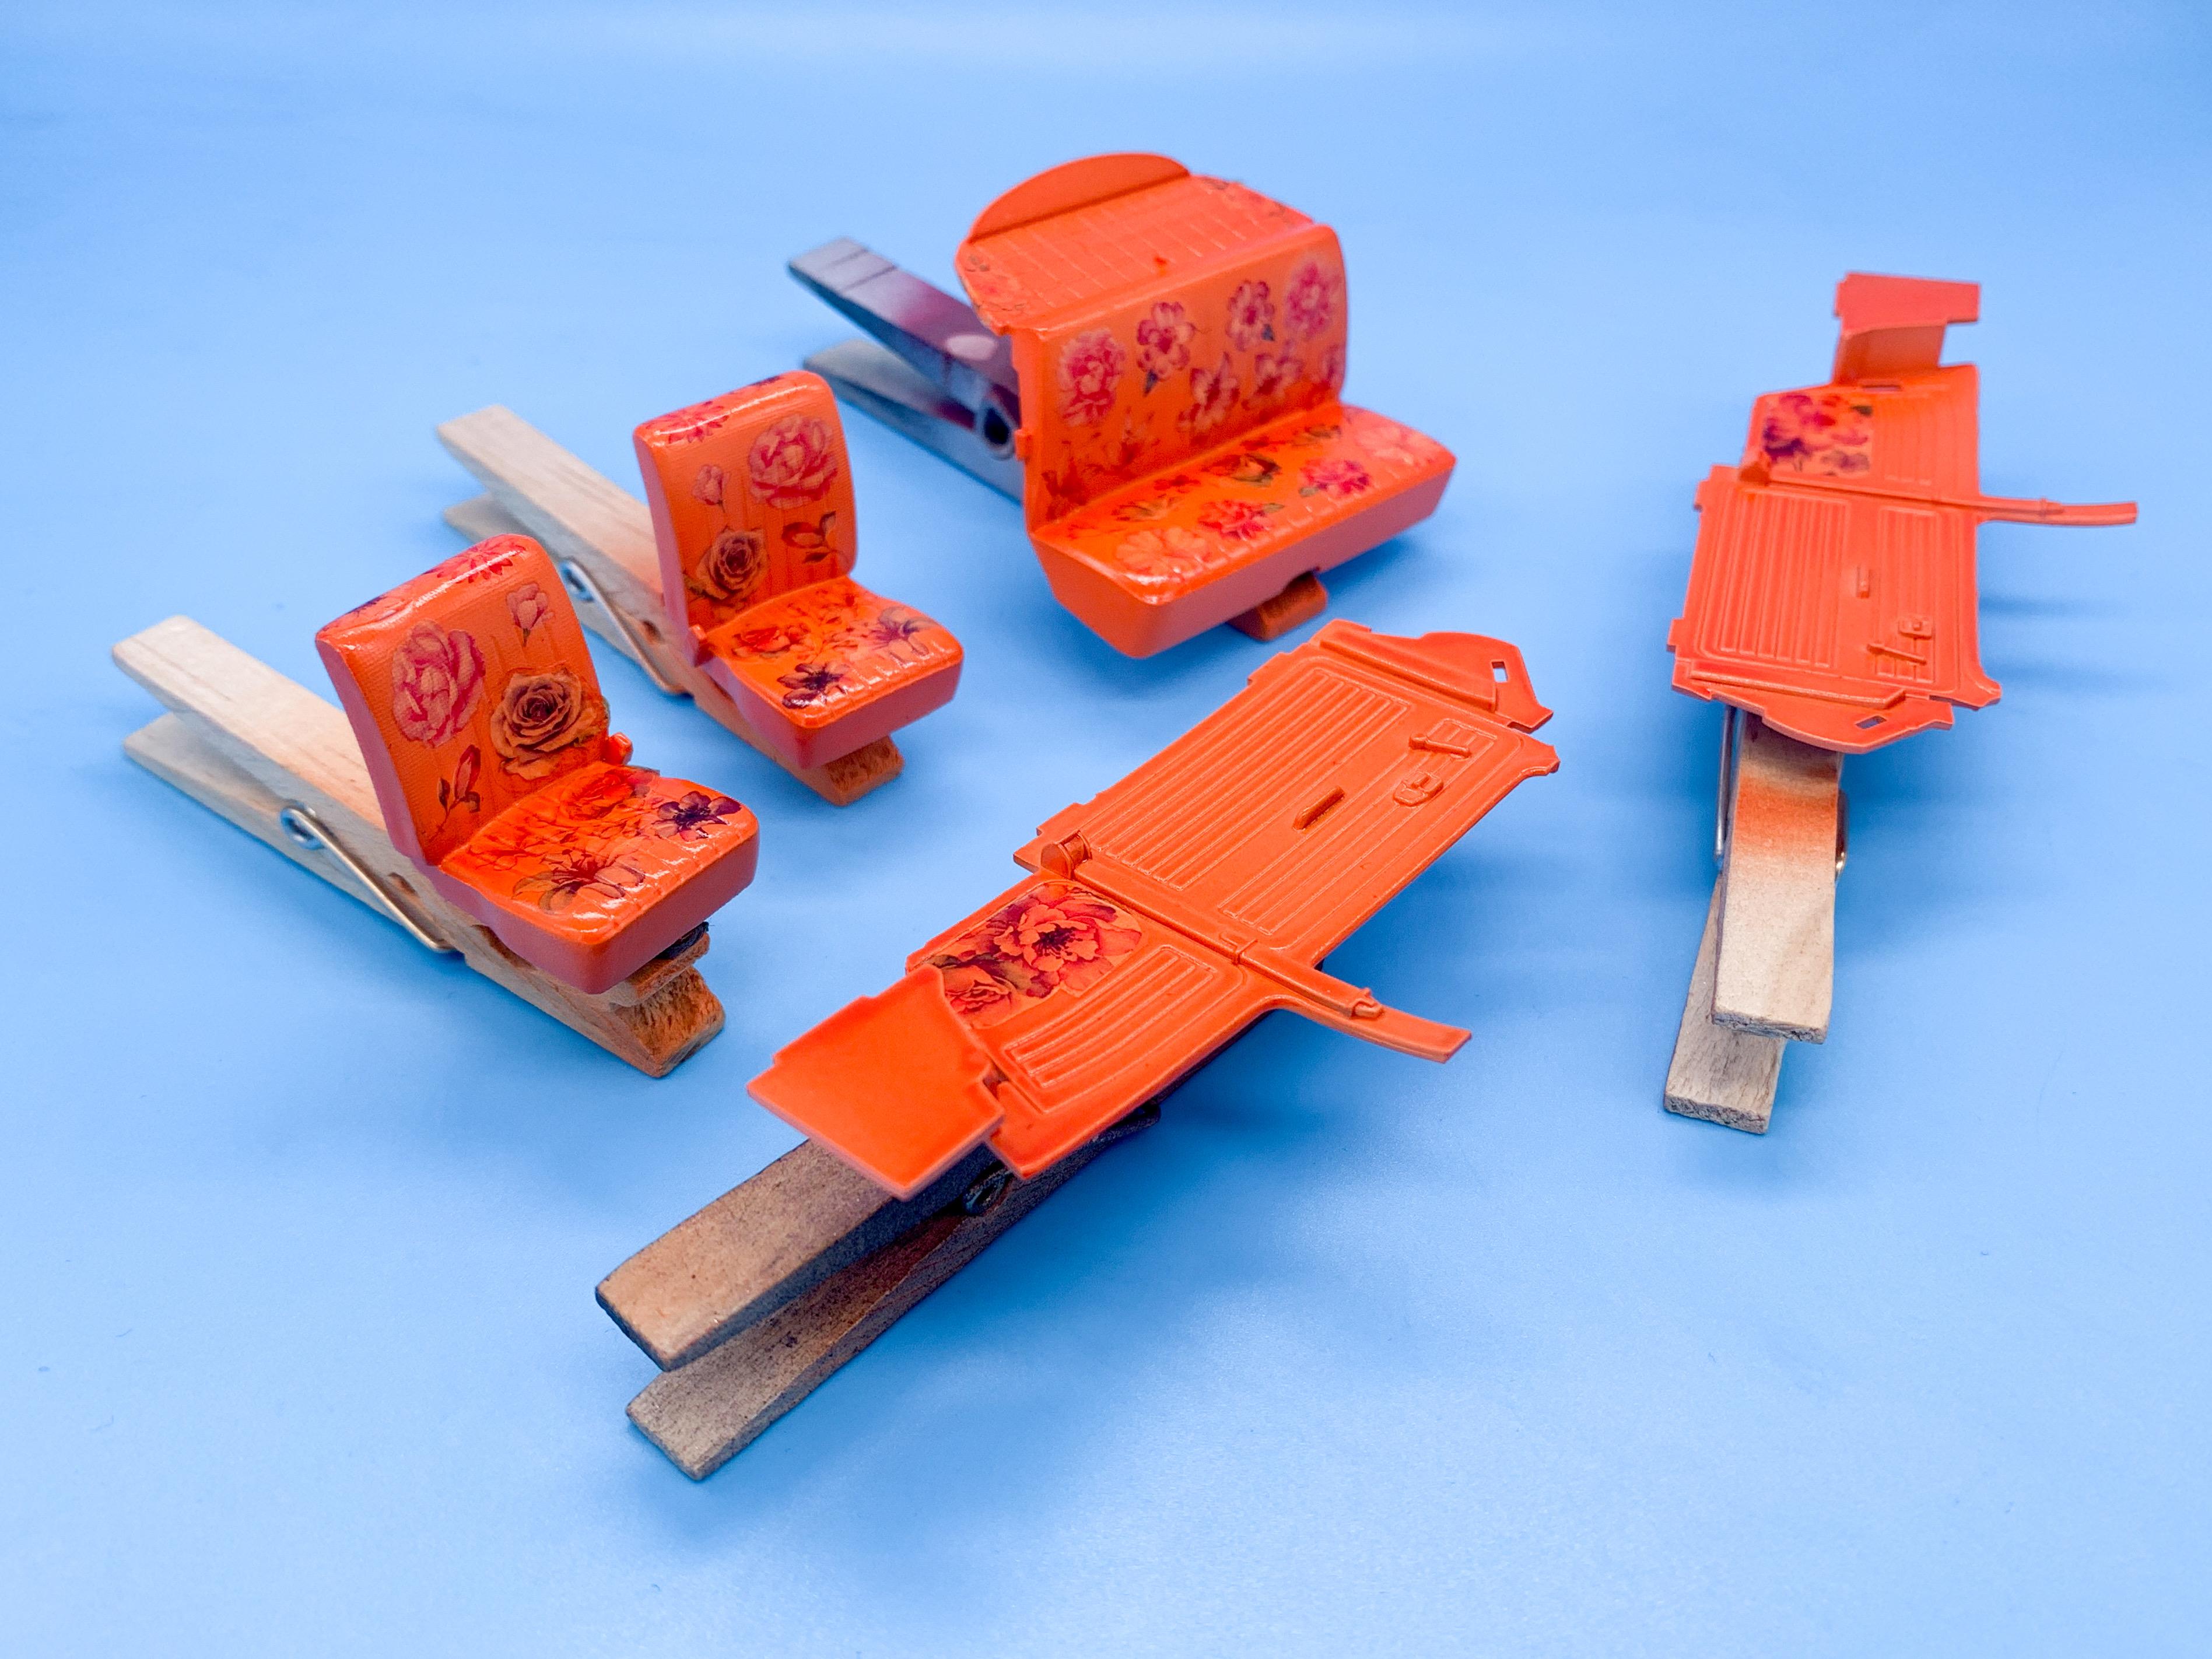
Just cut them on a Silhouette cutter - it’s a lifesaver for custom masks and stuff like this… Thanks for the nice comments everyone! Whilst the intercoat sets up on the body, starter work on the interior. I wanted a bright color, with some fancy floral-print looking fabric on the seats. Tried cutting some masks but the designs I had in mind were too fine for the cutter to successfully cut, so I ordered a bunch of nail art decals and got to work cutting them up: Here they are over a peach base (the final color will be MUCH brighter…) To blend them in and make them look more monochrome, I then shot Createx candy over top, which gave me this: Next up I’ll shoot some intercoat before masking them for the next step, but I’m pleased with the effect so far. Seeing as most of this build involves multiple steps in the painting stage, I’m kinda jumping around a lot so I don’t get stopped too long before I can make more progress…so this afternoon I shot the first color on the chassis, suspension parts and some of the other ‘under body’ stuff too. Started with the same Testor’s color as a base, but added some fades with other complimentary tones, for my own amusement: Overkill? Yep, probably - but I’m having fun ? Thanks for looking - more soon, soon as I’ve done more!
-
A modelers obituary thread
OldNYJim replied to bobthehobbyguy's topic in General Automotive Talk (Trucks and Cars)
I’d like to see a tradition where we post favorite builds by some of our favorite builders in their tribute thread. Recently I’ve started saving photos of builds by some of my favorite builders who have passed too soon, so that when Fotki/Photobucket/whoever deletes their accounts in time they’re at least backed up somewhere… -
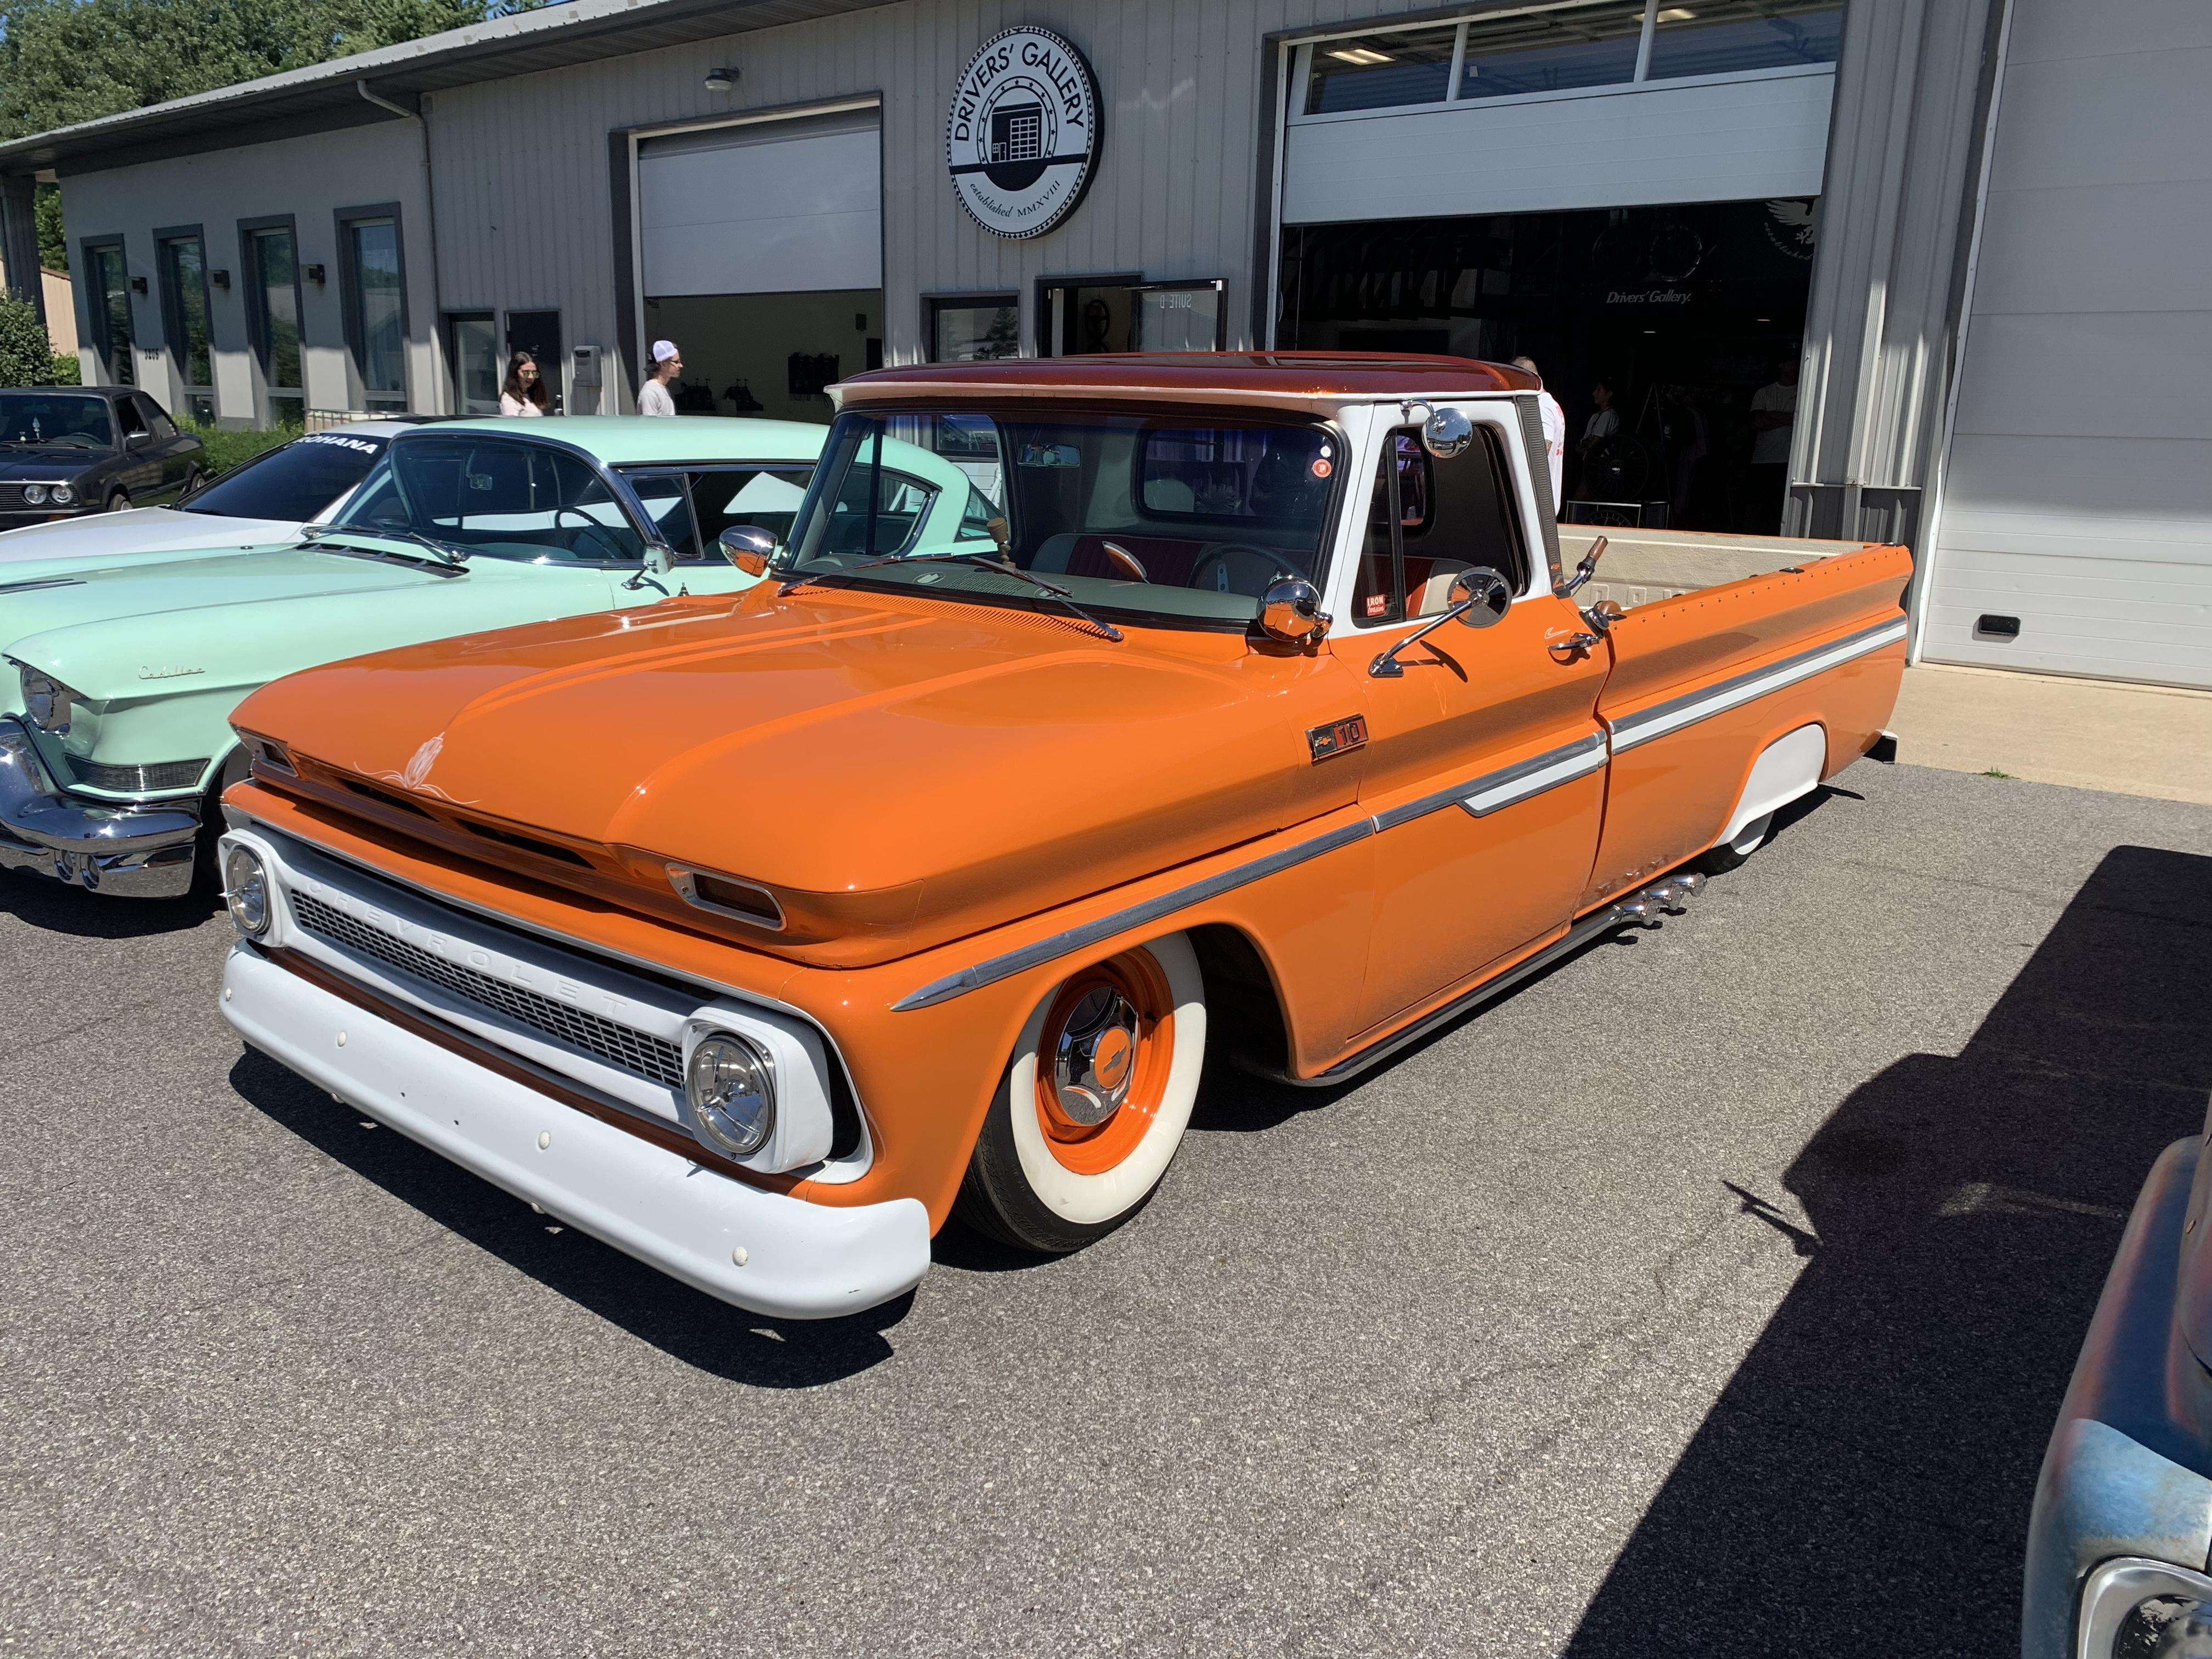
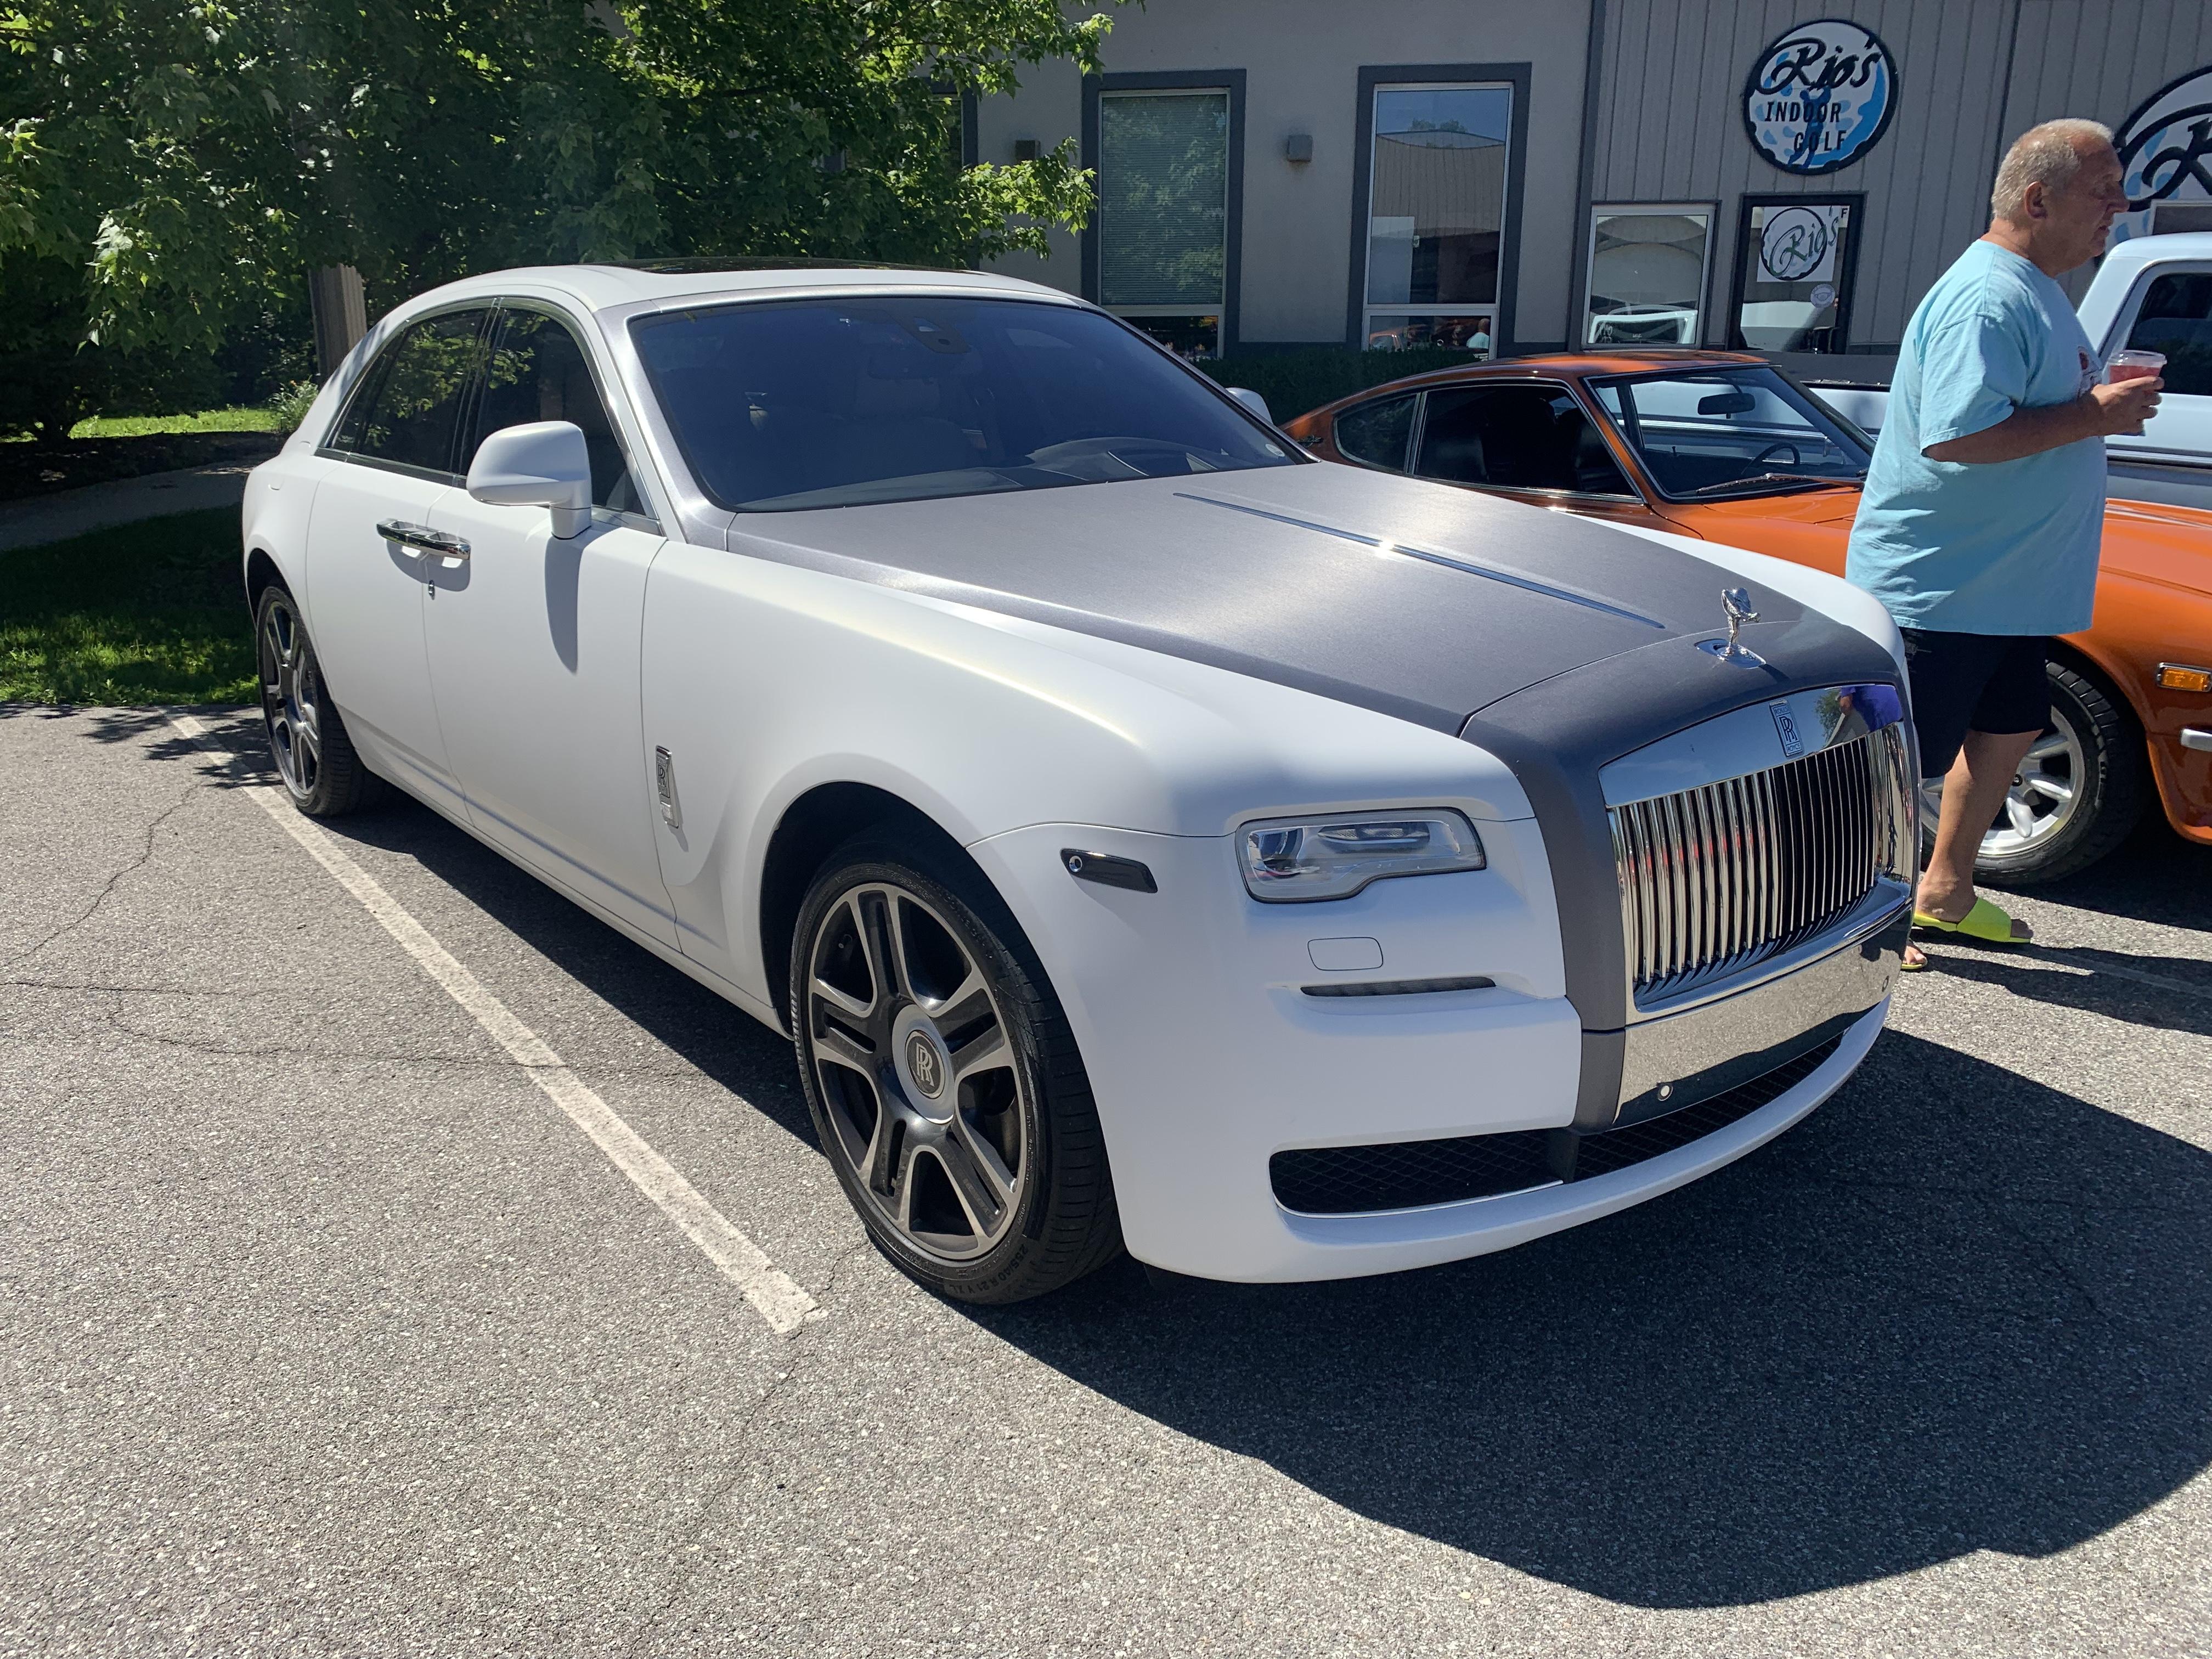
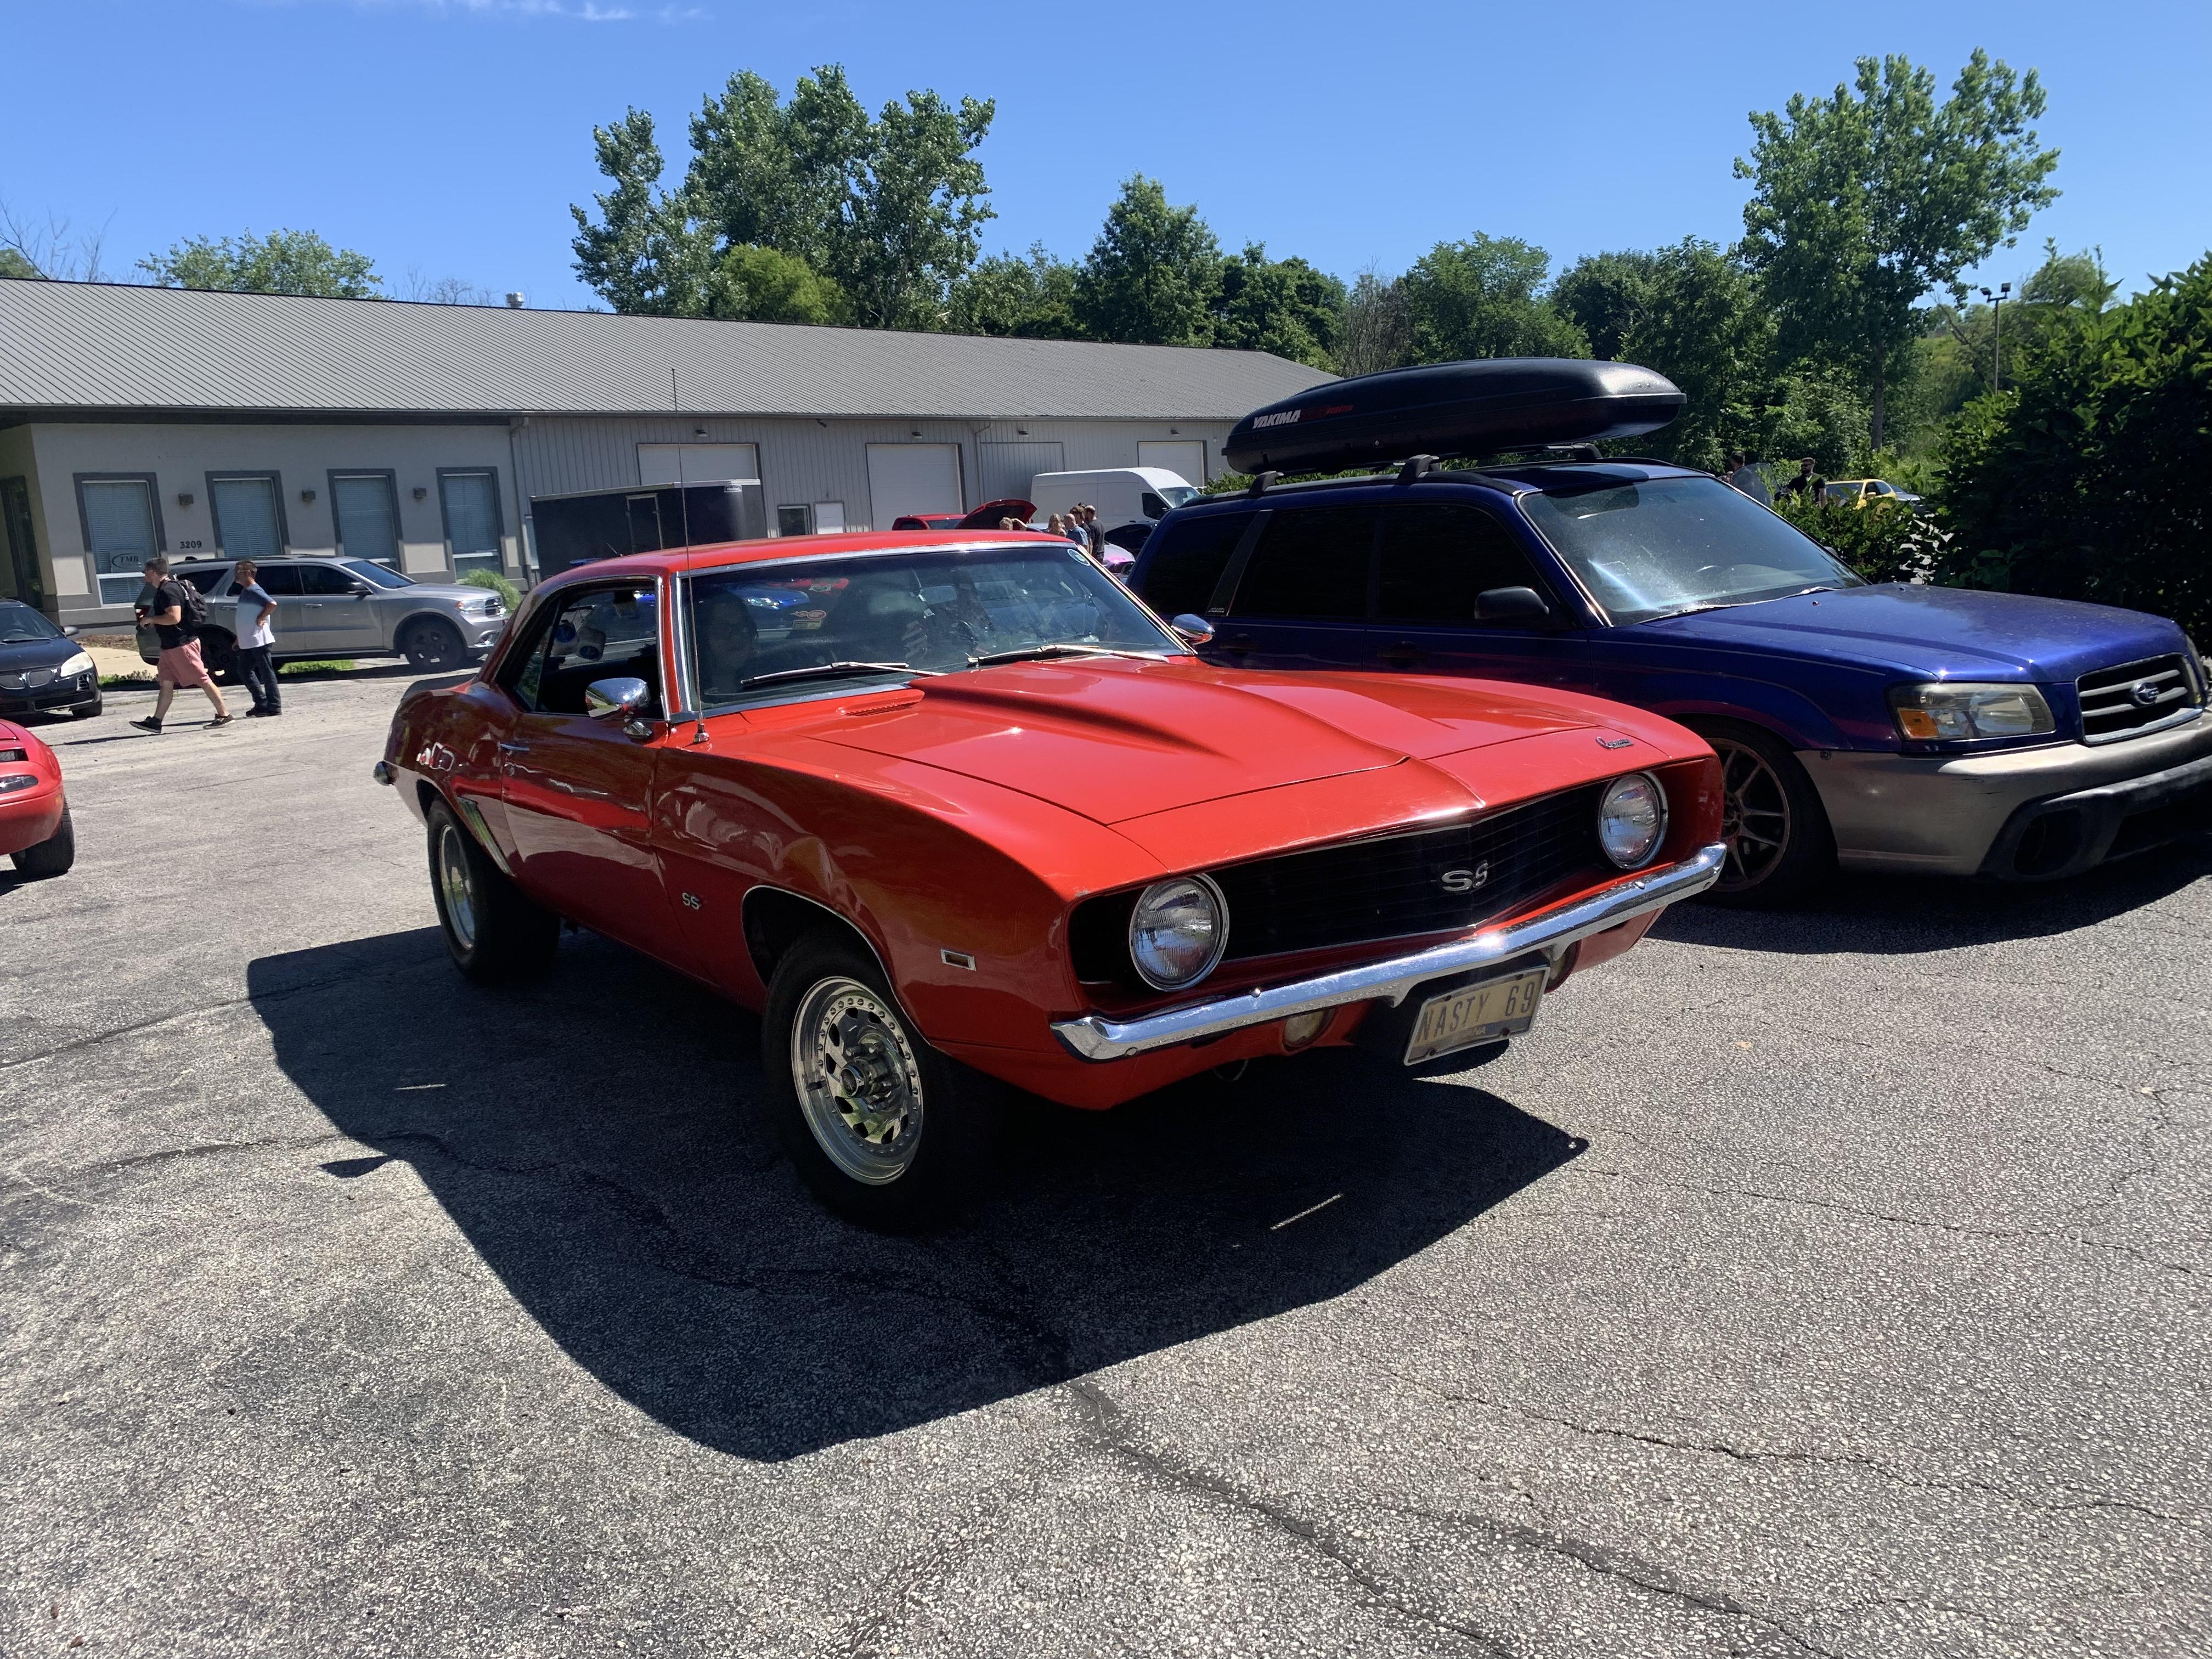
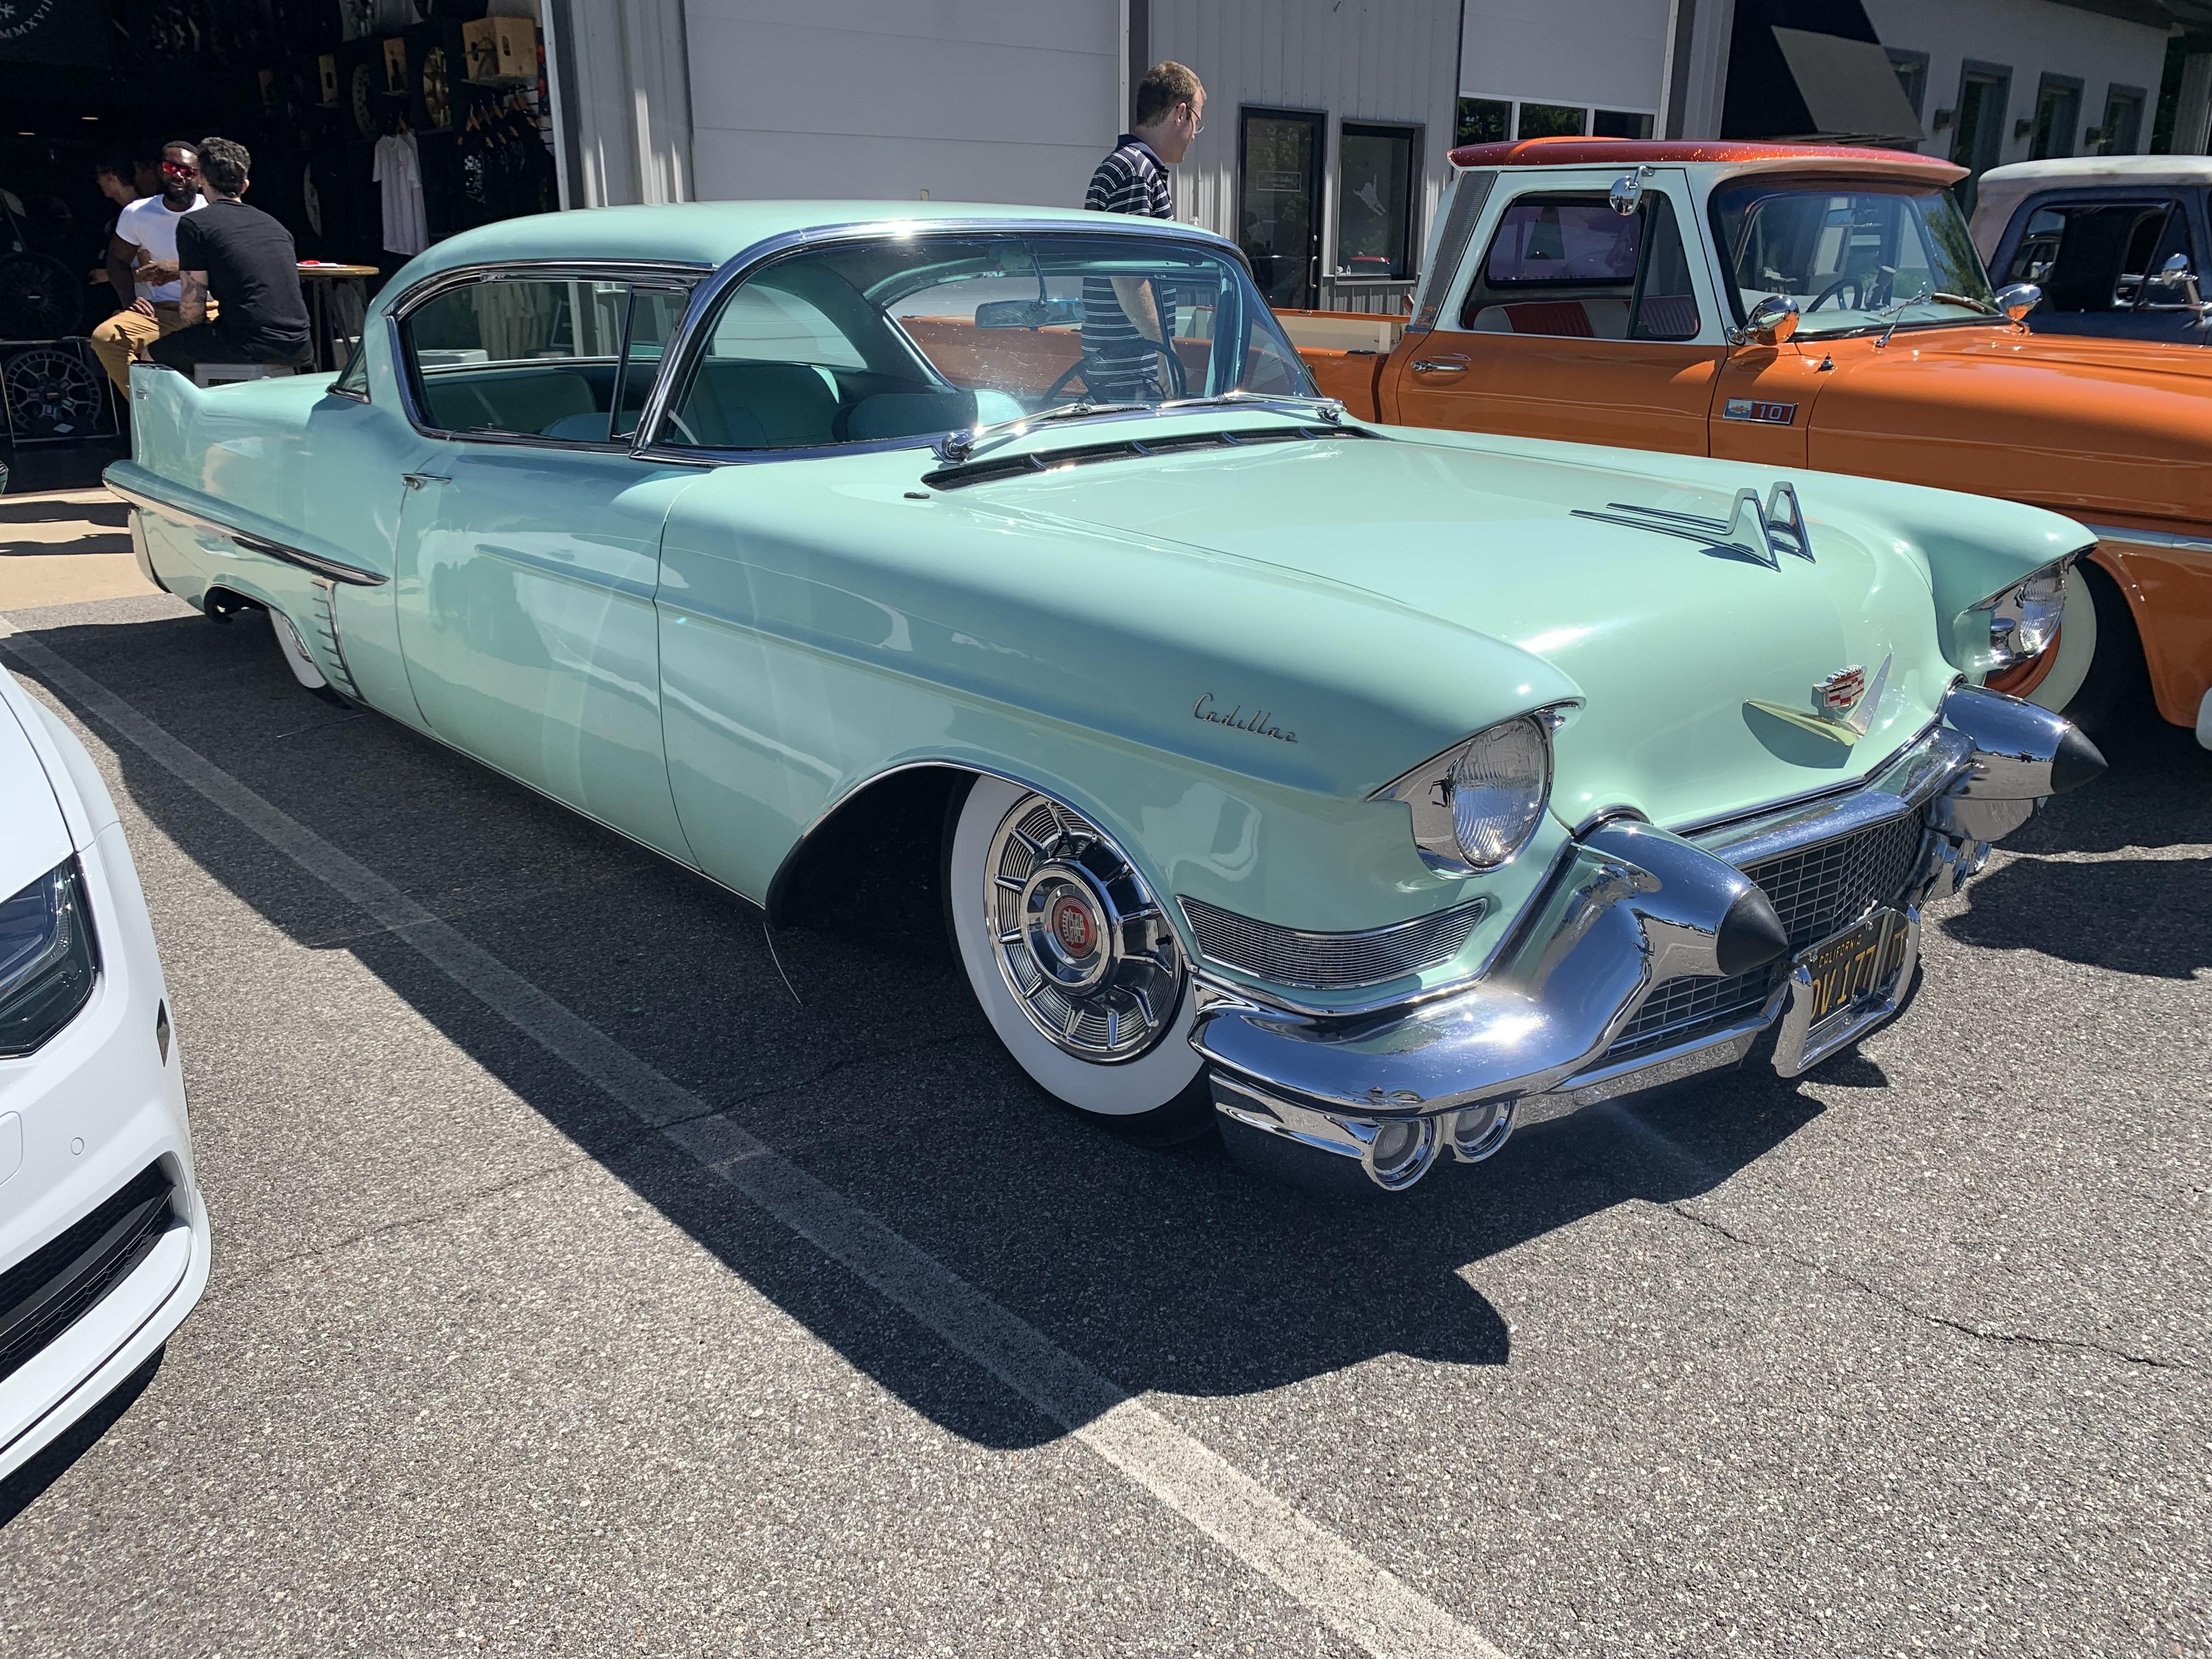
Another visit to Cars and Coffee this morning - usual selection of Japanese hatchbacks with farty exhausts, some muscle cars, a nice Rolls Royce and some cool vintage domestic iron. Bunch more pics starting here: https://public.fotki.com/NewYorkSpeedShop/11-cars/car-shows/cars-and-coffee-at/page18.html And a little preview here:
-
My next guess - Back To The Future-spec Delorean? EDIT: Oh wait - NOT a movie car? Nevermind then…
-
Thanks for all the comments fellas! Might not come with a cheesecake…maybe a decent dollar slice (now $2 at most of my favorite places…) Shot a couple of coats of orange and pink pearl over top the base color - not a bunch, just a little to give it a little extra shimmer once it’s all clear coated, and then shot intercoat over THAT so I could start some masking and airbrushing today. Laid down some tape around the panels so I can add a little fogging over the lines for some visual interest, and as a base for the other stuff I have planned… Nothing too difficult about the process, it’s just a little time consuming… Ready for the next layer of paint: I wanted a fairly subtle effect, so I mixed some translucent black up and misted it along the tape lines: And some careful unmasking later: Good starting point for some more airbrush-y fun! I wanted to add some vintage door lettering, but nothing too in-your-face so I cut some masks… Shot more black (a darker mix this time, so help it stand out slightly more than the fades I laid down already): And some more careful de-masking…tada! Got plenty more to do, but that that was today’s progress…thanks for looking - more soon!
-
Good start! And in case you need some inspiration… https://www.instagram.com/reel/CfxmKv5joZ7/?igshid=YmMyMTA2M2Y= (Admittedly that’s the Tamiya kit, but it’s a beautiful build!)