dino246gt
-
Posts
2,244 -
Joined
-
Last visited
Content Type
Profiles
Forums
Events
Gallery
Everything posted by dino246gt
-
 I love the fitting of the Fairlane under the '66 Falcon! Nice work!
 -
Looks great! Nice work with this one!
-
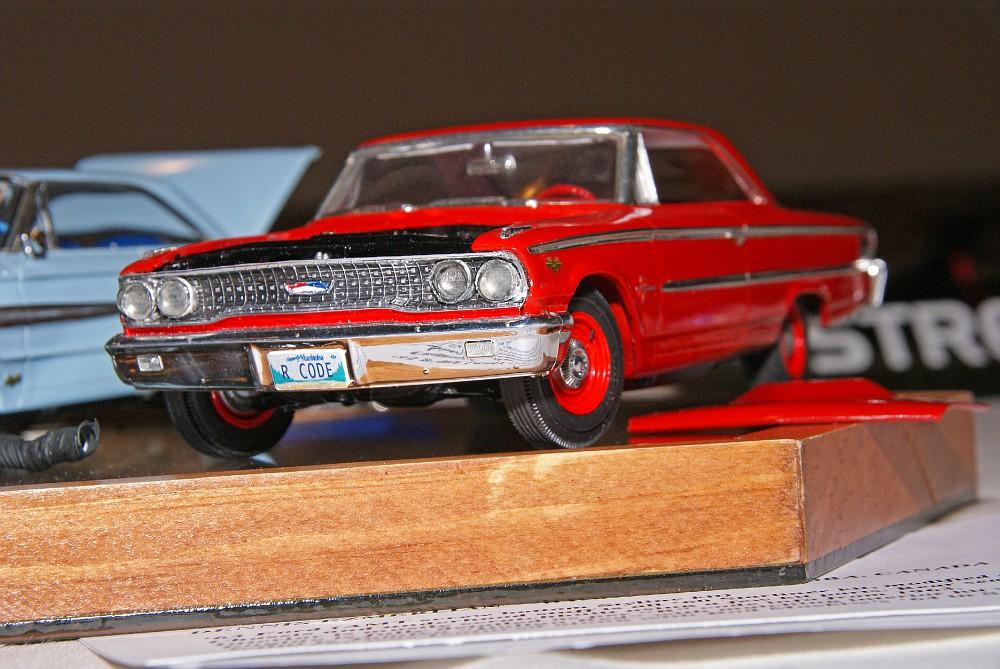
Awesome progress on the big Fords, I personally think that the '63 and a half Galaxie 500 fastback is the most beautiful big Ford out there, I love the style, '64 just a little less. '62 was pretty great looking too, '61, also sweet................ stop me! LOL
-
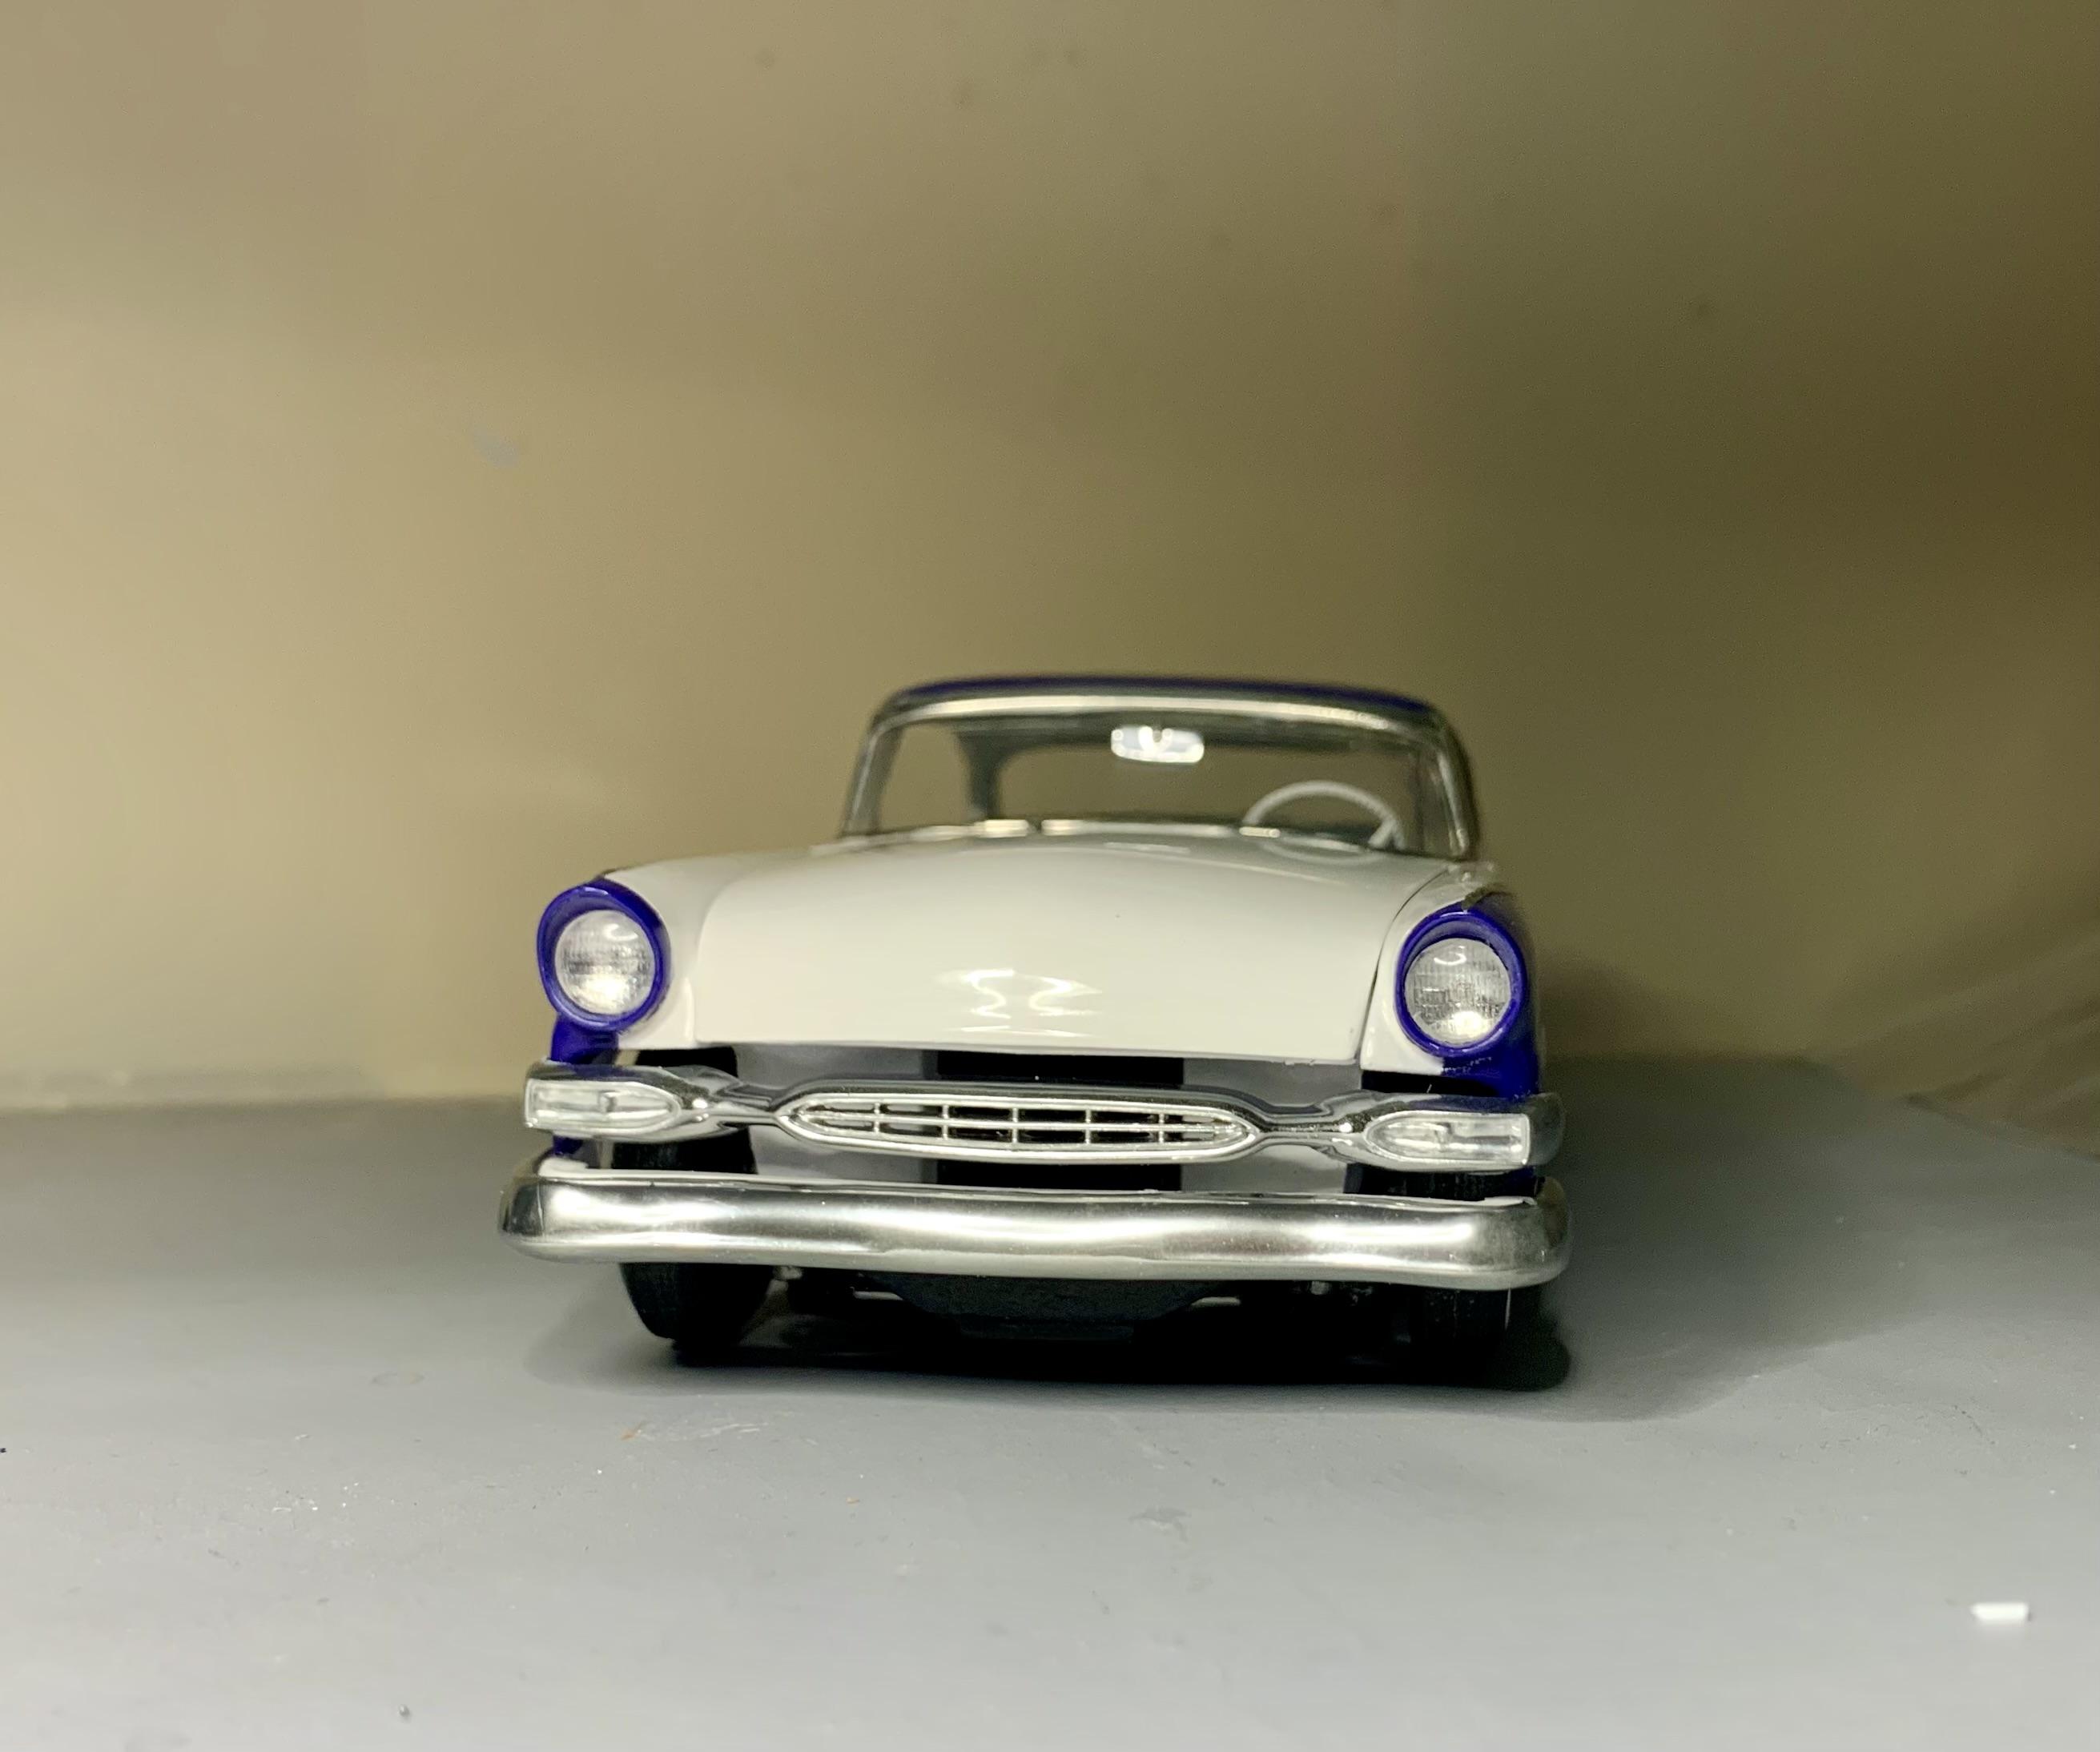
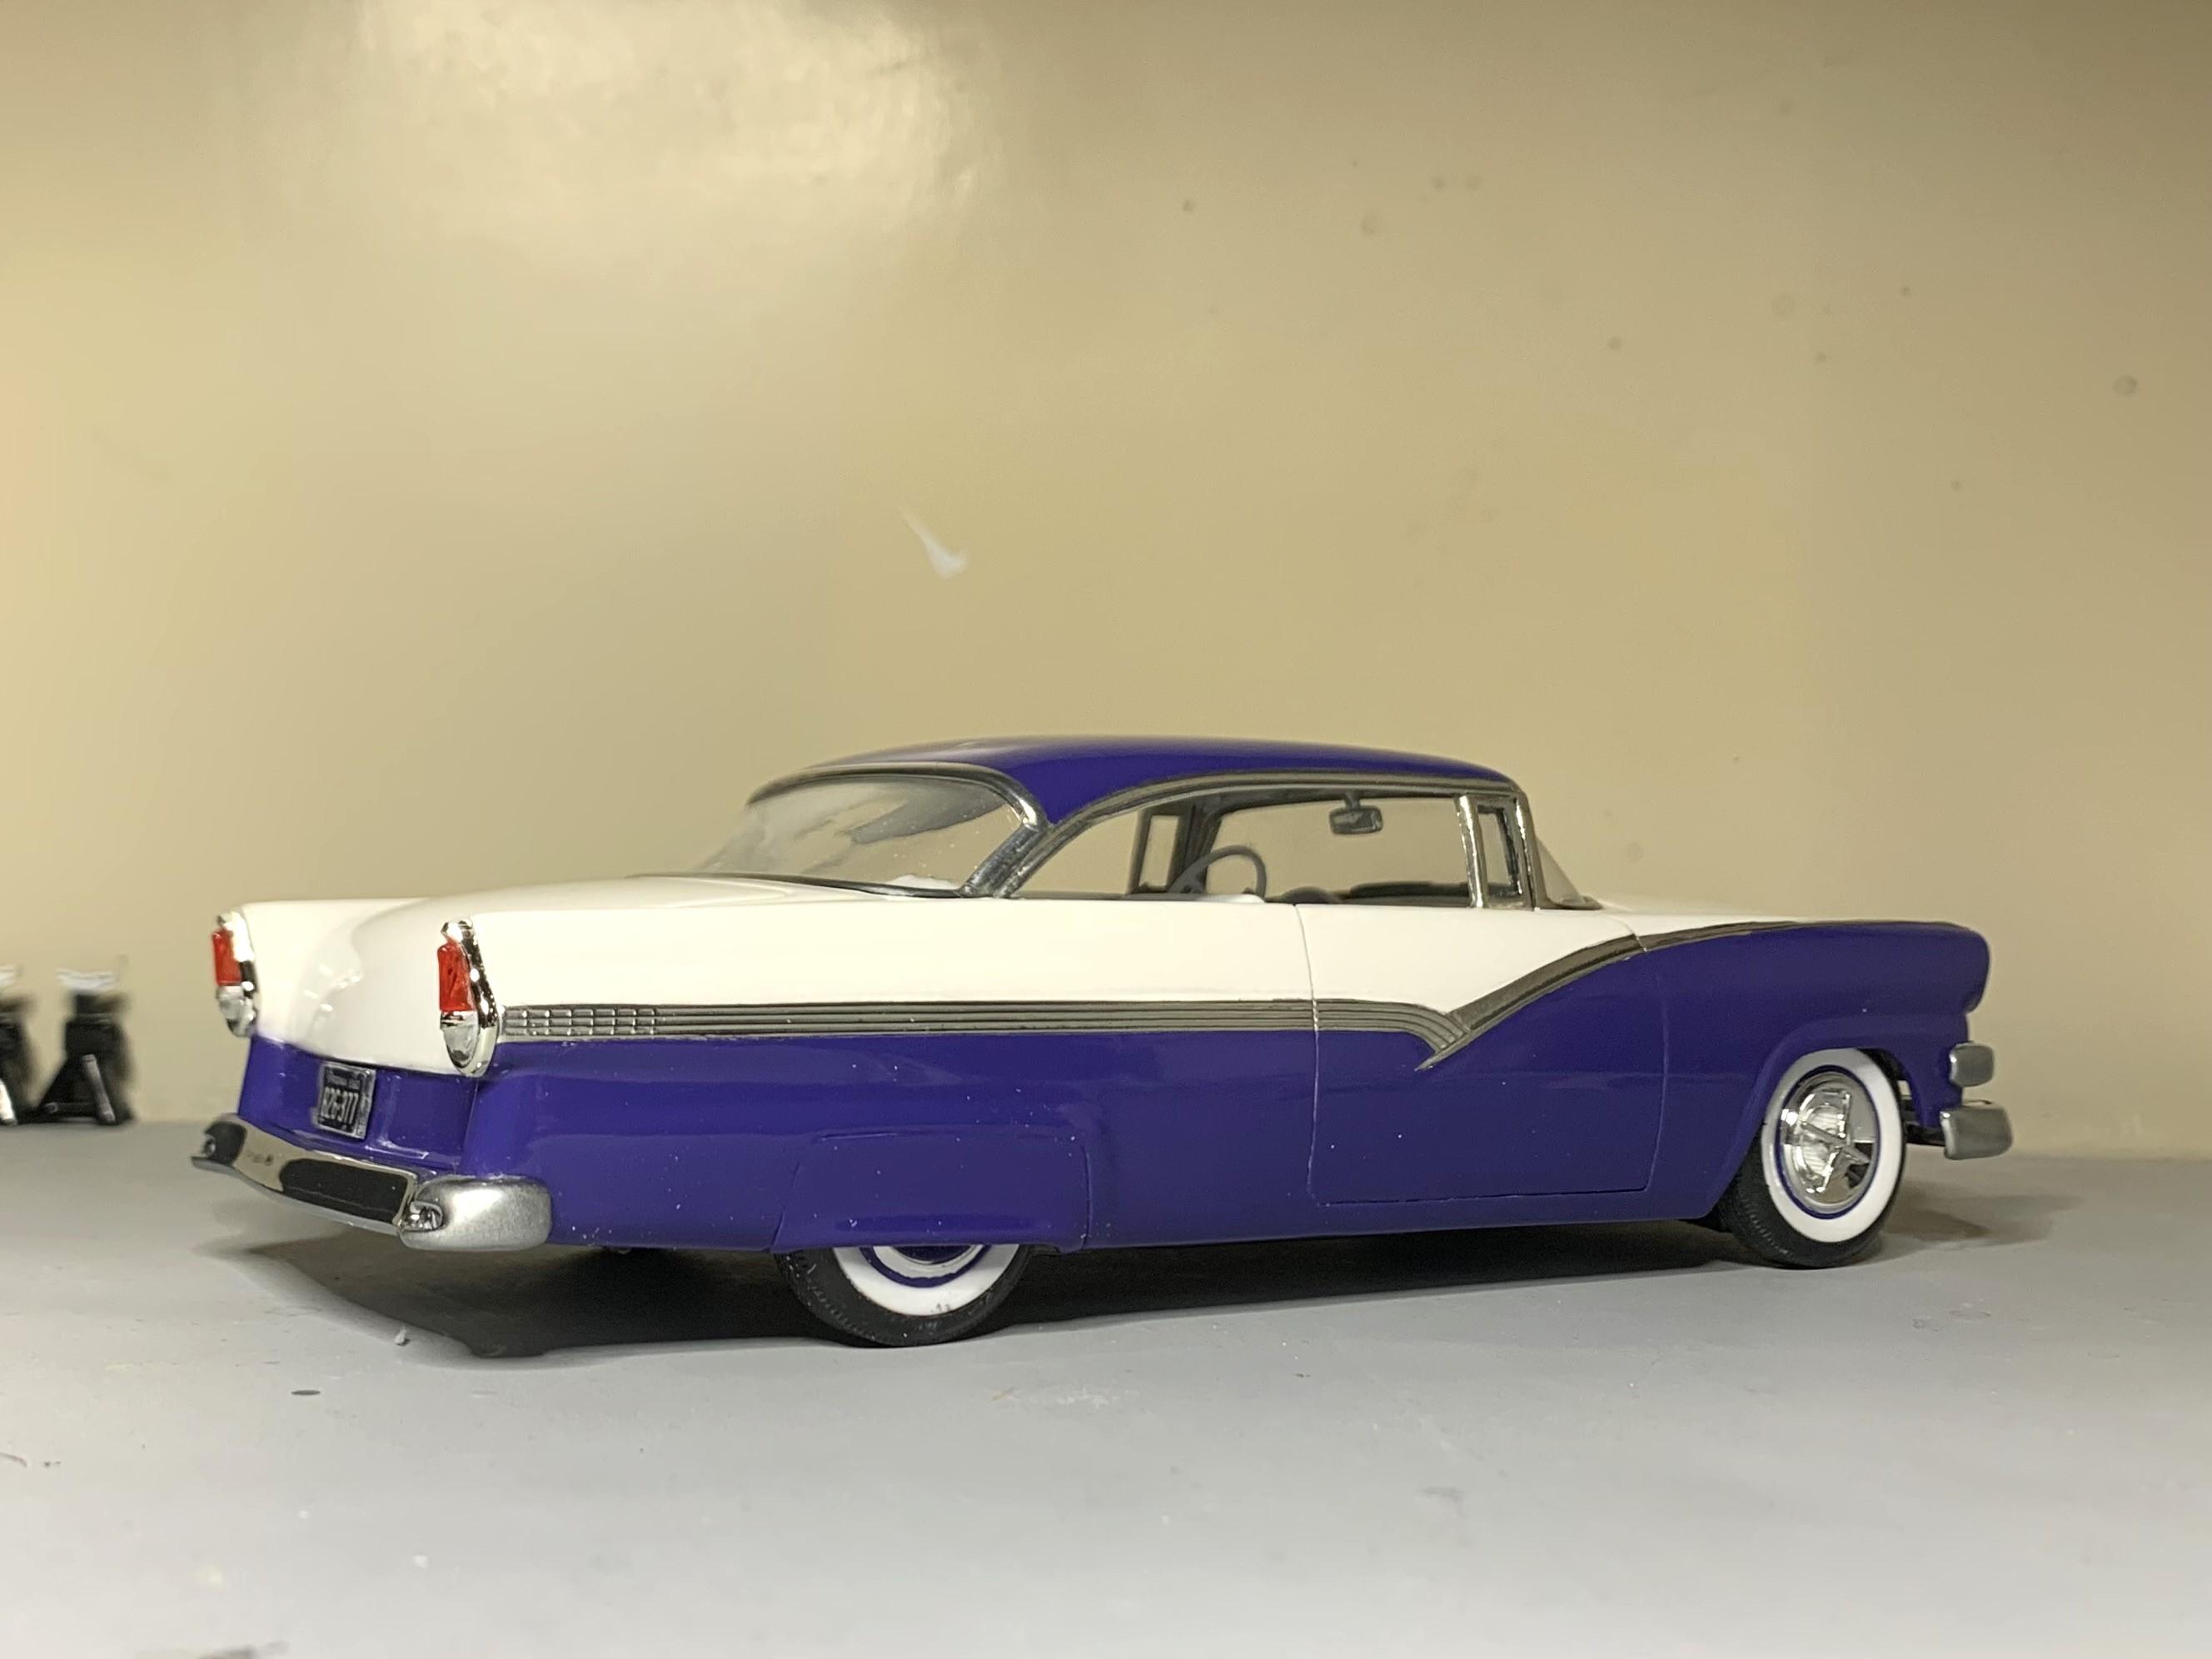
That is SO cool! I'm on a kick of building some old AMT kits and "refining" them, like you're doing, it's so much fun and rewarding! You MUST drill out the chrome headlights, and possibly try to thin the tail light chrome surround, something I regret not doing. I did drill out the headlights though.

-
I love this project! You're doing a great job. Take your time, but keep us posted. (just a few of the pics from my photo collection) Cheers!
- 53 replies
-
- 1
-

-
- lamborghini
- cheetah
- (and 2 more)
-
Lindberg's '53 Ford - following the instructions
dino246gt replied to customline's topic in WIP: Model Cars
Looks GREAT! -
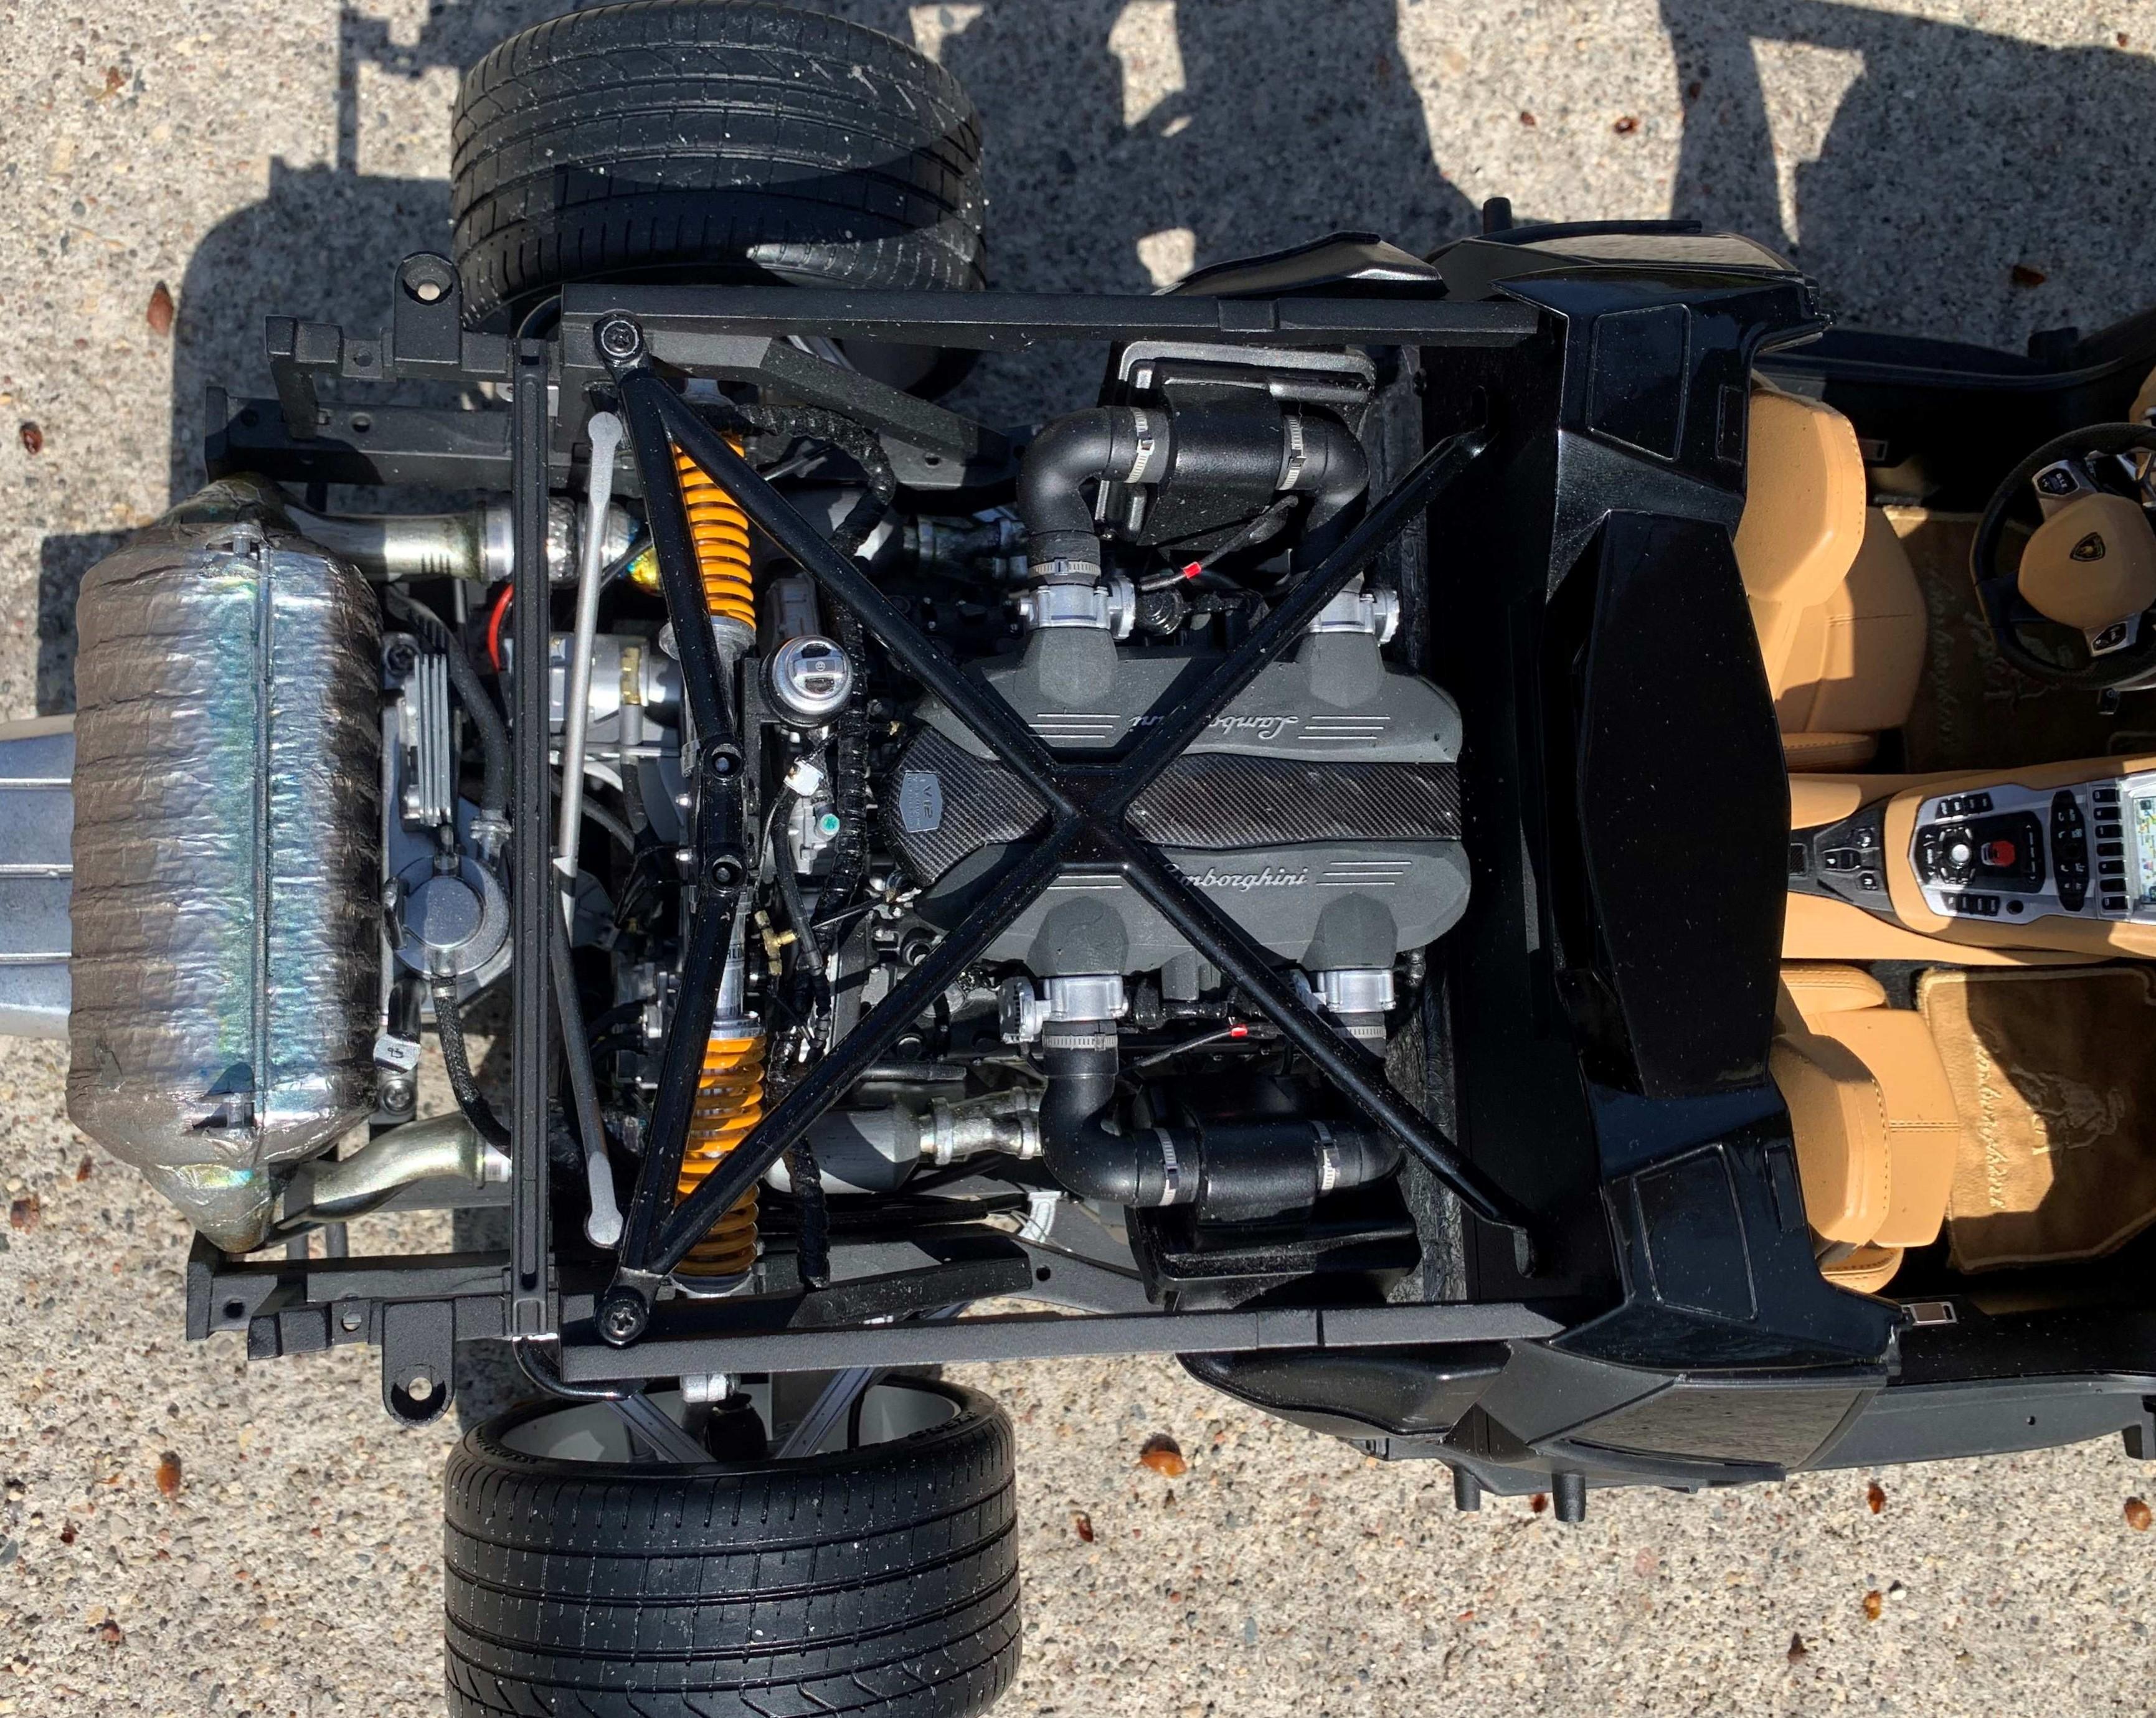
A REALLY REALLY BIG EXOTIC building the Pocher 1:8 Pagani Utopia my way
dino246gt replied to mrm's topic in WIP: Model Cars
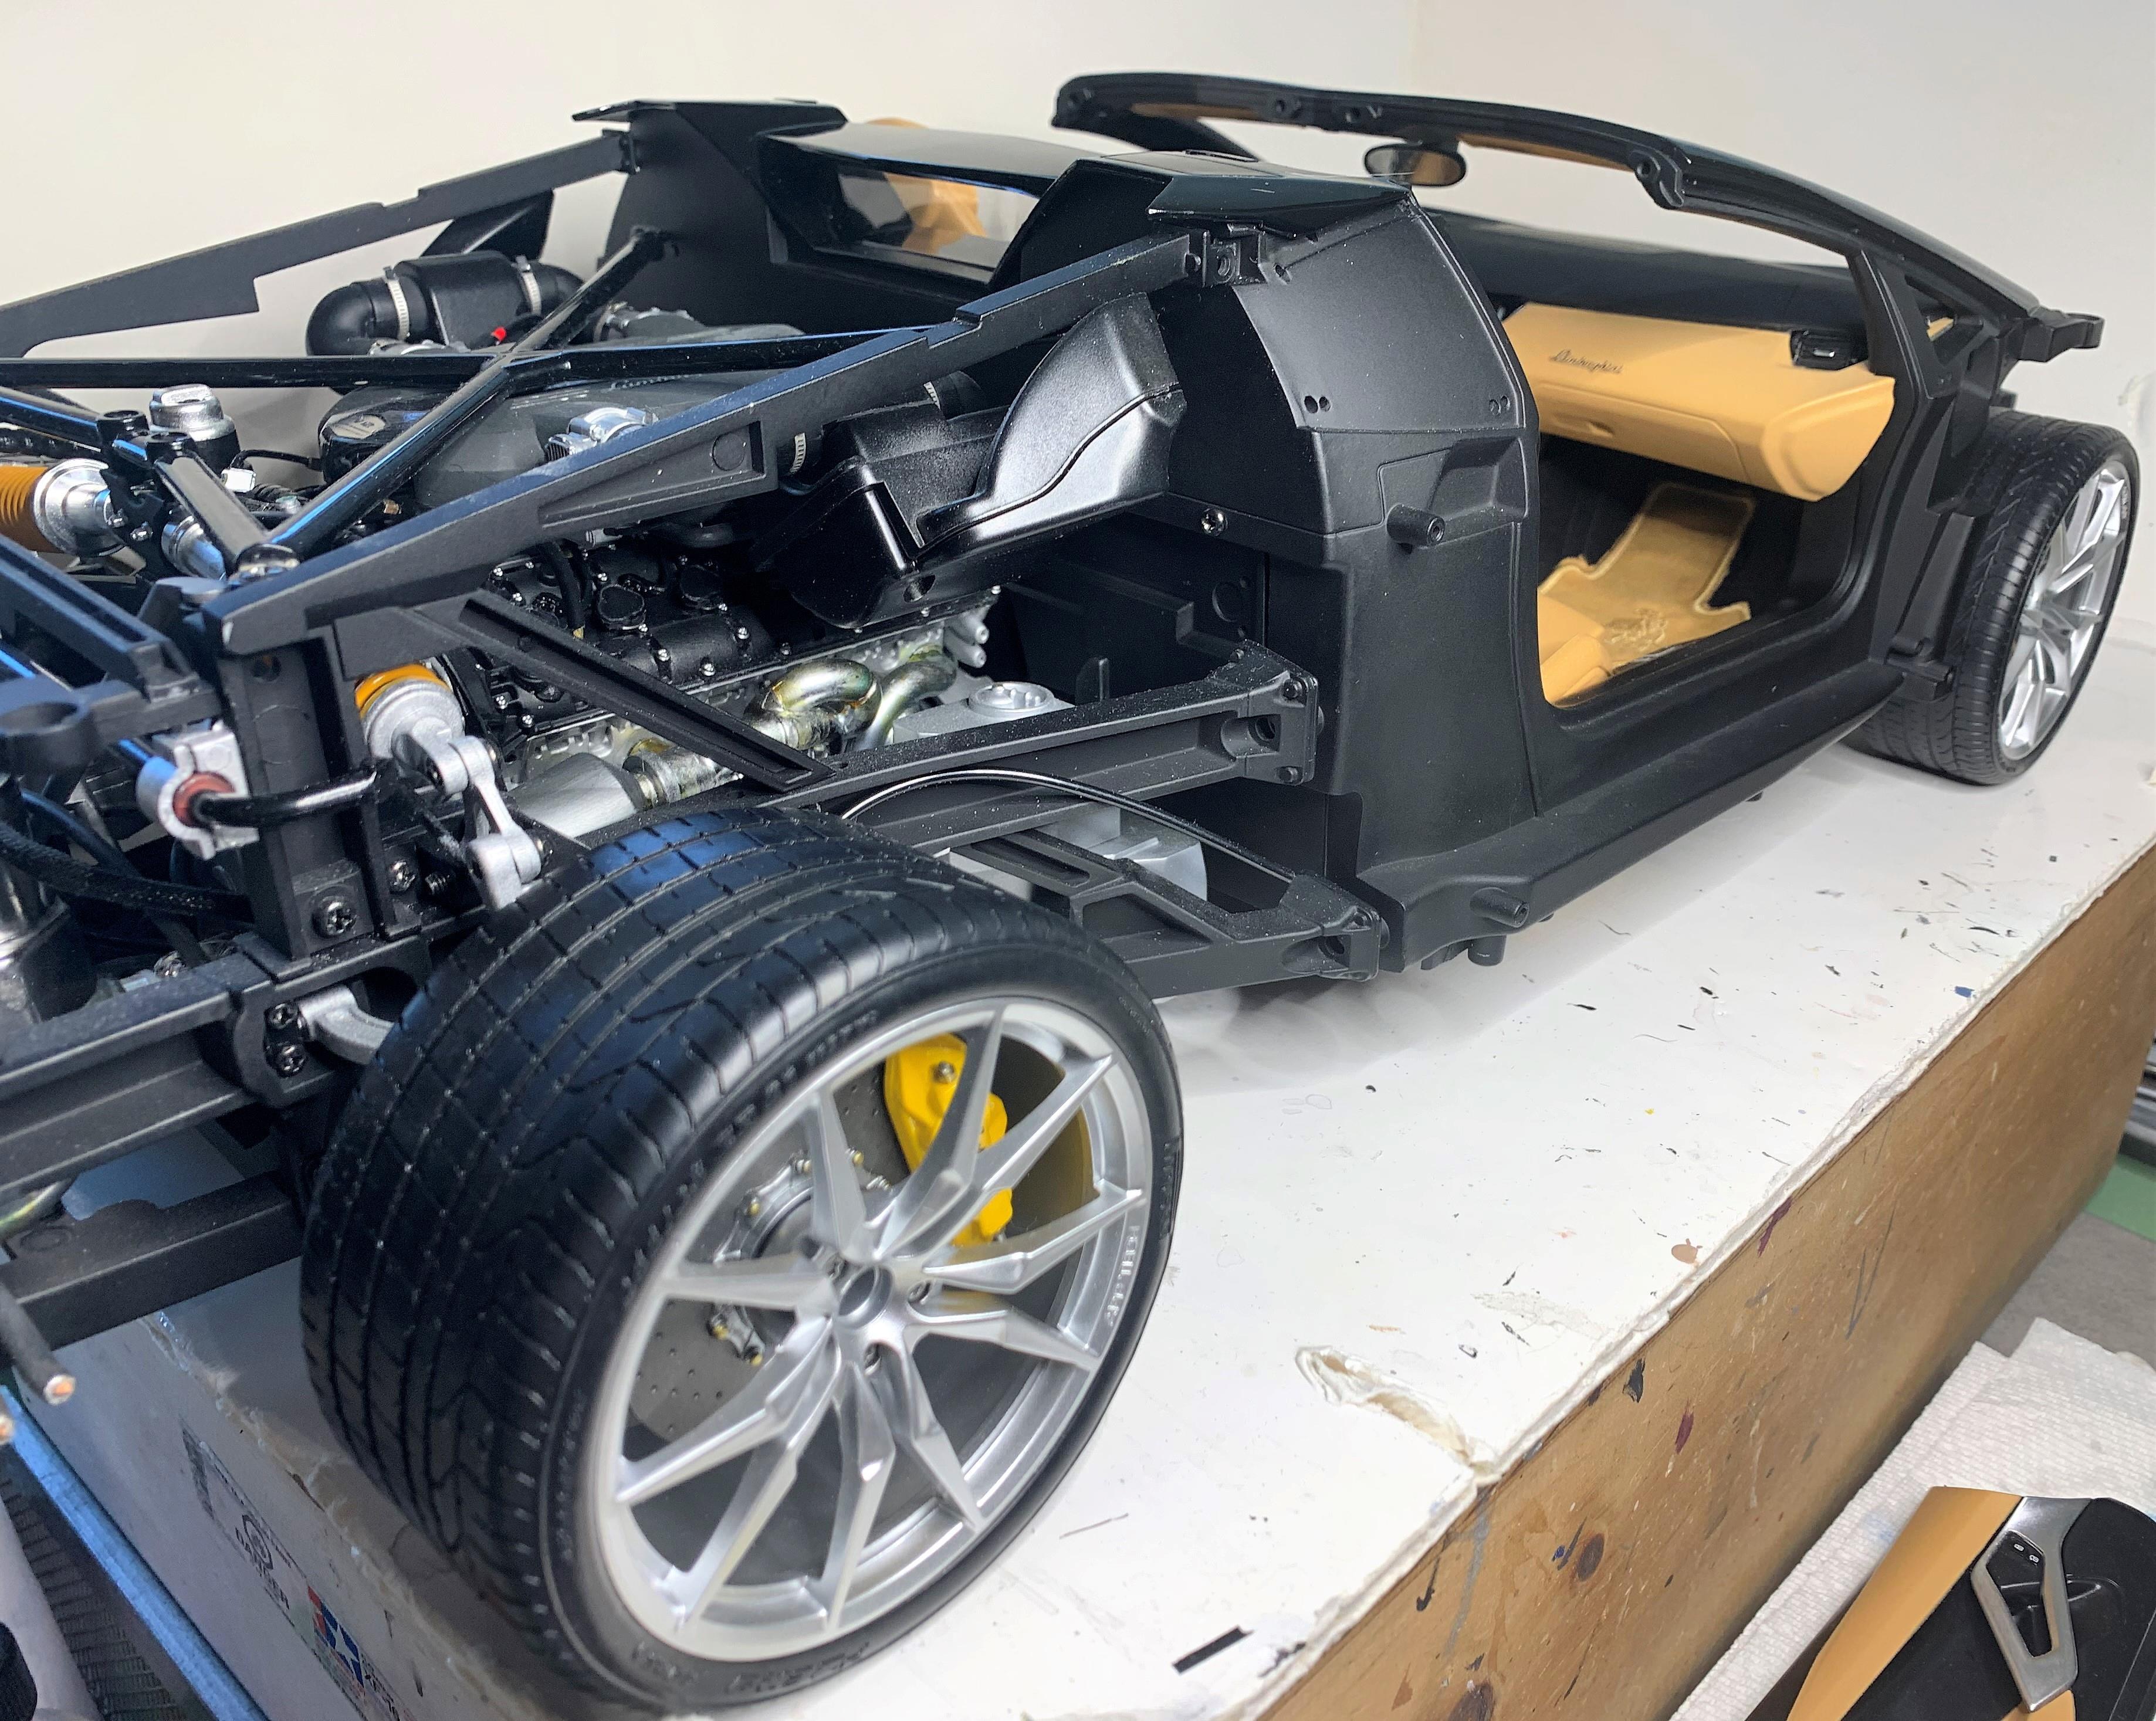
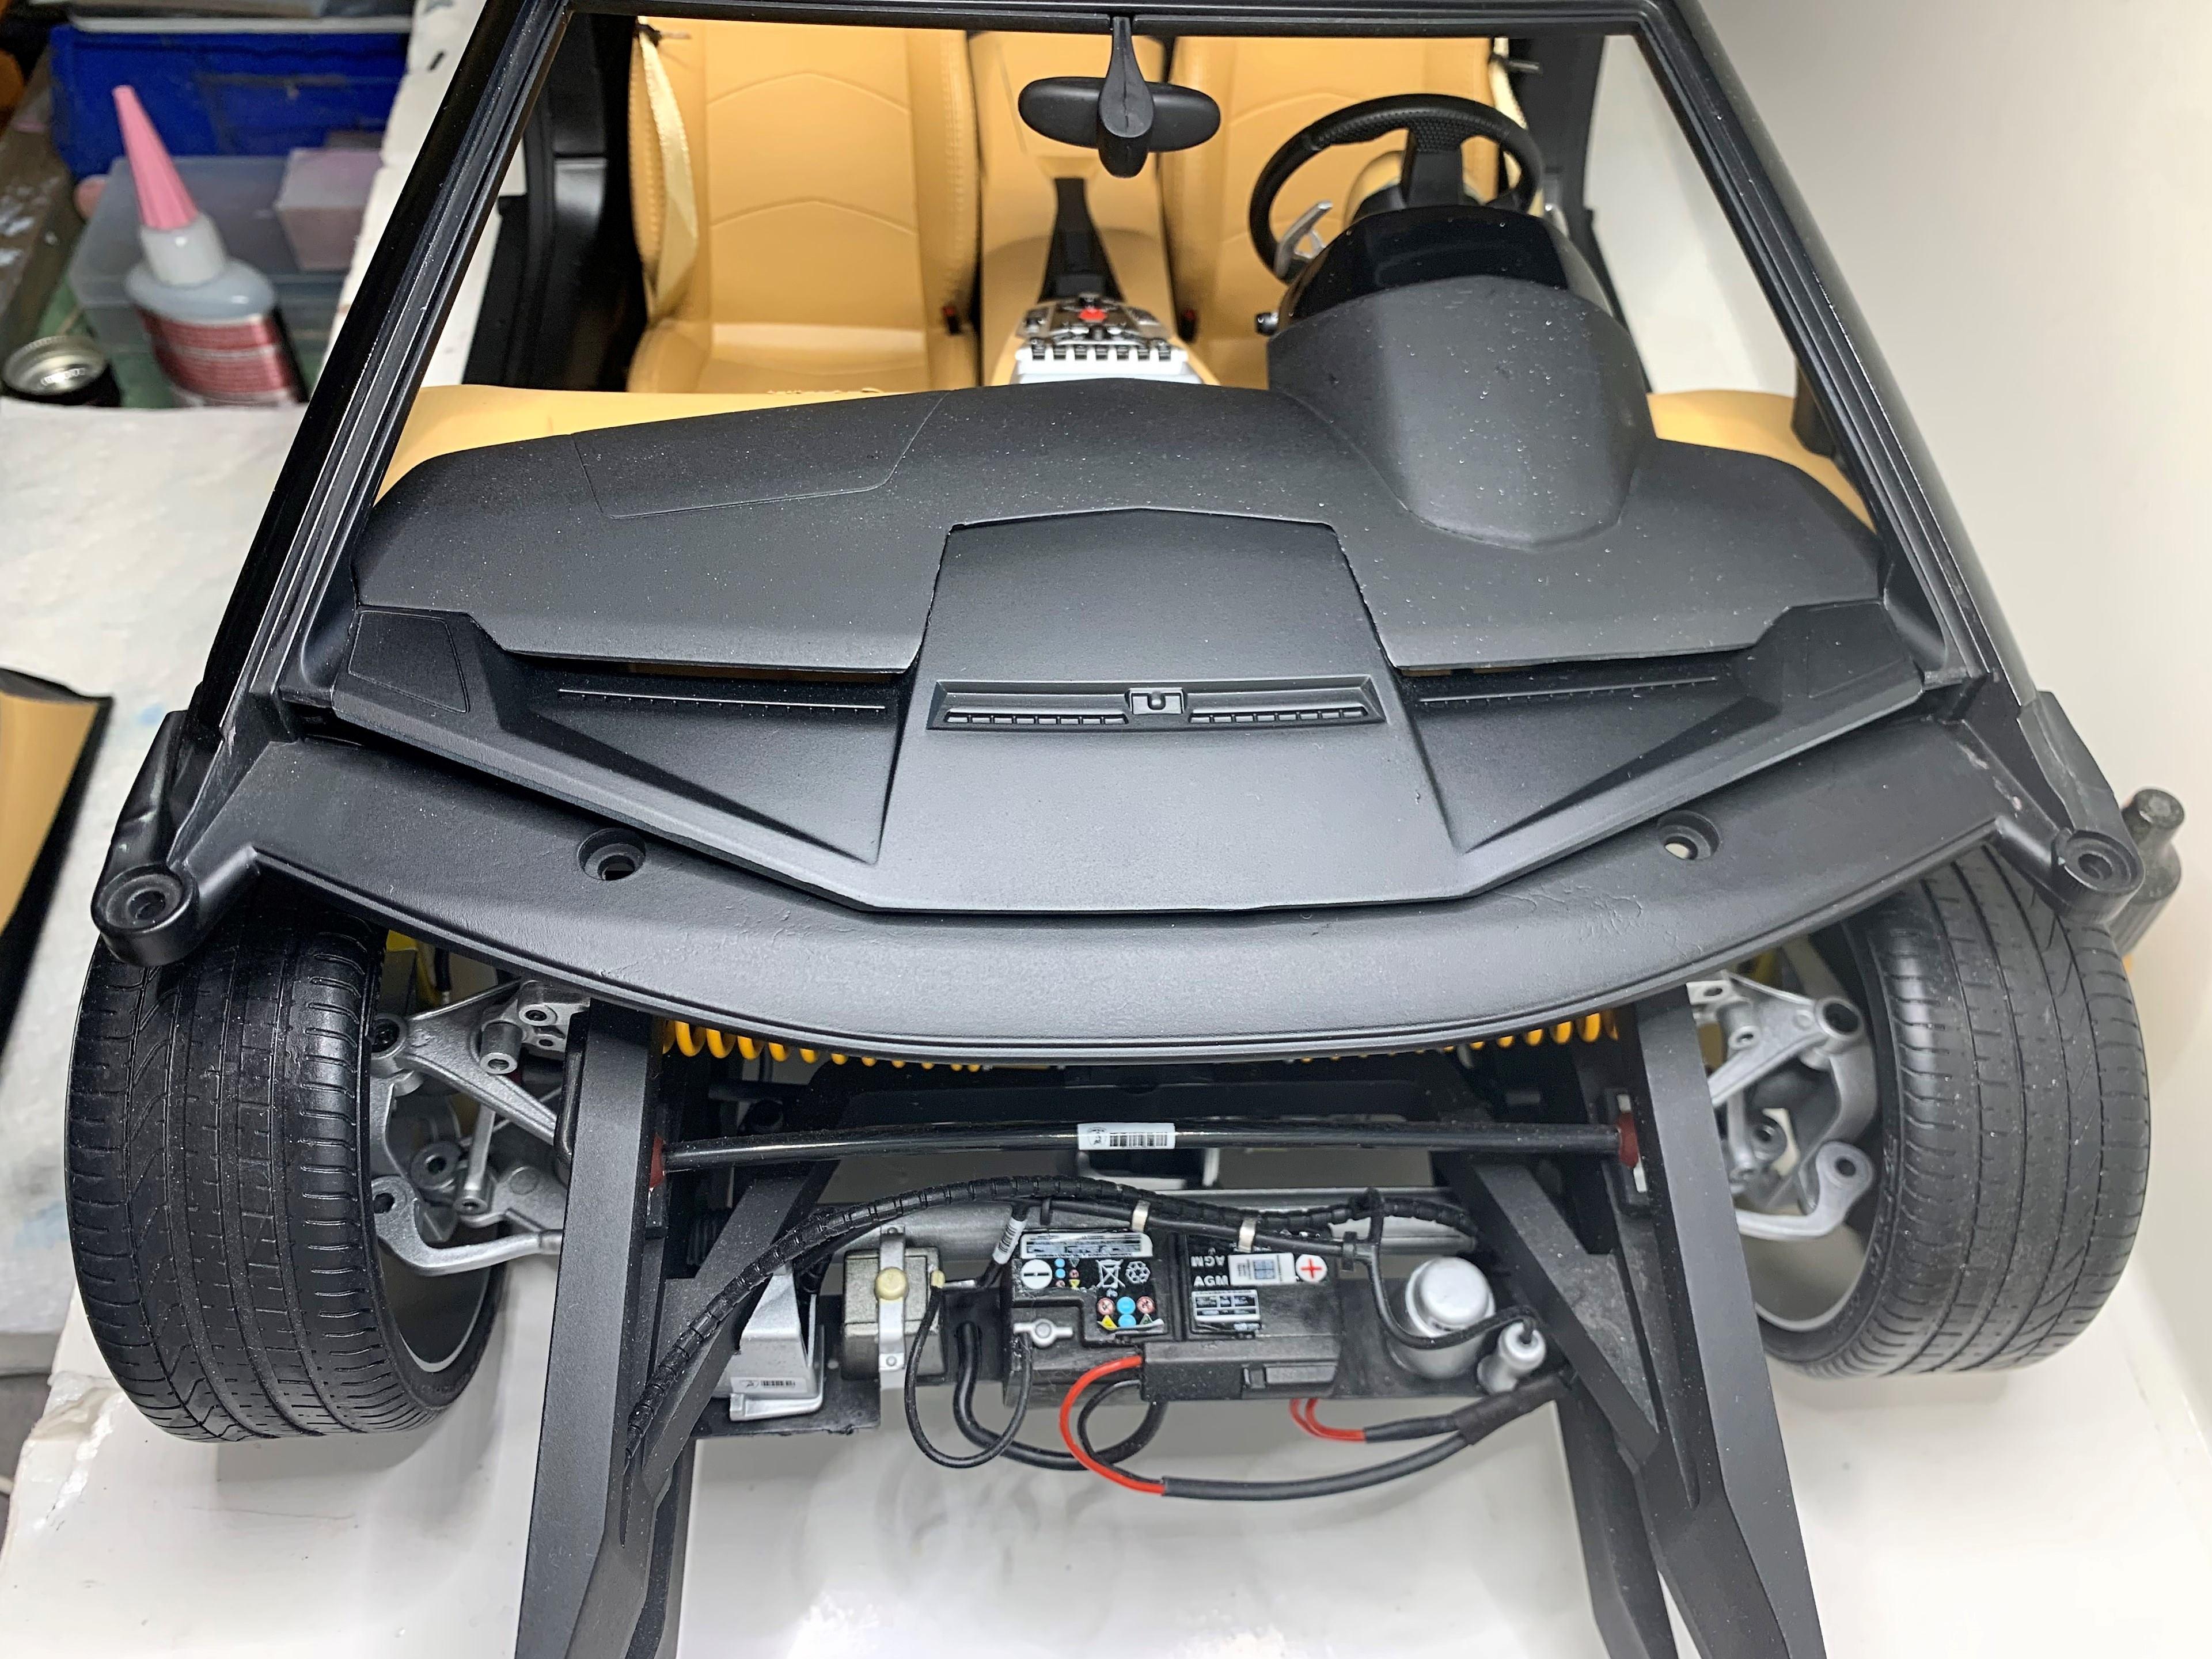
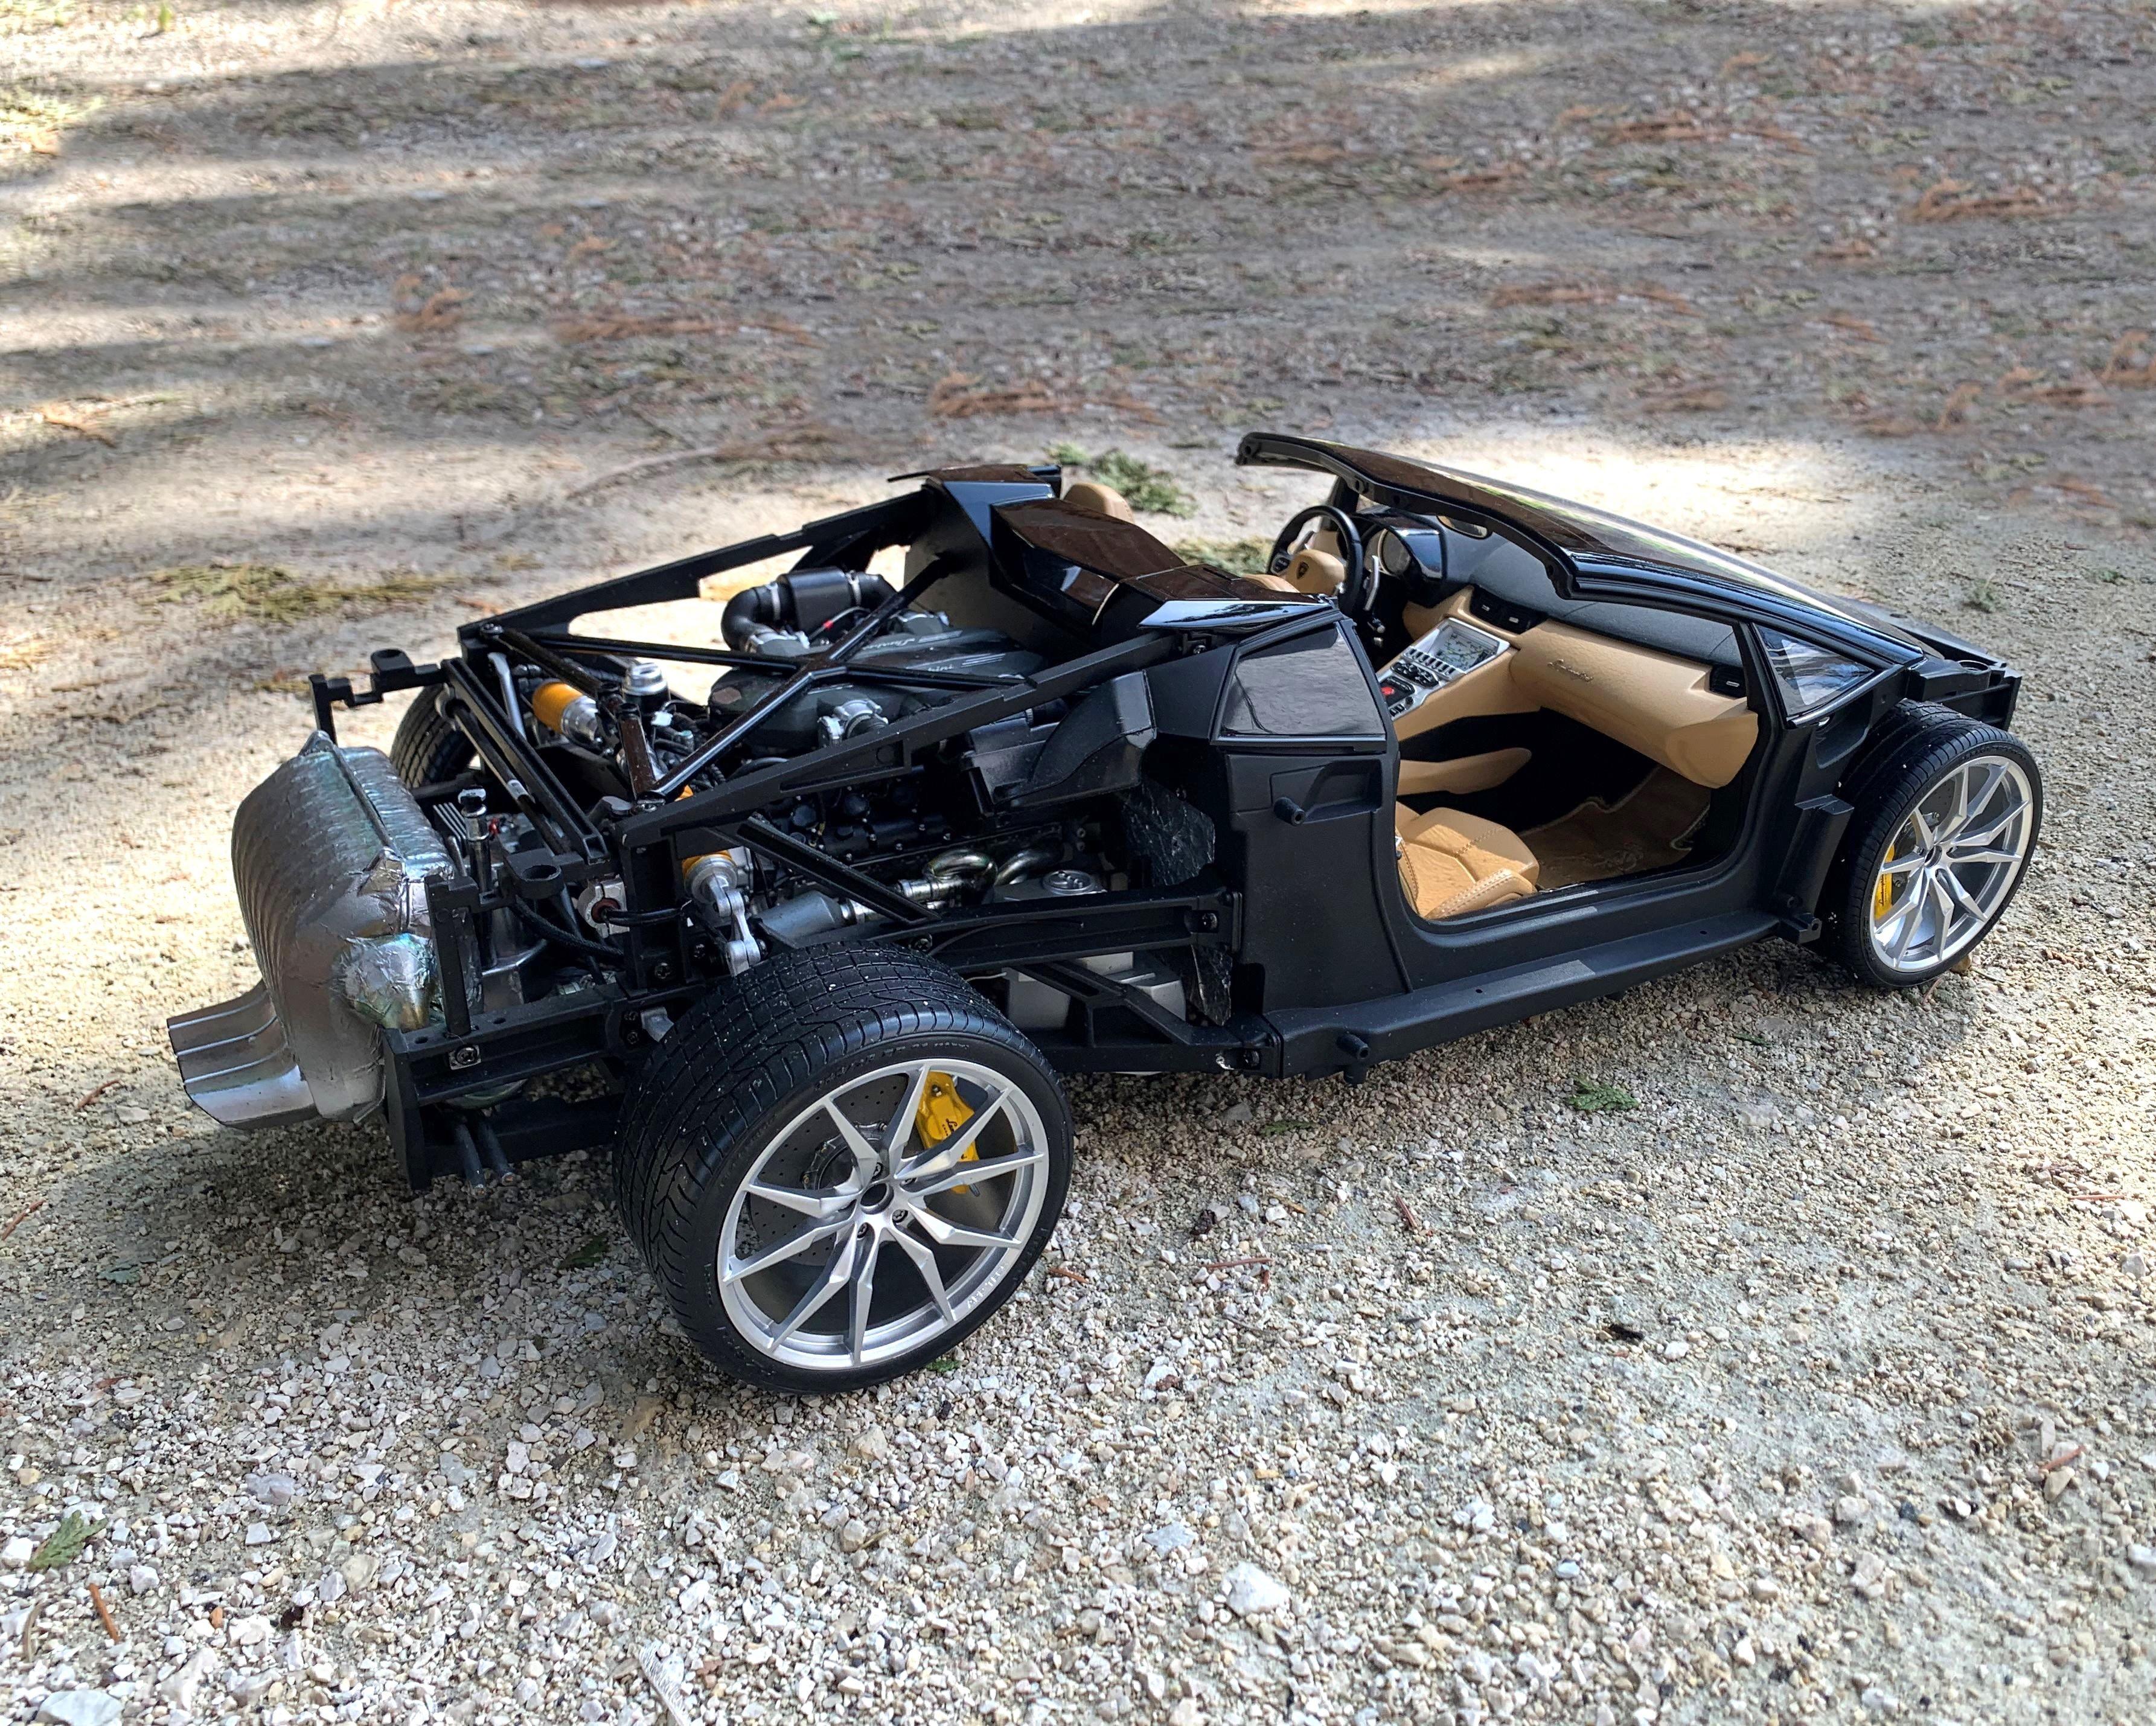
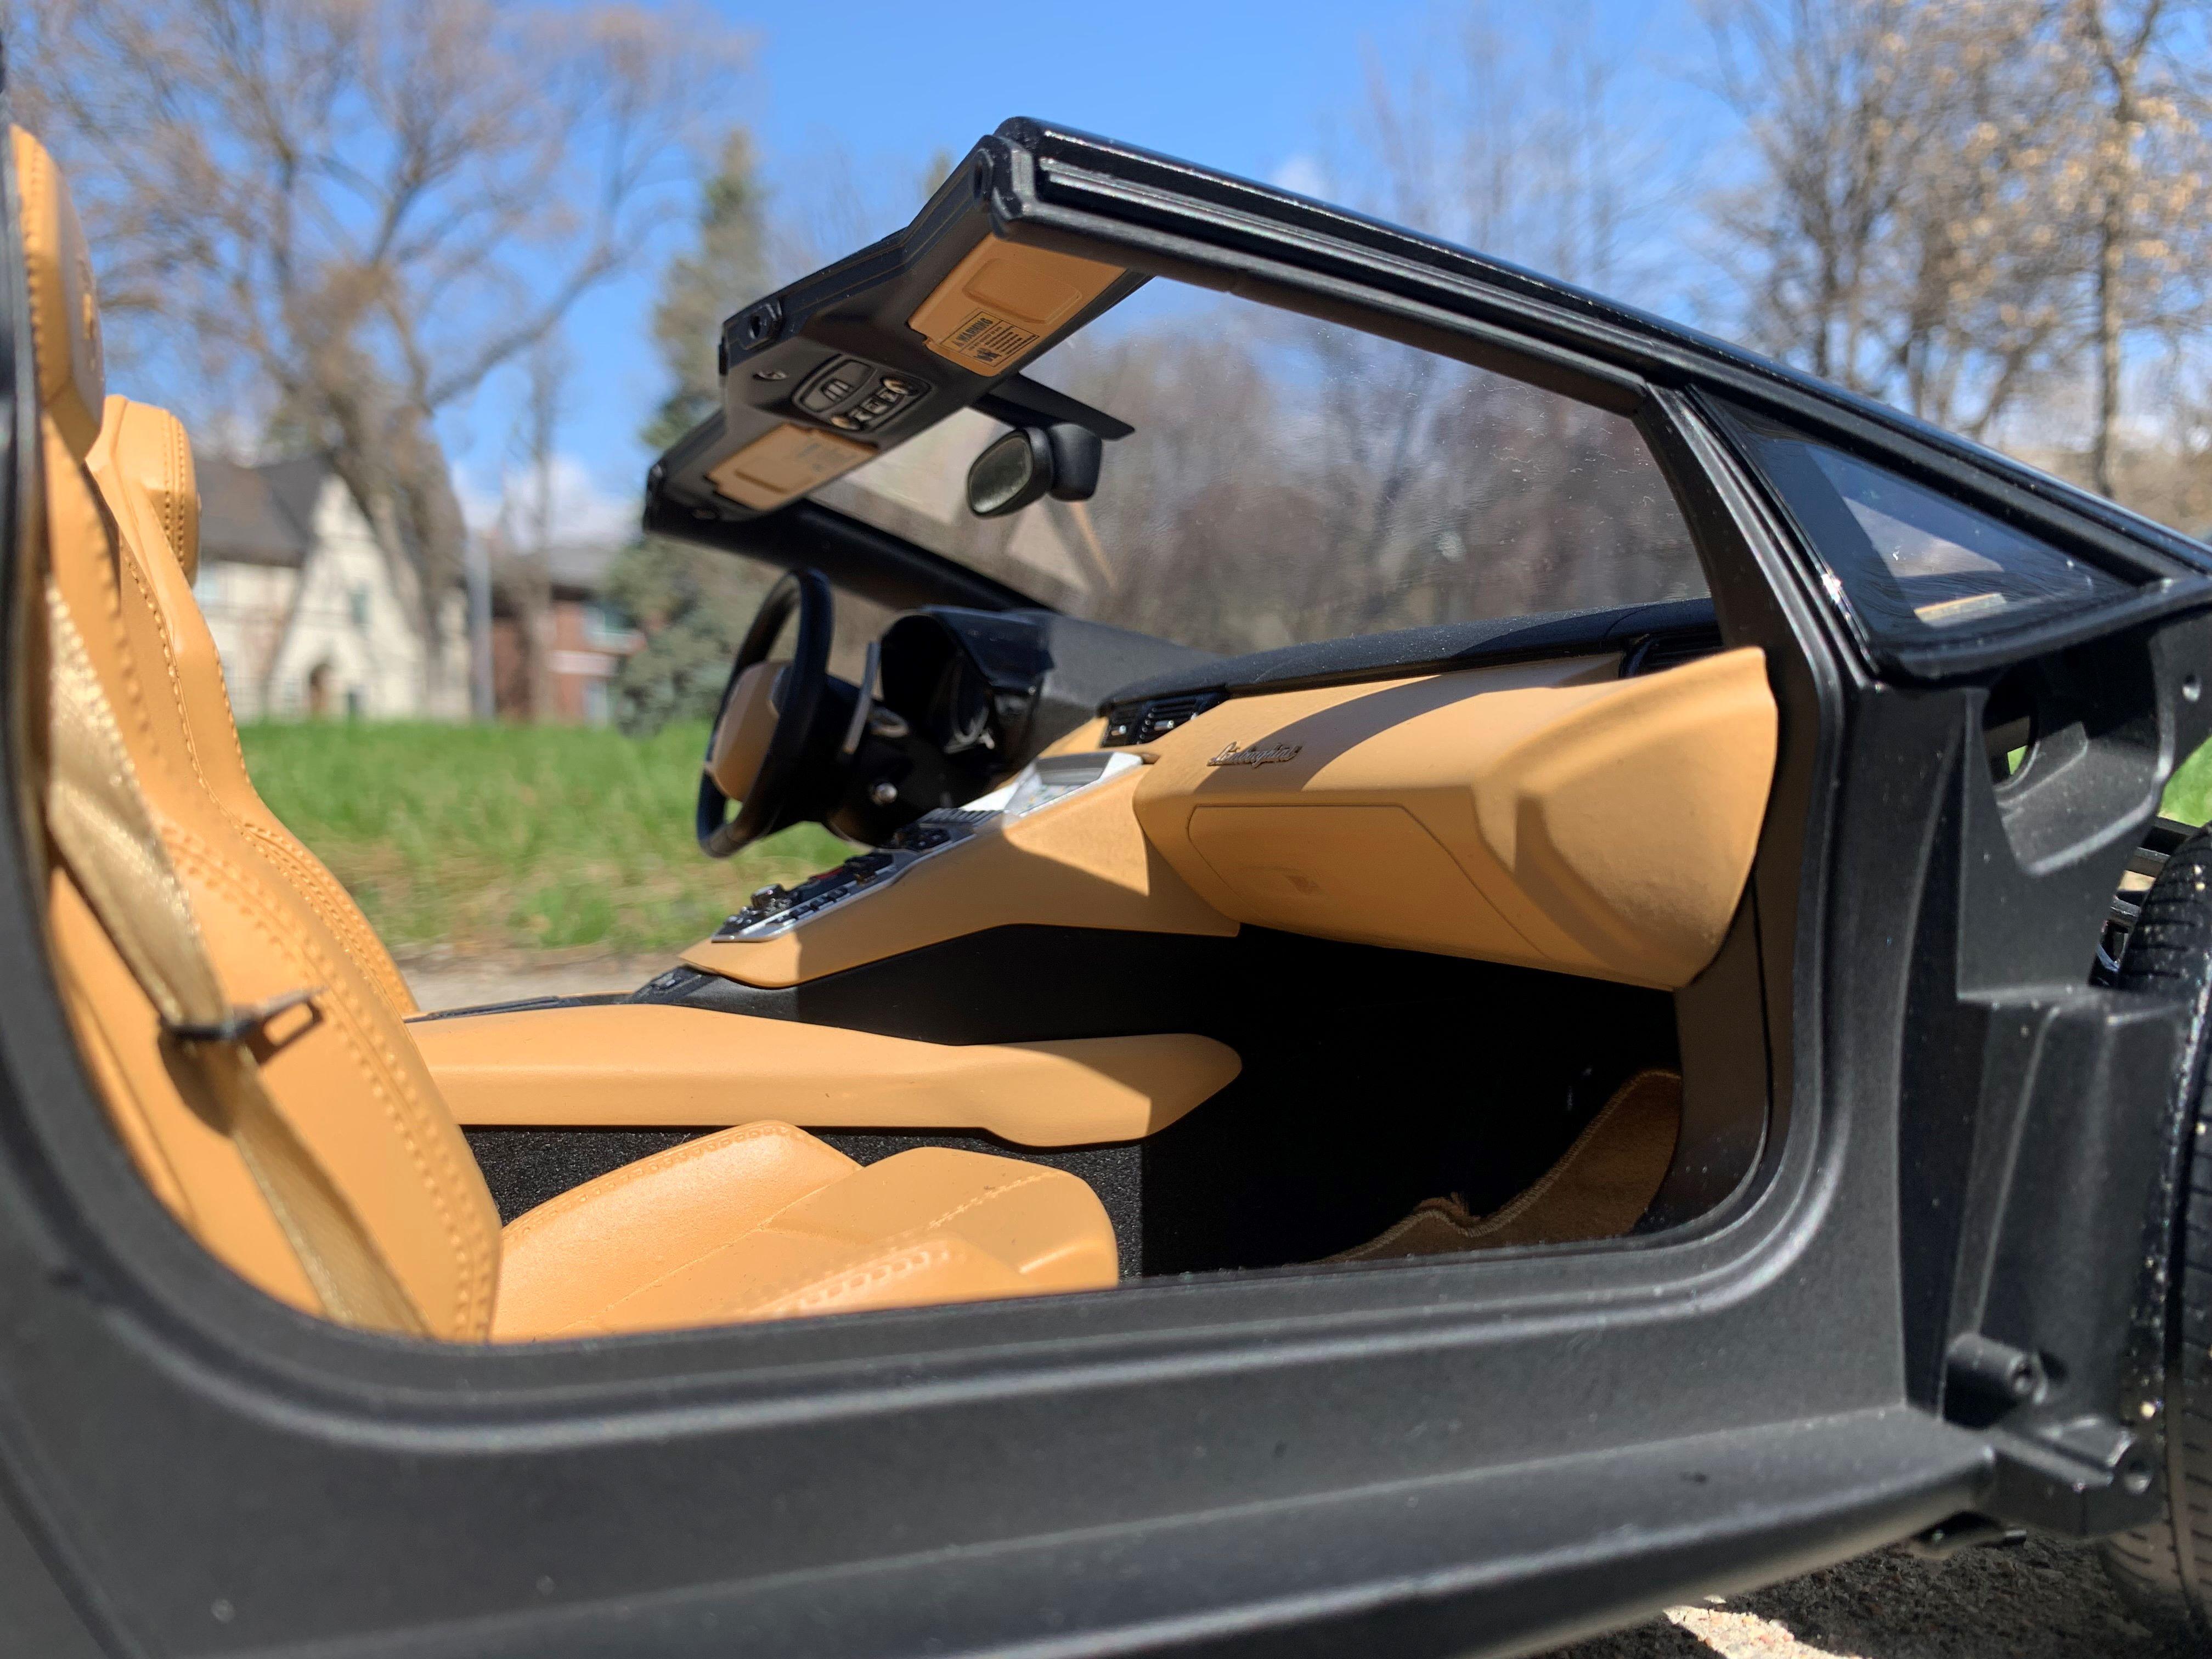
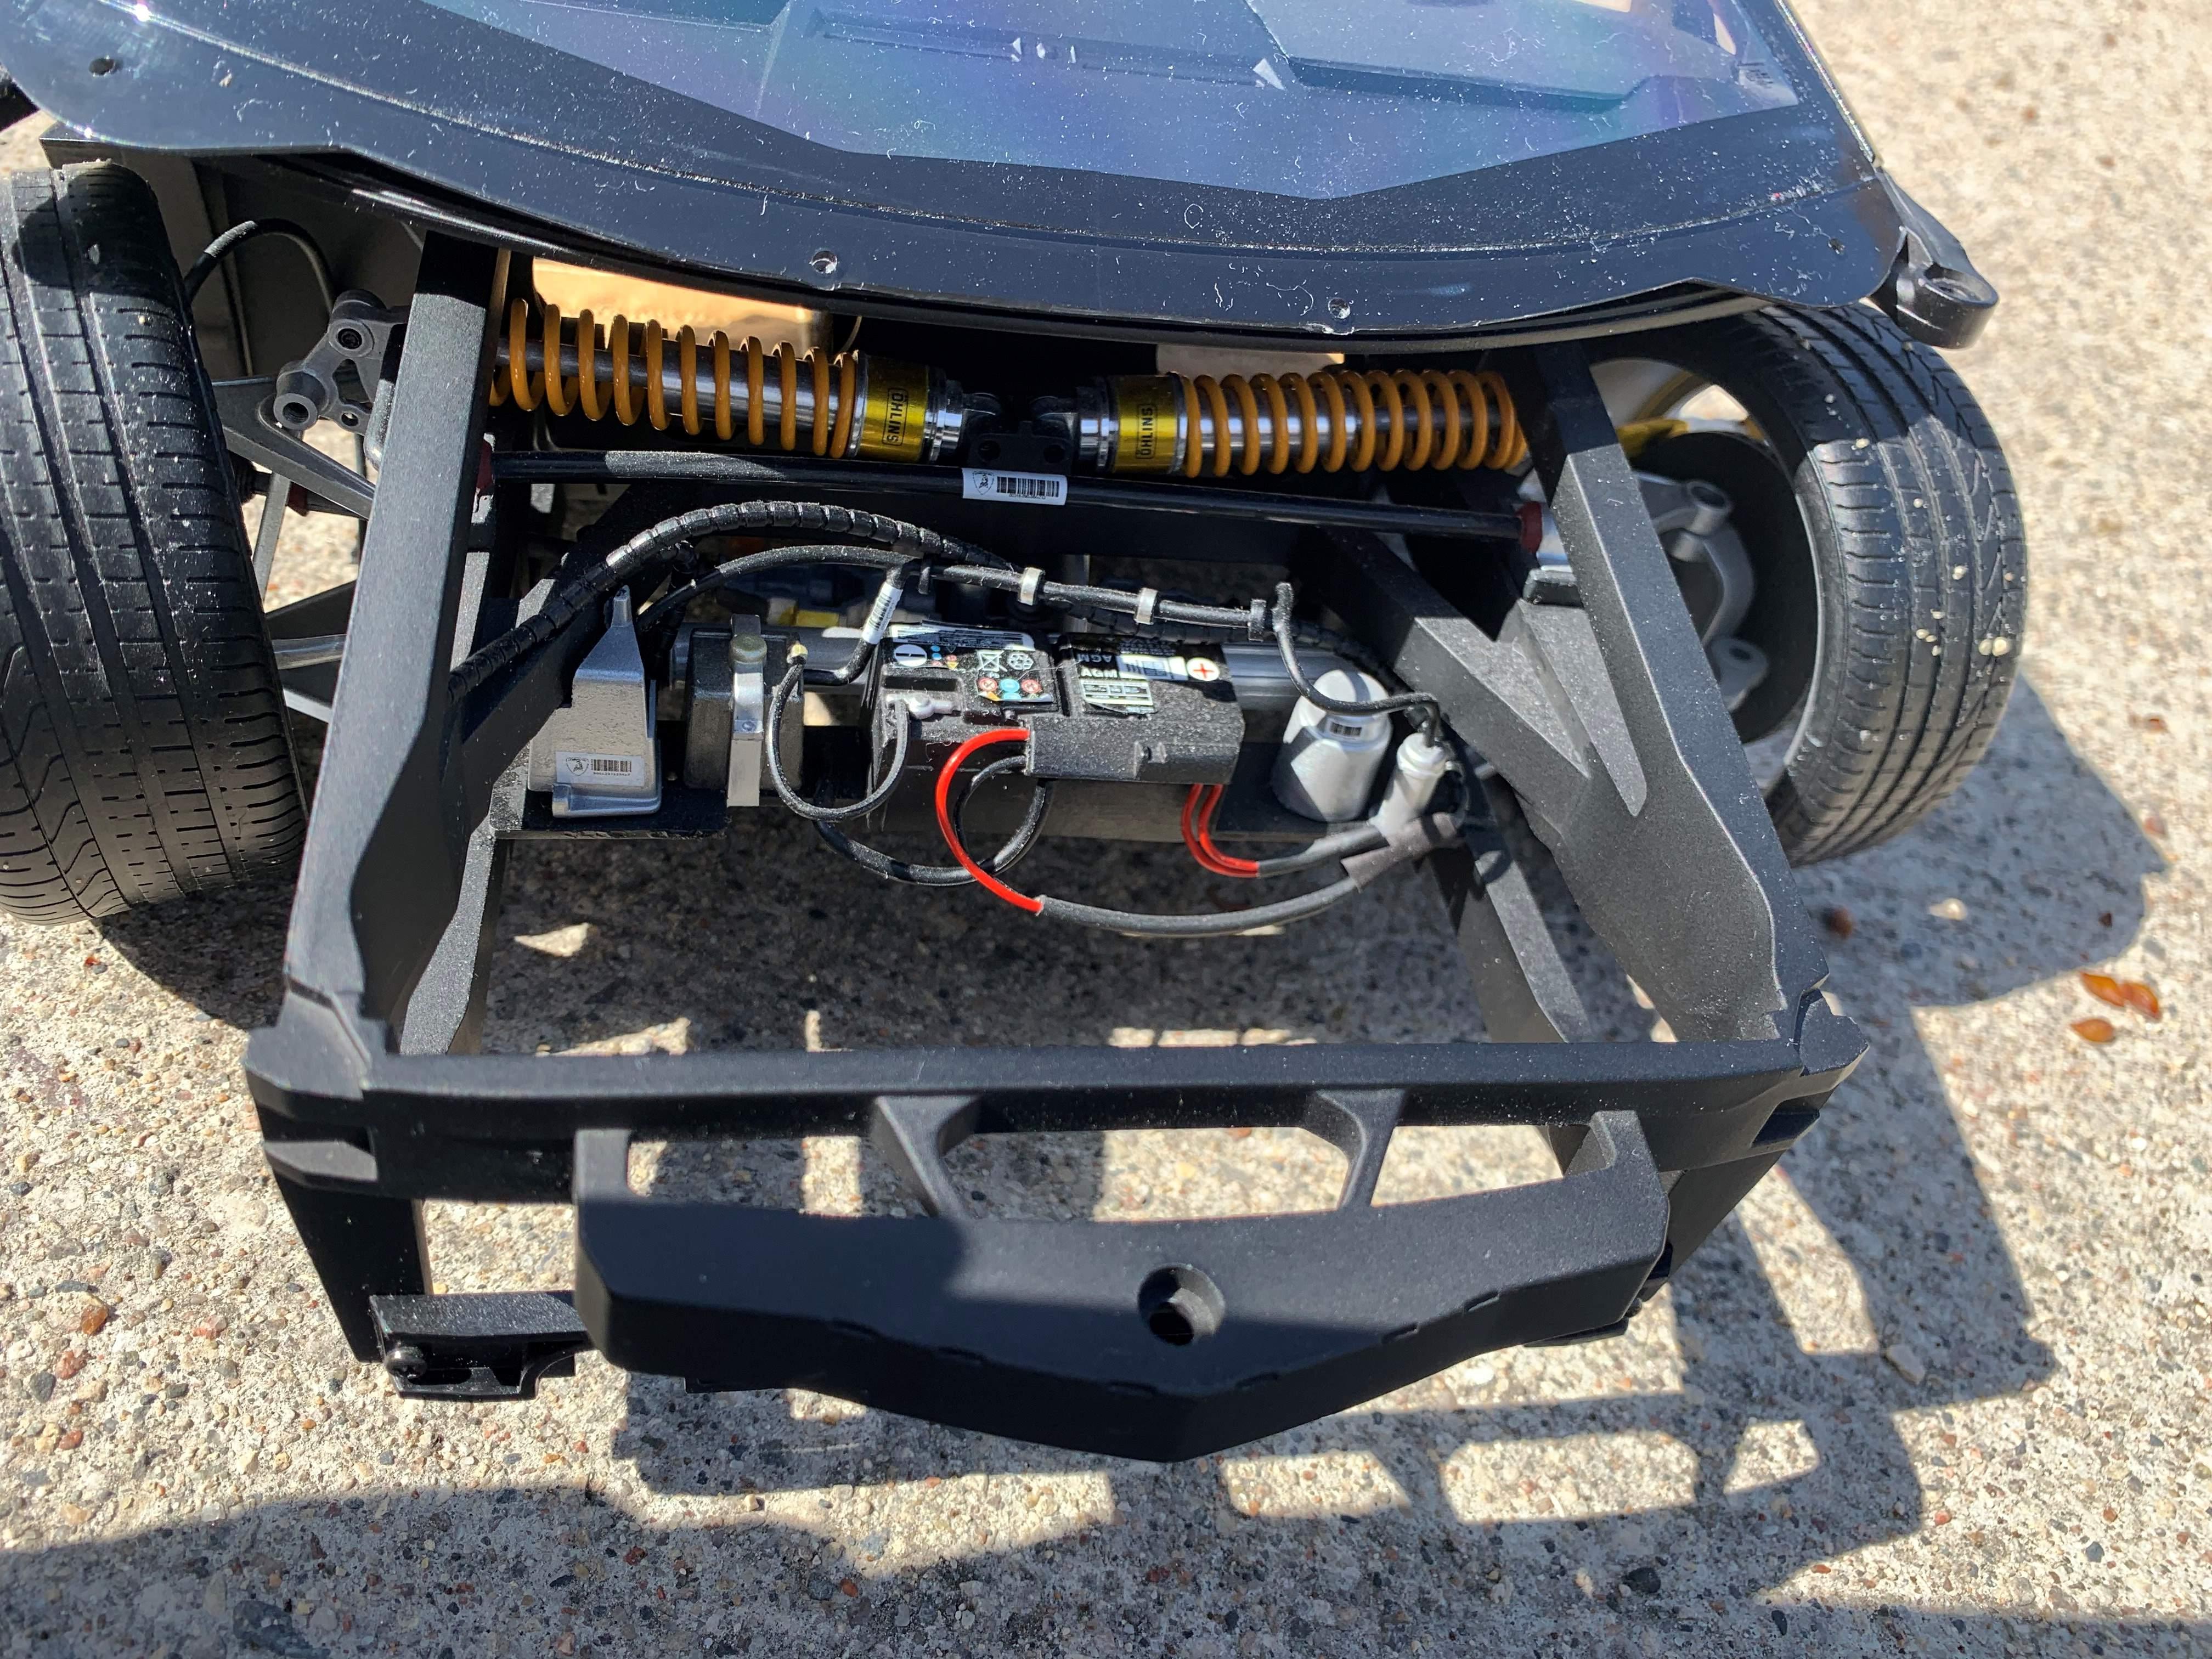
Michael, after my father-in-law passed, my wife had to take ALL of his belongings and sell his home. Our house is STILL packed with his stuff, and Shelley, my wife, isn't ready to let it all go, 5 years on, and I won't push her. SO..............the Aventador project has been burried under boxes and containers of "stuff". HOWEVER: here's a few pics of what I did get done before it got burried!
-
A REALLY REALLY BIG EXOTIC building the Pocher 1:8 Pagani Utopia my way
dino246gt replied to mrm's topic in WIP: Model Cars
My friend Dave replaced all the screws with scale hex head bolts, made a huge improvement. You can source them online from a few places. I built the Aventador, (still not finished) and made a ton of upgrades for more realism, and for me............. more enjoyment! I do love what you're doing with this Pagani! -
That is definitely a win and a MUST for the look! NICE JOB!
-
Just thinking here, I'd probably remove the upper A arms from the frame and THEN figure out how to lower it. Much more work, or............... much more modelling fun!!
-
My Rusty Junker Project – Pontiac GTO
dino246gt replied to WorldOfCarModelsCraft's topic in WIP: Model Cars
Realistic rust, but not much of a GTO left to salvage! -
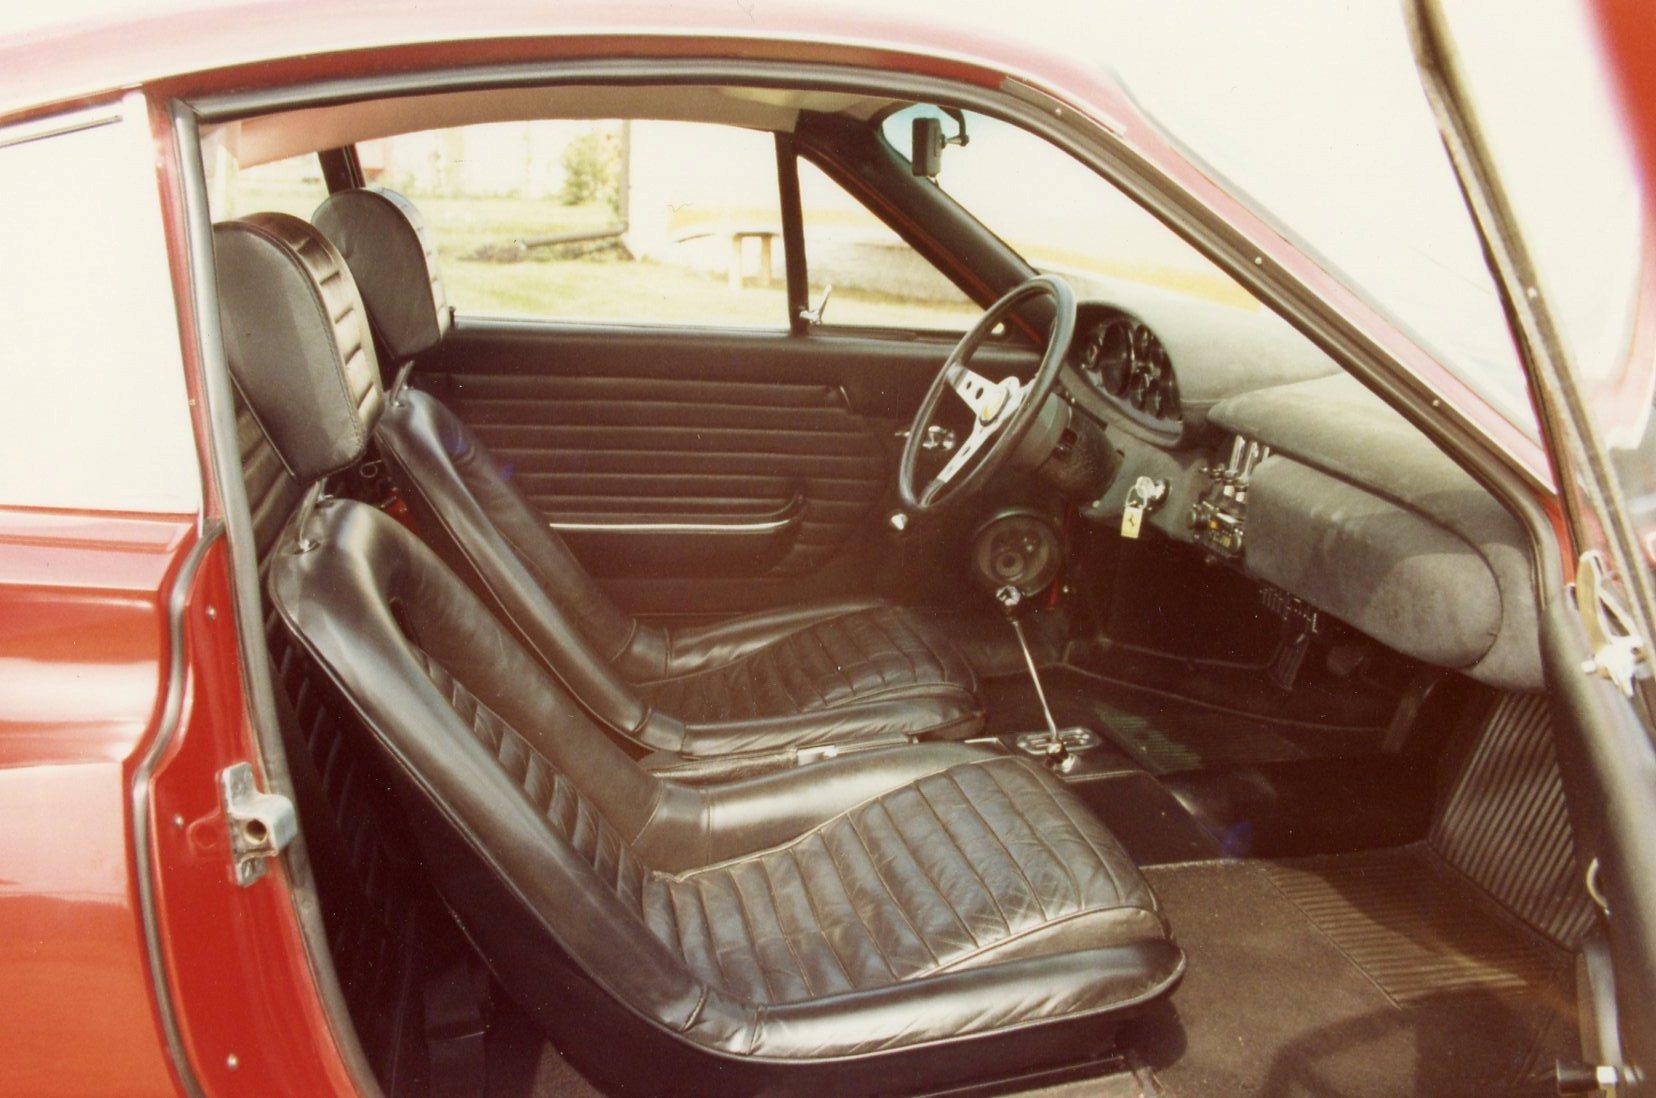
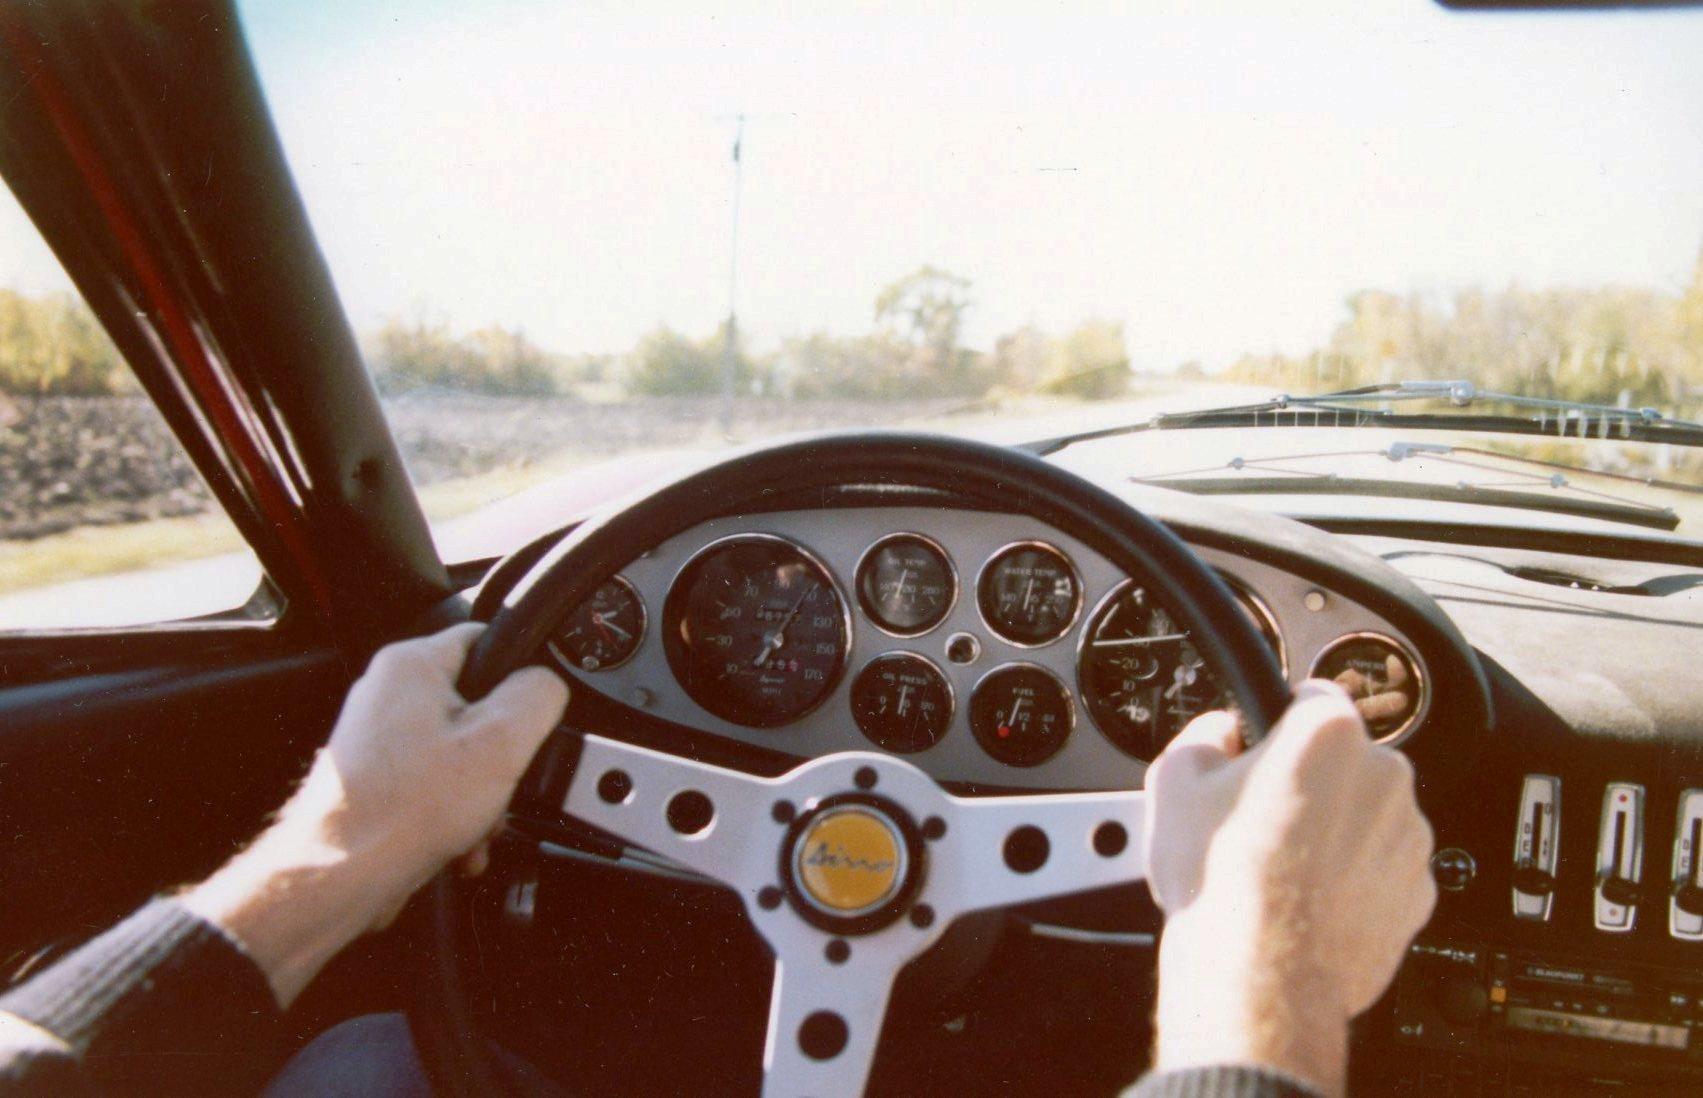
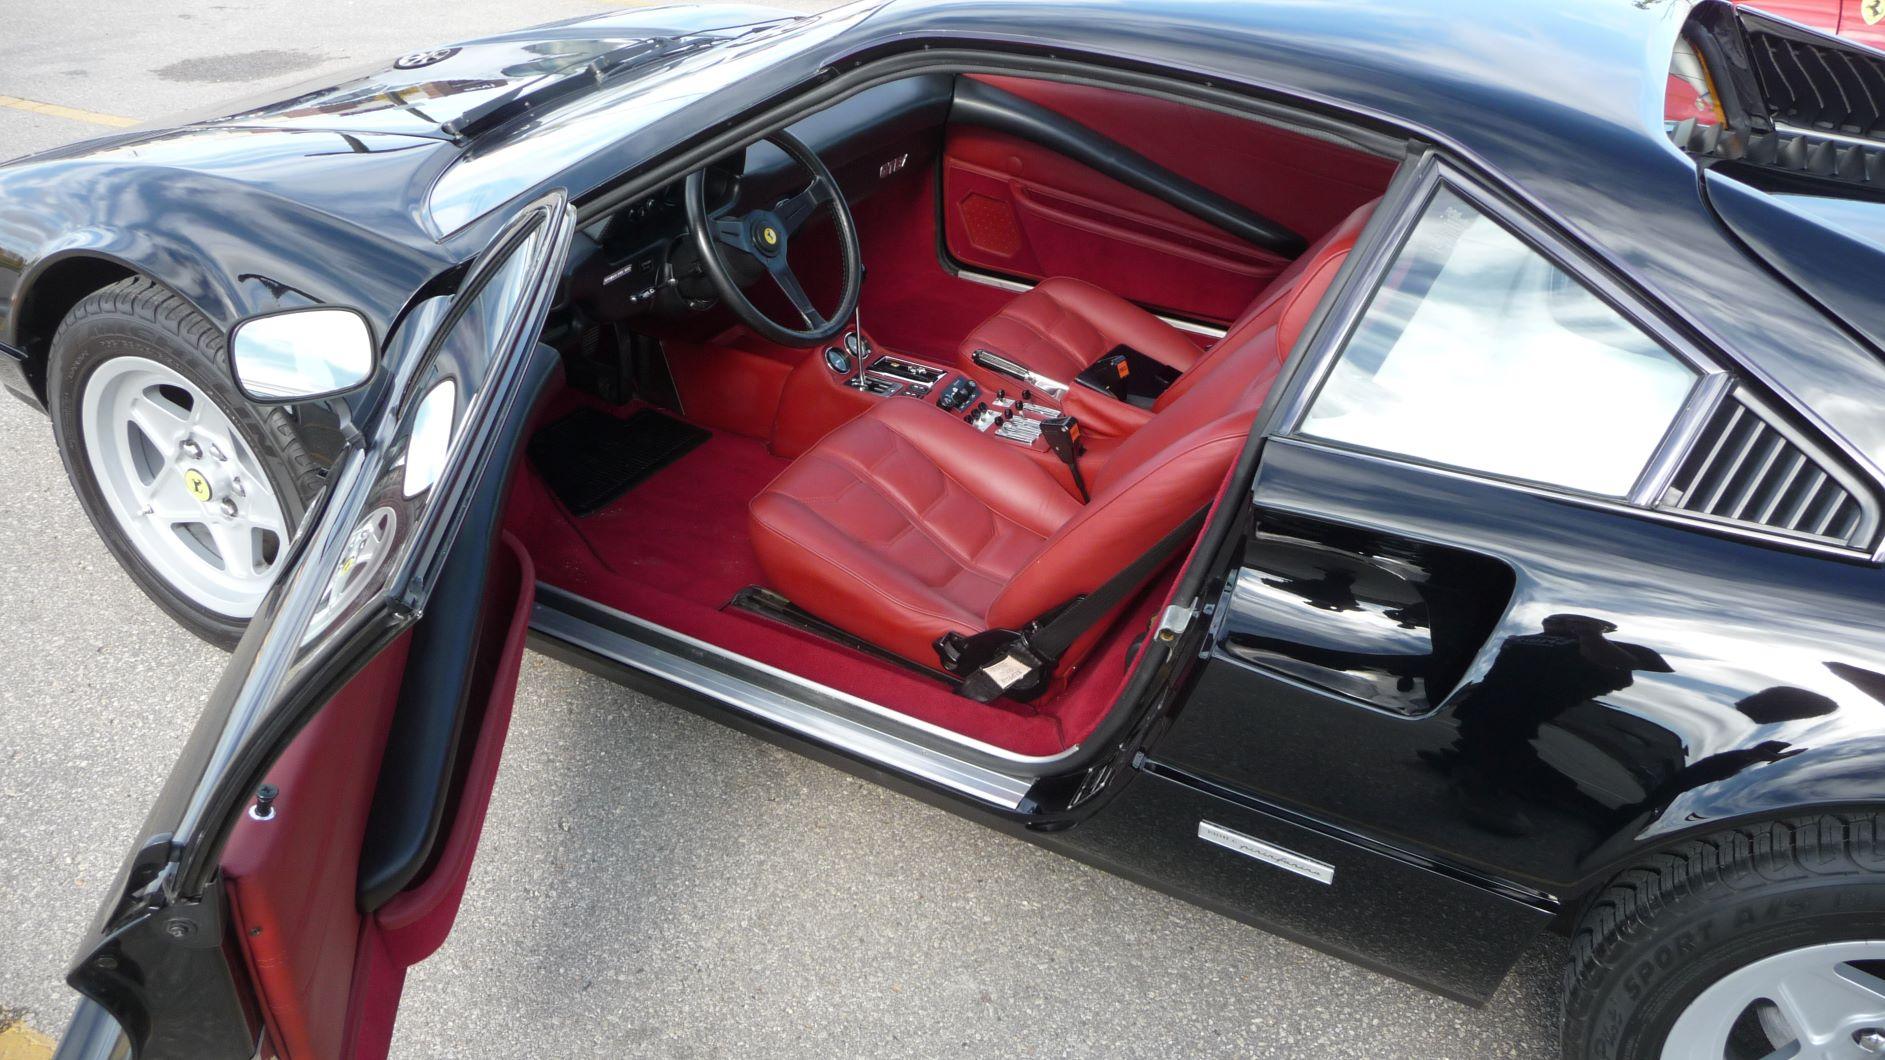
Very short fuzz, used to be pretty much impossible to restore, but I imagine that's been addressed by now. Alcantara, but when I had my '71 Dino, it WAS almost impossible to find. It WAS called "mouse fur"!
-
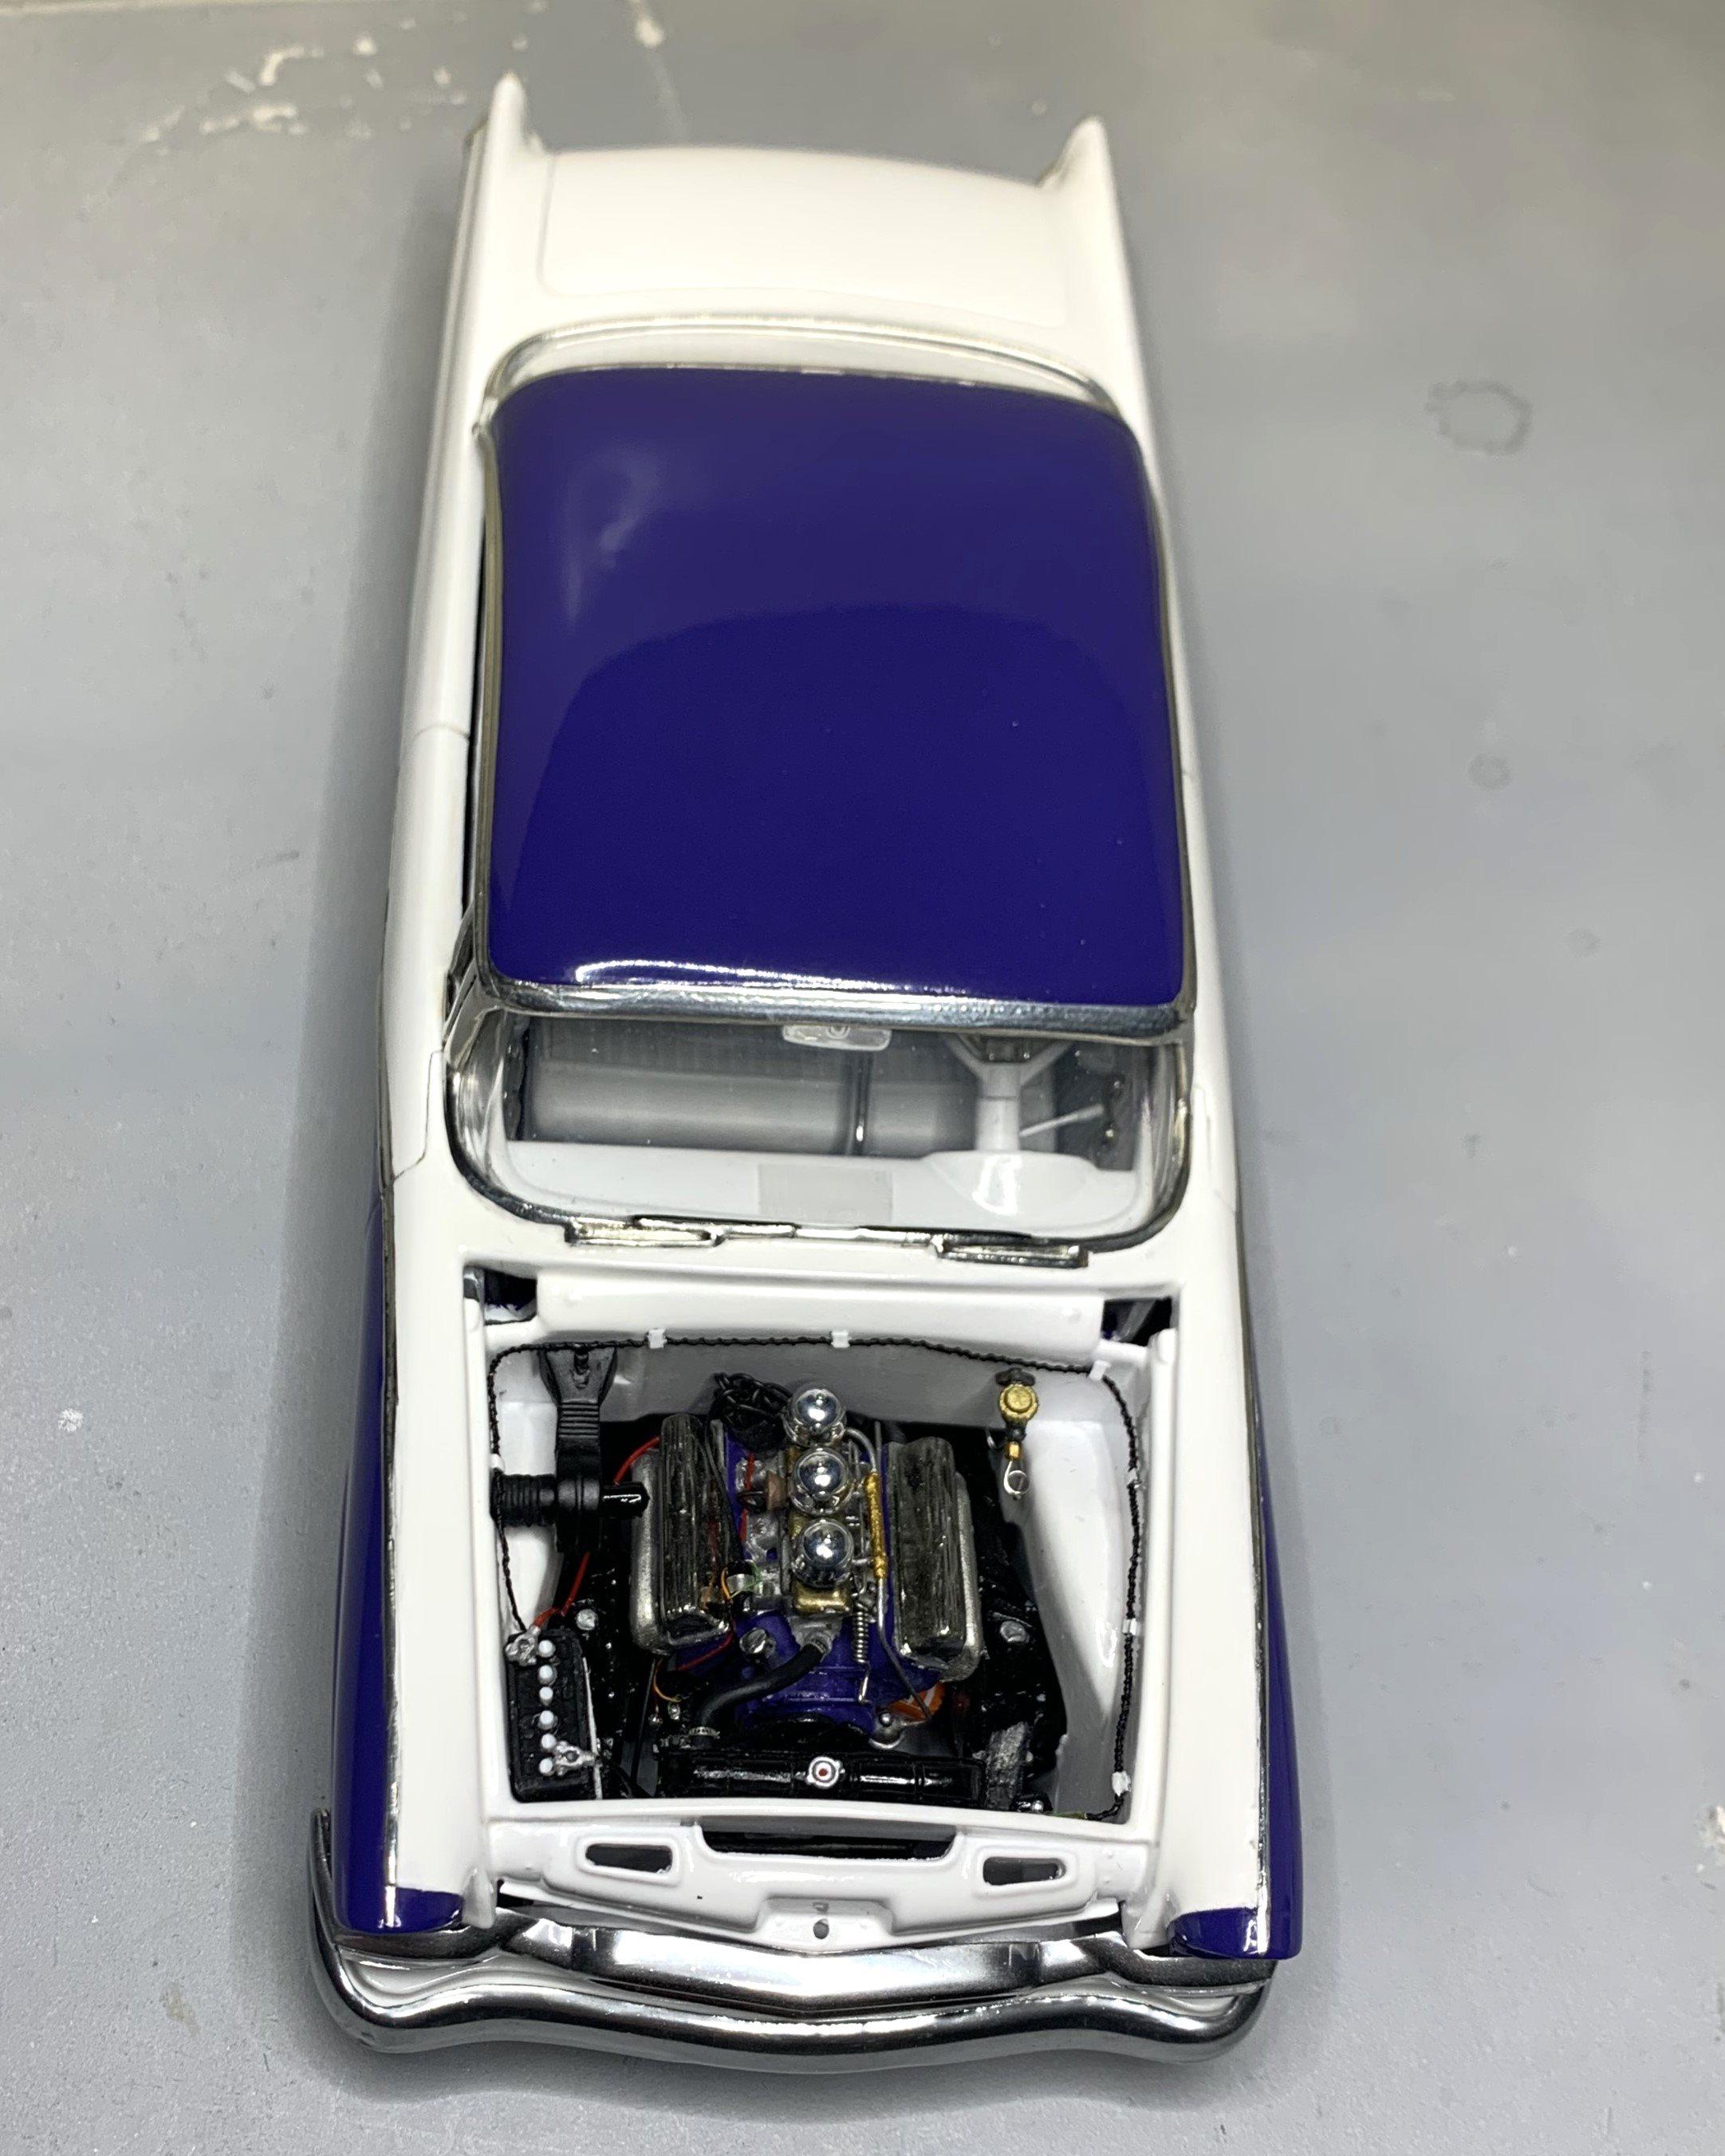
Still working on the '56 but have been busy with other stuff, Summer stuff. Only have a few more things to do to this one then I'll be on to the next project, not sure what that'll be just yet though!
-
Lindberg's '53 Ford - following the instructions
dino246gt replied to customline's topic in WIP: Model Cars
Jim, it WILL work out, try it and if you fail, try again, you'll learn a new skill and next time, you won't even hesitate to fix one when that happens and it does, to all of us! You've got this man, you can do it! -
Lindberg's '53 Ford - following the instructions
dino246gt replied to customline's topic in WIP: Model Cars
It's going to be a real standout beautiful, box stock build! Despite all the problems, you've pushed through with a real modeller's skill. When something isn't right, YOU fix it! That's great modelling! -
Looks like a fun build, love the picture sequence! Great interior colour! That chassis weathering is great too! Keep posting, we love it!
-
Coming along excellently! I'm sure it'll be a stunner!
-
It is a very nice kit to build, I've done 2 of them, yours is looking fantastic already.
-
What is your favorite sports car?
dino246gt replied to WillyBilly's topic in General Automotive Talk (Trucks and Cars)
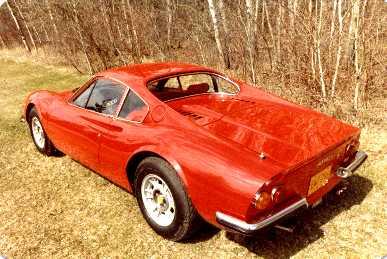
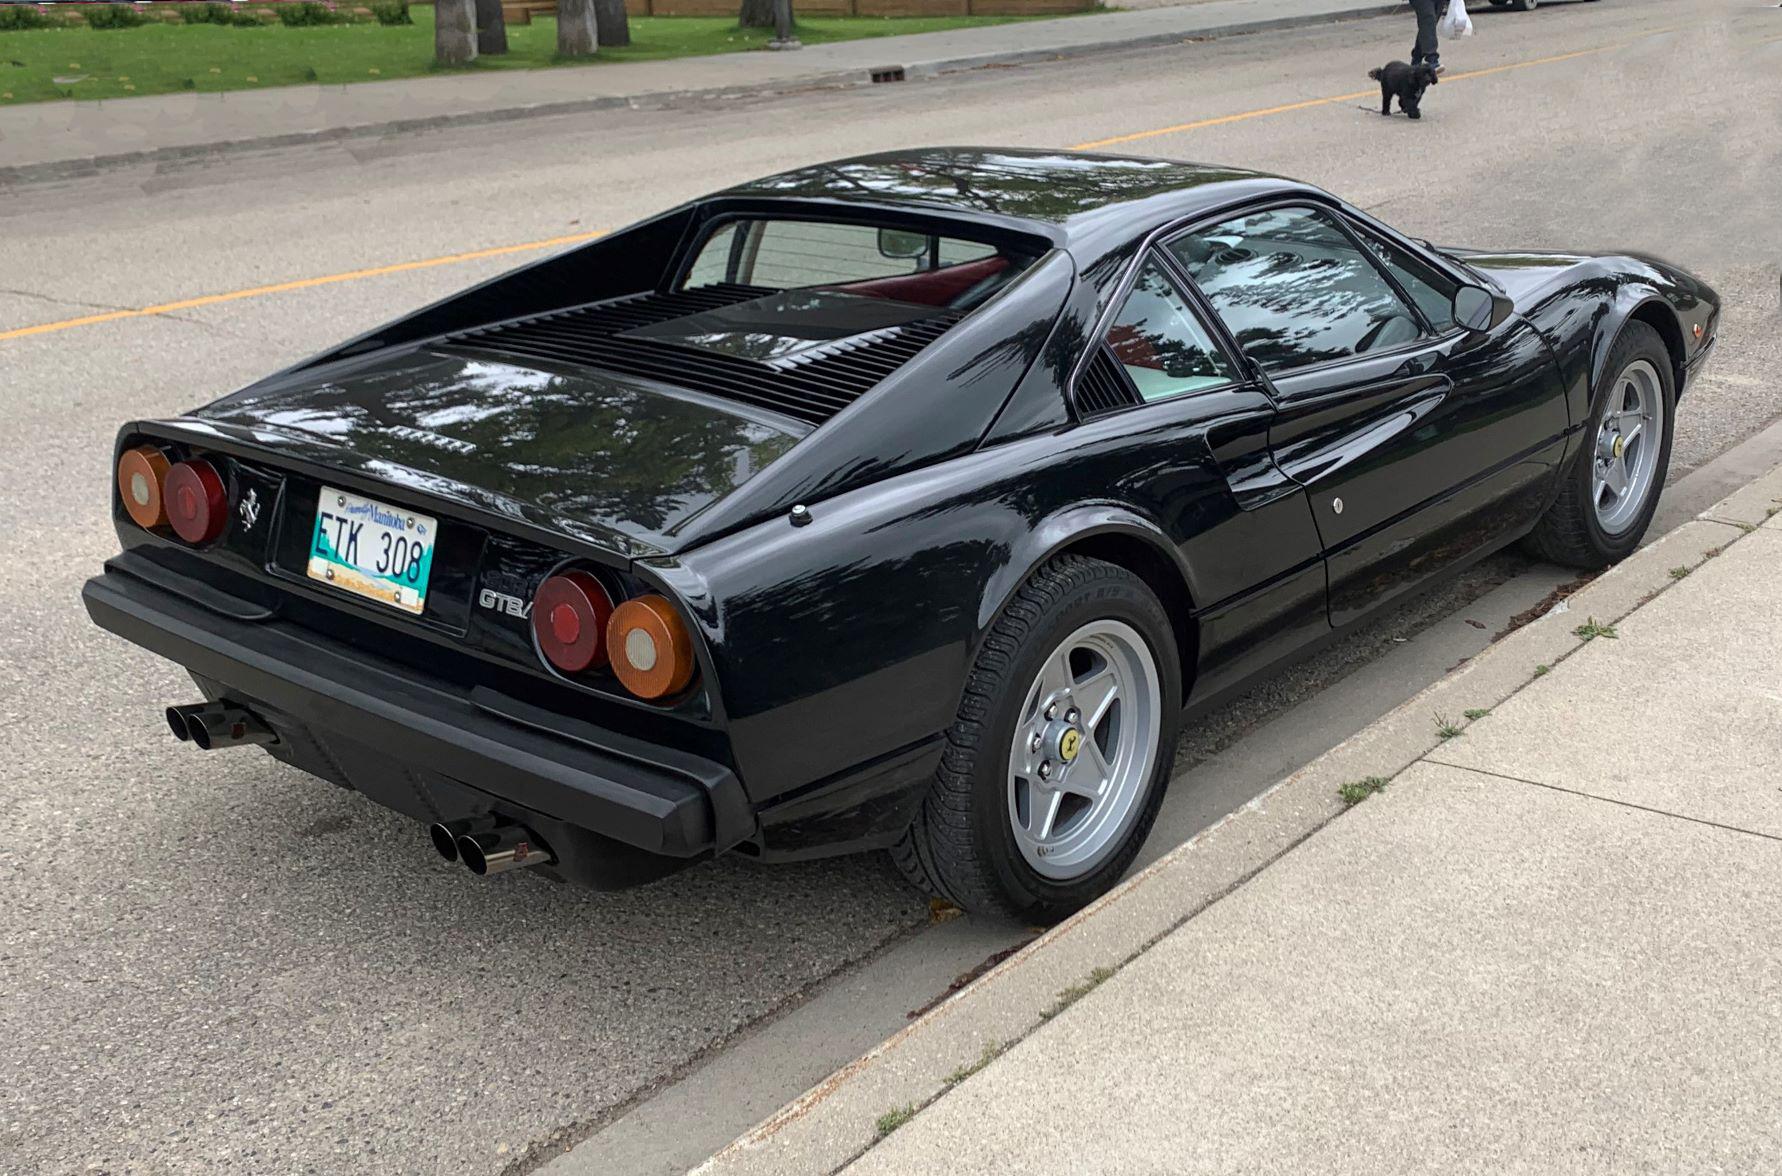
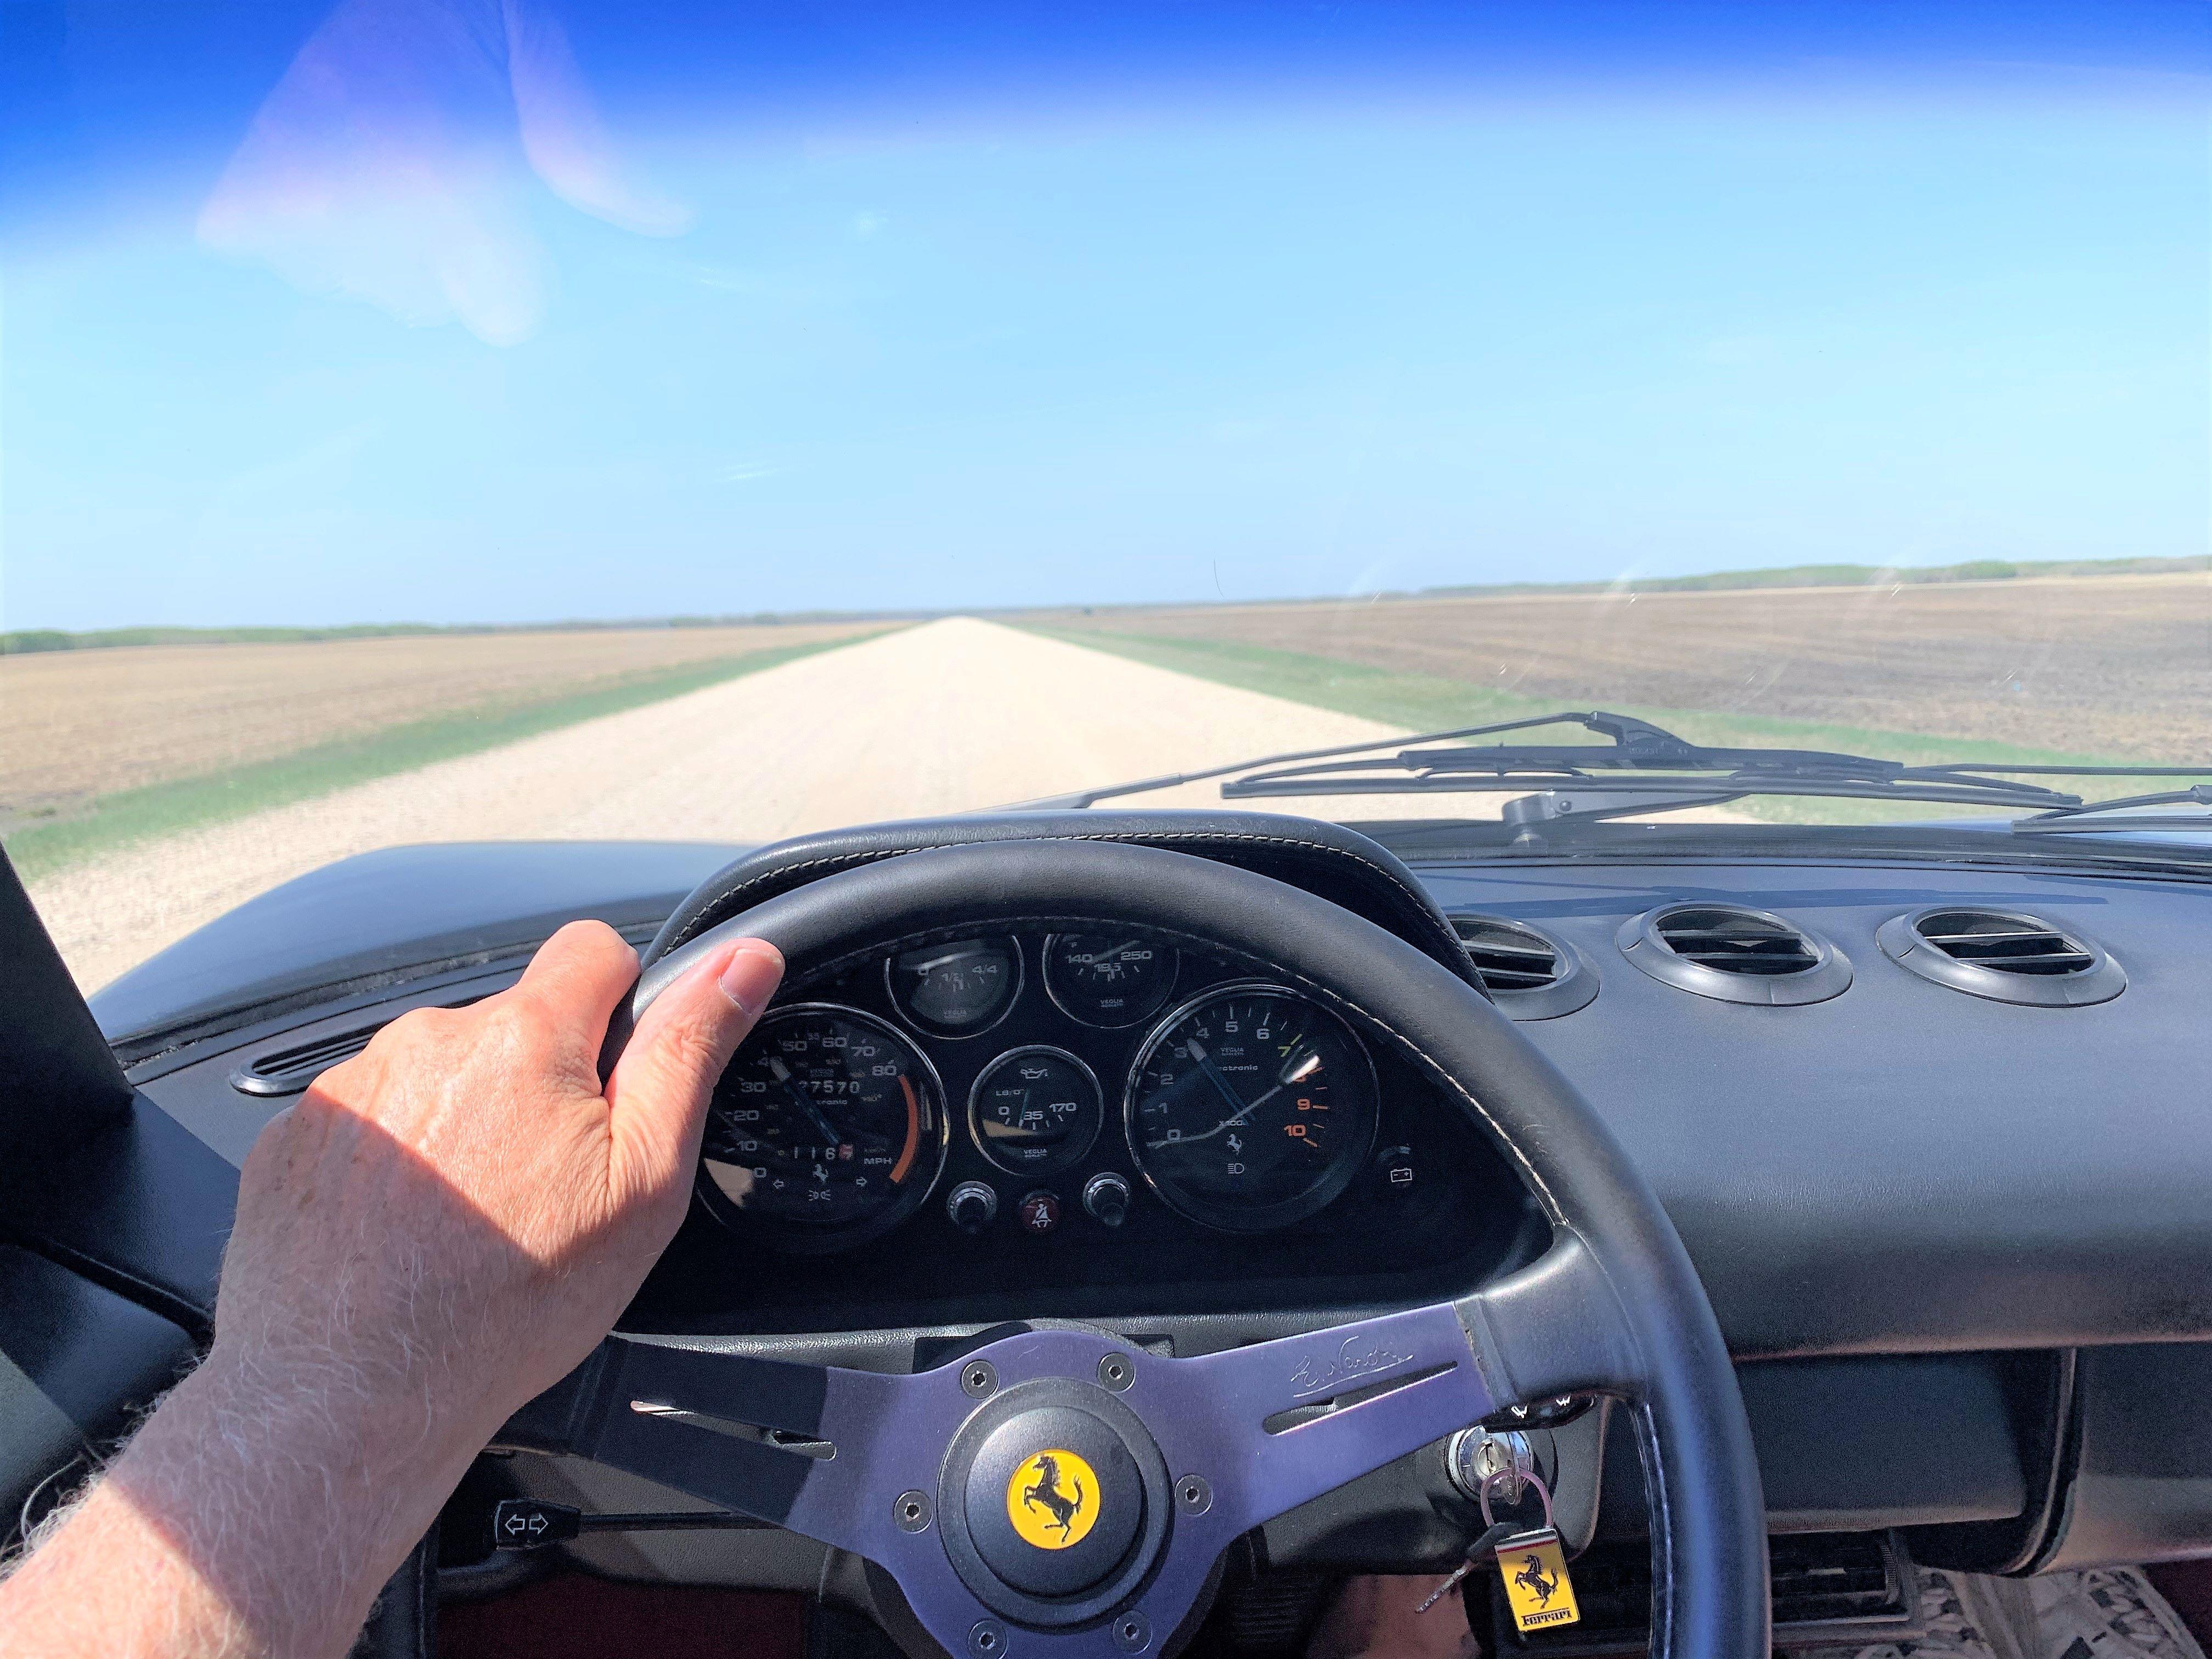
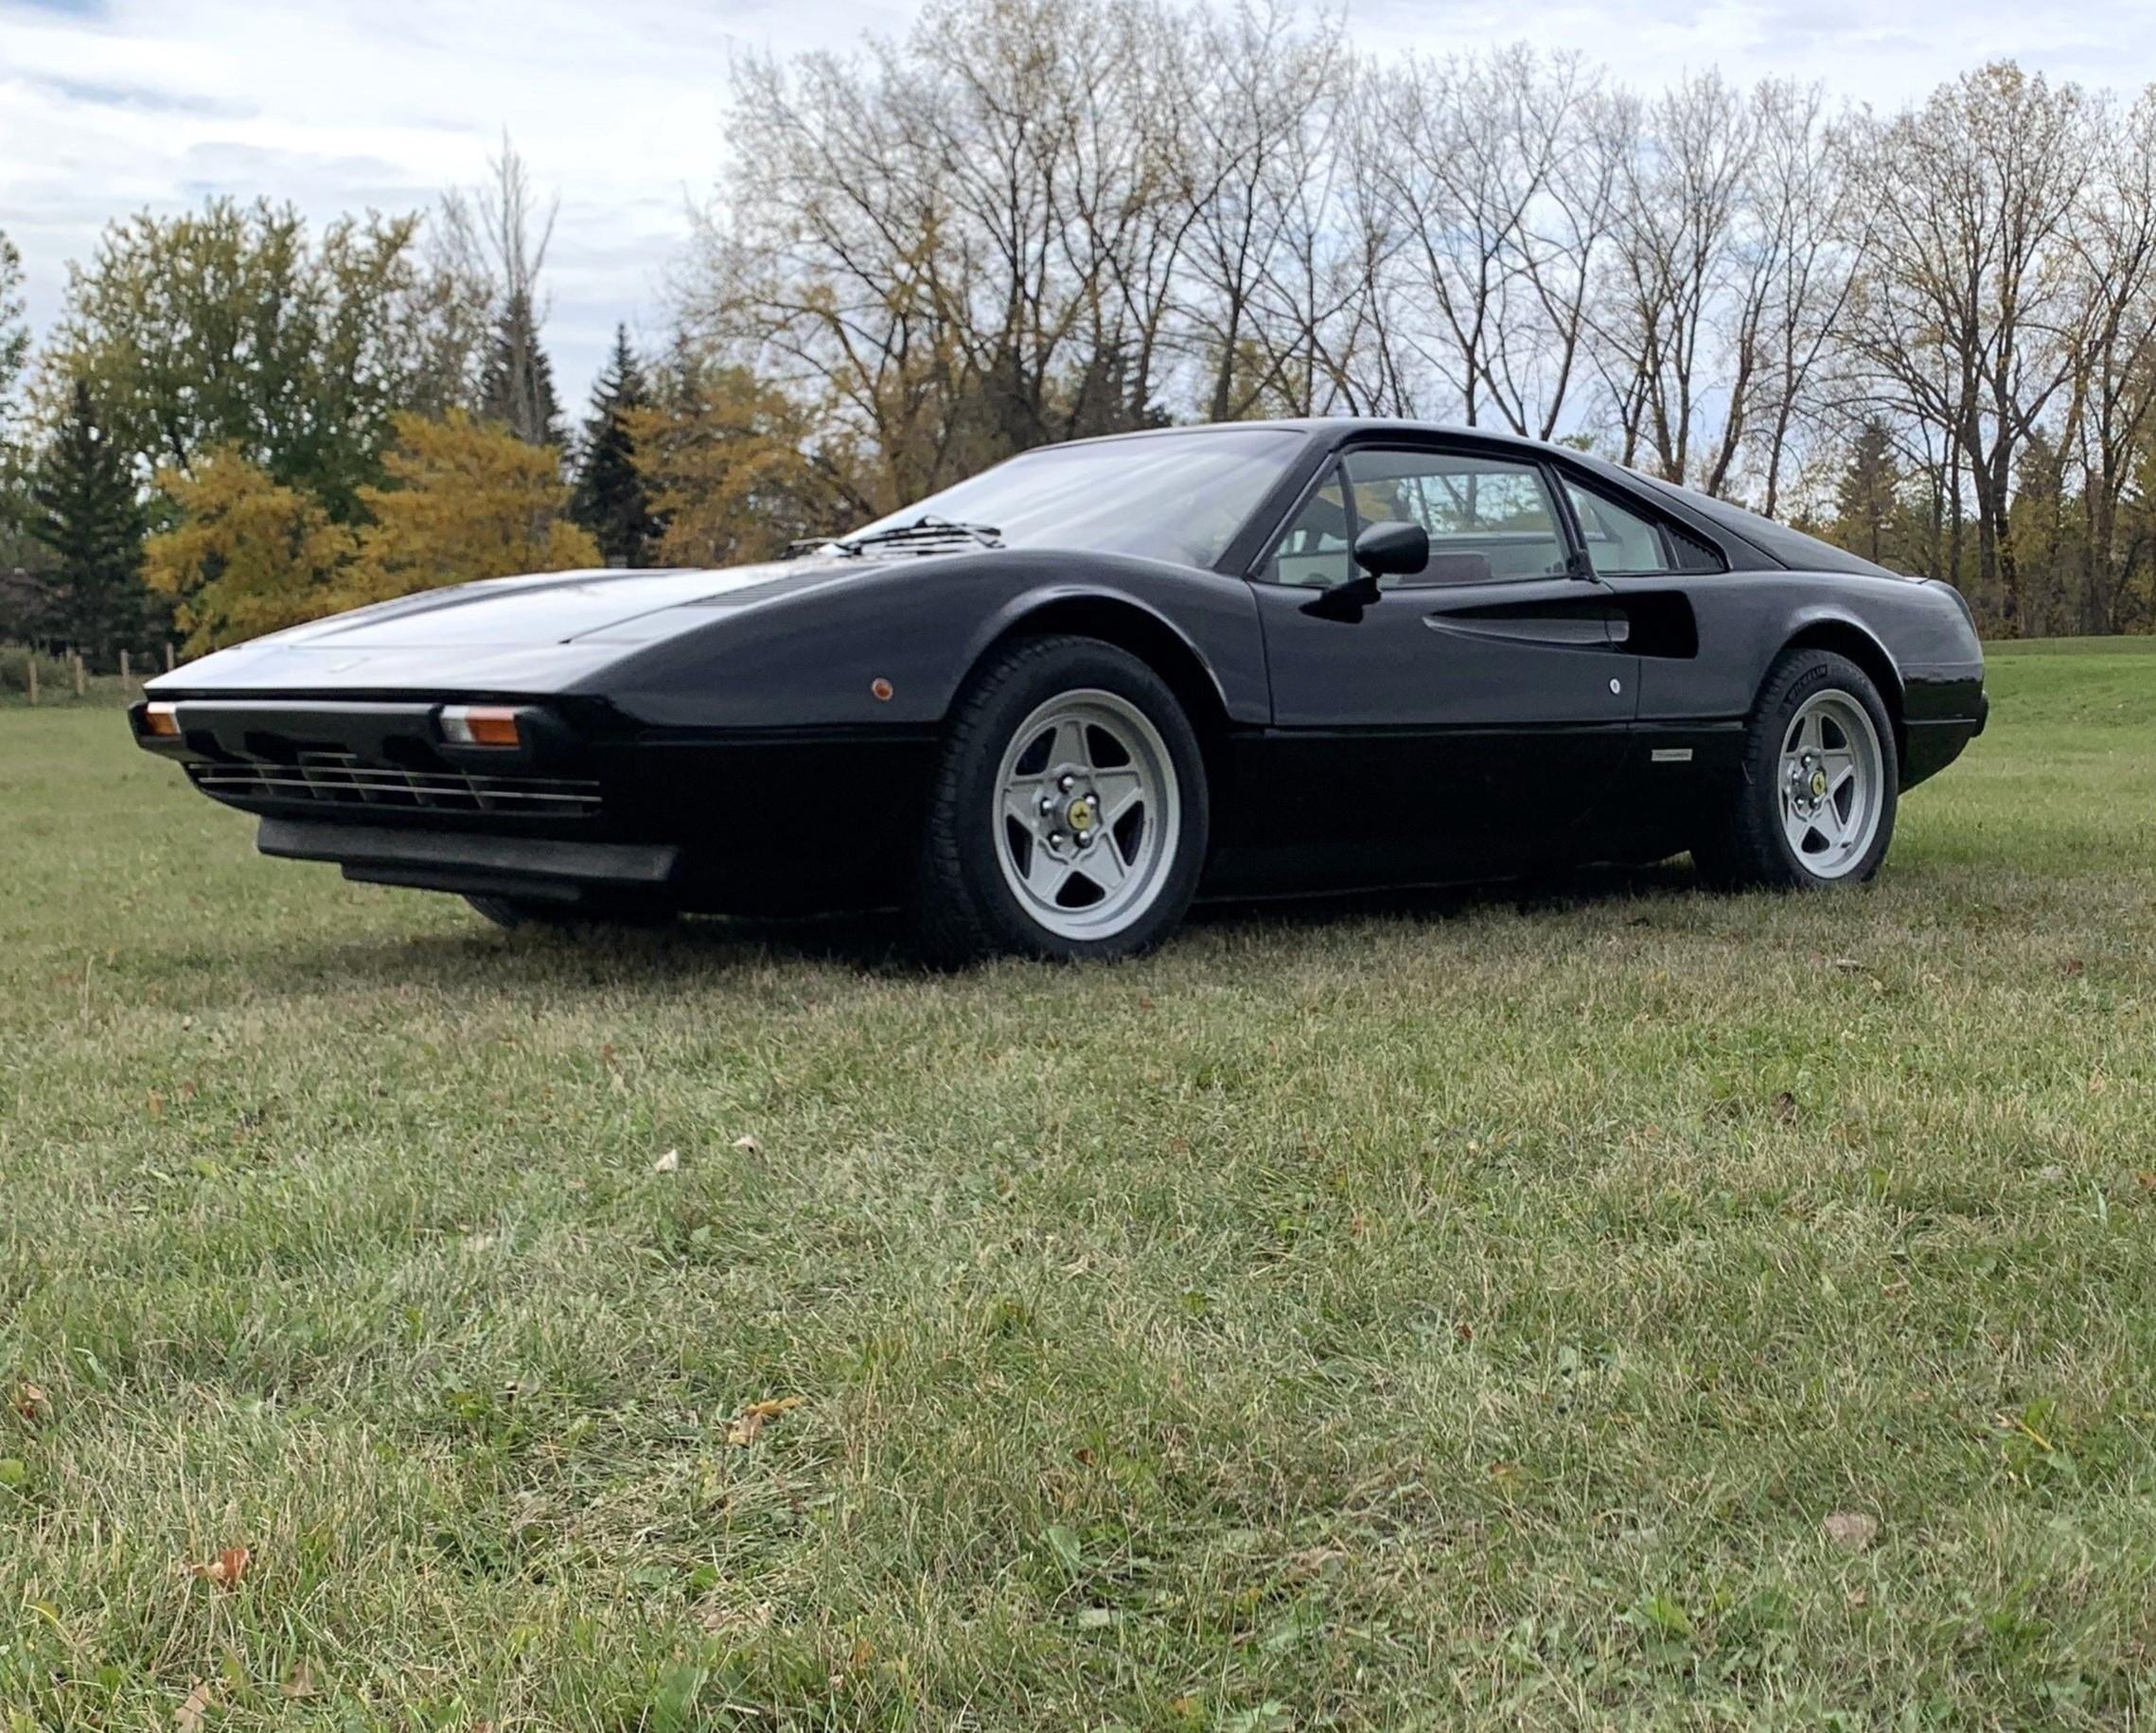
My favorite sports car................. is the one I own! I HAD a Dino for 7 years, now I have a 308, had it for 18 years!
-
WOW, It's a stunner! Fantastic modelling, I love it!!
-
Chopped, Sectioned and Bobbed…….’63 Corvette.
dino246gt replied to NOBLNG's topic in WIP: Model Cars
Love it Greg! Radical, VERY rad! -
Lovin' it!
-
Nice find! I've also found kits in my stash that I've forgotten that I have, usually when I bring home a new purchase and discover that yeah, I already had that one! LOL
-
I like what you've done to that rear suspension and you've got that ride height just perfect................at the rear! You might need smaller and not quite as wide front wheels and tires, you could narrow the rims but find narrower tires, or print some? I'm diggin' it so far though, cool!
-
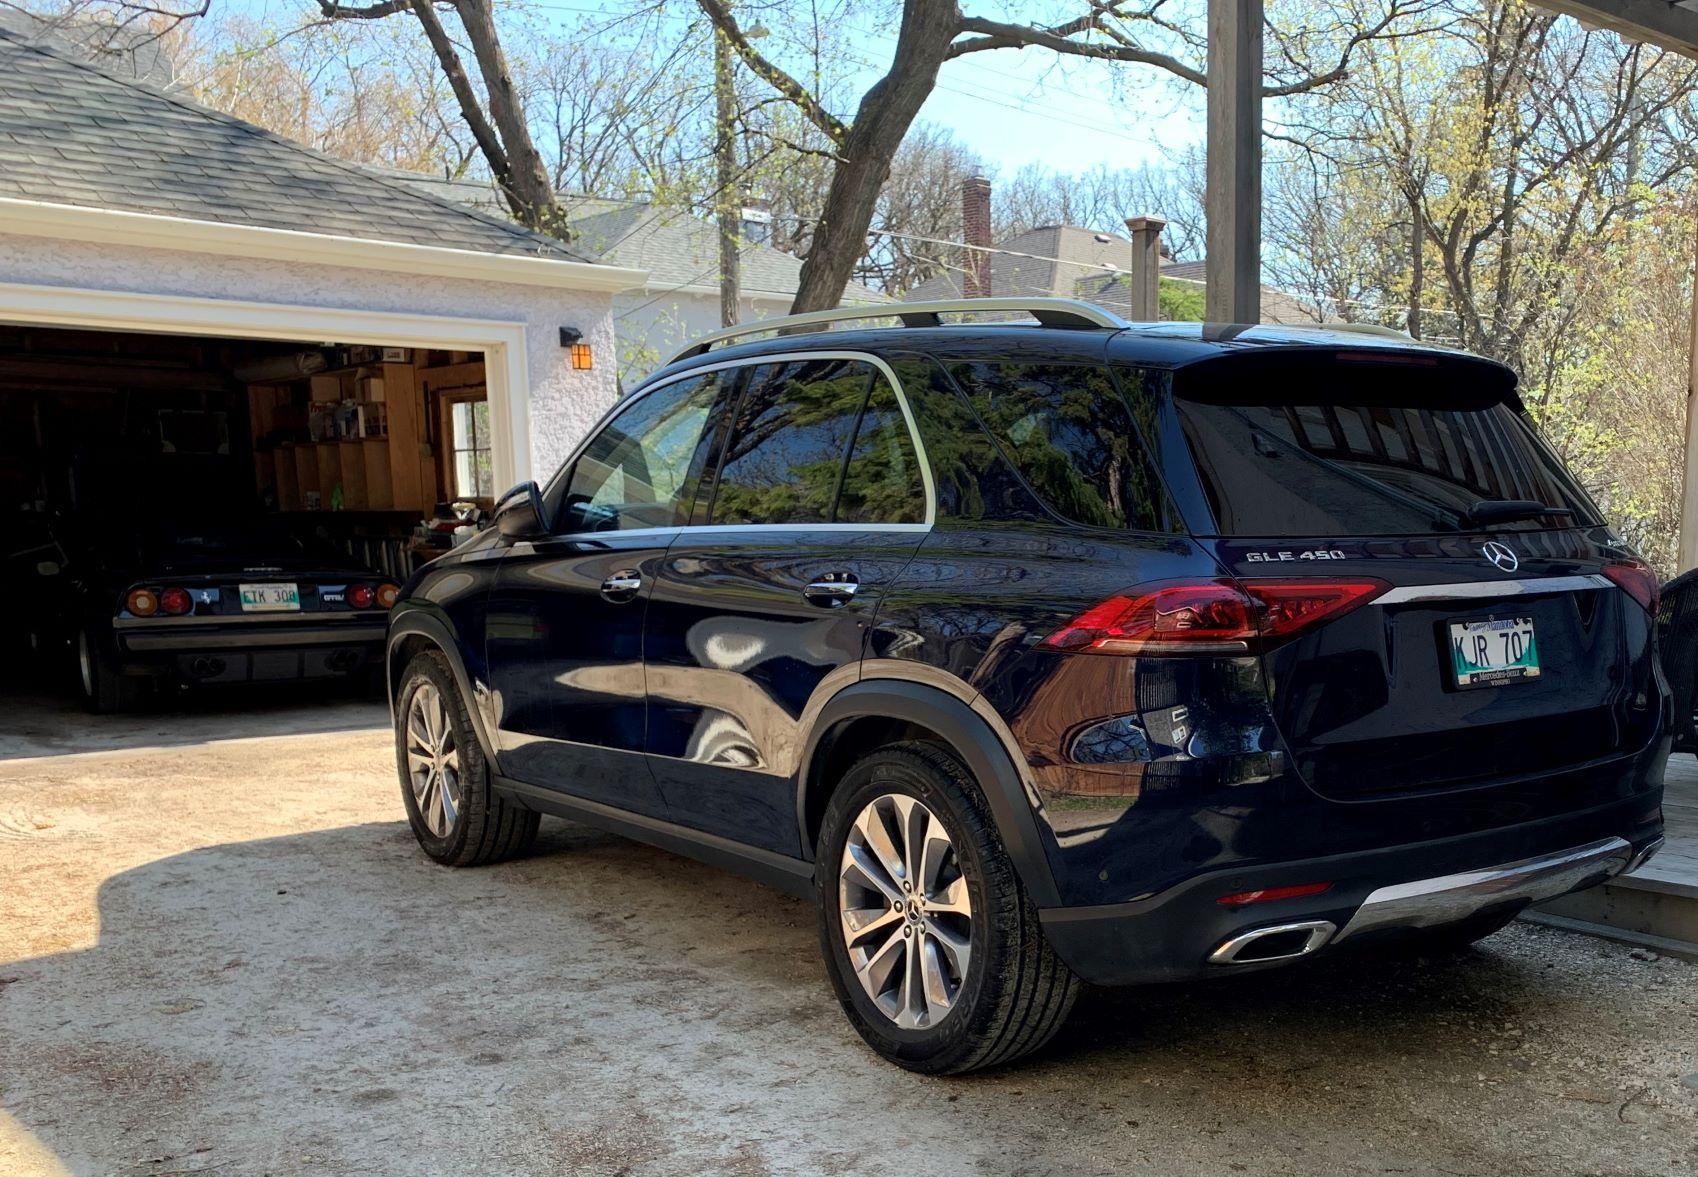
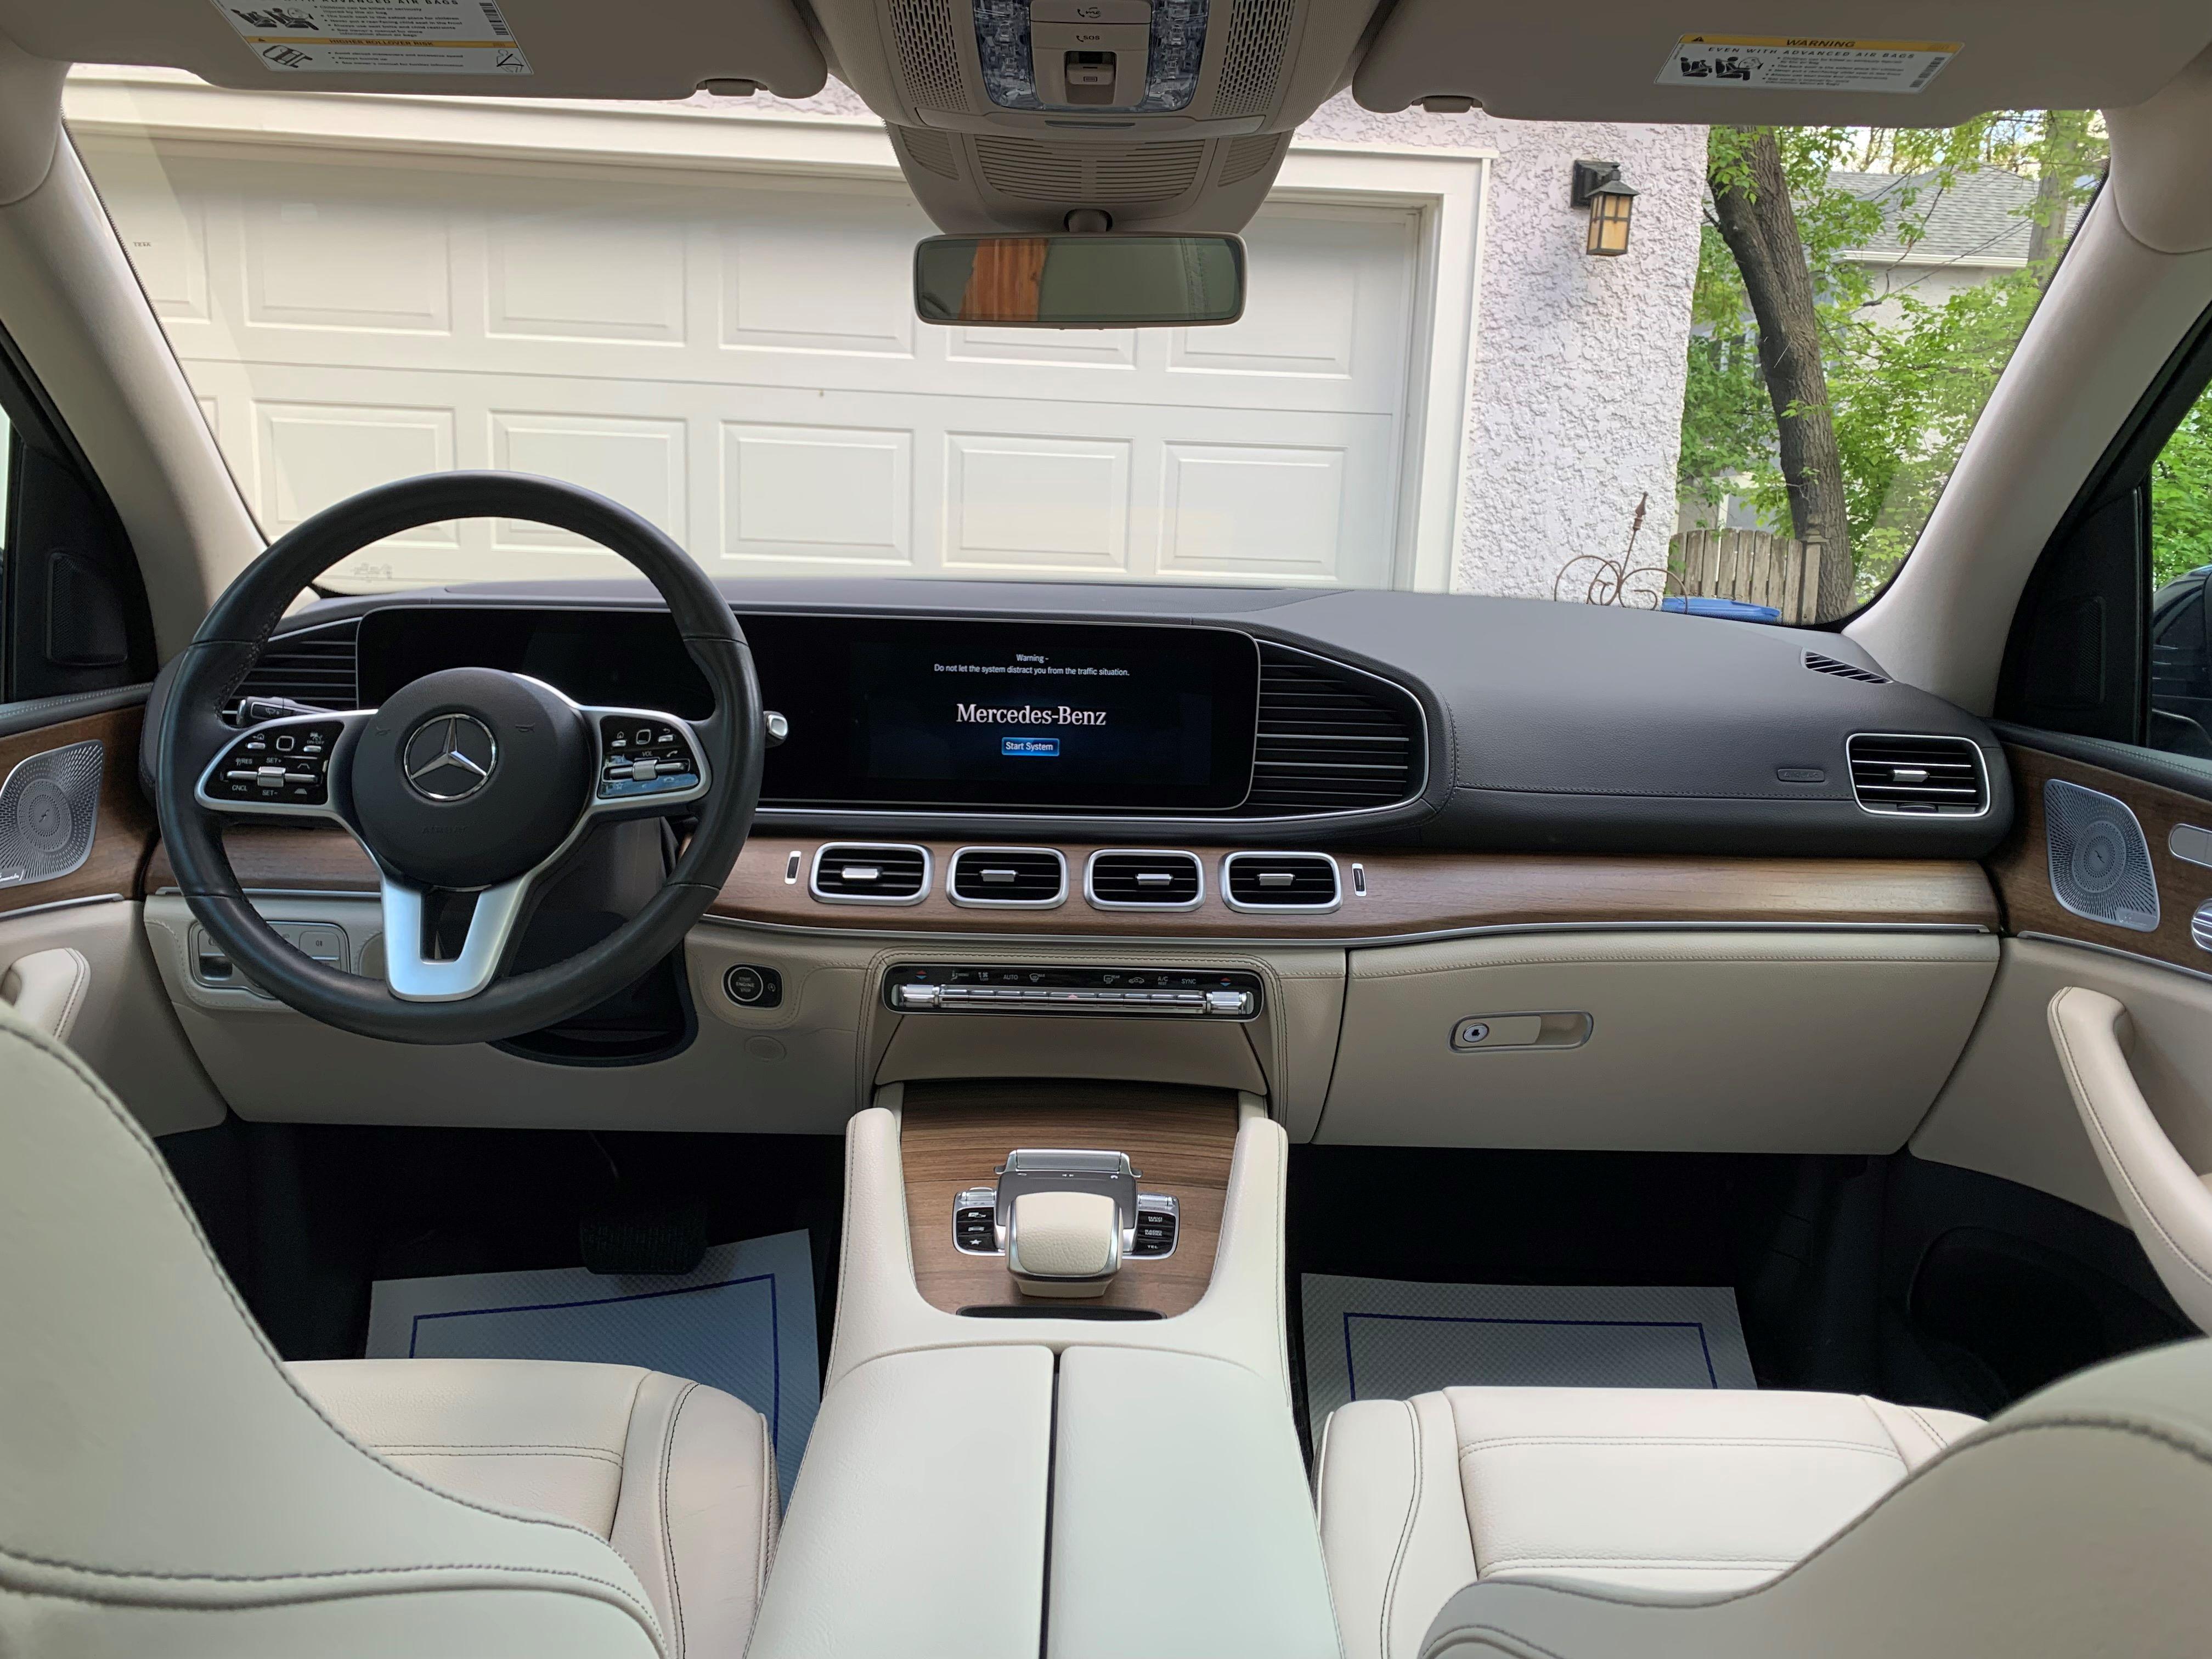
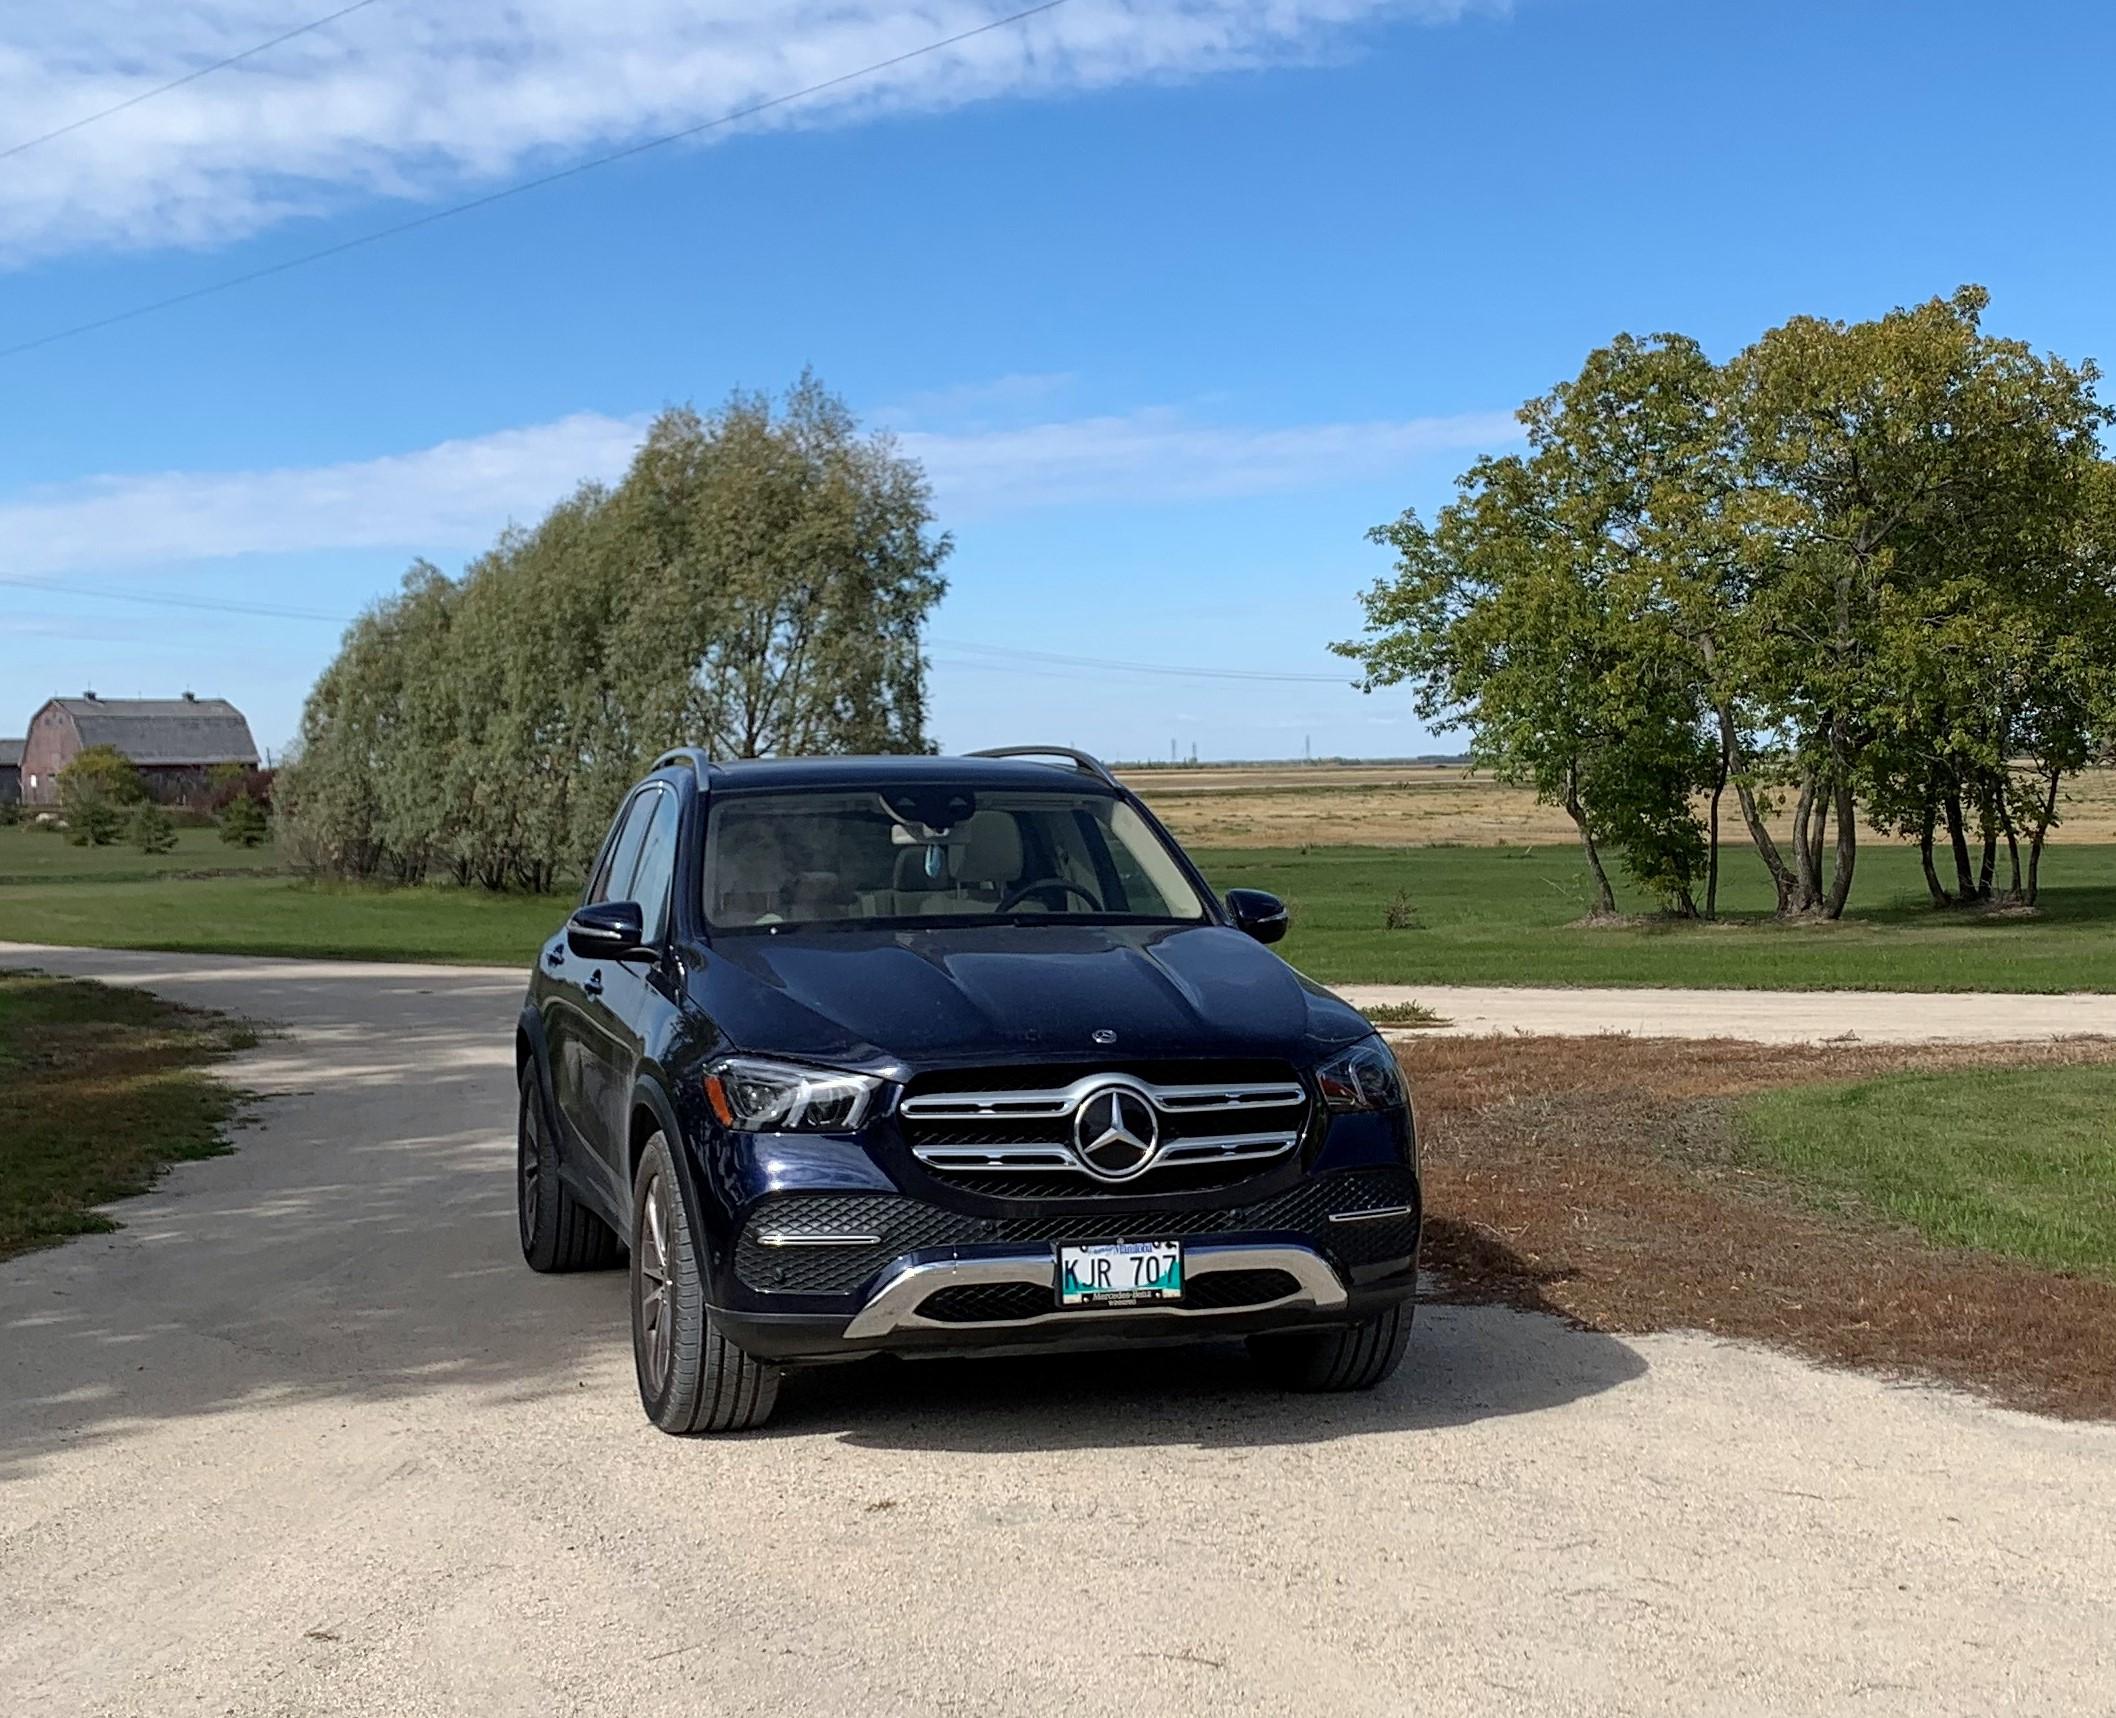
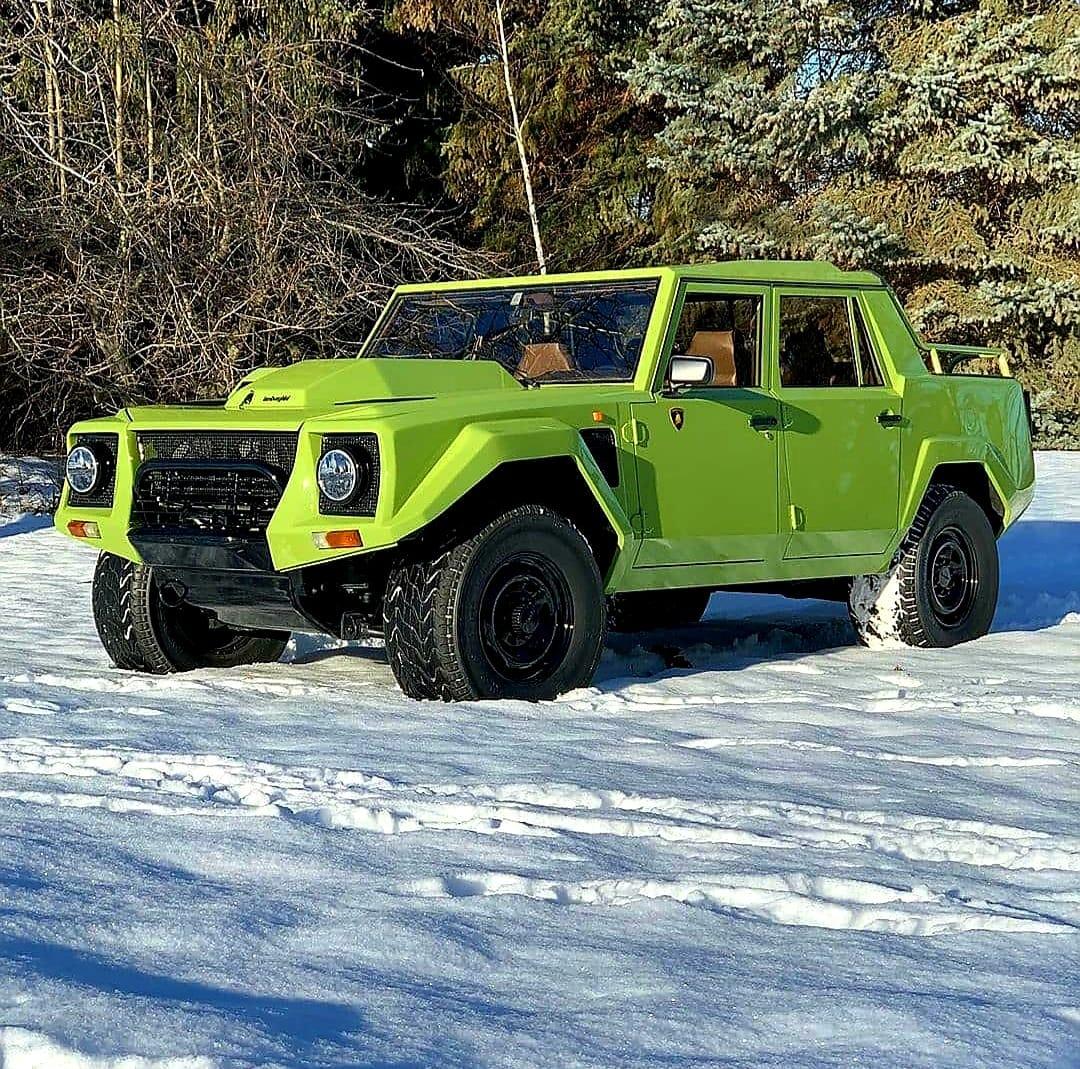
I live in CANADA, Winnipeg, so I need a Summer car, and a Winter SUV. Fortunately, I have both!


.jpg.edf1ee9d960eb709b8259cc059b28e57.jpg)