Bainford
-
Posts
5,187 -
Joined
-
Last visited
Content Type
Profiles
Forums
Events
Gallery
Everything posted by Bainford
-
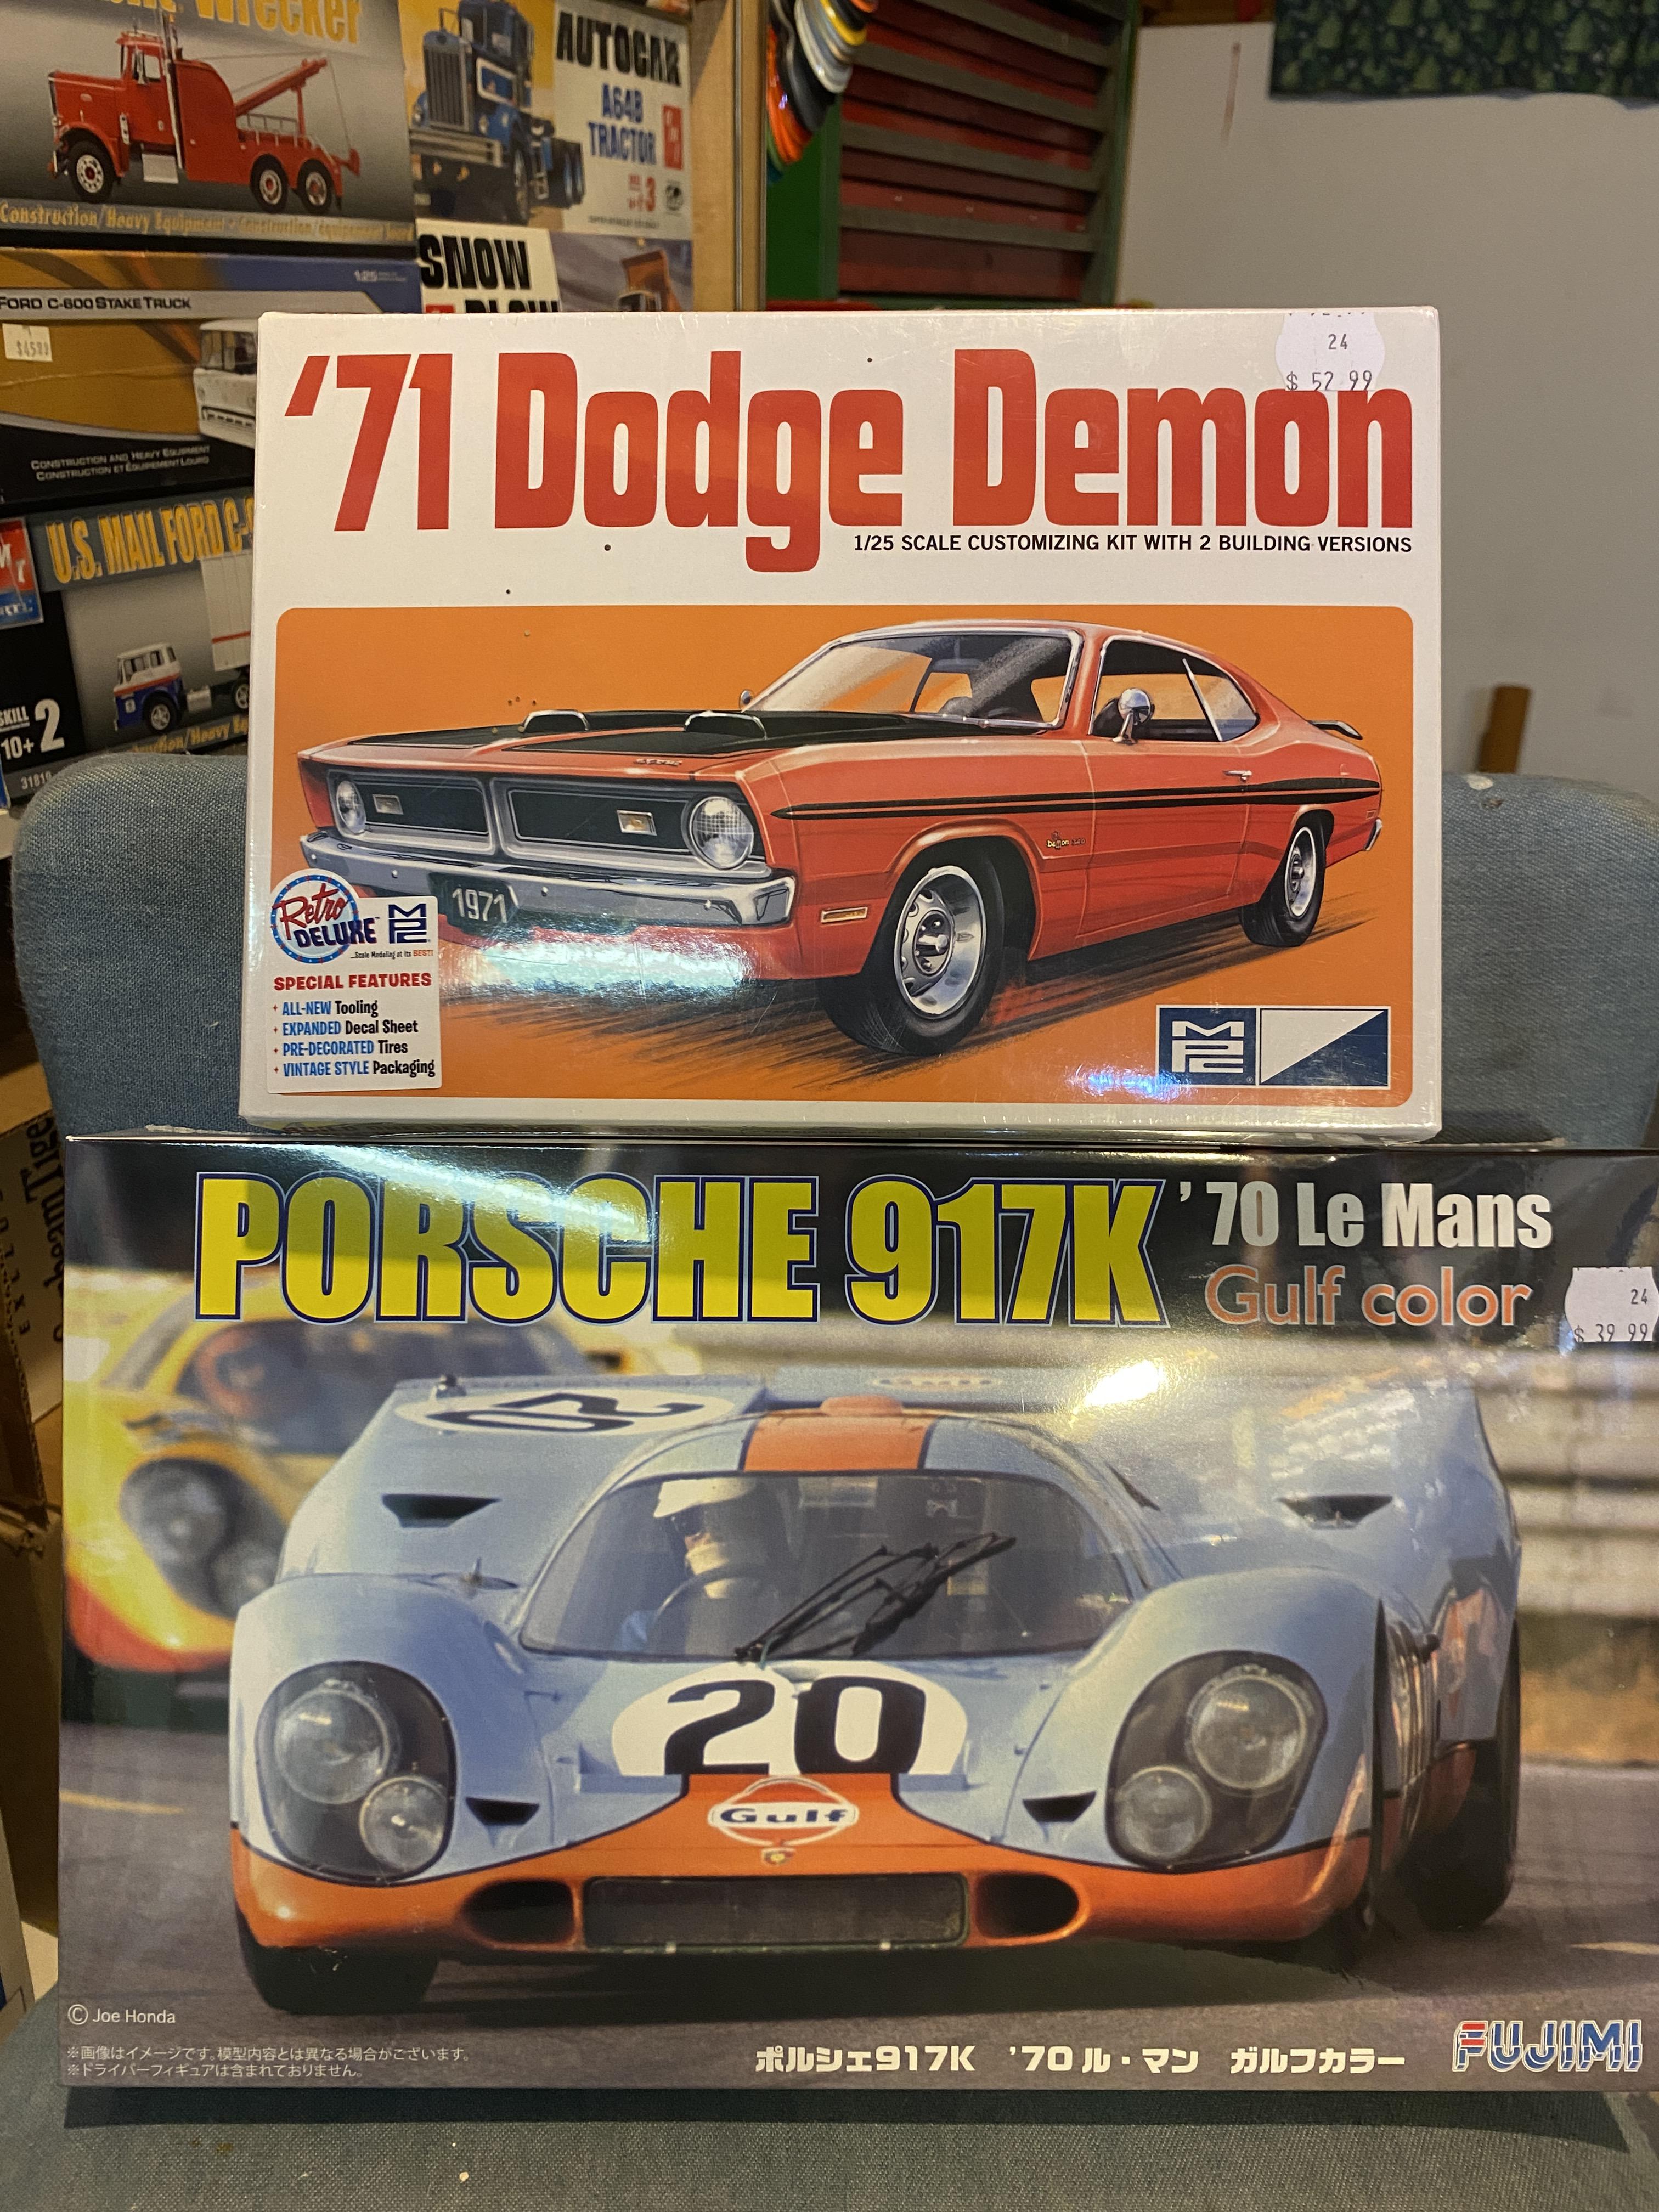
 Just picked up these kits. The Porsche, because I've wanted one since its release. The Demon, because I was feeling left out.
- 38,863 replies
-
- 6
-

-

-
- johan
- glue bombs
- (and 1 more)
-
Fox Body Mustang Kits. 1979 to 1982
Bainford replied to stavanzer's topic in Model Building Questions and Answers
My personal favourite is the MPC kit, probably because I built a few of them in my younger days. Most are probably going to recommend the Monogram, and based on your requirements I will too. I've not built the Monogram kit, but I'm told it builds well right of the box. The MPCs take a bit of tweaking to get everything looking right, but they do look good. If the Revell kit is the one I think it is, avoid it. It's a weak kit. I'm not up on the availability of any of these kits, don't know how hard to find or expensive they might be. -
In the absence of specific knowledge of the colours, it might be worth looking to see if details of Pepsi's corporate colours are defined anywhere.
-
Despite the troubles, the build is coming along great. It's going to be one beautiful Ferrari.
-
Yup, that's exactly what you do. It is referred to as 'doing a mock-up' and as Steve eluded, it is pretty much necessary to ensure you find and sort fit issues before paint, etc. The first thing I do after dumping the parts out onto the bench is mock it up to check for any problems and warped parts. I build it up enough to get the wheels on and check the stance and note any corrections needed. Numerous mock-ups will be done throughout the build to check for any arising issues. This includes mocking up sub-assemblies such as the engine , interior, etc, to check fit before painting. Most kits will have some sort of fit issue somewhere, often significant, that needs to be sorted before paint. Mocking up is especially important if you are making any modifications from the original kit, swapping parts, or using any aftermarket parts, etc.
-
Outstanding! I think you have captured the neglected look beautifully. Nice work.
-
M-20 Prime Mover is Finished
Bainford replied to Chariots of Fire's topic in Model Trucks: Big Rigs and Heavy Equipment
Impressive, as always. I love checking out your work. Beautiful stuff, and very interesting truck. Cheers. -
Nice save! Good looking wagon.
-
Revell Corvette C5.R Decal Placement
Bainford replied to Jim B's topic in Model Building Questions and Answers
Clearly there is an error somewhere. Can you post a photo of the decal sheet. I'm wondering if there are wedge shaped carbon fibre decals that may be for the diffusers. -
OLD AMT decal sheet? For ???
Bainford replied to gtx6970's topic in Model Building Questions and Answers
Interesting that the sheet has decals advertising both Mopar parts and Chevy parts. -
I think we have the sluggish forum problems solved
Bainford replied to Dave Ambrose's topic in How To Use This Board
Huge thanks for all your hard work. Very much appreciated. Cheers. -
Nice looking old Ford. The colour suits it perfectly. Nice work.
-
Wow! That is one cool Chevy. Nice work, Terry. I really like this build.
-
Good looking El Camino. I dig that colour.
-
Cool custom Vette.
-
Very sharp looking Oldsmobile. Nice work.
-
Beautiful old Ford, Richard. Very nice.
-
Forum website has been sluggish for the last few days
Bainford replied to peteski's topic in How To Use This Board
Very well done! Huge thanks to Dave & team. I know this has been a hard win. Your efforts are appreciated. Cheers all. -
A lovely vintage racer, and M. Benoist is looking pretty nifty in the cockpit.
-
Lister Knobbly Jaguar
Bainford replied to kensar's topic in WIP: Other Racing: Road Racing, Land Speed Racers
Incredible project. This will be fun to watch. -
Forum website has been sluggish for the last few days
Bainford replied to peteski's topic in How To Use This Board
Everything is super fast for the first time in a couple months. Aug 4 9:45 ADT (GMT -4 hrs) -
Thank you Bruce for your wisdom and insights. Very much appreciated. I am not discouraged, I think I have a reasonable idea of what I might be getting into though I make no assumptions. I have been watching whenever MFH kits show up on the forum. Unfortunately MFH seems to have gotten out of the 1/24 scale business, which is the only scale I am interested in building myself. You are right of course about a Tamiya kit and some aftermarket details, although I rarely buy aftermarket as I believe I can scratch most details as well or better than AM. Any model can be as complex as an MFH if you build it that way. A kit, regardless of type or maker, is merely the starting point to a great model. It's all what you do with it. I enjoy seeing what you are doing with them, and one day I will try my hand too. And man, do I love the big black Cobra. Cheers.
-
I'm really enjoying this build. This is shaping up to be one of the nicest 1/24 Cobras I've seen. And the fuel lines look great. Perseverance pays off, but clearly that's a necessary quality when tackling an MFH kit. I would really like to take one on some day, though would take me over three years to get through it. I nearly bought the Lusso a few years ago but never did pull the trigger. In the meantime I enjoy them vicariously through your WIPs.
-
Cheers Andrew. Never knew the 23 body existed. Just found several on ebay. Very helpful.