Bainford
-
Posts
5,189 -
Joined
-
Last visited
Content Type
Profiles
Forums
Events
Gallery
Everything posted by Bainford
-
Thanks for the link. Never heard of that place, but they have a lot of cool decals. Some real unusual stuff.
-

The Race Trucks
Bainford replied to Scott Eriksen's topic in WIP: Model Trucks: Big Rigs and Heavy Equipment
Scott, it looks like this project is quickly getting out of hand. -
Revell 1971 Mustang Mach 1 in stock now at...
Bainford replied to tim boyd's topic in Car Kit News & Reviews
Goody. Looking forward to this kit more then most. I picked up a Boss 351, but it is the Mach 1 I really want. -
Cheers Steve. That's very helpful. Clearly they are quite simple kits. Would look great on a shelf from half way across the room, but not bear close inspection. Some of them are indeed pricey, might scoop one up if an exceptional deal pops up. Would be a fun quick-build for the right price. Thanks much.
-
.
-
The Race Trucks
Bainford replied to Scott Eriksen's topic in WIP: Model Trucks: Big Rigs and Heavy Equipment
Col! This will be a wild project. And yes, that trailer needs to be built, too. I wonder what he hauled it with. -
The Race Trucks
Bainford replied to Scott Eriksen's topic in WIP: Model Trucks: Big Rigs and Heavy Equipment
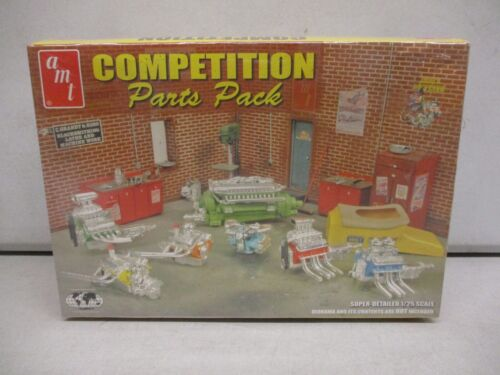
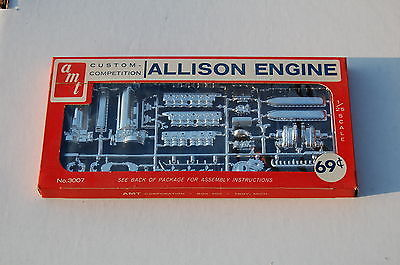
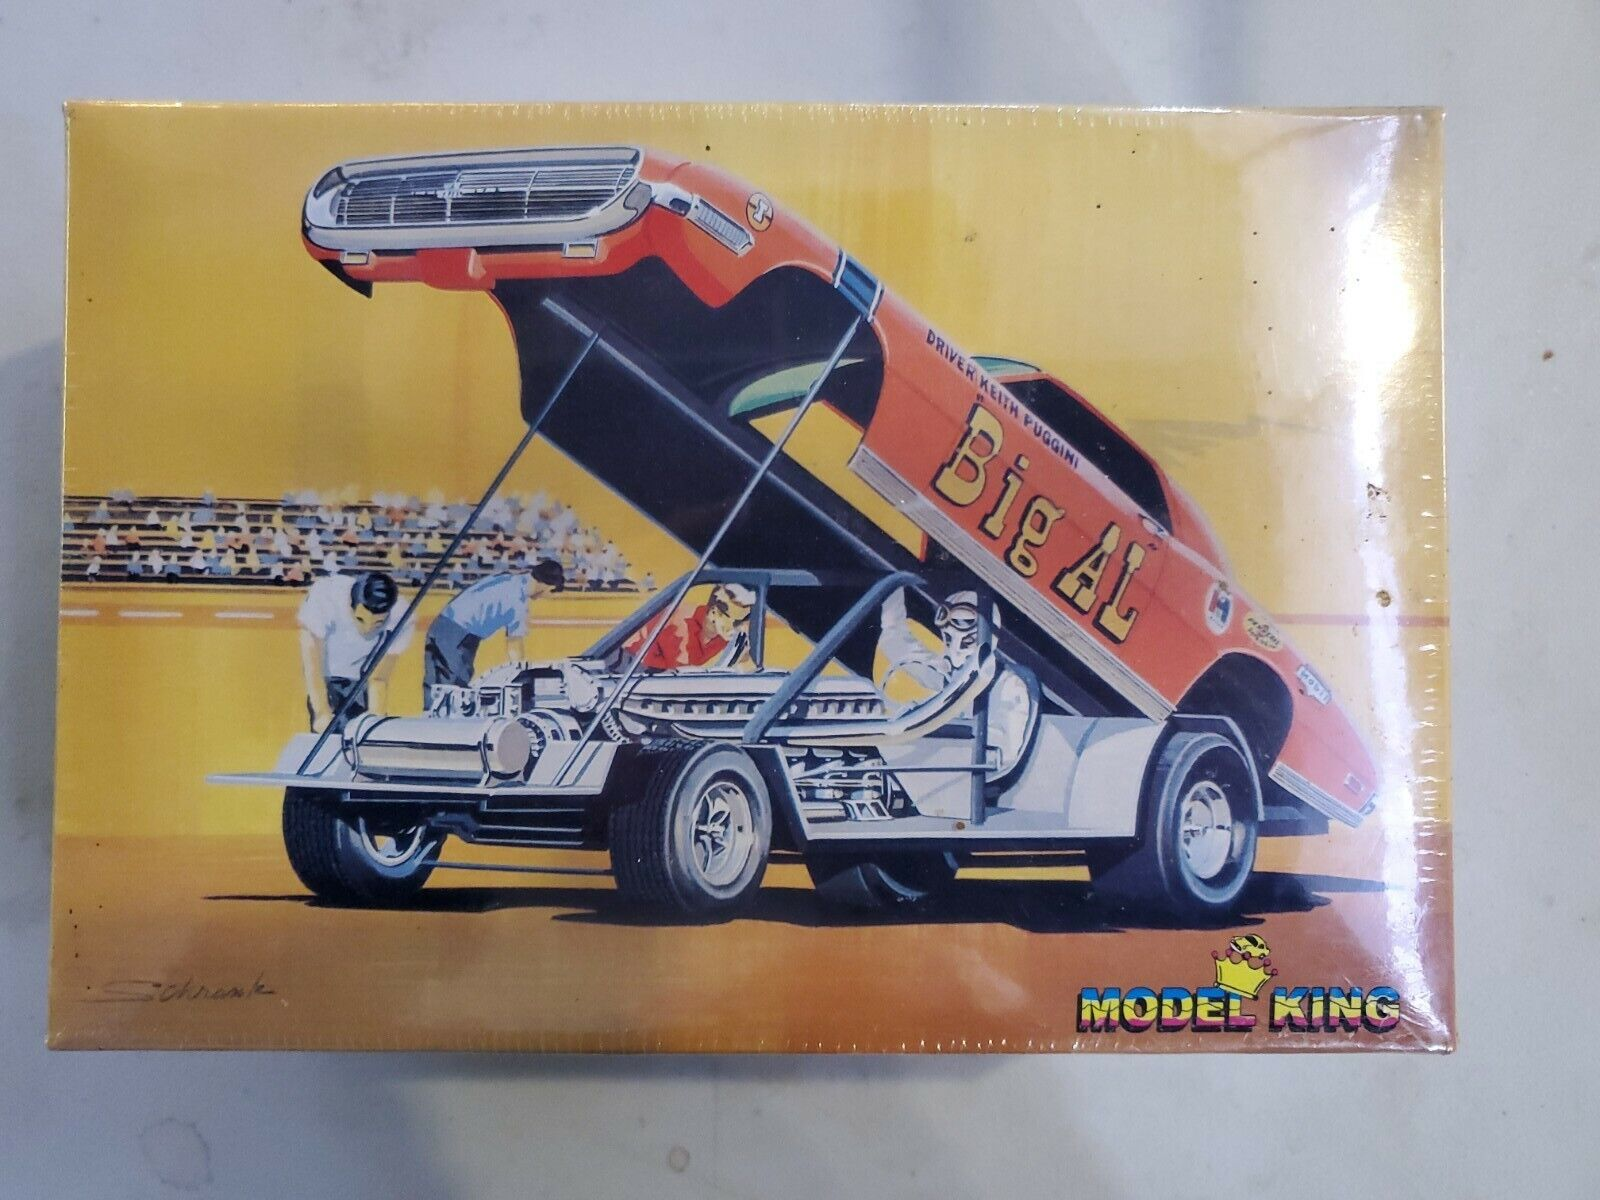
Very cool project. AMT offered a very nice Allison engine as a stand-along kit, but hard to find now. It was also made available in two different Competition Parts Packs, and these are readily available ebay, etc. Prices are a bit high on the current offerings, around $40-$60, but good deals do come up from time to time. The engine was also available in a Thunderbird funny car called Allison Thunderland, and was reissued a number of years ago, but they go for more money than the Parts Packs.
-
-
Do you also have 1:1 project cars?
Bainford replied to ctruss53's topic in General Automotive Talk (Trucks and Cars)
Very interesting, Pat. I have not seen one of these before. Cool DD. -
Welcome back to the hobby, Chris, and to the forum.
-
A simply stunning Pontiac, Steve. That is one gorgeous model. Excellent!
-
Roadworthy Rescue Wrecker
Bainford replied to Steamboat's topic in WIP: Model Trucks: Pickups, Vans, SUVs, Light Commercial
That's looking really good. -
Good looking Buick. Nice work.
-
Cool. I love me some'55.
-
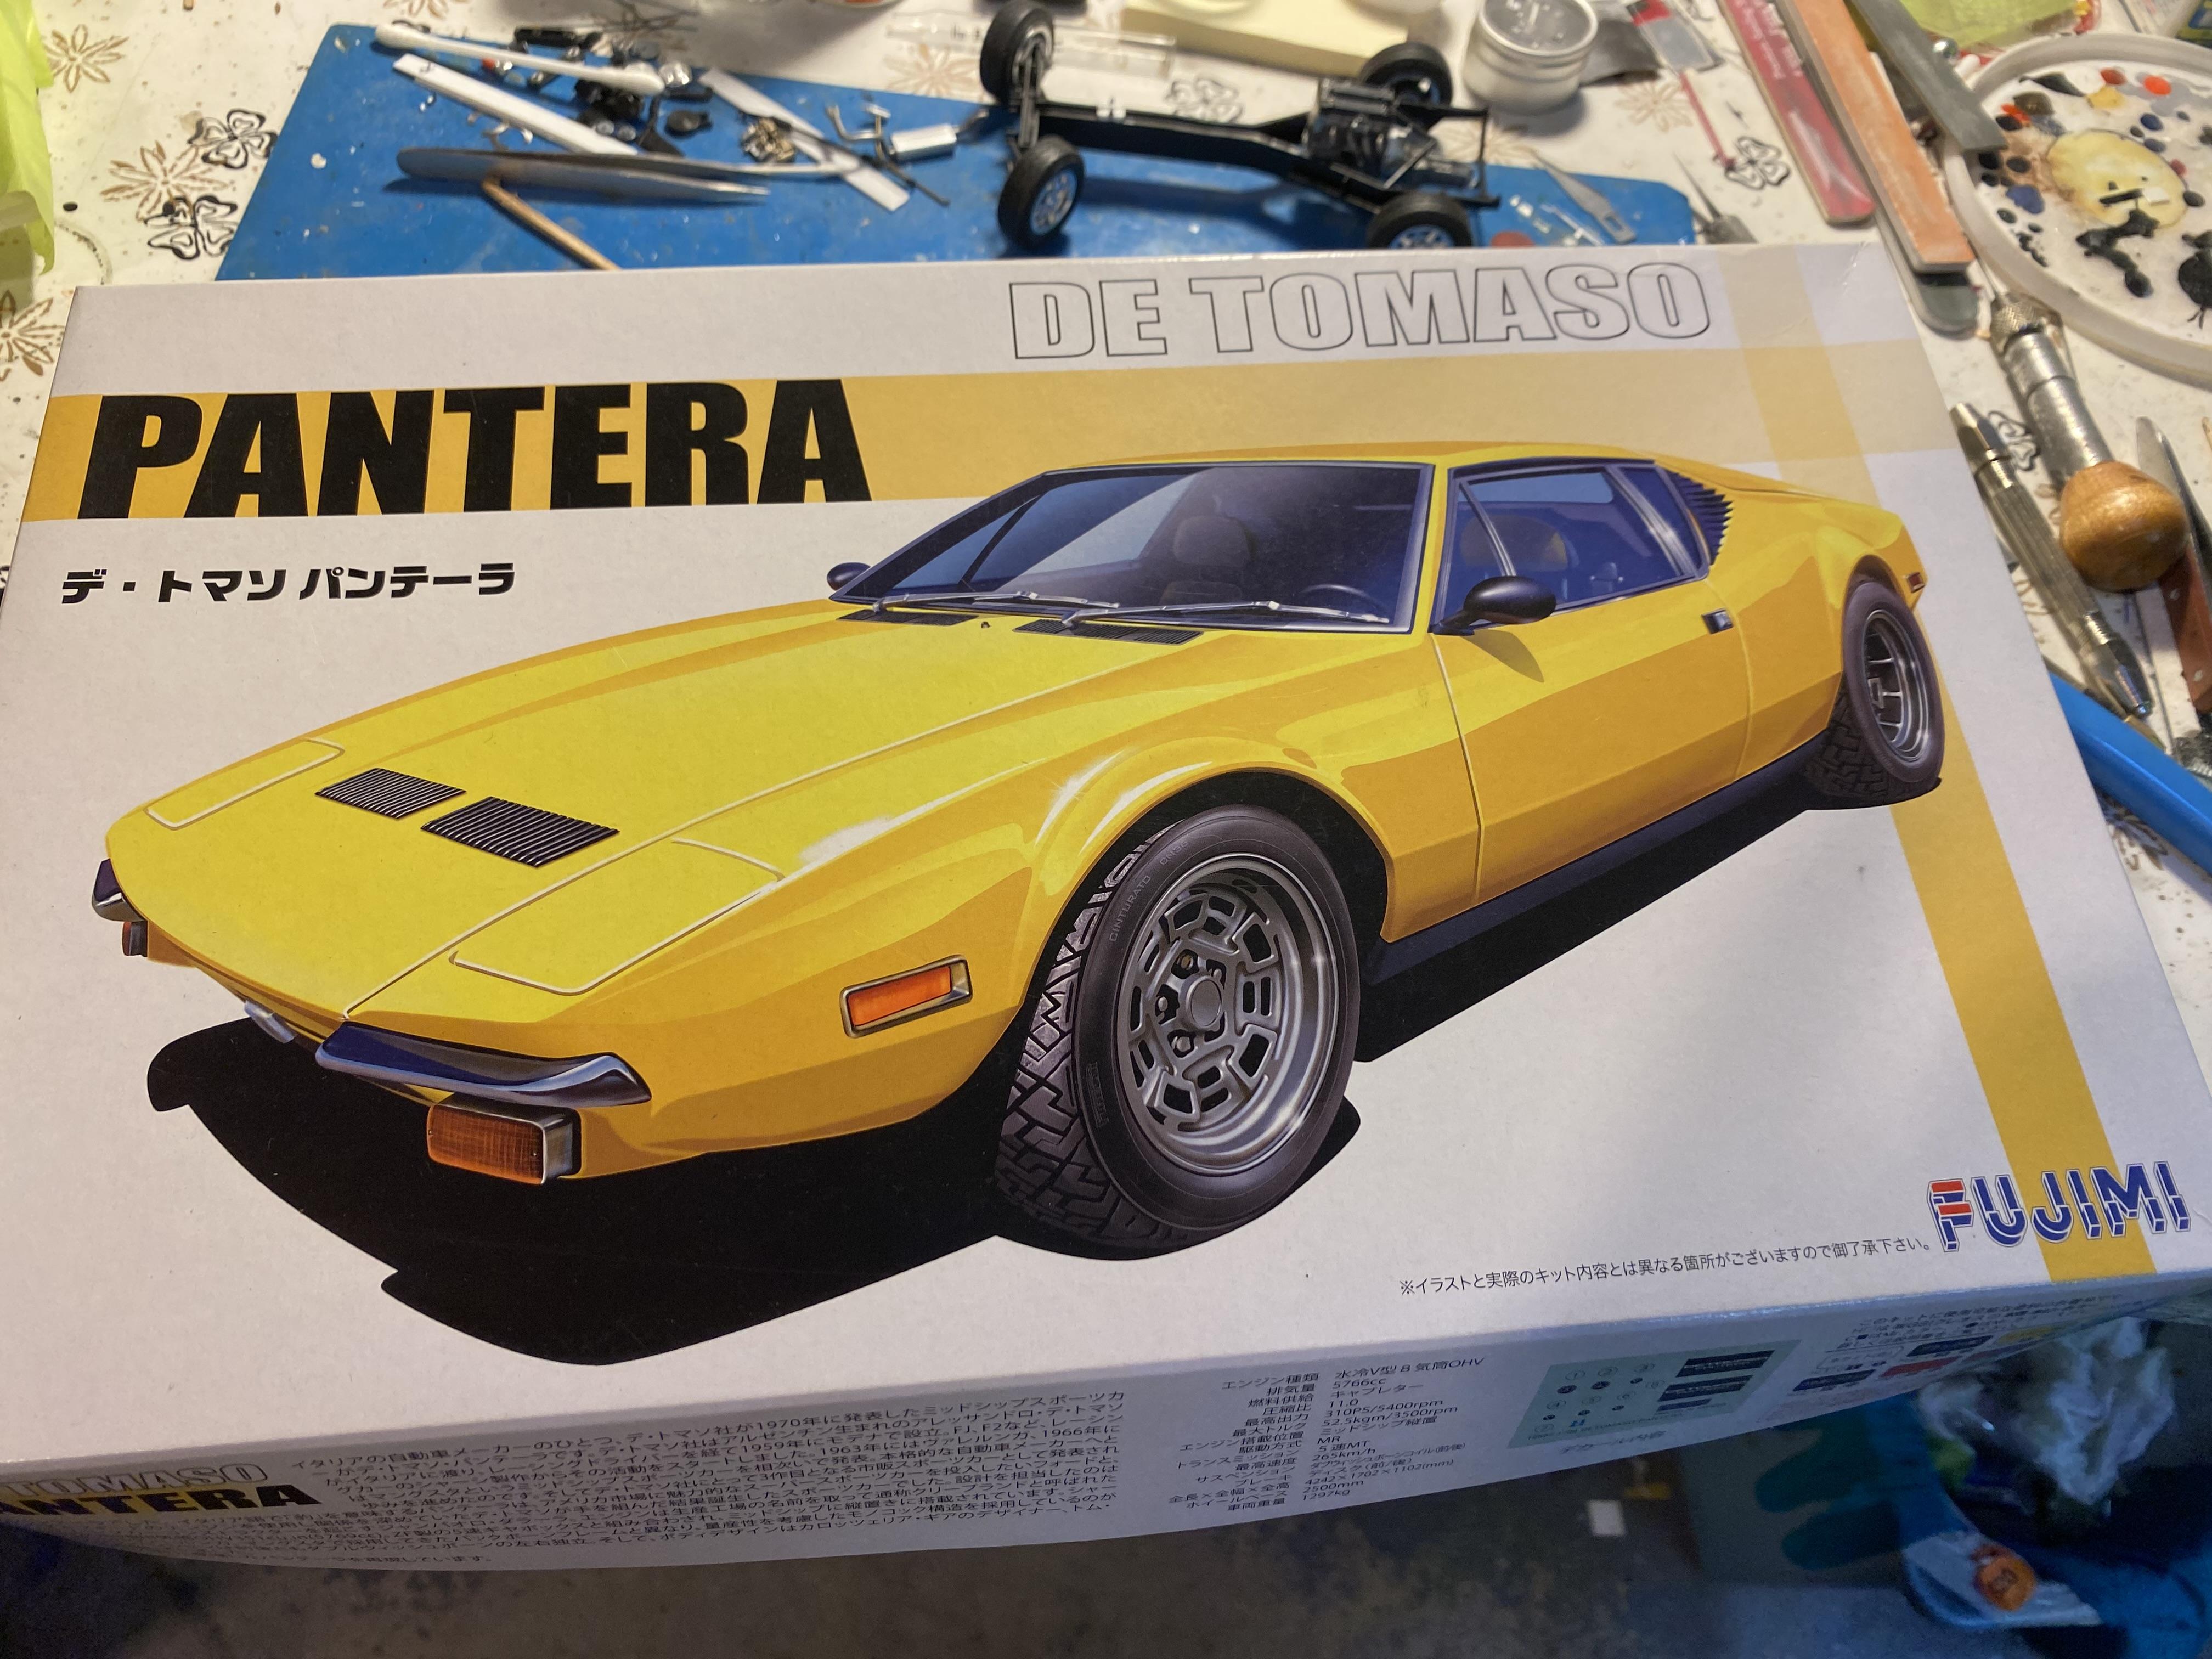
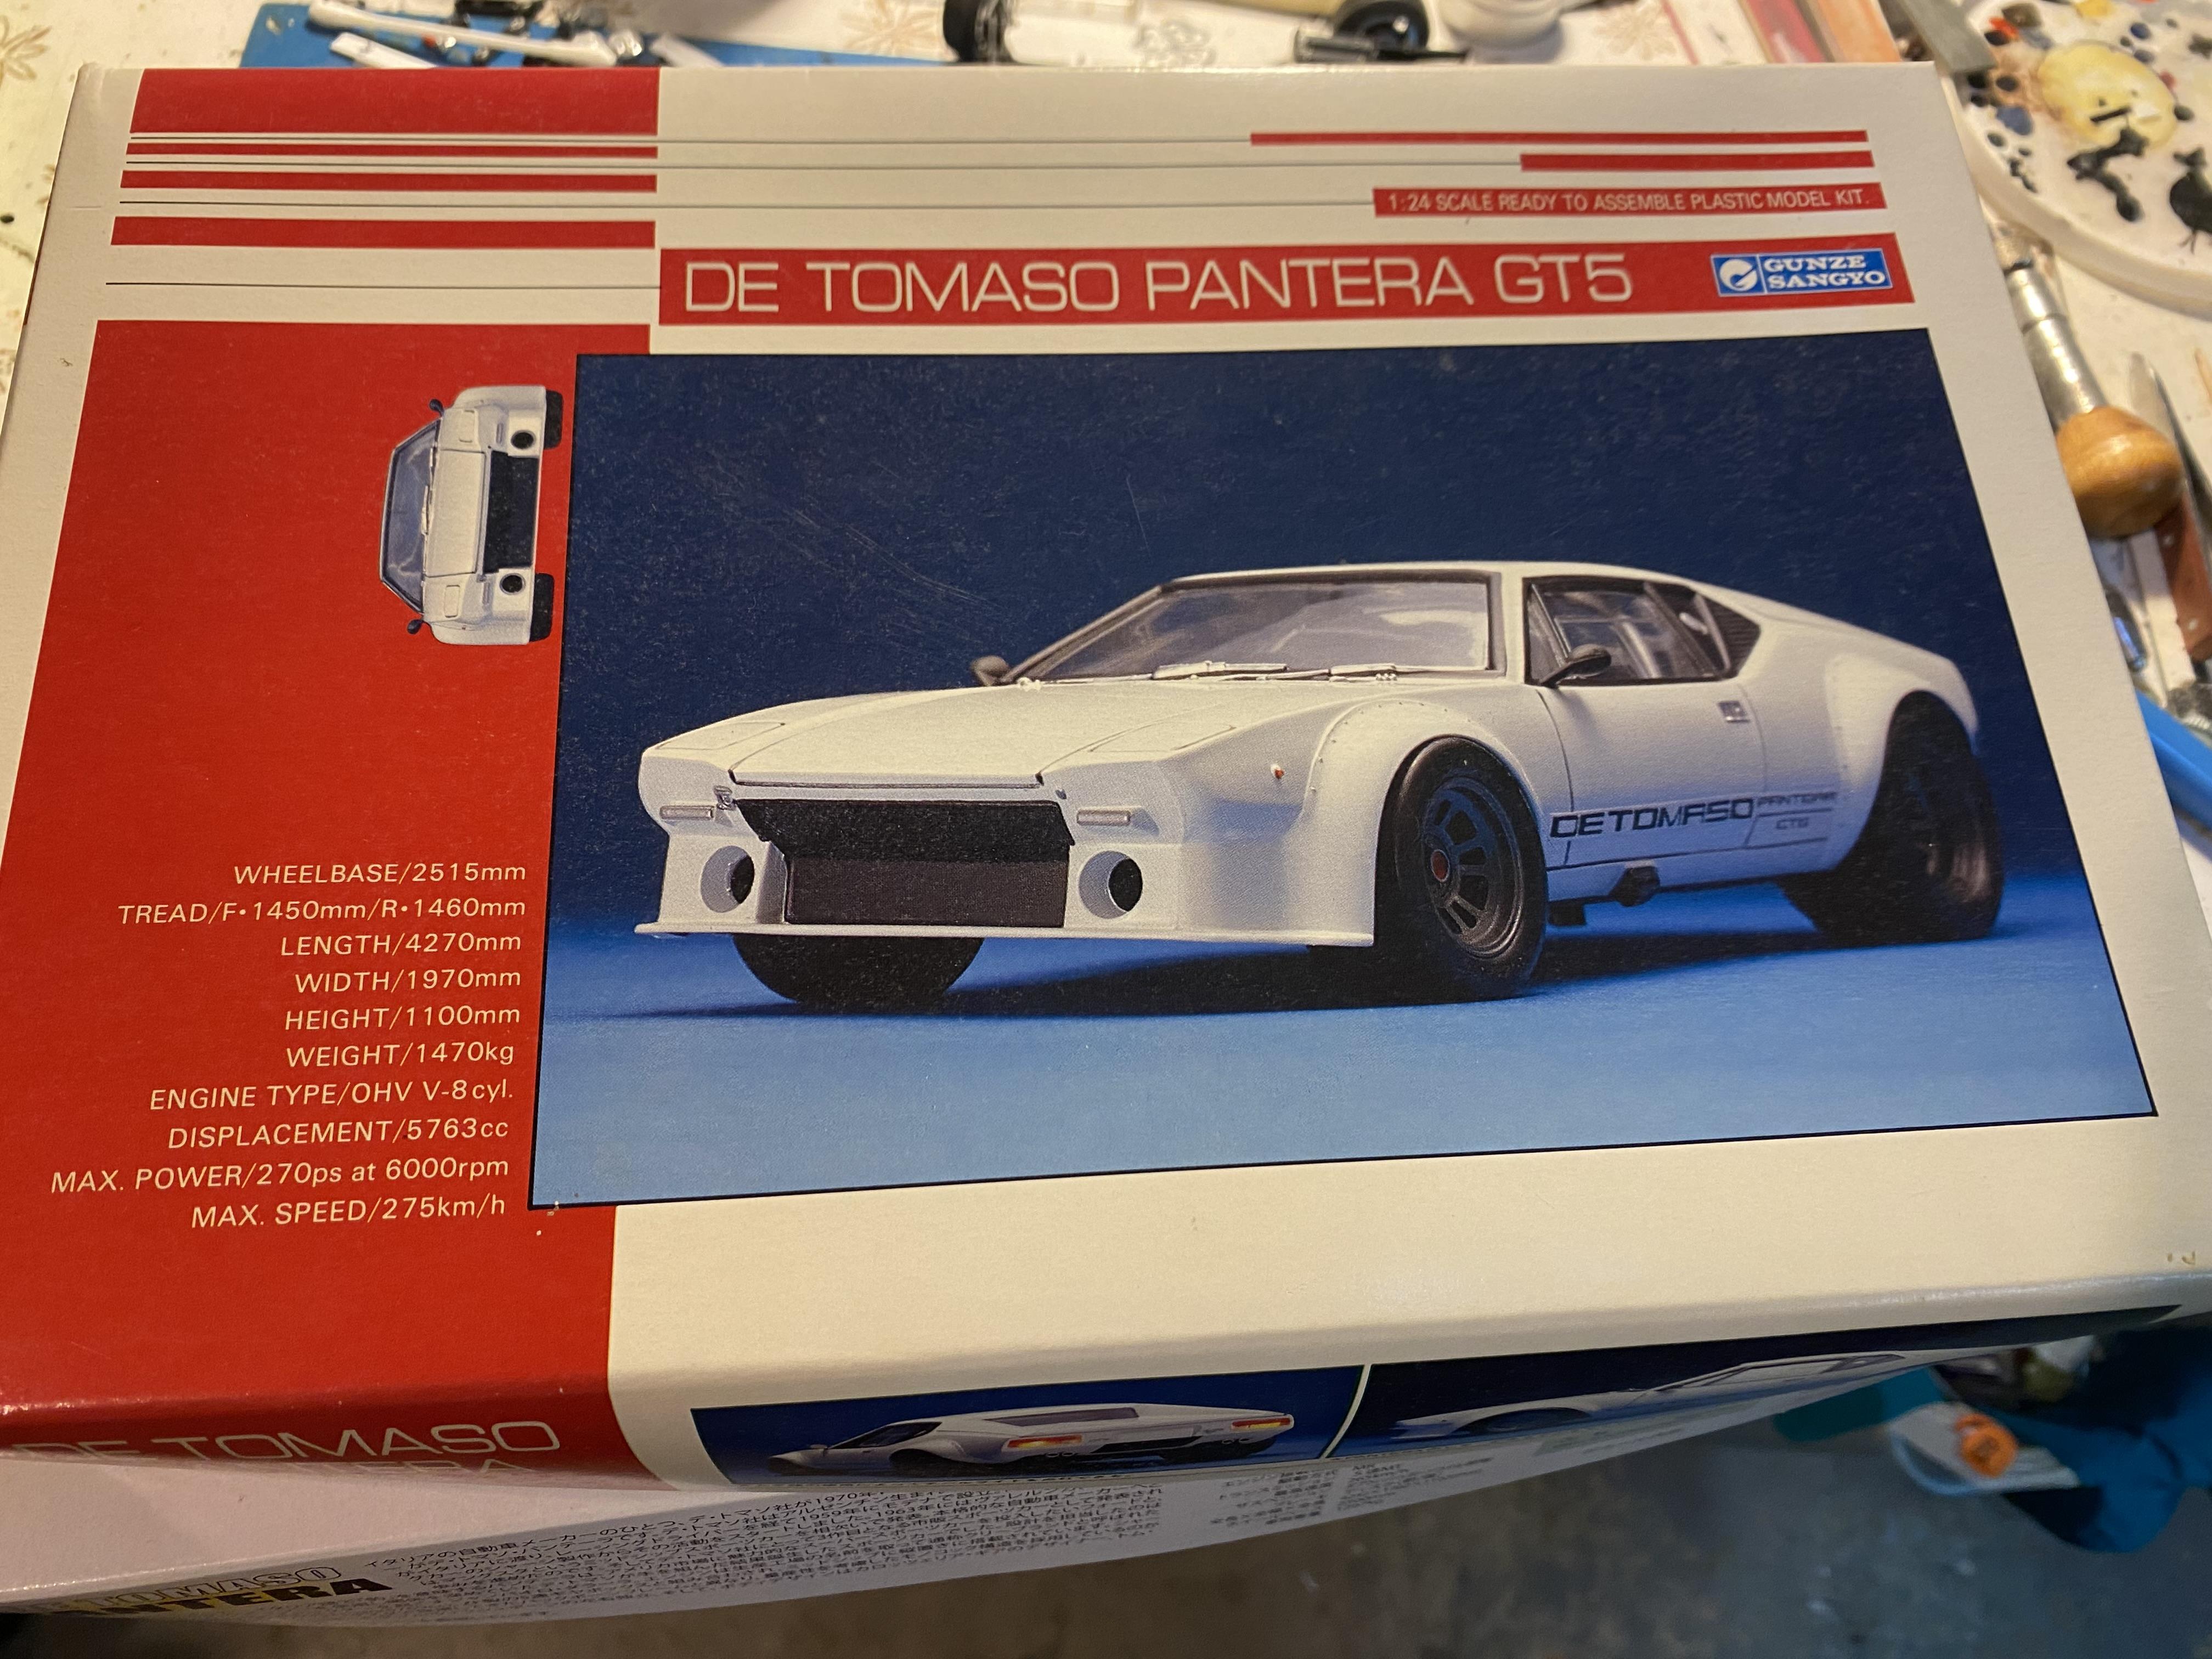
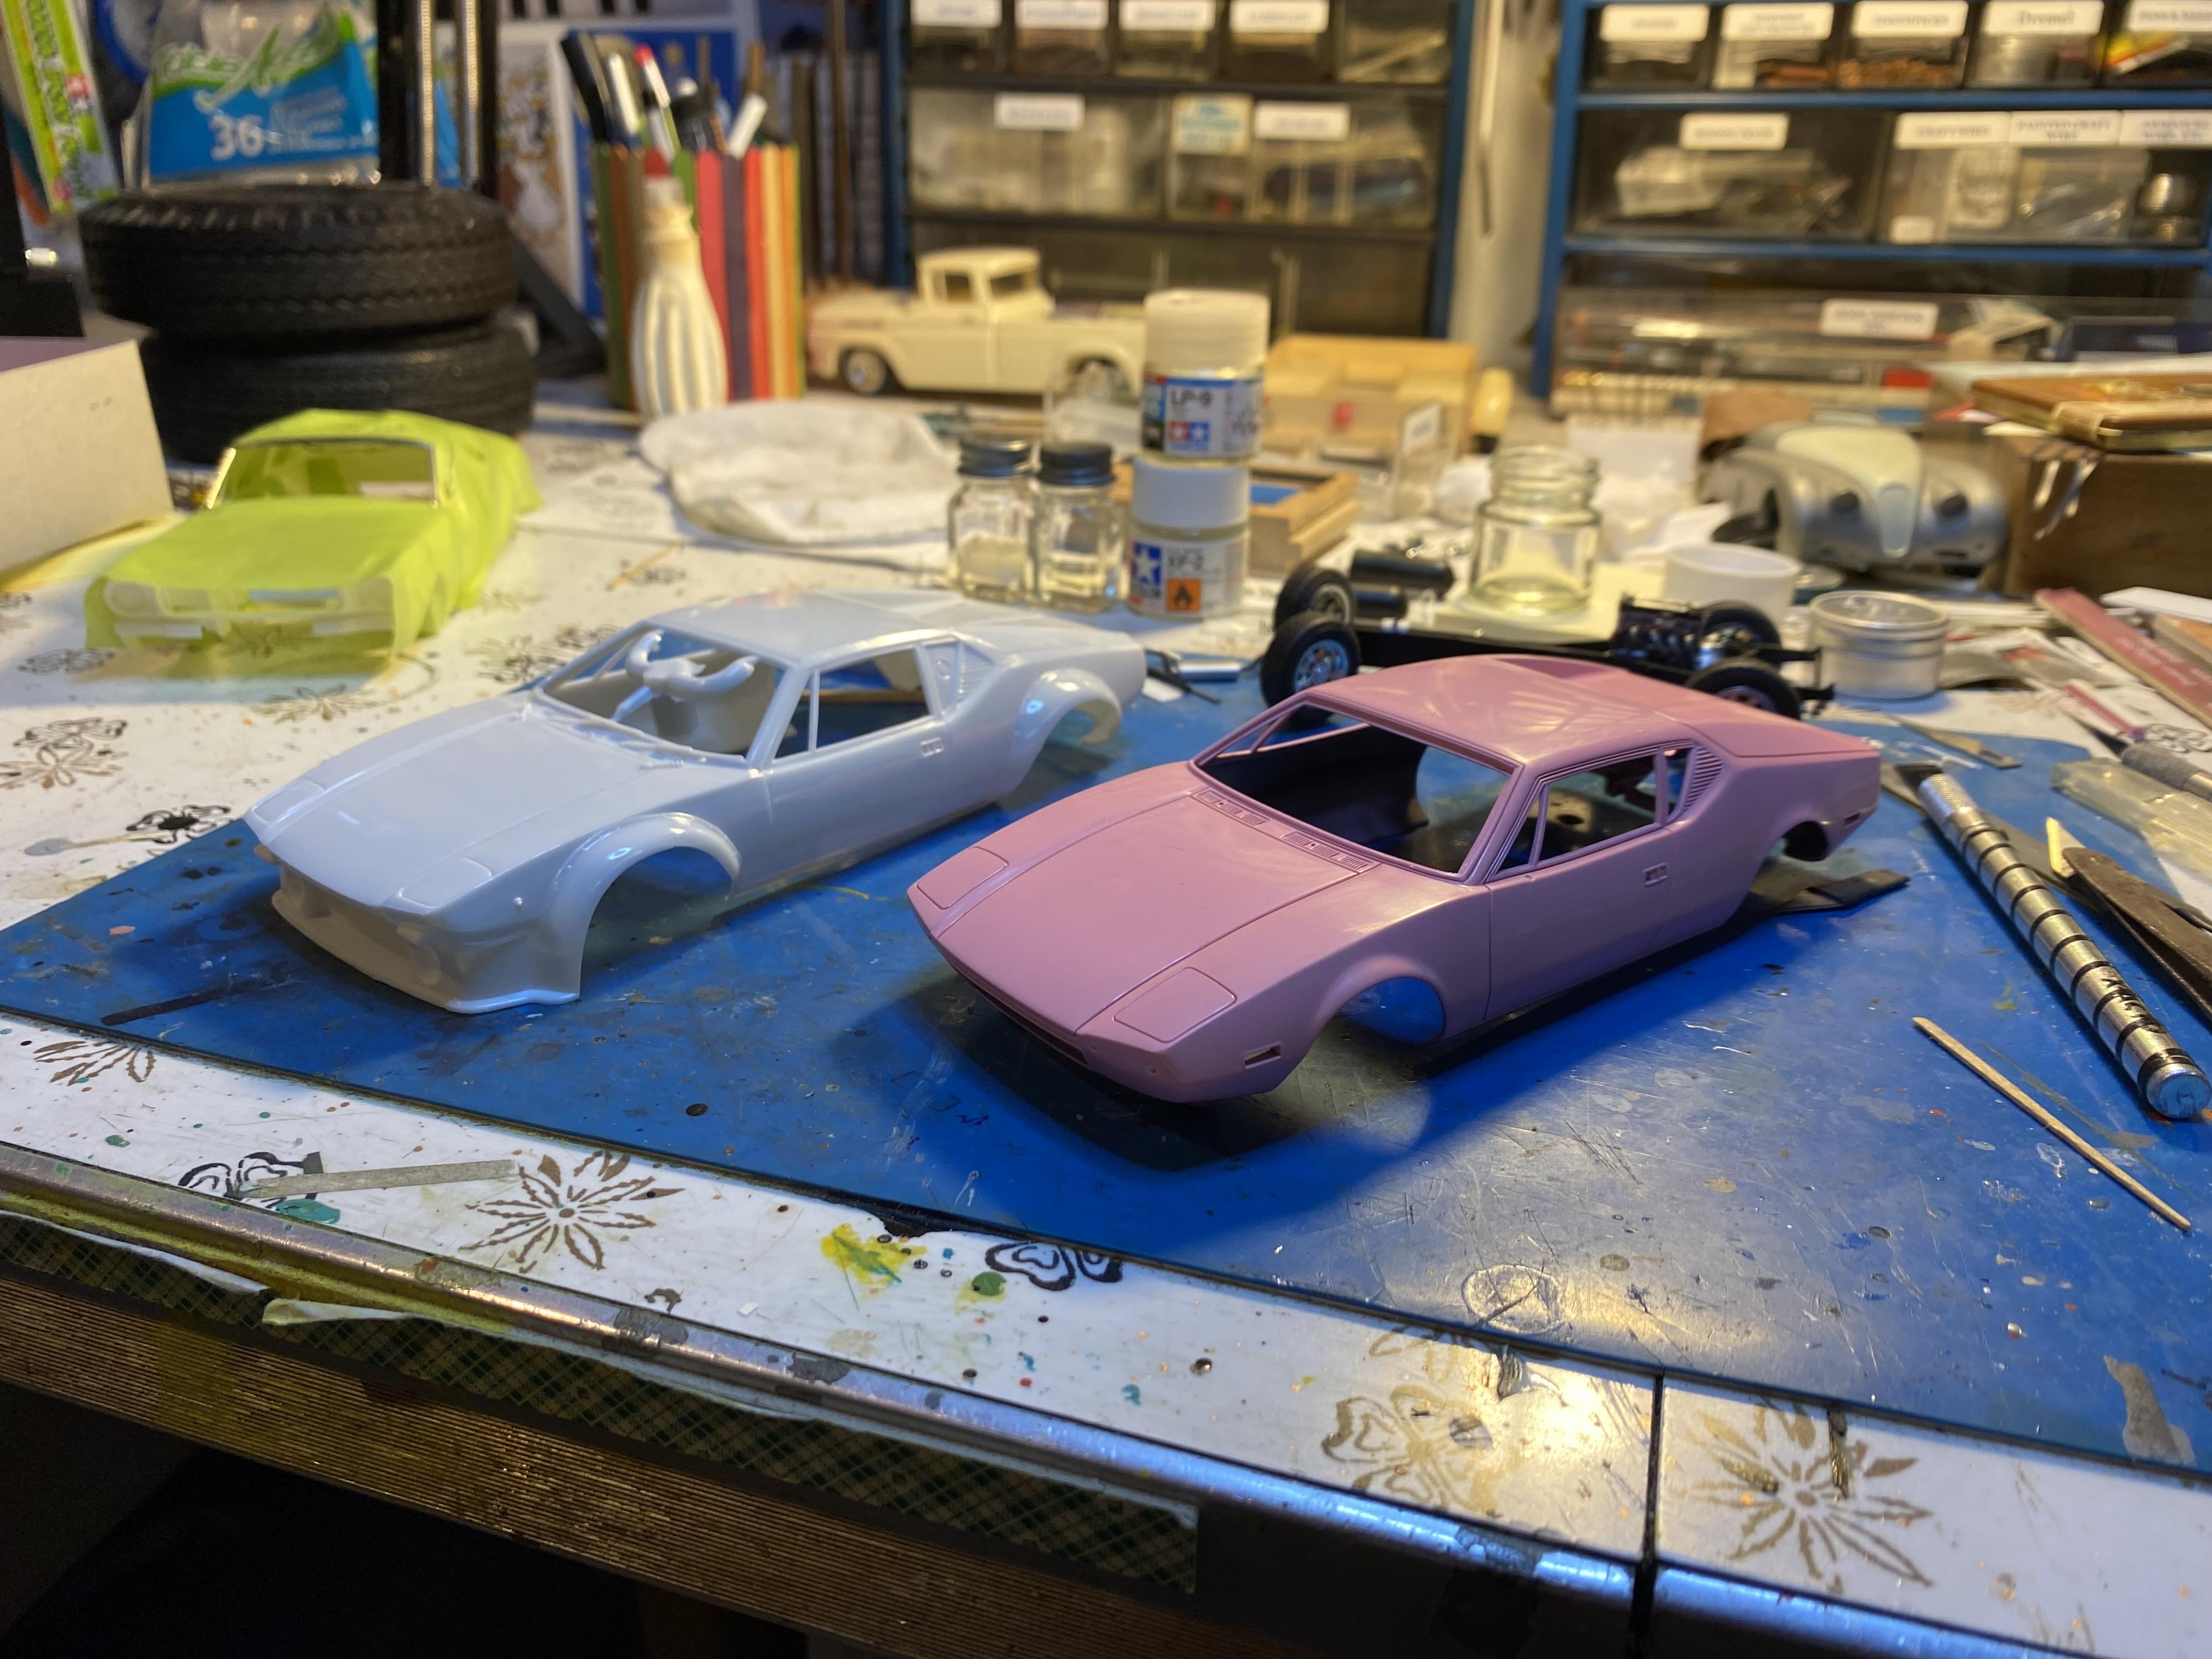
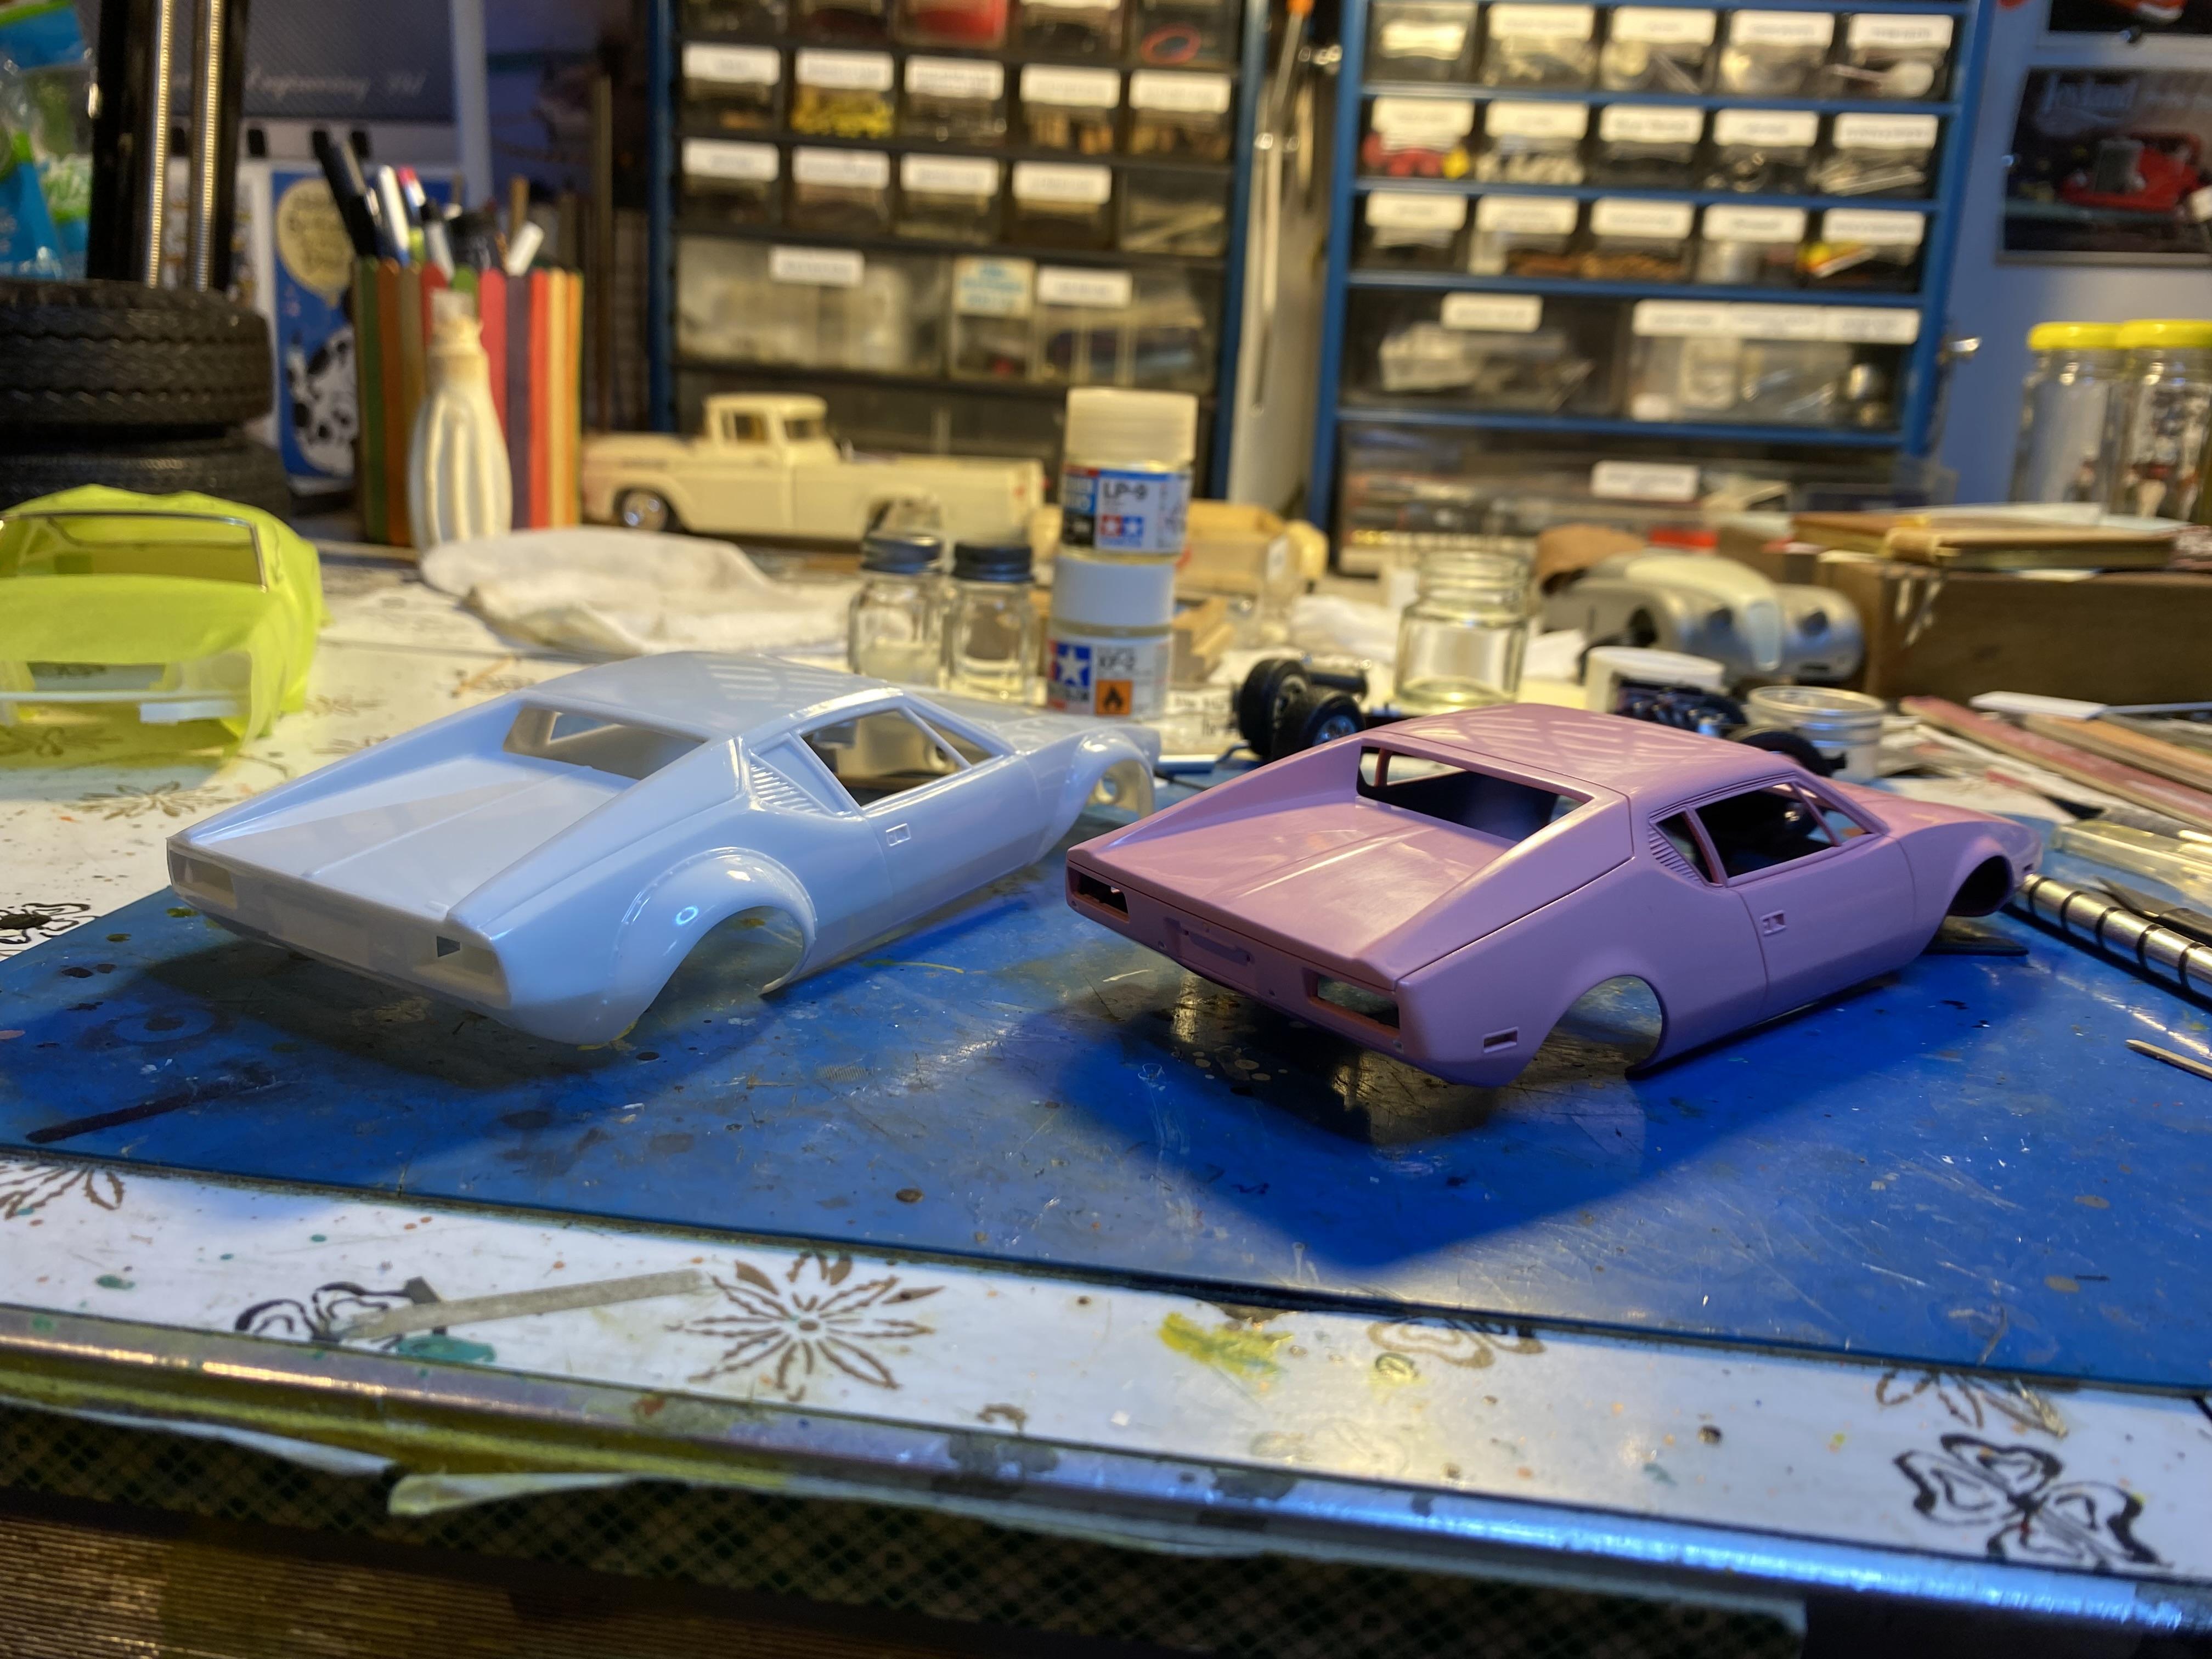
Fujimi does a Pantera with a nice stock body and nice tires/wheels, but zero engine and chassis detail. The interior is weak and has non-stock seats and steering wheel. It may have originally been designed as one of those motorised kits. The worst part of the kit is the glass has seriously bad optical distortion. It's weirdly designed, very thick at the edges and thin in the middle. The windshield doesn't have much curve though, so not too difficult to make a replacement from clear sheet. It has a great looking body, and makes a fine shelf model if the glass is replaced. Gunze Sangyo does a good looking Pantera also, equally simple as the Fujimi kit, and also an old motorised kit . This one has the wide flares and air dam of the race cars. Not sure what other options are out there, but in 1/24 scale, I think these are the primary choices.
-
1/16th Scale Top Fuel Dragster Eddie Hill 4:99
Bainford replied to Ian McLaren's topic in WIP: Drag Racing Models
Brilliant! This is looking great. The belts may have been a pain, but they look very nice. -
Some very nice work there.
-
Cool. I'd like to pick up one of the Bugatti Royales.
-
Another potential solution; One of the best hobby shops in this area is the gift shop at an aviation museum just outside of town. They have a good selection of car kits and supplies, but their selection of aircraft kits must one of the best in the country. A few aircraft builders with huge stashes have donated their kits to the museum as they passed on. This way their stash of kits gets in the hands of other builders/collectors with minimum fuss for the surviving family members while at the same time their hard-won stashes are supporting the museum and the restoration work done there on the display aircraft, a subject close to the heart of any aircraft builder. I have thought of doing the same, either finding a suitable car museum, or just donating to the aircraft museum, as a small-time museum doing restoration work on any vintage machinery is something I can get behind.
-
So, your room is insulated with model kits. Cool.
-
You have an XJ13 thread?!!
-
Welcome to the forum, Joe. Very cool rod, Nice detail.
-
JoHan Javelin
Bainford replied to Hmann68's topic in Stock Cars (NASCAR, Super Stock, Late Model, etc.)
Nice save on this old build. Good looking Javelin. -
'64 Chevy C30
Bainford replied to dodgefever's topic in WIP: Model Trucks: Pickups, Vans, SUVs, Light Commercial
This is looking great. The chassis parts you printed appear spot on. Nice work so far.