Bainford
-
Posts
5,189 -
Joined
-
Last visited
Content Type
Profiles
Forums
Events
Gallery
Everything posted by Bainford
-
Looking good. I really like the body proportions.
-

Salt aka Bonneville
Bainford replied to Holeinthehead2's topic in Model Building Questions and Answers
I have not tried it, but I always thought that fake snow you get in spray cans for Christmas decoration looked a lot like the salt deposits on Bonneville cars. I don't know if they even still sell that stuff anymore, but it used to be around a lot when I was a kid. edit: Just checked; readily available. Some creative spraying may be required. Probably not a precise sprayer. It might be worth checking if a paint can nozzle will fit. The large scale you are working in will work to your advantage. -
Welcome aboard, Leland.
-
Hello everybody! I'm new here.
Bainford replied to PhilipLeblanc's topic in Welcome! Introduce Yourself
Welcome to the forum, Phillip. -
Welcome to the forum, Joe. Those restorations look fantastic.
-
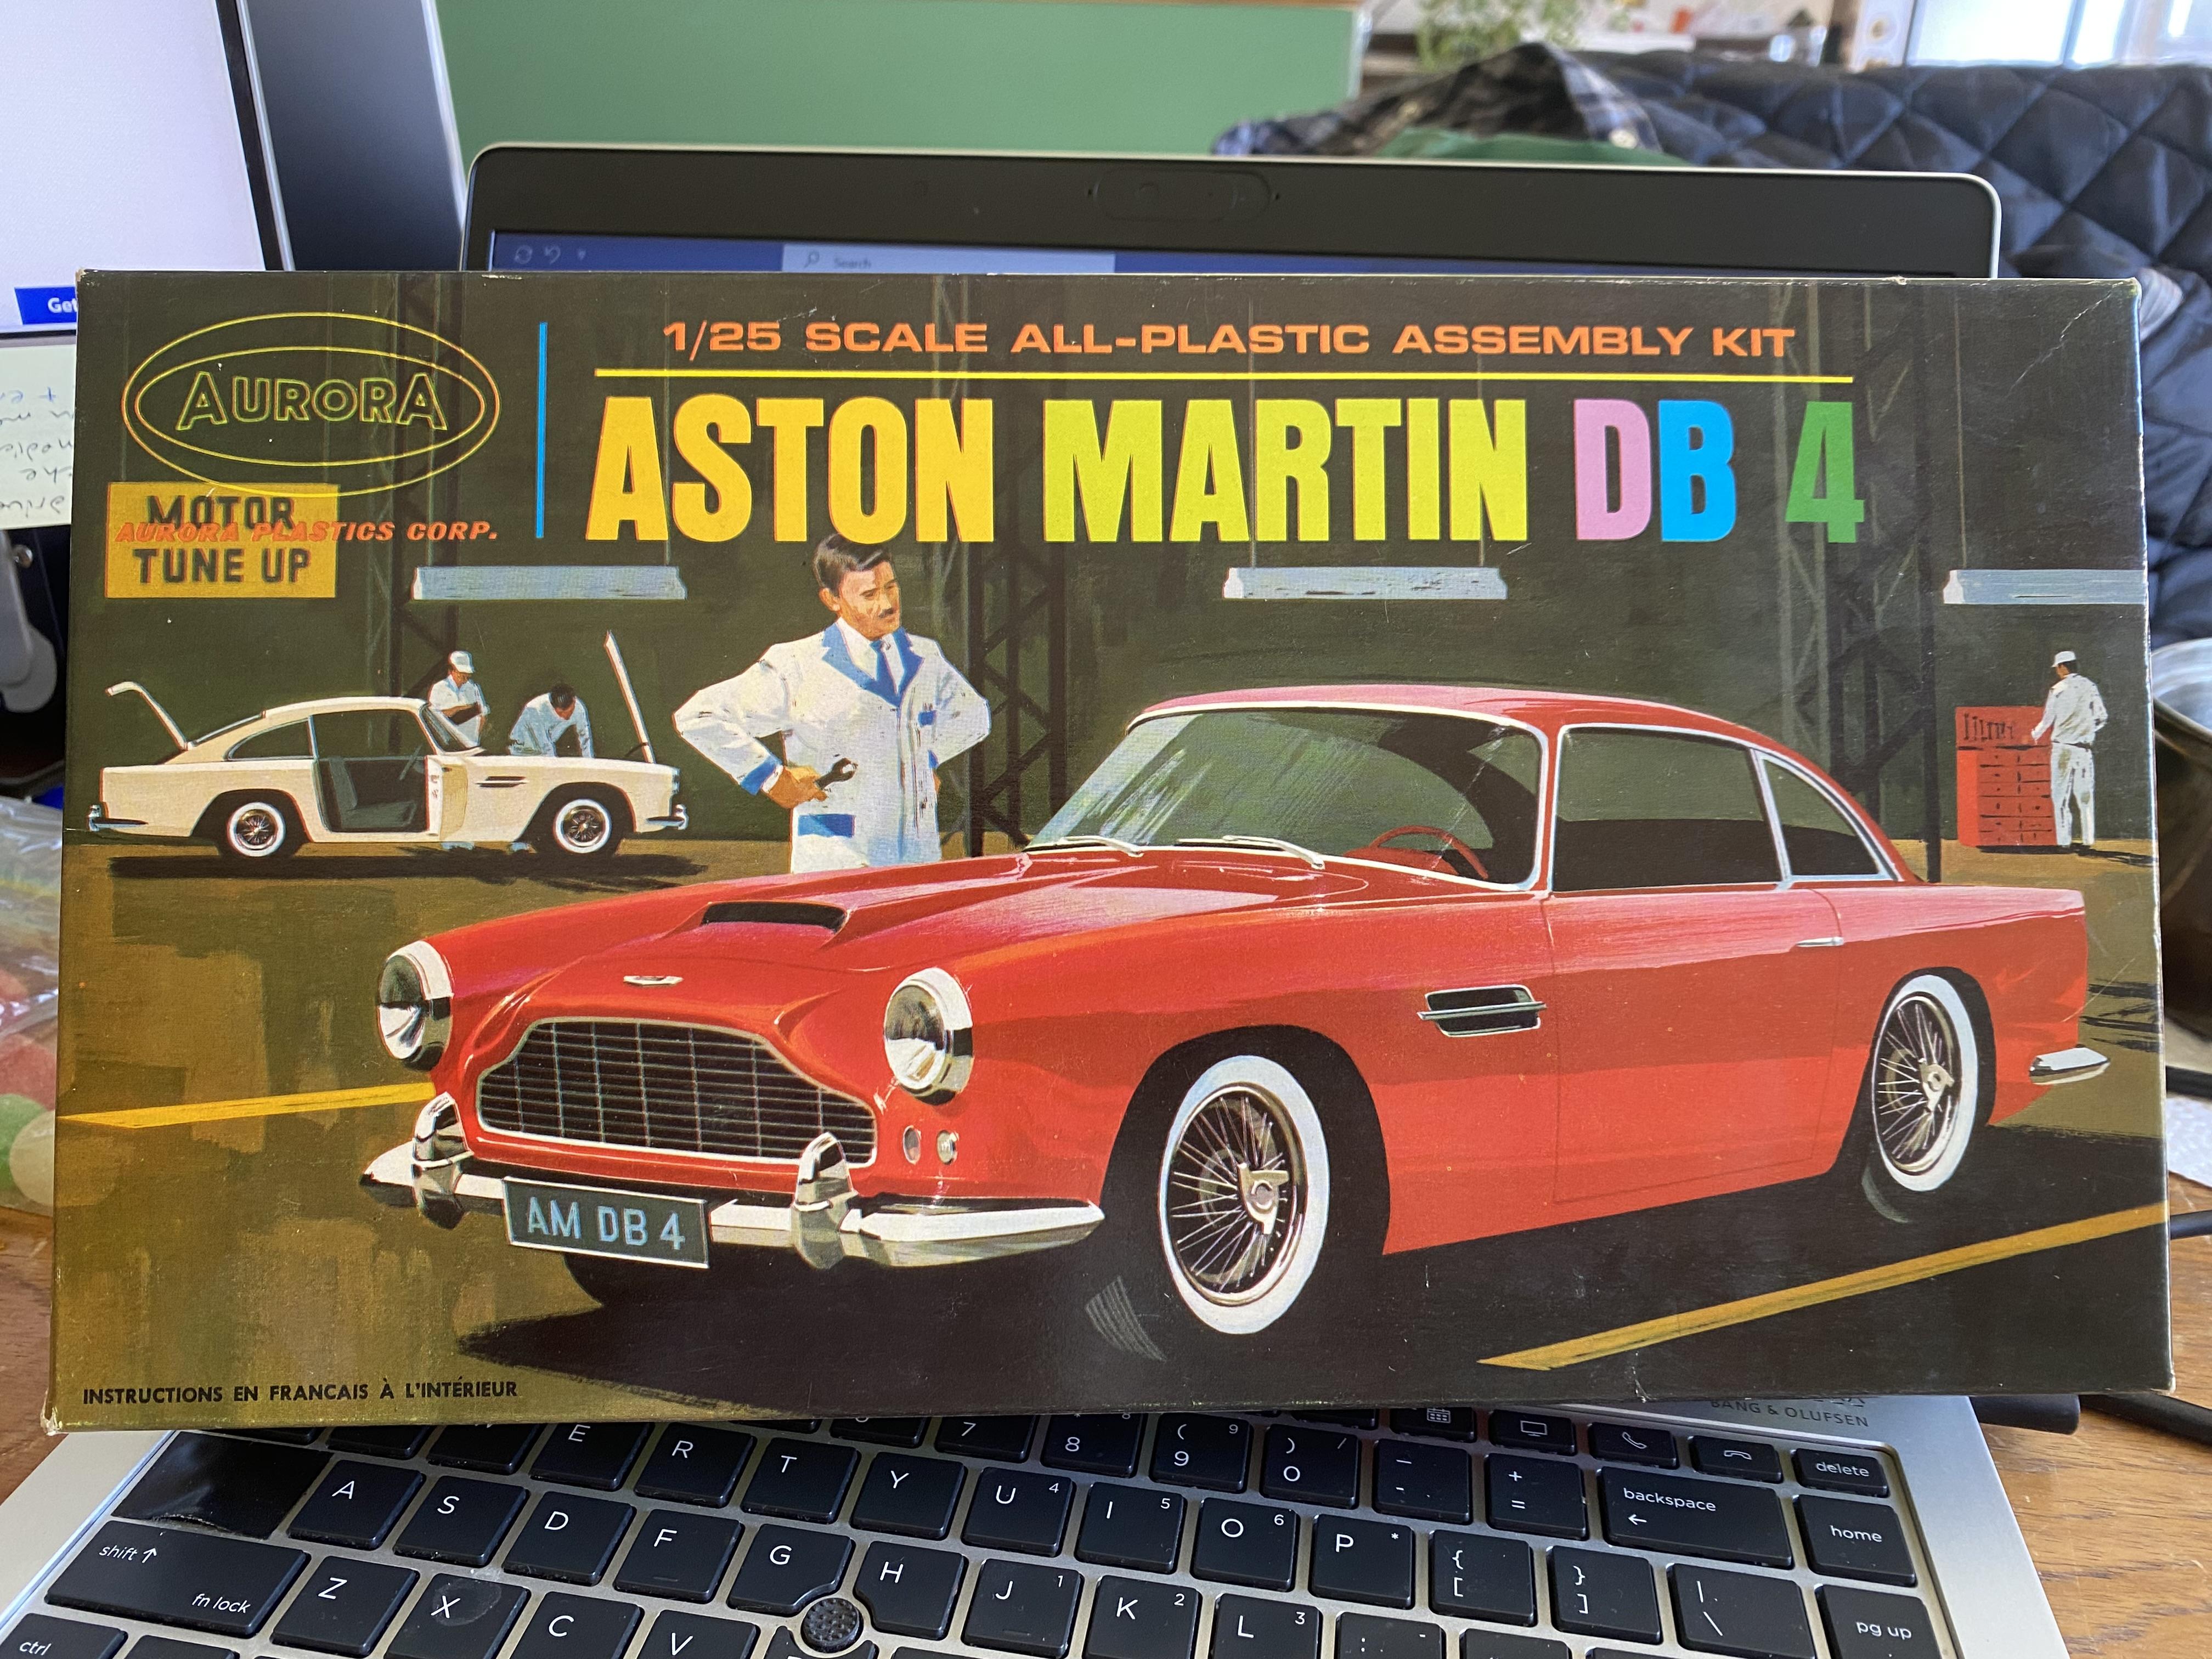
The mailman just dropped off a super minty Aurora DB4. Been wanting one of these for years.

- 38,867 replies
-
- 7
-

-
- johan
- glue bombs
- (and 1 more)
-
Life is better when it is spent with enablers.
-
Looking great. Nice work going on here.
-
That thing is looking killer. Purely for aesthetics, my vote is no chute no wing.
-
Revell '69 Shelby GT-500 in Gulfstream Aqua
Bainford replied to hookedonplastics's topic in Model Cars
Beautiful Shelby! These look great in Gulfstream Aqua. Nice work! -
Precision work requires equipment with consistent quality. There is no doubt that much of the work we do does not need some of the qualities designed into top name brand industrial micro drill bits, but for anyone doing precise work in multiple materials, we do require the precision and repeatability of these bits. I have not yet found inexpensive bits that are reliably of consistent quality with regard to cutting edge sharpness or hardness, chisel form, uniformity of the two cutting edges, and overall ground profile the drill bit tip. To ensure clean, straight, effortless , repeatable drilling, I buy my bits at industrial supply houses such as Acklands Grainger. There is no need to buy the most expensive they have, but I at least buy from a trusted brand. They are not cheap, but I only have to buy them once. They often come in packs of 10. It's always good to have spares of something so small and fragile, though I haven't broken a bit in years. They last nearly forever. A good way to defray costs is to go in on some 10-packs of bits with a couple other builders.
-
Good looking Mustang.
-
The Charger is looking great. You can drive yourself nuts chasing swirls and fine scratches in back paint. It helps to start with the finest grit you can get away with. In an effort to solve this problem on my current build (which is black), I started my colour sanding pretty fine with an 8000 Micro Mesh pad. The finish was pretty good to start with, but not perfect. It took a long time to give the whole body a thorough workout, but it avoided the possibility (probability) of larger grit creating scratches that are difficult to chase to their end in the final polishing stages. After the 8000 grit rub, I went right to Tamiya fine polish (skipped the course). A couple rubs of fine polish, then a couple rubs of finish polish. The result was my best, swirl-free black paint yet. Like you, the colour sanding/polishing is one of my favourite parts of the build. It also helps a lot to finish it all off with a rub with Tamiya wax, or similar. It hides and blends those fine, remaining micro scratches, and gives the paint a nice, authentic luster. It also helps to resist finger prints. Only apply wax after all decals, foil, etc have been applied, because nothing will stick once the wax has been applied. Also, beware that when applying the wax, the body will become unexpectedly slippery.
-
Welcome back. Indulge in a little build therapy.
-
Welcome info on unusual '65 Lincoln Custom Wagon
Bainford replied to CarNut1's topic in Model Building Questions and Answers
That's the AMT '65 Lincoln Continental. It can be built stock or custom. The wagon bit is the custom version. The kit has been reissued numerous times over the years, and can be found on ebay etc for reasonable money. -
After seeing this model several times now, it never fails to impress. You have captured the raw, all-business vibe of these things perfectly. An excellent example of fine model building.
-
Welcome to the forum, Shawn. Reading your post, I have bad news... you're hooked. Too late to turn back now, better to just accept it. Your support group is standing by. Enjoy the forum. Cheers.
-
"Outside" Pictures of a replica of: Rick Dore's "Illusion"
Bainford replied to John Teresi's topic in Model Cars
Very impressive model. A stellar example of fine craftsmanship. Simply lovely. -
9", classic choice. That's a good looking one.
-
Great kit bash project. The engine and headers really look the business. Nice work on the chassis mods. I can really see what you mean by the scale issues between the two rear axels. The diff lump on the '66 axel may be a bit large, but I think passable. However, the axel tubes do look over scale. I'm not trying to make extra work for you, but the axel tubes seem to throw off some of the fine work being done to the chassis. Just sayin'. It will be awesome either way.
-
Coming along nicely, Ismael. Good luck with the hood hinge.
-
1:16 Gunze Sangyo 1937 Rolls-Royce Phantom III Sports Saloon
Bainford replied to Anglia105E's topic in WIP: Model Cars
Cool subject matter, and very interesting kit. Looking good so far, David. -
I also keep an Excel spread sheet to keep track of my stash inventory. For simple lists, Excel is pretty easy to figure out.
-
Beautiful Triumph. Very authentic details and finishing. It must be impressive to view in person. Lovely model.
-
Nice looking Chevelle. I just love that shade of blue. What paint is that?