Dennis Lacy
-
Posts
2,487 -
Joined
-
Last visited
Content Type
Profiles
Forums
Events
Gallery
Everything posted by Dennis Lacy
-
Wow, nice work on the trans. The pedals and clutch linkage look really authentic! ??
-
 So glad to see you share these here, Tim! I just absolutely LOVE the turquoise Woody. I remember it well from the cover of SAE. It’s so right-on from every angle. Deleting the superfluous wood frame pieces gives it such a clean, updated look especially when compared to the stock body of the bronze one directly below. And the color, that color is so much 80’s goodness combined with the monochromatic headlights, grill, bumper and 3-piece hood. This model is a great counterpart to your pink ‘29 Pickup. ? PS: Thanks for the shout out to my Woody project! ?
 -
Nirvana Chevy van
Dennis Lacy replied to Limeyglue's topic in WIP: Model Trucks: Pickups, Vans, SUVs, Light Commercial
There’s just something cool about 70’s cruising vans. Love the graphics on the top half and can’t wait to see them added to the bottom! -
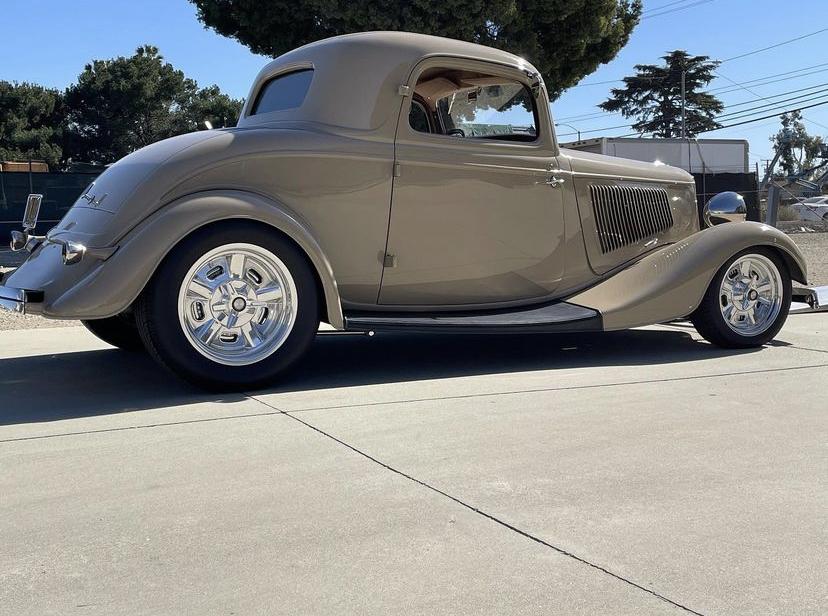
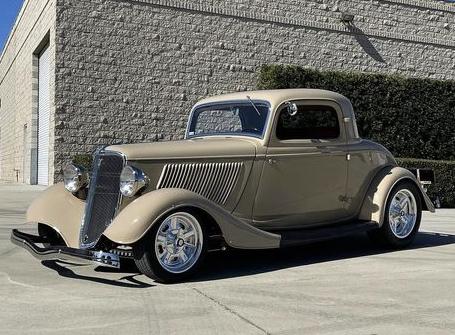
Traditional 1929 Ford Woody Wagon Hot Rod
Dennis Lacy replied to Dennis Lacy's topic in WIP: Model Cars
Thanks! I don’t know how many are missing the bell housing but I think I have 3 kits but 7 of those engines. A guy on eBay was parting-out the most recent issue with the back-dated parts when it came out and I bought every motor cause you get 6 carbs per with those bitchin frog mouth scoops. I guess that means I ended up with 42 carbs! ? -
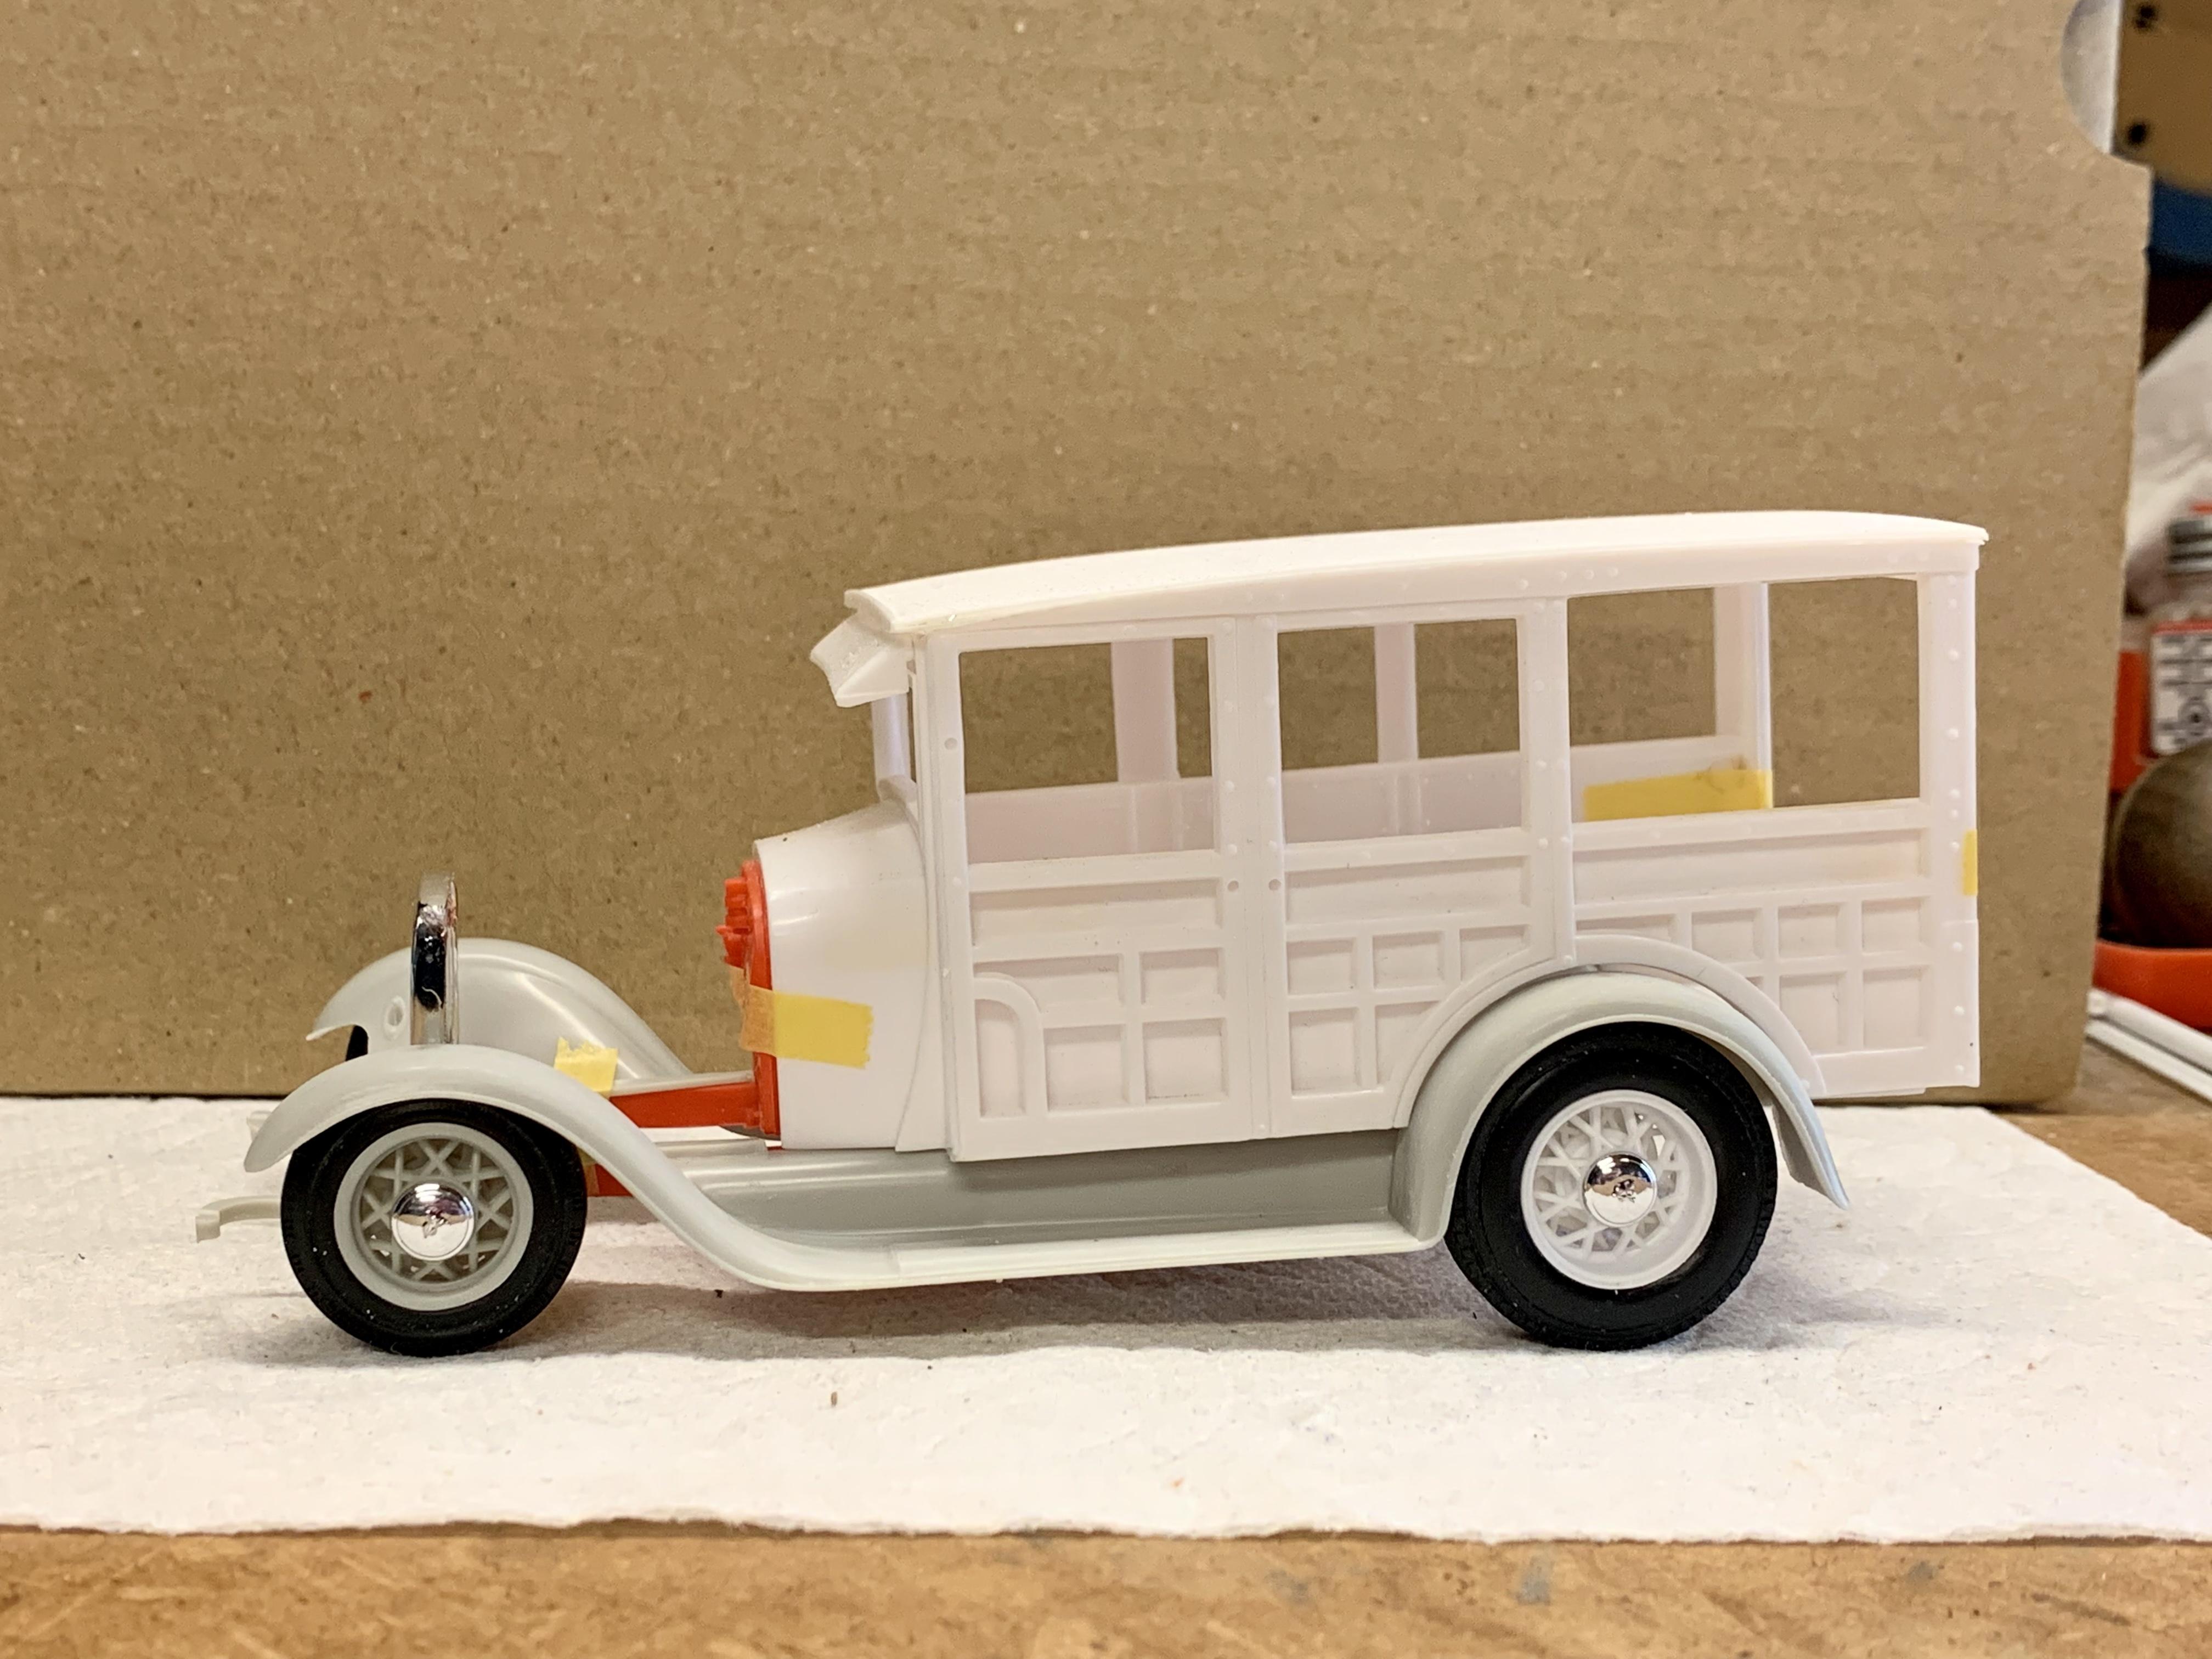
I’ve been waiting patiently for you to fill in the door window frames. The body looks so good now!
-
Welcome back!
-
29 Ford: Race of Gentlemen presents... California Drag Racing 2023
Dennis Lacy replied to Calb56's topic in WIP: Model Cars
Weathering looks good from here. I especially like the grunge on the engine. Looking forward to more! -
Traditional 1929 Ford Woody Wagon Hot Rod
Dennis Lacy replied to Dennis Lacy's topic in WIP: Model Cars
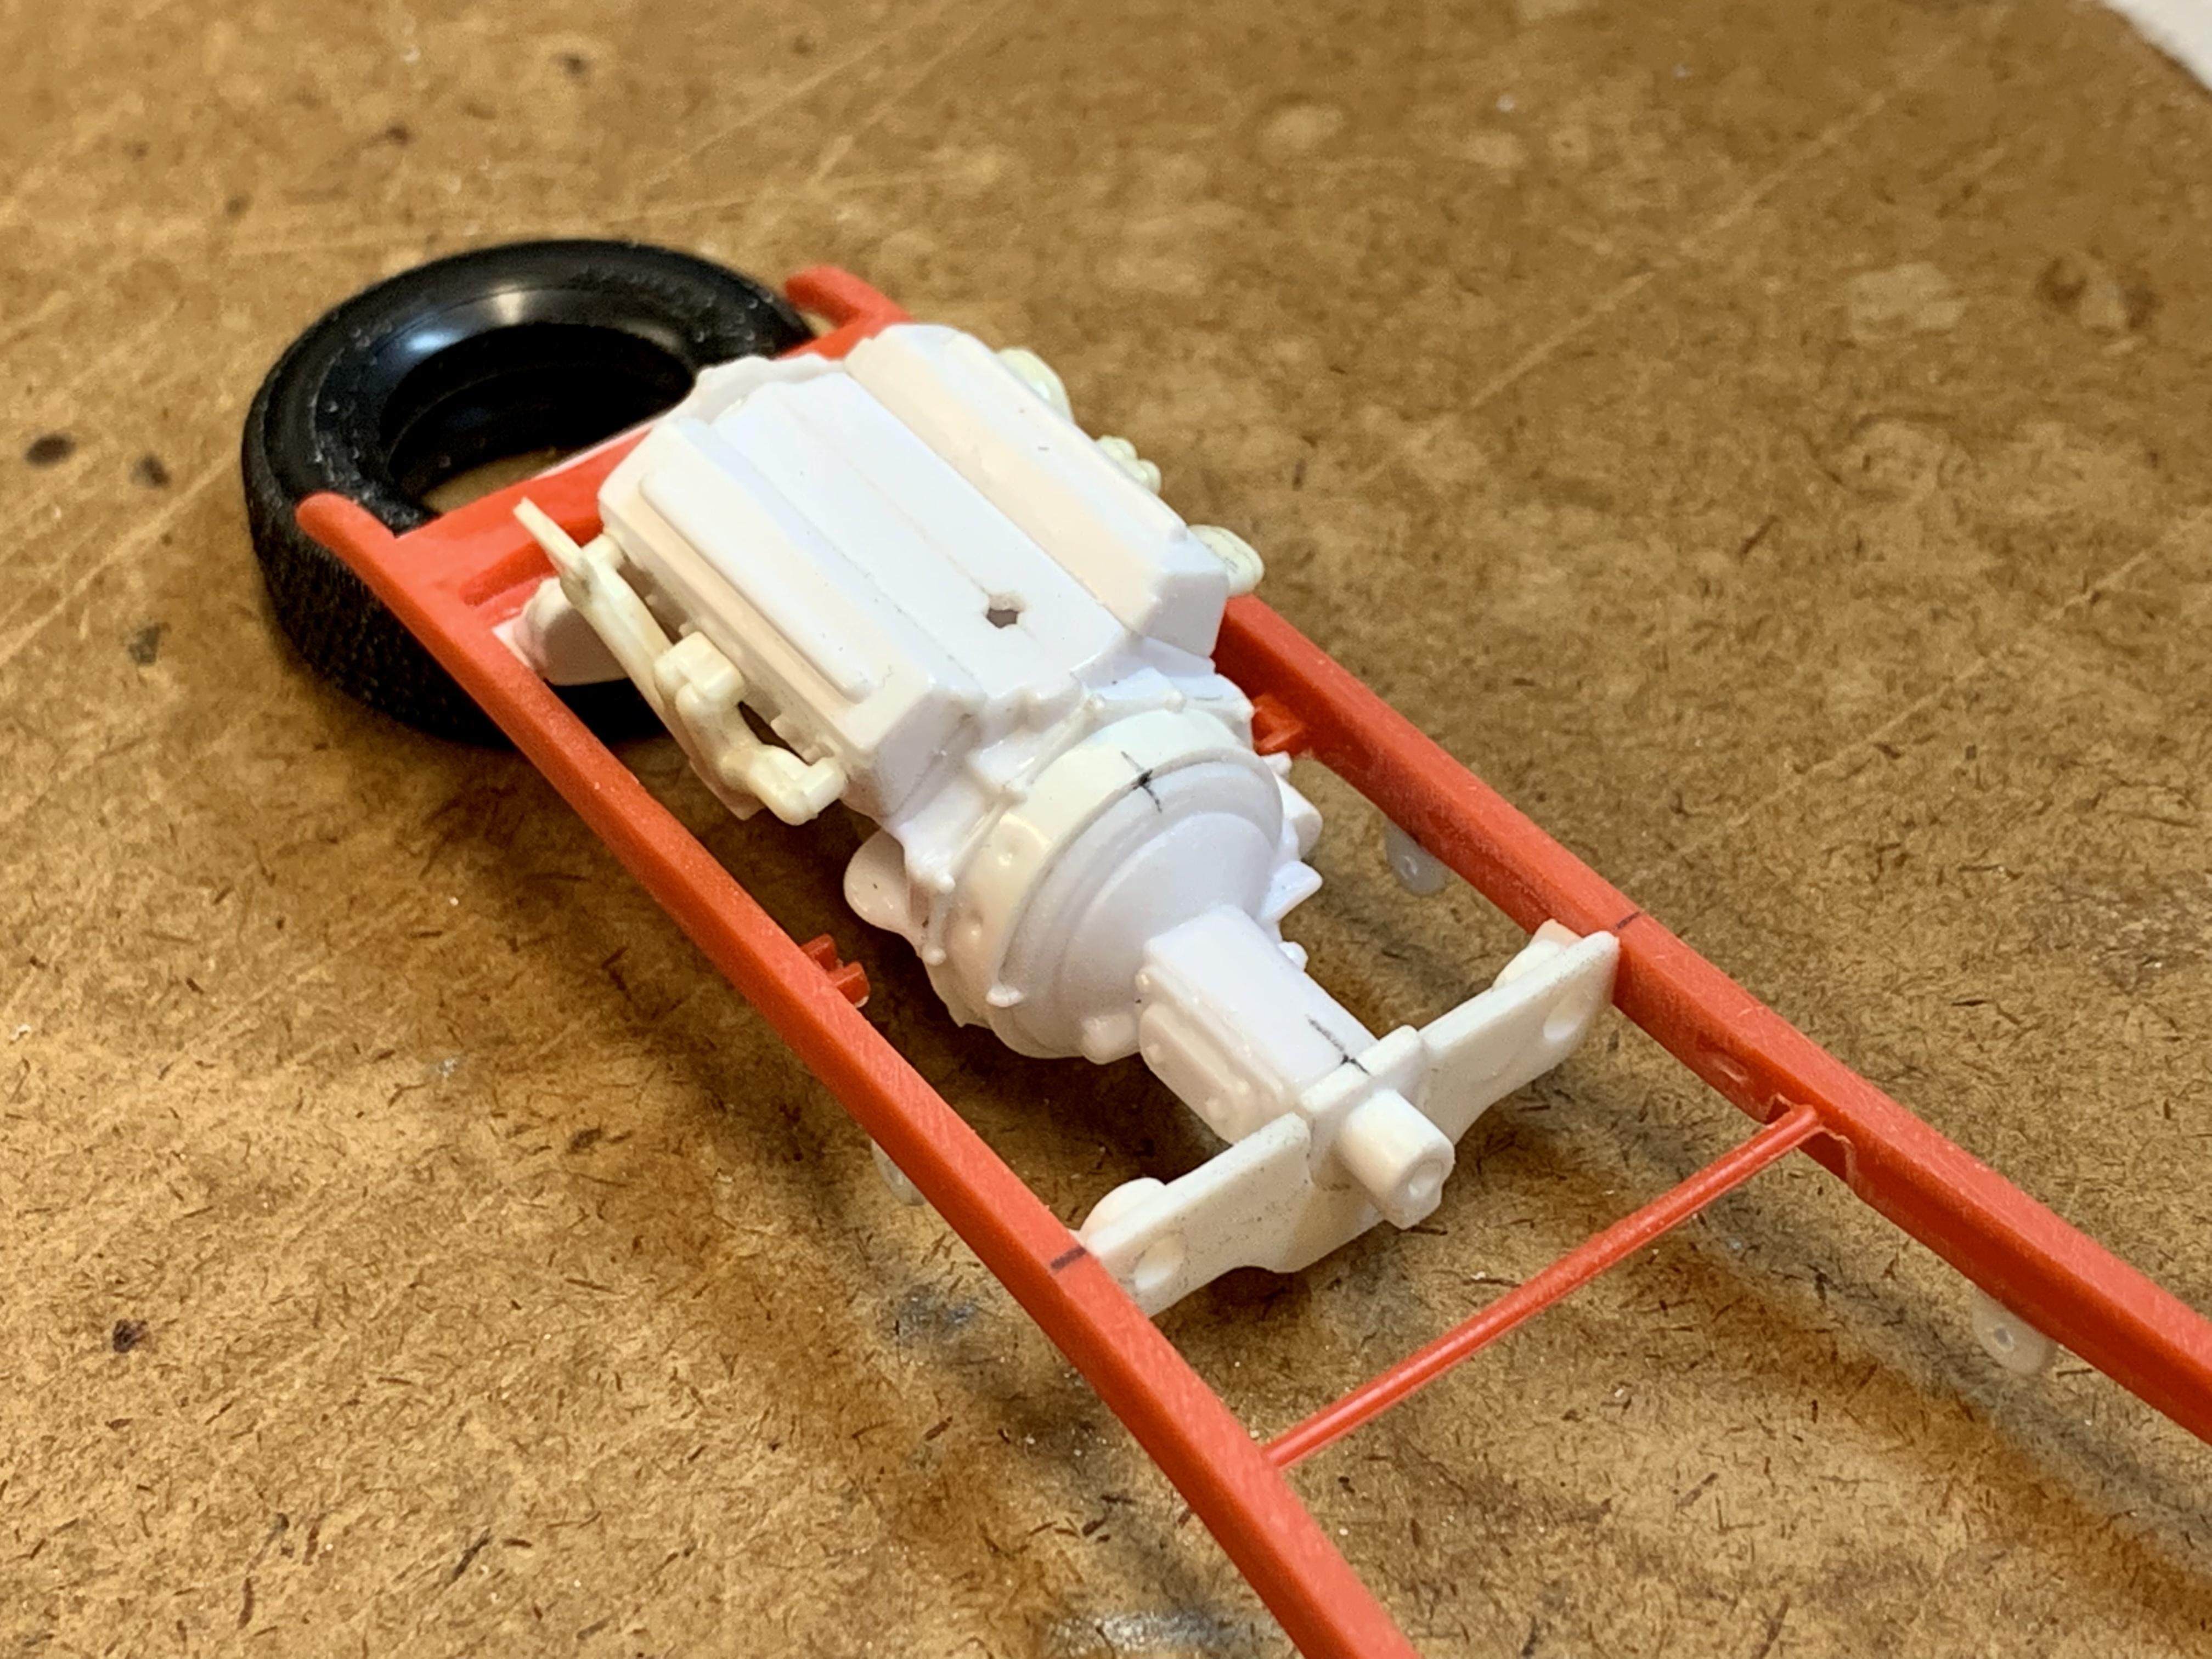
UPDATE! Didn’t have a full afternoon at the bench but did make some progress. I took the trans cross member out to clean it up and enlarge the exhaust pass-thru holes. Also decided to make a master cylinder bracket out of .020” sheet and mounted a Revell 1948 Ford master cylinder. Topped it off with some Grandt Line nuts. The trans cross member is now permanently installed in the frame. The front motor mount pads were trimmed down which allowed the engine to move forward another 1/16”. The radiator from the Woody is a perfect fit in the AMT ‘29 Roadster shell. Mocked up there is plenty of fan clearance. In the picture below the shell is actually leaning back a bit so the clearance will be better when it’s properly upright. Tucking the engine forward made enough room that it won’t be necessary for a fully recessed firewall like I was thinking it would need. After trying a few ideas I found that the optional firewall from the ‘29 Roadster was a perfect fit after shaving it smooth and relieving the bottom opening a bit more. The recess leaves just enough room for a distributor. The engine fits like a glove! That’s it for now. ?
-
Traditional 1929 Ford Woody Wagon Hot Rod
Dennis Lacy replied to Dennis Lacy's topic in WIP: Model Cars
Thanks so much, Bill. I couldn’t be happier with the stance or wheel / tire proportions. Thanks, Dan! It helps that I’ve also done the same combination in full scale for my truck. The parts are out there in scale if one knows where to look. I actually prefer the appearance of the adapter bell housing found in the AMT parts pack small block Chevy but it doesn’t have a starter provision. If it did it would be perfect. I have one of the ‘60 Corvette FI setups in the stash for future use but I prefer the finned plenum from the ‘57. -
Awesome project! Love the overhead conversion on the A engine. Nice work so far. It seems that a handful of us on this forum have been inspired by that ARDUN converted ‘banger over the years! I wish I would have made a timing cover with proper horizontal ribs like you did. I just used a Chevy cover (Slingster dragster) so the ribs are wonky.
-
Looks great in pearl yellow and nice work on the wood grain! The wood is a challenge I’m gonna have to deal with on my own ‘29 Woody.
-
That’s primer? Killer color! Nice stance, too. Did you lower it?
-
I’m not a VW person but I really like early split and oval window Bugs. Stance, wheels and color all looks great! ?
-
Traditional 1929 Ford Woody Wagon Hot Rod
Dennis Lacy replied to Dennis Lacy's topic in WIP: Model Cars
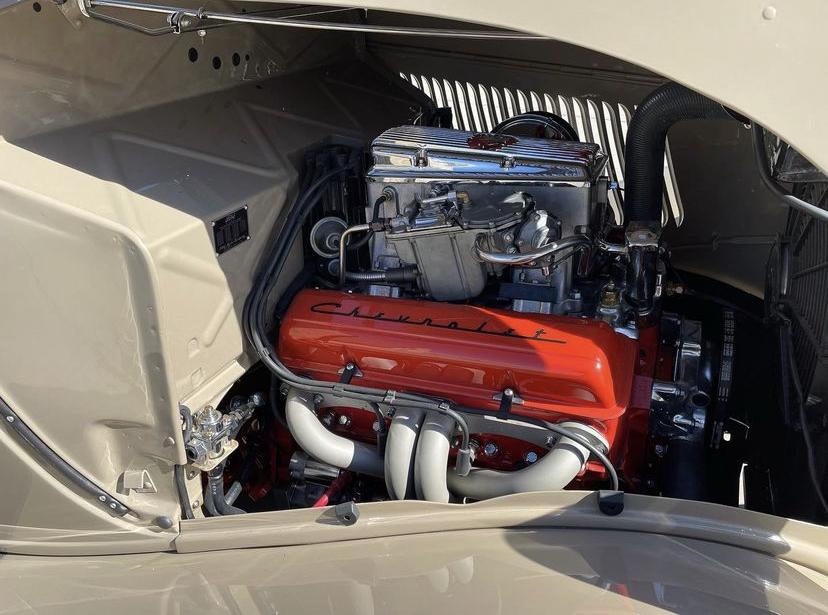
UPDATE! Had an unexpected day off today thanks to a long power outage at and around my shop. ⛈ ☠️ Because of that I got a little unexpected bench time this afternoon! I wasn’t fully satisfied with the setup of the engine so I made some changes. The script valve covers were ditched for a pair of extremely popular Cal Custom finned covers. They are a perfect dimensional fit to these heads (the script covers were a little long) and I like how the fins match the finned top of the injector plenum. The air horn filter was ditched for the factory air filter housing. A chrome generator and a coil were tacked in place for a more complete look. Finally, the obnoxious parting lines on the headers were cleaned off and I did some shaping to make the tubes more rounded. The end result makes me super happy! With the engine refined I had to do another another mock up. To make the body look more complete the tailgate was taped into place and then the hood sides were cut away from the top and it was taped in place to see how the car looks with a hood top. I absolutely love it! The top clears the generator nicely and the air filter housing tucks nicely behind it. Now I think it’s really starting to come together!
-
Traditional 1929 Ford Woody Wagon Hot Rod
Dennis Lacy replied to Dennis Lacy's topic in WIP: Model Cars
Now that would be cool! I’ve seen a few hot rods over the years with Rochester injectors. Two bothers I know that have a shop here in Southern California, Veazie Bros, finished a beautiful ‘34 3-Window last fall that had a 1963-1965 style injection on a real healthy 383 stroker small block.
-
Traditional 1929 Ford Woody Wagon Hot Rod
Dennis Lacy replied to Dennis Lacy's topic in WIP: Model Cars
UPDATE! I’ve gone ‘round and ‘round on what motor to put in this project but one in particular kept standing out to me. I had a partially assembled AMT small block Chevy so it was propped up between the fenders and the Rochester fuel injection unit from Revell’s 1957 Chevy 150 “Black Widow” set on top. I’ve been wanting to build a hot rod with one of these early Injections for years. With the decision made it was time to start pulling parts. To get the combination of engine / trans that I want it will take pieces from 3 different engine / trans halves. From left are the Revell ‘57 283 with its powerglide trans chopped of, Revell 1948 Ford column shift trans cut away from its Flathead and the open driveshaft tail housing cut away from a Revell 1940 Flathead. The 283 engine halves are glued together, the back surface sanded flat and the adapter bell housing from a Revell Tweedy Pie T attached. The 1948 column shift trans halves were glued together, the front and rear surface sanded flat then attached to the adapter bell housing. The open driveshaft tail housing halves were glue together, trimmed and then attached to the back end of the trans. I’m going to use the optional trans cross member from an AMT ‘29 Roadster (represents a cut down ‘32 Ford k-member) but it has a round trans hole in it so the hole was made “D” shaped to match the trans tail housing. The finished engine, adapter and trans stacked together. To hold up the front of the engine I built a saddle plate reminiscent of the old Hurst front mounts. I drew a design on a piece of .040” sheet. The original ‘57 Chevy front brackets that are molded to the timing cover were cut off and repurposed at the ends of the main plate. Mount pads were added in the front corners behind the cross member. The previously mentioned trans cross member was tacked into place. It was only tacked because I’m going to take it back out to enlarge the exhaust pass thru holes. I’m also going to refine the front pads a bit and the back edge of the front cross member needs to be relieved for crank pulley clearance. With the basic engine assembled and fit to the frame it was time to figure out the details. In addition to the block, the cylinder heads, timing cover, water pump, belt drive, fan, starter and fuel injection come from the Revell ‘57 Chevy 150 “Black Widow”. The chrome script valve covers and chrome oil pan are from the Revell Tweedy Pie T. The Hedman headers first appeared in the late 50’s so they are period correct although I don’t remember the source kit. The air horn scoop is also of unknown original from my parts bin. And of course the obligatory mock up with the engine in place. I love the look of the early fuelie small block! That’s all for this installment. Plenty more to come!
-
Traditional 1929 Ford Woody Wagon Hot Rod
Dennis Lacy replied to Dennis Lacy's topic in WIP: Model Cars
Thanks Alan! I made up the wire wheels before I had a car in mind and as I looked up and scanned my shelves of kits the Model A Woody practically jumped down into my hands. The two really do go hand in hand. That’s why I had to revert back. I love the look! -
Absolutely killer! ?
-
That is the same Chevy parts pack that was part of a group of 4 engine packs Revell issued in the 90’s. The other 3 were the FE Ford, Cadillac and Pontiac. So these 4 engines survived as stand alone.
-
I love this project!
-
Traditional 1929 Ford Woody Wagon Hot Rod
Dennis Lacy replied to Dennis Lacy's topic in WIP: Model Cars
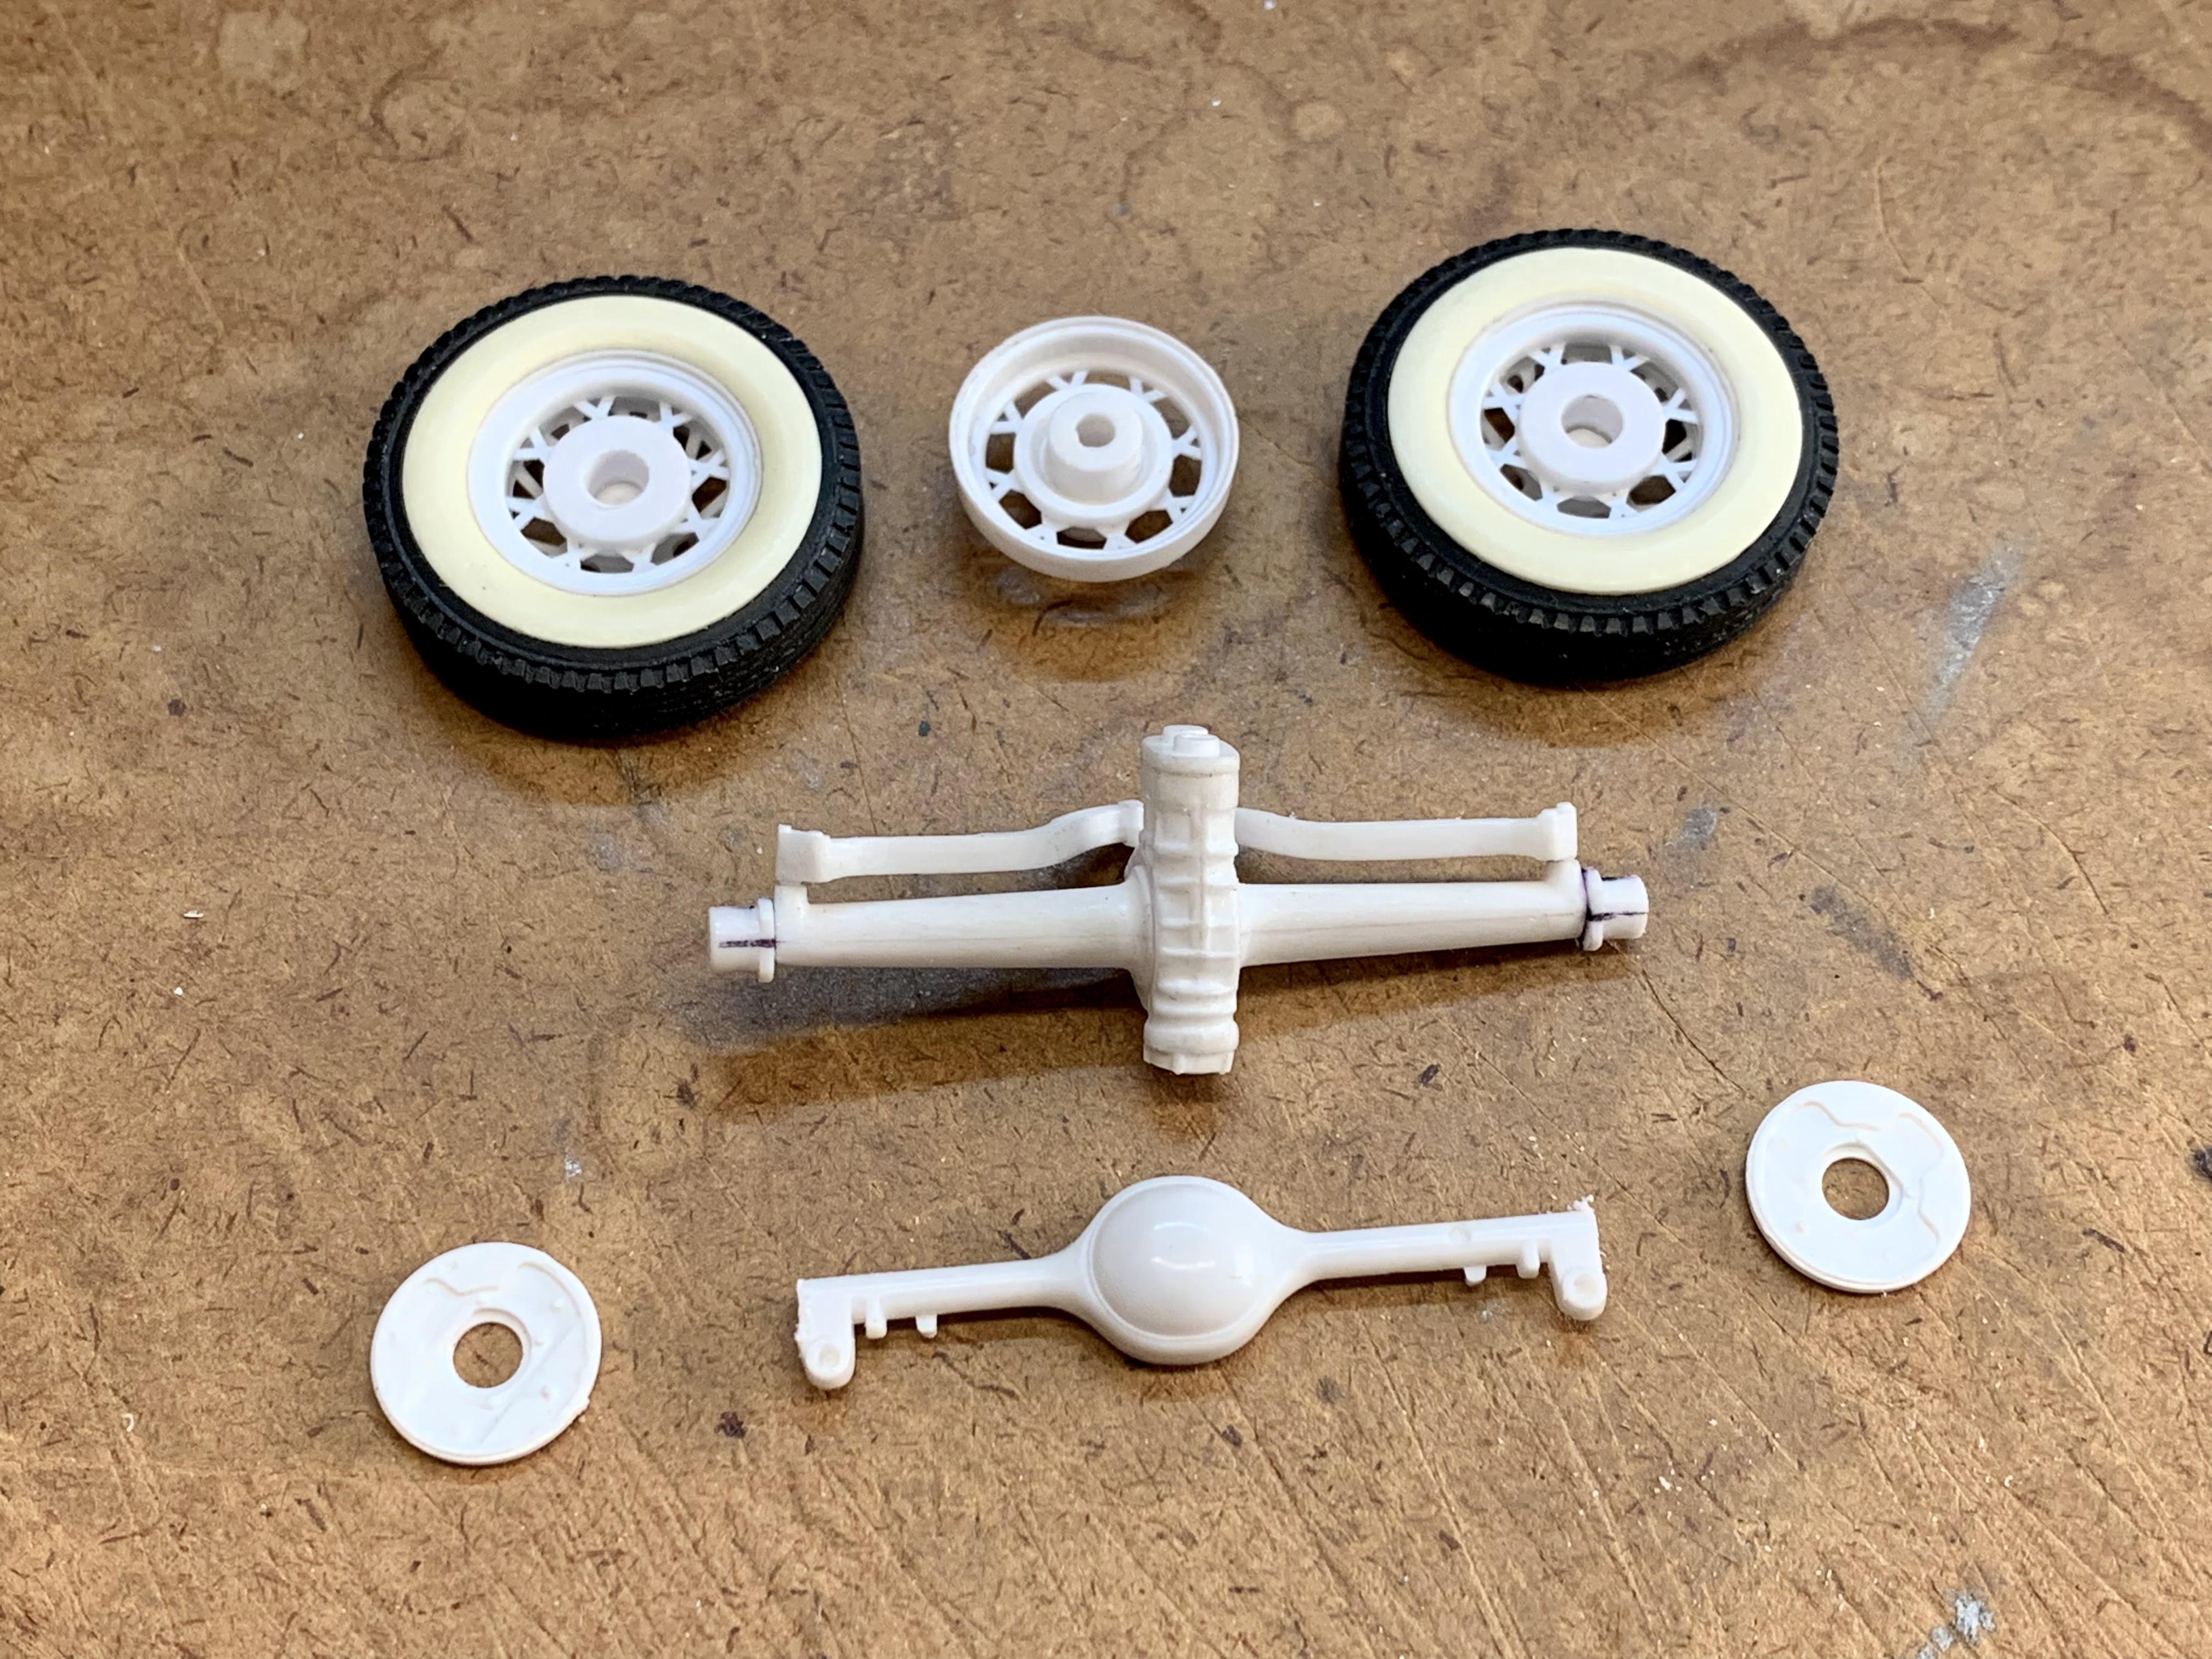
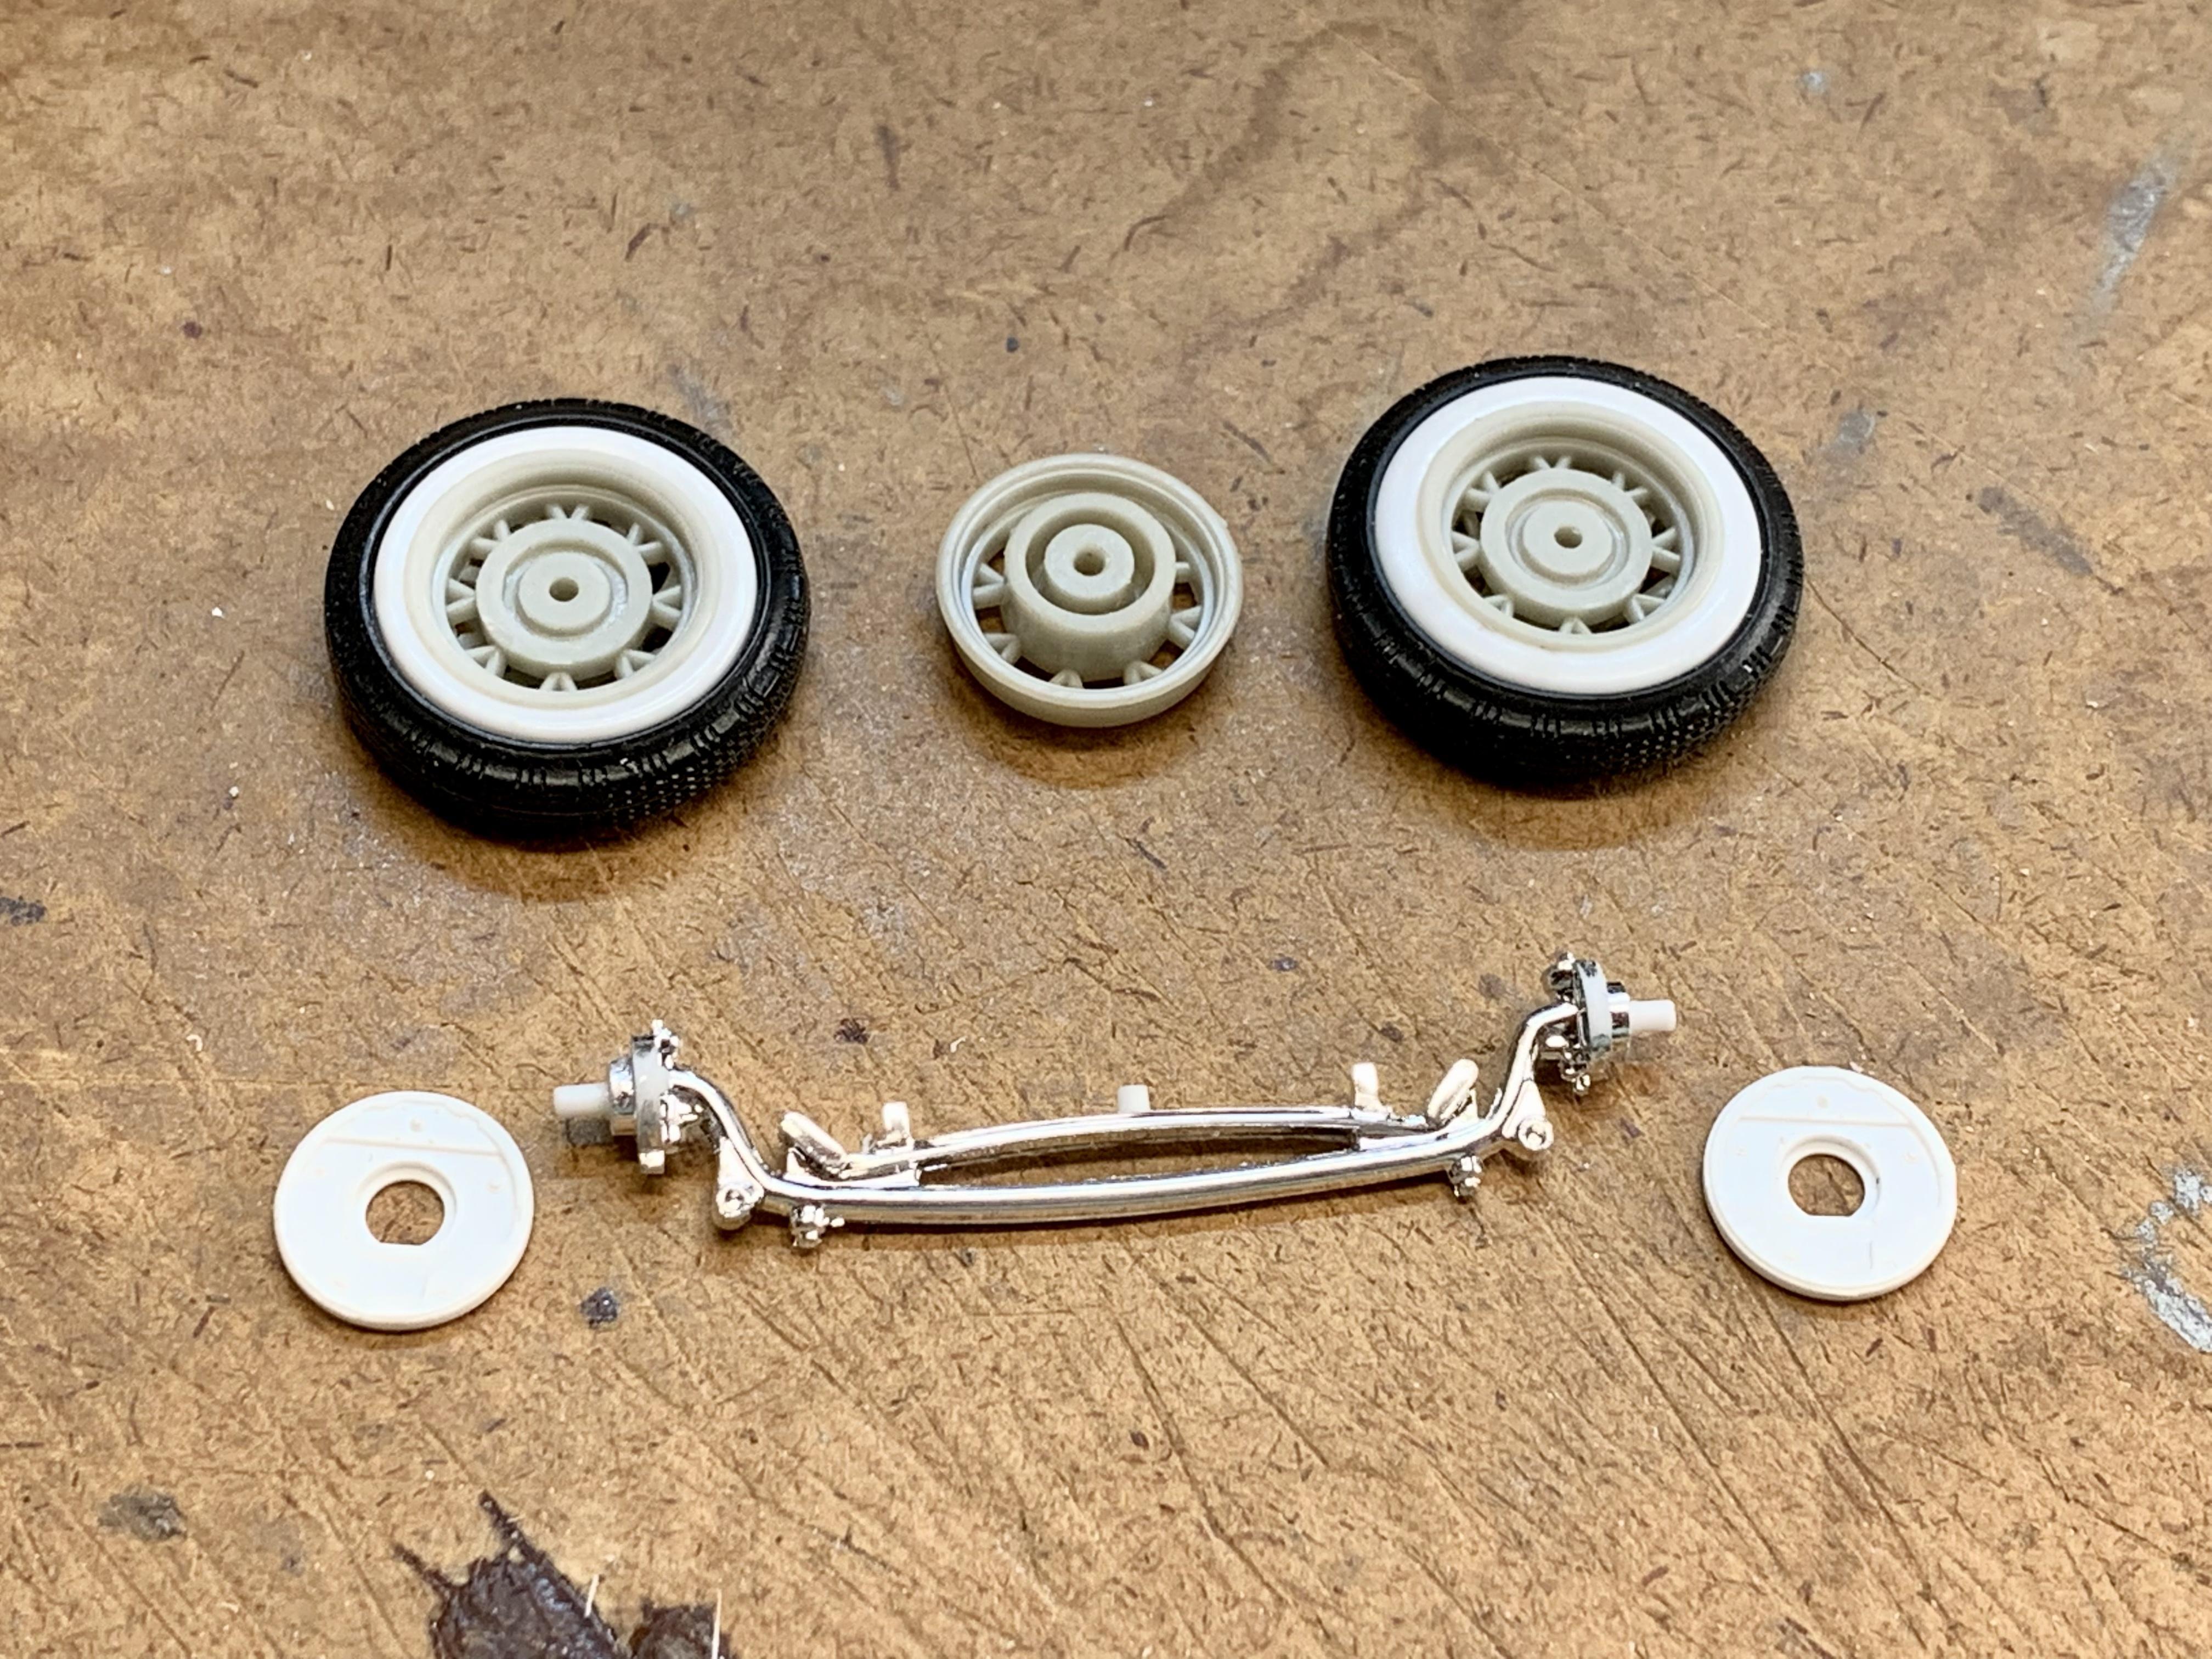
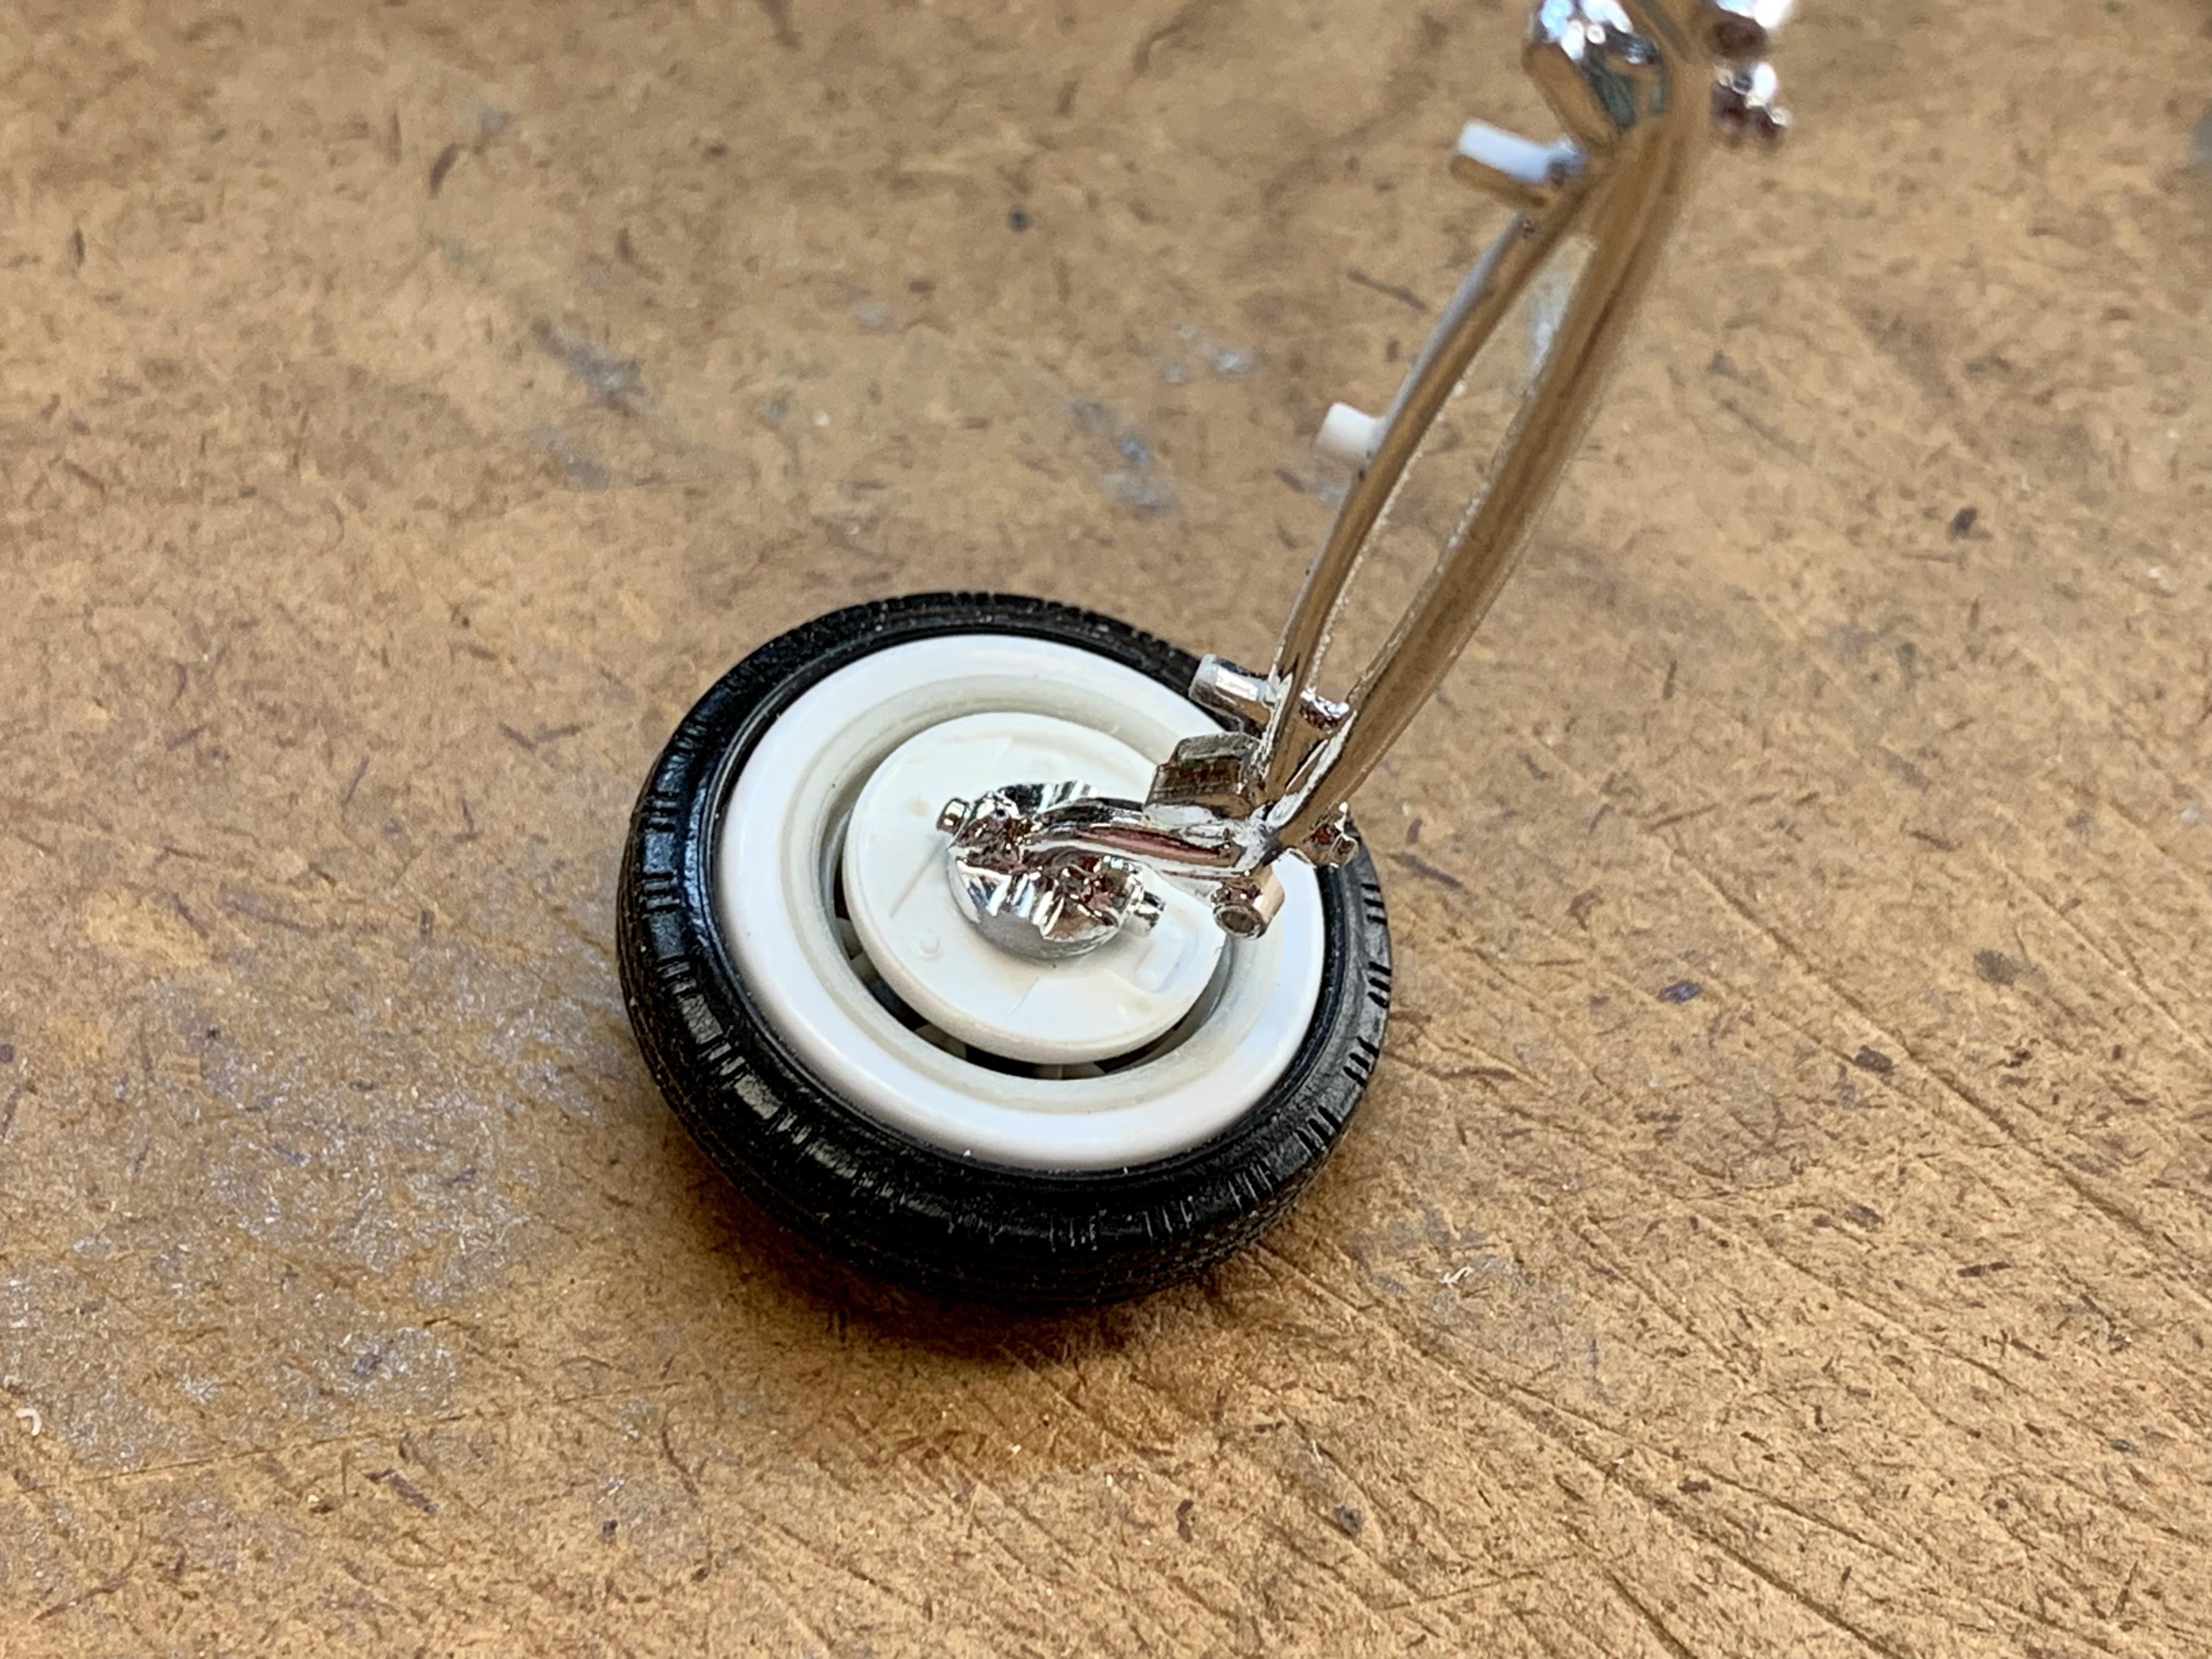
Annnnnnd… I’m back to the wire wheels. ? I really liked them from the get-go so I’m not sure what compelled me to want to change to something different. When I made up the wires I also wasn’t thinking this would be a strictly traditional hot rod so I fit them to Goodyear radial tires. However, now I want a more vintage look so I went back to the tire bin. After trying many possibilities I landed on using the fronts from AMT’s modern tool Ala Kart and Modelhaus T180’s for the rear. In both cases I had trim out the centers of the tires to fit the larger wheels. With the tires figured out it was time to make the wheels fit the axles. Up front I trimmed the ends of the axle off then inserted .060” pins. The brake plates come in all of the Revell 1940 and 1948 Fords. To get the wheels under the fenders I had to significantly relieve the backsides so the centers are recessed compared to the rim. This was accomplished with tedious trimming and spot sanding. An unmodified wheel back is shown between the finished wheels for comparison. For the rear I had to remove the raised sleeves on the wheel backs making the centers a flat disc. The end flanges were chopped off of the quick change axle and the end flanges from the Revell 1940 Coupe/Convertible street rods were grafted on as well as another pair of 1940/1948 brake plates. Finally the wheel backs were drilled to fit over the new axle ends. A look underneath with the wheels mounted to the axles. One of the most satisfying moments of a hot rod project in any scale is seeing it sitting on its wheels and tires for the first time. I’m pleased with the stance, not as slammed as the initial mock ups which is more period authentic. I also like how the slightly taller and narrower front tires look. Now that I know the aesthetic direction of the car it’s time to make a final decision on the engine. Stay tuned!
-
'34 Ford Pickup
Dennis Lacy replied to RT6PK's topic in WIP: Model Trucks: Pickups, Vans, SUVs, Light Commercial
Great looking 34 Pickup! Sometimes some stance correction and a good wheel & tire swap is all you need. Love the dark blue with black fenders and dark centers on the Americans. -
I thoroughly enjoyed following the project. Your attention to detail and screen accuracy are inspiring. The finished model is absolutely killer! ?
- 33 replies
-
- 1
-

-
- mitsubishi
- eclipse
- (and 1 more)
-
This is rad!
-
Stance and proportions look killer, Bill! I want to build a full-scale one!!