Mr. Metallic
-
Posts
2,783 -
Joined
-
Last visited
Content Type
Profiles
Forums
Events
Gallery
Everything posted by Mr. Metallic
-
Bill, to be fair, I made no mention of anyone's age. I have great respect for people that are older than me, that's how I was raised. And in general when I participate in anything model car related, whether in person or online, I am surrounded by people older than I. I just soak in all the knowledge that I can. This is addressed to everyone who asked- Threads like this that include endless complaining and piling on about styles and trends, what's the point??? I can usually avoid them when the titles are better, but this one was vague and had a lot of participation so I thought maybe it would be useful. I'm all for first amendment rights, so for all those that want to participate, go right ahead.
-
Thank you for saying it. I clicked in thinking this would be an interesting topic, but should have known better by now. Seems like every couple of months one of these gets going
-
1960’s Traditional Blown ‘23 T Bucket UPDATE 10/31/22
Mr. Metallic replied to Dennis Lacy's topic in WIP: Model Cars
Dennis is back to building a traditional hot rod... -
That chop is well executed, and the stance is right on. Love the rear wheel/tire combo, hopefully you can find something complementary for the front. With regards to the decals, I'm assuming you're not using the Scale Auto logos, just the nicely rendered number decals.
-
You're well on your way to helping us stop having to rob kits with your QC/crossmember sets. FYI- Rep and Min does a pre-drilled flathead crab distributor. Not saying you shouldn't do one, just relaying the info.
-
Revell 1971 Boss 351 Mustang
Mr. Metallic replied to Justin Porter's topic in Car Kit News & Reviews
It seems like longer than usual because the public was introduced to the project MUCH earlier than normal. If you go back to page 1 of this thread, it was 2 years ago that someone at Revell posted the pics of a subject vehicle as it was undergoing laser scanning. From what I remember the pictures were intended to focus on the scanning process, not the subject matter. But people quickly realized what it was they were actually scanning and the model car internet blew up with excitement. Shortly after Revell pulled the pics because they hadn't intended for the subject to be announced yet. Add in the pandemic and this project feels like it's right on the normal project development trajectory, if you realize that we don't normally know about the subject until way more of the development process is already complete. -
Thanks Tim. I know Steve won't confirm it until he's allowed to. But I thought I could steer the speculation towards what it actually is, rather than everybody's want list, especially when their wants don't fit the criteria set from the beginning. ?
-
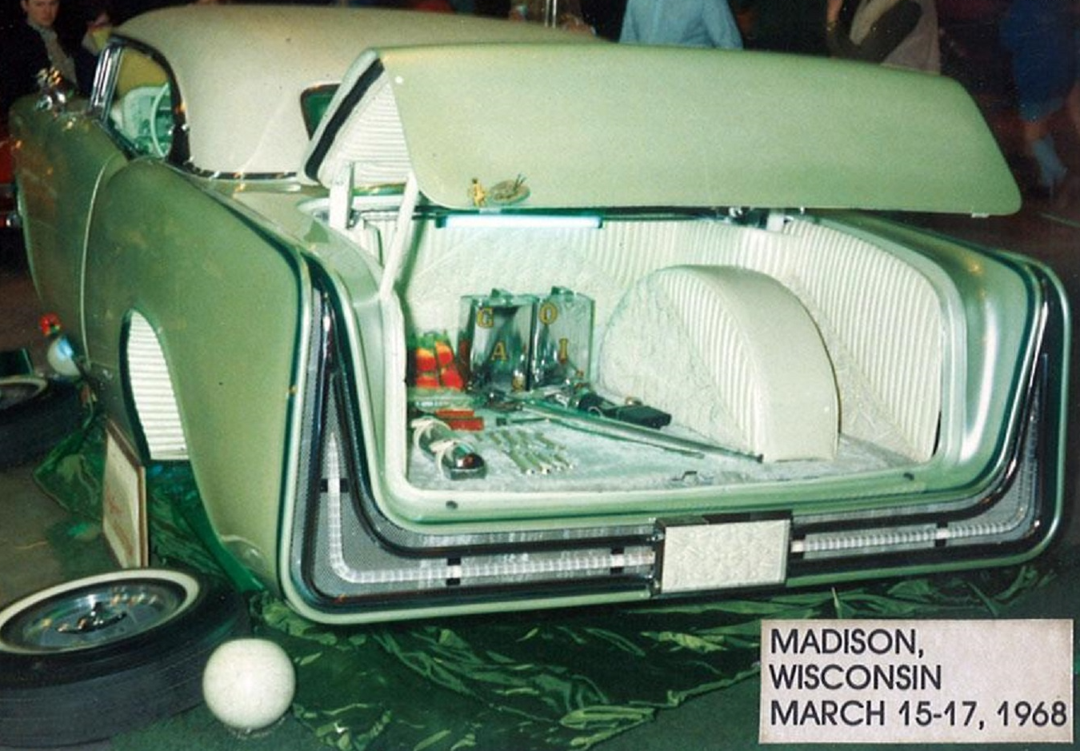
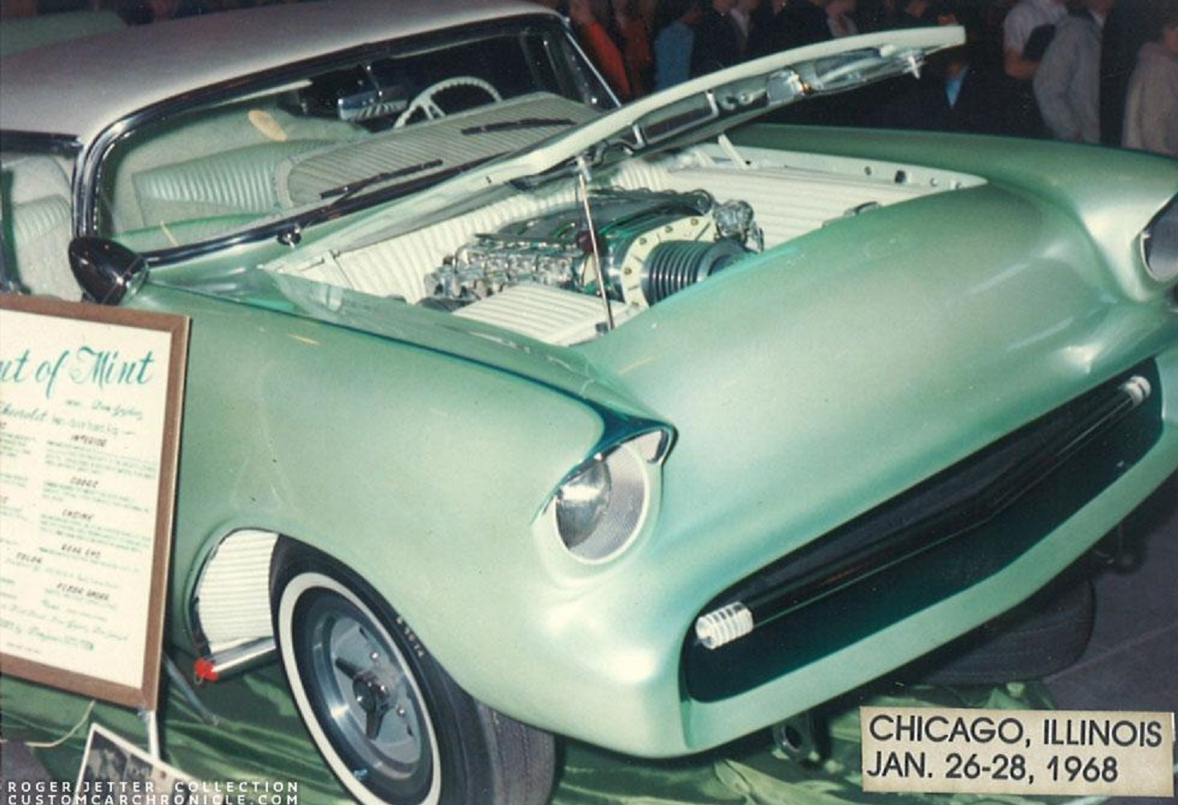
That's why i said "or vice versa" But I think Rob is on to the real deal, that it was build much earlier, just shown here in 68. so it could have inspired the AMT designers if that's the case.
-
Because i'm a glutton for punishment, or simply because this thread has gone off track so many times I'll make one more attempt to get it focused. Here are the original parameters for this post, Round2 said they were working on this: Clone of old tooling Can't be built stock Then Steve chimed in with this... So, here is the list of ALL the guesses that fit the set criteria, prior to Steve's statement on Page 10. Let the speculation commence on which one of these it is... THESE ARE THE ONLY CHOICES SINCE STEVE SAID IT'S ONE OF THESE

-
Here's the real car that may have inspired the AMT designers, or vice versa. Not everyone's taste, but it was the style at the time. BTW- if anyone has the 348/409 out of this kit, or at least the supercharger intake setup, i'll take 'em.
-
Good thought in your post. With regards to this one, the transport truck was out about 10 years ago, and the Ramchargers dragster just last year. So, while it's cool to have it all in one box, both kits have been available recently. Now, when the 63 Nova and 64 Cutlass were announced, which hadn't been released in stock versions in over 40 years, that DID create a quite a stir.
-
I look forward to you getting back to this one. Something has always bugged me about the B400 body from Flntstone, but I could never put my finger on it. I think it's the way the top overhangs the sides of the upper body or something. I was also thinking about removing the top just as you have done. Glad to see that's the right route to go because yours is looking great.
-
Round2 Retro Box Art. Yes or No?
Mr. Metallic replied to stavanzer's topic in Car Kit News & Reviews
In my opinion, being surprised by what's IN the box in this day and age for anyone over the age of 12 is inexcusable. There are so many online avenues to research a purchase before you buy it. I could understand back before the internet that the kits would be available well before any sort of review in a magazine was available that someone could be shocked by what was in the box. And even in many cases the print media got advance review samples that usually got them in the magazine at the same time they hit the shelves. But now just about everyone at least has access to the internet somewhere, be it in their pocket or at the local library. So not knowing what's in the box is pretty much willful ignorance. Even if you are the absolute FIRST person to buy a kit out of the case at the retailer, most kits have been thoroughly dissected before they even make it to retail outlets to at least get a gist of what's included. If you have any consternation about what is included, maybe put off your purchase until your questions are answered. Sorry if that comes off as a bit harsh -
Round2 Retro Box Art. Yes or No?
Mr. Metallic replied to stavanzer's topic in Car Kit News & Reviews
Just because it isn't a "selling point" or "feature" to you doesn't mean it isn't to other people. Some people do buy the kit as art. Sure they probably intend to build the contents one day, but still displaying the box in some form. Others will toss the box in the trash. but why does any of that matter? It's not hurting anyone to have retro box art. If anything, it helps with sales, and that's why Round2 will continue to do it. And that's why Moebius uses that style of artwork to market some of their brand new tooling kits. If the choice of box art is deceitful in any way that is a bigger issue. But Round2 has been pretty careful to make sure what is pictured is what is in the box, with a possible couple of exceptions over their tenure. Previous owners of the tooling were much more guilty of that deceptive marketing. -
Revell in Omaha (2022 IPMS Nats)
Mr. Metallic replied to niteowl7710's topic in Car Kit News & Reviews
Of course I'm very stoked for the 32 Roadster (former Rat Roaster tool) with all of it's more conventional new parts. I'll be certain to buy several of those. Hopeing they decide to bring back the Tudor sedan someday soon, that one hasn't been seen in 15 years. The Mustang and Olds look great. Debating on whether to wait for street machine versions of both. -
Revell in Omaha (2022 IPMS Nats)
Mr. Metallic replied to niteowl7710's topic in Car Kit News & Reviews
Thanks for sharing these pics James. if I see your uncredited pics floating around social media I'll be sure to steer credit your way. -
here we are talking in the Rumors thread about the Raiders Coach, which was dragged into the conversation by posting the video of the kits release. Not a rumor at all I would say ?
-
You're in the home stretch. Don't stop now!
-
Sorry Steve, no offence intended. There is often lots of confusion with regards to lineage with these showcar kits, and Dave is my go-to guru on this stuff, along with Mark B. Forgive me if I offended you. With so much misinformation floating around I was just looking for a little confirmation.
-
I knew the Outcast spawned from the Fire Truck, but I thought the Firetruck is where that tooling started. Didn't know it came from the Tognotti T tooling. I though that morphed into a different showrod? @Dave Darby?
-
I could use those monogram PW parts if you are still offering them up?
-
This is such a cool concept Rob, nice job. And thanks for turning me on to that engine. I have that kit and plan to go full custom with the body and slip the AMT 66 Riv frame under it. But knowing that engine is lurking in the box is good to know.
-
'32 Chevrolet Cabriolet....Traditional-ish...Update 7/23/22
Mr. Metallic replied to Plowboy's topic in WIP: Model Cars
Let me start off by commenting on the most recent pics. The satin body with gloss black steelies is...AWESOME! especially with the lug nuts eventually picked out in chrome (hinted at by the current grey?) I've been spitballing one of these in my mind for awhile, similar to how you're building yours. SBC with rams horns. I'll definitely be keeping your mods in mind. -
Atlantis (Revell) 1957 Chevrolet Bel Air build up vid
Mr. Metallic replied to Daddyfink's topic in Car Kit News & Reviews
@Don Sikora II, now would be a great time to share your old-tool Revell 57 builds here -
Resin Caddy Air Filter
Mr. Metallic replied to Raoul Ross's topic in Car Aftermarket / Resin / 3D Printed
He certainly does a catalog. There are even a couple on my fotki page, but they are older, so you're better off asking for a new one. Buy with confidence. His stuff is some of the best in the business and his customer service is second to none.