Modlbldr
-
Posts
6,885 -
Joined
-
Last visited
Content Type
Profiles
Forums
Events
Gallery
Everything posted by Modlbldr
-
Thanks Guys. I'm not sure if the convertible was a VW feature or a conversion from Zender. Perhaps someone else has that info. This is the way the kit came. I didn't modify it. Later-
-
Thanks Kelson. Later-
-
Definitely a build to be proud of. I expected to see something a bit more flashy when I read GT86 Bunny but this was a very pleasant surprise. I like it very much! Later-
-
Thanks. It was not the most exciting build for me but I had fun with it. Later-
-
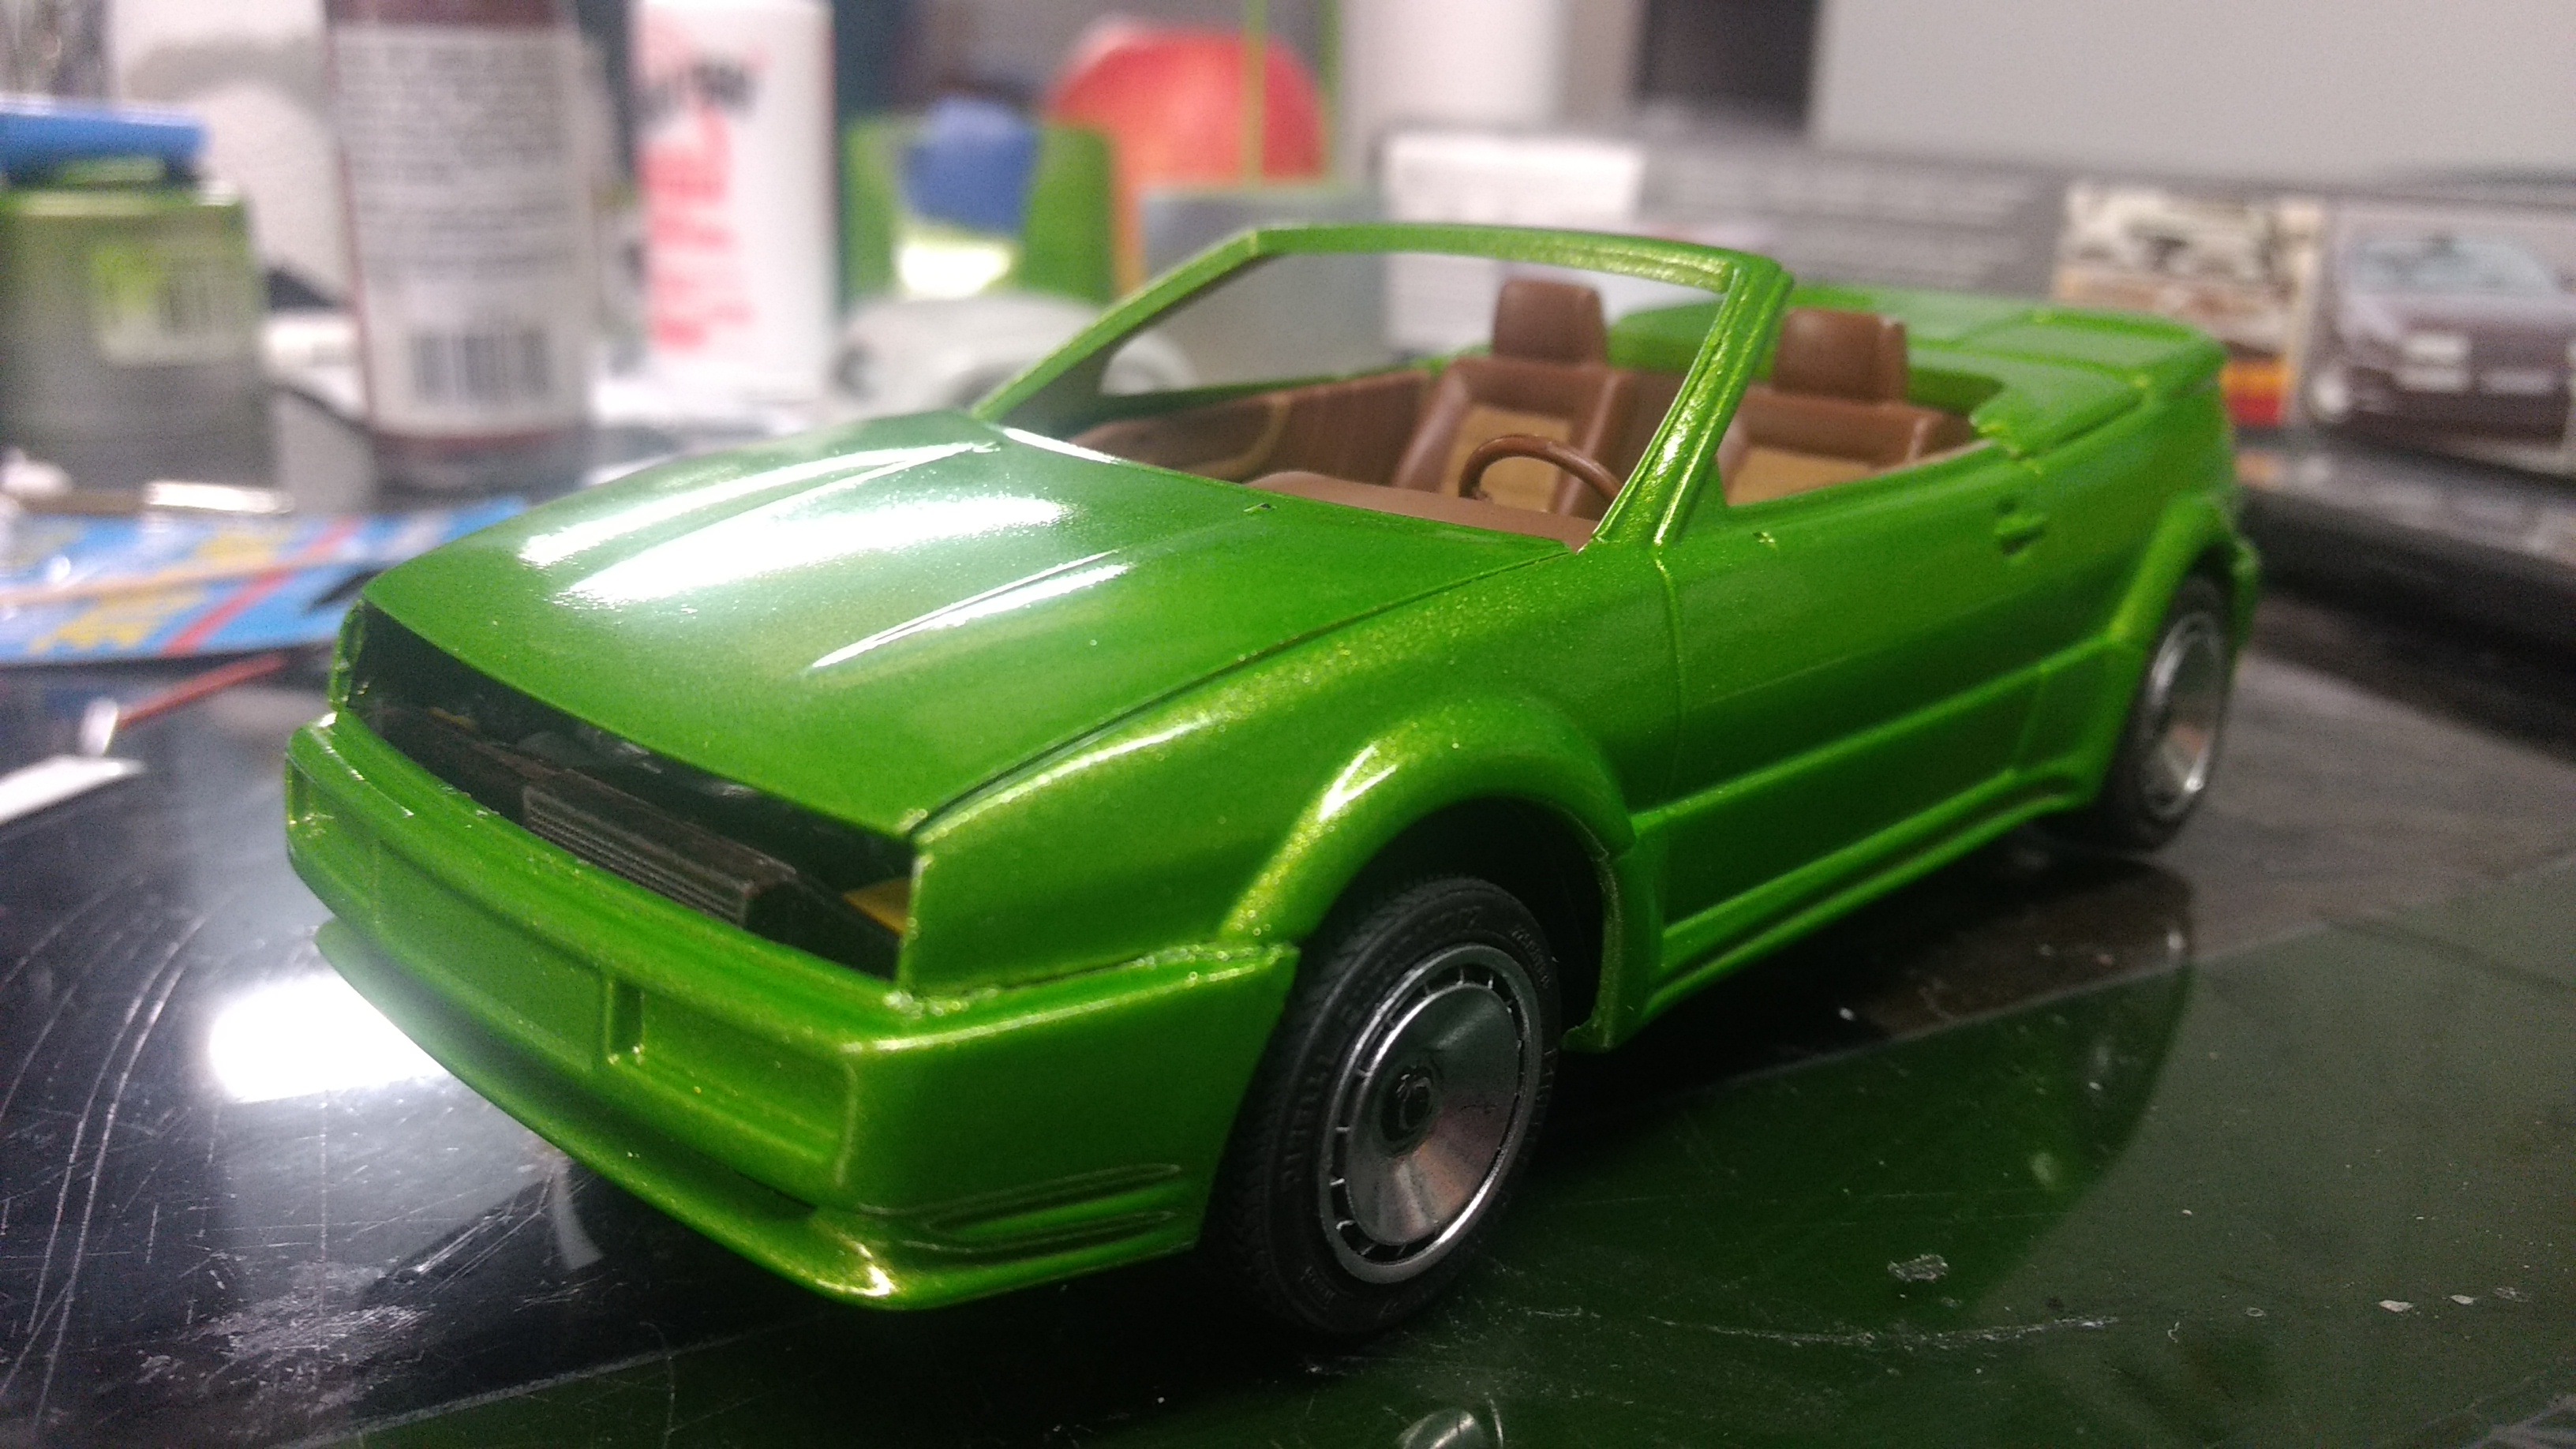
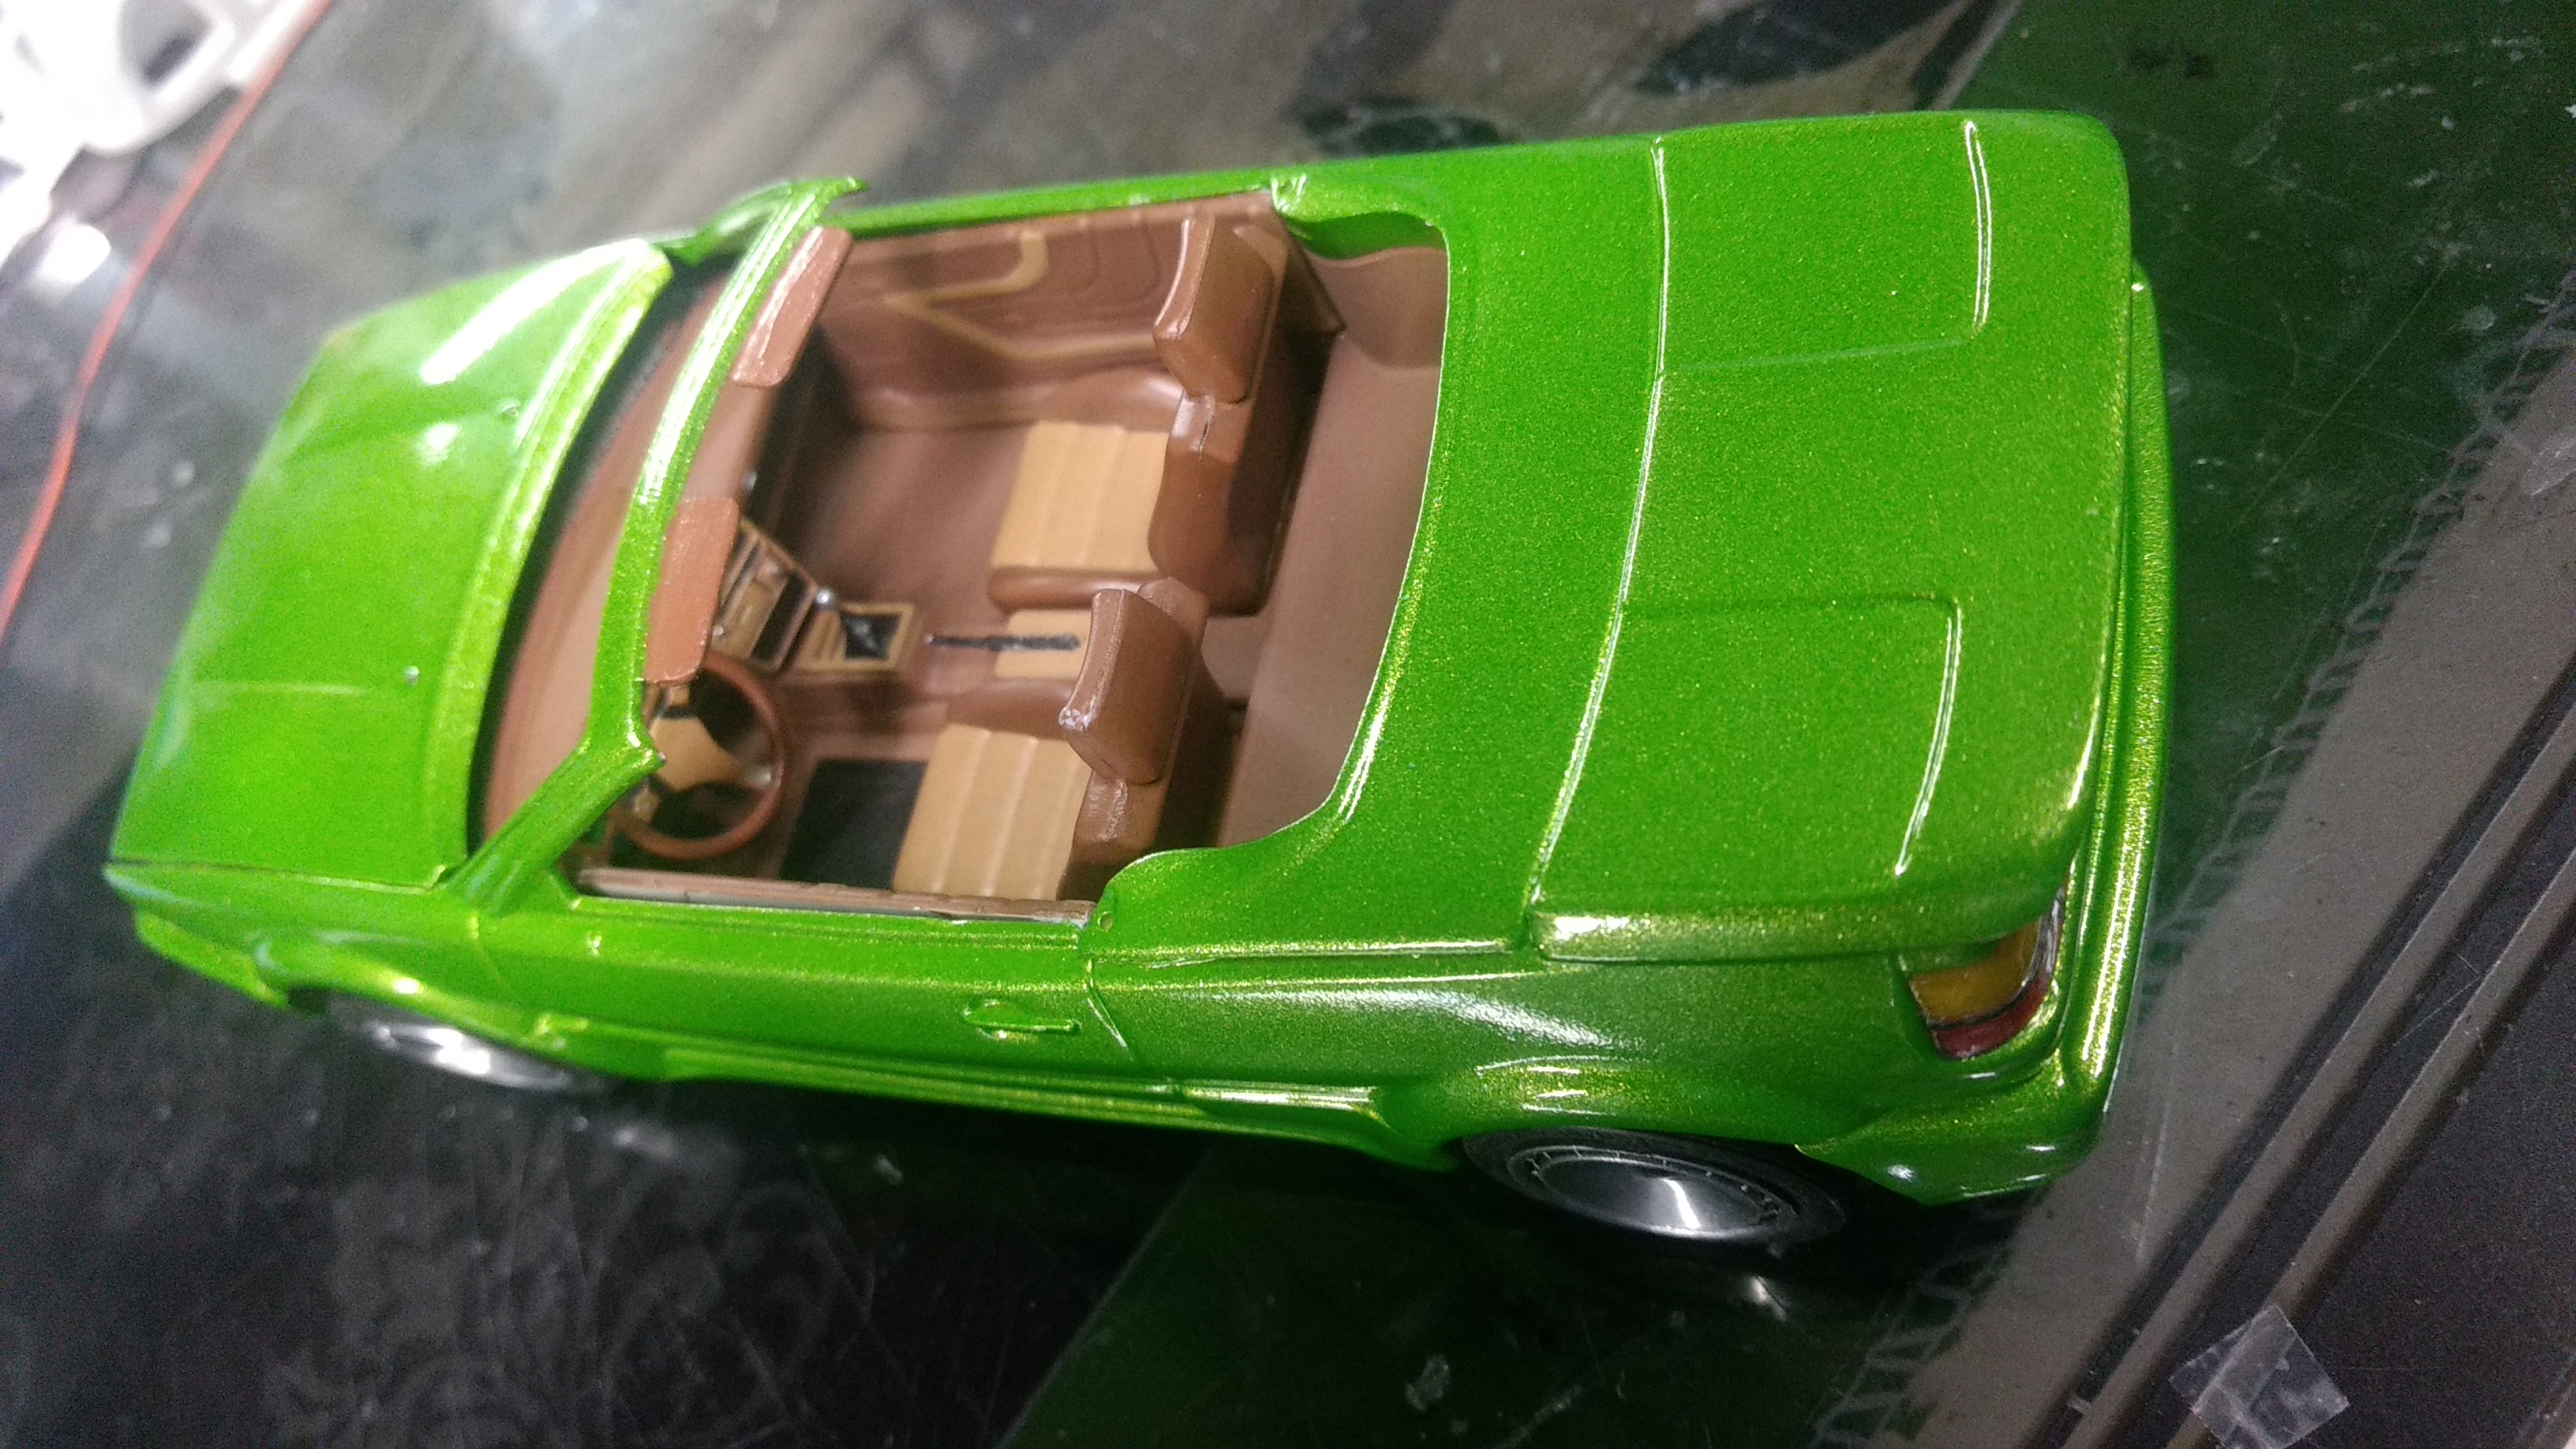
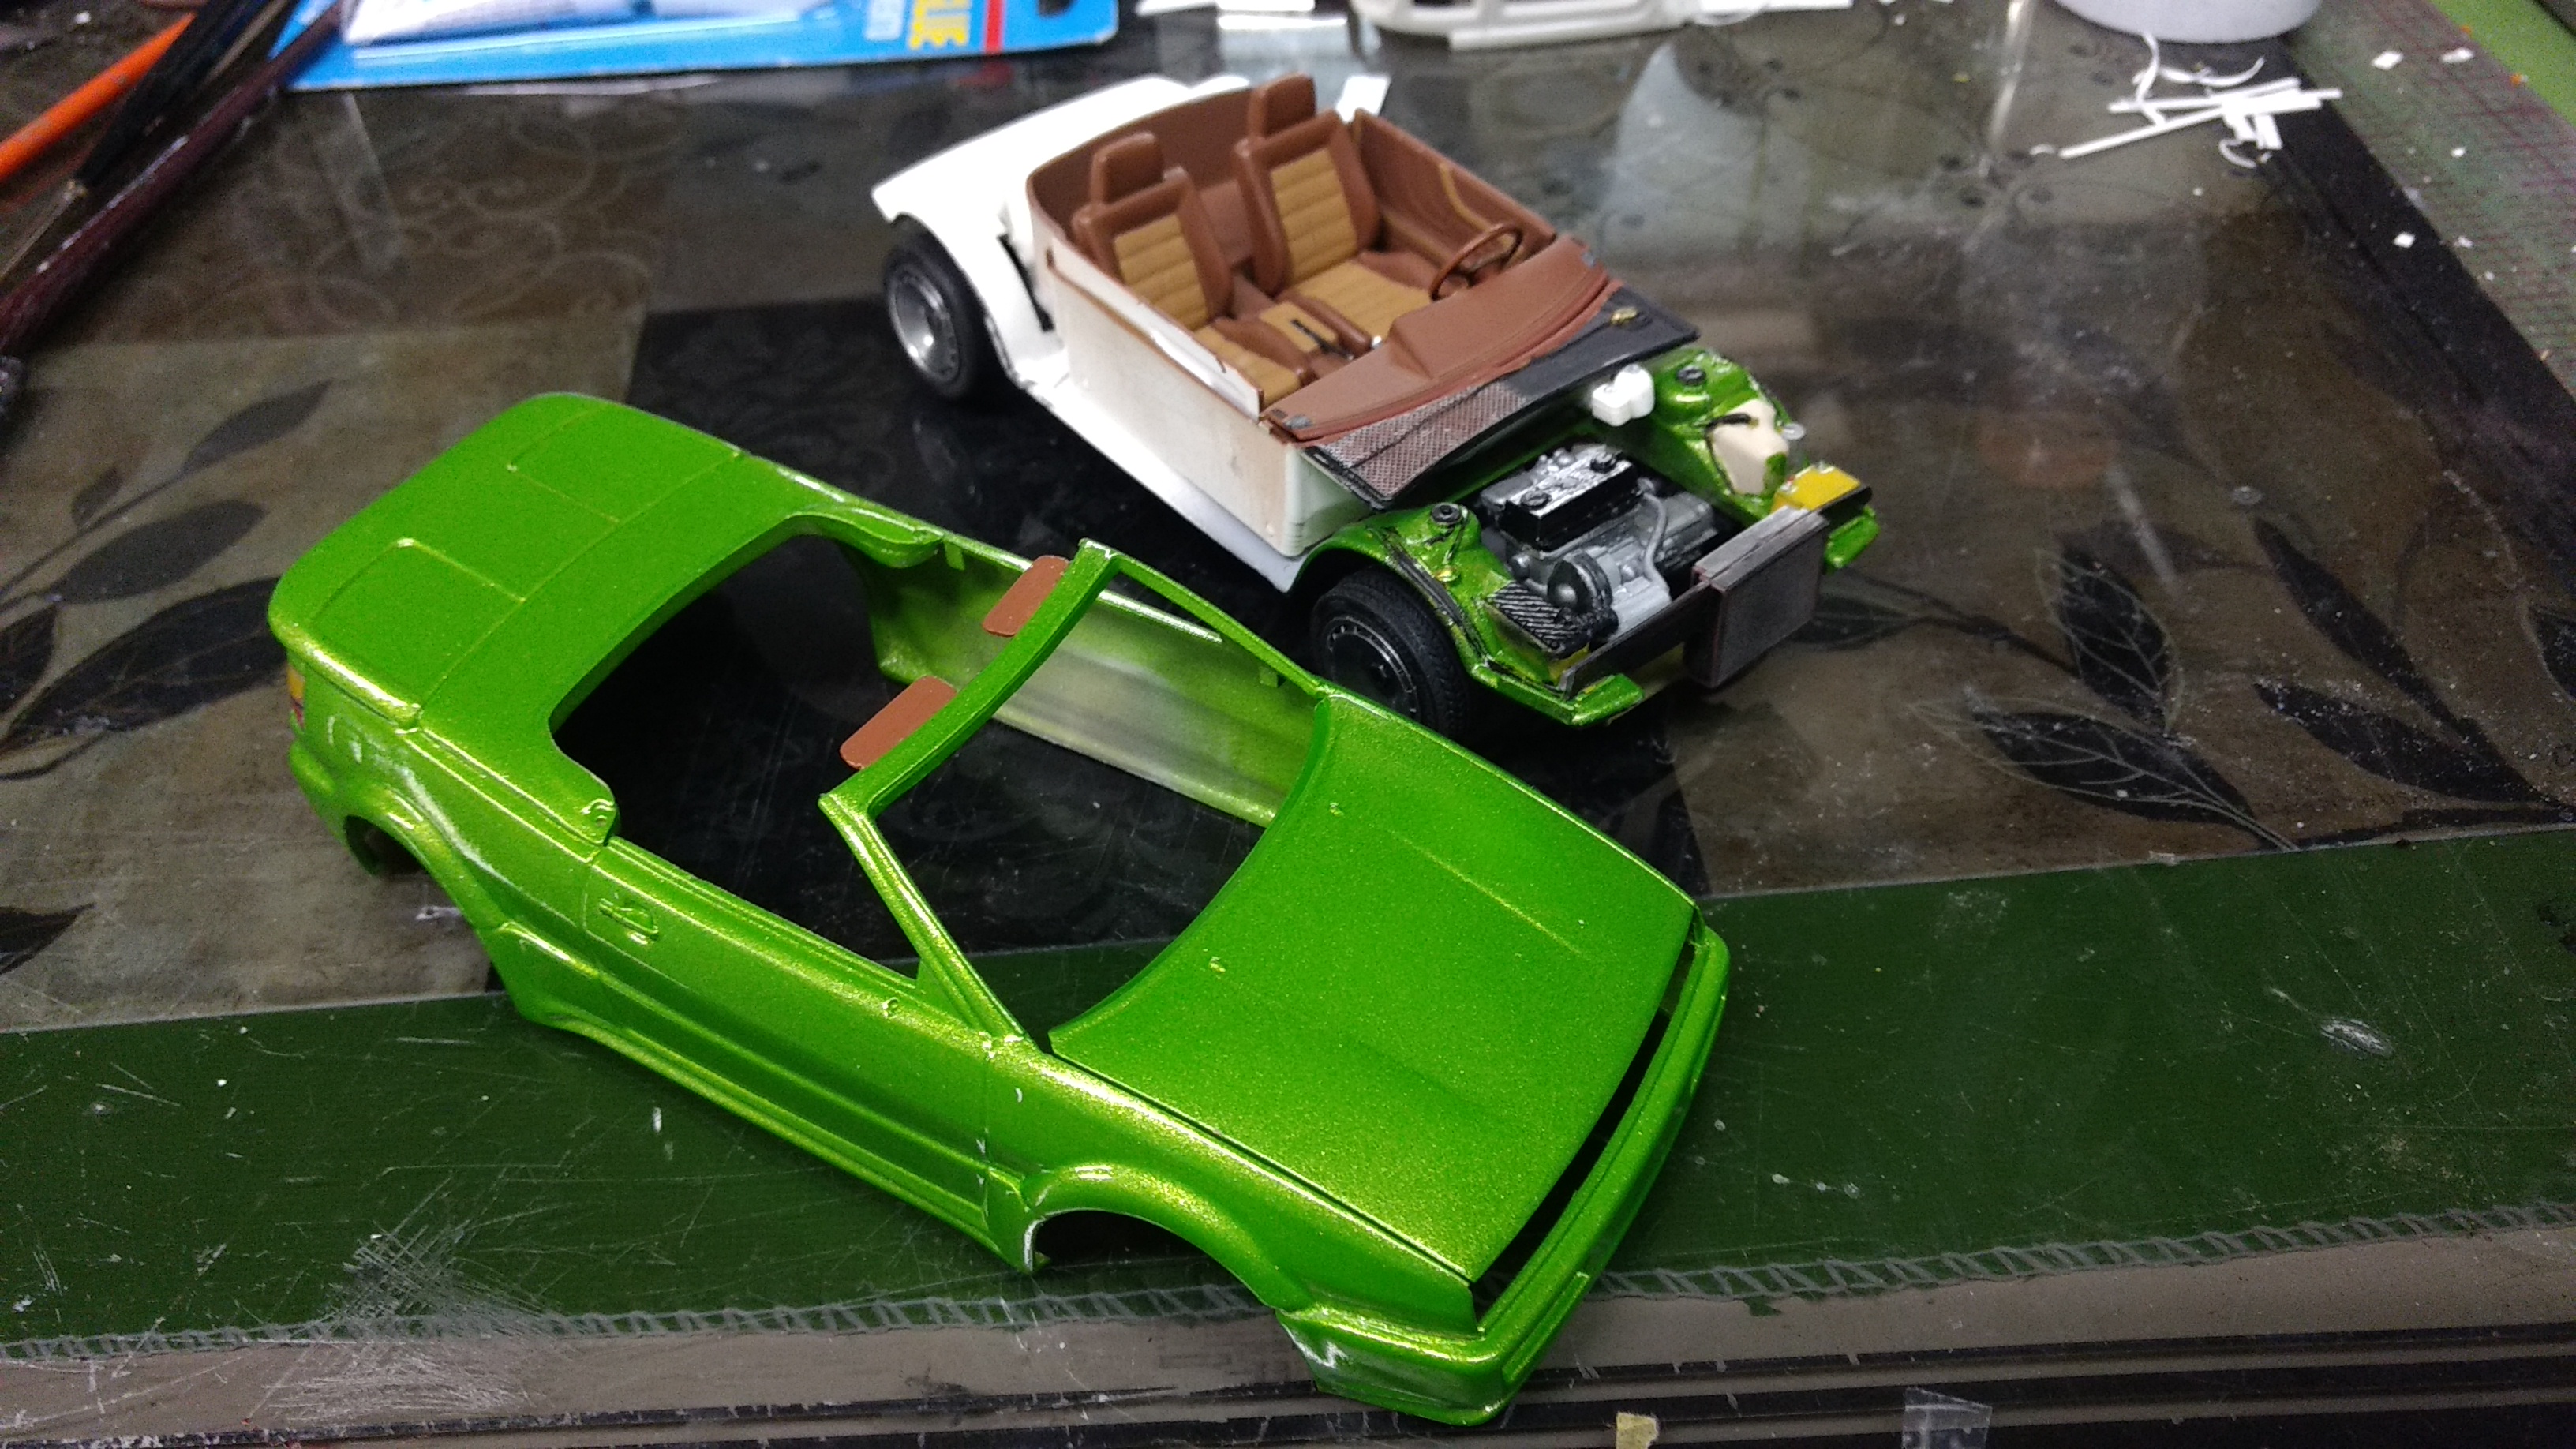
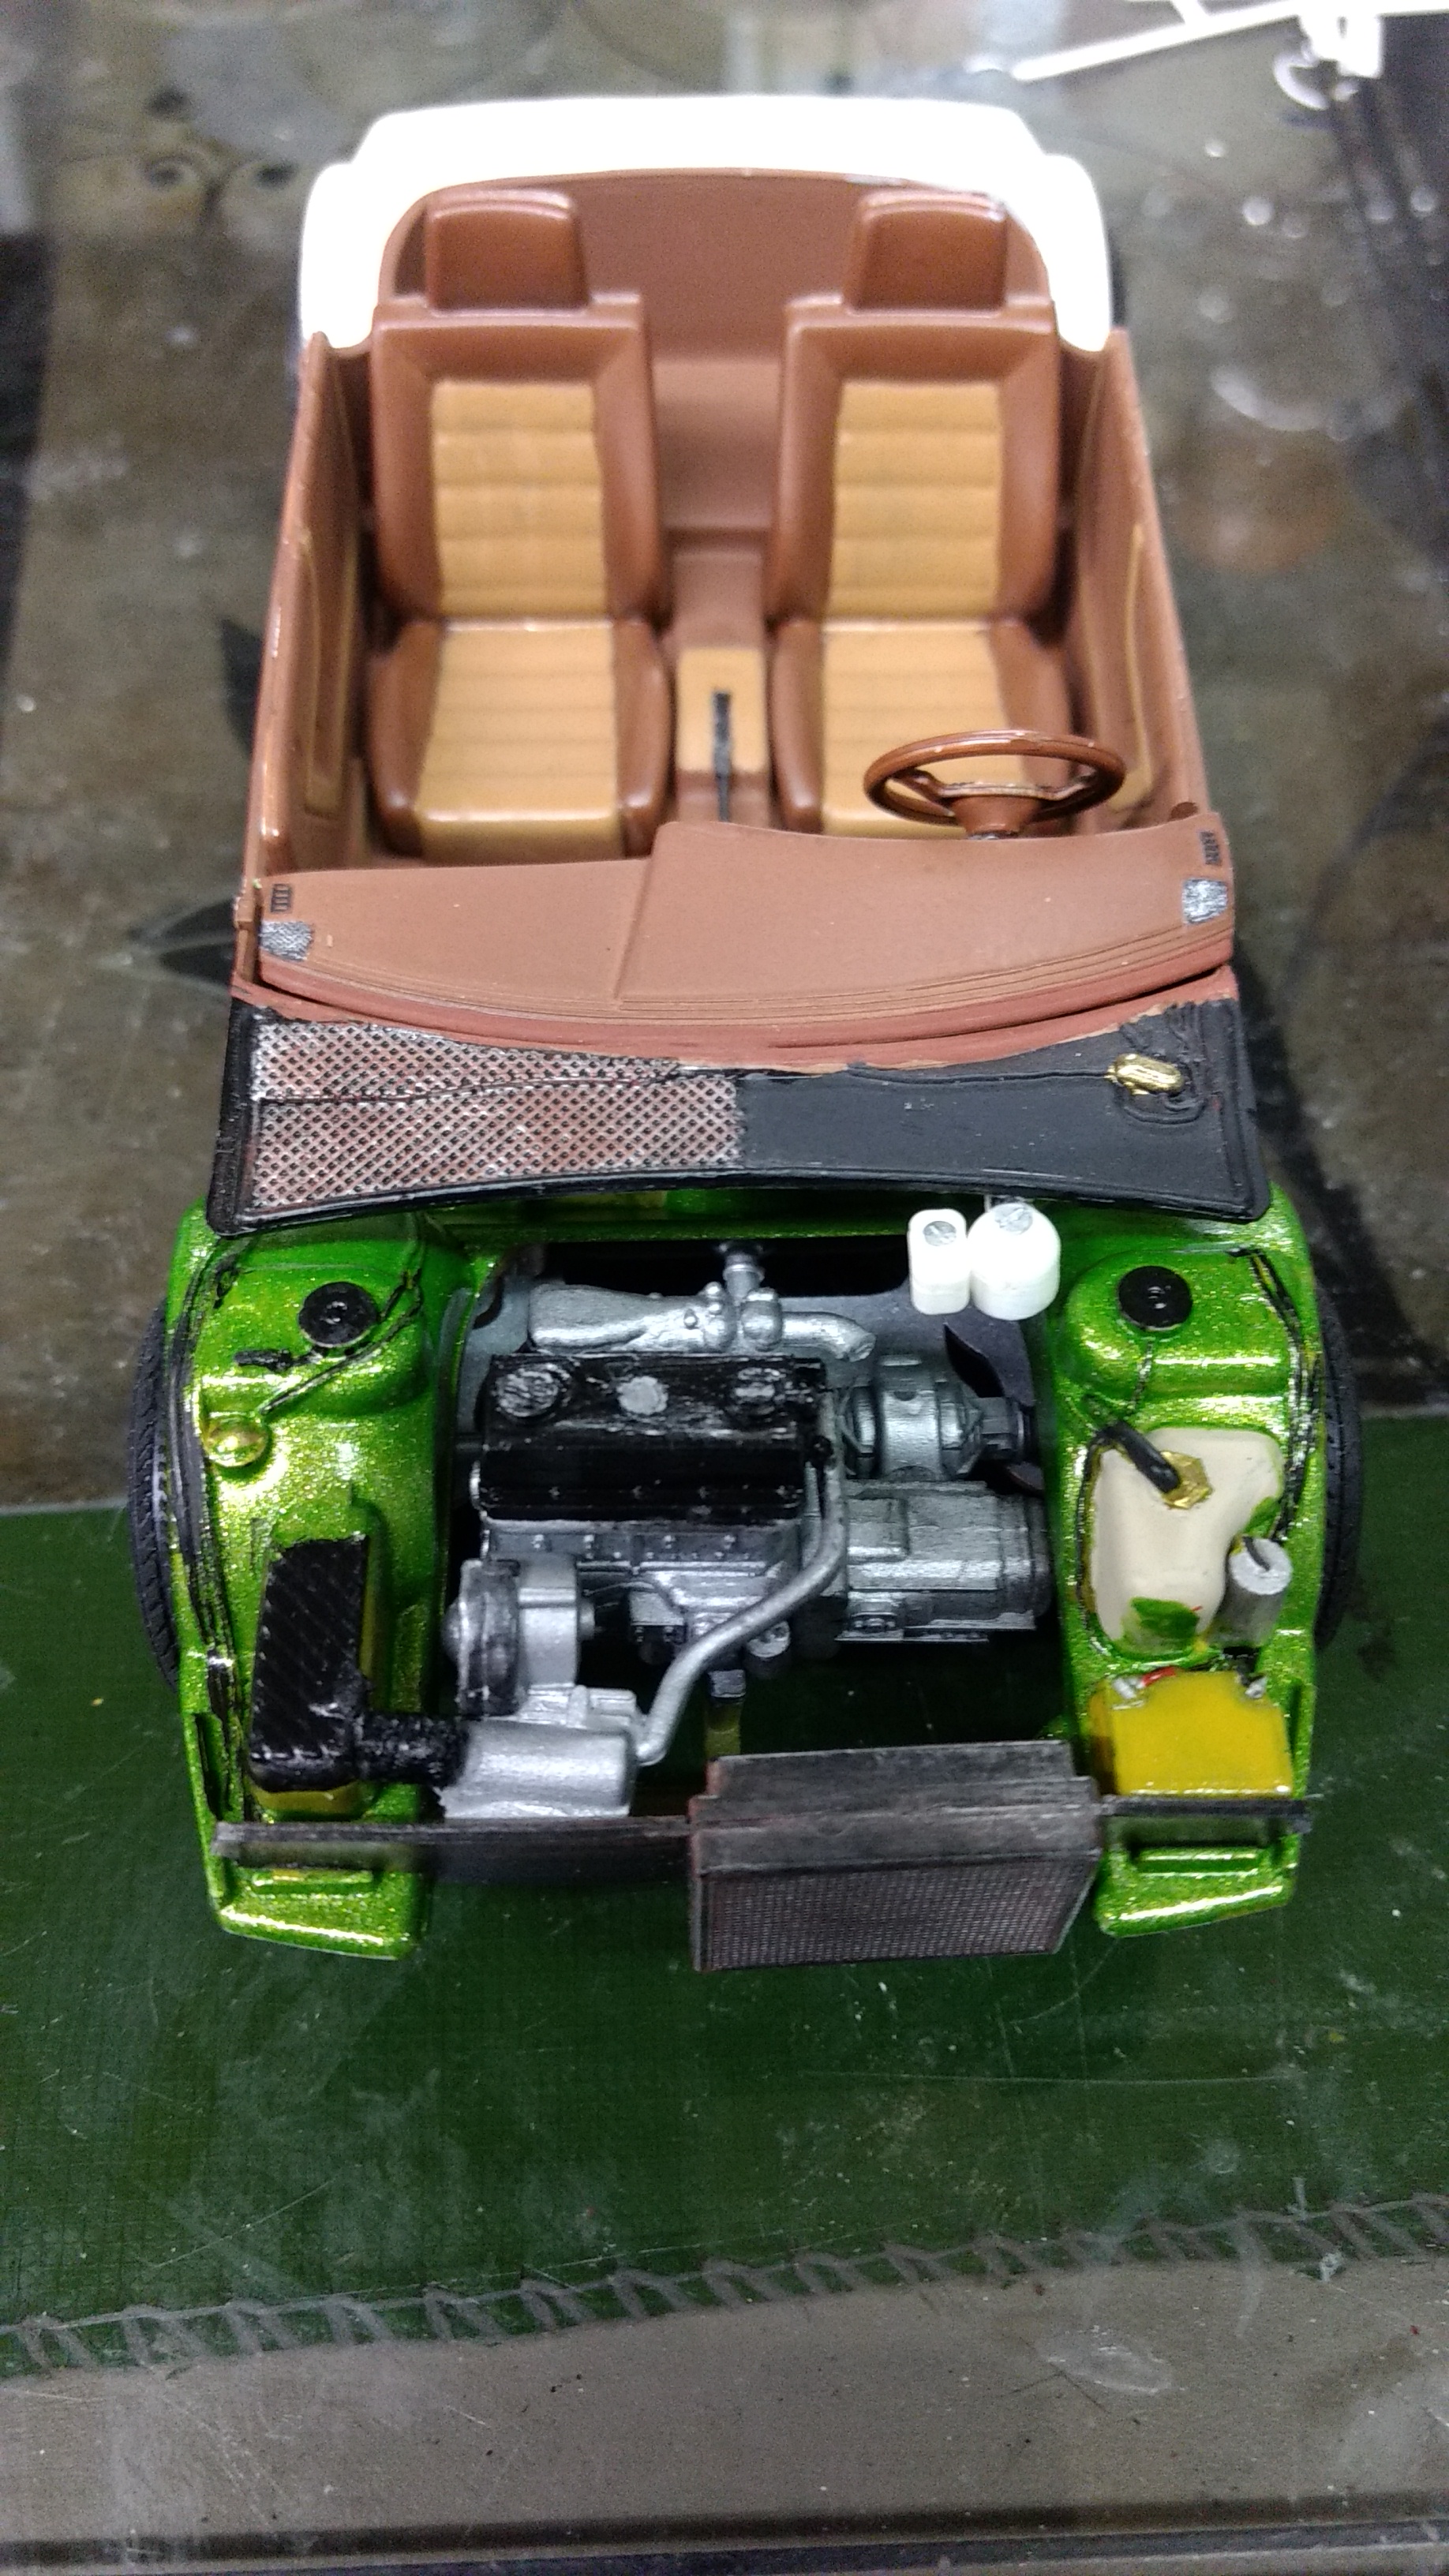
I finished this one yesterday. It was one that I had gotten in a partially finished state from a friend. He had given up on it because the body was slightly warped at the passenger front corner. It was missing the windshield and decals. I had to repaint it due to the fact that he hadn't painted the mirrors and had cut out the hood but hadn't widened it for a proper fit. I couldn't match the paint so I did a total repaint with Lime Ice. I lowered the suspension, widened the hood, made a windshield and finished the assembly. Decals were added to break up the green and for practice. Not my cup of tea, but couldn't deal with the fact that the kit was partially completed, forgotten and lying in a box outside in a dilapidated pole barn for years. Now it's on a shelf for display. Hope you enjoy. Later-

-
That is beautiful! I like that you made it a 51. You did a great job on the body work and the color choice is perfect. Later-
-
Thanks Cpt. I just finished this one. It will be "Under Glass" tomorrow and then to finish my 55 Cameo/Stepside pickup. Later-
-
I adjusted the ride height and am adding some decal stripes. I realize that the decals don't really fit the style of the car but I figured since I don't care all that much about this one and I stink at doing decals, I'd get some practice at decaling. Some yellow stripes from a Slixx NASCAR sheet and scallops from the 58 TBird. Later-
-
 I've got a couple of these as rebuilders myself. I'll be watching also. Can't wait to see what you do with yours. Later-
 -
Glad to hear it Stichd. I never knew the kit existed. Got the body on. I'm down to the home-stretch. I may have to find some sort of a pinstripe decal to break up all of the green. Later-
-
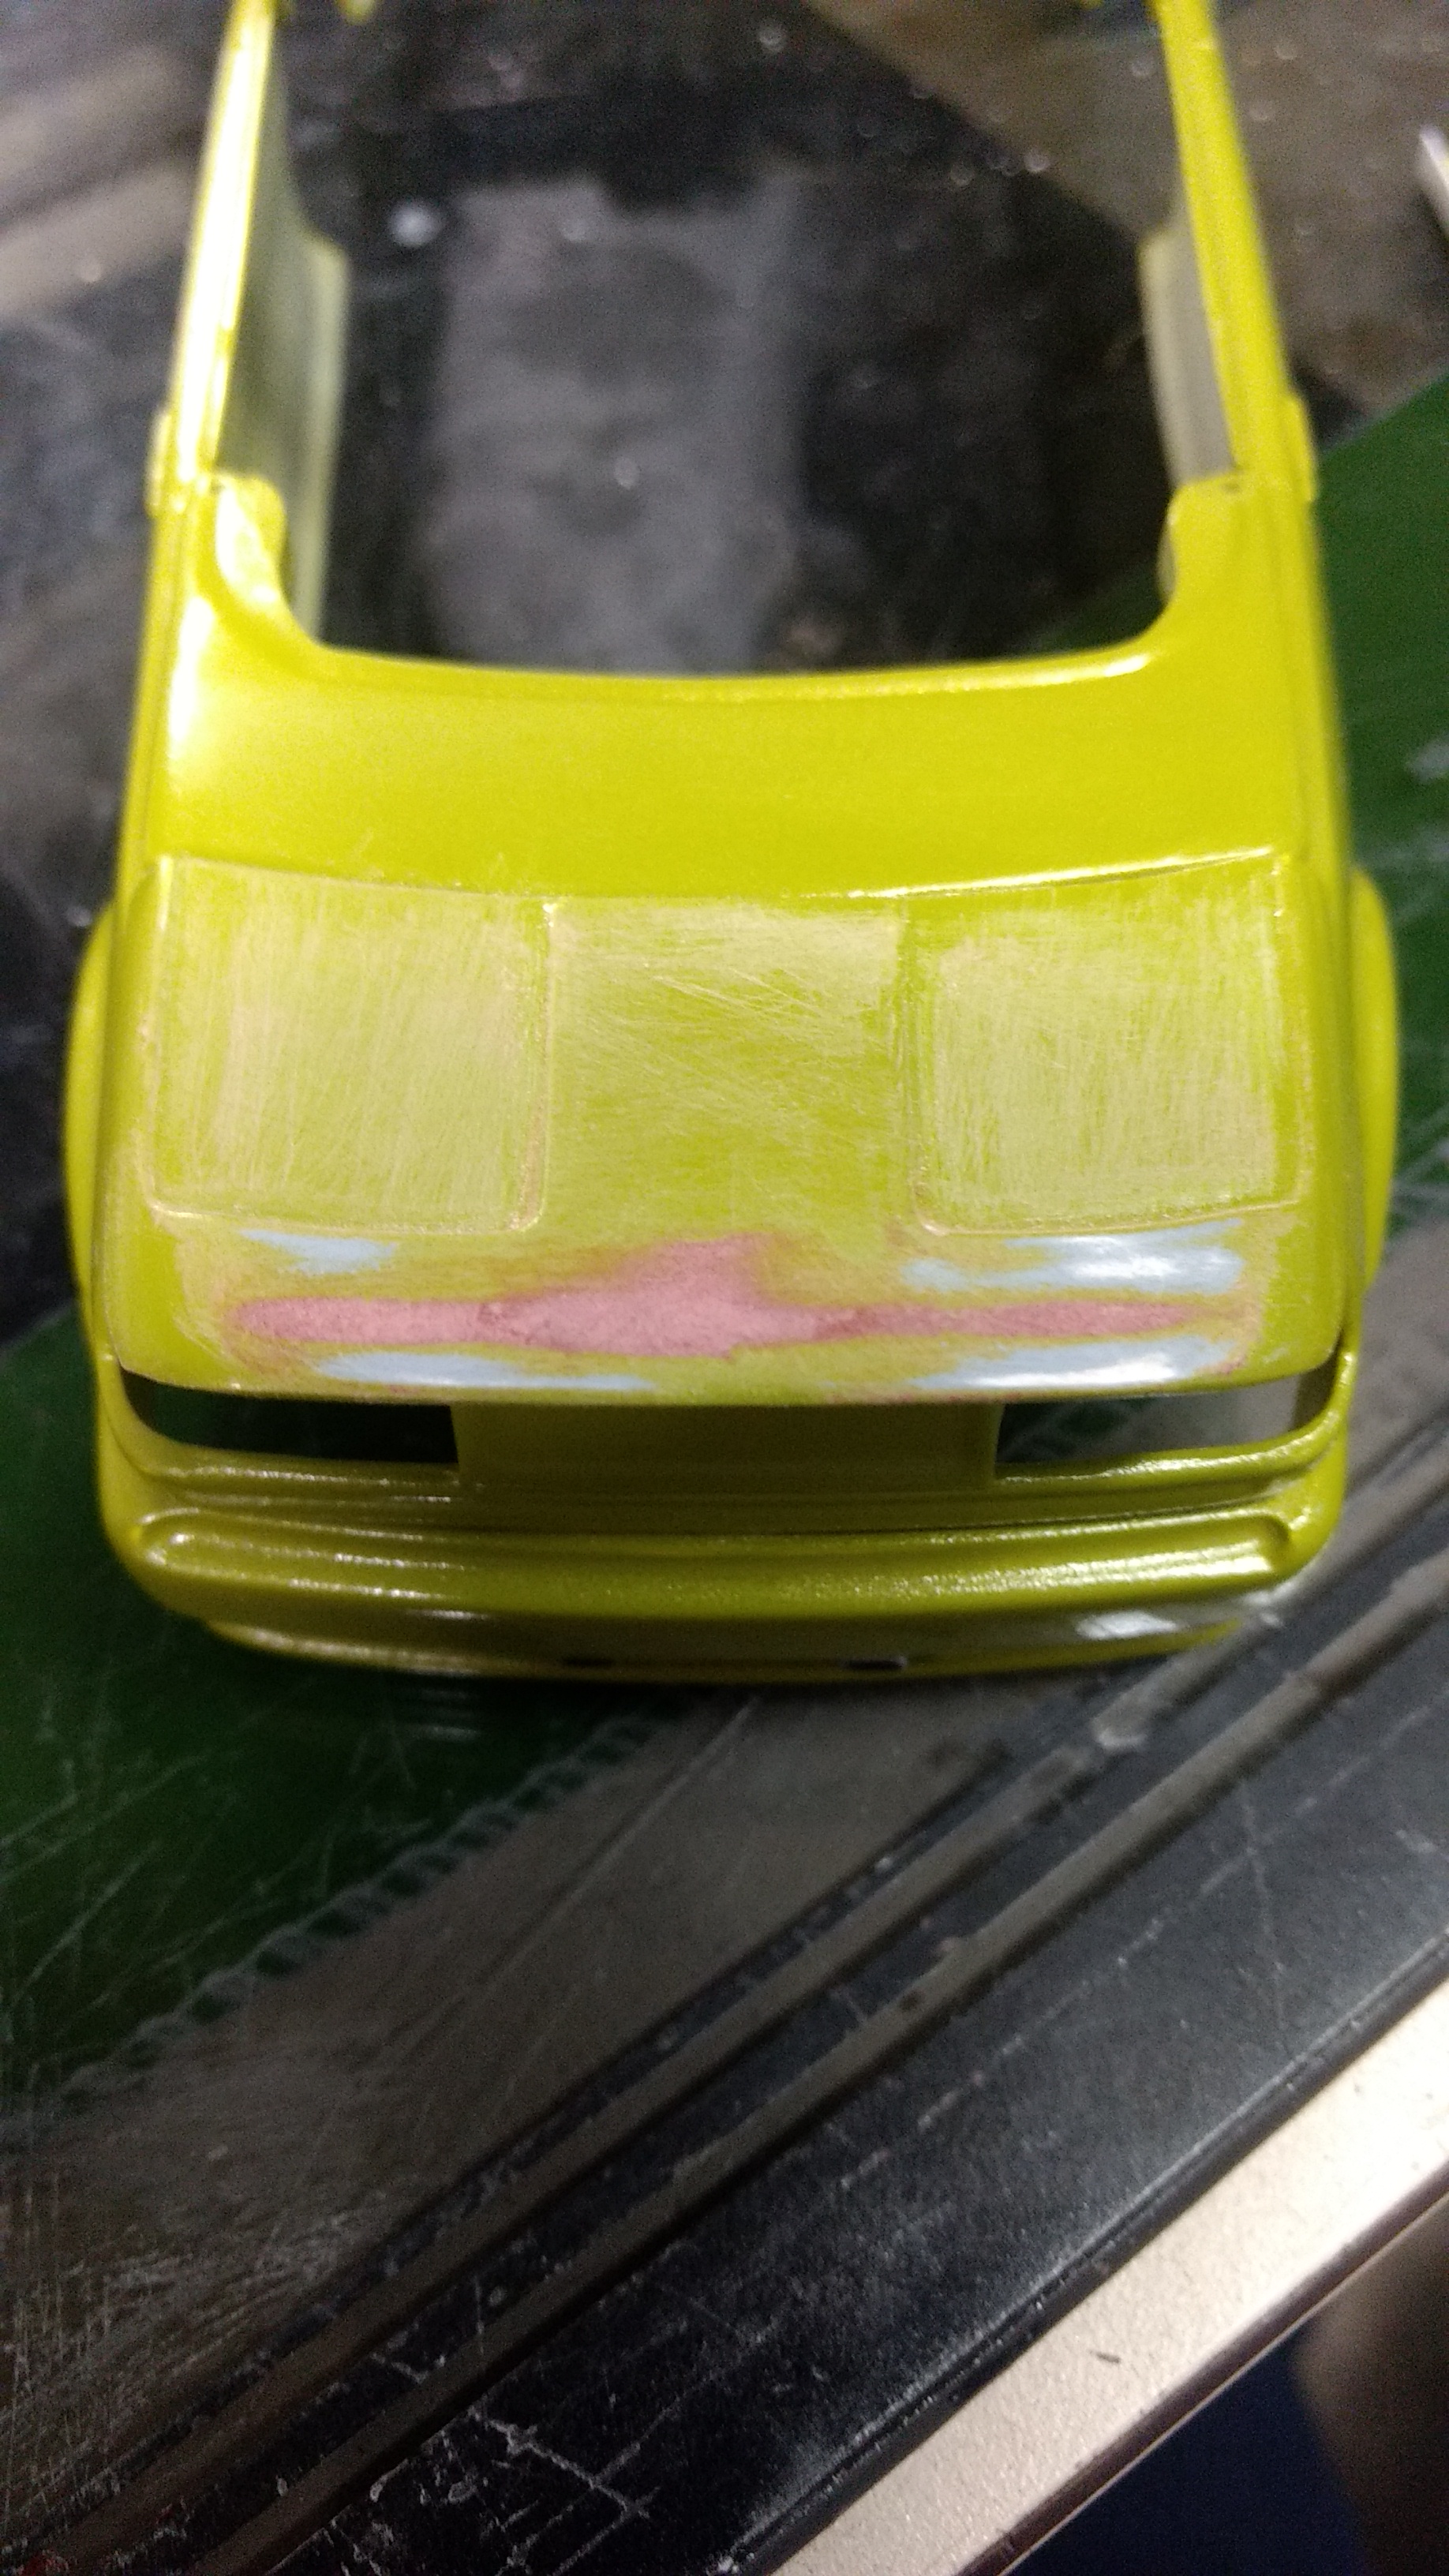
Had to do a repaint. Decided to go with Lime Ice. My buddy told me that is what he used but, unless he used a different shade of primer, I have no idea how he came up with the shade he did. Oh well. Here is the body after a couple of coats and a couple coats of Wet Look Clear. I got the engine detailed a bit and installed and the taillights installed. Not much left to do but put it together. Later-
-
Thanks Nick. I was just looking at this one the other day in my display case and thinking that I need to move it up in the line. Of course, that just means that I'm a year or more away. Later-
-
Those both look beautiful. Nice work on this project. I just finished reading through this entire post and will have to bookmark it for the future when I do my build. It would seem by now that someone should have come up with a better set of tires. Any answer on this? Later-
-
Looking good Mike! Keep it going. Later-
-
Thanks for the info. I'll keep an eye out. I think Fireball Modelworks sells them too. Later-
-
-
Chris, Beautiful work on that paint. Looking great! Later-
-
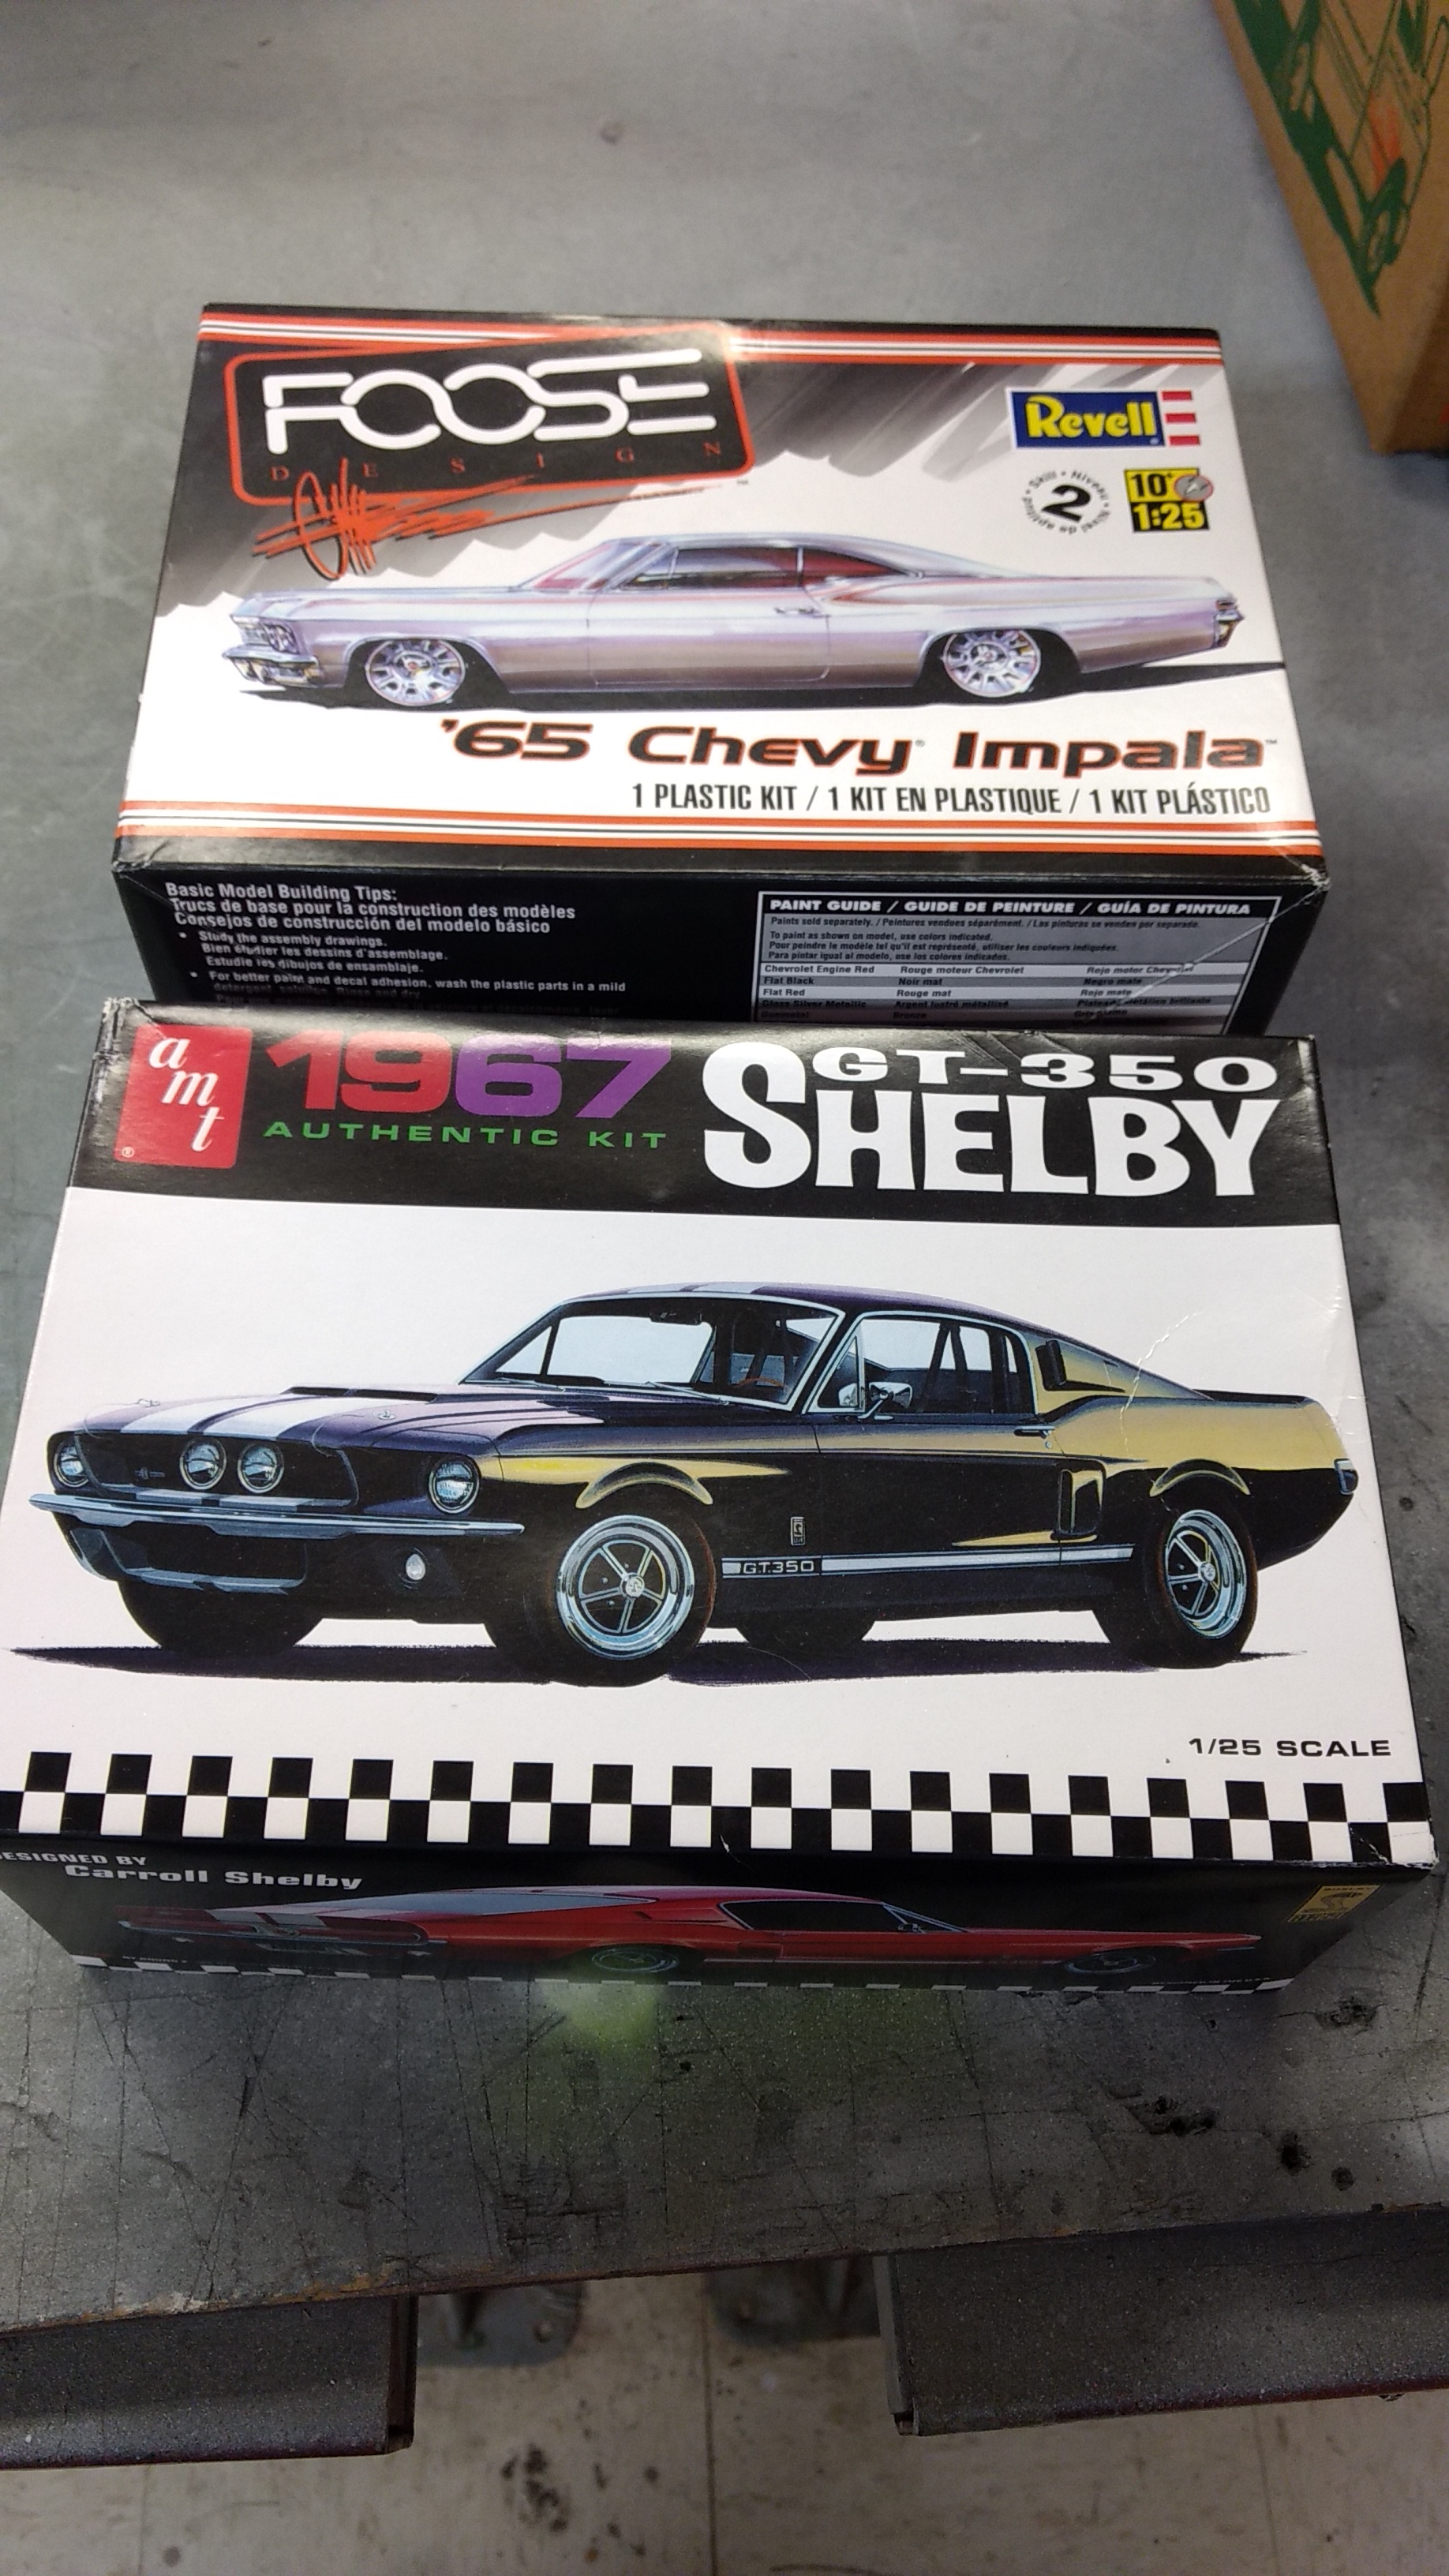
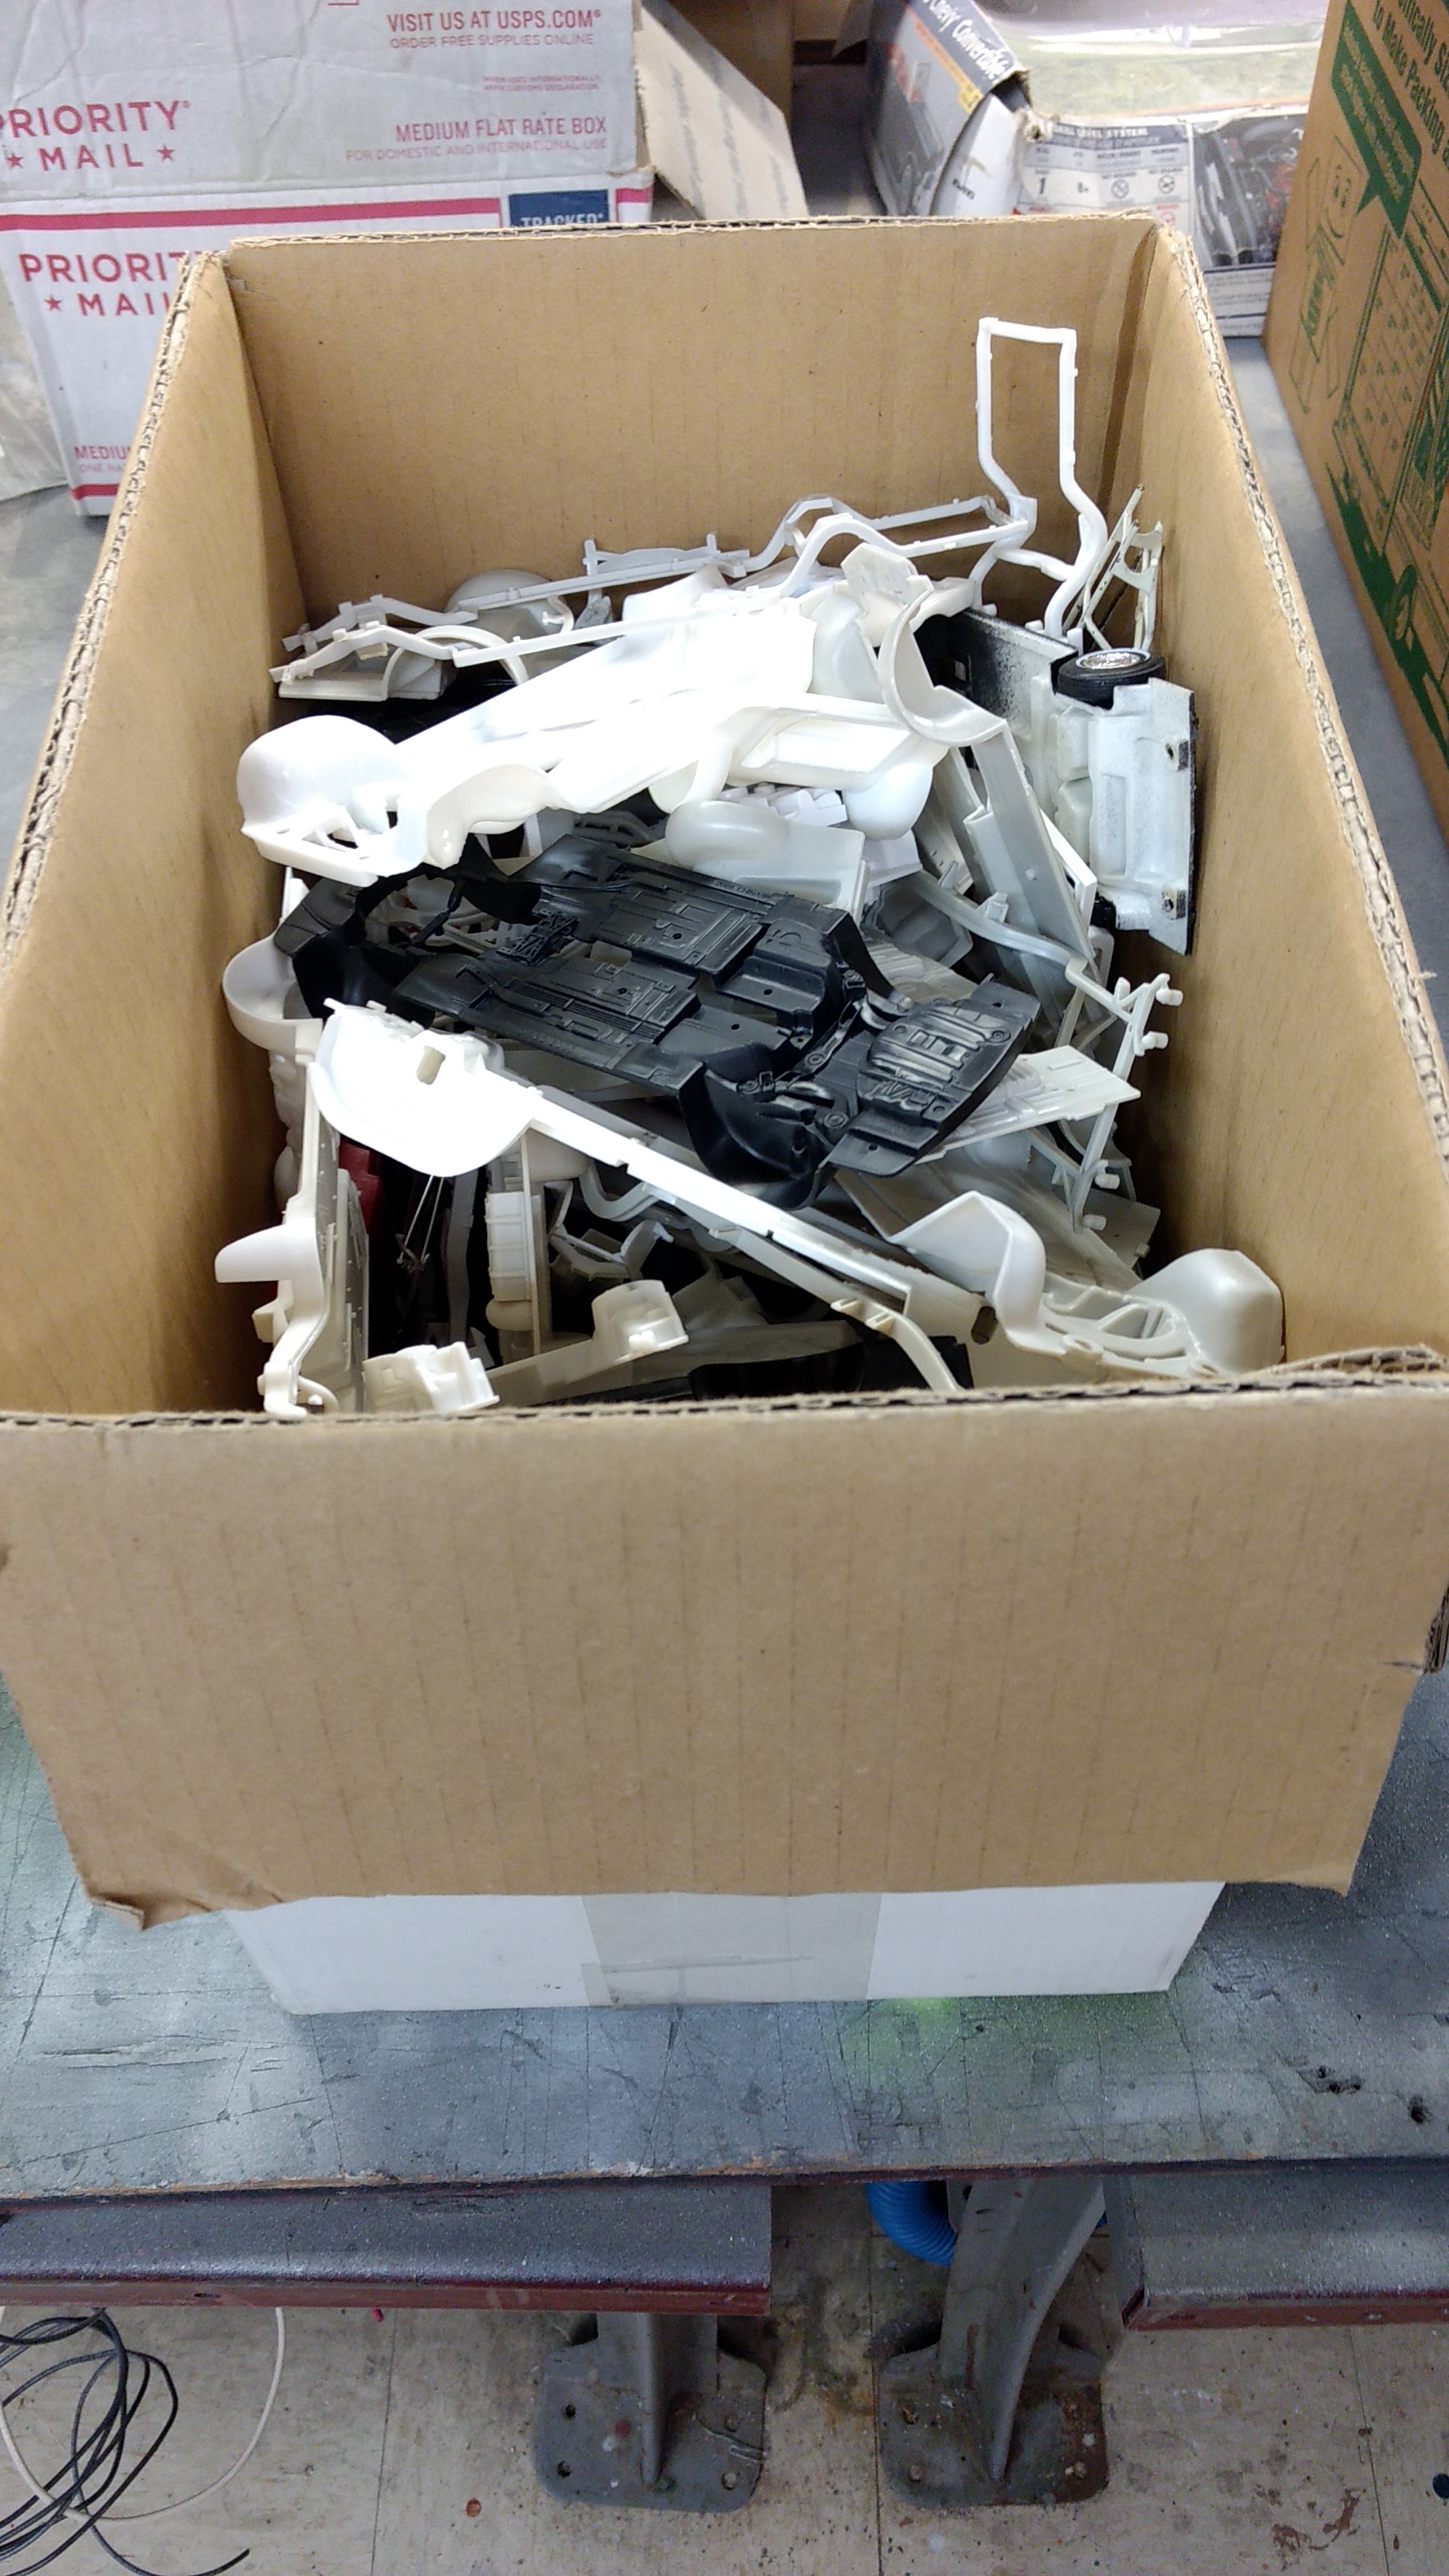
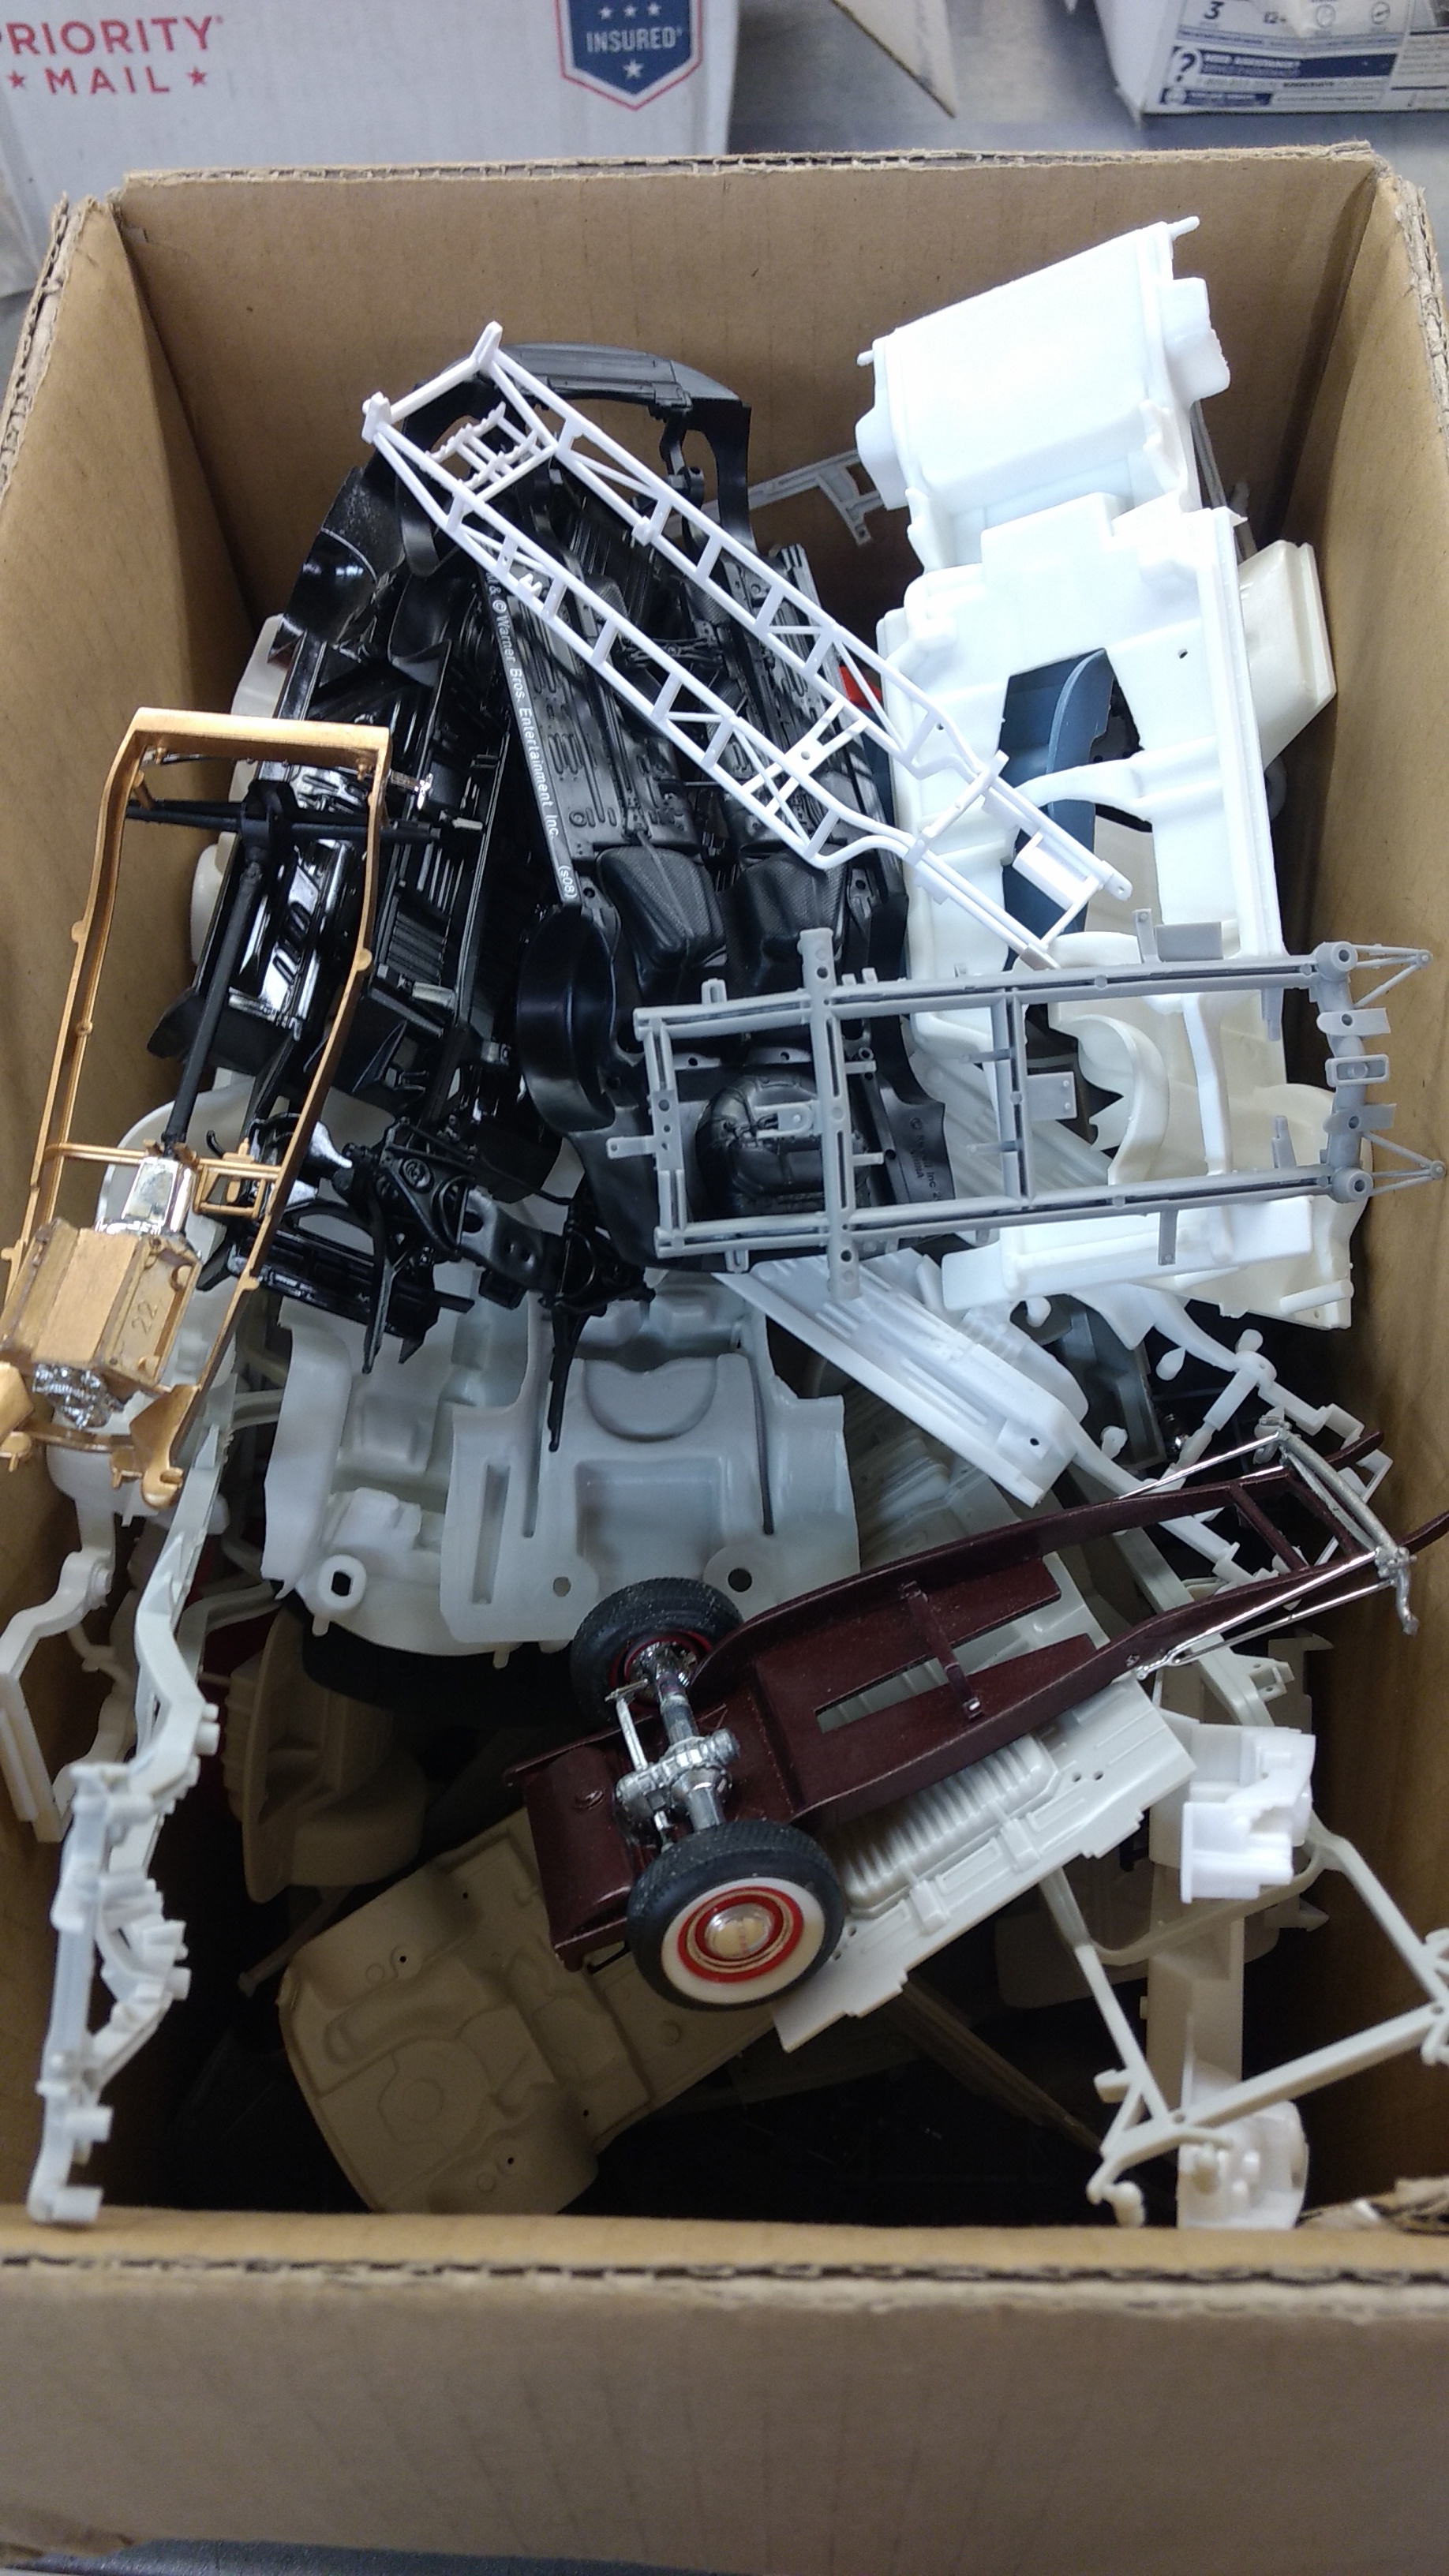
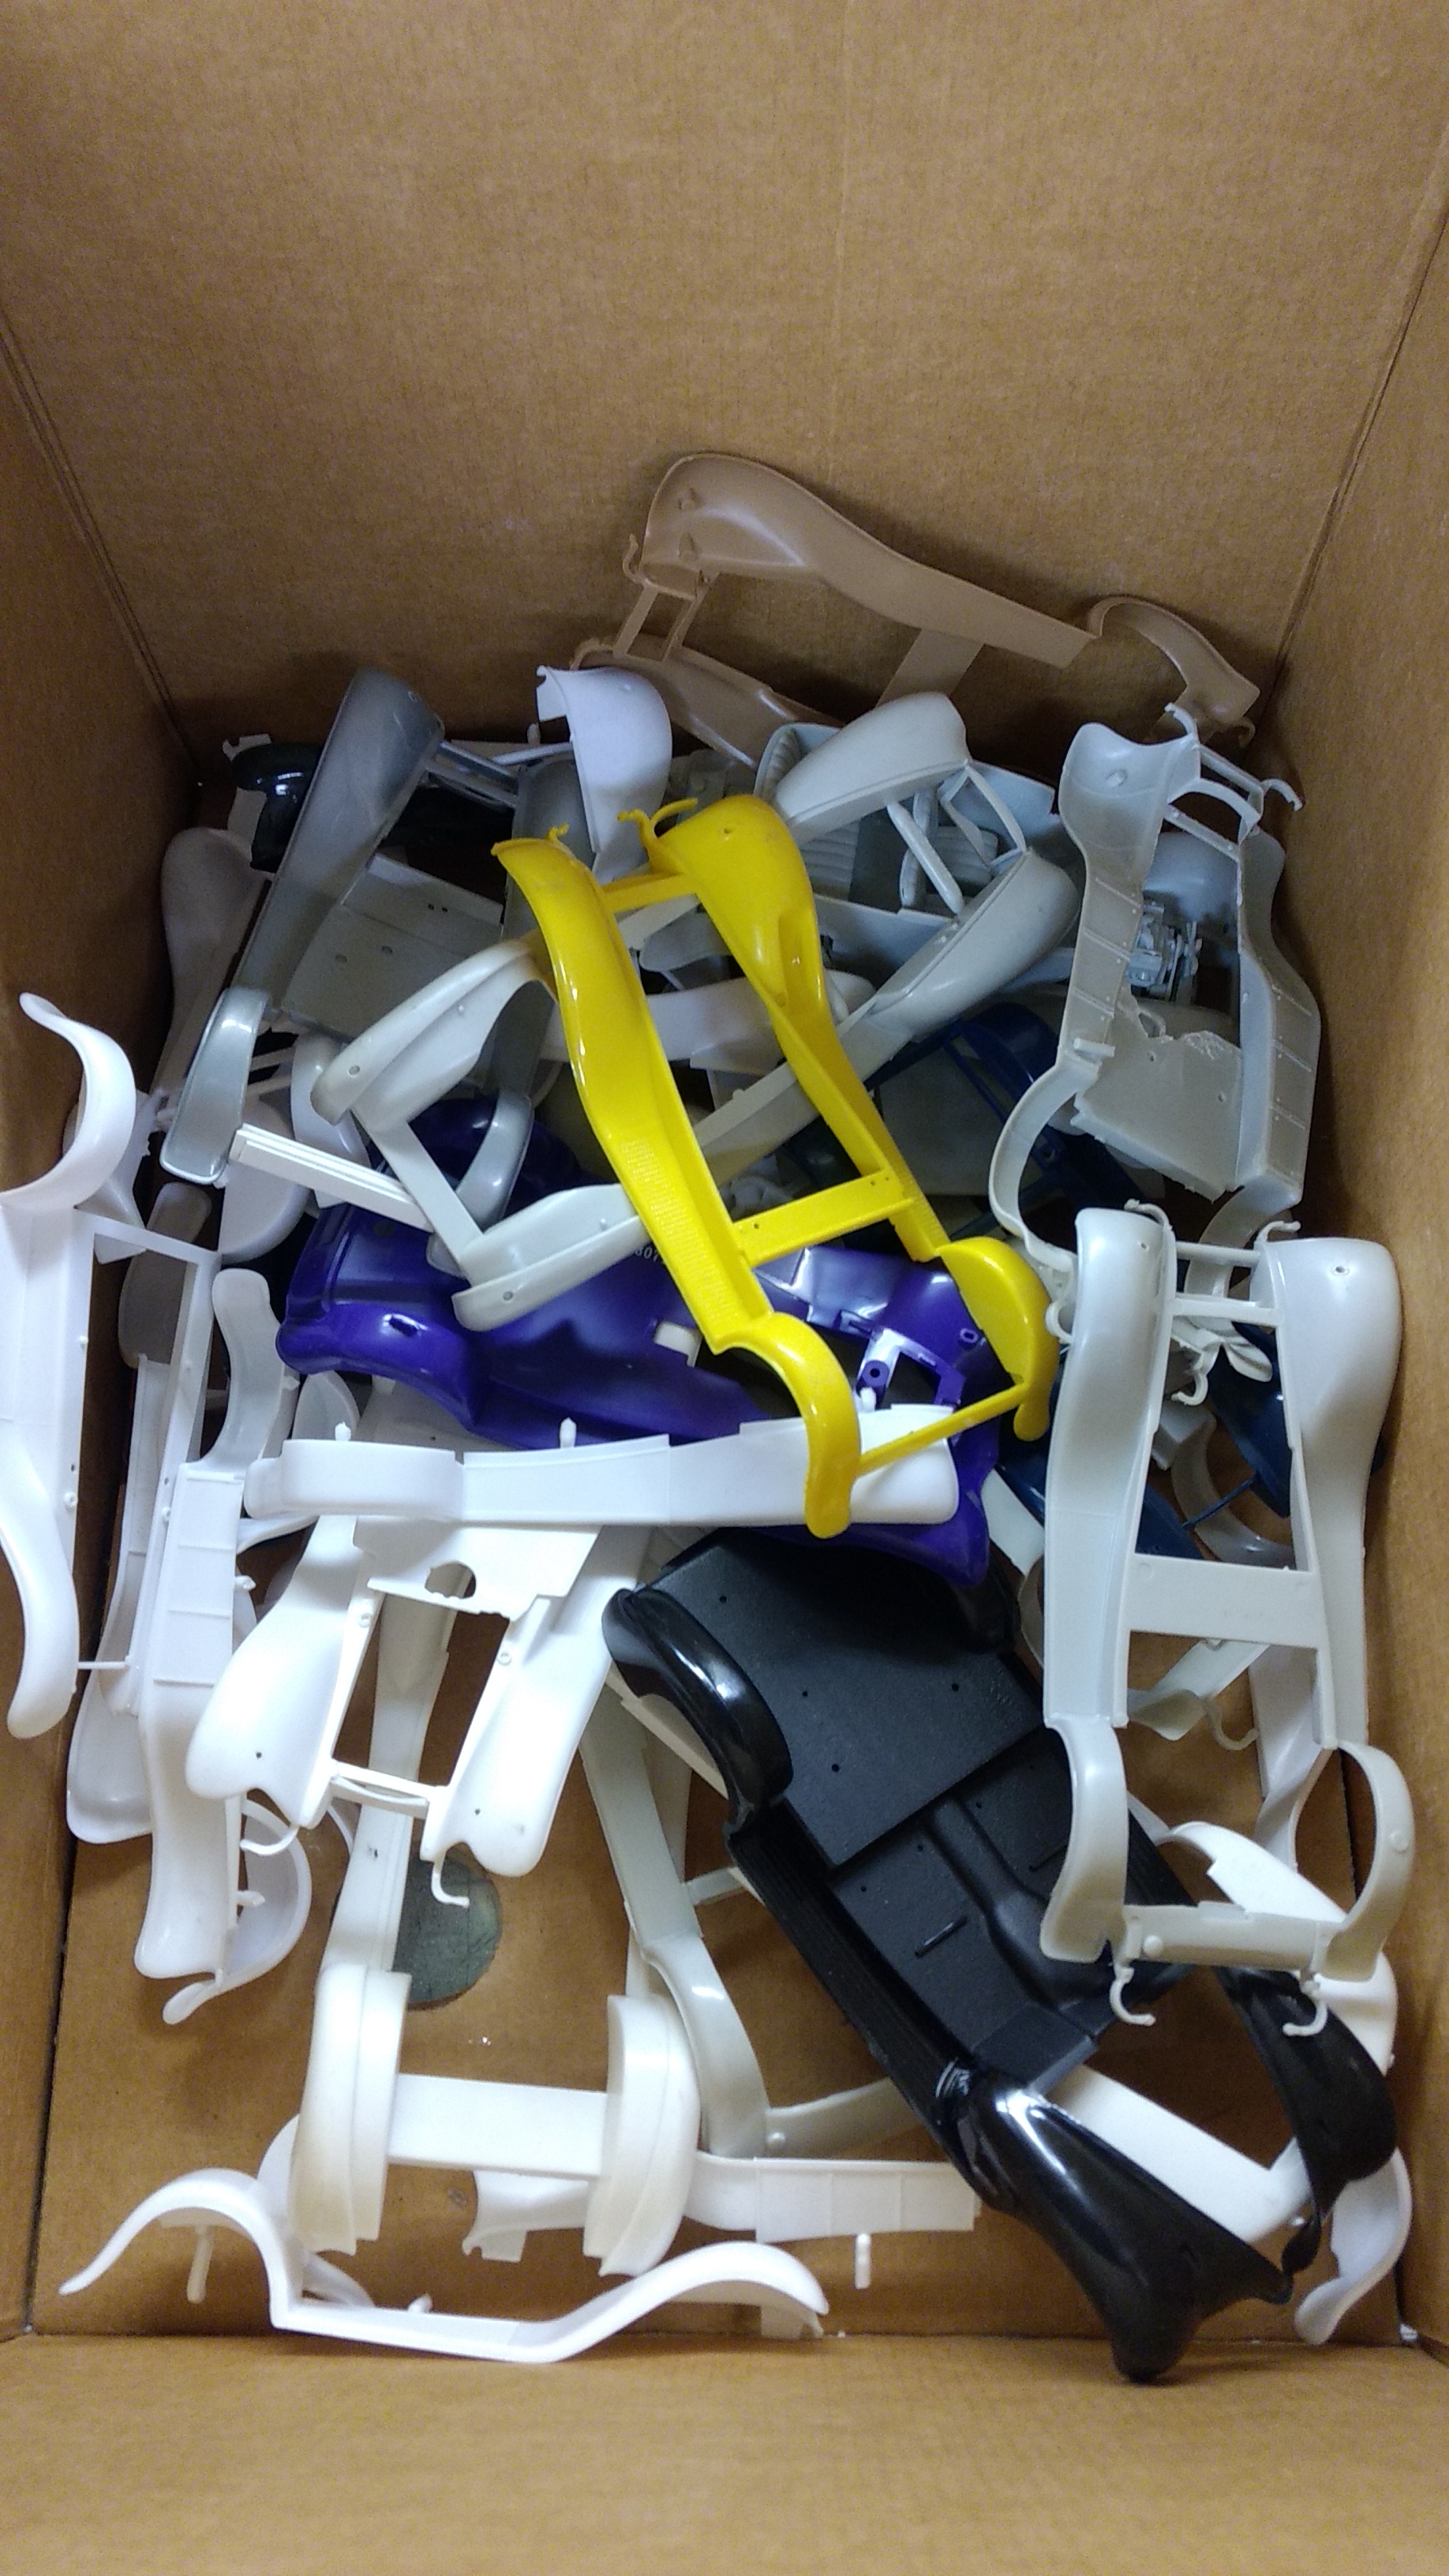
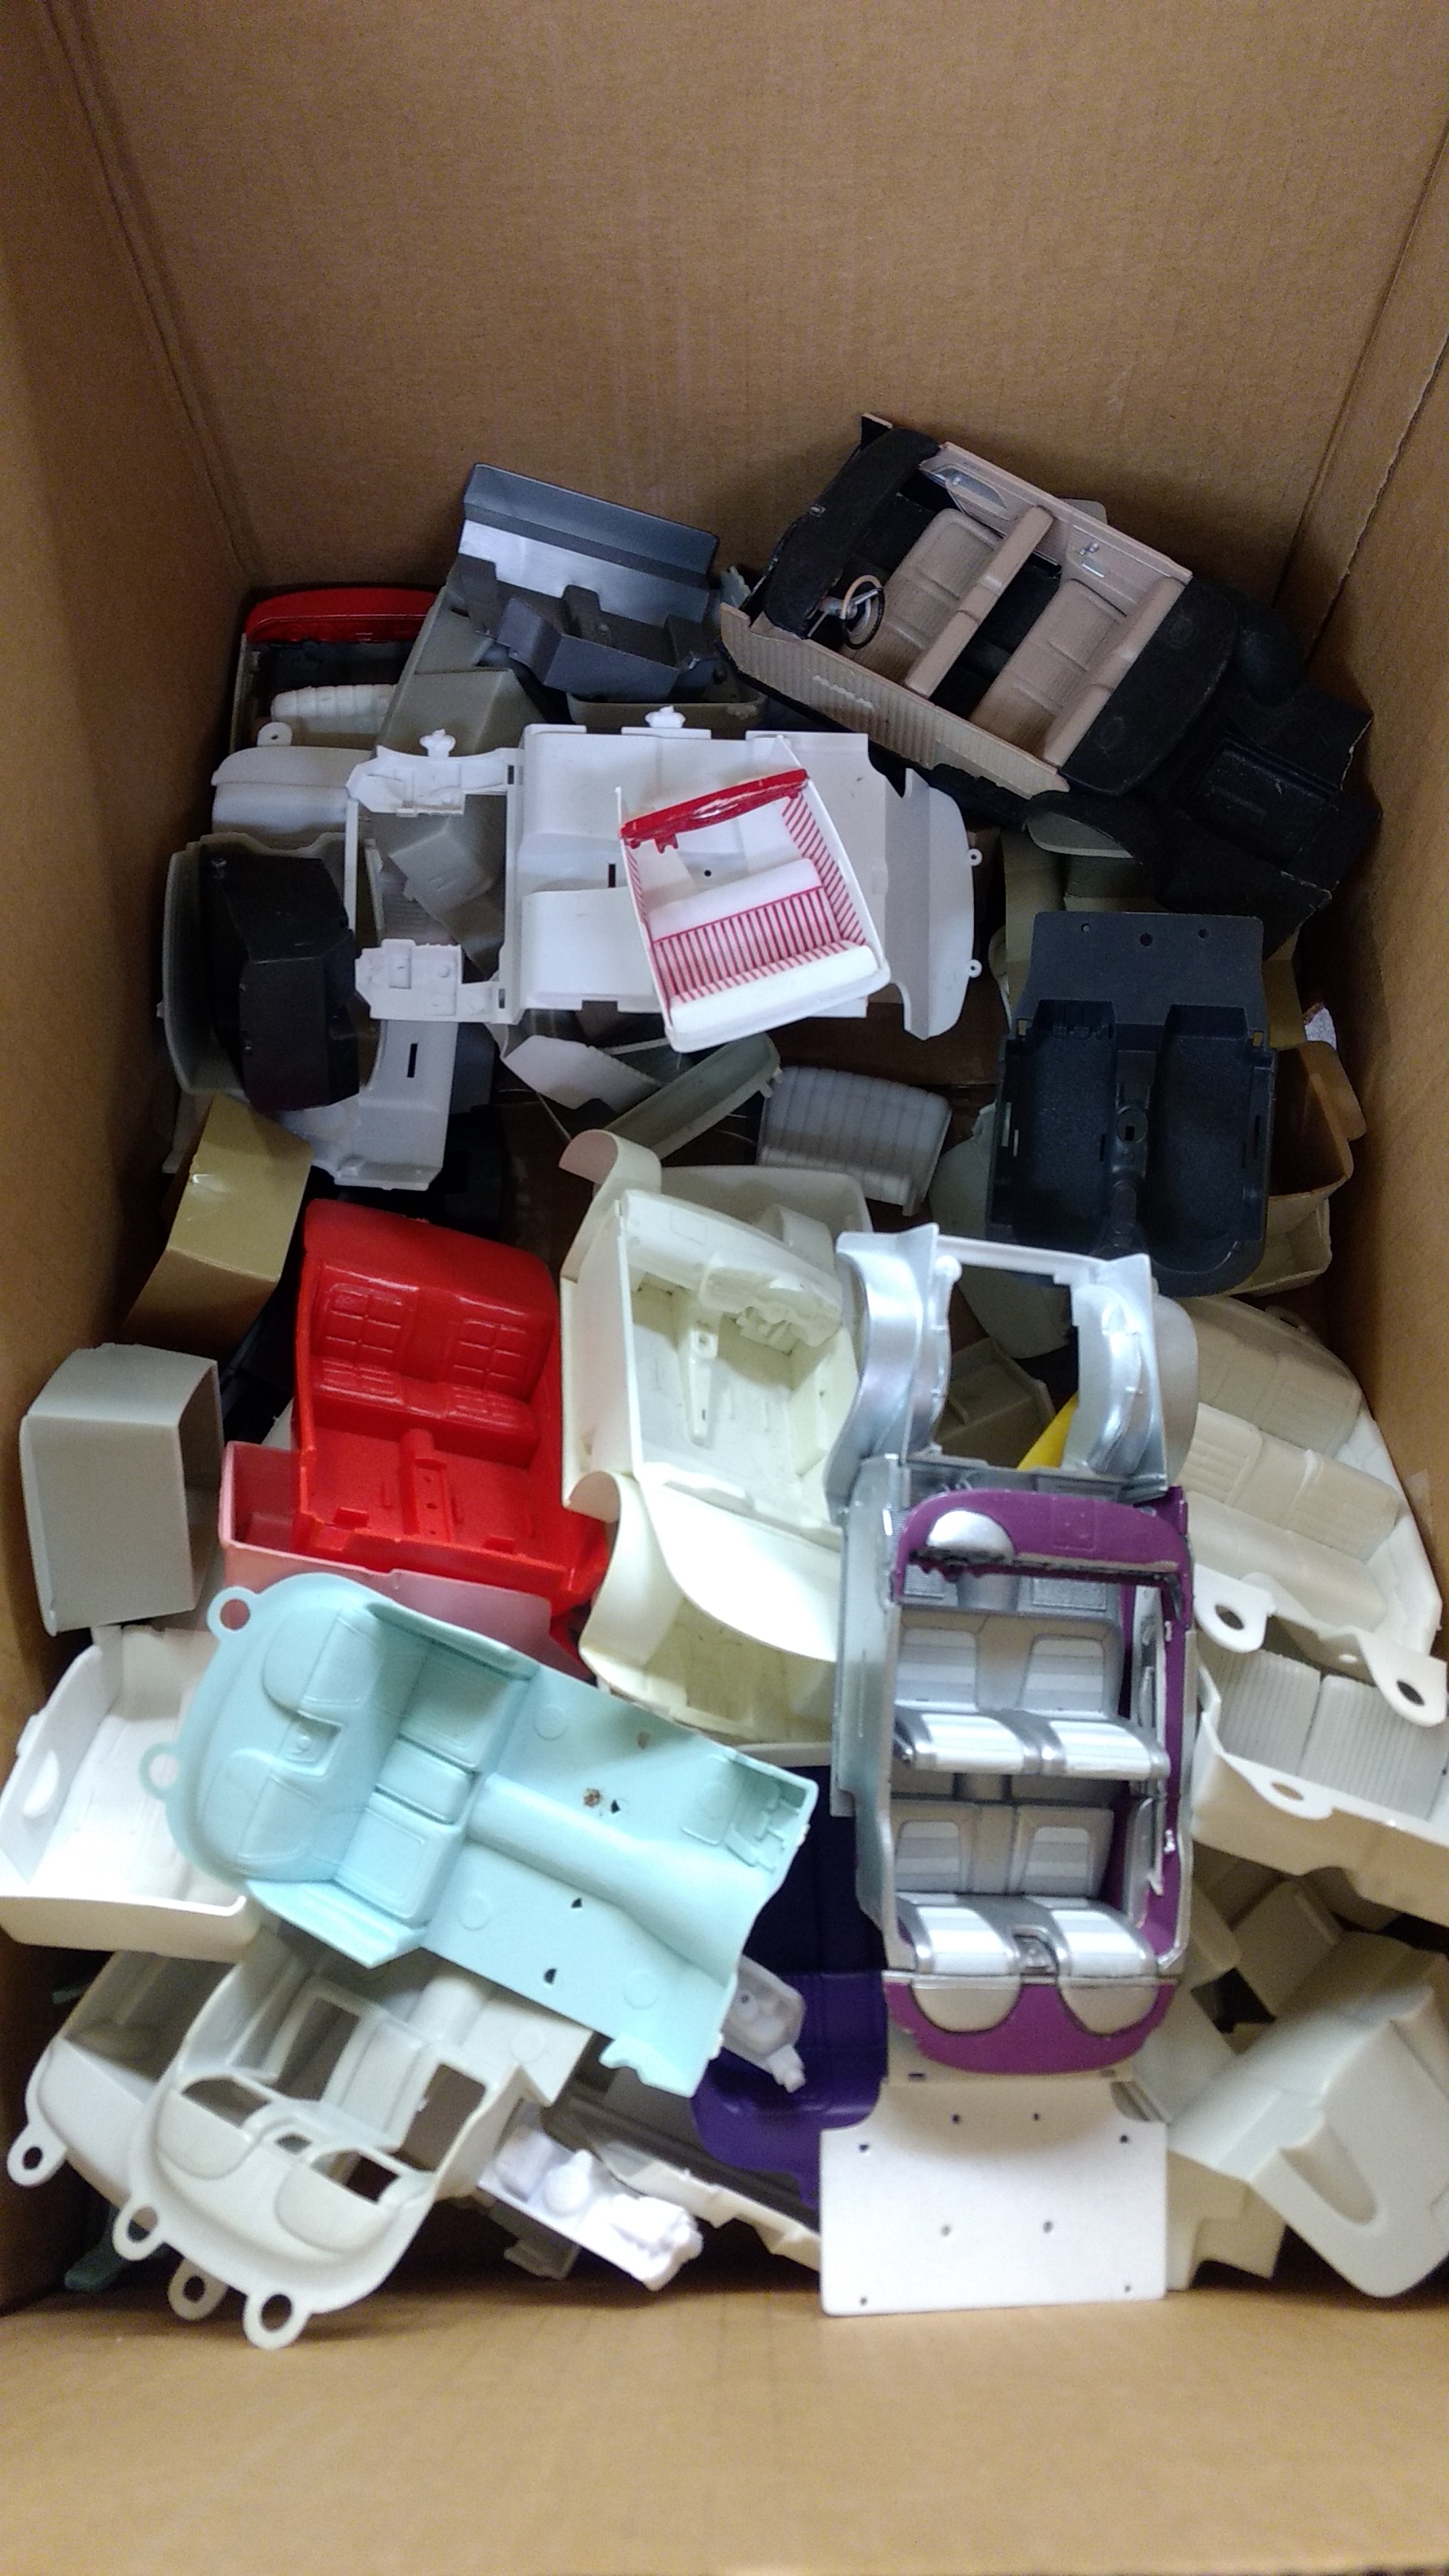
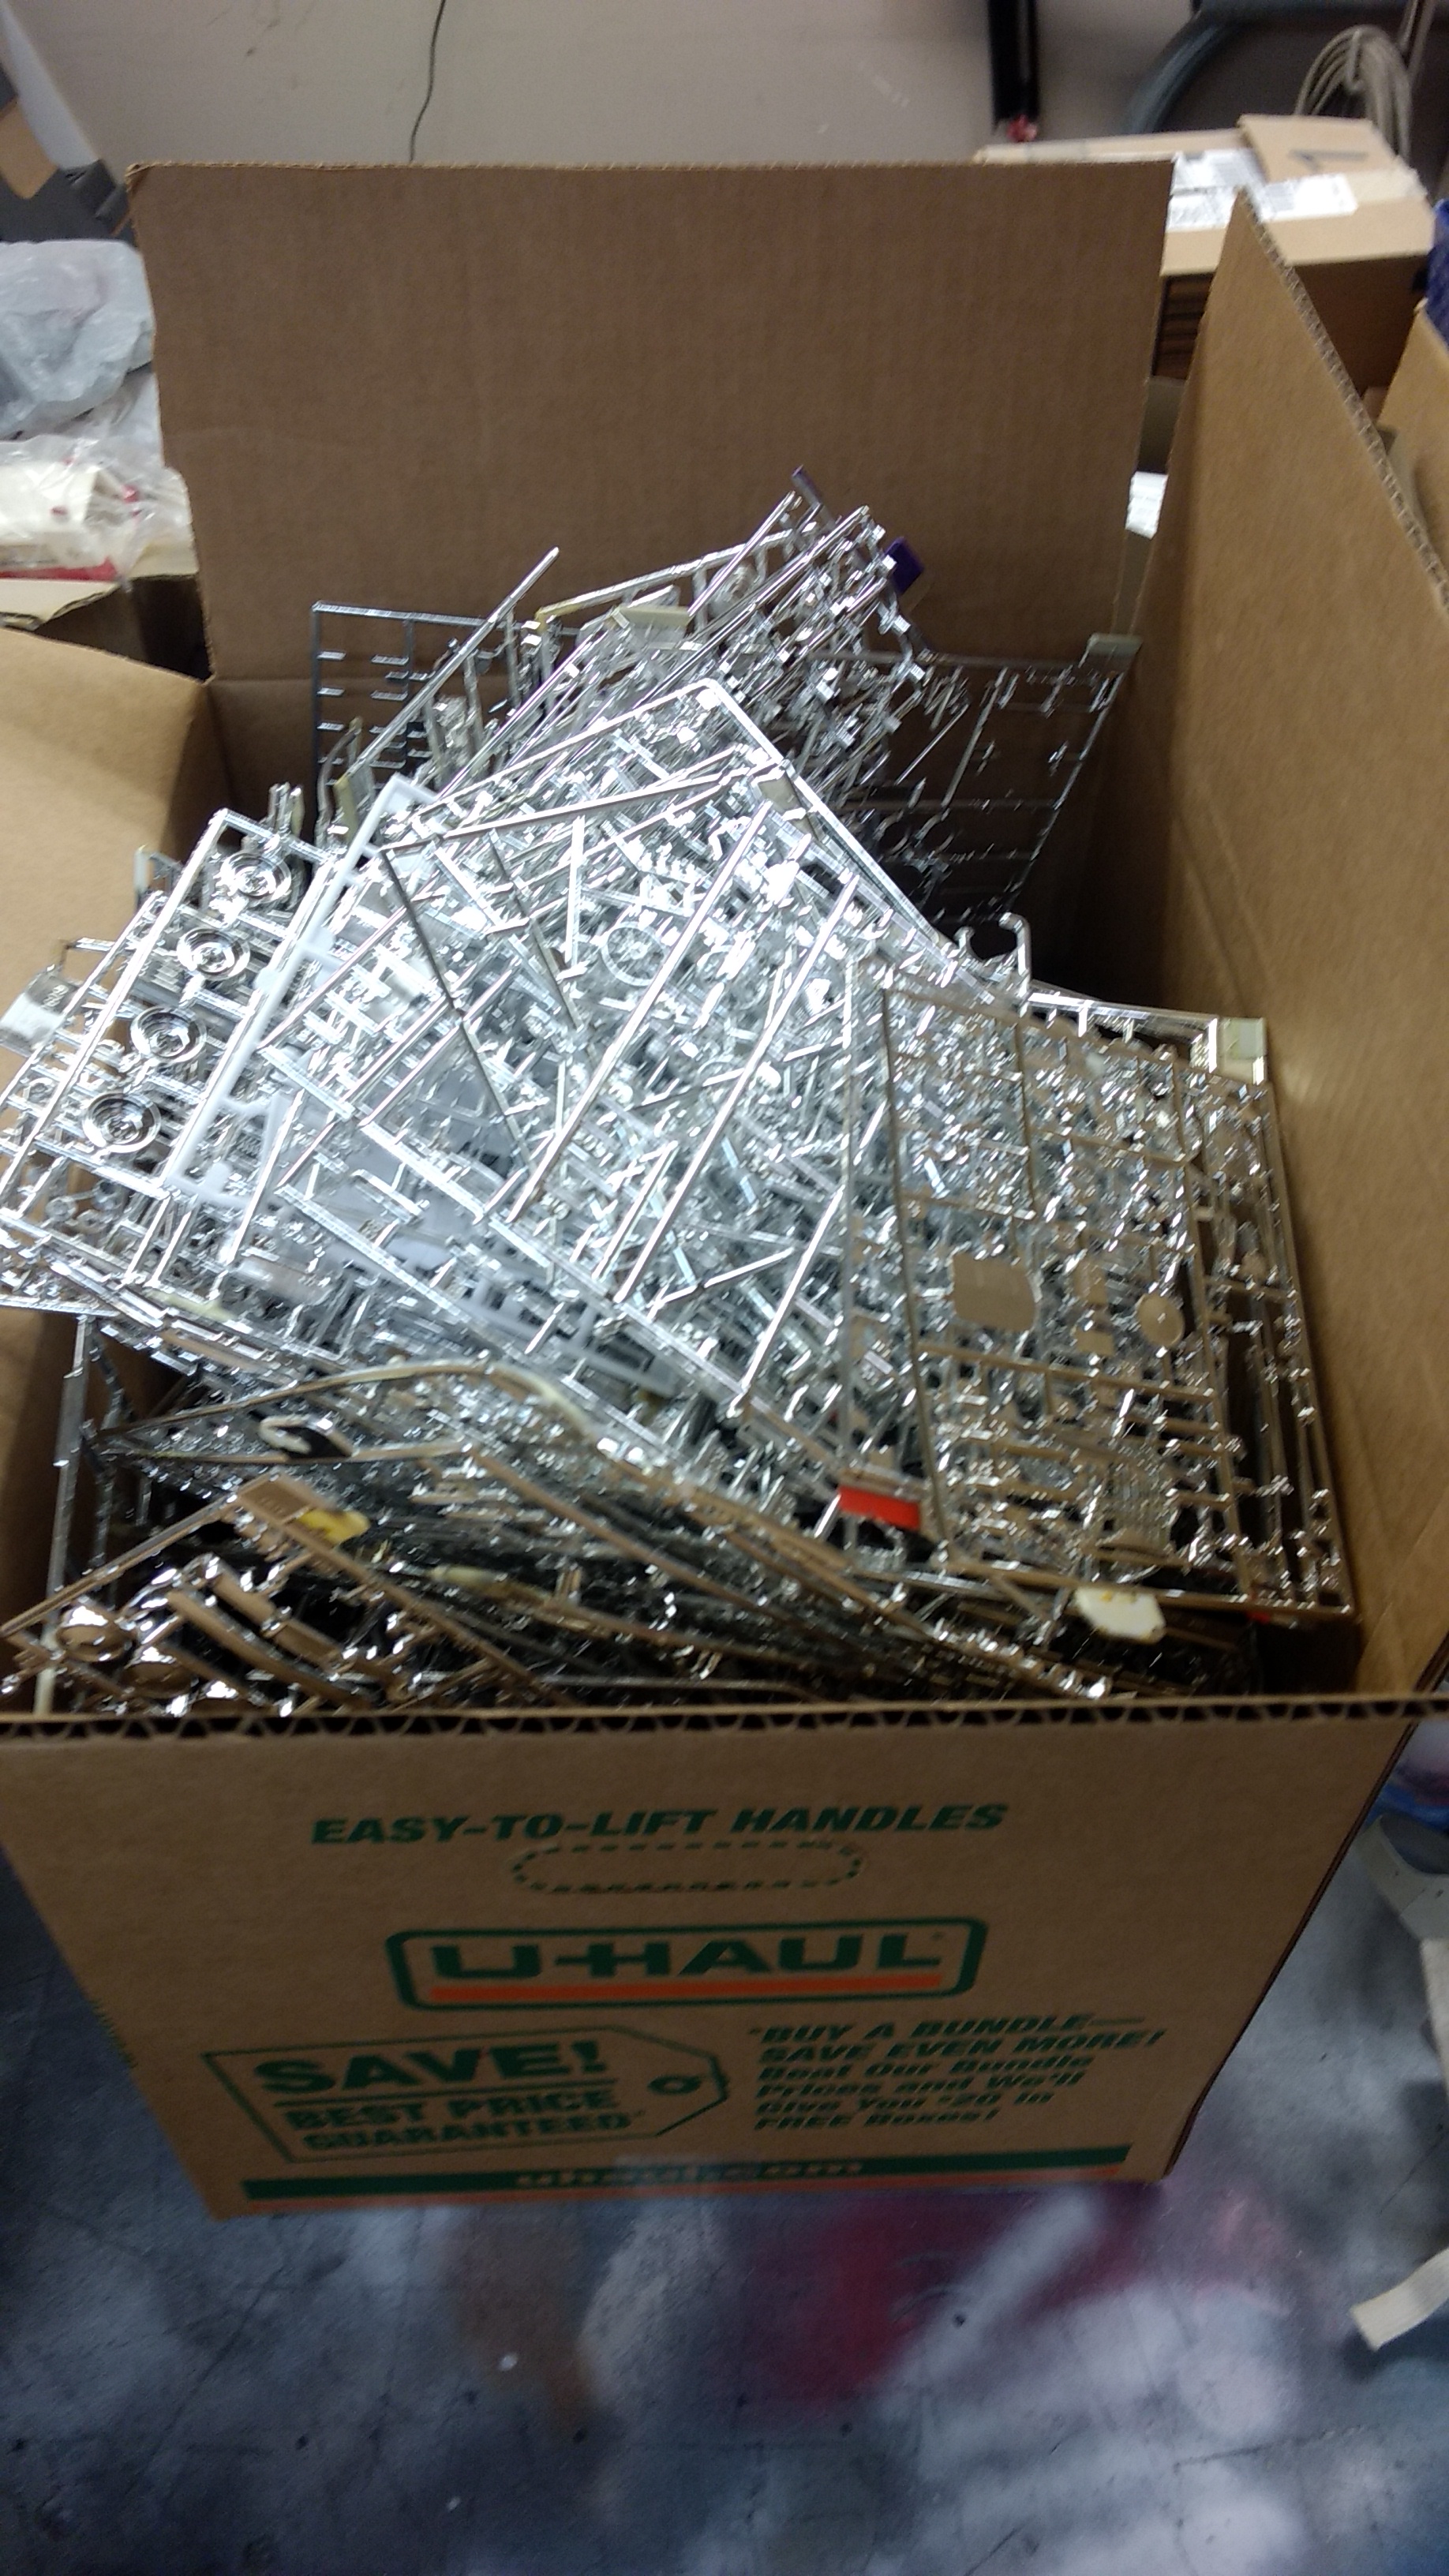
Went to visit a good friend last night and look what he gave me! Some interesting stuff in here. If you've got a need for something specific (chassis pan, interior, fender sets, Revell 32 Ford chrome- let me know). Looking for decal sheets for the Impala and Shelby- the only thing the kits are missing. Later-
-
Well, looks like this one just got a bit more involved. I'll be doing a repaint of this one. There was a depression that I needed to fill on the rear wing and I needed to widen the hood to get it to fit right. I found out that my Buddy painted this using Testors Lime Ice. He must not have sprayed many coats because I couldn't tell it was Lime Ice because the primer coat changed the final color alot. Not sure if I am going to do it in Lime Ice as I would need to buy some. However, I don't have any paint that I think would have the 90's look to it. I'll have to see what my plan is. Later-
-
That is looking good! Nice color for the body too. Later-
-
Nice! When I was growing up we had a 54. Kaisers were very different looking cars. I'd love to have a Kaiser Vagabond. I've only seen two and both were in very rough shape, sitting in fields. Later-
-
I'd love to have that Jeep! Great score. Later-
-
No, unfortunately I didn't but it was simple. The wheels are two pieces. Basically a chrome hubcap and a white wheelback. On the backside of the wheelback is a round portion about an 1/8 inch in diameter that sticks out about 1/8 inch. The pin from the brake rotors slides into that part. I removed it completely to make the back of the wheelback smooth. I then cut the pin down to about 1/16 inch. Then I assembled the wheels as per the instructions. I hope this helps. Later-
-
Nice looking bodies. I think that first one would look good with the body facing either direction. Later-
-
That is a very beautiful and clean build of that car. The paint detail is crisp and looks amazing! Later-