Modlbldr
-
Posts
6,885 -
Joined
-
Last visited
Content Type
Profiles
Forums
Events
Gallery
Everything posted by Modlbldr
-

Need help finding a product
Modlbldr replied to Modlbldr's topic in General Automotive Talk (Trucks and Cars)
Thank you guys. No wonder I couldn't remember the name. Looks like I'll be ordering tomorrow. Later- -
I am looking for, what I believe, is a Japanese product. It is a powder that you rub on plastic to make it look like bare metal. I thought the name was Jin- something?? I want to make a bare metal looking 29 or 32 Ford. Does anybody have a clue what I am hinting at or was I just dreaming again? Thanks. Later-
-
Beautiful job! Couldn't get any better. Later-
-
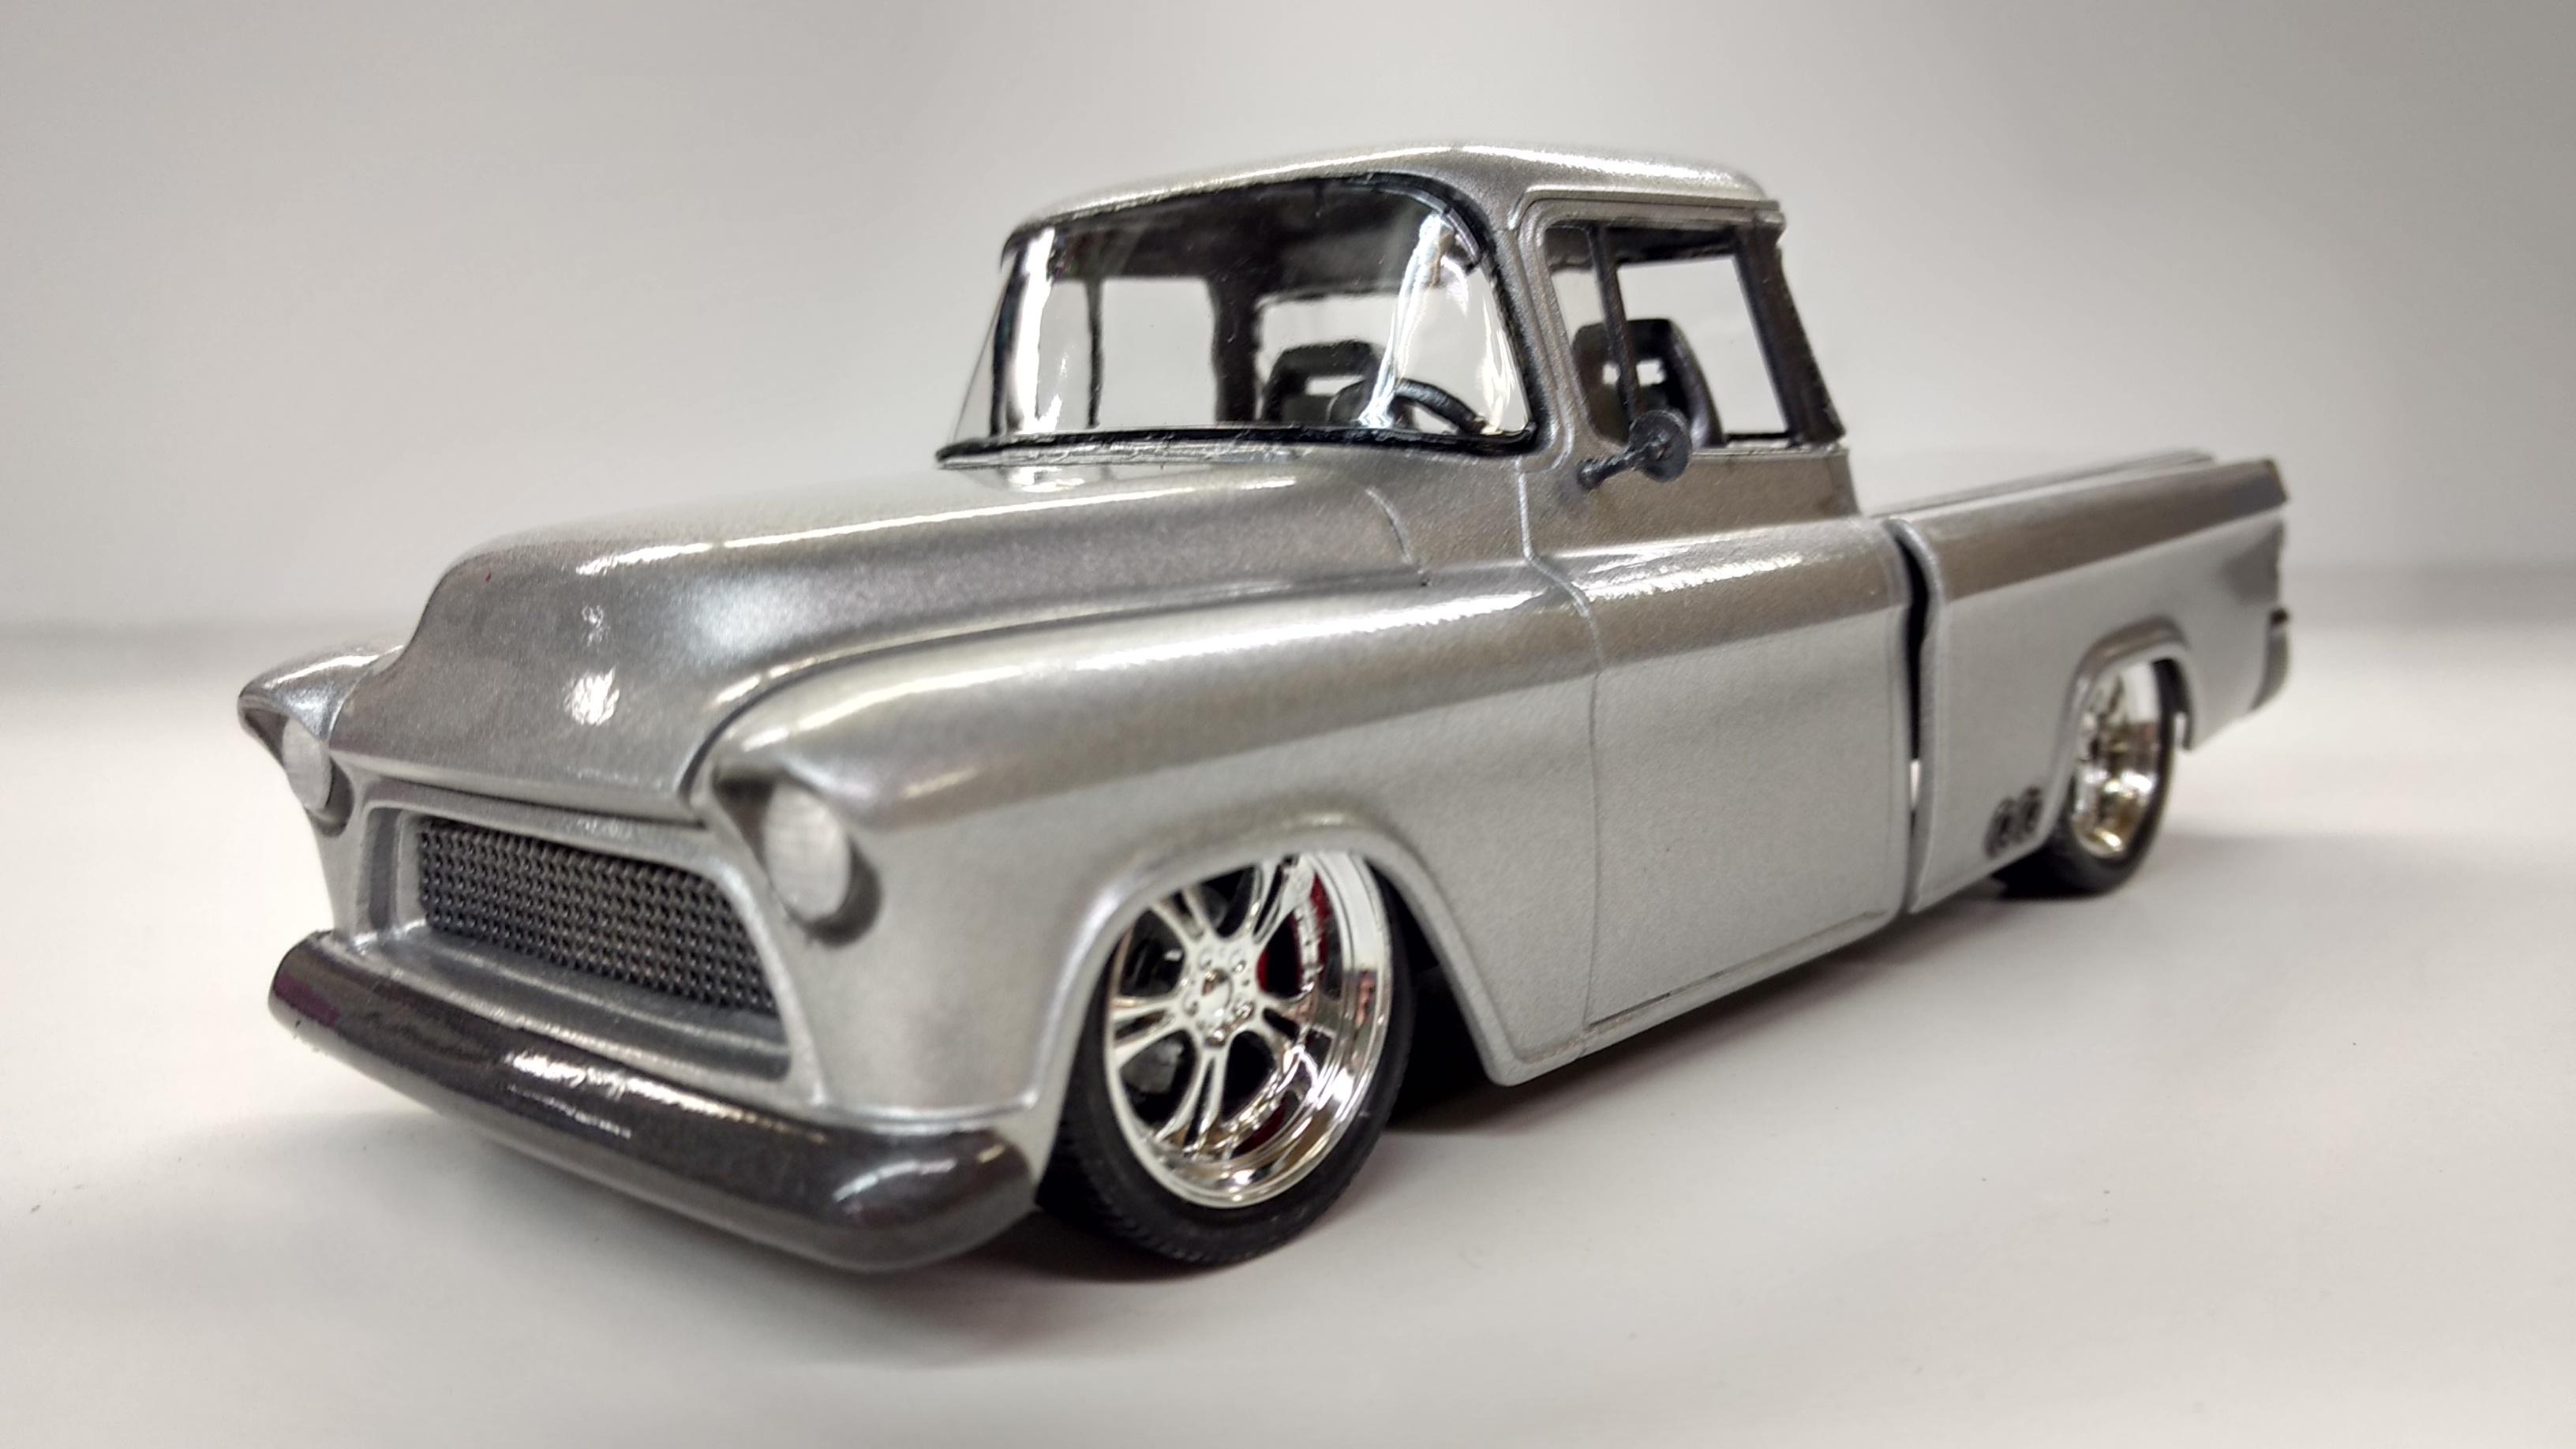
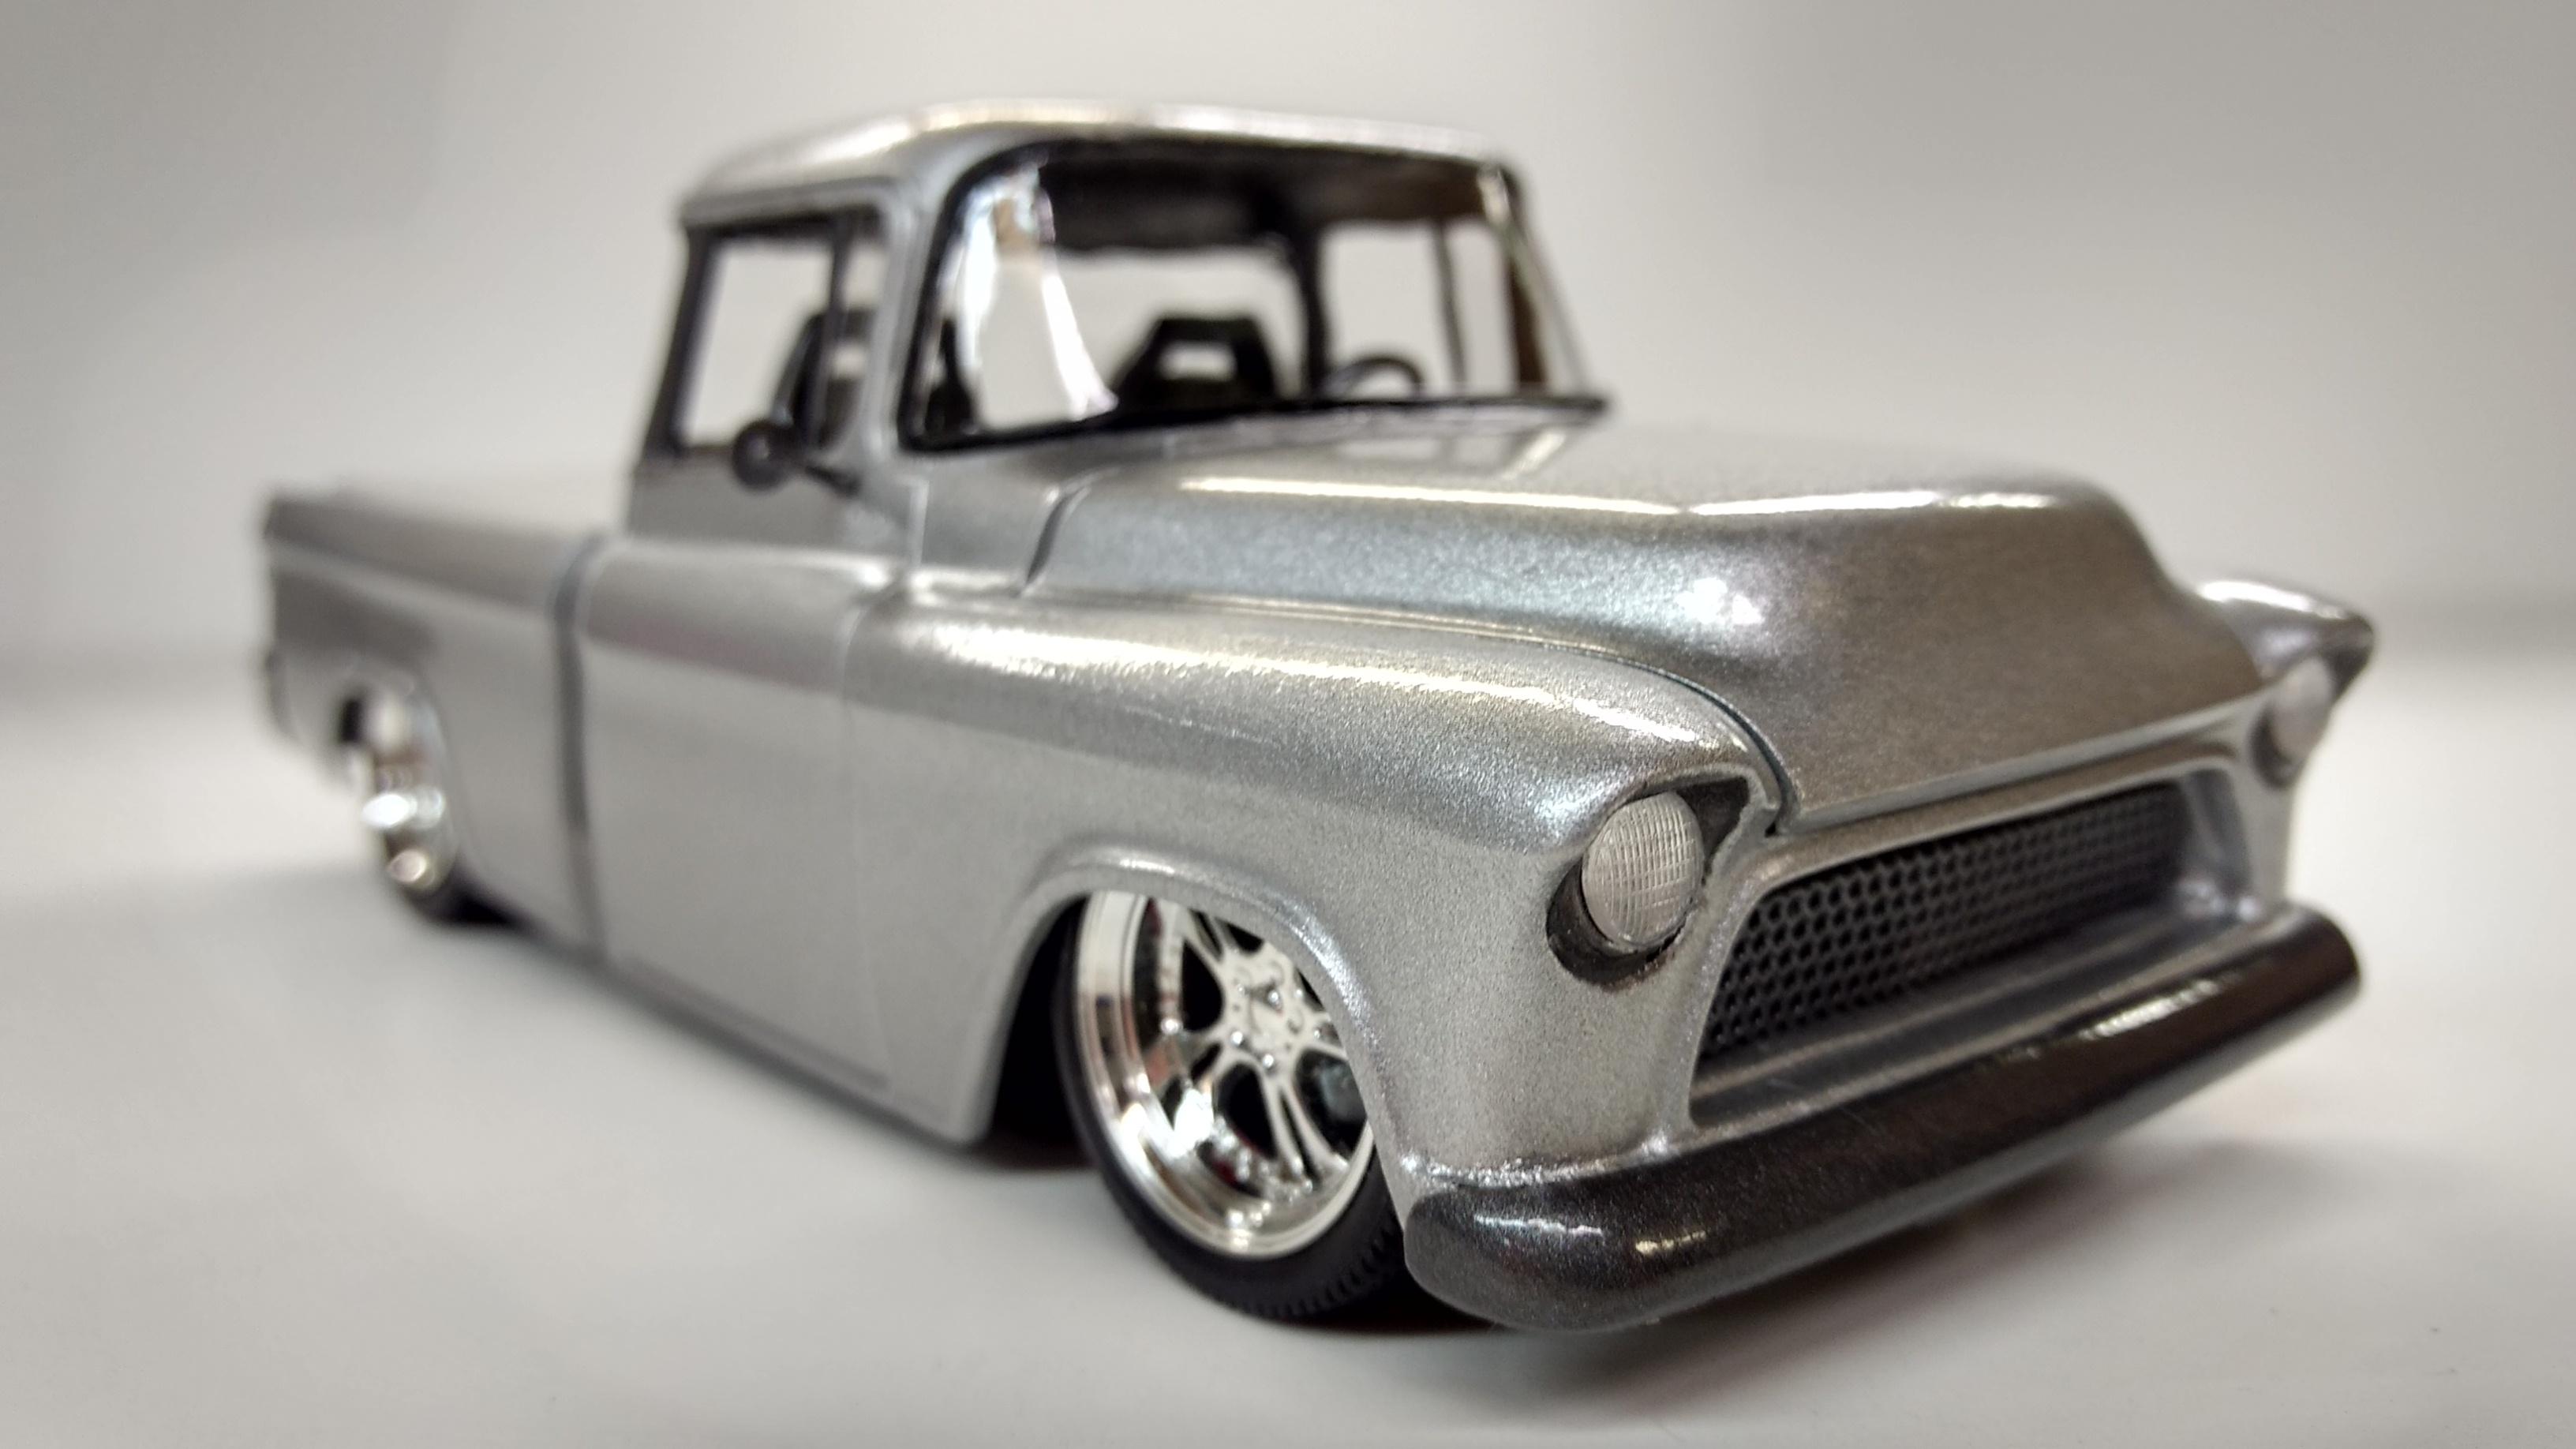
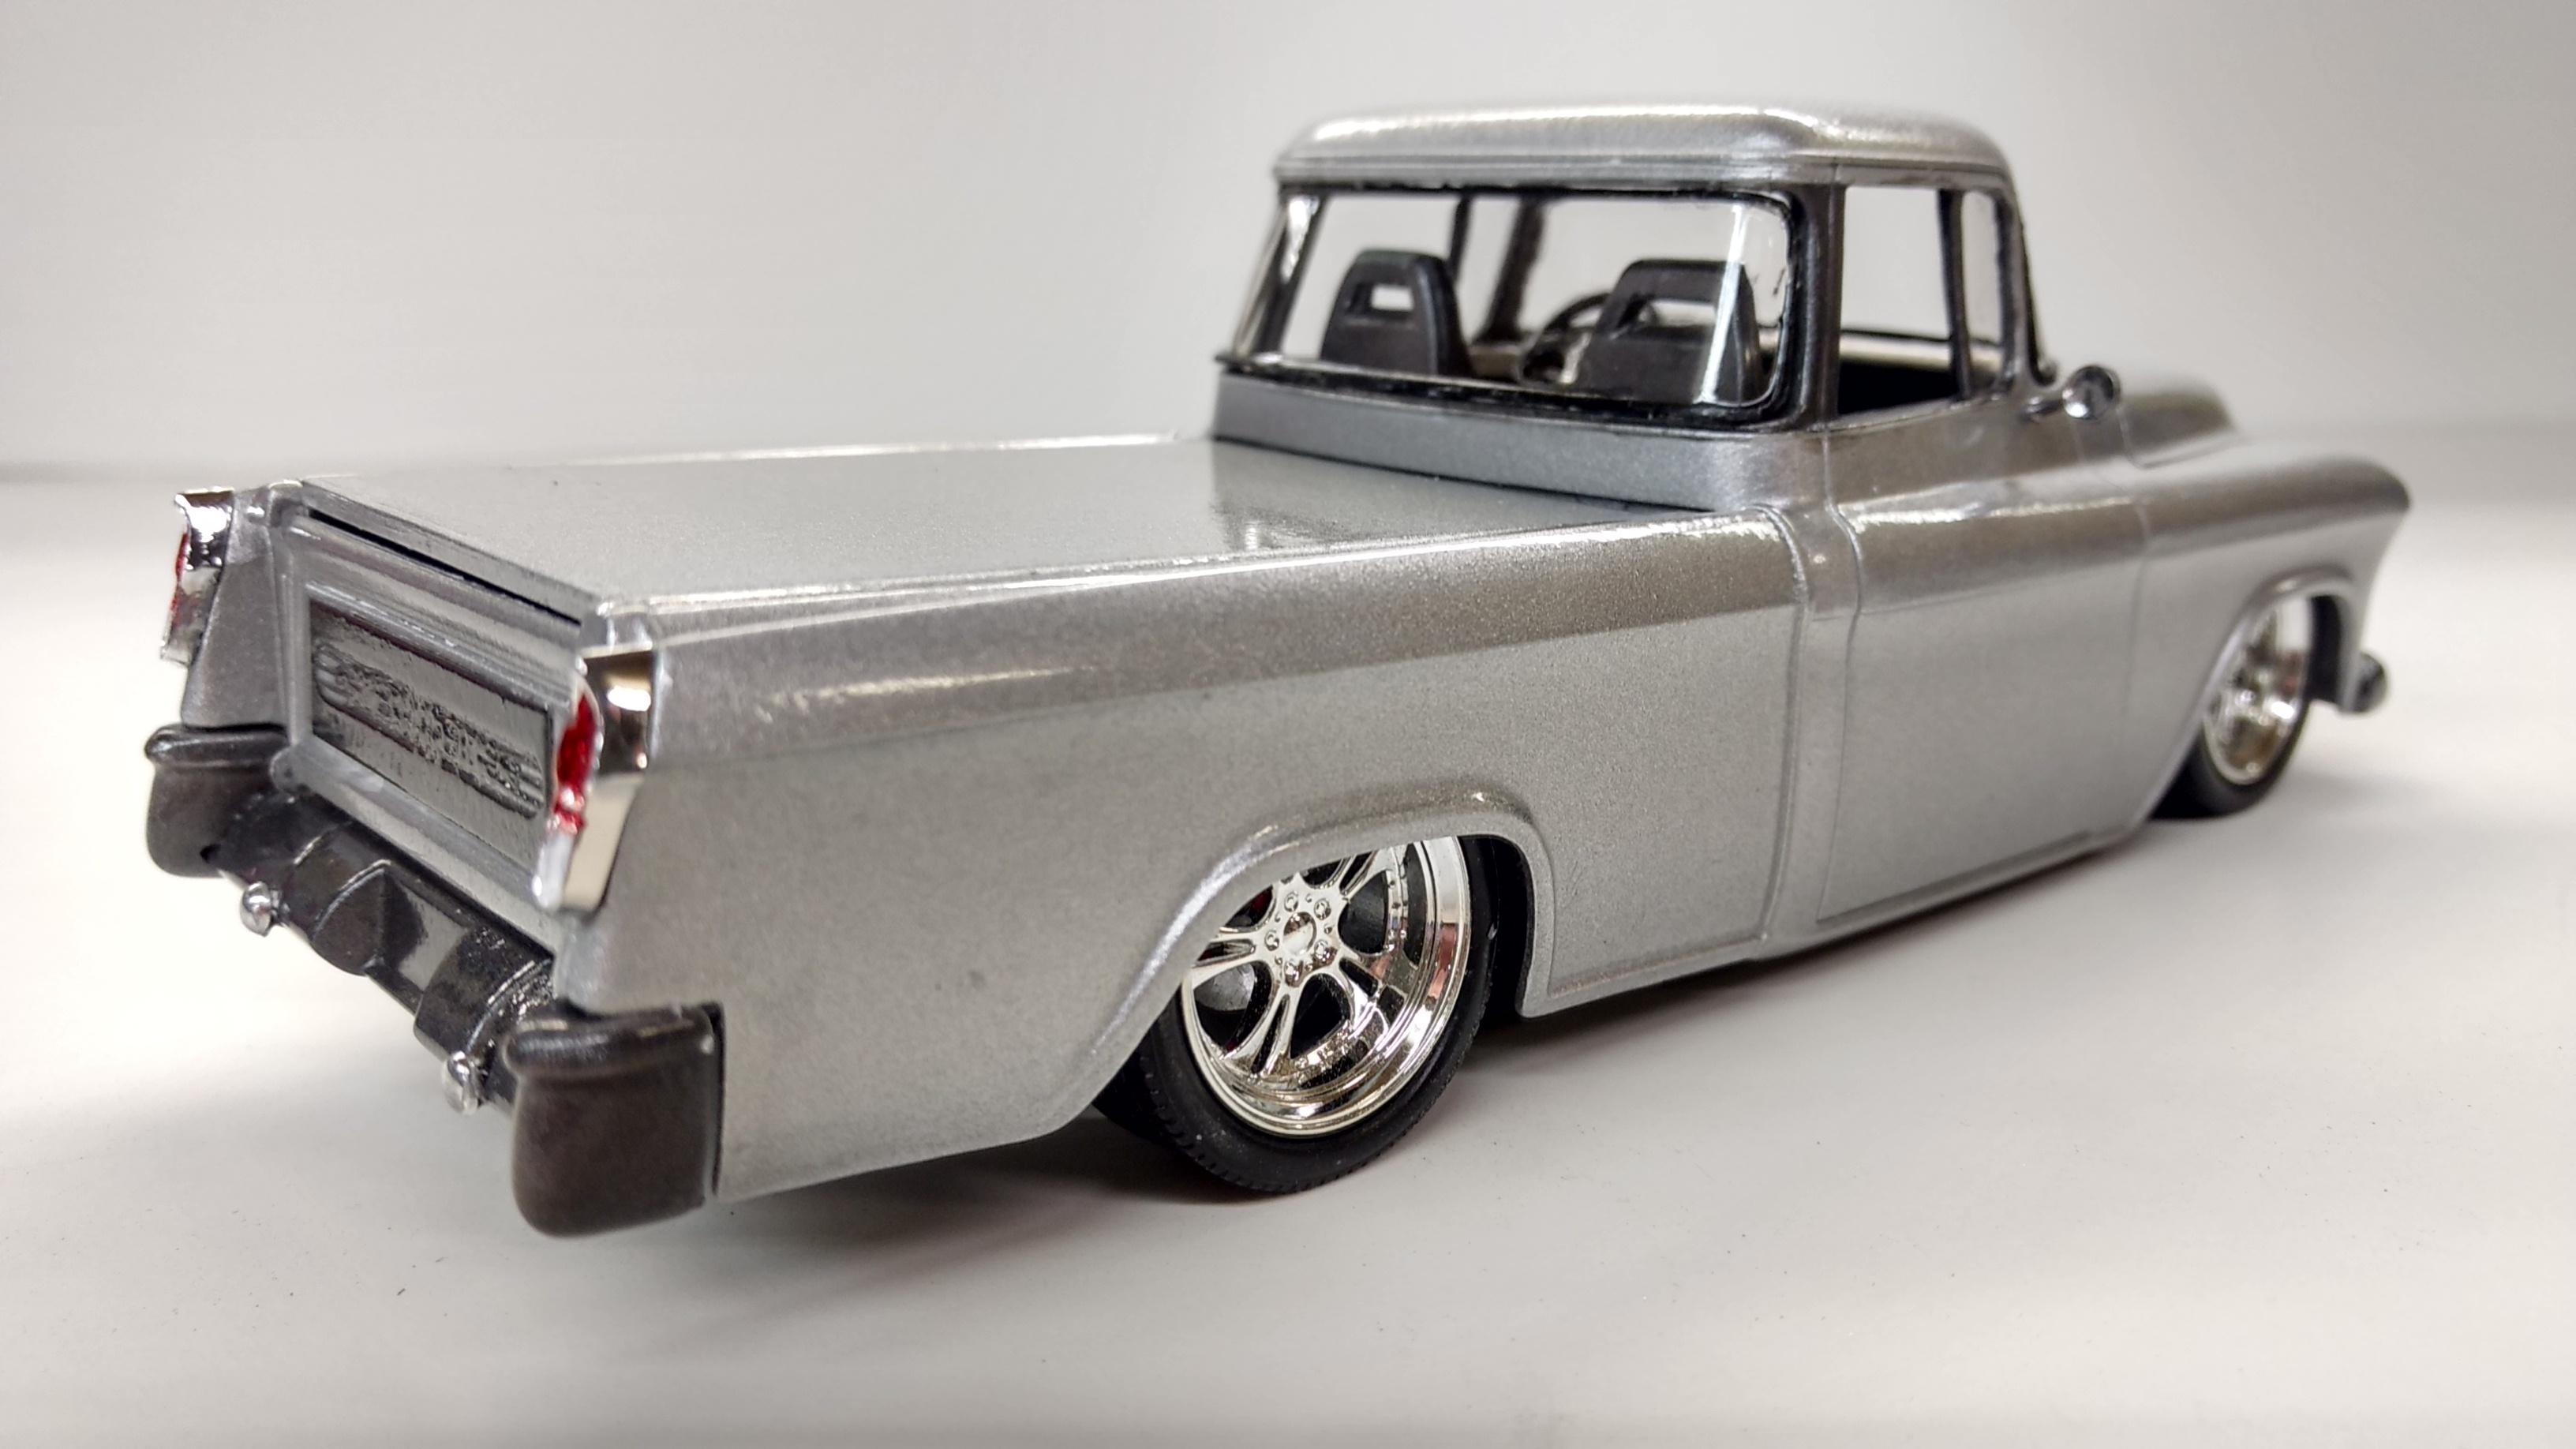
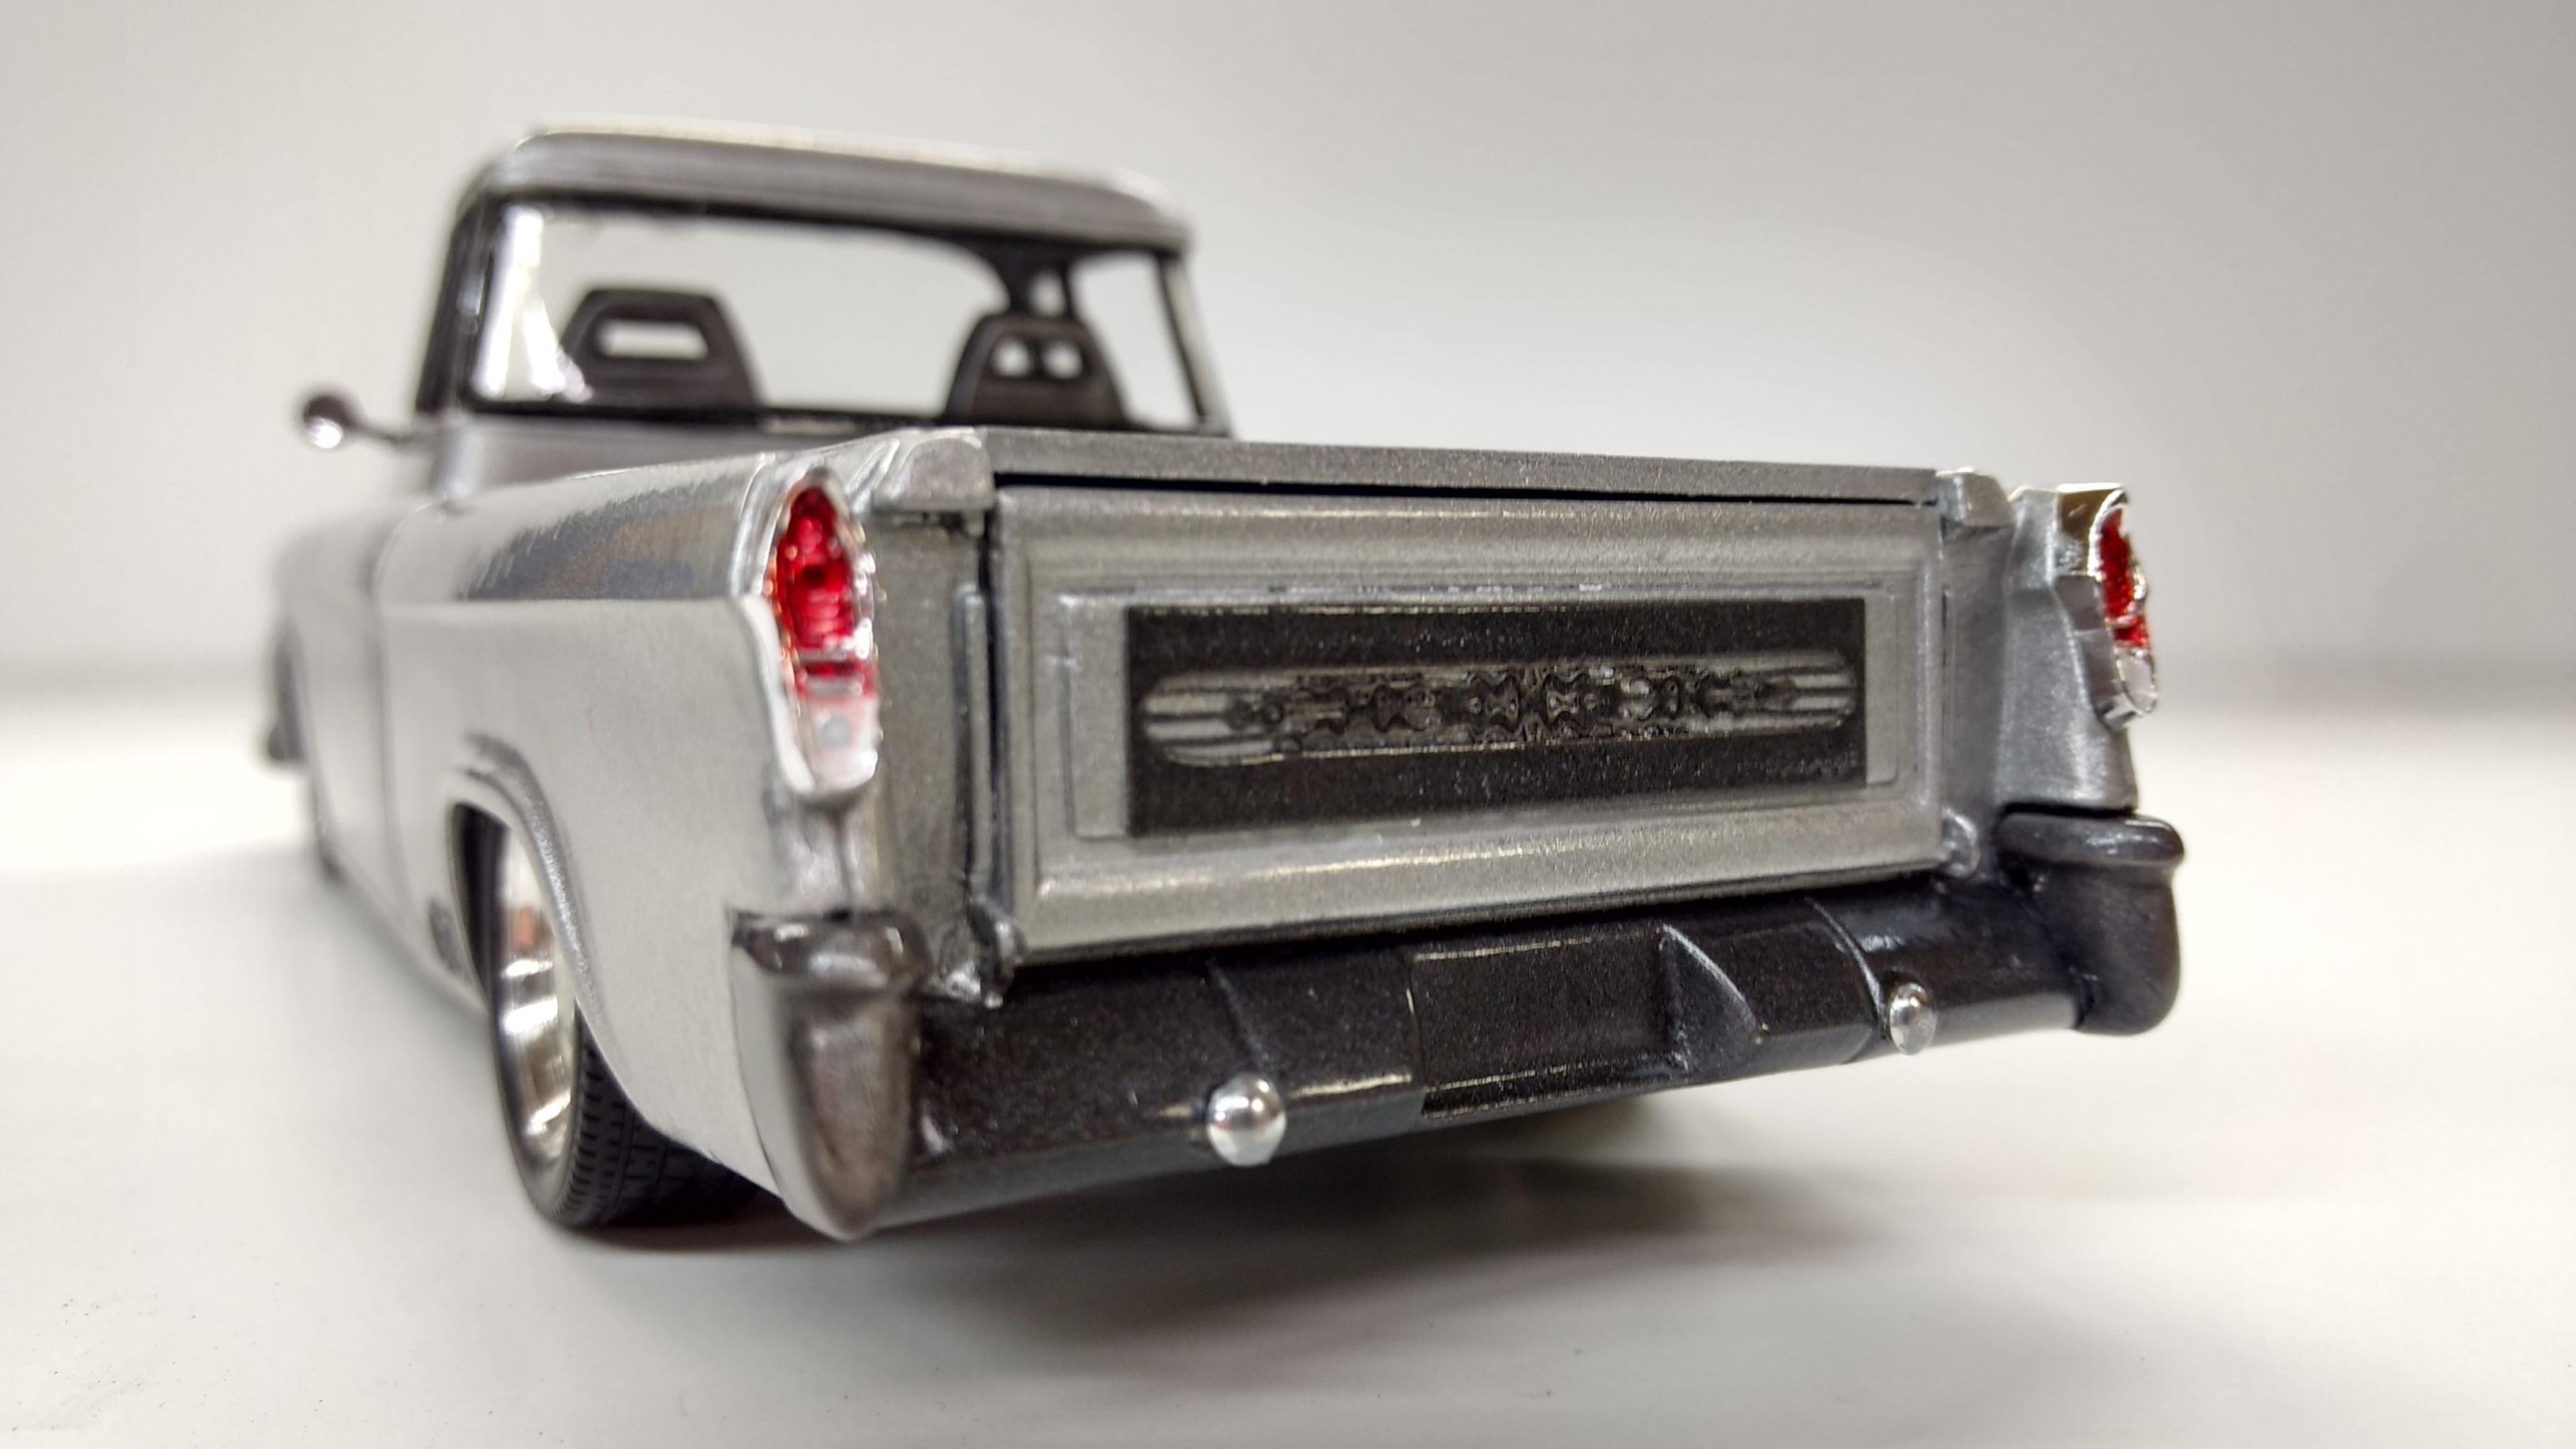
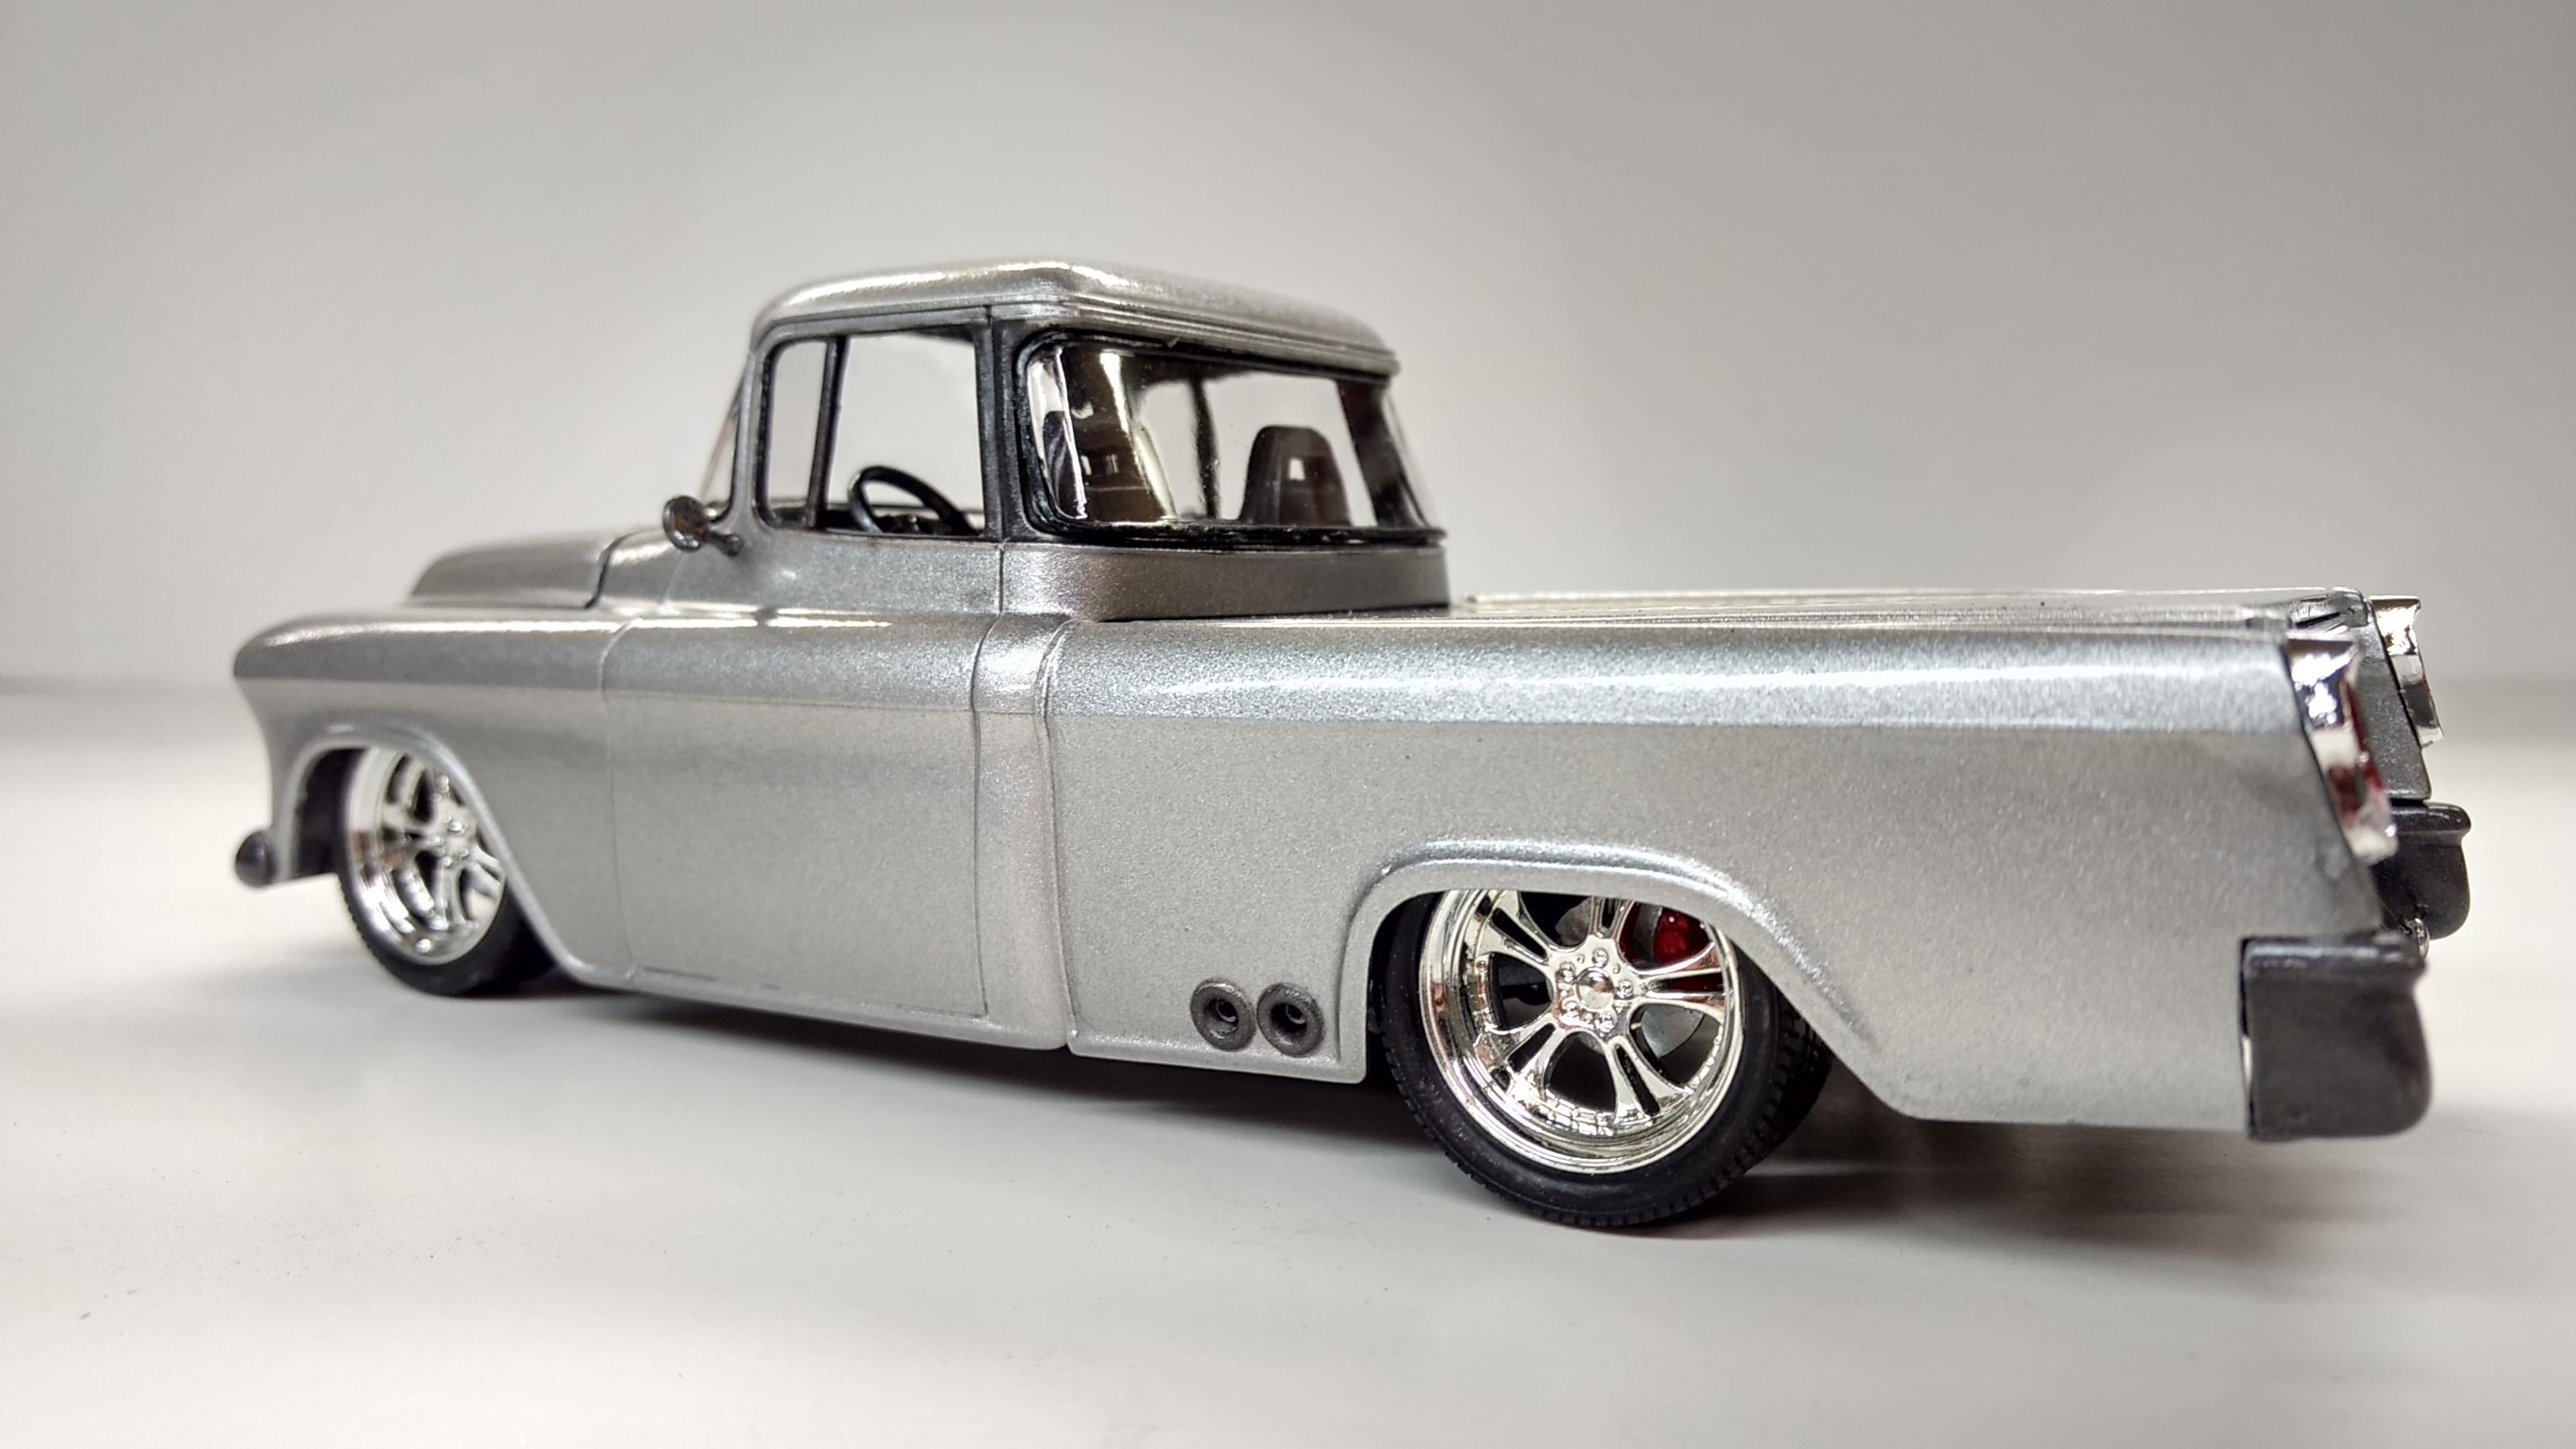
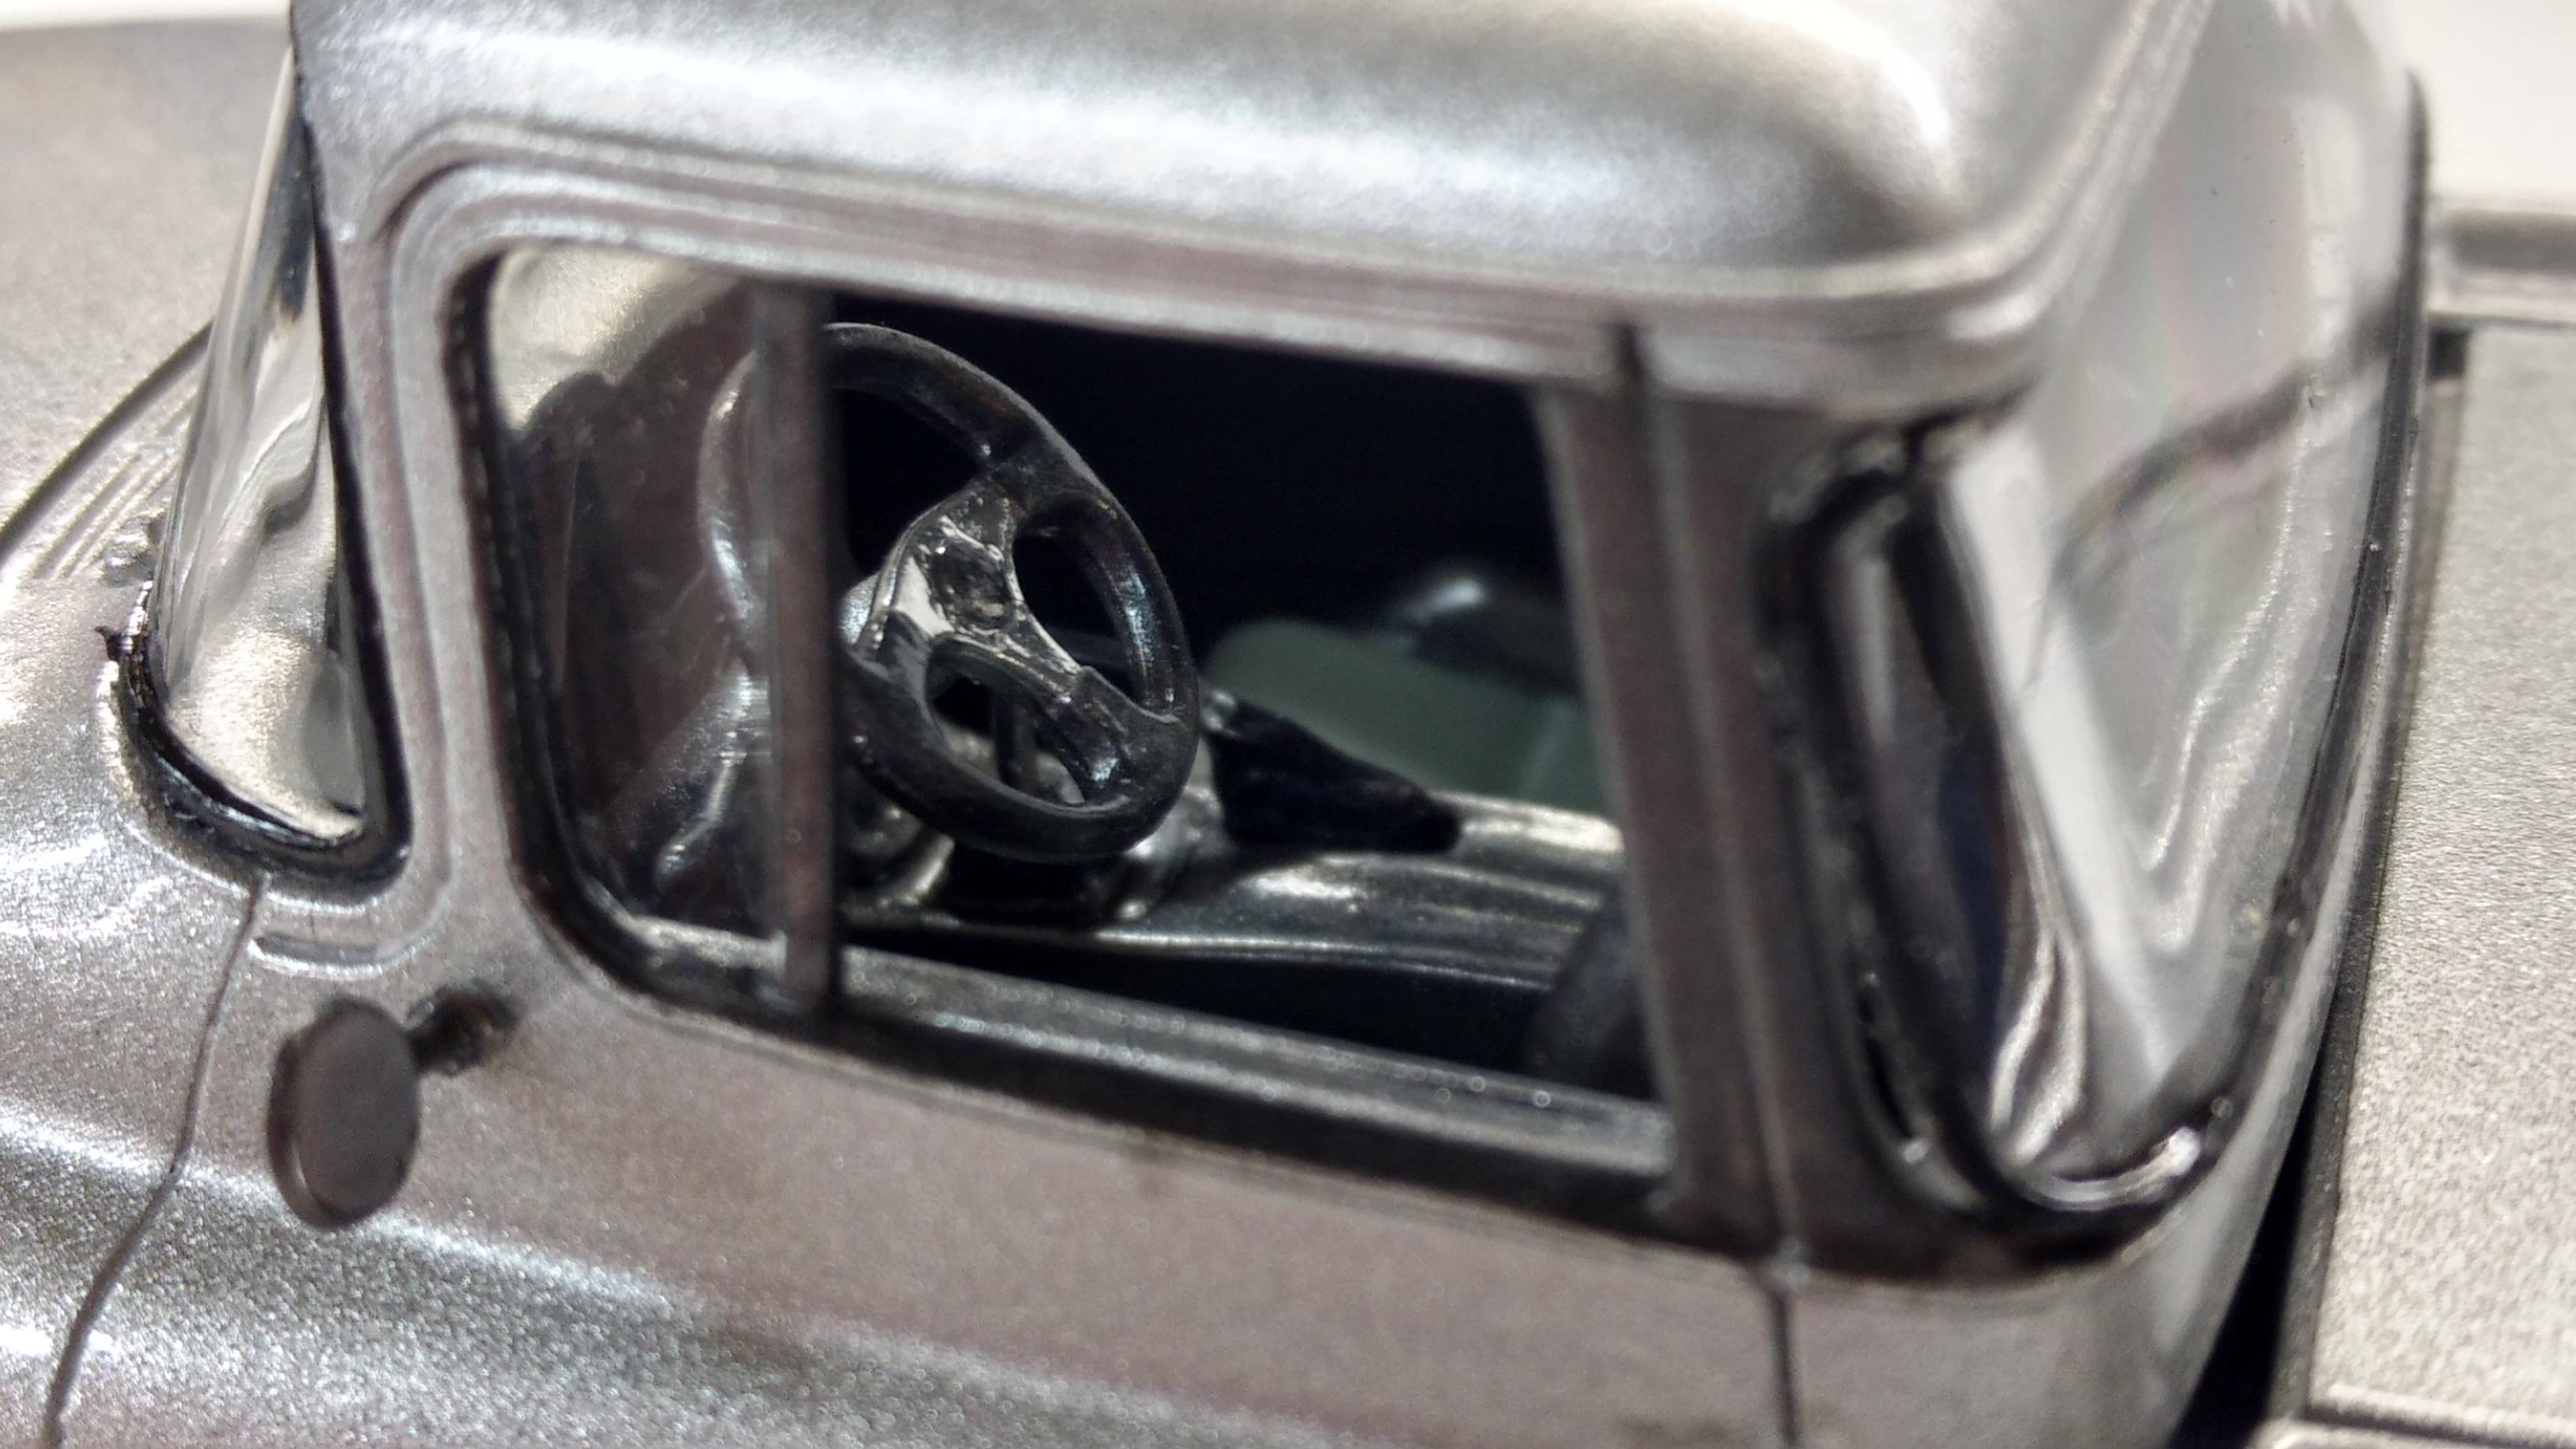
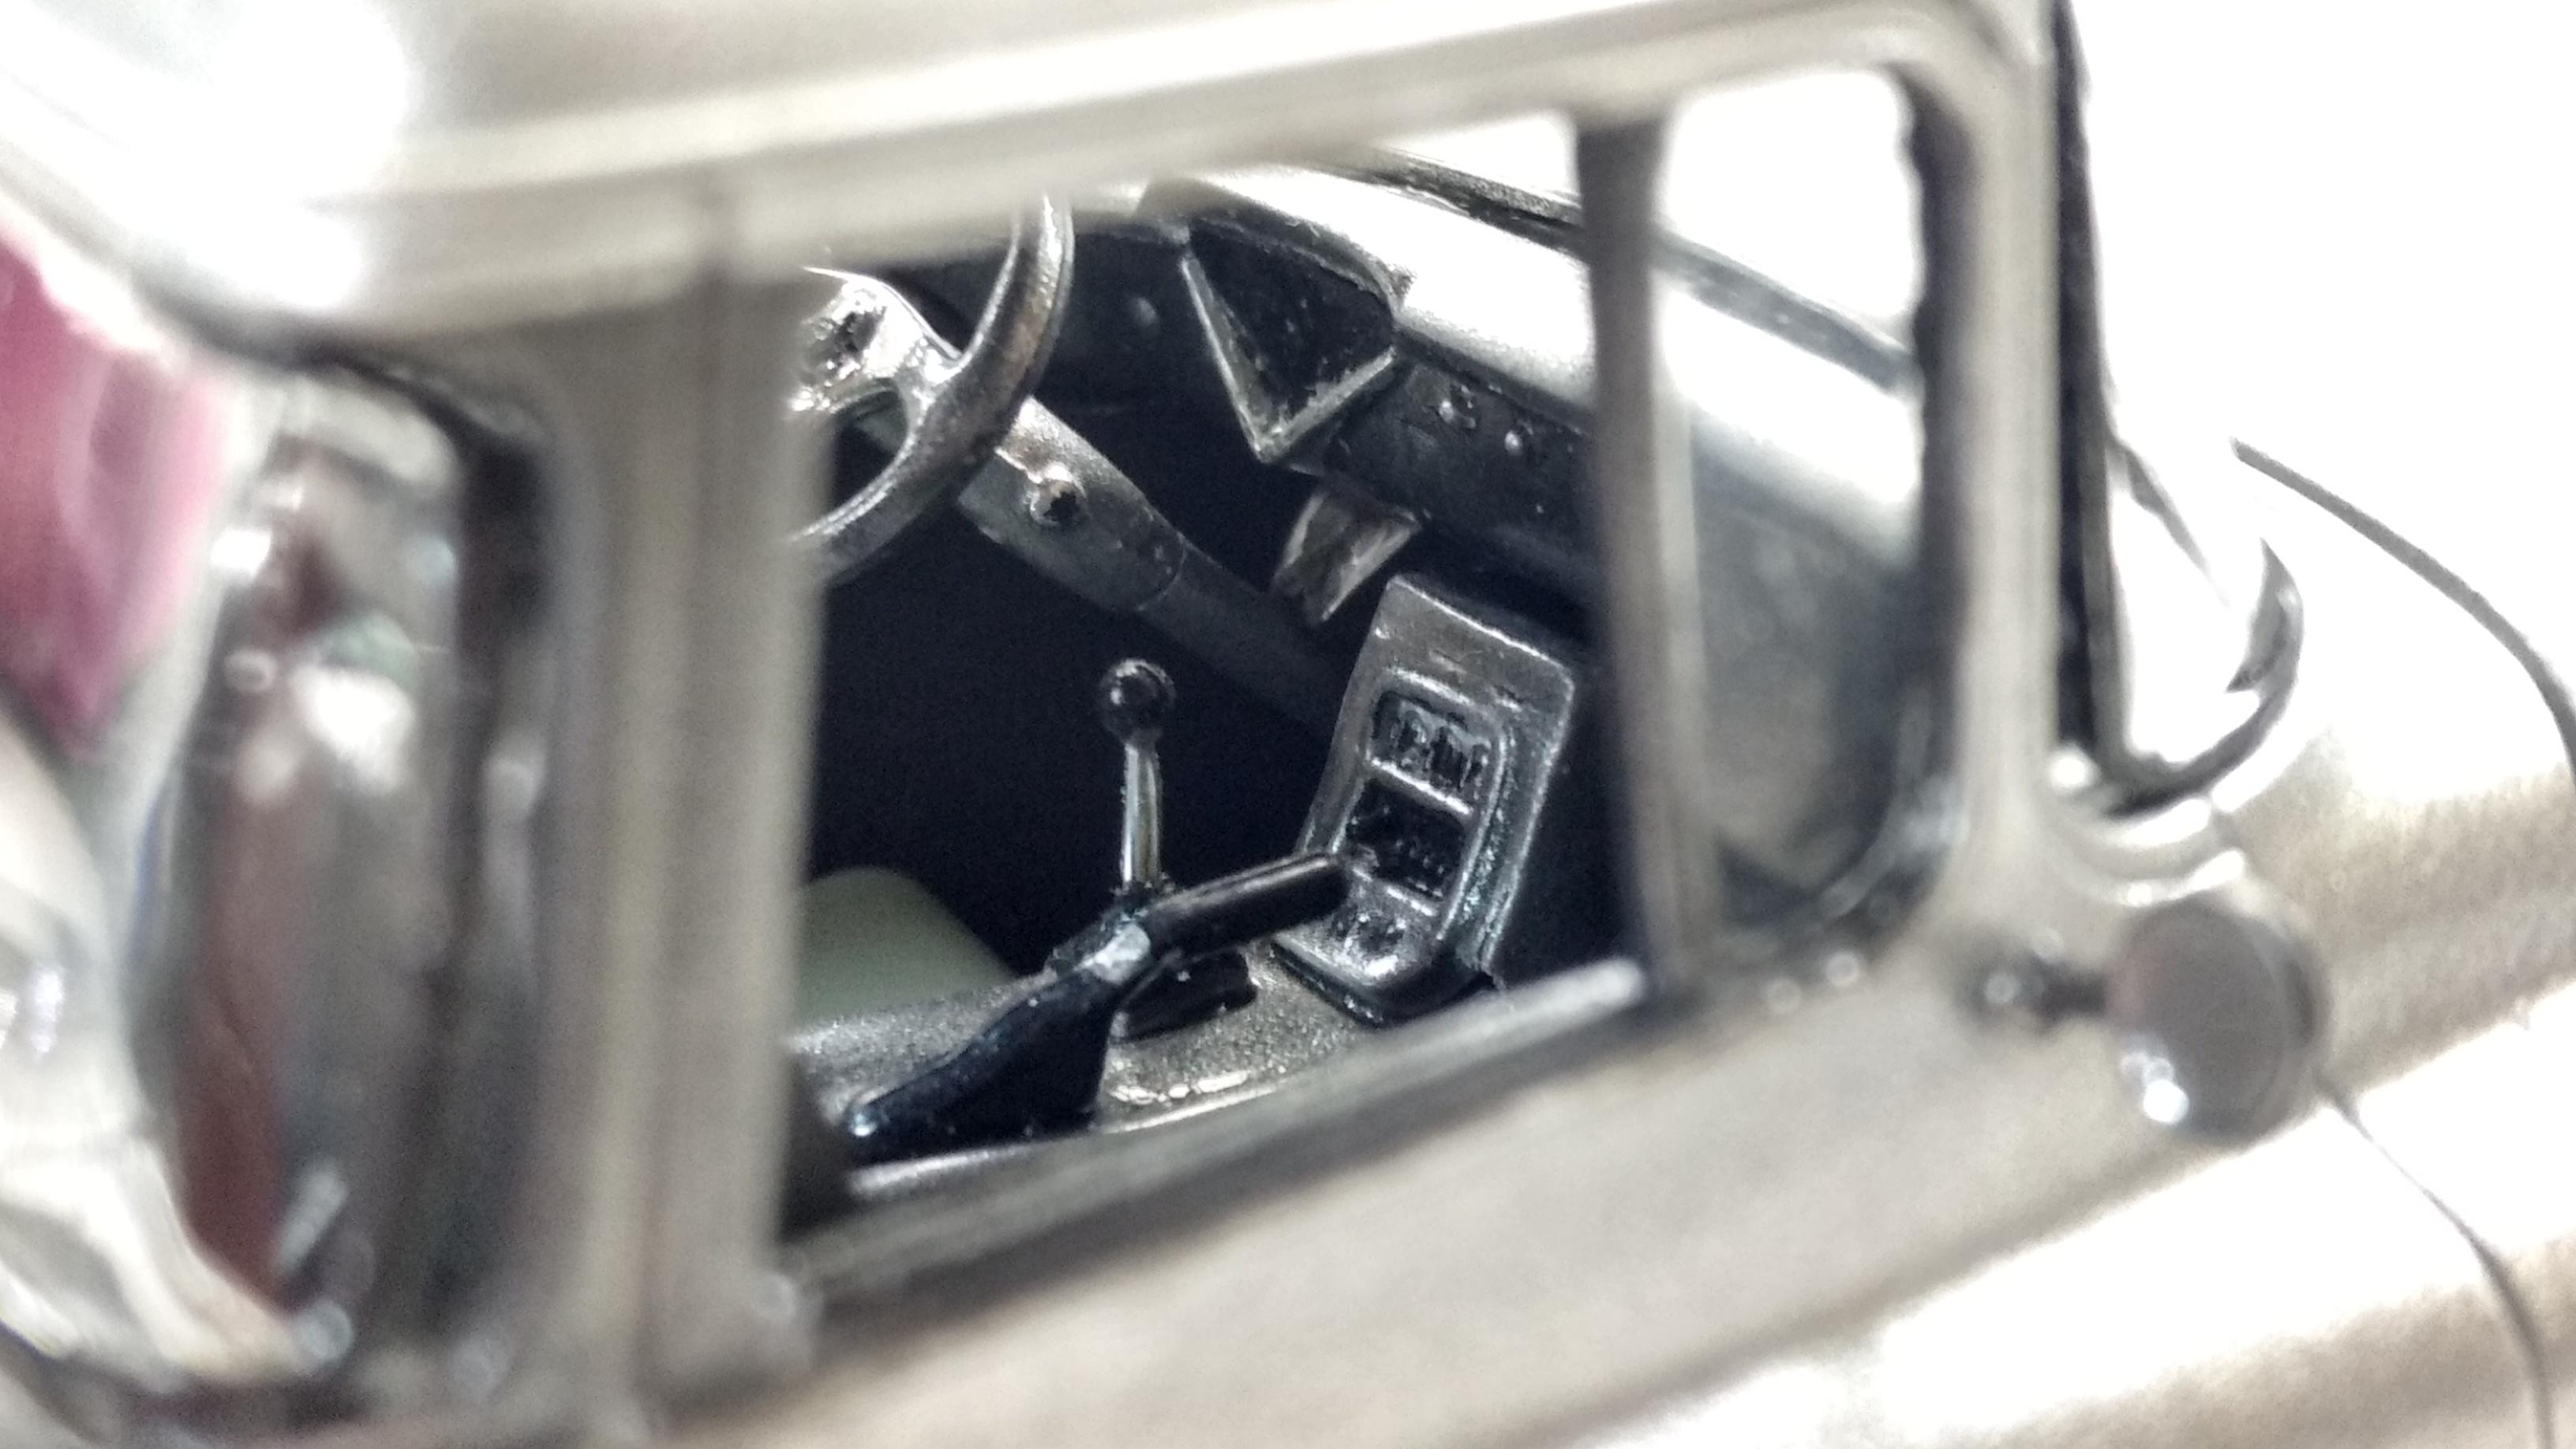
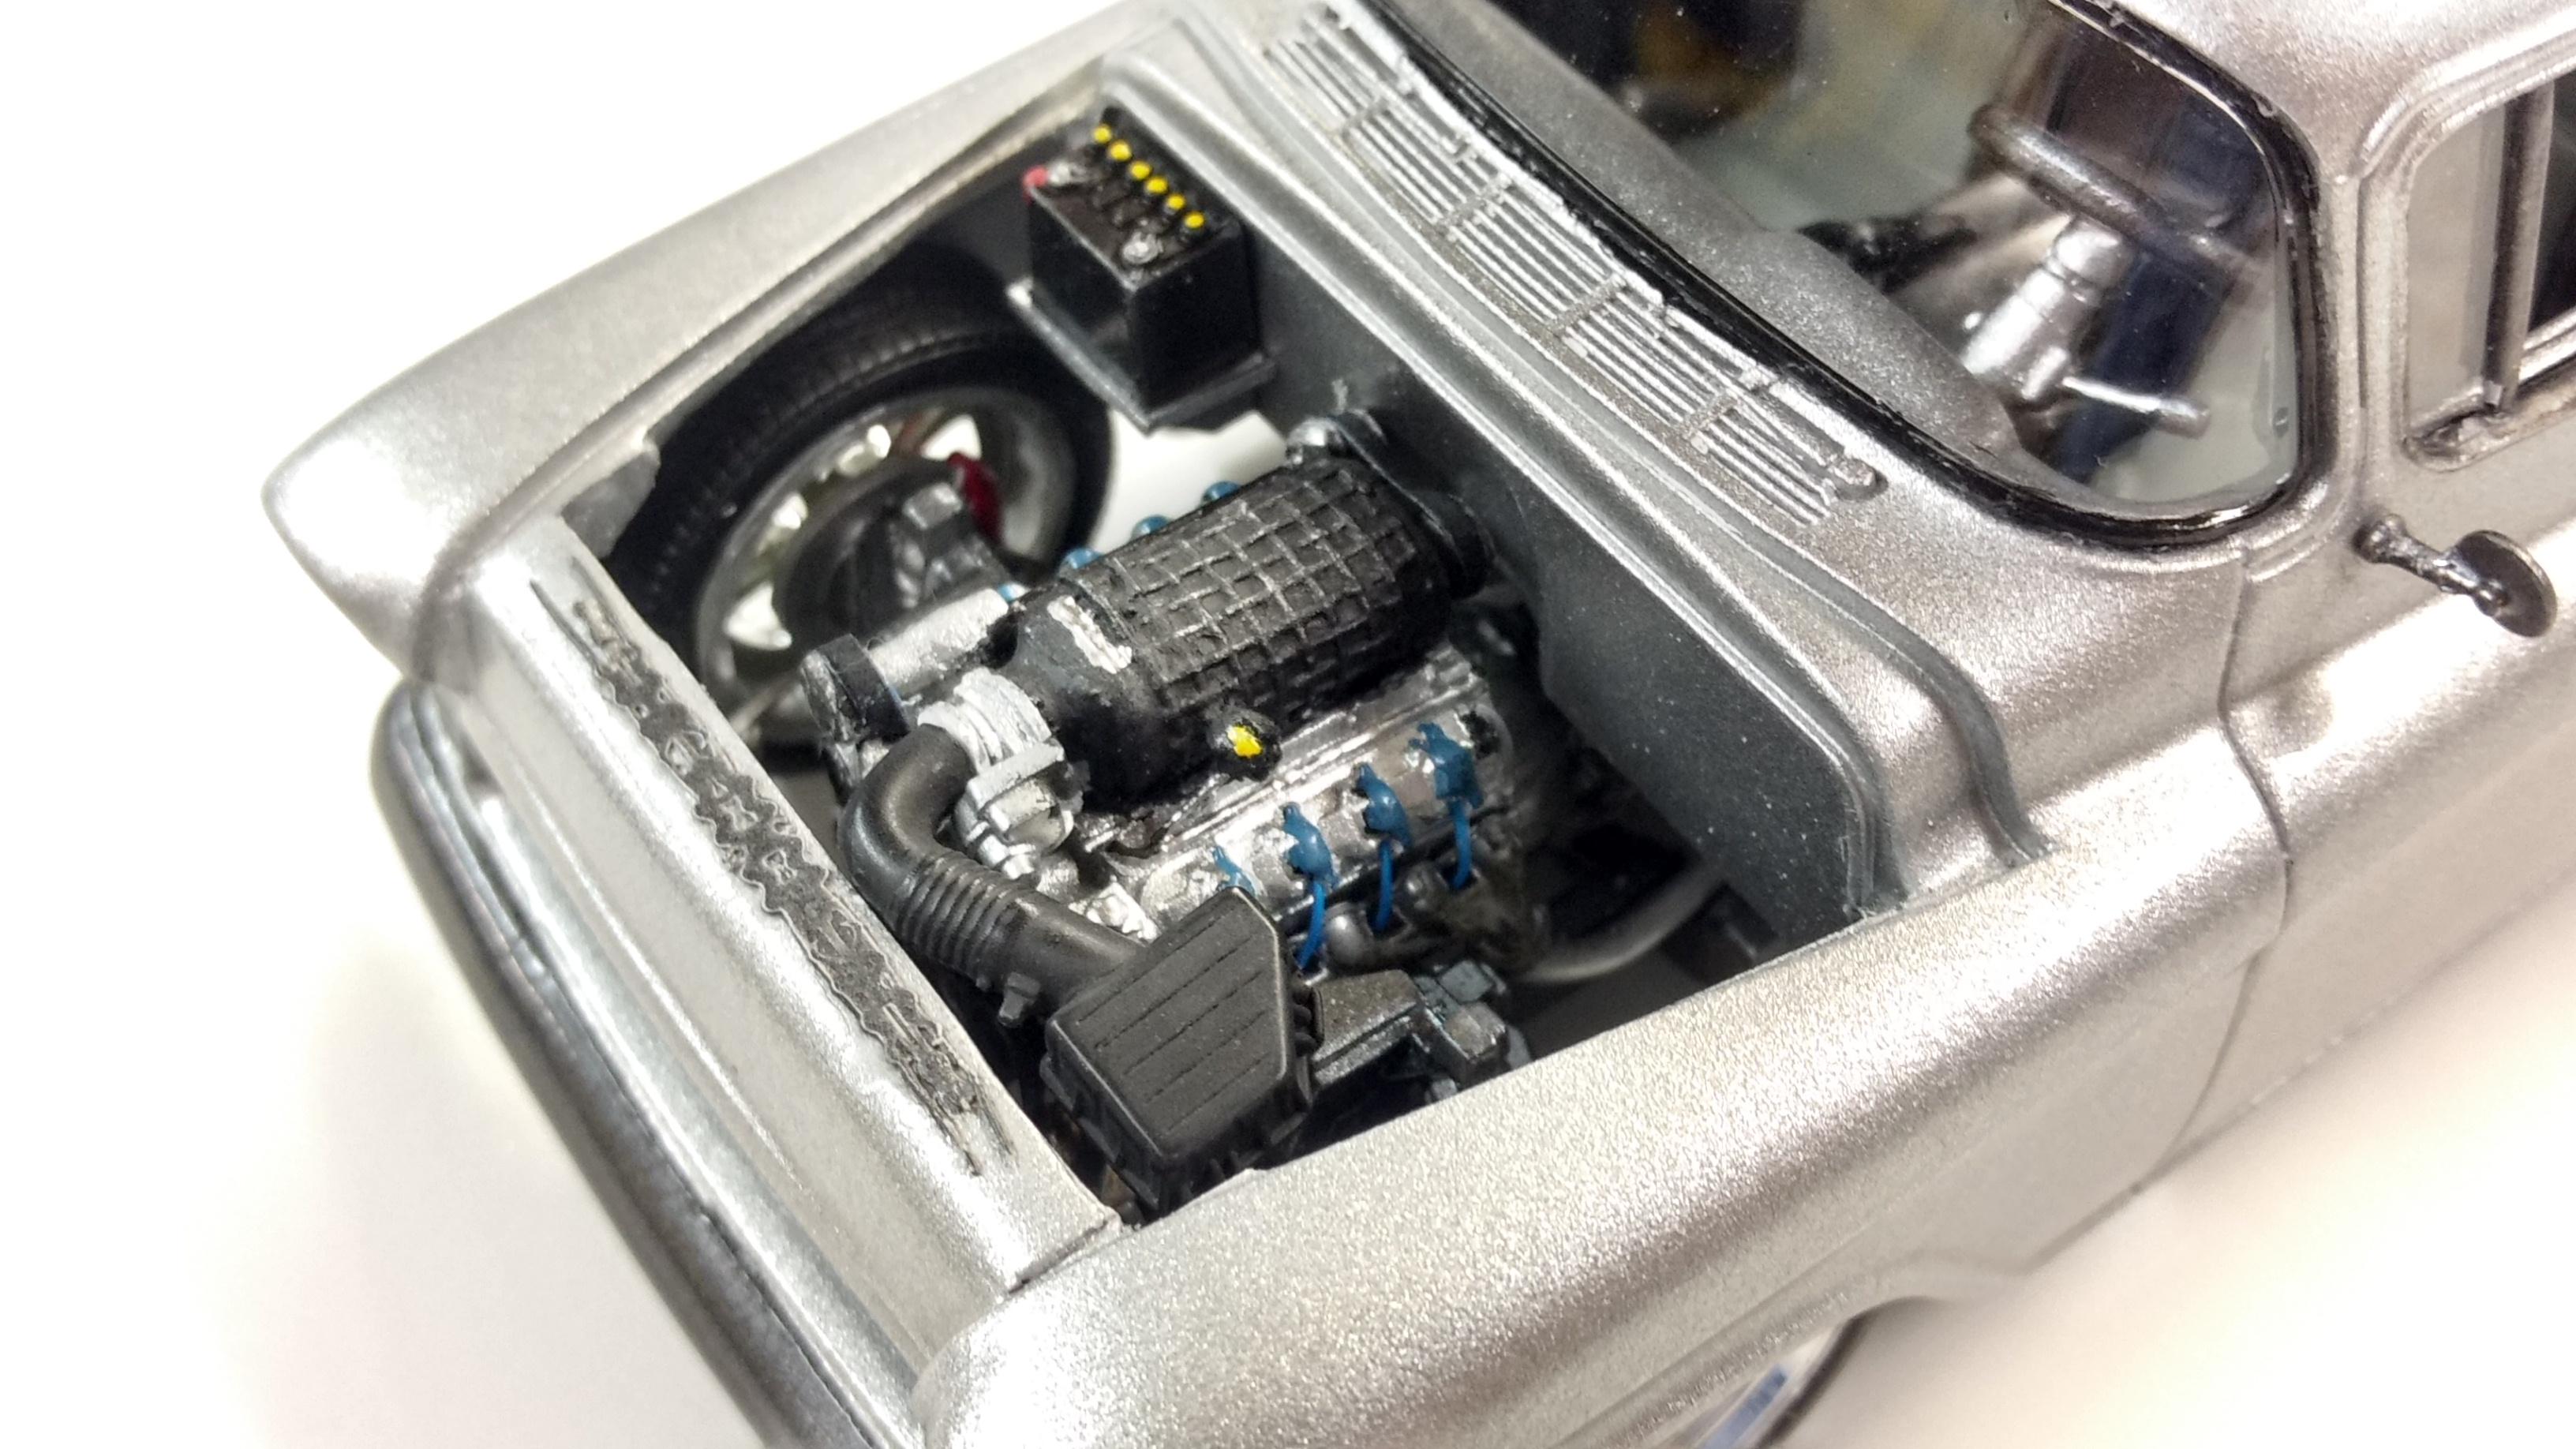
I finally sat down today during my break and got this one finished before continuing on to my next project. Not the best of builds but it's finished and, for the most part, looks as I envisioned it. Pegasus Phat Daddy tires and wheels I swiped from a stalled 66 Nova project, resin Magnuson supercharger from Curt Raitz (thanks) mounted on a 2010 Camaro SS engine. I completely modified the chassis and suspension and installed the seats, center console and steering wheel and column from a Viper GTS scrap heap I had on hand. Used an old computer speaker mesh for a grille. The paint looked decent until I noticed that the clear had alligatored on me. My own fault. I had sprayed the first clear coat with a cheap clear and then sprayed a couple of coats of Testors Wet Look Clear over that a few days later. I ended up with a reaction with the cheap stuff. It doesn't show when looking straight on but is definitely noticable at angles. Anywhoo, it's on the shelf now. Hope you enjoy it. Later-

-
55 Chevy Cameo
Modlbldr replied to Modlbldr's topic in WIP: Model Trucks: Pickups, Vans, SUVs, Light Commercial
Finally moved to Under Glass. Later- -
That is good to know since I have been using a dehydrator for about a year now. Thanks. Later-
-
Sounds familiar. I had a Fantastic and used the tires and wheels on another build and traded the rest. I have parts of the Coupster and was thinking of putting the chassis under a 36 Ford 3 window build. I love the chassis and suspension and tires and wheels from these. Later-
-
That looks very good. I really like the simple decal on the tail. They look like it would have been a good custom factory option to replace the tail stripe if someone wanted something a bit different. Later-
-
X2 Love the choice of colors too. They go well with the build. Later-
-
Nice work Randy. It looks much better in that color than in yellow. I have some parts to this kit and have been wanting to build it. I'll need to see what it's missing. Later-
-
That looks very nice, especially in that color. Great work. Later-
-
WIP: Roy Revant's car from Solty Rei
Modlbldr replied to Everfree Customs's topic in WIP: Model Cars
That's looking like a nice start to what the pictures show. If I could make a couple of suggestions. In the side view of both the animated picture and your build there are a couple of differences I see. First, the curve of the top front of your fin appears too steep. The animated picture shows a bit of a graceful curve rearward. Second, the door/side window opening on your build is not as long as the one in the drawing. What tipped me off to these two issues was that in the animated picture the fin starts right at the rear of the door opening. So, at first, I thought that you should extend the fin forward. However, looking at the drawing with the longer door perhaps extending the door opening back to meet the fin would be the better choice. Although this would possibly create much more work because then you would need to alter the interior door panel and the interior bucket. Just my two cents. Nice looking project though with a great start. Later- -
I picked up an open/ sealed inside 99 Ford Lightning pickup at a thrift store today for $7. I now have two, plus and extra complete bed. I may try doing a bare metal aircraft style build on one of them ( think panels with rivets, etc) Later-
-
That looks great! I like the Coyote engine swap too. Later-
-
55 Chevy Cameo
Modlbldr replied to Modlbldr's topic in WIP: Model Trucks: Pickups, Vans, SUVs, Light Commercial
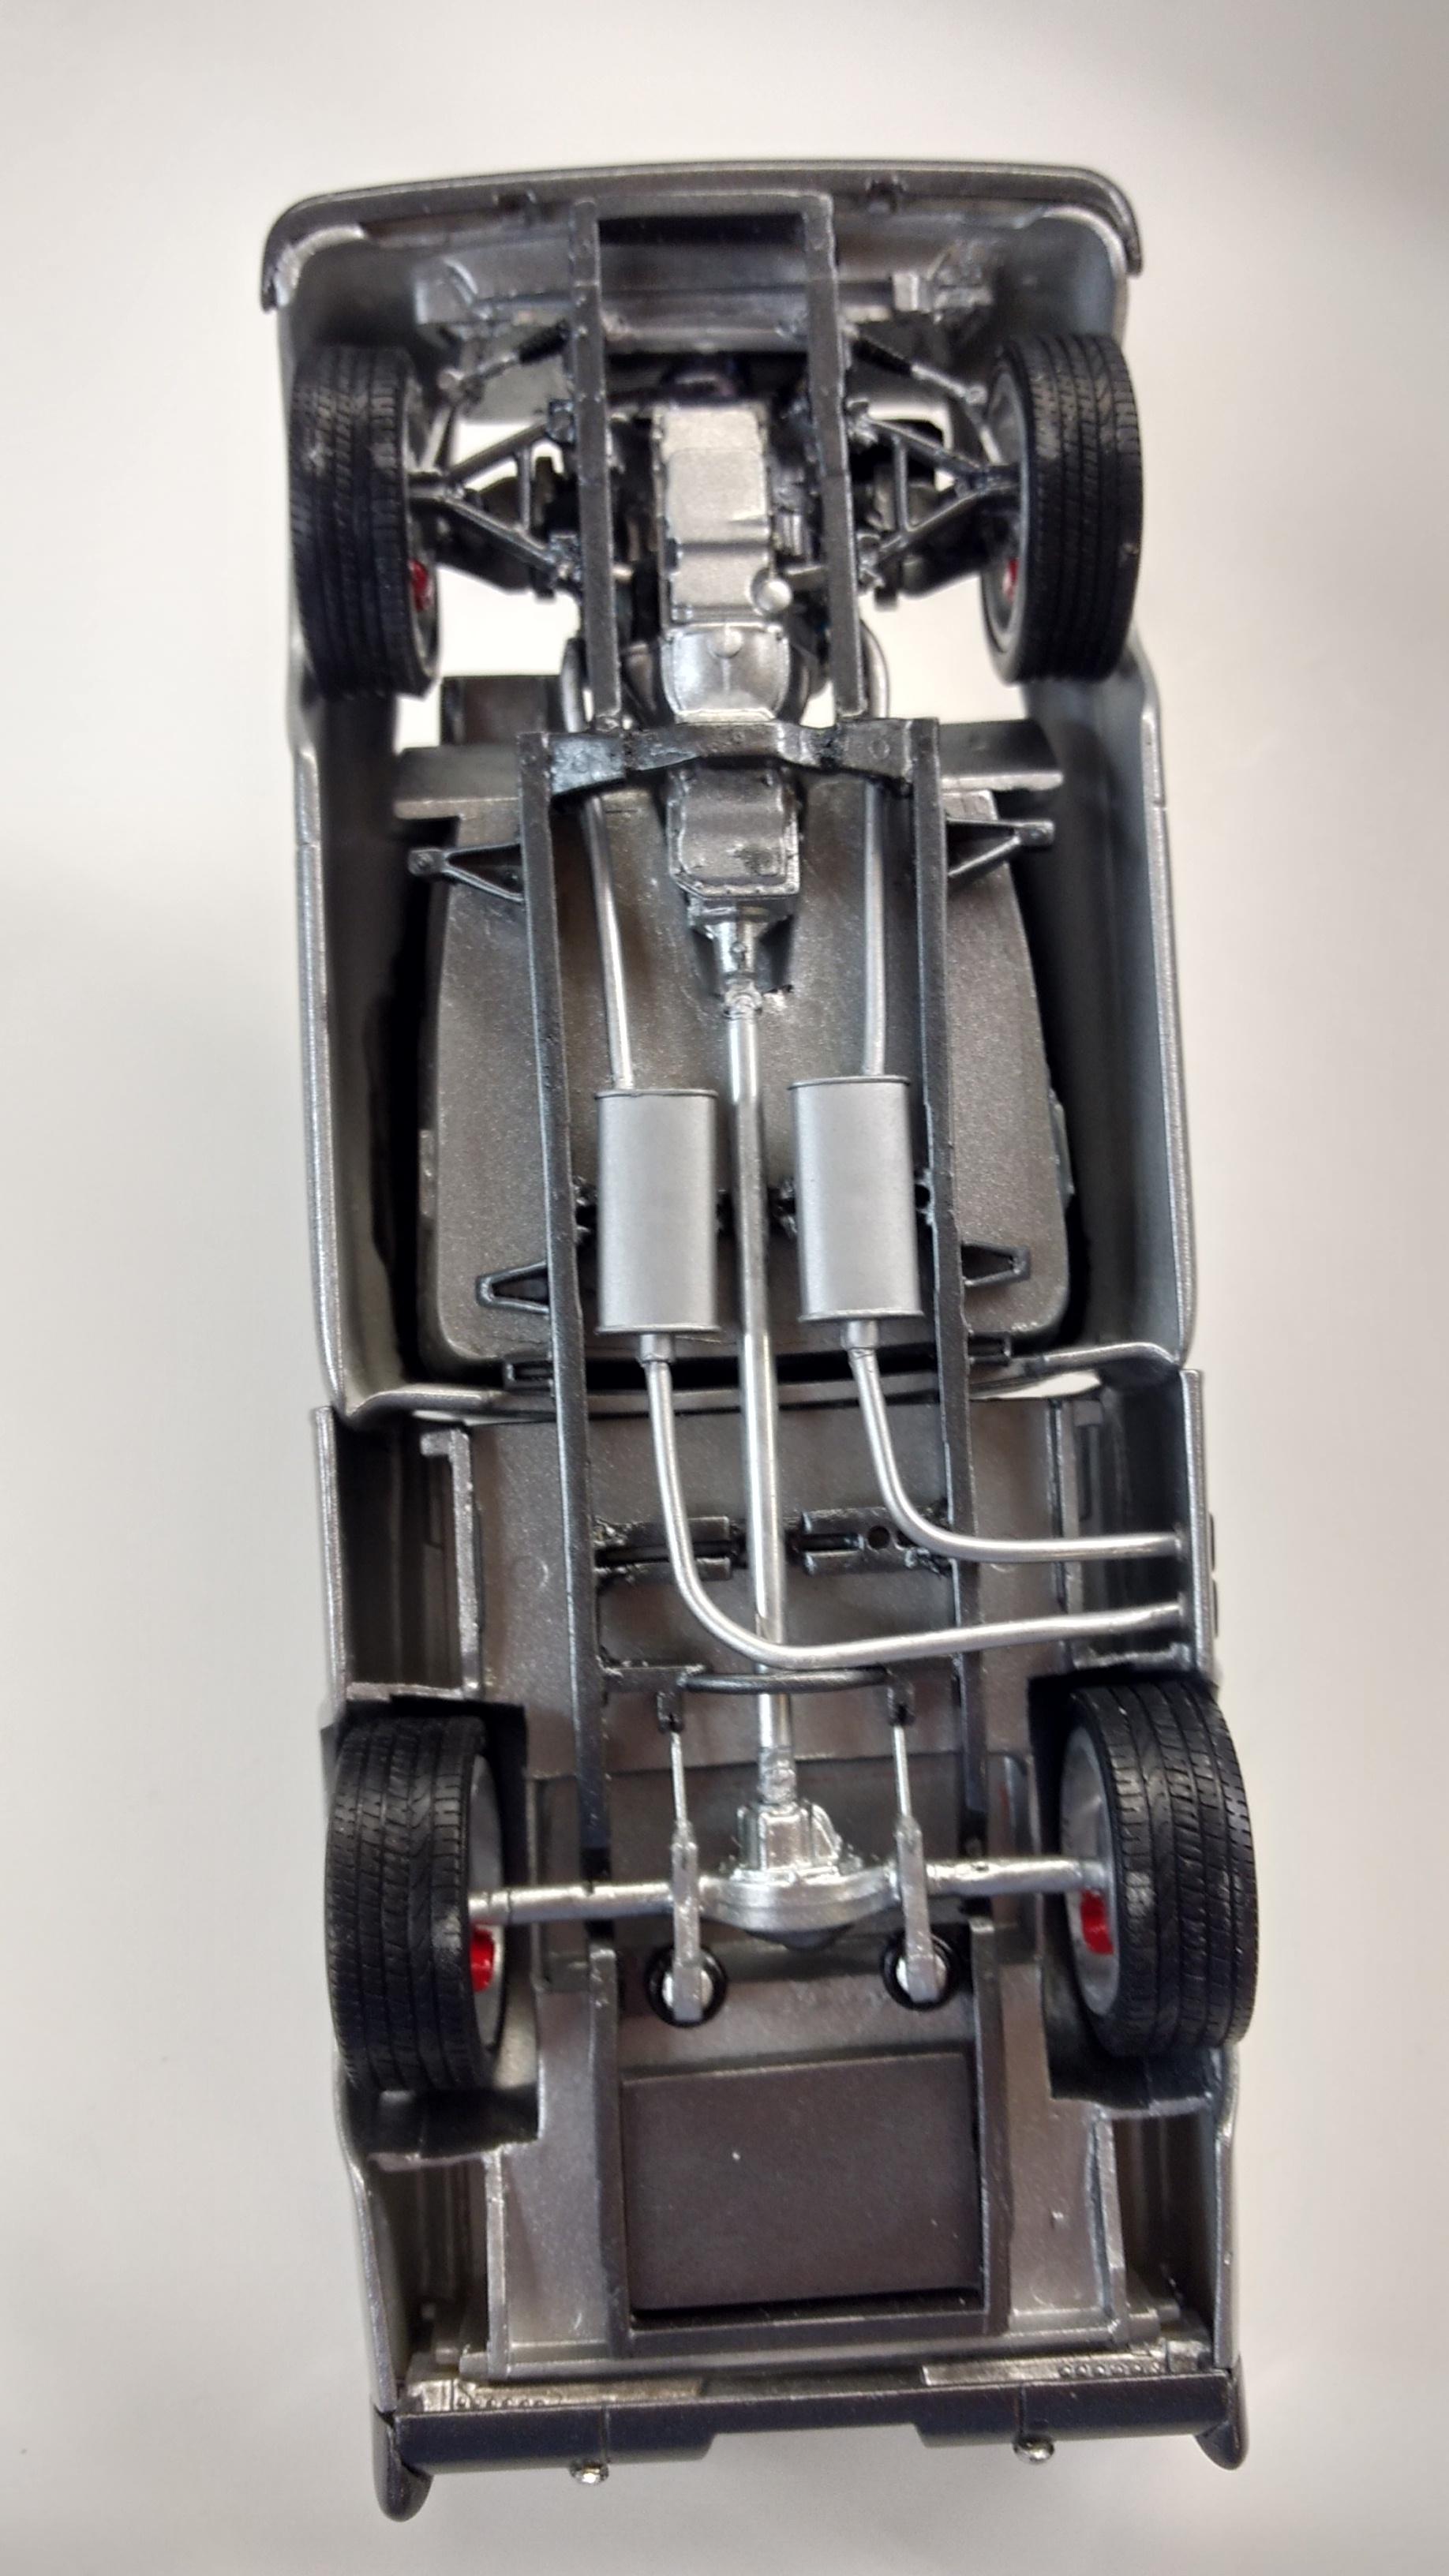
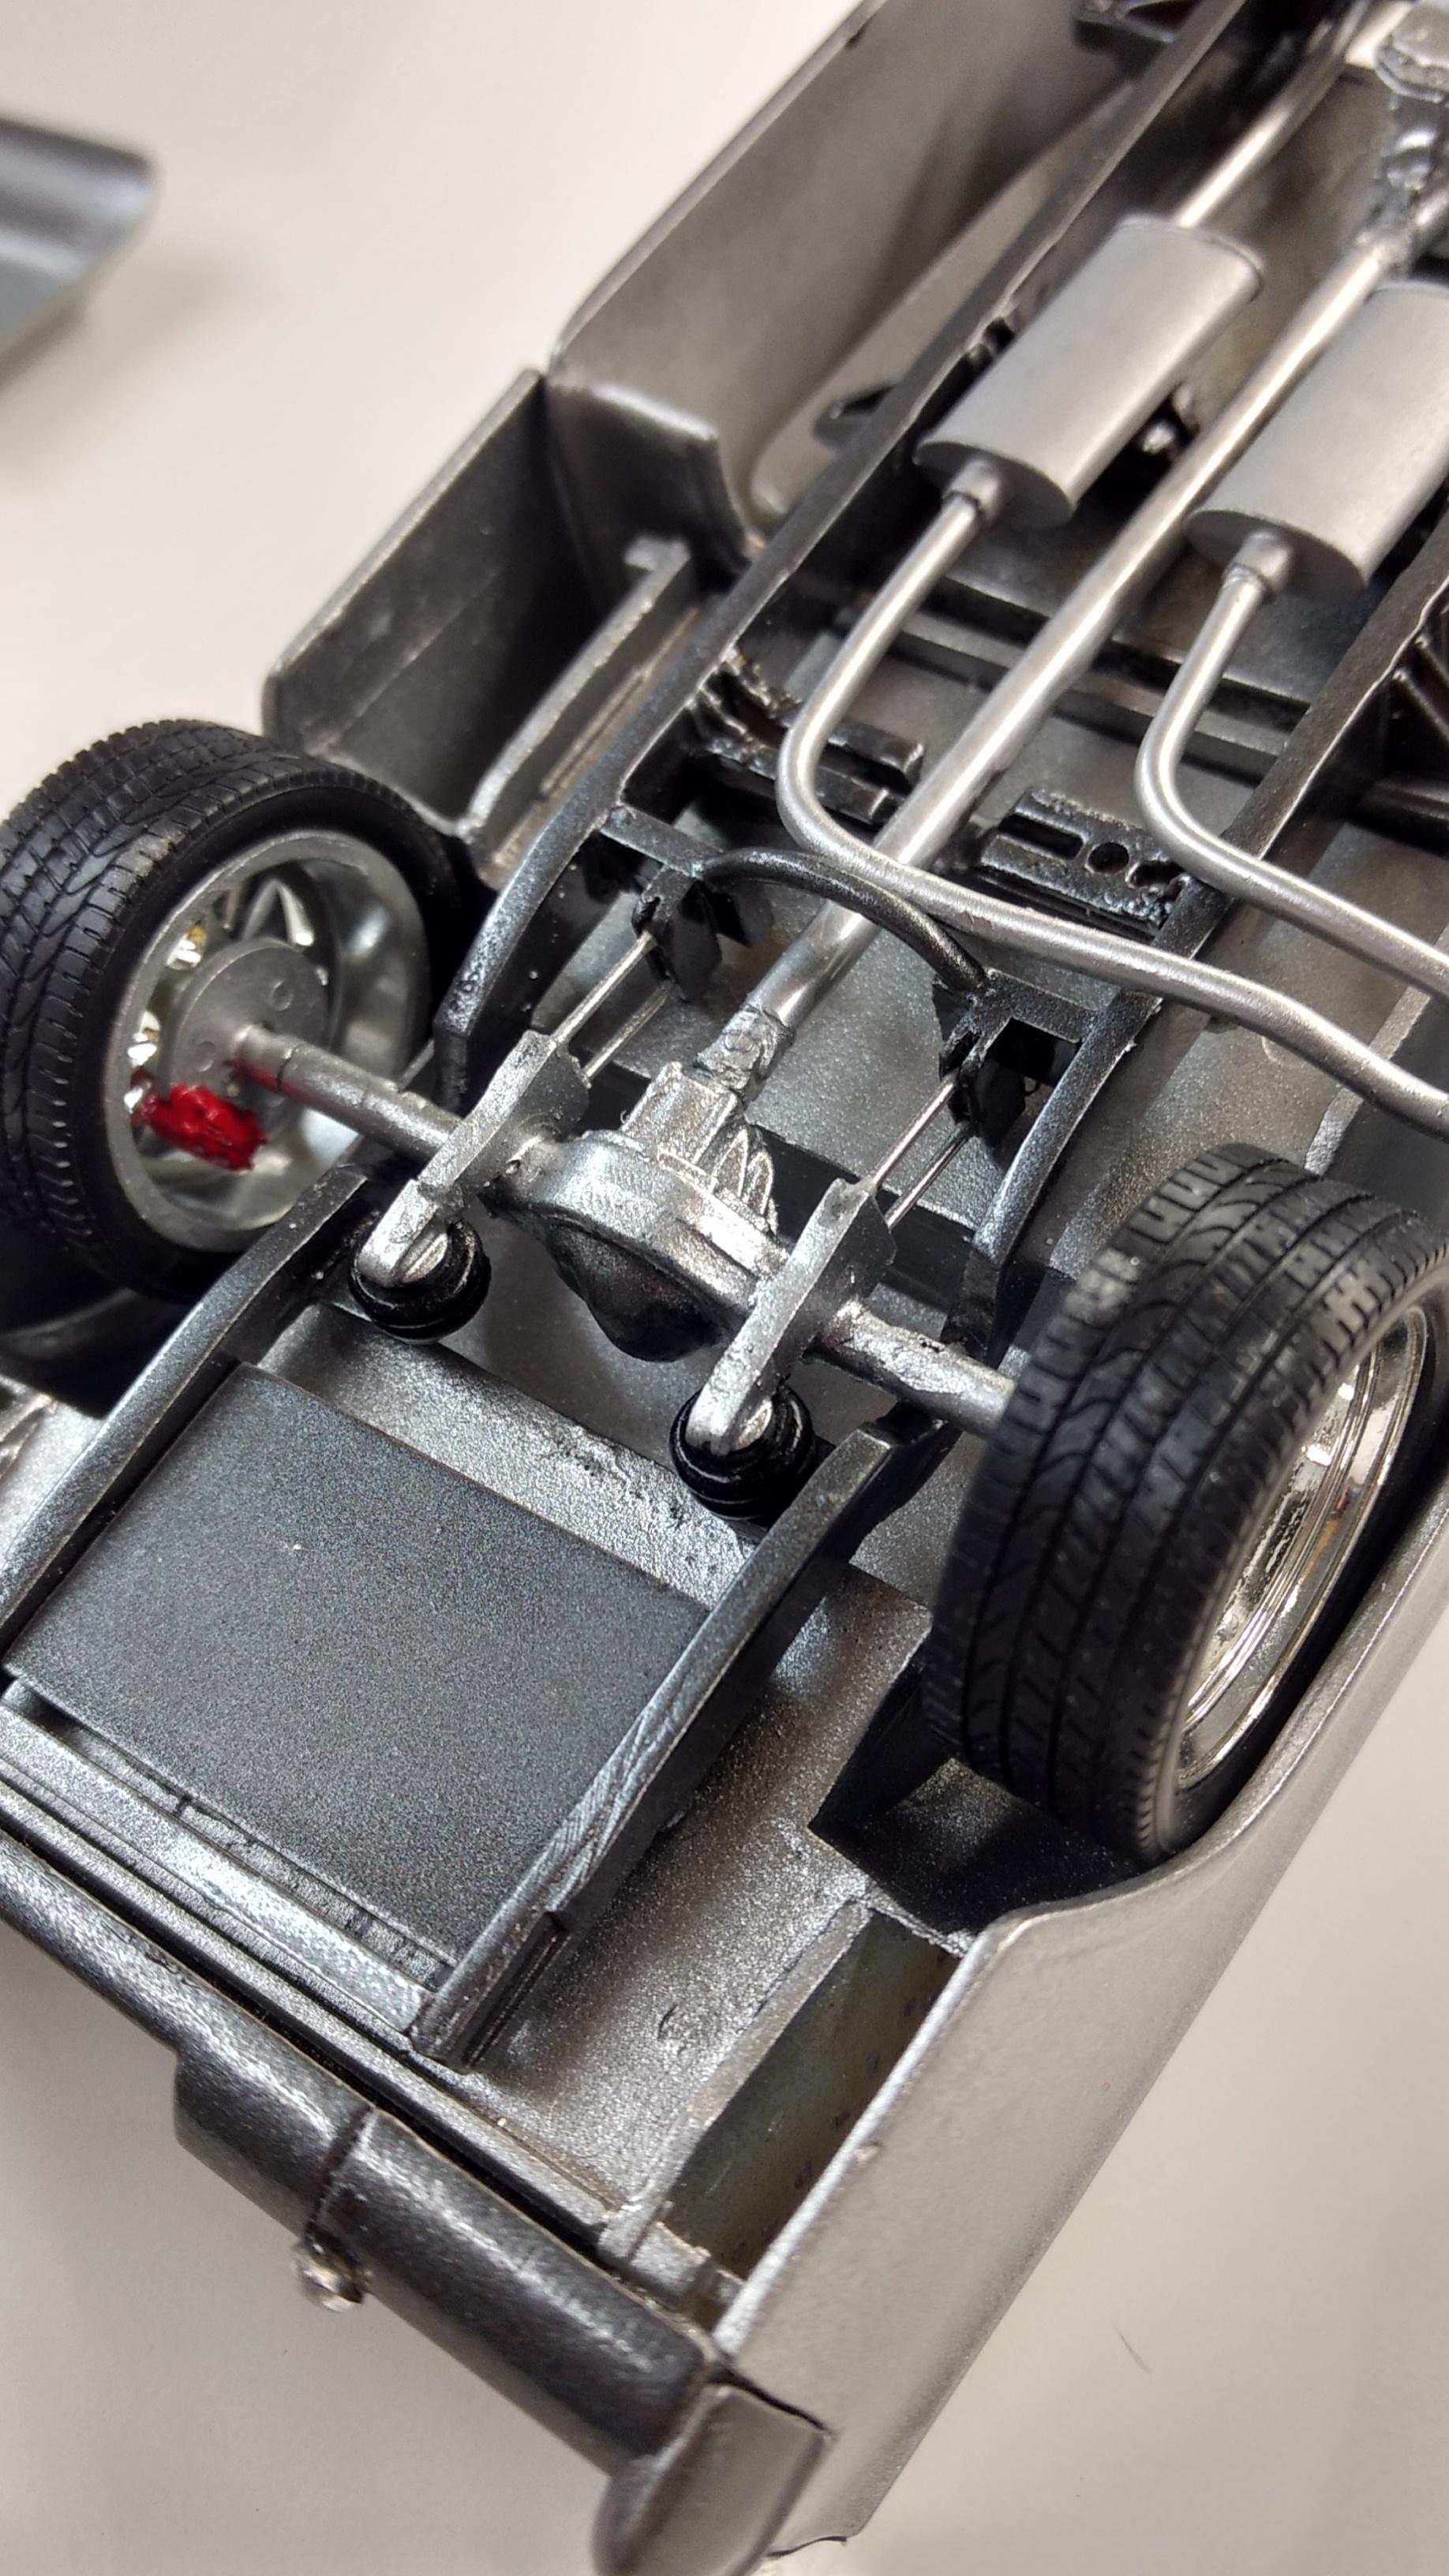
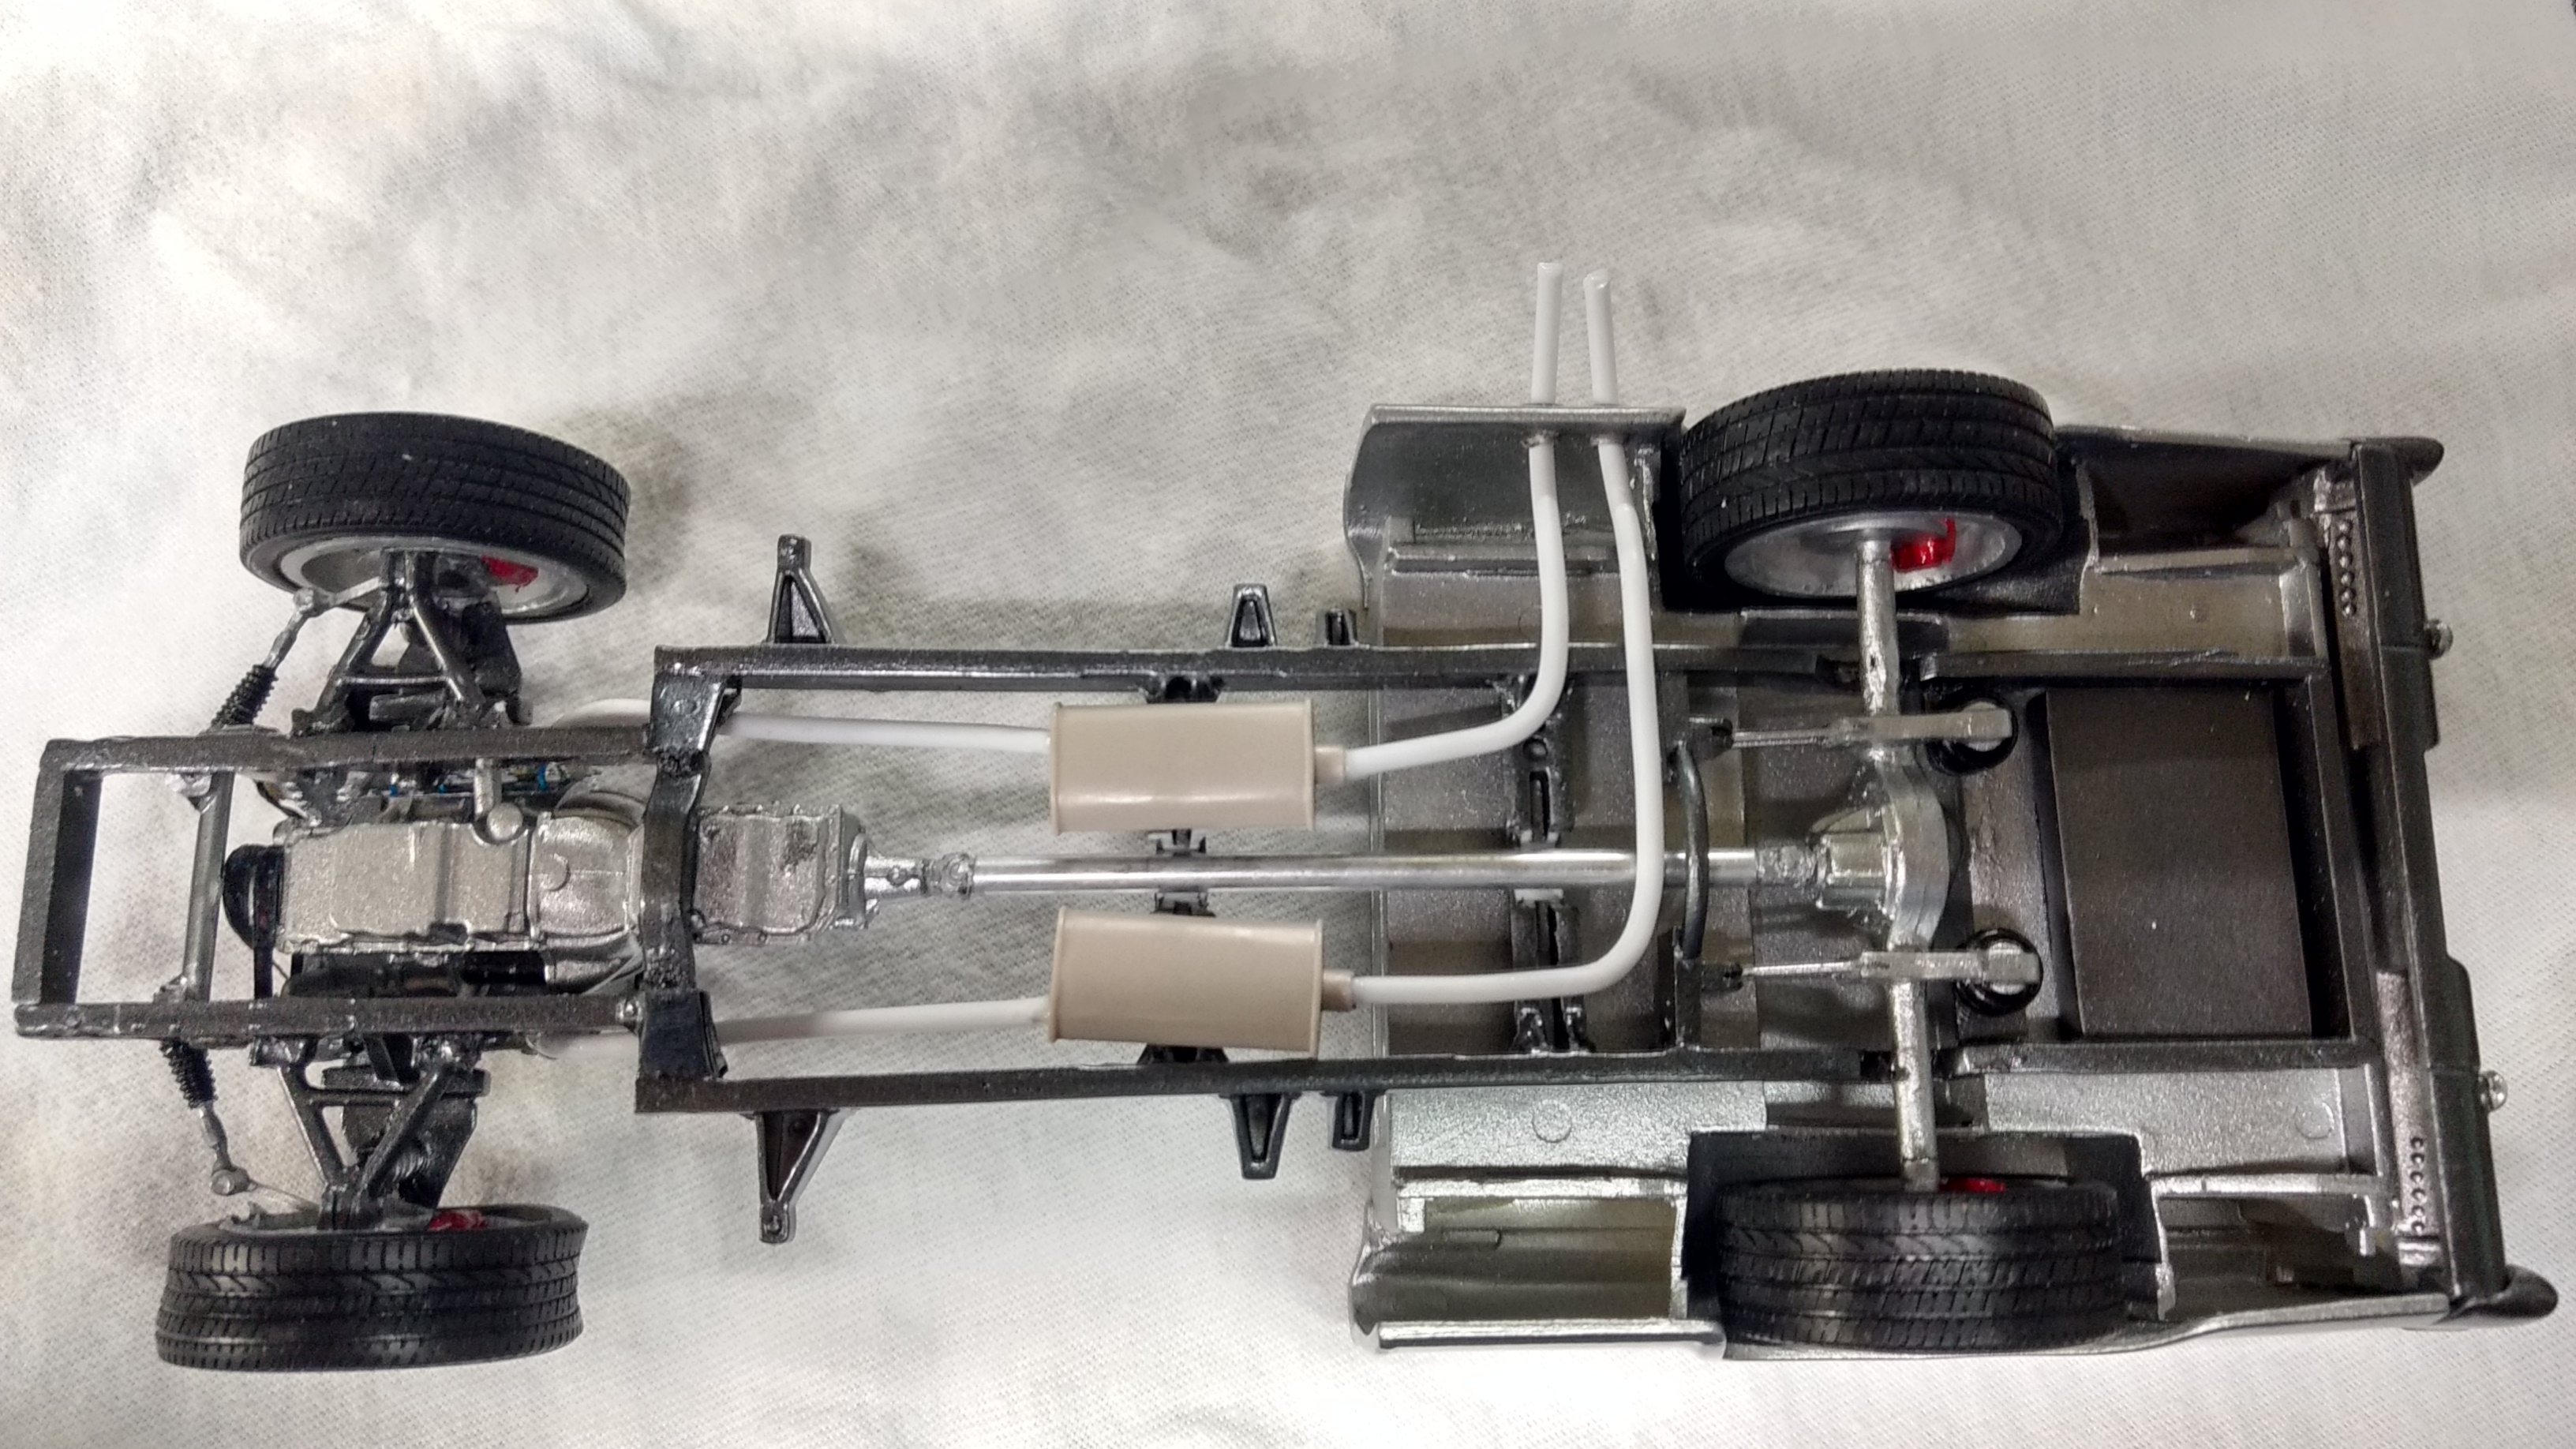
Getting the last little bit done on this build. Dabbing up the exhaust system. Mufflers from the parts box (70 Superbee) and Evergreen rod. I'll let this dry till lunch and then paint it up. Installing this and the mirrors are the final steps. Later-
-
That is a beautiful build. The color is just right for it. Love it! Later-
-
Most of these are complete but I haven't made it through all of them yet. Unfortunately the 70 is a bit different. Later-
-
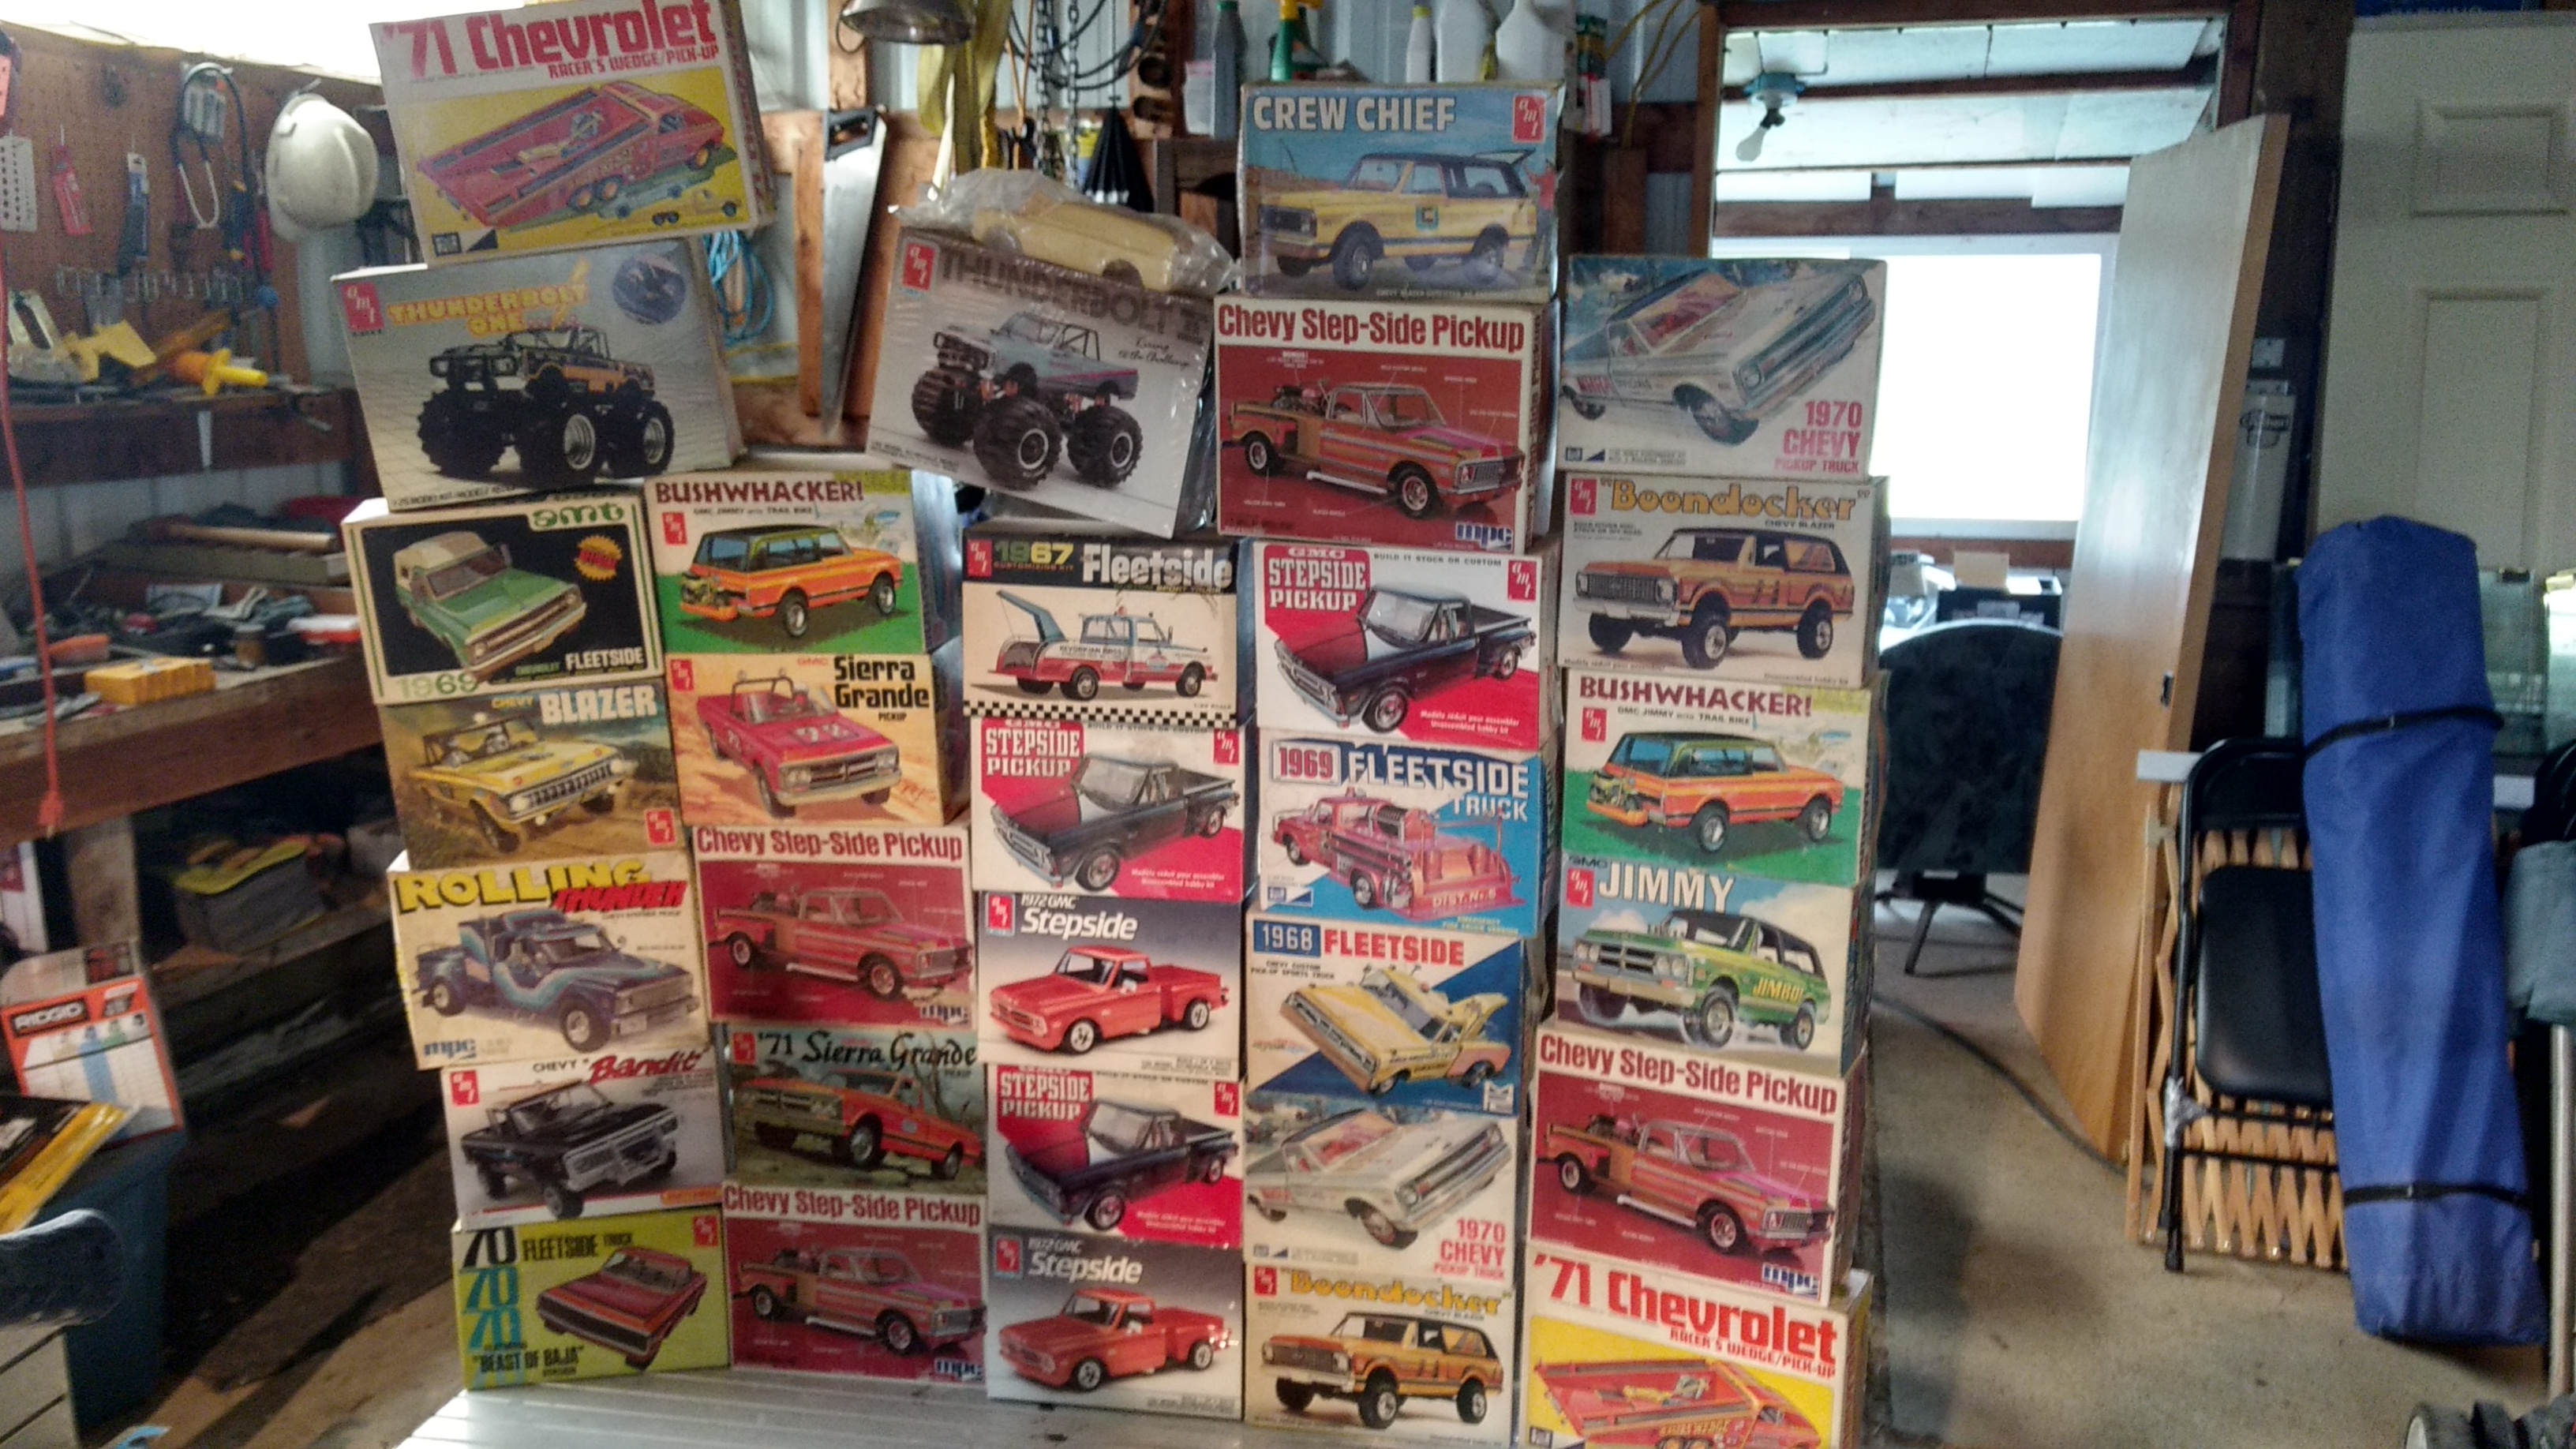
Lol. No. Just stumbled on a CL add this morning from a guy who I bought a bit of his stuff a year or so ago. He was ready to clear out and he wanted $30 per kit. I asked him if he would take a lower price for all of them. He said yes. The surprising thing was that my wife agreed to what I offered him....with the stipulation that I make our money back plus some. I figured I could, at least, double my cost. I paid $25 a kit. Total of $775. I gave him $780 and he threw in a slush cast custom Blazer body, a bunch of diorama stuff and a bunch of aftermarket stuff. Not to mention some parts that were missing for the kits I bought previously. Talk about right place, right time... Later-
-
So, here it is precariously stacked for a pic. I also got 2small buckets of aftermarket and kit parts and diorama stuff! Later-
-
55 Chevy Cameo
Modlbldr replied to Modlbldr's topic in WIP: Model Trucks: Pickups, Vans, SUVs, Light Commercial
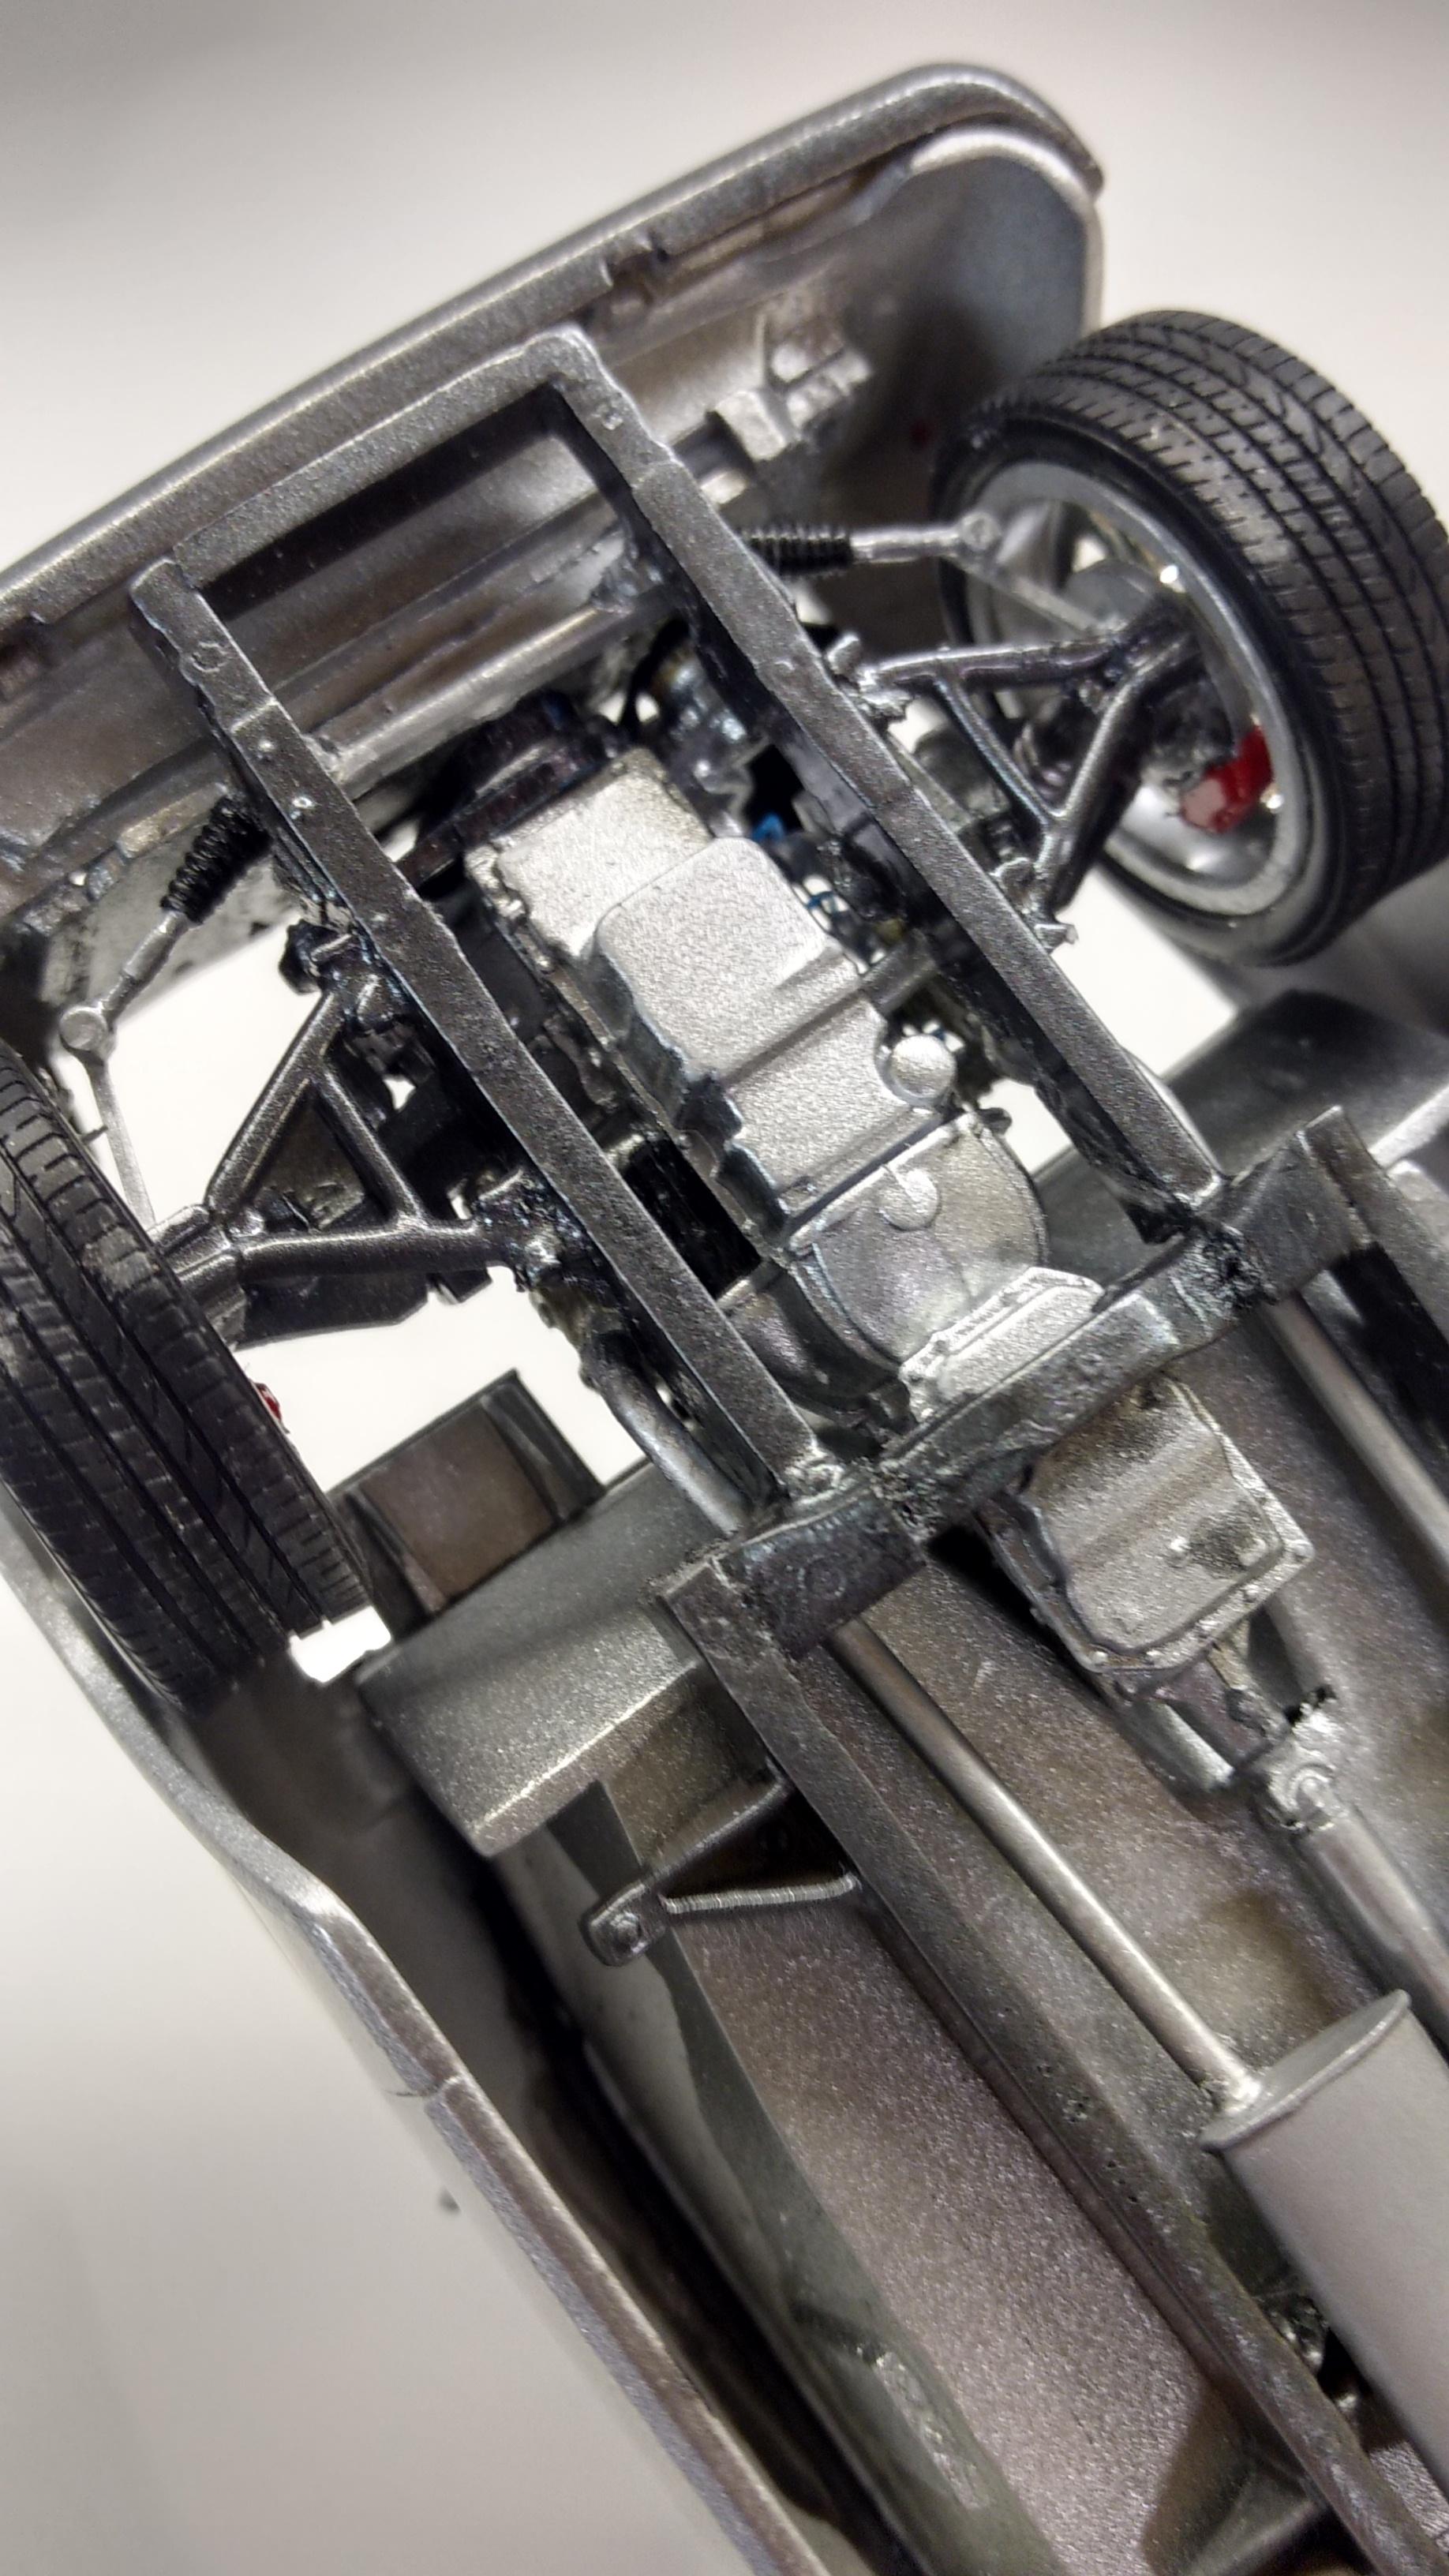
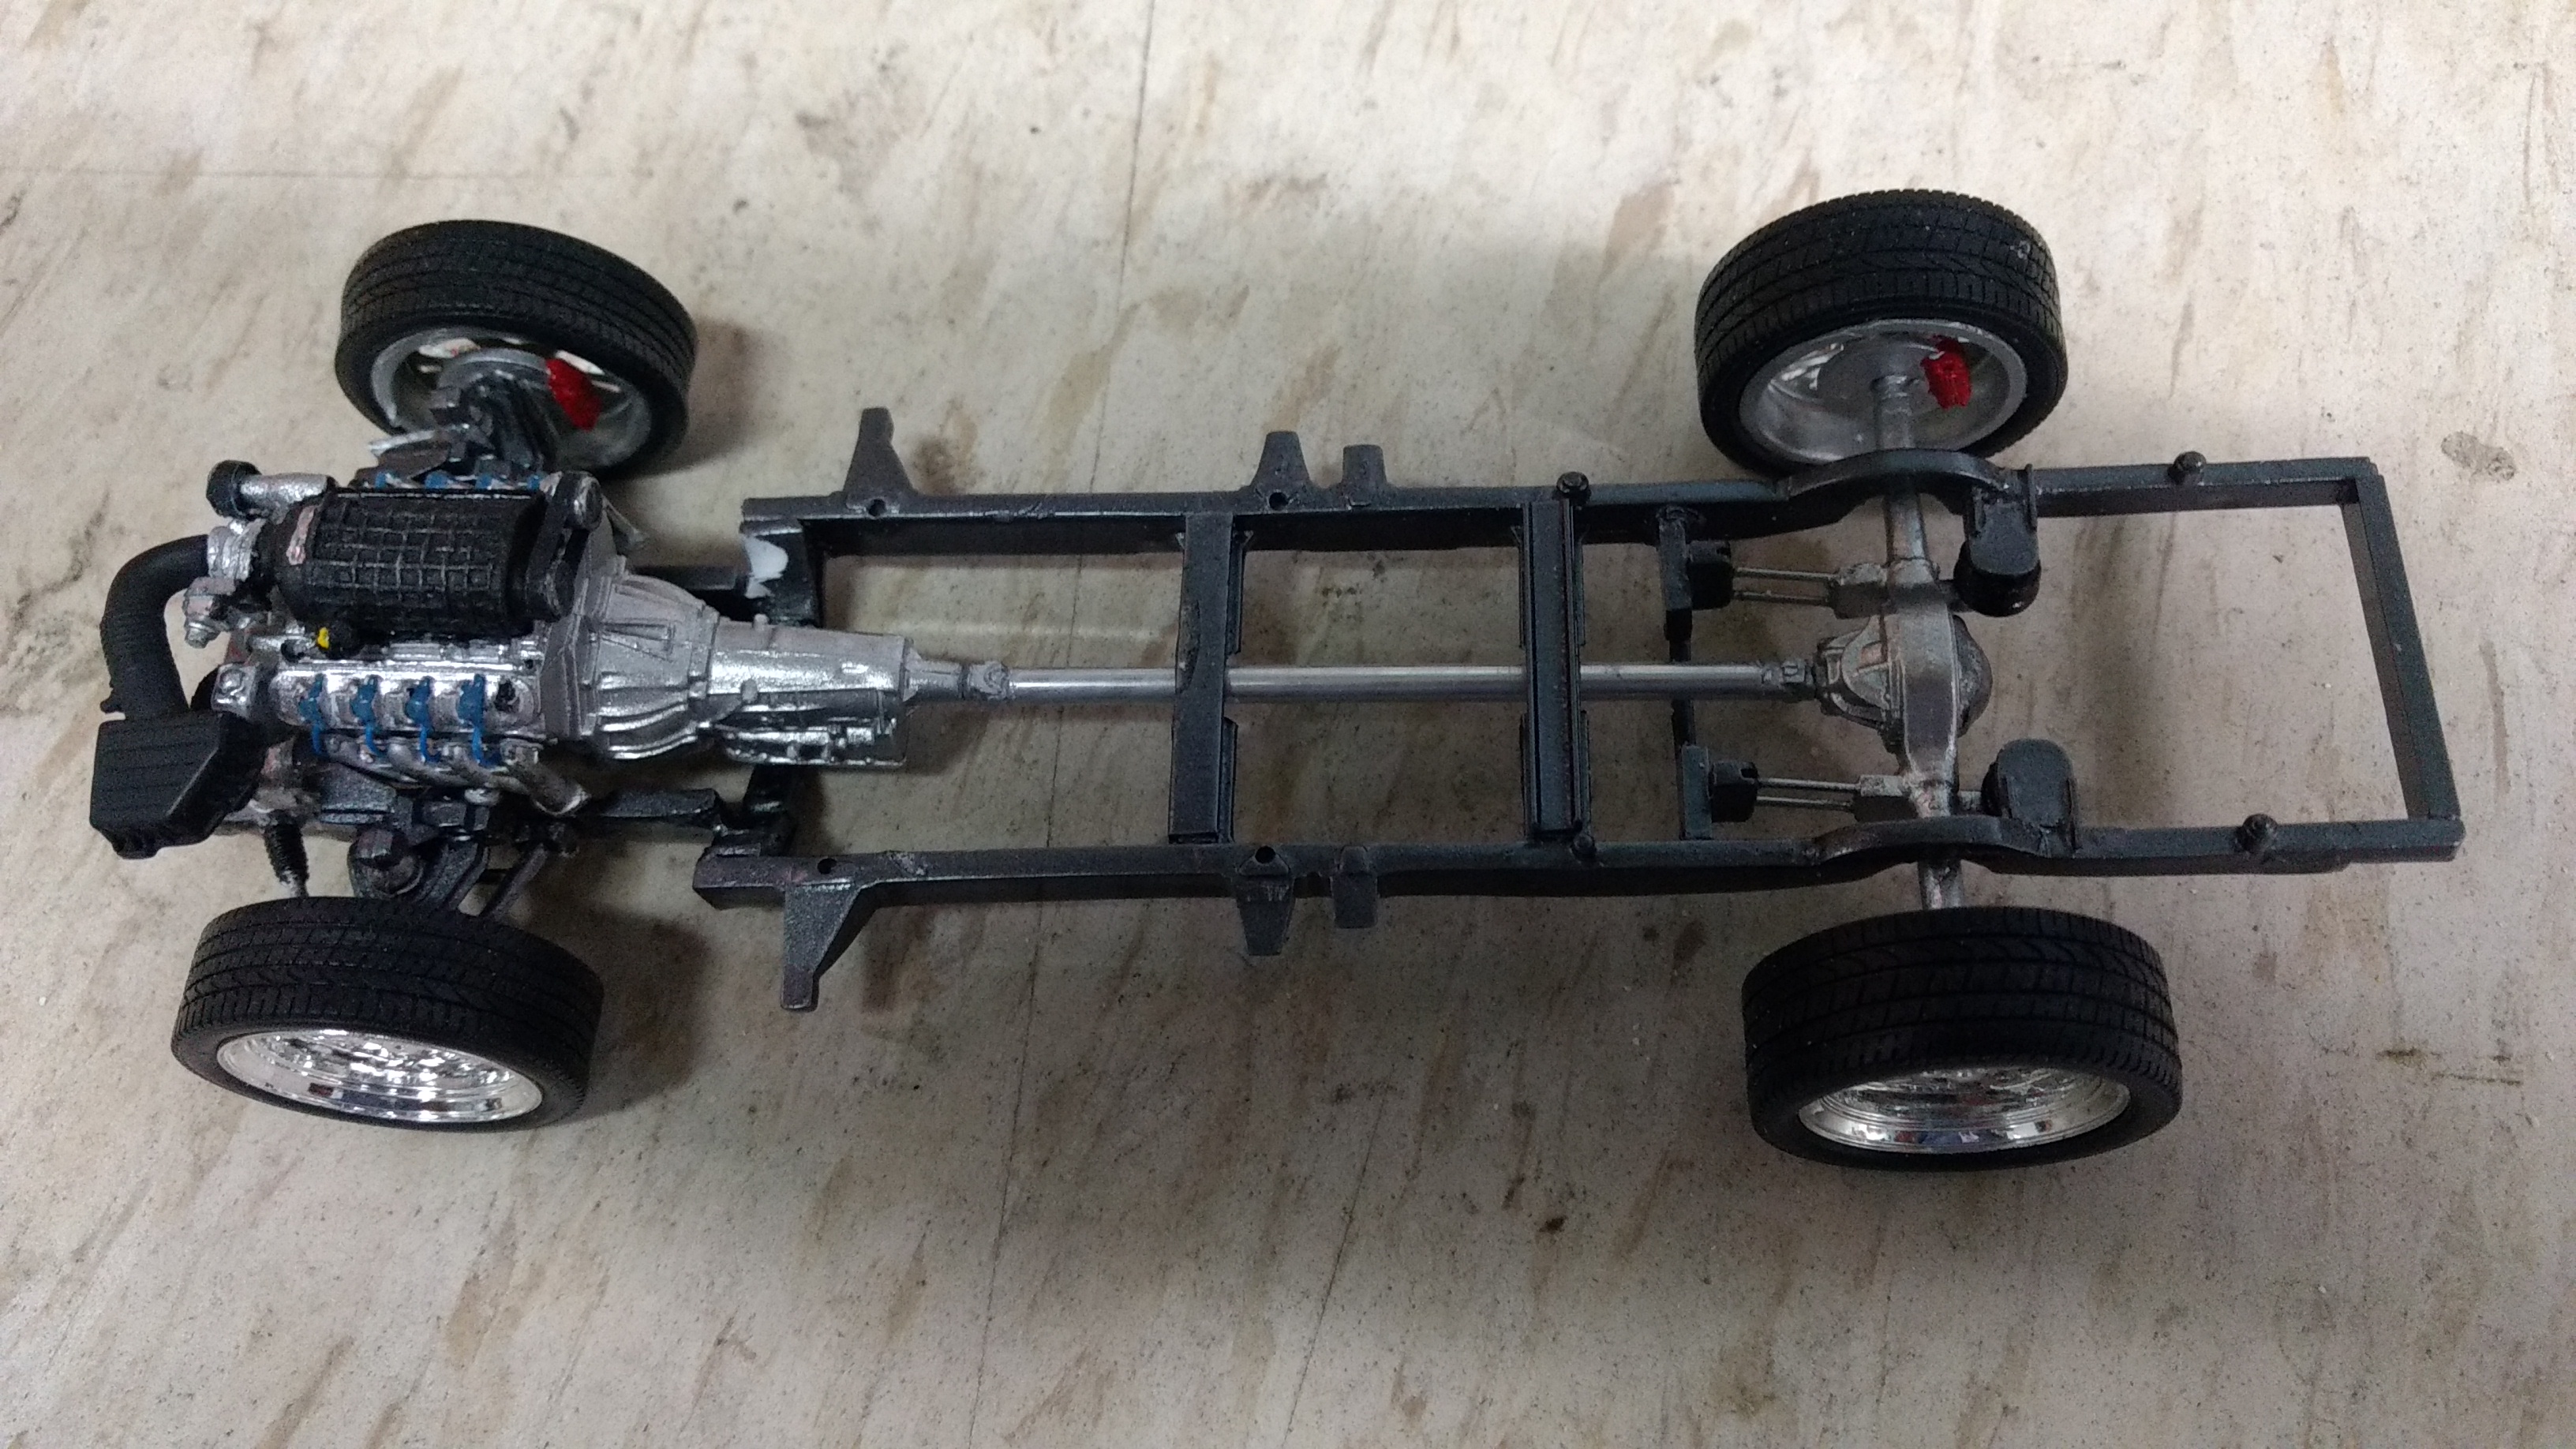
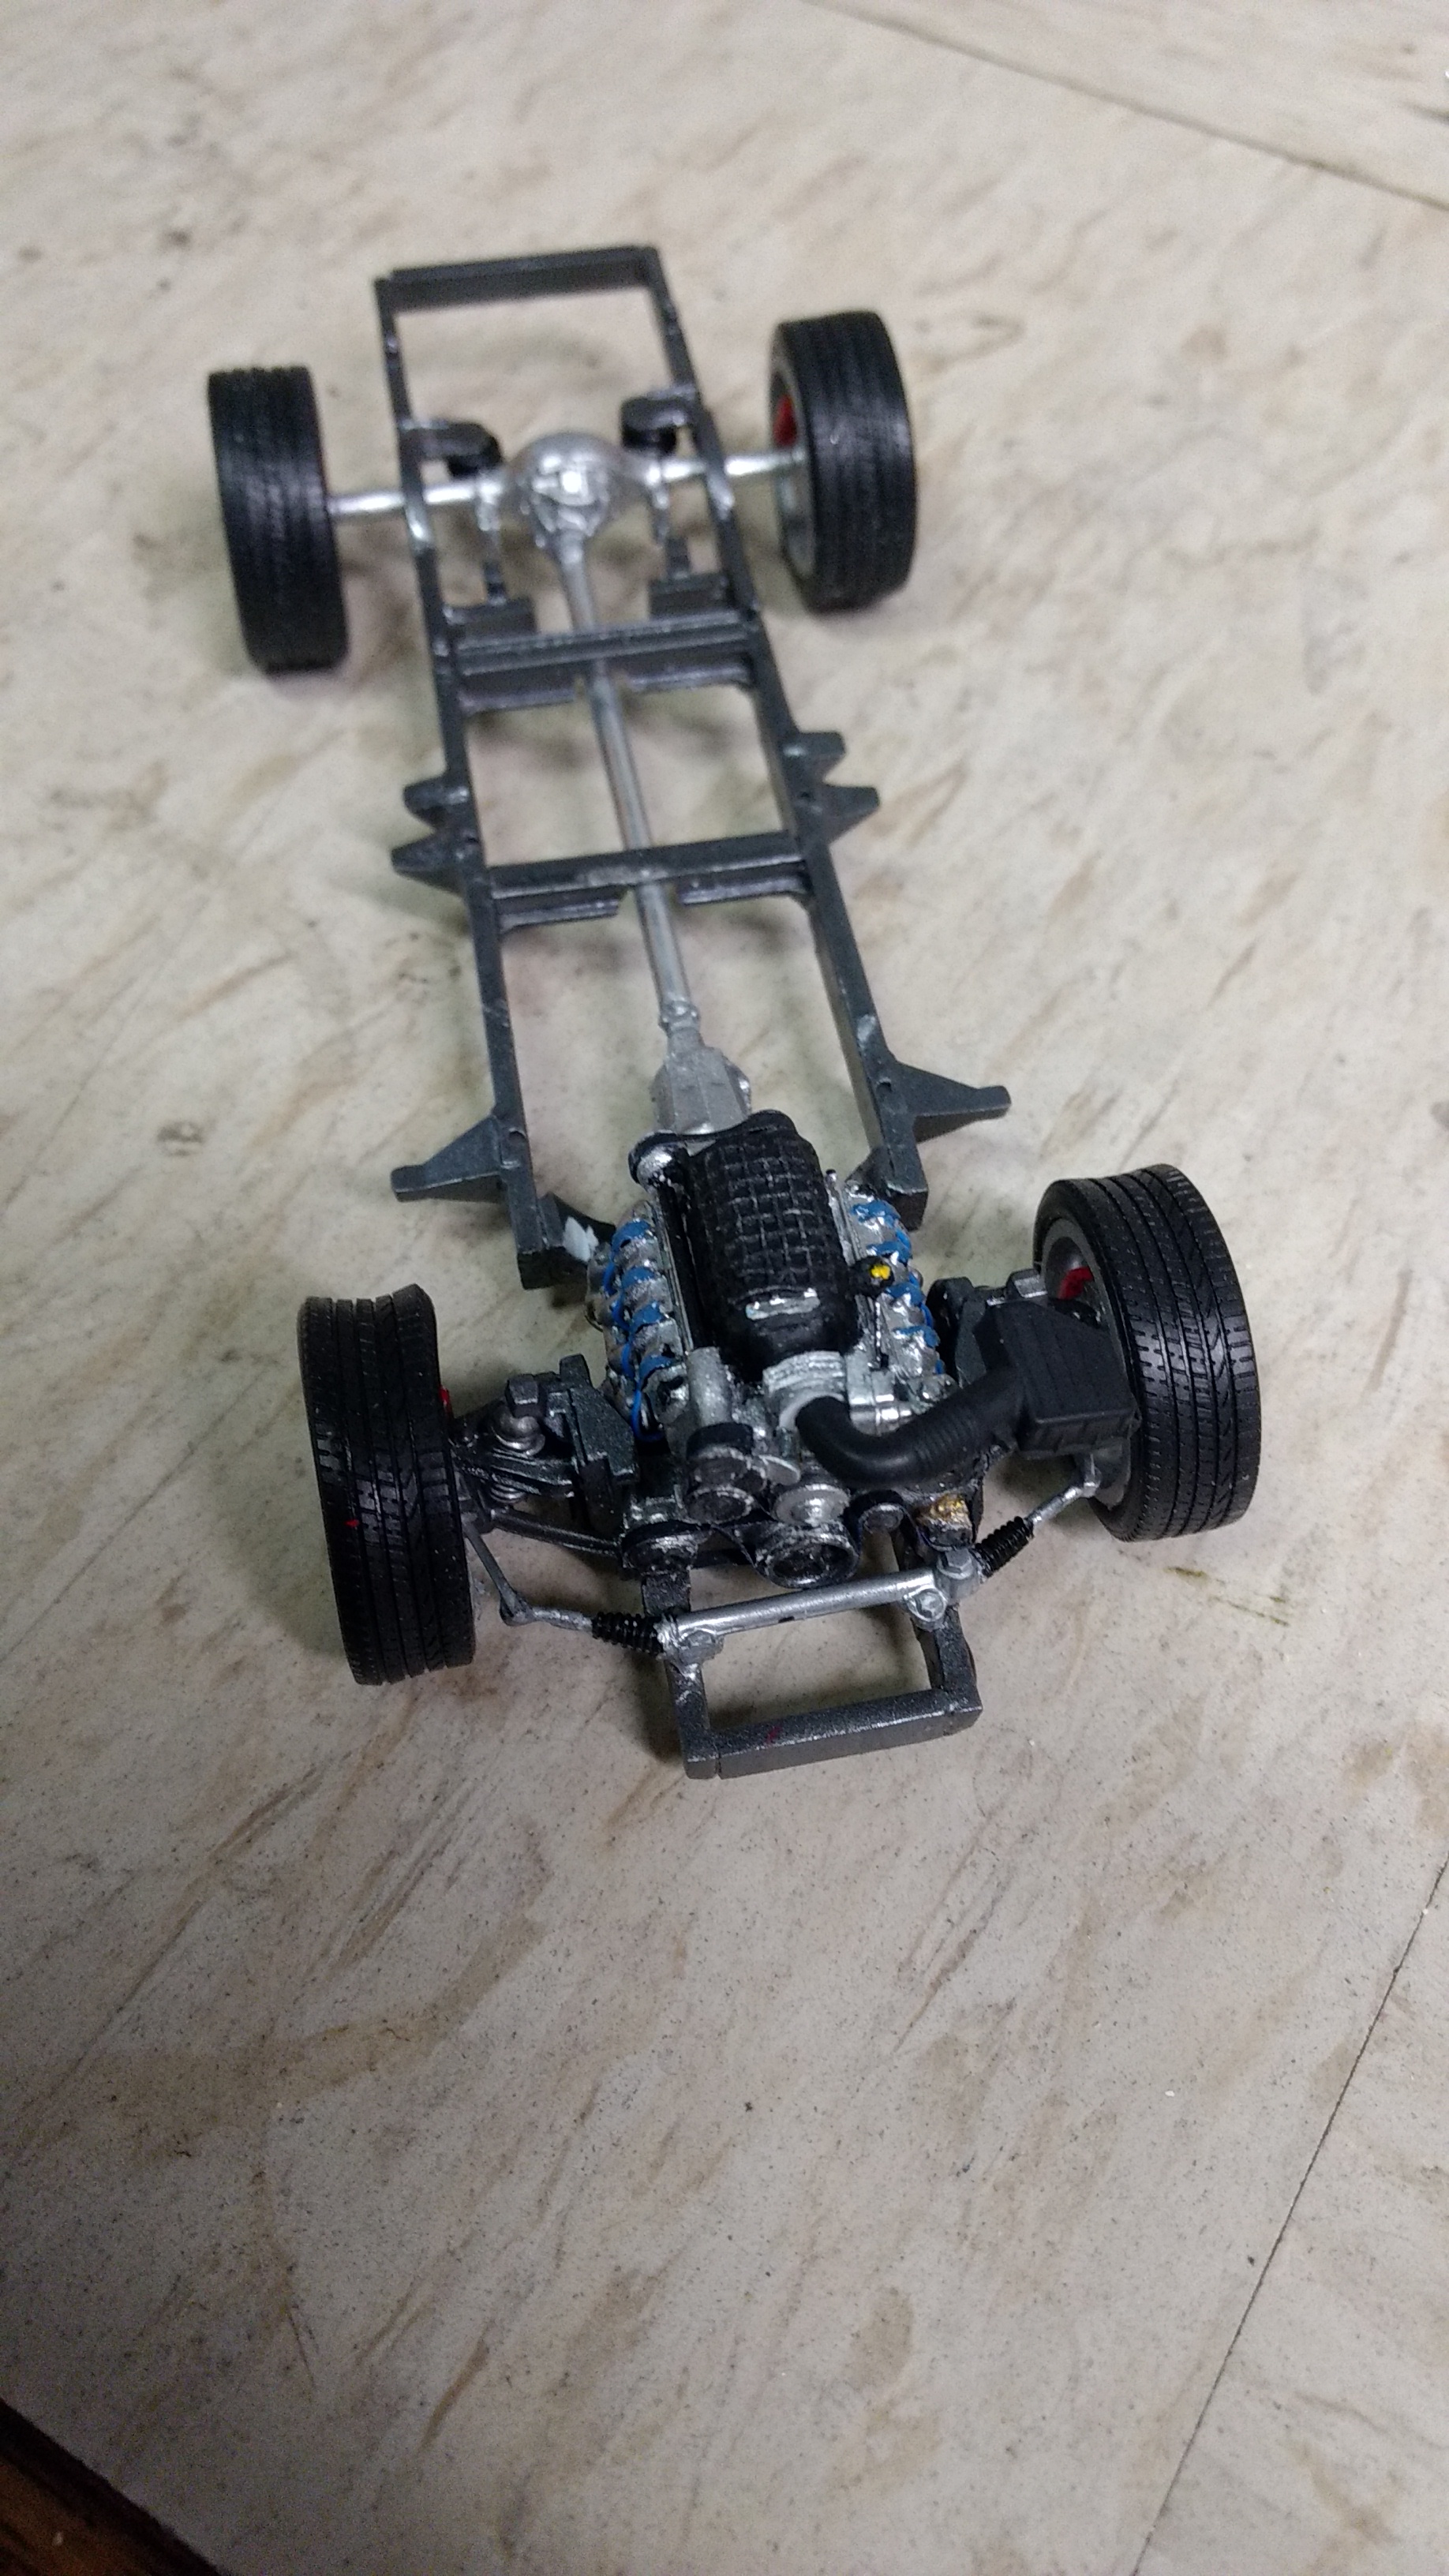
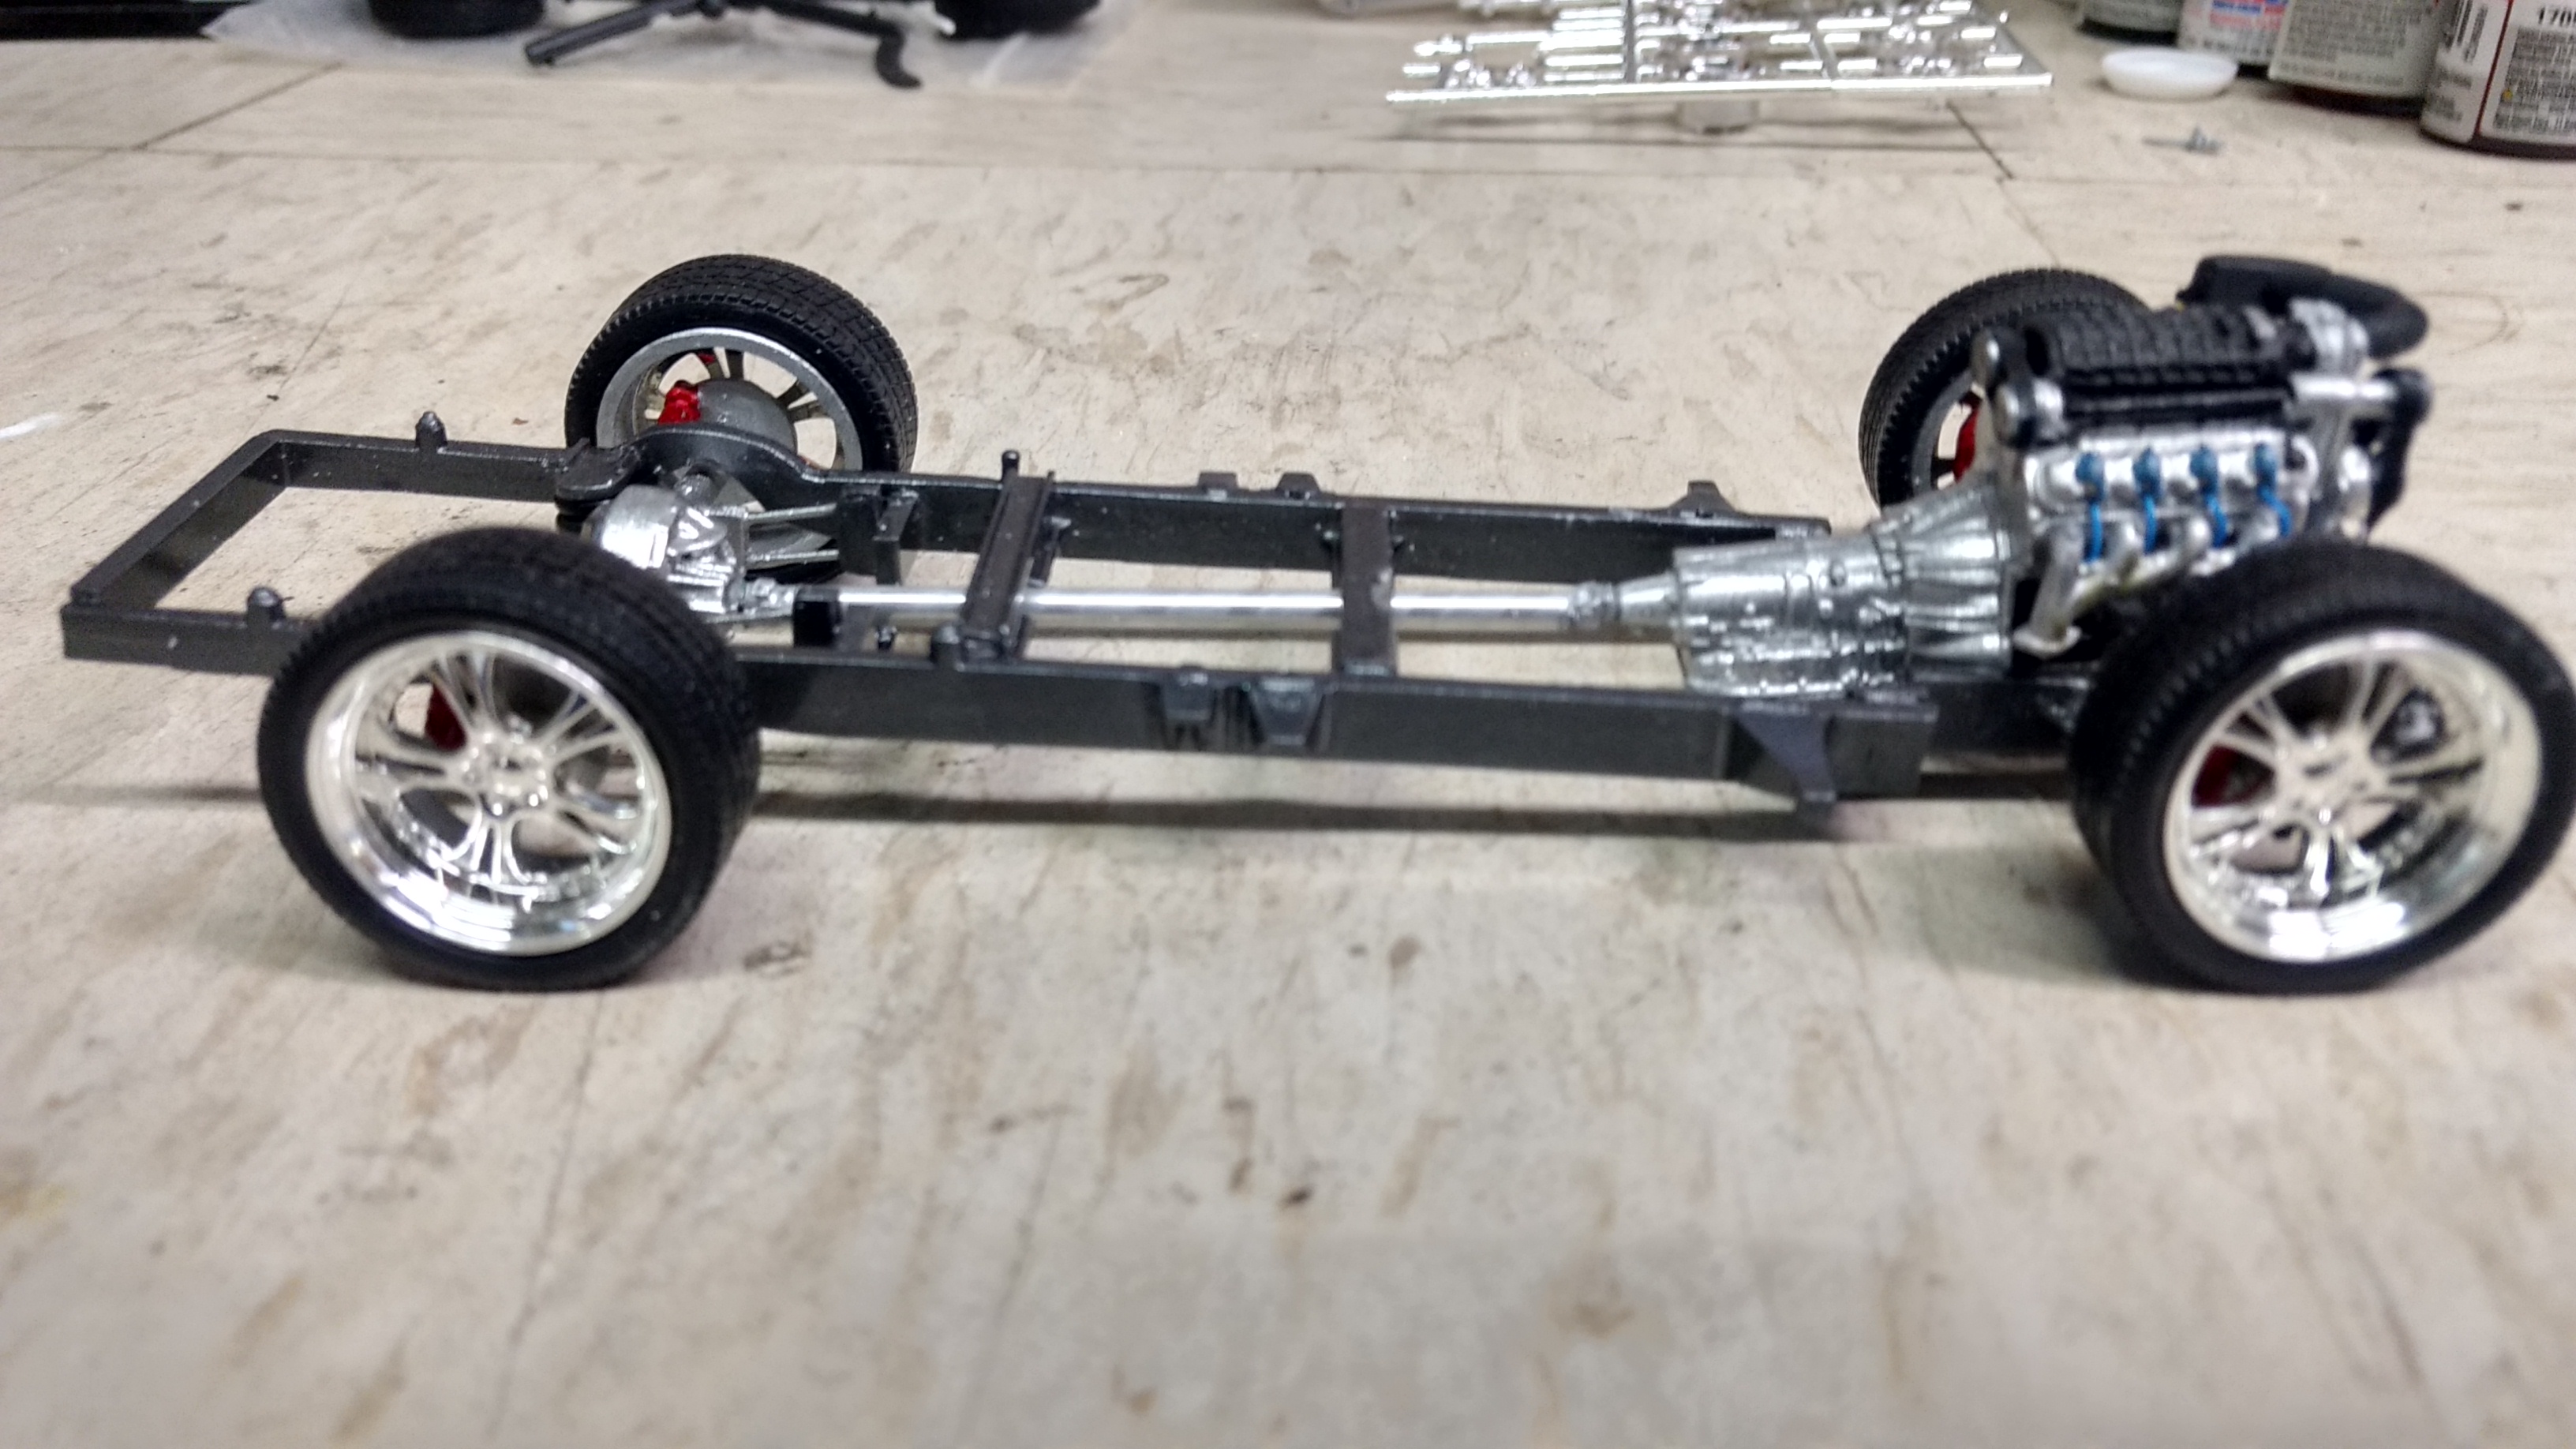
I've been working on the chassis lately and still have the exhaust to fab-up. Then it is just putting the body on the chassis and it's done. Later-
-
Just scored off my local CL 31 (yes, 31) 68-72 Chevy and GMC pickups and Blazer/Jimmy's for a great price!! Picking them up tonight. Pics to come. Later-
-
Very nice build! Definitely fits the era it was intended for. Reminds me of a lot of the 70's magazine cover cars. Later-
-
Beautiful work. You made it look so good. Nice modifications to raise the quality of the build. Lol! How many times I have said this about a build. But we keep trying. Later-
-
Saweet! Great looking build. I've got to get the hood decal on mine and get it finished. Any advice for getting the hood decal to lay down over the front of the bulge? This will be my second try at it. I don't want to screw it up again. Later-
-
Beautiful model! One to be very proud of. The paint and interior look great and I love the MH tires and wheels. Good job! Later-