David G.
-
Posts
11,326 -
Joined
-
Last visited
Content Type
Profiles
Forums
Events
Gallery
Everything posted by David G.
-
That's a nice, tight clean looking build. David G.
-
That's a great looking pair of Fords! The interior on the white one is fabulous. David G.
-

1972 Ferrari 312PB
David G. replied to Chris Smith's topic in WIP: Other Racing: Road Racing, Land Speed Racers
Wow, that looks perfect! David G. -
It's the little details like this that all add up in the end. David G.
-
1972 Ferrari 312PB
David G. replied to Chris Smith's topic in WIP: Other Racing: Road Racing, Land Speed Racers
Good progress on this, the decals look great. David G. -
1950 Chevy Dually Shop Truck
David G. replied to Zippi's topic in WIP: Model Trucks: Pickups, Vans, SUVs, Light Commercial
Oh yeah, I remember this one. Great to see it back on the bench. David G. -
Great looking shine! David G.
-
The engine photos are excellent! Seeing the filter elements inside the air boxes adds a nice touch, well worth the effort. David G.
-
Who doesn't love a mock-up? Let's see yours!
David G. replied to Belairconvertable's topic in WIP: Model Cars
I like the color combination on the bling Impala. The Wagon looks like a fun build. Great decal work on the race car. David G. -
1/12th Porsche 934 Vaillant
David G. replied to majel's topic in WIP: Other Racing: Road Racing, Land Speed Racers
In most of the photos I've seen it looks indistinguishable from the real thing. Amazing detail work! David G. -
Thanks Joe. It looks a little better than the chrome coating that came with the kit. Thank you Bob. Thanks Carl. No it's not hot at all, it seems to be a different formula than the rest of the DupliColor line. Thank you Jim. I agree, it looks good enough for most purposes and seems to be a lot more durable than Alclad. Thanks again, David G.
-
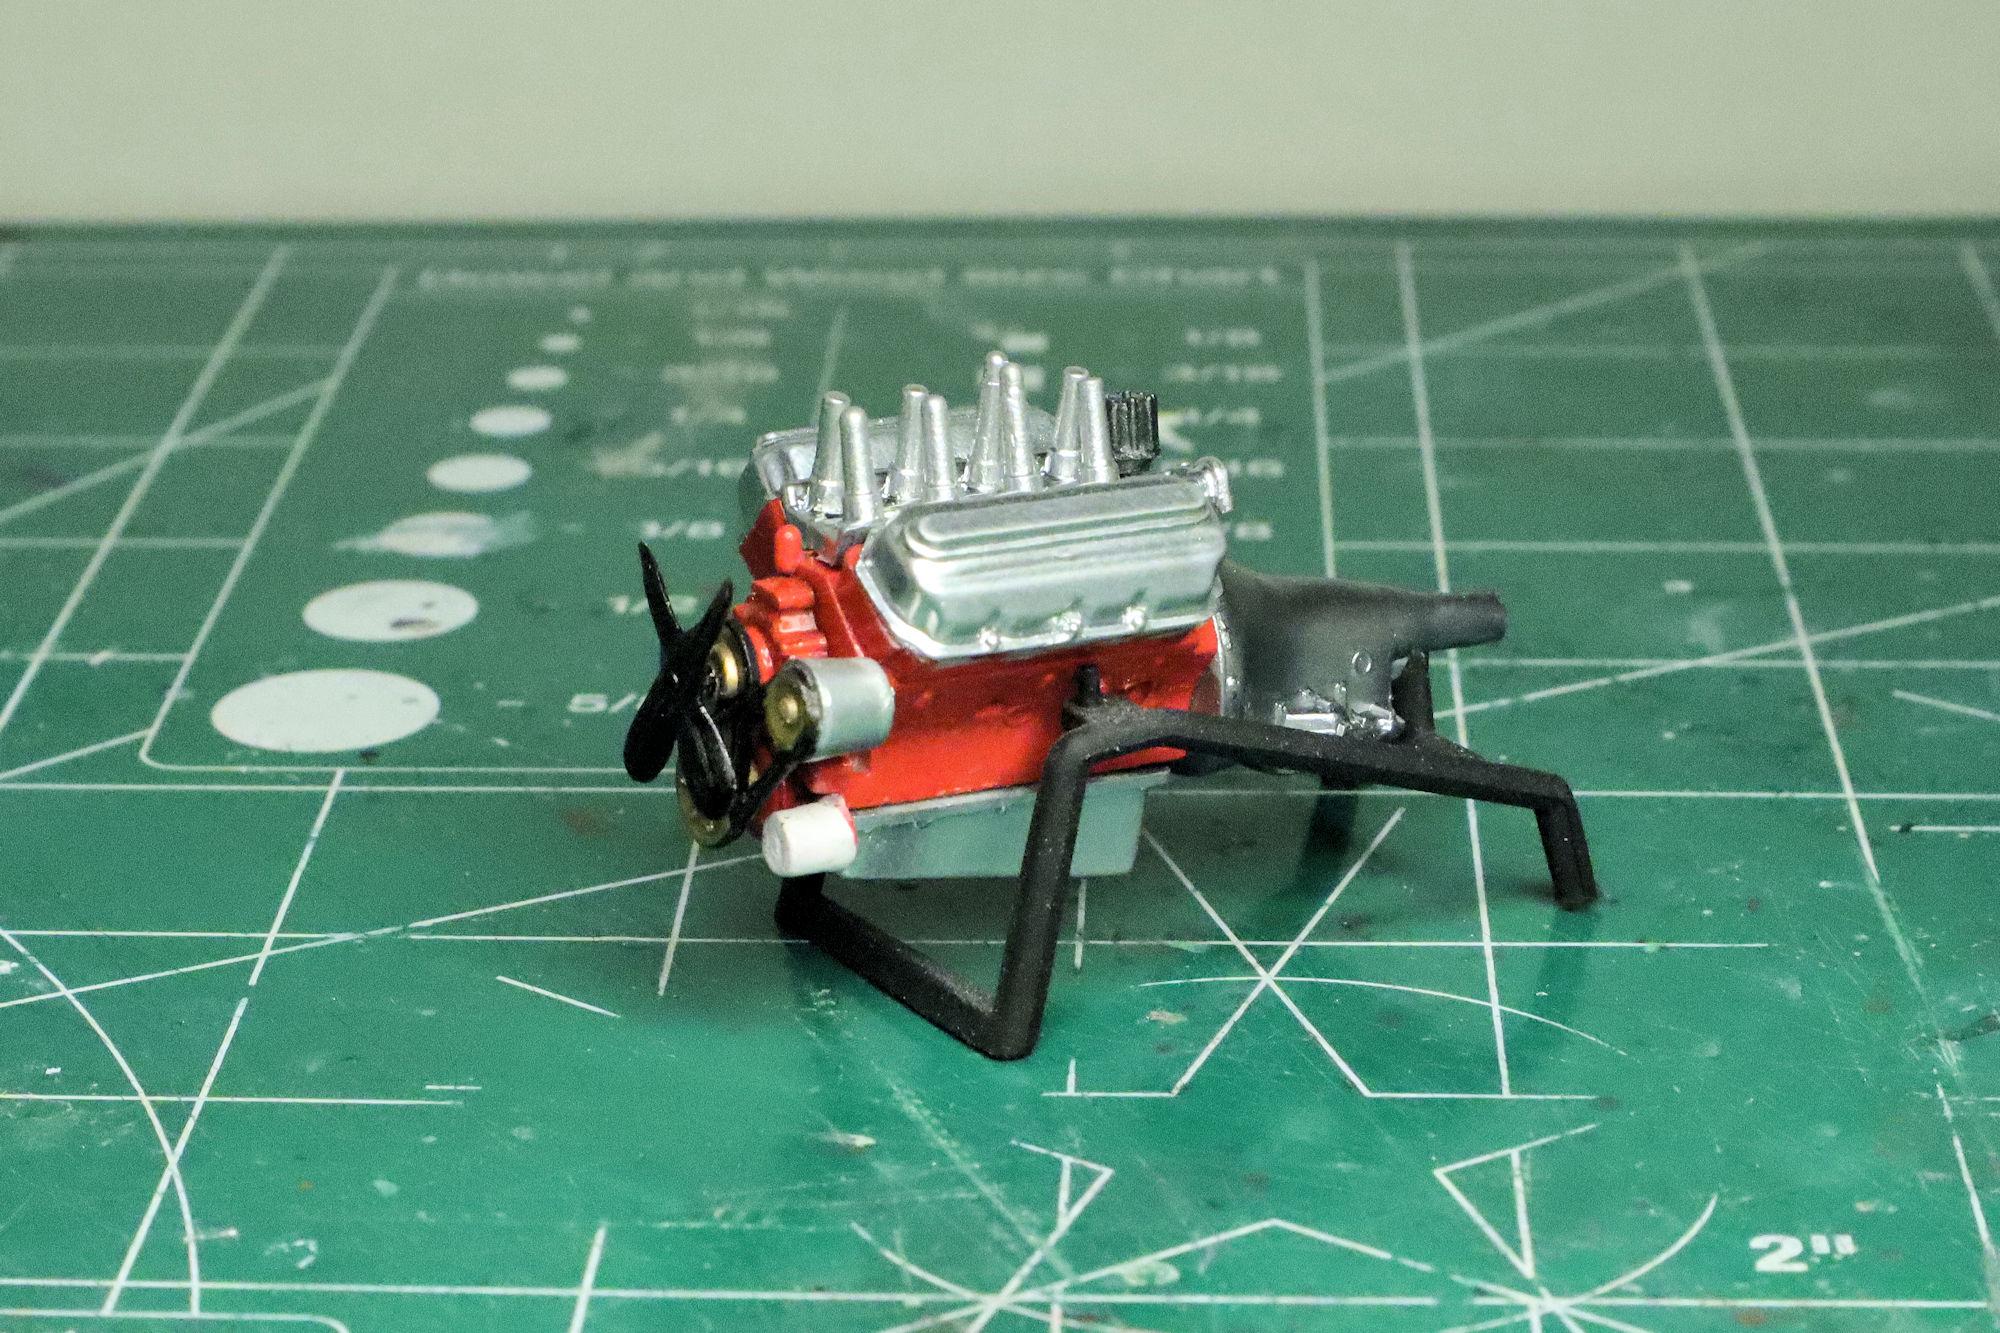
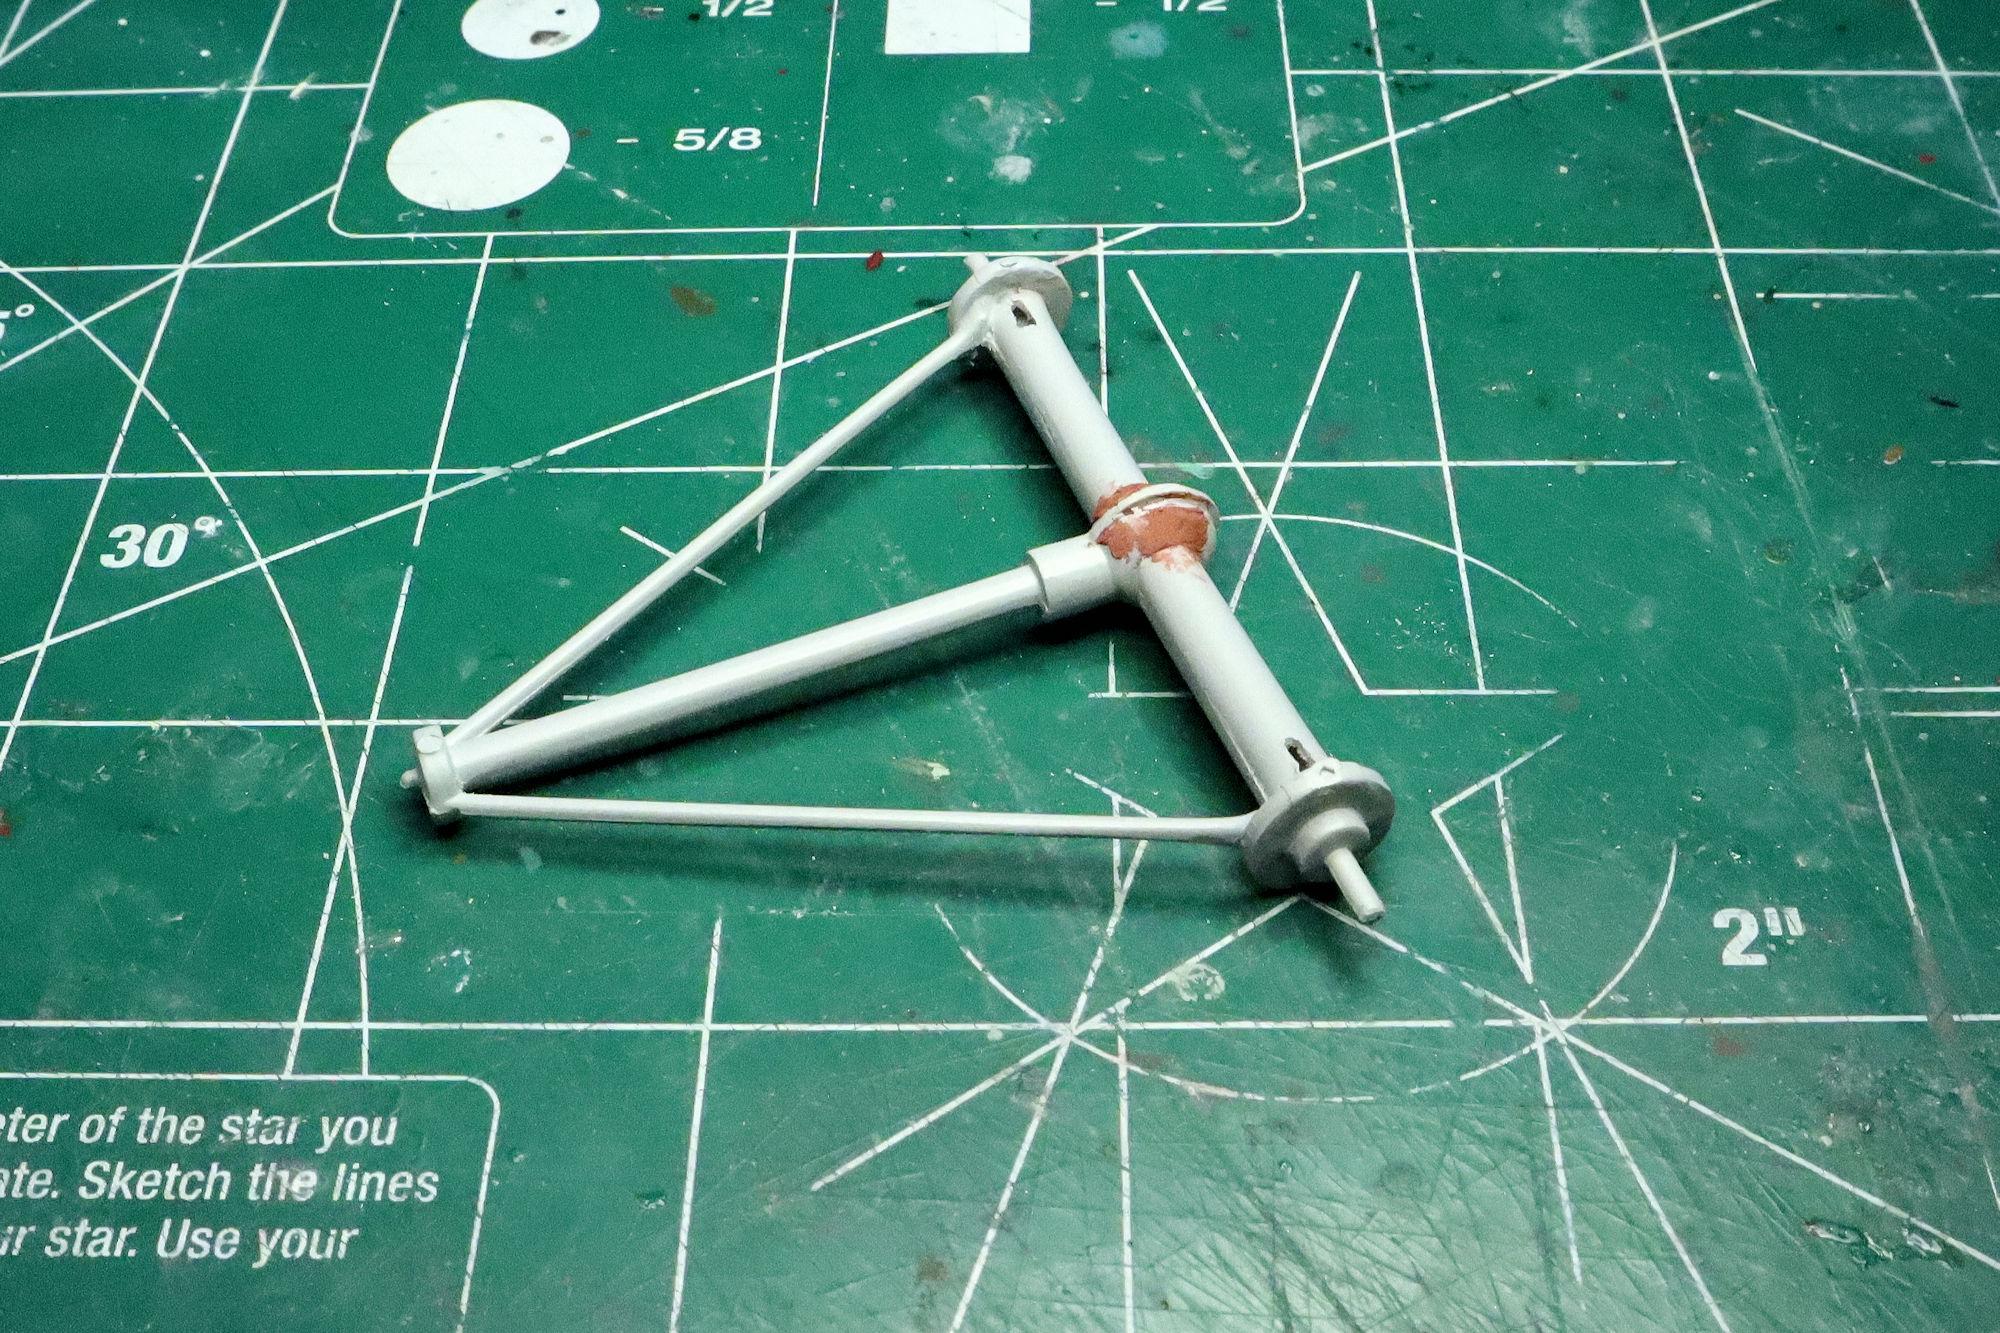
Hello Everybody! I finally have the rear axle to a point where I can be content with it. Onward! The kit chrome had some flash, a few scratches and flaws as well as some bad attachment points so I stripped off the chrome to better address these issues. Here are the top-engine parts all cleaned up and re-chromed with DupliColor chrome paint. Here's the nearly completed engine painted the same red as the chassis. Because, why not? I still have a lot of filling and smoothing work to do on the air scoop. Or "Mummy Hat" as I have come to call it. As always, thanks for stopping to take a look and comments, criticisms and questions are always welcome. David G.

-
Thank you Joe, I appreciate that. David G.
-
Thanks Rusty, I agree. Sometimes it's the little things that nobody "sees" that can make the biggest difference. Thanks Carl. I'm thinking about adding a red LED in there too. David G.
-
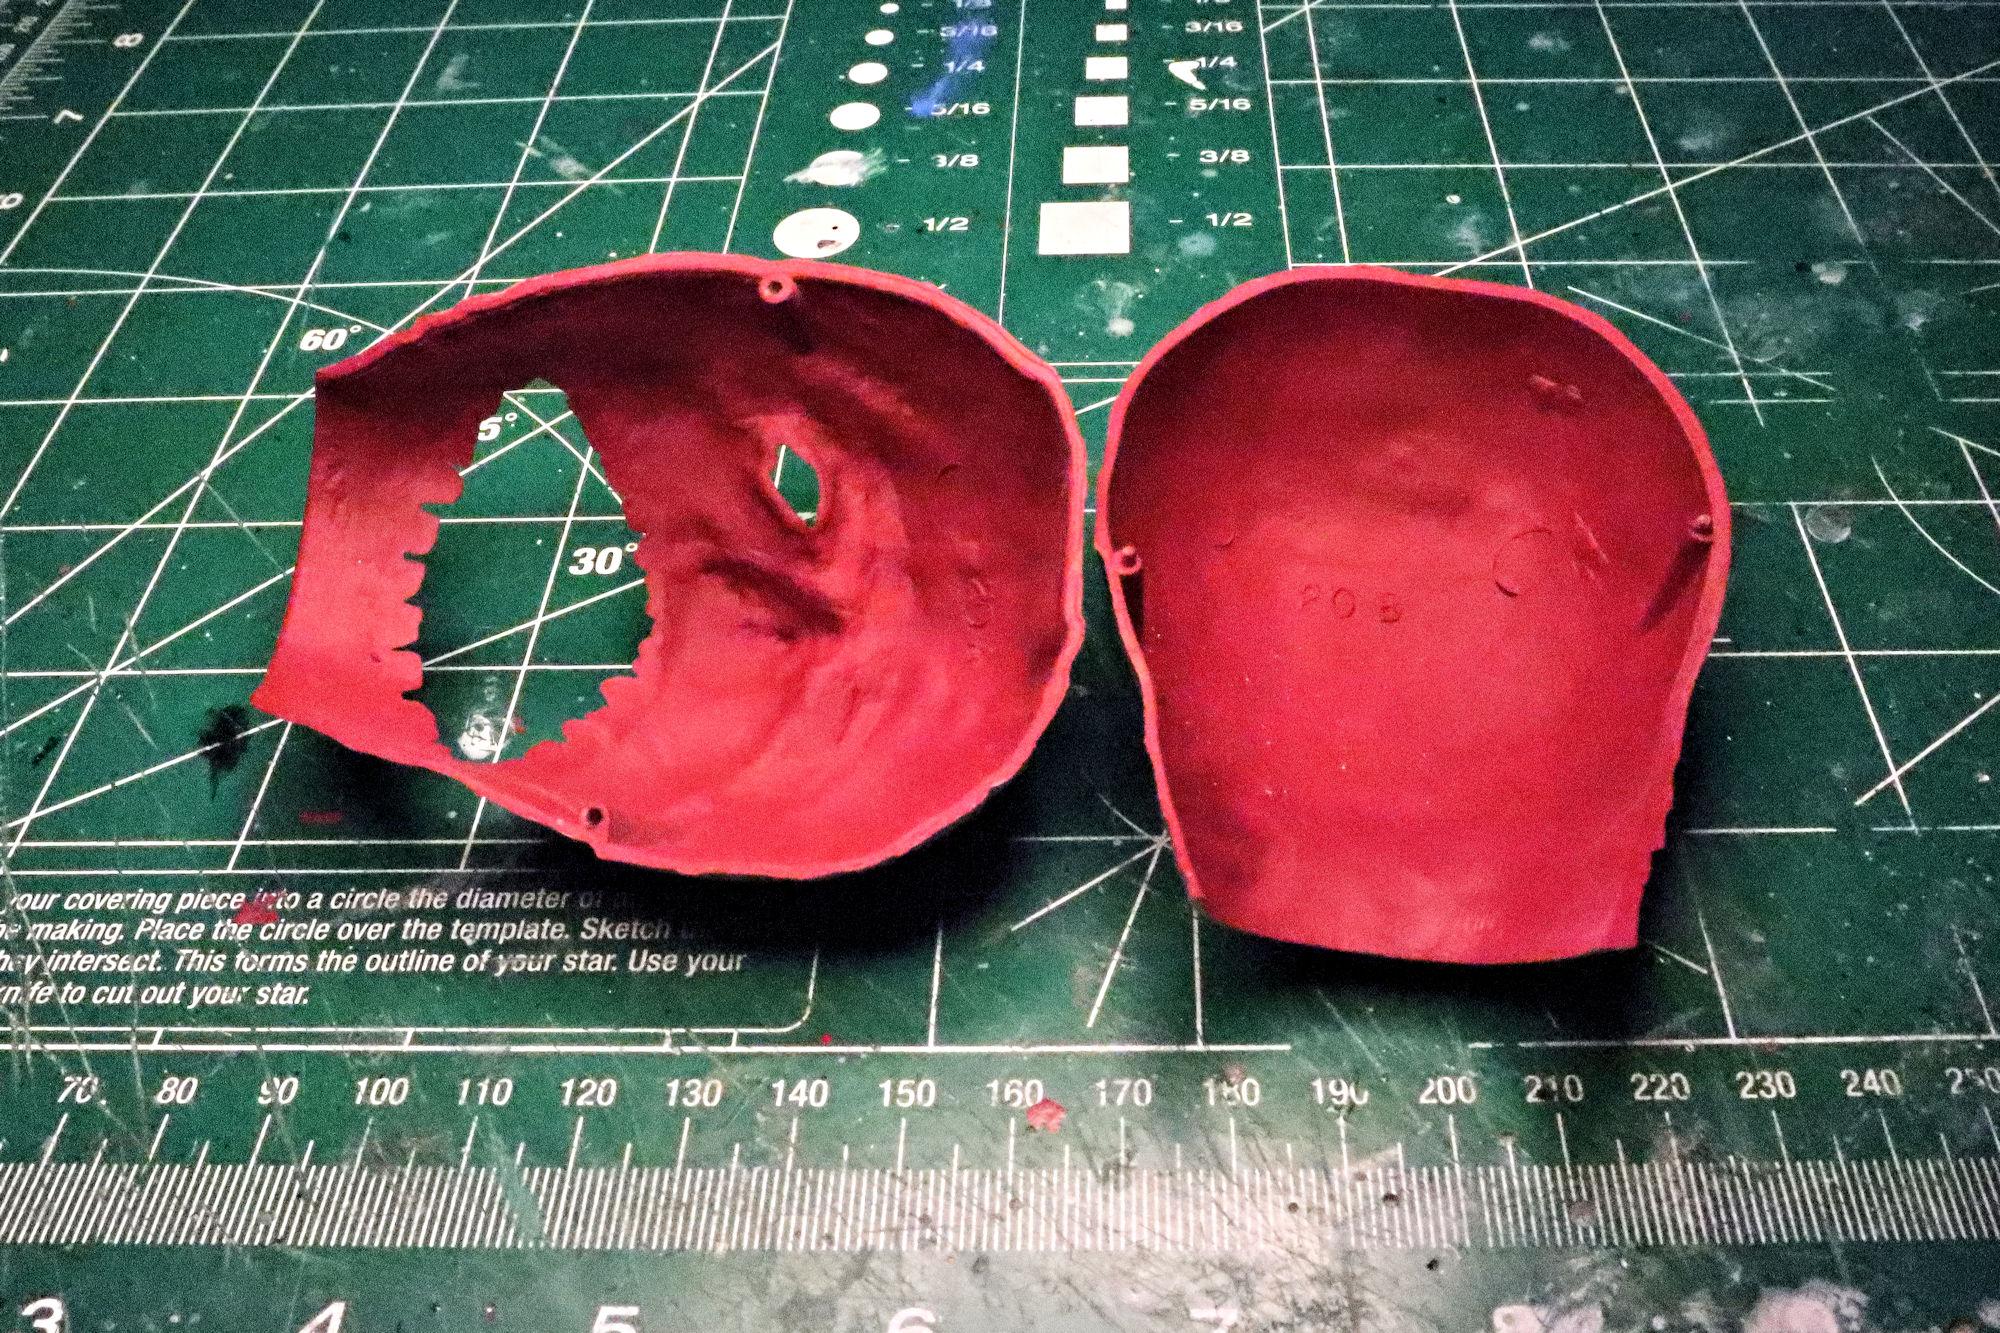
Hello Everybody! I thought I was going to have the axle finished in this session but it needed just a little more fill to smooth it out. In the meantime, I was making progress in different areas. I decided that I wanted a dark red for the inside of the mummy head. Now that he has his head together, it's time for a test fit. As always, thanks for taking a look and please feel free to post a comment or two. David G.
-
1969 Ranchero GT
David G. replied to TooOld's topic in WIP: Model Trucks: Pickups, Vans, SUVs, Light Commercial
The detail is well worth the effort you put into it Bob. David G. -
I don't imagine they move it often but I still wonder how it's transported. David G.
-
It's a shame about the air boxes but it looks like you managed to address the issues quite nicely. On the other hand, the interior looks great! I love the plaid, I did something similar when I built my 51 Chevy convertible. With such a visible interior, I felt that a little more eye-candy was needed so I created a plaid pattern using images that I found online. Thanks again for taking the time to share this wonderful build with us. David G.
-
Beautiful work! It's a shame that the interior parts are difficult to see. David G.
-
Very cool and well rendered! David G.
-
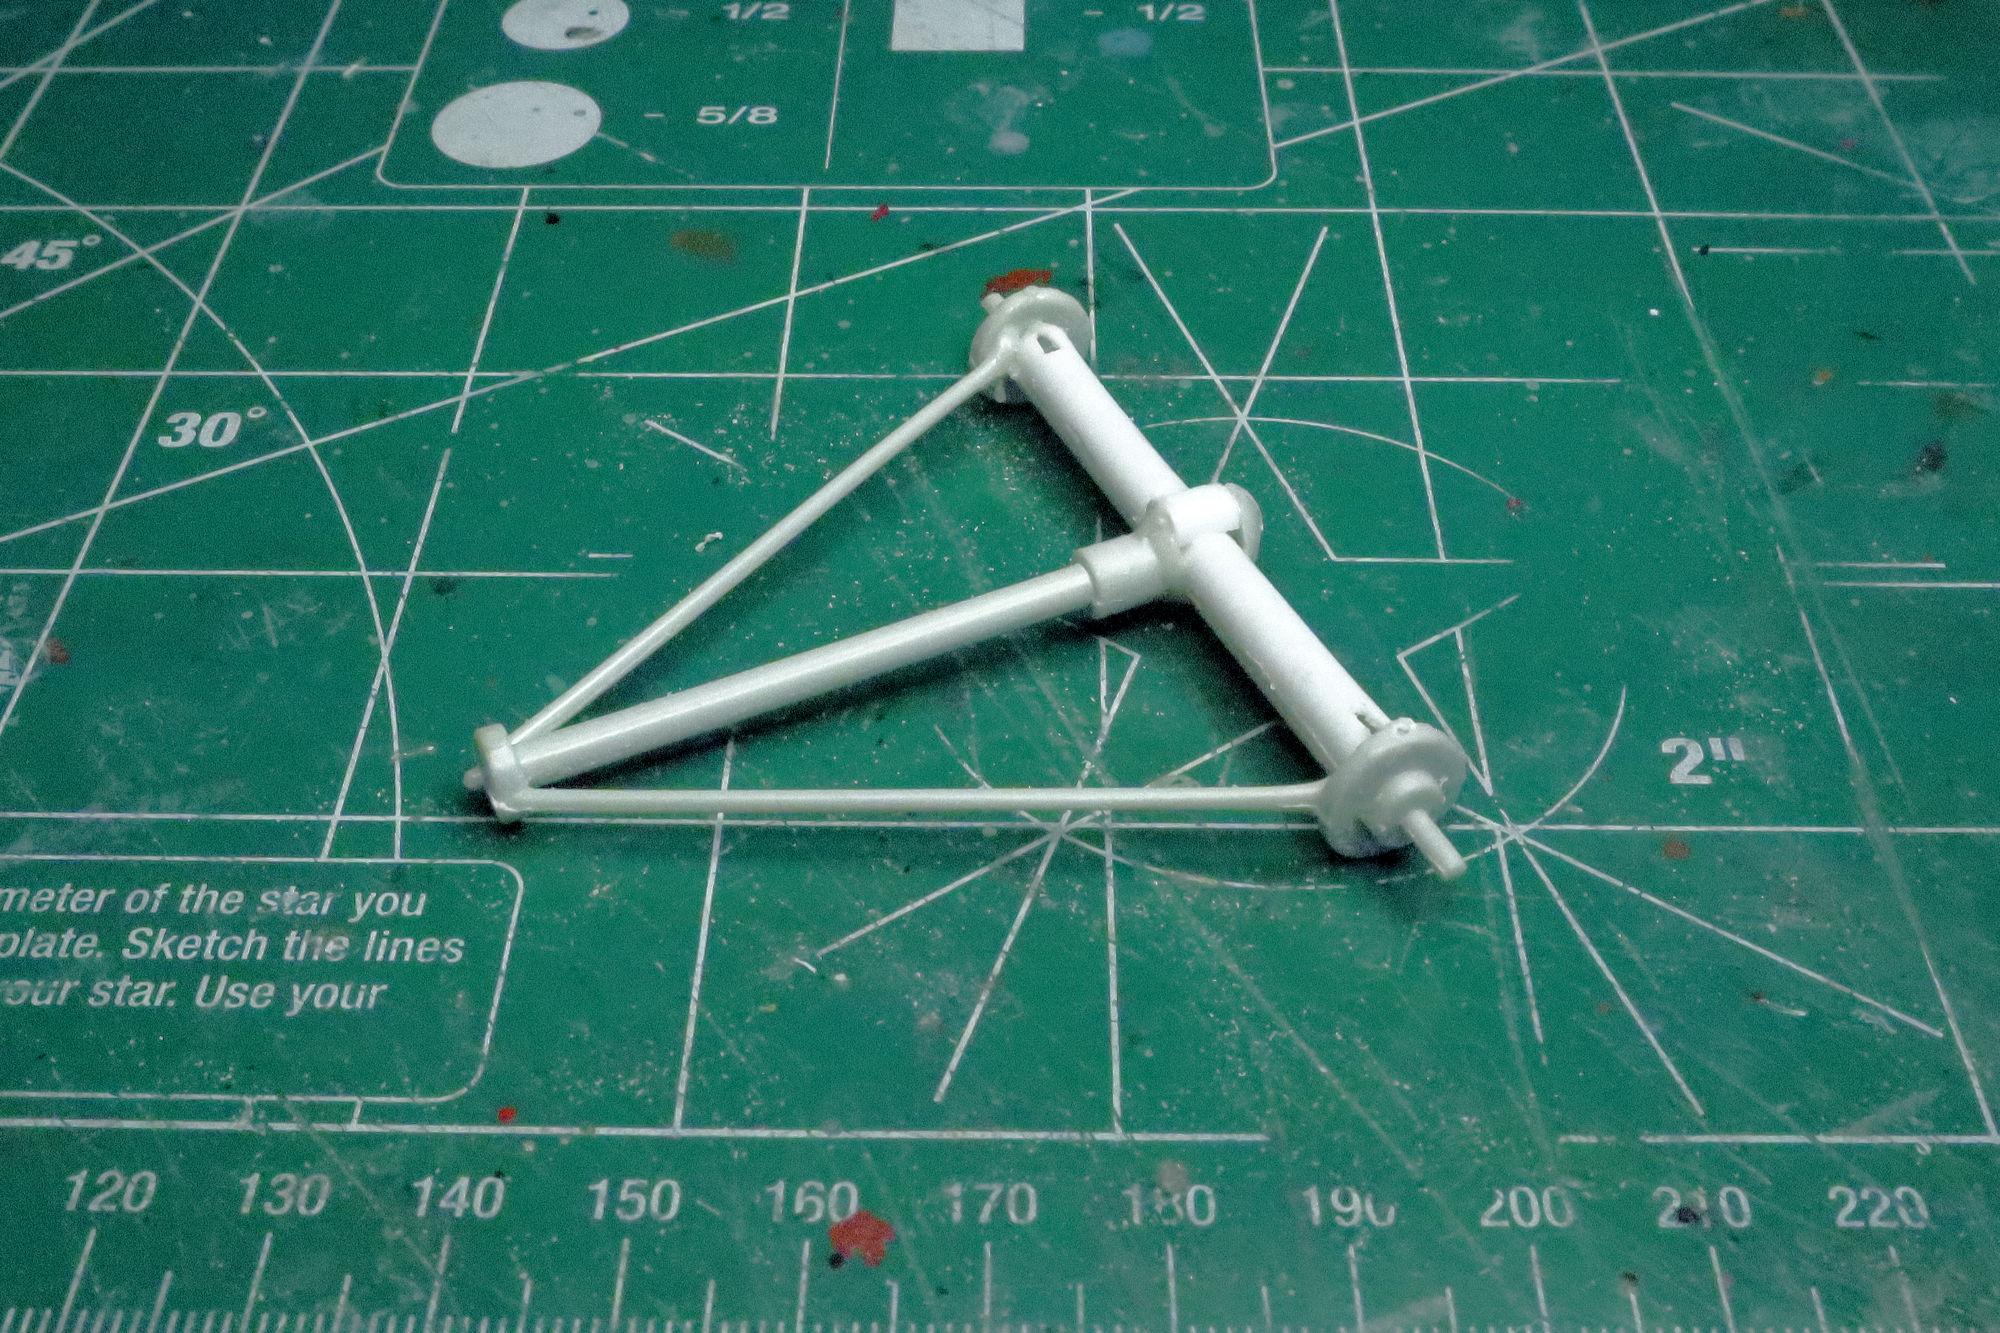
Hello Everybody! I've been able to get a little more work done both in building and photo editing. Another piece of styrene tube to build up the pumpkin. I used more putty to even out the differential, cut some holes on the axle ends to accommodate the spring and added some styrene for the flange. I shaped the flange and added... you guessed it, more putty! The axle isn't the only thing that I'm working on but it's what I have ready as far as photos go. This kit is simple almost to the point of being crude. It does have sufficient detail where it's needed but no more than that. I find myself working hard to resist the temptation to add more detail. I'm continually reminding myself that I want to retain the feel and intent of the original kit rather than replicate the original show car. Building the copy of the copy, if you will. Thanks for your attention and your patience. David G.
-
Thank you Carl, it's kind of you to say so. David G.
-
Beautiful job on the carbon fiber decals. It seems that this kit is a true test of skill and patience. David G.
-
Wow! What a fabulously complex and delicate kit. Your work on it is top notch and a complete delight to follow, thank you for taking the time to share it with us. David G.
-
Beautiful paint! Such a great looking buildup of this kit. David G.