kymdlr
-
Posts
408 -
Joined
-
Last visited
Content Type
Profiles
Forums
Events
Gallery
Everything posted by kymdlr
-
This build is super clean. The interior color combo is great and the finish on the body is truly like glass. Did you cut and polish the finish or is it straight clear coat?
-
Food Dehydrators & Paint Dryers
kymdlr replied to JayVee's topic in Model Building Questions and Answers
Thank you for this. After clear coat do you put it in the dehydrator again to speed up the drying process on it? So all I need is roughly 30 minutes for lacquers, not 10+ hours or overnight like I’ve read in other post? -
Food Dehydrators & Paint Dryers
kymdlr replied to JayVee's topic in Model Building Questions and Answers
There is ALOT of info in this thread to have to go through. Looking for the straight to the point answer to the following: 95-105 Degrees seems to be the perfect temp. Generally- How many hours do I need to leave a lacquer painted body inside the dehydrator at that temp until the paint is cured? Do I have to put my fresh painted pieces on stands or can I put it directly onto the base of the dehydrator while drying? -
The roll cage looks fantastic especially knowing it was from parts trees.
-
Old thread but since plenty of folks are 3D printing now..... Anyone know of some 3D printed grill options for this kit?
-
Very clean build with a lot of minor details that a lot of people miss.
-
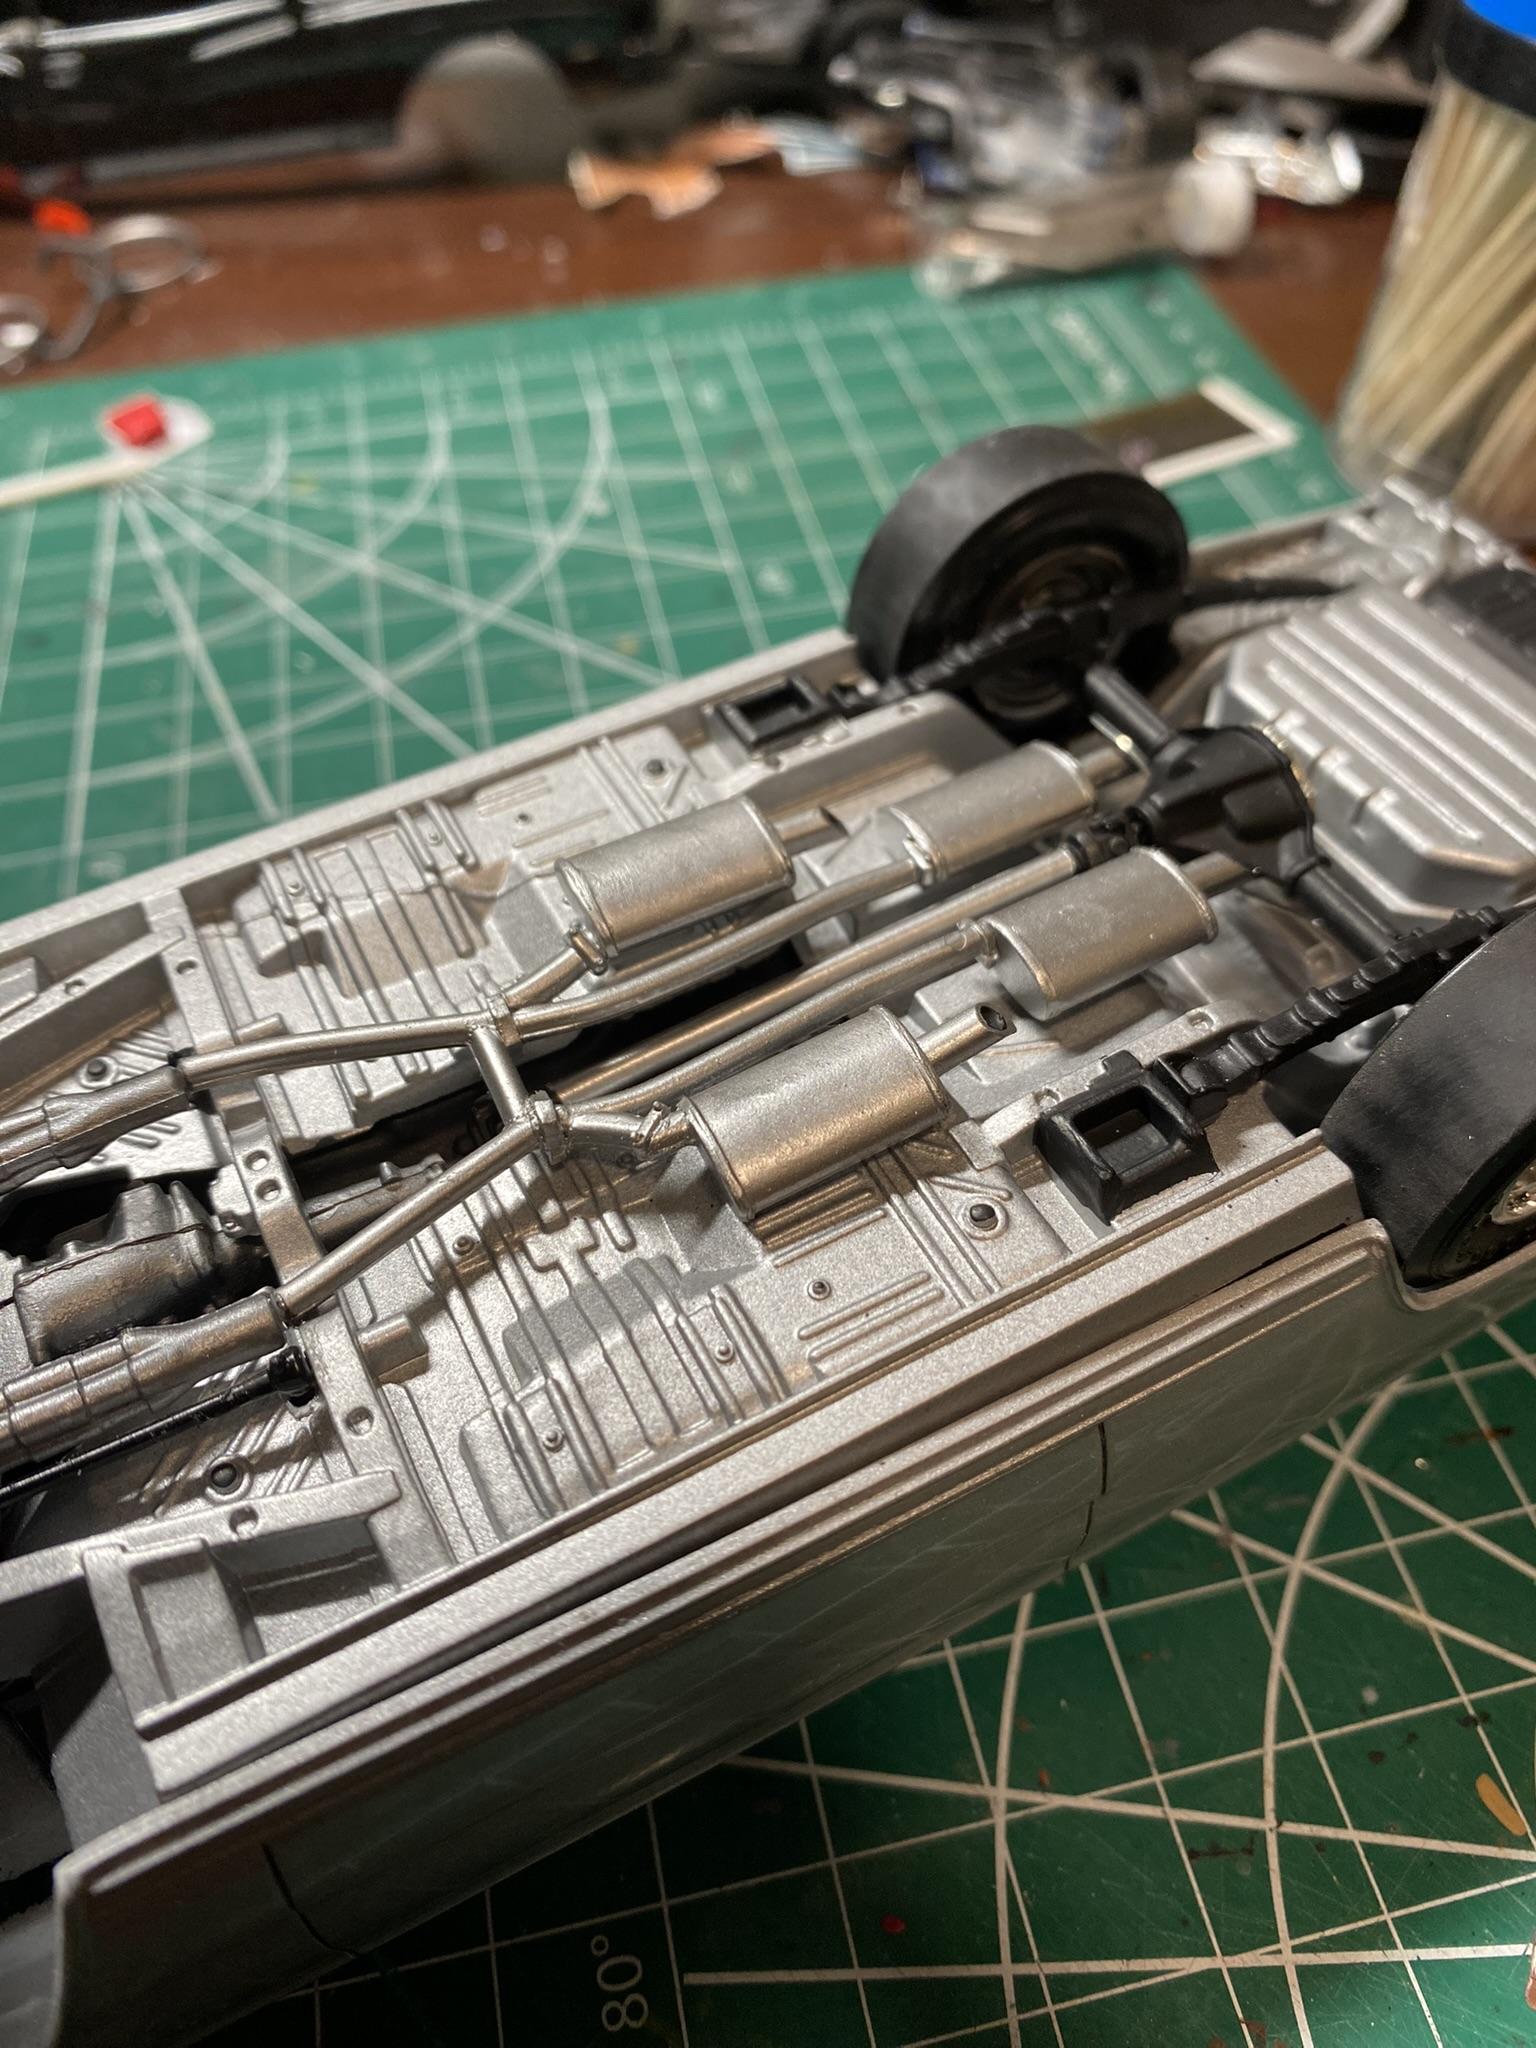
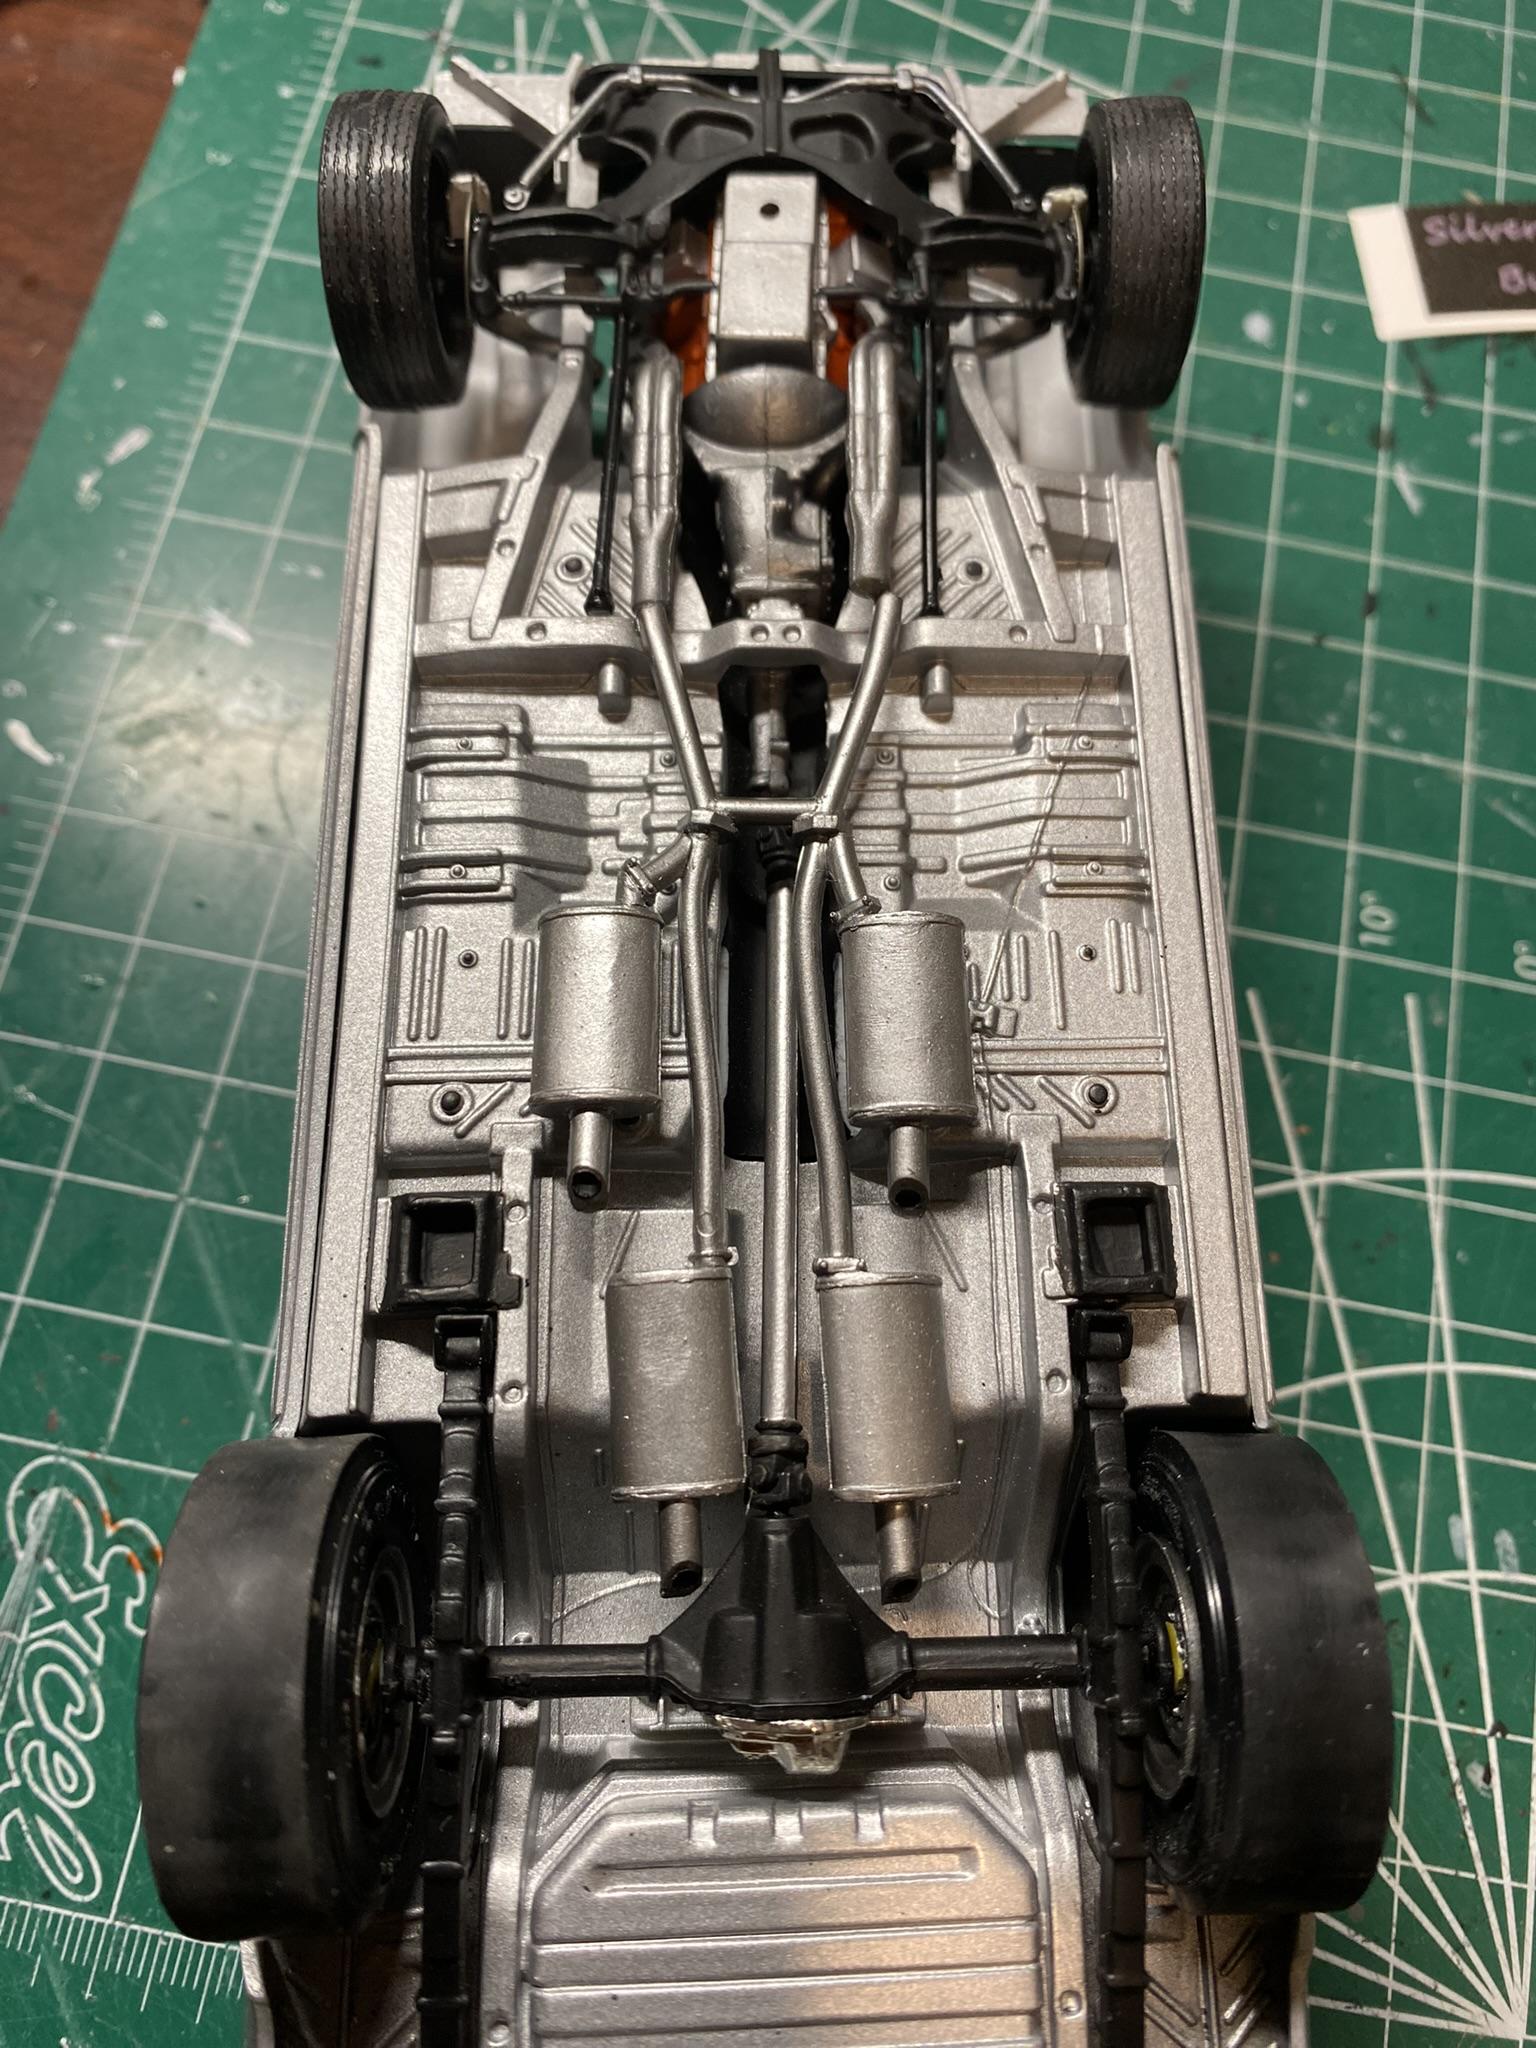
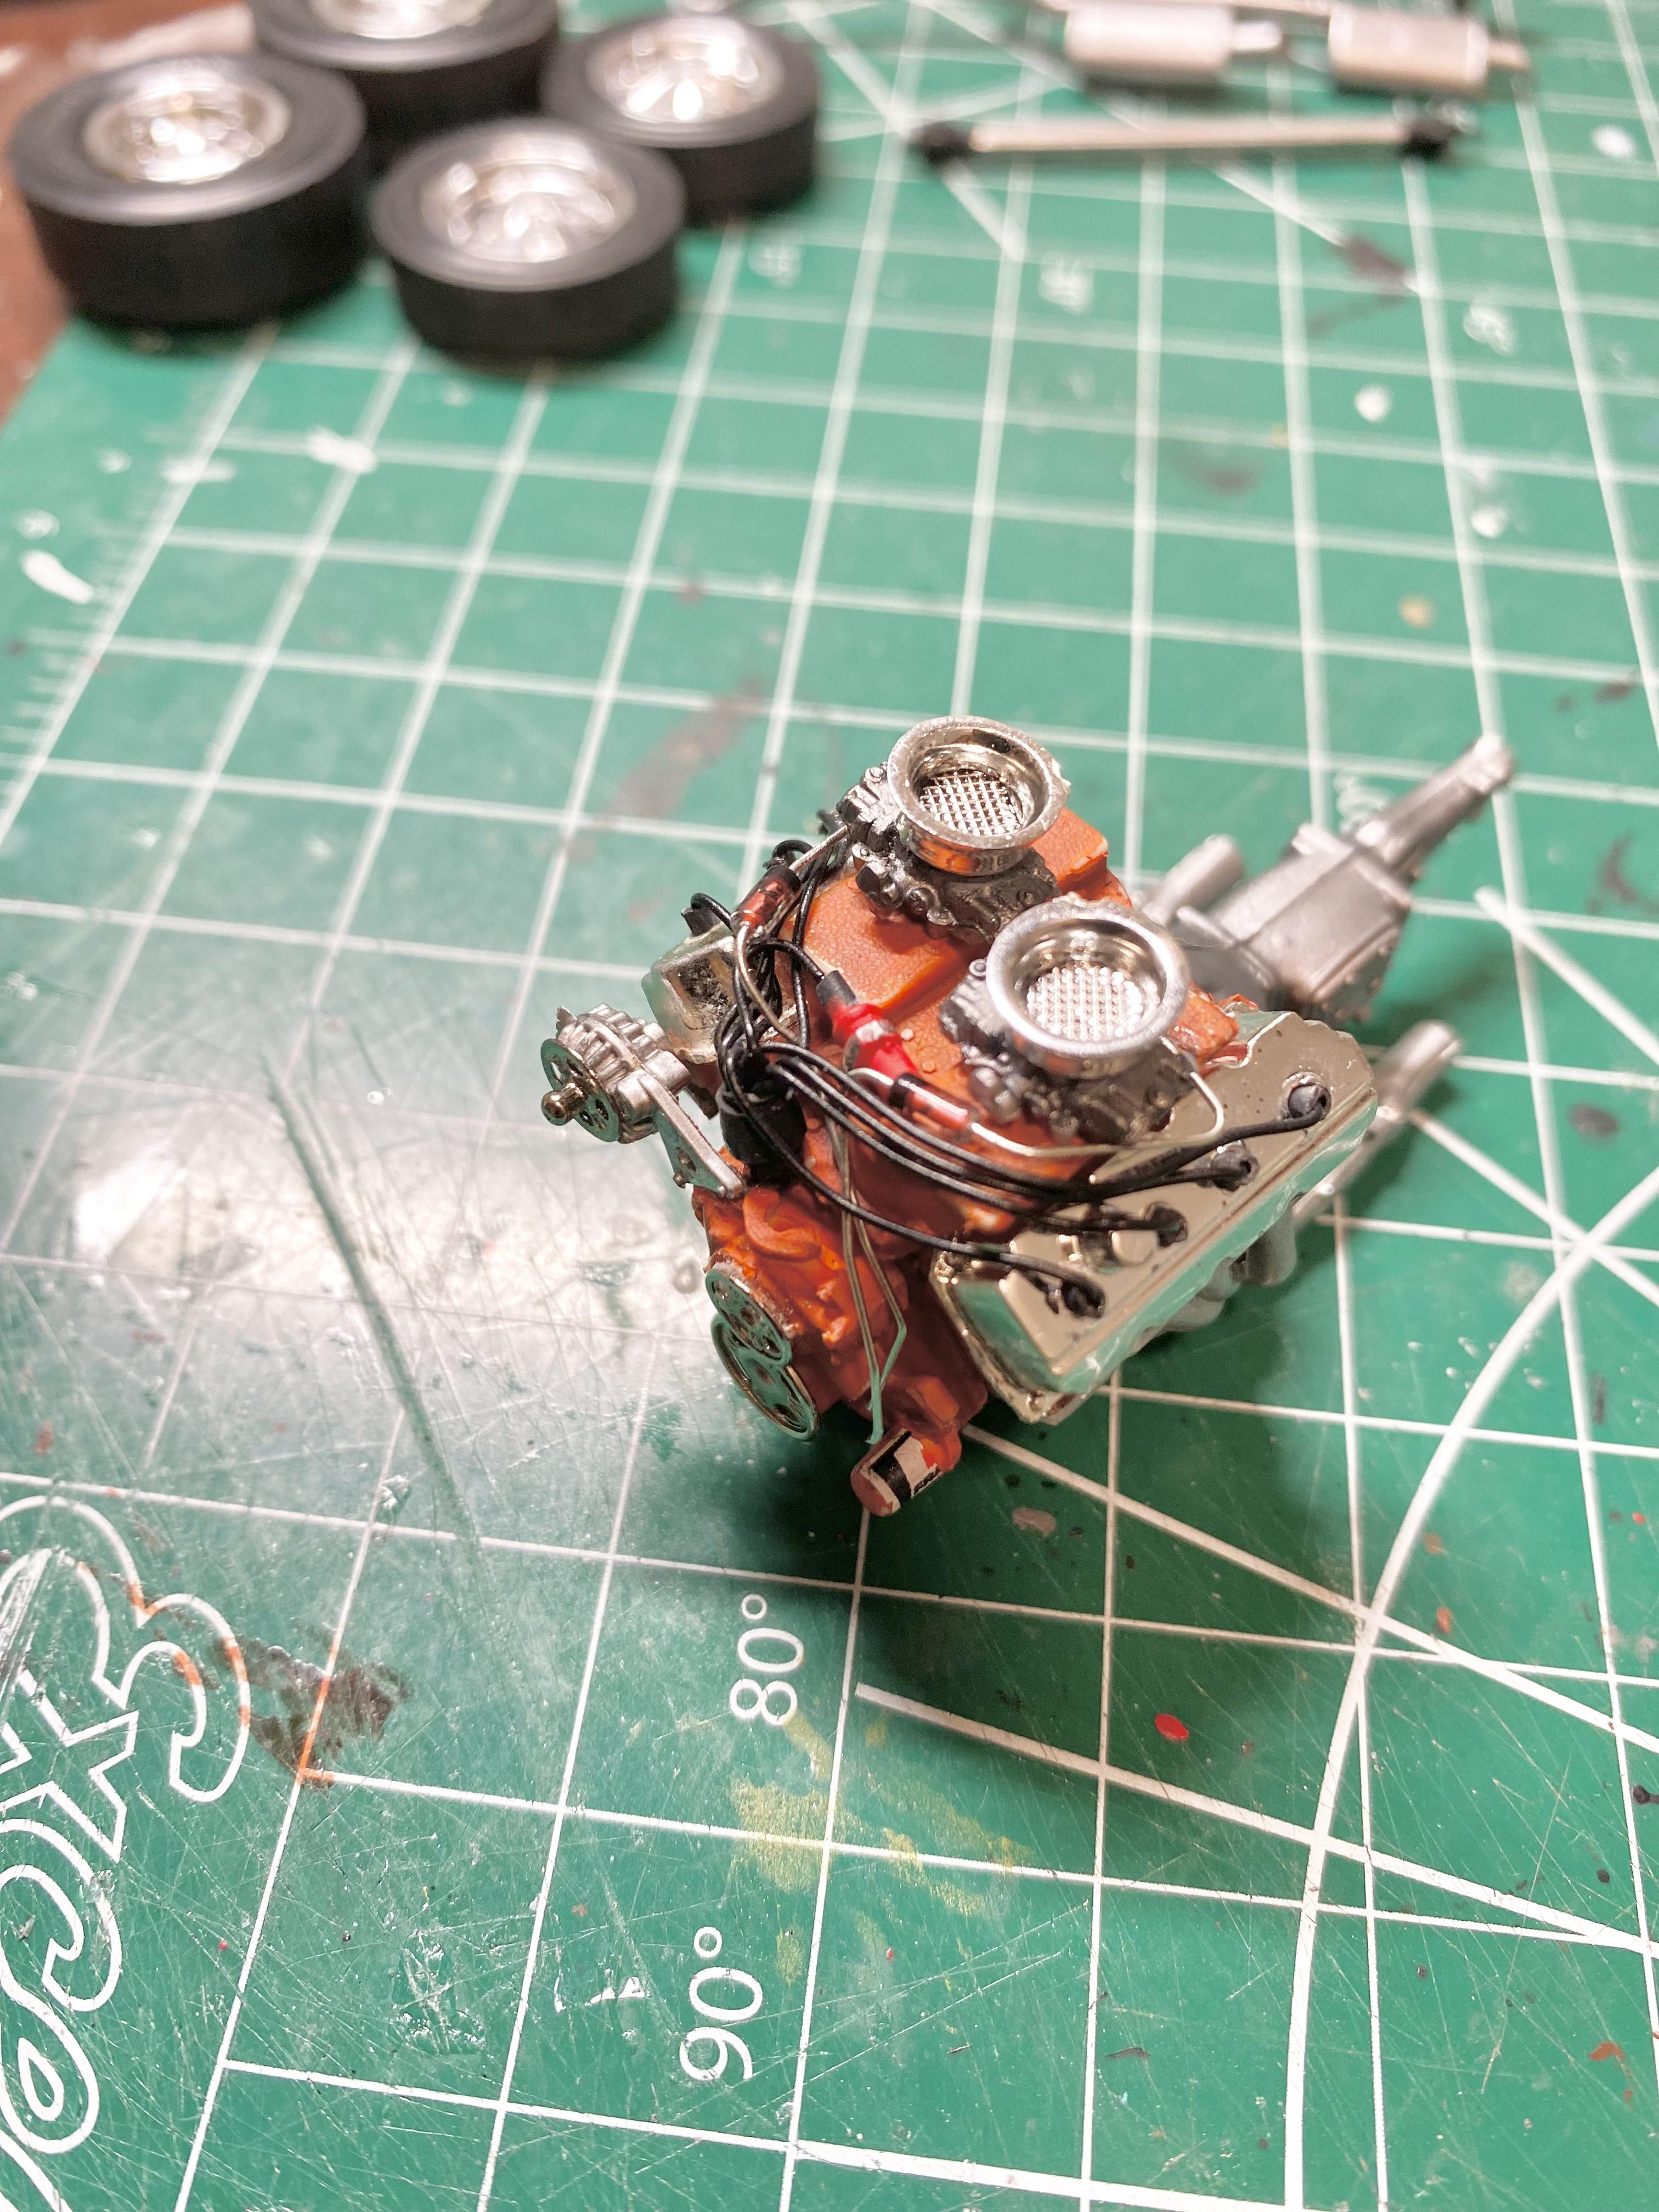
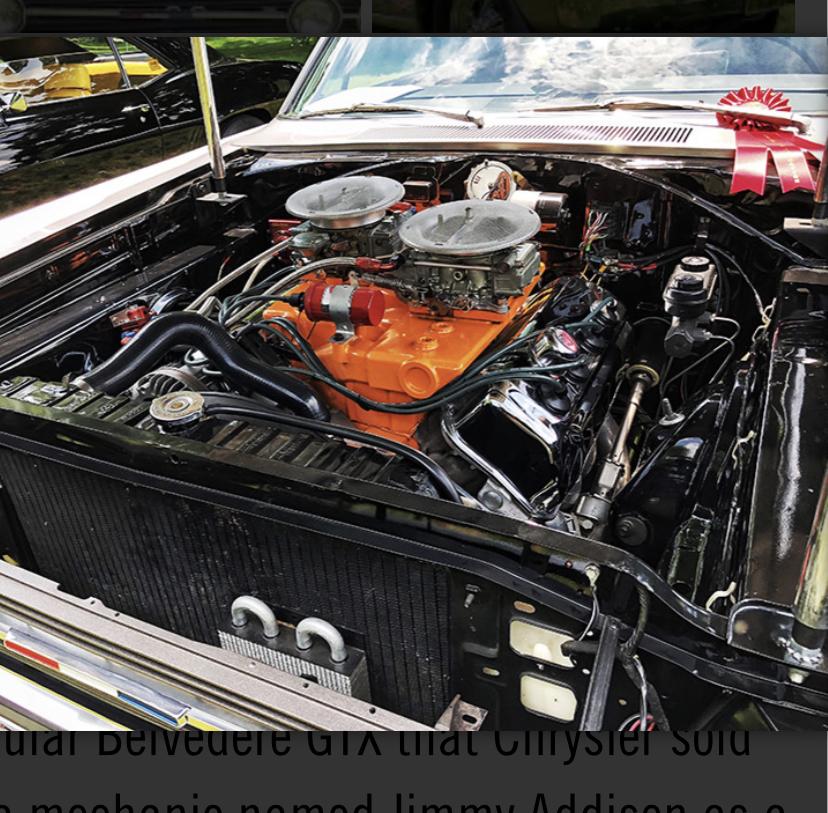
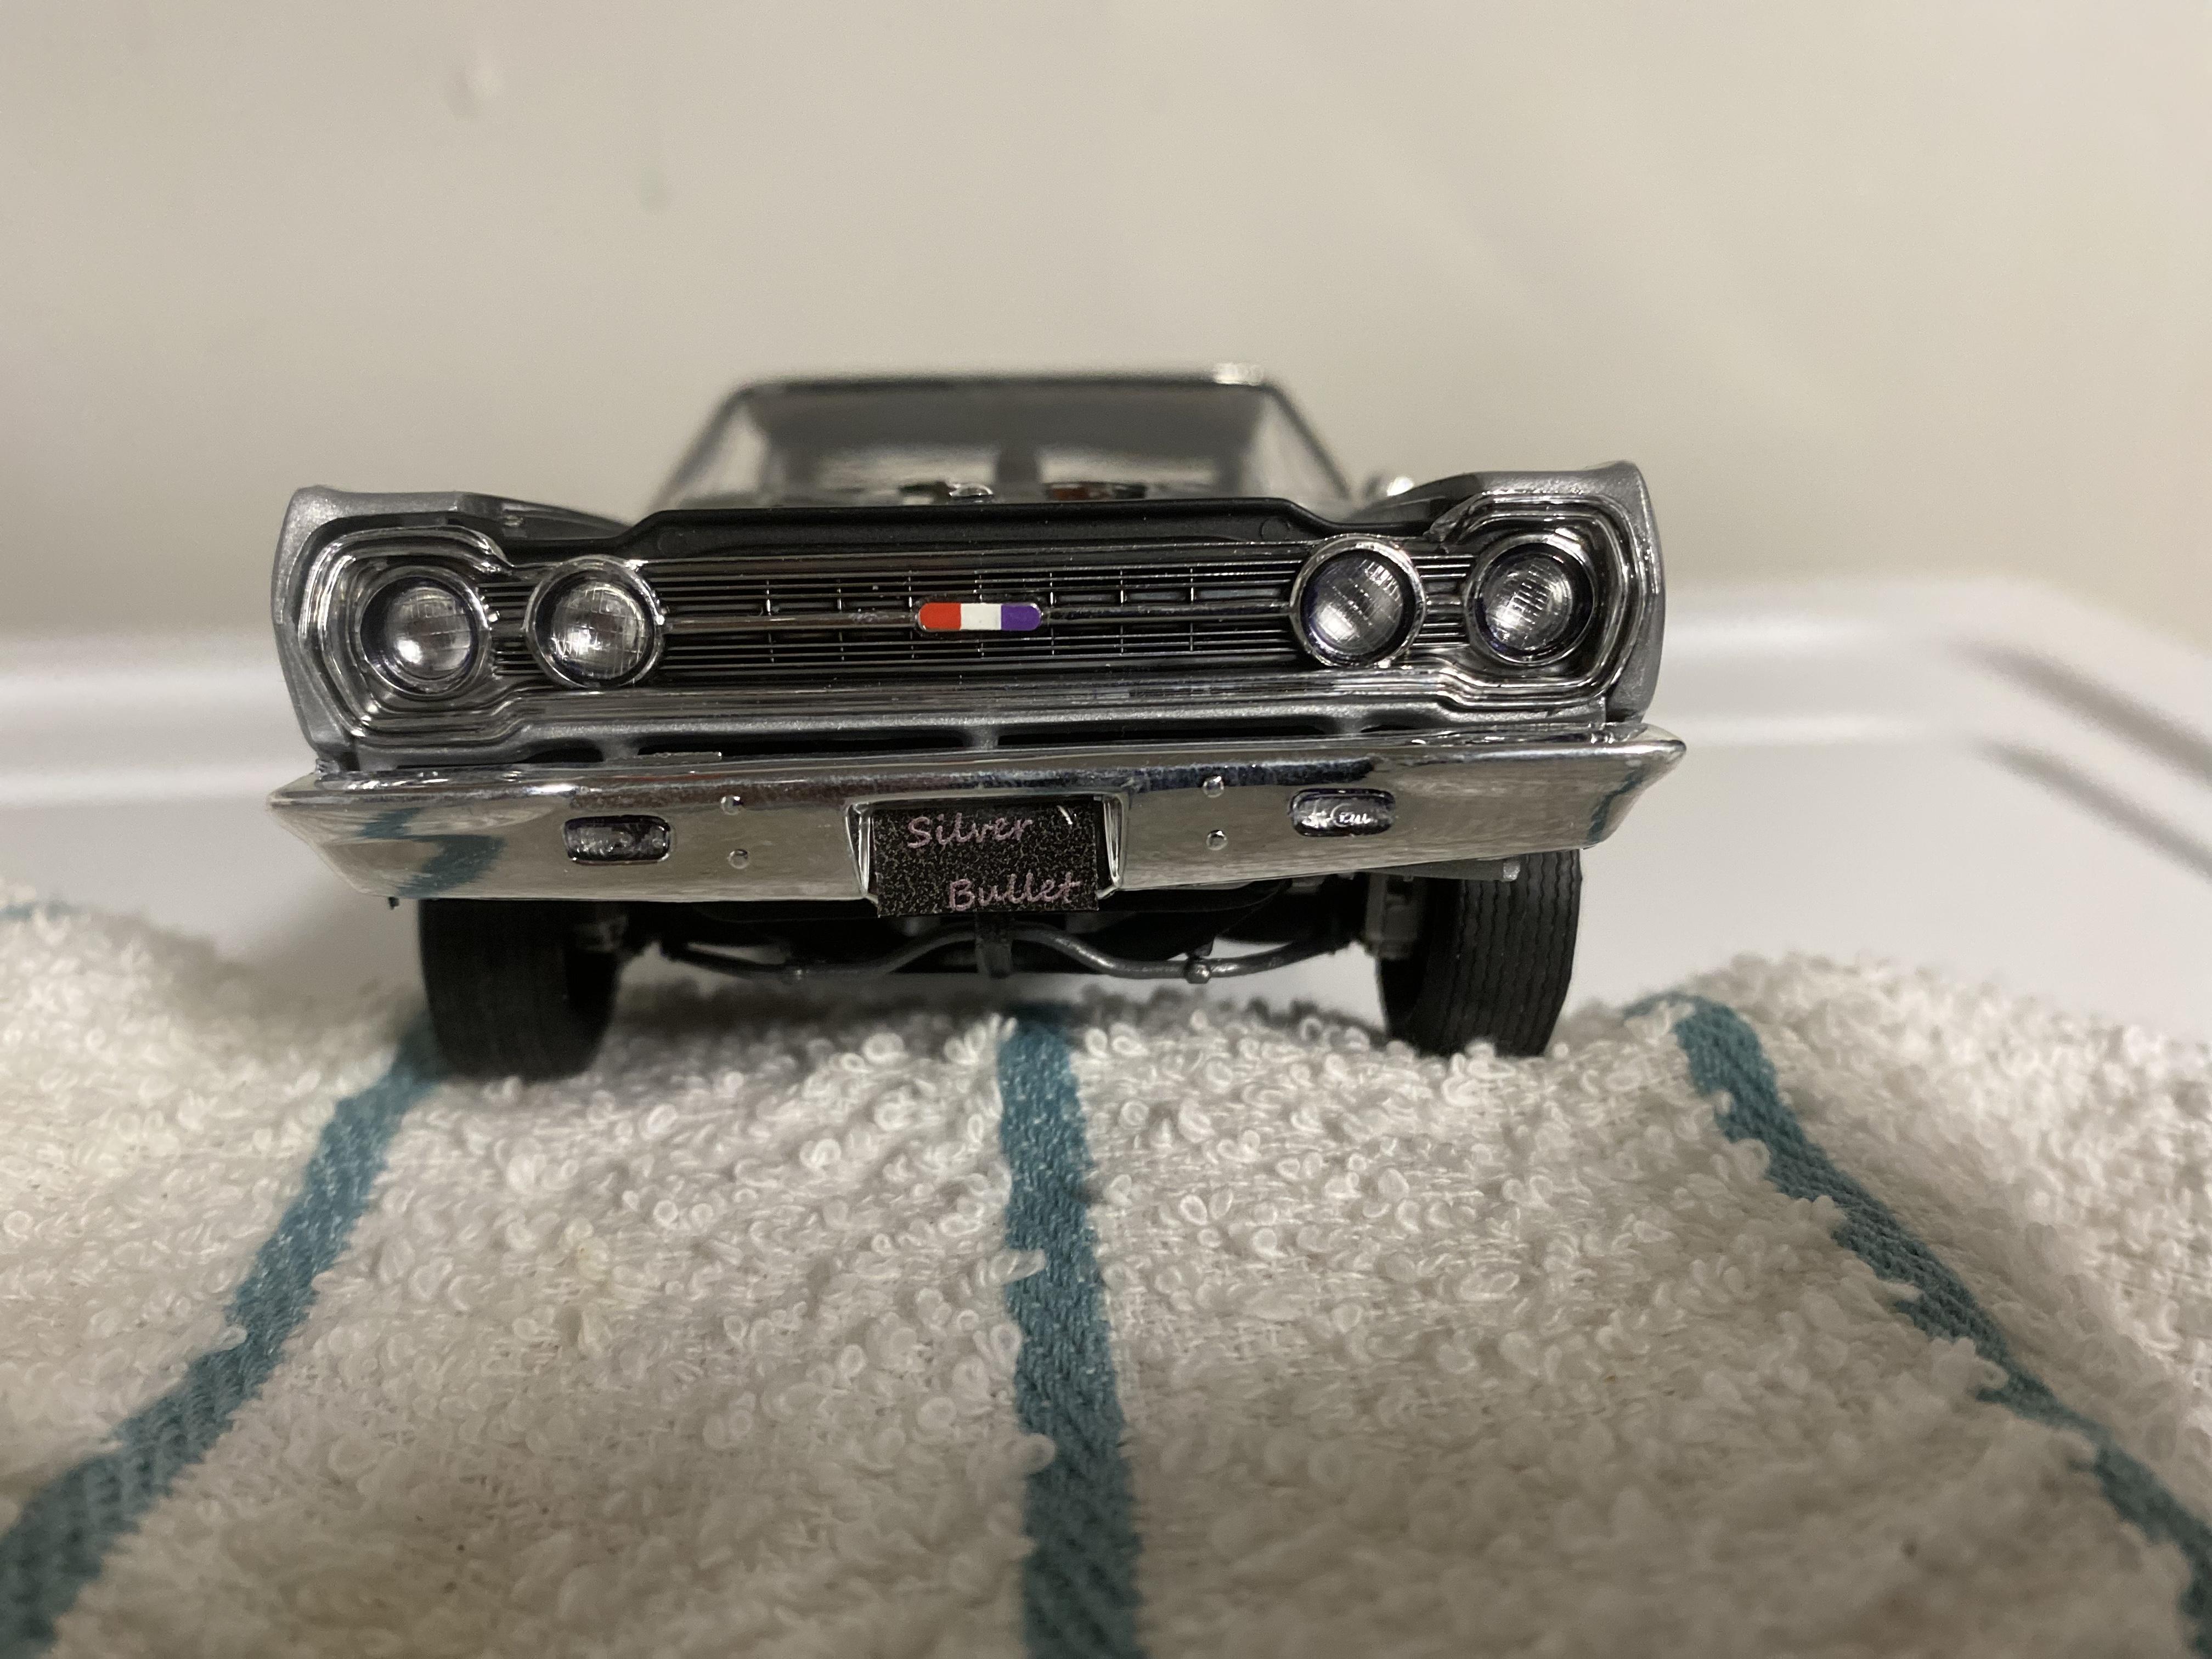
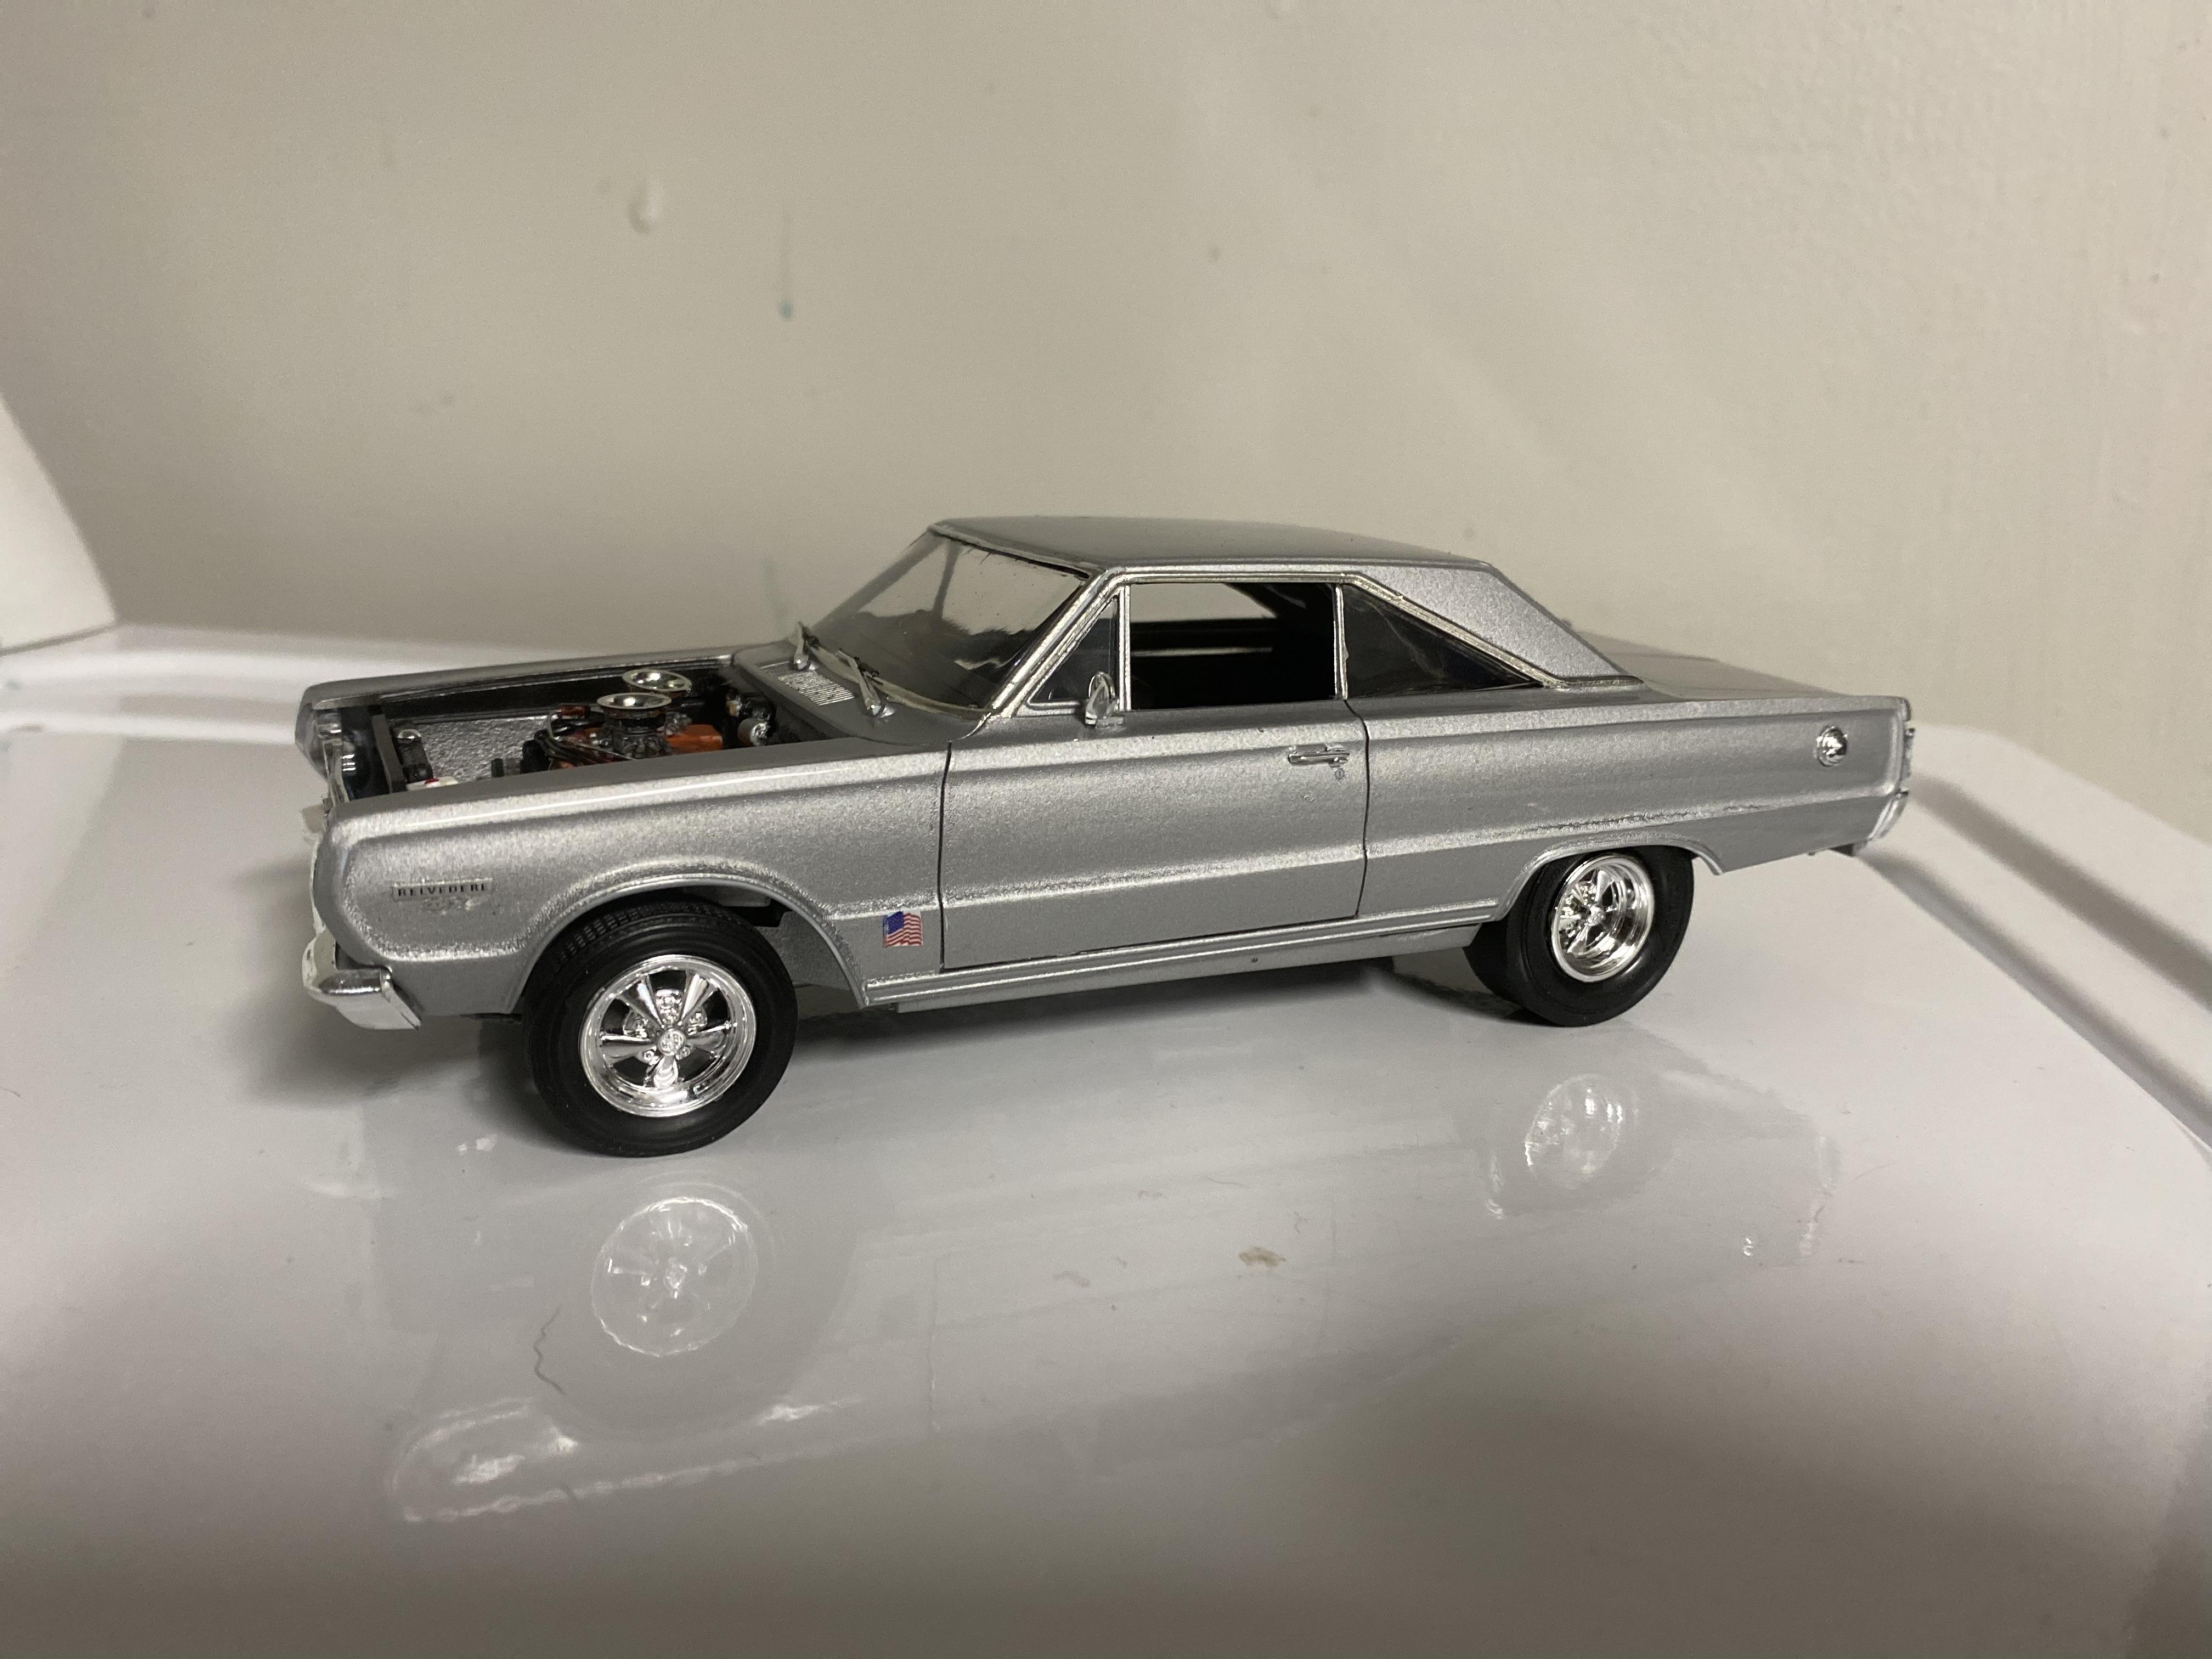
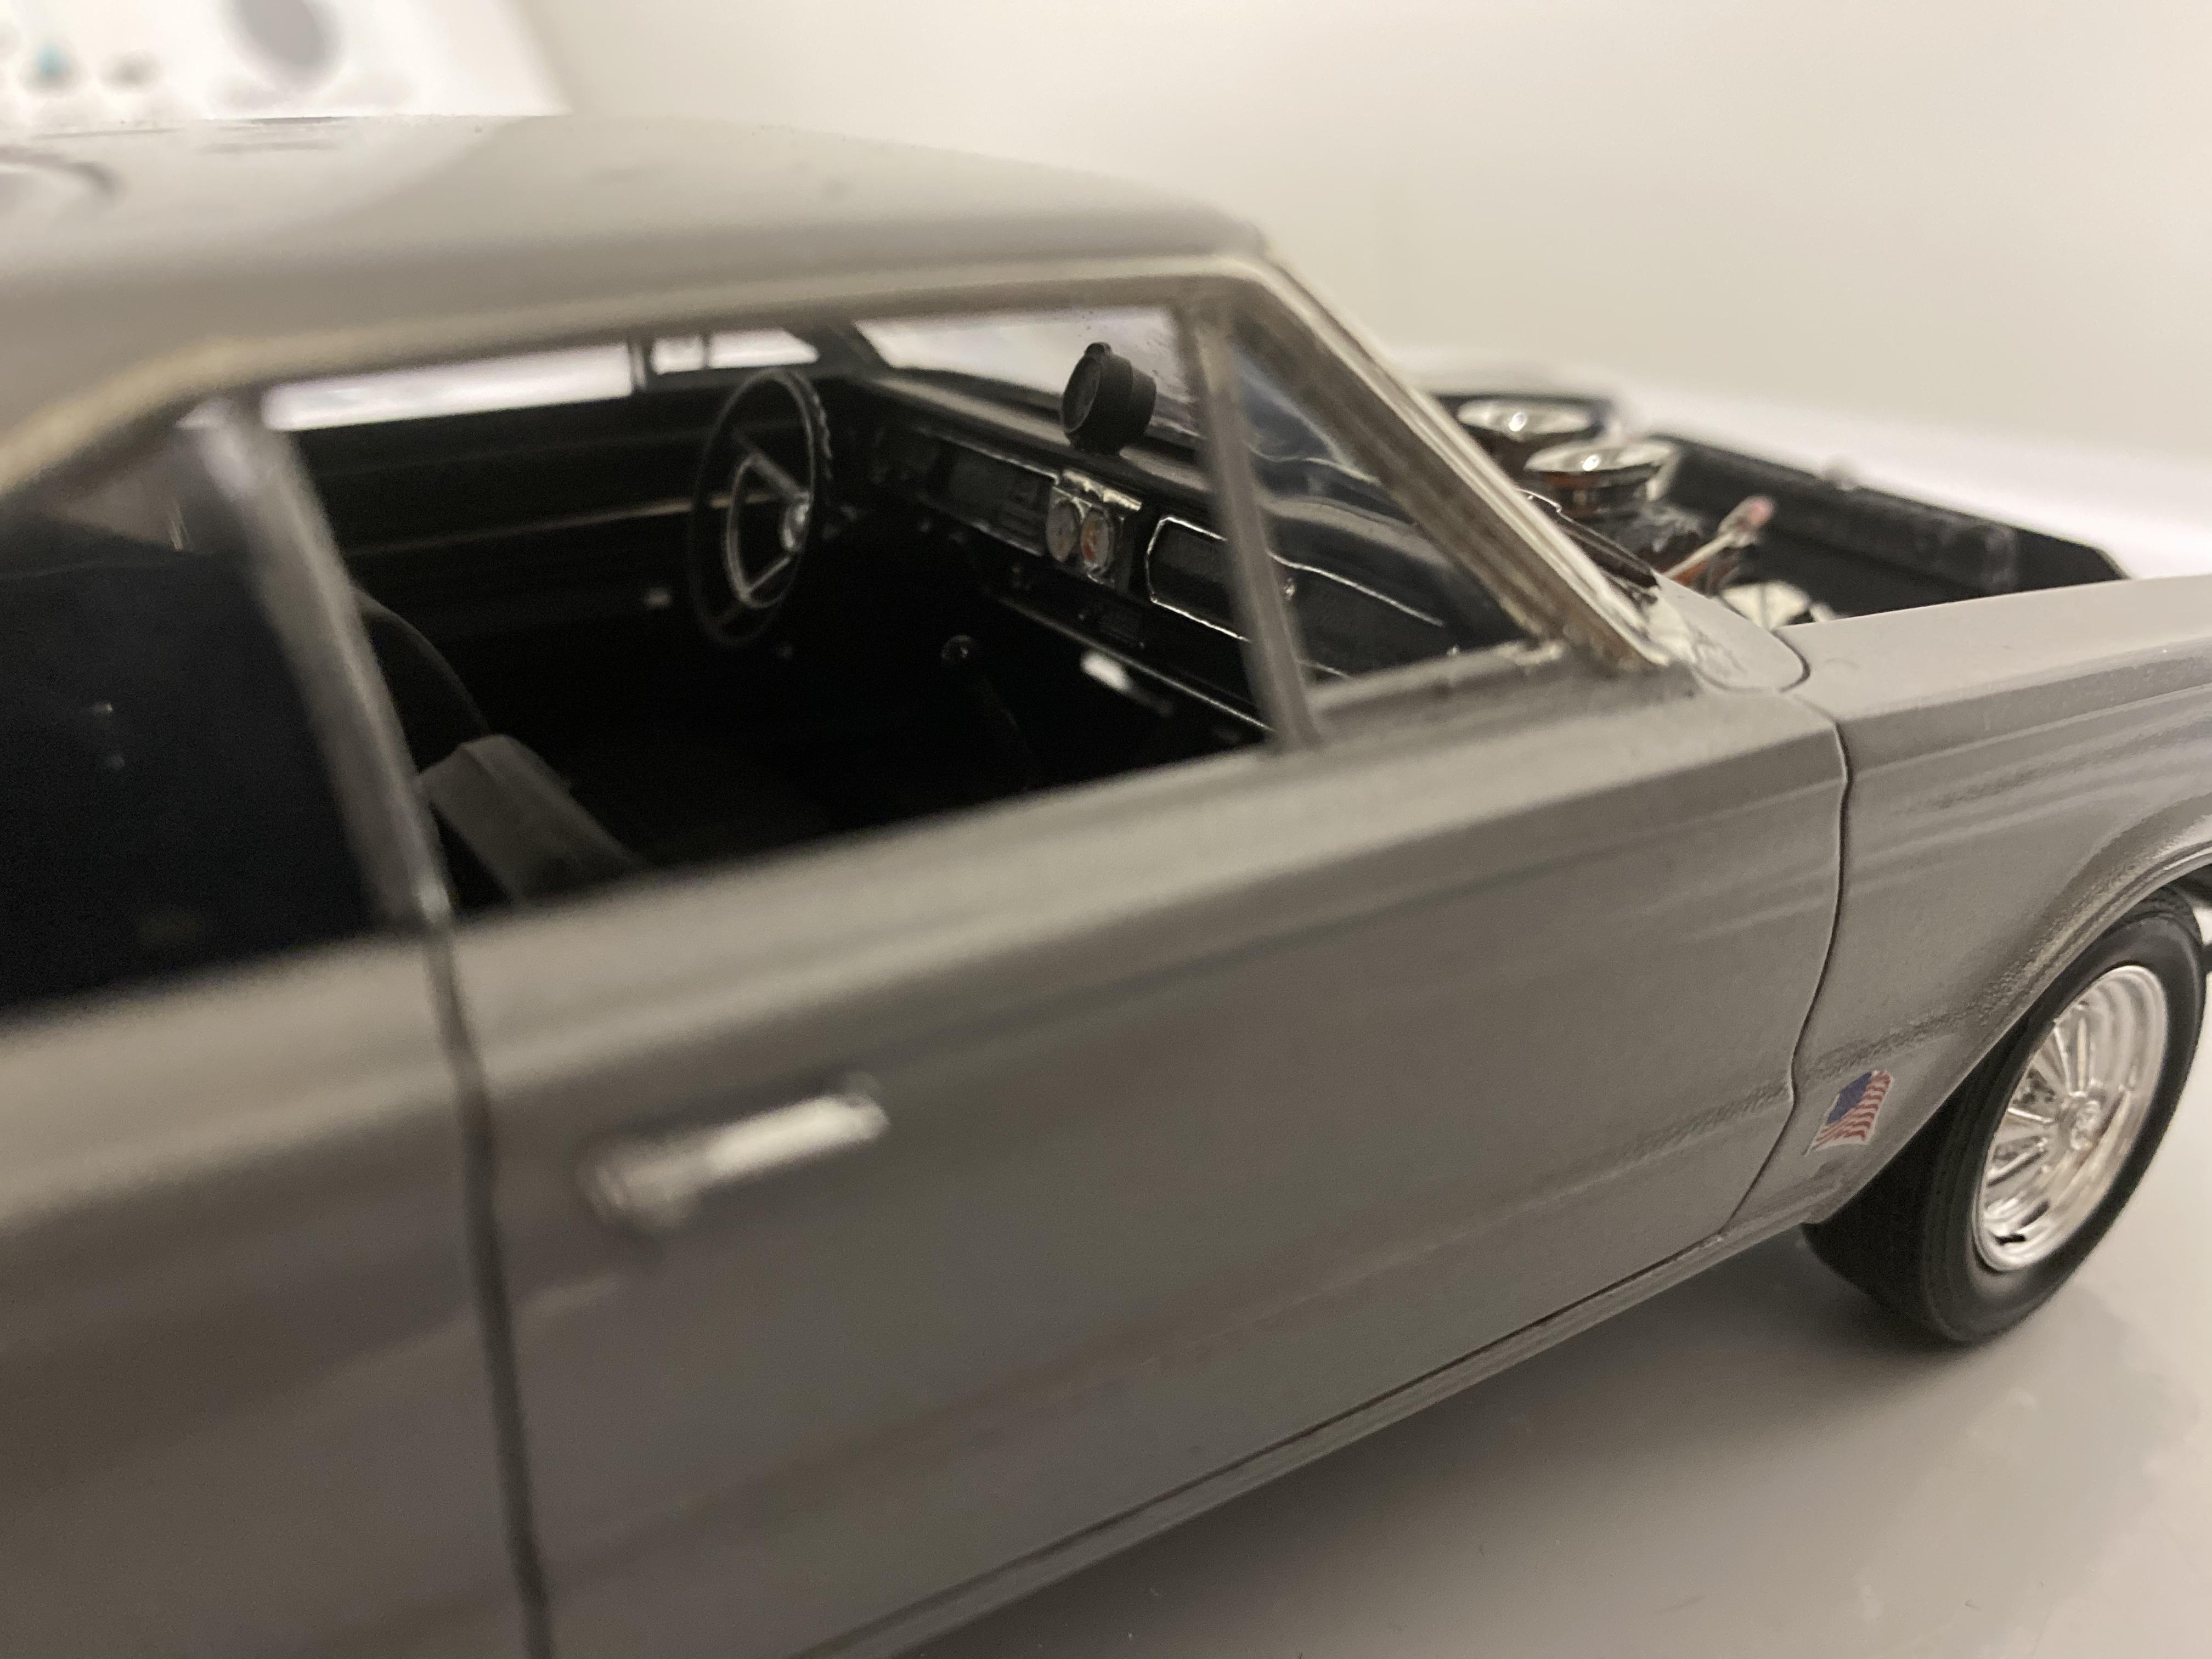
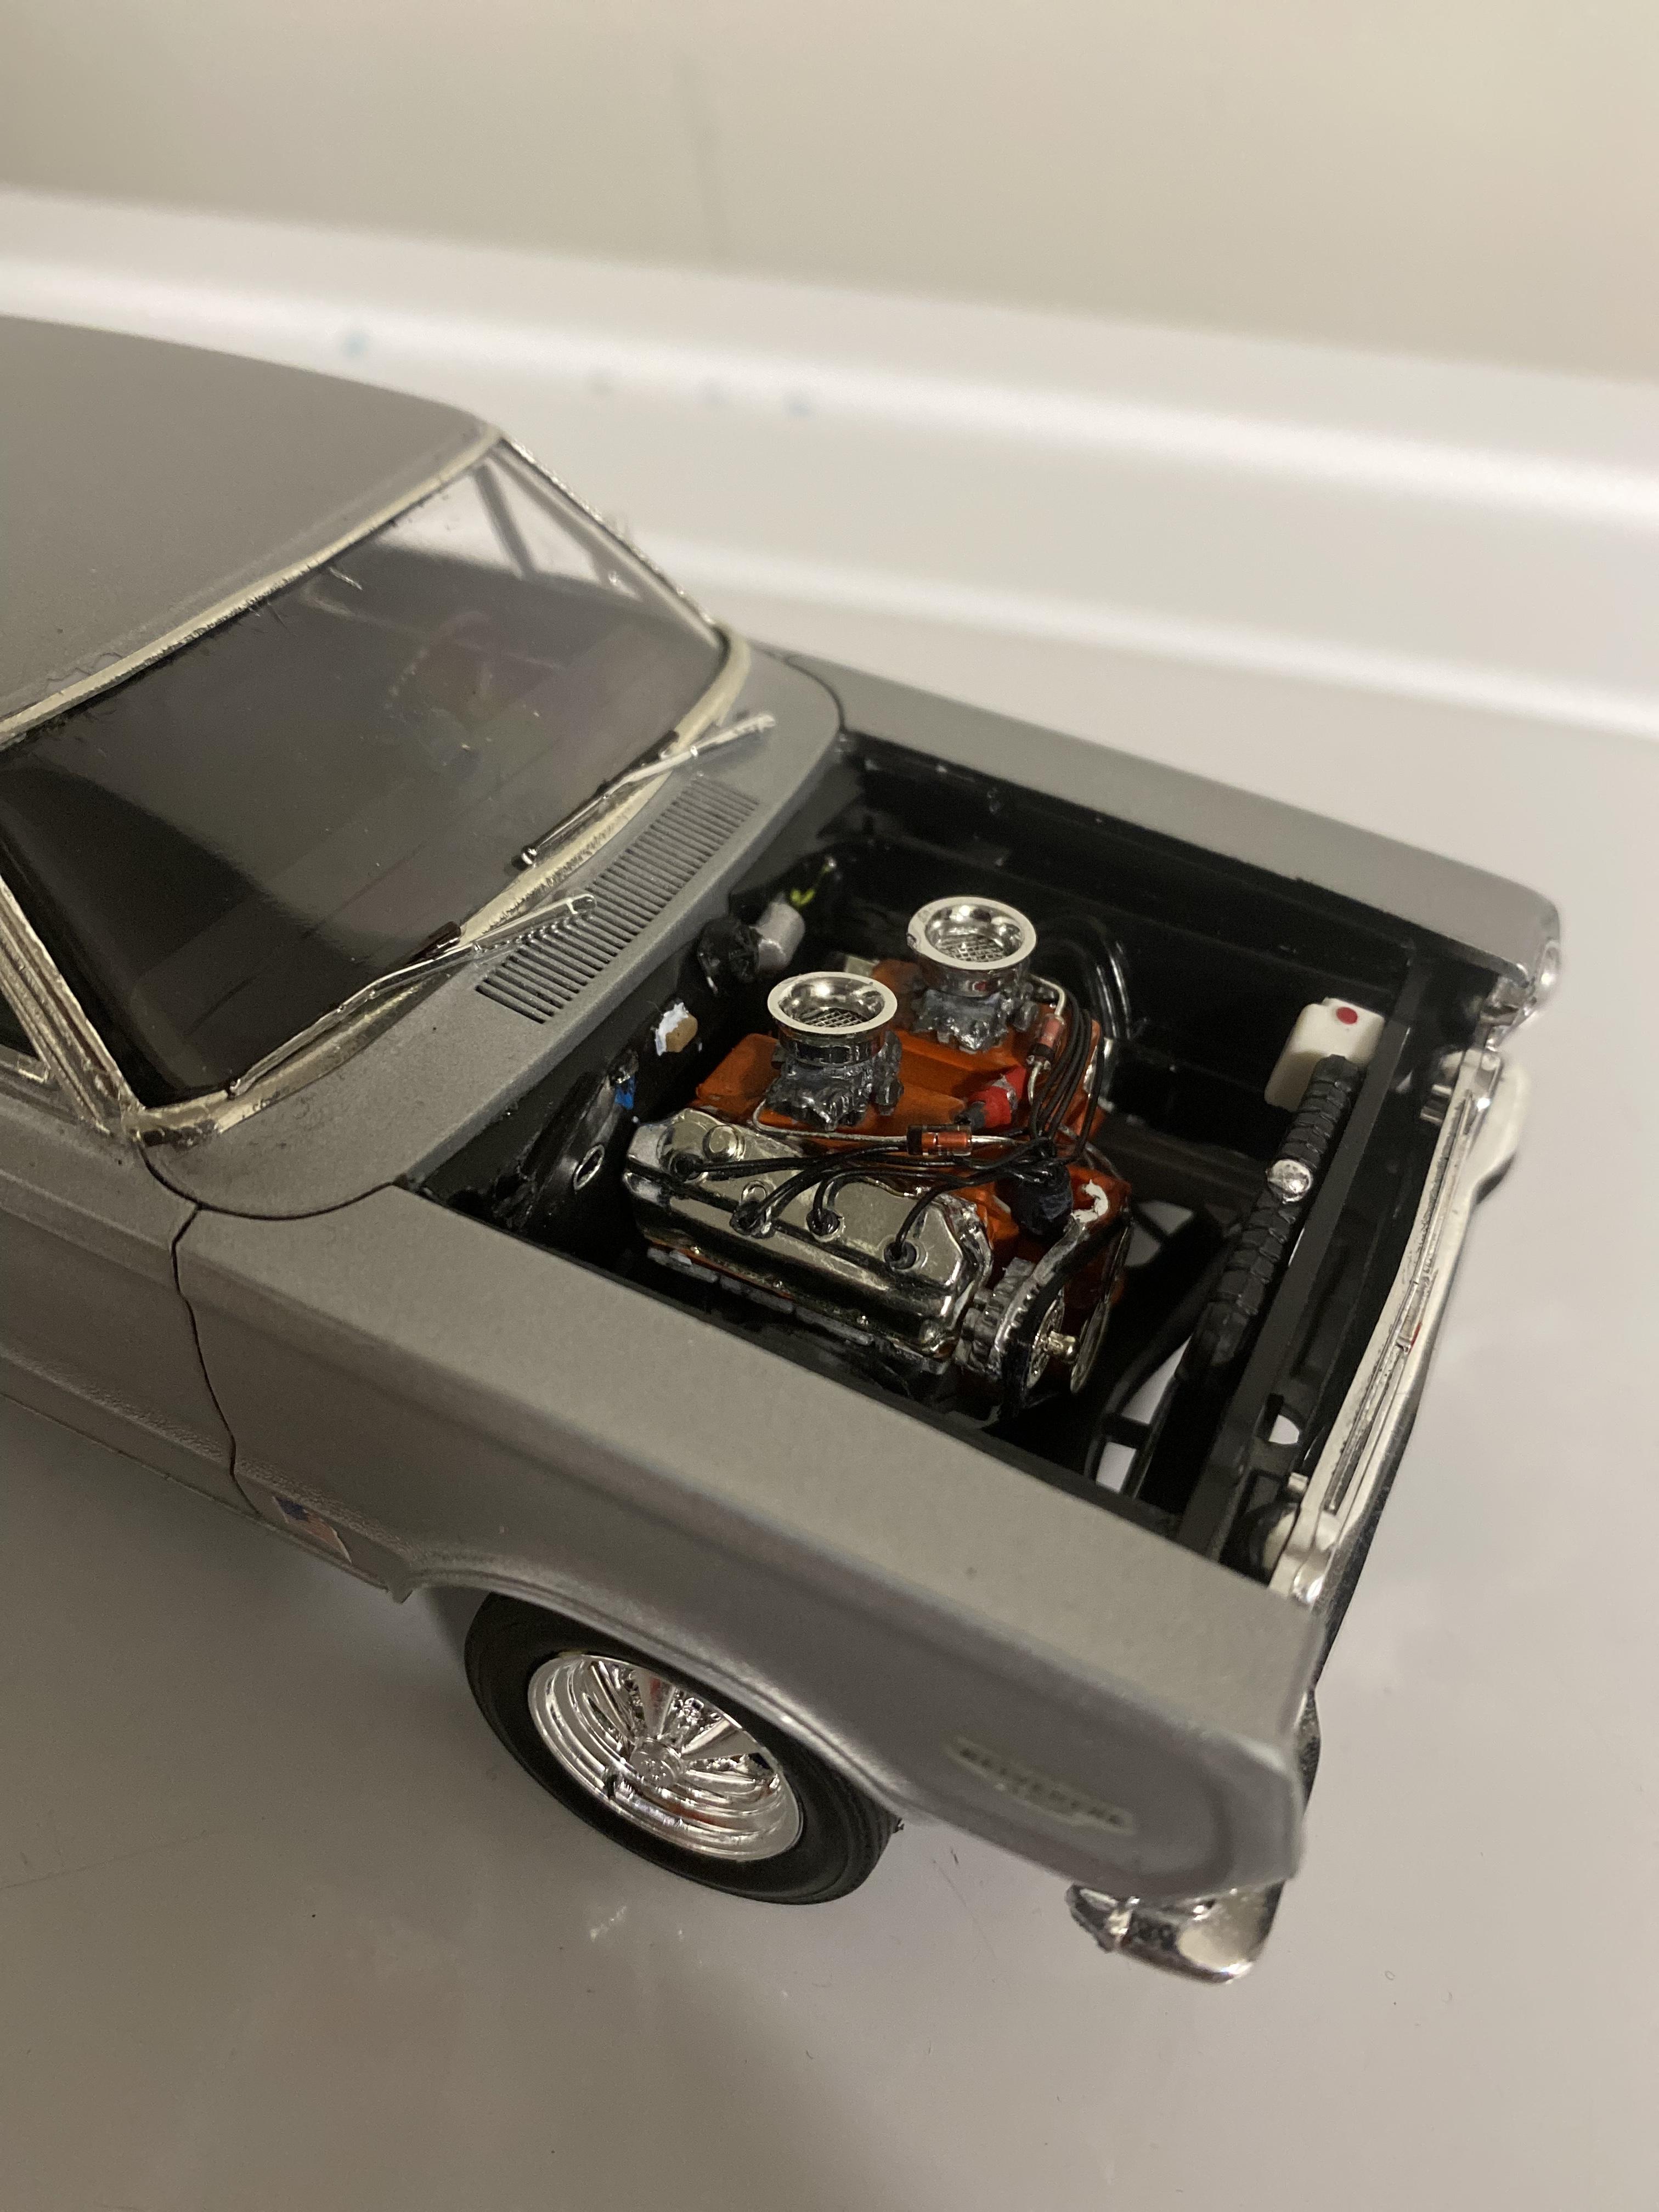
My build of Jimmy Addison’s 1967 Plymouth GTX. I scratch built the 4 Muffler exhaust system. Deleted the rear seat, scratch built the rear package tray. Wired up the motor and detailed it from reference pics. several parts from the parts bin. PE front disk brakes & parts box drums in the rear. Added valve stems to the Cragars. Period correct bucket seats as the 1:1 had.

-
Tamiya tape is great, I’ve only had one failure with it. I sprayed duplicolor 1k clear over testors one coat metallic. After it dried for a few days I put the tamiya tape over it to mask a line I wanted to paint. I left the tamiya tape on too long I assume and it ripped the duplicicolor 1k right off. Luckily it was an easy fix by brushing some future over the area where the clear was stripped off. I also had a failure with blue painters tape over the same brand clear coat.
-
I also love restoring glue bombs. The motor looks amazing and I 2nd the idea that you could have left the valve covers off and displayed it alone! I’m for sure going to try that on a build .thanks for sharing the tip with the sewing buttons with us.
-
1968 Mustang GT two door hardtop
kymdlr replied to MrObsessive's topic in Car Aftermarket / Resin / 3D Printed
This is some amazing work sir. Ive never dealt with 3D printing but its amazing to see so many things that can be done with it. -
Great detailing on this one. This is the first of the CHP Ram I’ve seen in scale. I had a plan to make one a while back , would not have ended up this good!
-
Bringing this old thread back. Is there ANYWHERE online that still Sells rattle can testors or Model Master lacquers? If not, is there a company (besides Tamiya) that offers similar metallics at similar prices that testors and MM used to sell in rattle cans? The only thing hobby lobby still Carry’s are the Testors “one coat” and enamels. I don’t airbrush so all of my bodies are painted from rattle cans. I have good luck with rustoleum $ krylon but they only sell solid colors, not many options for metallic paints.
-
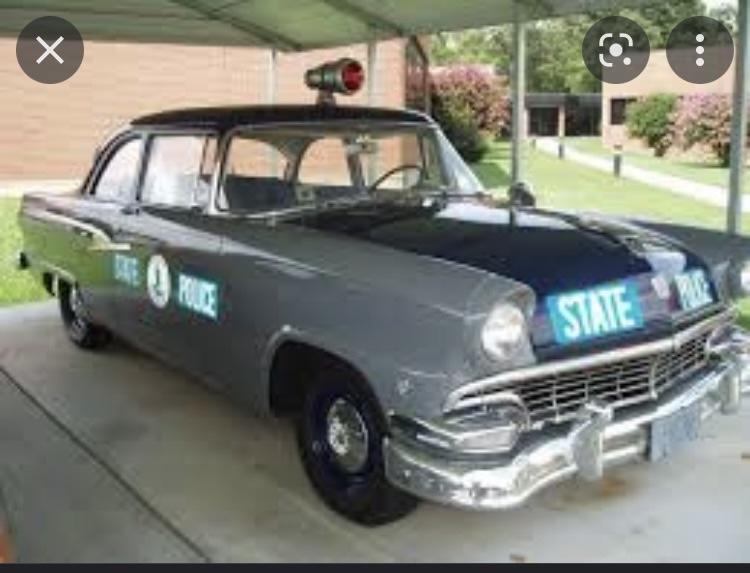
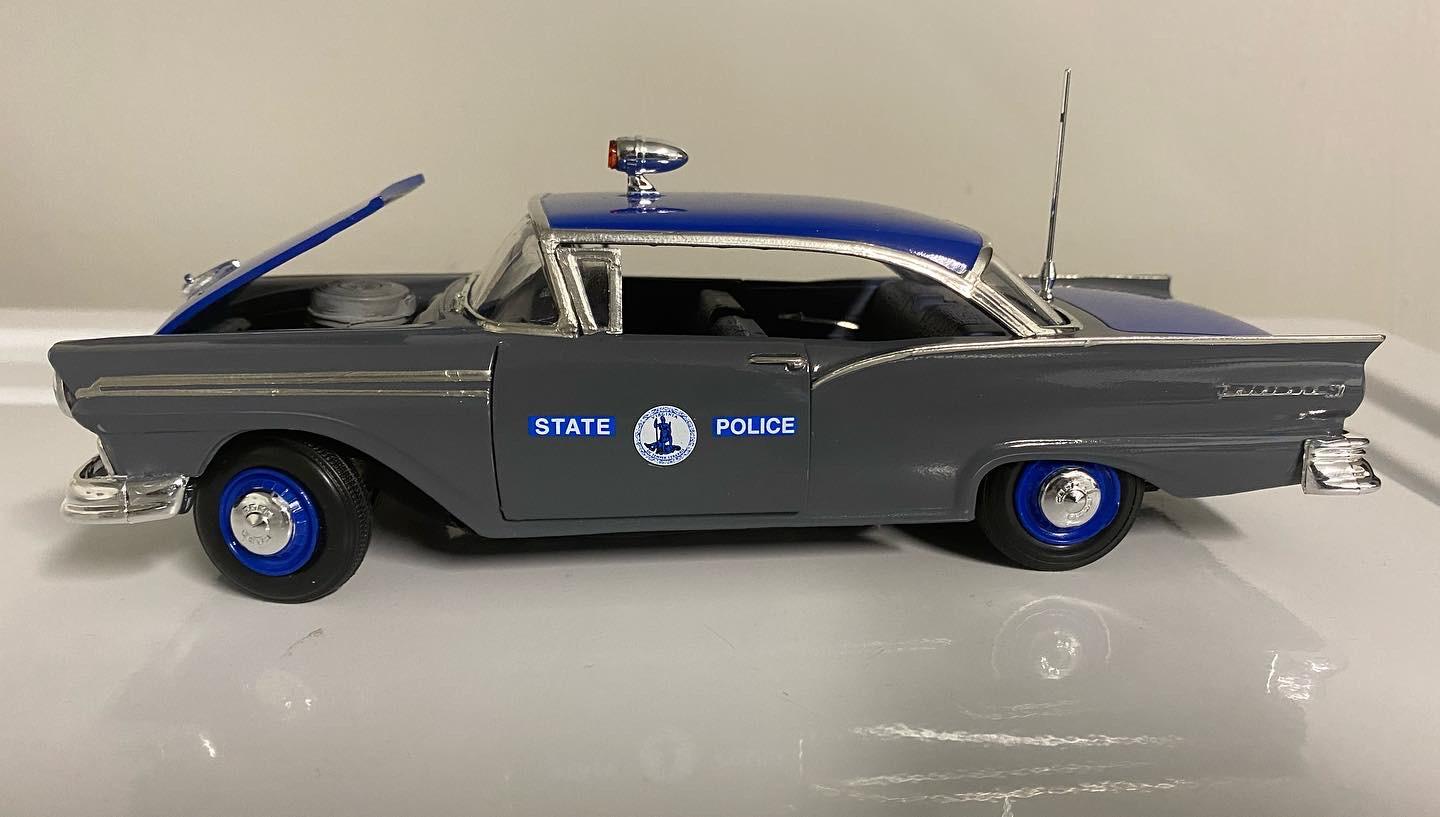
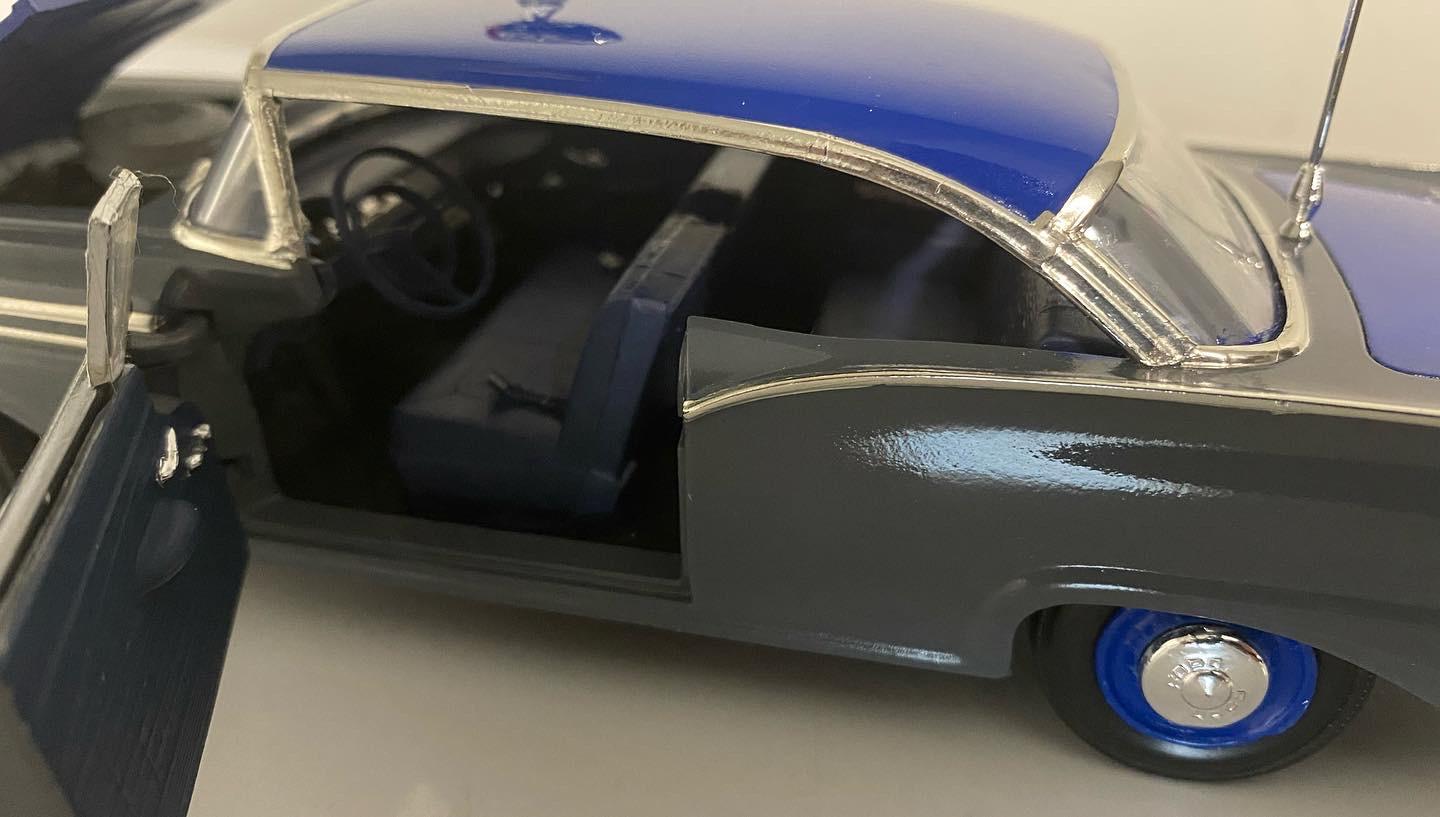
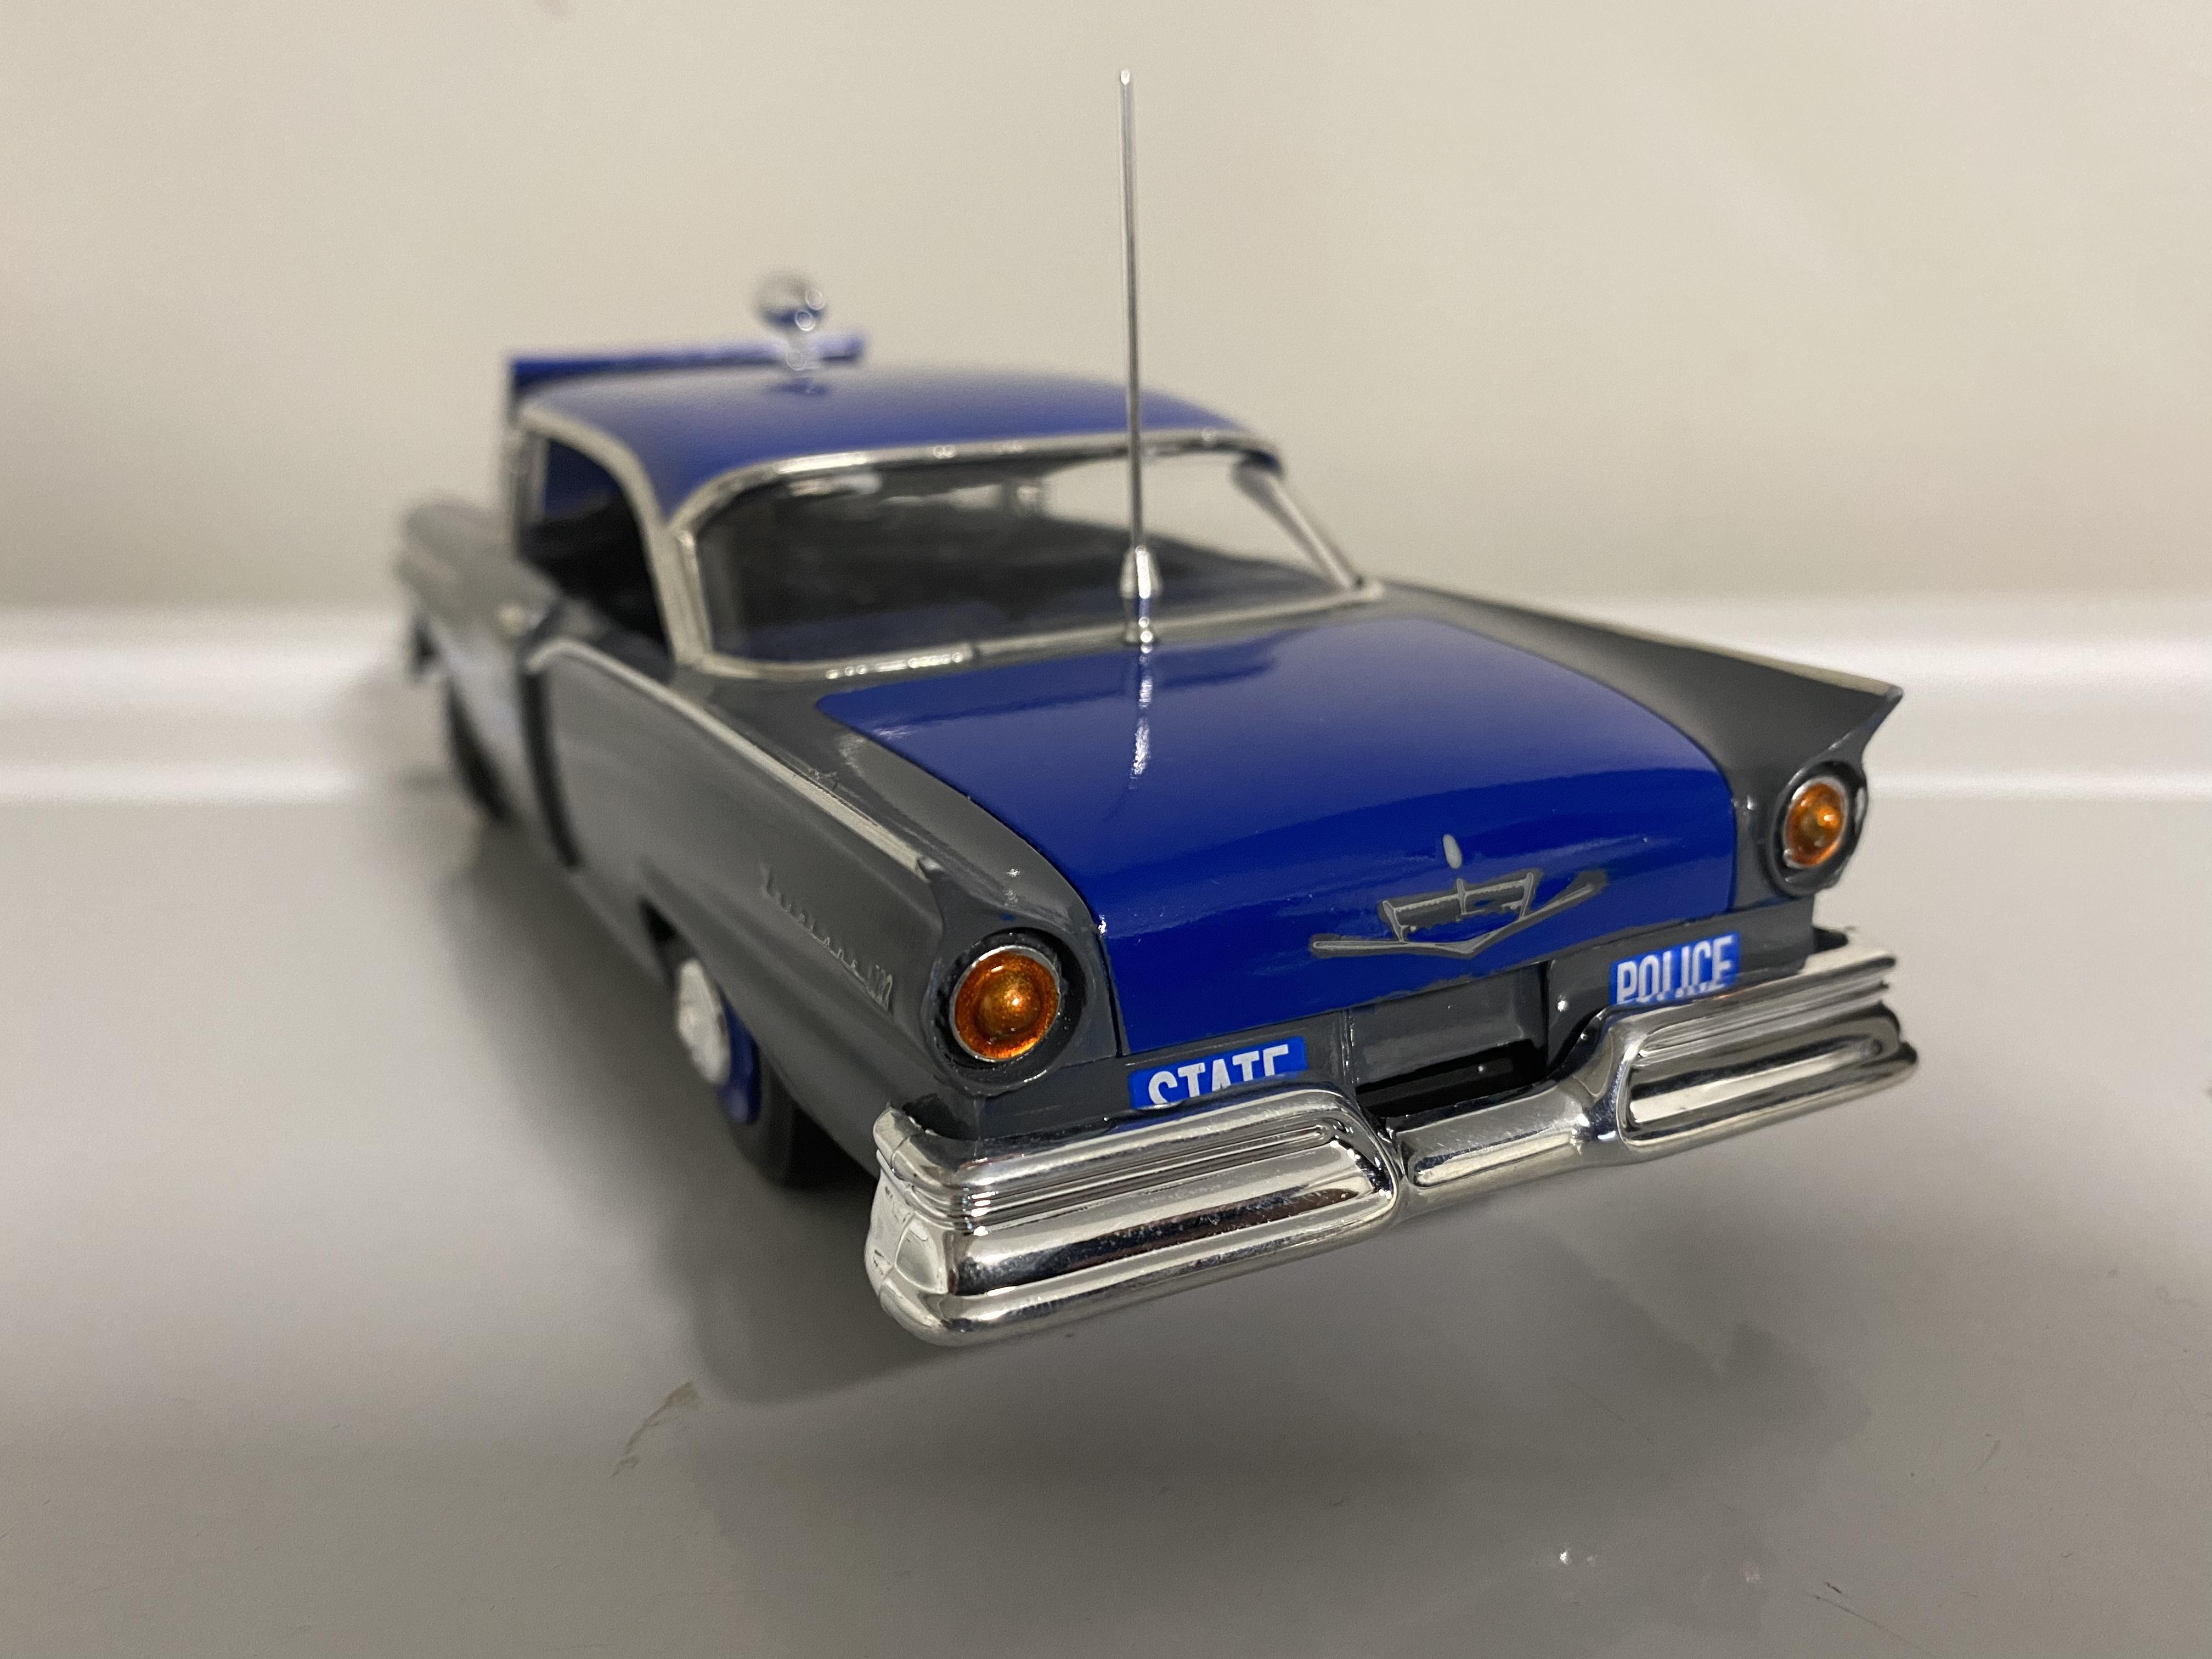
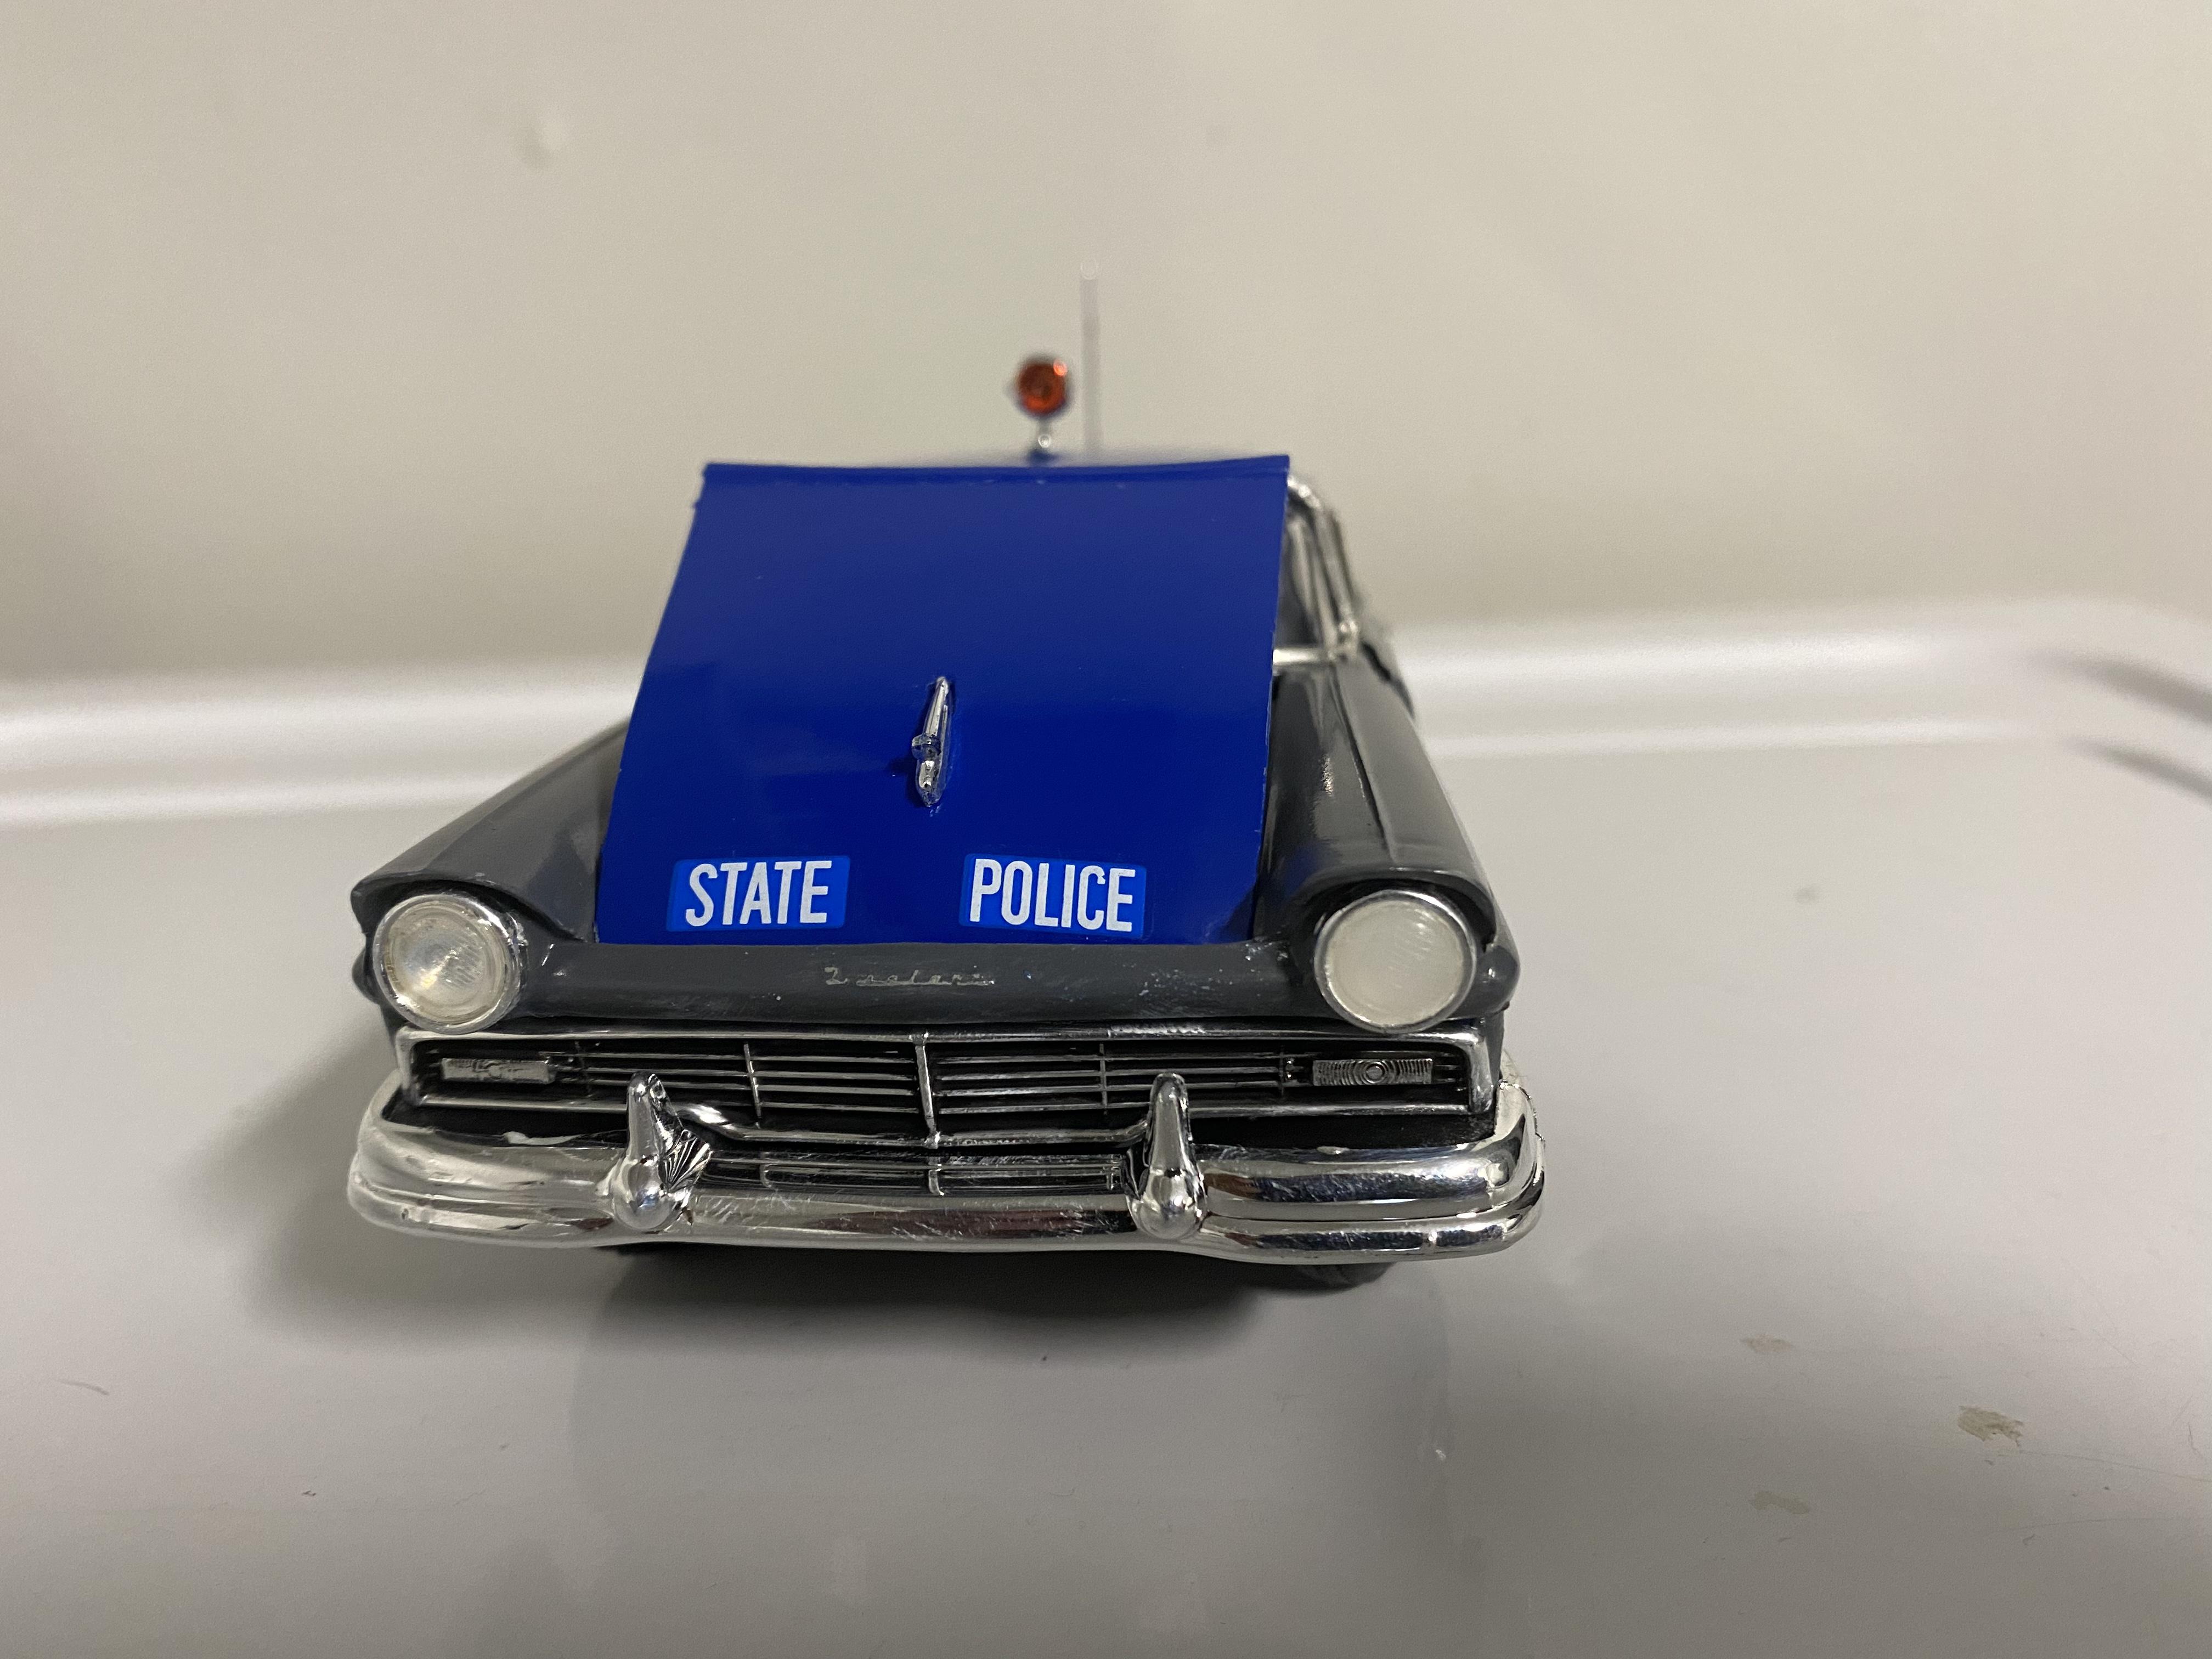
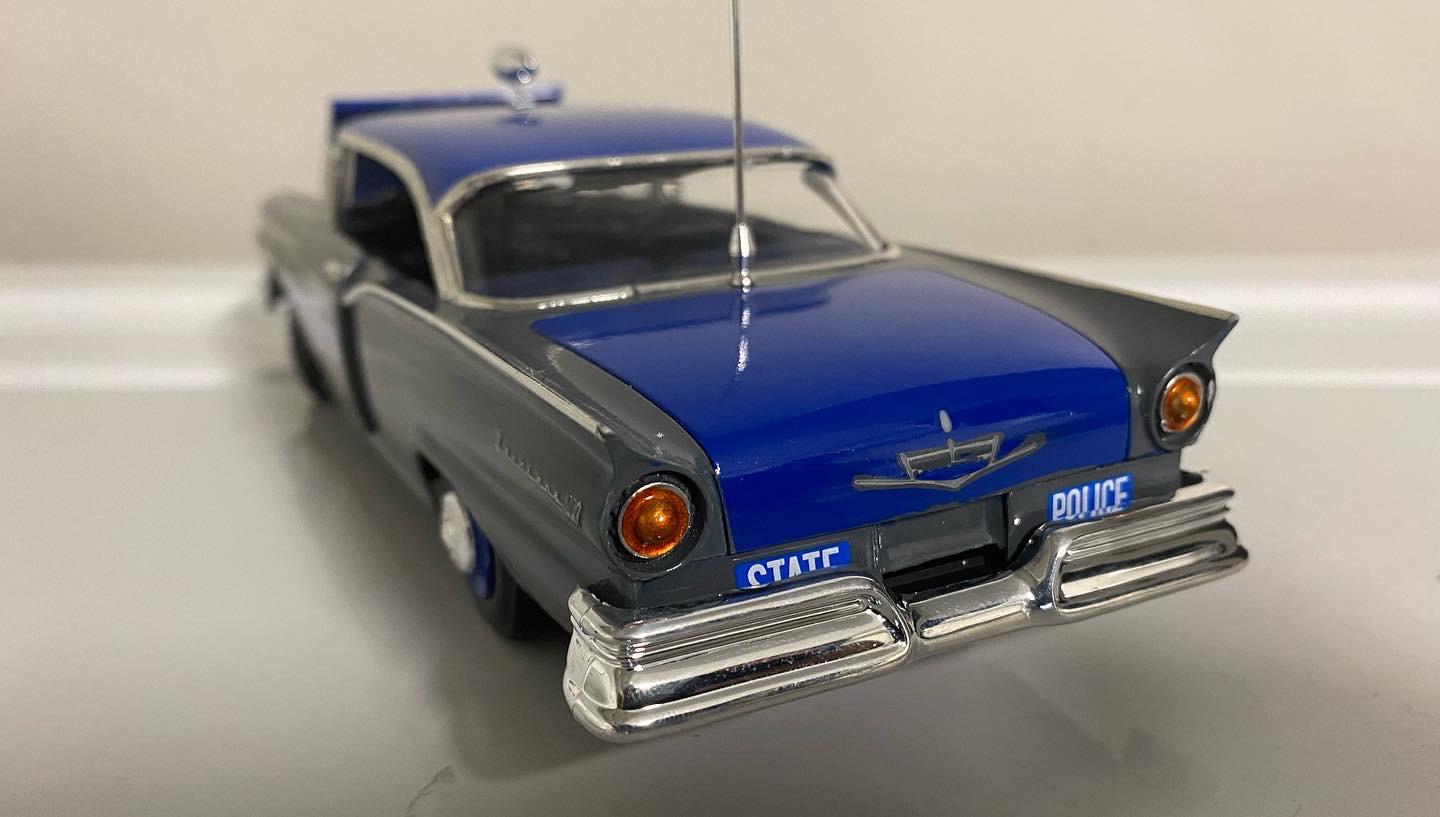
Inherited the kit as a very poorly hand painted glue bomb. Stripped everything down to scratch, found some reference pics and this is the final result.
-
this is awesome! I need to get one of these kits now.
-
Deleted
-
Love the color, what brand/code is it?
-
Nice build. I’m curious what are the steps for laser printing at fedex? Do you put your design on a usb drive and supply your own decal paper to fedex?
-
Beautiful build, super clean !
-
Where did you get the whipple?
-
Thank you all for the replies, especially @oldcarfan27 for the detailed list.
-
Anyone know of where to find plastic, resin or 3D printed toppers for pick up truck beds? Not tonneau covers.
-
This is sharp
-
Good build. Where can I find that LTD grill ?
-
Good work on the hood buldge.