250 Testa Rossa
-
Posts
1,115 -
Joined
-
Last visited
Content Type
Profiles
Forums
Events
Gallery
Everything posted by 250 Testa Rossa
-
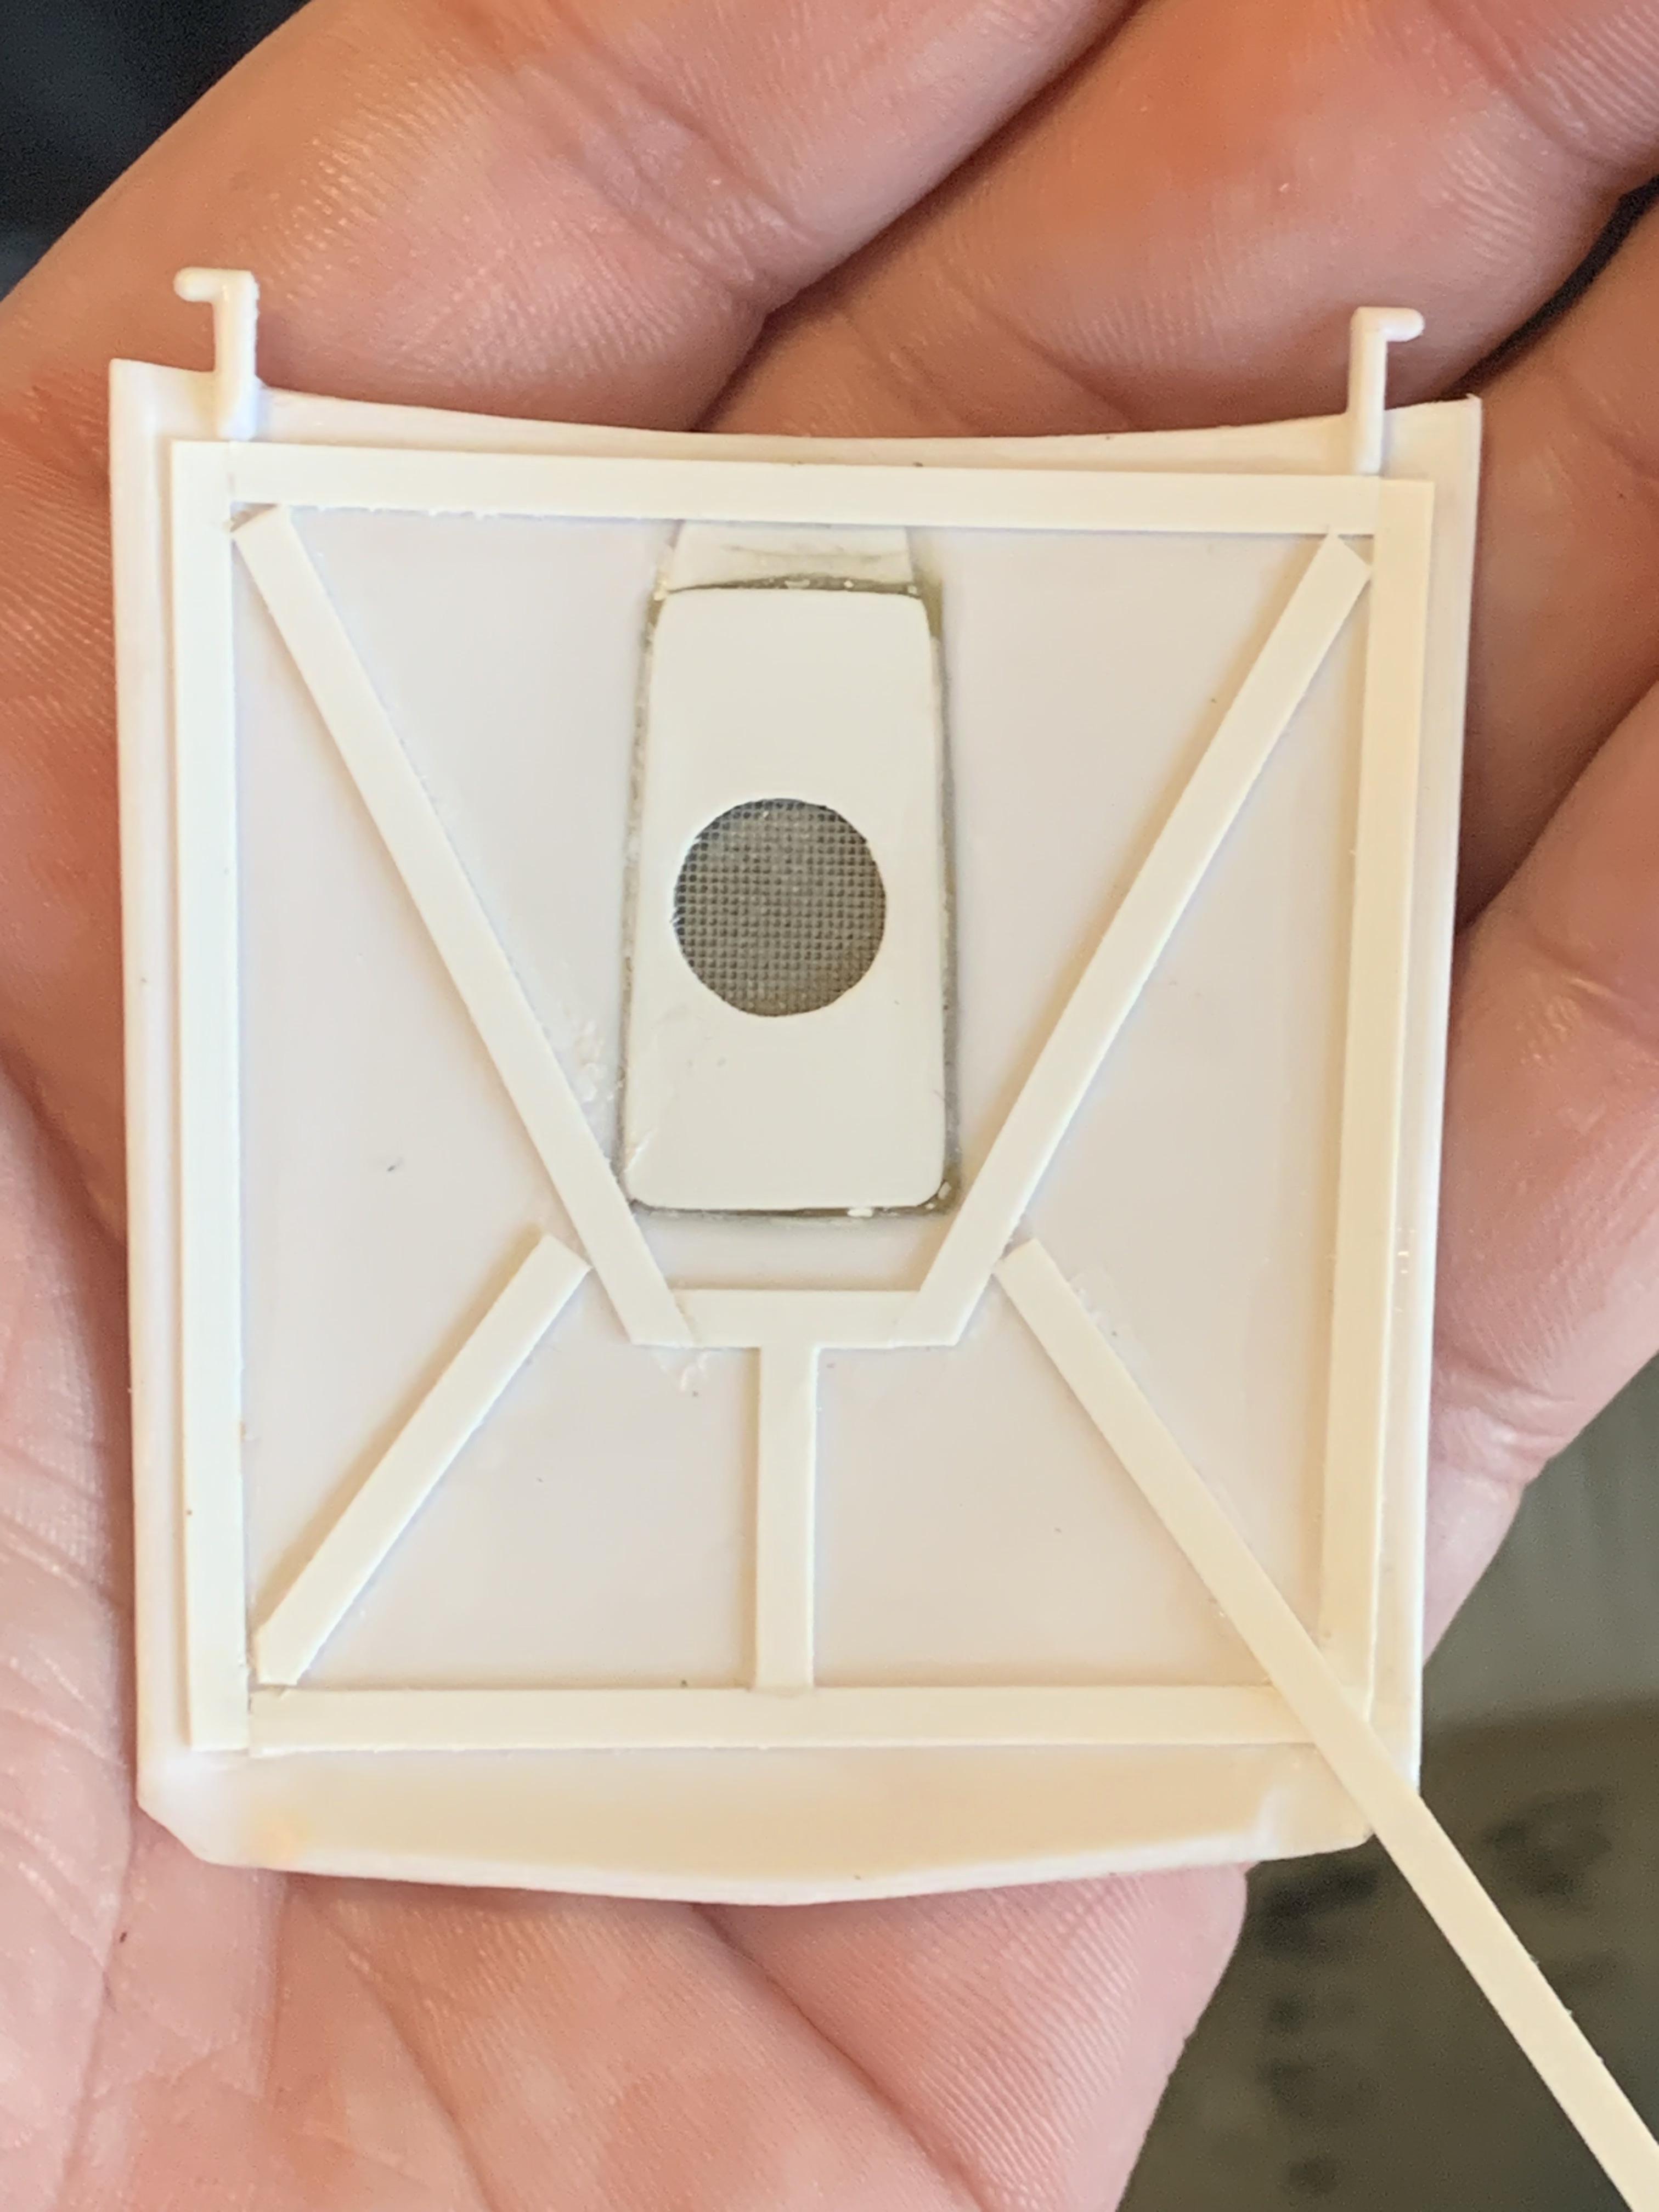
Working on fabricating a new hood. Starting off with the underside by adding reinforcing ribs out of styrene strip. There are some joints that will be filled with 2 part putty before being sprayed. The mesh is from Hasegawa (Modeling Mesh 22) and the piece for the porthole is sheet styrene.

-
Can't wait to see how this turns out.
-
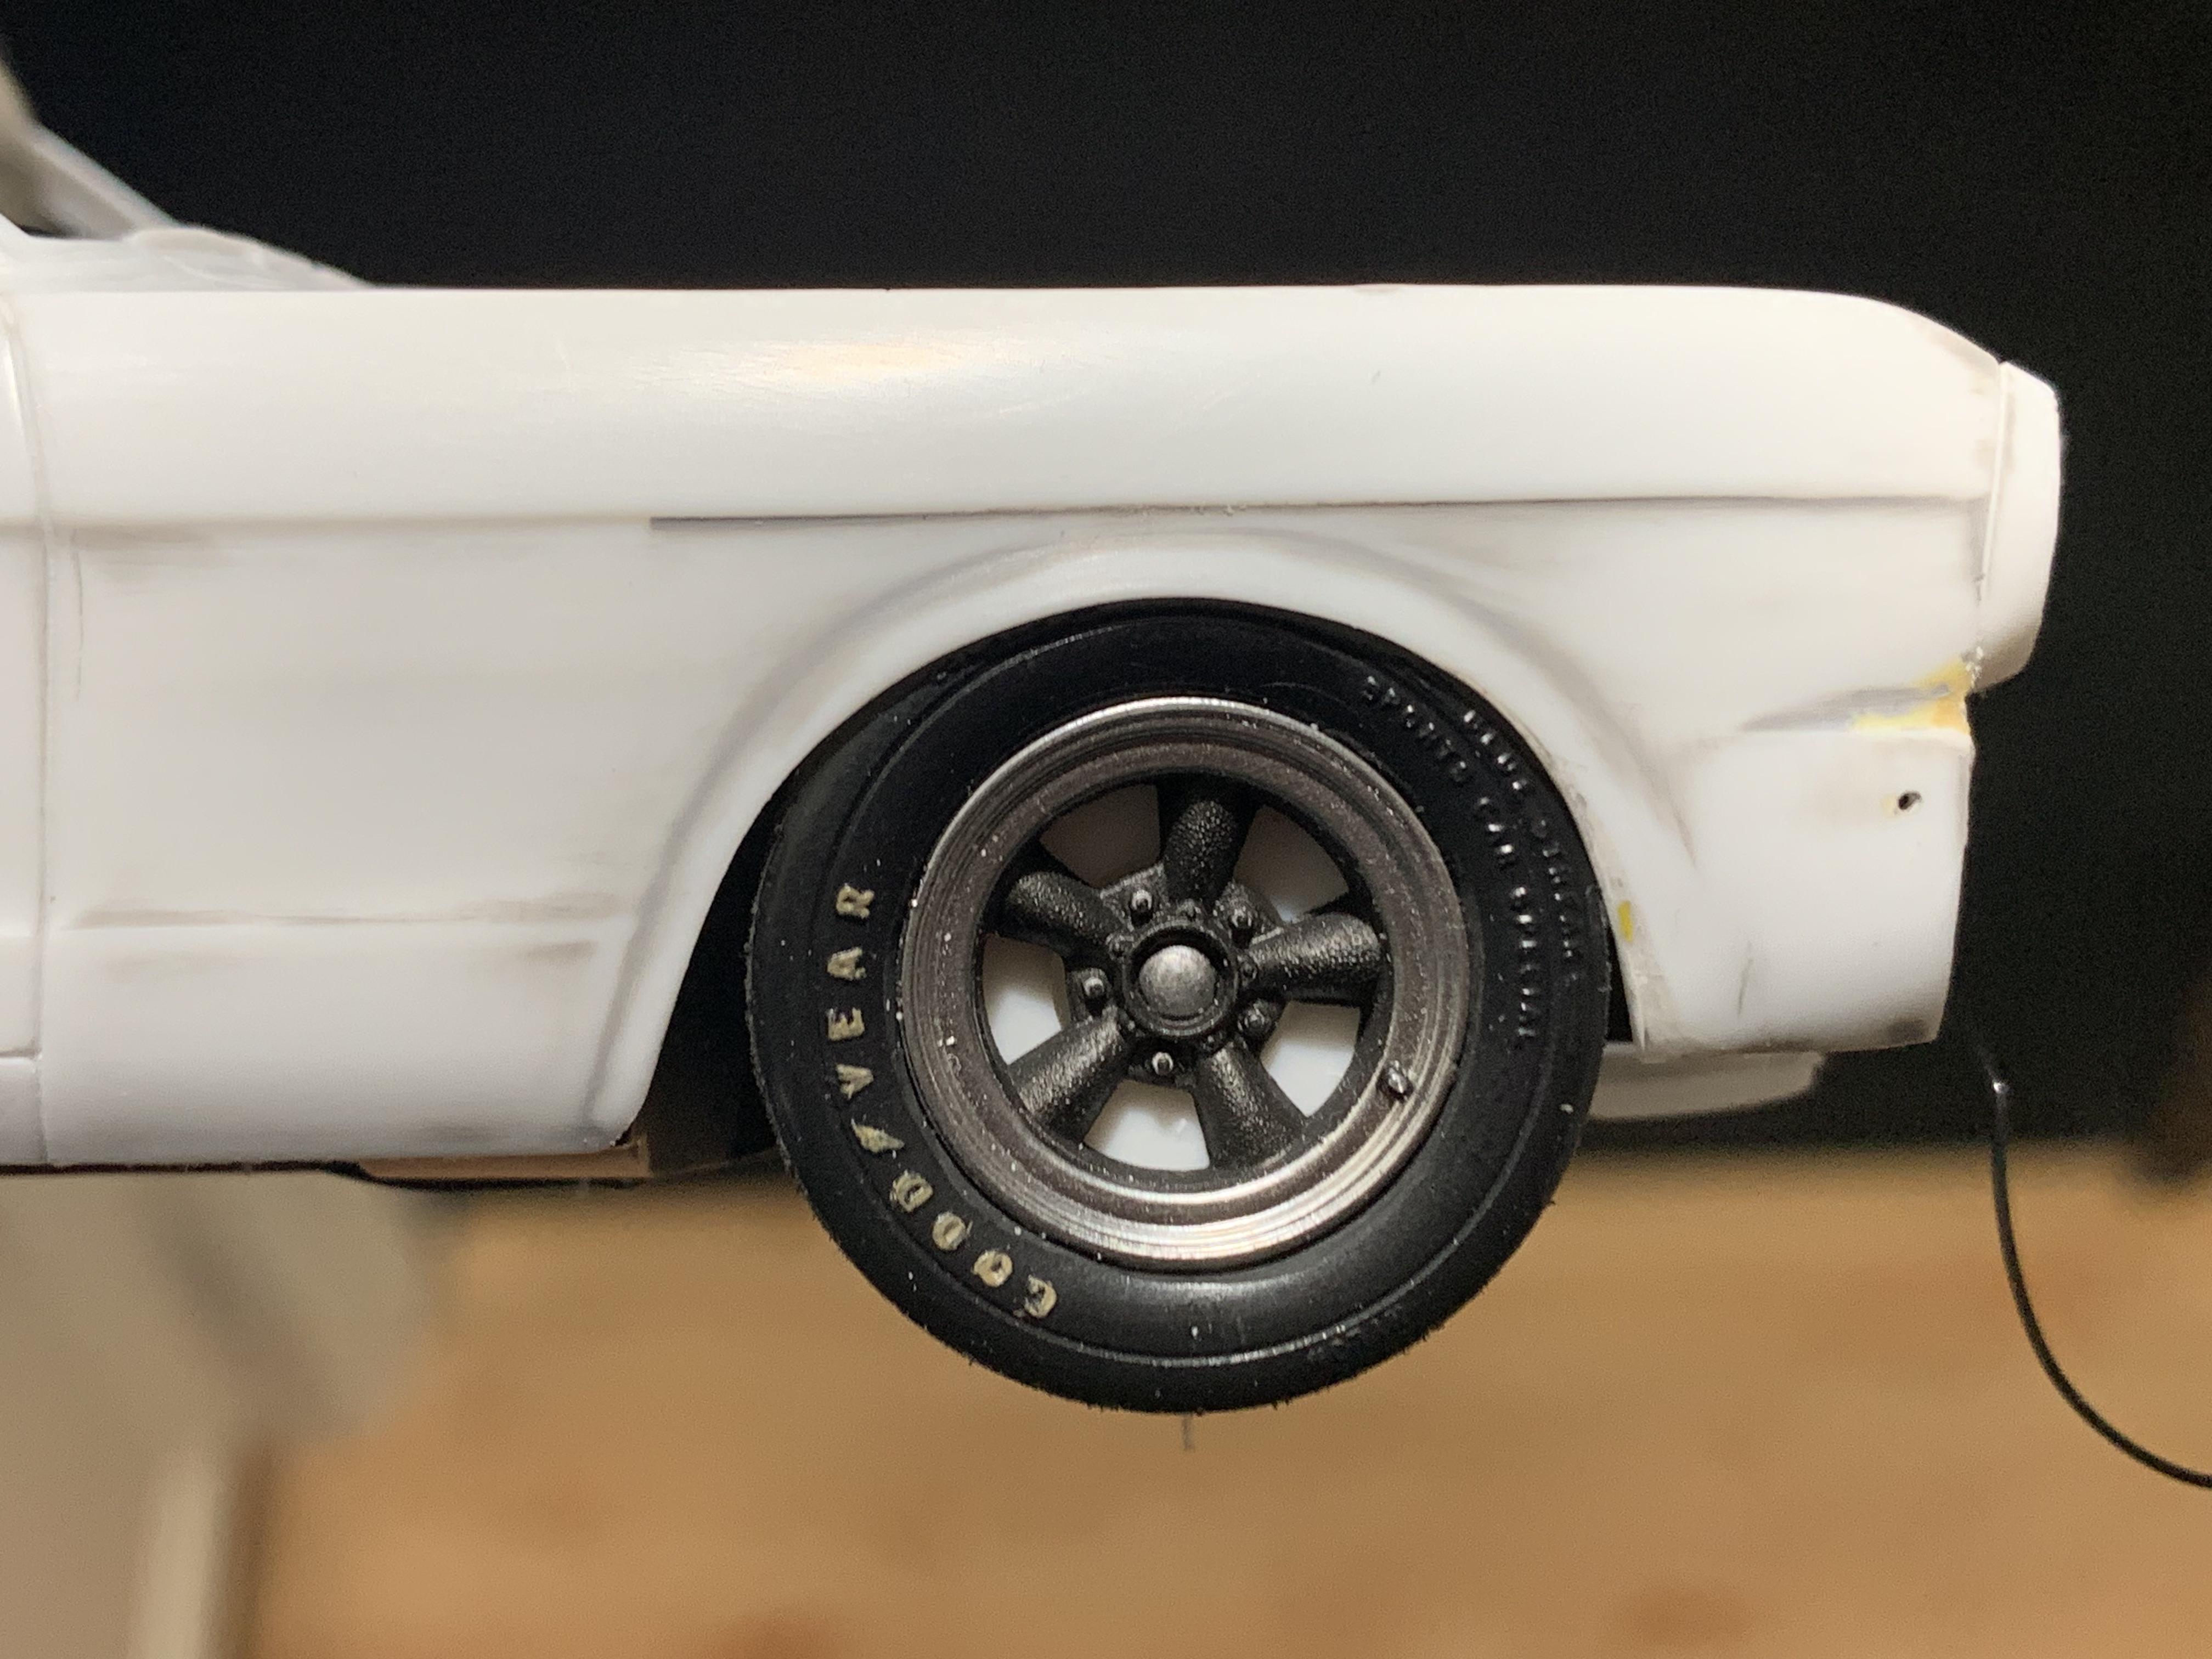
Now are these 15" wheels?
-
I'm happy with mine.
-
Can't wait to see how this turns out!
-
Beautiful!
-
List of Moebius Upcoming Kits
250 Testa Rossa replied to Daddyfink's topic in Car Kit News & Reviews
I seriously hope we get a B/FX version. That would be really cool. -
List of Moebius Upcoming Kits
250 Testa Rossa replied to Daddyfink's topic in Car Kit News & Reviews
I'm already excited for the '65 Dodge AWB & Hemi Sedan -
'65 Shelby GT350...
250 Testa Rossa replied to Mothersworry's topic in Other Racing: Road Racing, Salt Flat Racers
I'm building an R Model right now and I am hoping to have it looking this nice. -
Which car are you doing?
-
I can't wait to see this one finished. Will be following along on this build.
-
1963 Lola GT
250 Testa Rossa replied to Gramps46's topic in WIP: Other Racing: Road Racing, Land Speed Racers
Yes, one of them is the Porsche 356 Abarth, which I have. Shelby driver Allen Grant owns a Lola GT. -
I would take the '71.
-
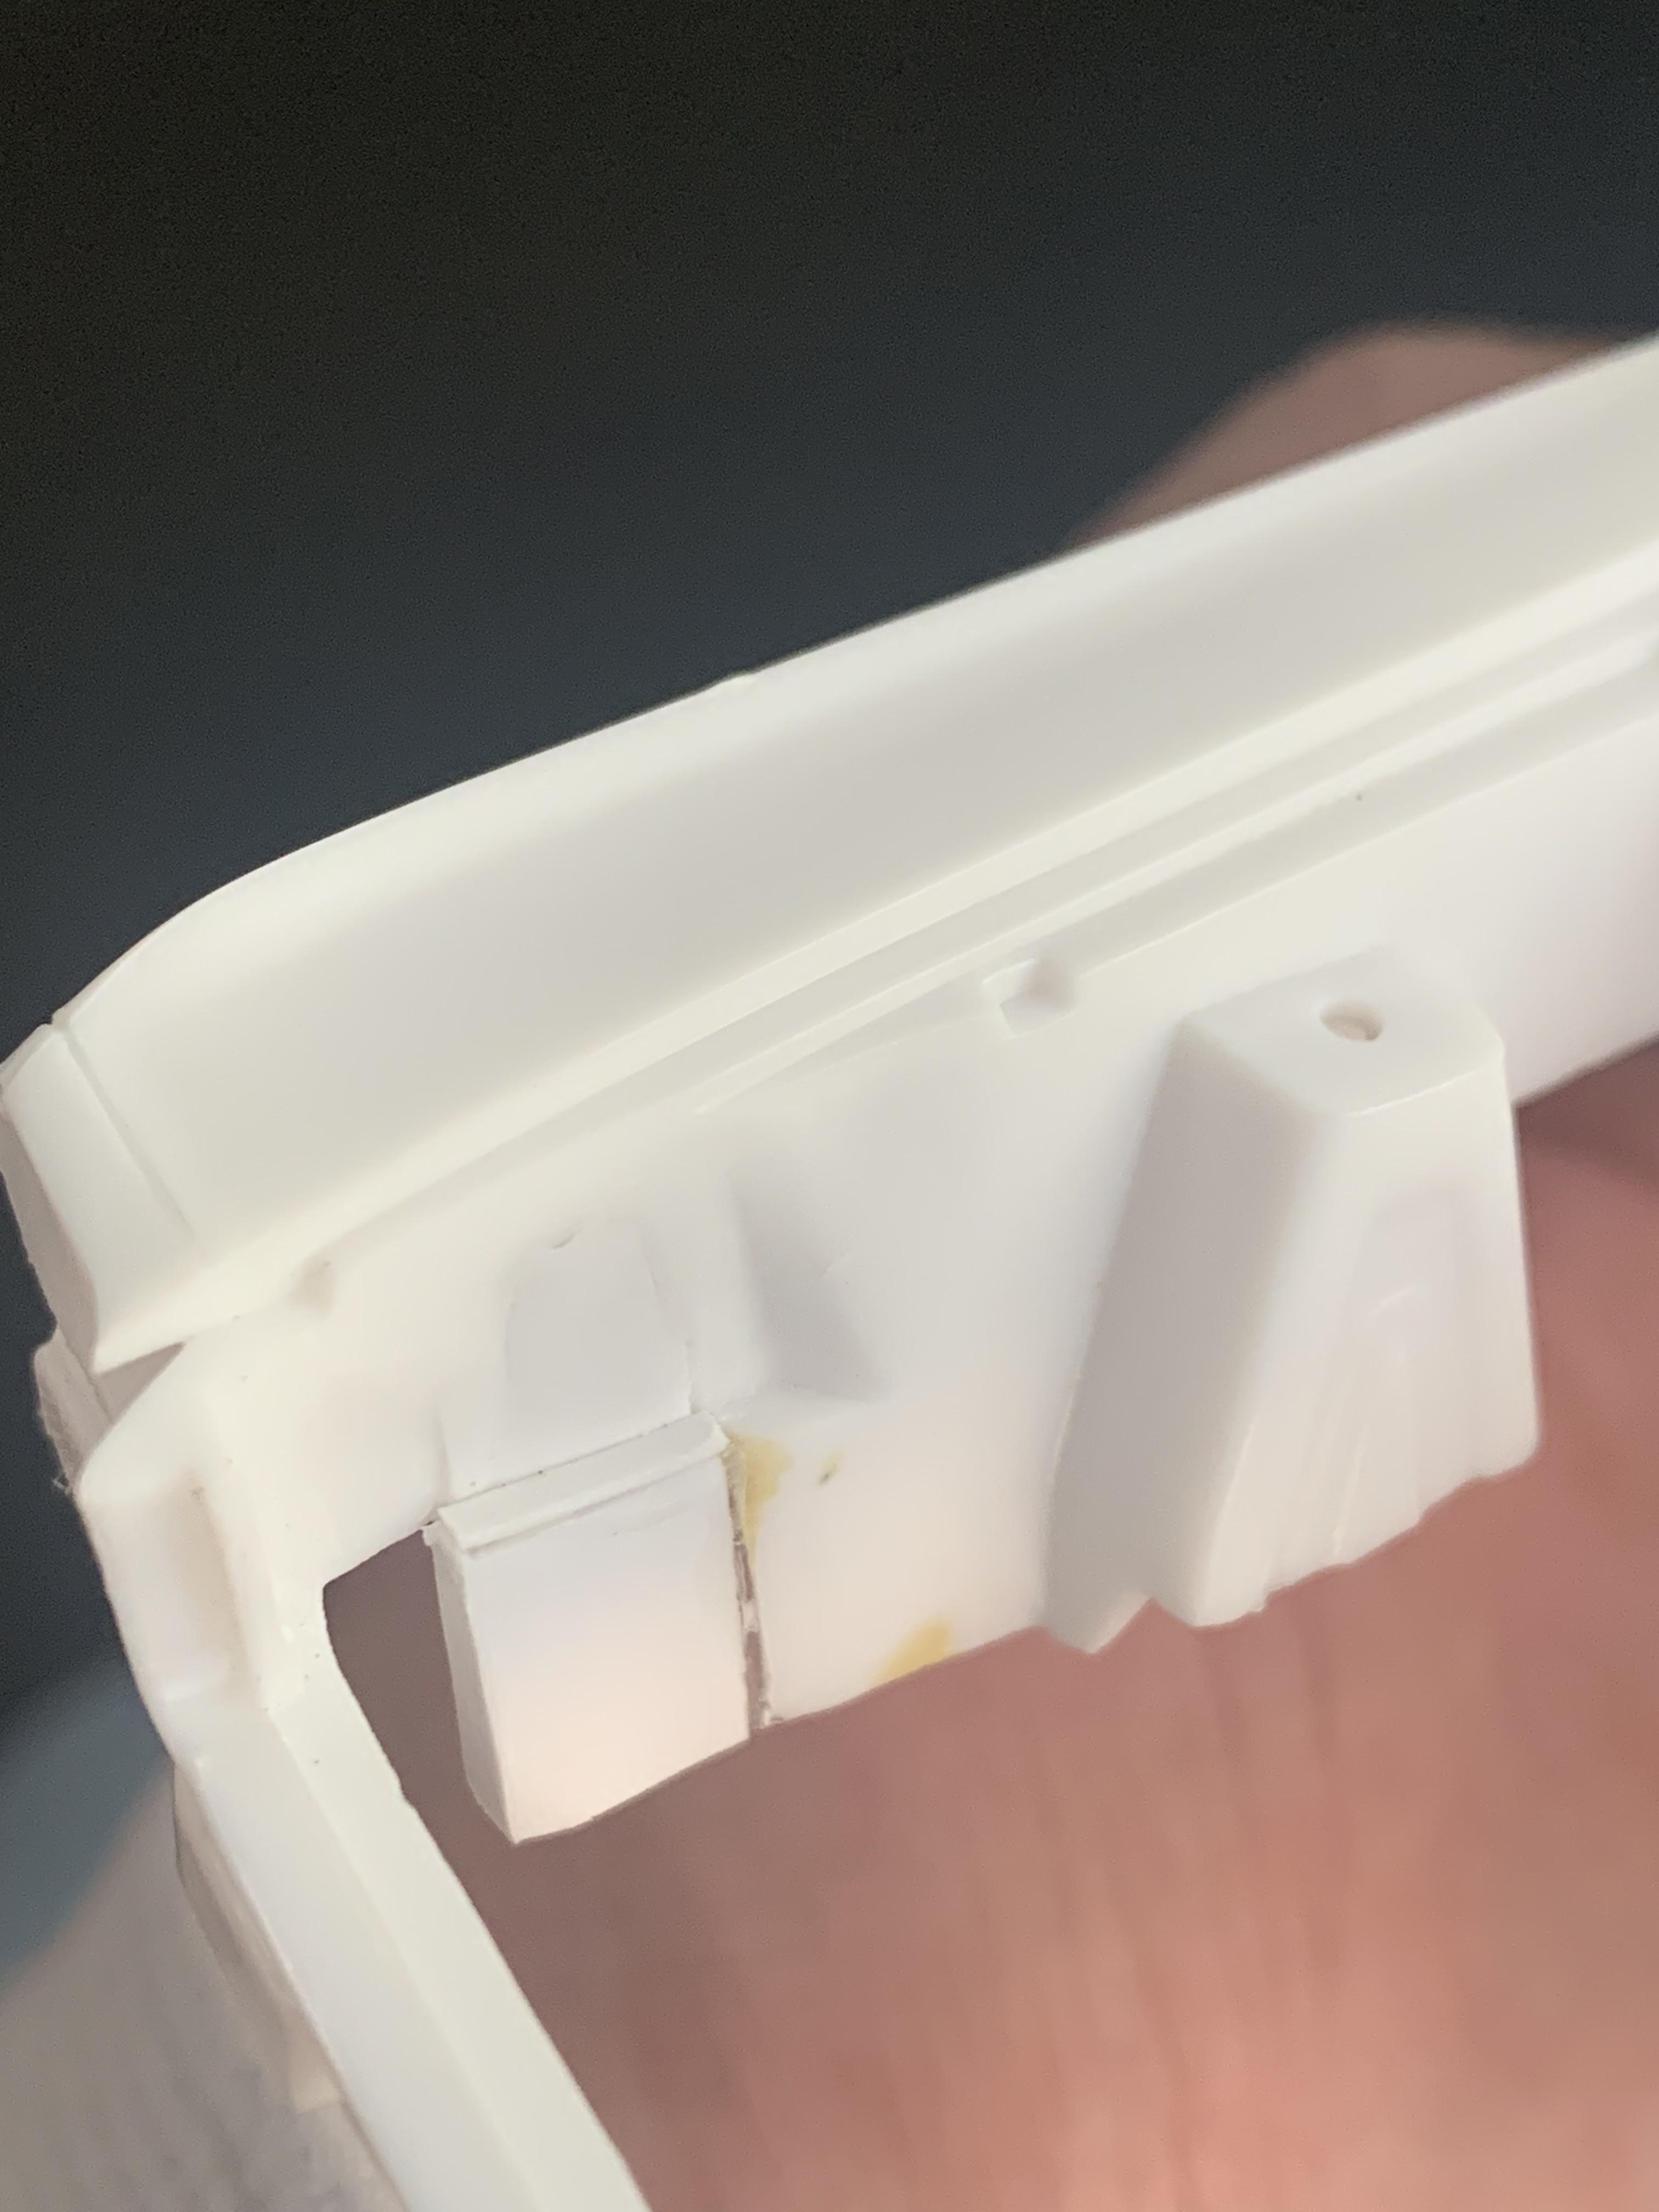
Working on getting the stance right. I had to cut the front spindles off, and reattach them in a different position. Here is the right side with the correct stance.
-
AMT The Green Hornet Black Beauty Kit
250 Testa Rossa replied to martinfan5's topic in Car Kit News & Reviews
I'm really looking forward to this one! -
Model Factory Hiro 1963 Ferrari 250 Lusso
250 Testa Rossa replied to Brudda's topic in WIP: Model Cars
Beautiful build. I would suggest painting it in Marrone Metallizato, which was the color of the Lusso owned by Steve McQueen. Car had tan interior and a California black plate with the number IFC 007. -
Count me in for this one!
-
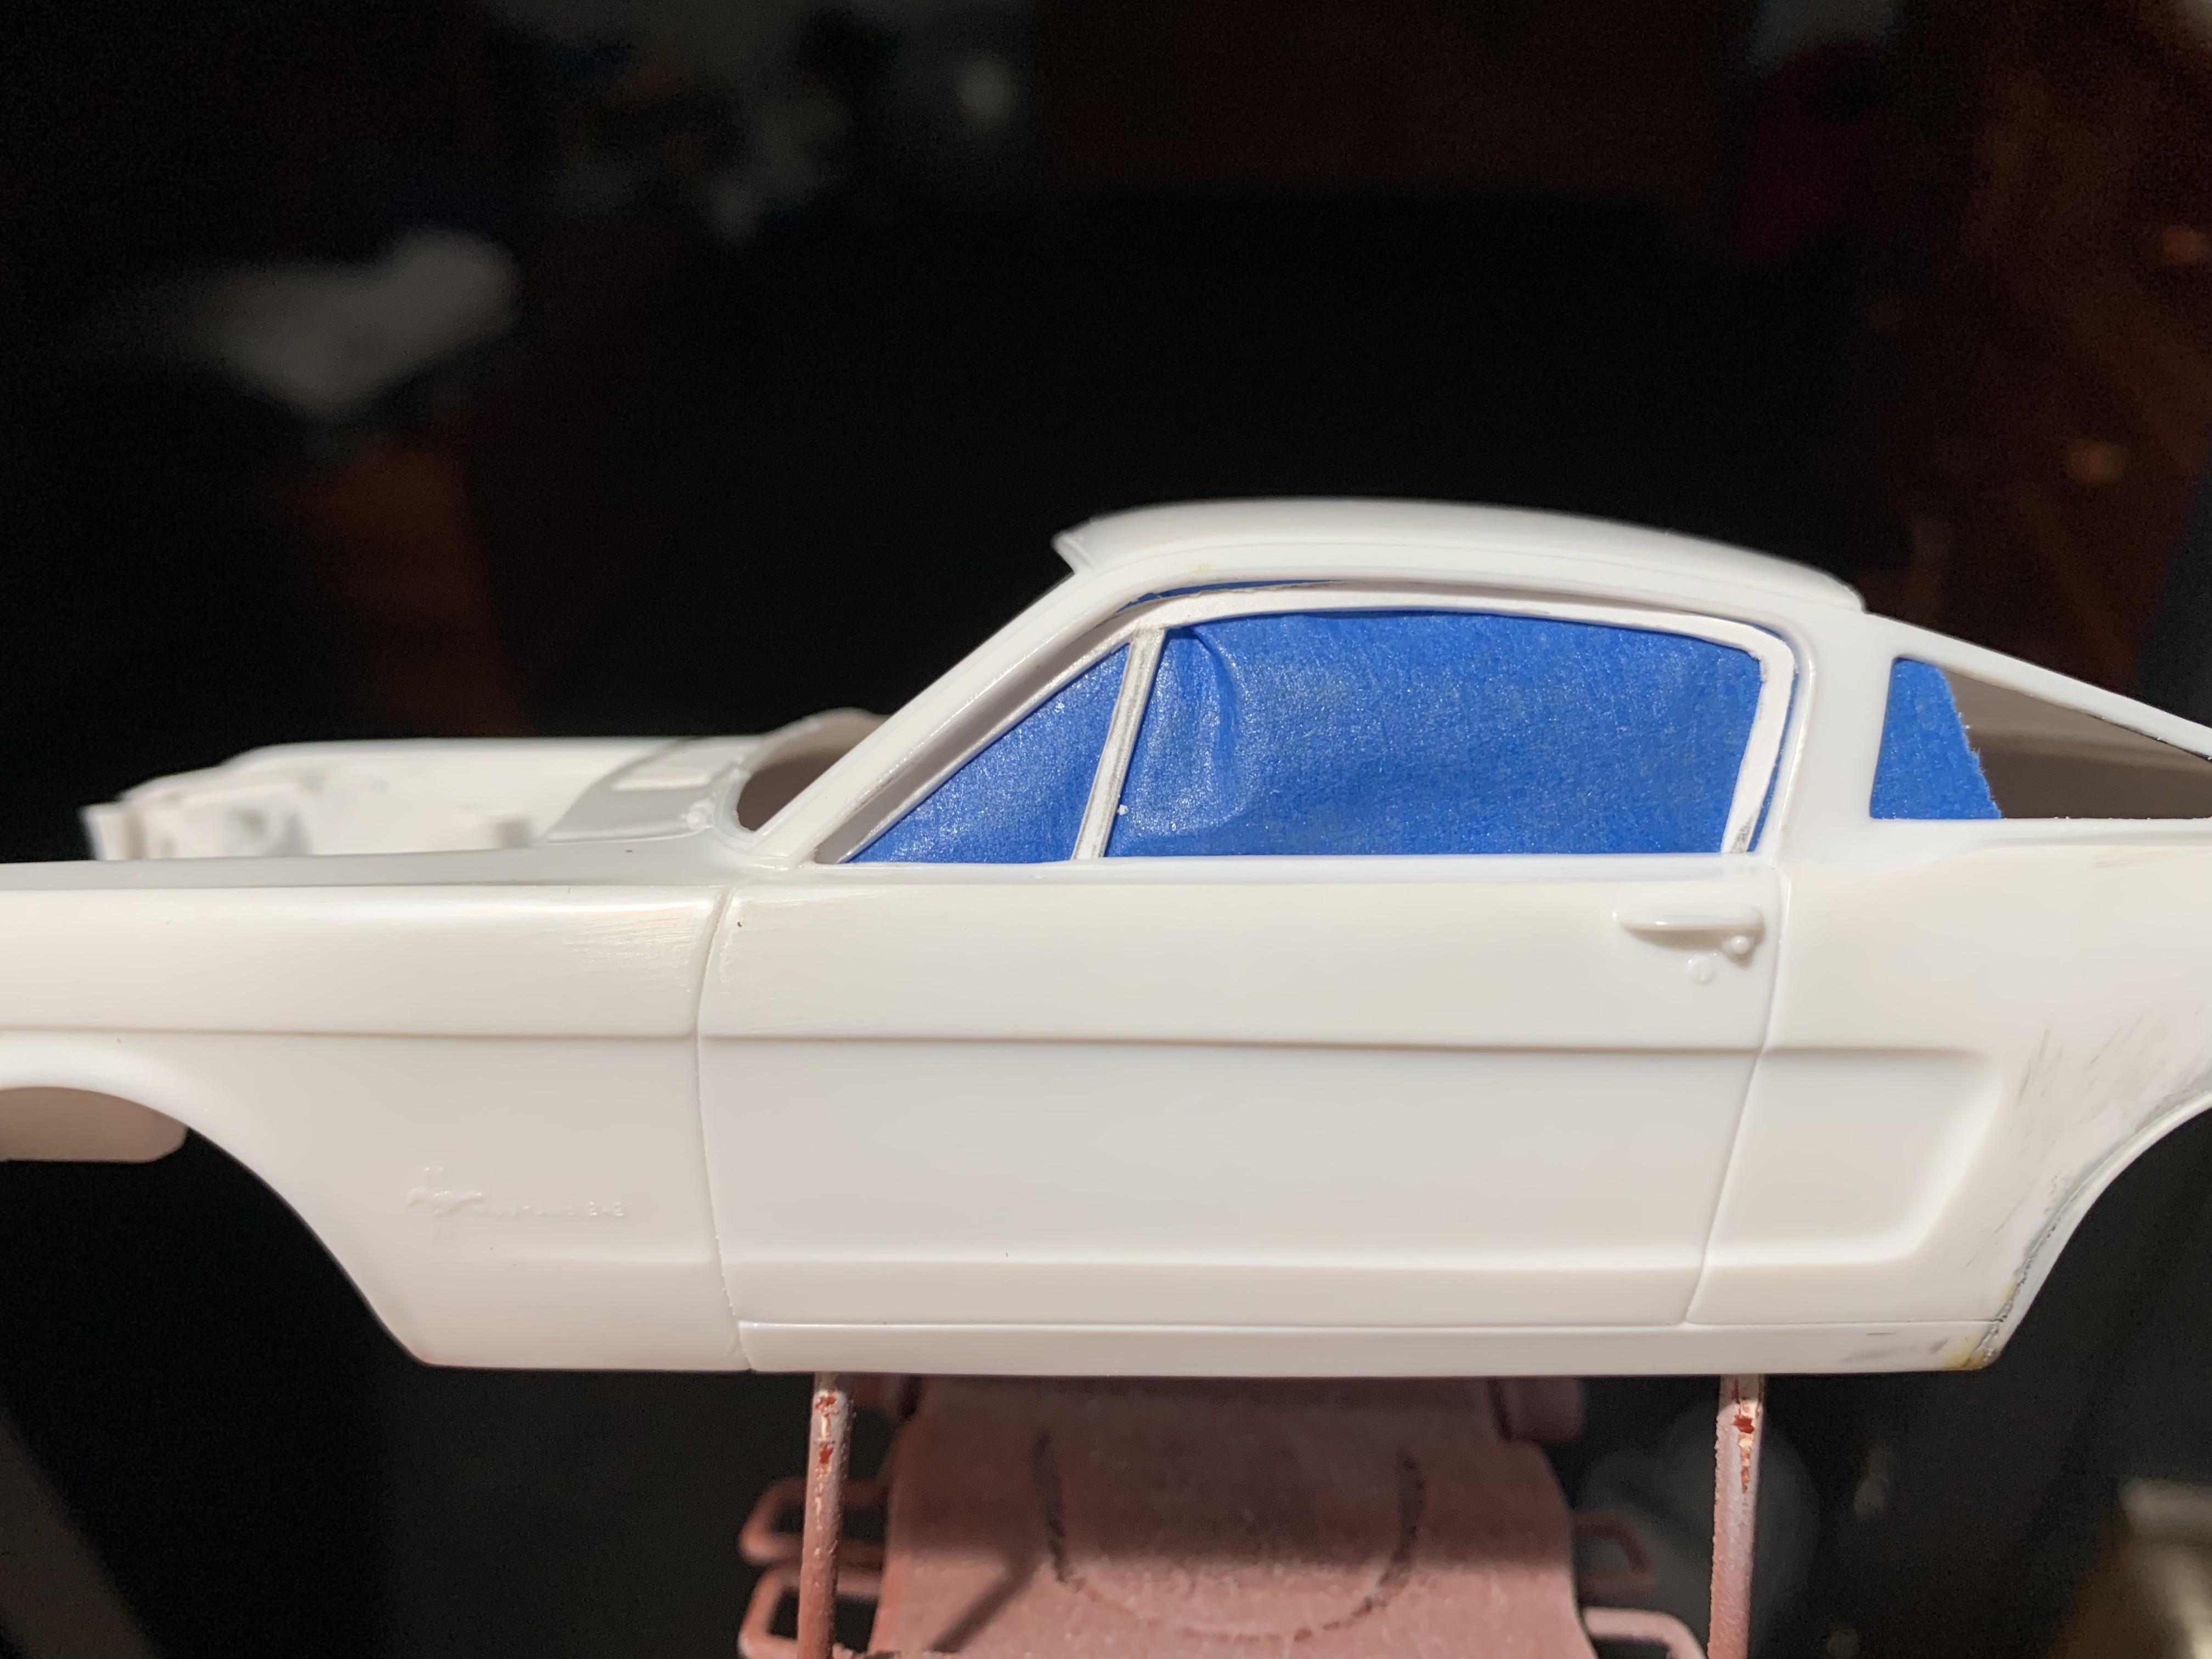
Starting on the window channels. I plan to have the windows closed, but still want to represent this car accurately. The piece was cut from a piece of .020" styrene sheet.
-
Got my preorder in for the convertible. Does anyone know when the hardtop is scheduled for release?
-
Can't wait to see this one finished!
-
Taking a break from doing the rear of the car and working on the engine bay. Took out the battery (R-Models had a trunk mounted battery), and replaced the area with styrene stock.
-
Looking good!
-
I'm doing the same thing with a build of CSX2259, which was the first of five FIA cars. That car ran at Daytona in '64 with Dan Gurney and Bob Johnson driving. The two drivers were paired up with the same car at Sebring in 1964. Bob Johnson crashed CSX2259 in the pits at Sebring when he hit an Alfa Romeo TZ that was running without lights.
-
Is this the '73 kit?