Rockford
-
Posts
1,931 -
Joined
-
Last visited
Content Type
Profiles
Forums
Events
Gallery
Everything posted by Rockford
-

KW W900 Aerodyne
Rockford replied to Jürgen M.'s topic in Model Trucks: Big Rigs and Heavy Equipment
I don't know how I missed this, great job on the KW and the trailer looks great too, excellent combination. -
What a great looking truck, and you made a great job of bringing all the different elements together.
-
Ol' School A Model
Rockford replied to freightshaker2's topic in WIP: Model Trucks: Big Rigs and Heavy Equipment
Gorgeous truck, gorgeous model too! -
Excellent attention to detail, as ever. I've thought of using black electrical insulation tape for tank strap rubbers. I already use HVAC aluminium tape for the straps themselves so it would be a case of layering them. You're right, you do need clearance between the tank and the exhaust. If not for heat for contact damage. Looking great though.
-
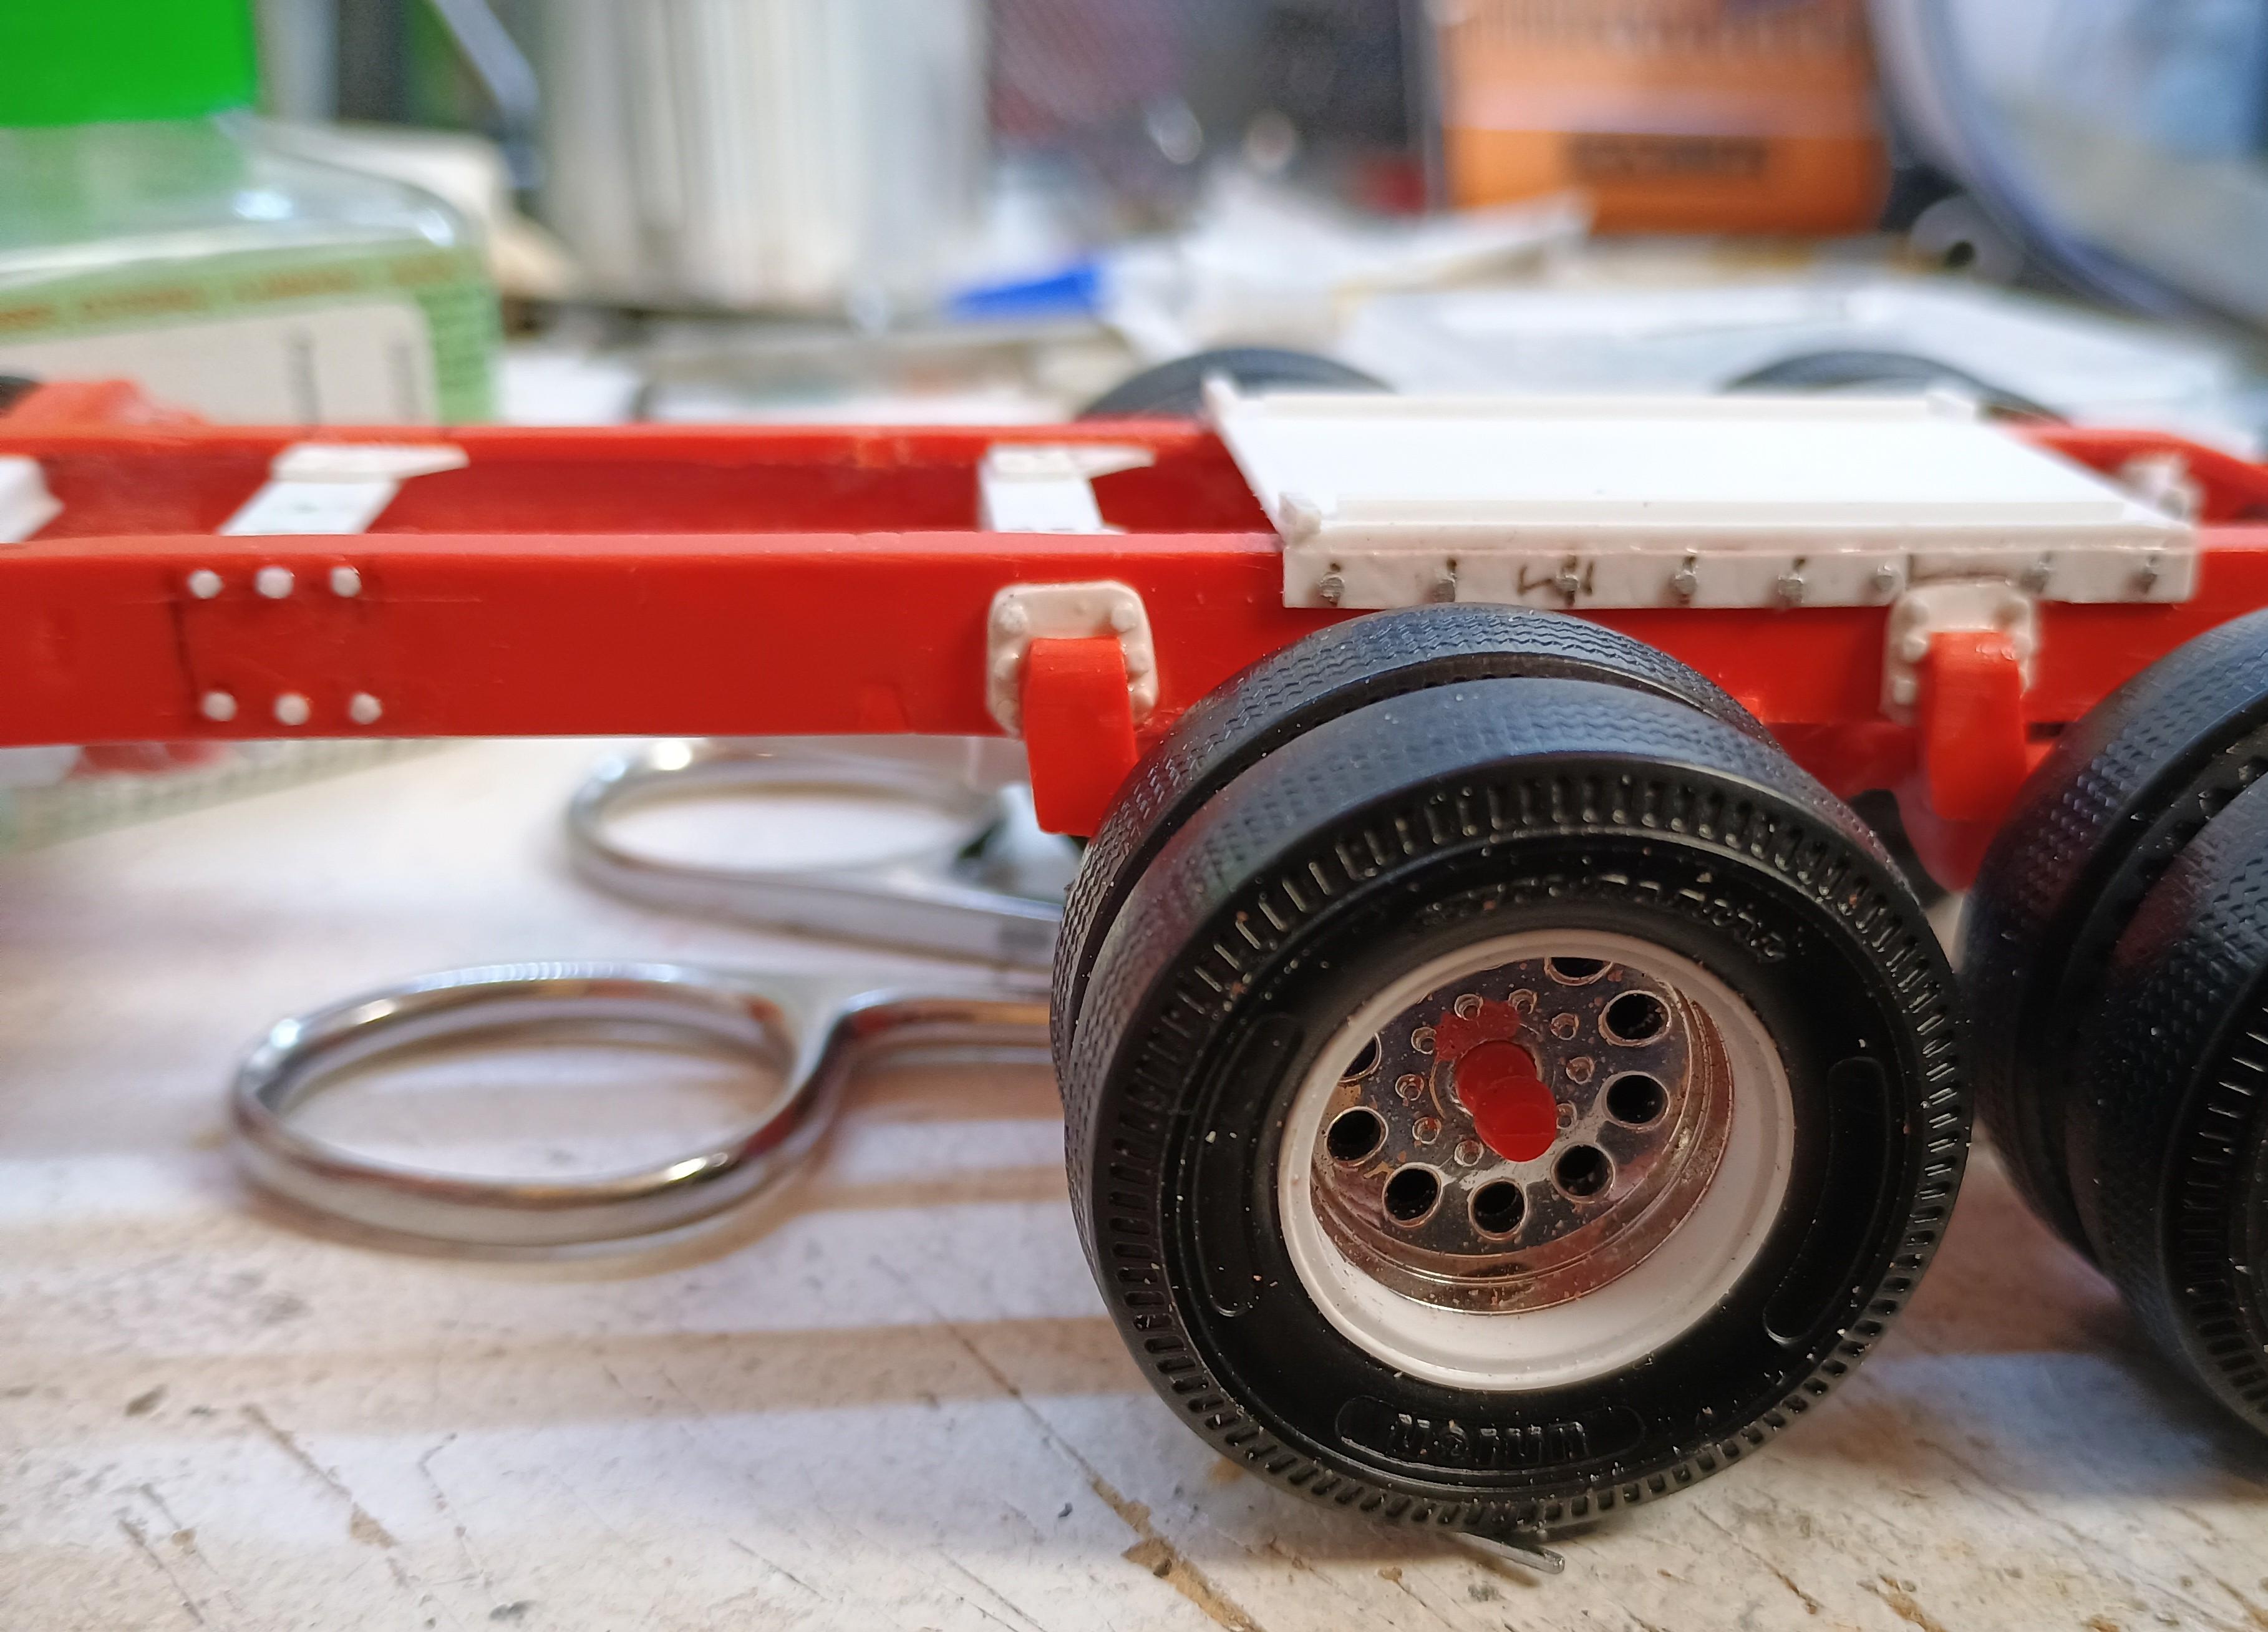
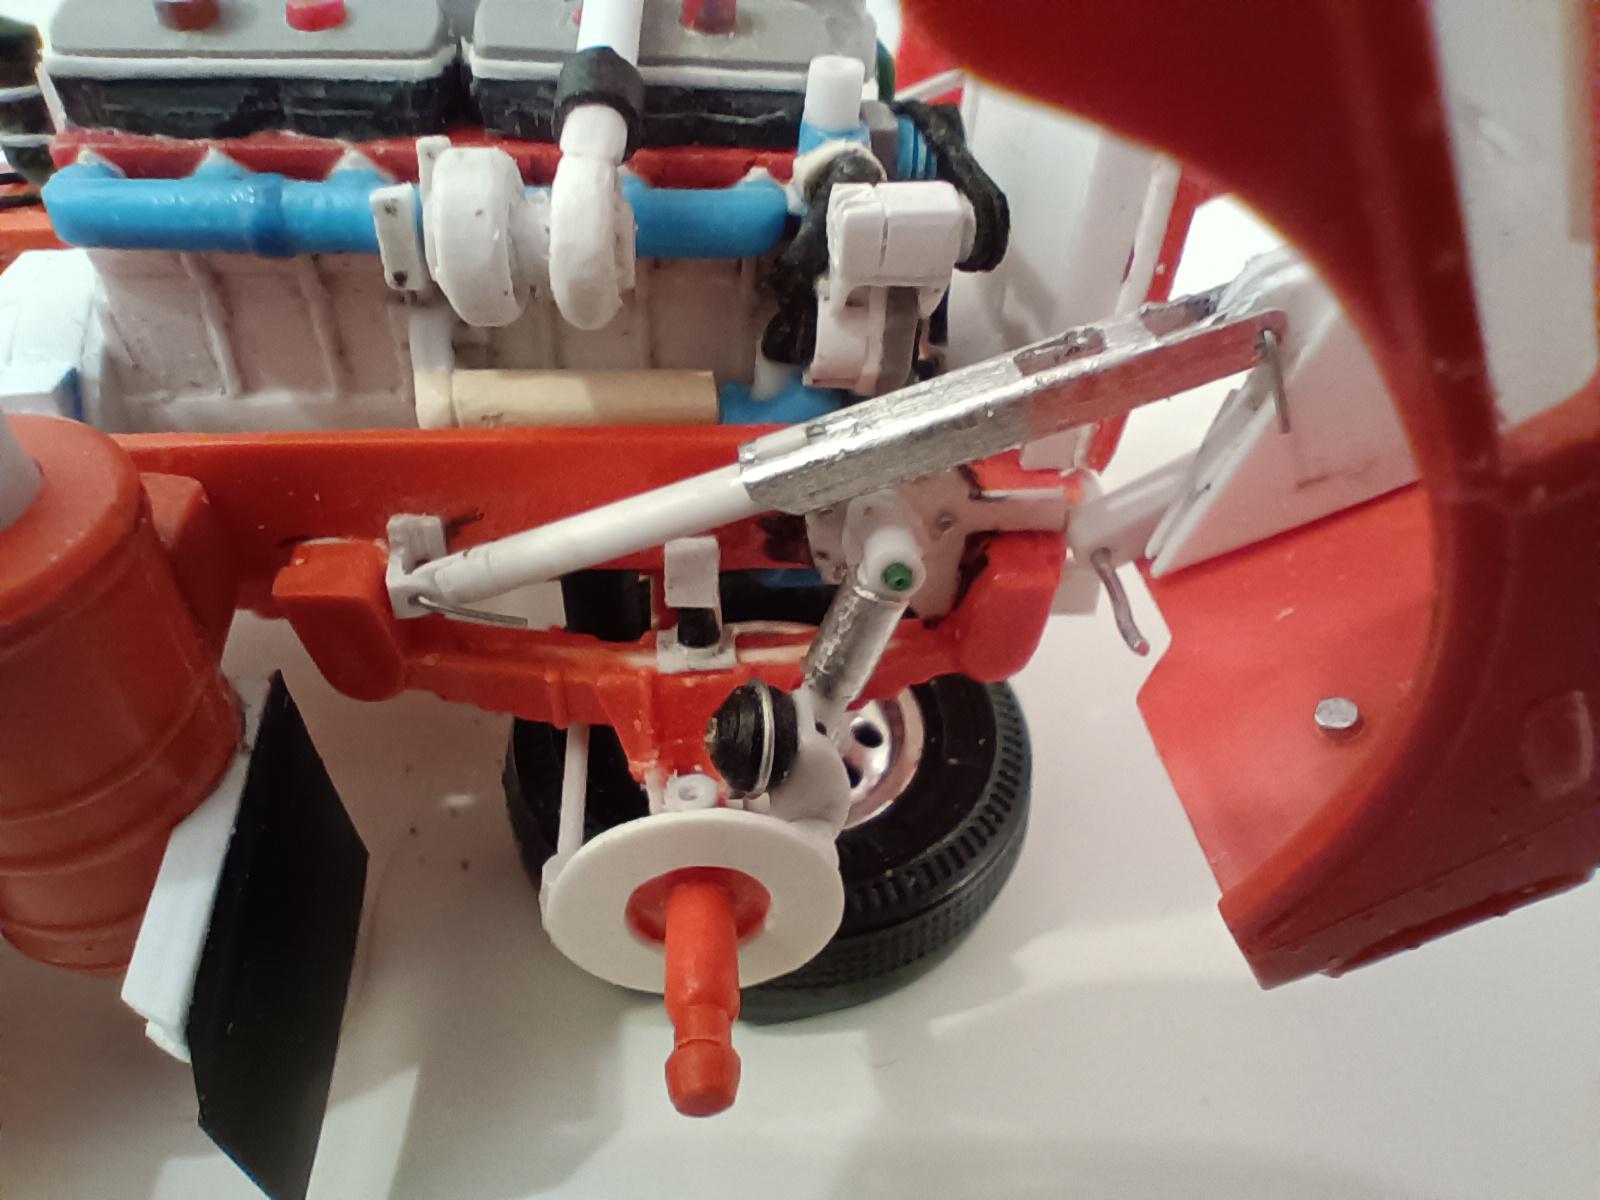
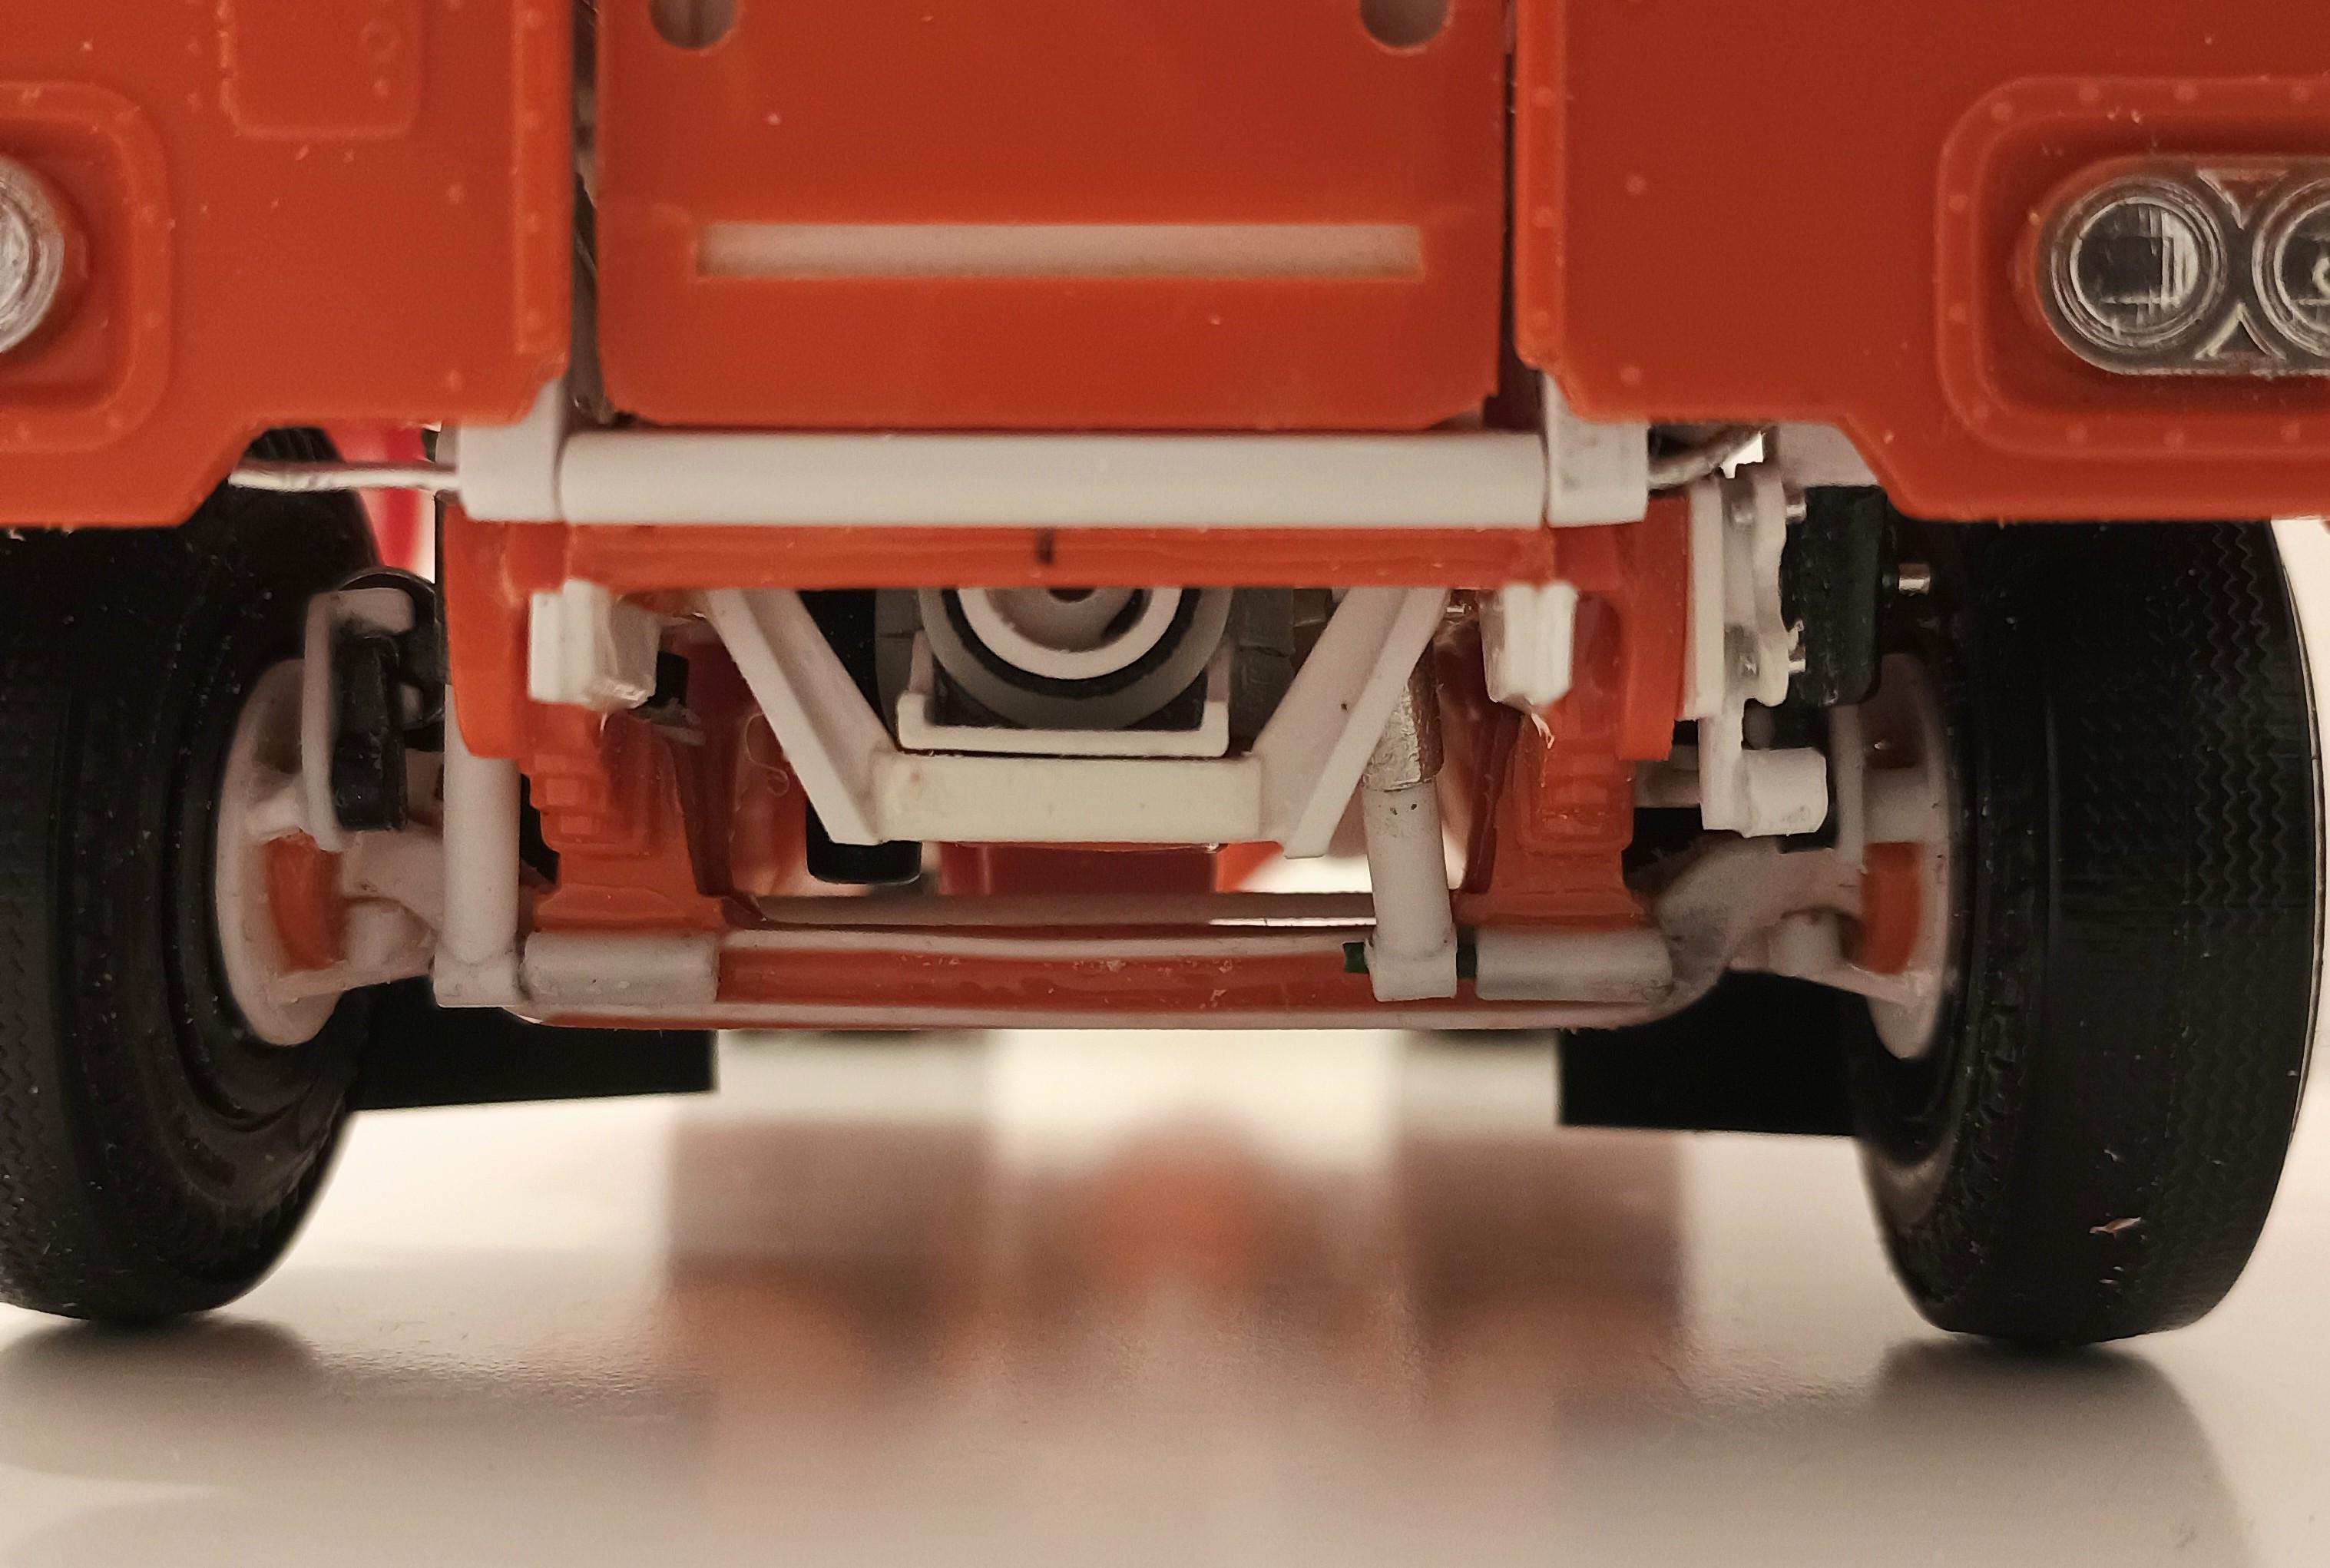
I've turned into a bolt counter. Having added bolts to the frame horns I decided that I couldn't leave other bits unbolted now. Added reinforcement to the slide plate, drilled 8 holes and then used ali wire for the bolts. I didn't want to drill everywhere though, because some of the places I needed bolts weren't really easy to drill. I took a piece of 1mm square rod, took the corners off and the rolled it against a file until it appeared and felt round. Diced the rod into tiny slices and started gluing them in place on the frame and suspension. Looks much better. I was worried it would end up a mess but no. They need levelling with a file once they're set but they already look ok. Cut a 2mm strip from sheet and formed it into a ring in a geometry style circle stencil. Cut out a shroud and for the radiator and glued the ring into it - looks good. Just got to make a fan now, don't know how...

-
Western Star 4900 FA plow truck
Rockford replied to BK9300's topic in WIP: Model Trucks: Big Rigs and Heavy Equipment
I would hate to see you come a cropper at the last stage. I seem to recall that some modellers use a coat of silver before the final colour because it blocks the colours underneath but I'm not absolutely certain of that. So basically I've frightened the life out of you and walked away. I feel lousy about that. -
FDNY Wrecker
Rockford replied to Scott Eriksen's topic in Model Trucks: Big Rigs and Heavy Equipment
That is impressive, to say the least. Well done. -
That's going to be some machine! Looking beefy.
-
Western Star 4900 FA plow truck
Rockford replied to BK9300's topic in WIP: Model Trucks: Big Rigs and Heavy Equipment
Short update but very significant for this project. I know I'm relieved it worked out and I'm sure many others are too, though we should never have doubted. You've handled this step with the same care and precision as the rest. Do you anticipate any issues between the blue cab/white hood when it comes to paint? -
Mack Superliner
Rockford replied to Jürgen M.'s topic in WIP: Model Trucks: Big Rigs and Heavy Equipment
Amazing work, axles look great. I still can't believe how quickly you work! Well done. -
If you don't start it you're YELLOW, and if you do start it YELLOW is all you'll see for months.
-
8 Car Transporter (71 Mopar’s)
Rockford replied to Mopar - D's topic in WIP: Model Trucks: Big Rigs and Heavy Equipment
Excellent stuff. USA car transporters have always fascinated me, they're so complex. This should look great. -
Mack Superliner
Rockford replied to Jürgen M.'s topic in WIP: Model Trucks: Big Rigs and Heavy Equipment
Those tyres are called Super Singles in UK. This is going to be another amazing build. I think we can forgive you the sacrilege of an Aerodyne sleeper on a Mack! 😜 Looking forward to seeing this come together. -
Could you possibly drill and pin the visor before paint? There's two bolts at each end looking at the prototype. Then you could paint and attach later. I've done it at 1/32 scale so 1/25 would look better.
-
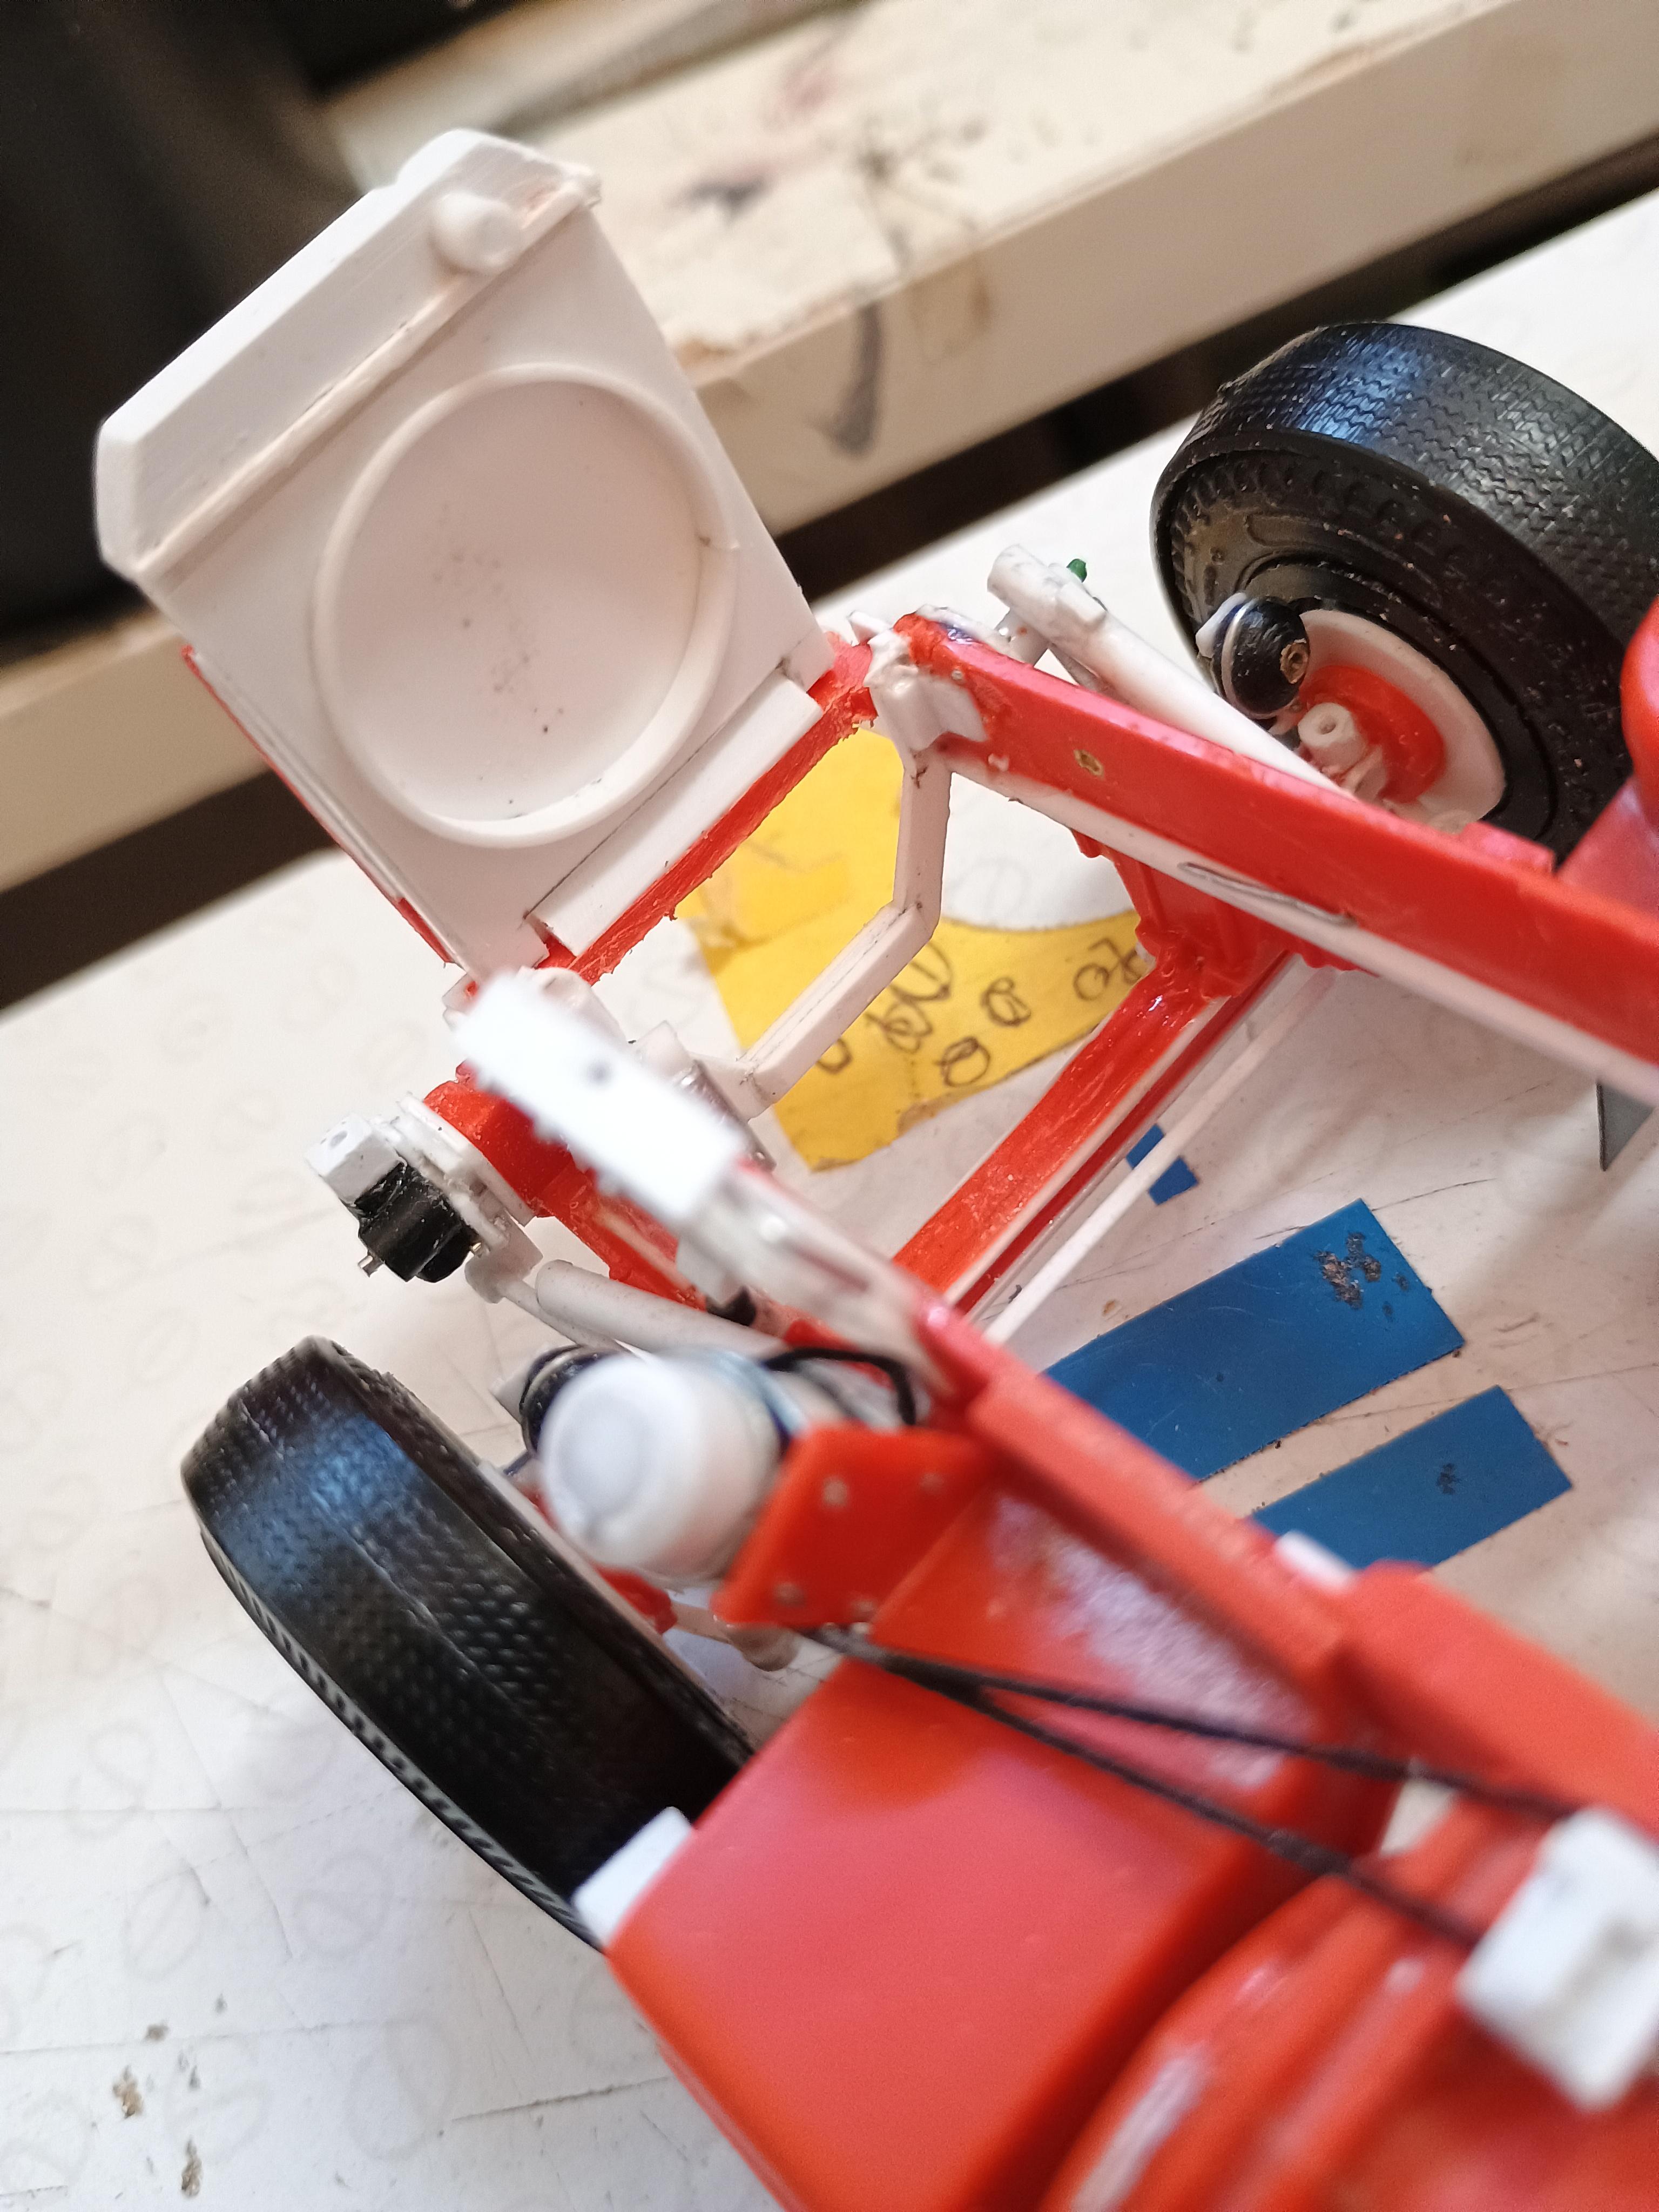
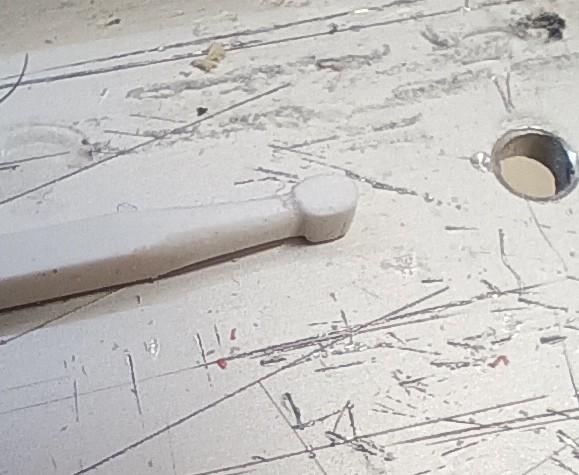
I know I haven't posted anything for a week or so but I've been chipping away at little things. I made a gaiter for my shift lever from square rod. I built and installed front dampers and brackets, one inside the frame and one outside as I've seen on the real thing. I fabbed a steering box, drop arm, drag link etc... Particularly proud of the steering arm I carved out of 2mm square rod. Shame you can't see it now that it's fitted. Cut and fitted frame horns. Added rebound rubbers on the top of the front springs. I'm fed up with no bolts on things I'm added. Most are too small to be replicated but the big bolts in the frame I drilled 0.8mm holes, installed aluminium jewelling wire and filed it down to look like bolt heads. Looks better. I'm nearly done on the chassis, next will be the cab.
-
Kenworth 925 - Strato Models
Rockford replied to carsntrucks4you's topic in WIP: Model Trucks: Big Rigs and Heavy Equipment
Your metalworking skills are impressive. I do like the torsion bar suspension too, we don't see enough of it. -
Peterbilt 379 RV
Rockford replied to vincen47's topic in WIP: Model Trucks: Big Rigs and Heavy Equipment
It does look special in black, your bodywork looks straight too! Tidy piece of work. -
ALF Industrial Pumper
Rockford replied to Firebuilder's topic in WIP: Model Trucks: Big Rigs and Heavy Equipment
Brilliant work here, it's going to look really impressive when complete. Excellent attention to detail on the pumping gear etc... Fire dept. equipment is just something else, so perfectly maintained. -
I had to double check that photo of the axle to make sure it wasn't a reference photo. Honestly! Fantastic work.
-
Farm Floater Truck 1/24th scale
Rockford replied to Randy D's topic in WIP: Model Trucks: Big Rigs and Heavy Equipment
This is amazing stuff. I can't believe the quality of builds like this. Brilliant. -
Western Star 4900 FA plow truck
Rockford replied to BK9300's topic in WIP: Model Trucks: Big Rigs and Heavy Equipment
Stop beating yourself up! This is a remarkable project. You've achieved impossible levels of detail on this job. You're always going to find slight discrepancies between the real thing and a model or, as this is, a replica. In your defence, looking at the radiator, it has rubber baffles down the side which make it look thicker, and I know from experience that I miss glaring mistakes I've made way too far into a build. This whole truck just looks perfect, you can be suitably proud of yourself. -
Somehow lost touch with this job, much to my disadvantage because you're doing some great work here. The primer has made all the pieces you've worked on look whole, you can really See the improvement your labours have brought to the finished article. How much do you charge for therapy sessions? I'm suffering from de-snappifying compulsive disorder.
-
This is going to be a really sturdy looking truck. Marvellous work. Love the fifth wheel, don't know why but I'm drawn to a good Holland fifth wheel. I know, there's something wrong with me isn't there? On the gap in the visor, an awful lot of the real things had such gaps. If you think about the angle of sun they were worried about, it didn't matter if the sun was coming from behind or either side. As long as it worked like a slat in a venetian blind they weren't really bothered. I suppose also, if the gap is completely closed air will gather under it at speed and could tear it off. Just my thoughts.
-
You usual scrupulous attention to detail. The new grille looks fantastic. The engine looks good with the shading emphasising the detail. Looking forward to seeing it come together.