64Comet404
-
Posts
991 -
Joined
-
Last visited
Content Type
Profiles
Forums
Events
Gallery
Everything posted by 64Comet404
-
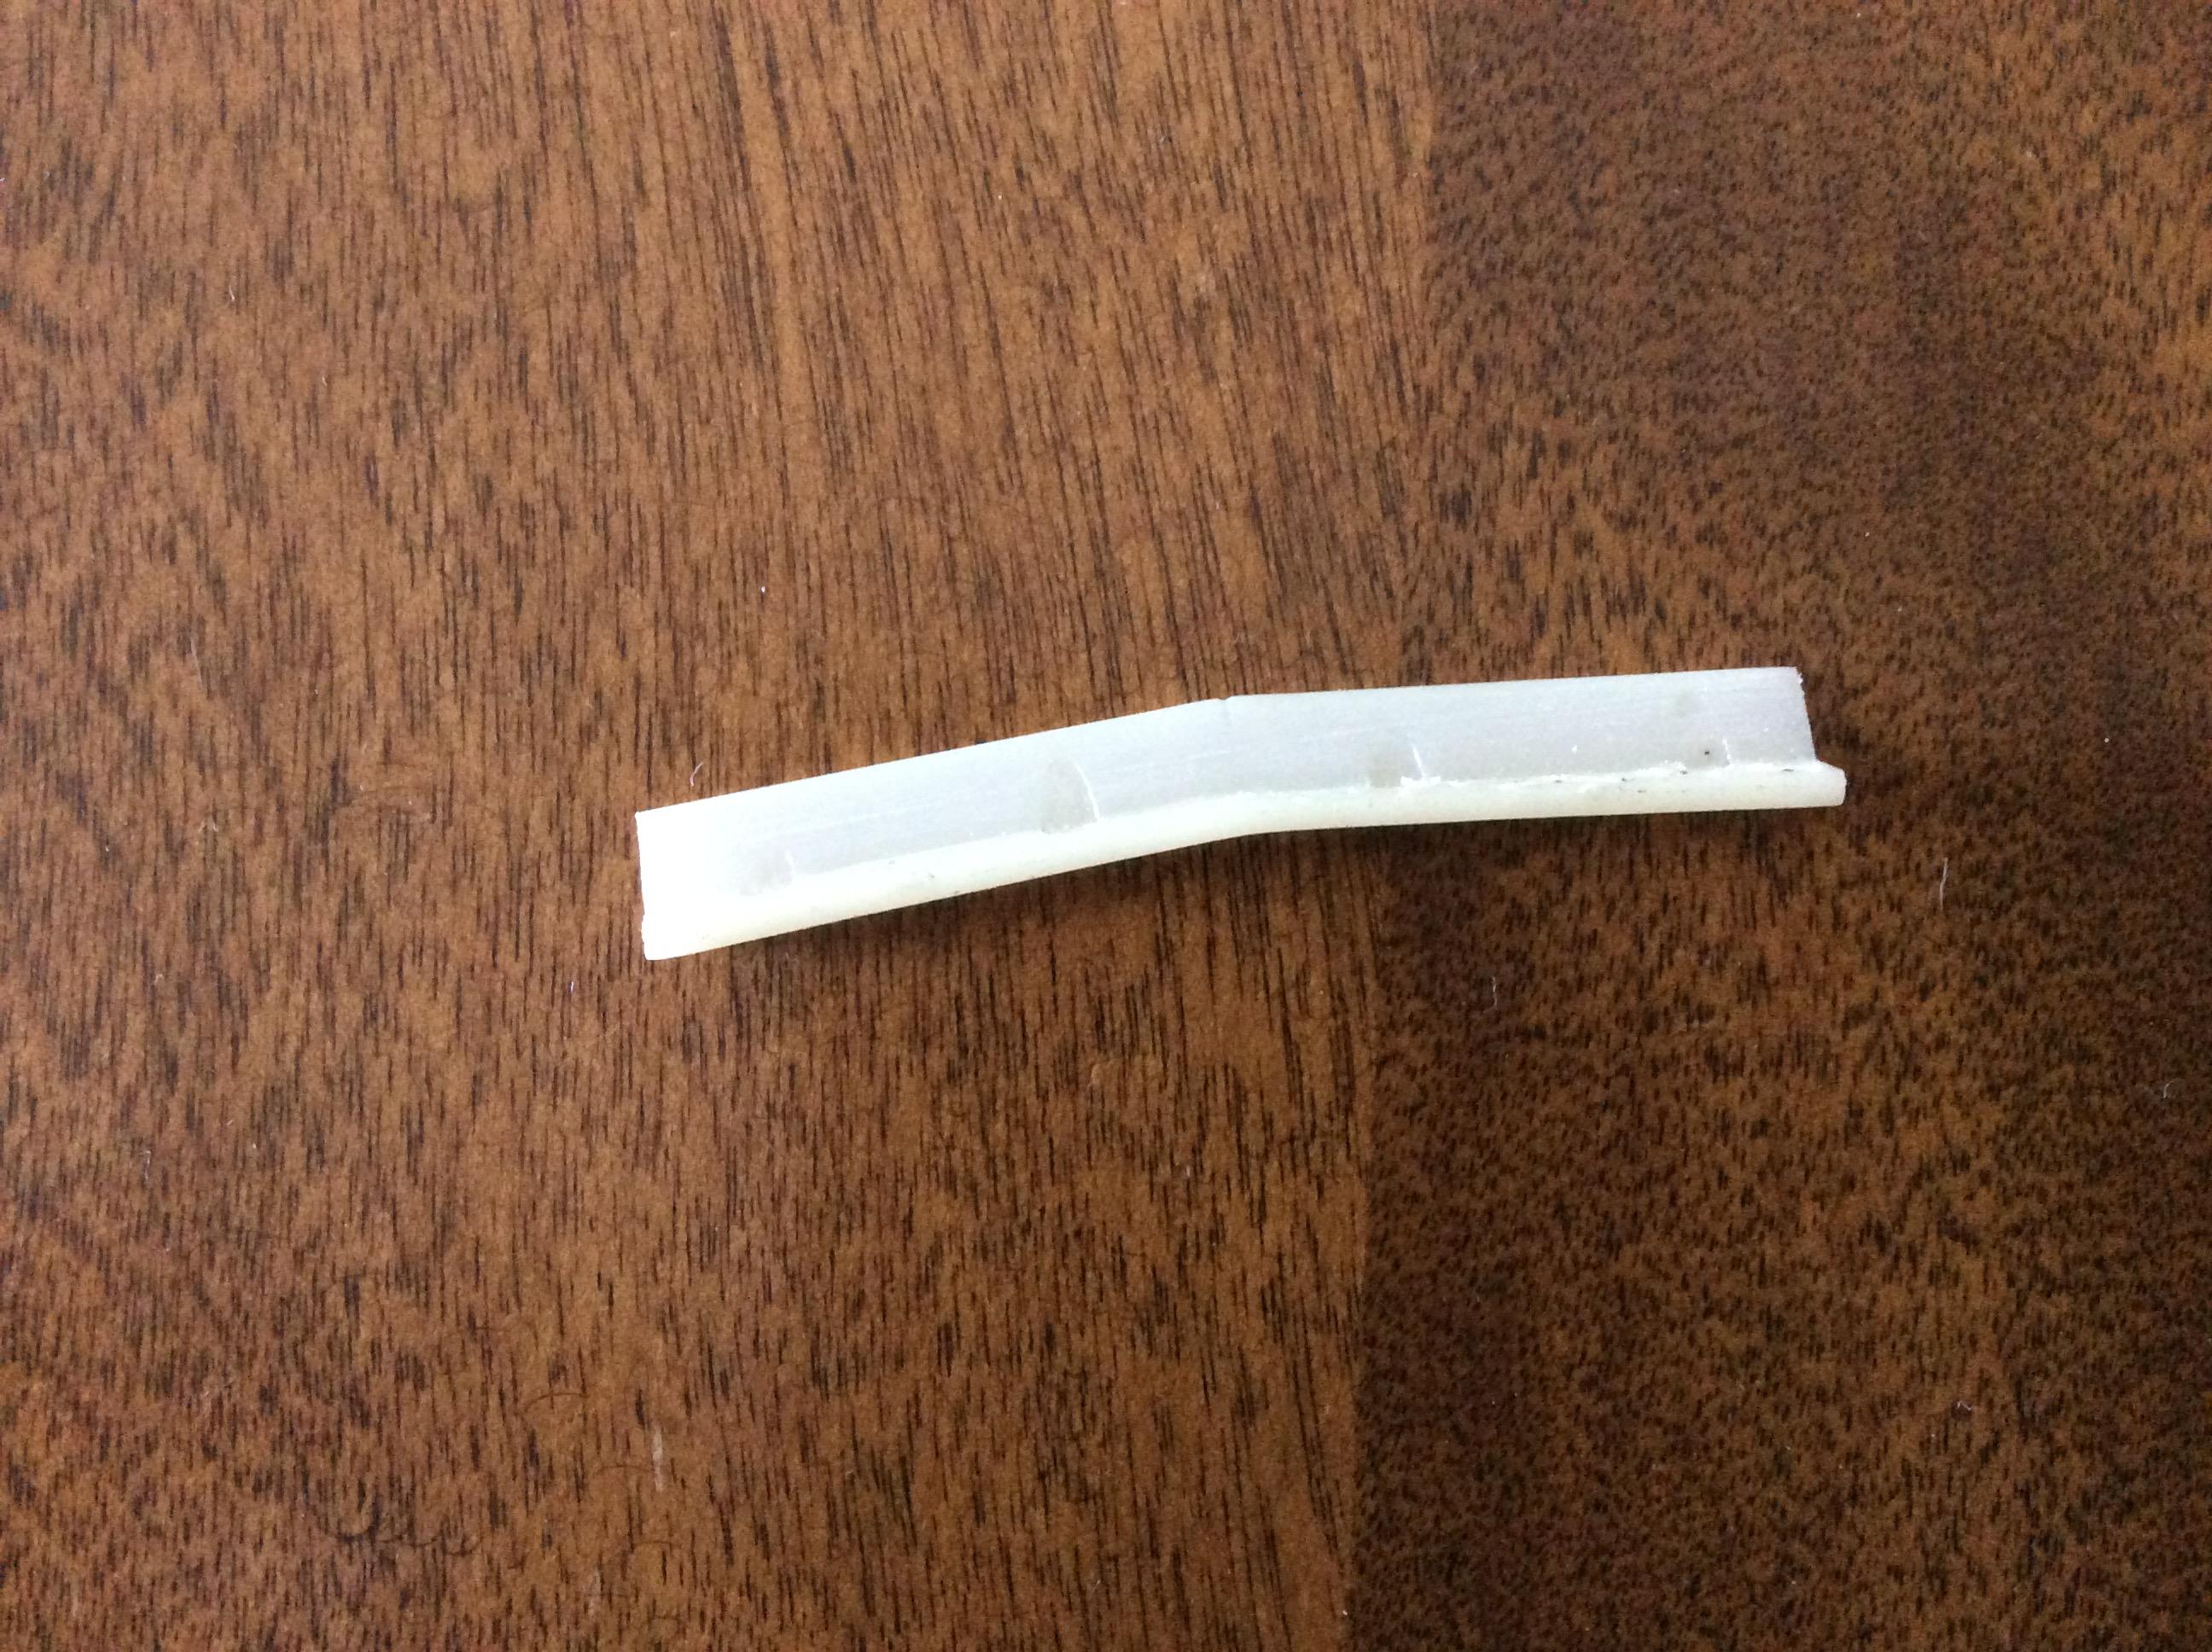
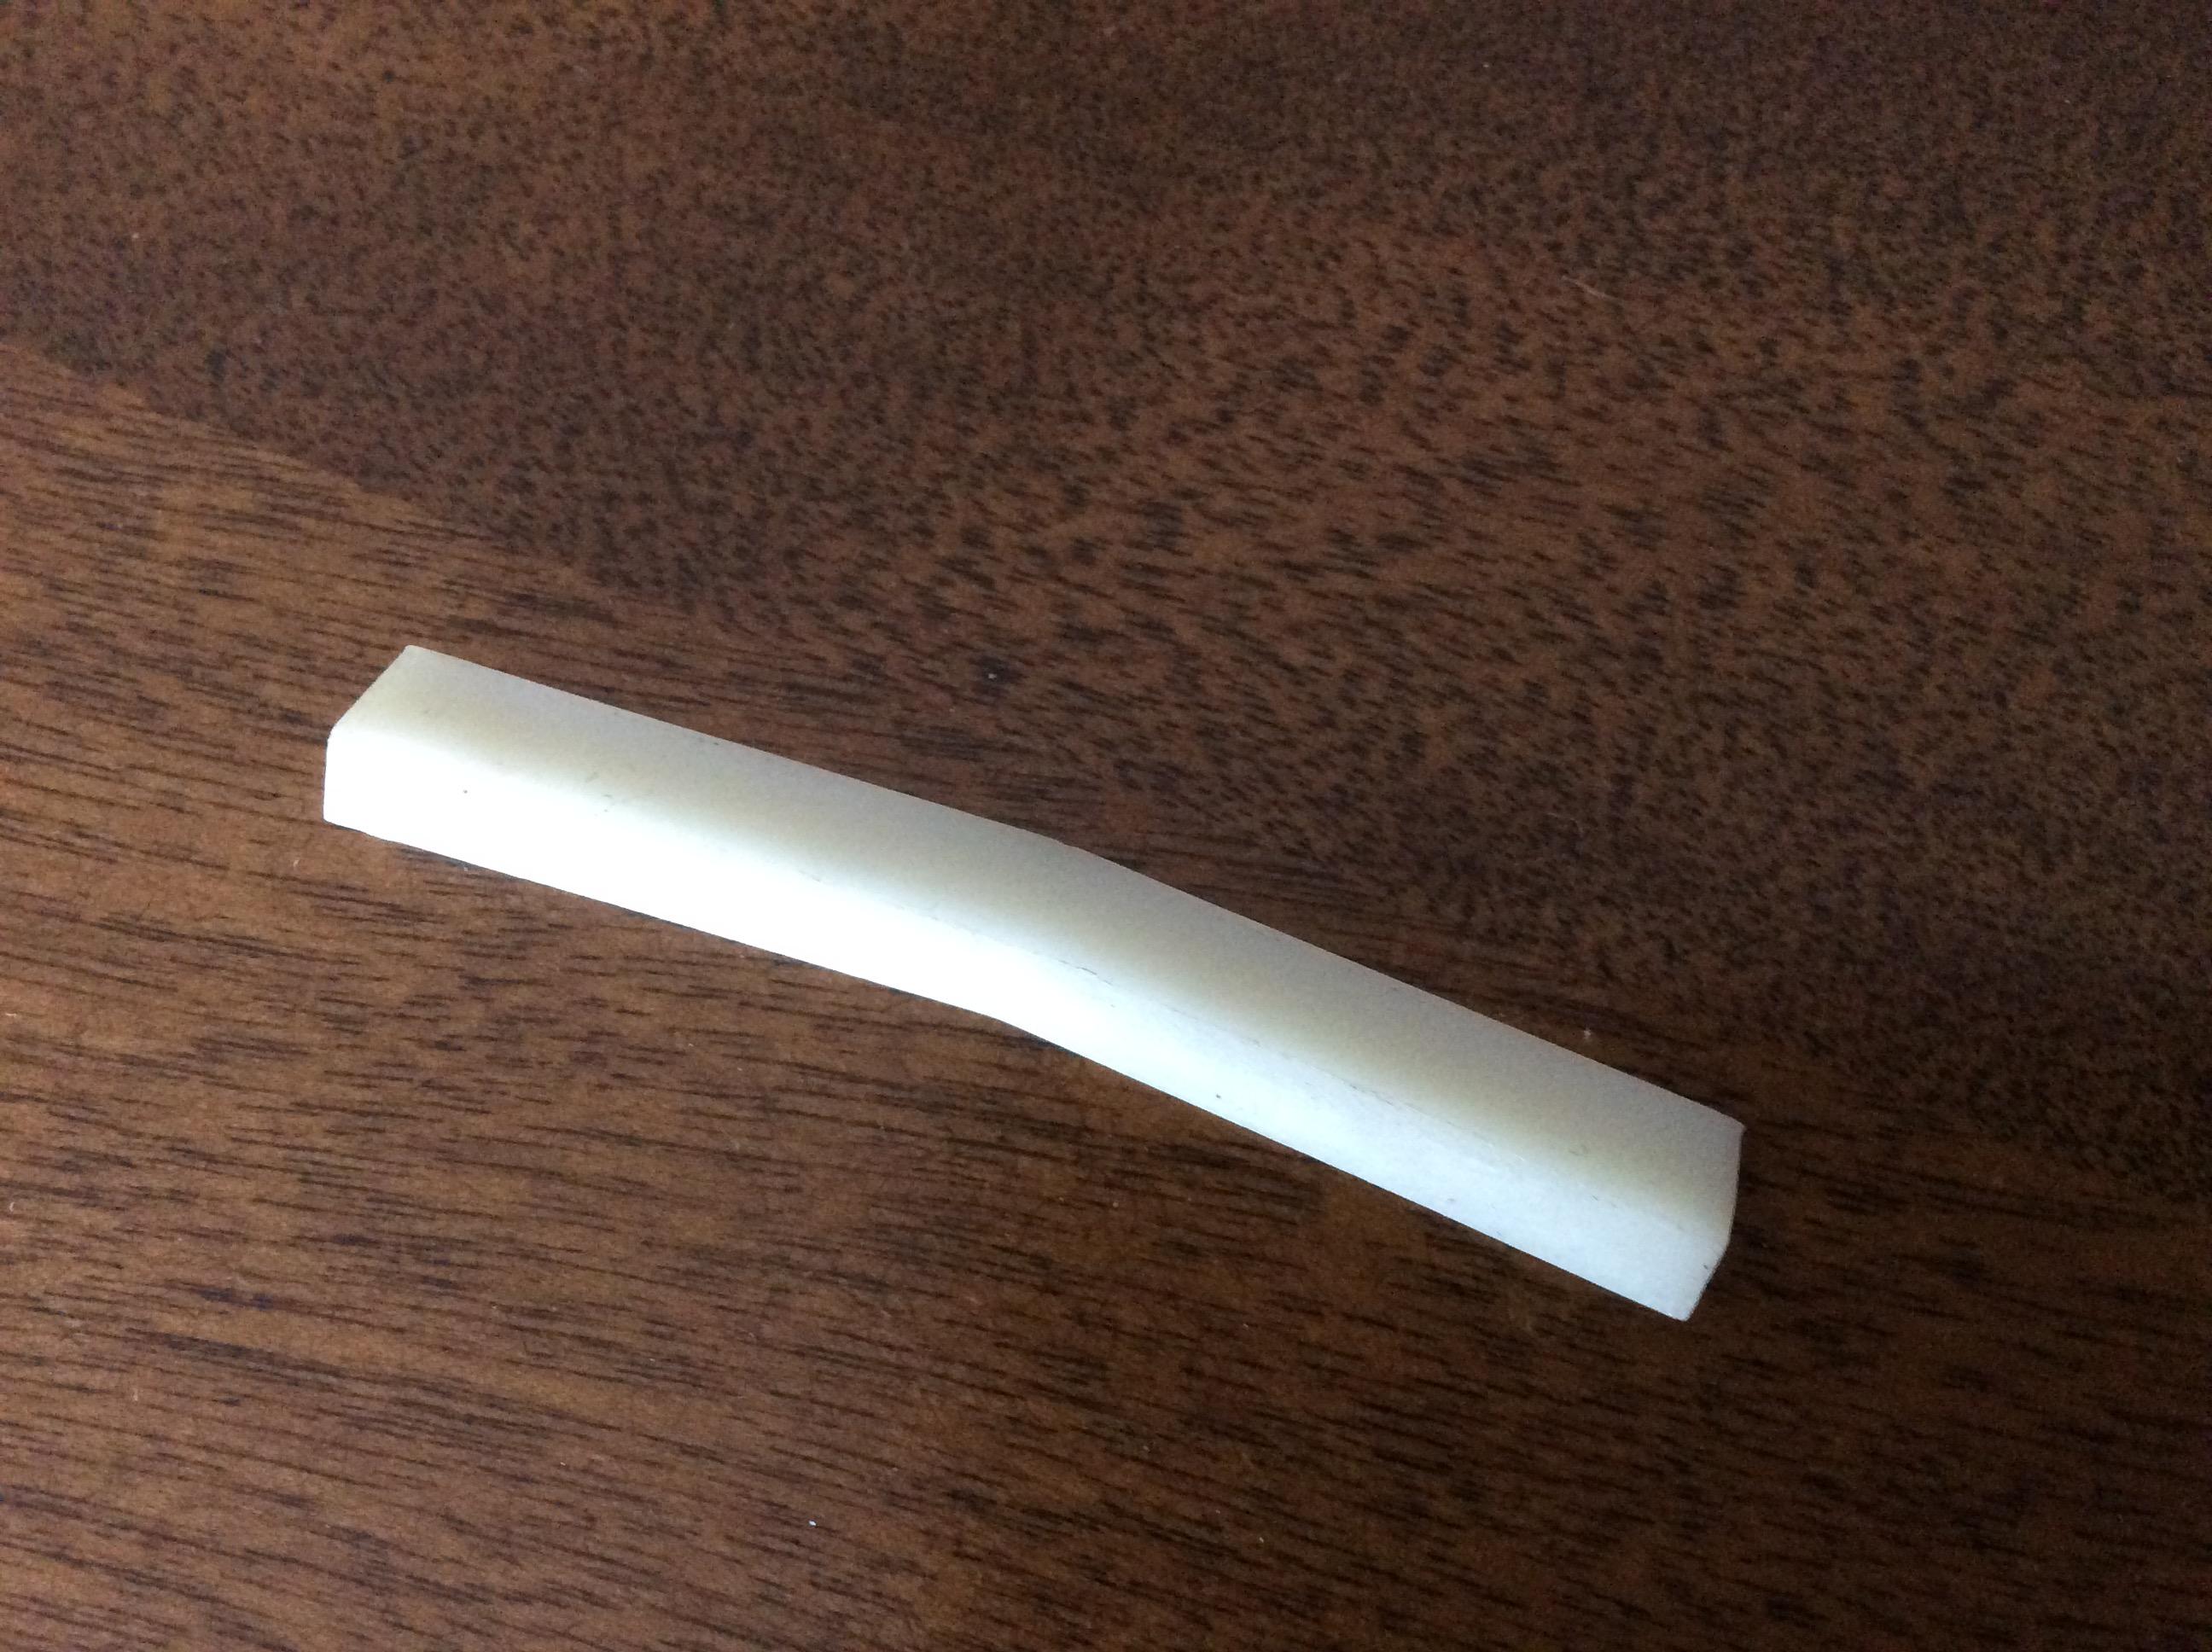
 These pictures are of a Salvino's Olds 442 rear spoiler. It once was chrome, now it is stripped. It can be done, but it takes time! Dave, it is possible to strip the chrome. Put the parts you want stripped and cover them with bleach. It takes time for the bleach to react with the metal, but eventually you will start to see some black particulate in the bleach. Dump the bleach out, scrub the part with a toothbrush, and cover with fresh bleach. Repeat until clean. You have to leave the parts to soak for at least 12-24 hrs per session. This is a method that I learned from a builder on the Salvino's Facebook group, and it does work! Good luck with stripping the parts!
-
Sanding the Salvinos JR 1/24 kit tires ?
64Comet404 replied to Goodwrench3's topic in Model Building Questions and Answers
You can try buffing it with a piece of denim or flannel, and see if it smooths out. It all depends on how coarsely your file cut into the tire. -
Announcing an all-new book on Model Car Kits....
64Comet404 replied to tim boyd's topic in Car Kit News & Reviews
I have placed my pre-order for the book. Hopefully it arrives at the supplier soon. -
I've seen fibreglass overlays for later 'Vettes to replicate the split window, they never look right. Why don't the owners just go all the way and add an extra pair of taillights while they're at it?
-
Resin 1969 MPC Coronet bumper
64Comet404 replied to 64Comet404's topic in Car Aftermarket / Resin / 3D Printed
Thanks to everyone who replied! -
Chad has some' interesting' ideas on customization. Some work, and some do not. For me, it's almost like watching a mechanic's version of Trailer Park Boys.
-
The bleach will work, but it takes a longer amount of time. You need to put the parts in bleach, leave until the bleach is full of black specks (usually overnight), and scrub the parts under water. Repeat the process with fresh bleach, and keep going until the part is cleaned. It took me 6 sessions with the bleach, but the chrome is off! WARNING: Do not put a lid on the container you are using. The process does generate gases, so leave the container open, and in a well-ventilated area!
-
Big V8s
64Comet404 replied to unclescott58's topic in All The Rest: Motorcycles, Aviation, Military, Sci-Fi, Figures
One engine kit yet to be mentioned is the Revell 1:3 scale Ford Turbo four-cylinder. I bought one of these to replace the one I partially built and wrecked as a kid. Unfortunately there were missing pieces, and some warped parts (the camshaft is banana-shaped!). I hope that the next one I find at a reasonable price won't have the same damage. -
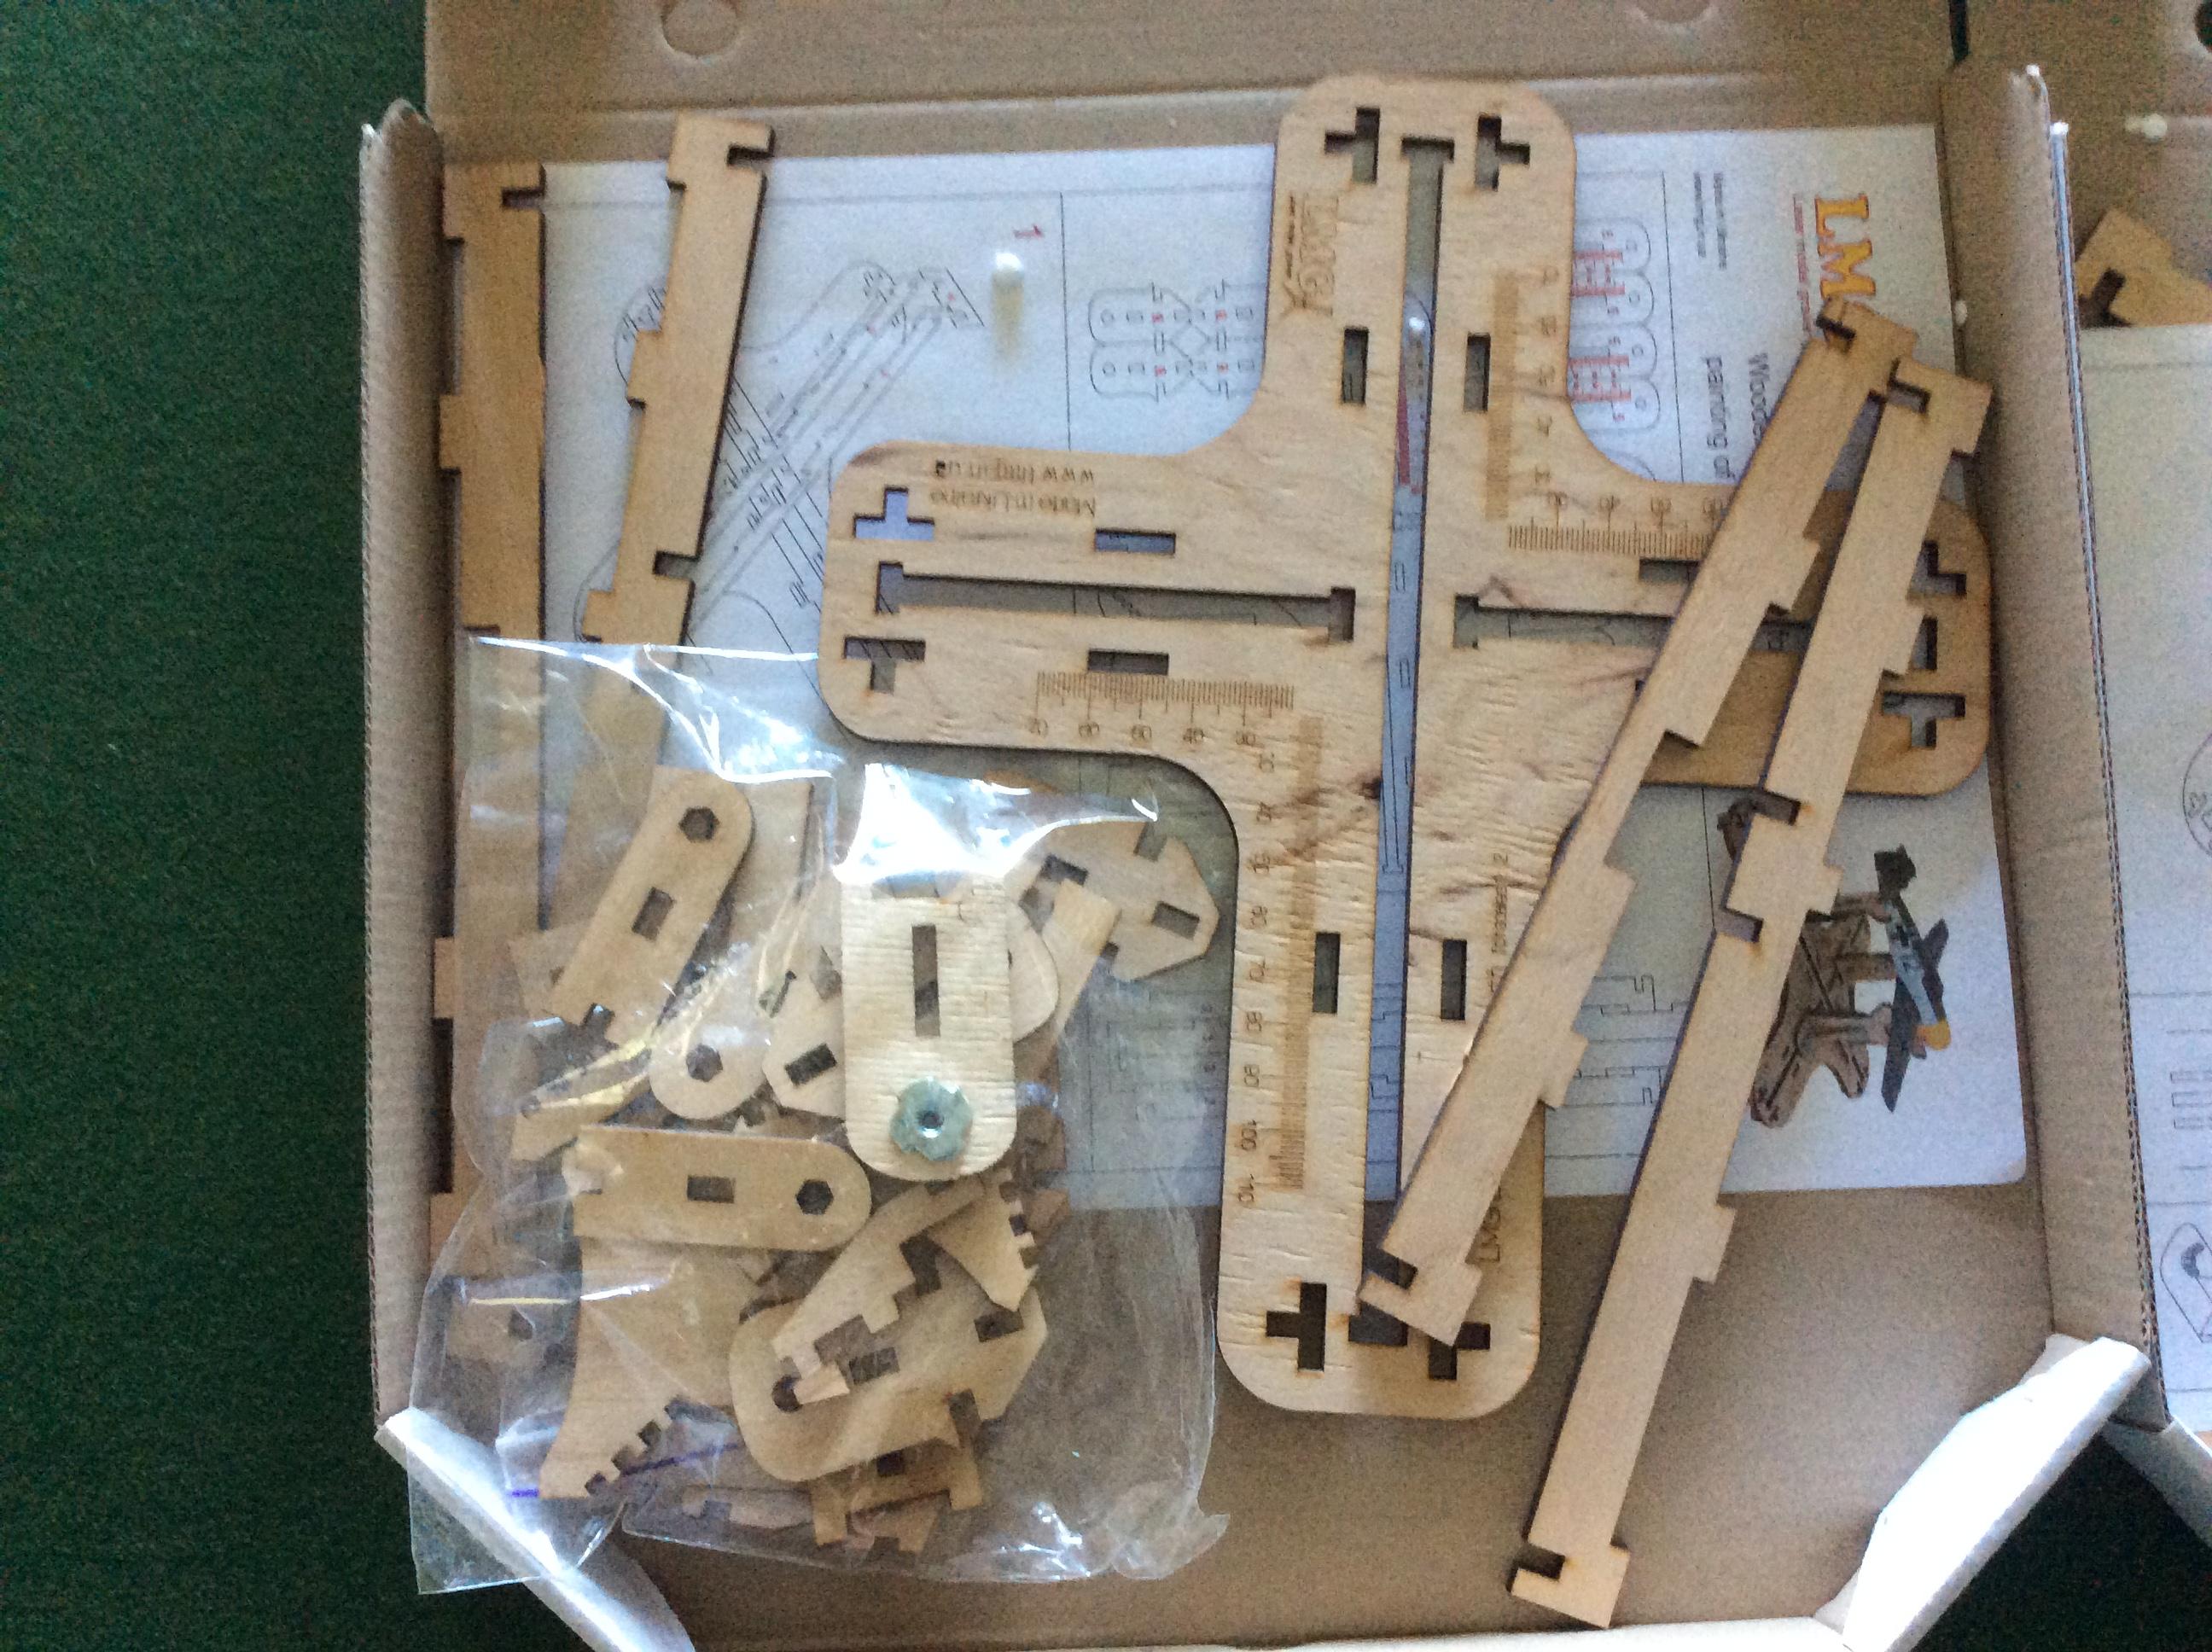
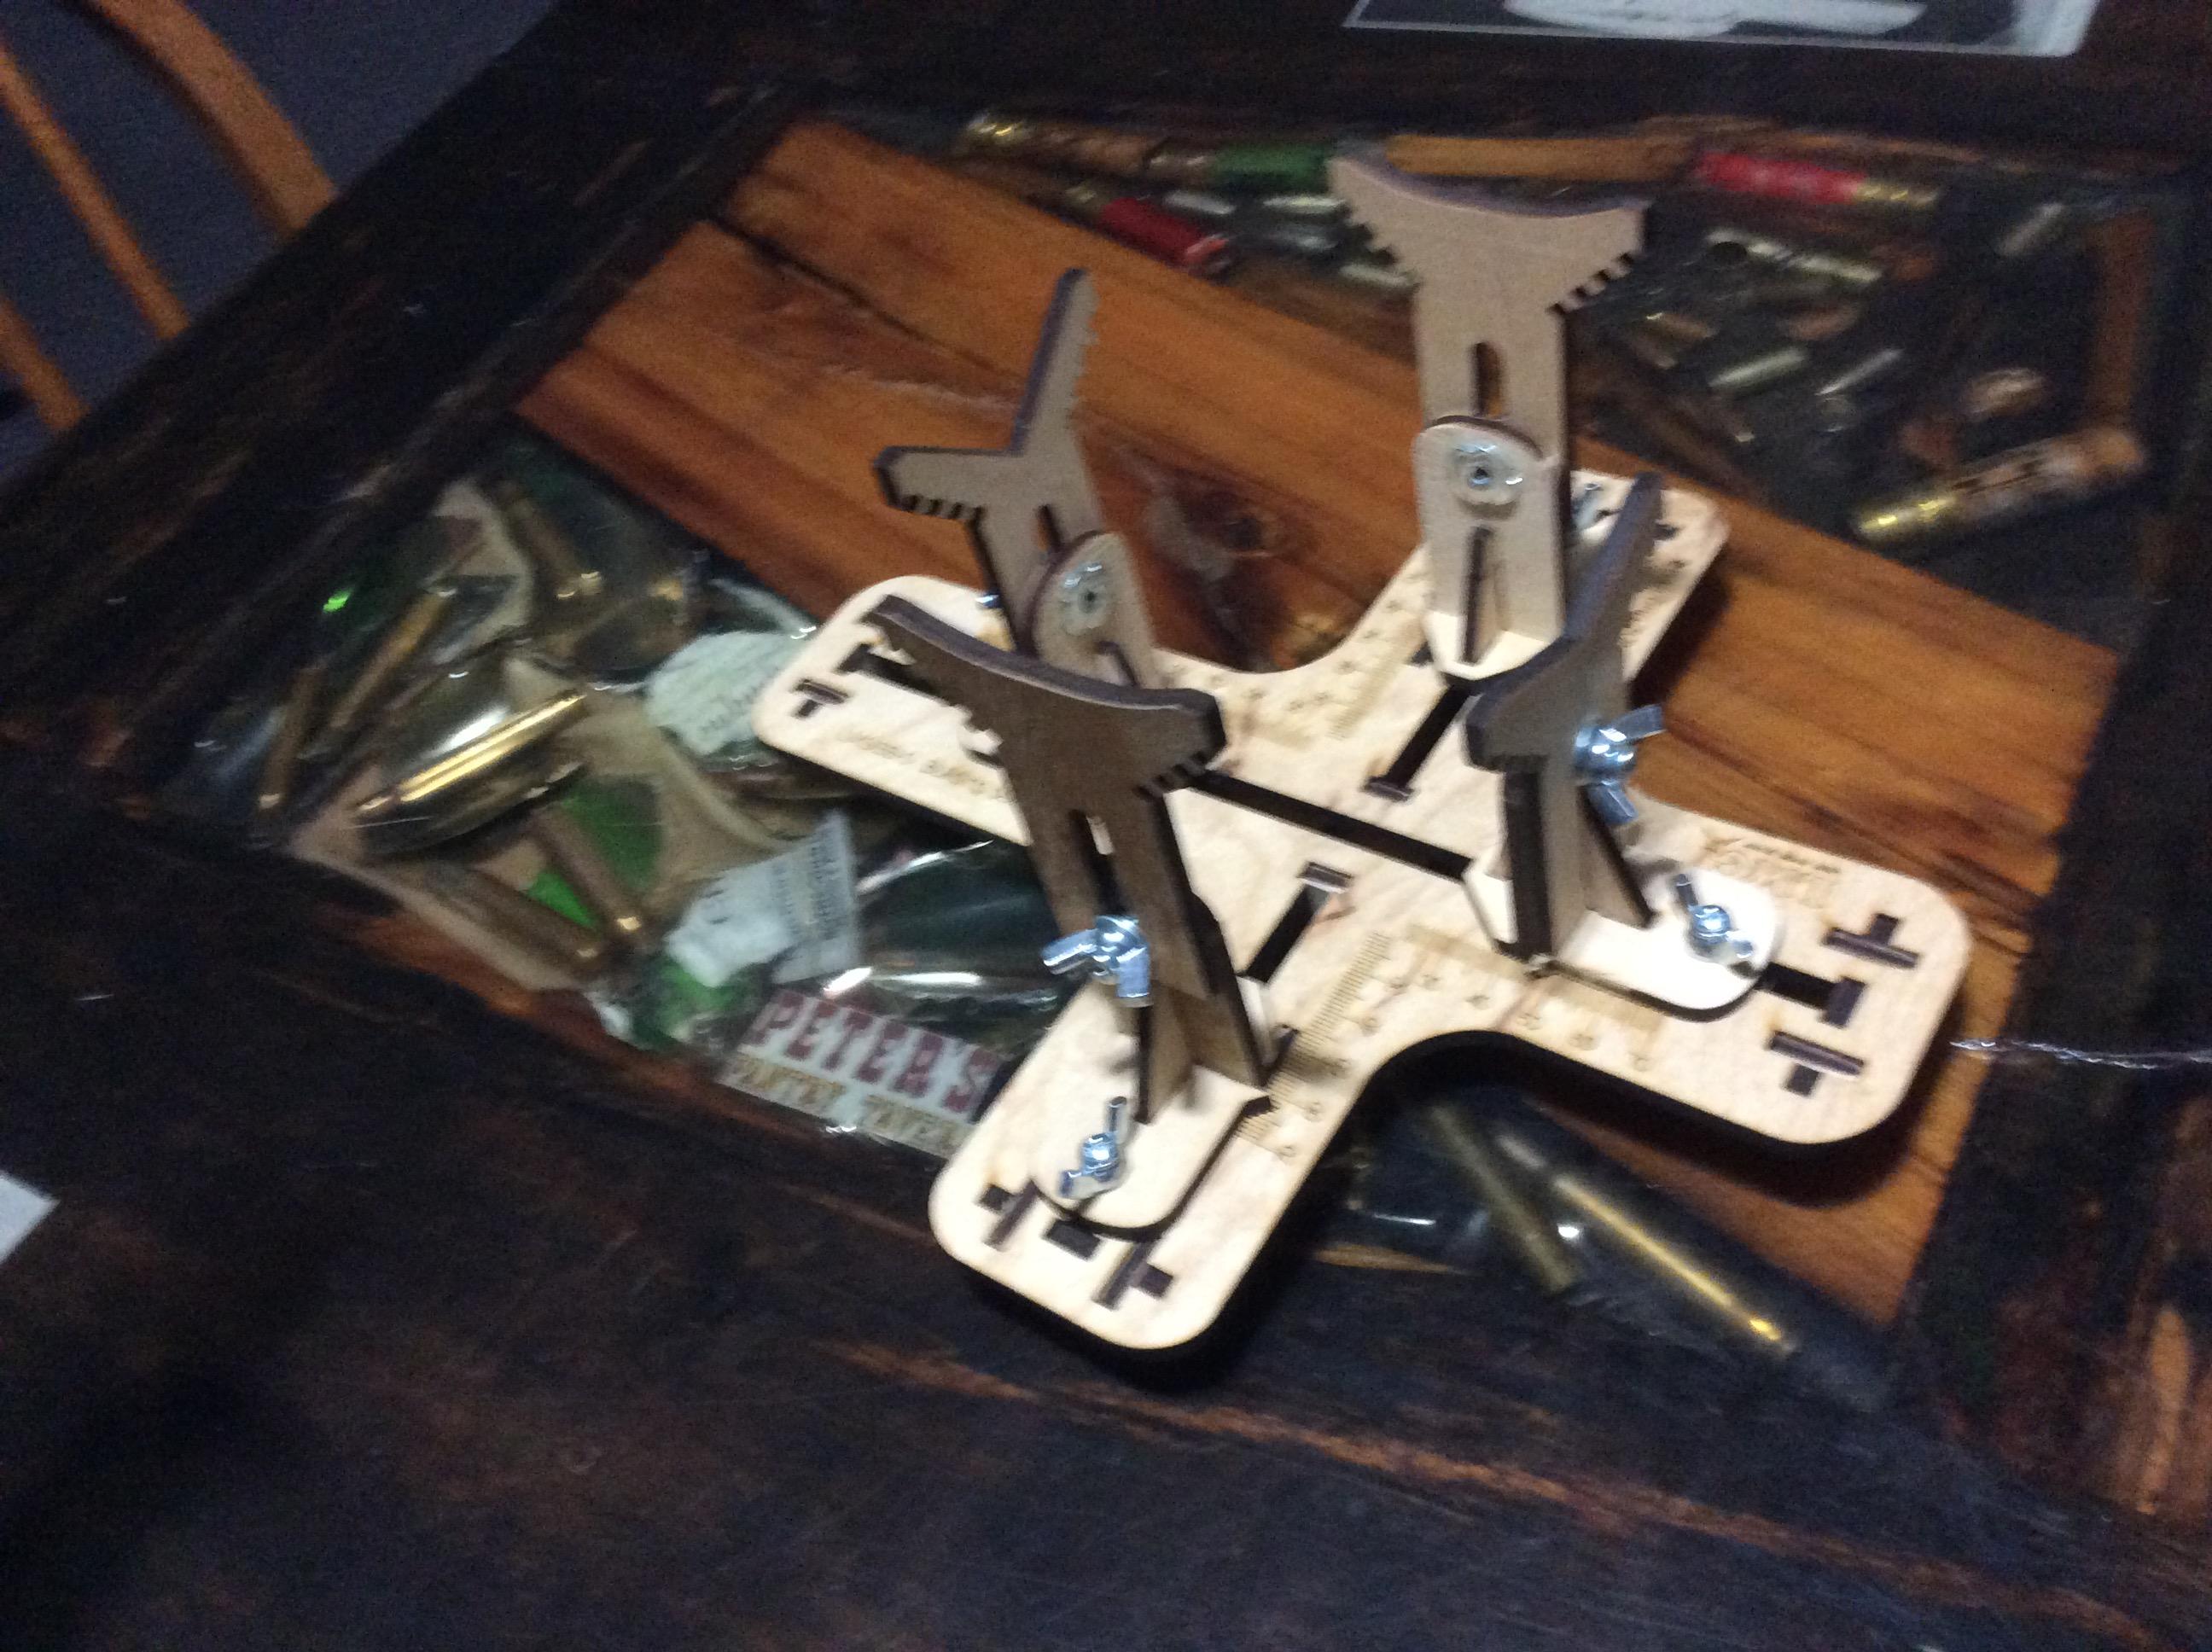
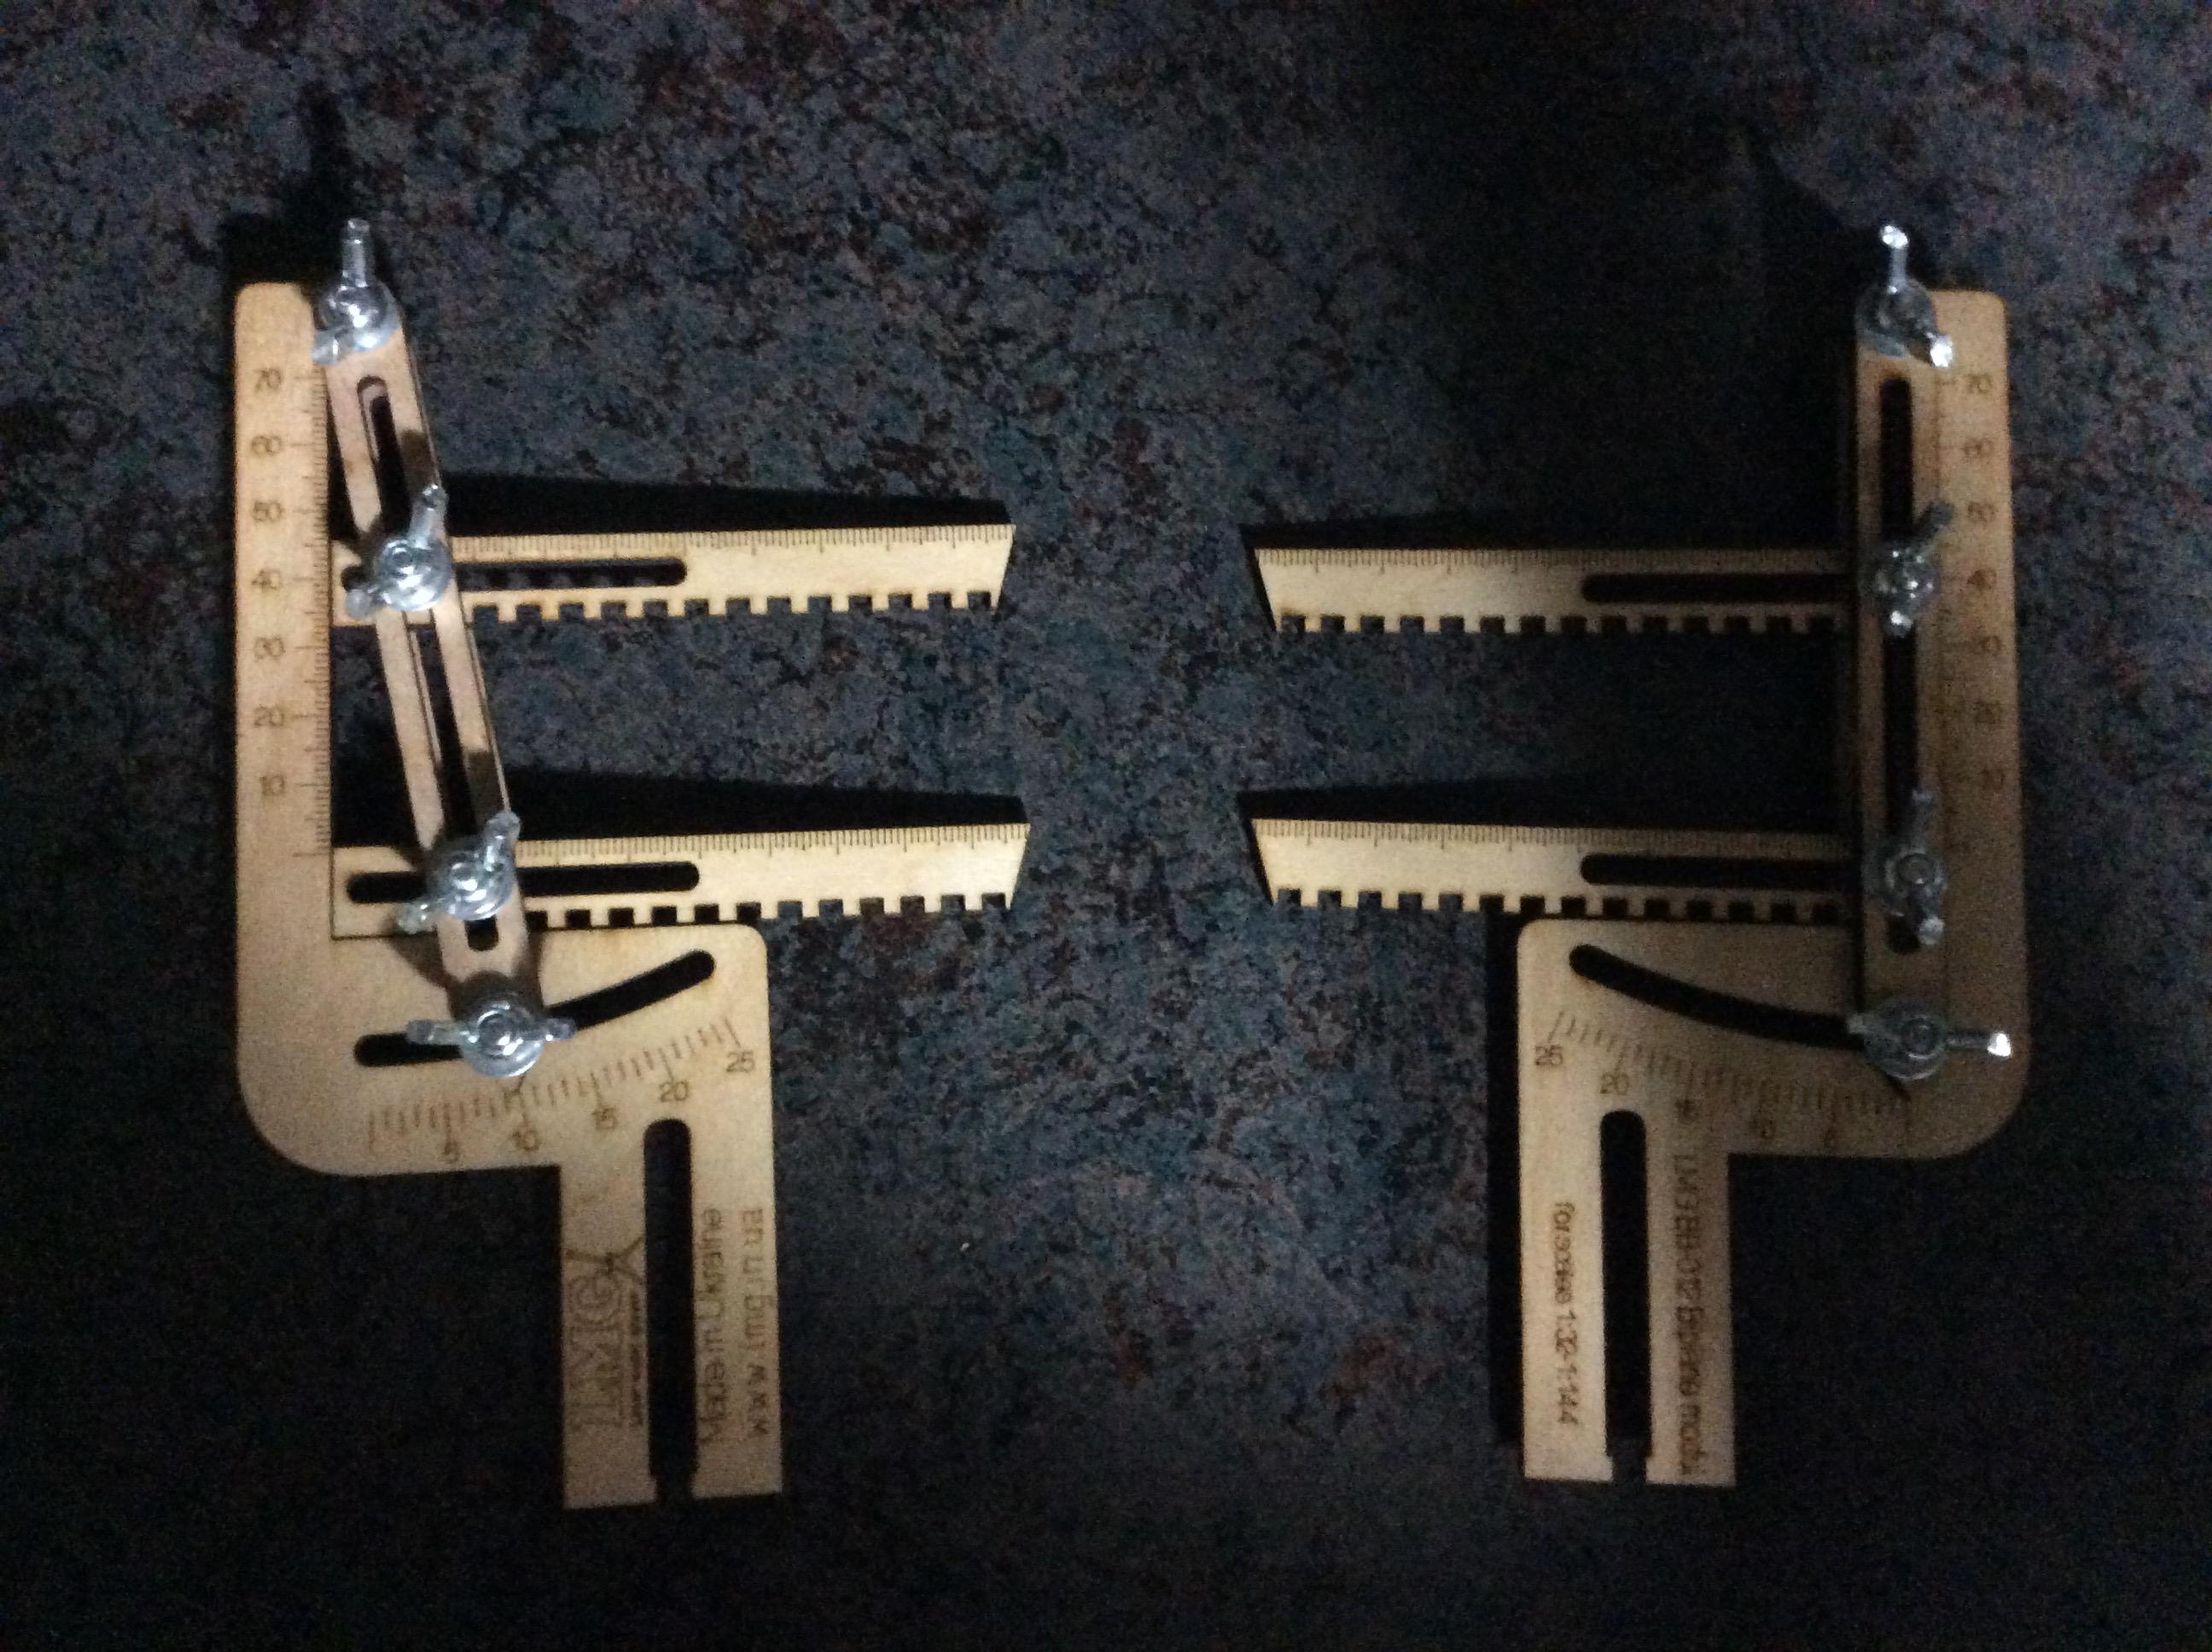
I was at an estate sale for a member of my IPMS chapter, and found these alignment jigs still in the box.One of those items I had always meant to order from a supplier, but never did. Some sanding and fitting, and I am hopefully ready to start building some fresh aircraft!
-
Does anyone cast one? I have had two built-ups, but haven't been able to find a front bumper. Thanks!
-
Here you go!
-
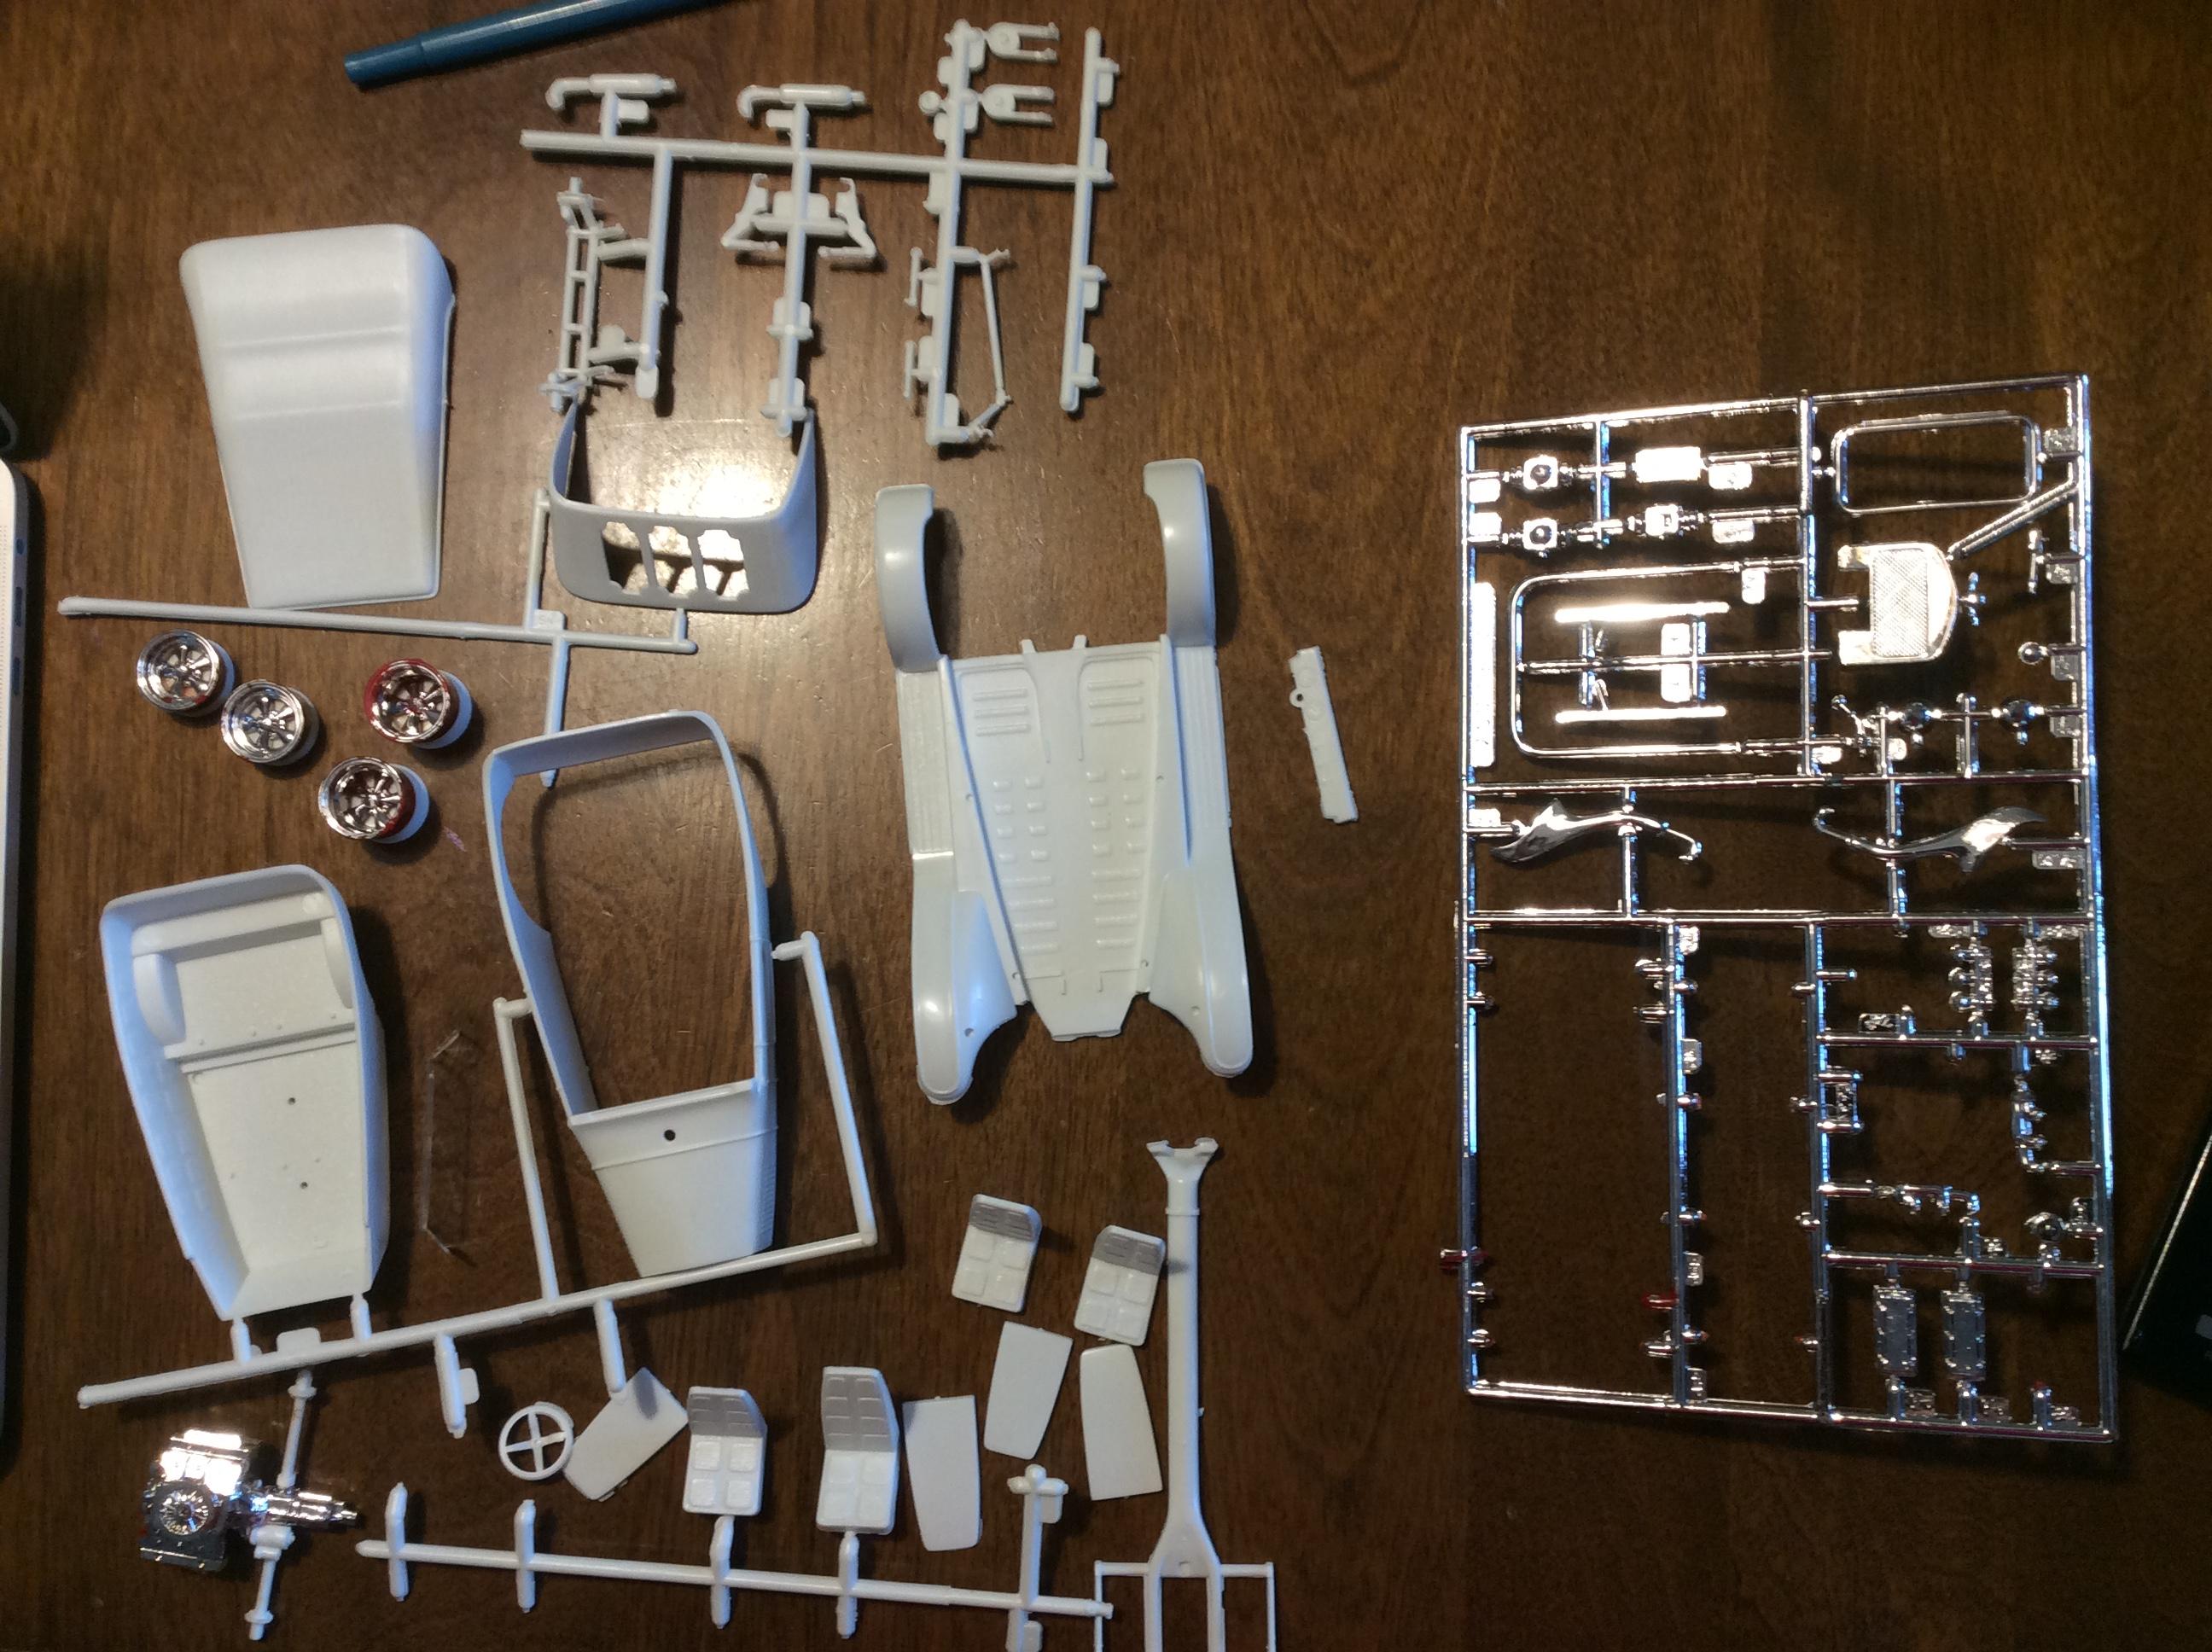
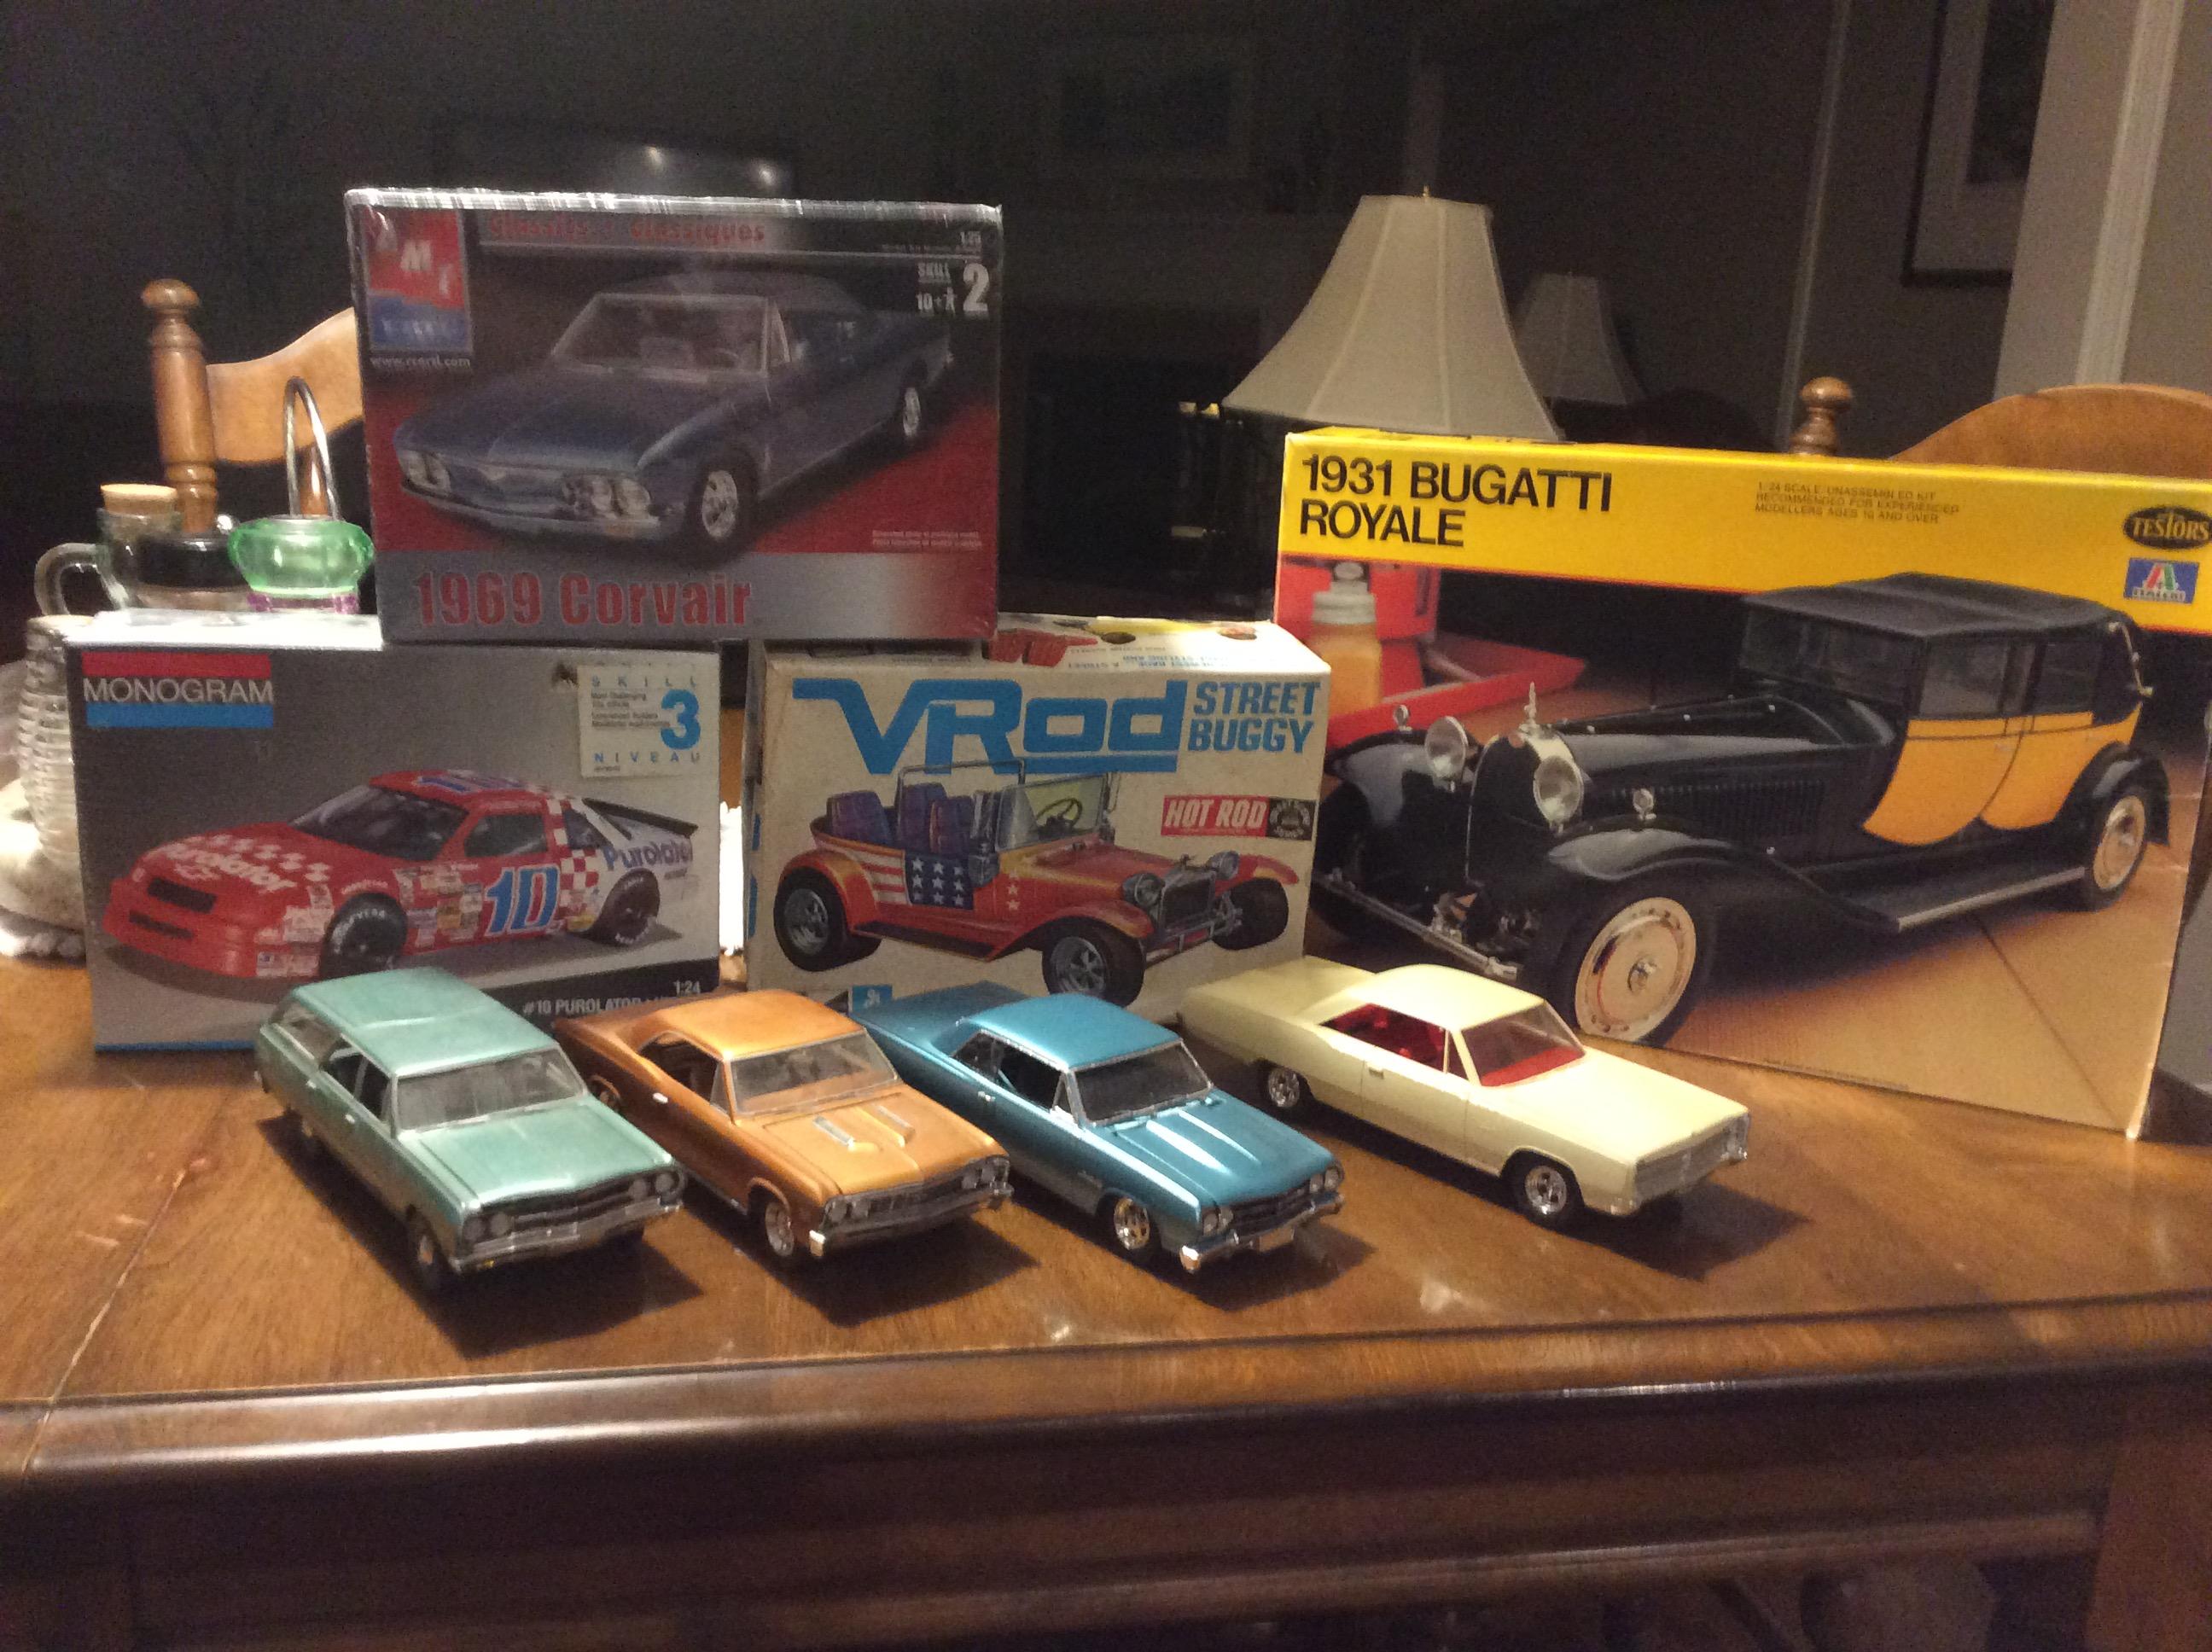
Picked up some cars at tonight's club meeting/trunk sale.
-
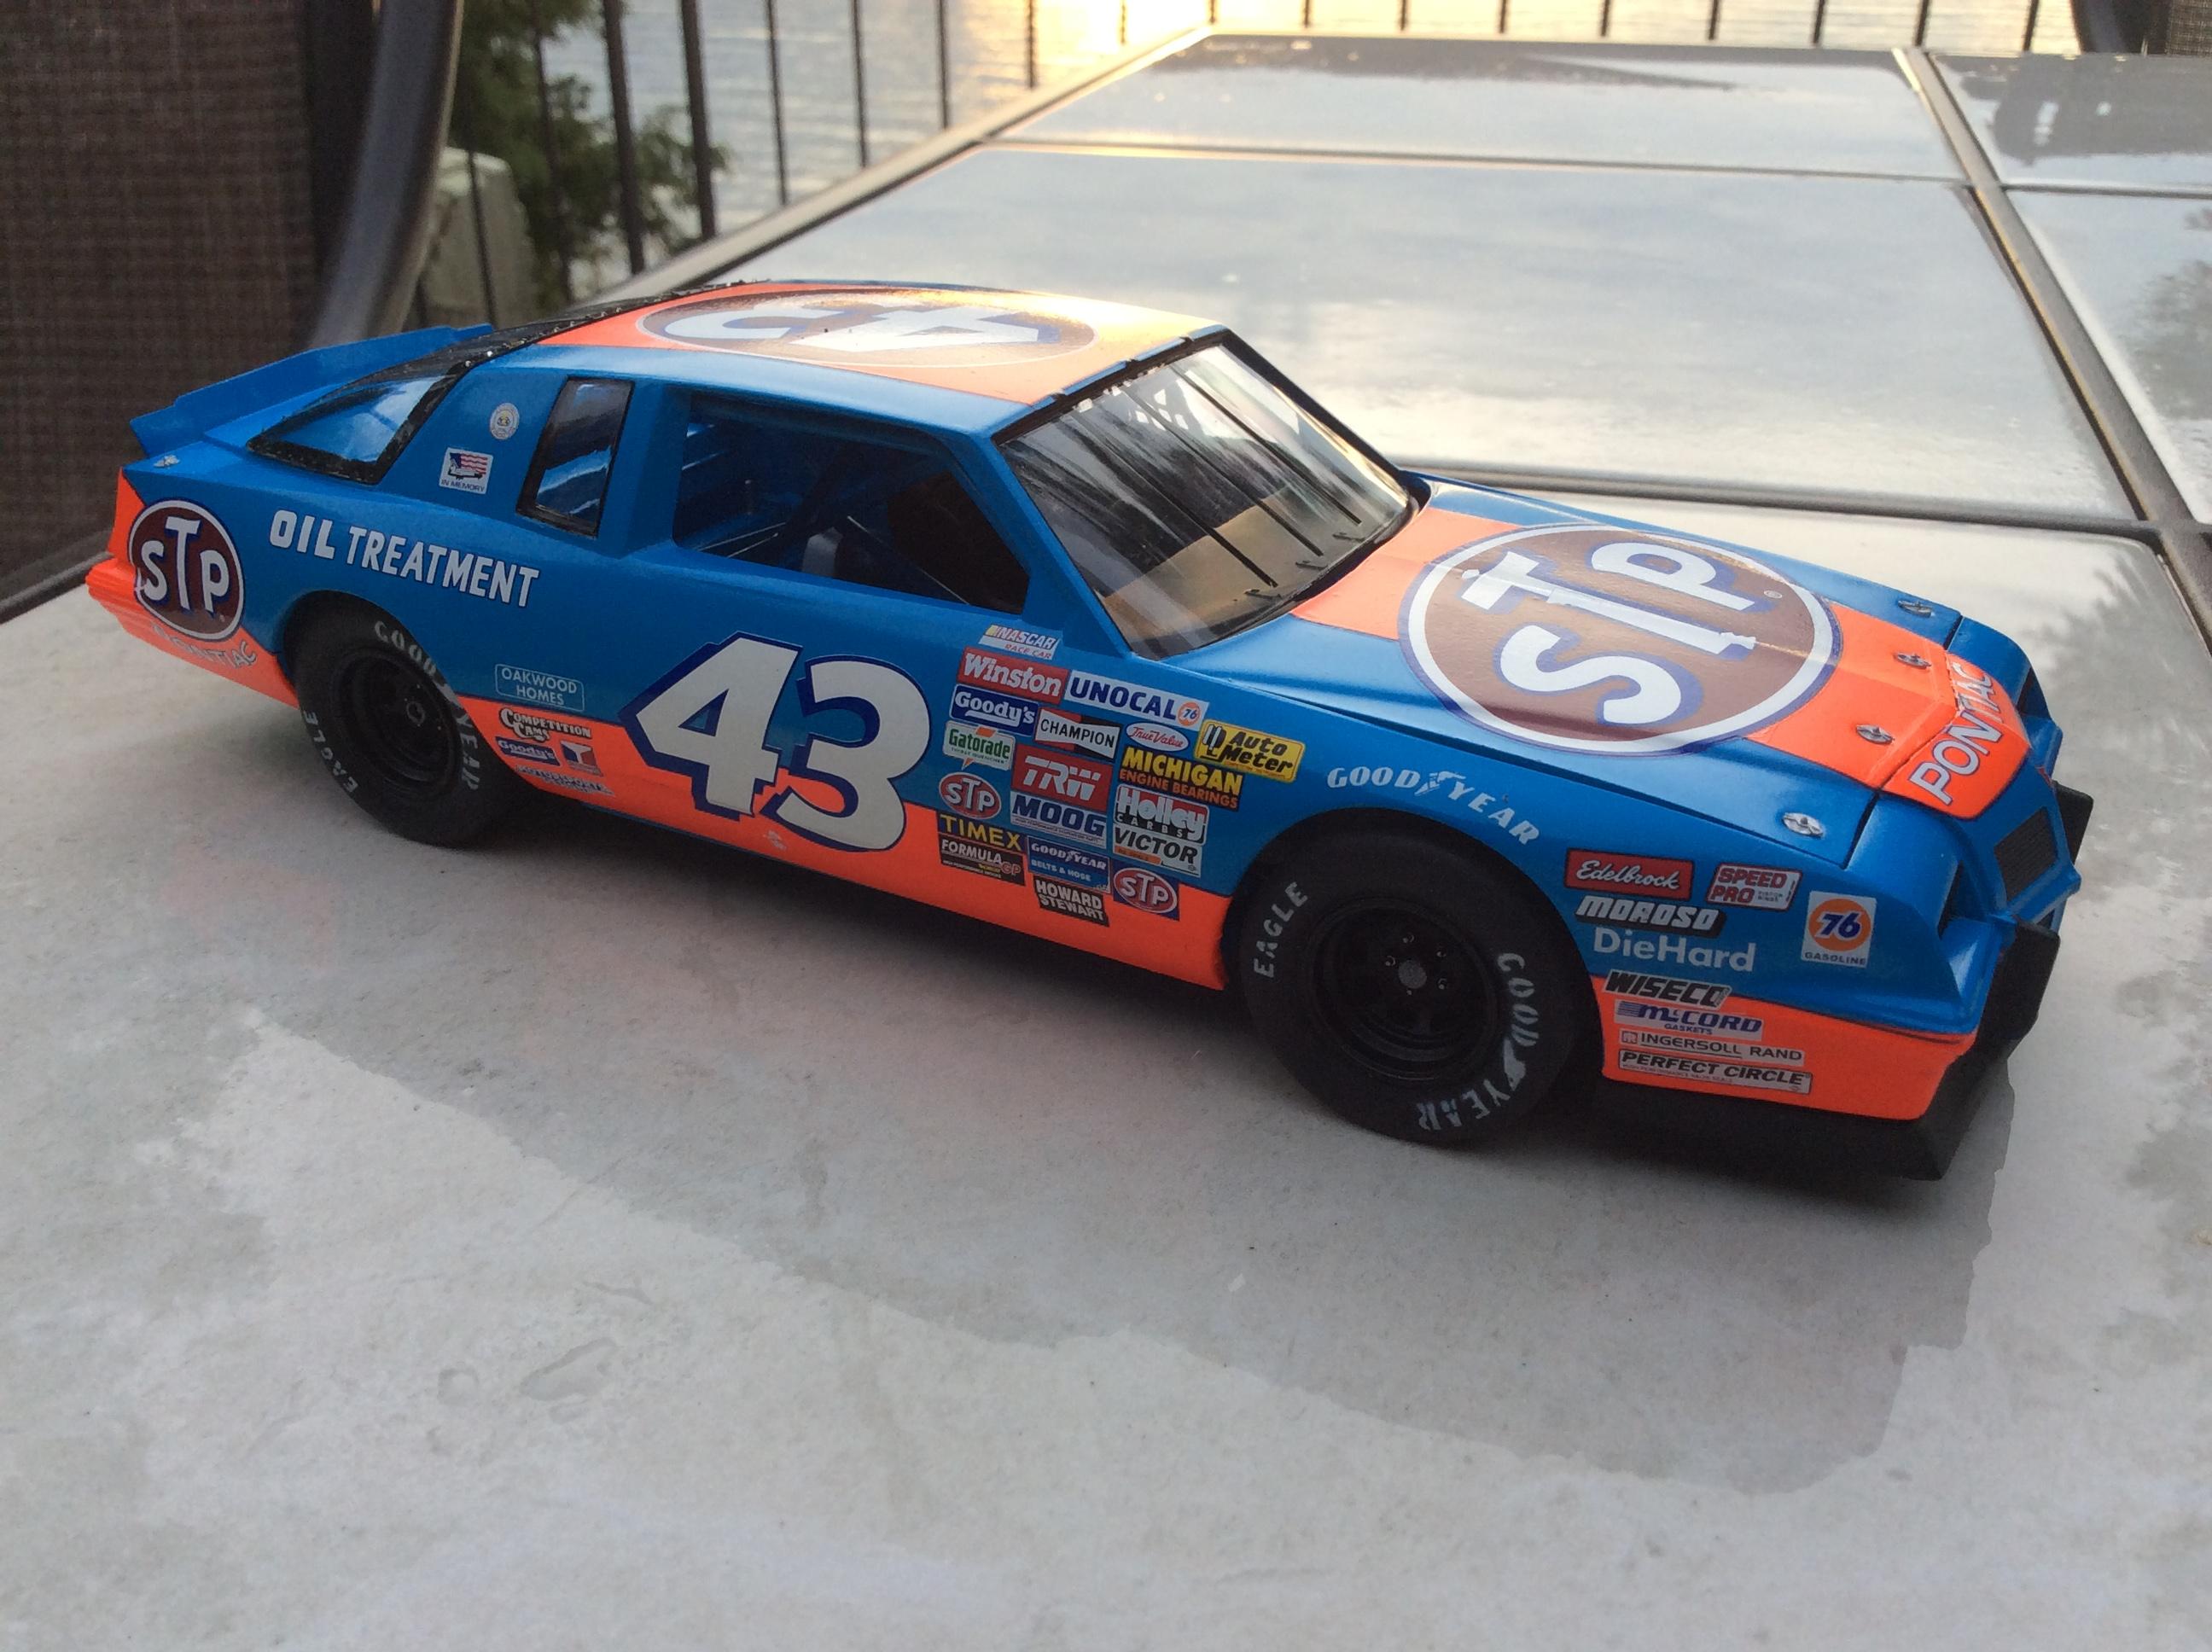
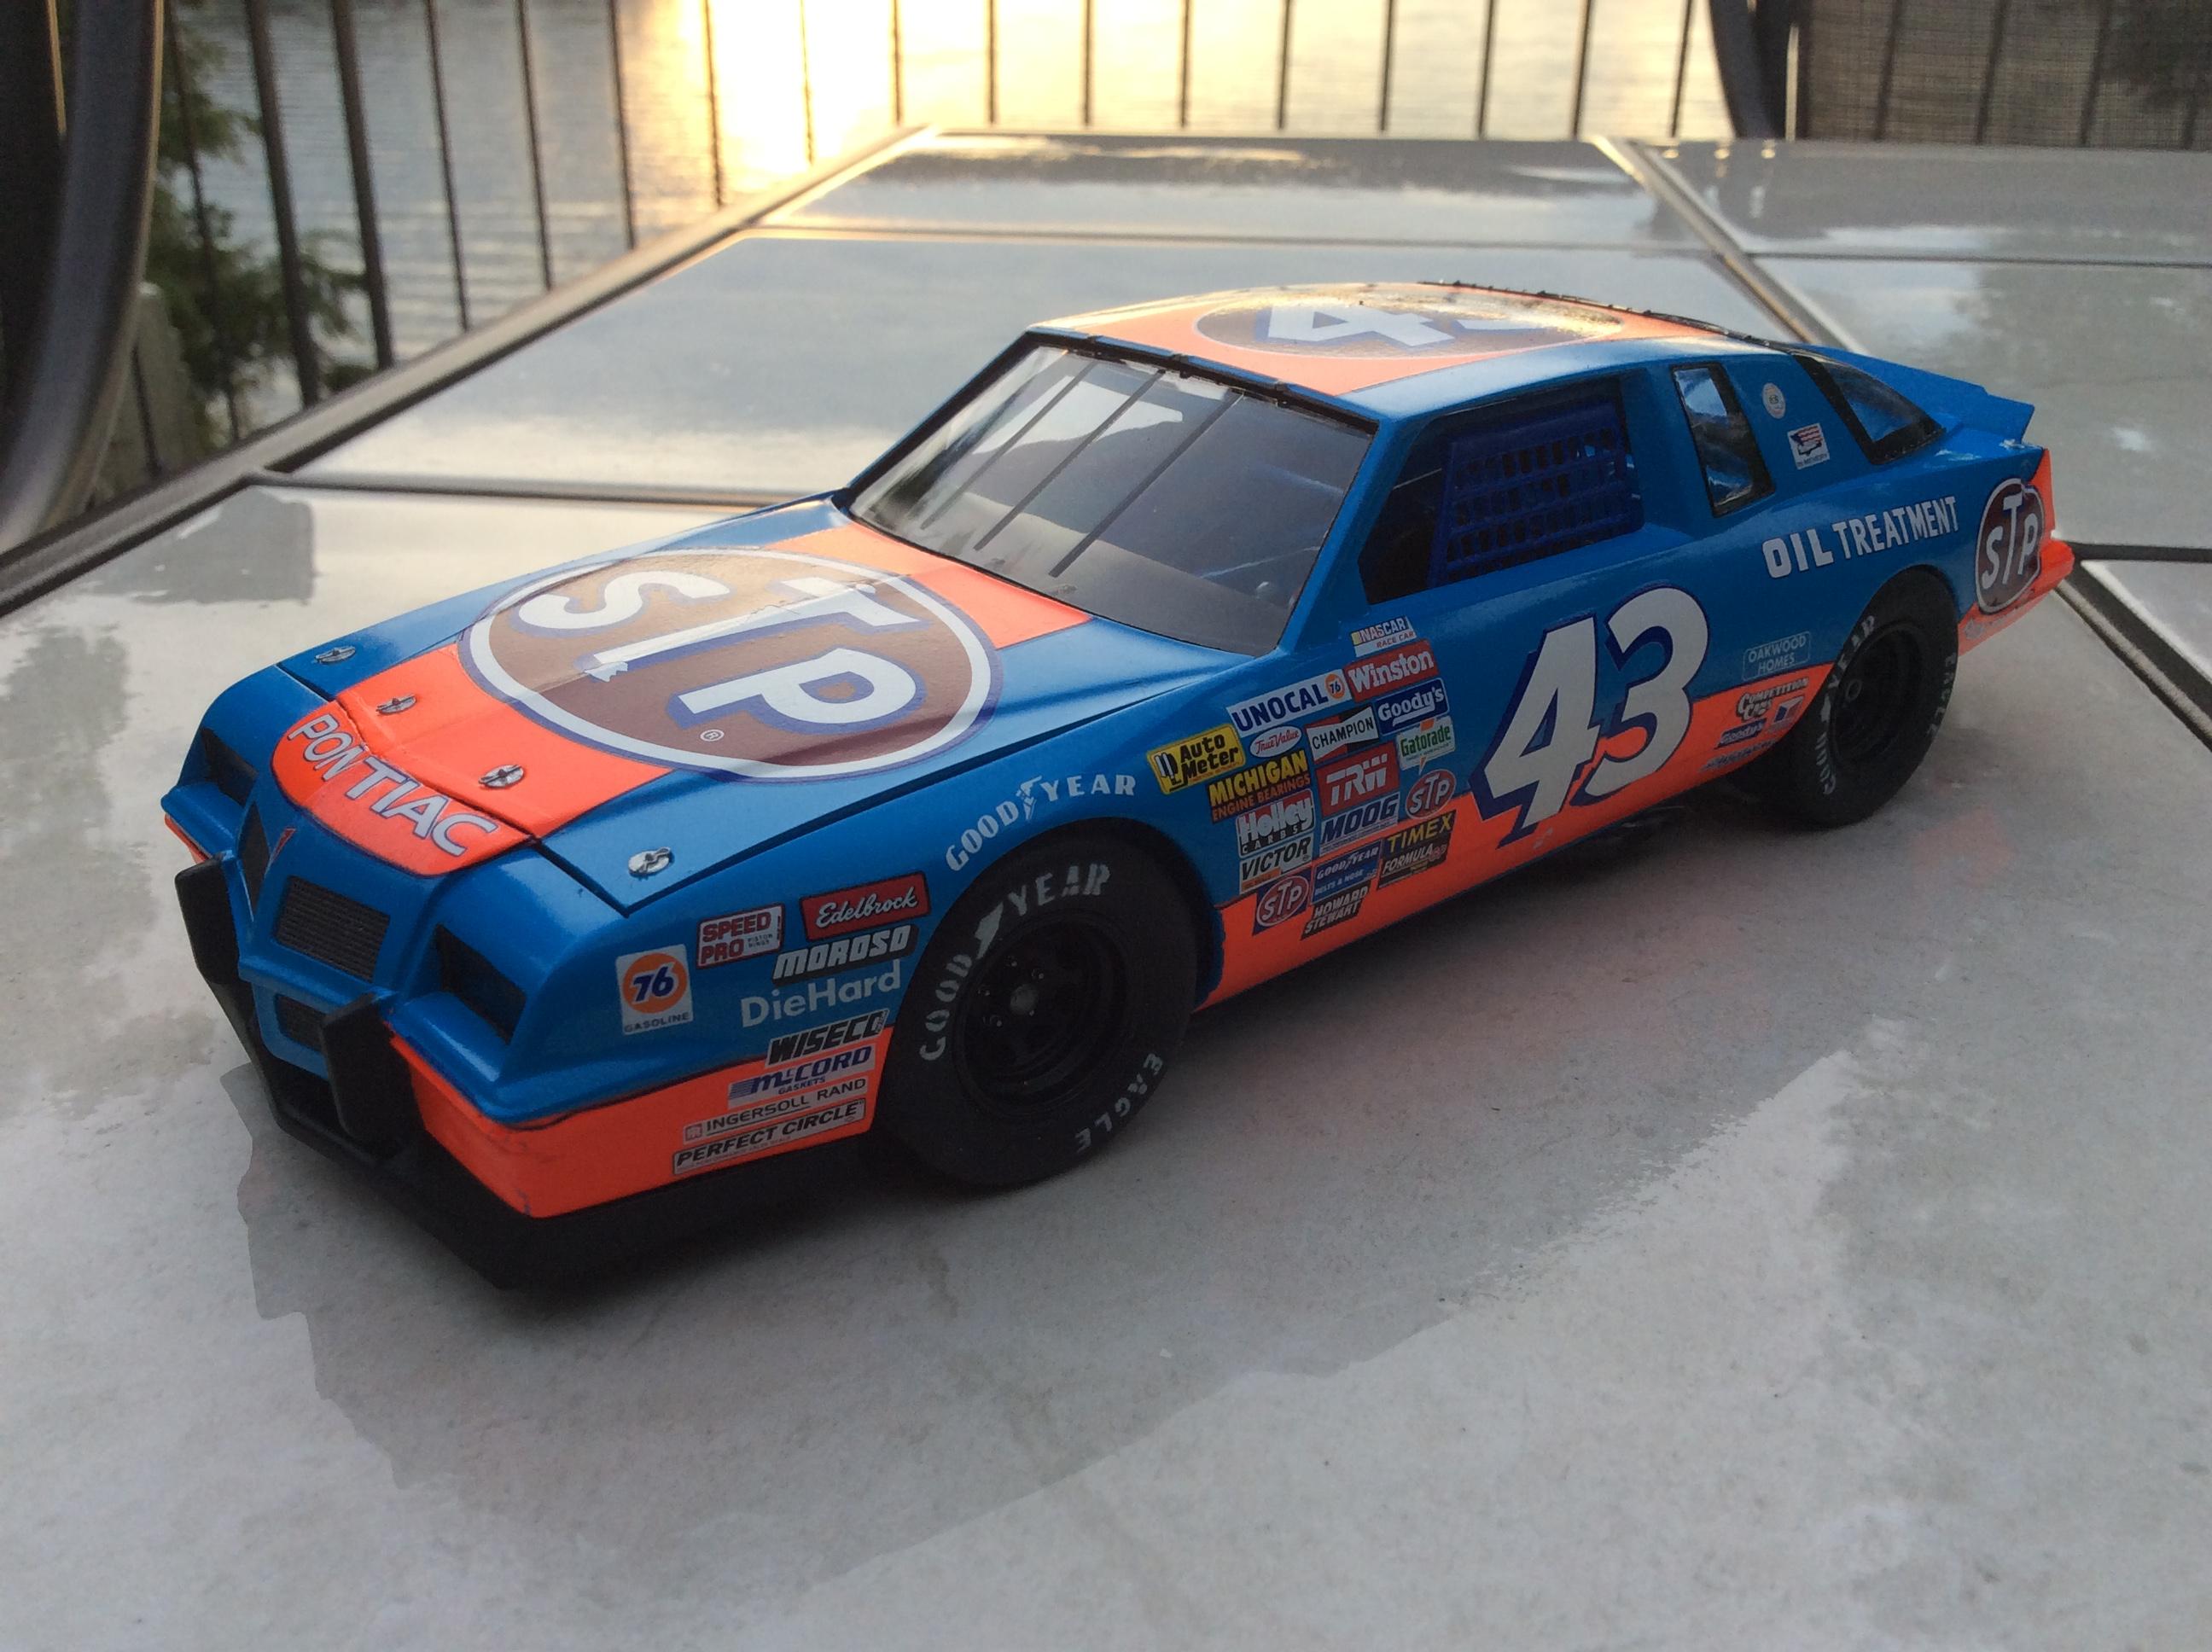
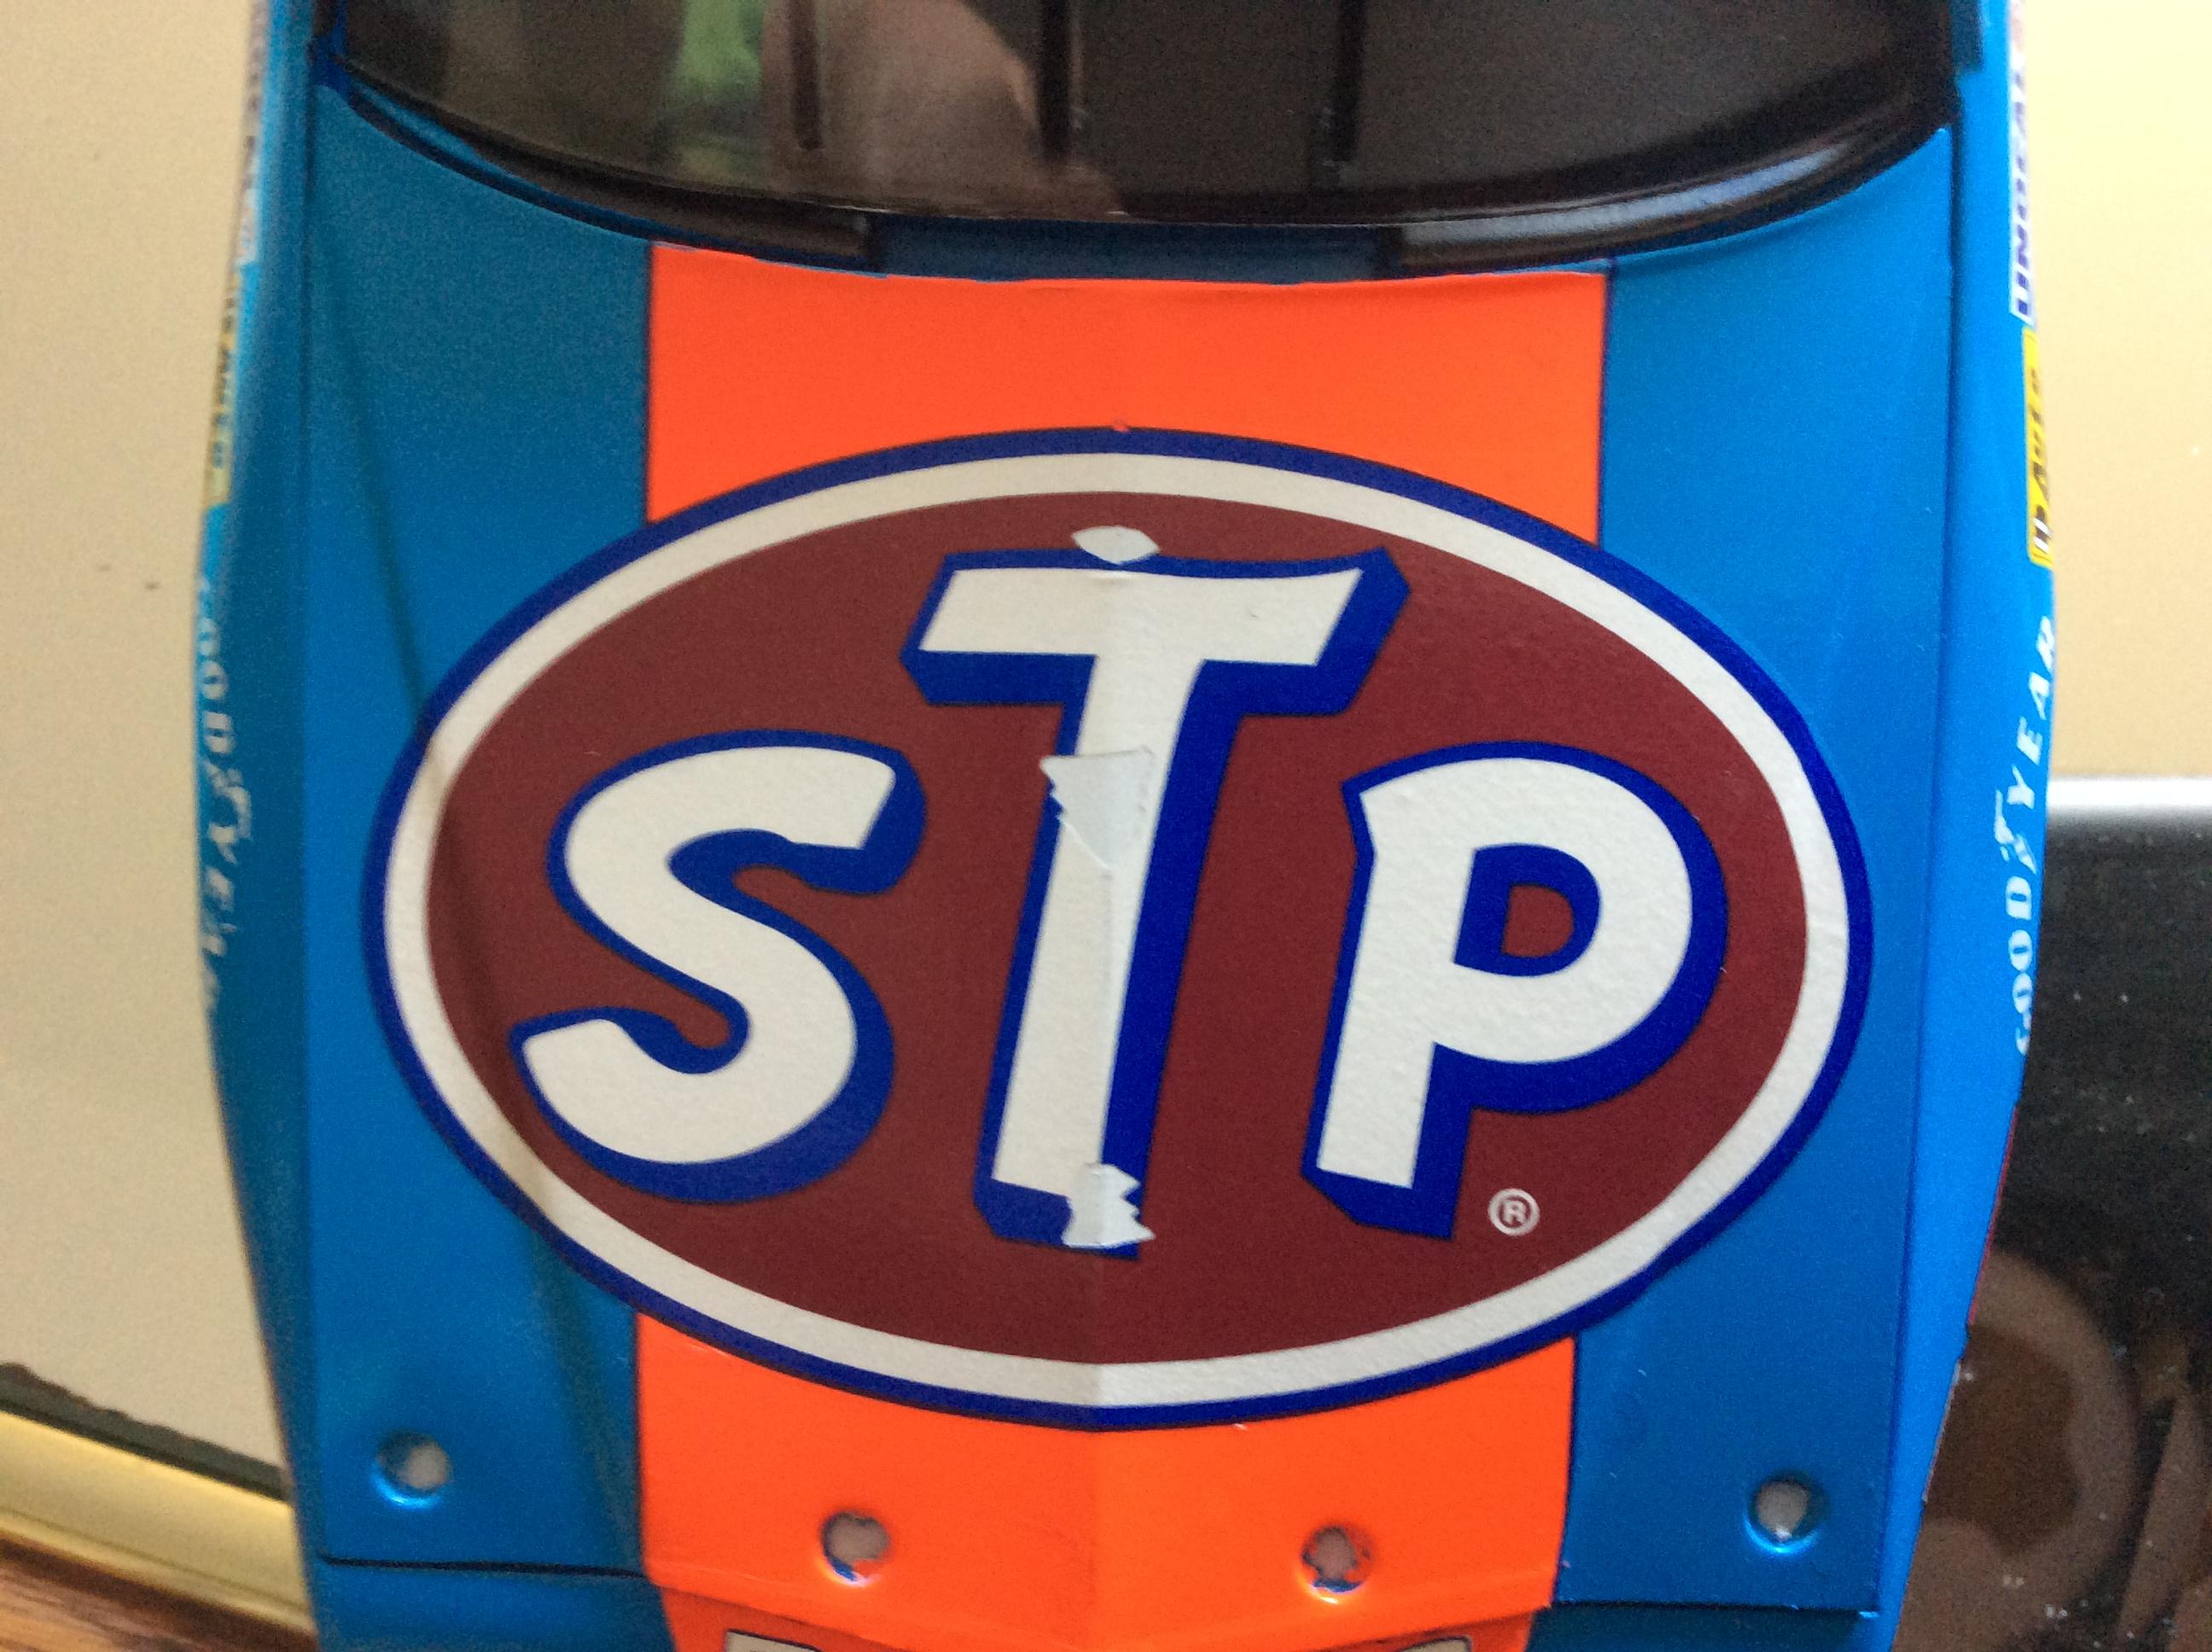
The vermillion decals are quite nice, but they do require some techniques to make them work well. Have plenty of Micro Sol and Solvaset on hand, as well as a hairdryer. After finishing the decals, I wish I would have clear coated the body after applying the vermillion decals, because I did get a bit of silvering in some spots (not really visible, but I know it's there).
-
I completed this kit today. This is the JR Salvino's kit, including the extra vermillion red decals. Built mainly OOB, but I did add valve stems to the tires. The newly tooled body builds well, but builders will want to take about 1/8" off the back of the hood mounts. This will help the body sit lower on the frame, and if the hood slips out, you will not tear the STP decal against the base of the windshield (will have to order a new sheet with my next order).
-
A Story about how Noddy Pimps His Ride!
64Comet404 replied to Bugatti Fan's topic in WIP: Model Cars
That's Police Constable Plod to you, my good man!!! Love the overall idea, remember reading the Noddy books as a child. Definitely showing their age through some areas (the bad guys are now called 'goblins'...) -
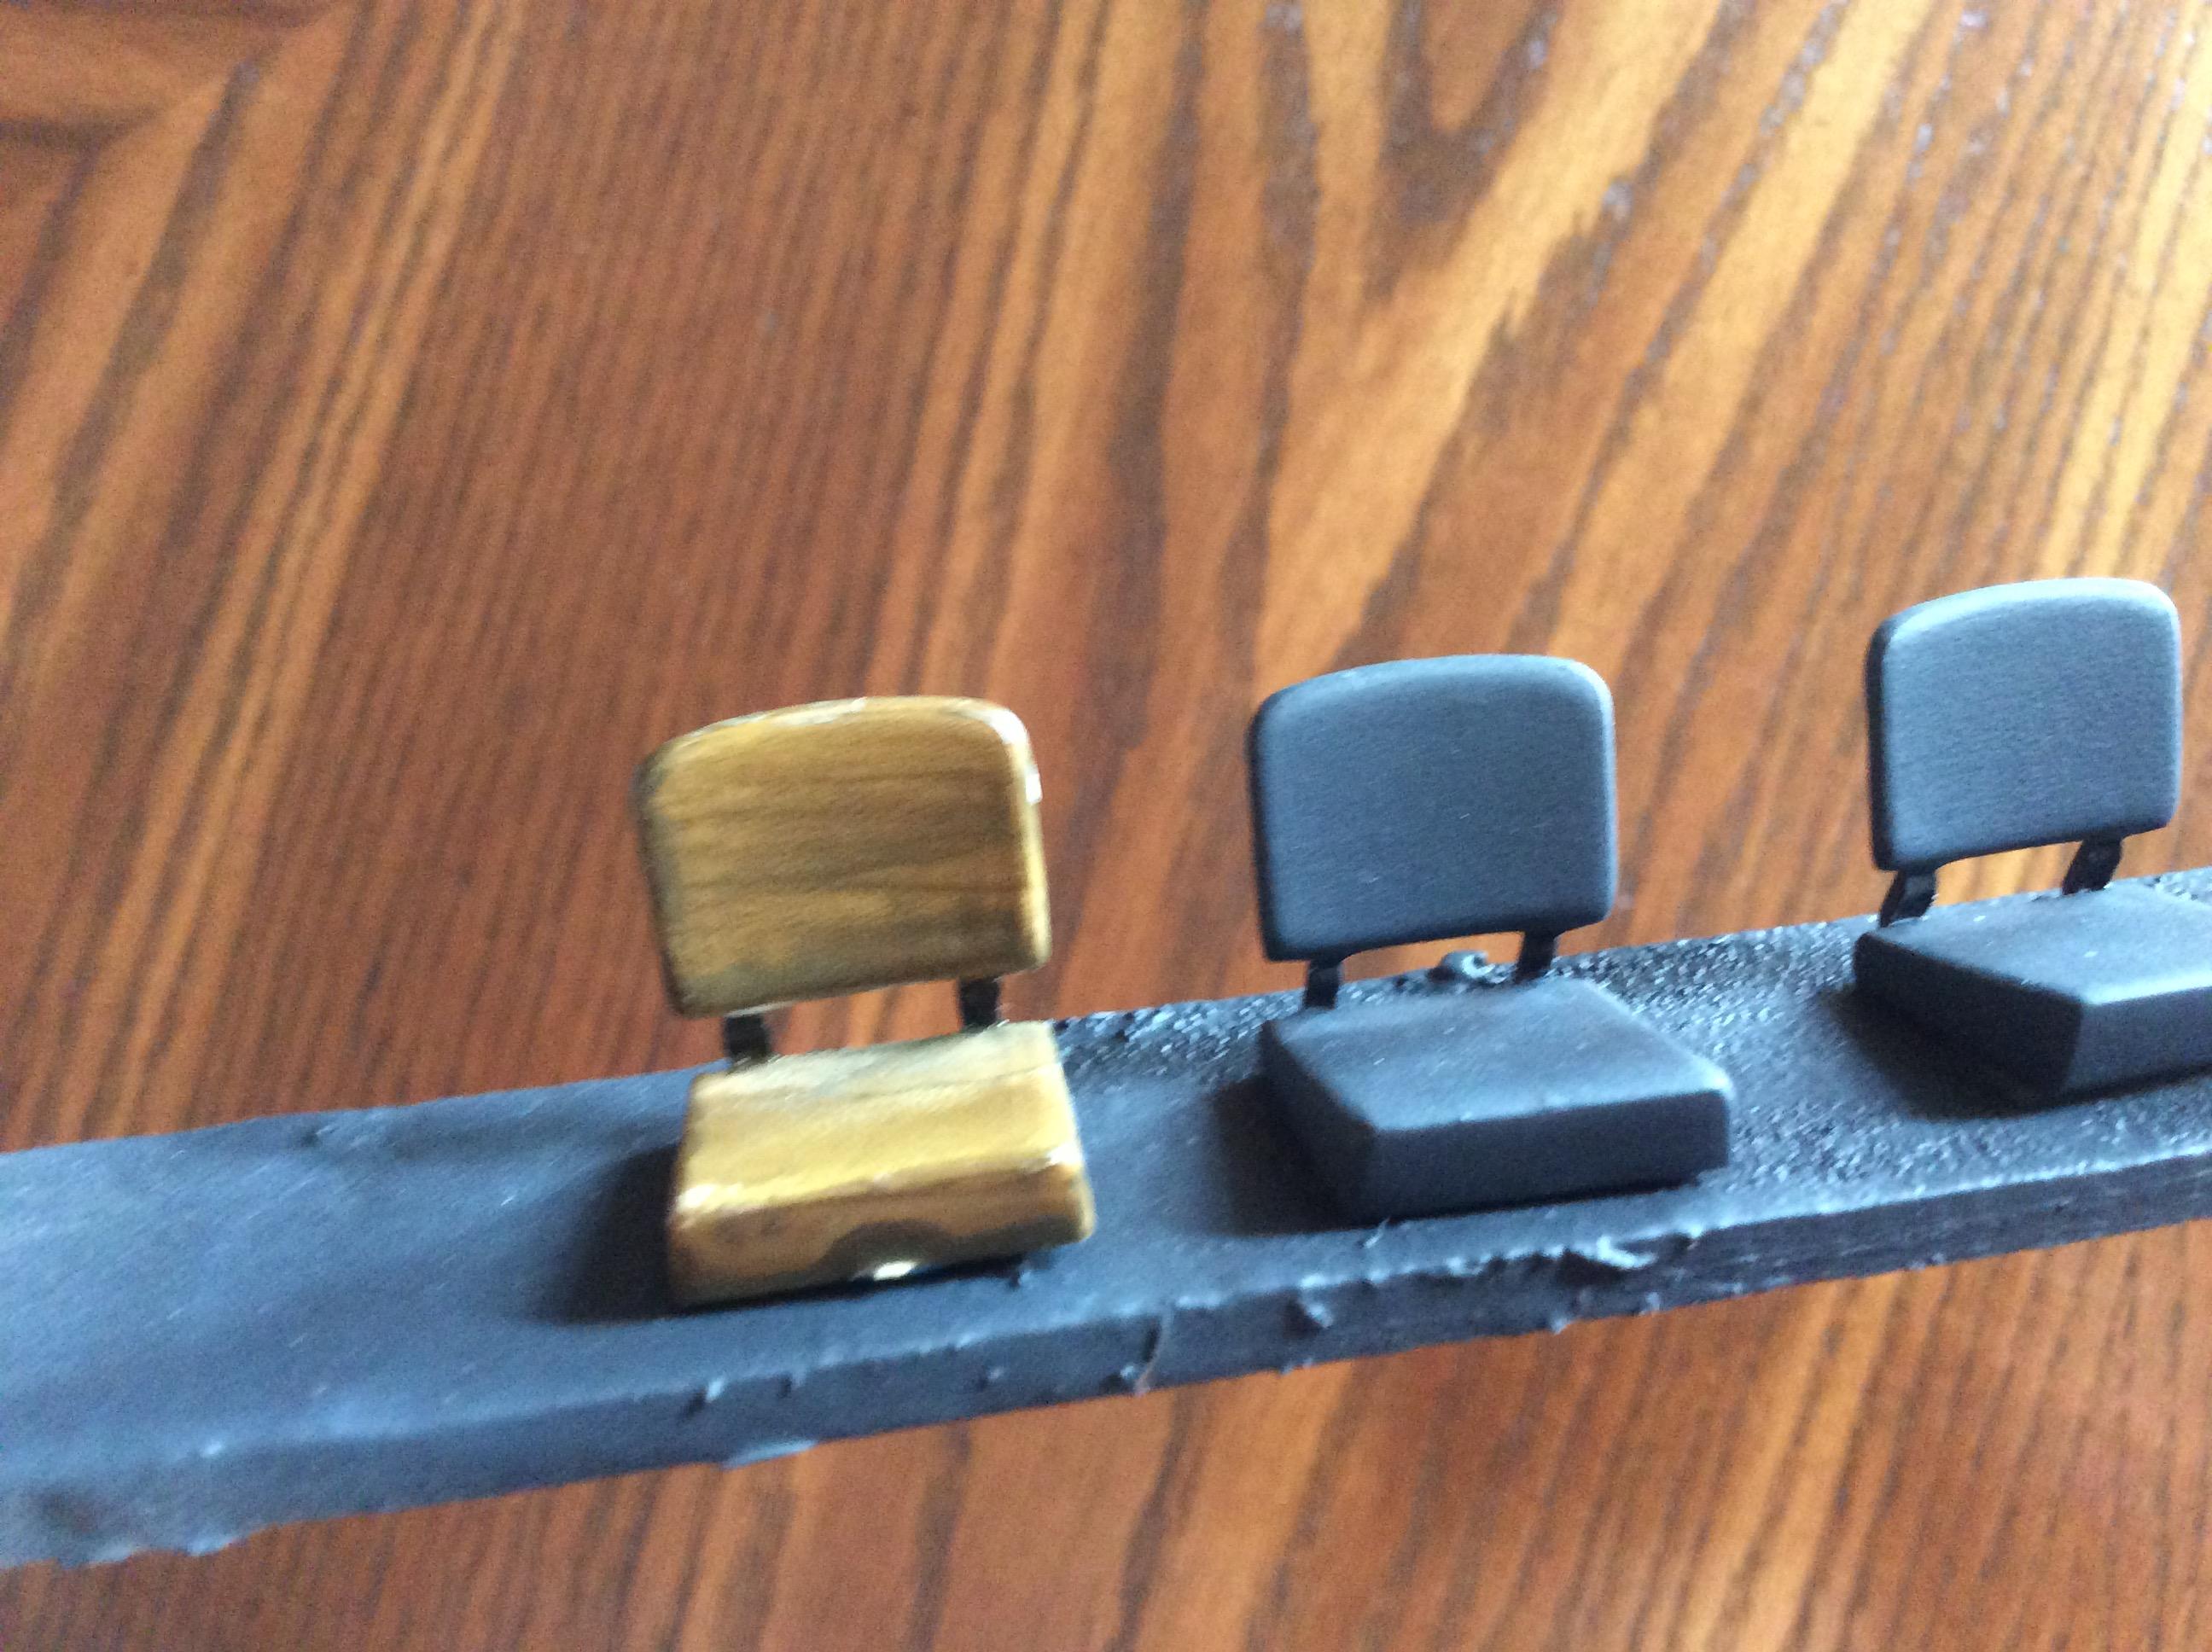
I've been busy with some other projects, so haven't been posting as much on this build. I will be posting some newer photos soon. Here are the rear seats, painted and detailed (the colour is a bit washed out due to sunlight, but it is dark). The seat on the left is from my last Land Rover build back in the early 1990's.
-
Revell 1/25 289 Cobra--1st look, (I think)
64Comet404 replied to Ralph Henderson's topic in Car Kit News & Reviews
Saw the re-issued 289 Cobra (it does say '289' on the box) at the LHS. Asking price is $52 CDN. Looks identical to the Sunny versions I passed up for $10 back in the day. -
You need the body from a JoHan '62 Chrysler 300, and modify the front clip to match.
-
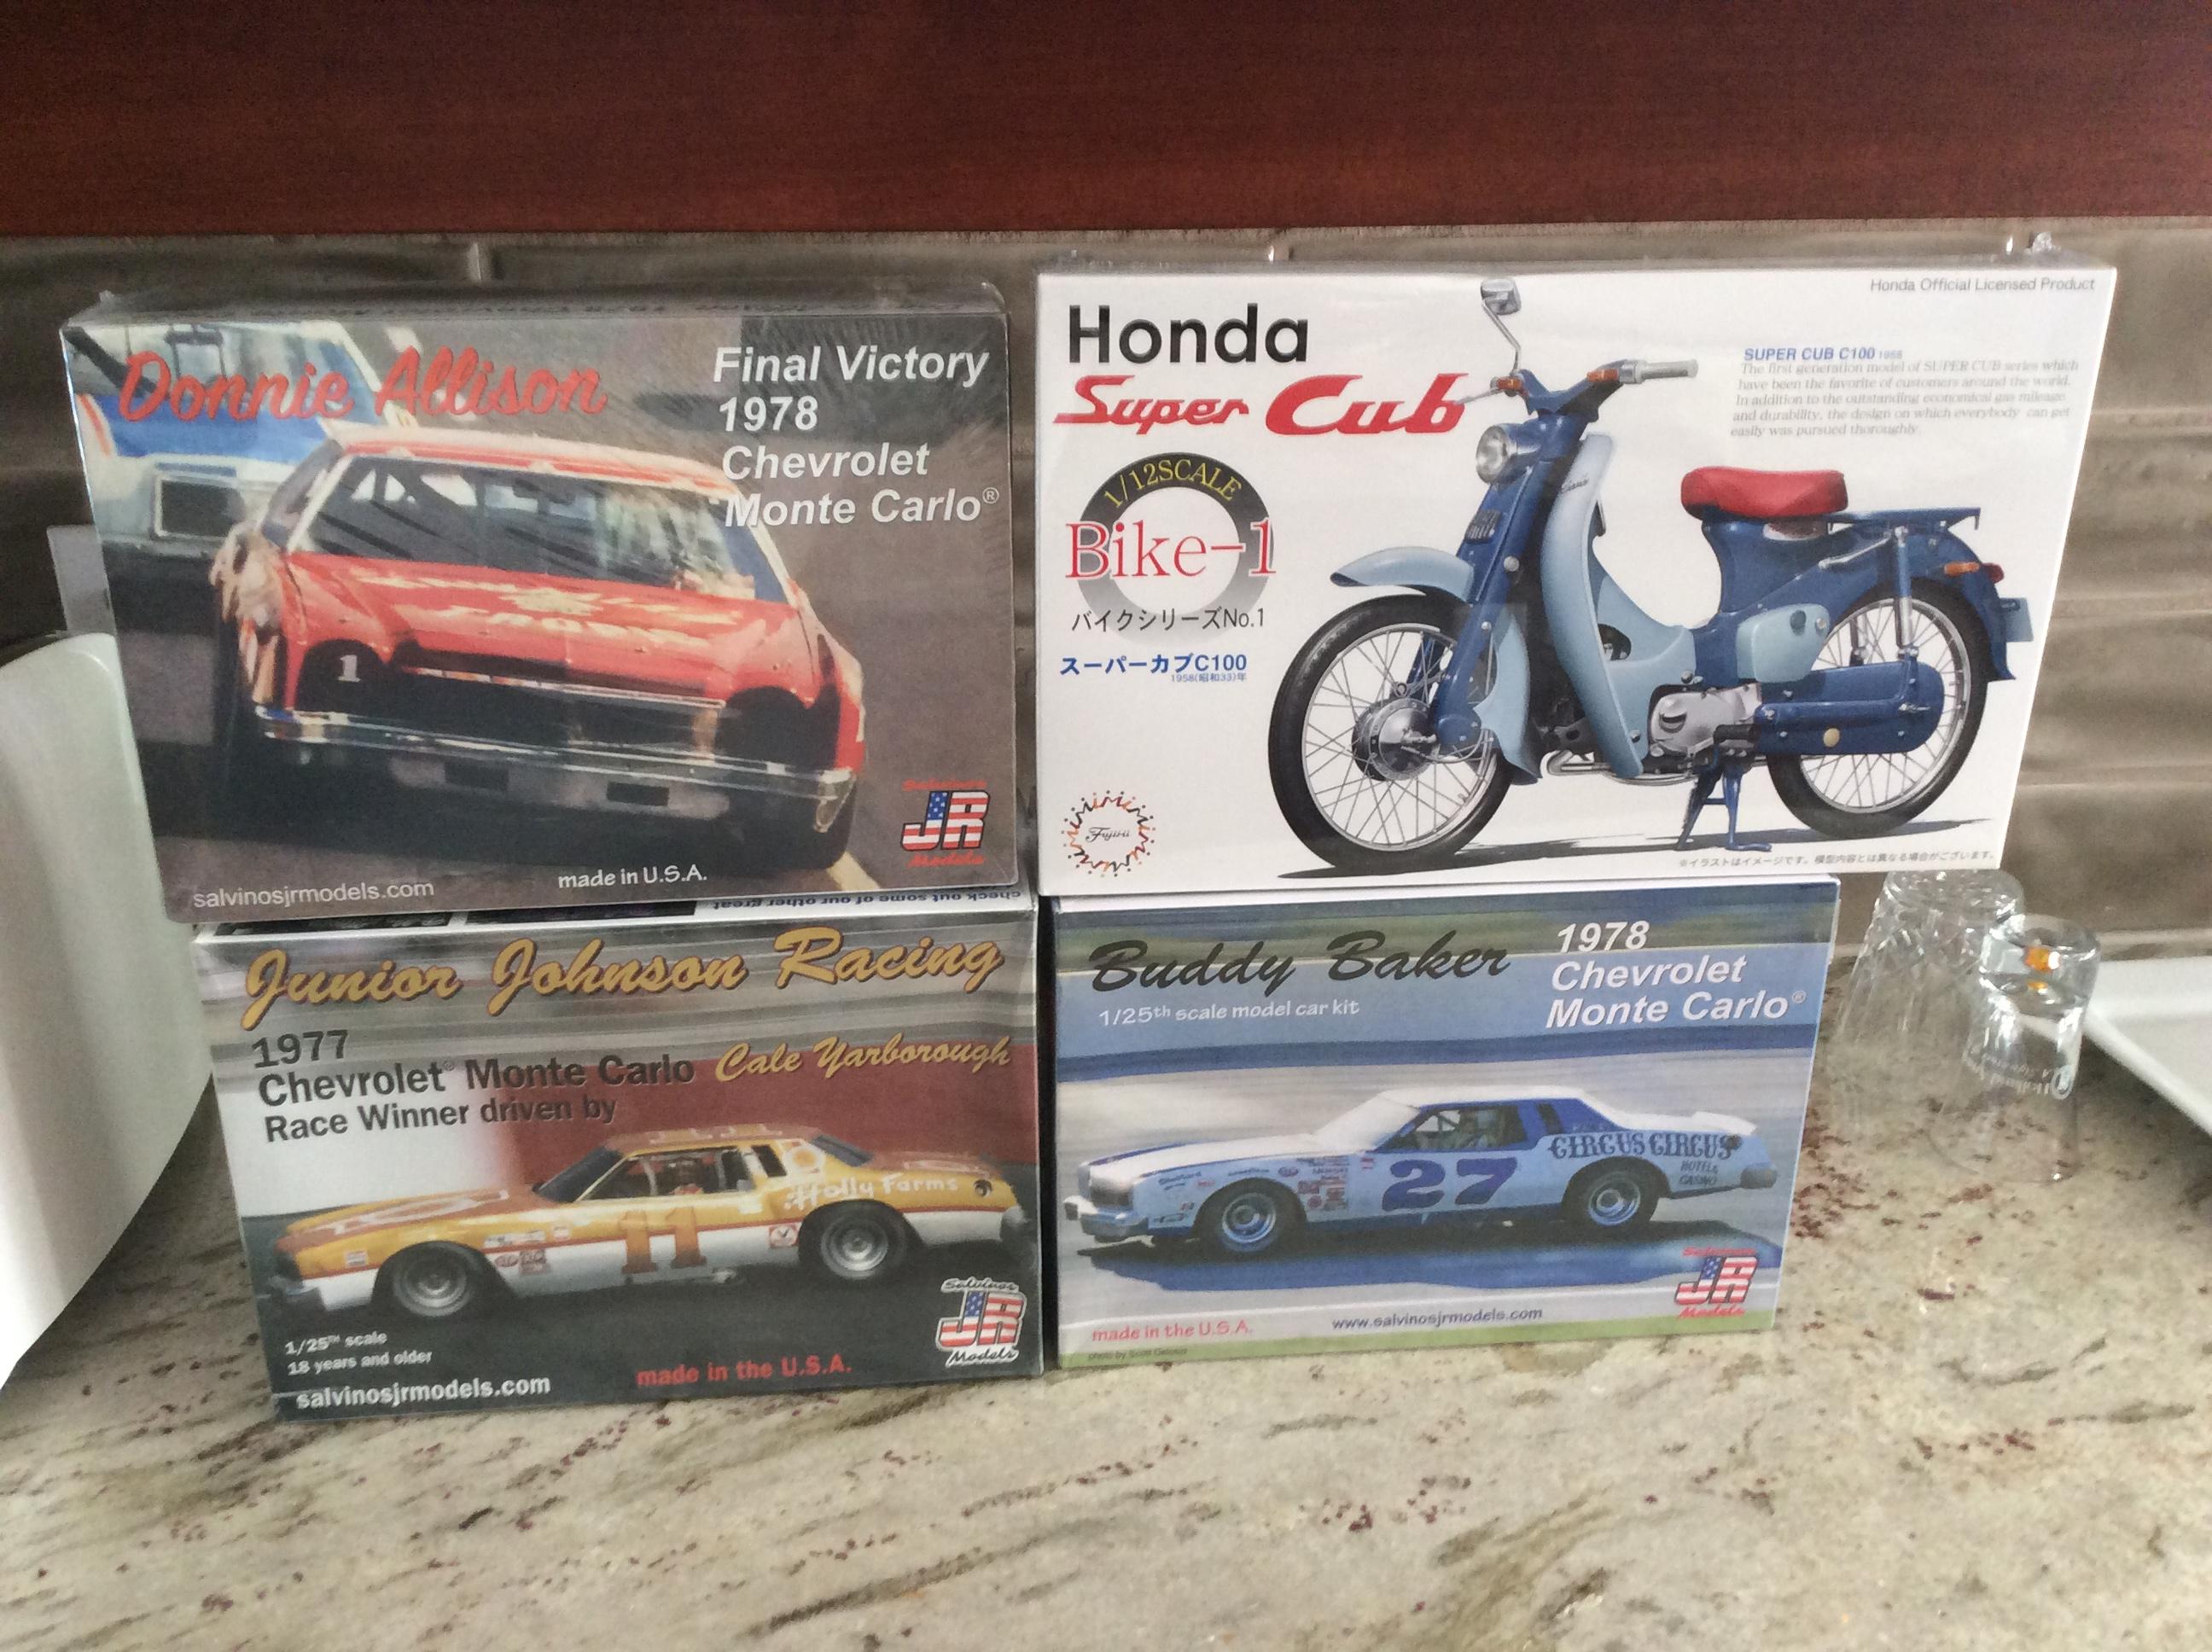
Road trip to the hobby shop today. Had planned on the stock cars, the motorcycle was a bonus!
-
I have been playing around with my example, and have found two minor issues, which may be causing some of the problems people see with the kit. The first one is the taillight bezels don't quite match the size of the end caps (sanding and scraping of both pieces has improved the fit). Once this is done, the bumper does not want to go into position (too vertical), so I think this may be solved by scoring a line between the taillight/trim panel and the bumper, and bending the bumper section for a closer fit. Overall, it looks like a nicely detailed kit, and though I am not the biggest '69 Chevelle fan, I'm willing to work with it.
-
As nice as it would be to have this car in styrene, you would have to make a new tool, including the chassis. The Grand Prix and Montes rode the longer 4 door wheelbase. I would take a GP or a 300, no problems.
-
Picked up a few pieces at the LHS today.
-
Revell 1/24th scale Jaguar E-Type FHC: Test Shots
64Comet404 replied to Justin Porter's topic in Car Kit News & Reviews
Some new pics of the Revell E-Type Jag from Hannants. https://www.hannants.co.uk/product/RV7668 -
Z-7 Debonder question
64Comet404 replied to andy12646's topic in Model Building Questions and Answers
I've never seen the debonder in gel form before, have to think you received a bad batch. -
I remember reading an article about this car a few years back, and it was mentioned that the windshield frame had been refinished in a satin chrome or brushed finish (can't remember which). It was done to prevent errant reflections from showing up when they were filming scenes with the cameras pointing at the interior.