Search the Community
Showing results for tags 'Resin'.
-
I installed two mounting posts and fitted the body to this kit sometime ago but for some unknown reason put it away. Since I am in a "finishing projects mpode" thought it was time to do it. Resin kits are often just the basics and you have to use youir imagination and research to breing them to life. This was no exception. Paint on this is Tamiya TS-34 British racing green. Car represents a fresh from the factory look. A big thank you has to go to Gary McNutt (Gramps46) who generously supplied the kit and also to Norm Veber of Replicas and Minatures of Maryland for the excellent wheels and tires. Rest of the details in captions under the pictures. Thanks for looking. Finished kit on its wheels. Went to great lenghts to get the wheels to steer. Knock offs are actually threaded on. Many oif the panel lines ahd to be deepened as the primer and paint would have covered them. Mirror is from the spares. This car had many mirror combinations. I added a few photo etch details from the spares drawer, Windscreen fit nicely but tended to spring away on the right side. There is a very tiny bent pin holding it in place at the top. Interior recieved some extra attention in the form of a new steering wheel, handmade shift knob, dash decals from spares. Note the v-e-r-y tiny PE fasteners on the outside of the screen.
-
I have been wanting to do this kit ever since I got it. I was fortunate enough to see Mark Donohue win with this car at a USRRC race at Watkins Glen in 1967. He won pole to flag. Kit was sprayed with a mix of Tamiya TS15 and TS55. Both were decanted and airbrushed. Tamiya clear was used. There were a number of features I added and modifications made. These are explained in the captions below the pictures. Thanks for looking and comments are most welcome. Of course non steering wheels on models is a pet peeve of mine. This was a fairly easy conversion. Keeping the wheelbase and wheel height the same was a priority. Finished car. Kits instructions warned the decals were quite thin. I heeded that waring and they went on with out a hitch. Glad there was an extra set though. Rivet detail was kinda sparse so I drilled them all out and added copper wire which was then ground down with a Dremel to make new rivets. It was a lot of work but worth it in the end Business end of the car took some fiddling to get everything to fit. That is expected of a resin kit. Overall quality of the kit was very good though. I like Fisher kits. He will be missed . The stance of the car was correct right out of the box. Tire decals came out of the spares. The interior recieved most of my attention. New steering wheel, scratch built shifter and water pipes (not visible) dash decals and seatbelts from silk thread. And a few extra switches. Kit suppllied phot etch interior was a nice plus to this kit.
-
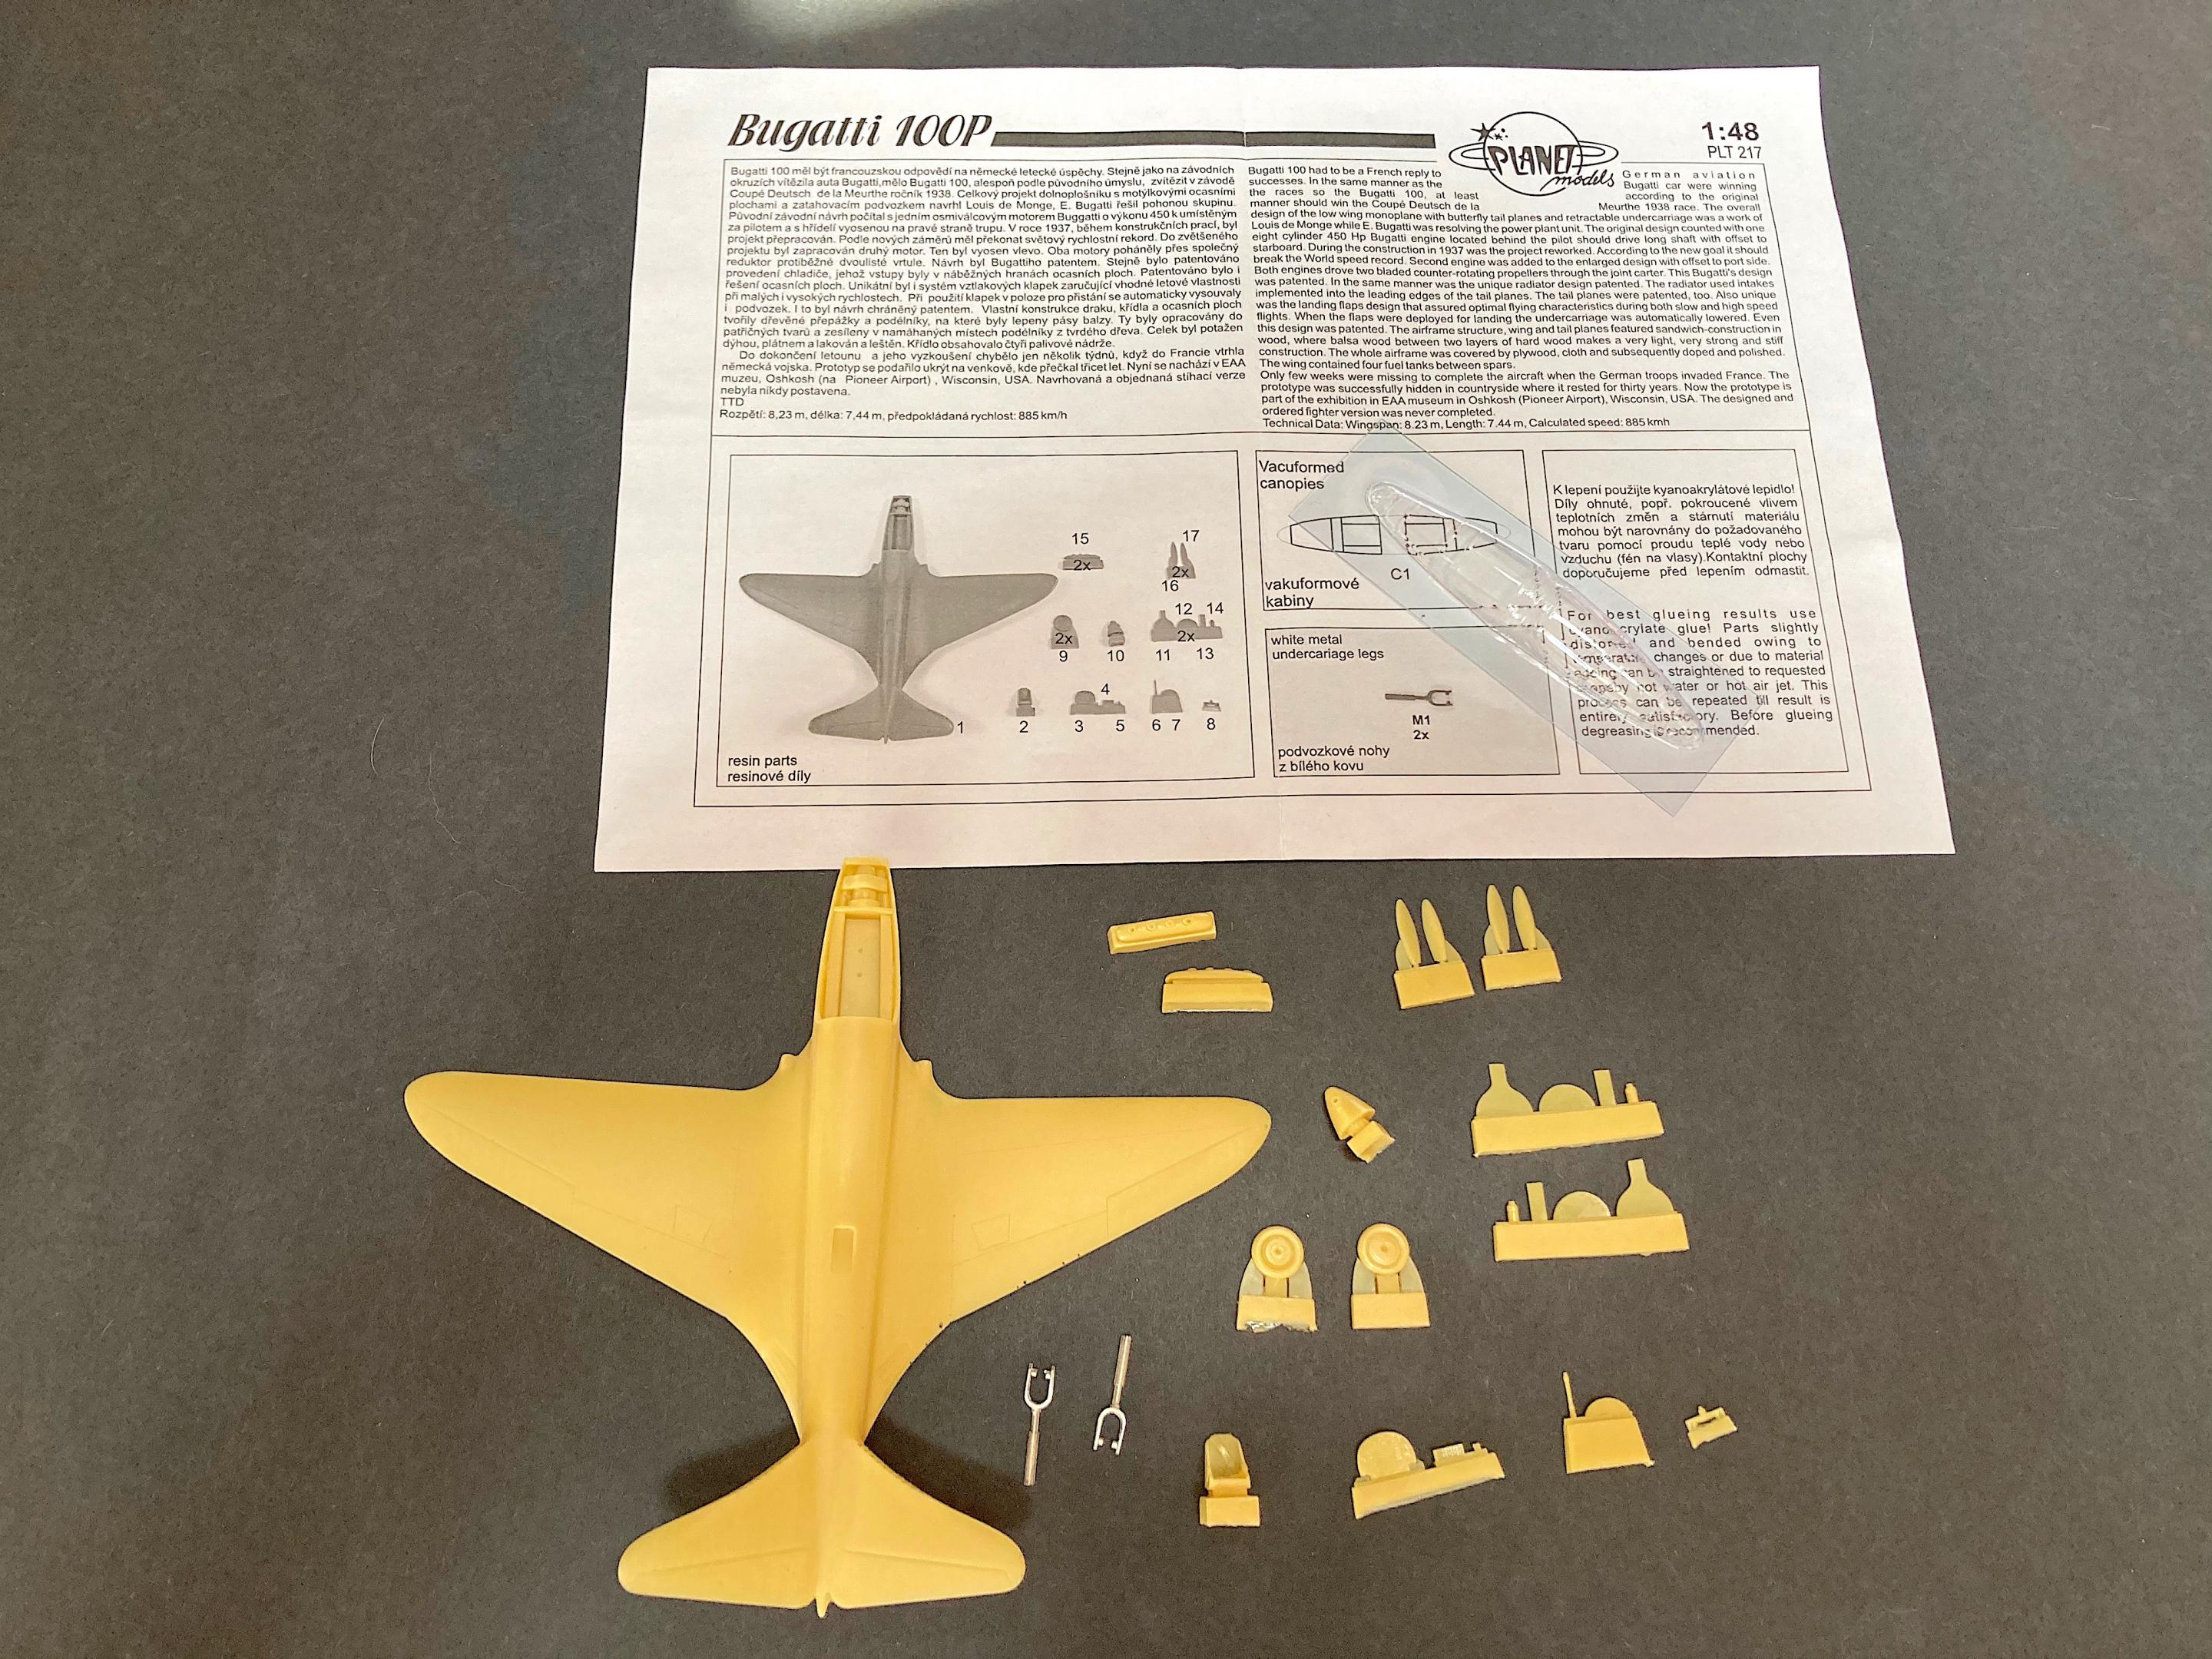
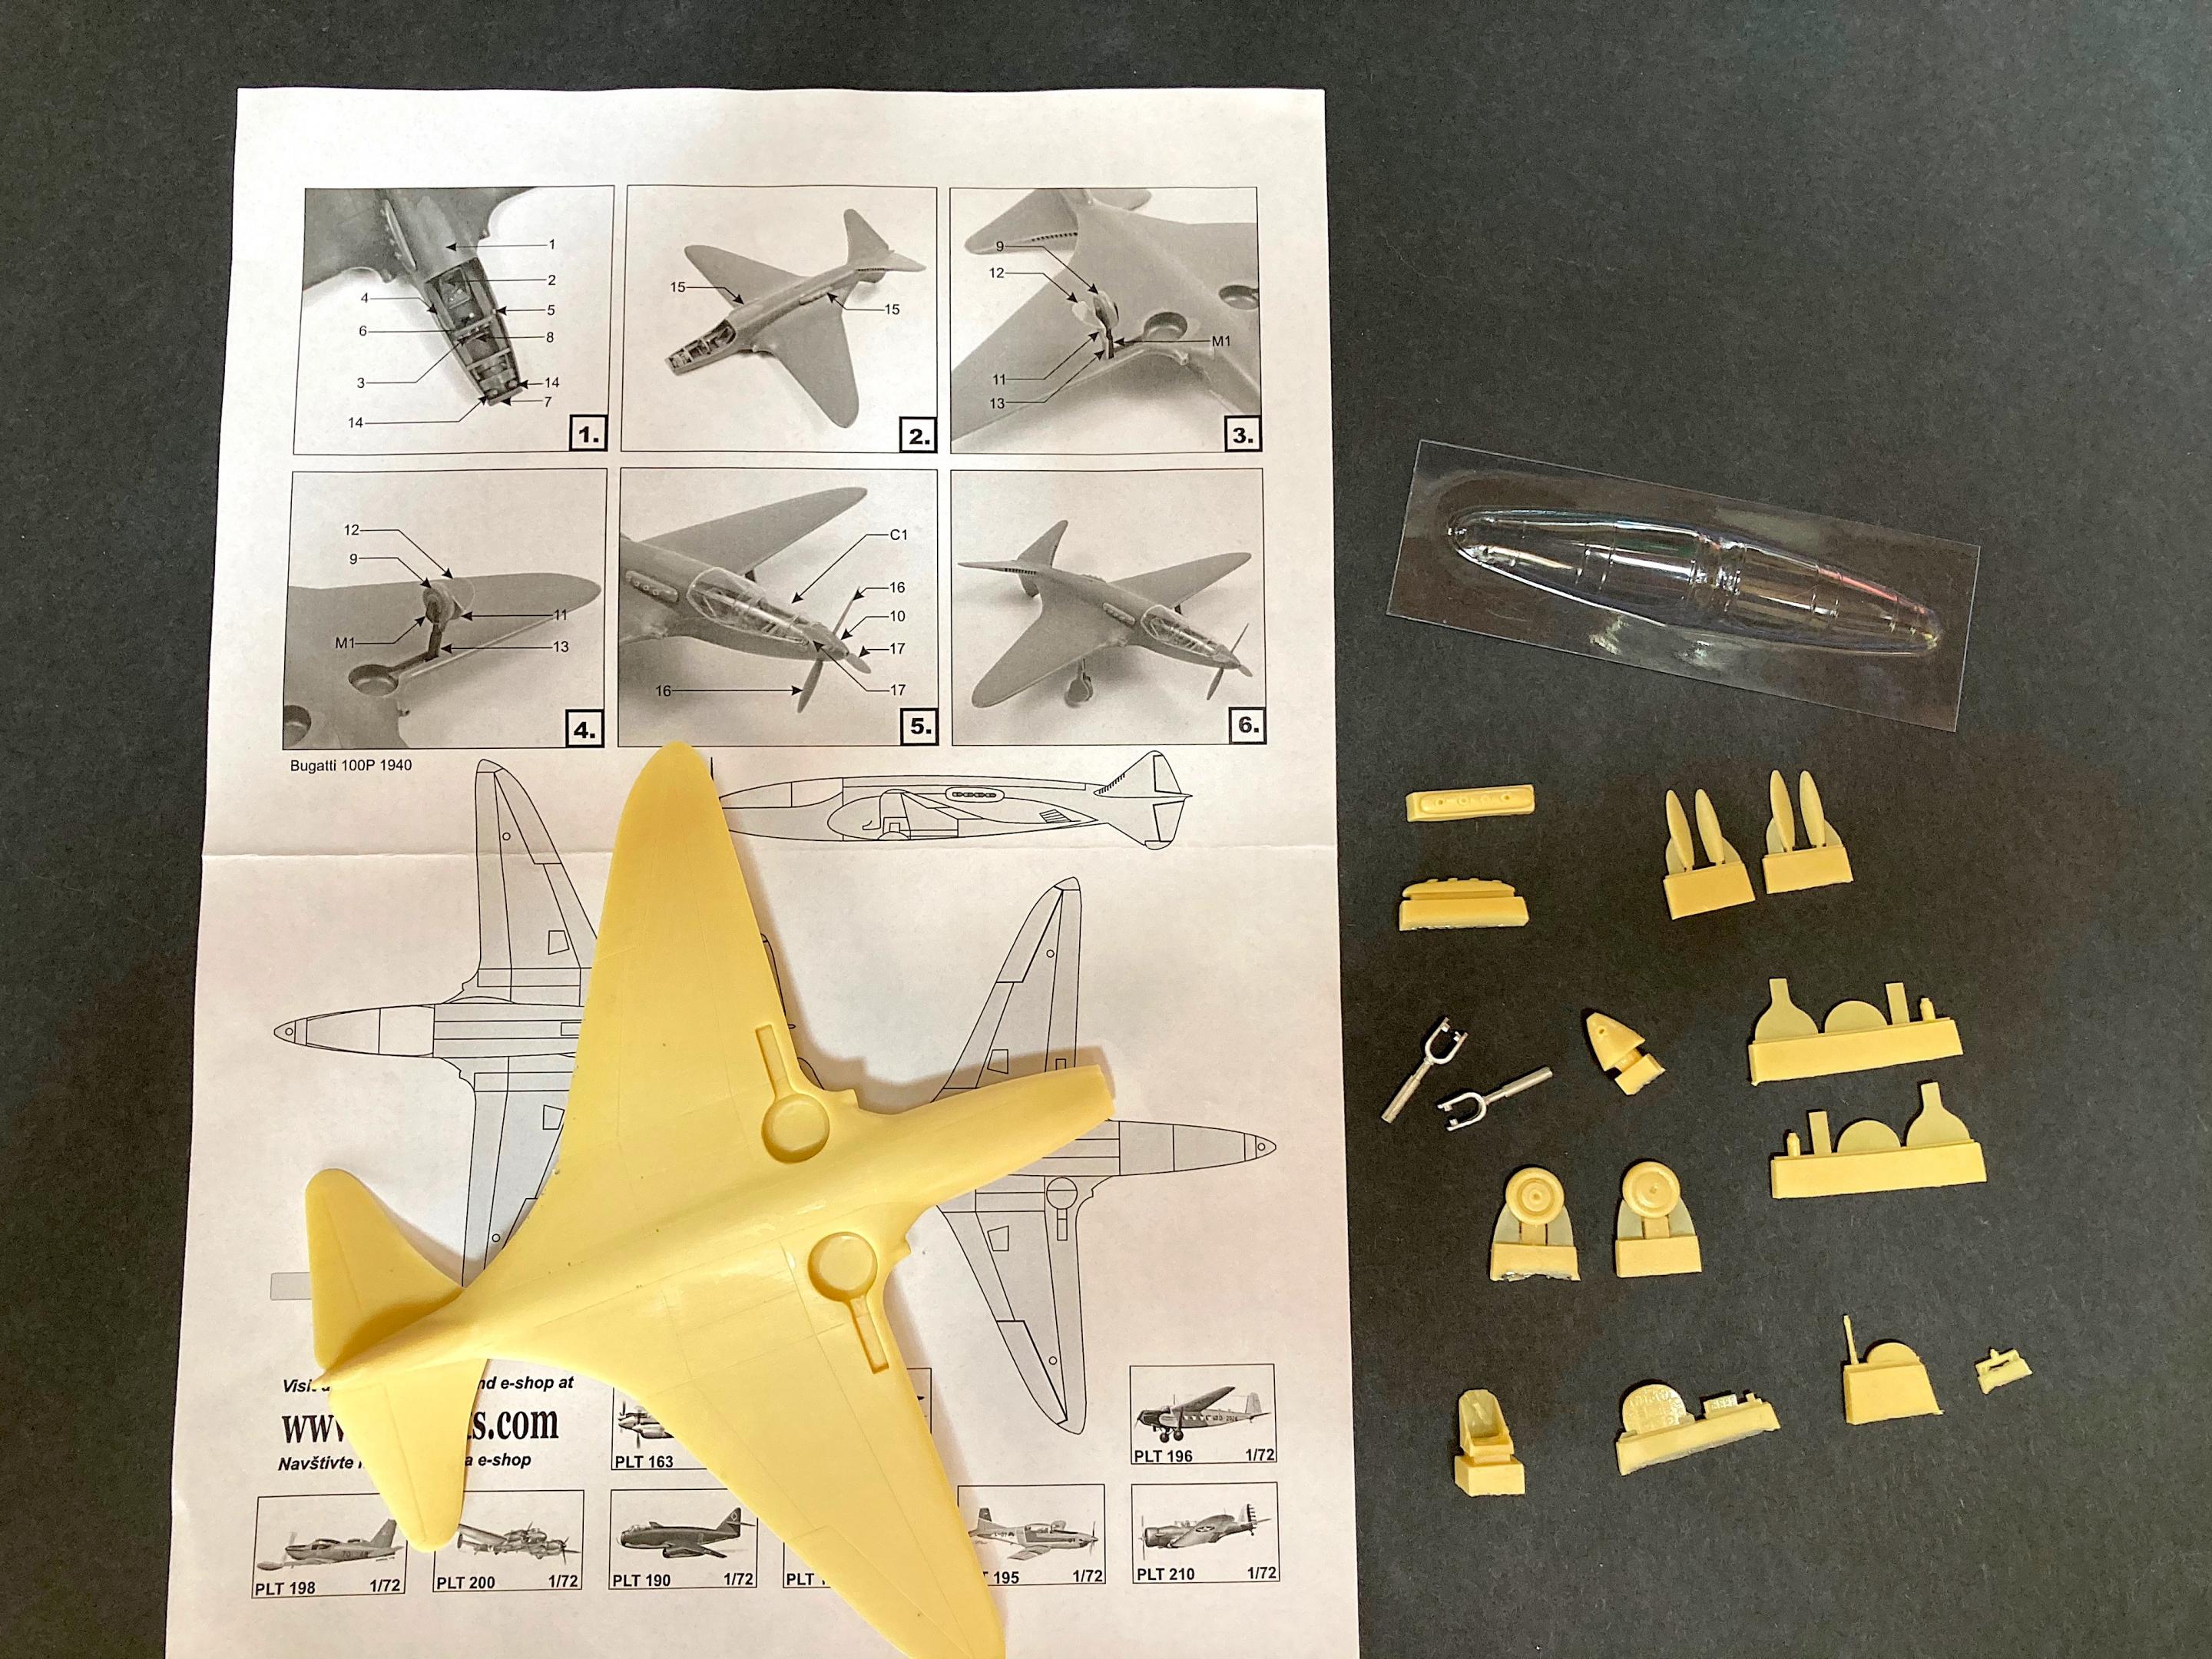
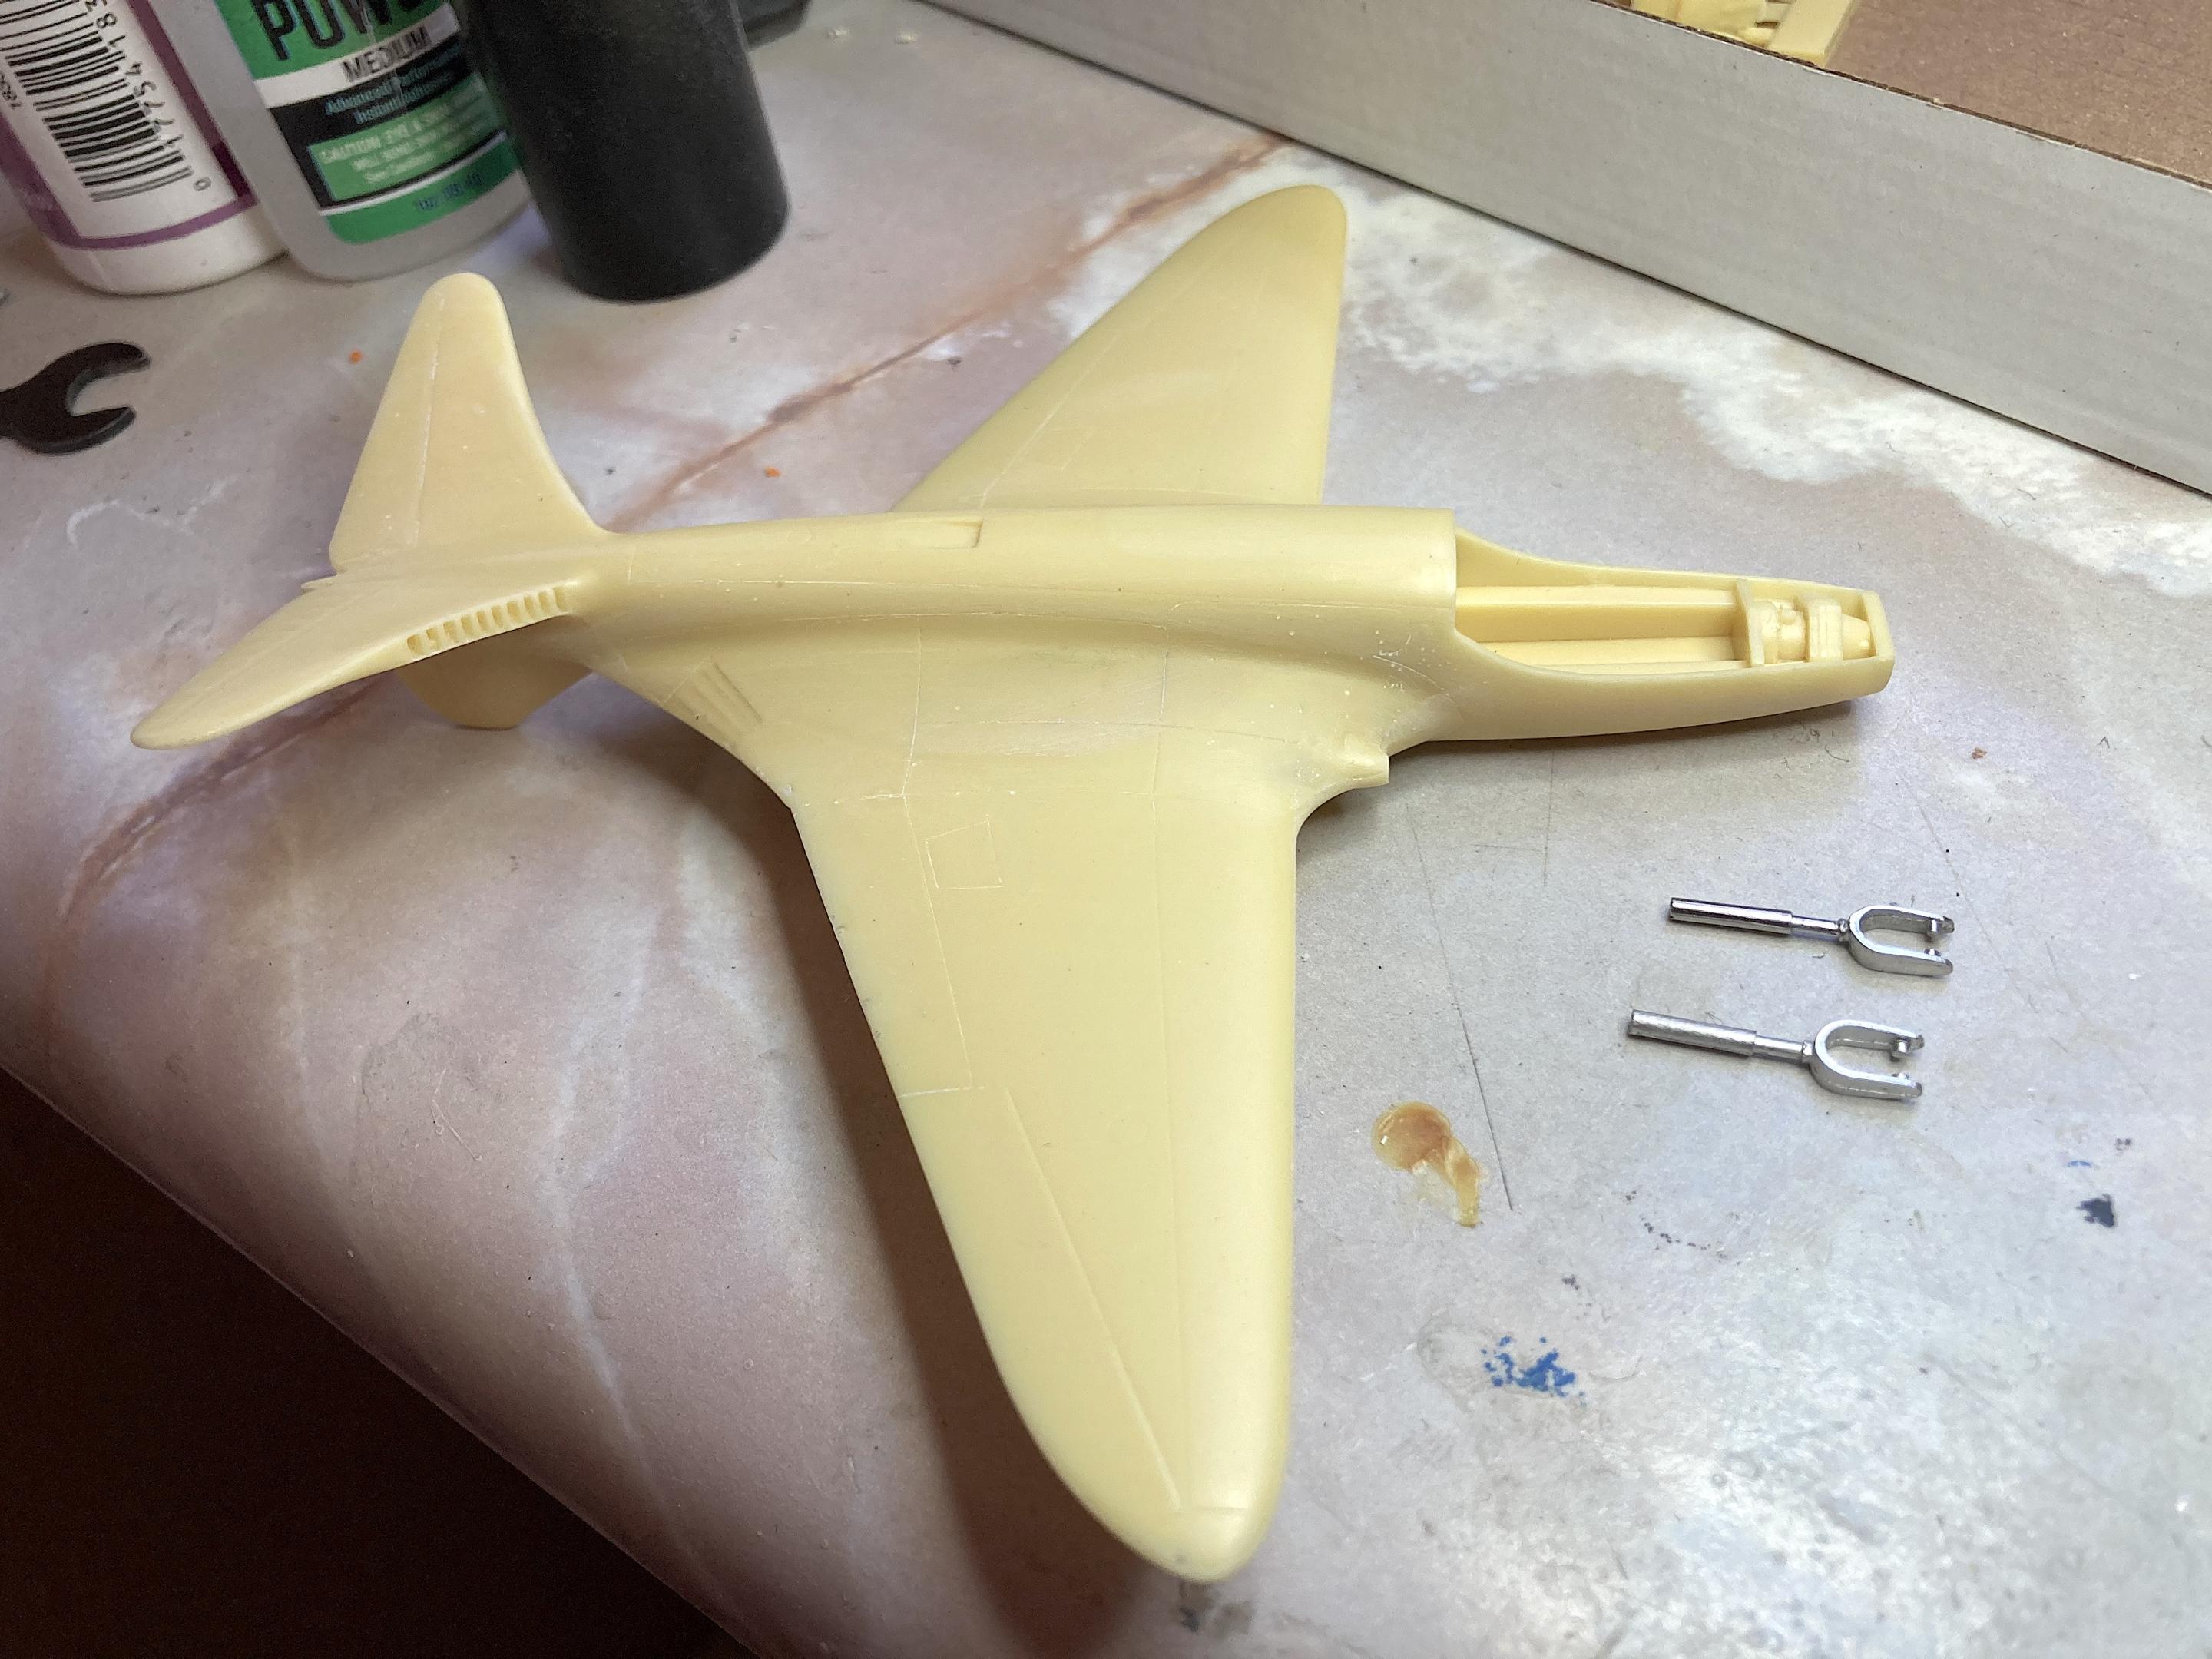
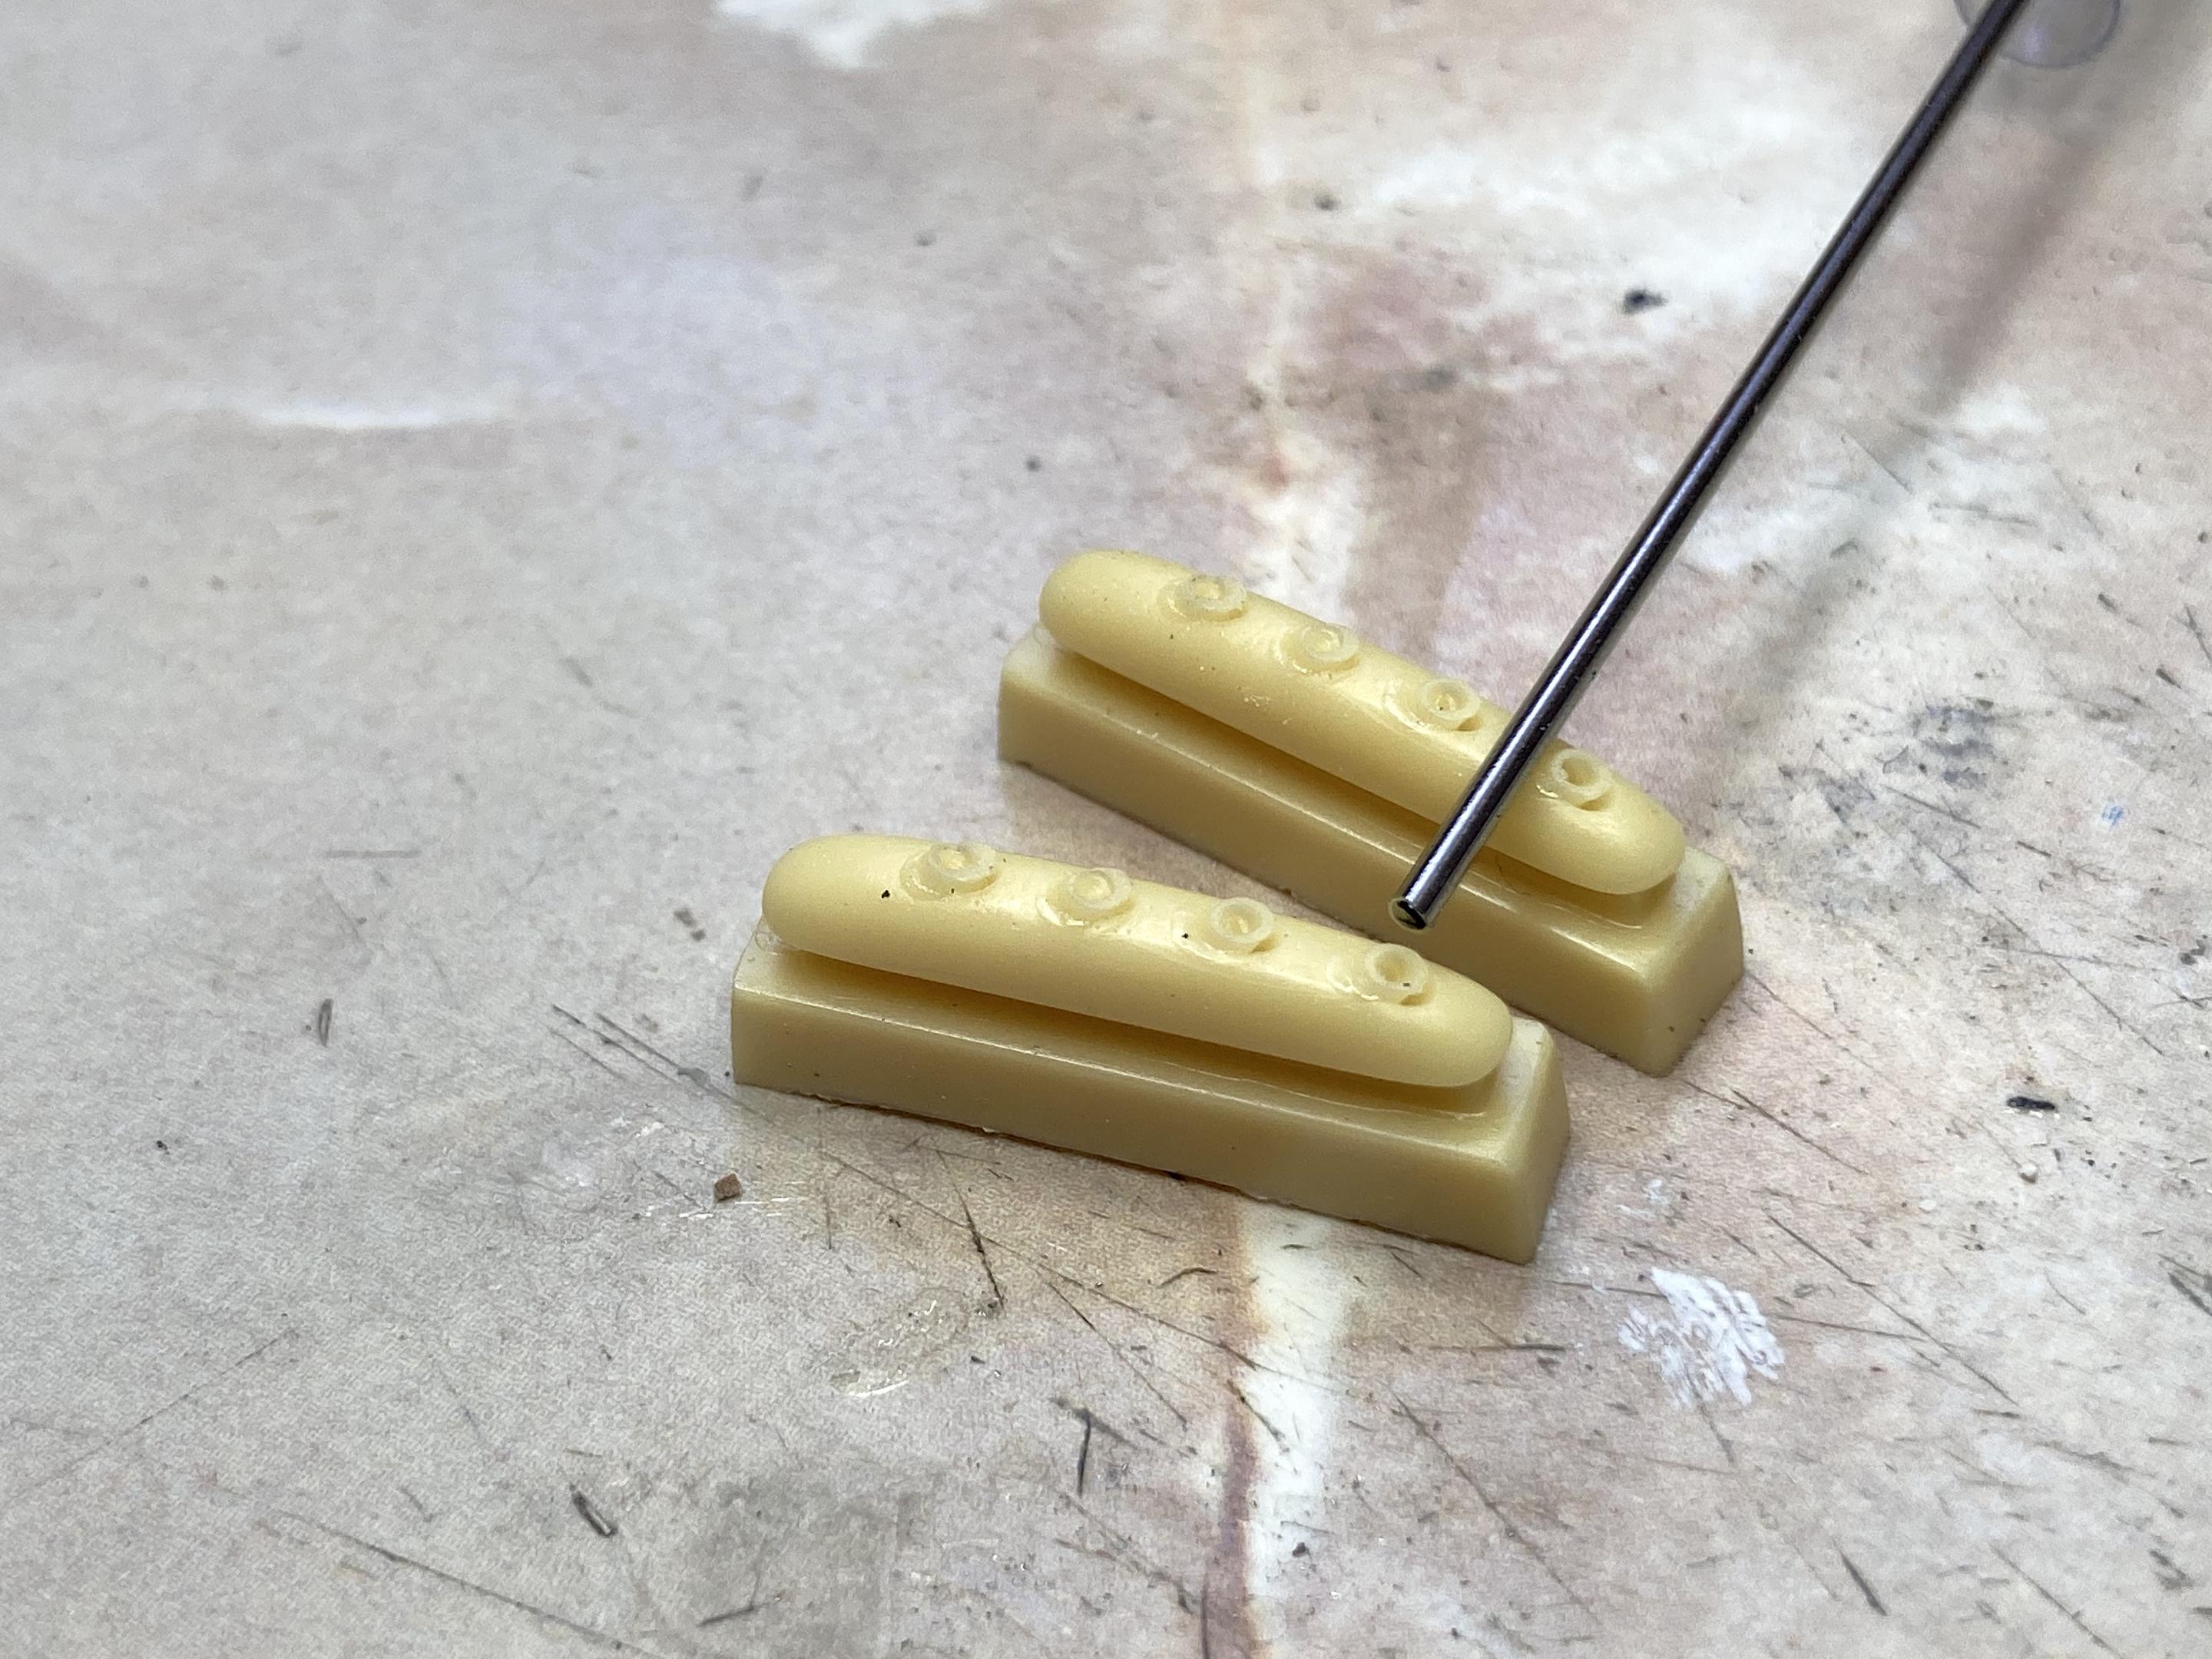
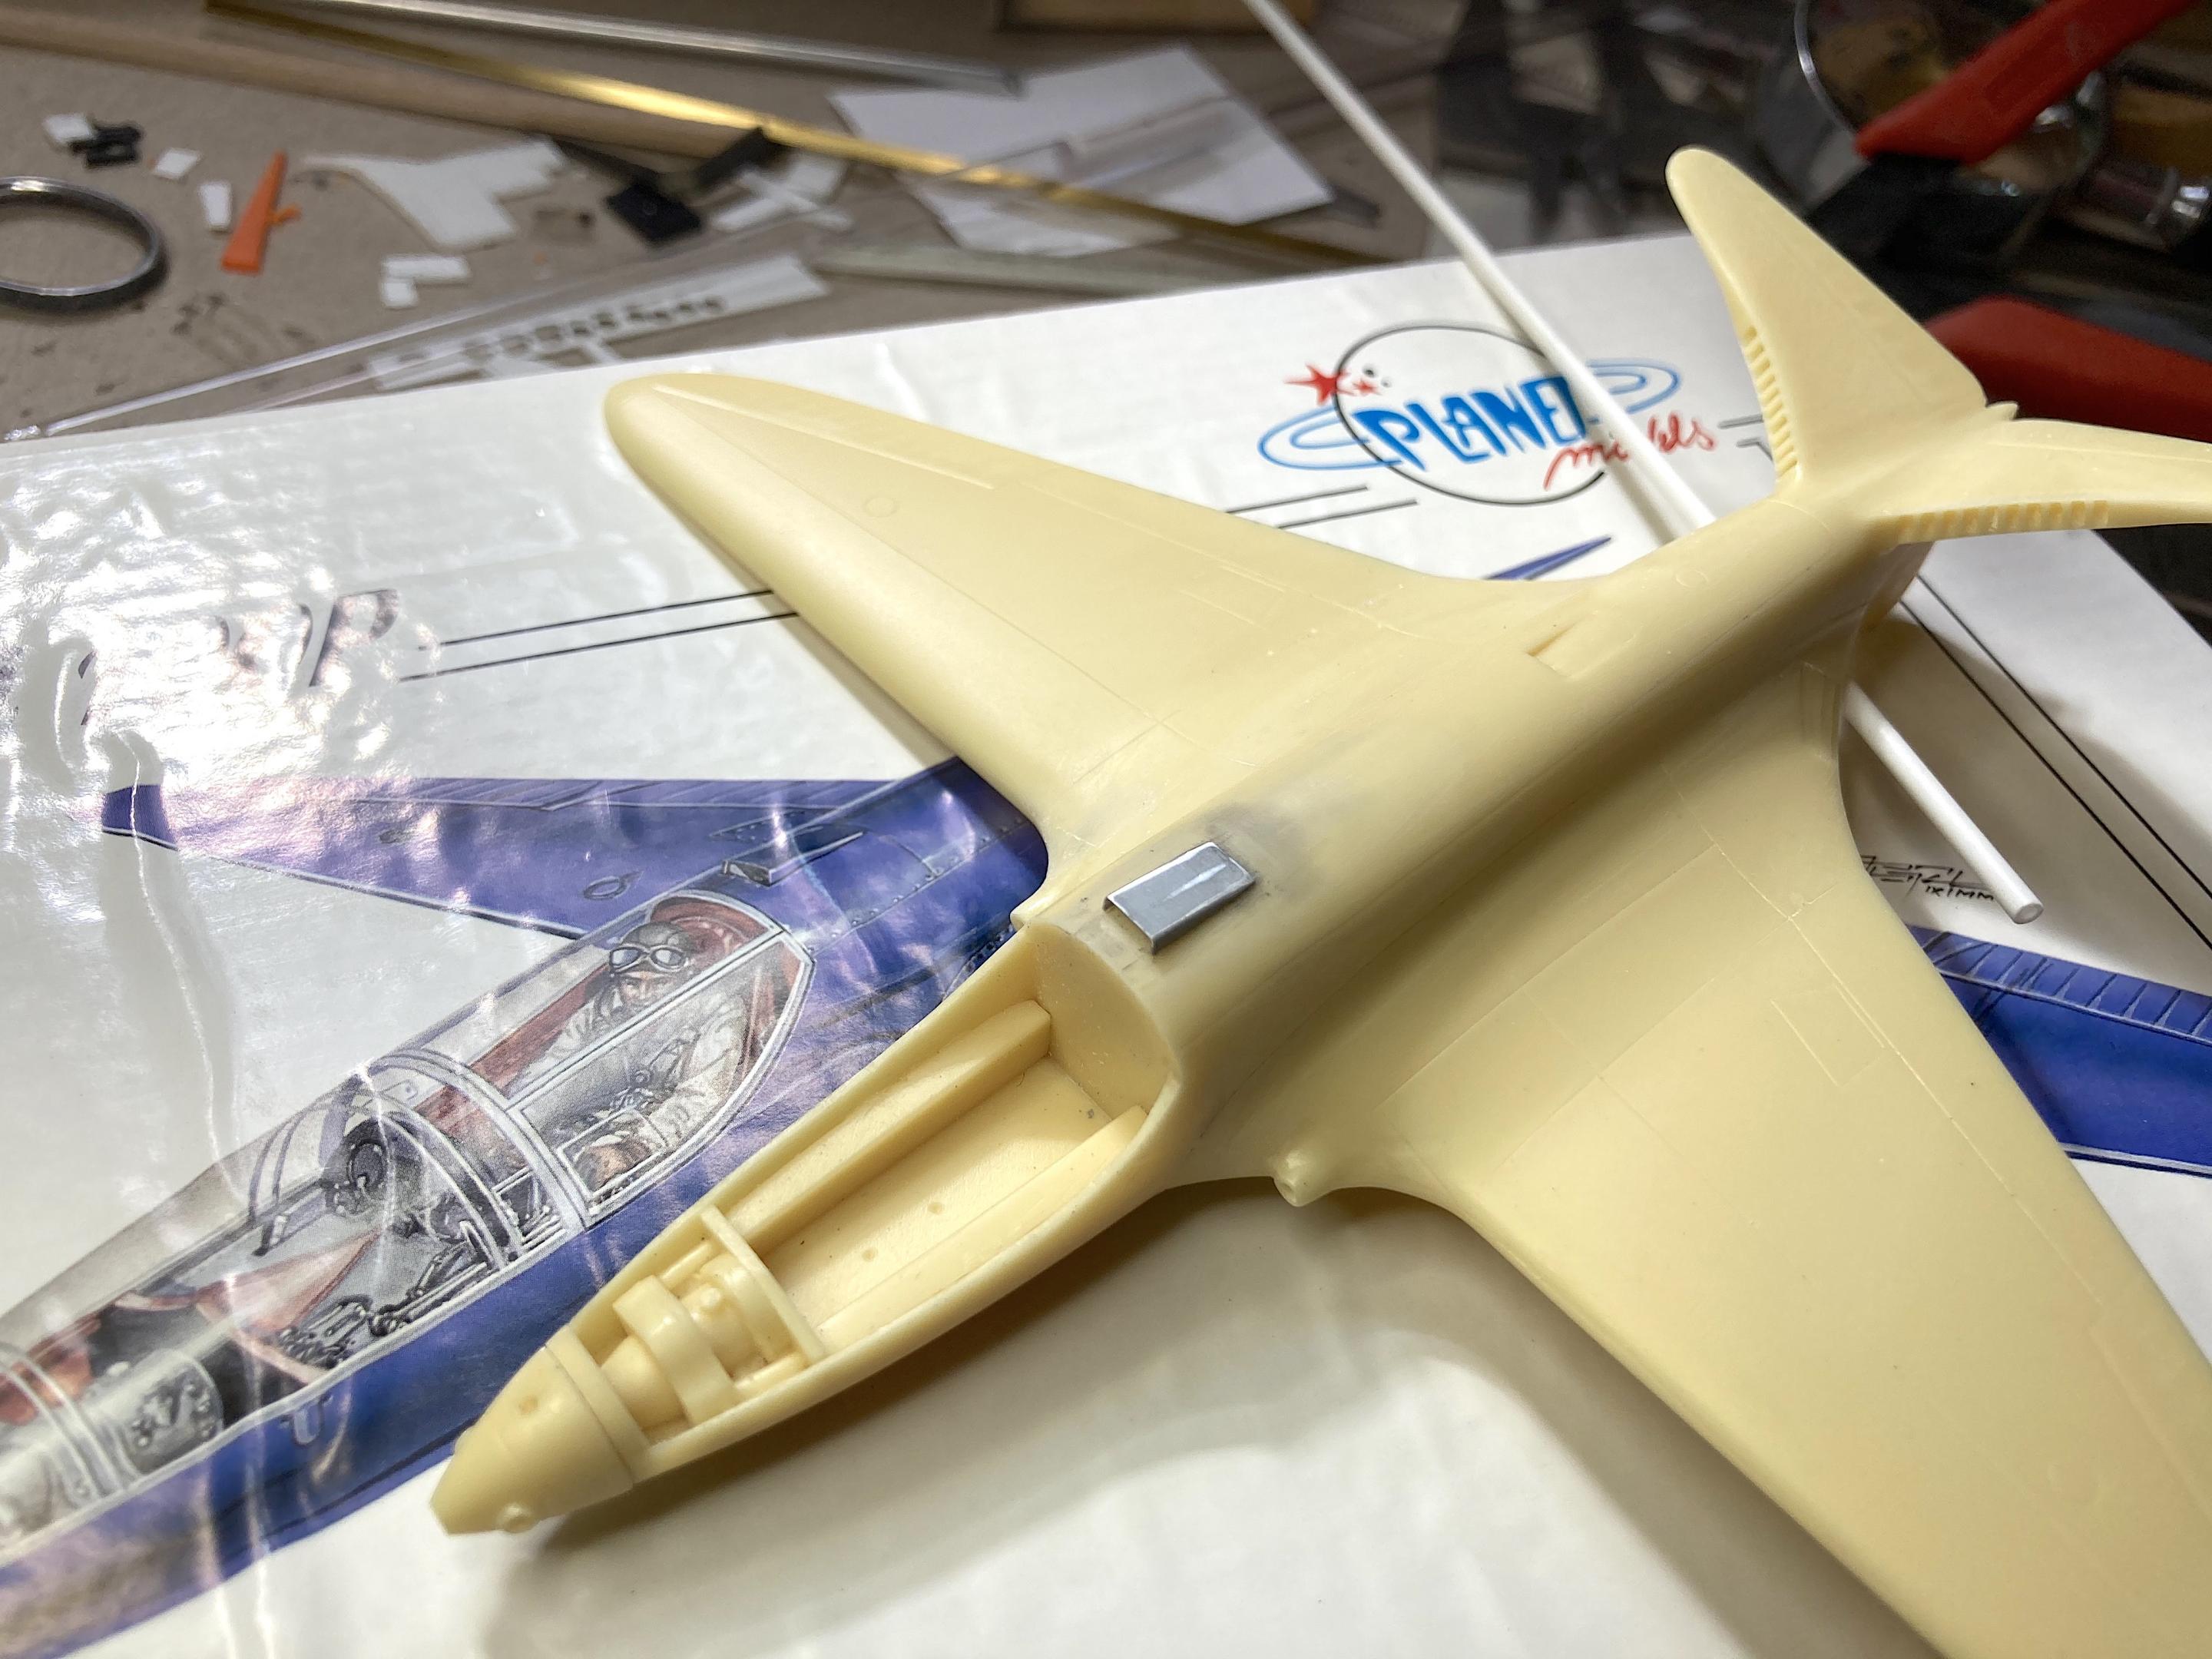
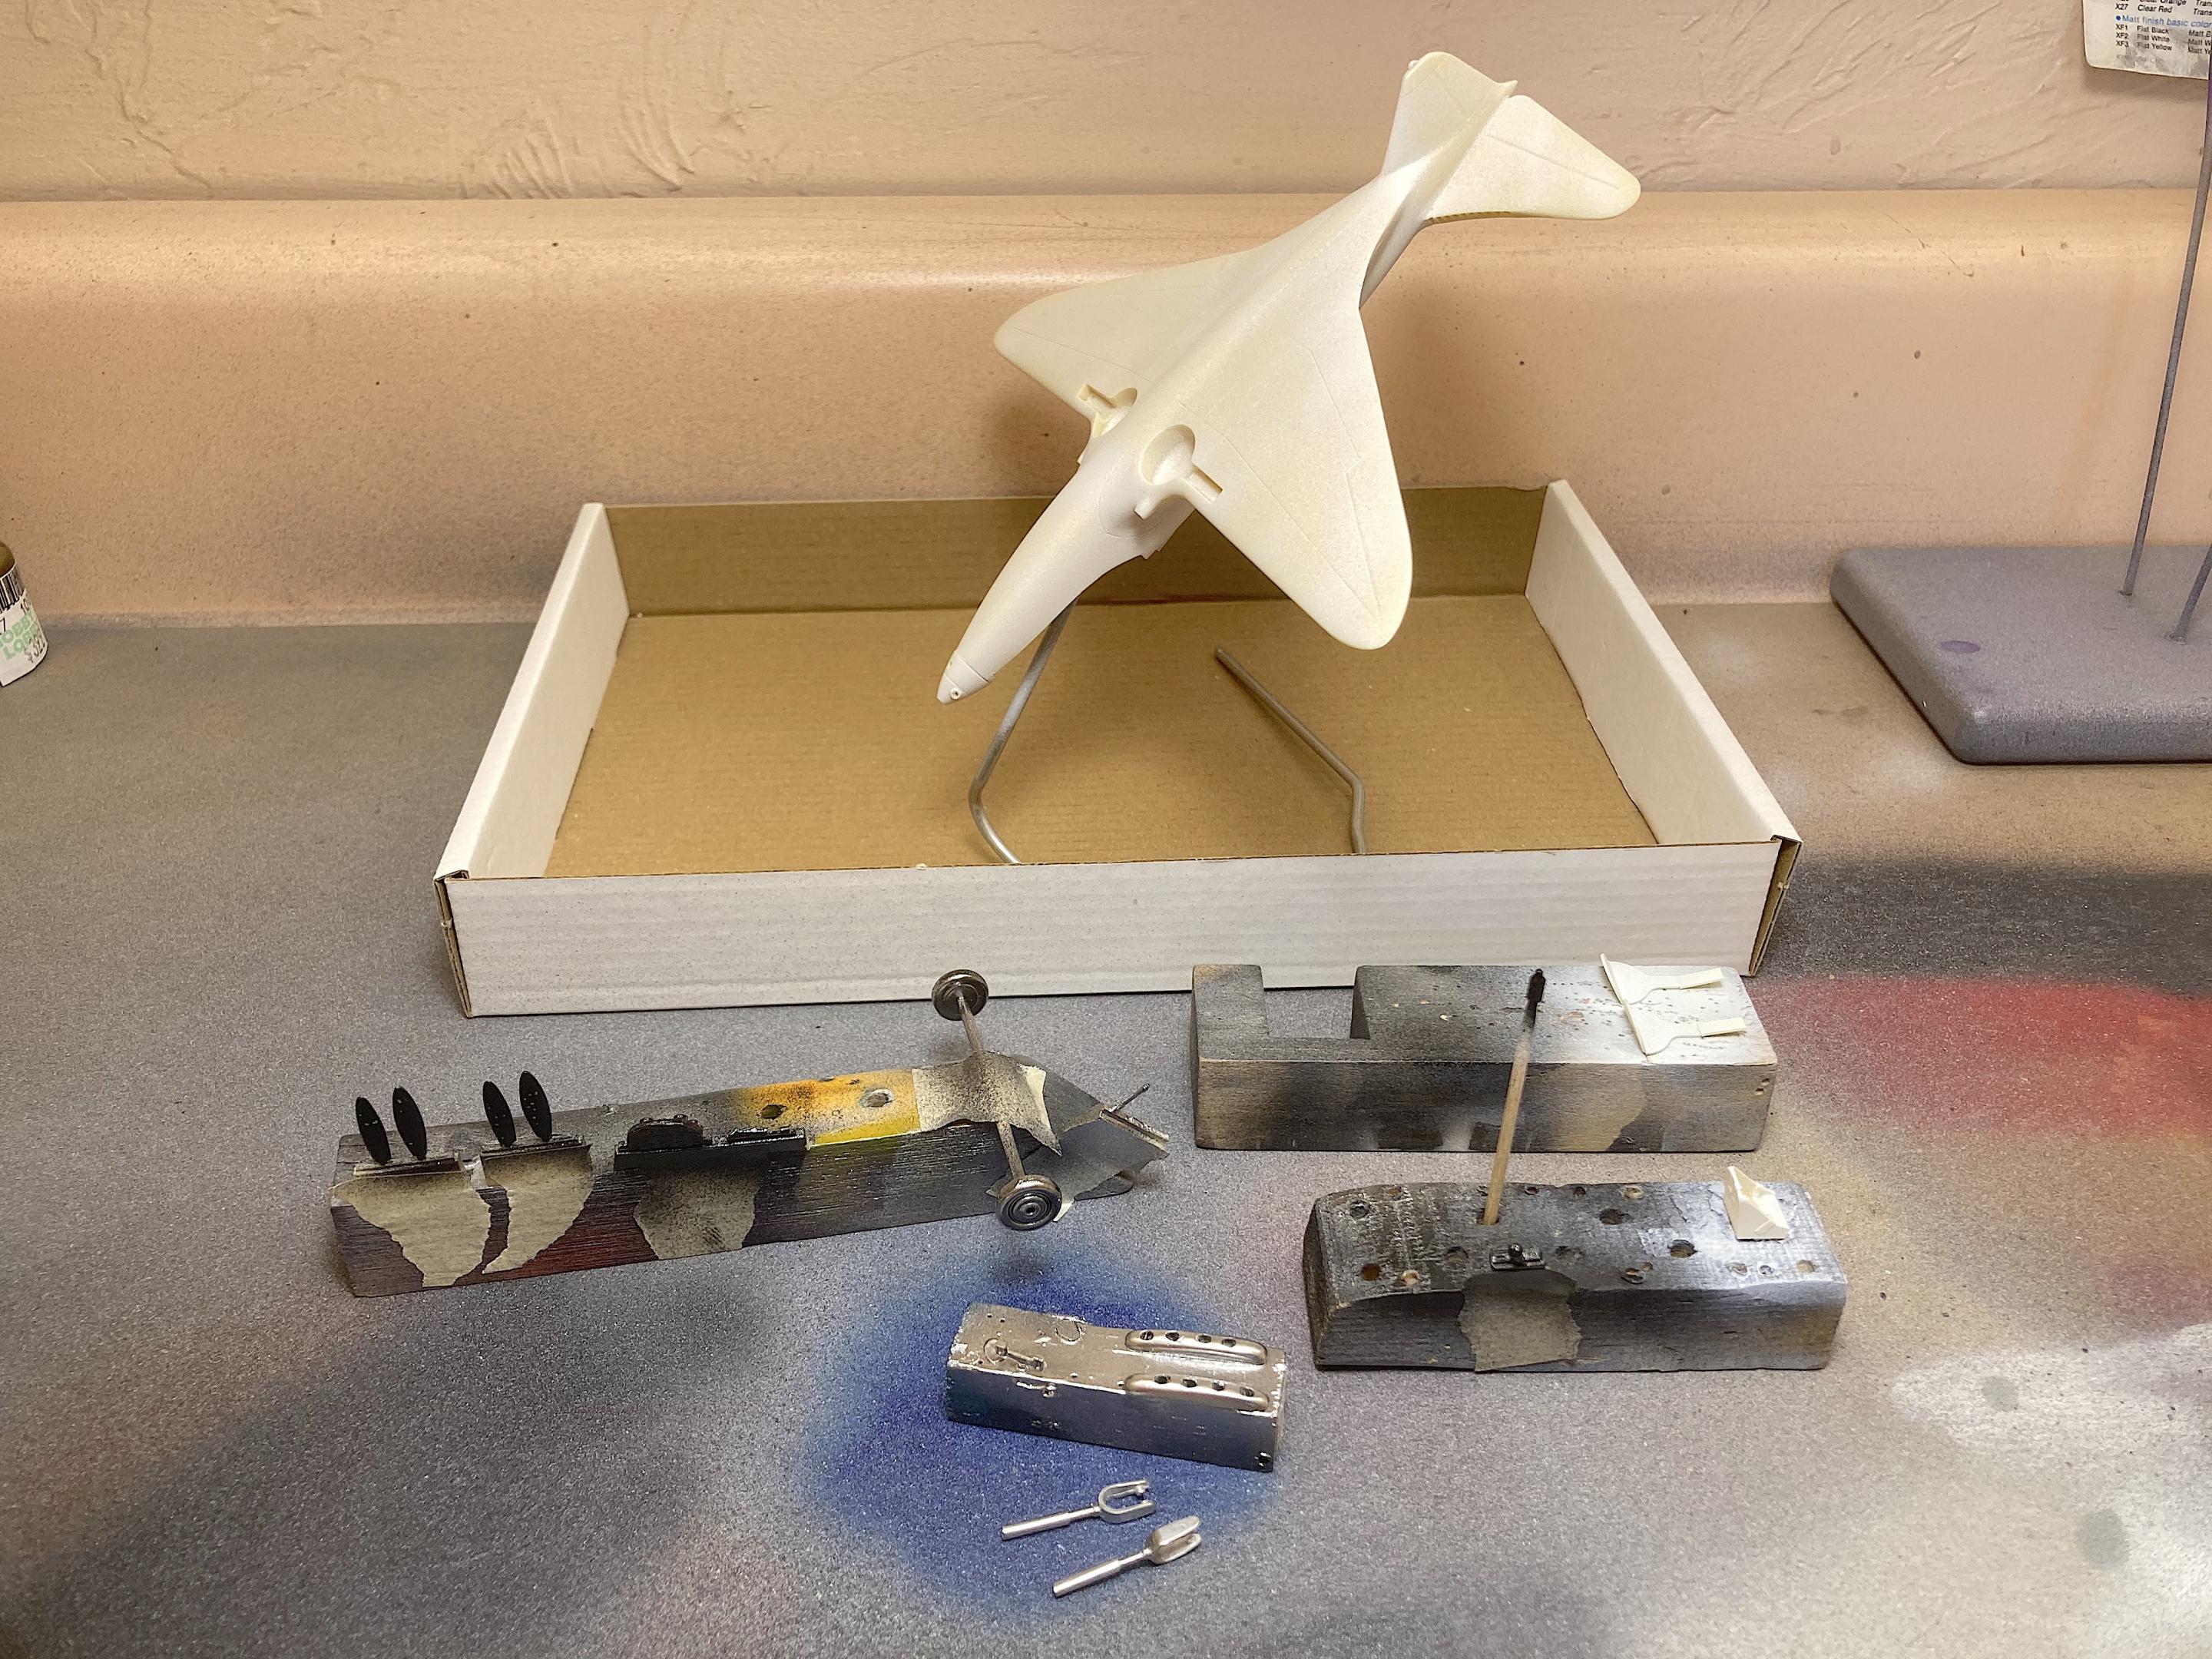
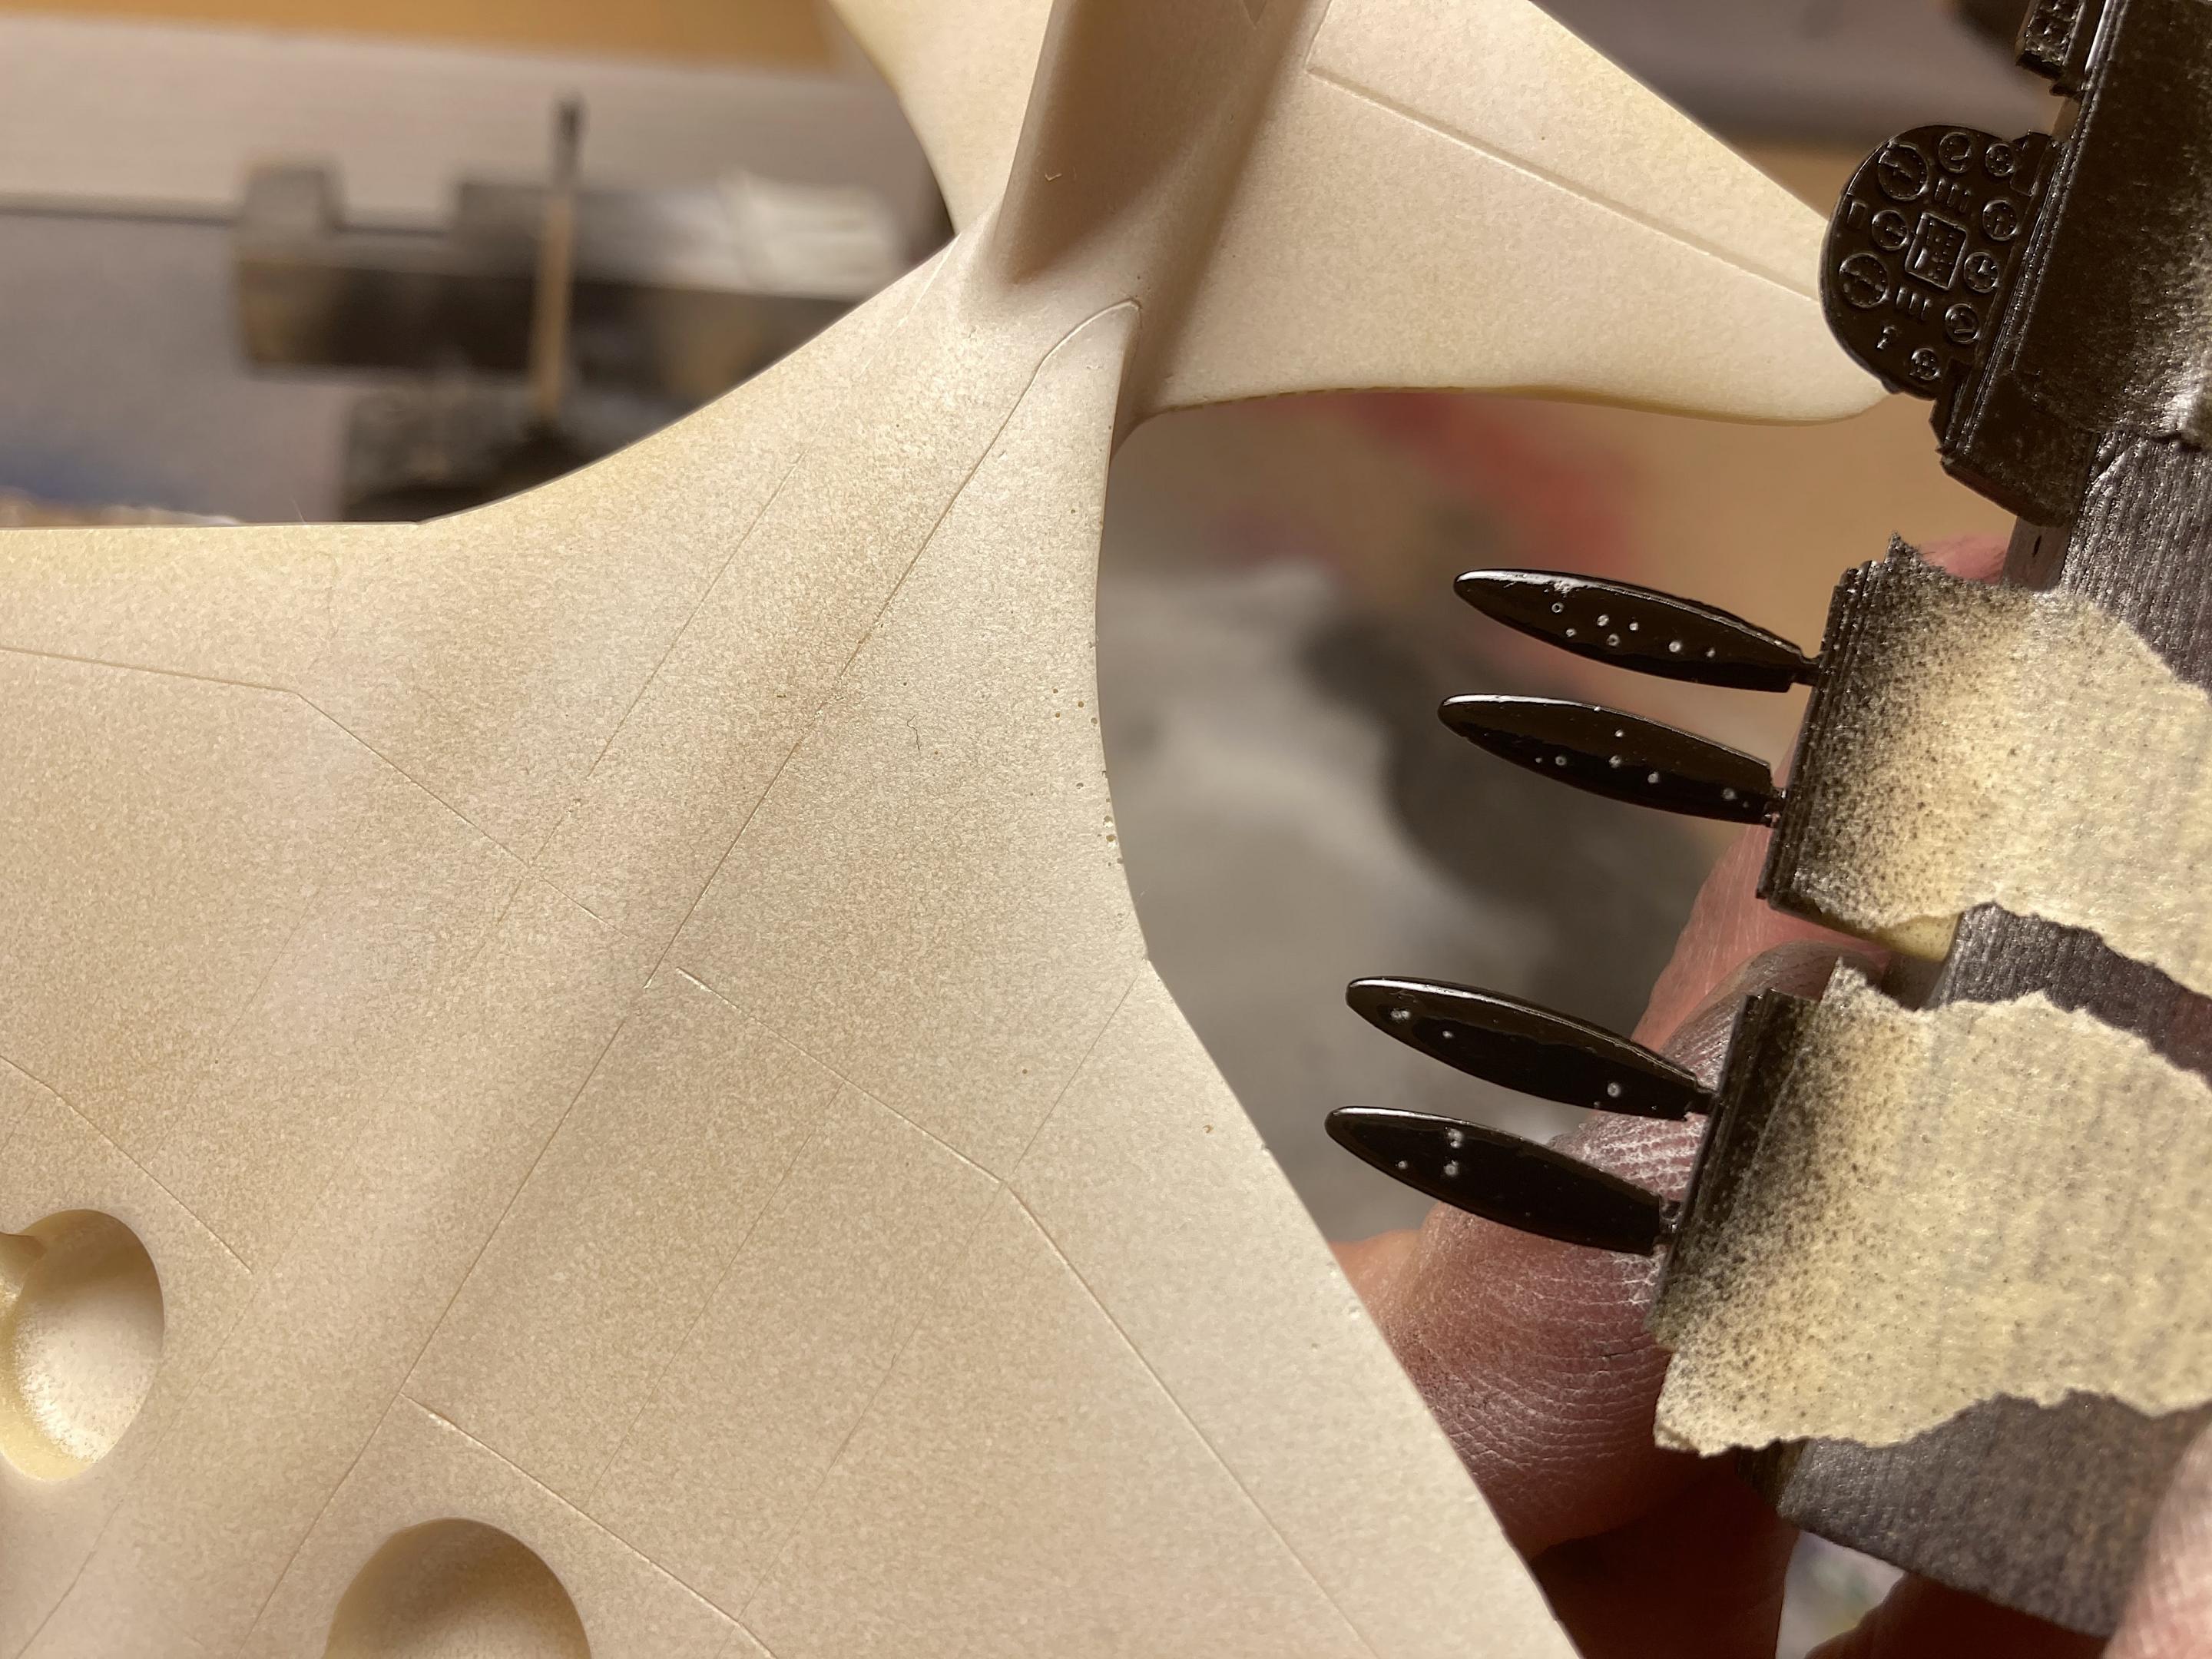
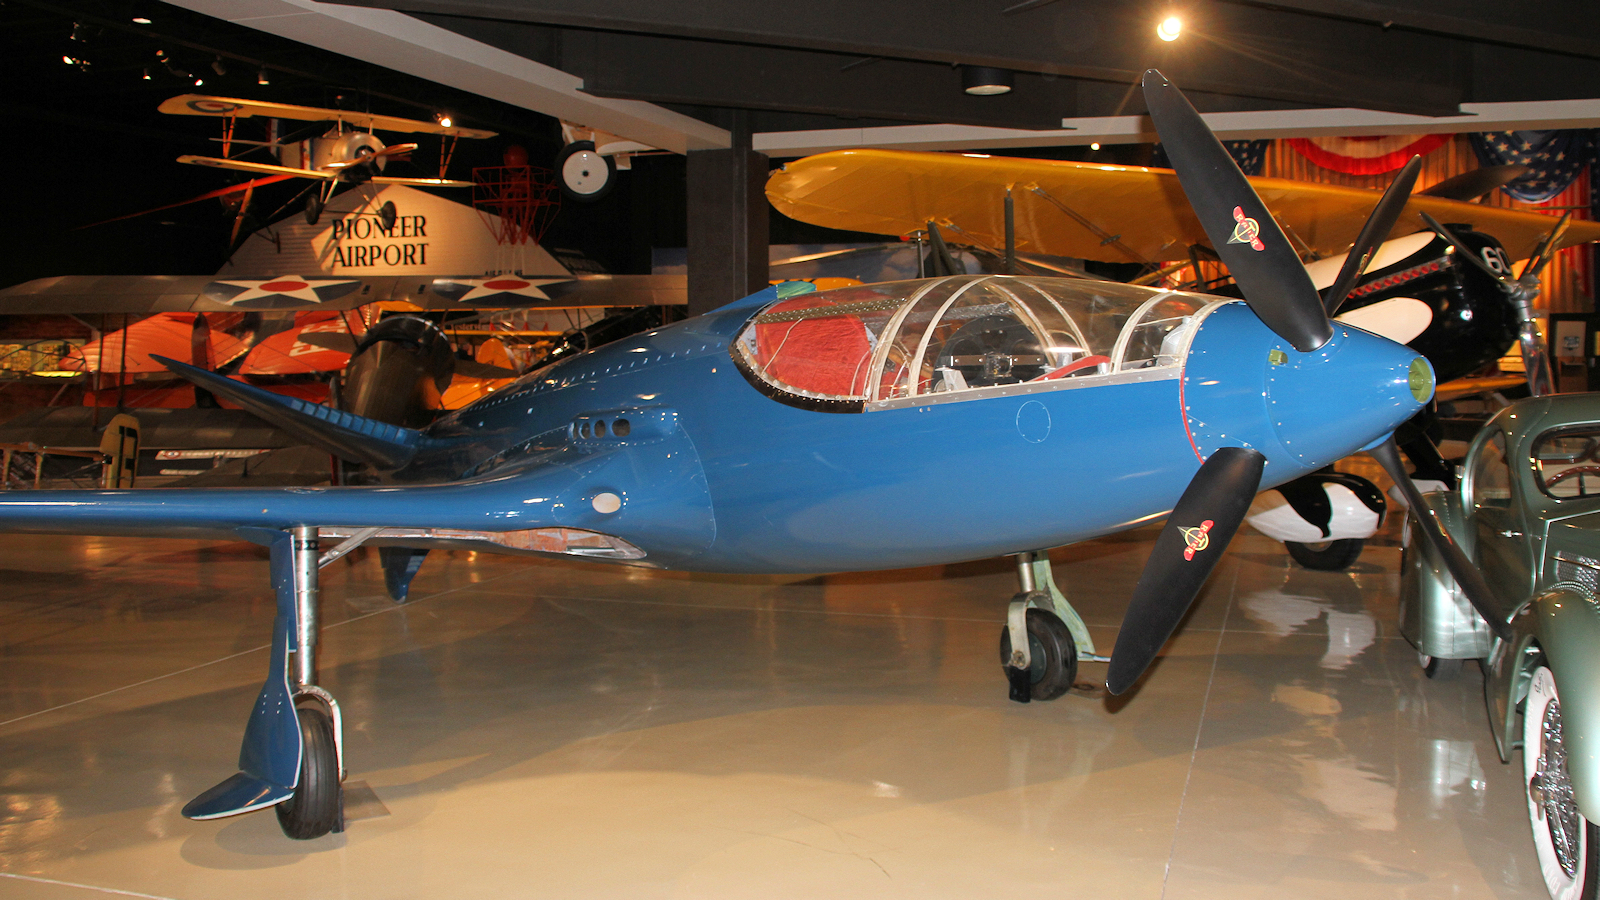
Y'all thought I posted in the wrong section? ? Planet Models 1:48 of the one-off racer airplane Bugatti 100P, I found at the IPMS Nationals in CO. I haven't done a thing for a couple months, wanted to call today a vacation, and build something quick. It's a brick, the two engines would have been fun. No seams or gaps like the typical airplane model. No decals, so I might finish it. But then again, I just can't build box stock anymore. Flickr: Stu Carr Not many parts. The vacuum-formed canopy is duplicated, so that was nice of them. The instructions have only blue and black for color references, but the box art is color, so I needed to figure out the interior which appears red, wheel wells must be light blue. Spent some time looking for bubble holes, there are many. The landing gear is white metal; I have filed, sanded, steel wool and Dremel wire brushed one here. The exhausts needed to be fixed, going to use steel tubing. Spotted a detail that was overlooked. How anyone can miss this, is beyond me. The box art has it, pictures I found of the plane at the Oshkosh museum shows it. Made from aluminum newspaper printing plate. Also added the tailwheel. Fun to do a model that can be painted the same day. Tamiya primer to start. Gloss black, then Alclad polished aluminum. Now I'm irked. I used a magnifying glass to look over the body, still missed an area. Then the propellers shouted about bubbles, on both sides. ? Enough whining, it's typical of resin.
- 24 replies
-
- 1
-

-
- bugatti 100p
- airplane
-
(and 2 more)
Tagged with:
-
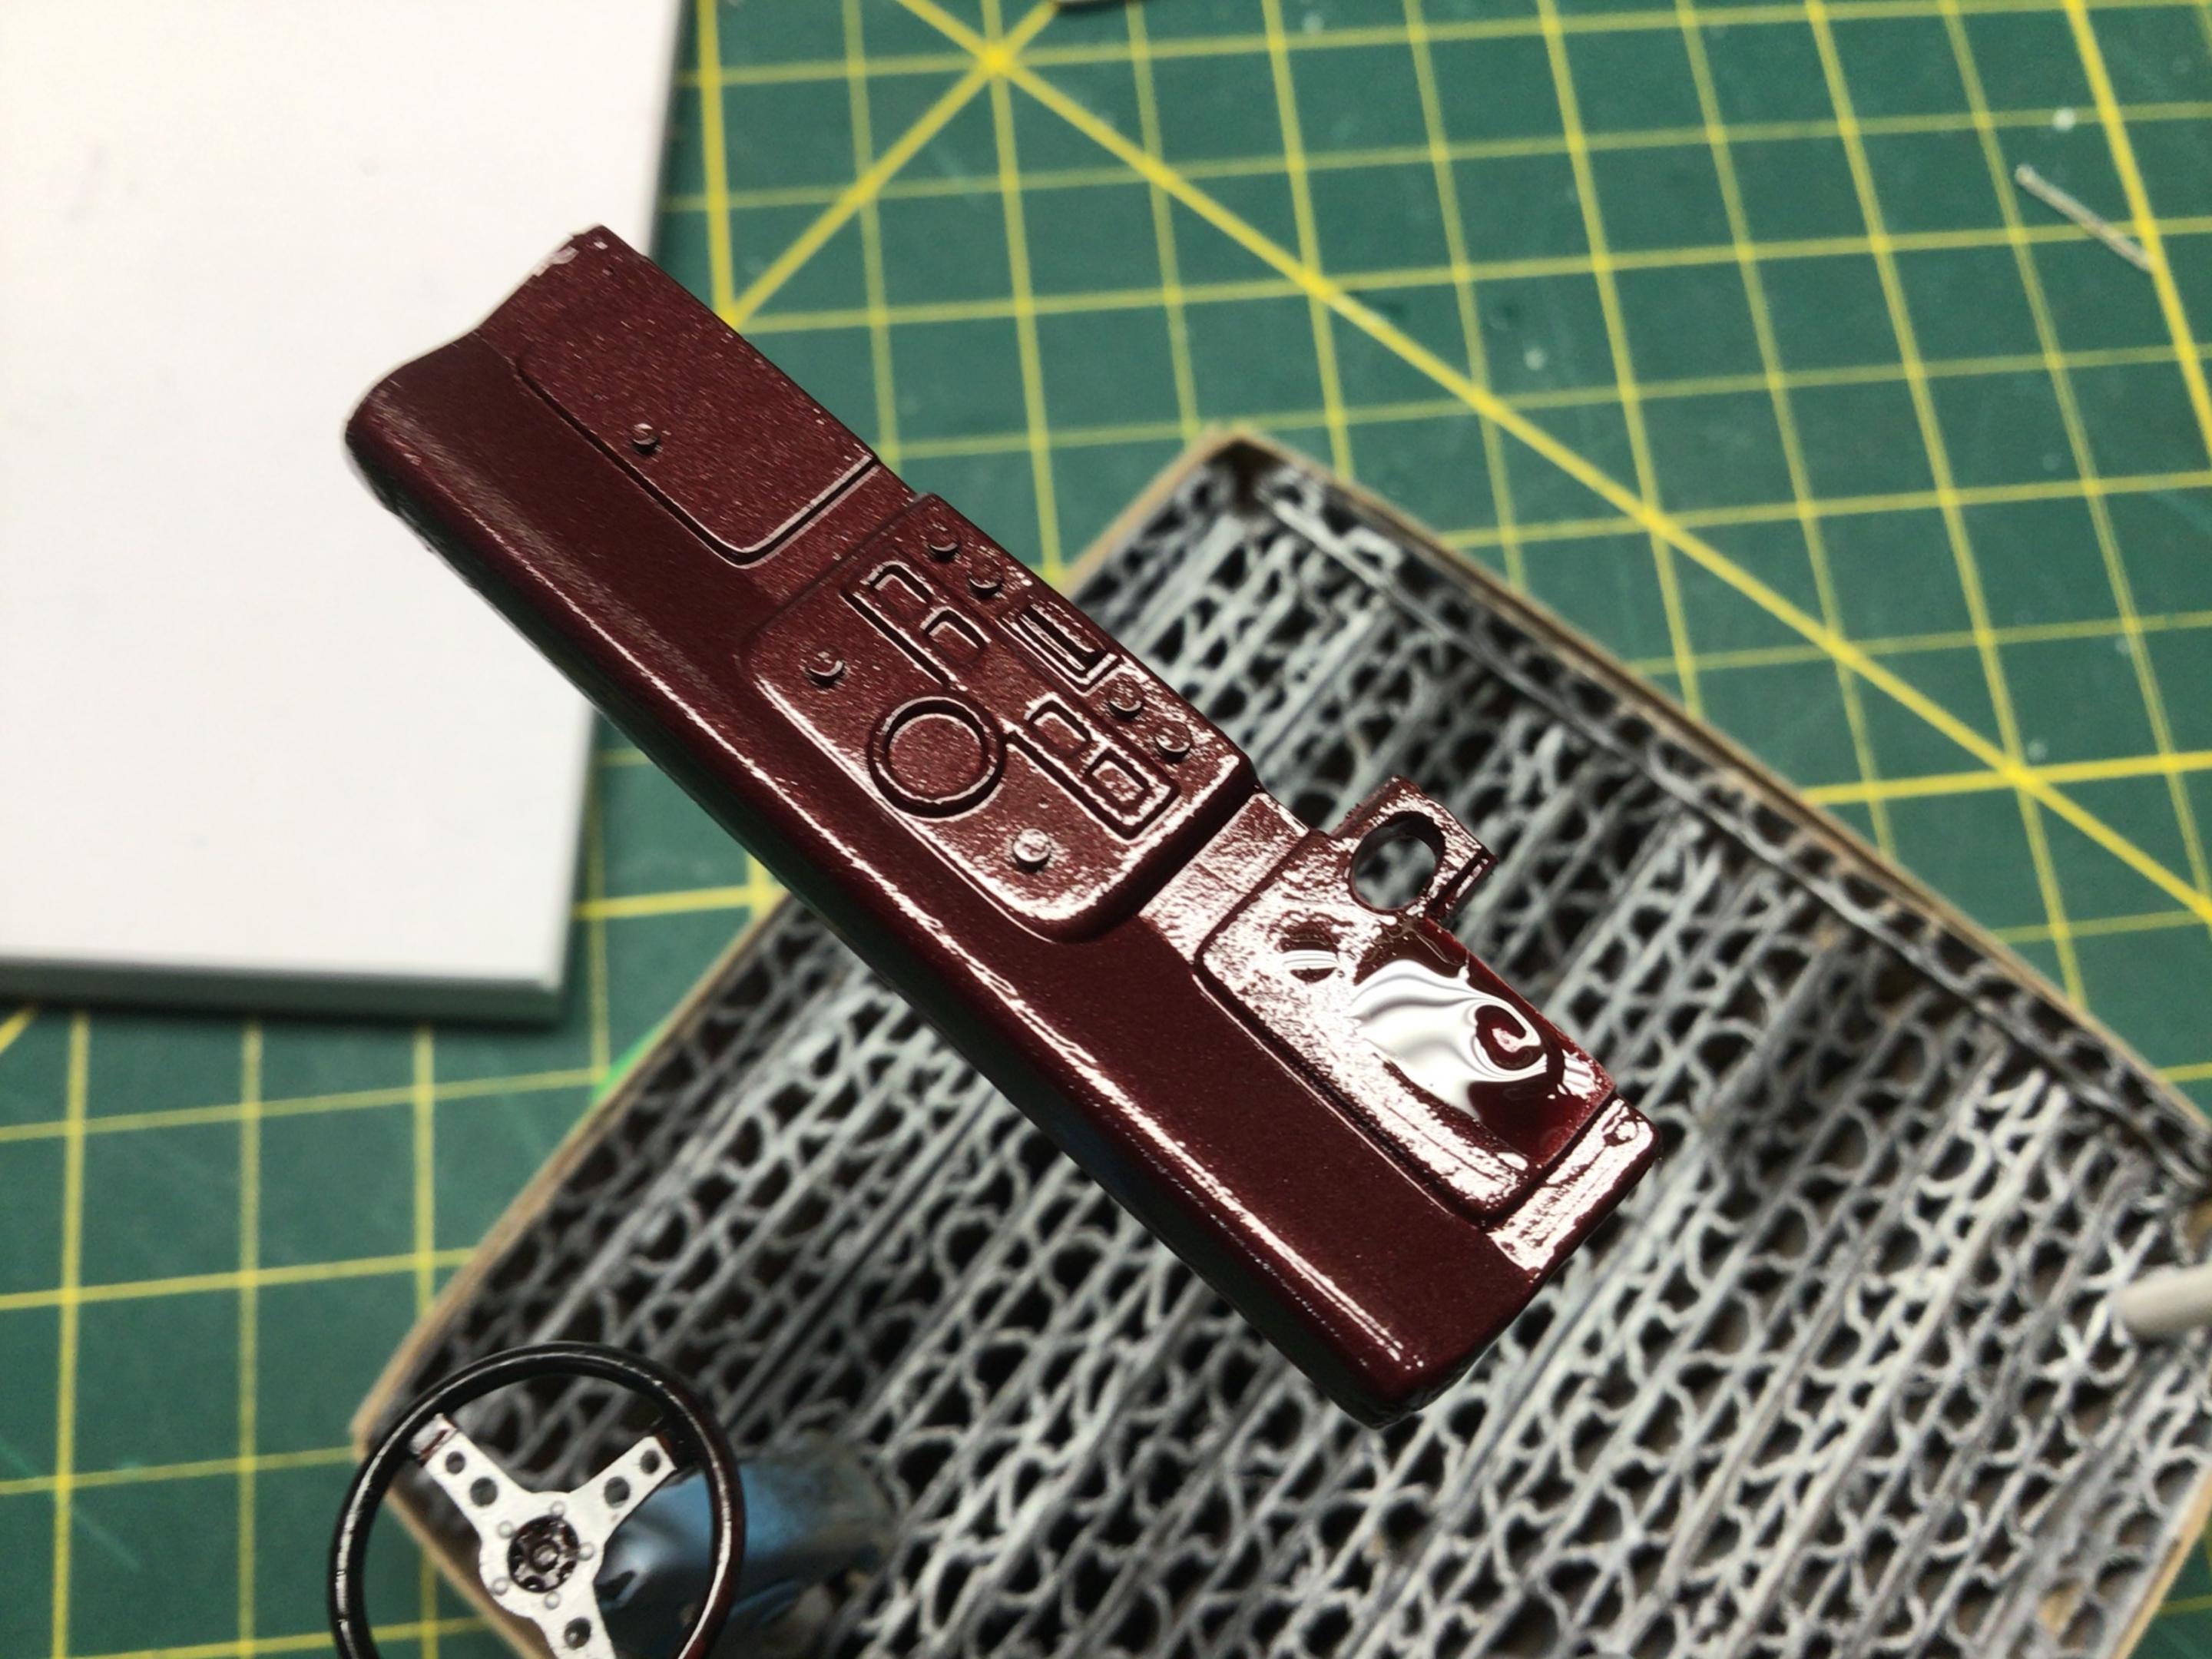
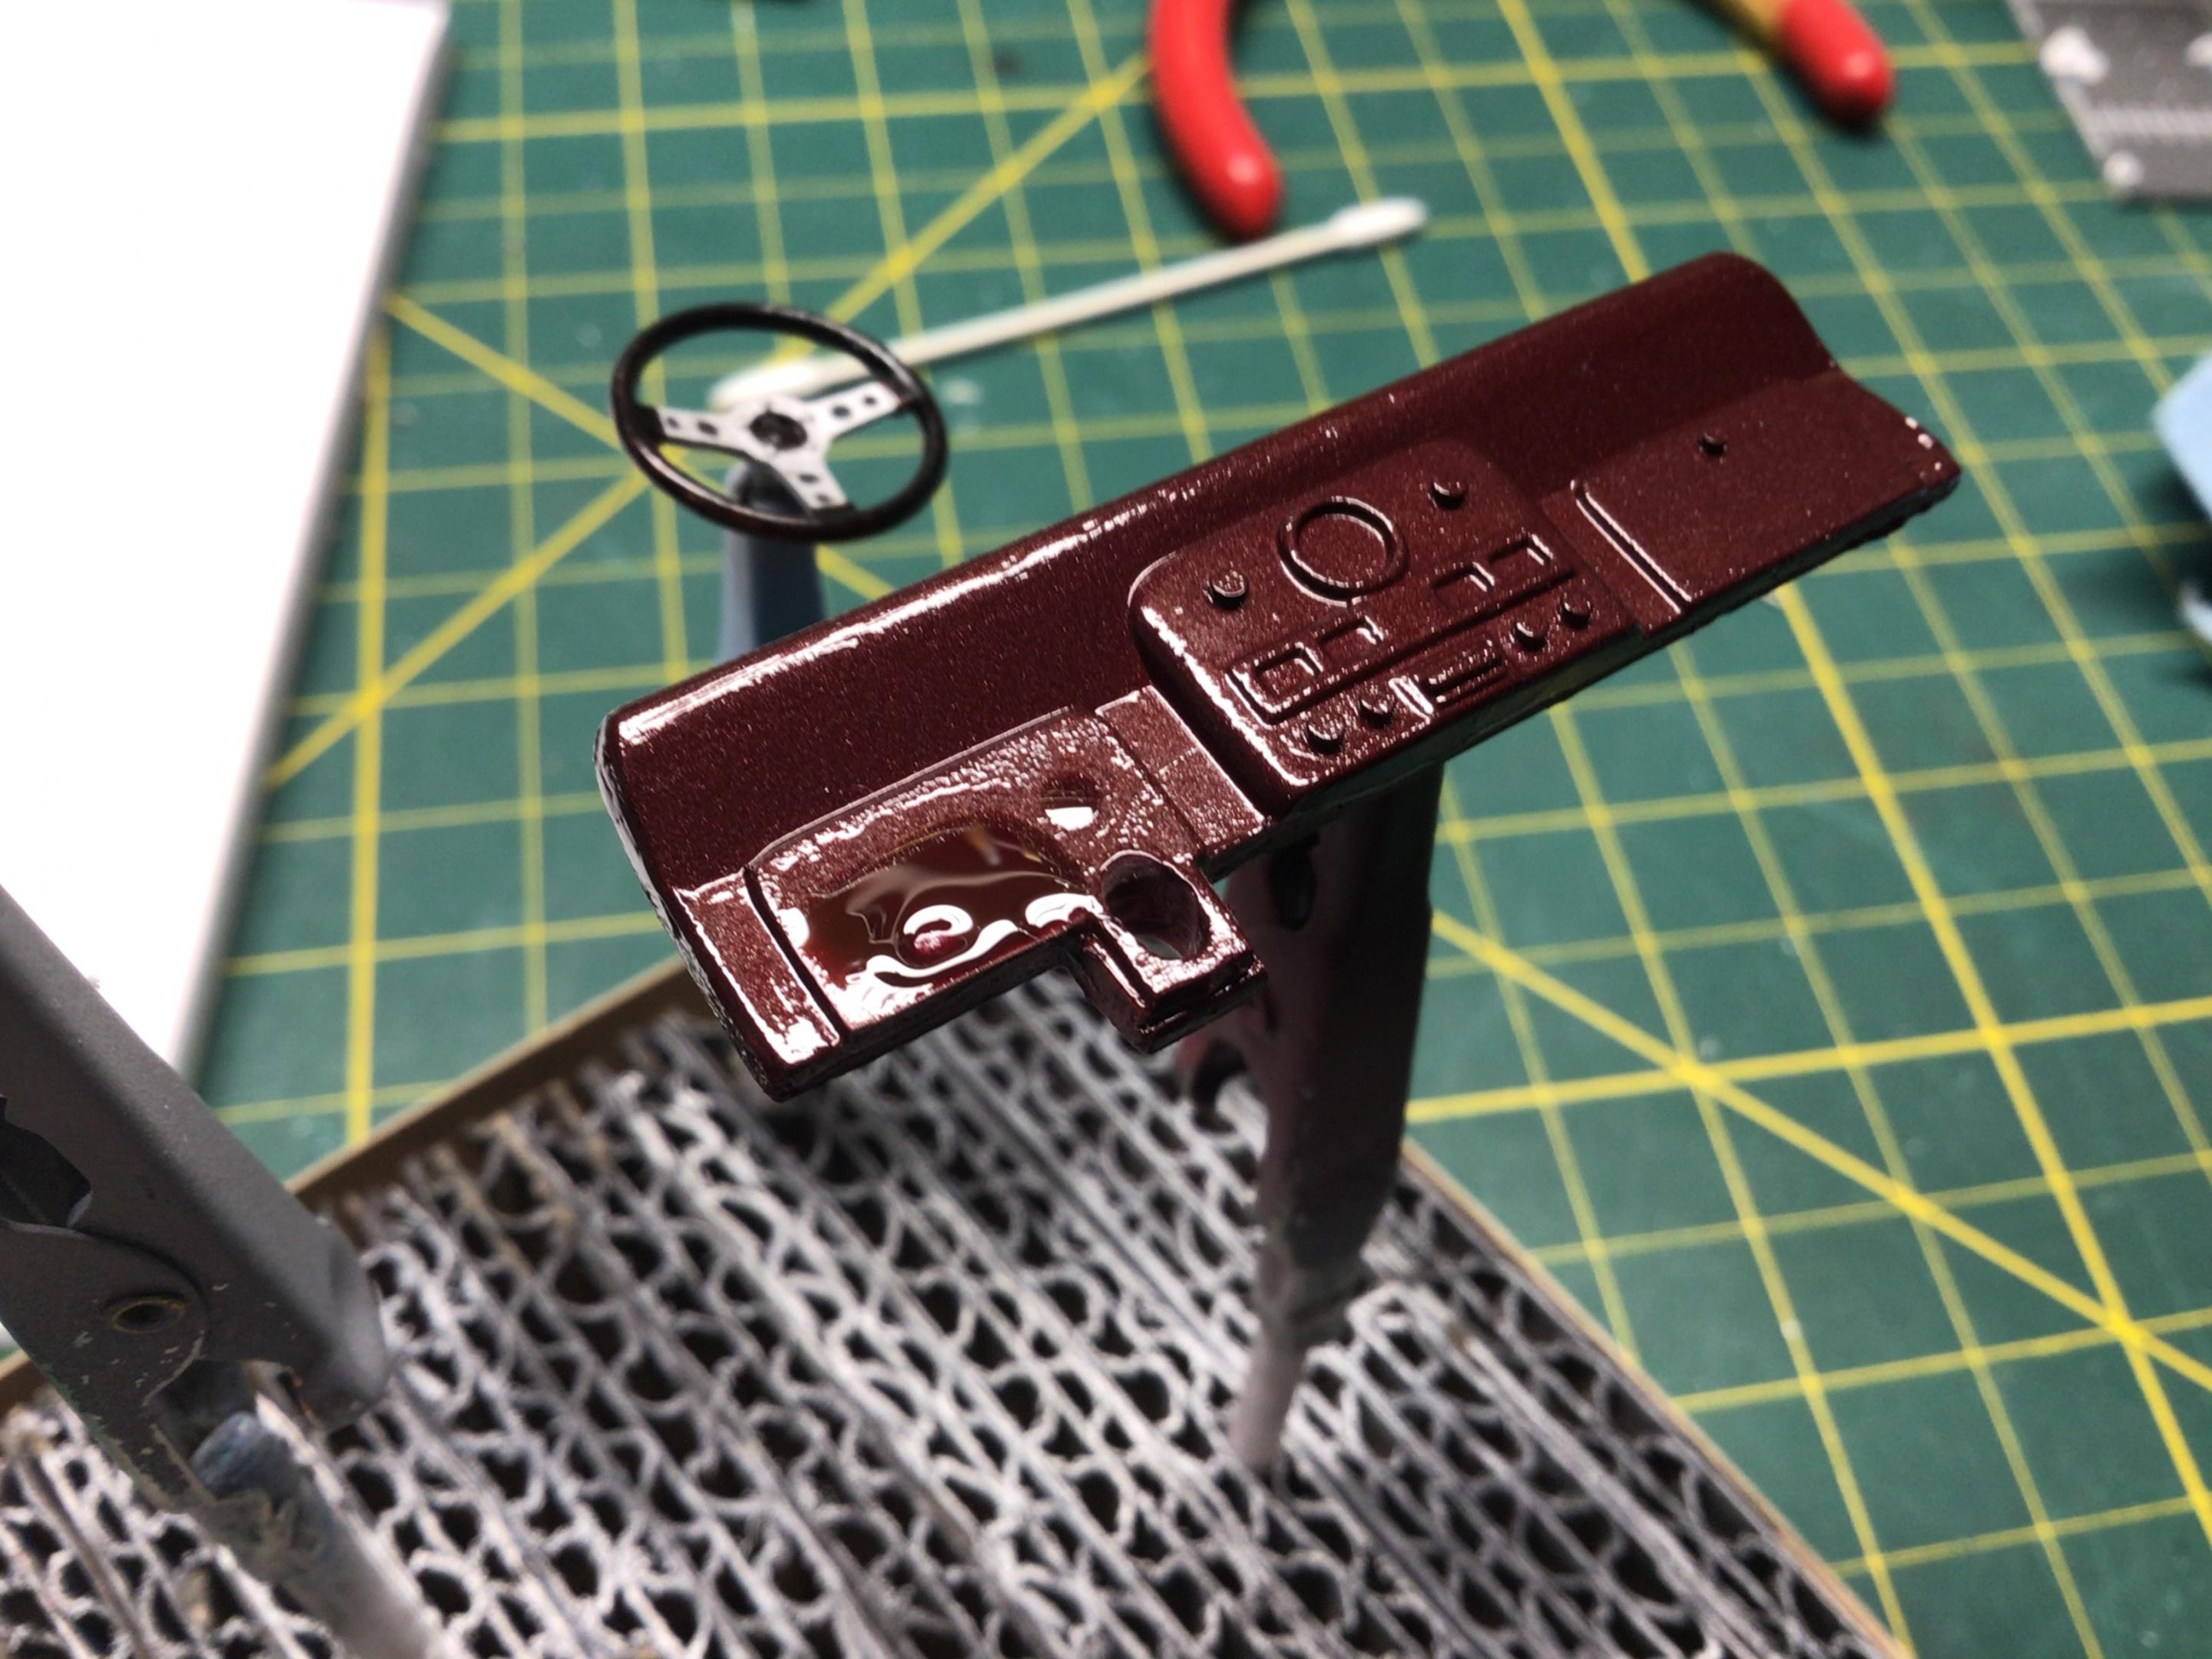
This paint was put into an aerosol can many years ago for me by an auto paint supplier. I sprayed this dash weeks ago, and it has been sitting in the dehydrator since. There is a raised portion of the dash that I filed down...and on that spot, the paint is still liquid. How long after casting does resin need to cure before painting? I must have painted this just after the filing that exposed fresher resin?
-
I sold off some more of Tom Piagari's unfinished projects last weekend at the LMMCC meeting for his widow (thanks to all those who bought them! ). One that hasn't sold yet was this resin '53 Ford wagon: Under the hood are the words "Copyright Property of TJH Model". Does anyone have some history on this kit, like when it was made, who mastered it, etc.? It's a solid kit (no windows or interior; plate chassis) but the quality is really really nice; almost as if Modelhaus made a Banthrico! It doesn't look like the Lindberg '53 Ford kit was used for the master (the grille is different). Other chrome is in the packet - dog dish hubcaps, taillights and hood ornament. The wheels seem to be injection molded (one is missing - the kit's only flaw) and I think the tires could be kit-sourced (Goodyear Super Cushions with sprayed-on whitewalls)? Note the wood areas are separate parts and there are neatly printed peel and stick appliques for the dark panels. So if anyone can fill me in on more history (did Clarence/TJH make any other kits?) and especially if one of you could turn up another wheel, I'd greatly appreciate it. I was asking $70 obo for it at the meet; does that sound like a fair price?
-
Did not see that anyone has shown this particular Audi Quattro kit, which is a low volume resin kit made in France. It represents the pinnacle of the Group B rally cars, infamously called Killer B due to extreme performance mixed with stupid spectators standing on the edge of the roads. I'm planning to build Walter Roehrl's car, with appropriate "weathering". This model has the engine, some other kits do not. I am going to use the Facebook embed method, since I've noticed old posts using photo hosting sites are now useless, and I don't want to use up my allotted space on this forum. I have basic descriptions on each of my photos. (if this does not work, please let me know)
-
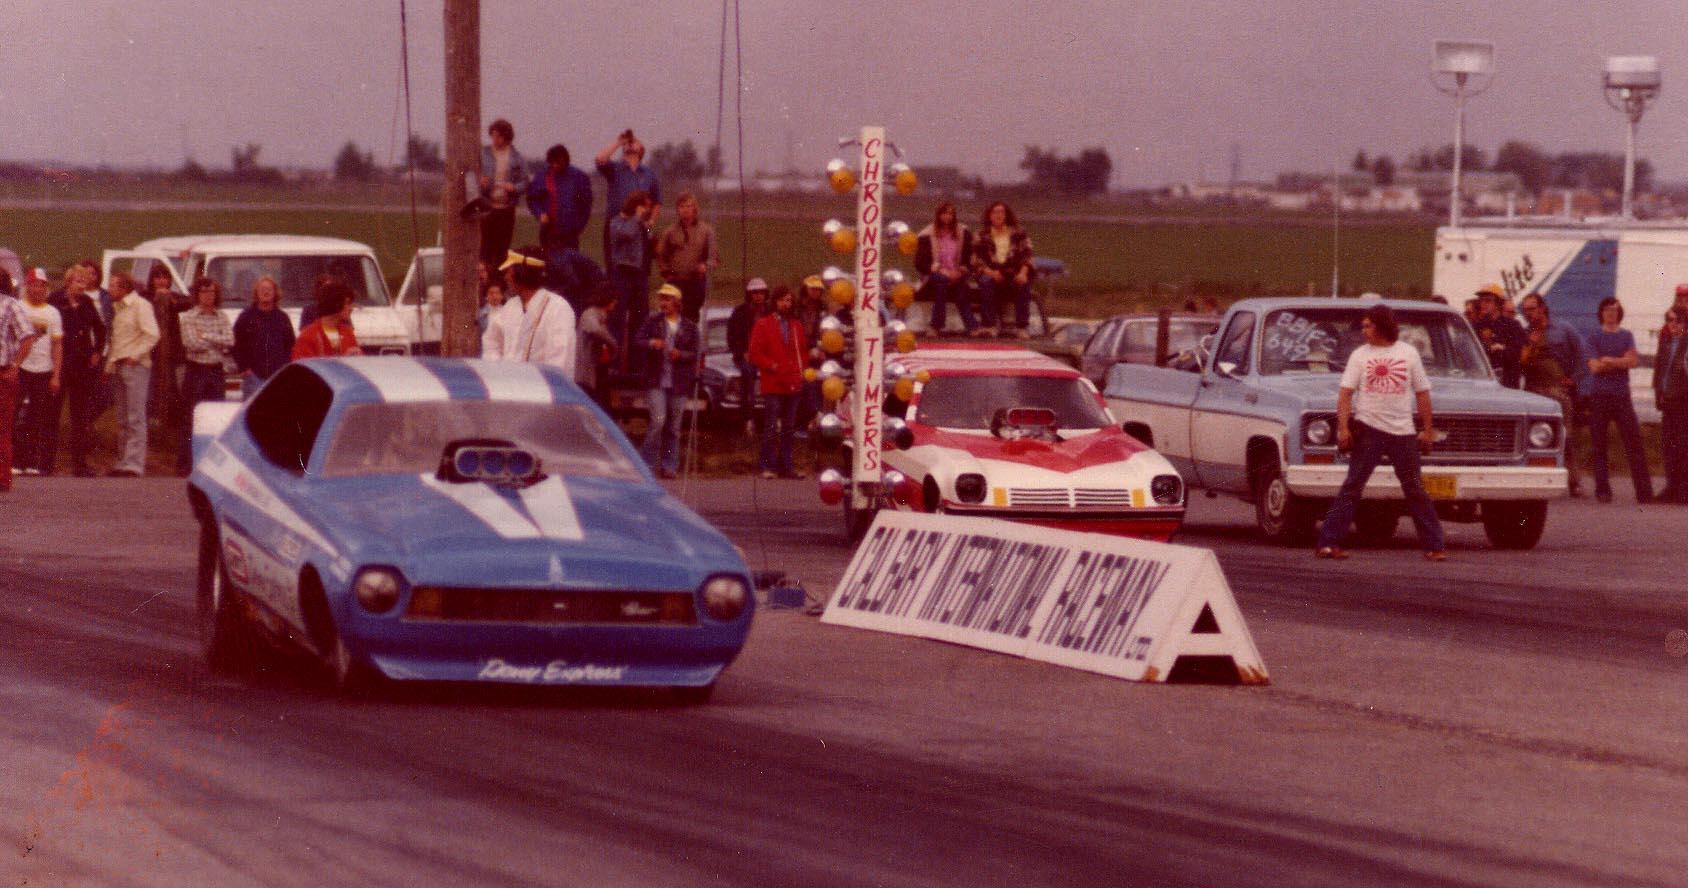
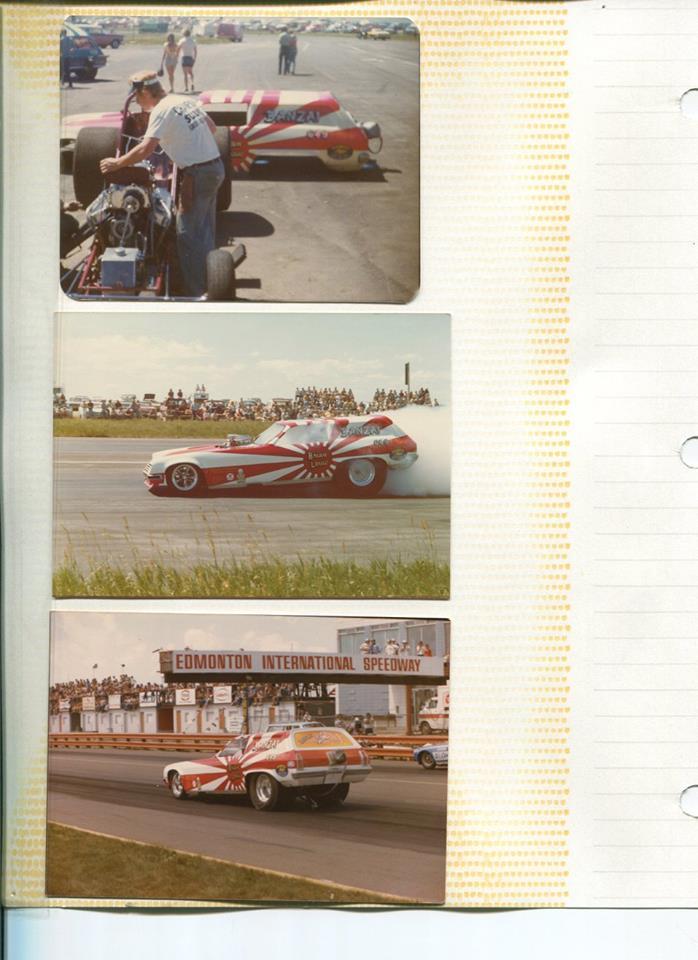
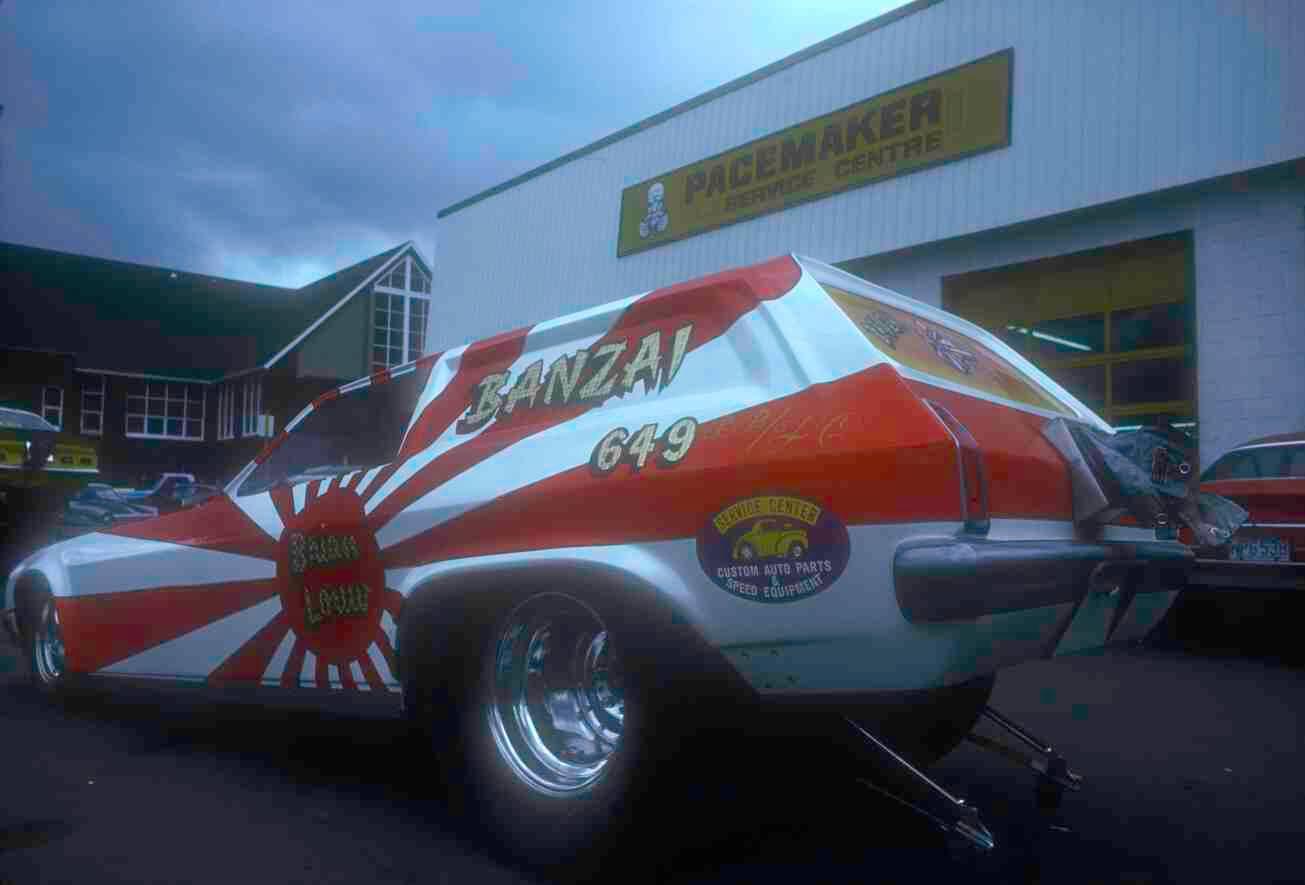
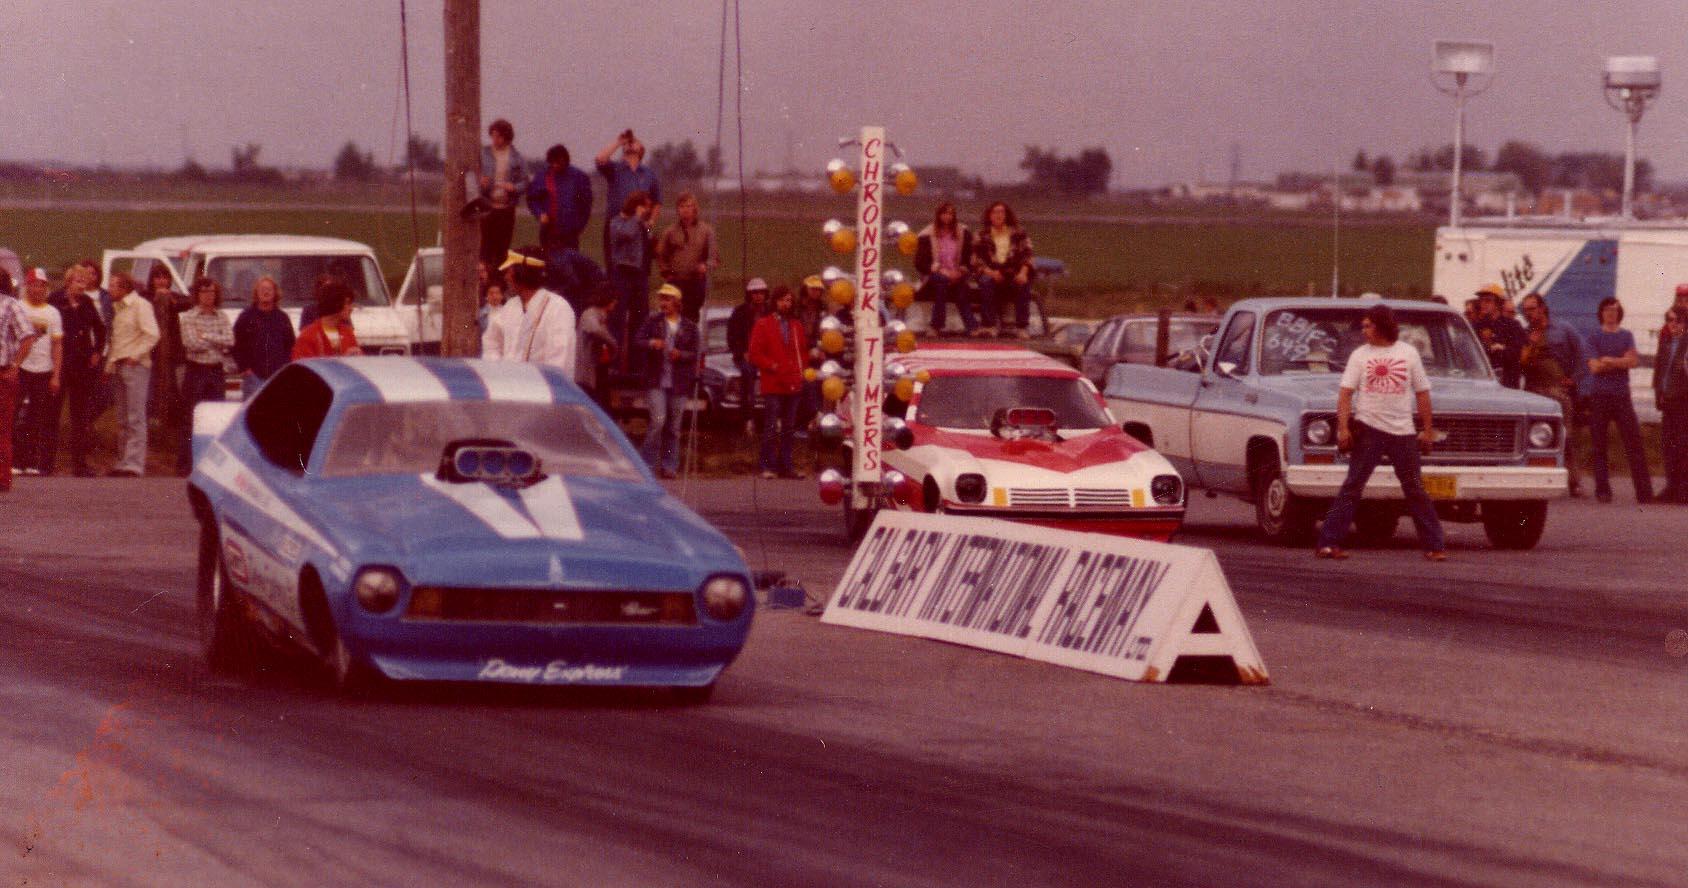
Part of a four car set I built commemorating the Alberta cars we toured with in Division six in the 70's
- 19 replies
-
- resin
- custom decals
-
(and 2 more)
Tagged with:
-
Hi, back after a few years! I have a few hundred diecasts - original issue Corgi, Dinky, Matchbox - and a promo car collection which was my dad's - and although they were stored in enclosed glass display cases, many suffered from oxidation. My mom passed away recently and I'll be needing to move the collection to my own house. I'm looking to ultimately keep and continue displaying some of these, photo-catalogue each piece and probably sell a number of them. I'm trying to decide A) how to clean them, to the extent they can be restored, and then how to best research for accurate pricing. This project sadly has been neglected as I didn't have the necessary time to devote to this due to life in general... but now I am basically semi-retired and looking to focus on working on this. Because of imperfect humidity environment, many of the Jo-Han cars in the 1/25, 1/24 collection have oxidation residue. I've got a sampling of some of the worst in the attached photos; tho they aren't extreme close-up. If there's any sort of best practices or protocol for dealing with this embedded dust, I'd really appreciate any advice...as well as suggestions on how to move forward on appraisal of this collection. I started macro-photographing most of the smaller scale diecasts and now am looking to finish those and shoot the larger scales, as I figure that's probably the first step to getting the entire lot of the collection properly evaluated. I know there's many different ways to go as far as appraisal and selling. My brother has a friend who is an online auctioneer who has regular vintage toys/cars among all the other categories of collectibles...but I'm more interested in connecting with people who specialize specifically in diecasts and promo cars. Would be glad to get any recommendations as far as that goes, as well. Thanks for your time reading through all of this! : ) Mike in Detroit
-
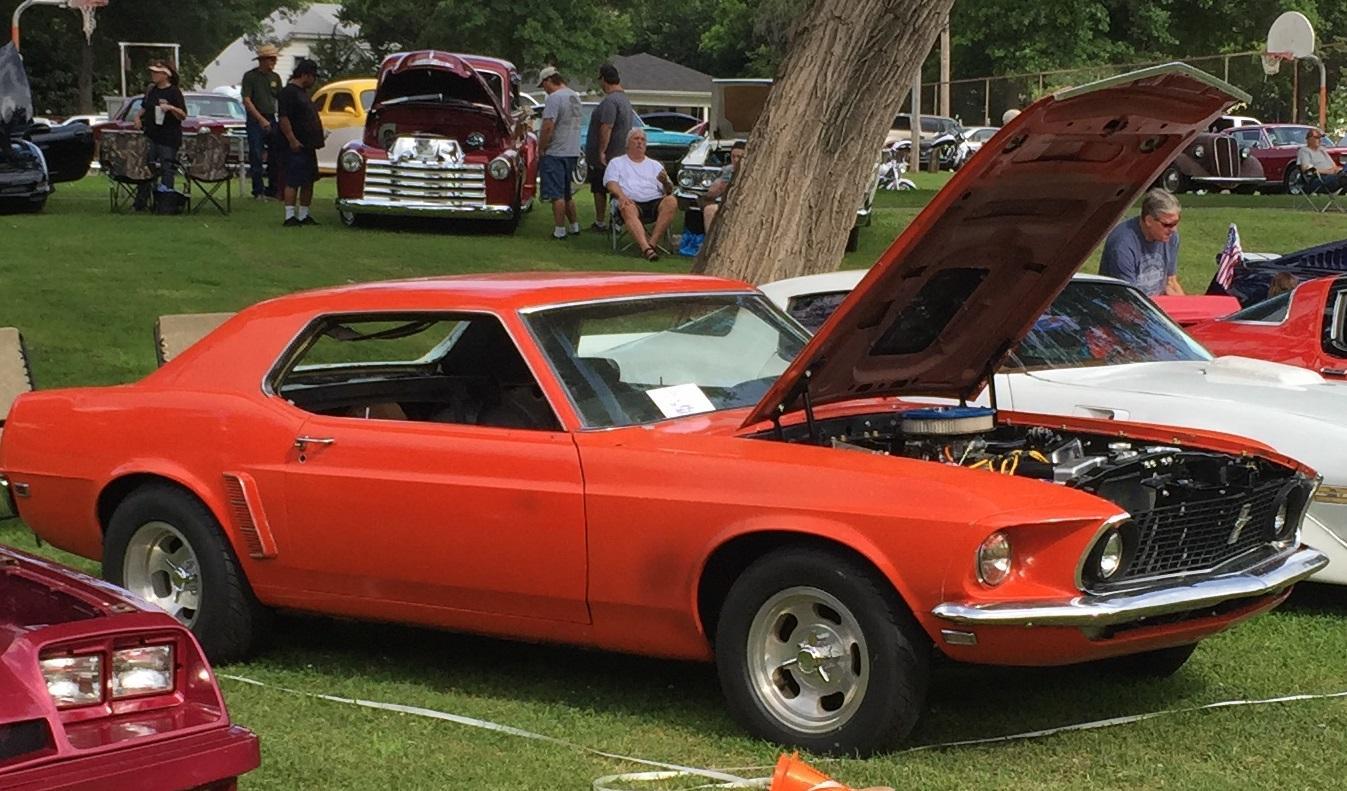
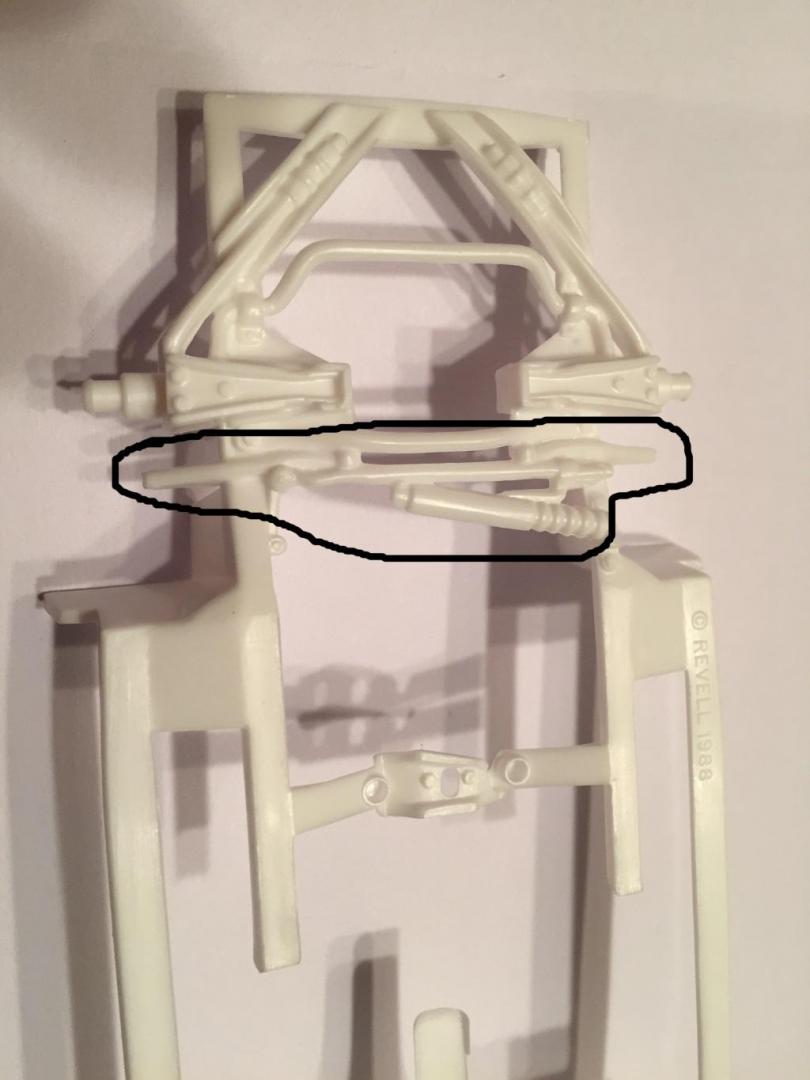
This is likely going to be an extended build but thought it would be fun to share the progress (or no progress as it may be) here with others. The goal is to build up a 1/25 scale of my actual 1969 Mustang Coupe that I've had since 1974. I finally have the car back on the road after way too long although it still needs details completed. I really should be working on the real one instead of this but I hope this will rebuild my motivation for the big car. I've messed with cutting up a kit to get the coupe roof line long ago but was never happy with what I could accomplish. Having run across the resin Grande coupe body some time ago I knew that was what I needed BUT the prices were over $100 on every auction and that was too much for me. Recently I received an alert from my ebay notices that there was a "69 Mustang Resin" for sale but figured it was another one of the decorations or 1/43 scale version. I checked it out anyhow and it had a very reasonable buy it now so I clicked it without any second thoughts. This is the resin kit pieces although I may use the CJ hood with the hole is the standard scoop will cover it. In any manner I want the air filter just peaking through the hood under the scoop like the real car does. Engine wise I want to match the 347 that I've built for the car as well which generally will not be a problem except for maybe the shorty Cobra filter that I've never seen anywhere else. The rest is pretty easy as the Cobra T pan is out there and covers and I found an intake that closely matches the old F4B I've kept on the car. I put a Mcleod scatter shield and TKO 3550 in the car and have found a close trans out of an early 90's Mustang kit. In fact, I bought the Mustang Cobra Combo kit to get not only the 1969 base parts but the rack and pinion to fit the rack I used in the real car and the fox body seats that I used as well. The Fox Cobra is 1/24 though so I may have to do some fitting on the seats as they already seem over sized. I plan on painting up / detailing the engine as close as I can to my actual build as well as the electric fuel pump setup, slapper traction bars, etc. I'm still debating on opening up the doors and trunk. It's a lot of work and sometimes doesn't actually add any value but then again I do not plan on building another one of these. One of the first things I had to do was remove the molded in battery from under the hood as mine is in the trunk. I'm thinking I'll rebuild the shock towers as well as the kit looks more like the Boss 429 laid back towers than my stock ones. The front suspension detail is so lacking on this kit as well so I may build up some custom shocks/springs and upper arms. I'm pretty familiar with the 1969 Mustang having put a passenger side shock tower and battery tray panel in the real car so I know how it should look :-) The other thing I have to do is remove the molded in power steering linkage as I'll be using a rack like the real car has. Little detail but I figure what the heck, I want to do this as close to the 1:1 that I can. Cool thing is I can always walk out to the garage and take pics, measurements, etc if I need to in order to validate the end results! Stephen
-
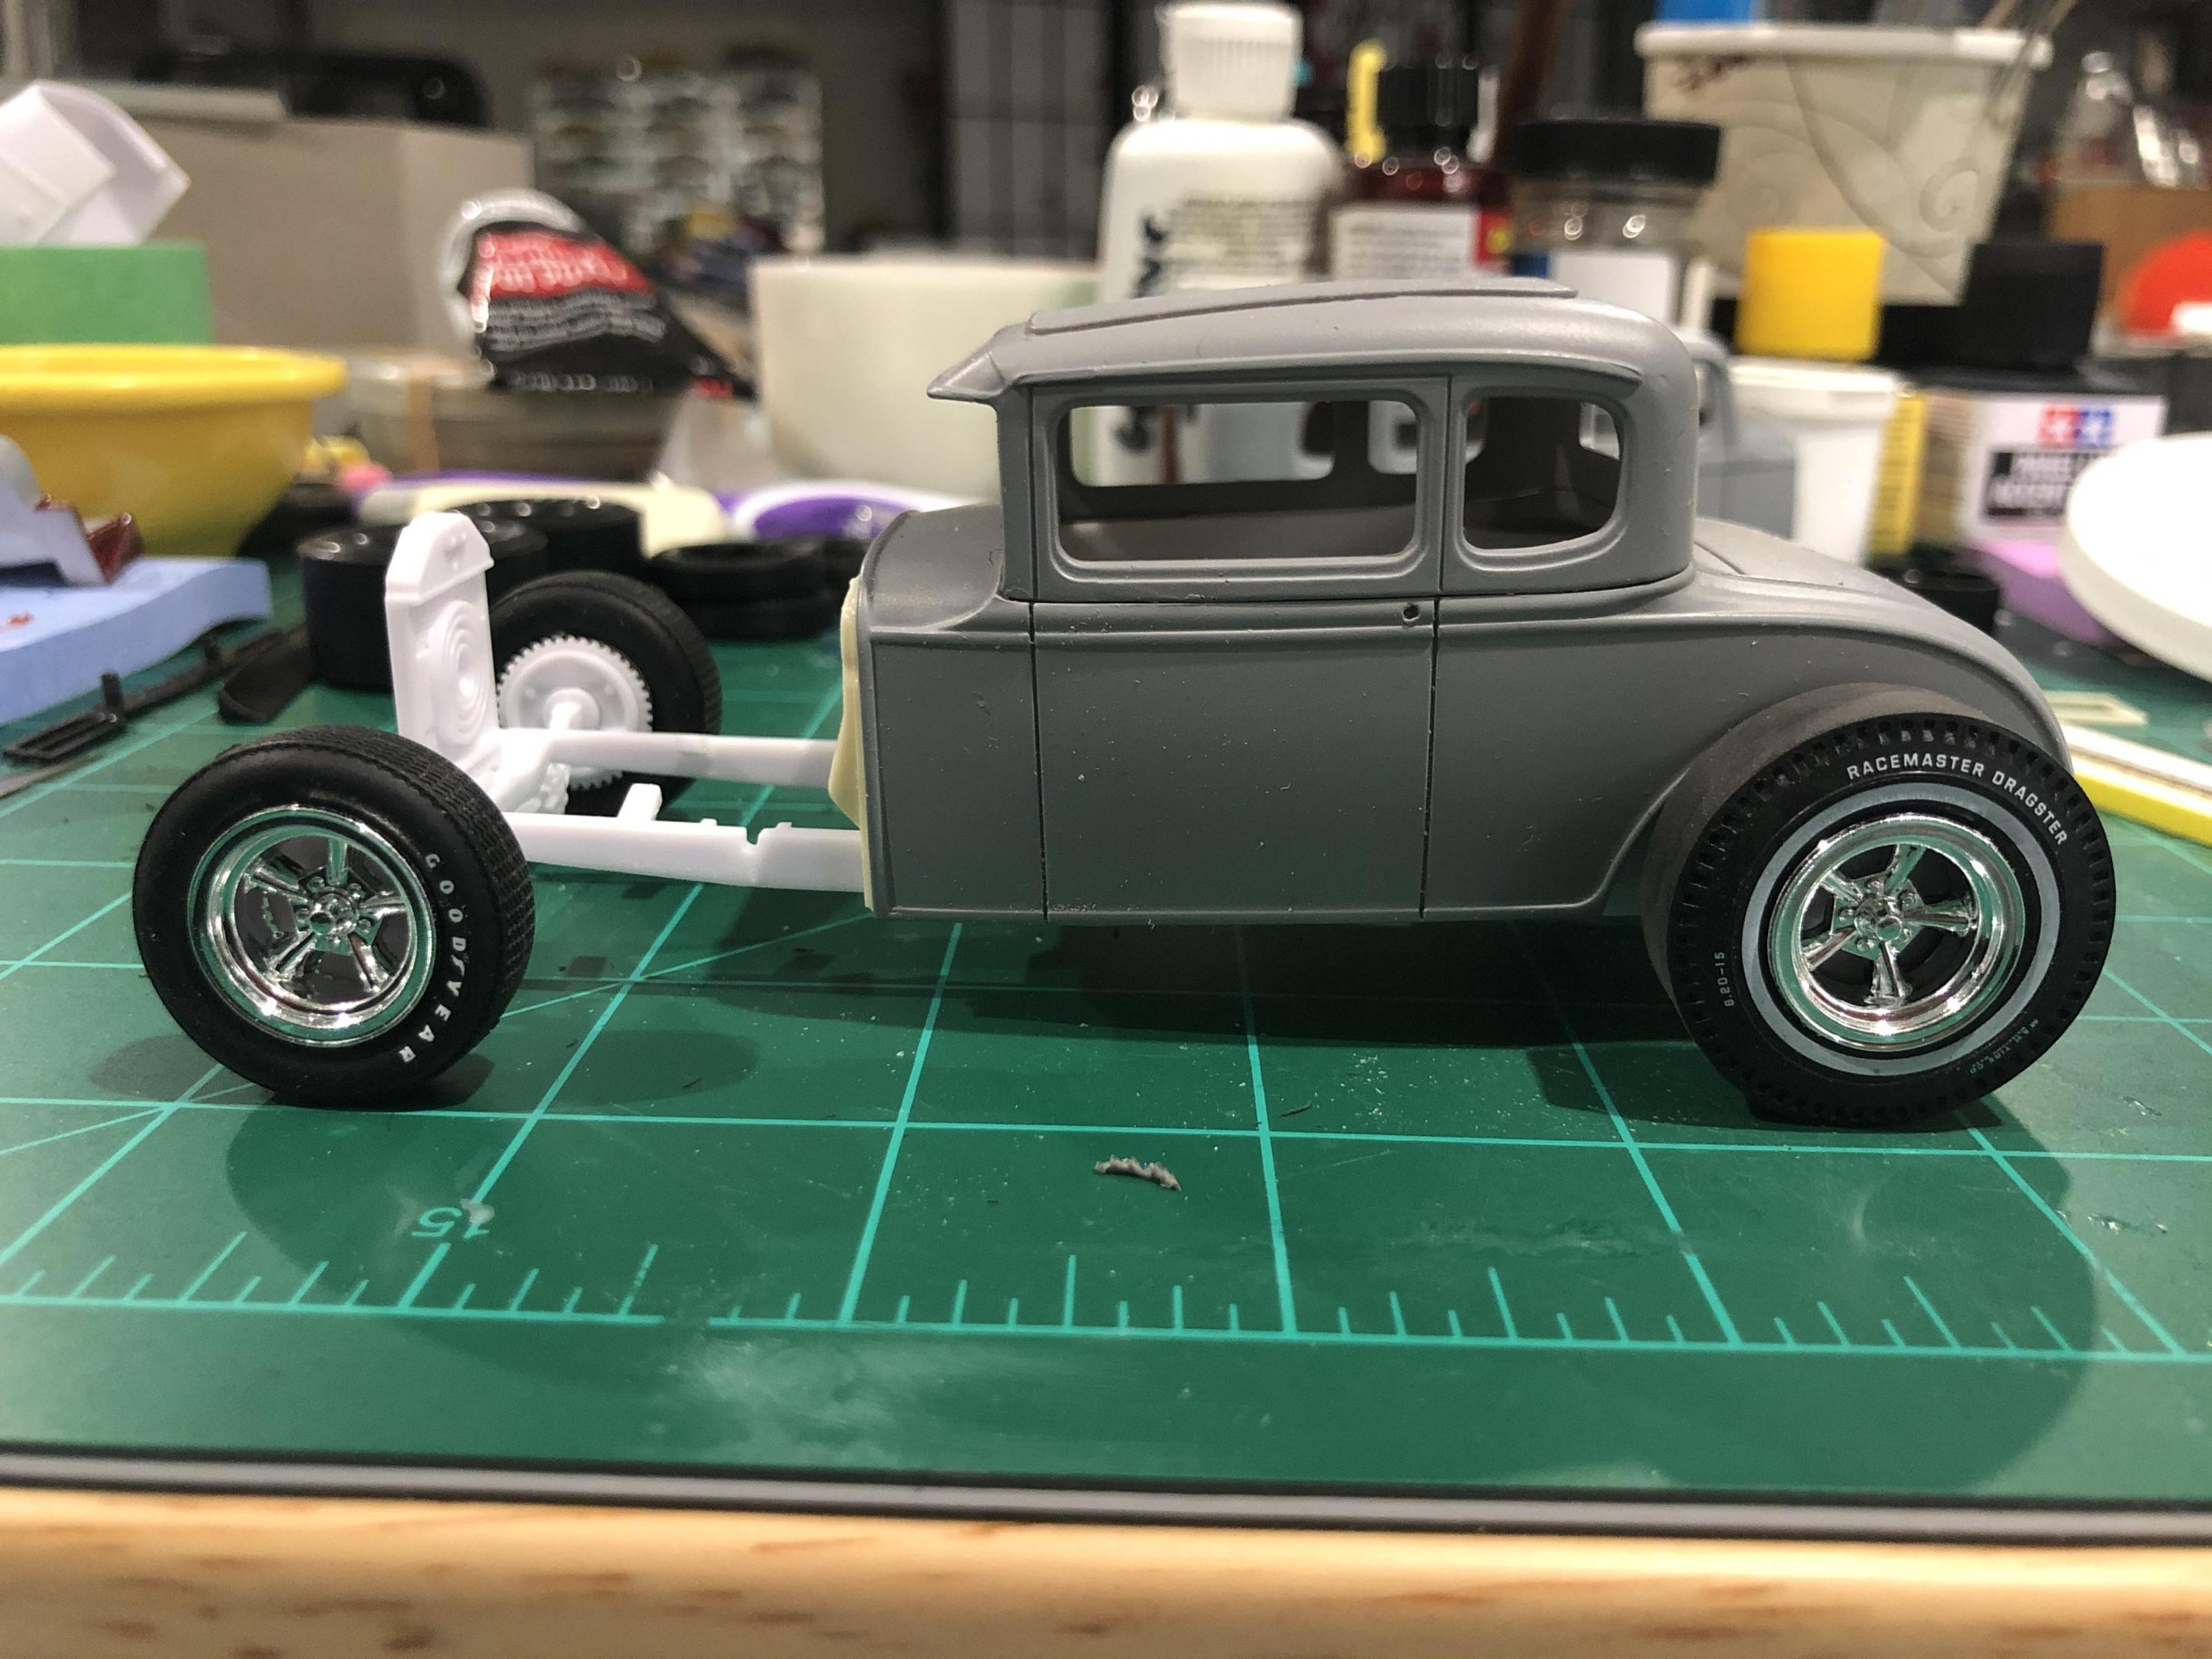
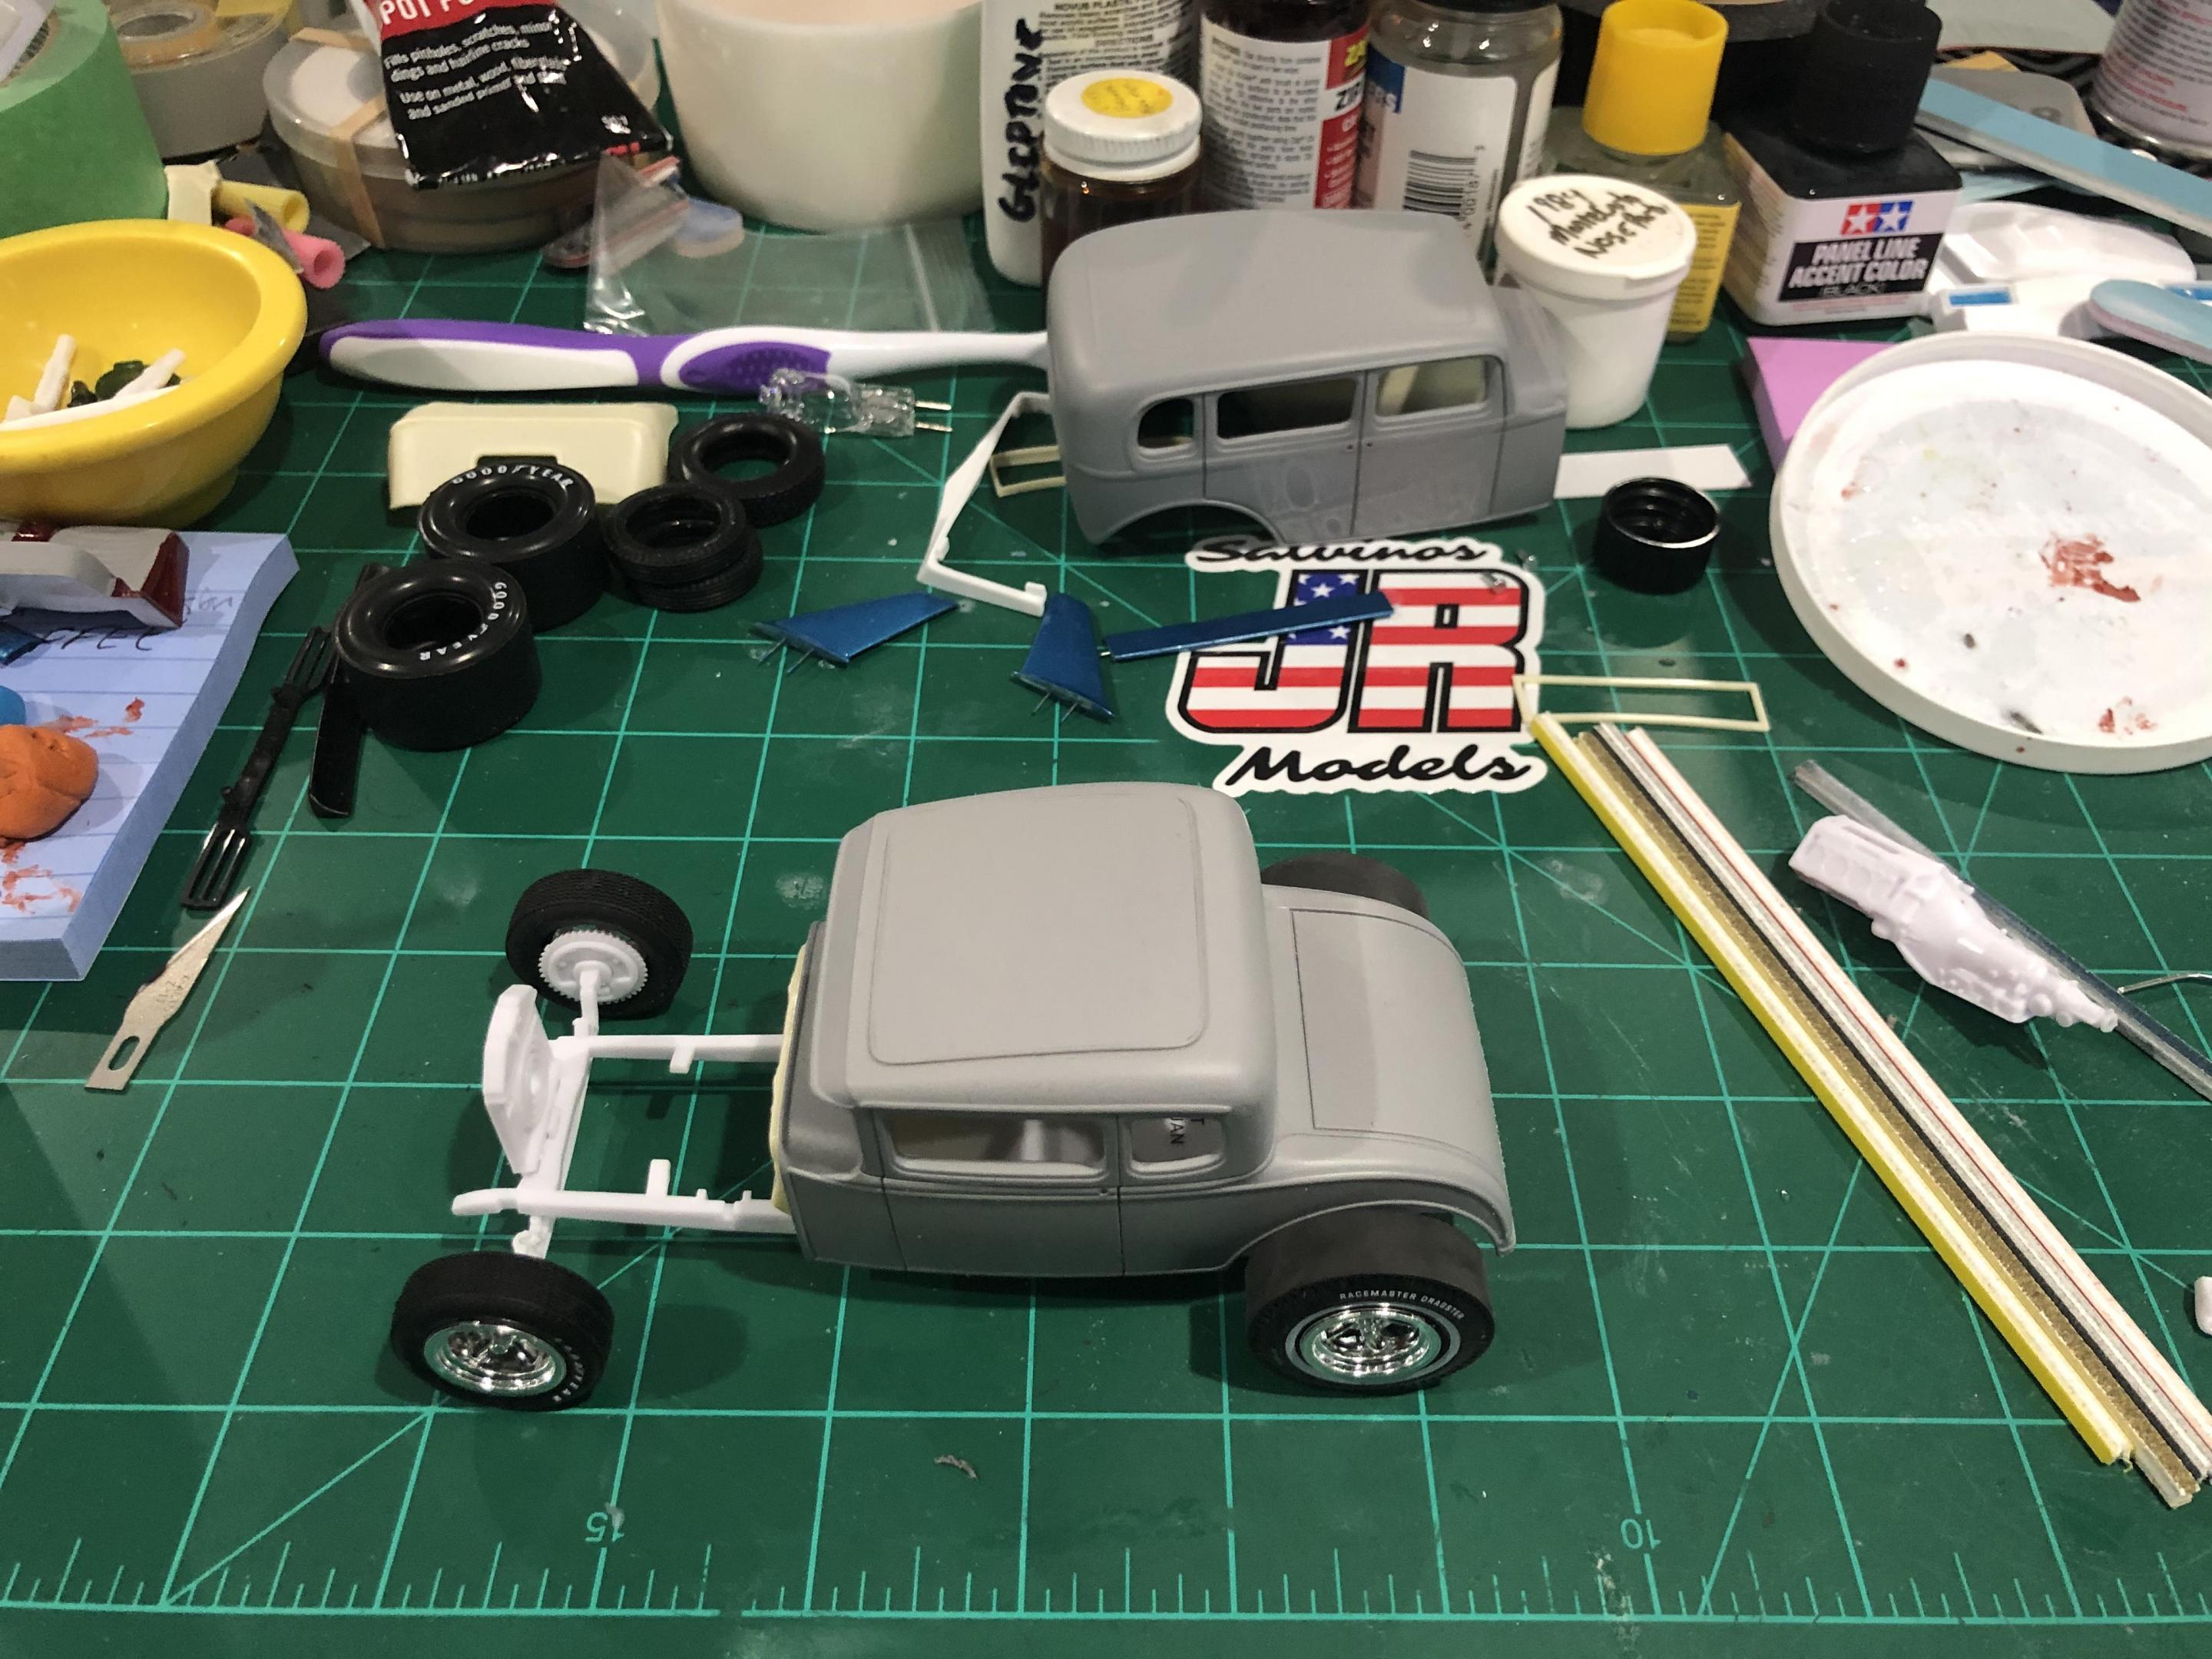
I Z’d the frame in the rear and removed two leafs from the front to bring the whole car down a bit. I’m liking the stance!
-
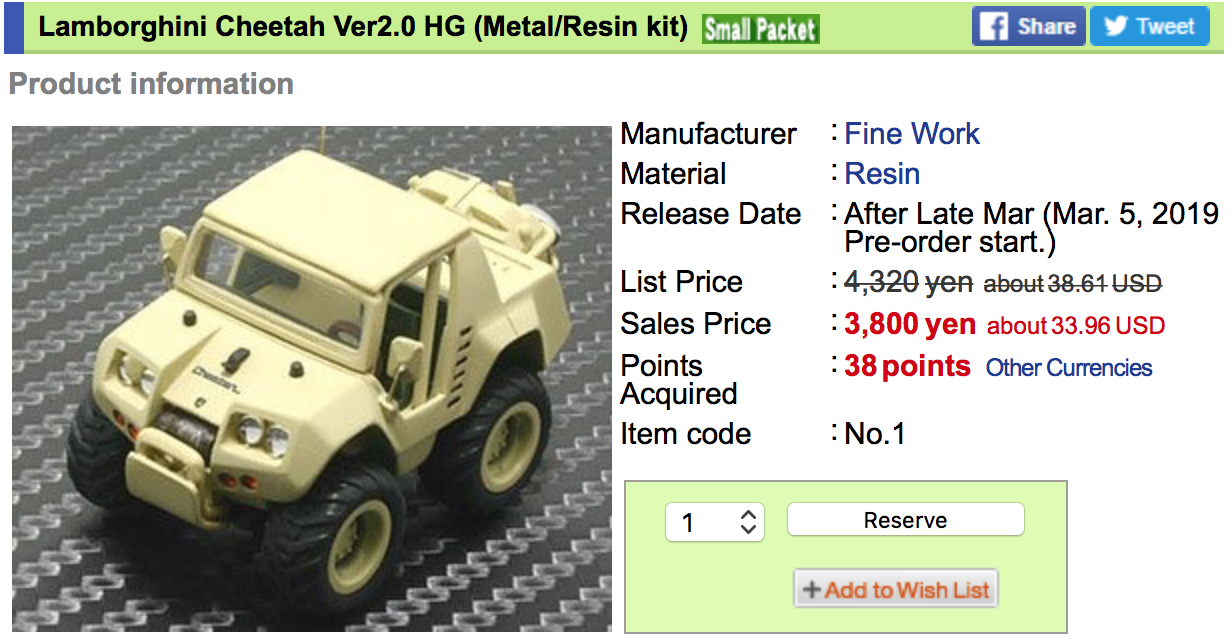
A subject I would like to build, but come on, not a cartoon! They have some interesting subjects, too bad they are not realistic. If I'm going to spend precious time, it's gonna be accurate. Hobby Search is the source.
- 24 replies
-
- lamborghini
- cheetah
-
(and 2 more)
Tagged with:
-
Ok Guys, It's been over 12 months on the bench but I'm calling this one pretty much done....just needs a rear screen and number plate (maybe a driver too) and a bit of detail paint for door handles, window trim and wipers. See WIP section for build details. Essentially started with a resin body and an early AMT Stock Car kit. Could not believe how well the two fitted together.....almost perfect match!!! Scratchbuilt rollcage, switch panel, handbrake, shifter mount, and MSD ignition box behind seat. Exterior details include aluminium tube exhausts, printed paper wilwood calipers and disc brakes, fujimi wheels and tires, and a plastic sheet fuel cell underneath with chart tape straps. Enjoy!! And as always your comments and feedback most welcome. Cheers....Geoff
- 4 replies
-
- aaron kaufman
- falcon
-
(and 1 more)
Tagged with:
-
-
Good afternoon all. I recently received a shipment from Custom Squads resin after getting a message from blubaja that they were back in business after a long absence. I have never purchased from them before as I was not into this hobby back then, but I have only heard great things about this company and had seen some of their work in Terry Jessee's books. So I wanted to go ahead and share pictures of some of the items I got. You will have to excuse the quality but they were taken with my phone: First is the Caprice conversion set for the Revell 1994 Impala SS: Up next is one of the center console pieces also specifically designed for the Impala SS. With some adjusting, it should fit into any other vehicle: Then some 1/2-ton wheel covers that Ford used on their trucks/vans from the mid 80's to about the mid 90's: And finally some wheels for medium-duty trucks: Here is their website: http://www.customsquads.com/ They have a multitude of items listed and their service with me was great. I hope some of you find this helpful. Thank you
-
HI folks... does anyone know of alternatives to Micro Mark resin casting items? They are a bit pricey and was wondering if there are any other suppliers of smaller quantities out there. I used Micro Mark's stuff a long time ago with mixed results... JD
-
Hi I was wondering if anybody here knew What is kitchen table resins reputation is? I like there 1957 Chevy straight 6 air cleaner and there Buick straight 8 engine but I was wondering if anyone here had ordered from them and if so what was your experience? I emailed them on August 12th but I haven’t got a reply yet so I’m wondering if they have long response times? Are there castings good quality? (Not a lot of sink marks pinholes etc.) and overall how your customer service was dealing with him? Thanks in advance for your replies
-
I finished my first resin model. This was originally made by Etzel's Speed Classics and then by American Racing Miniatures. The WIP can be seen here: On to the finished model. Let me know what you think.
-
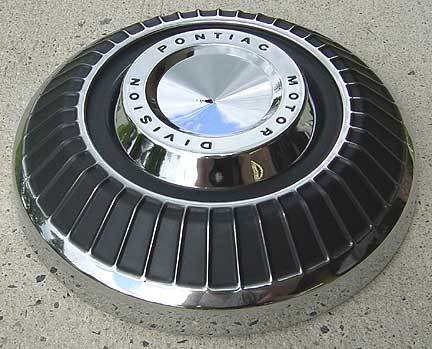
I am looking for steel wheels and caps for a Pontiac project I am working on, something close tp the picture attached. Wanting 15" or 16" steelies and the Pontiac poverty caps. Anyone have a source for these?
-
-
I recently found this source for resin bodies compatible with the Big Deuce kit. My interest is the stock 3 window coupe and I immediately ordered one. Hope to someday build a model of my 1:1 Flathead coupe with Pocher Classic level details using my already created CAD files and 3D printing. https://matthewsfoundry.com/
-
- resin
- large scale
-
(and 1 more)
Tagged with:
-
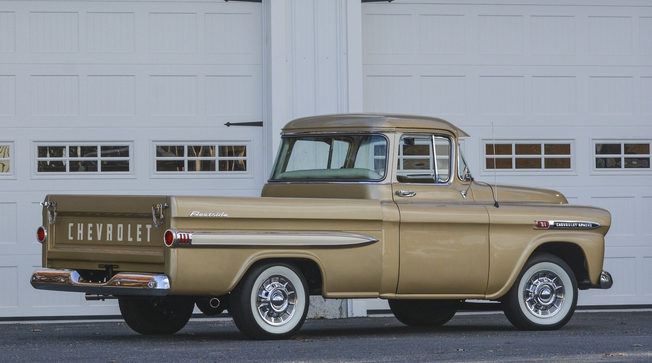
resin? 58 or 59 chevy pickup 1:24
bummer666 posted a topic in Truck Aftermarket / Resin / 3D Printed
im looking or hoping to find a resin model of a 1958/59 Chevrolet apache fleetside pick up with wrap a round or big rear window 1:24 scale thank you to all that responds back- 2 replies
-
- resin
- 59 pick up
-
(and 1 more)
Tagged with:
-
https://www.ebay.com/itm/resin-1-25-1-25th-1971-72-AMC-Matador-4-Door-sedan-test-shot-body-rare-police/282980341221?_trkparms=aid%3D222007%26algo%3DSIM.MBE%26ao%3D2%26asc%3D50544%26meid%3Dfa5e8579419a4ca398fd0c9b3ac9c917%26pid%3D100623%26rk%3D2%26rkt%3D6%26sd%3D282980355690%26itm%3D282980341221&_trksid=p2047675.c100623.m-1
-
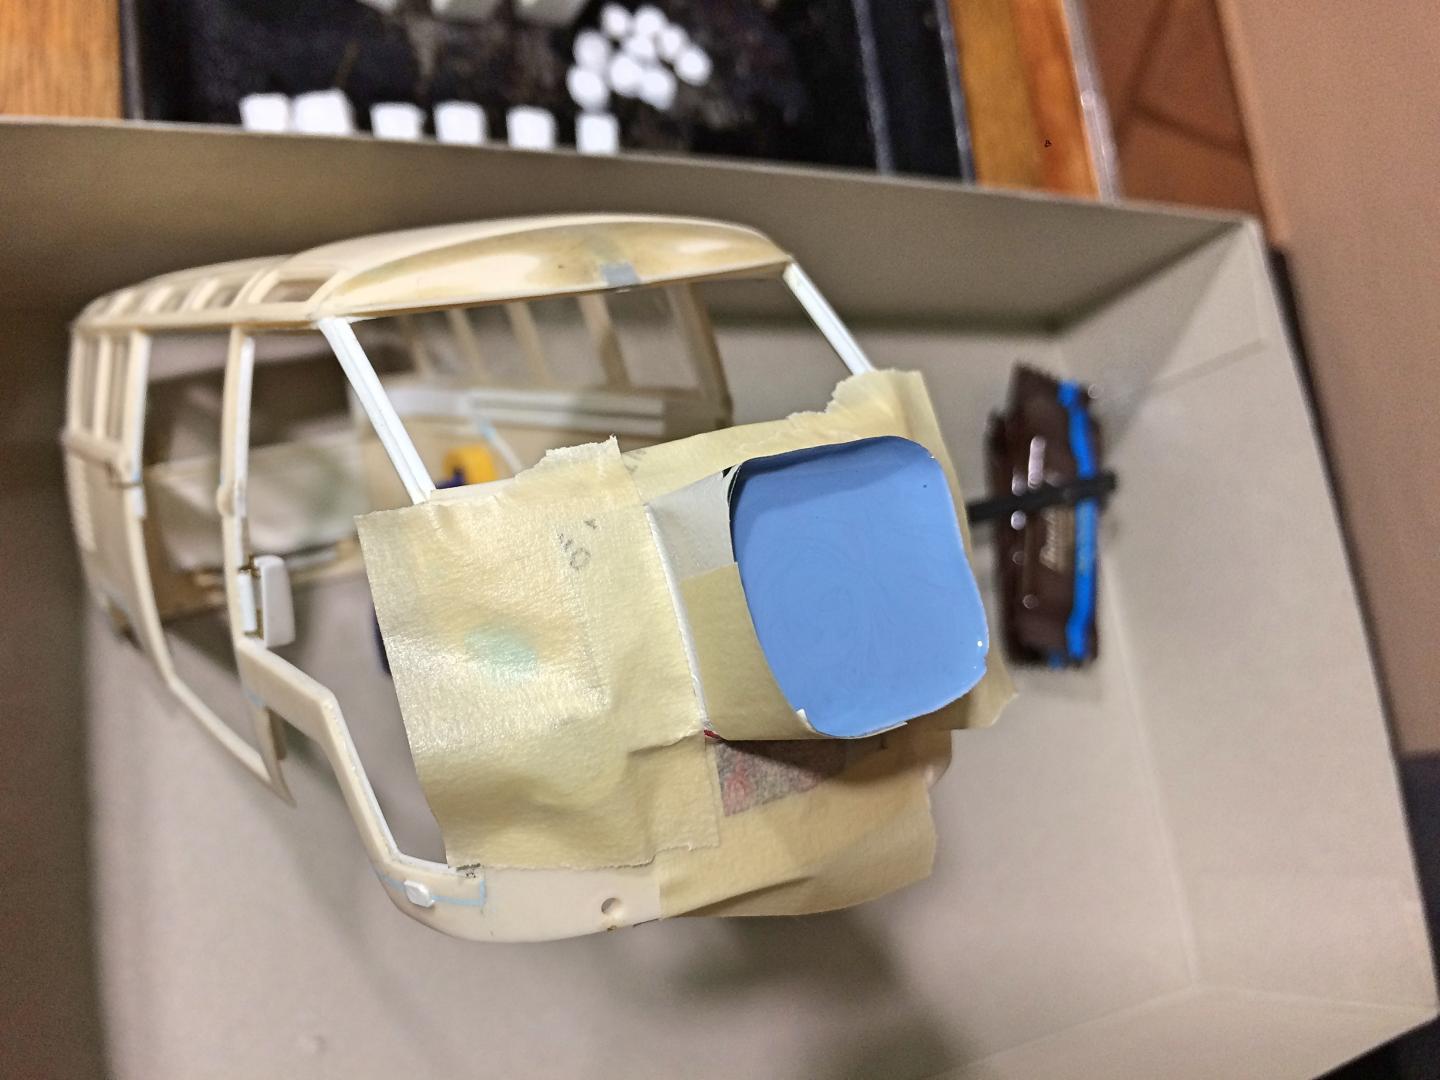
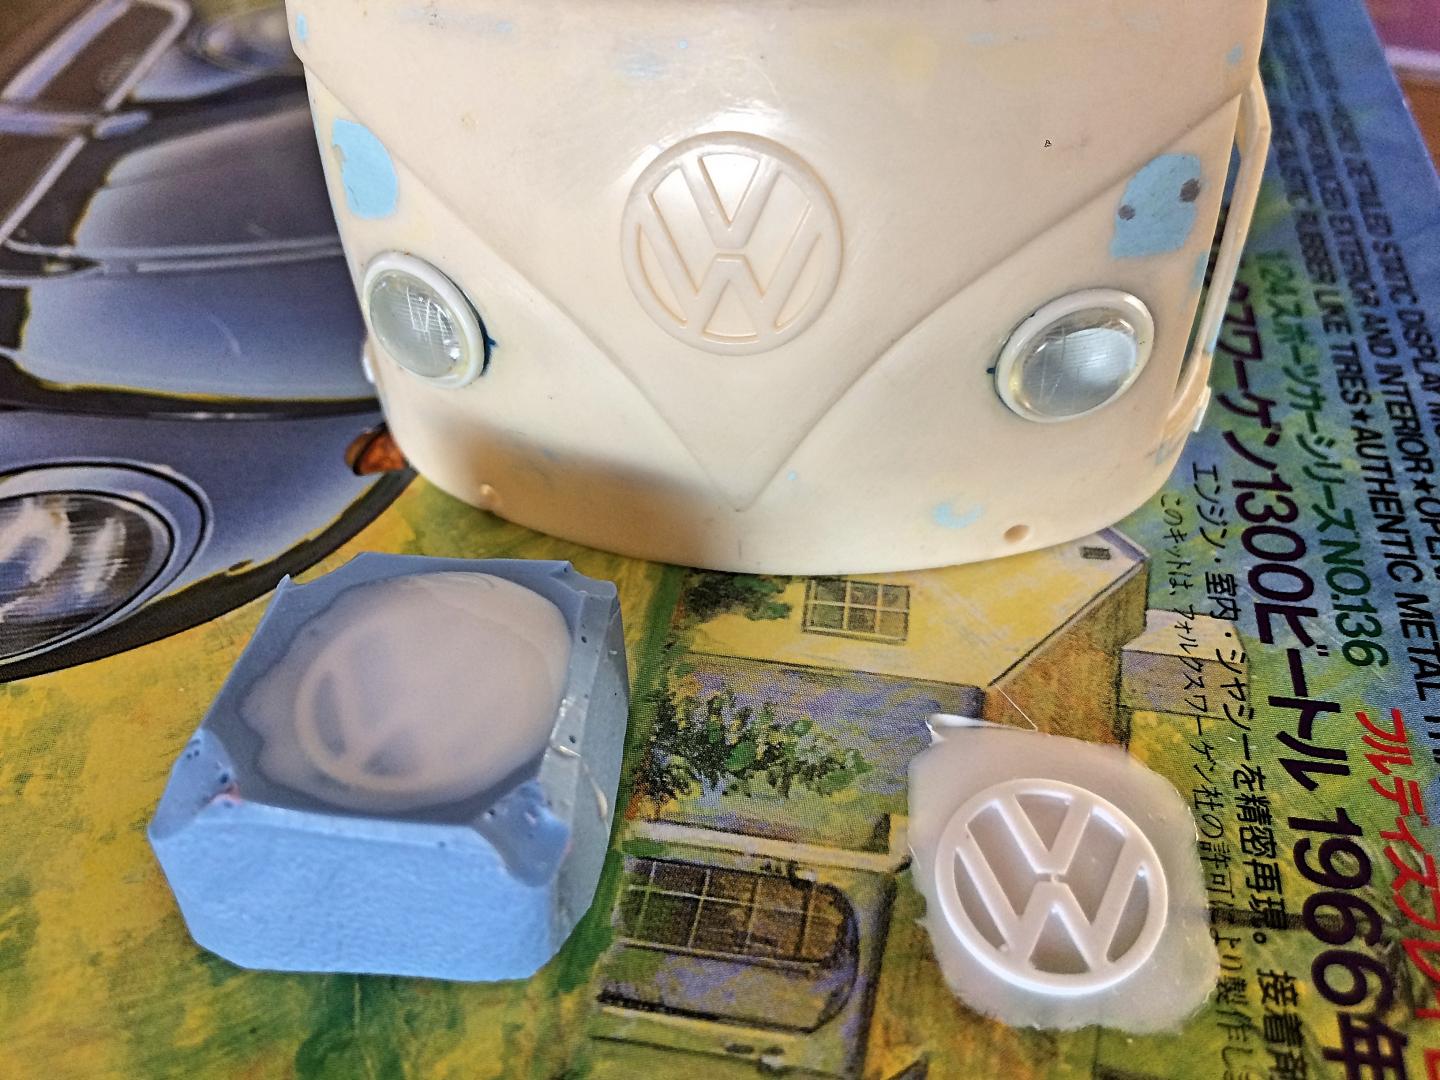
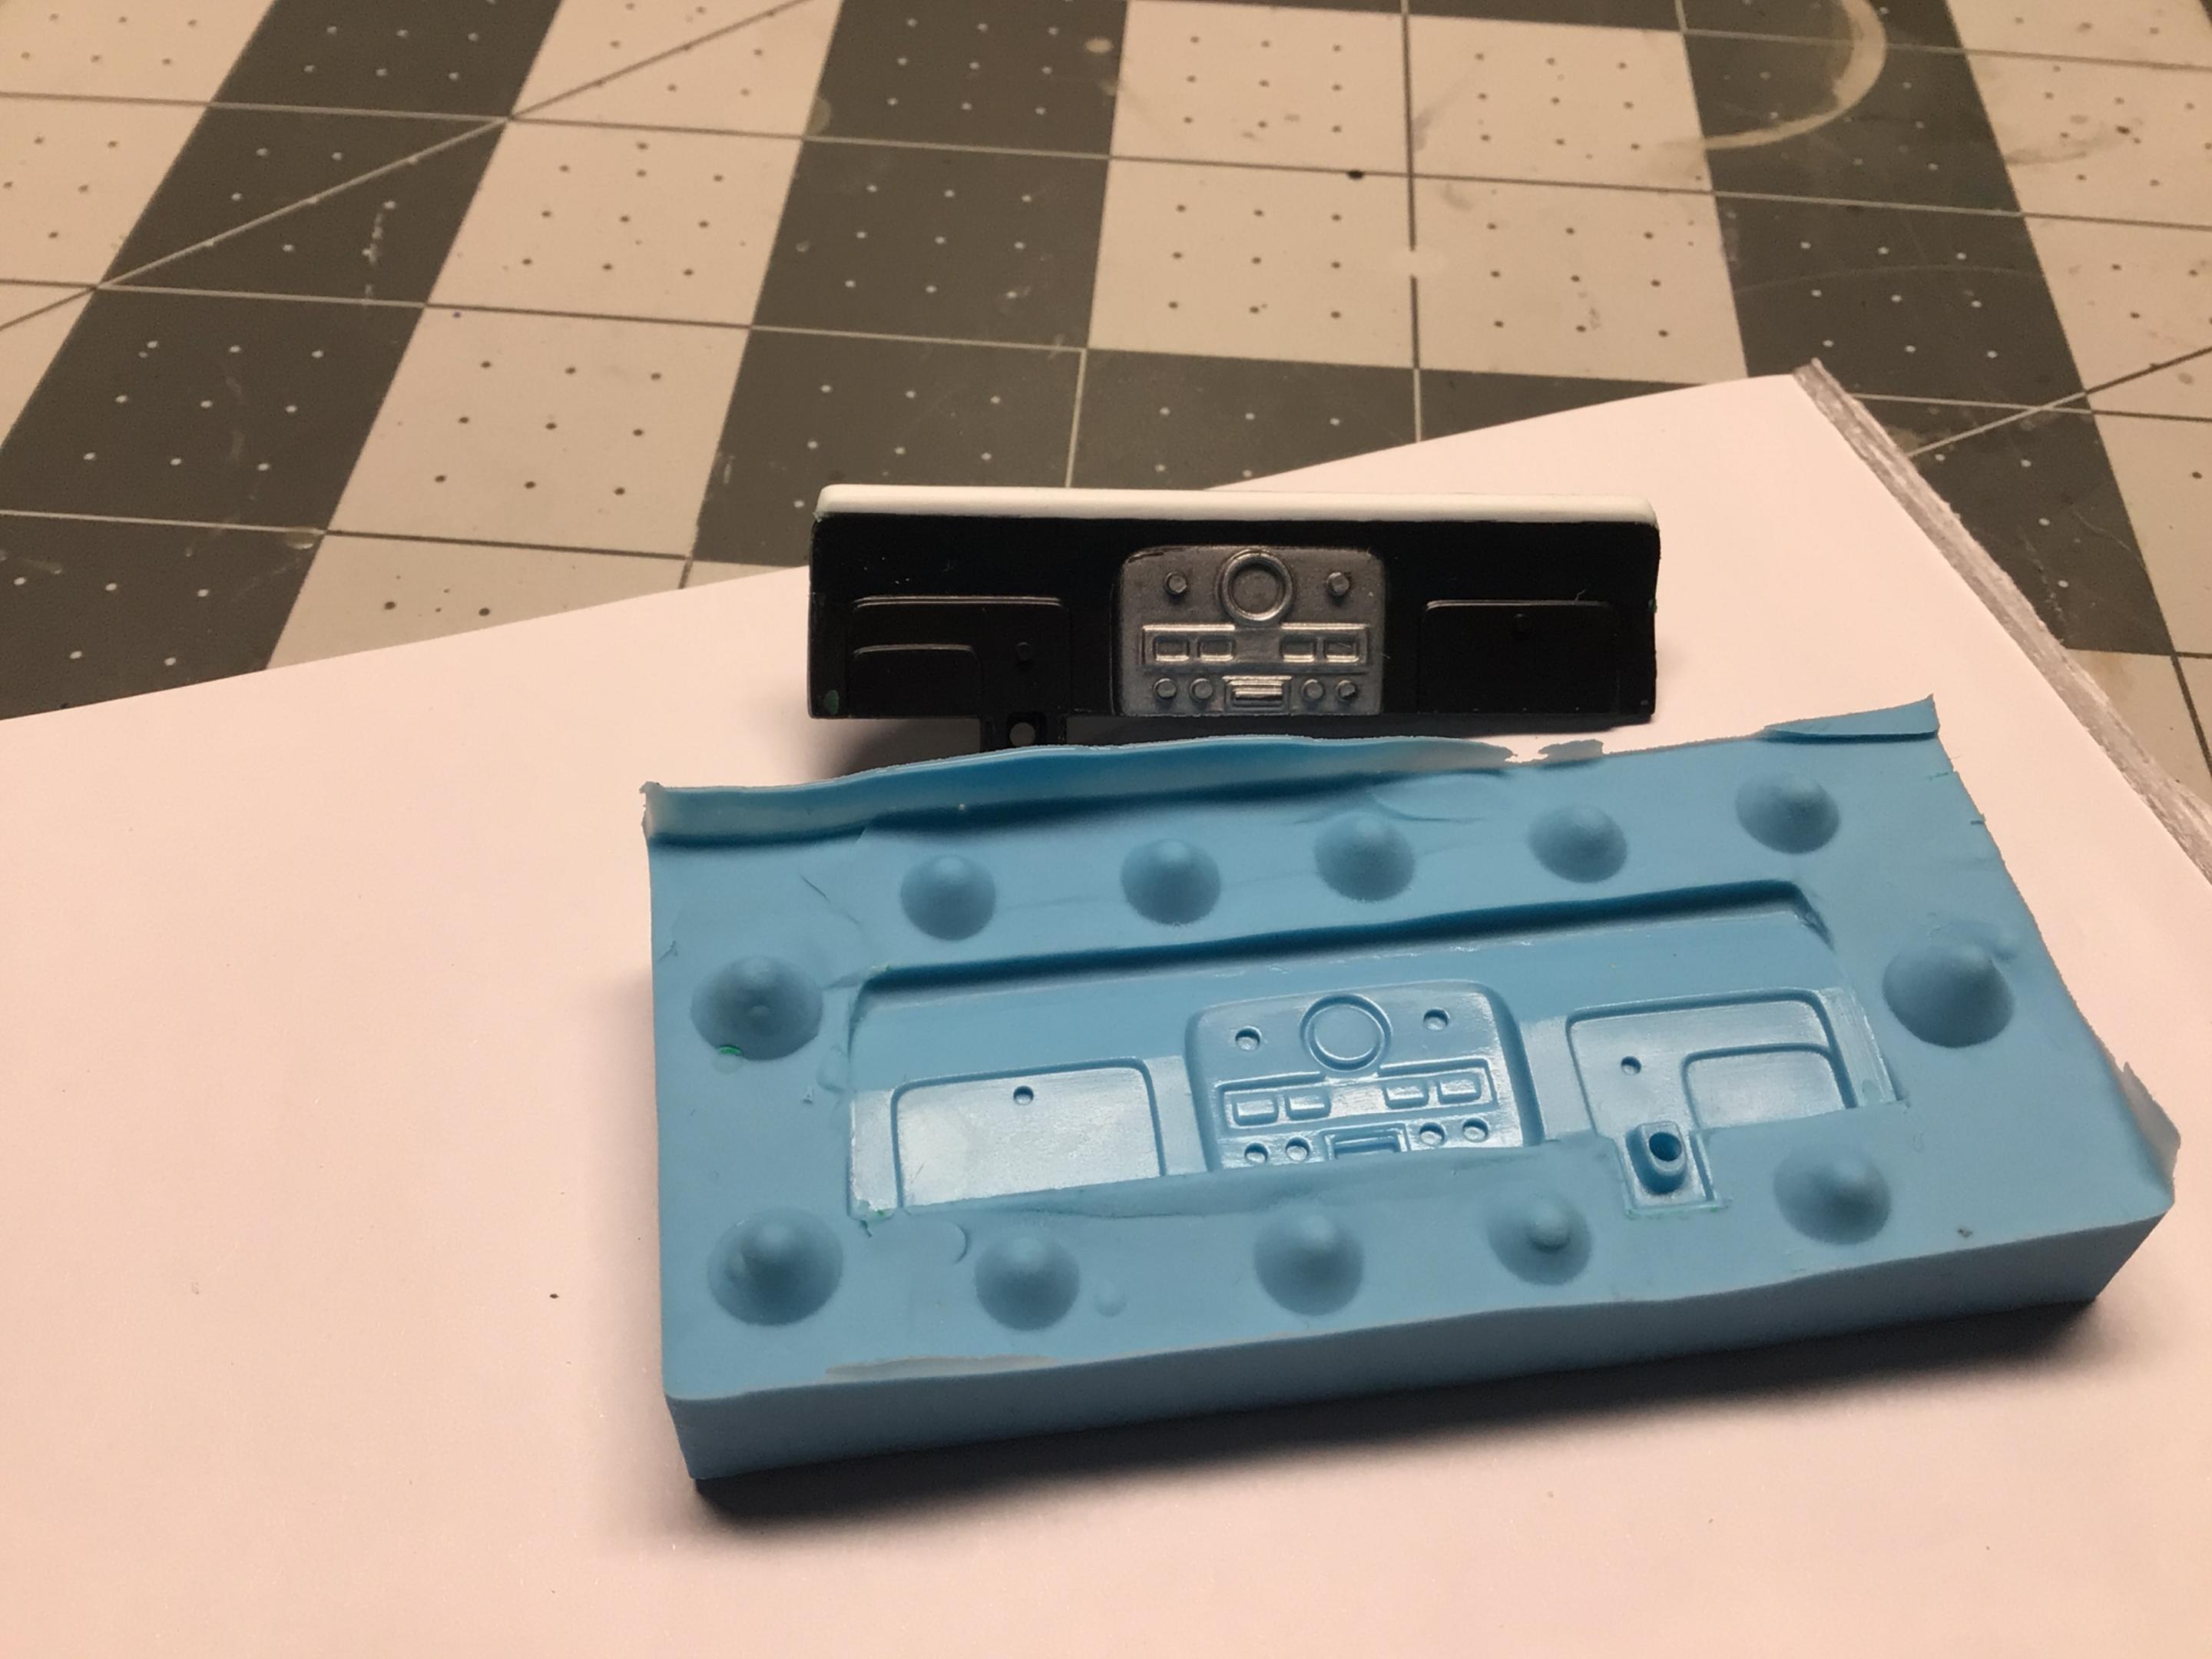
One (of many) reasons I got stalled on this VW Bus project, didn't like the idea of trying to get a decent paint job done around the giant molded on emblem. I had tried the Alumilte casting putty, but got unsatisfactory results, plus JB Weld doesn't work that well for parts. Since I needed to get fresh casting supplies, I added this to the task. First thing was making a dam around it, used yogurt cup foil because it's thicker than Reynolds, bends nicely, taped down with masking tape. I also filled the corners to prevent spill-out. Oh man, so much happier with this! P.S.: Started this project 2003, could participate in the Bring Out Your Dead challenge when I feel *really* ambitious.




.thumb.jpeg.484e957832261e1646213fe893ec2362.jpeg)
.thumb.jpeg.d4dc1b0666d662413ae953810e64ee92.jpeg)
.thumb.png.e64ca4fead948adbdf6a111229b6cf2f.png)

