CabDriver
-
Posts
5,103 -
Joined
-
Last visited
Content Type
Profiles
Forums
Events
Gallery
Everything posted by CabDriver
-
 Awesome to see you back at the bench @John Teresi! I'm a big West Coast Choppers fan so I'll be excited to see this one come together! BTW: your pics are really small - not sure if you're doing something differently to post them than before, or if it's the site... Can't wait to see more progress!
 -
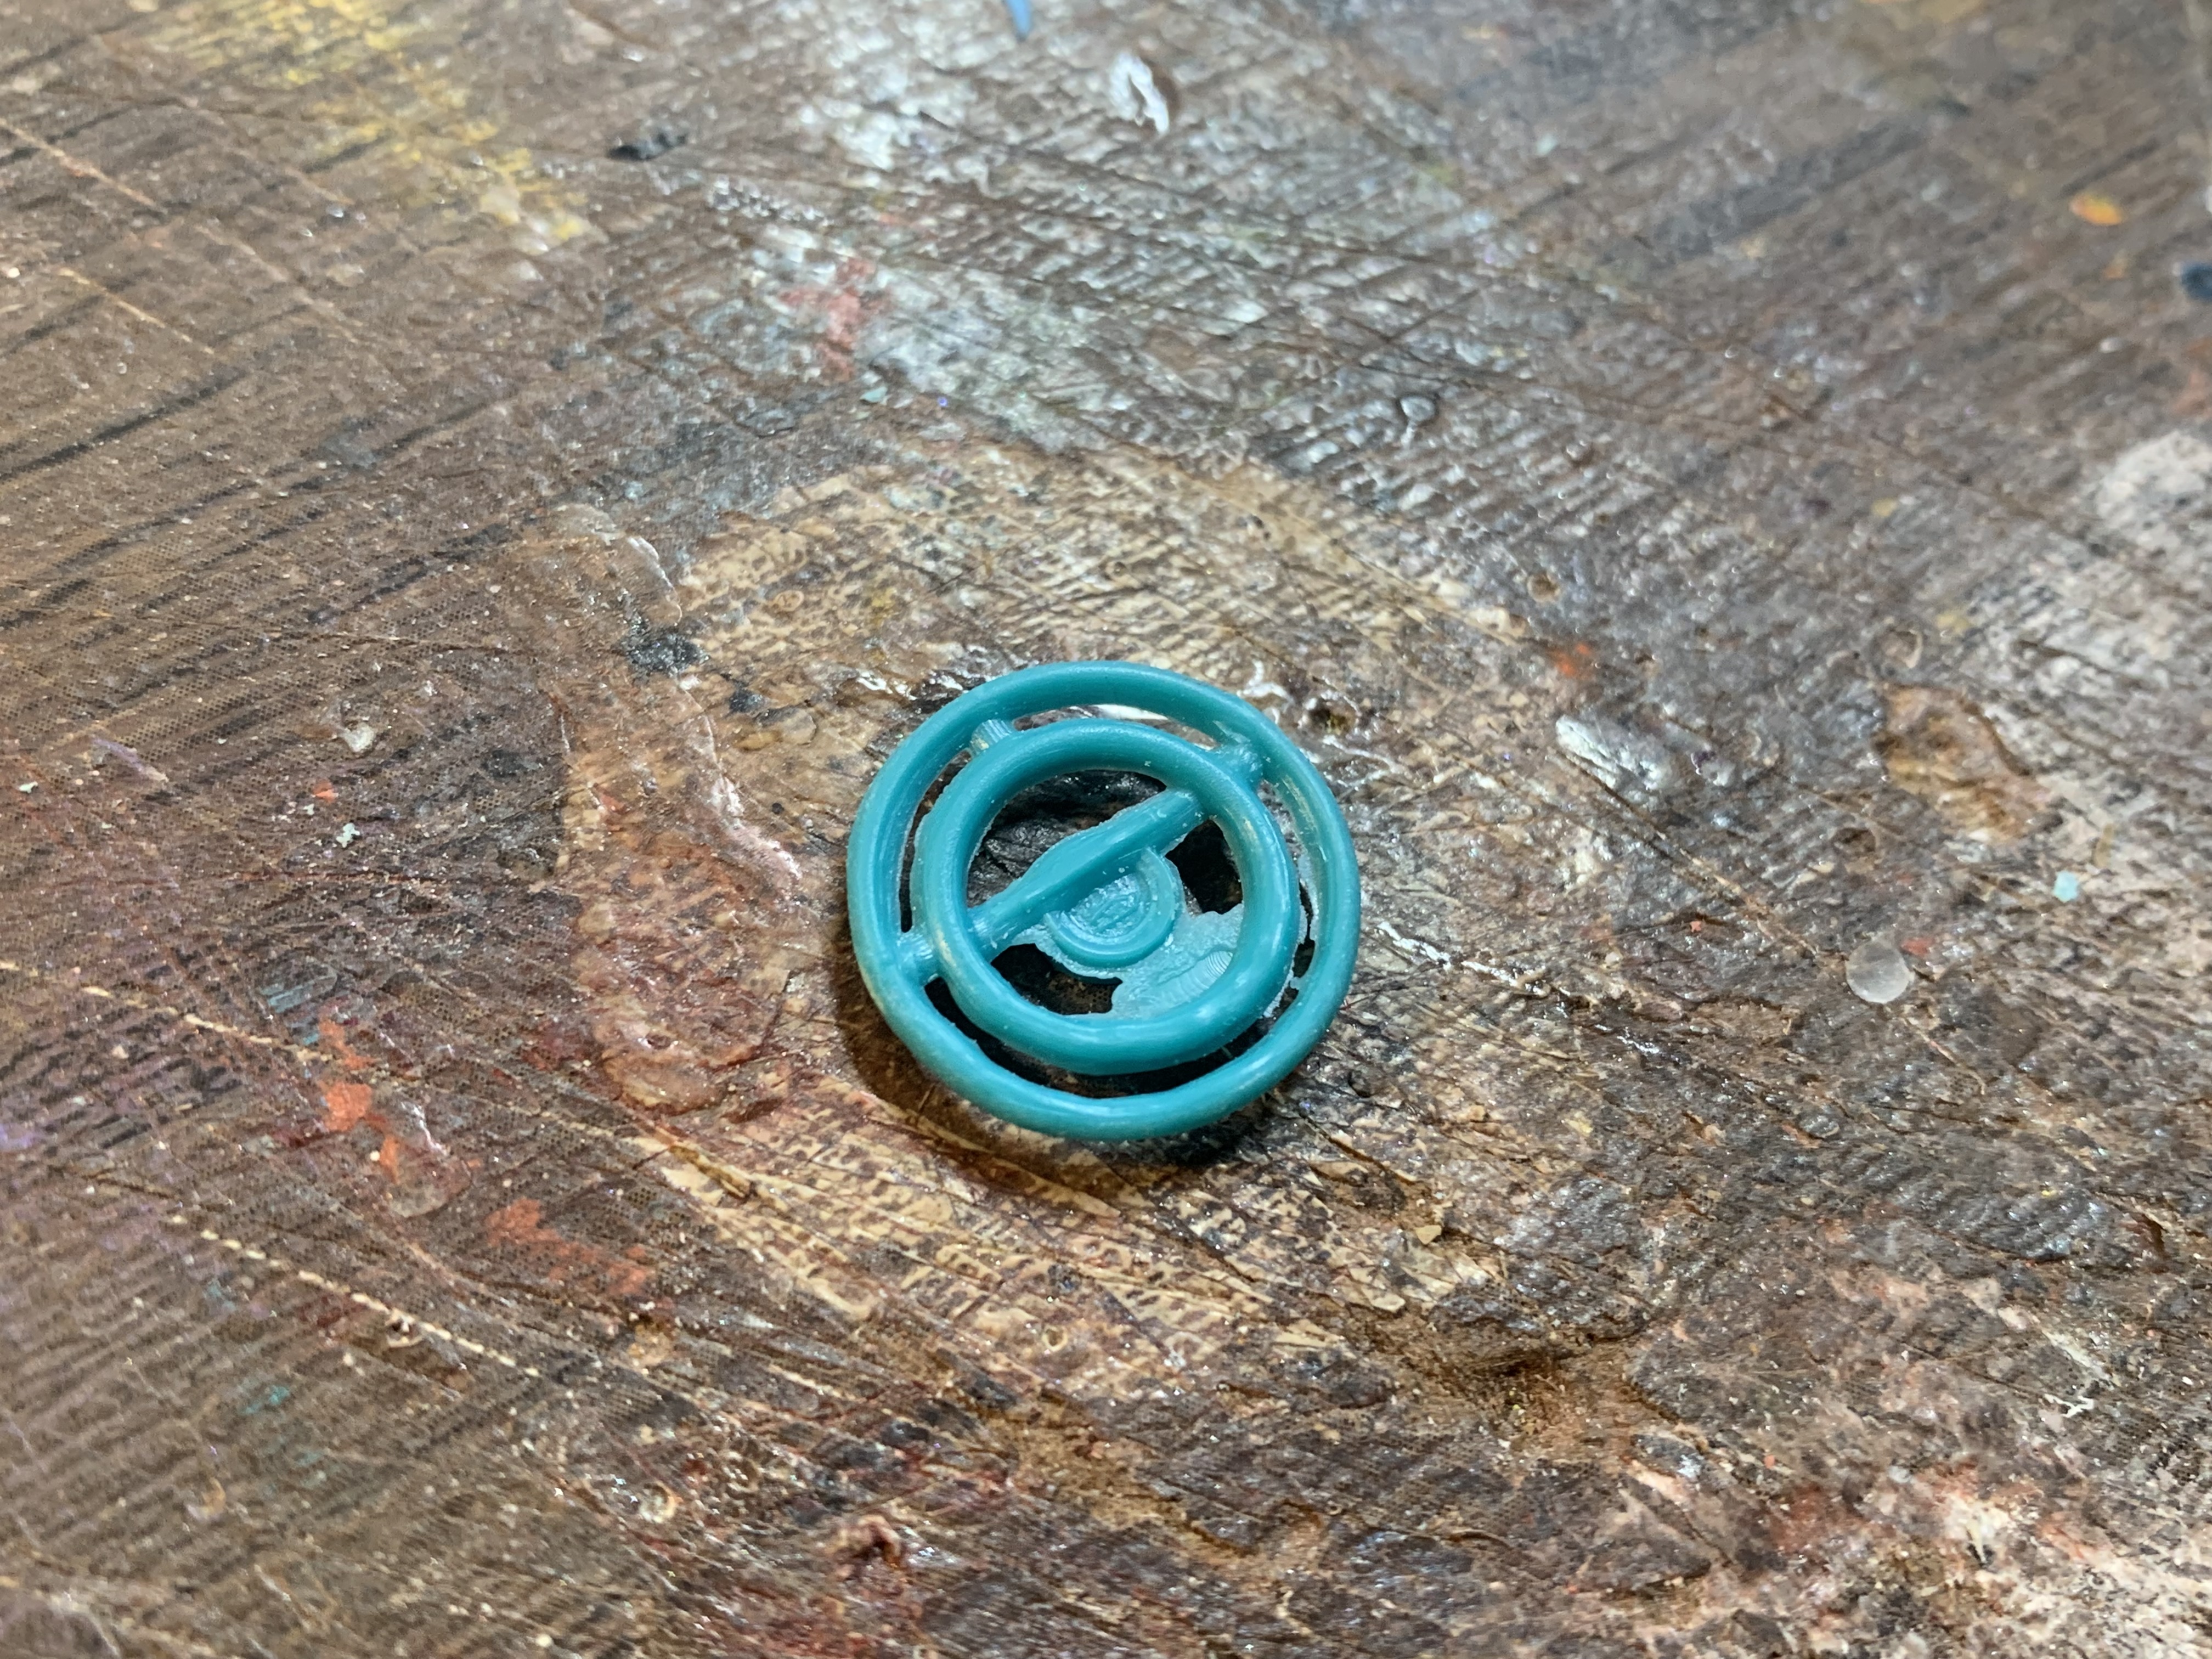
I’m working on the interior of my 57 Chevy build so I can get it in primer…gonna need to do some head-scratching on how to get this steering wheel usable tho… I’ve got a bunch of other (later) Chevy steering wheels here but they all scale out to be an inch or so larger and they start getting too close to the seat to where the driver wouldn’t be able to get his legs under them. I can see some scratchbuilding in this project’s future…

-
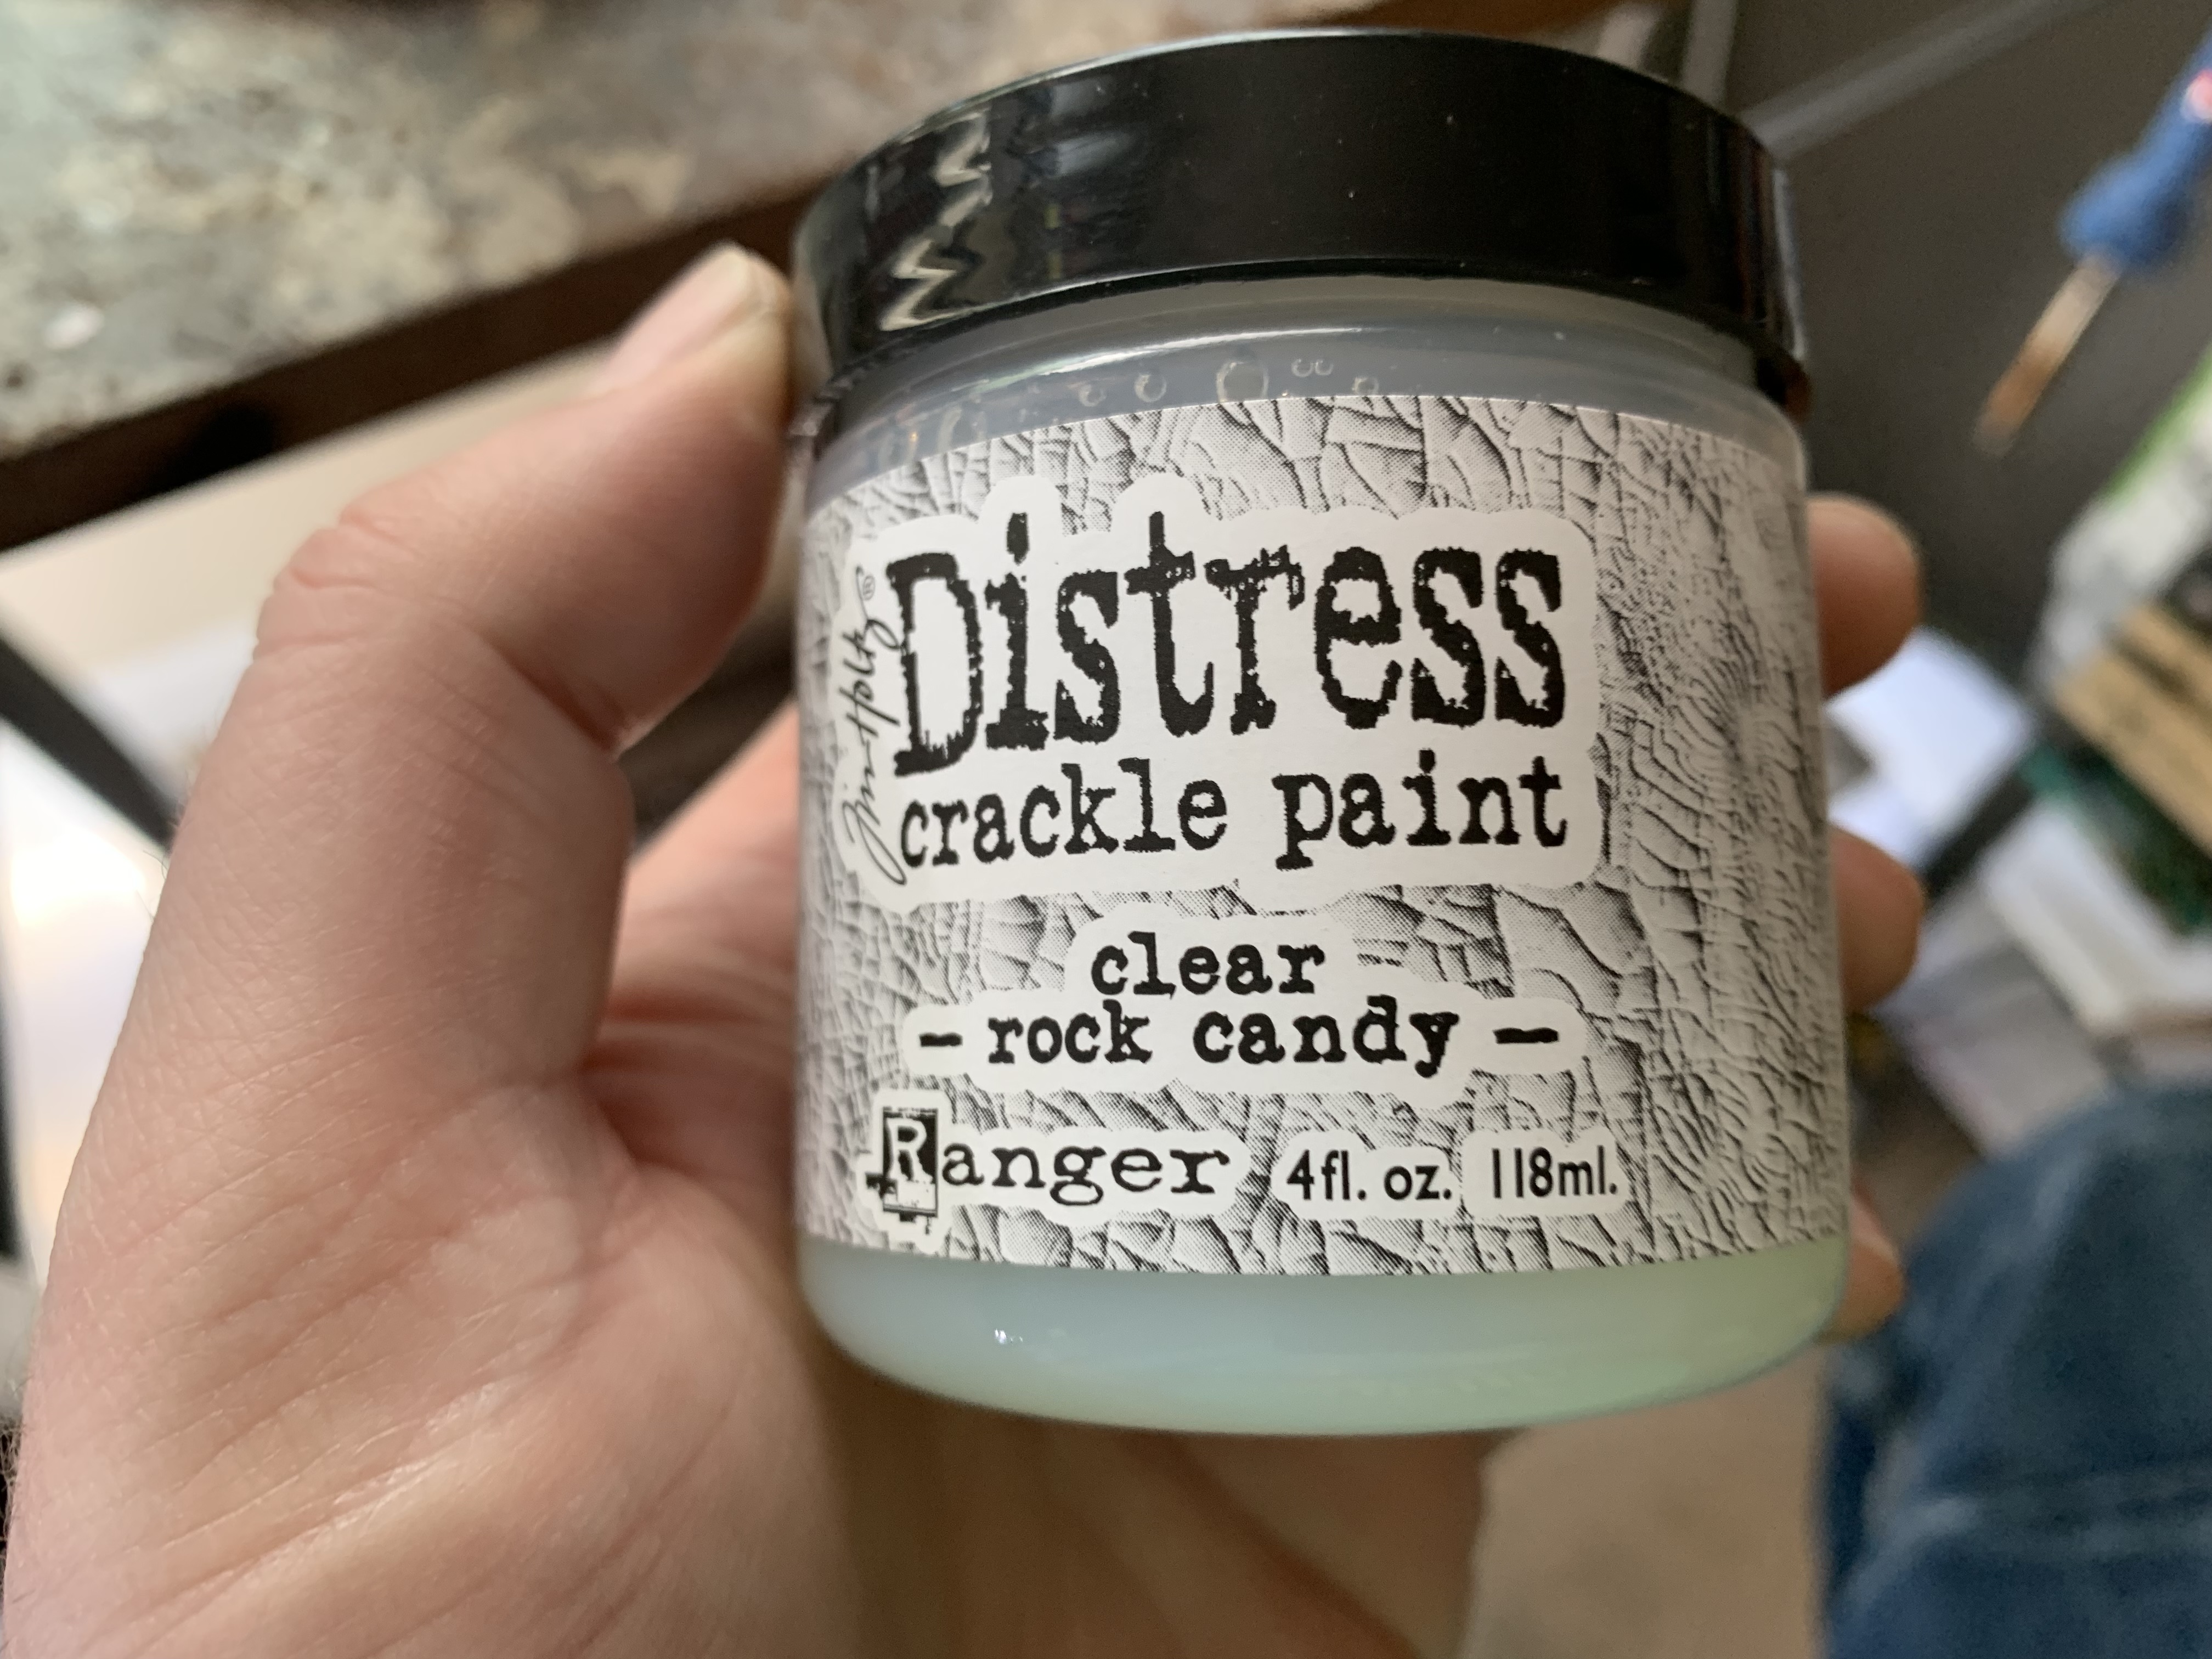
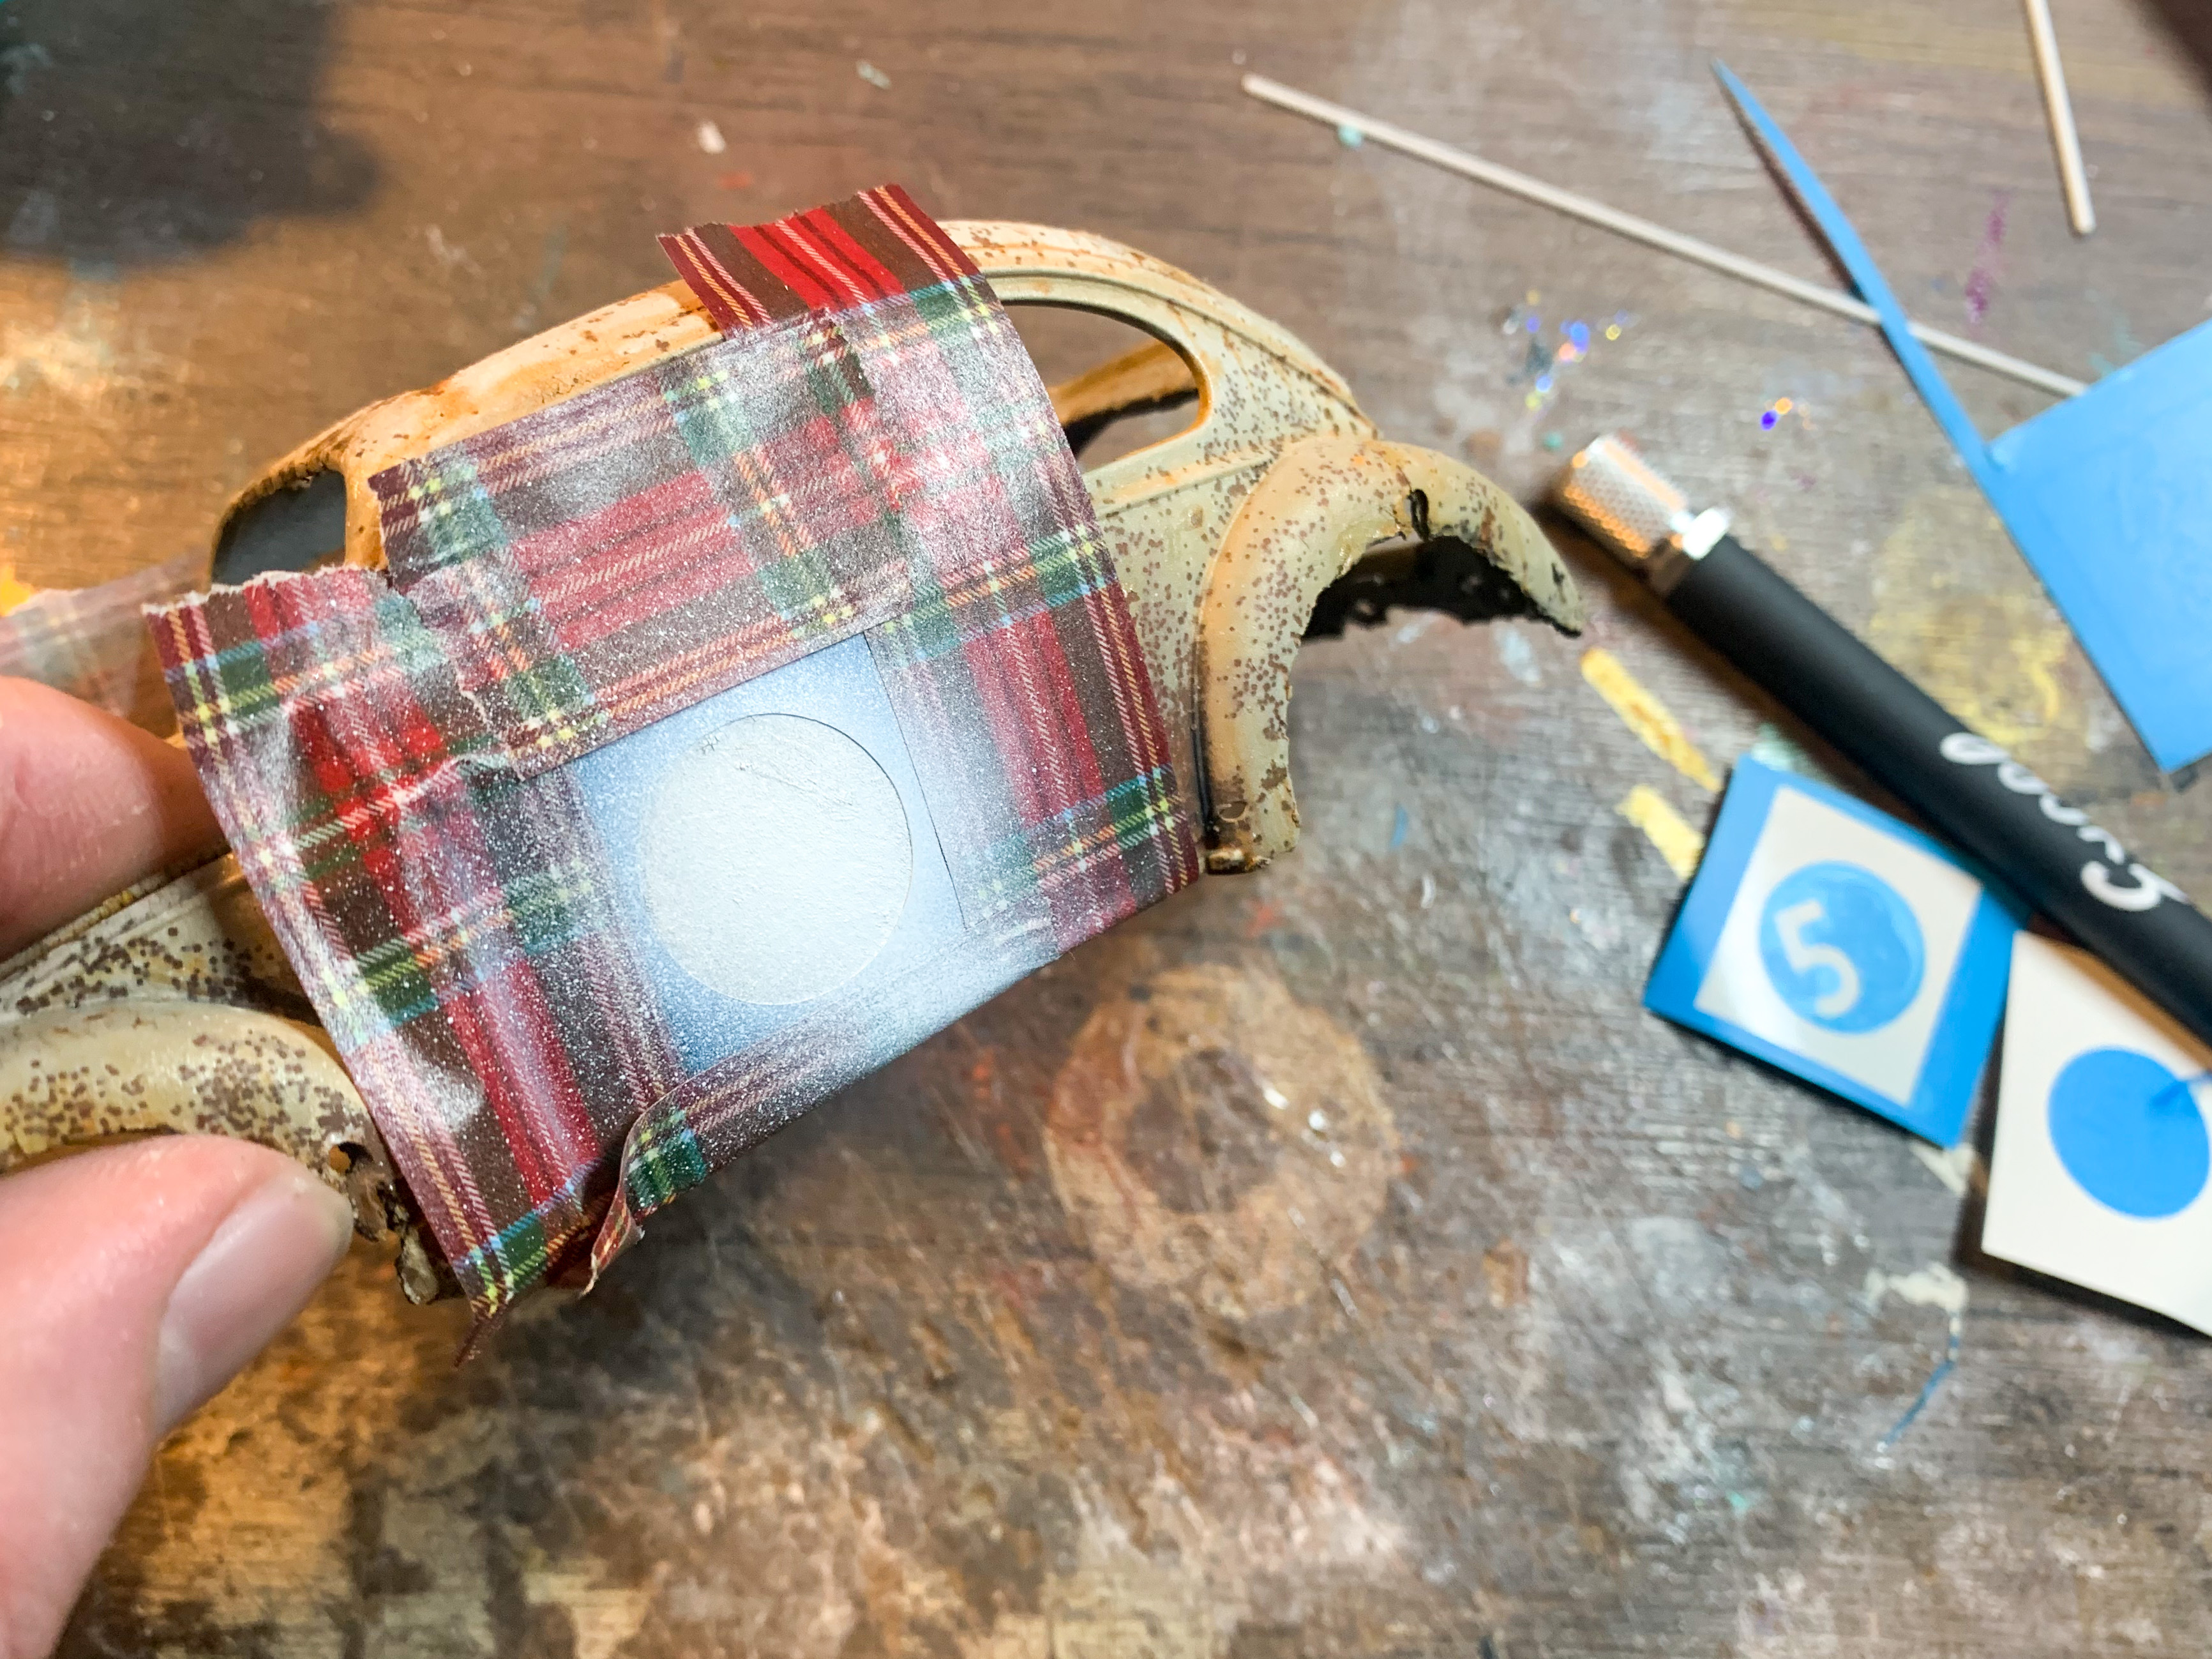
Thank you sir! Like most complex stuff it’s all just little easier-steps! Nothin’ to it! A set of watercolor pencils and brown and orange pastels help a lot tho, I’ve found! Hey Bob! The stuff I’m using is called Decoart One Step Crackle - but it might be discontinued seeing as I got it from the Hobby Lobby Clearance rack. So…I grabbed a jar of this (currently available) stuff too - works just as well and you get a big ol’ pot for $5 or so… I actually brush a little water on there with a paintbrush so I can control easily where I want it, and then sprinkle the salt on top. I’ve seen people do it with spray bottles before too and just randomly throw the salt on there - depends if you’re trying to get a general rusty look or hit particular spots (which I was in this case…) Thanks to everyone who didn’t have a question too - nice to log in and see all the kind comments! Just a little progress tonight, but another fun evening at the bench. Sprayed Createx white through circle masks for the gumballs: Then applied crackle mask over the paint before it fully set up: Gave it half an hour to dry before painting the next layer - if I was doing a shiny paintjob I would leave it longer to avoid accidentally damaging any of the paint, but damaged paint is ok for this one…masks applied: Shot black my favorite black Createx sealer over top…dabbed on some more cracking agent and peeled back the masks: Not done weathering these (and they’re too flat right now so I’ll do a little something to fix that) but it’s starting to look like a Lovebug! Thanks for looking - more soon!
-
Funny thing with that pearl blue color - every time I see someone paint something that shade I'm like "wow, I love that color!" and it's ALWAYS that Createx blue. I've got probably 5 bottles of it here, and every time I see something painted with it it catches my eye! Nice choice!
-
Ohh, so that’s what they’re for! I was messing with my build of this kit this afternoon and couldn’t immediately figure out why there were so many handles 😂 Did you pick a steering wheel yet? The kit part in mine isn’t a very good representation of any steering wheel ever used on a real car…
-
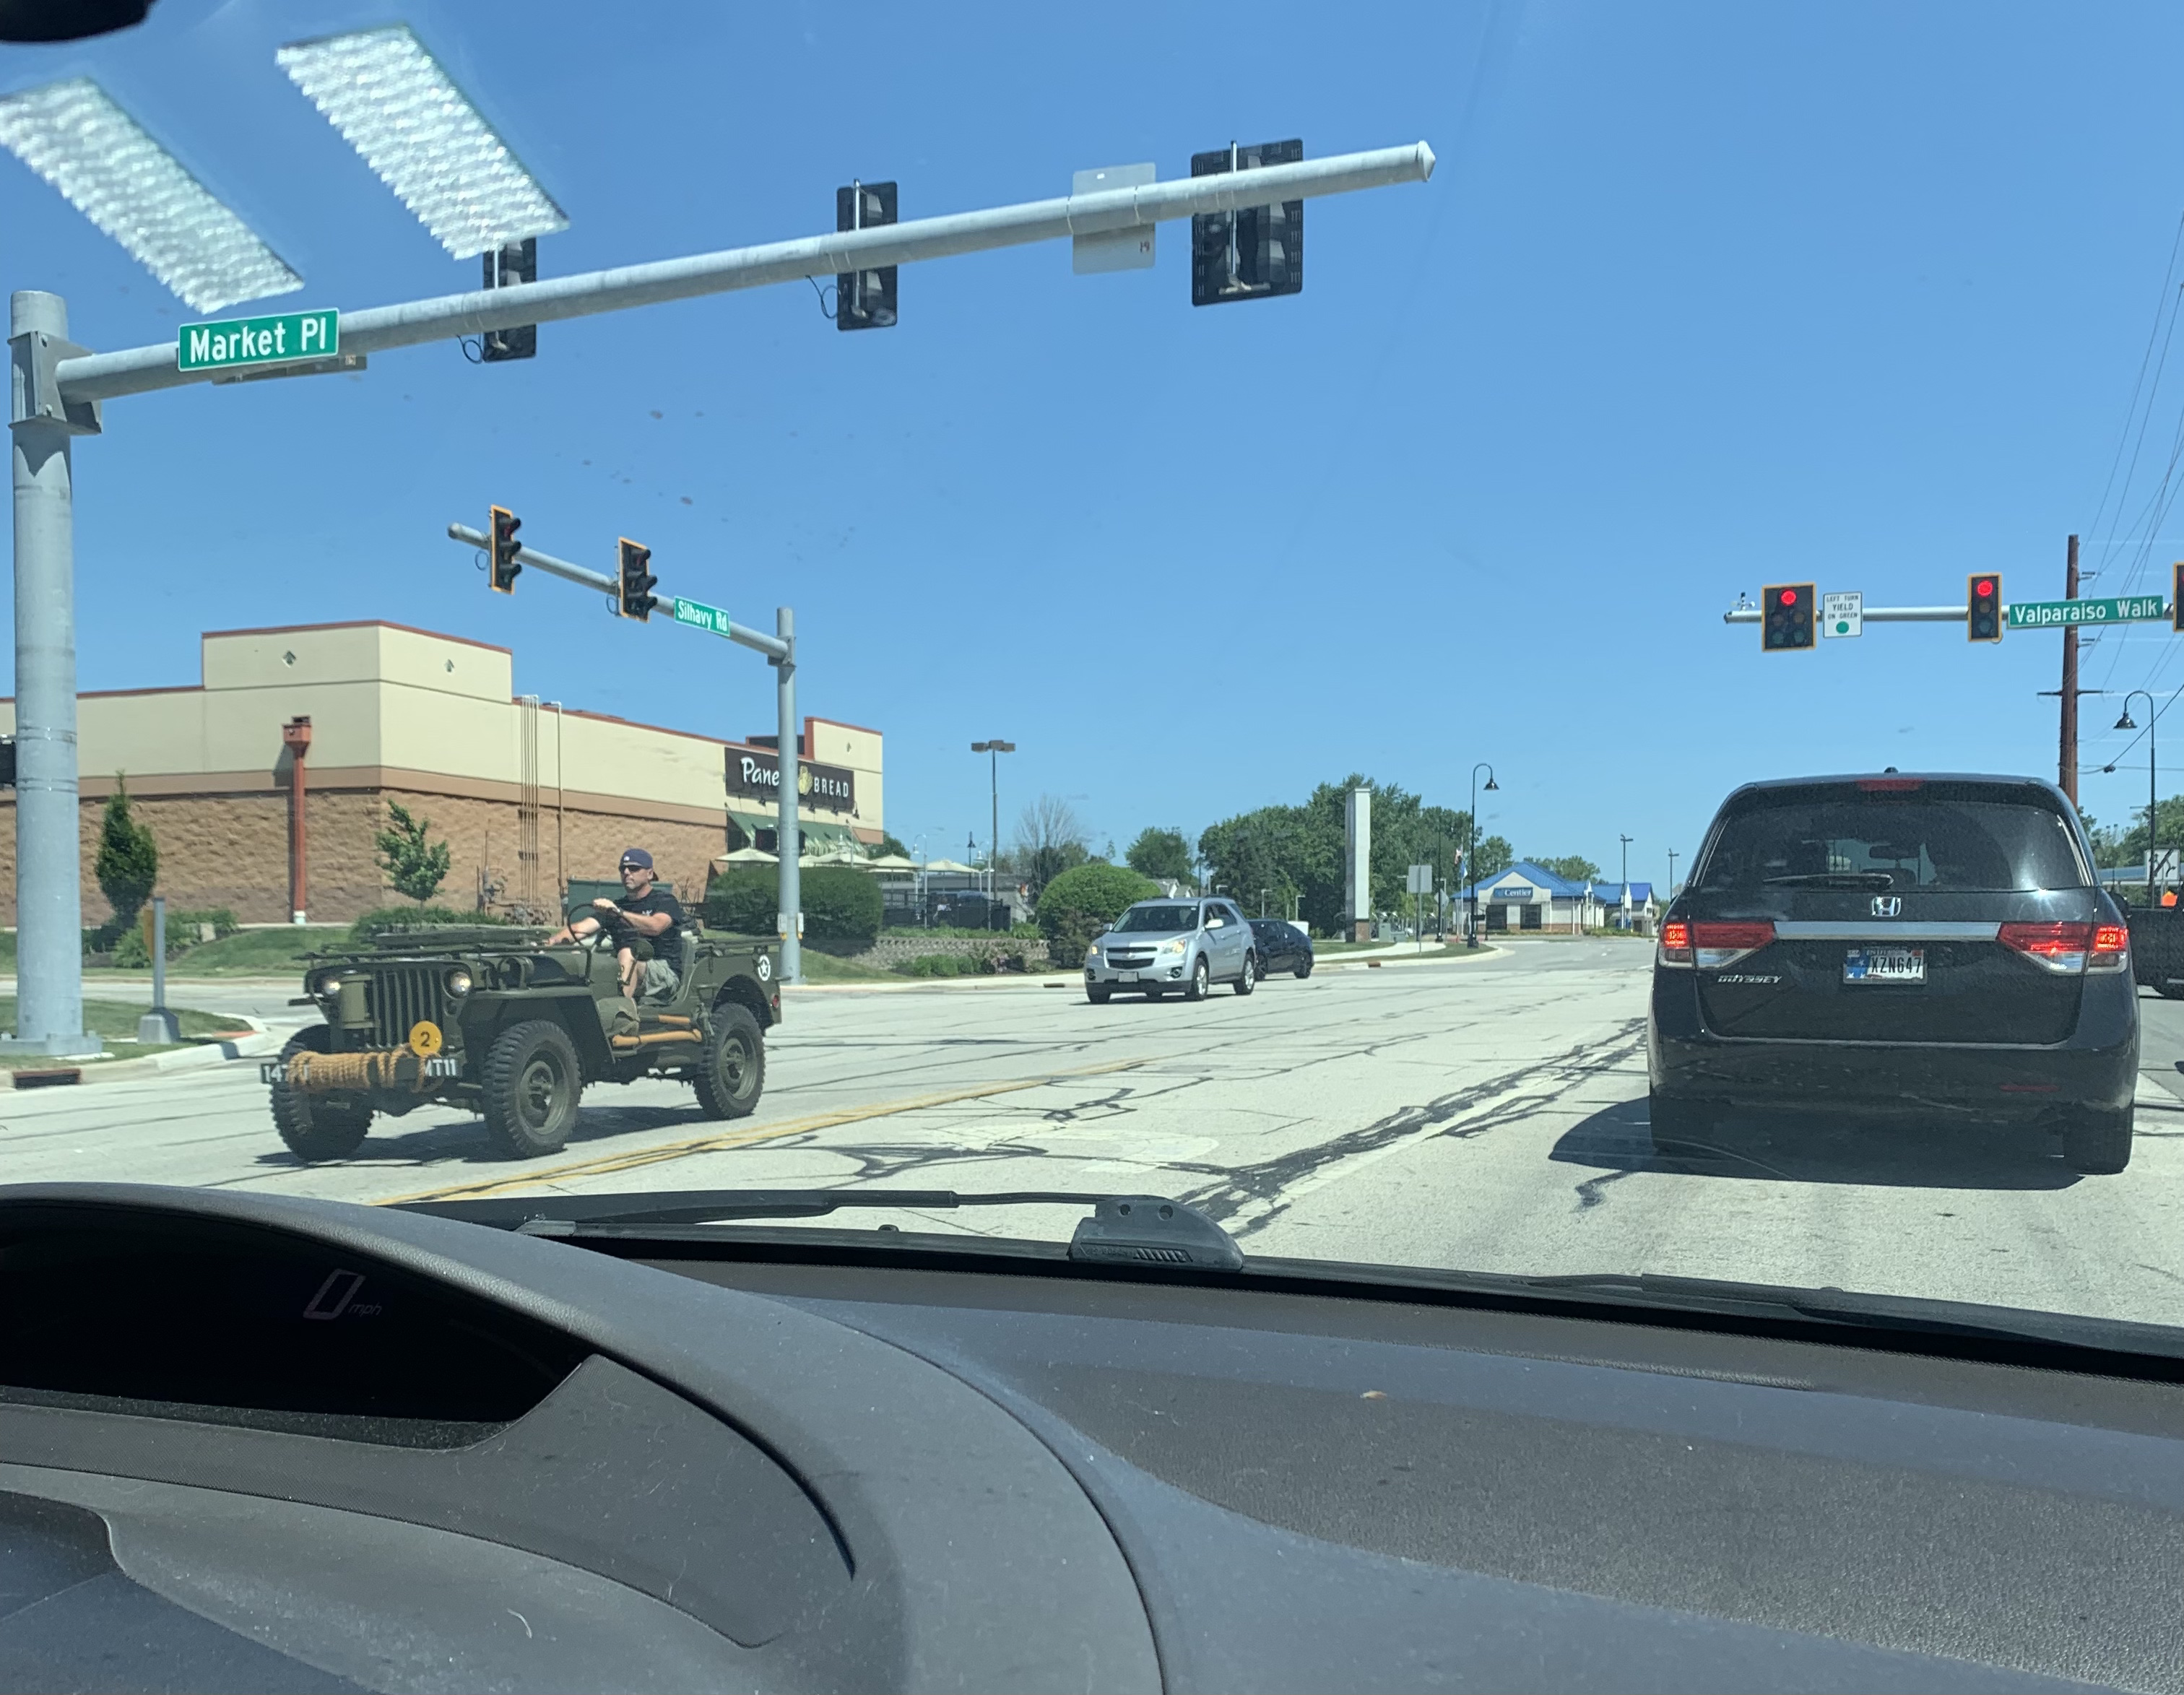
What did you see on the road today?
CabDriver replied to Harry P.'s topic in General Automotive Talk (Trucks and Cars)
Cool old (Ford made?) Willy’s Jeep
-
Oh wow, you’re always raising the bar with cool little “why didn’t I think of that?!” ideas Steve. Way cool!
-
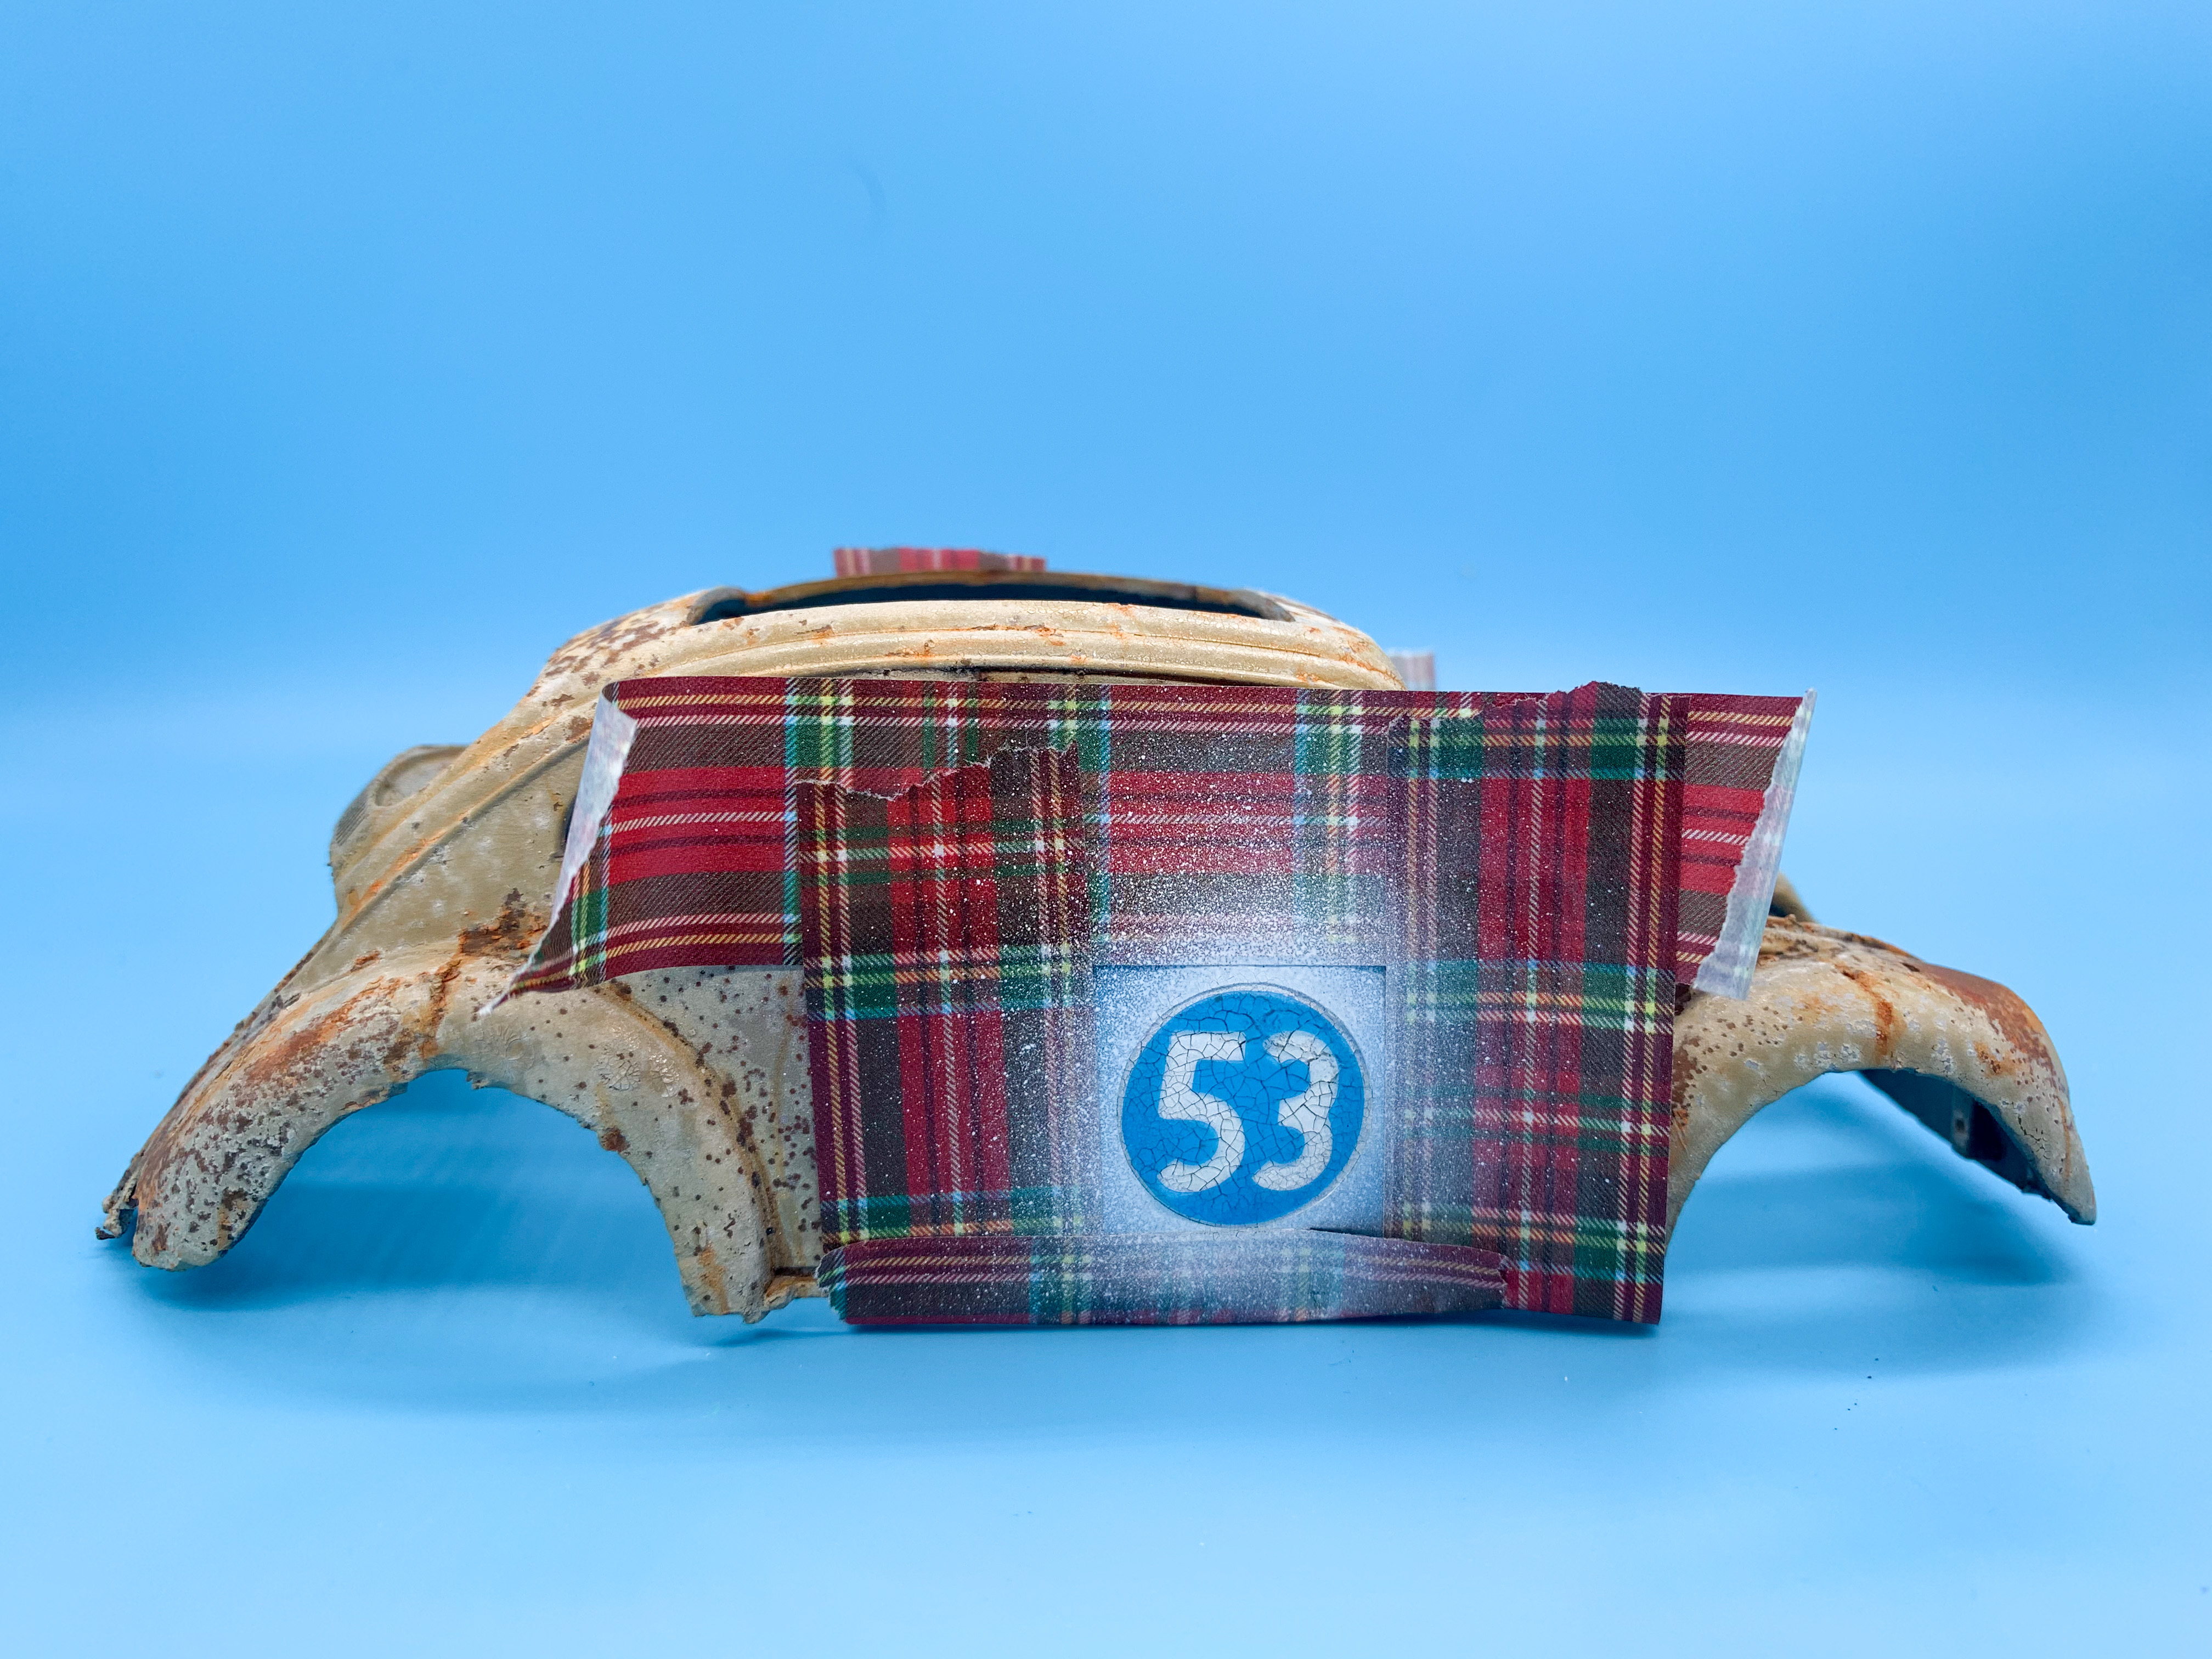
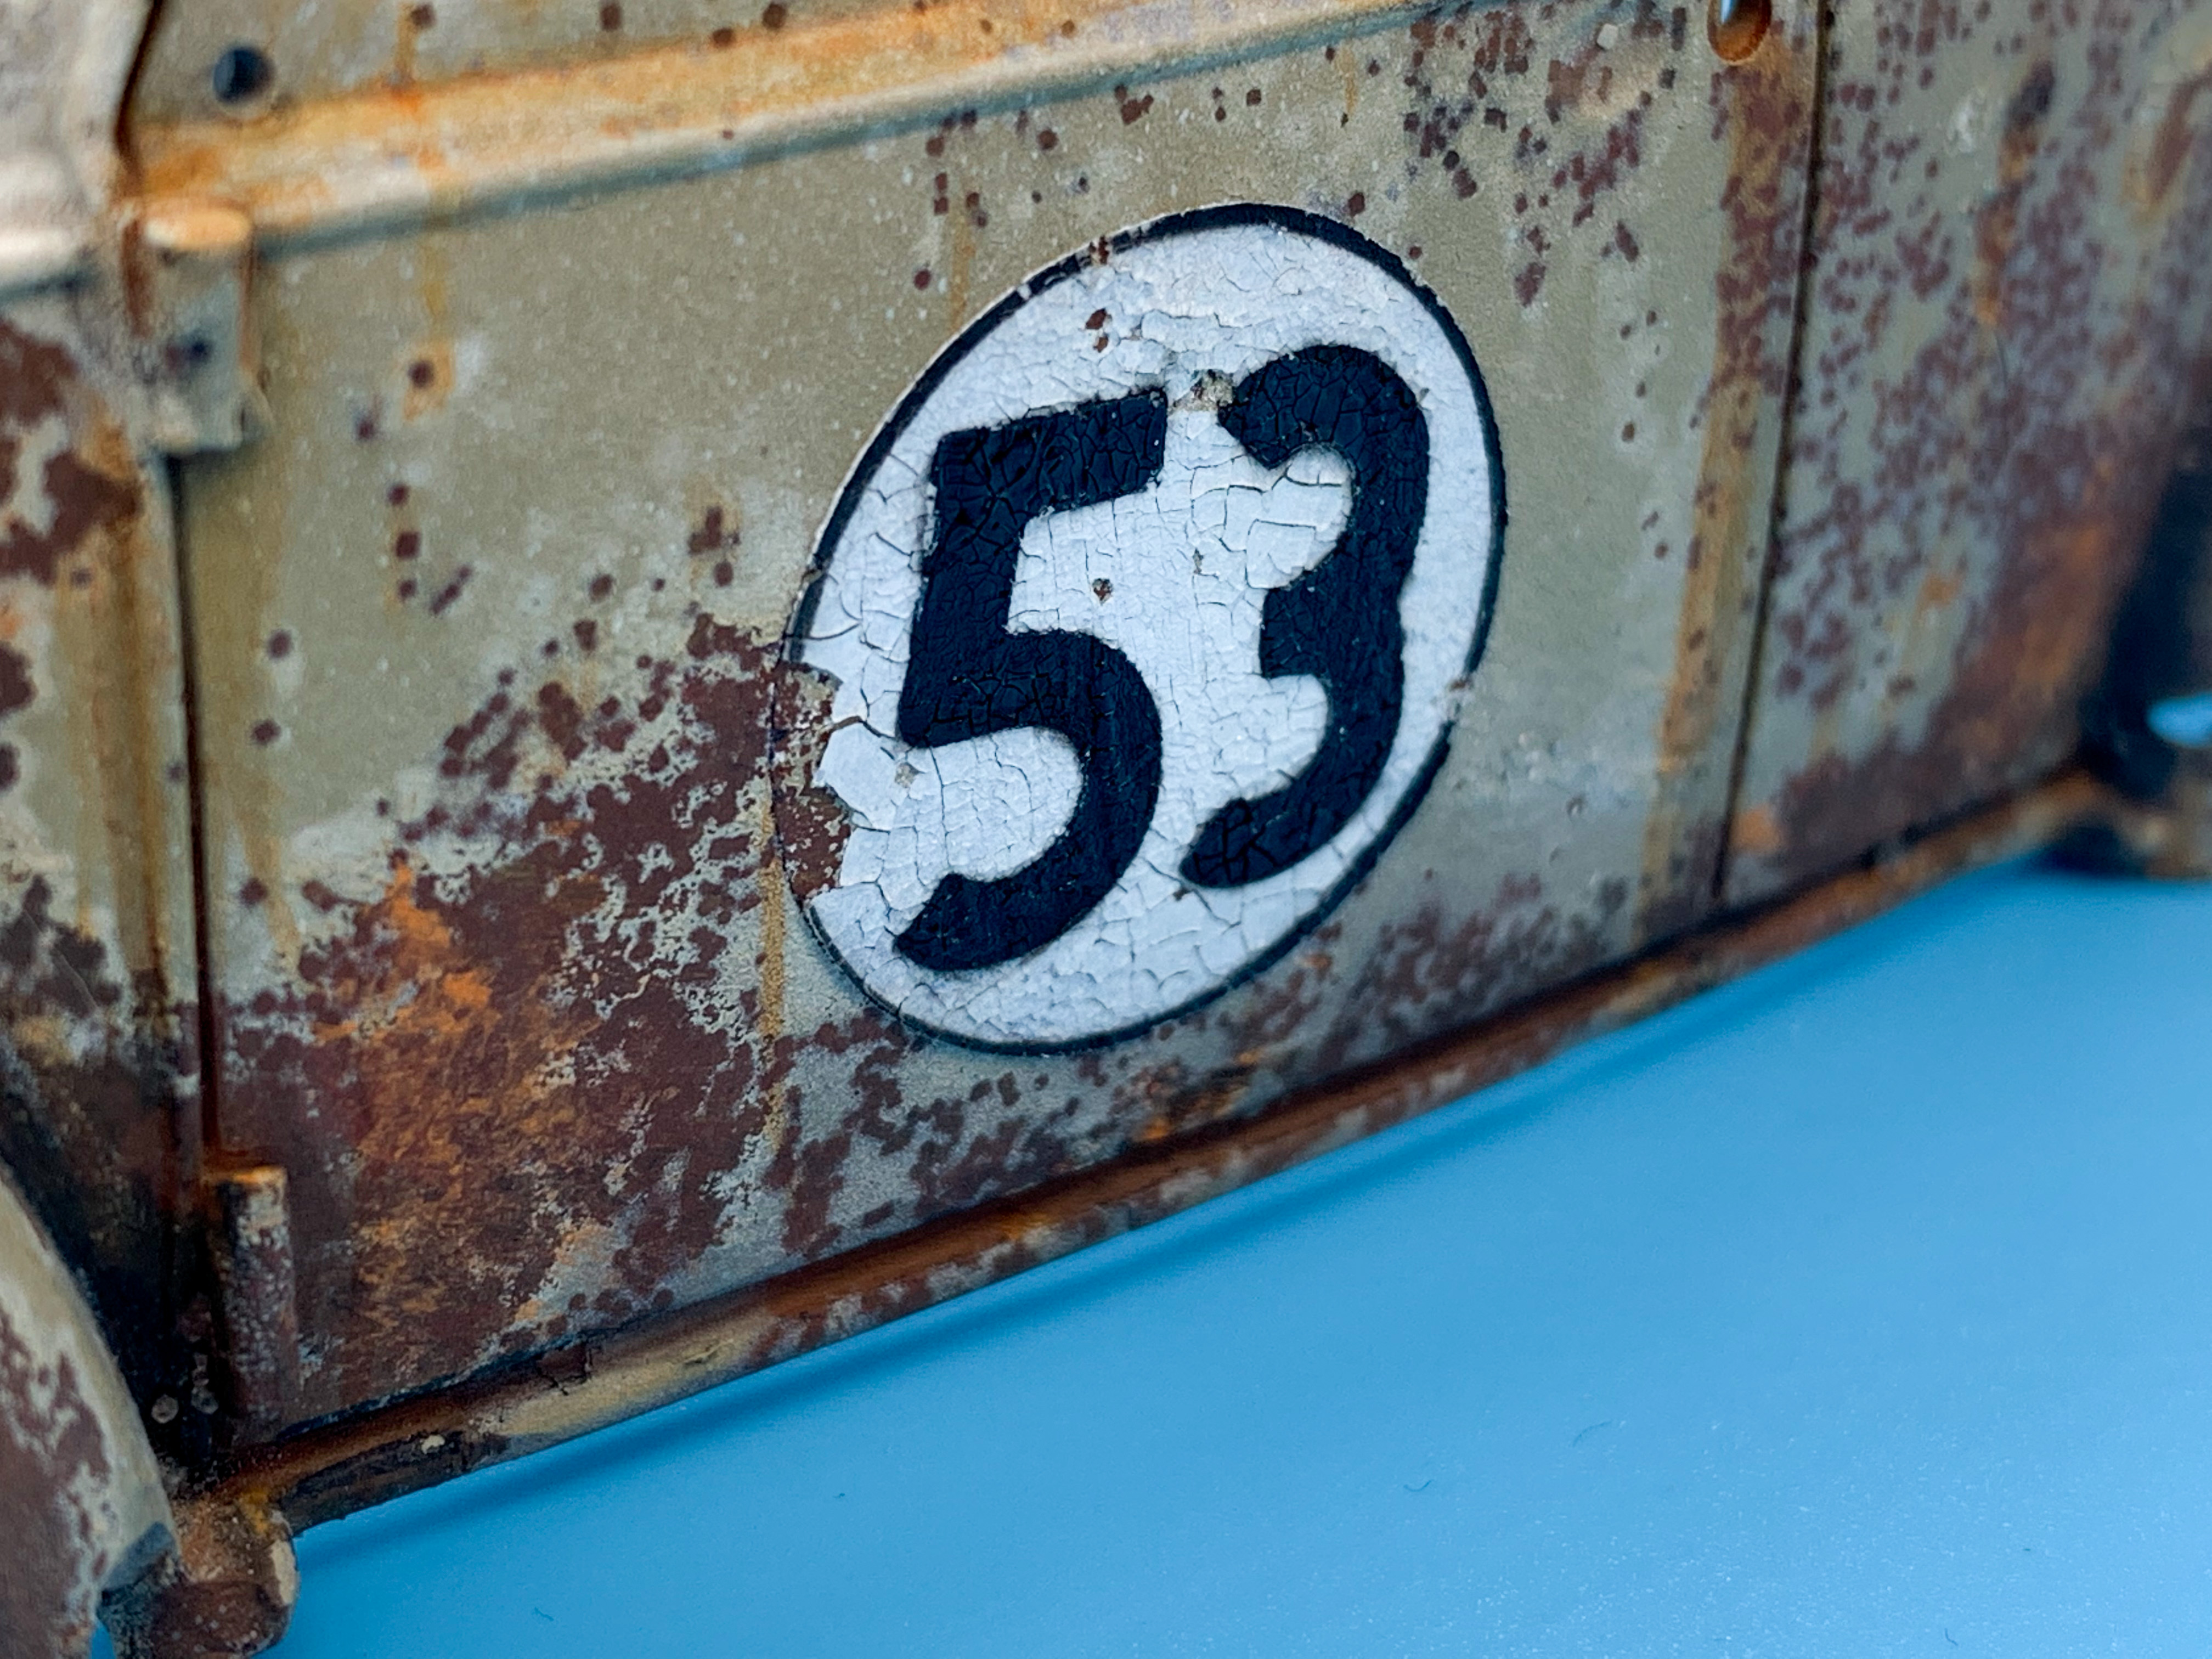
My bench has been a real mix today…spent hours ruining a Herbie kit, then cleaned up all the salt and pastels and plastic shavings to lay down some super-glossy clear. Should’ve done the ‘clean’ paintjob first 😂
-
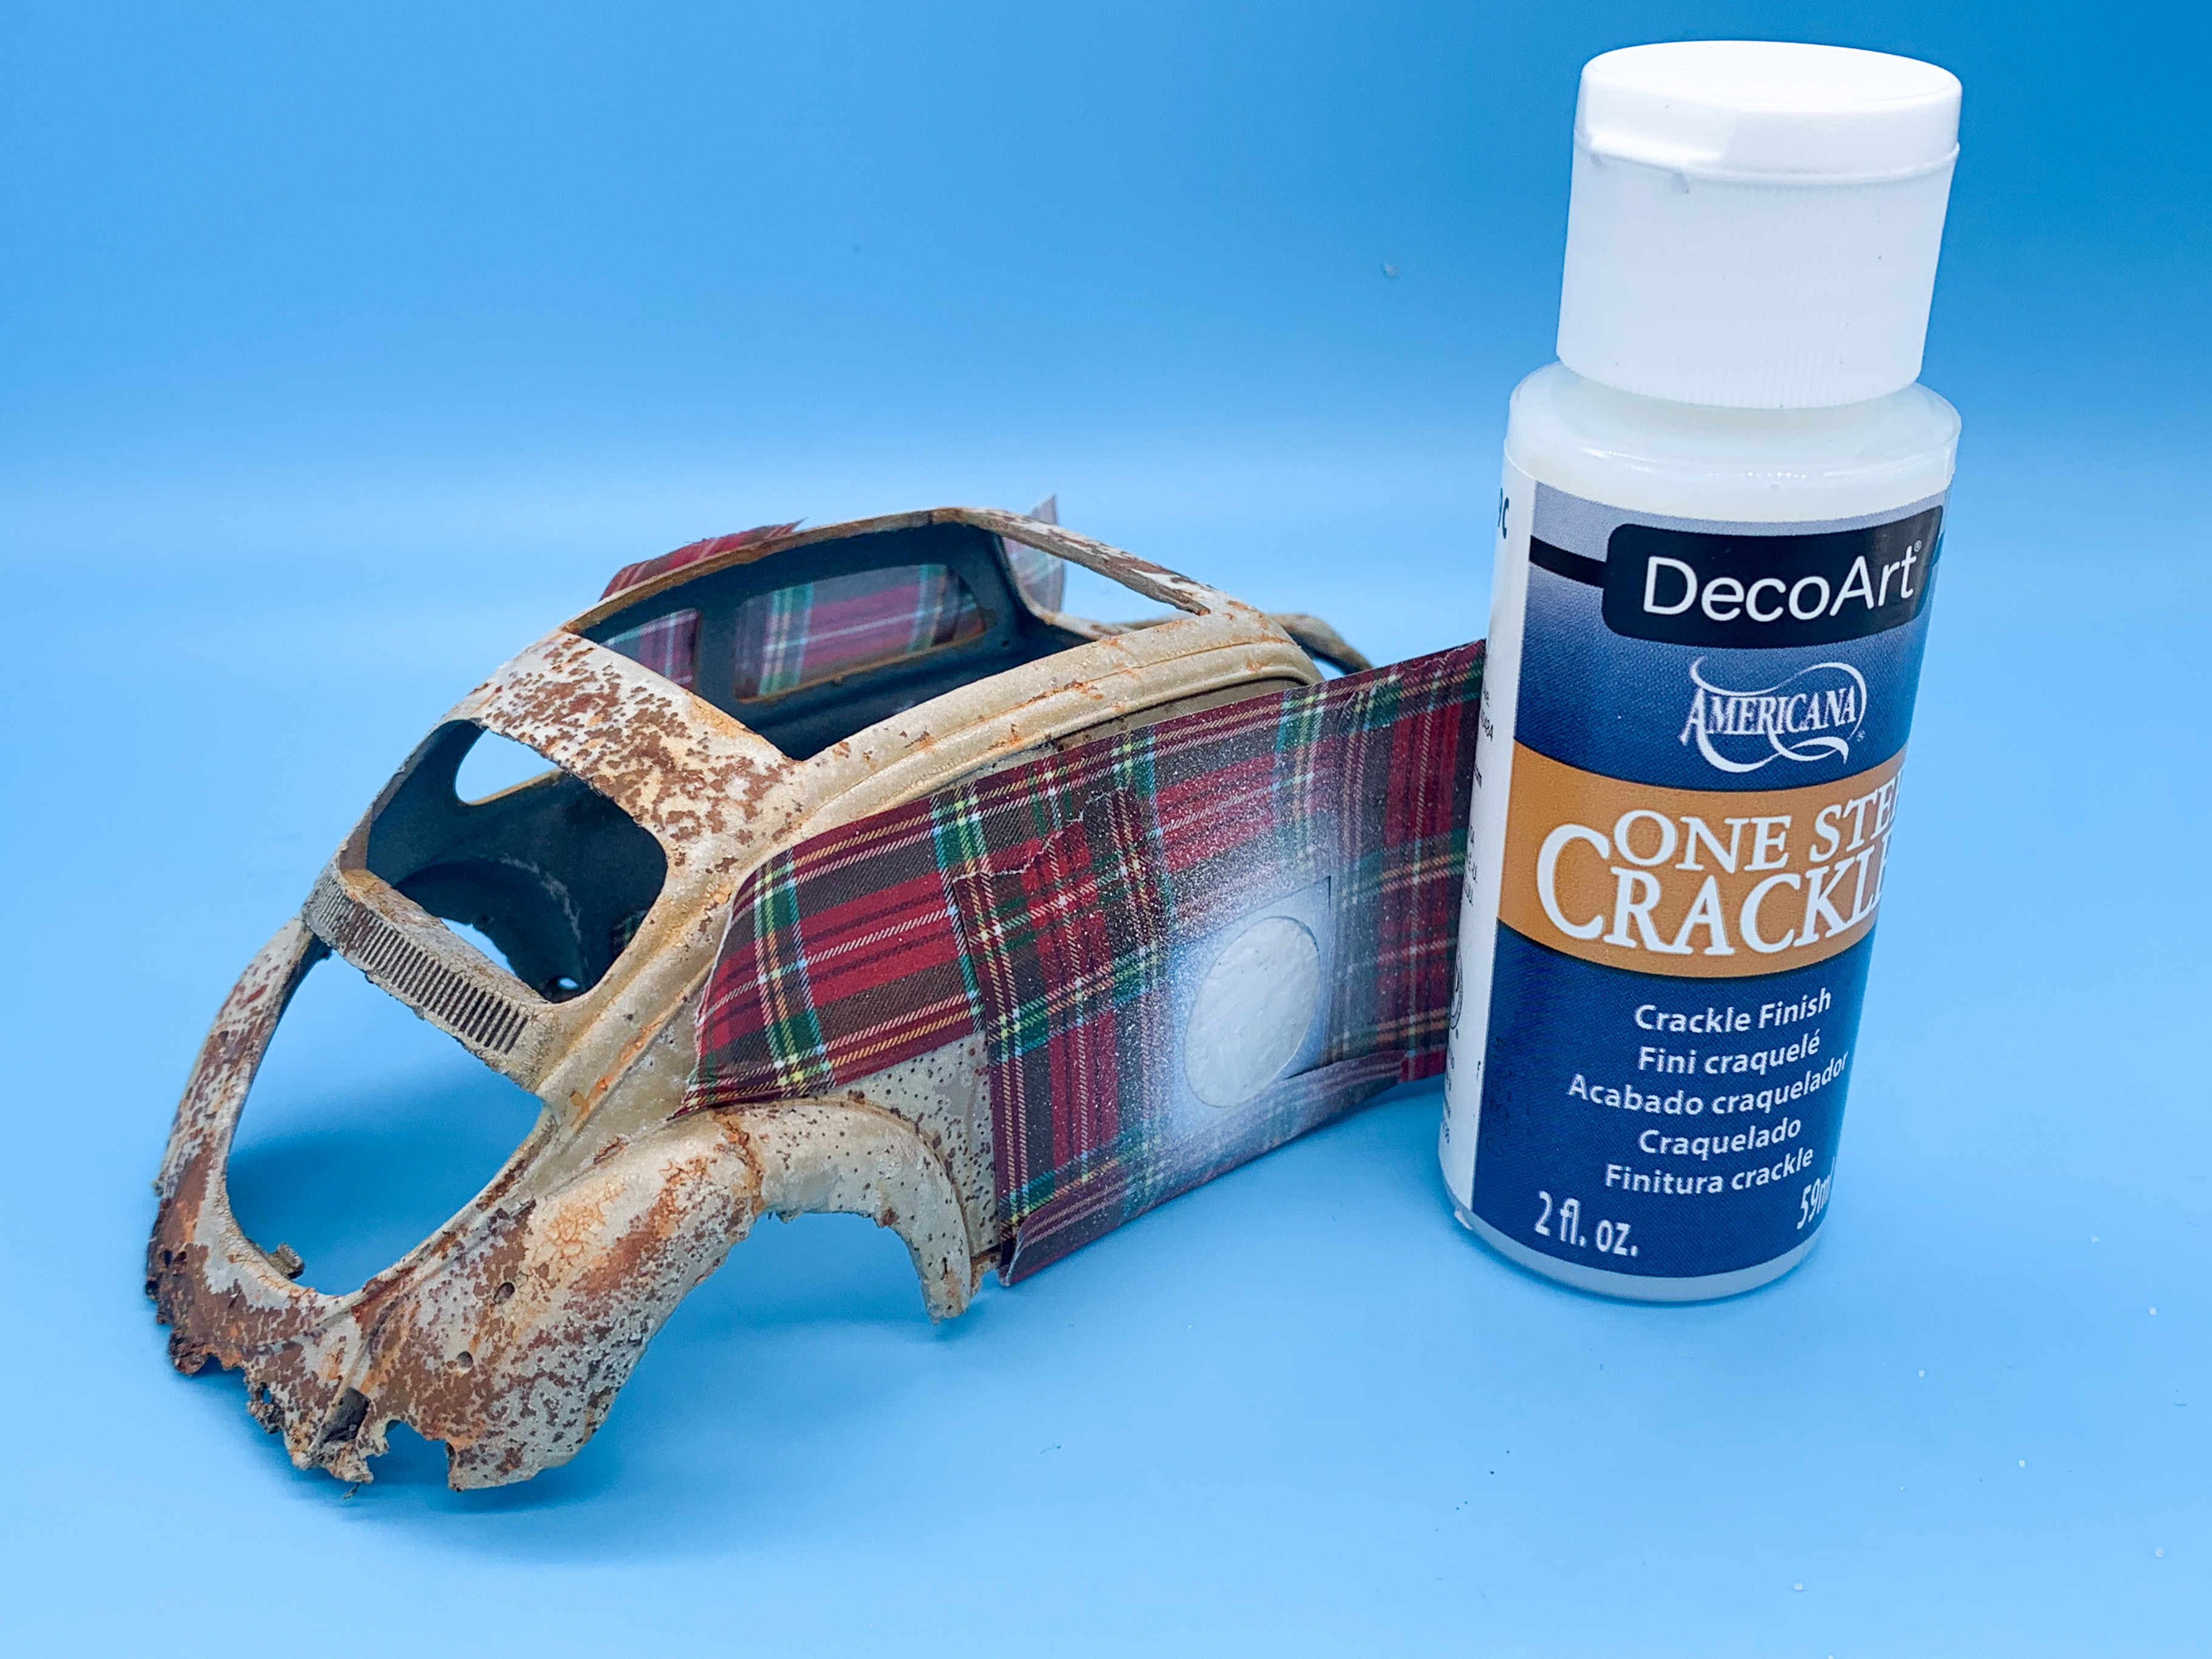
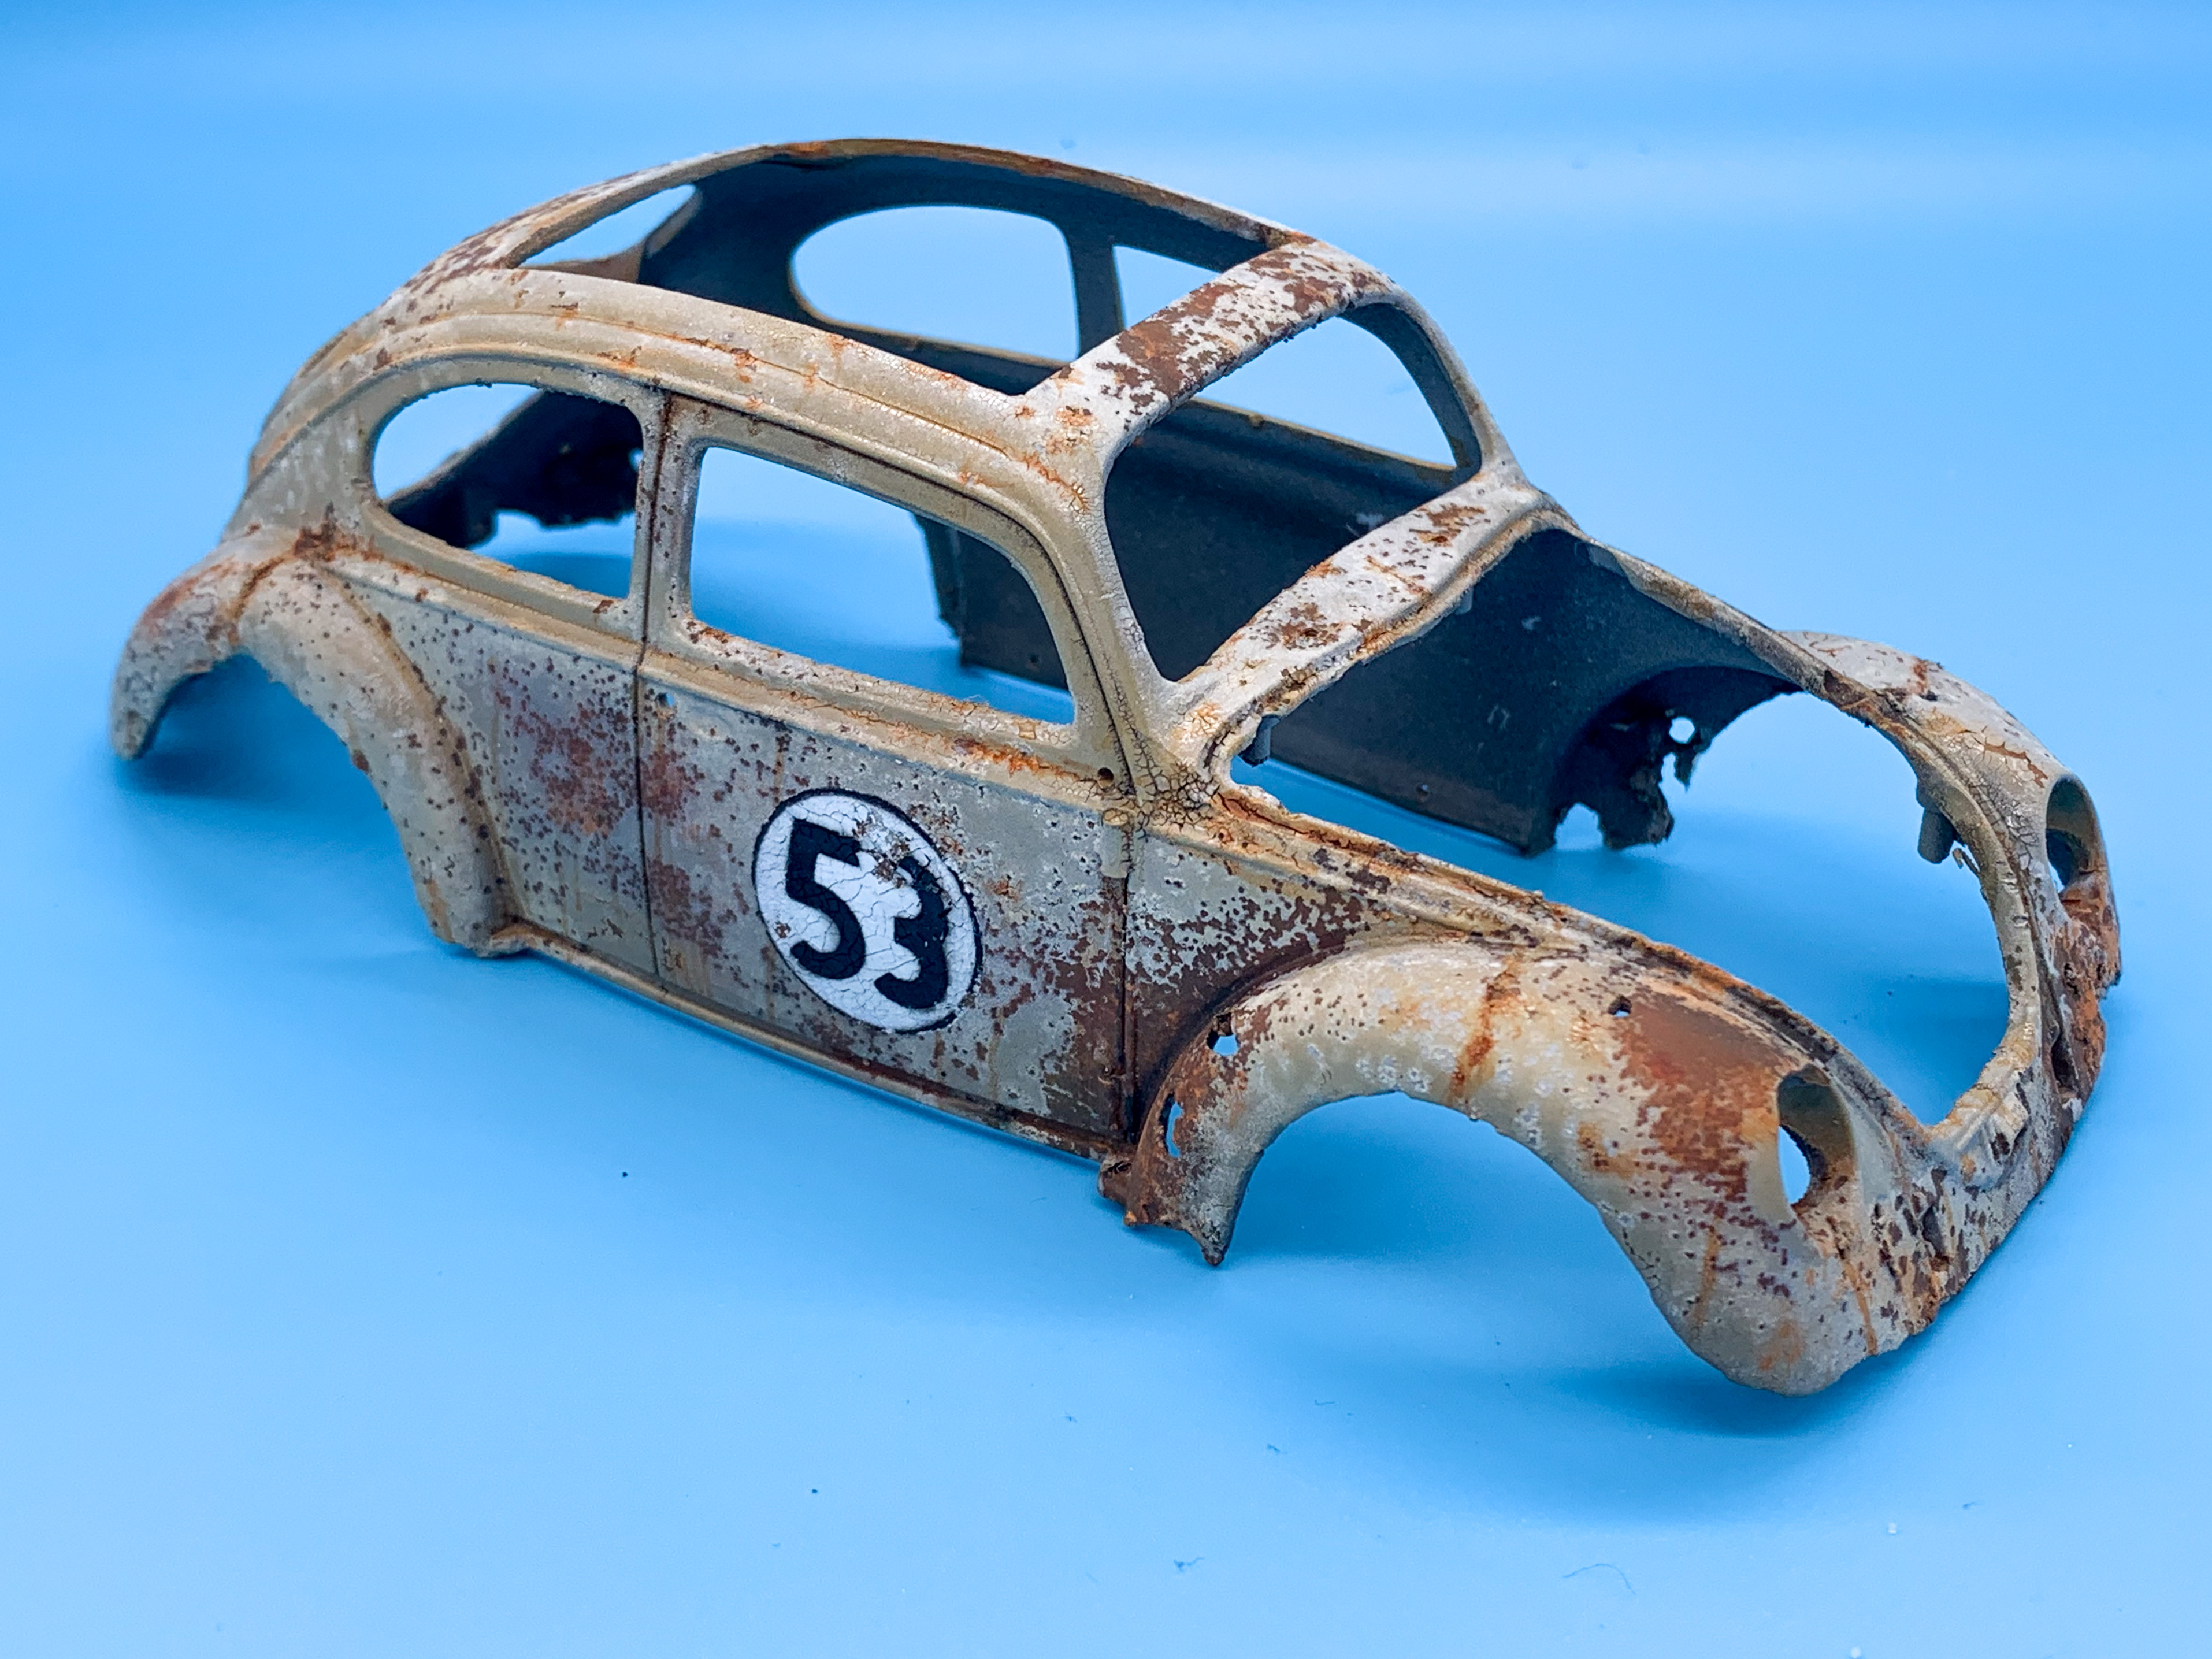
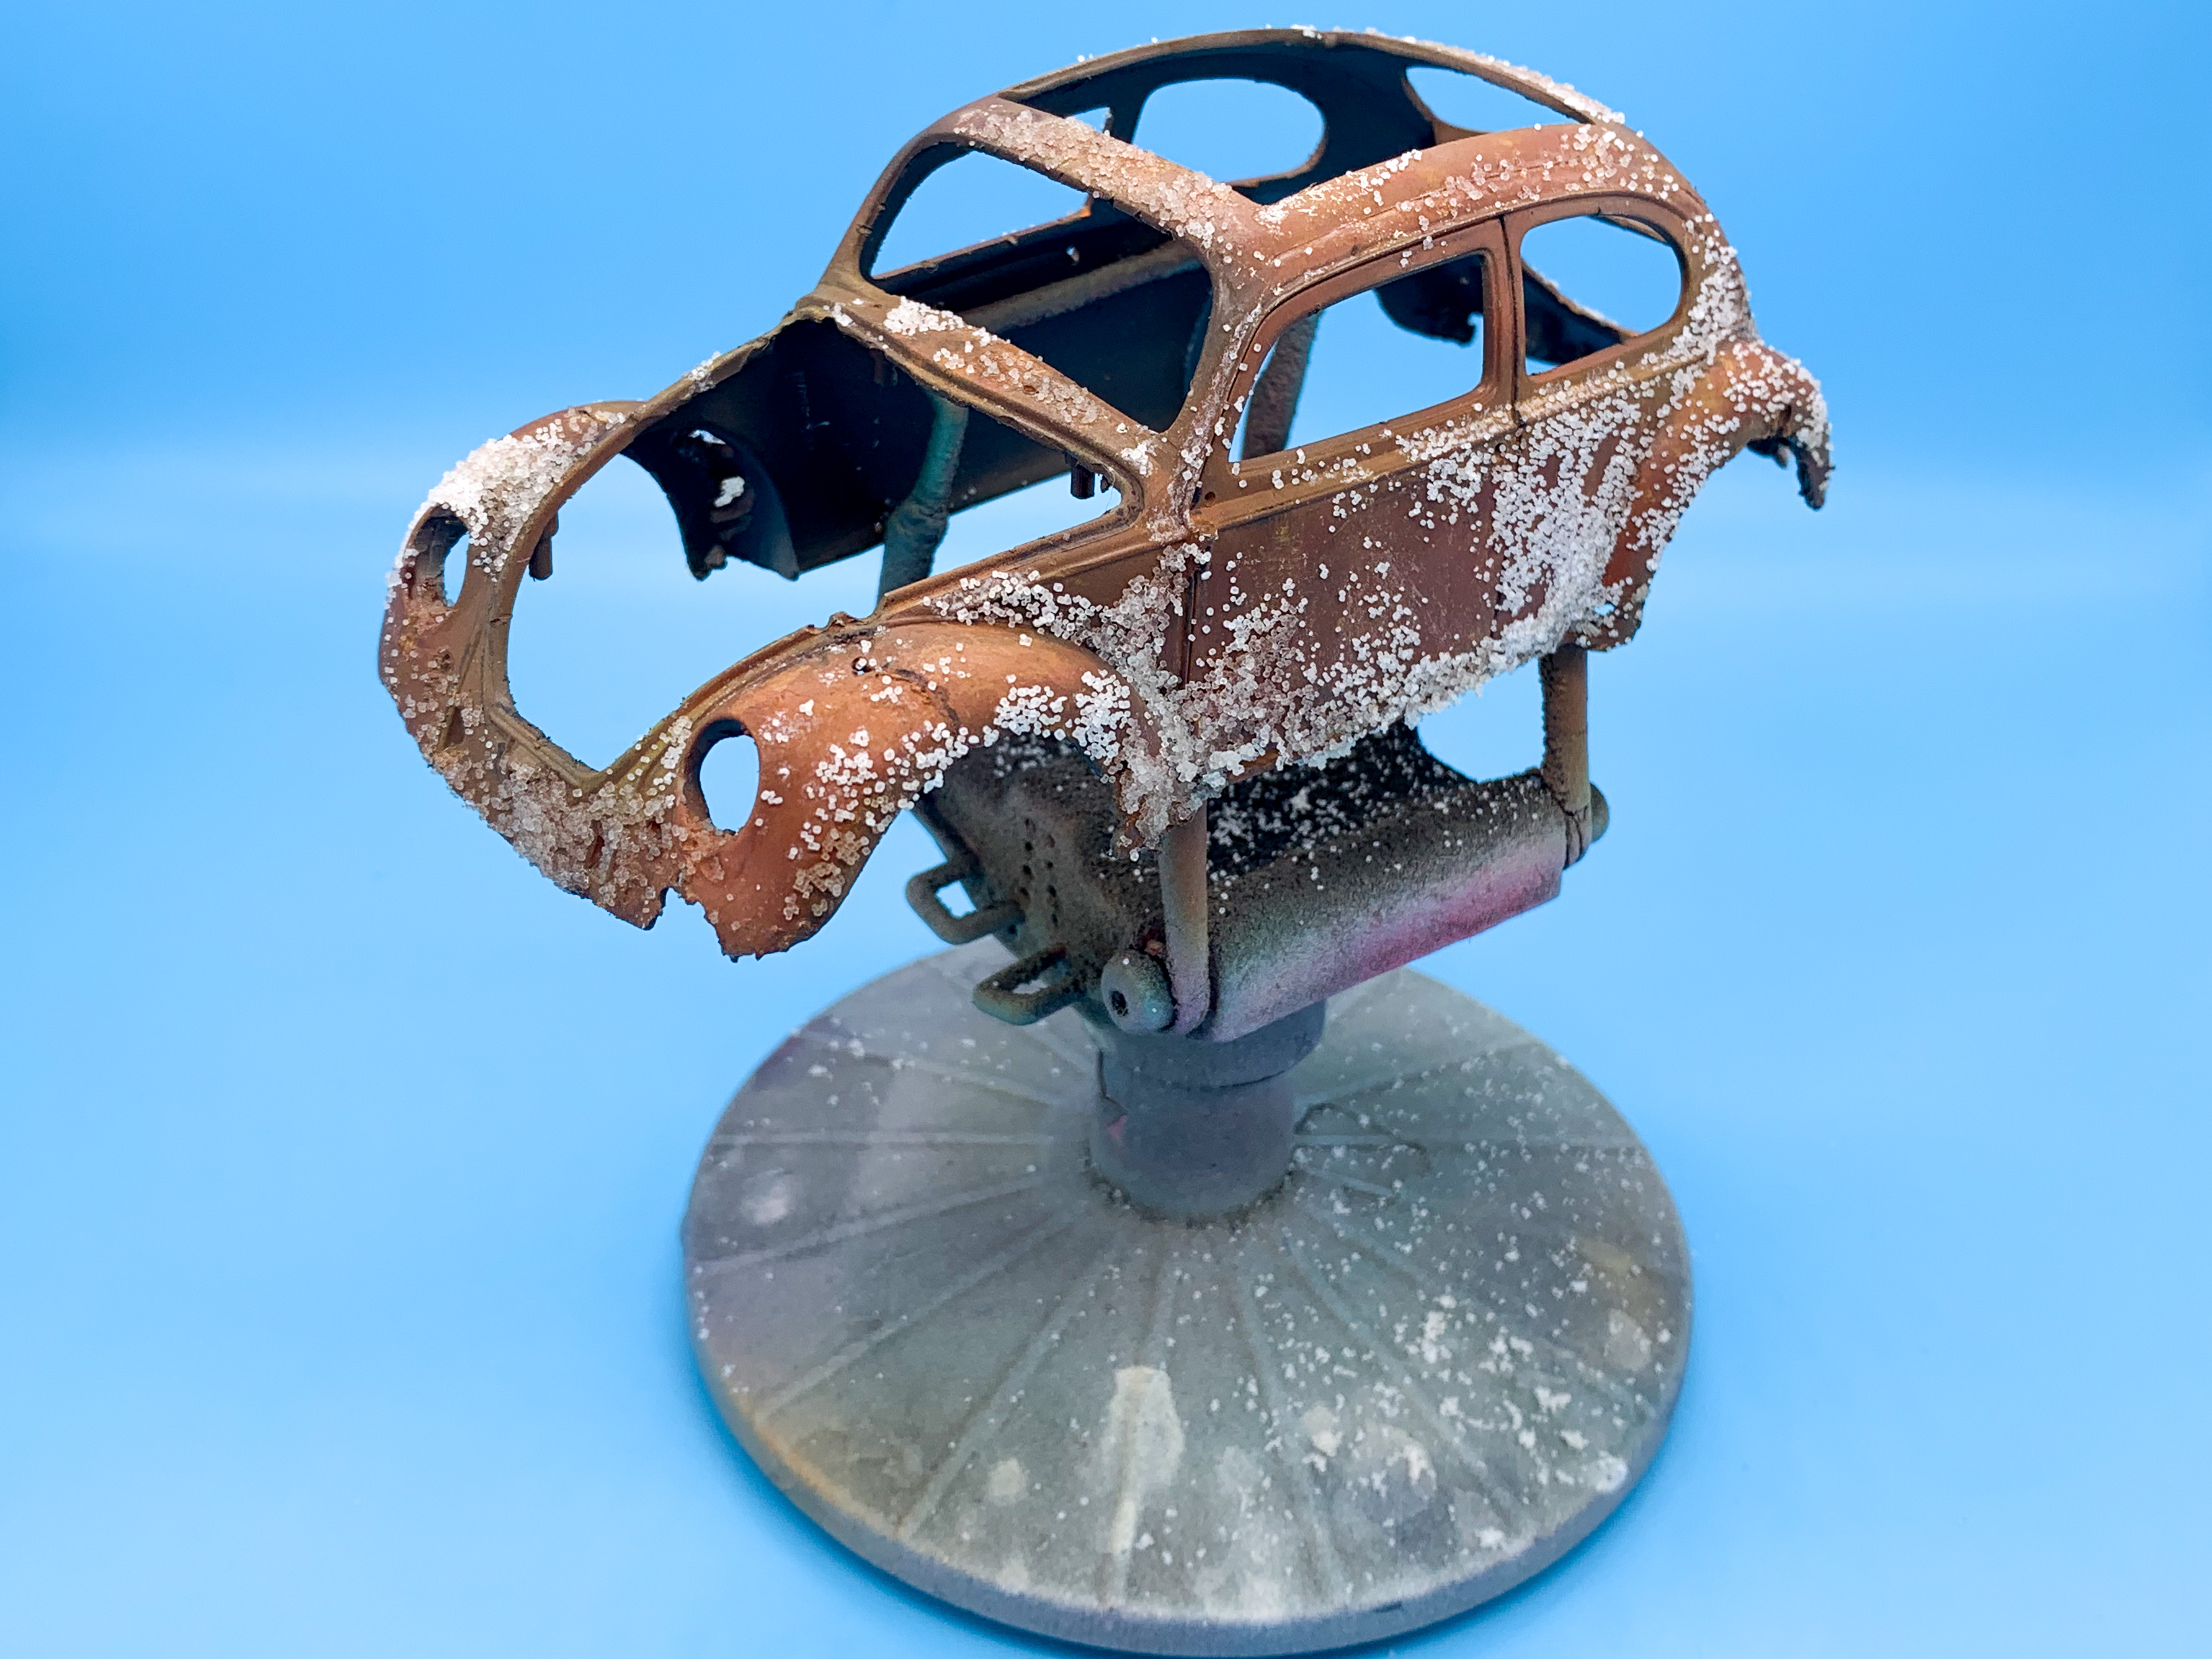
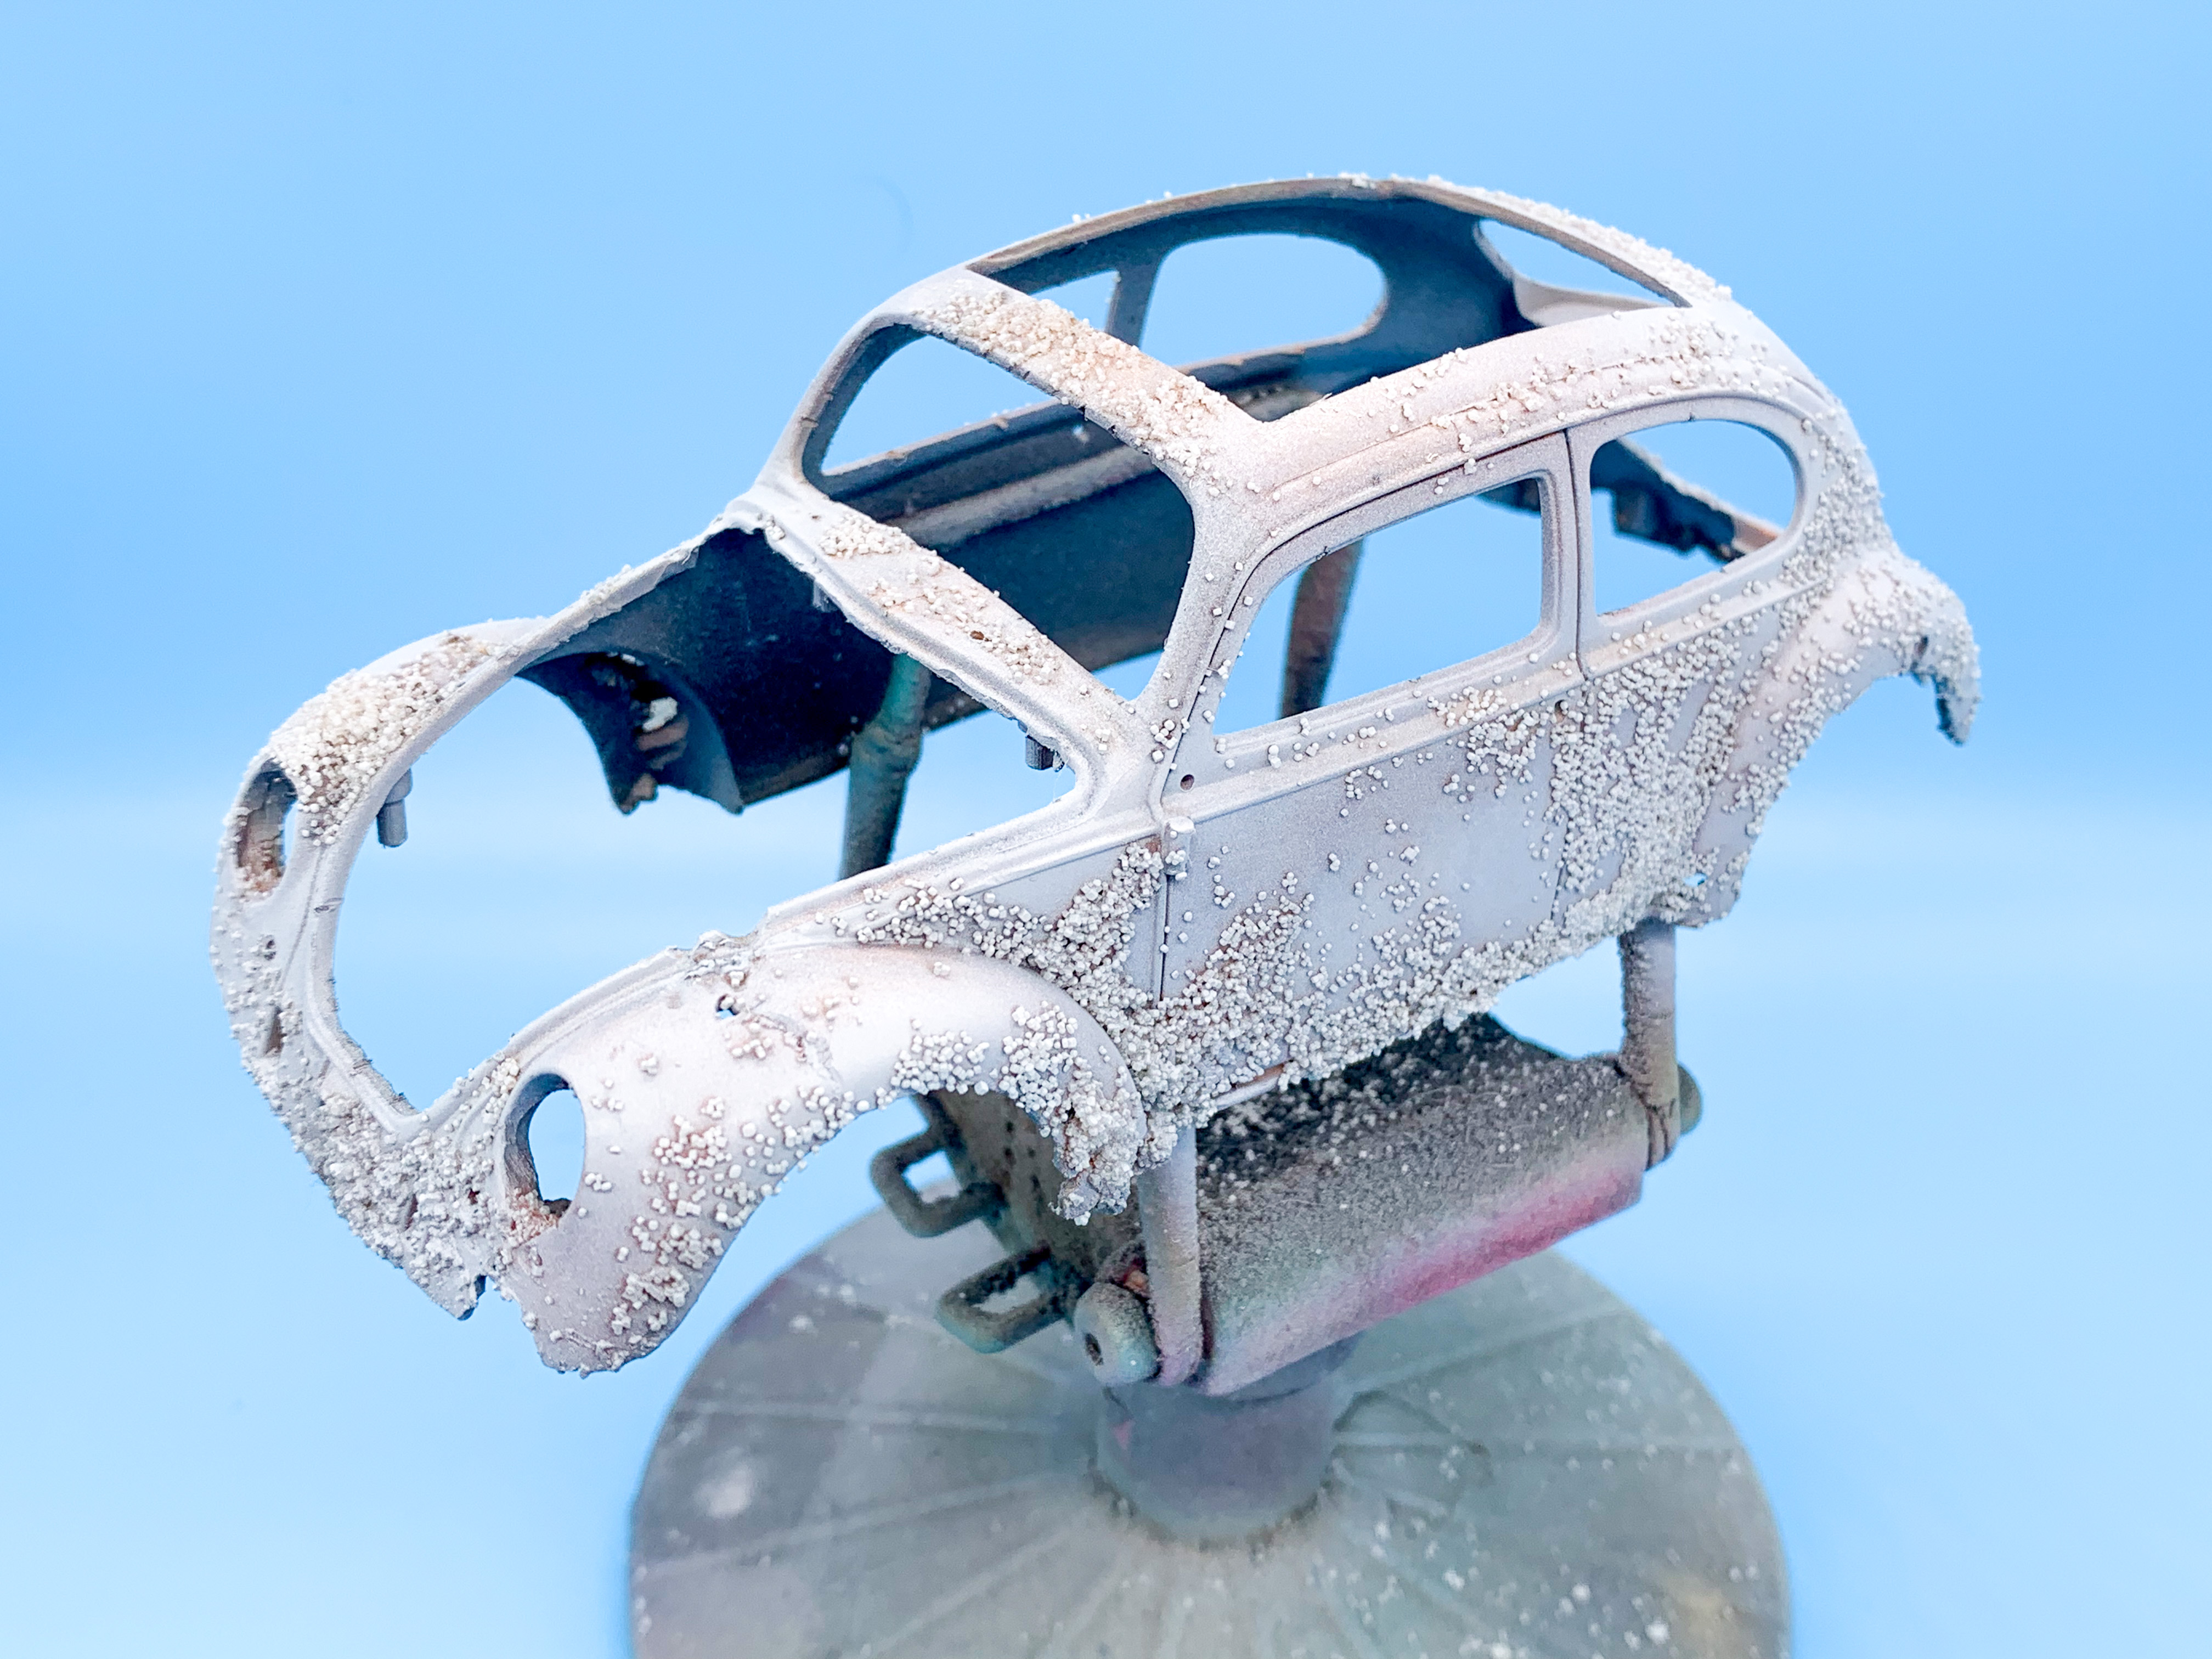
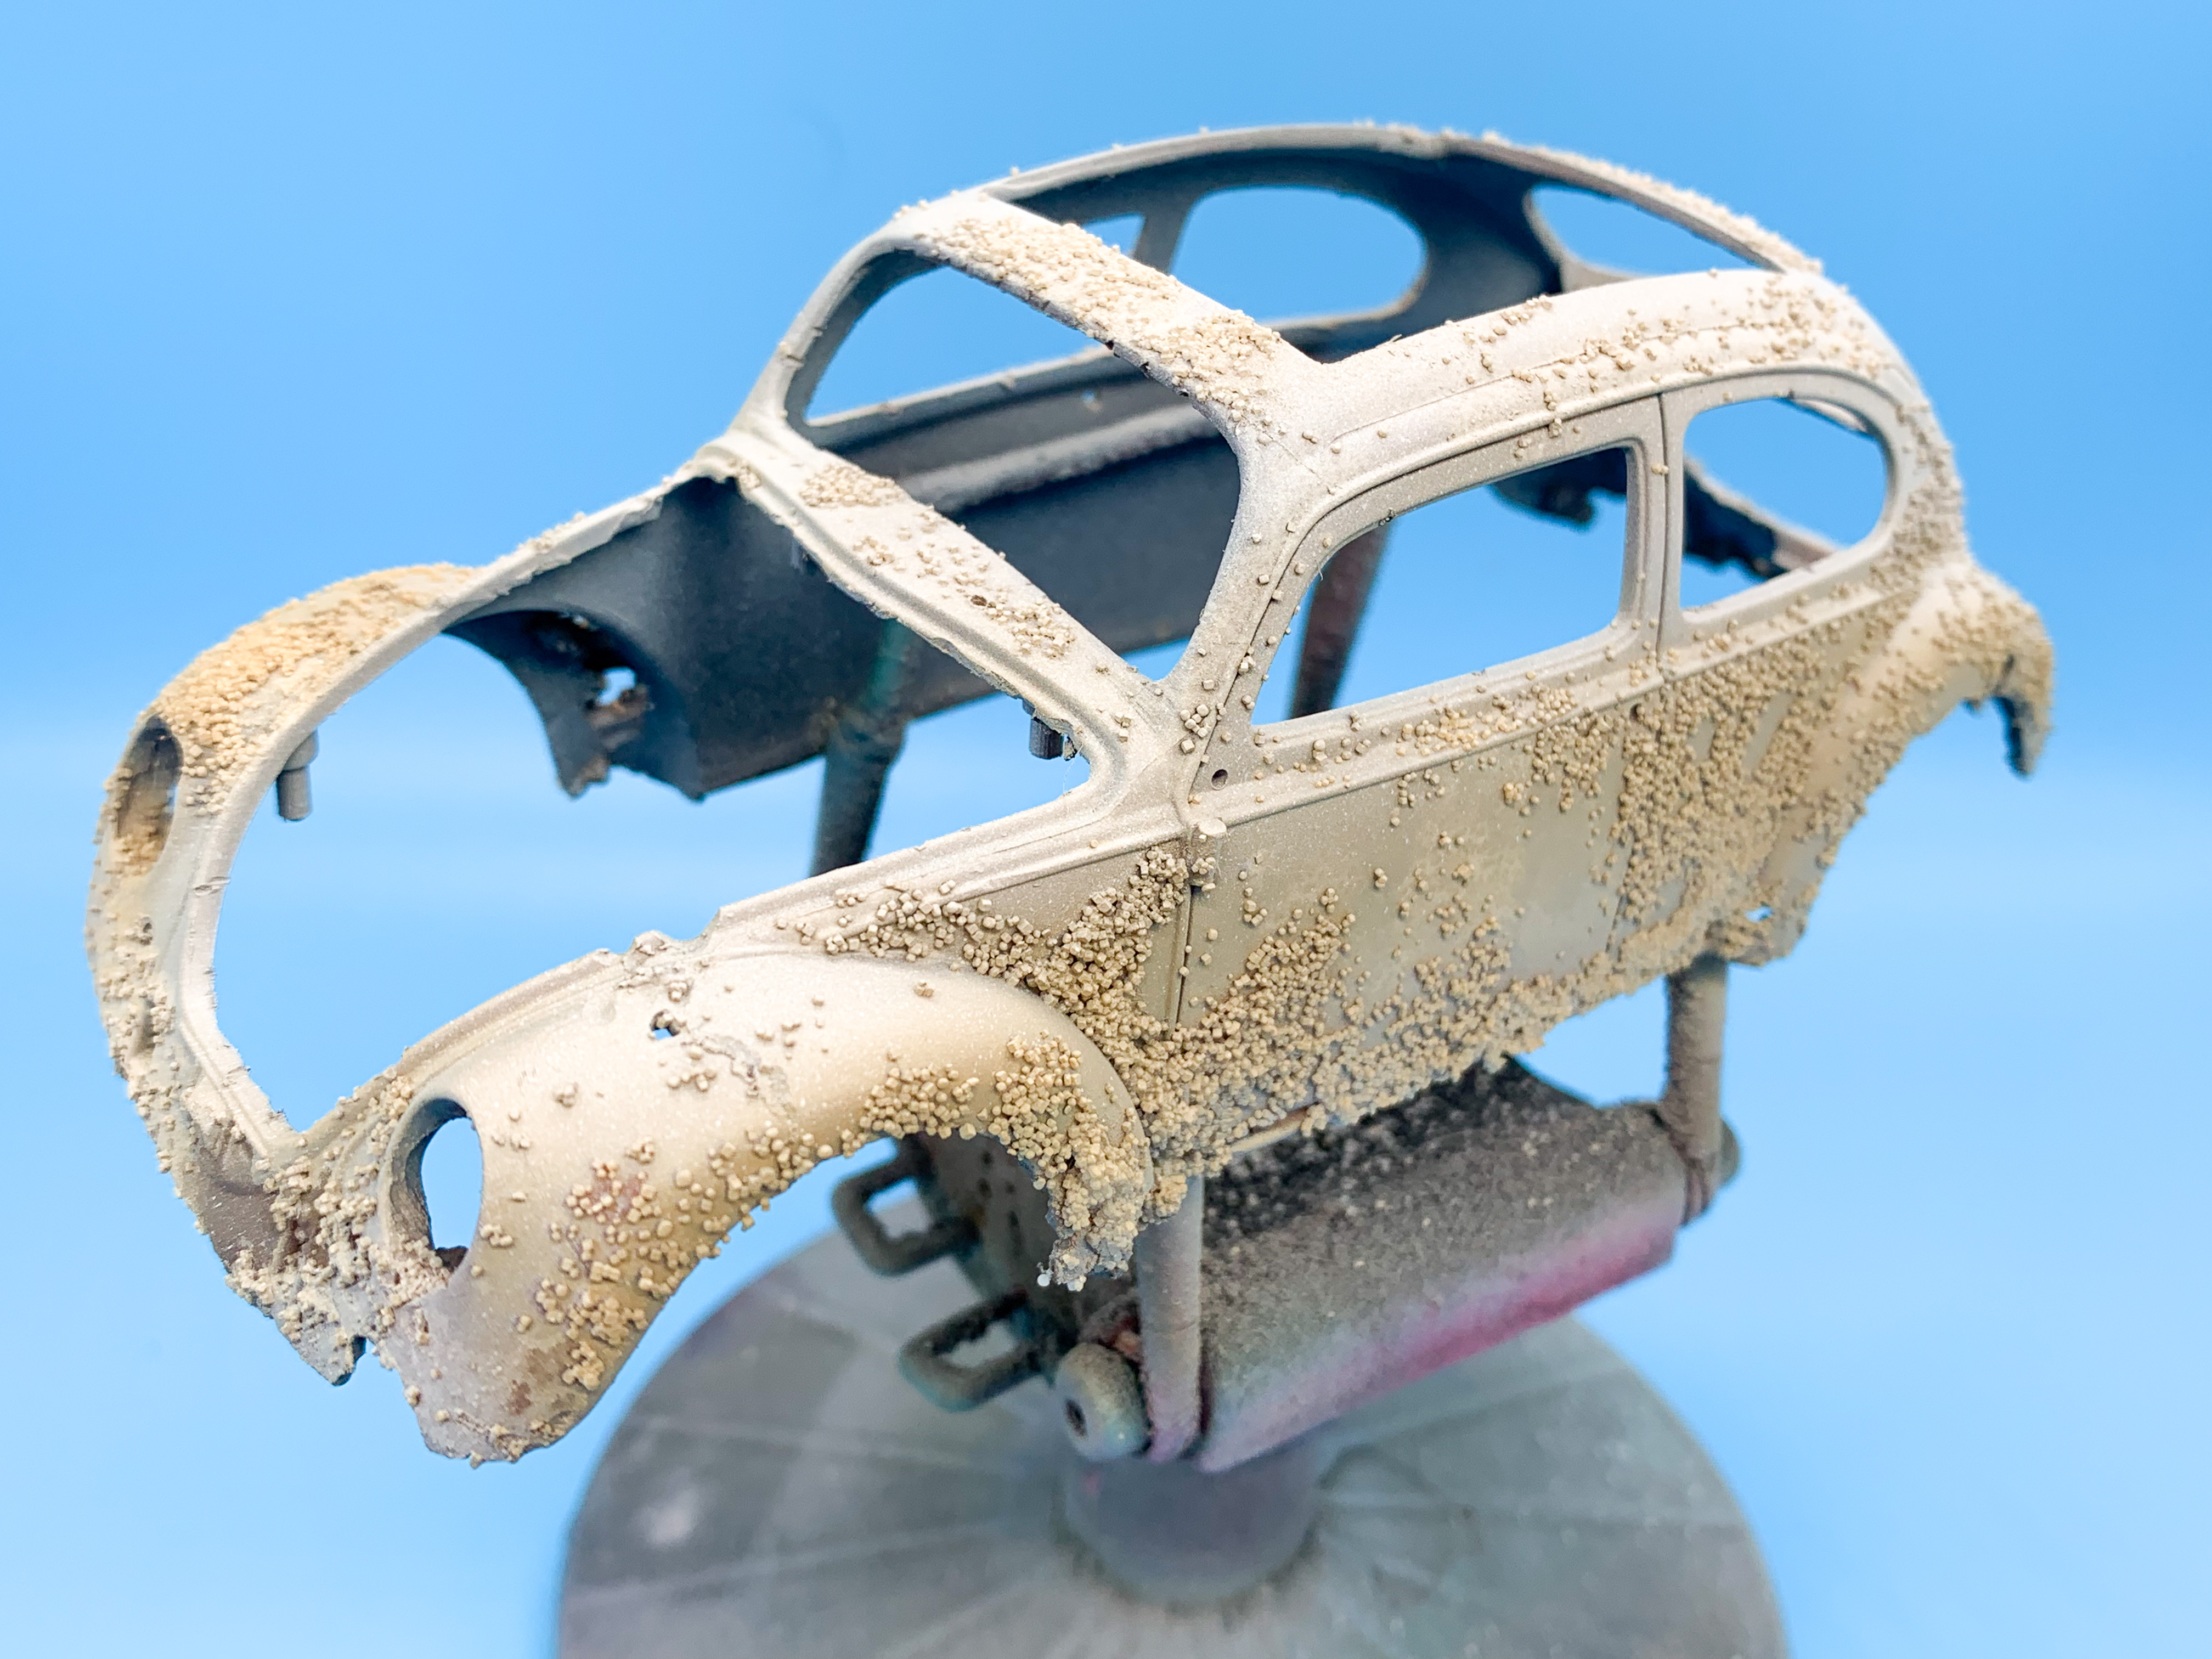
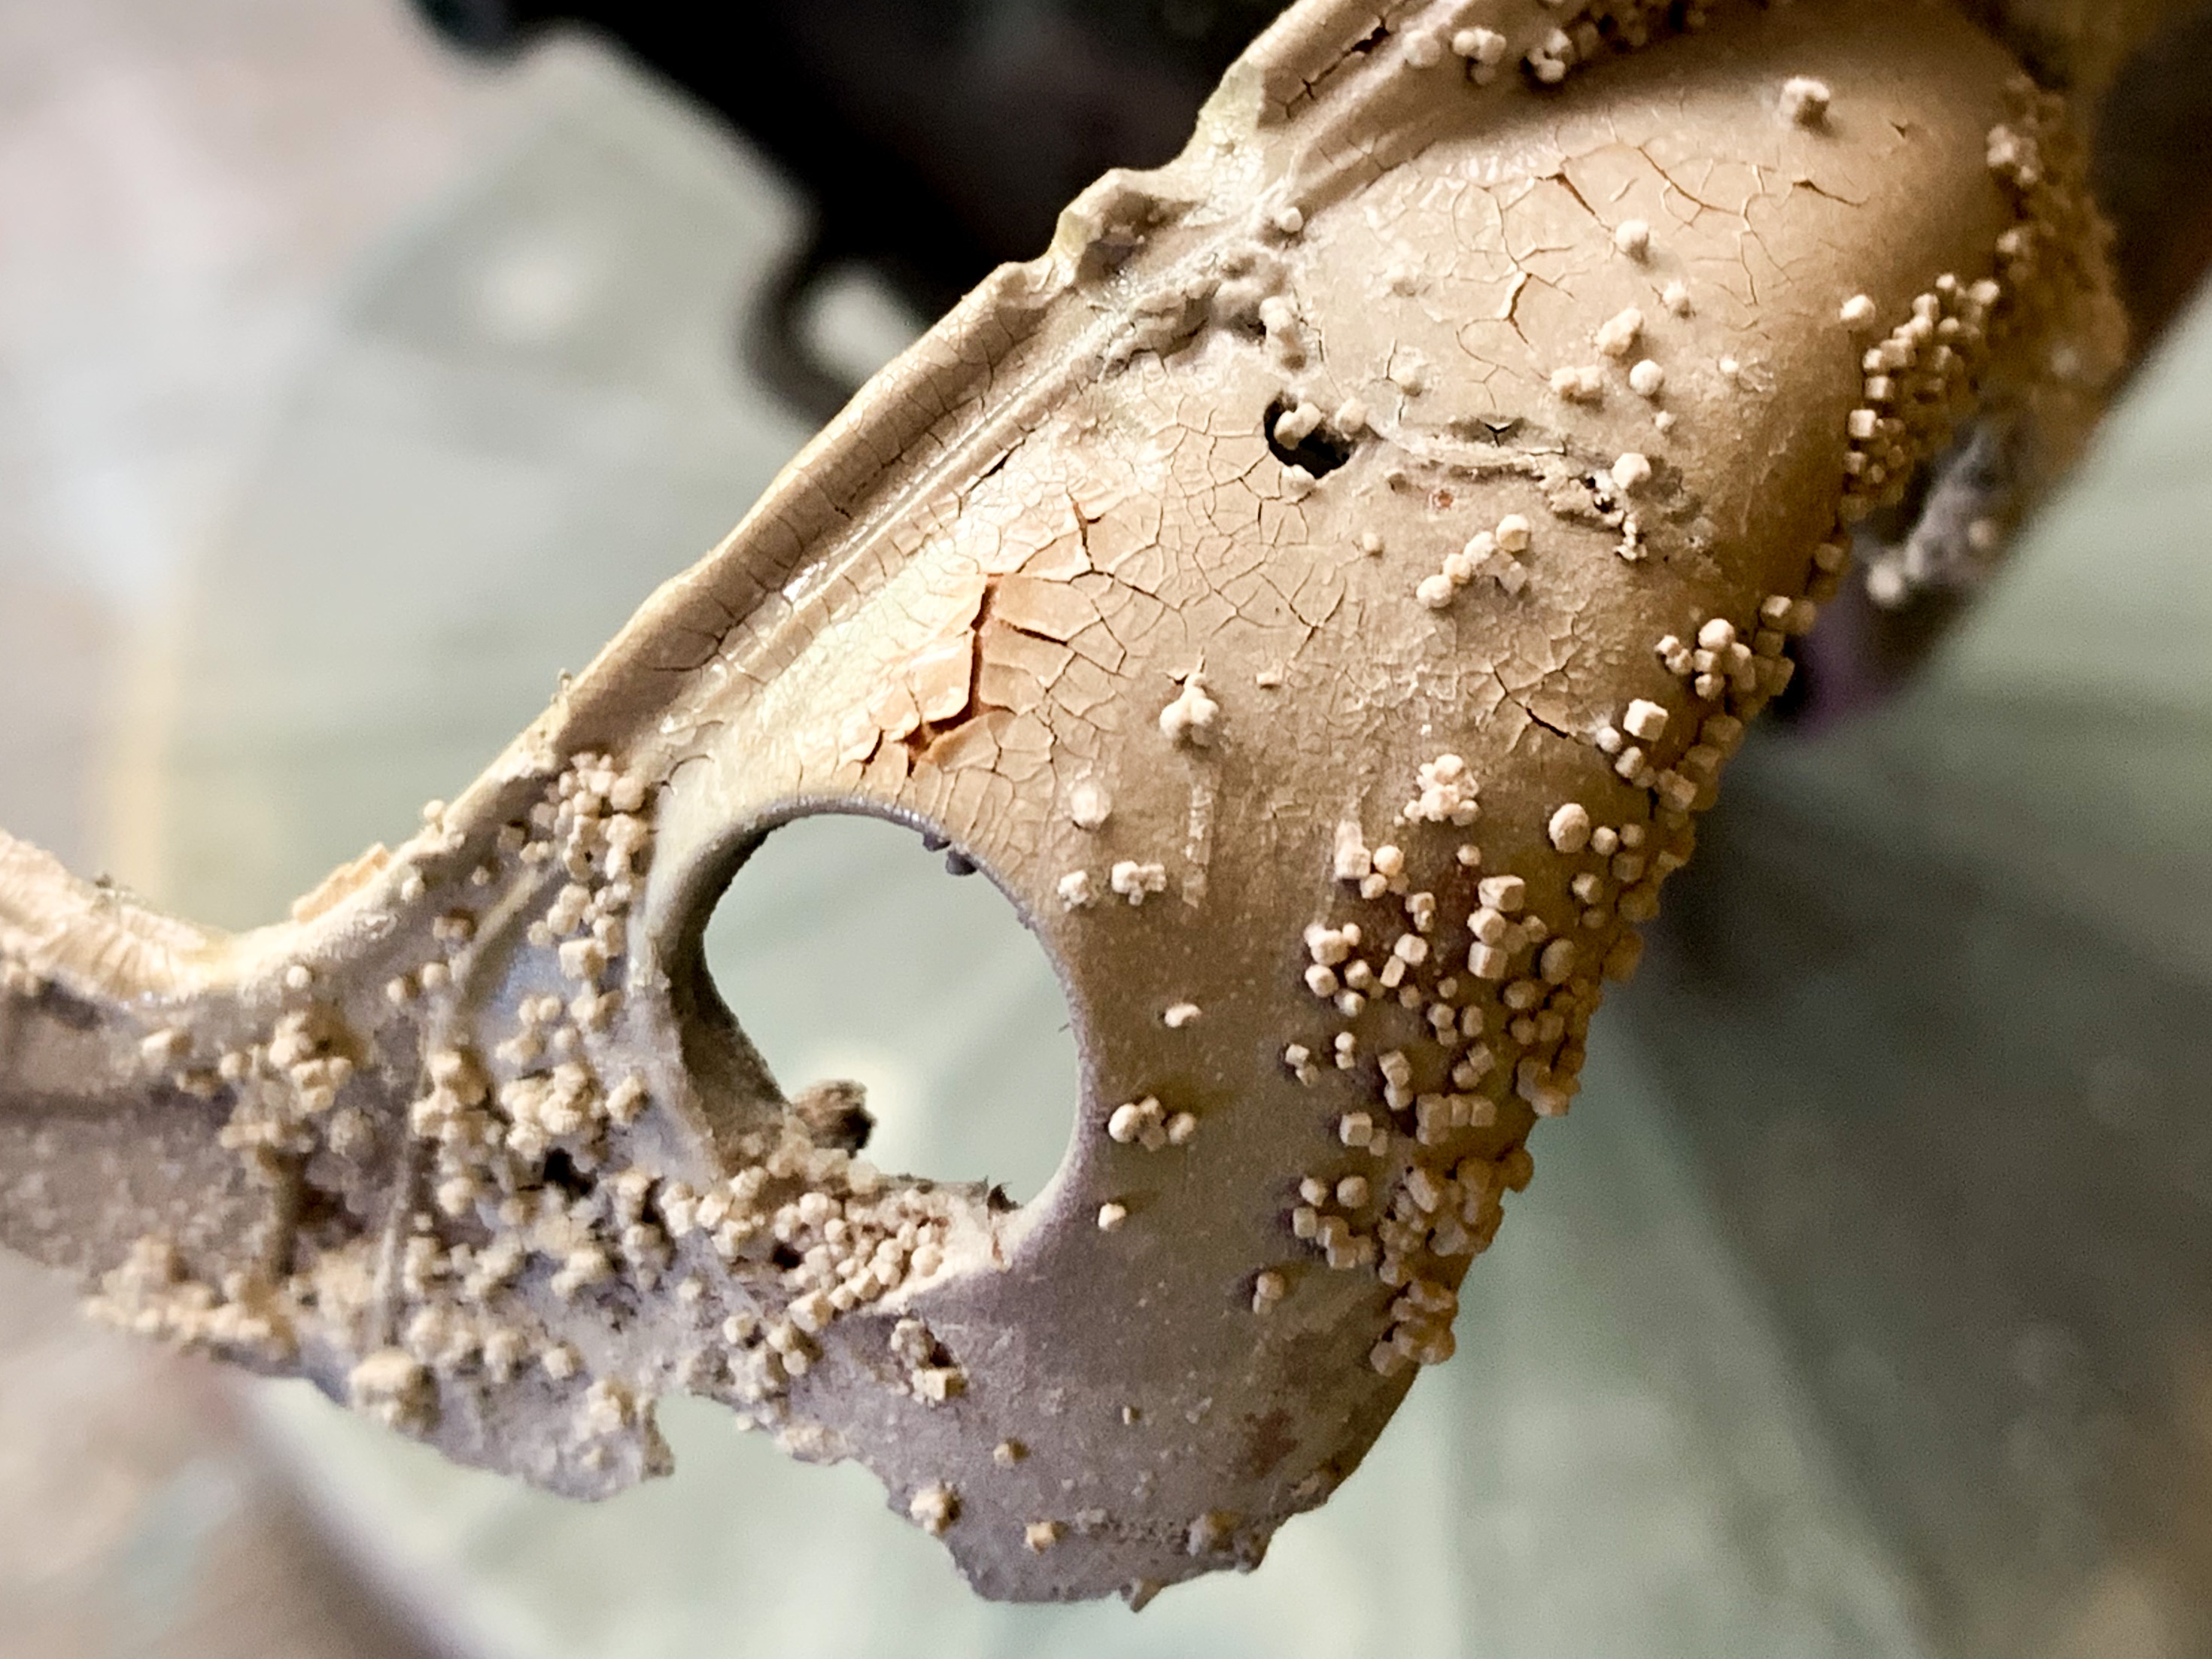
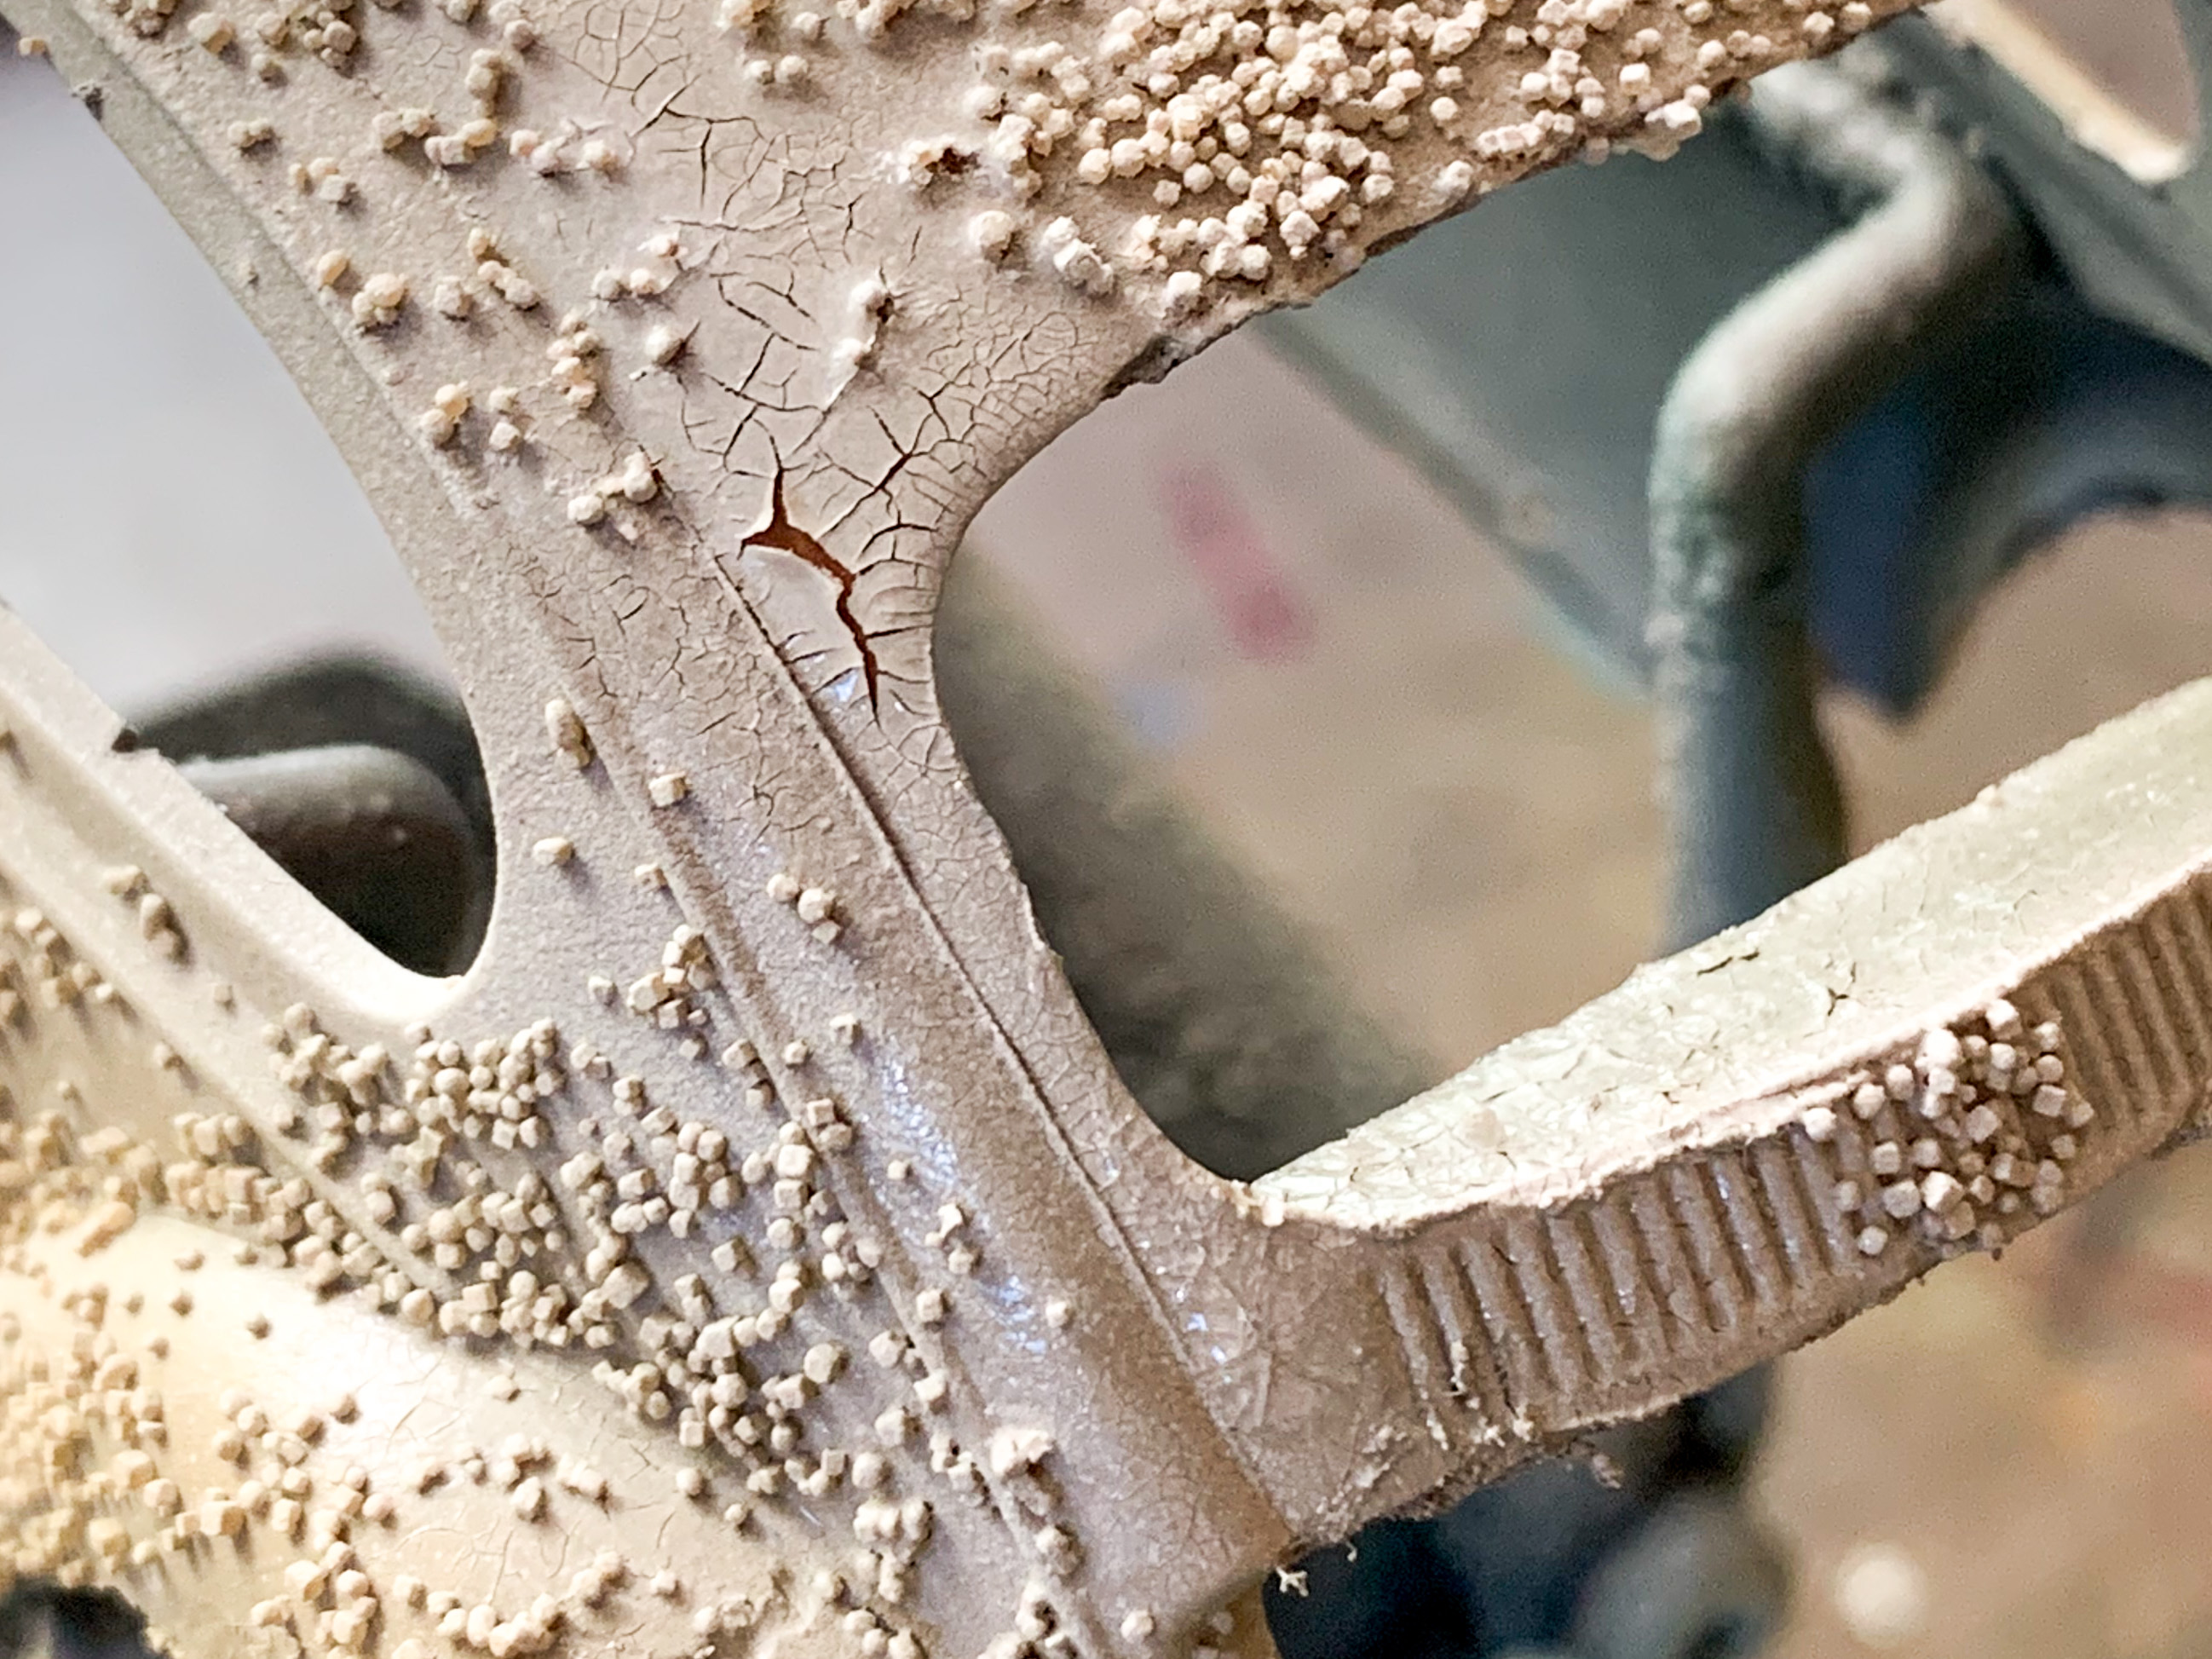
Thanks fellas! Not sure what I’m going to do with the interior yet…guess we’ll cross that bridge when we get there! Fun with salt and crackle medium today. First up, season the body 🤪: Then light gray, followed by a little more salt: Then tan: And whilst the tan color was still wet, I brushed on some crackle medium do create some chipping and cracking paint - like this: Next up, brush the salt off (being careful not to rip off the crackled paint): And then finally for today add some black and rust color washes to bring it to life a little more: I’ll keep tweaking and adding to the weathering no doubt until I’m happy with it, but I’m far enough along that I can get started on painting those distinctive ‘53’ gumballs and stripes to make it look more Herbie-ish! More soon, thanks for looking!
-
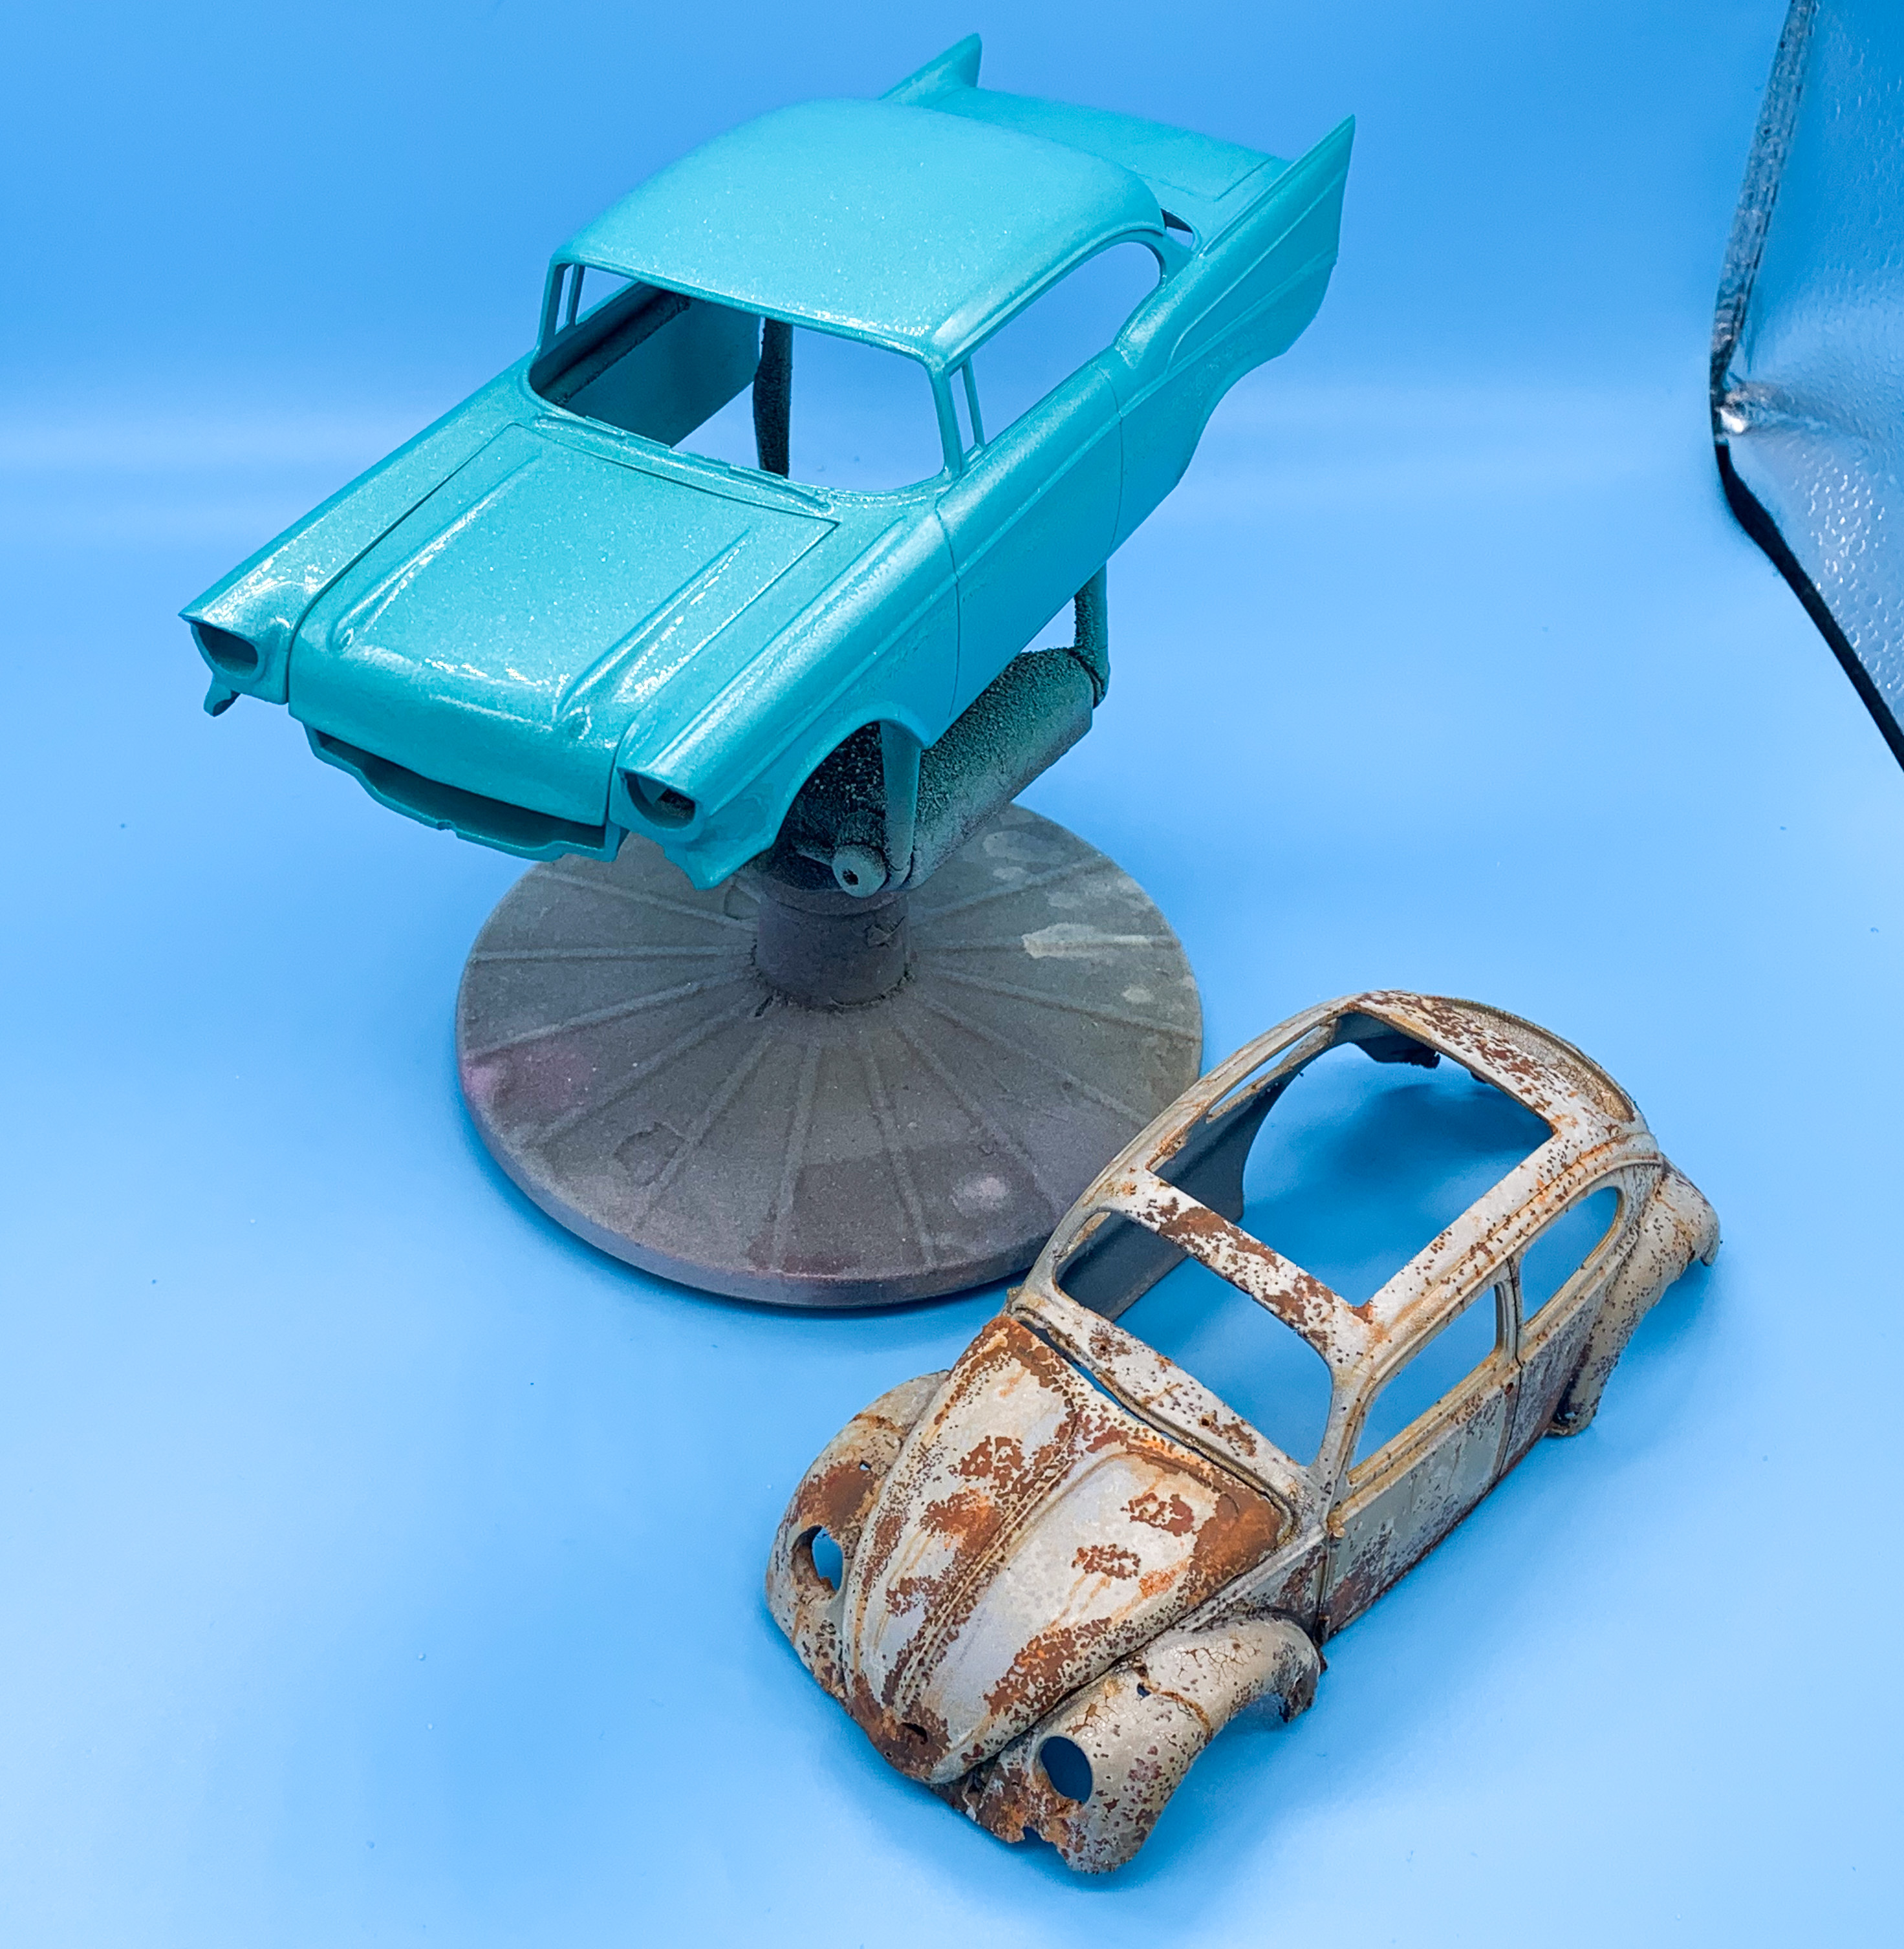
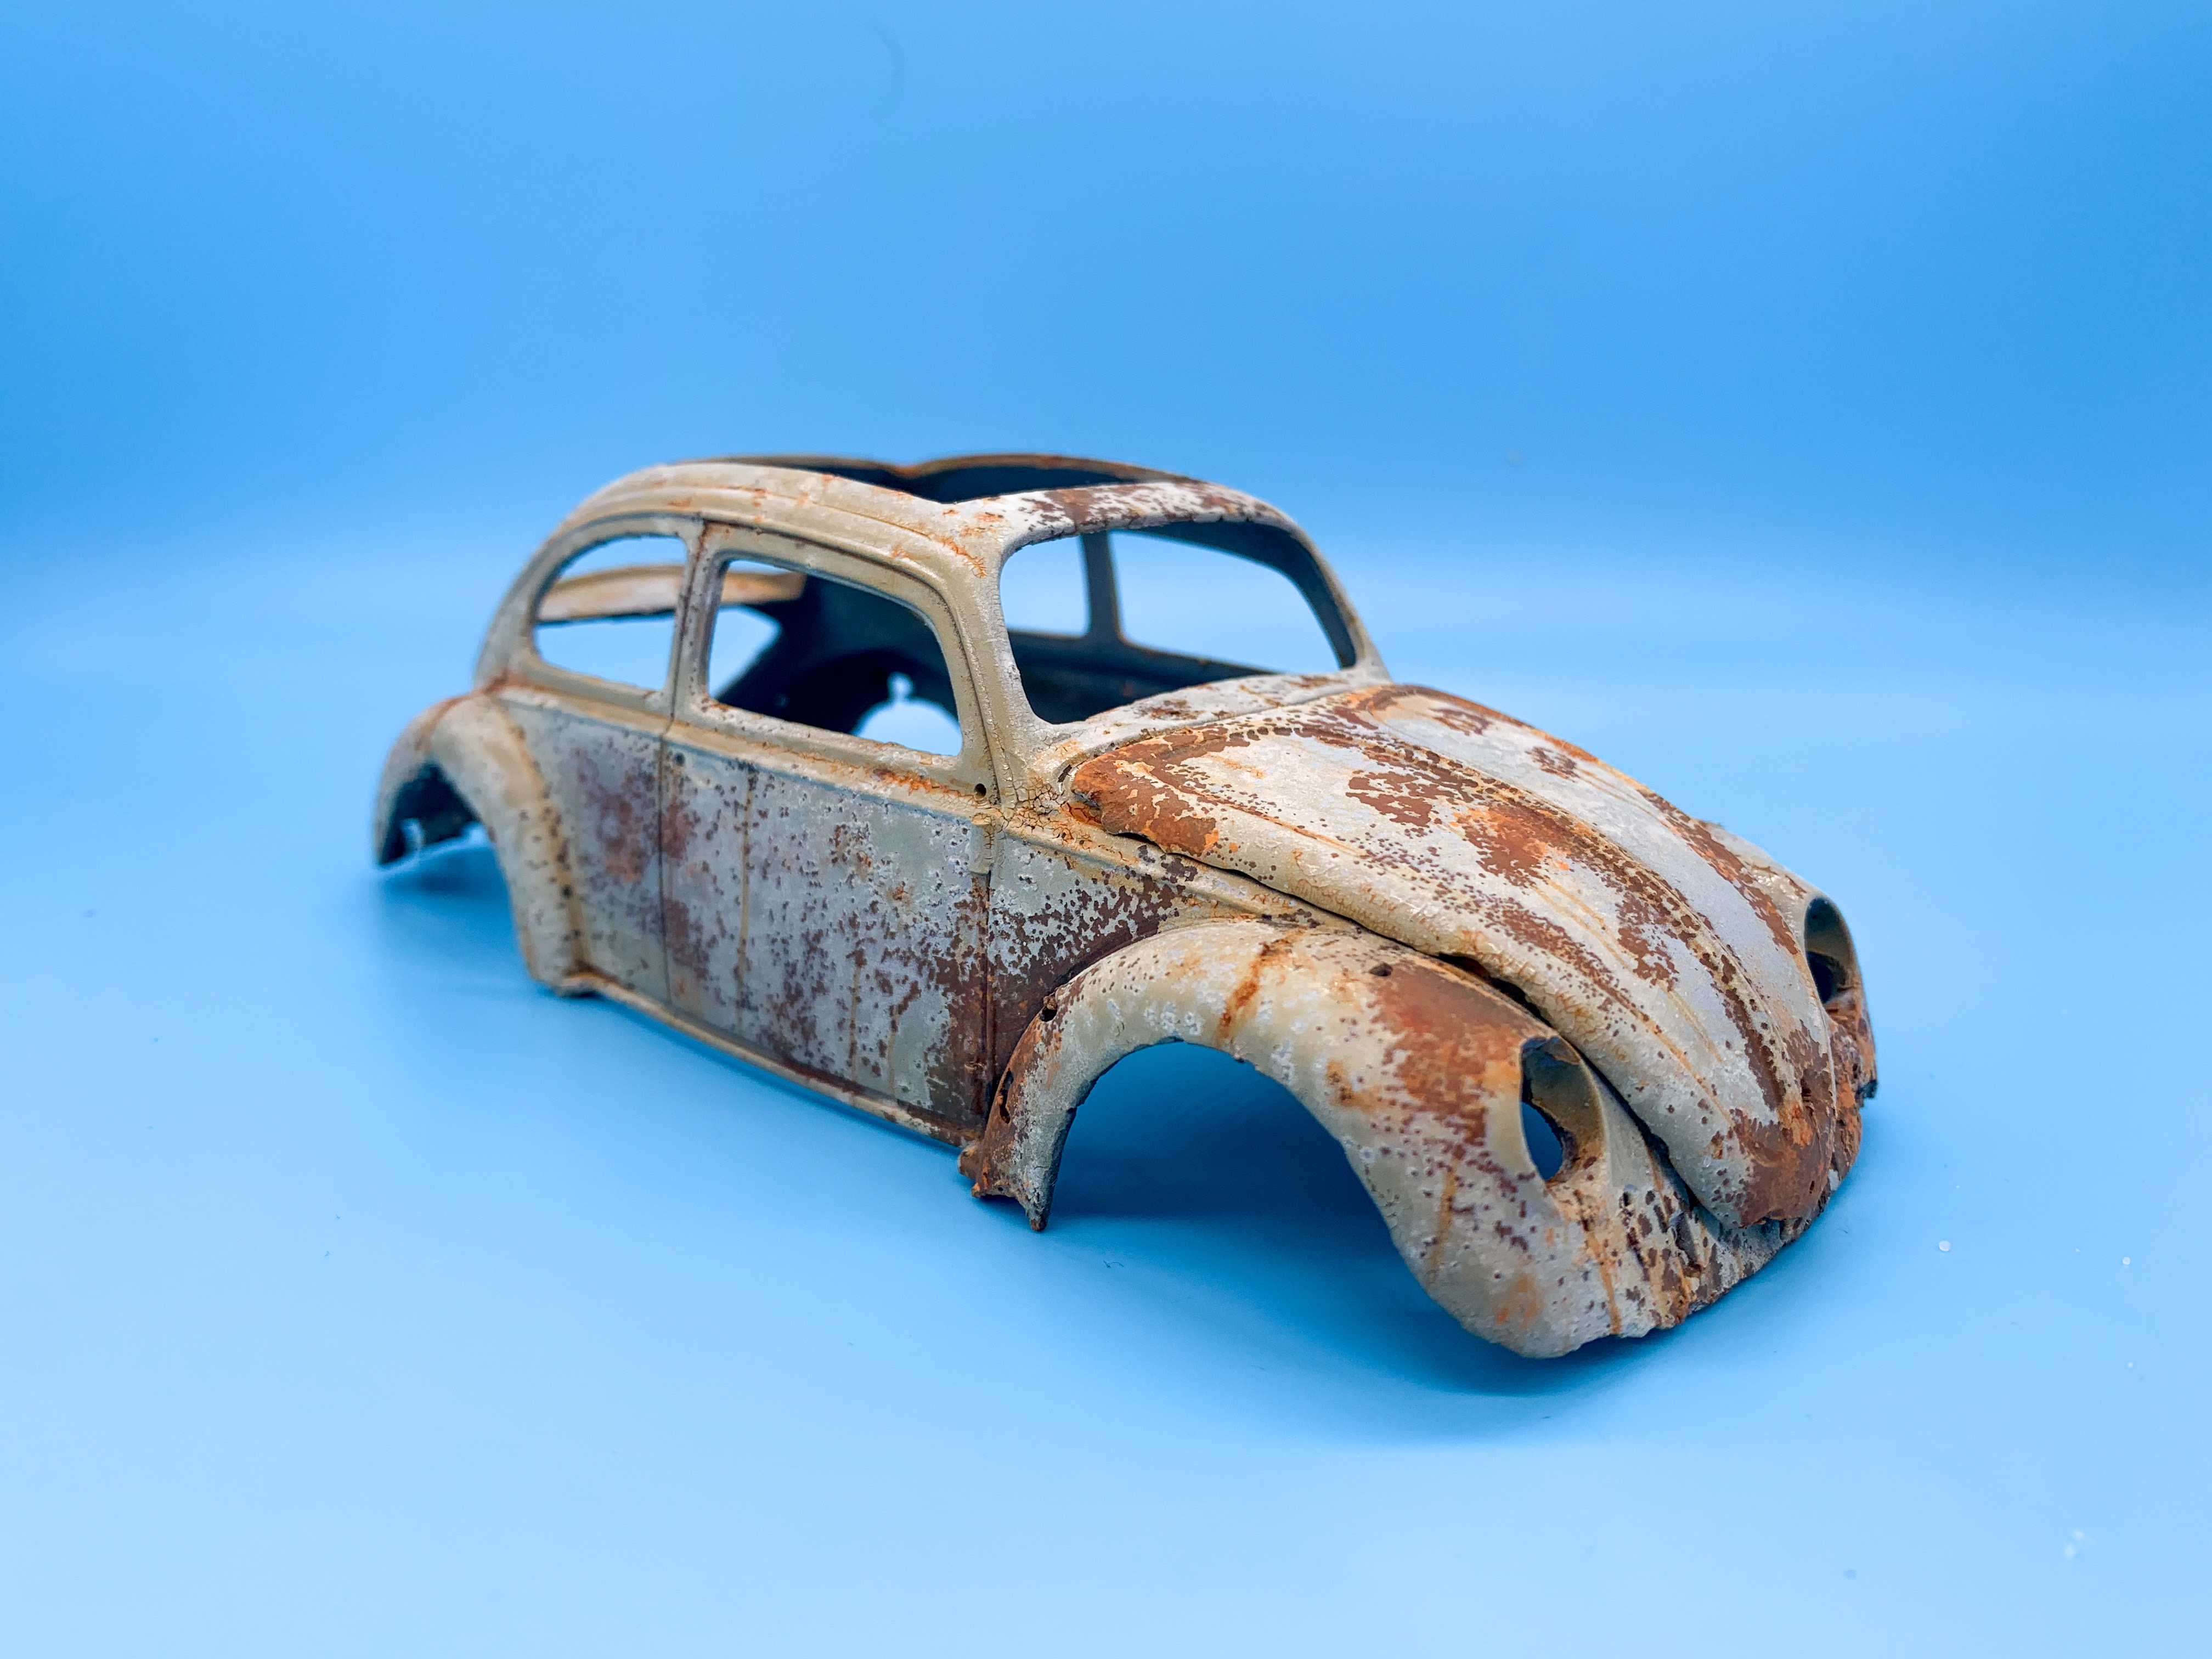
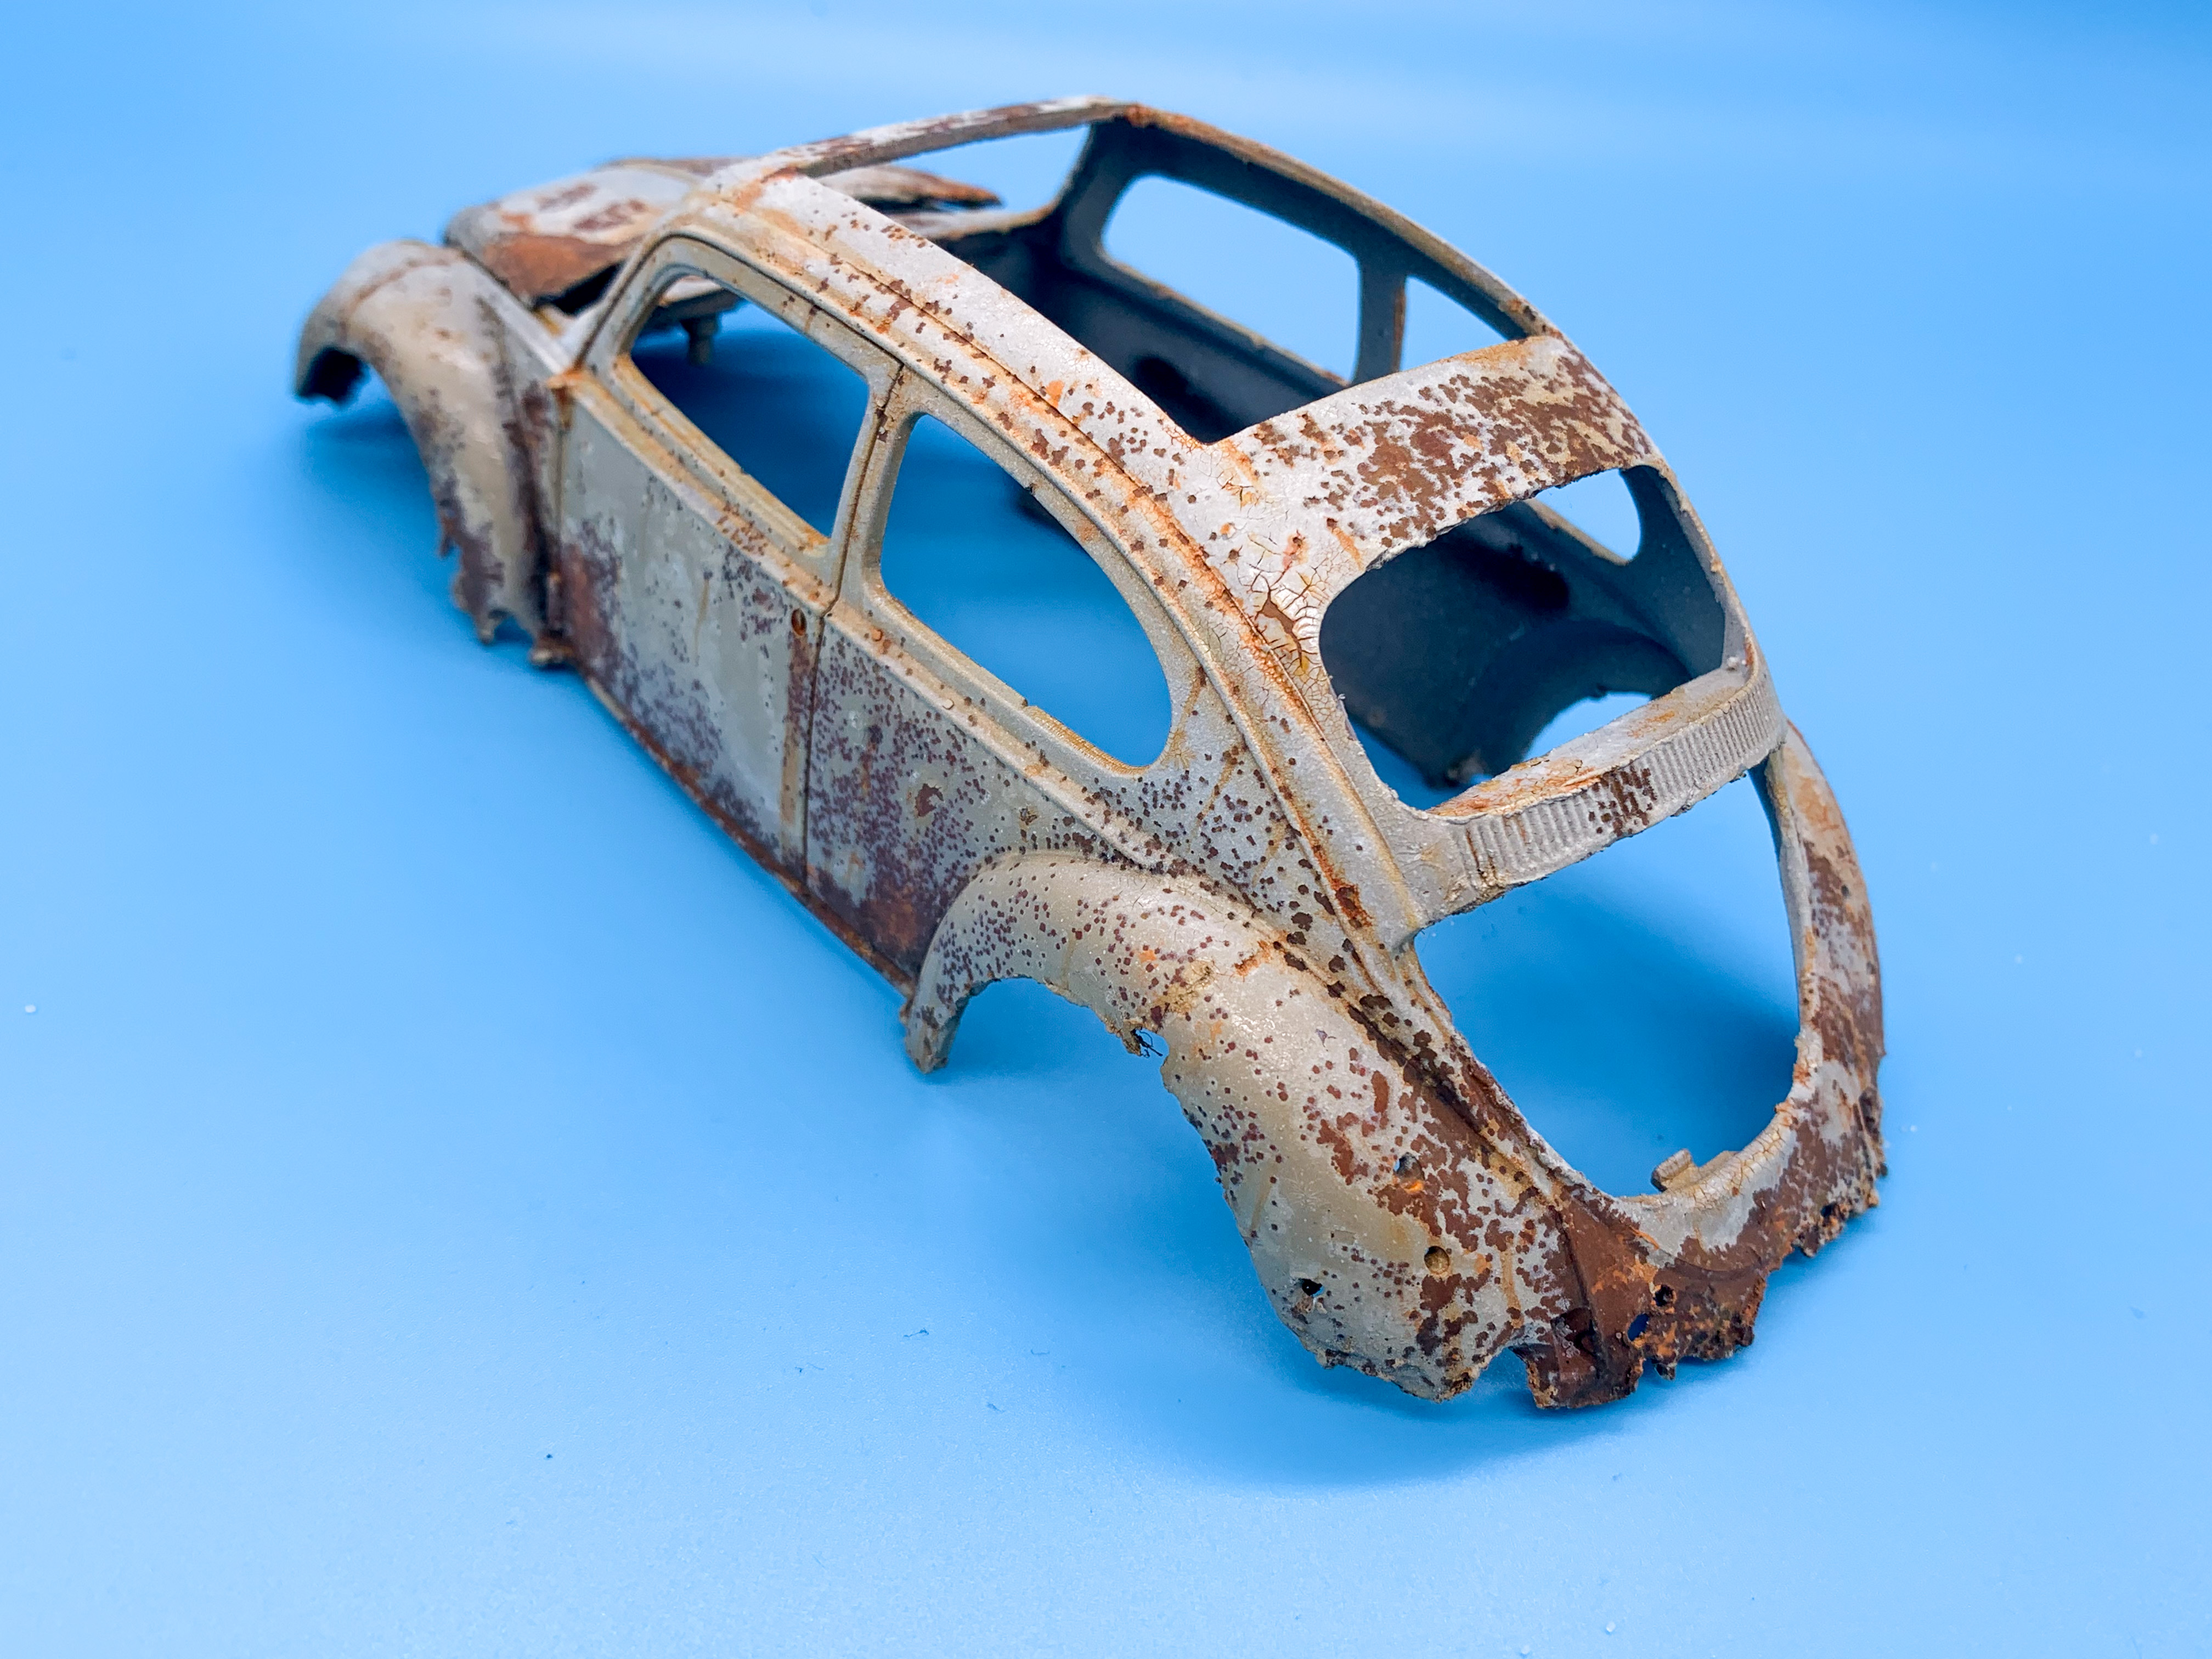
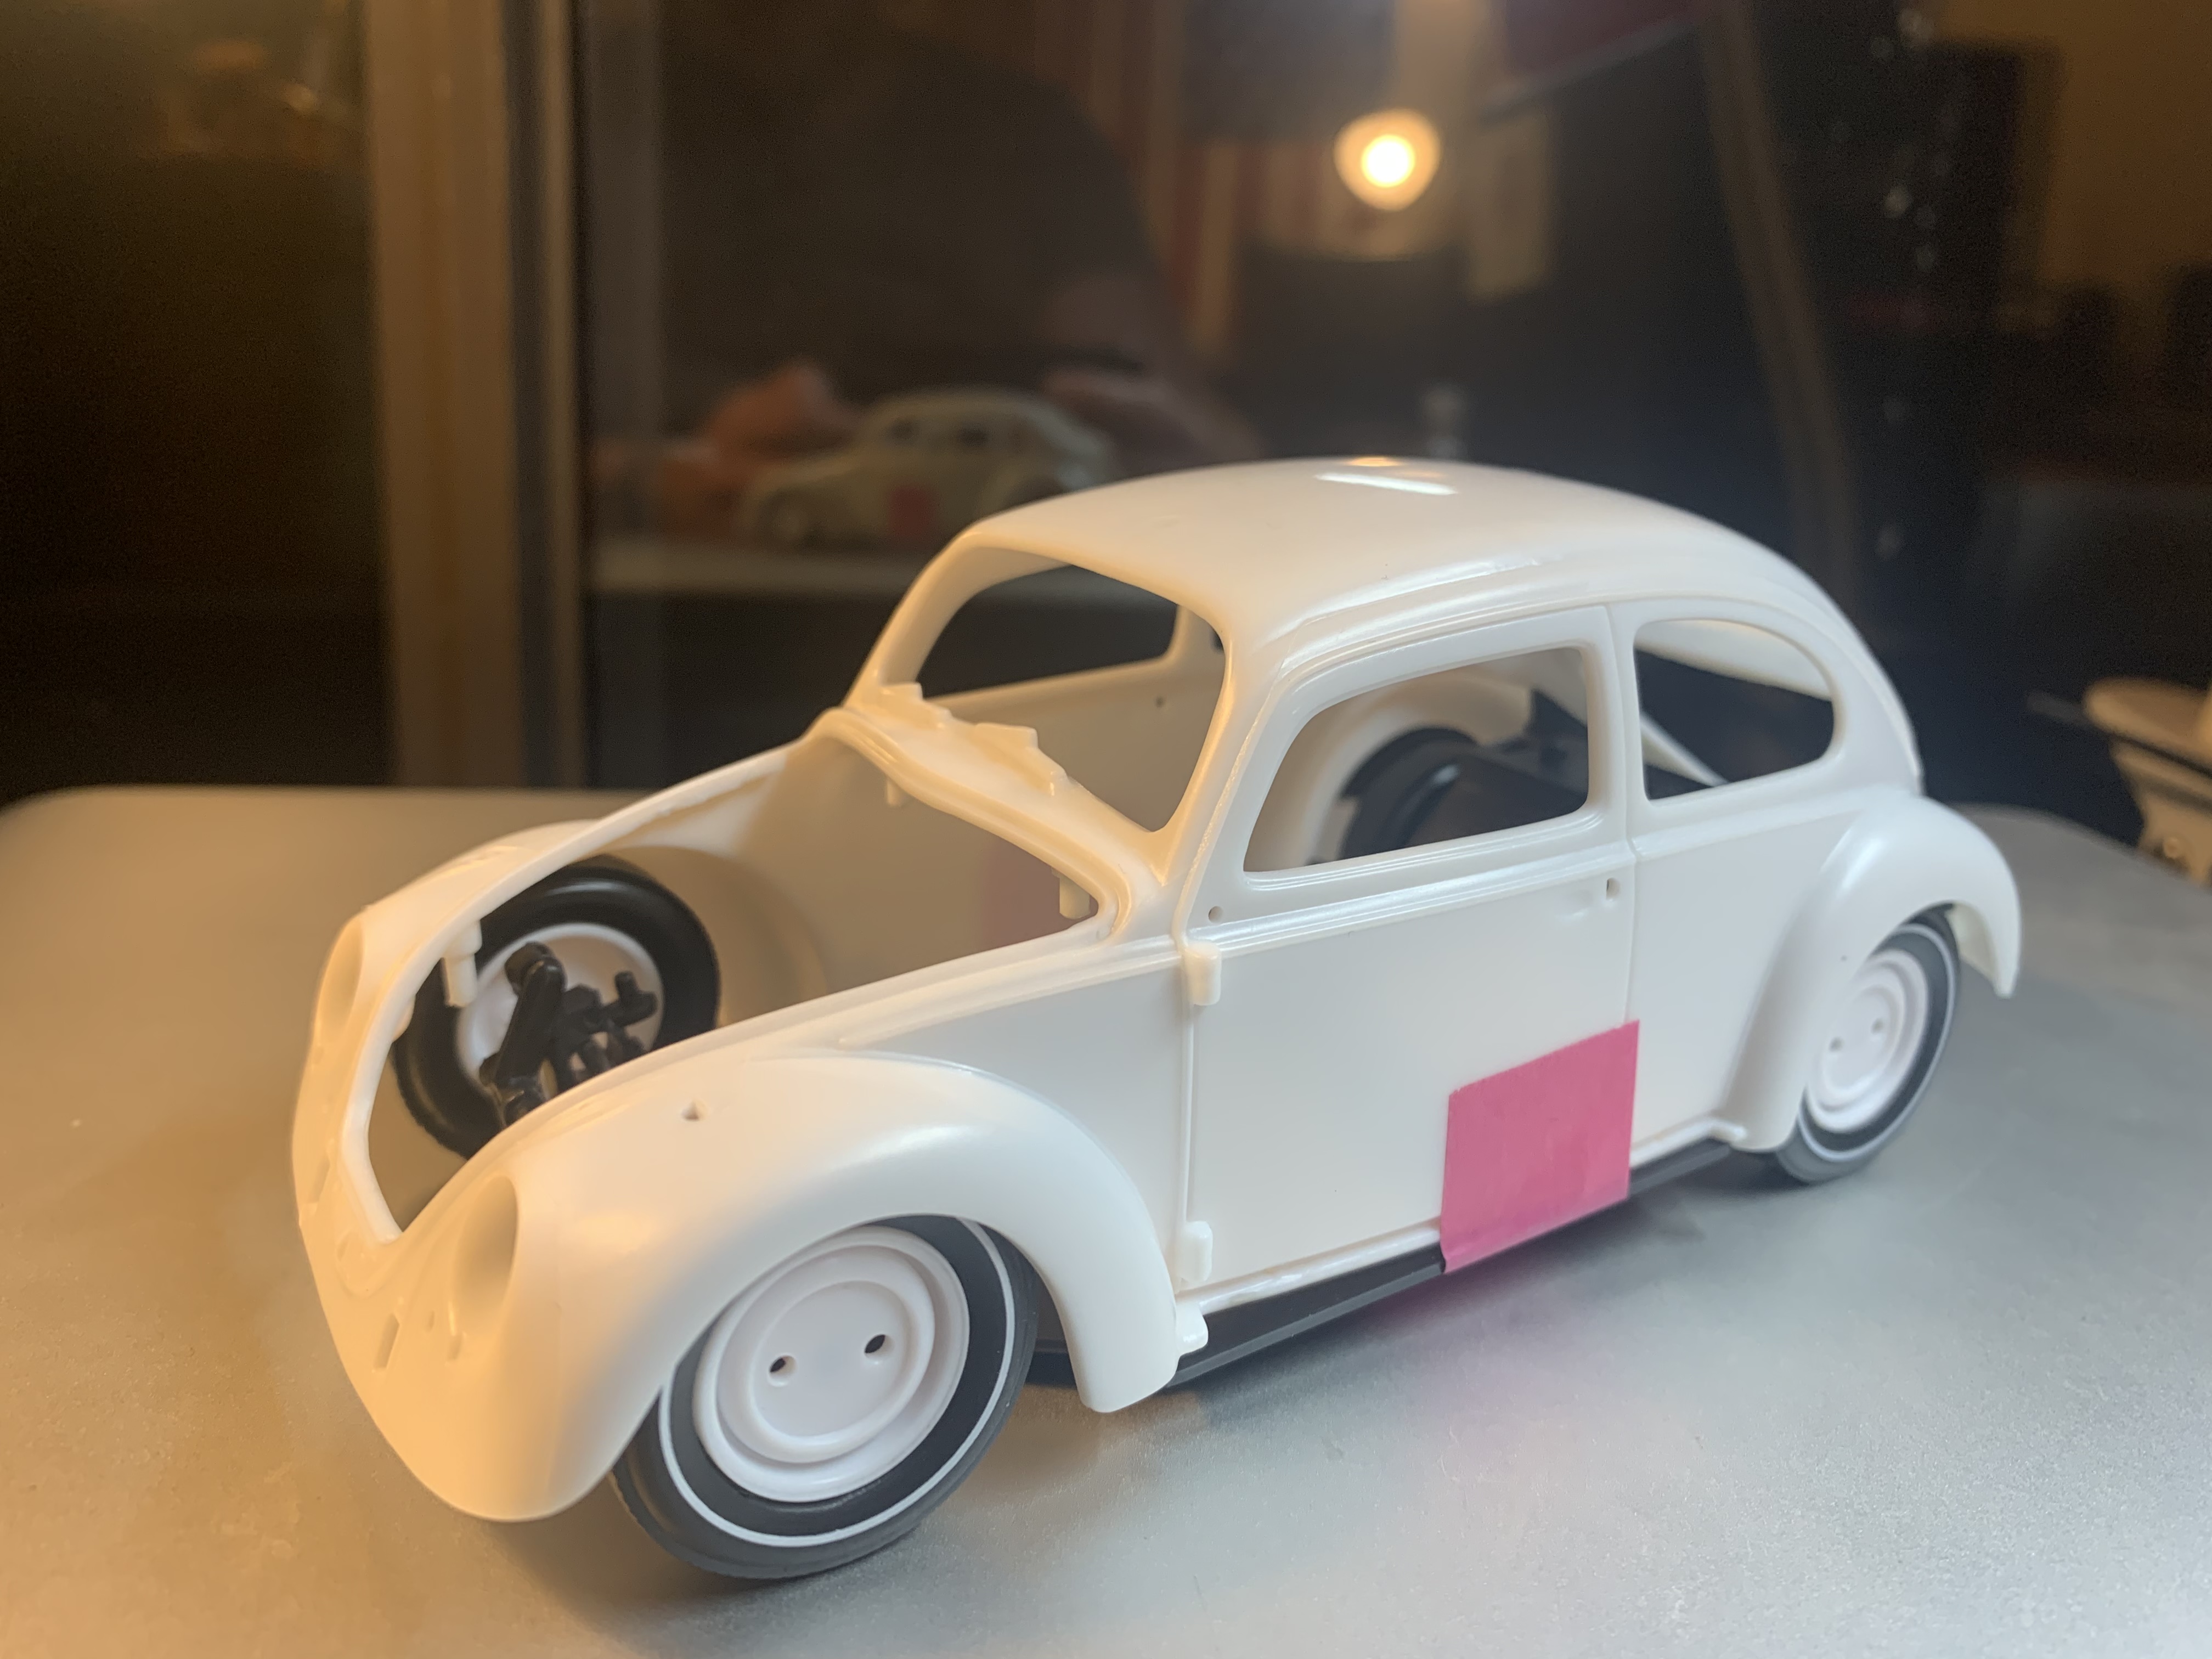
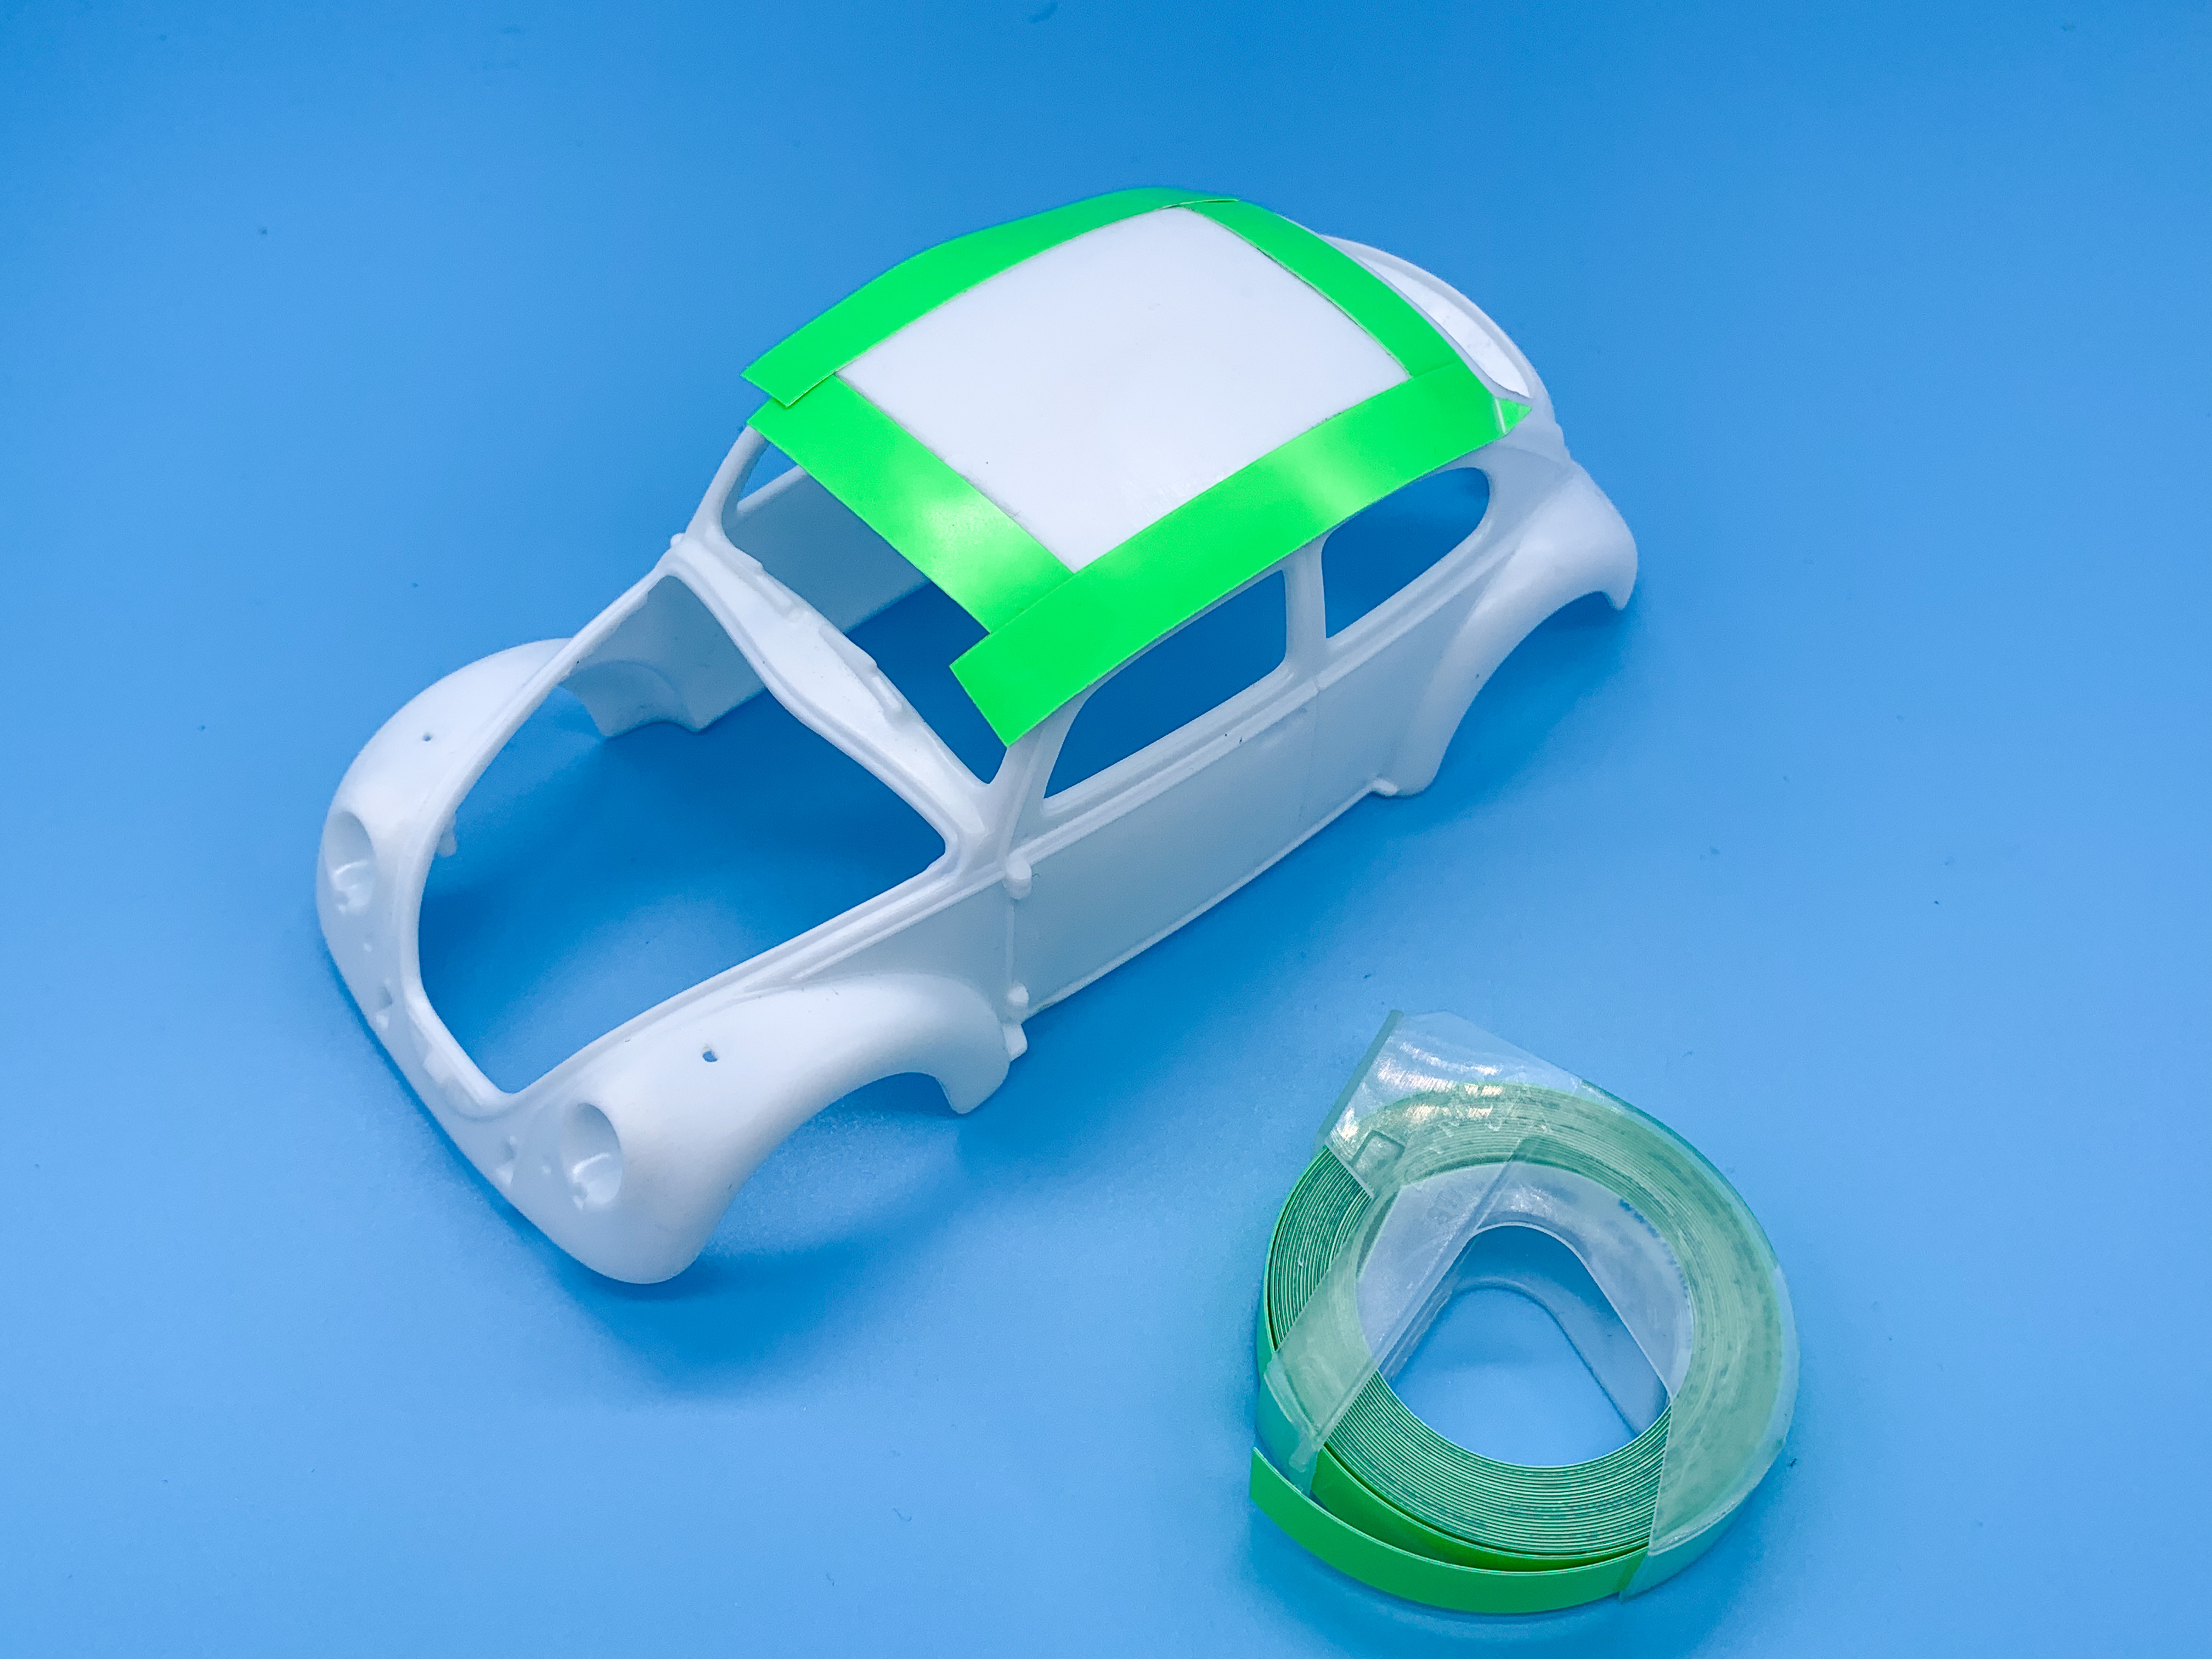
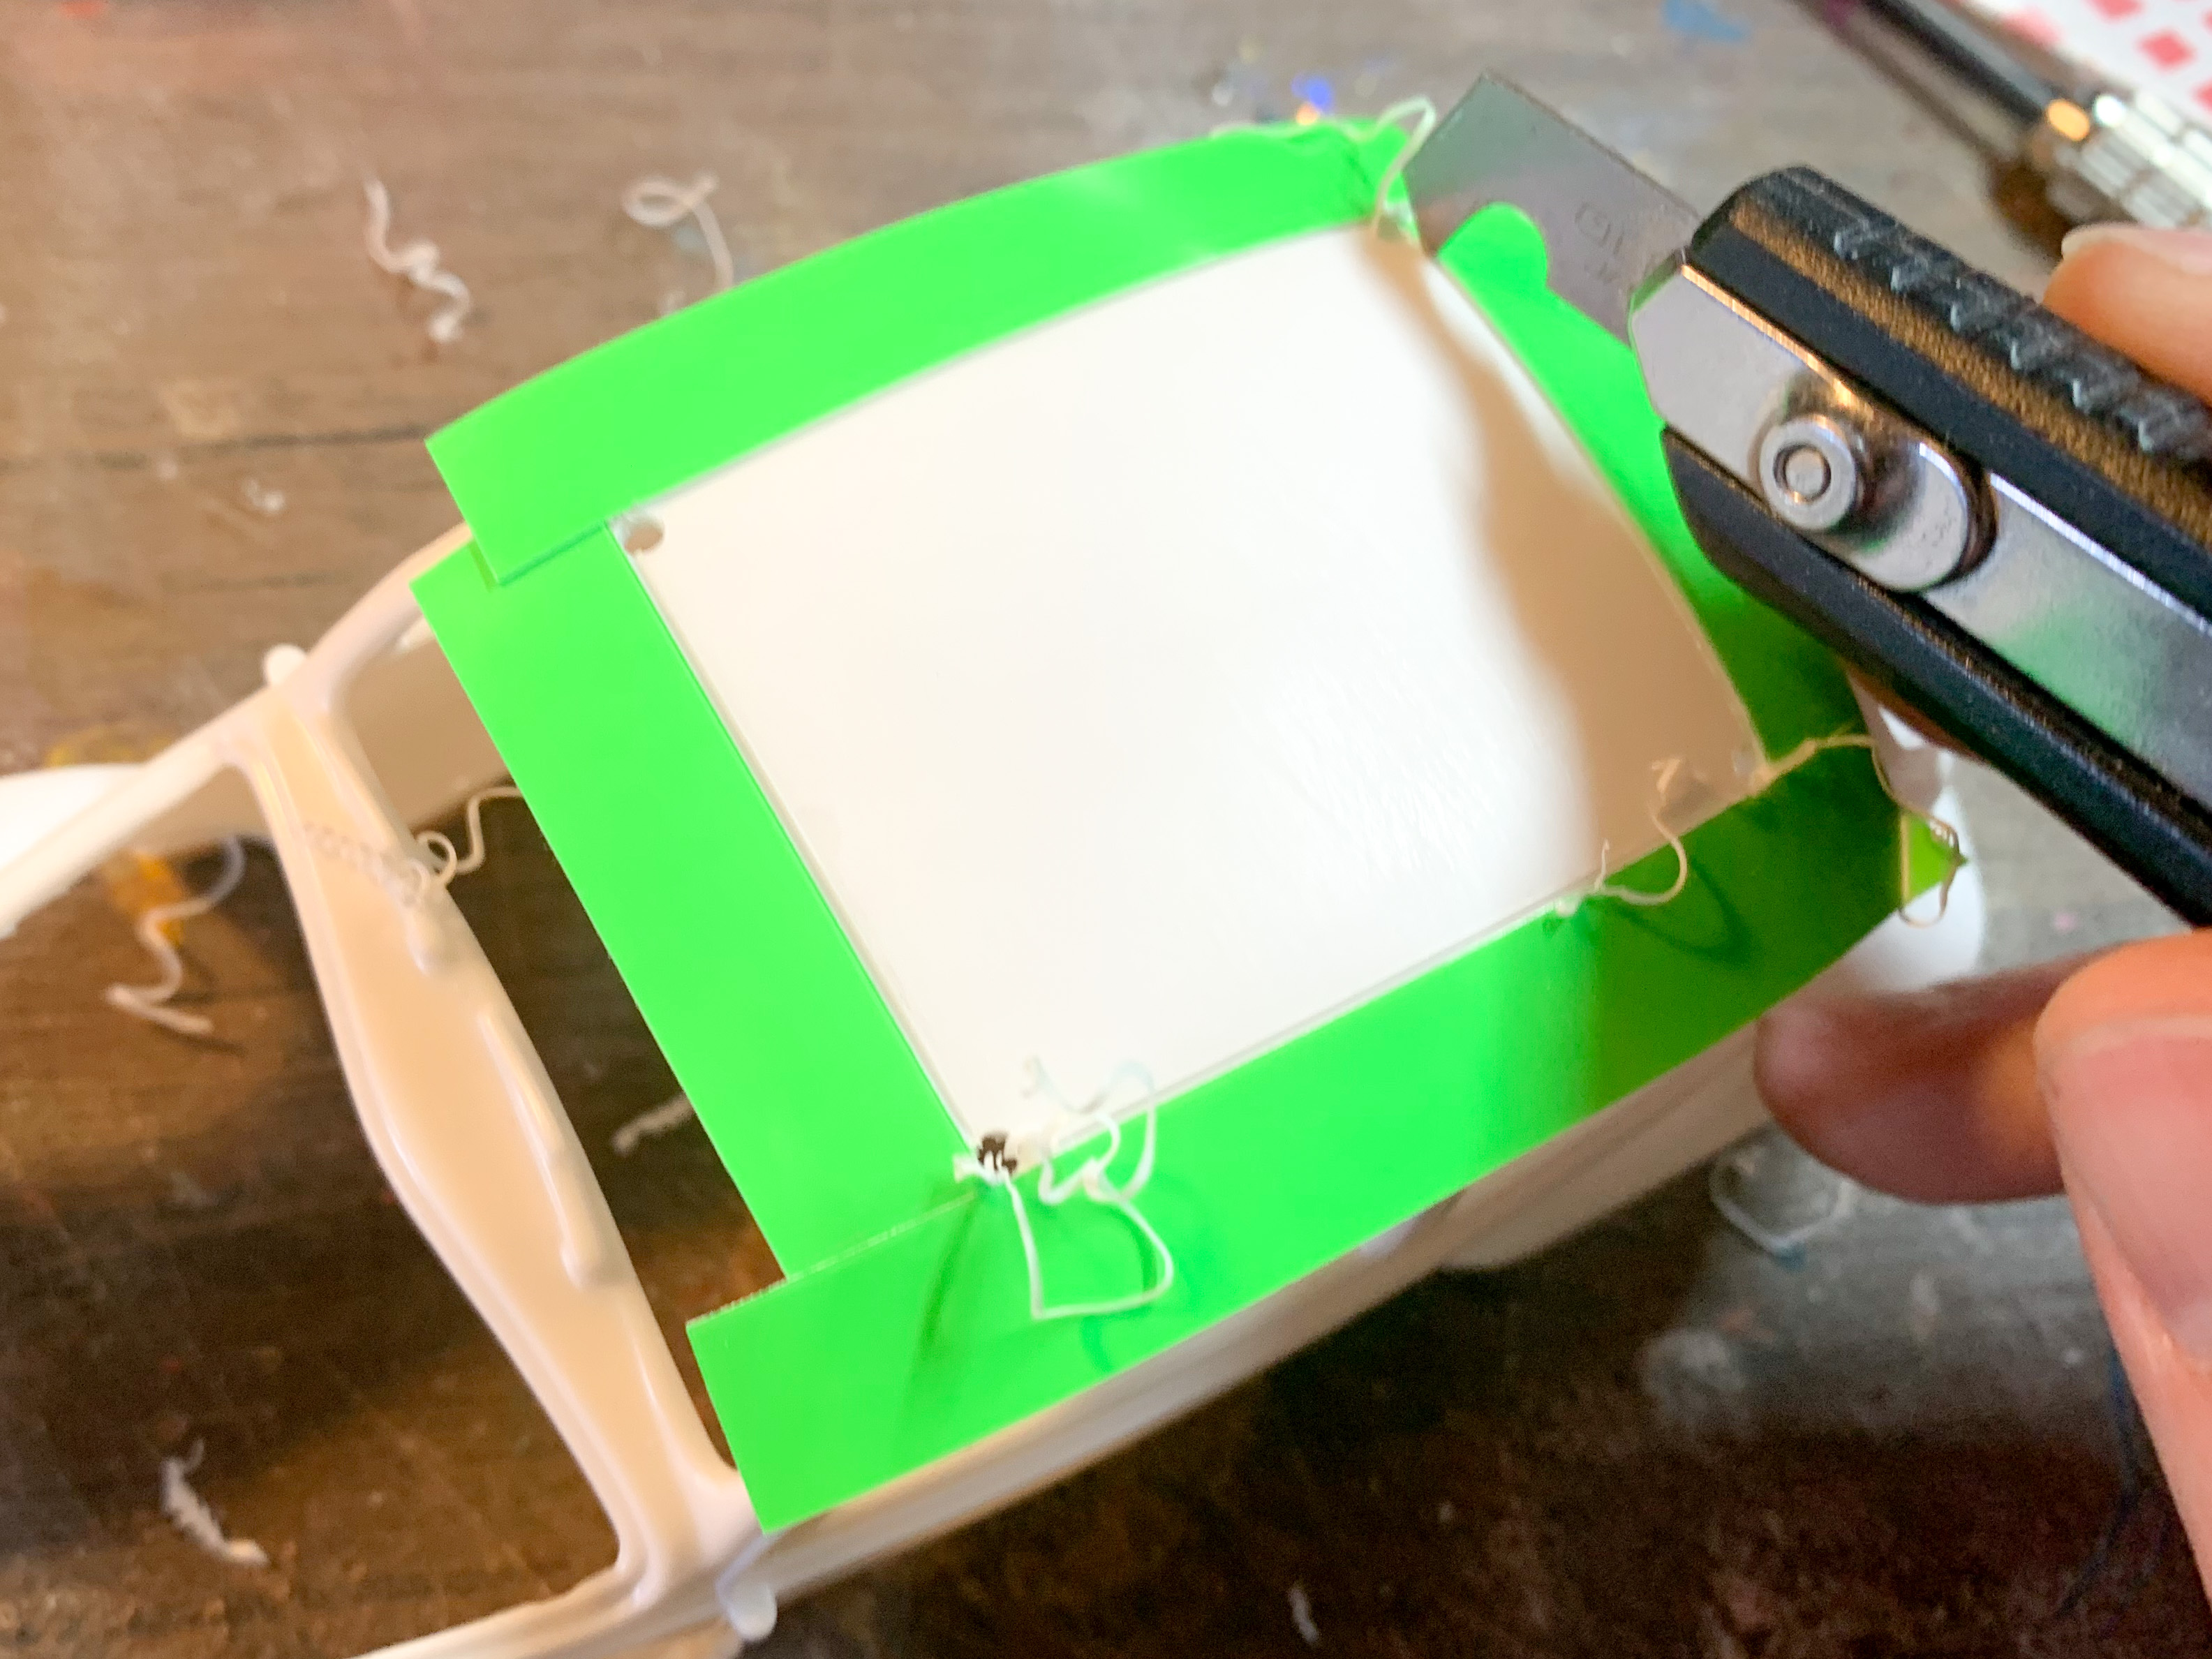
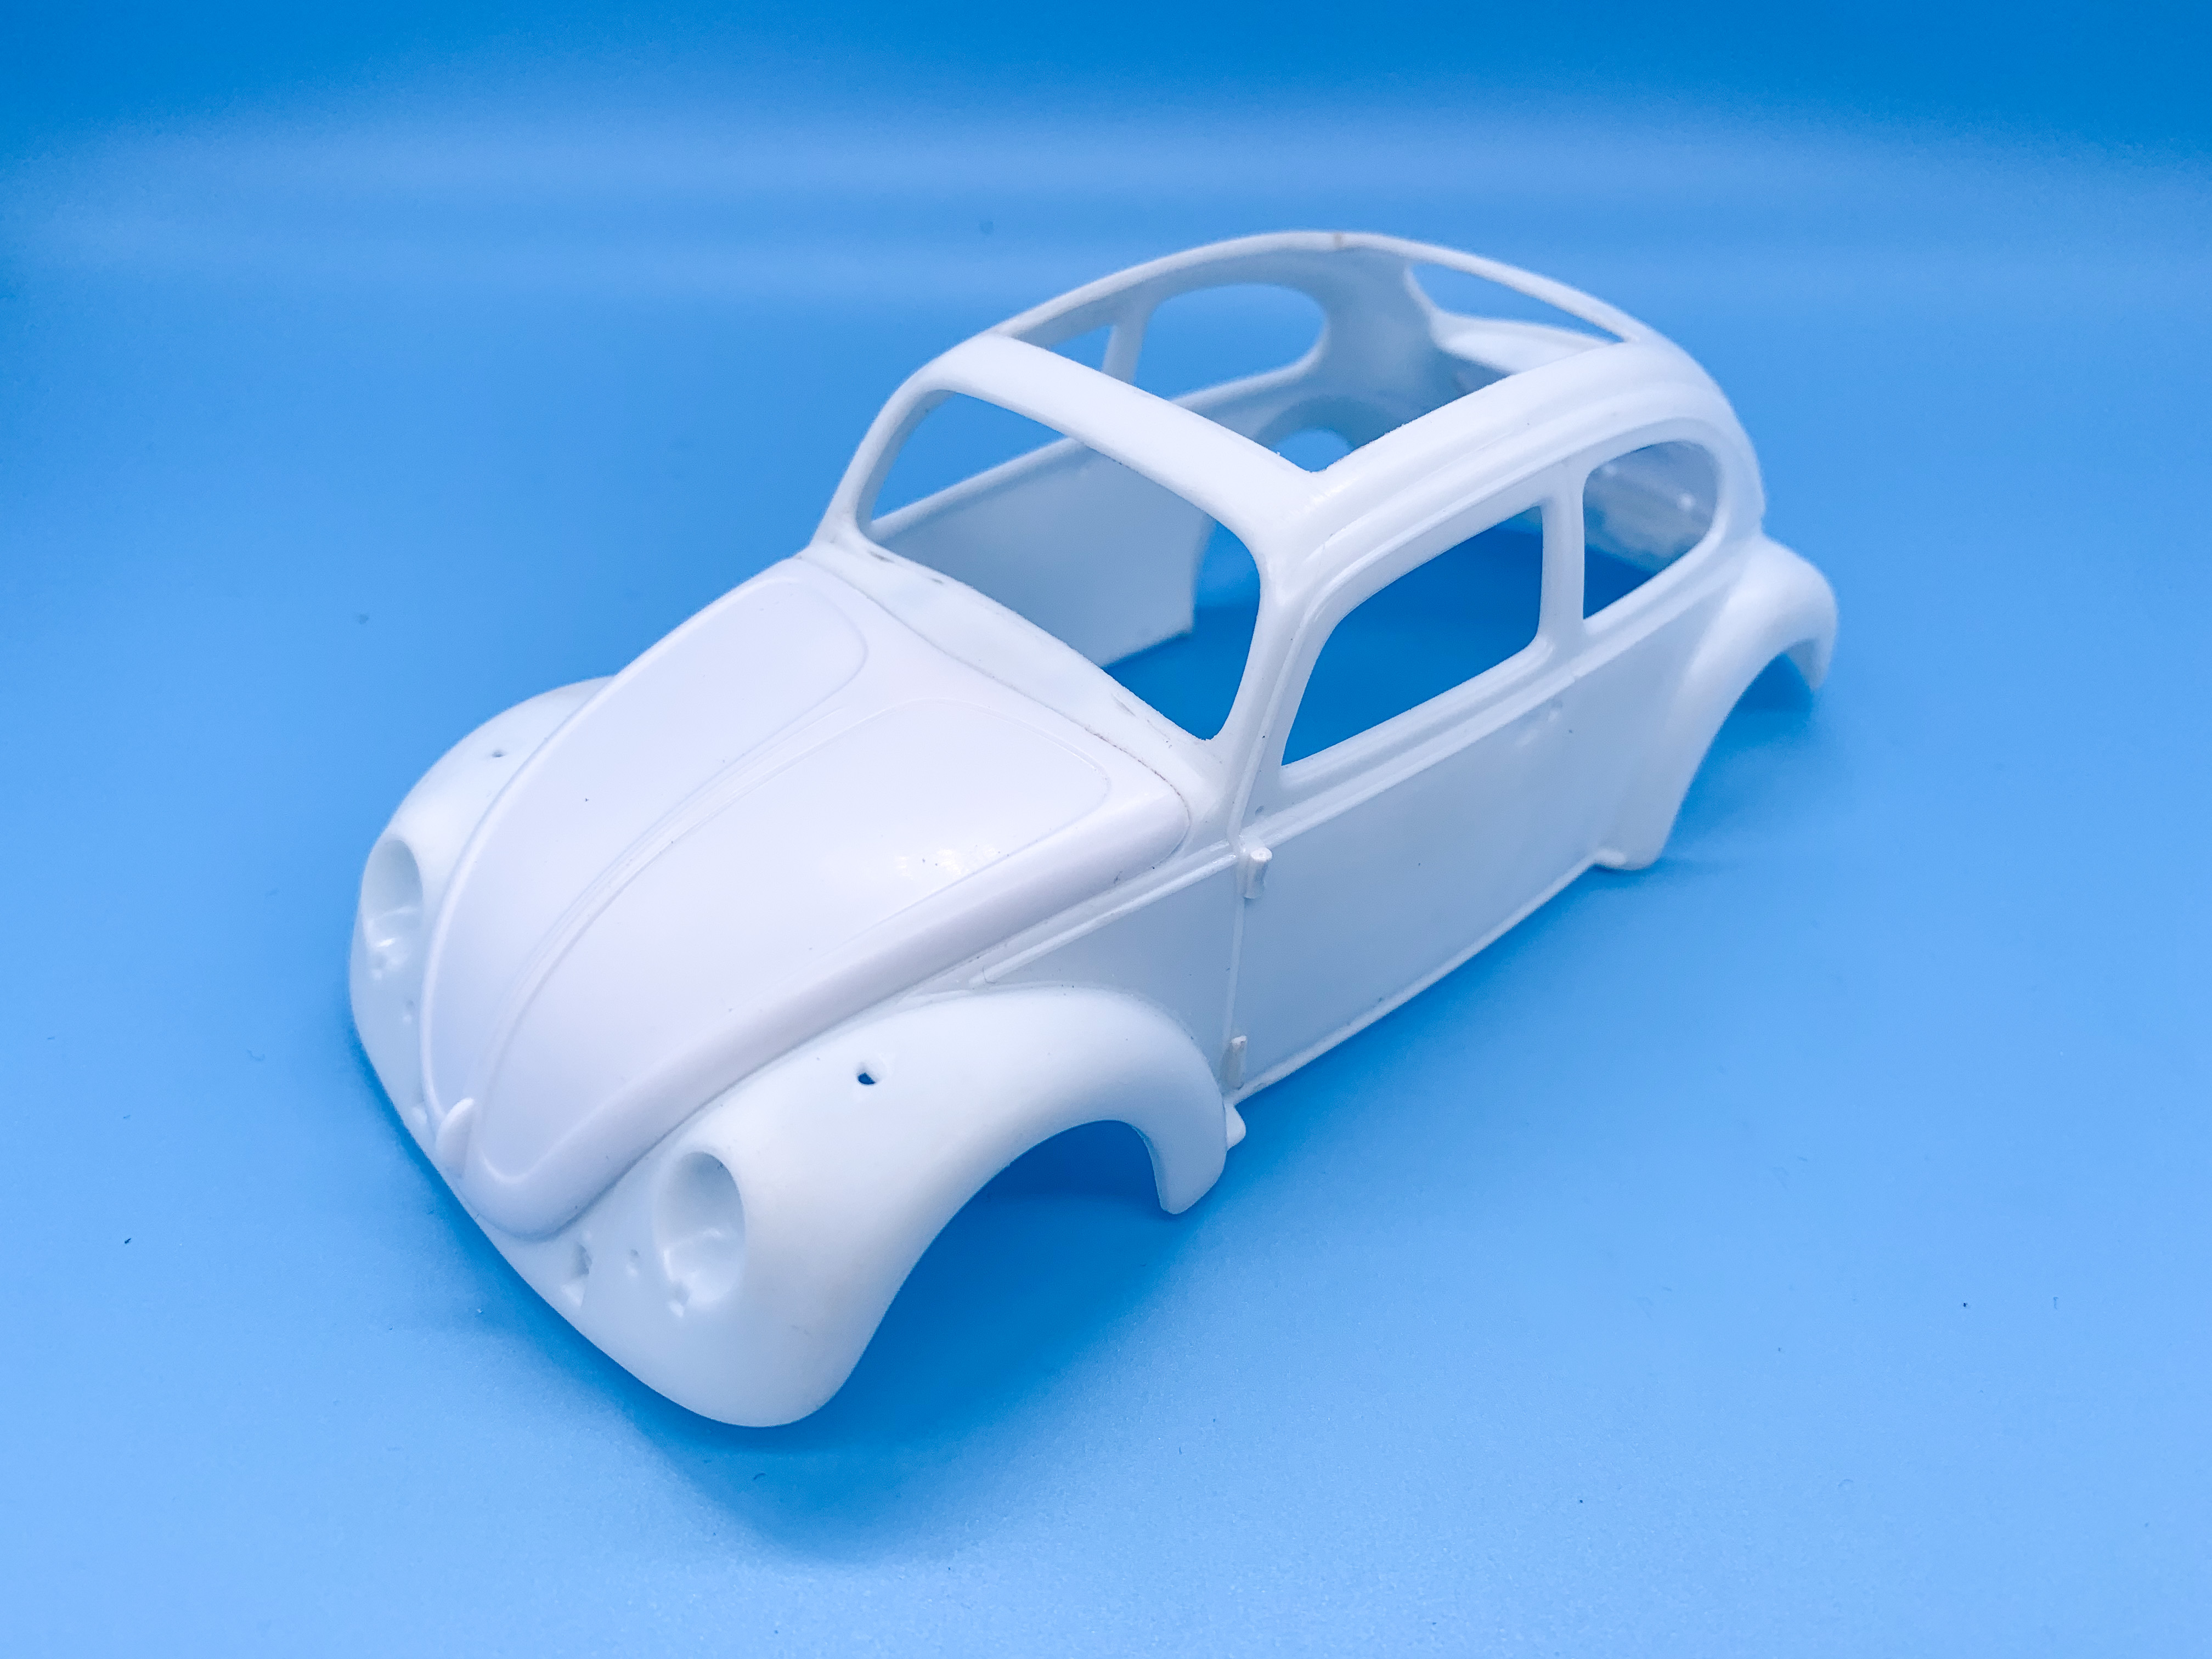
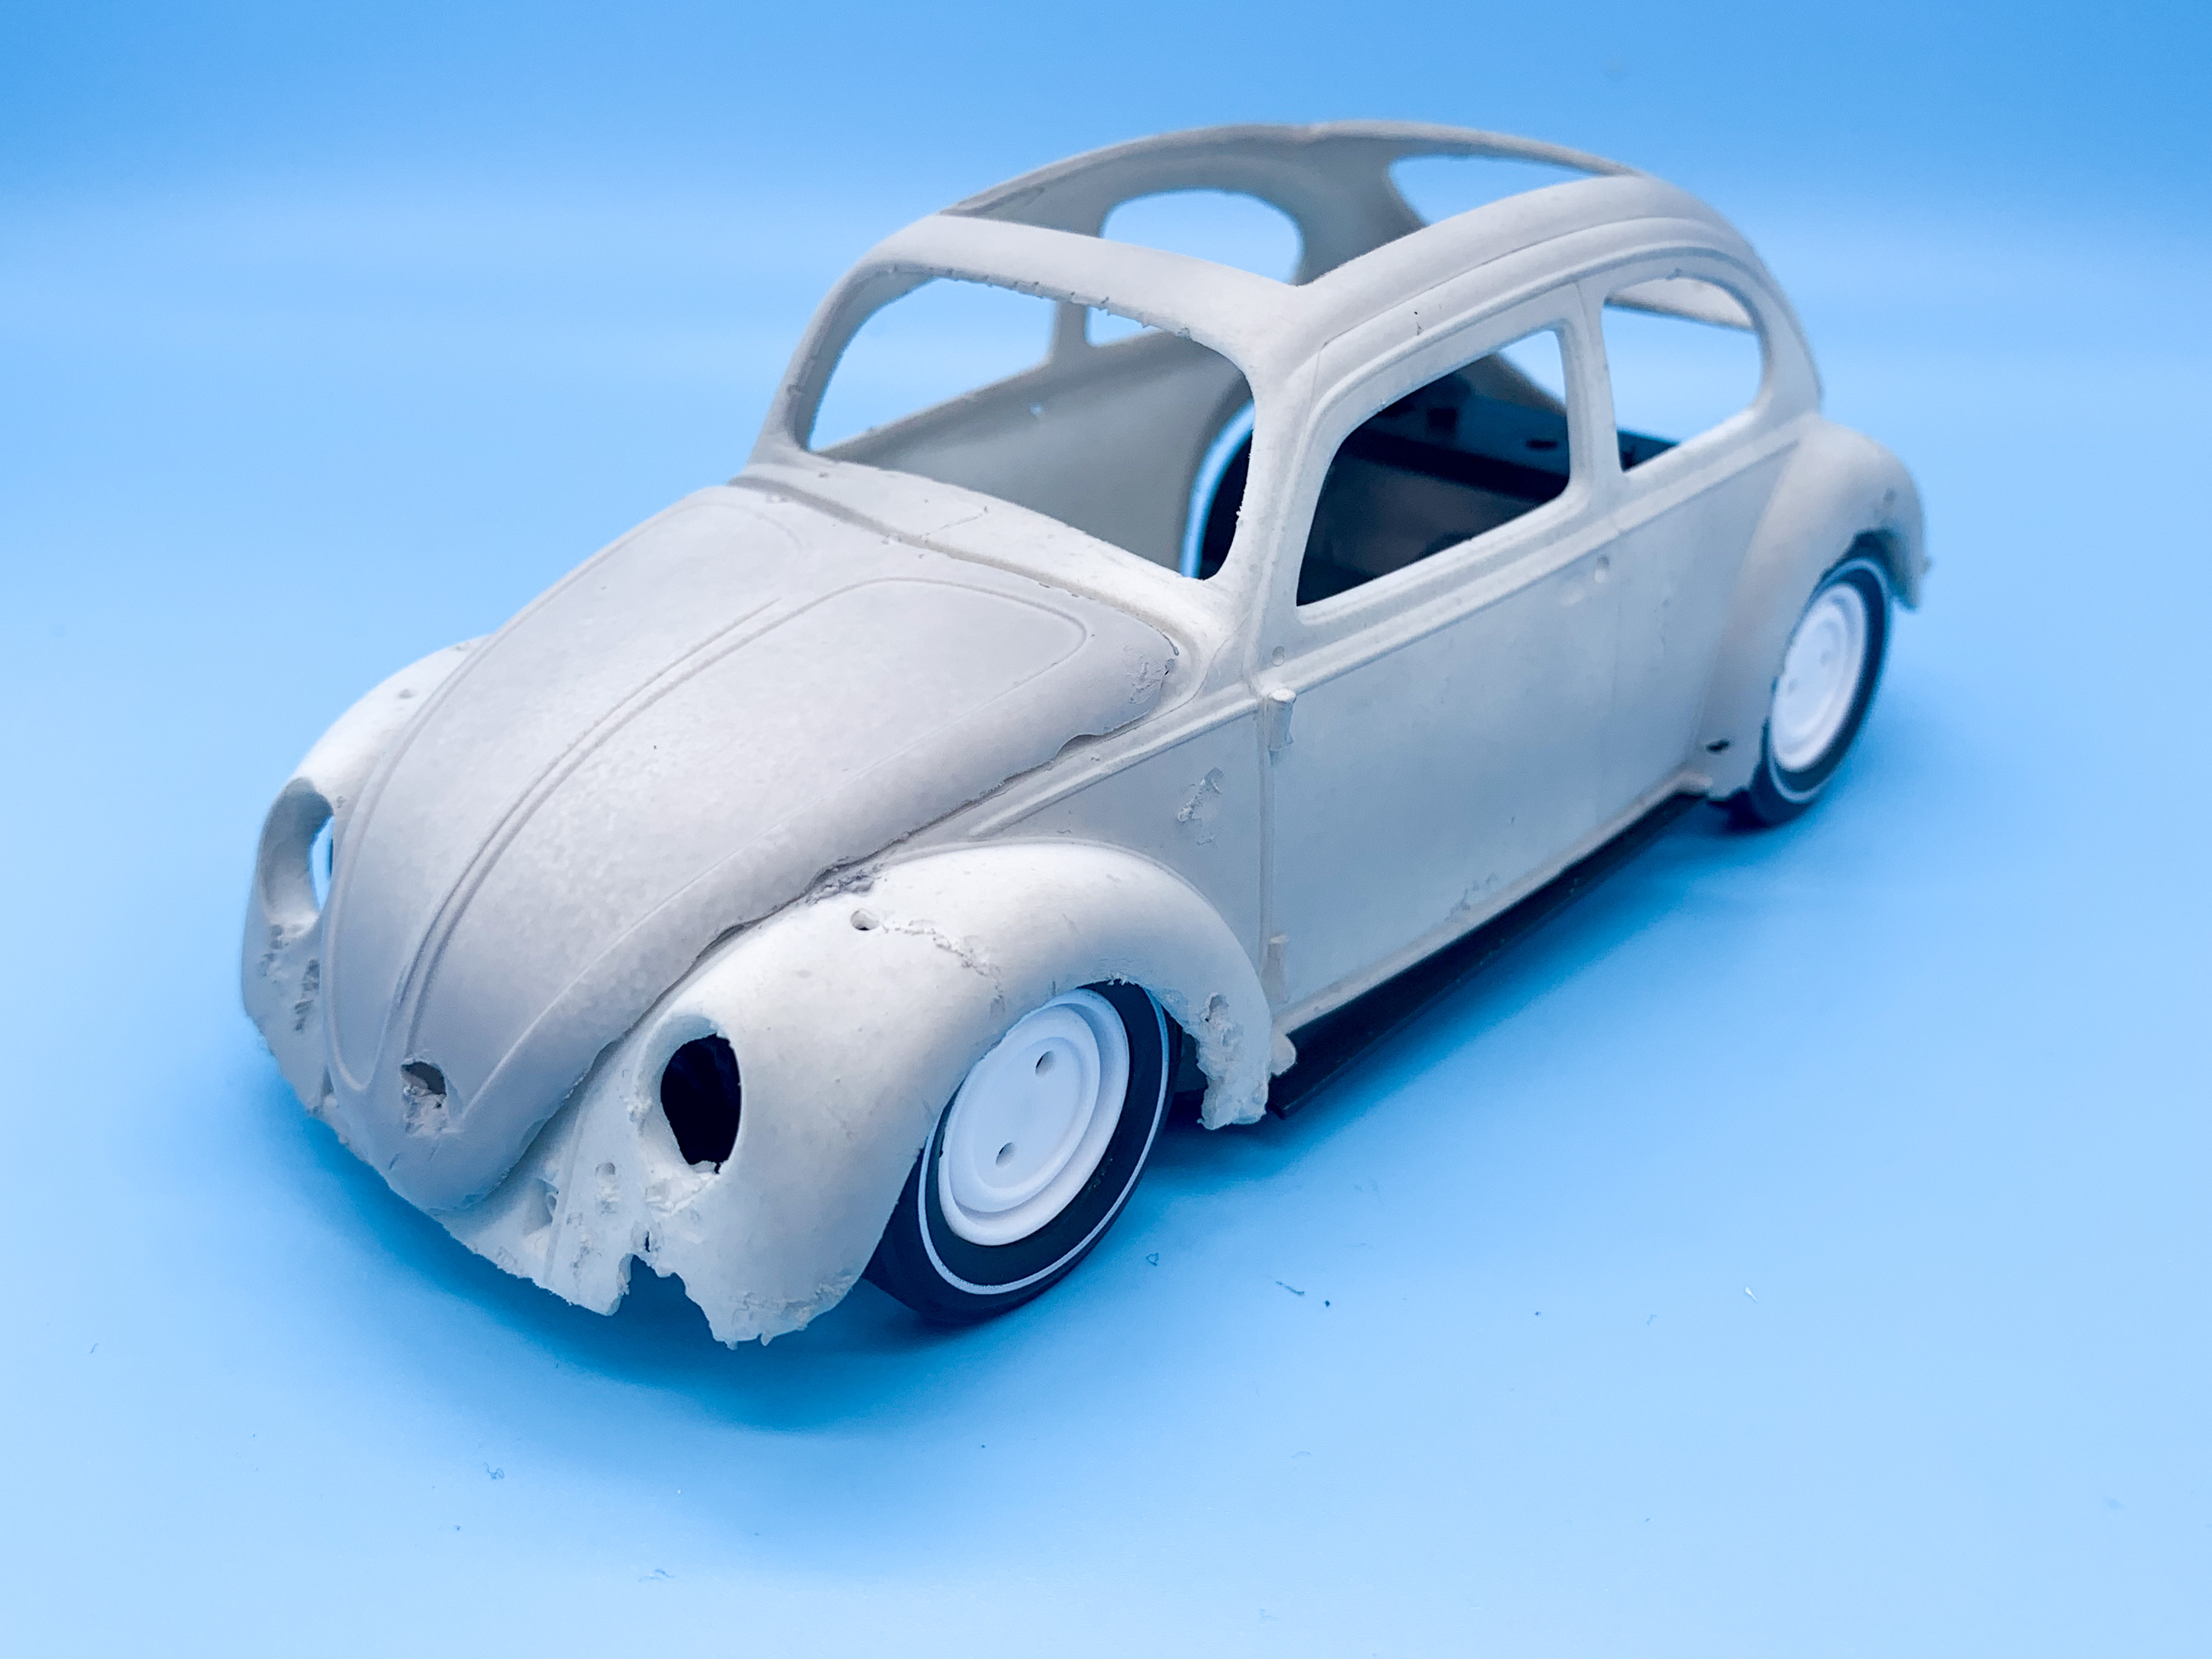
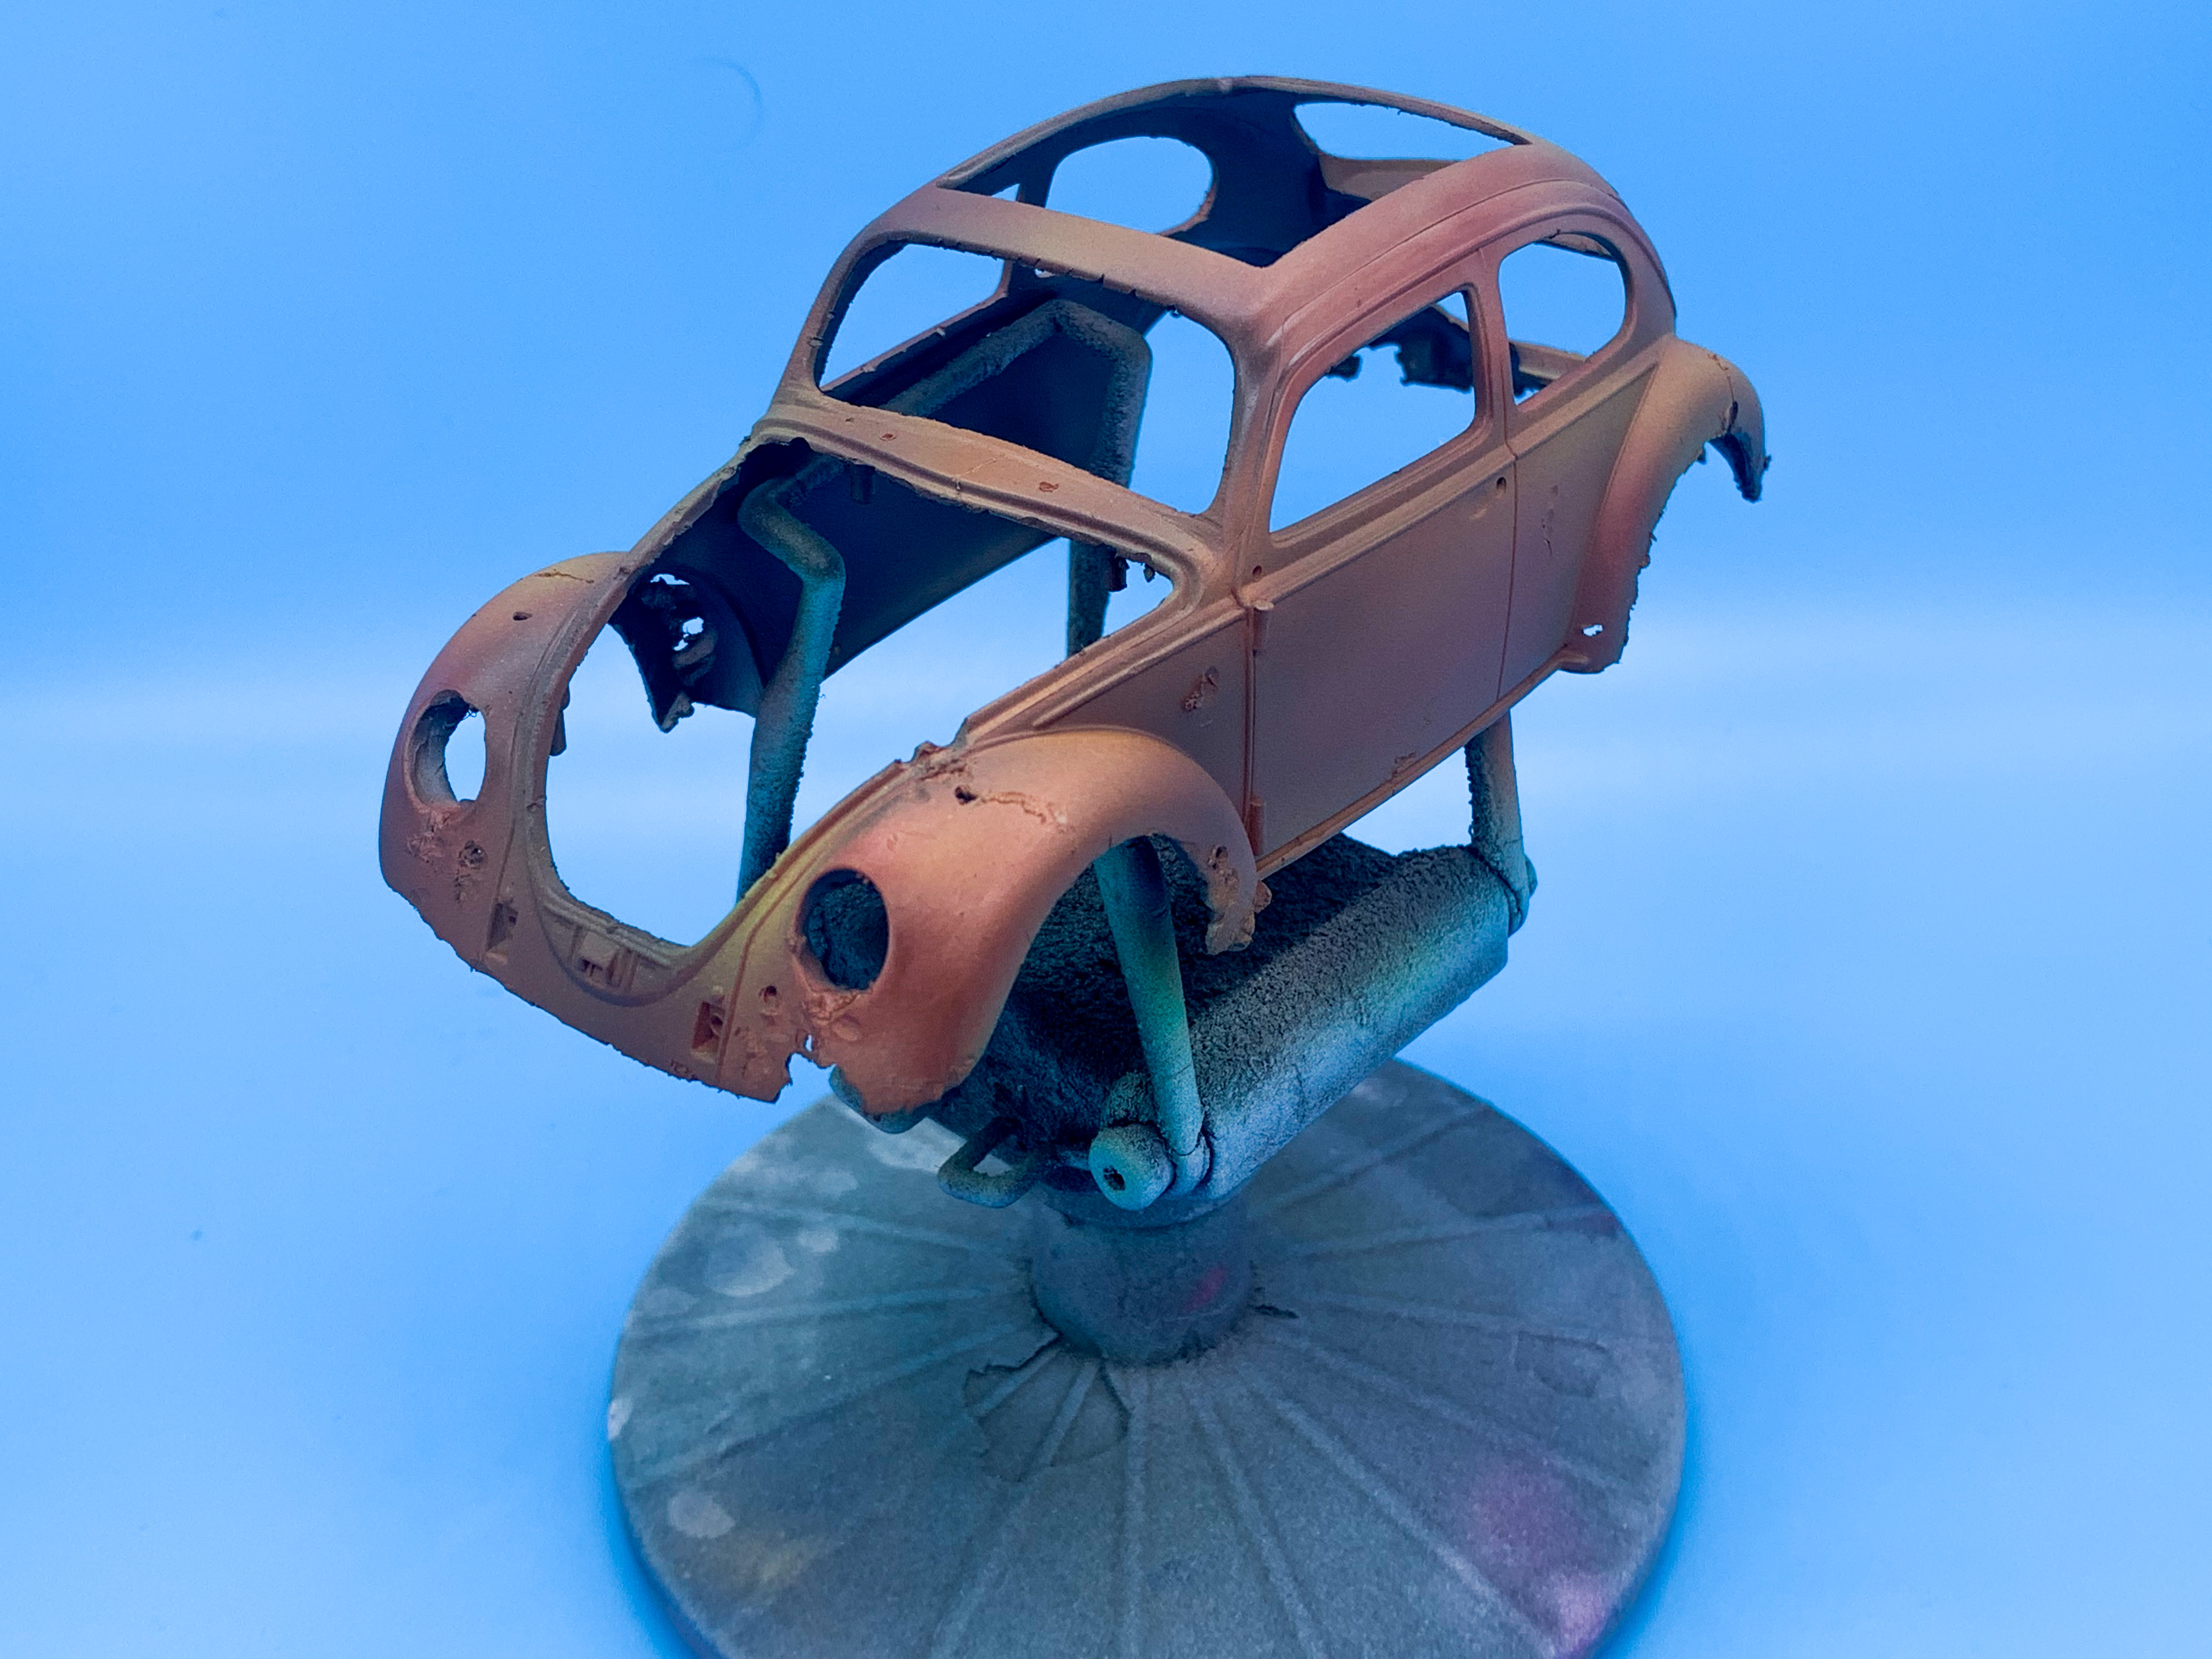
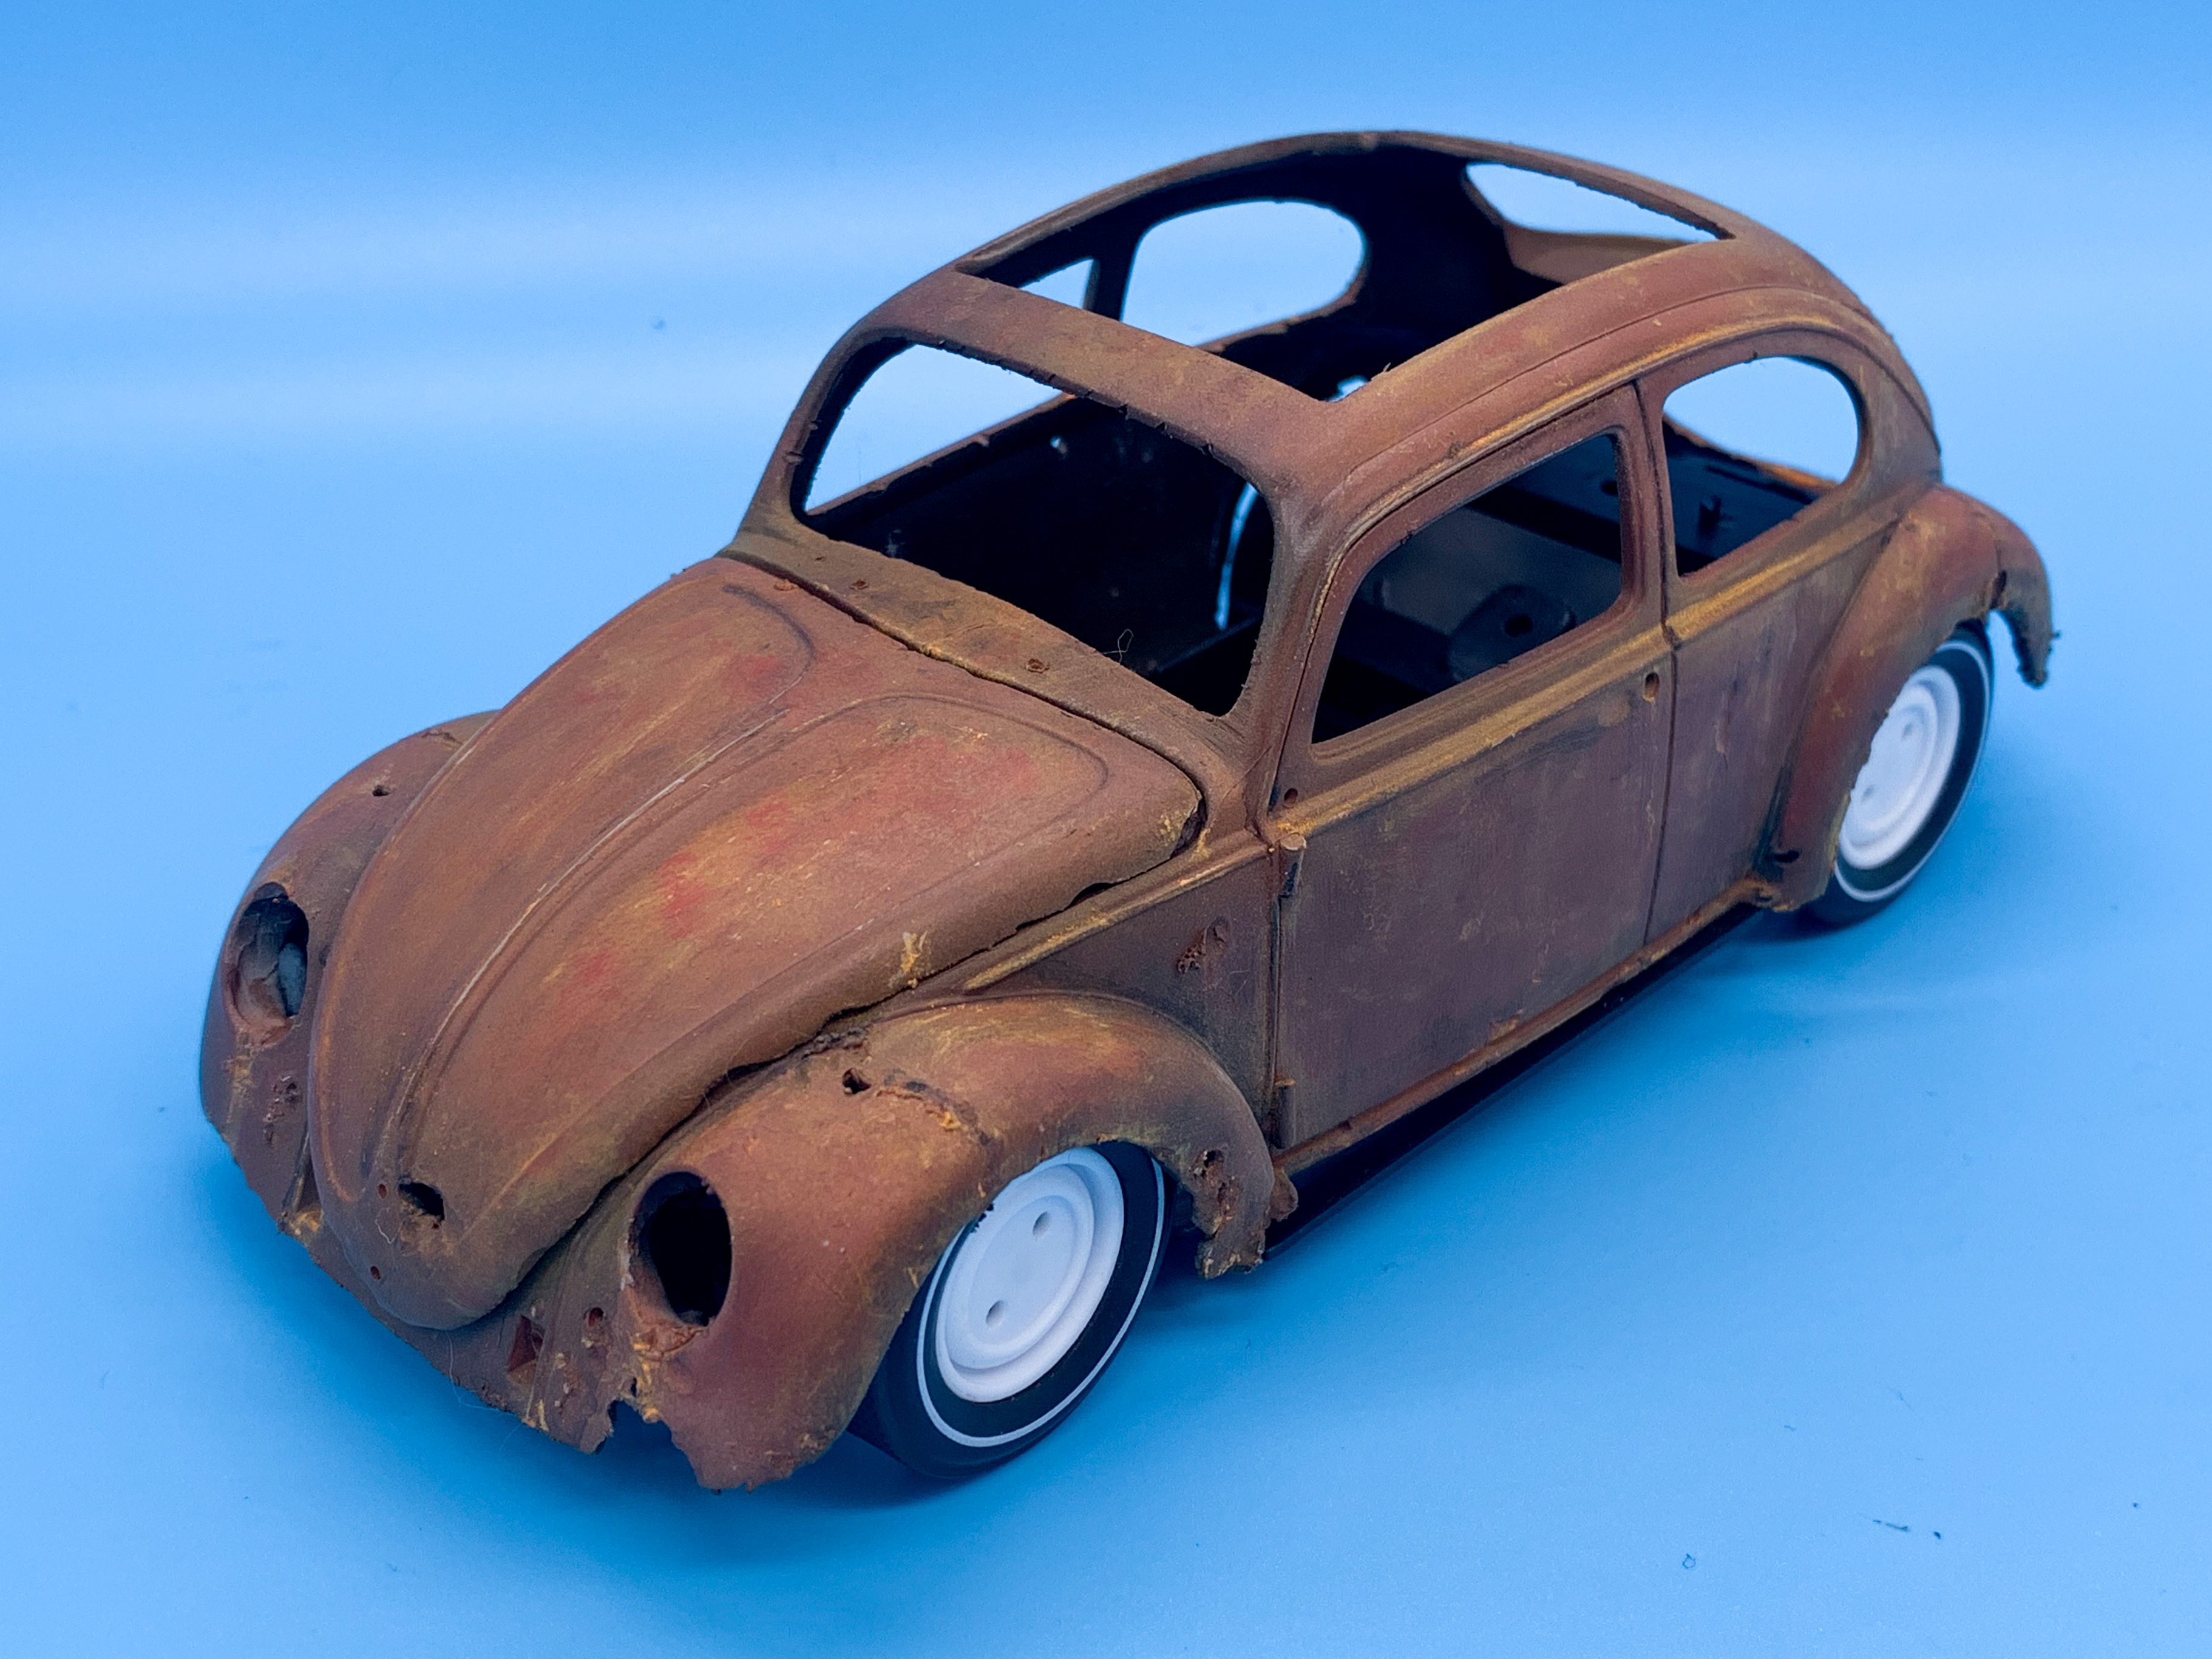
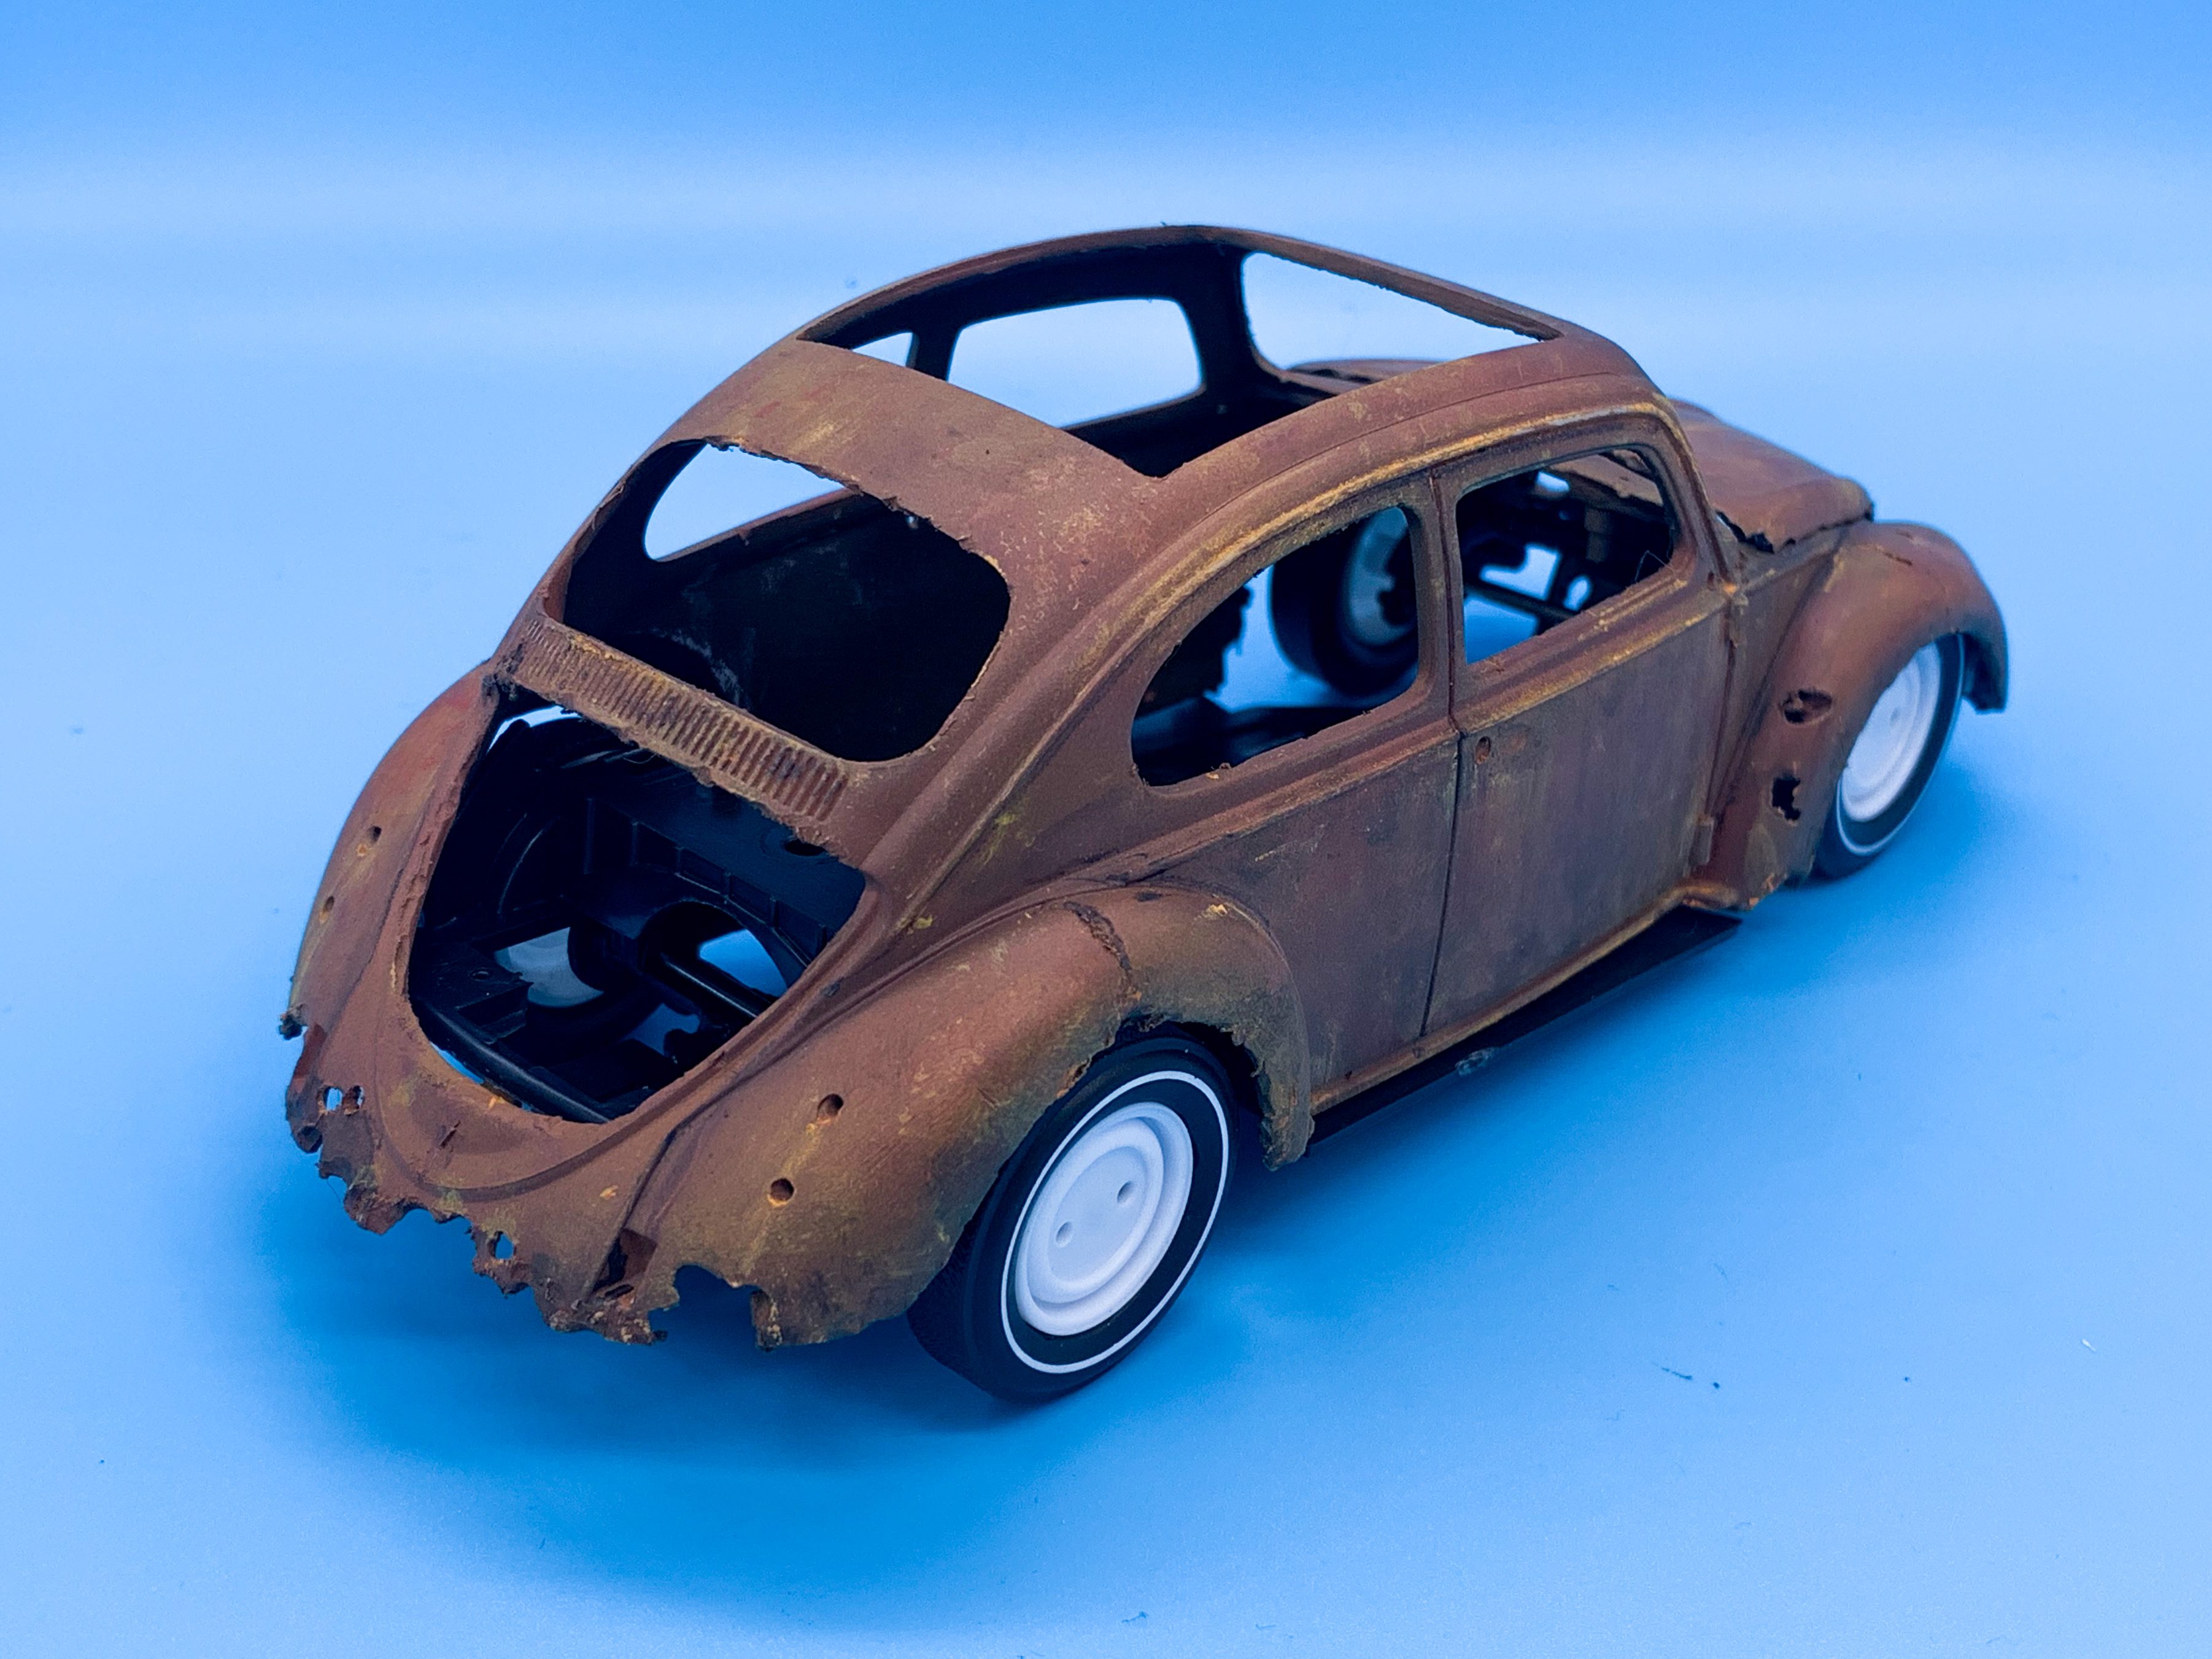
I’ve been wanting to do a patina’d VW bug for a while - there’s nothing new or clever about the concept but they look cool and I want one for my shelf! I also came across this crazy extremely rotten Beetle showcar on a blog a few months back and kept thinking what I could do to make a ‘zombie’ Beetle of my own: http://www.speedhunters.com/2017/04/resurrecting-the-dead-bugly-the-zombie-beetle/ Then I got to thinking that ‘Herbie’ kinda sounds close to ‘Zombie’, and thus a dumb idea was born 🤪 Starting with the Polar Lights Herbie kit, which is fairly basic but nicely done of a semi-snap kit: Marked out a sunroof with Dymo tape (which works great for plotting out straight lines for scribing: Then got to scribing: Tada! Next up, using ‘Bugly’ as a loose reference, ruined that nice body and got it into primer: Next, various dark brown shades as a base for the weathering and rust effects I’ll be adding later: And then I used watercolors and pastels to add some more depth and variety to these browns: Plenty more weathering fun to do, but this is the ‘blank canvas’ for all the rest of the paintjob…tomorrow’s progress will mostly involve salt, crackle medium and more abuse of a perfectly good Beetle kit. More soon!
-
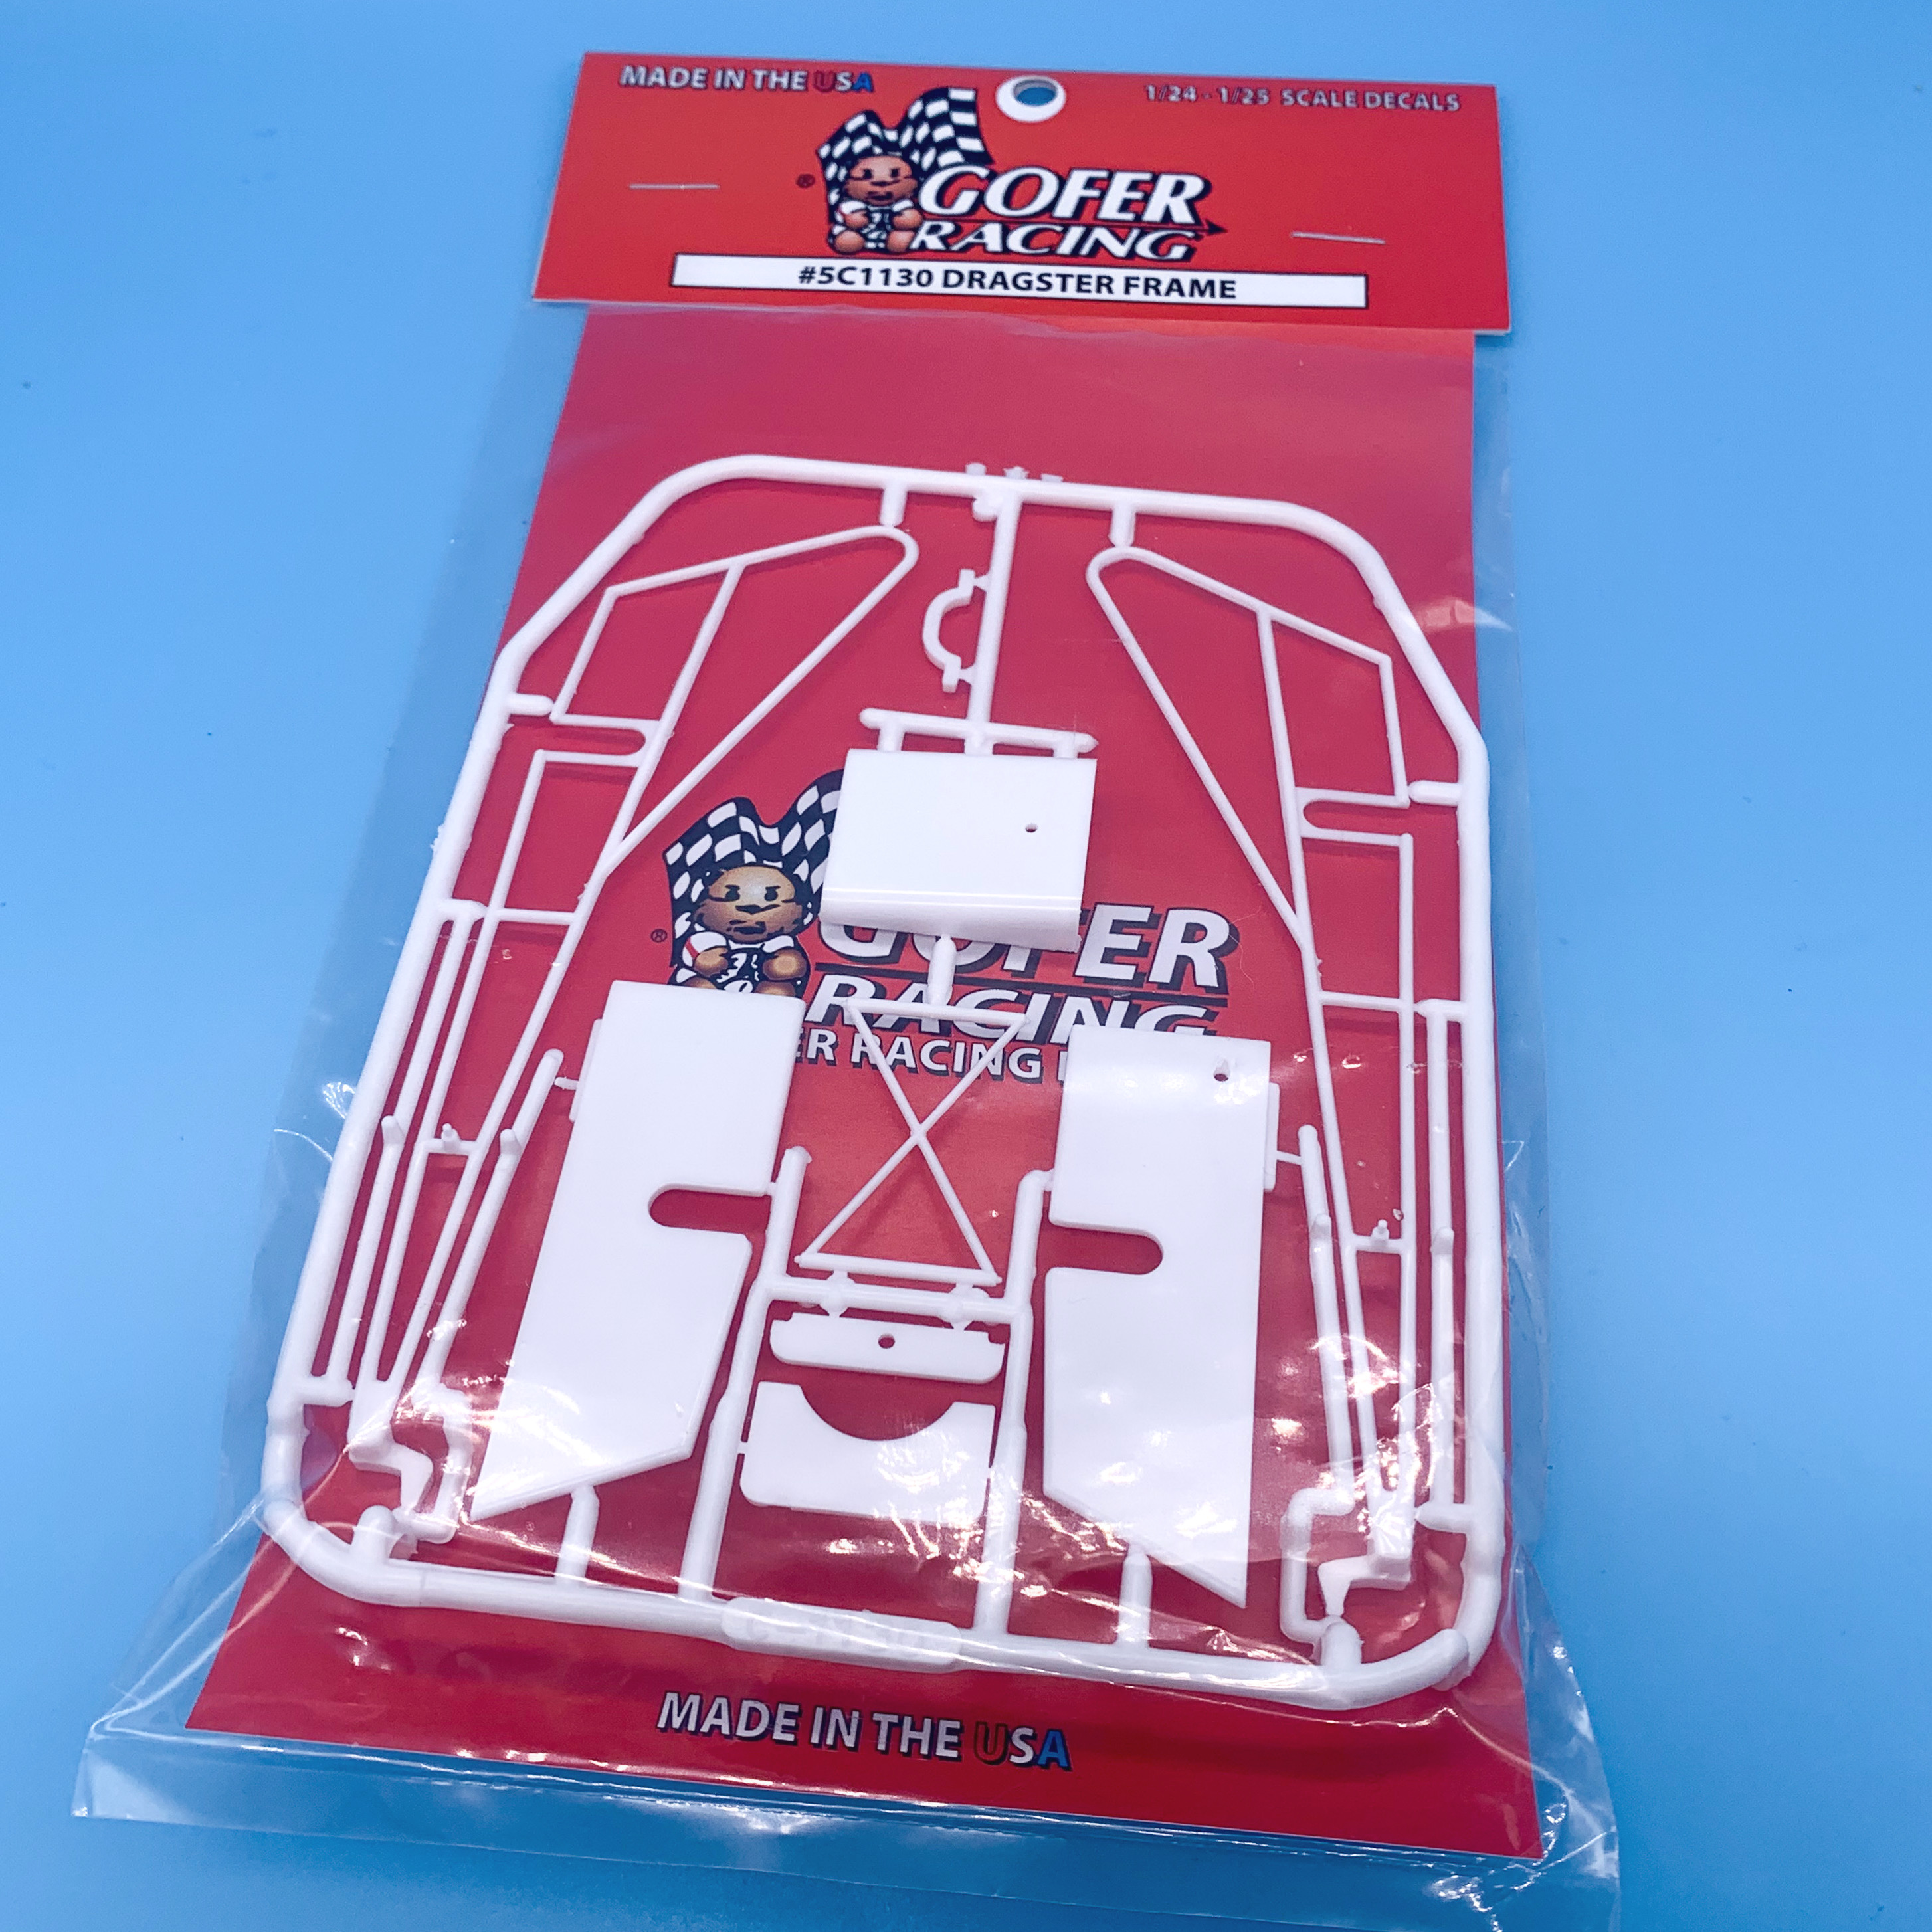
Got the Gofer Racing (Revell) dragster frame…excited to build an old slingshot!
-
I bet Round 2 is DELIGHTED that Ollies has this same kit for $9.99 again right now, just as they're releasing theirs... That said, theirs has the cool tin and art...
-
Given that a lot of contests require you to display the instruction manual with your build to make sure you didn't deviate from it, I'm going to say no would probably be the answer for most contests...but I'd check with the organizer of whatever contest it was. Sure would open a can of worms if they allowed you to use anything in the BOX as opposed to building the kit 'box stock'.
-
Thanks fellas! Pretty much done with this one - I’m planning at least a couple more of these, but wanted to do a simple box-stock-ish version just to see how they go together. Fun quickie build!
-
Ollie's strike again
CabDriver replied to GLMFAA1's topic in General Automotive Talk (Trucks and Cars)
My cat has a Wacky Willy! -
Ollie's strike again
CabDriver replied to GLMFAA1's topic in General Automotive Talk (Trucks and Cars)
Their sign is confusing - are the kits $19.99 or $9.99? (I know the answer…just saying) -
Way cool Bill! I never saw one of these built up before! Awesome! Thanks for sharing!
-
Motor trend super models
CabDriver replied to R. Thorne's topic in General Automotive Talk (Trucks and Cars)
https://www.motortrendondemand.com/show/steve-magnantes-super-models-motortrend/17083/ I'm excited to check this out! "Steve Magnante is a car guy of epic proportions and a car builder of miniature scale -- 1:25 scale, to be exact. He'll toss the instructions aside to custom-build some of his favorite cars. Drawing from his encyclopedic mind, his vault of vintage magazines, and a near junkyard worth of spare parts, Steve hot rods ordinary kits to become extraordinary glimpses into automotive history." -
I ordered from them before too after hearing good things - took about the same amount of time and they didn't have half of the stuff I ordered. Distributors looked nice enough, but not worth the wait versus just making my own...
-
Ferrari Outlaws & Hot Rods
CabDriver replied to 89AKurt's topic in General Automotive Talk (Trucks and Cars)
I quite like how this one looks: http://speedhunters-wp-production.s3.amazonaws.com/wp-content/uploads/2019/05/18145021/MG_8921.jpg (sorry, the site wouldnt let me paste the image) Ditto this one: But some of the coolest 'hot rodded' Ferraris I've seen are concept renderings... More from the same artist: https://khyzylsaleem.artstation.com/ -
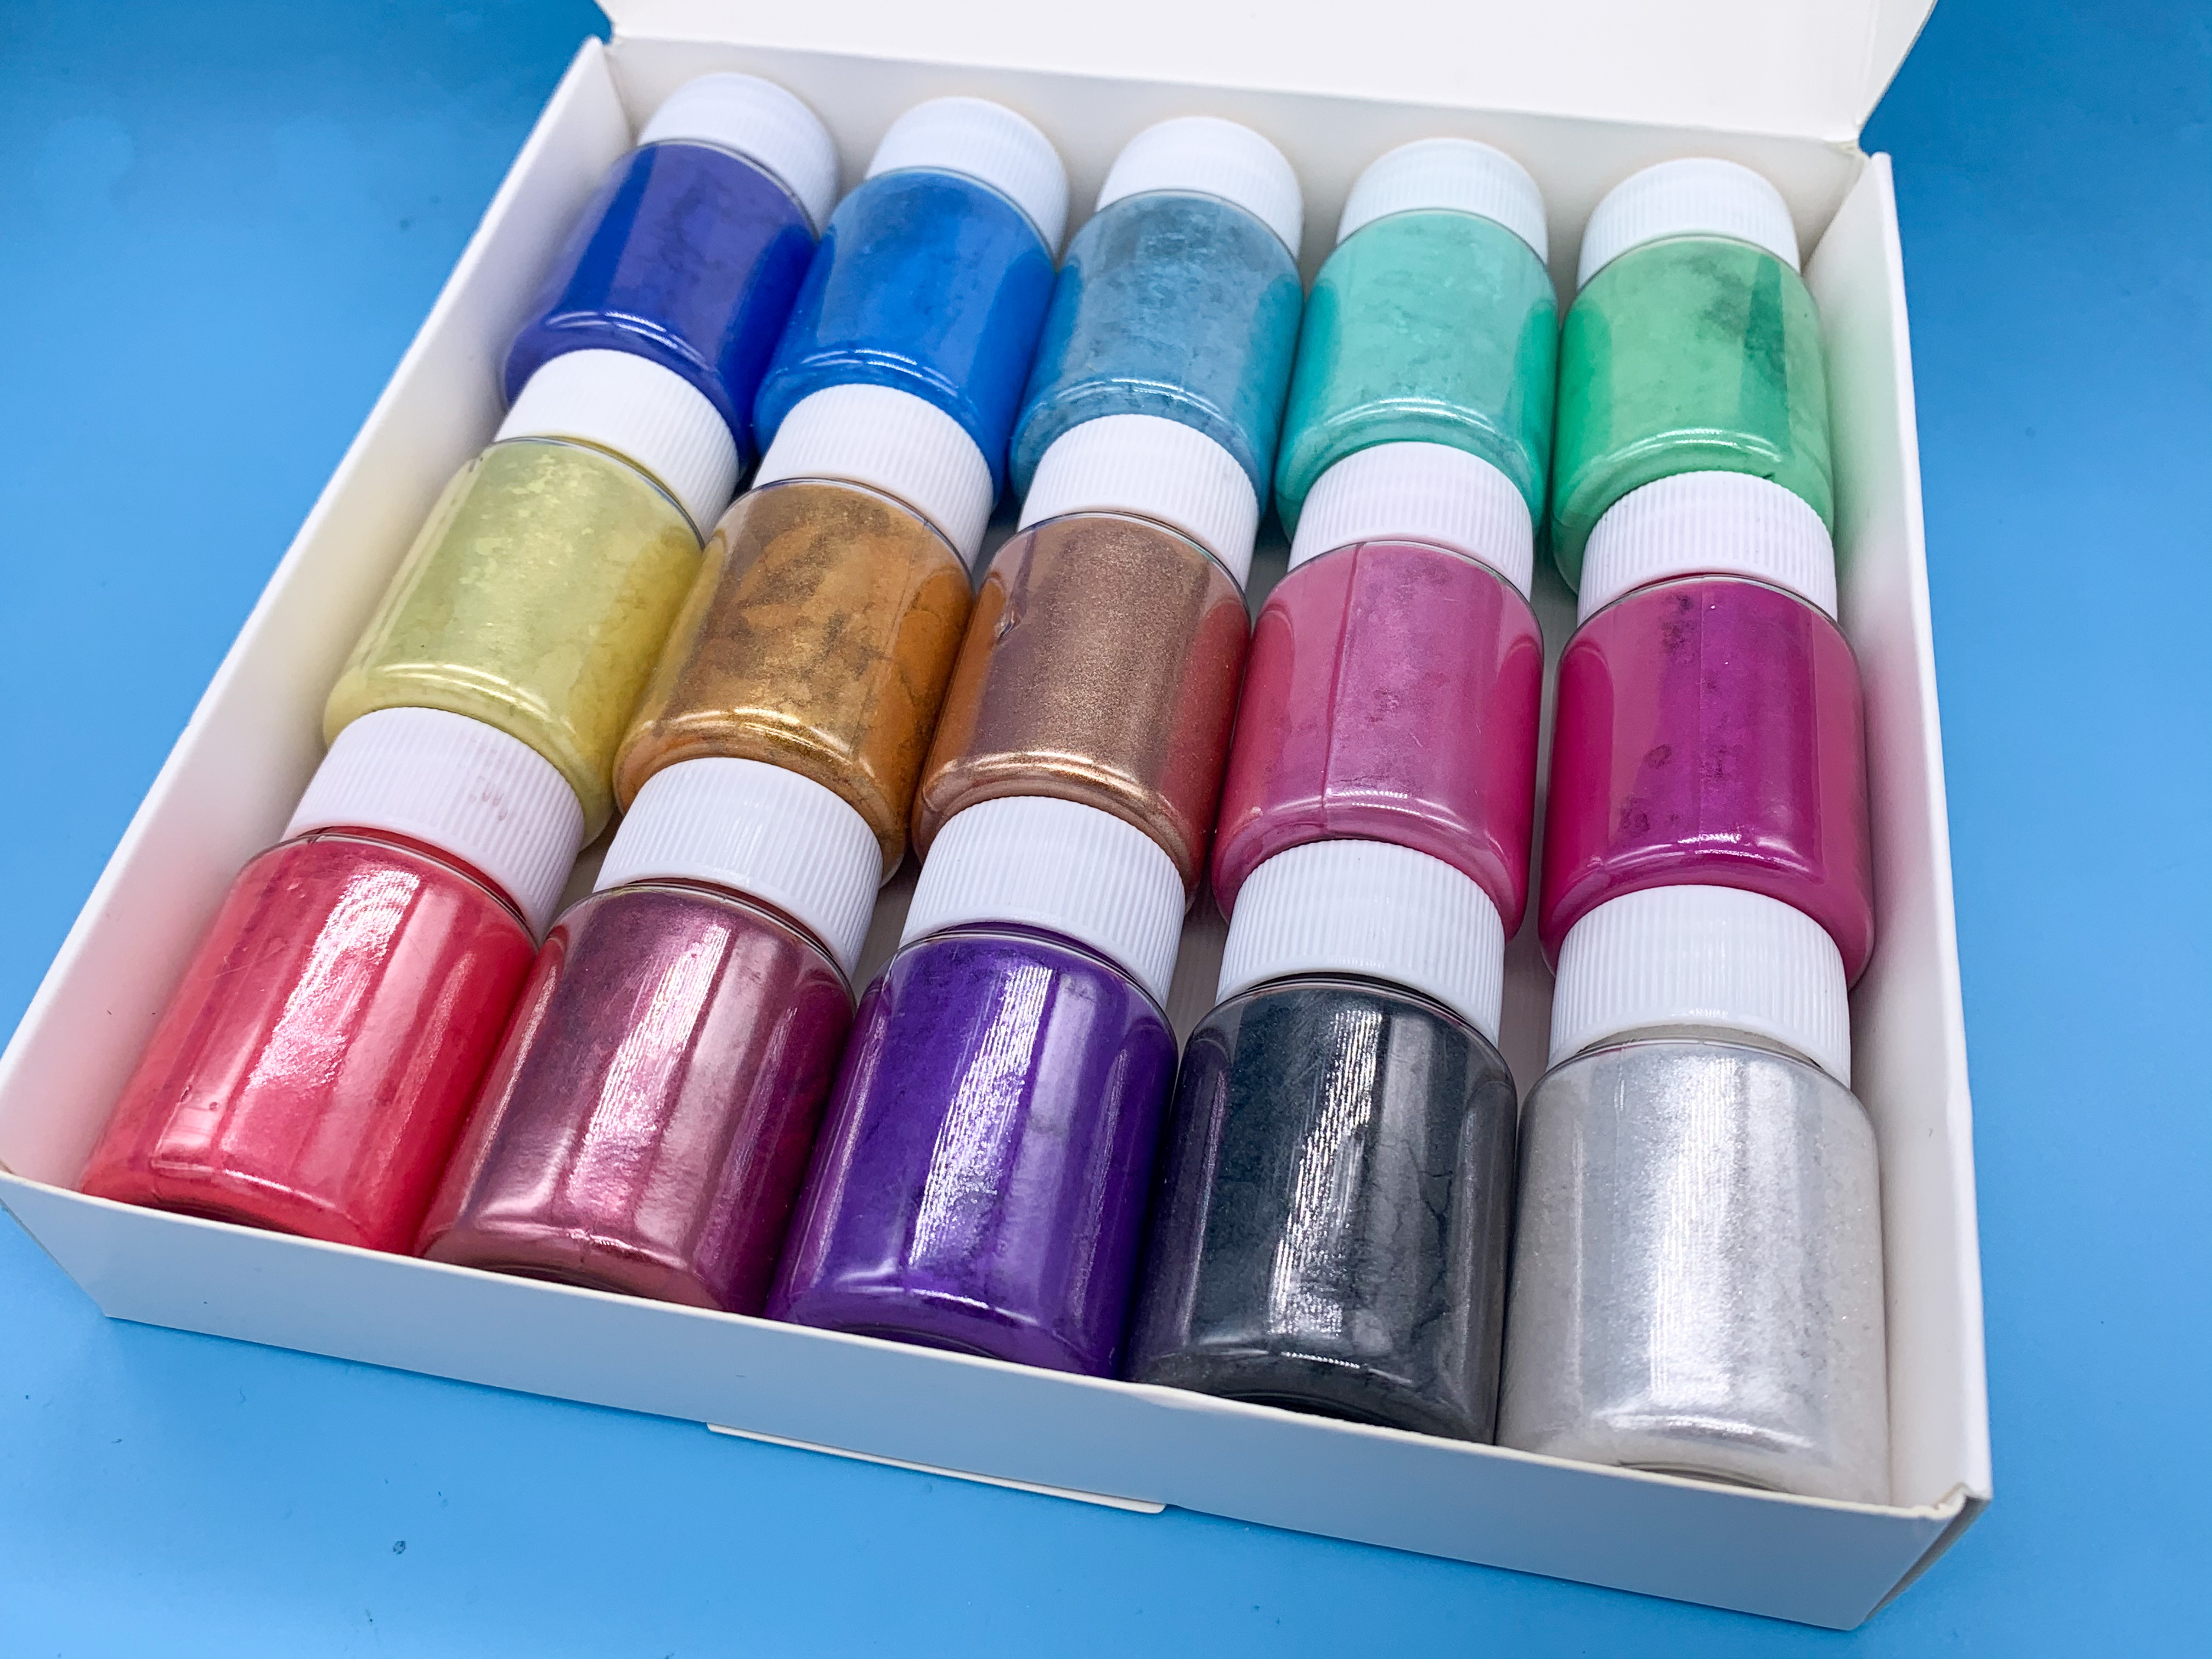
This is the set I got (but there’s a bunch of different ones available): Mica Powder- Natural Powder Pigments- Epoxy Resin Dye- for DIY Slime, Adhesive Pigments, Bath Bomb Dyes, Soap Making, Etc. (15 Colors 10g/0.35oz Each) https://www.amazon.com/dp/B07JF89516/ref=cm_sw_r_cp_api_glt_i_SSYYVWTZT12PNPMJM8A0?_encoding=UTF8&psc=1
-
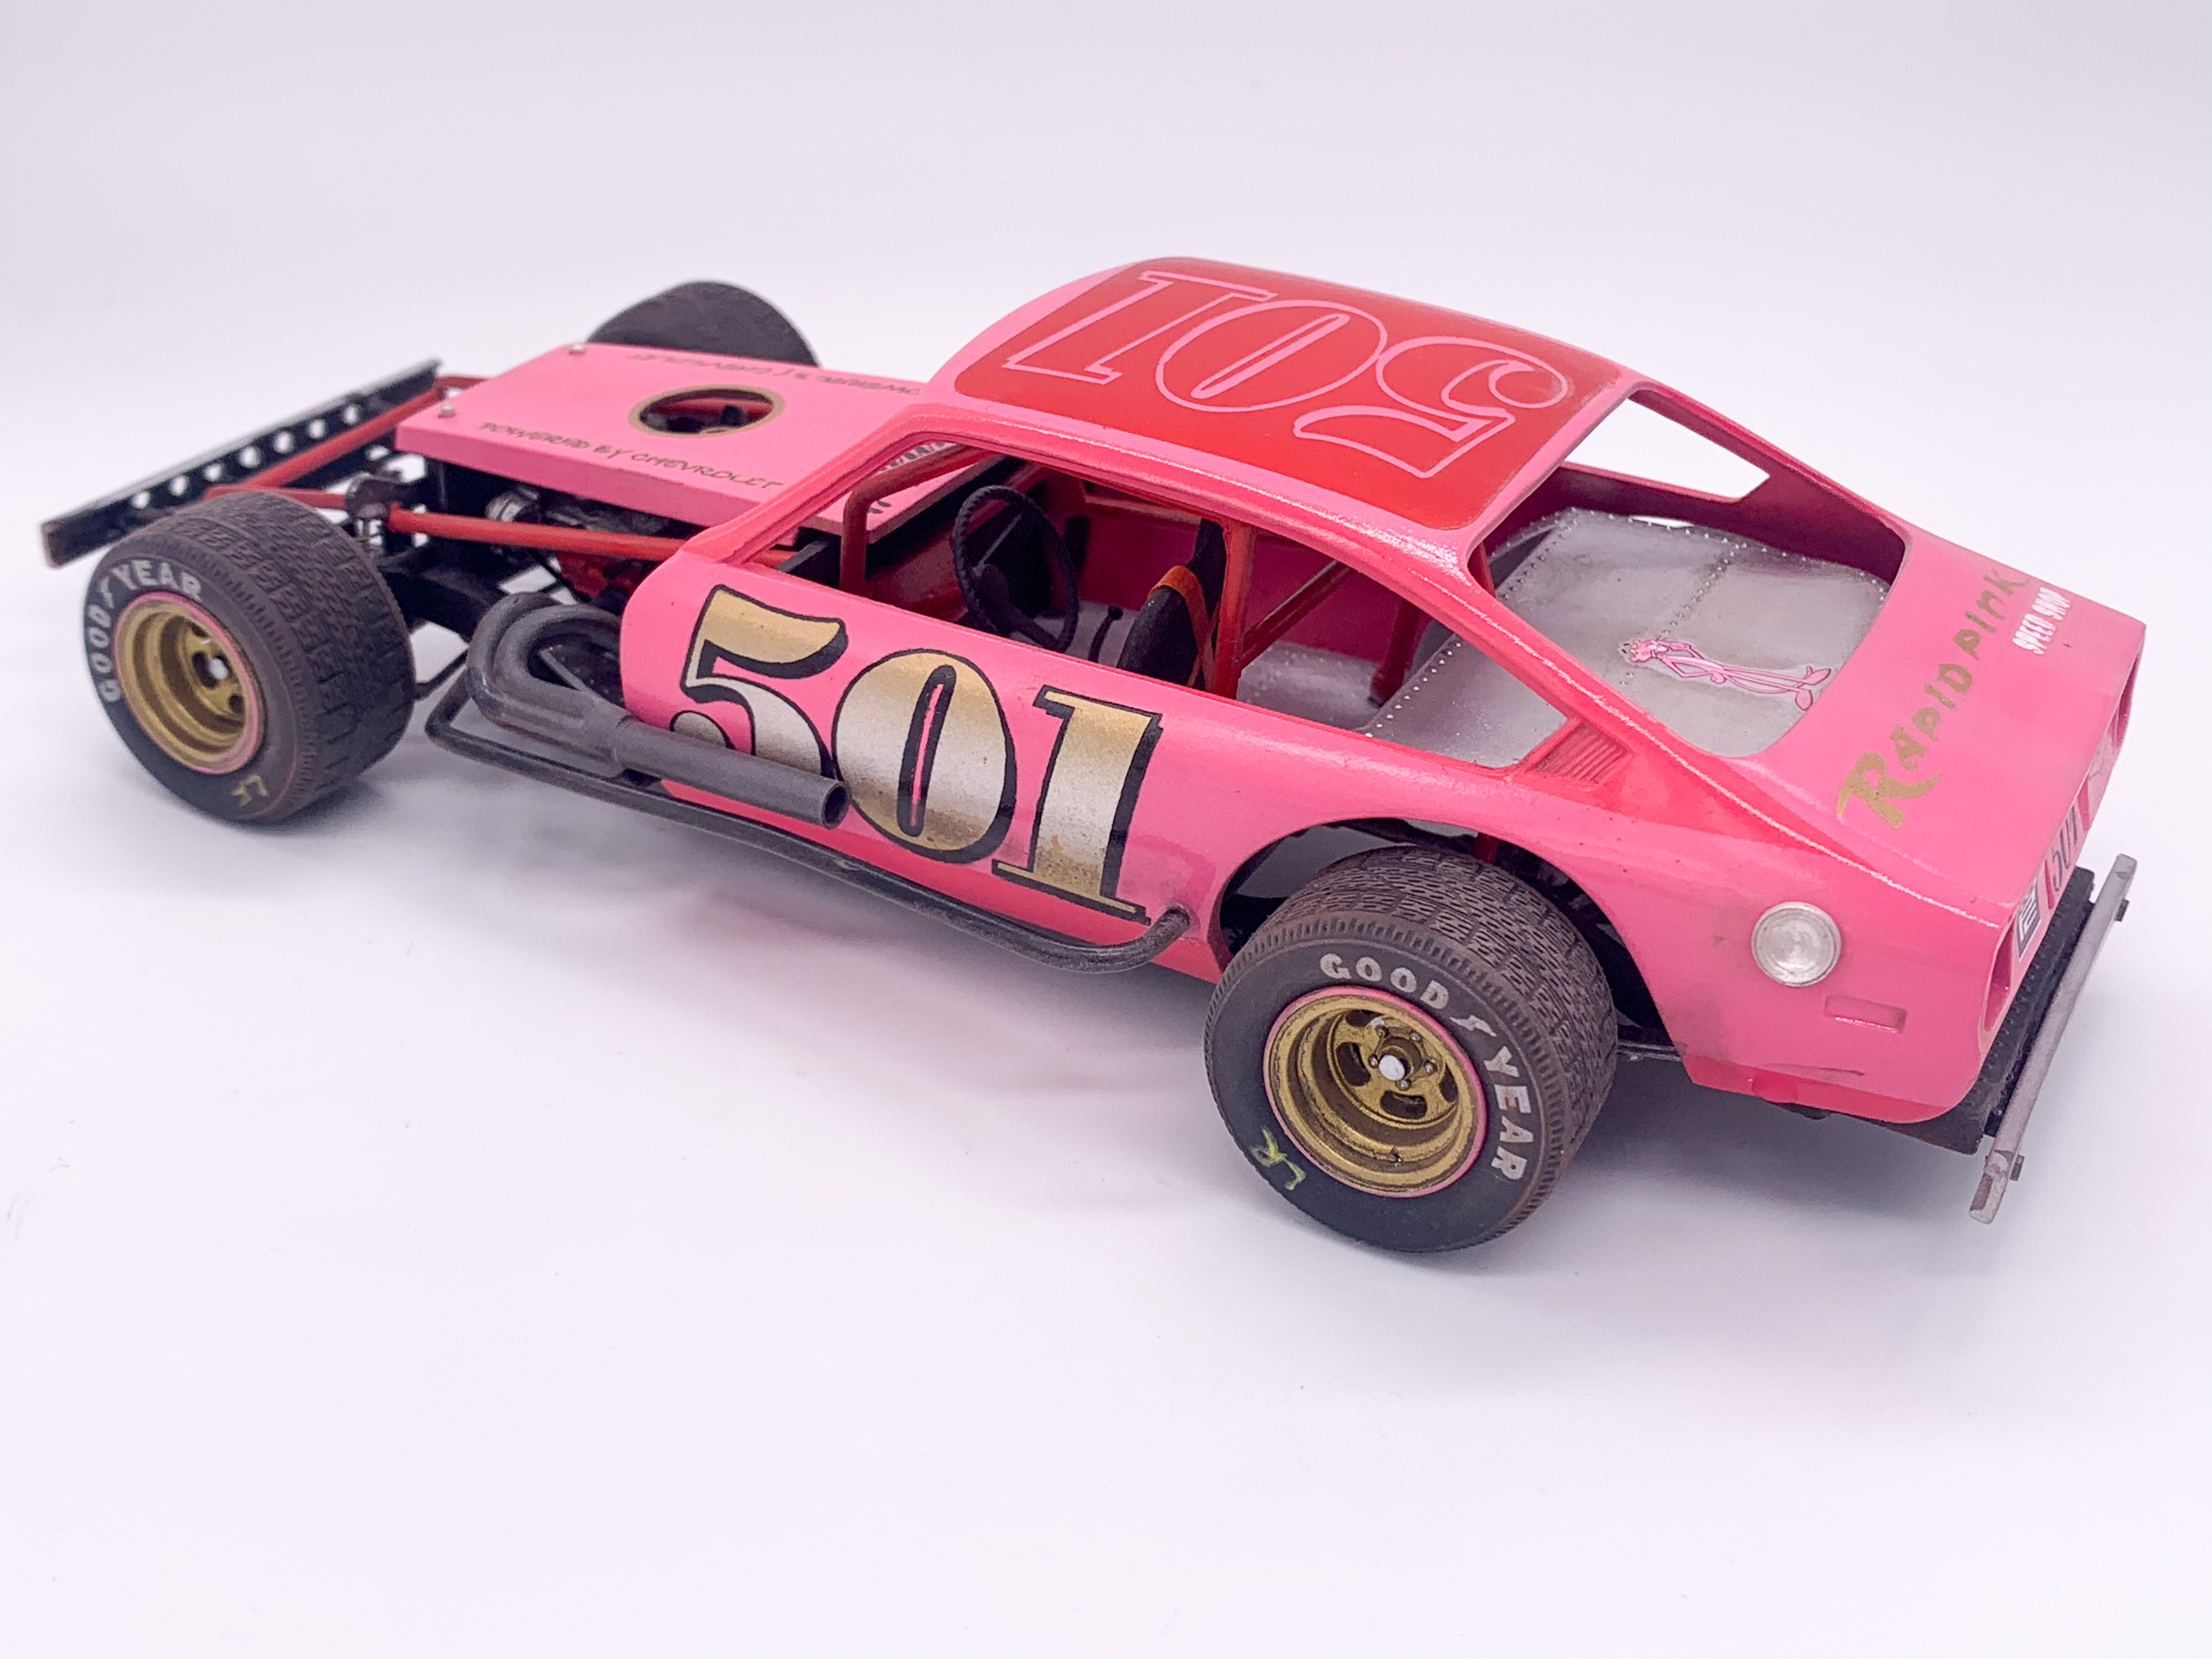
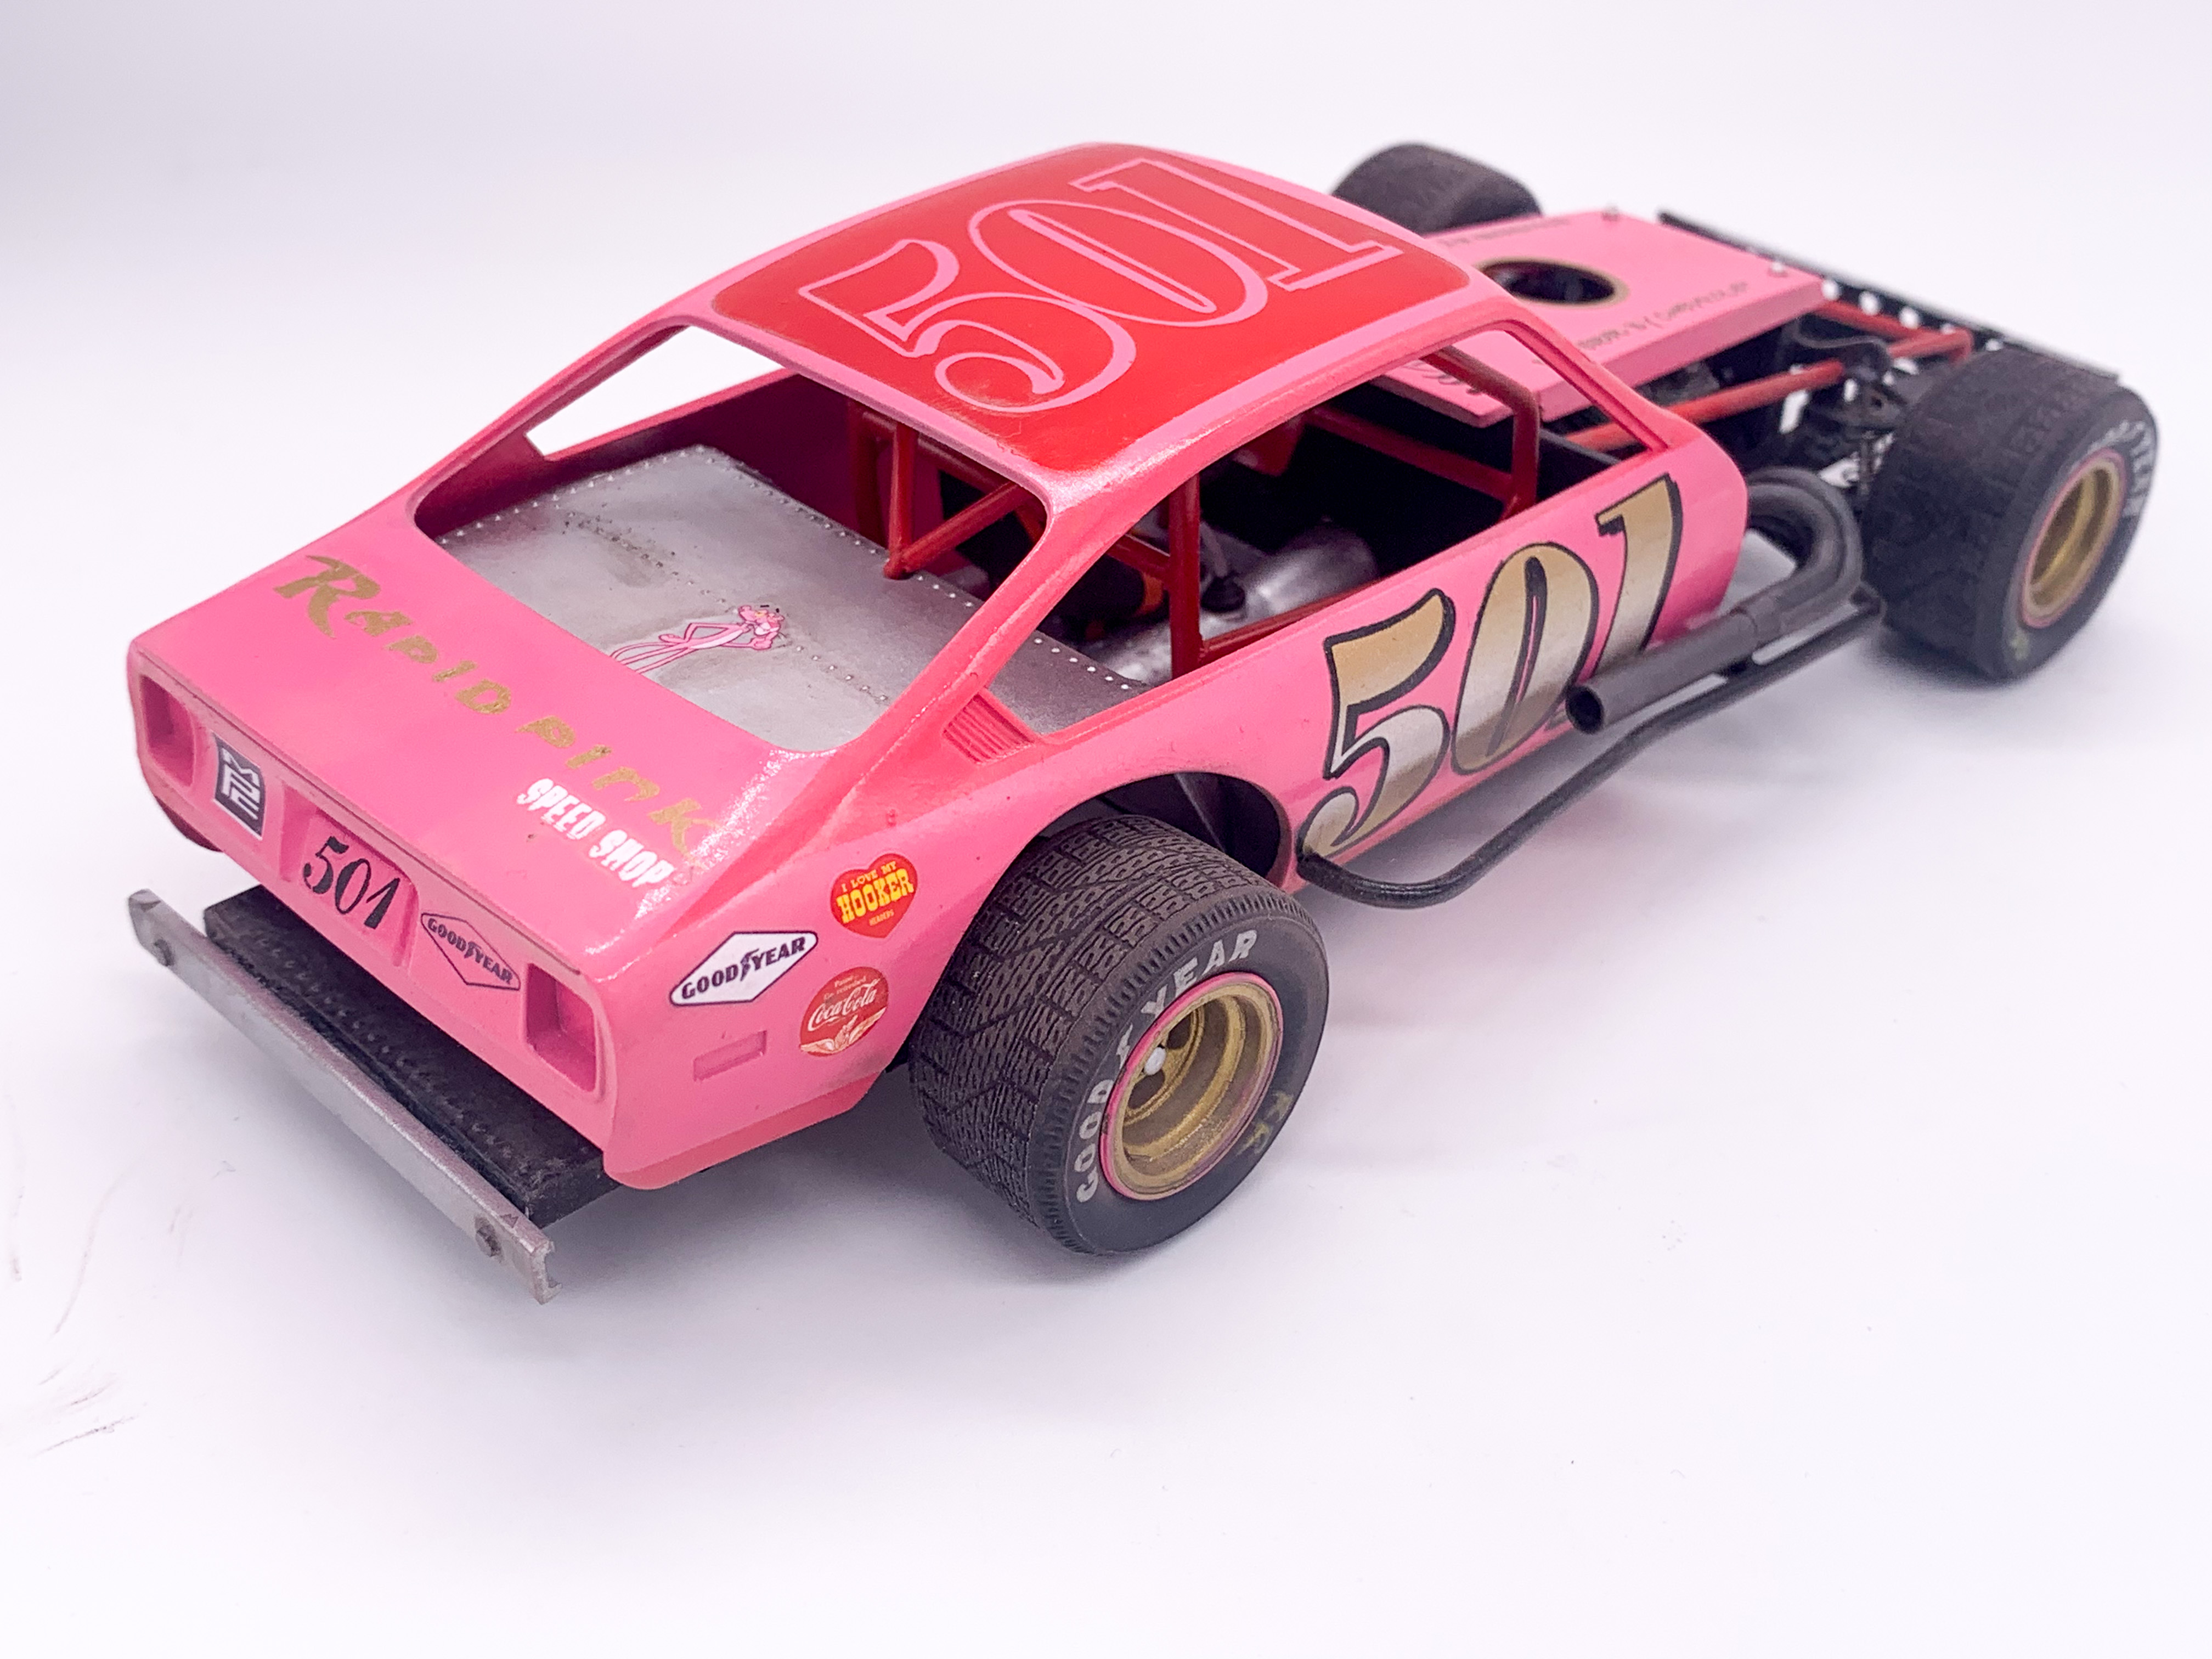
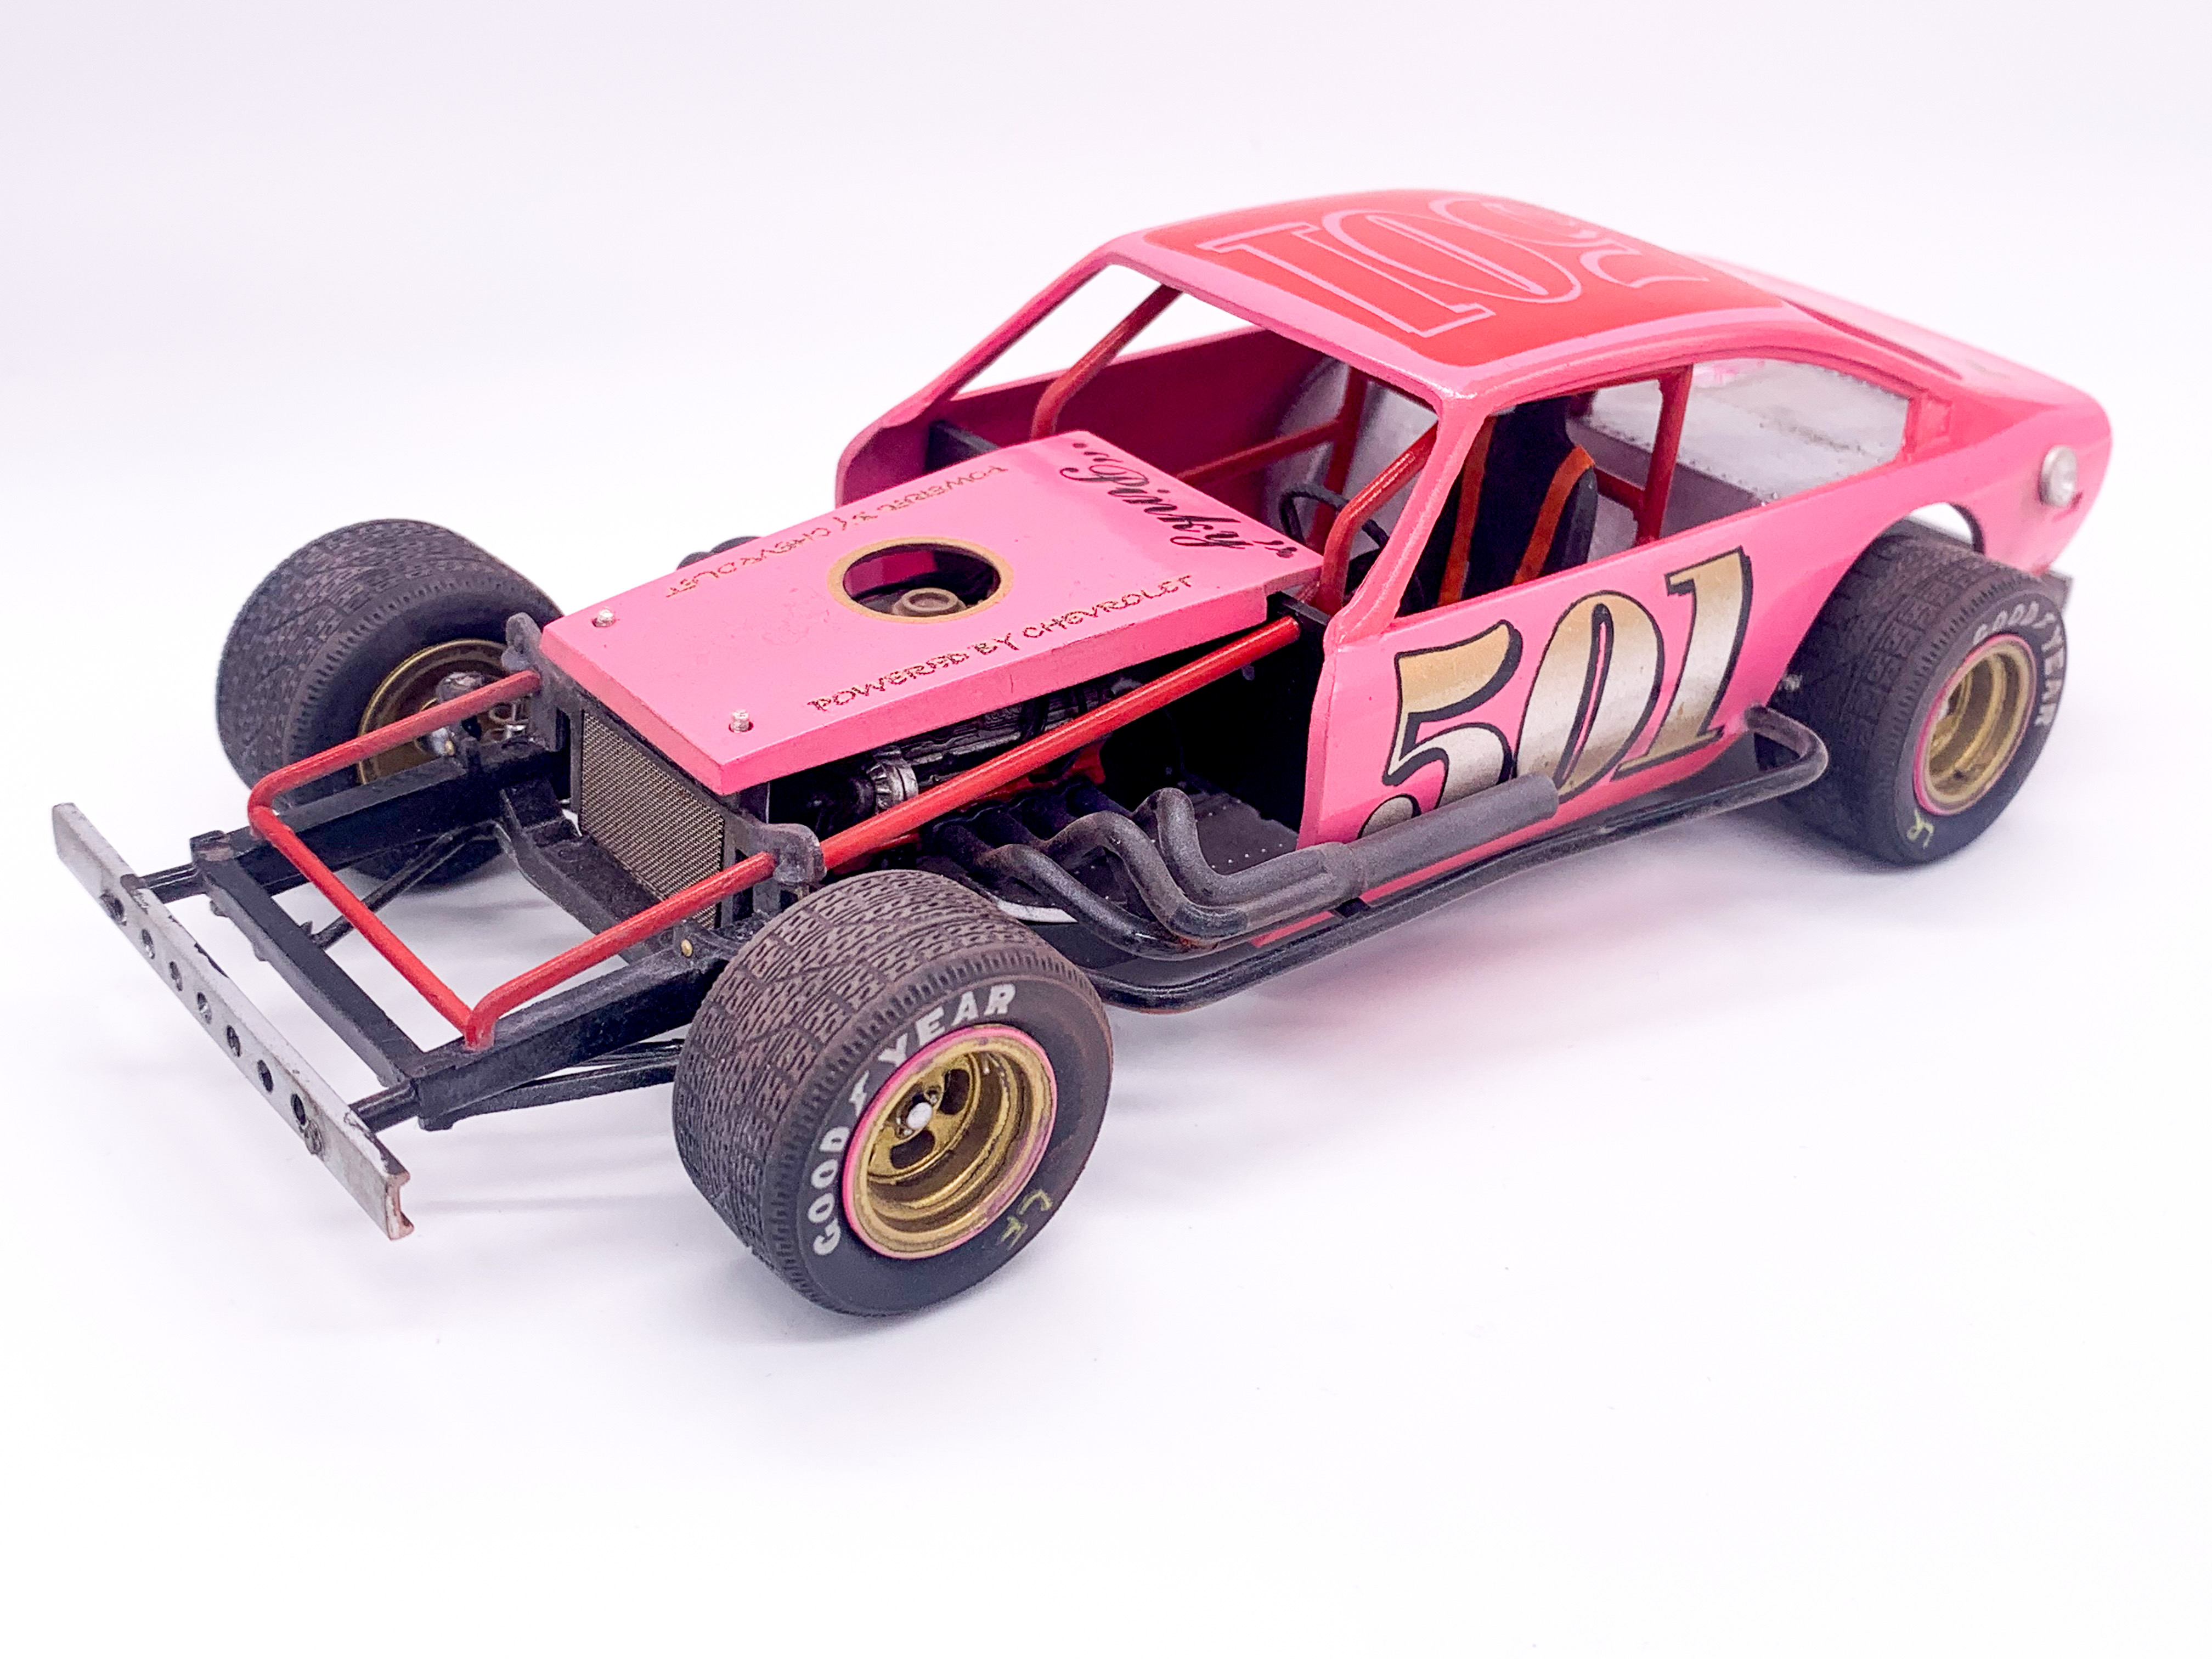
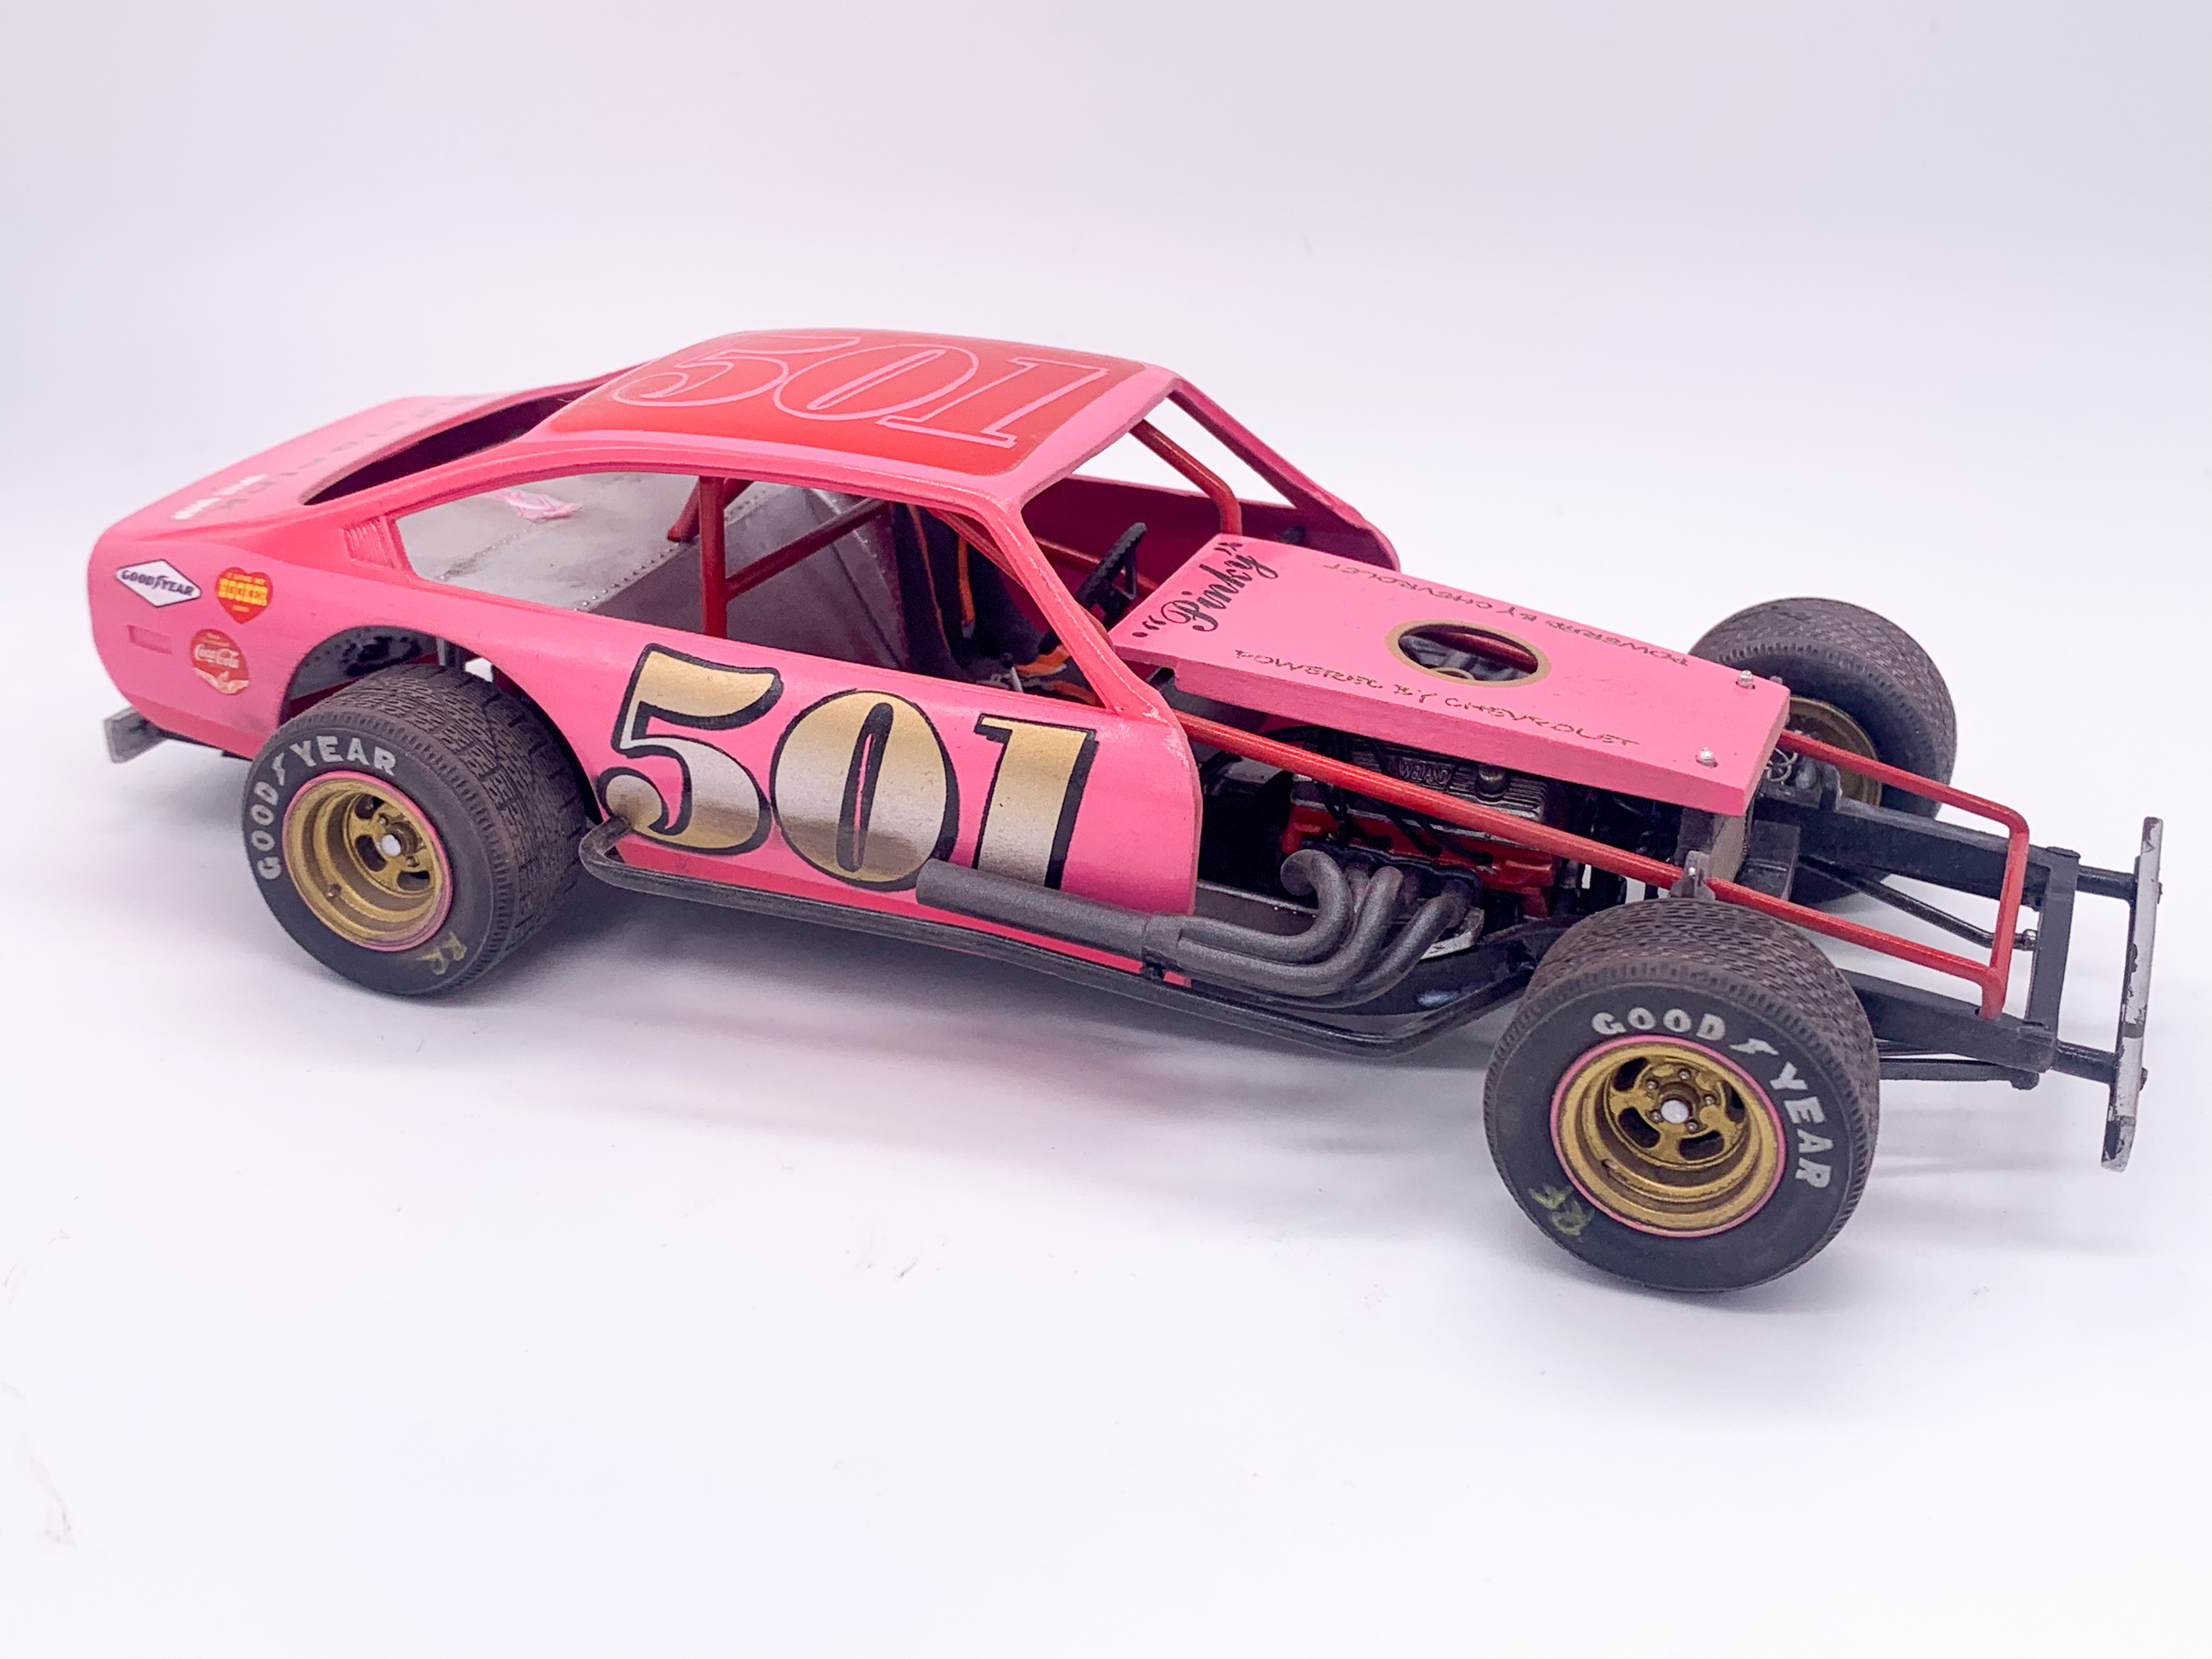
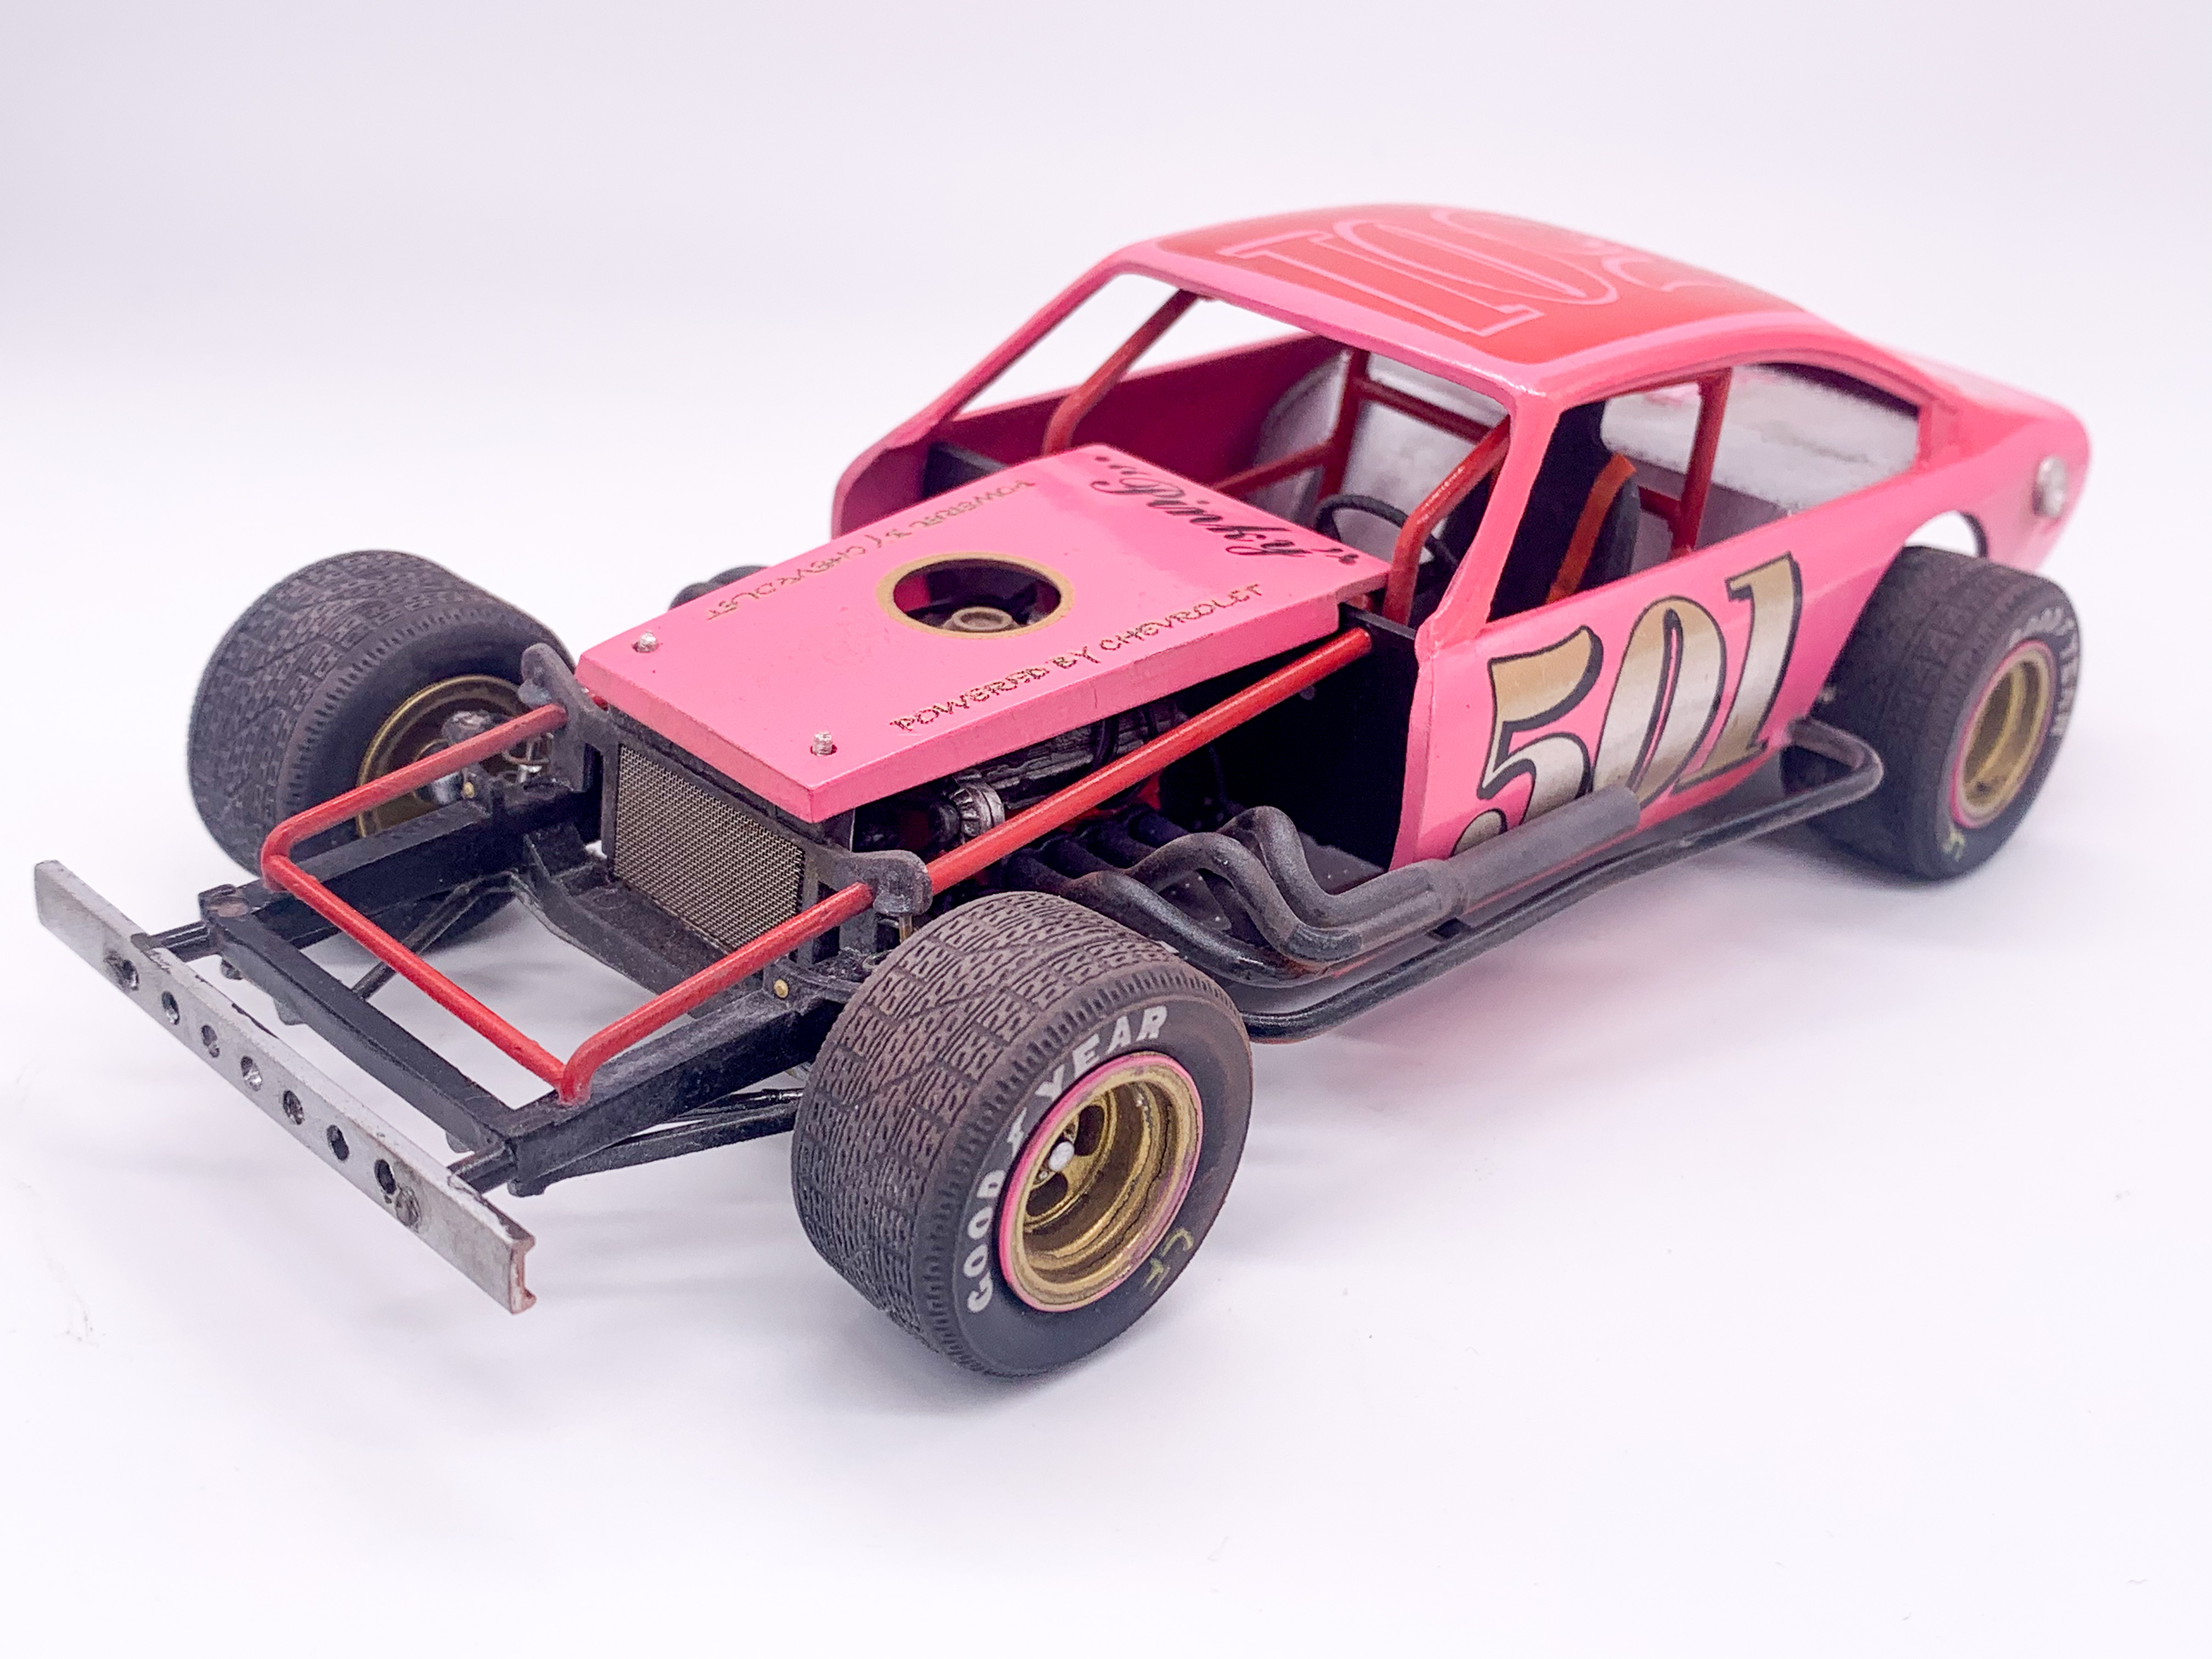
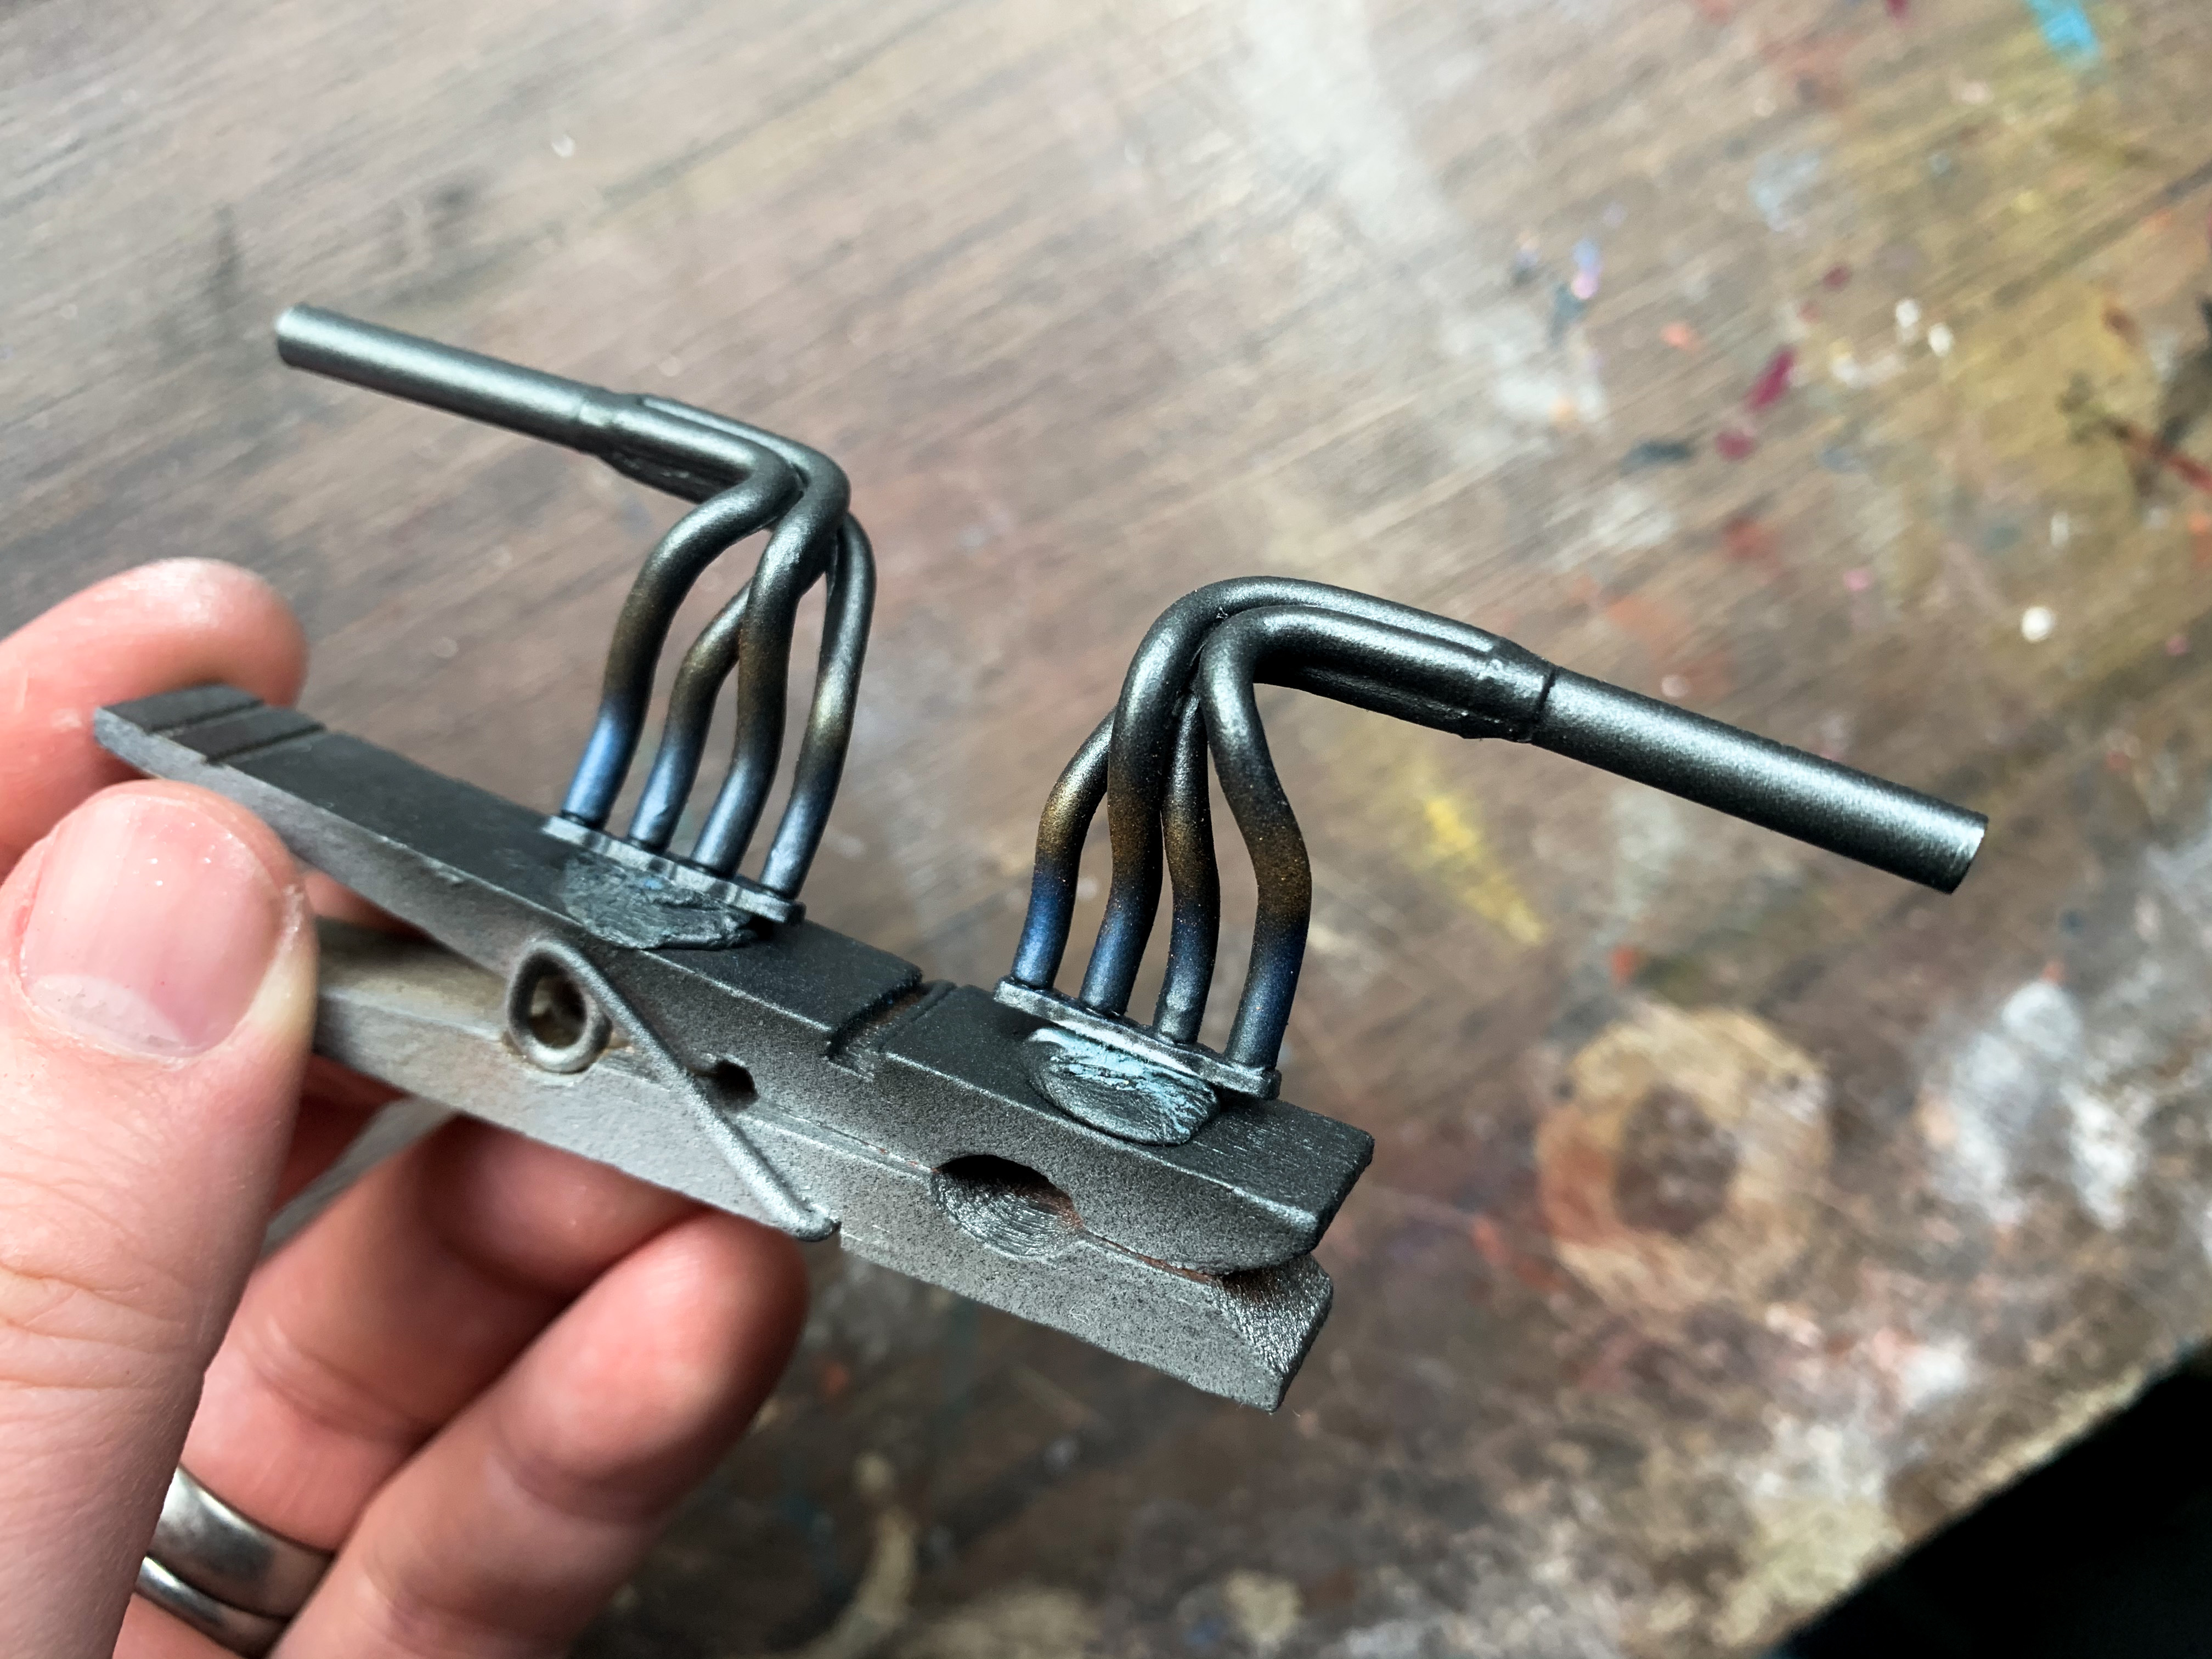
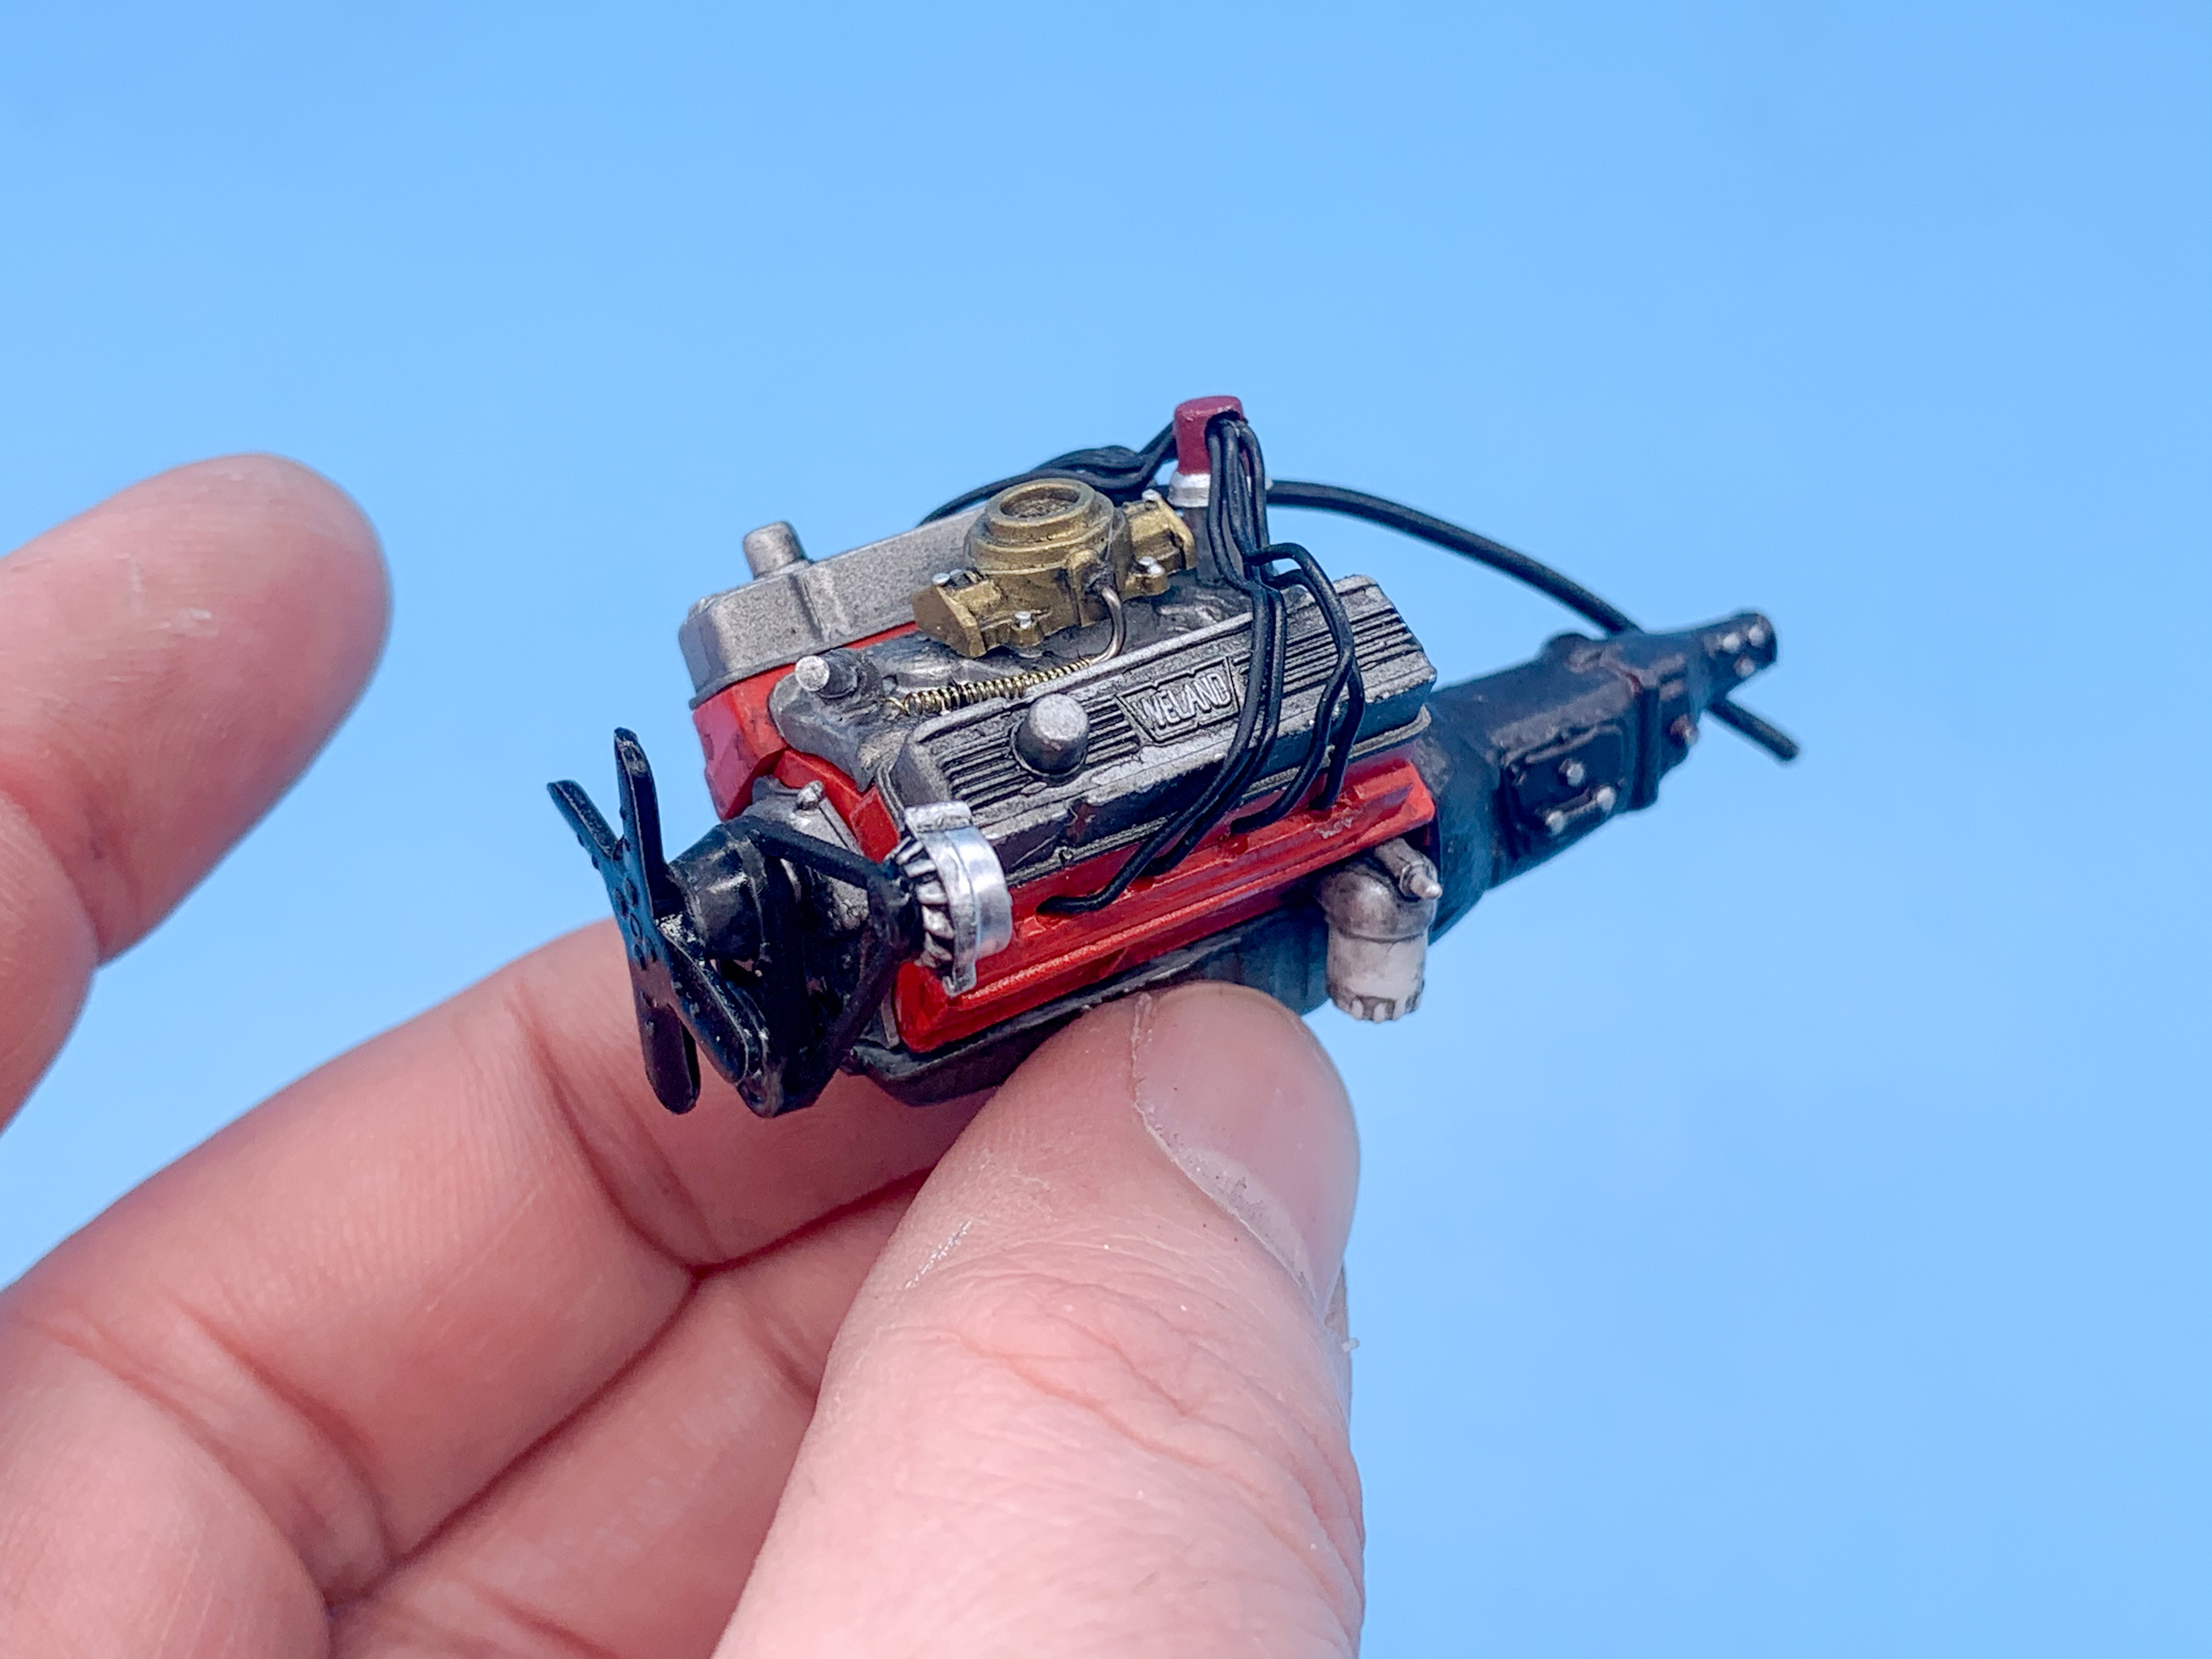
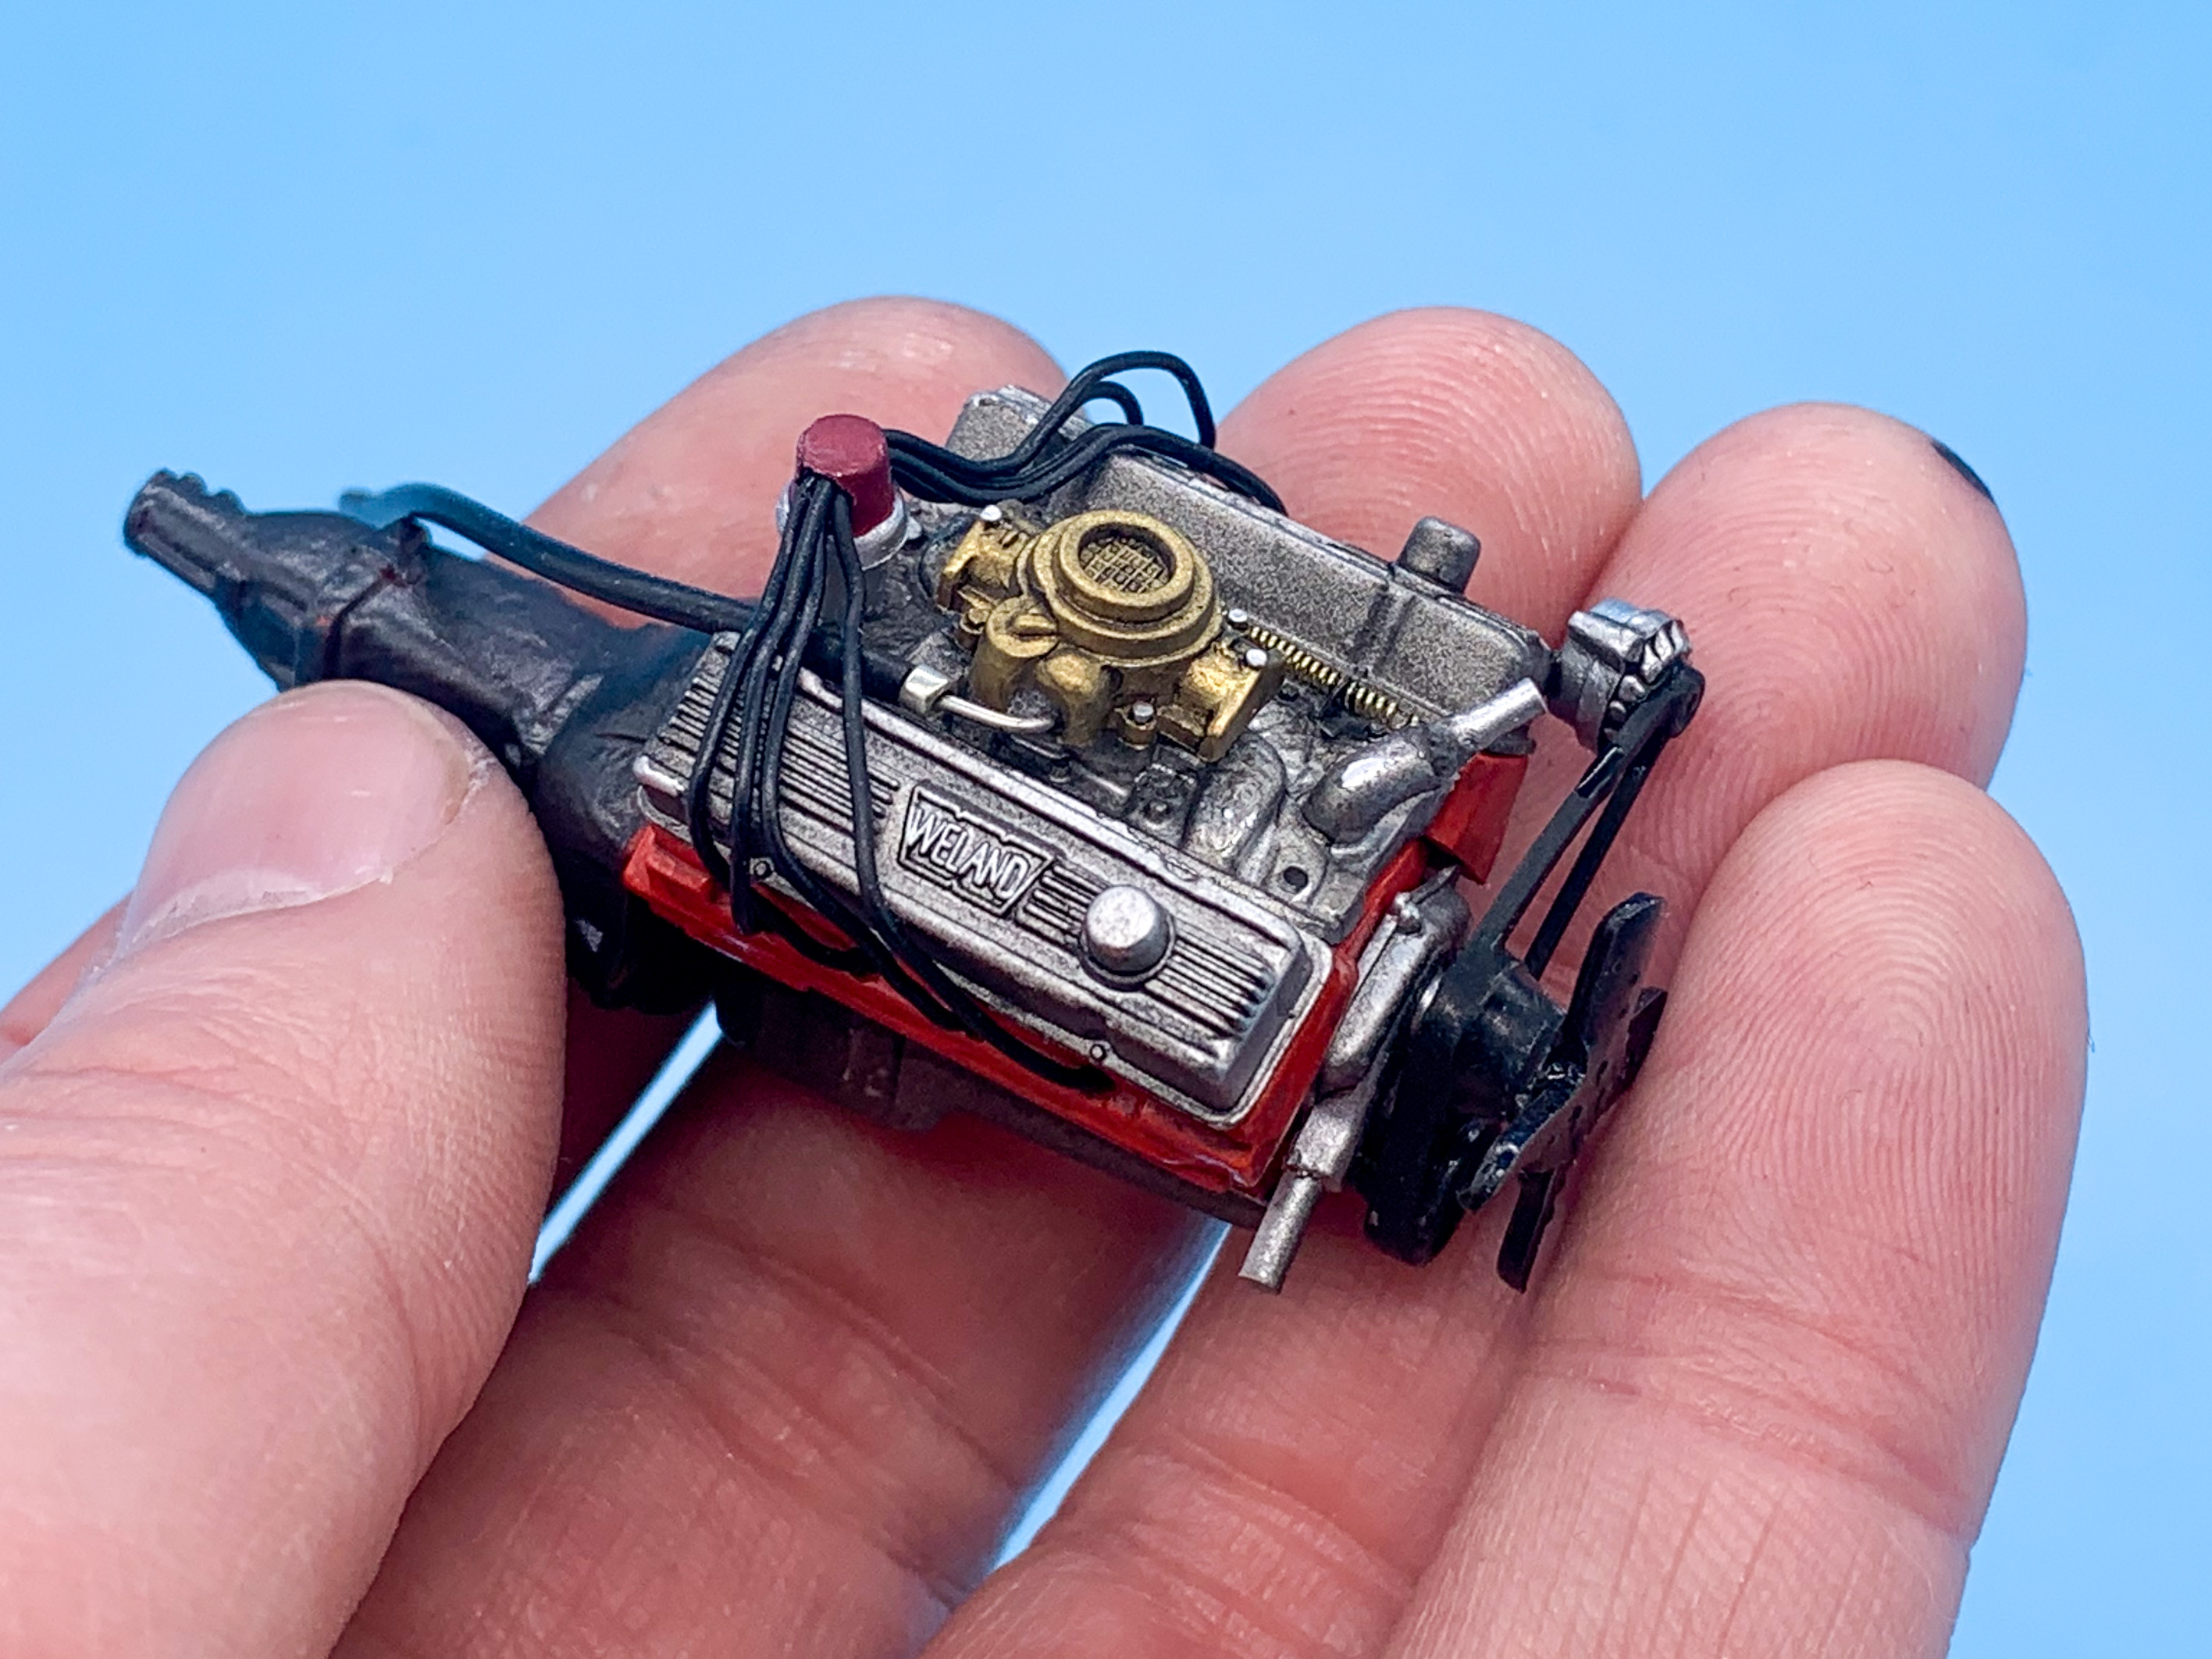
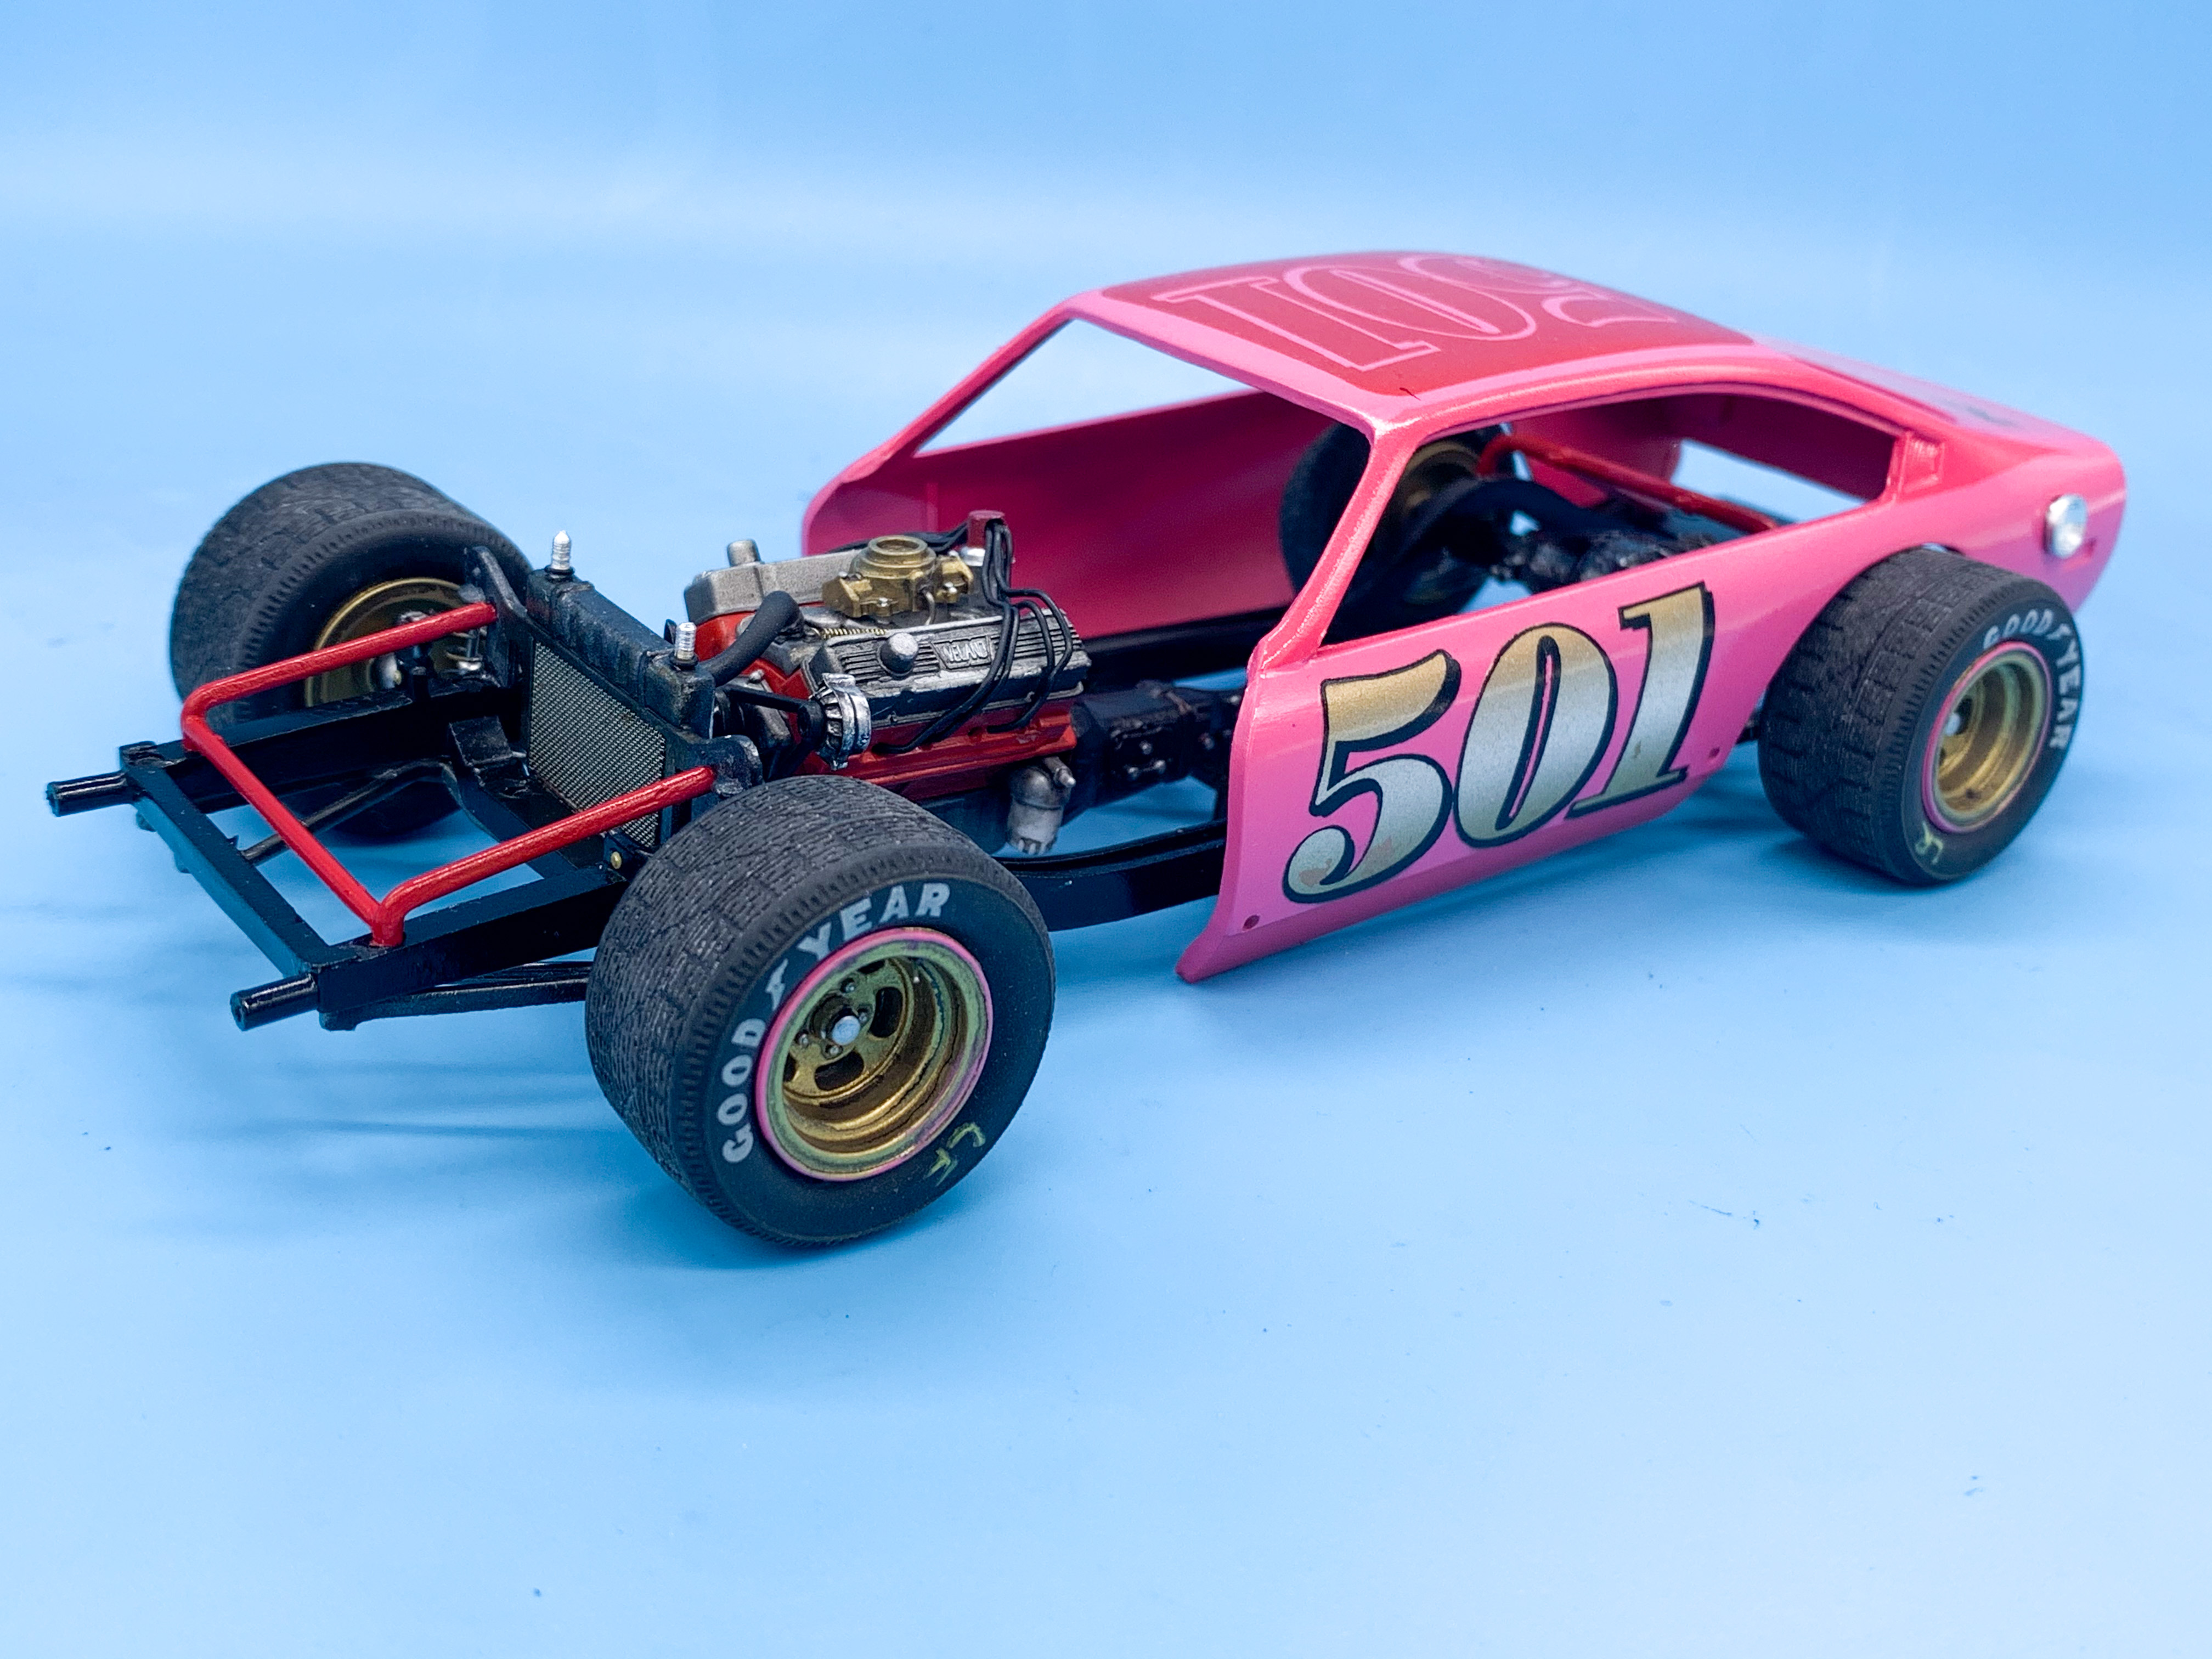
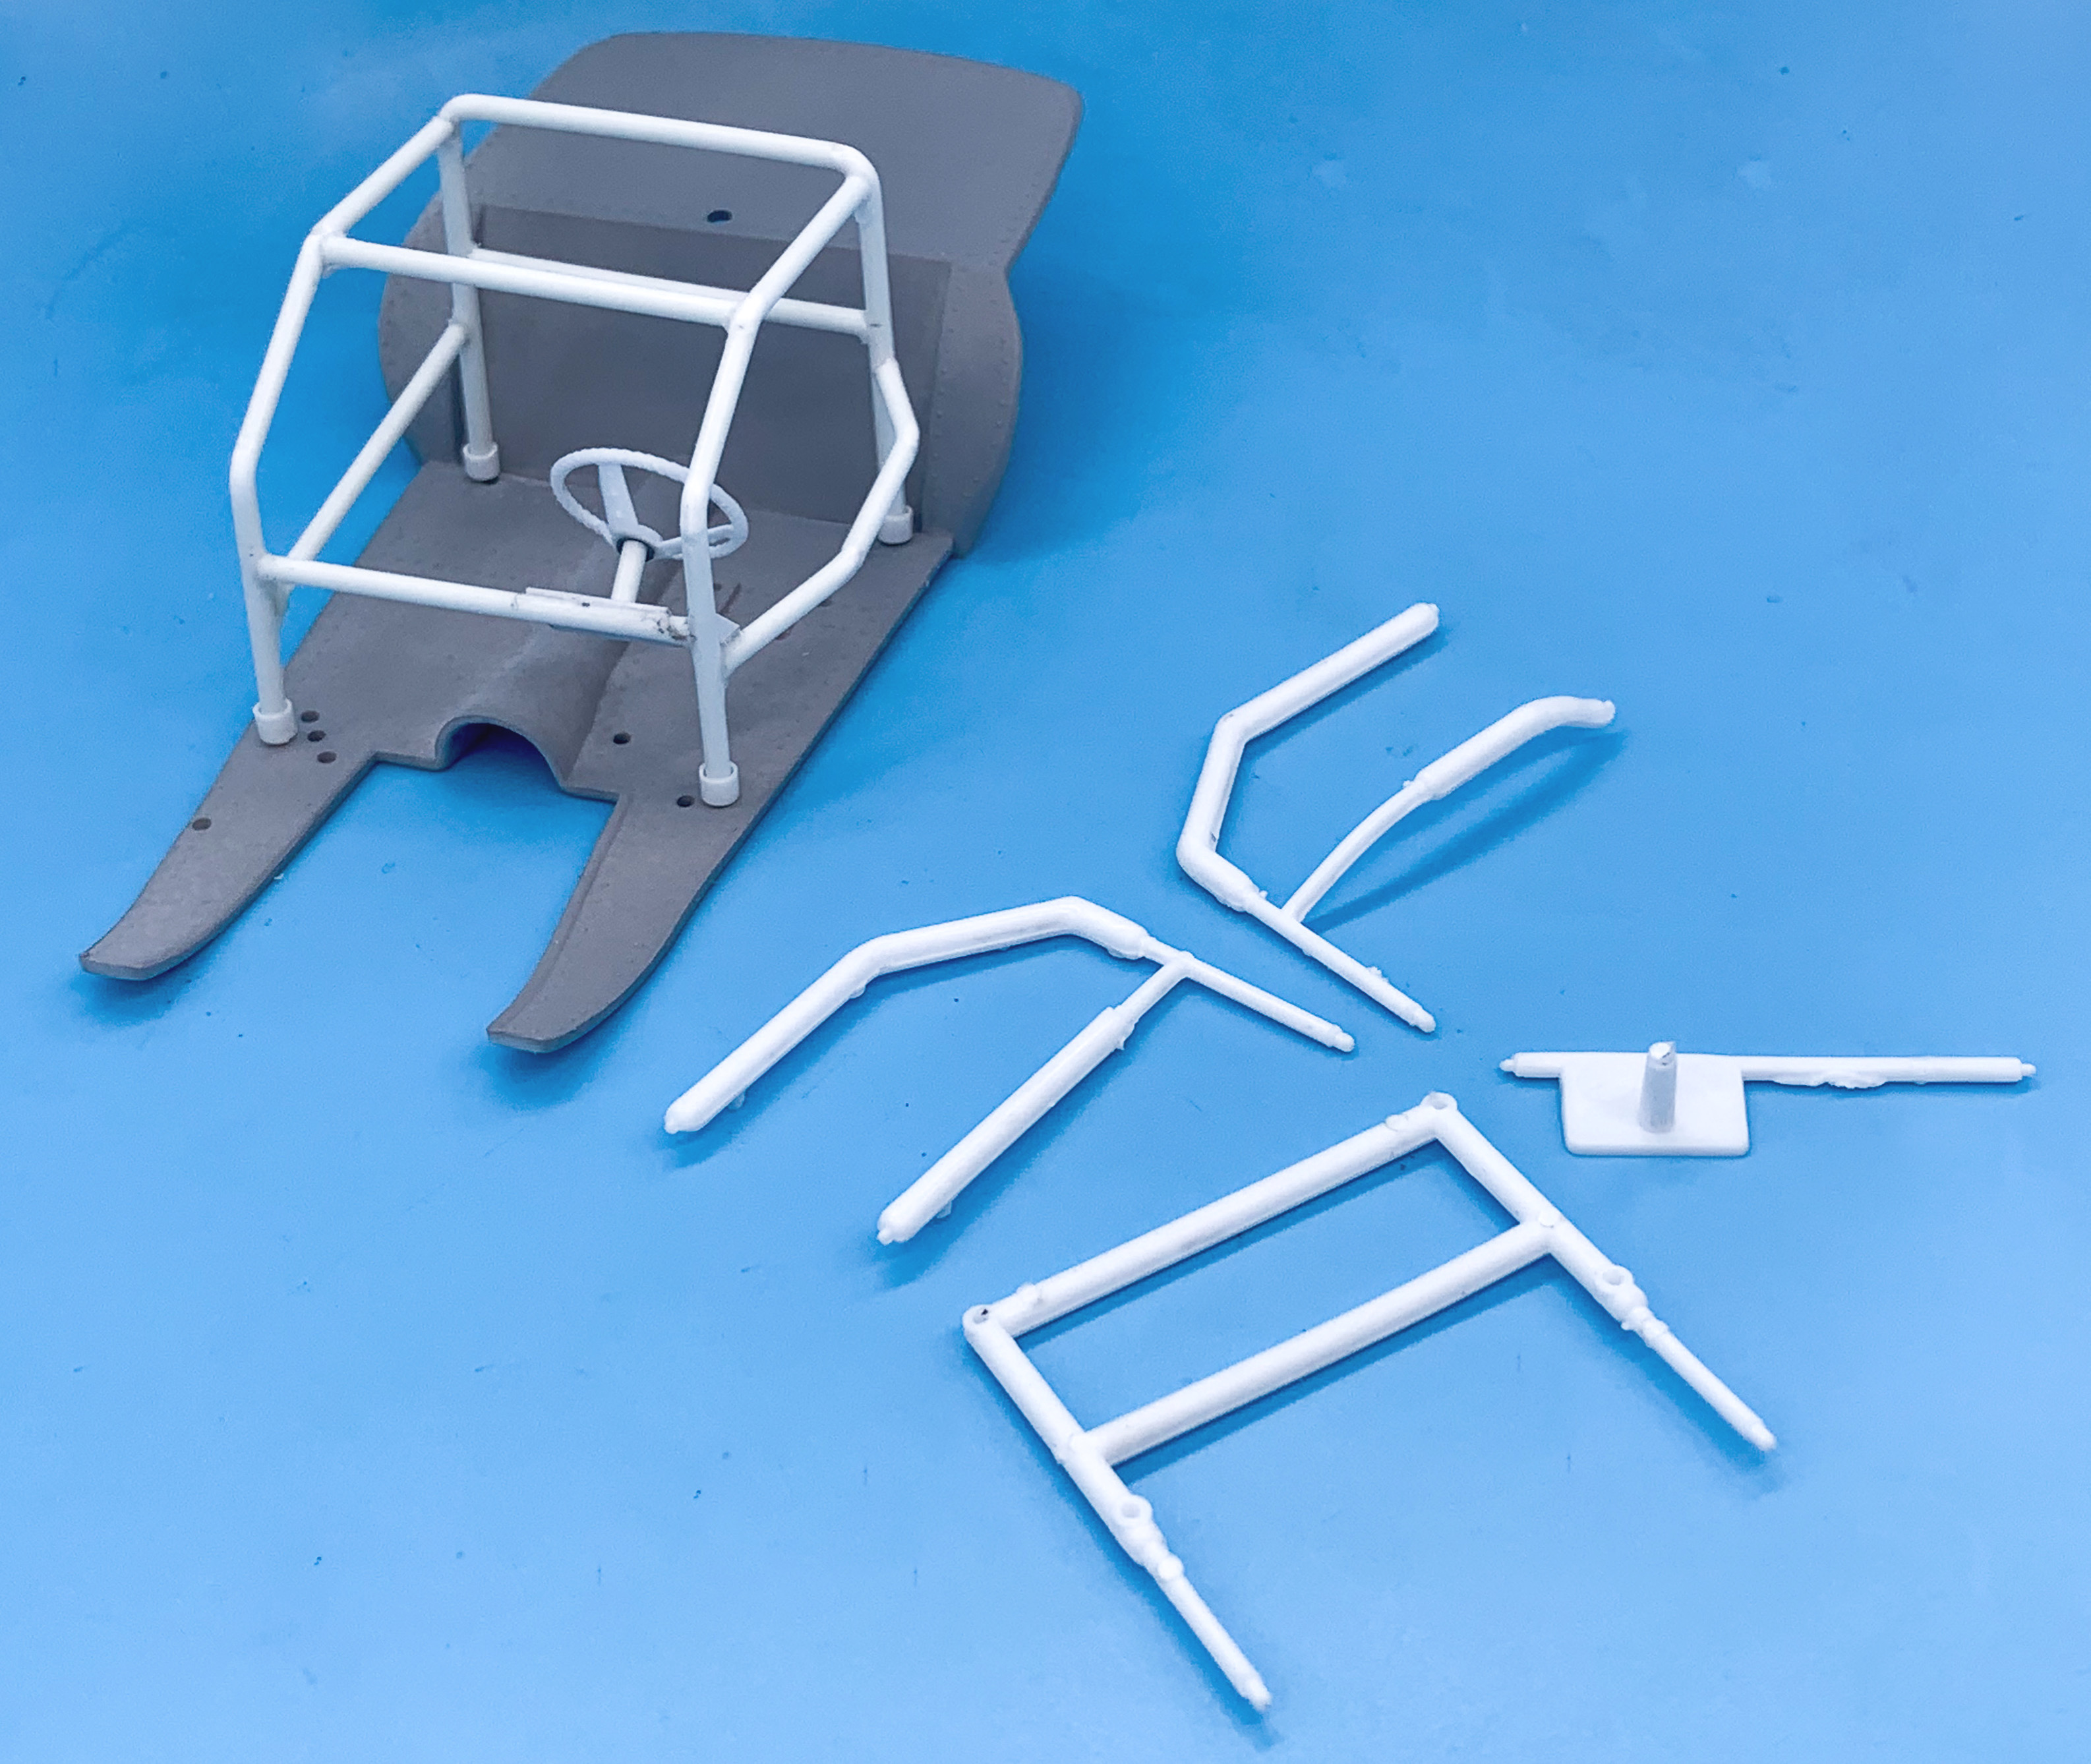
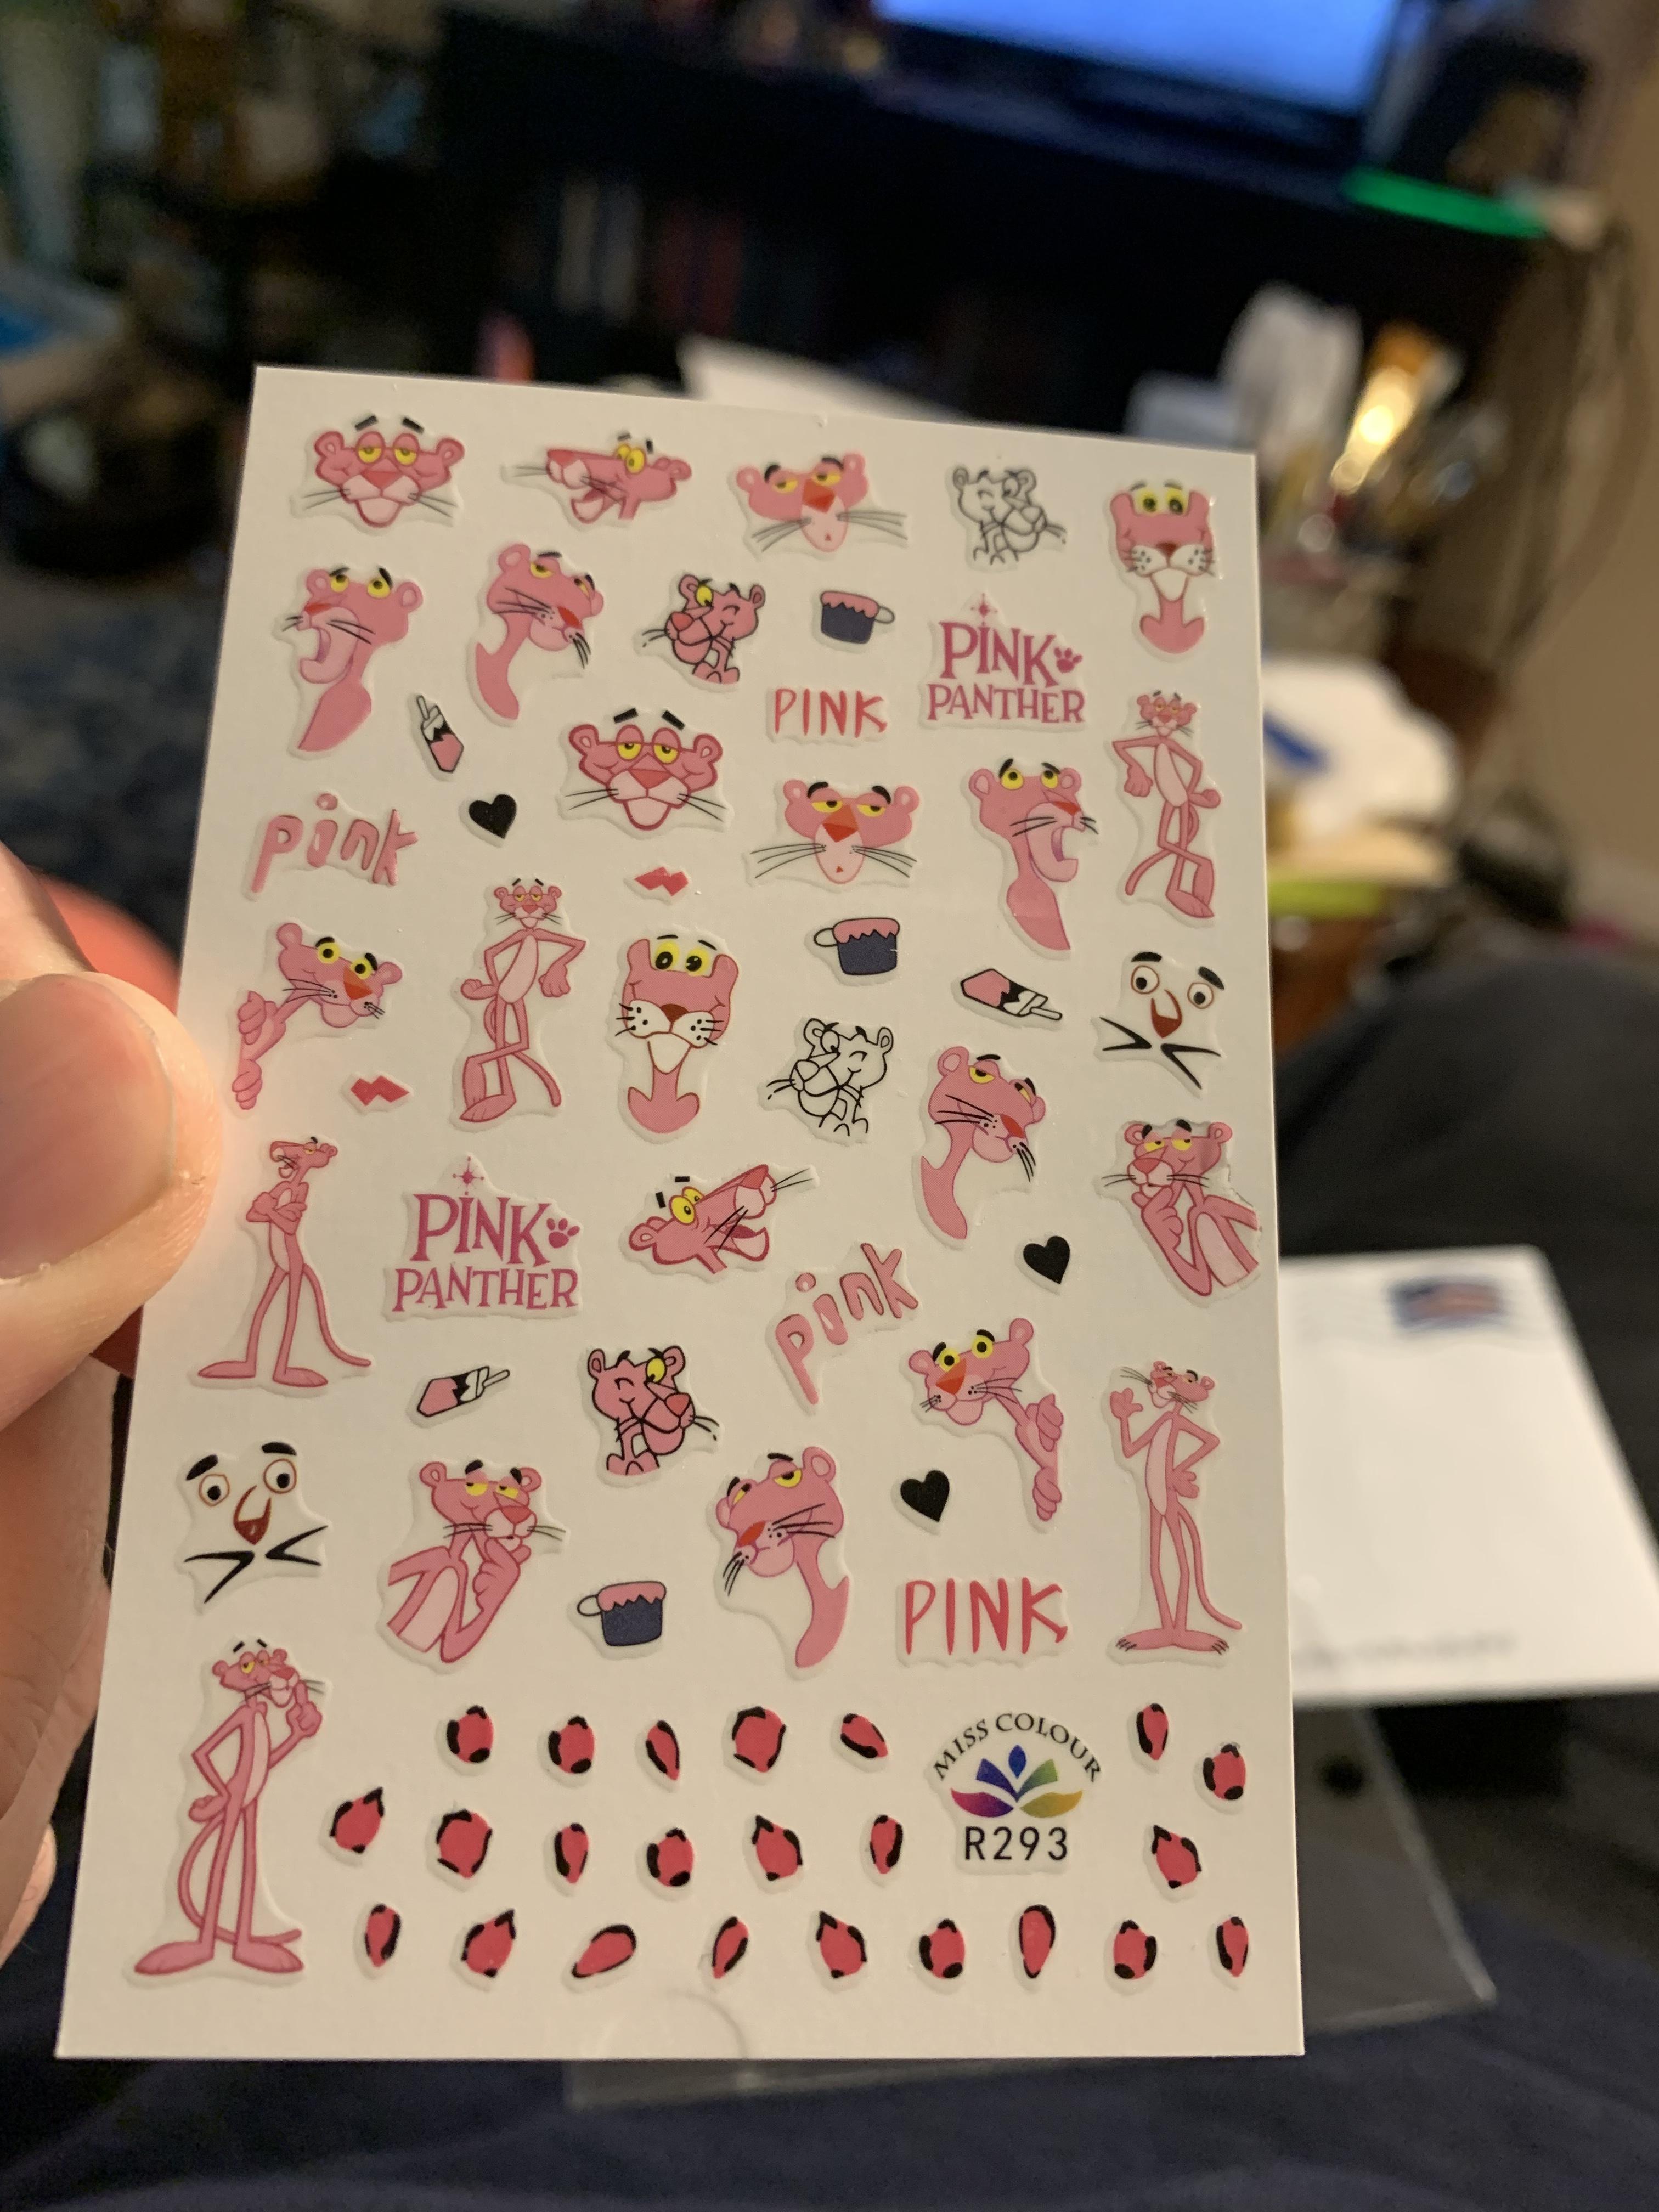
Thanks for all the kind words fellas! I’m not sure about that either…but yeah, some wide fives would’ve been cool! Made some more progress on this one but hadn’t updated for a while so here goes… Got the headers painted and added some heat-stain: Got the engine together: No one cares to see me paint the suspension components I’m sure, but I got those done and got this thing on it’s wheels - couldn’t resist dropping the body on for a quick preview of how it’ll look: And removing the seam lines from the kit roll cage didn’t look fun, so I just remade it: Paint is drying now ready for when I get the to the interior: Oh, and my buddy that I’m building this for liked to often run a pink Panther decal on his car somewhere, and I couldn’t work out how to replicate that…then this weekend I found these nail art decals on eBay - perfect! Not sure where I’ll hide the Panther yet, but I was stuck on how to achieve that… More soon!
-
Oh, I forgot - a little vid so you can see the Pearl a little better… FullSizeRender.mov
-
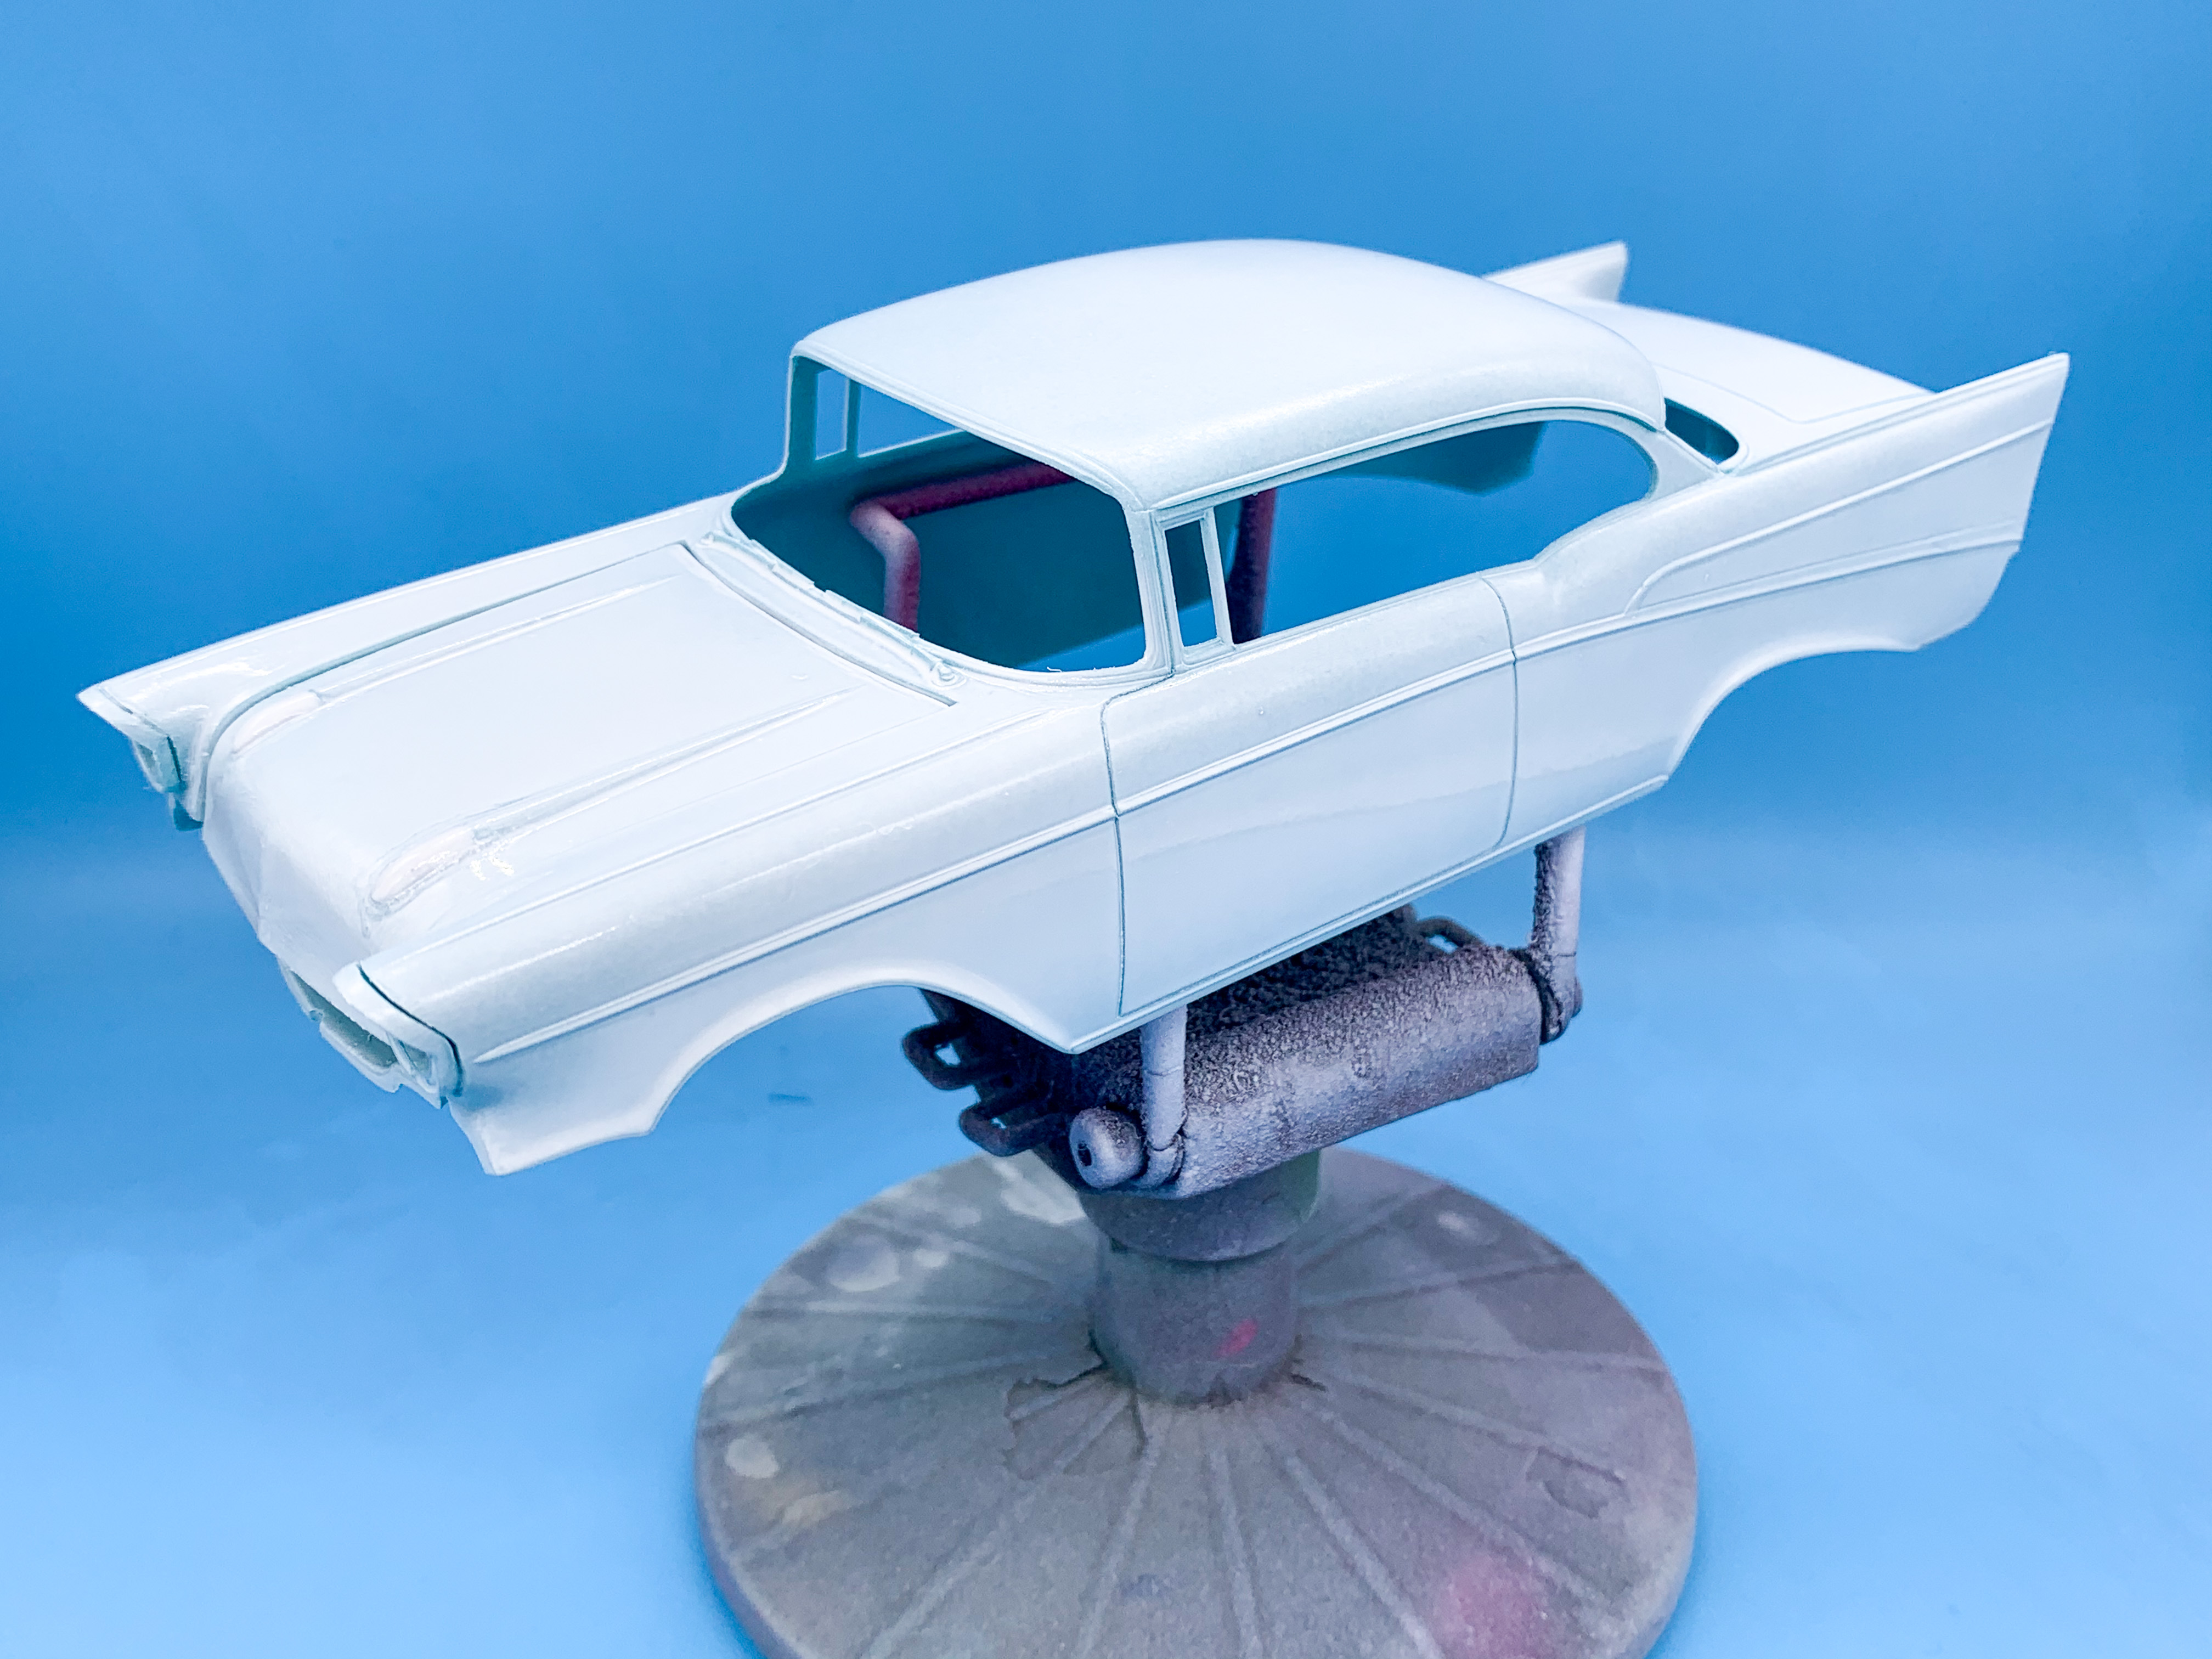
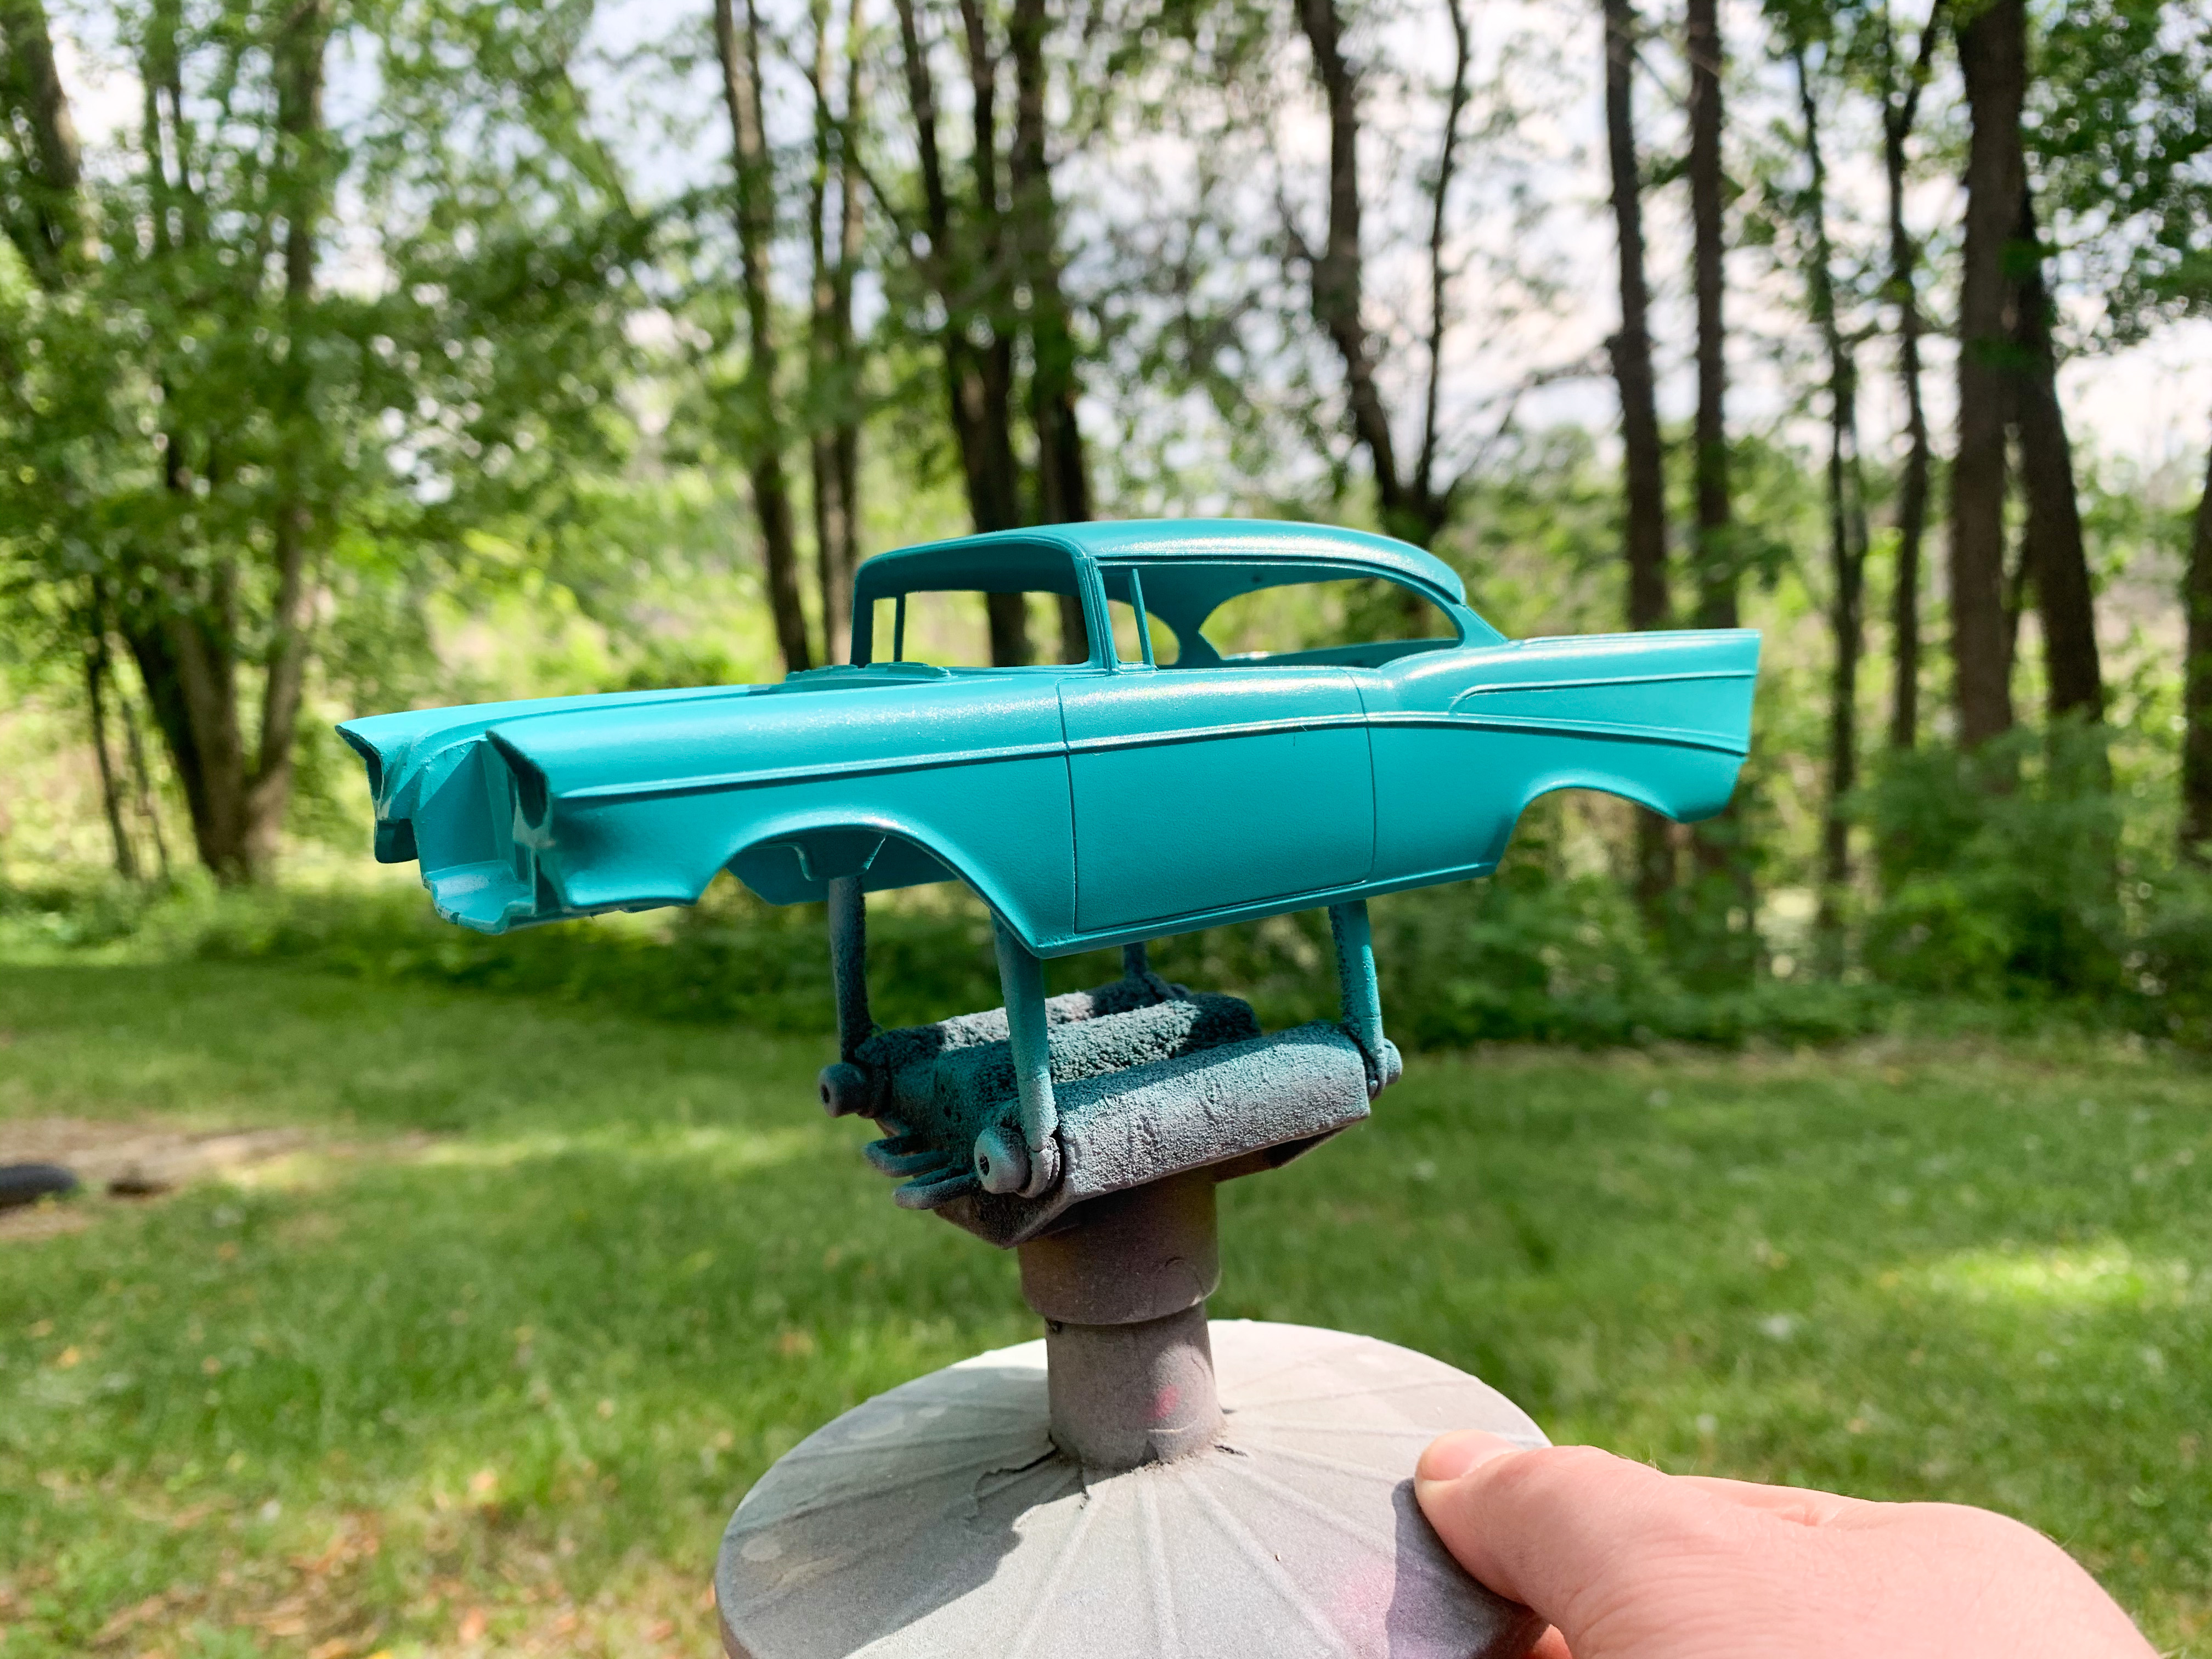
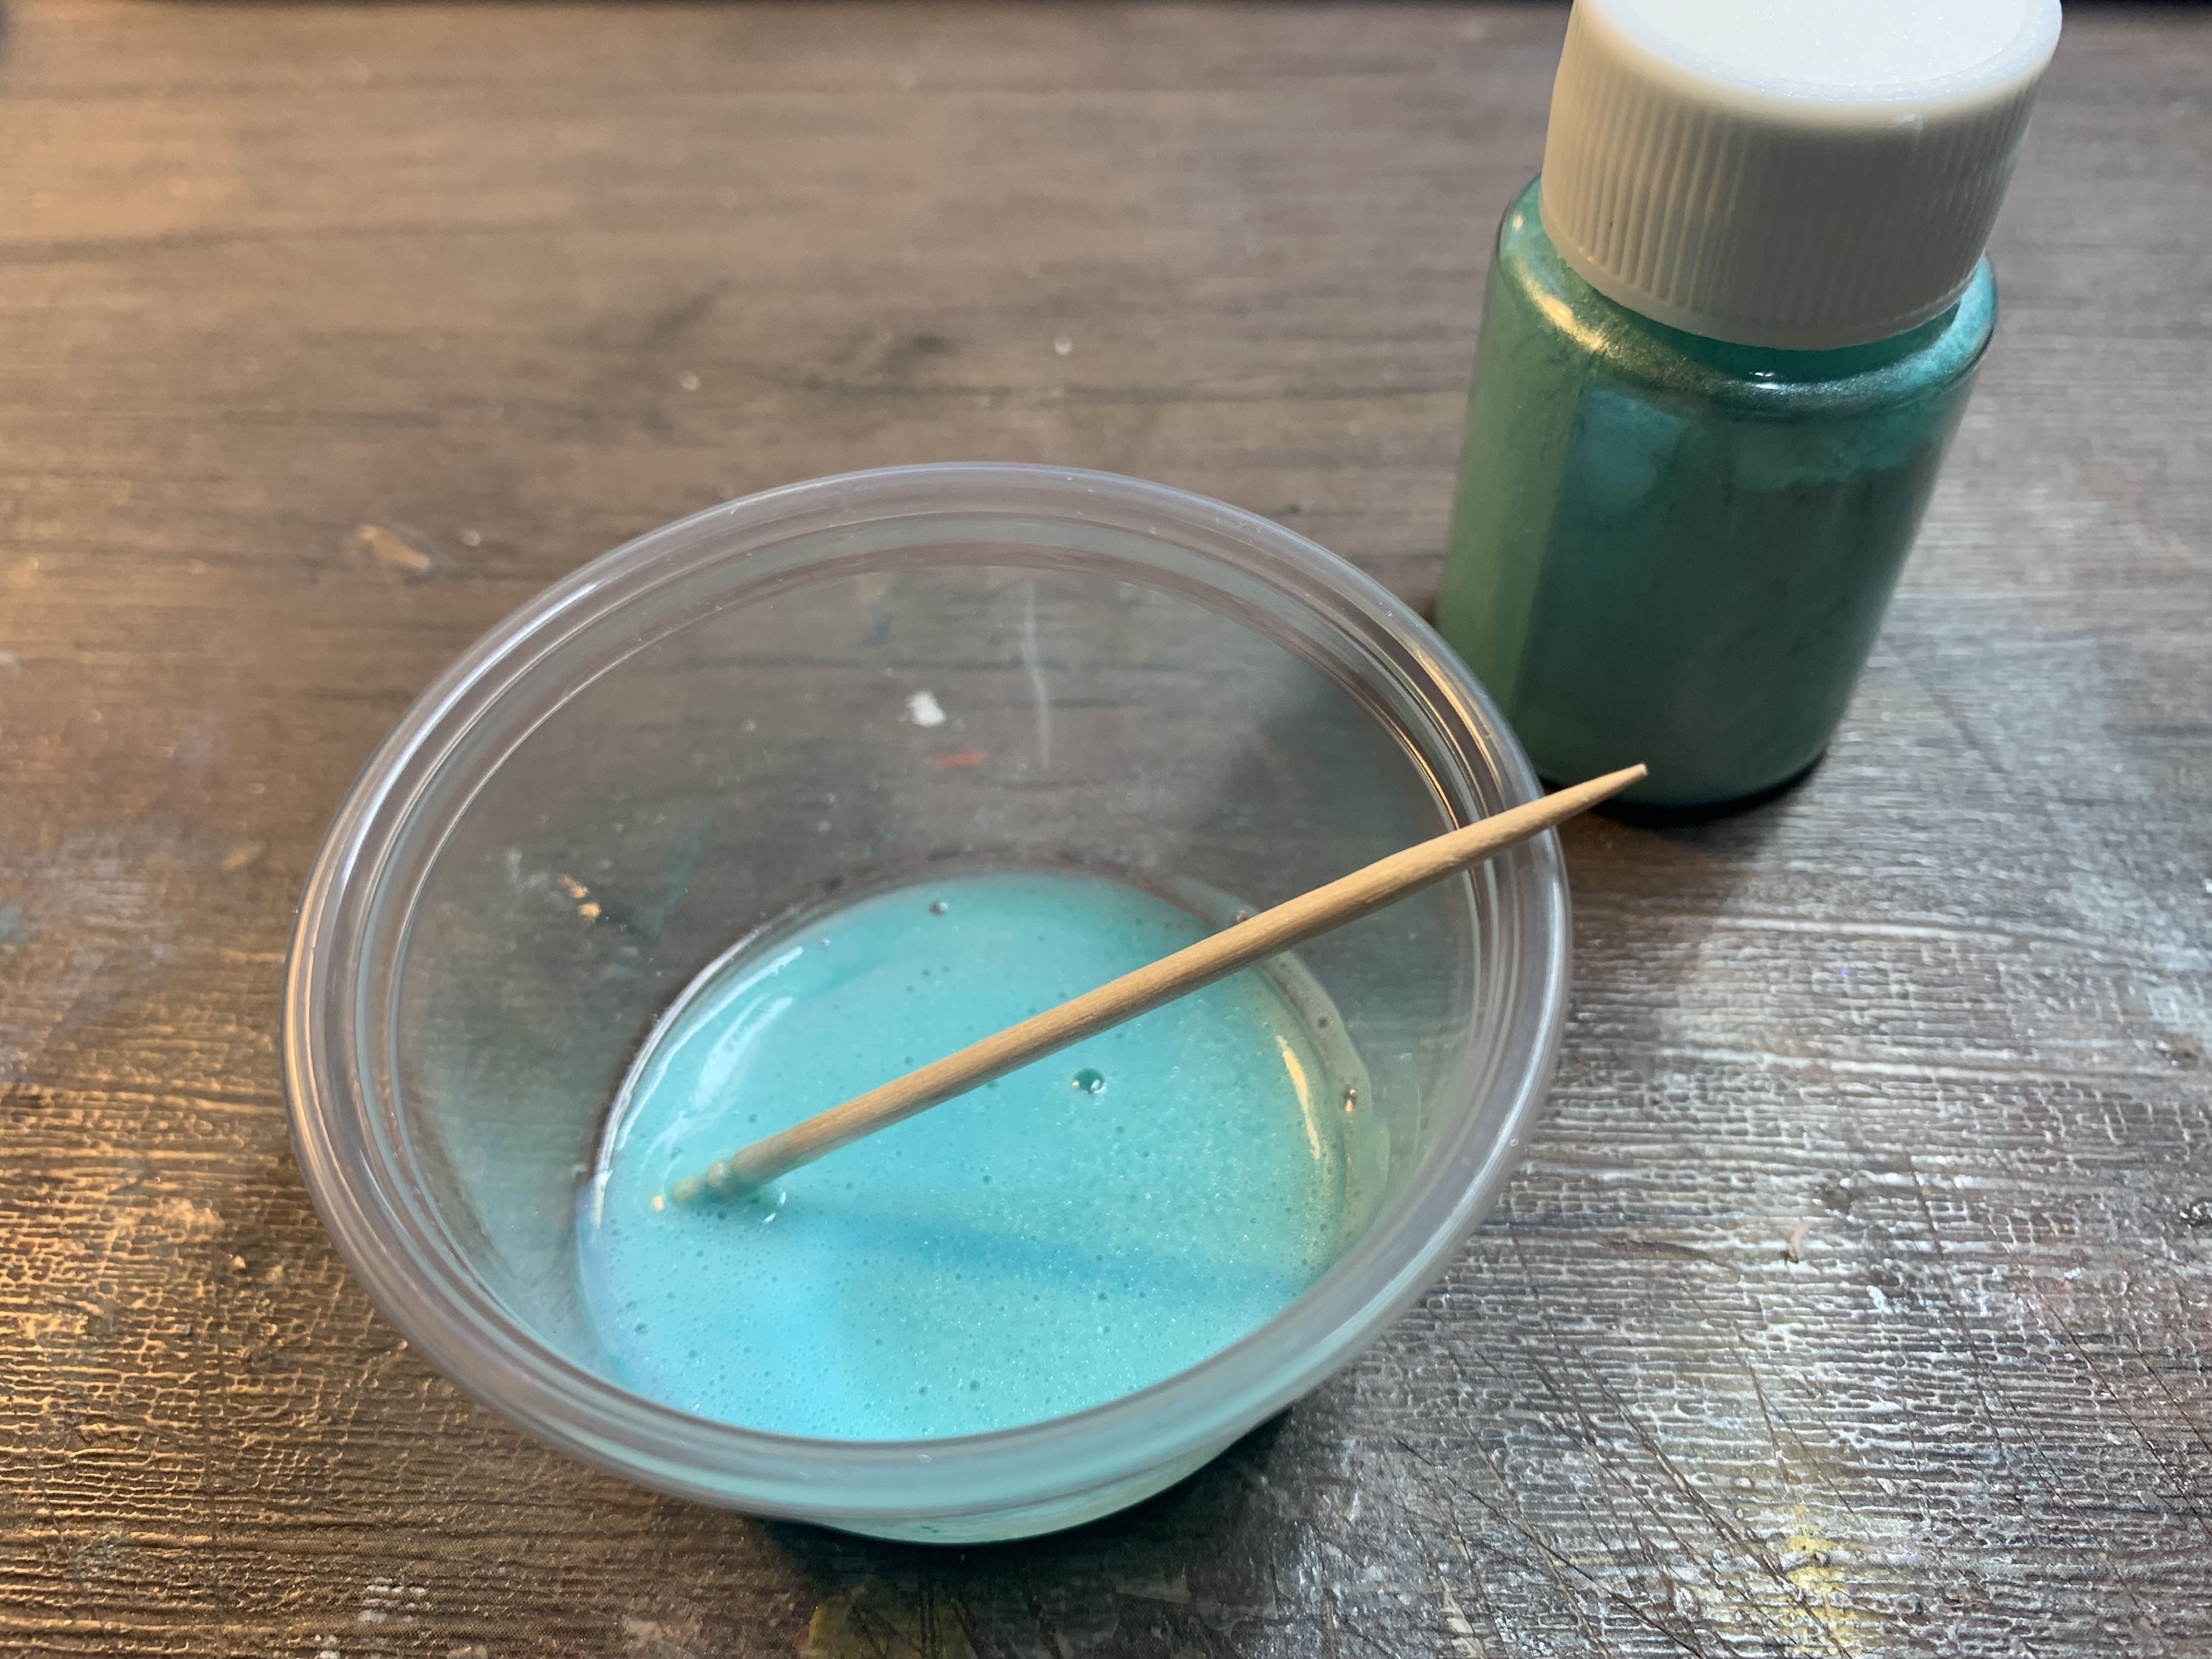
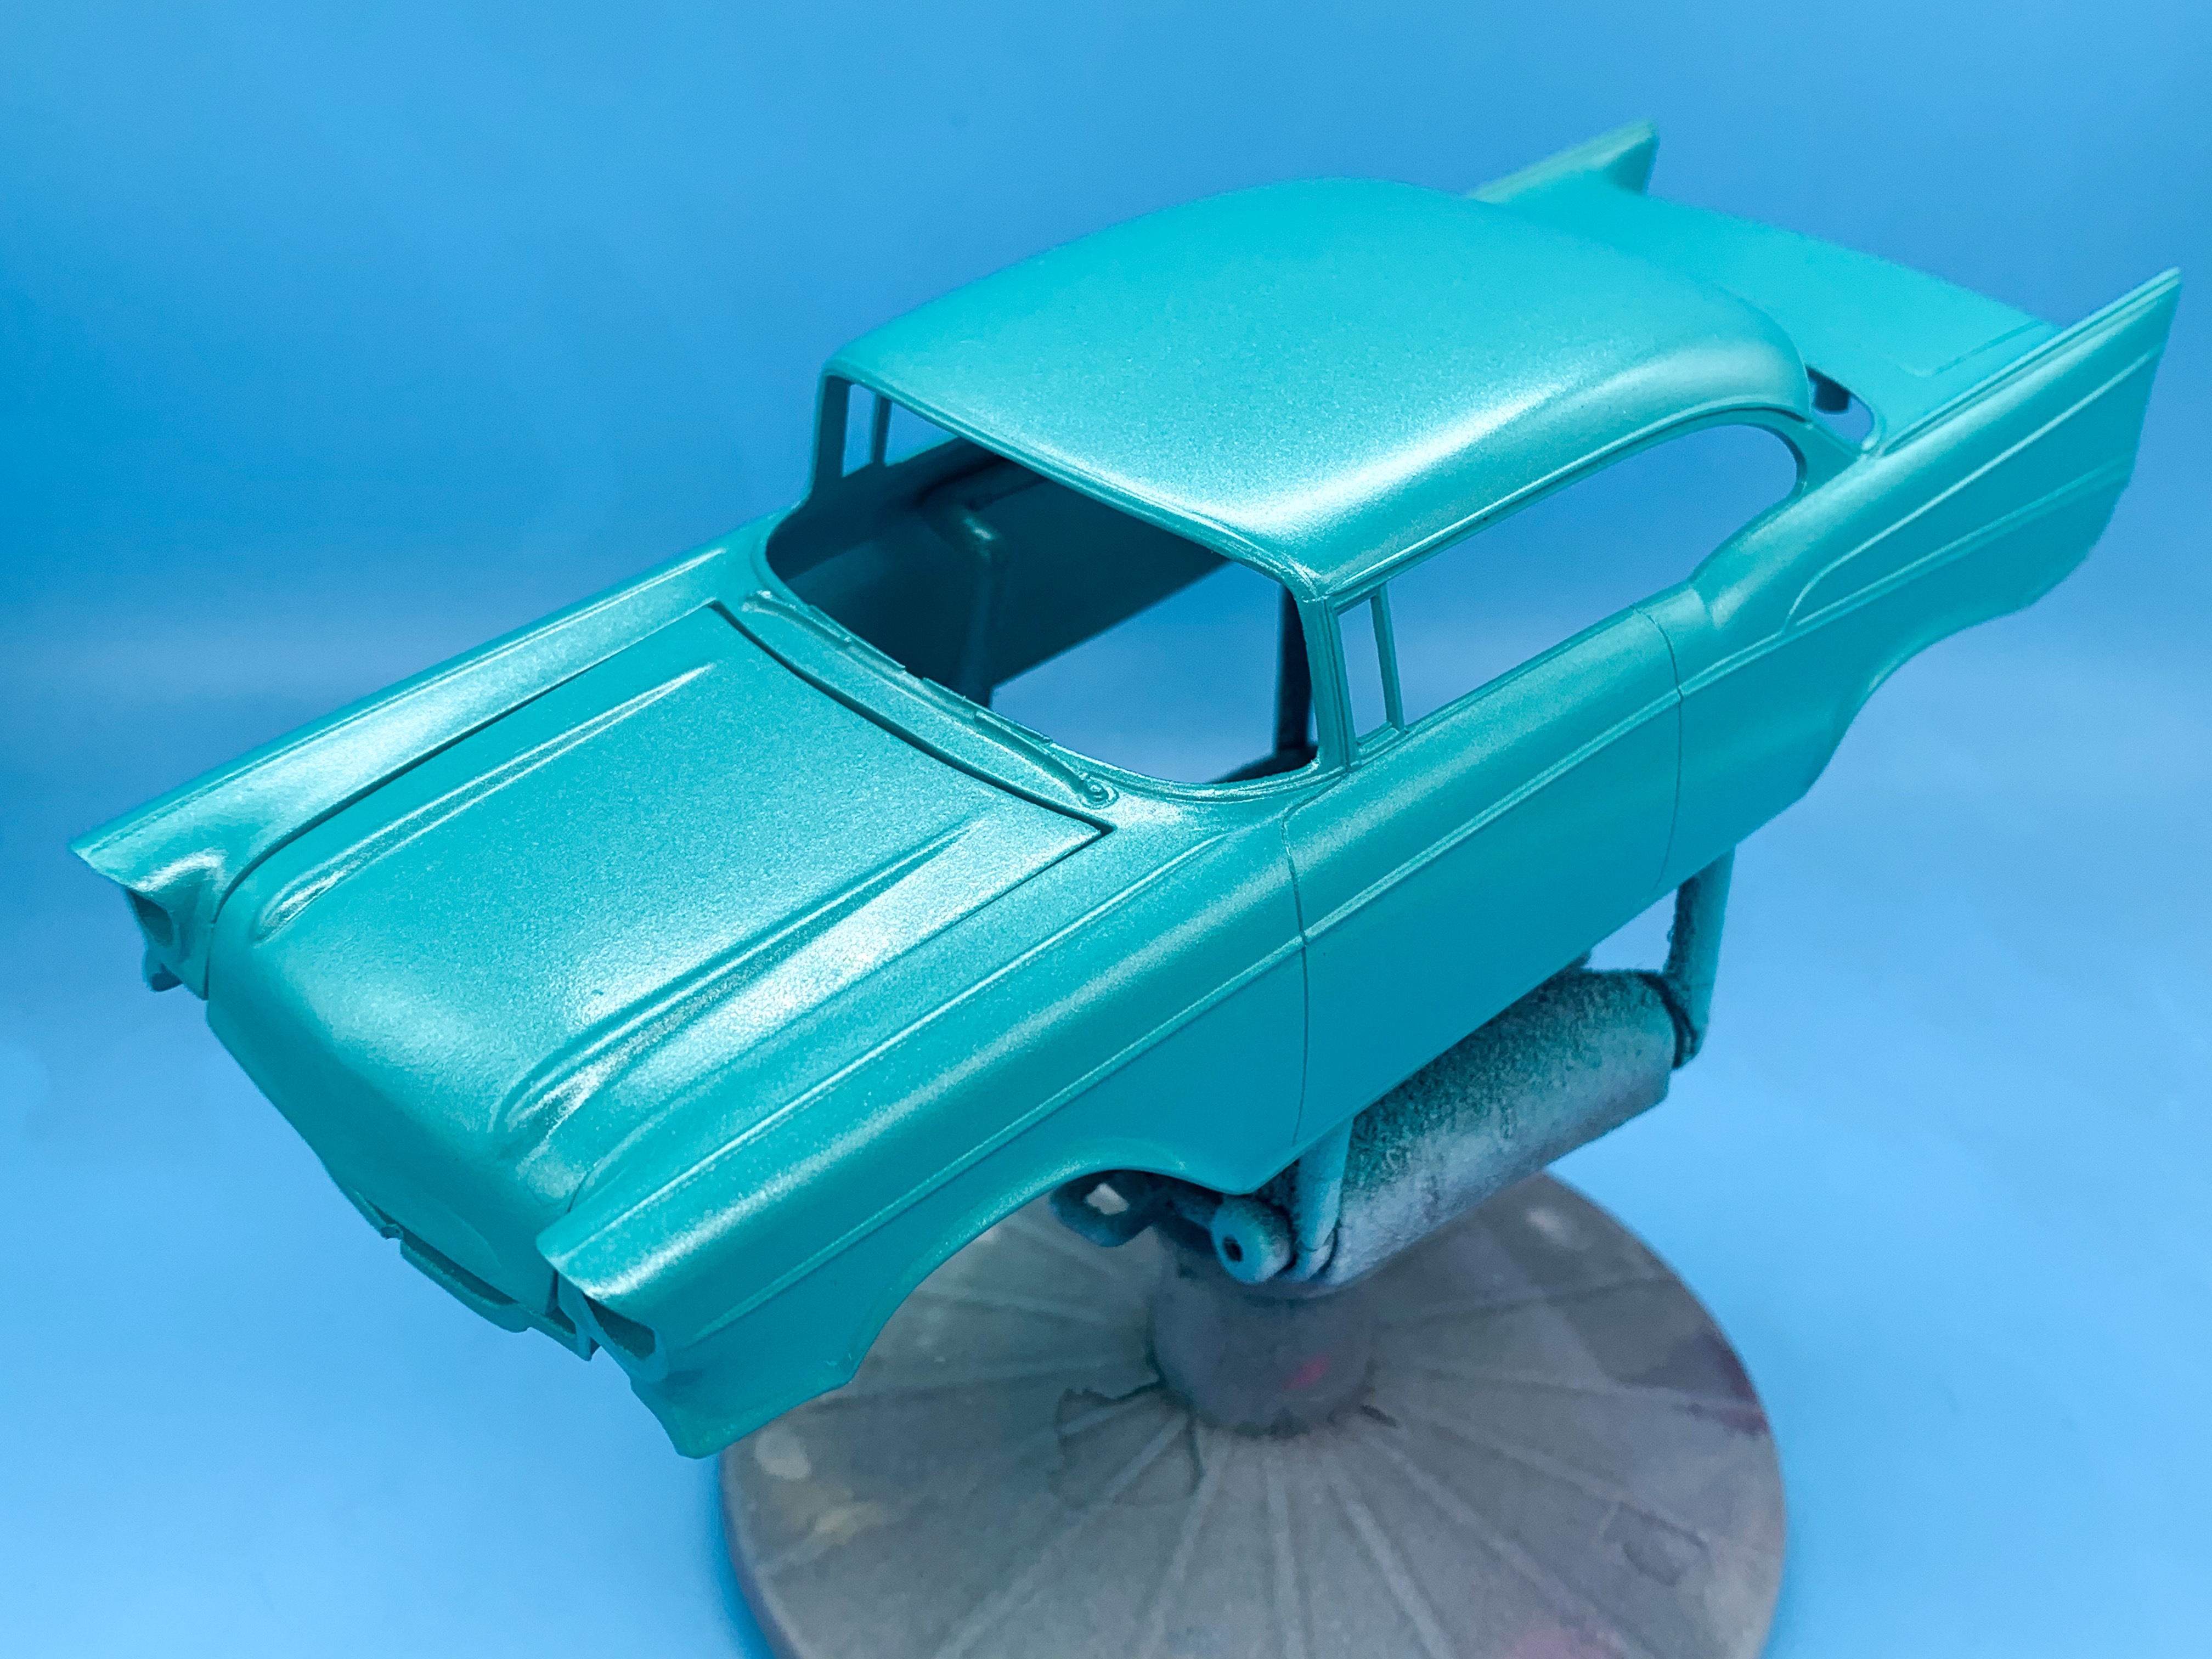
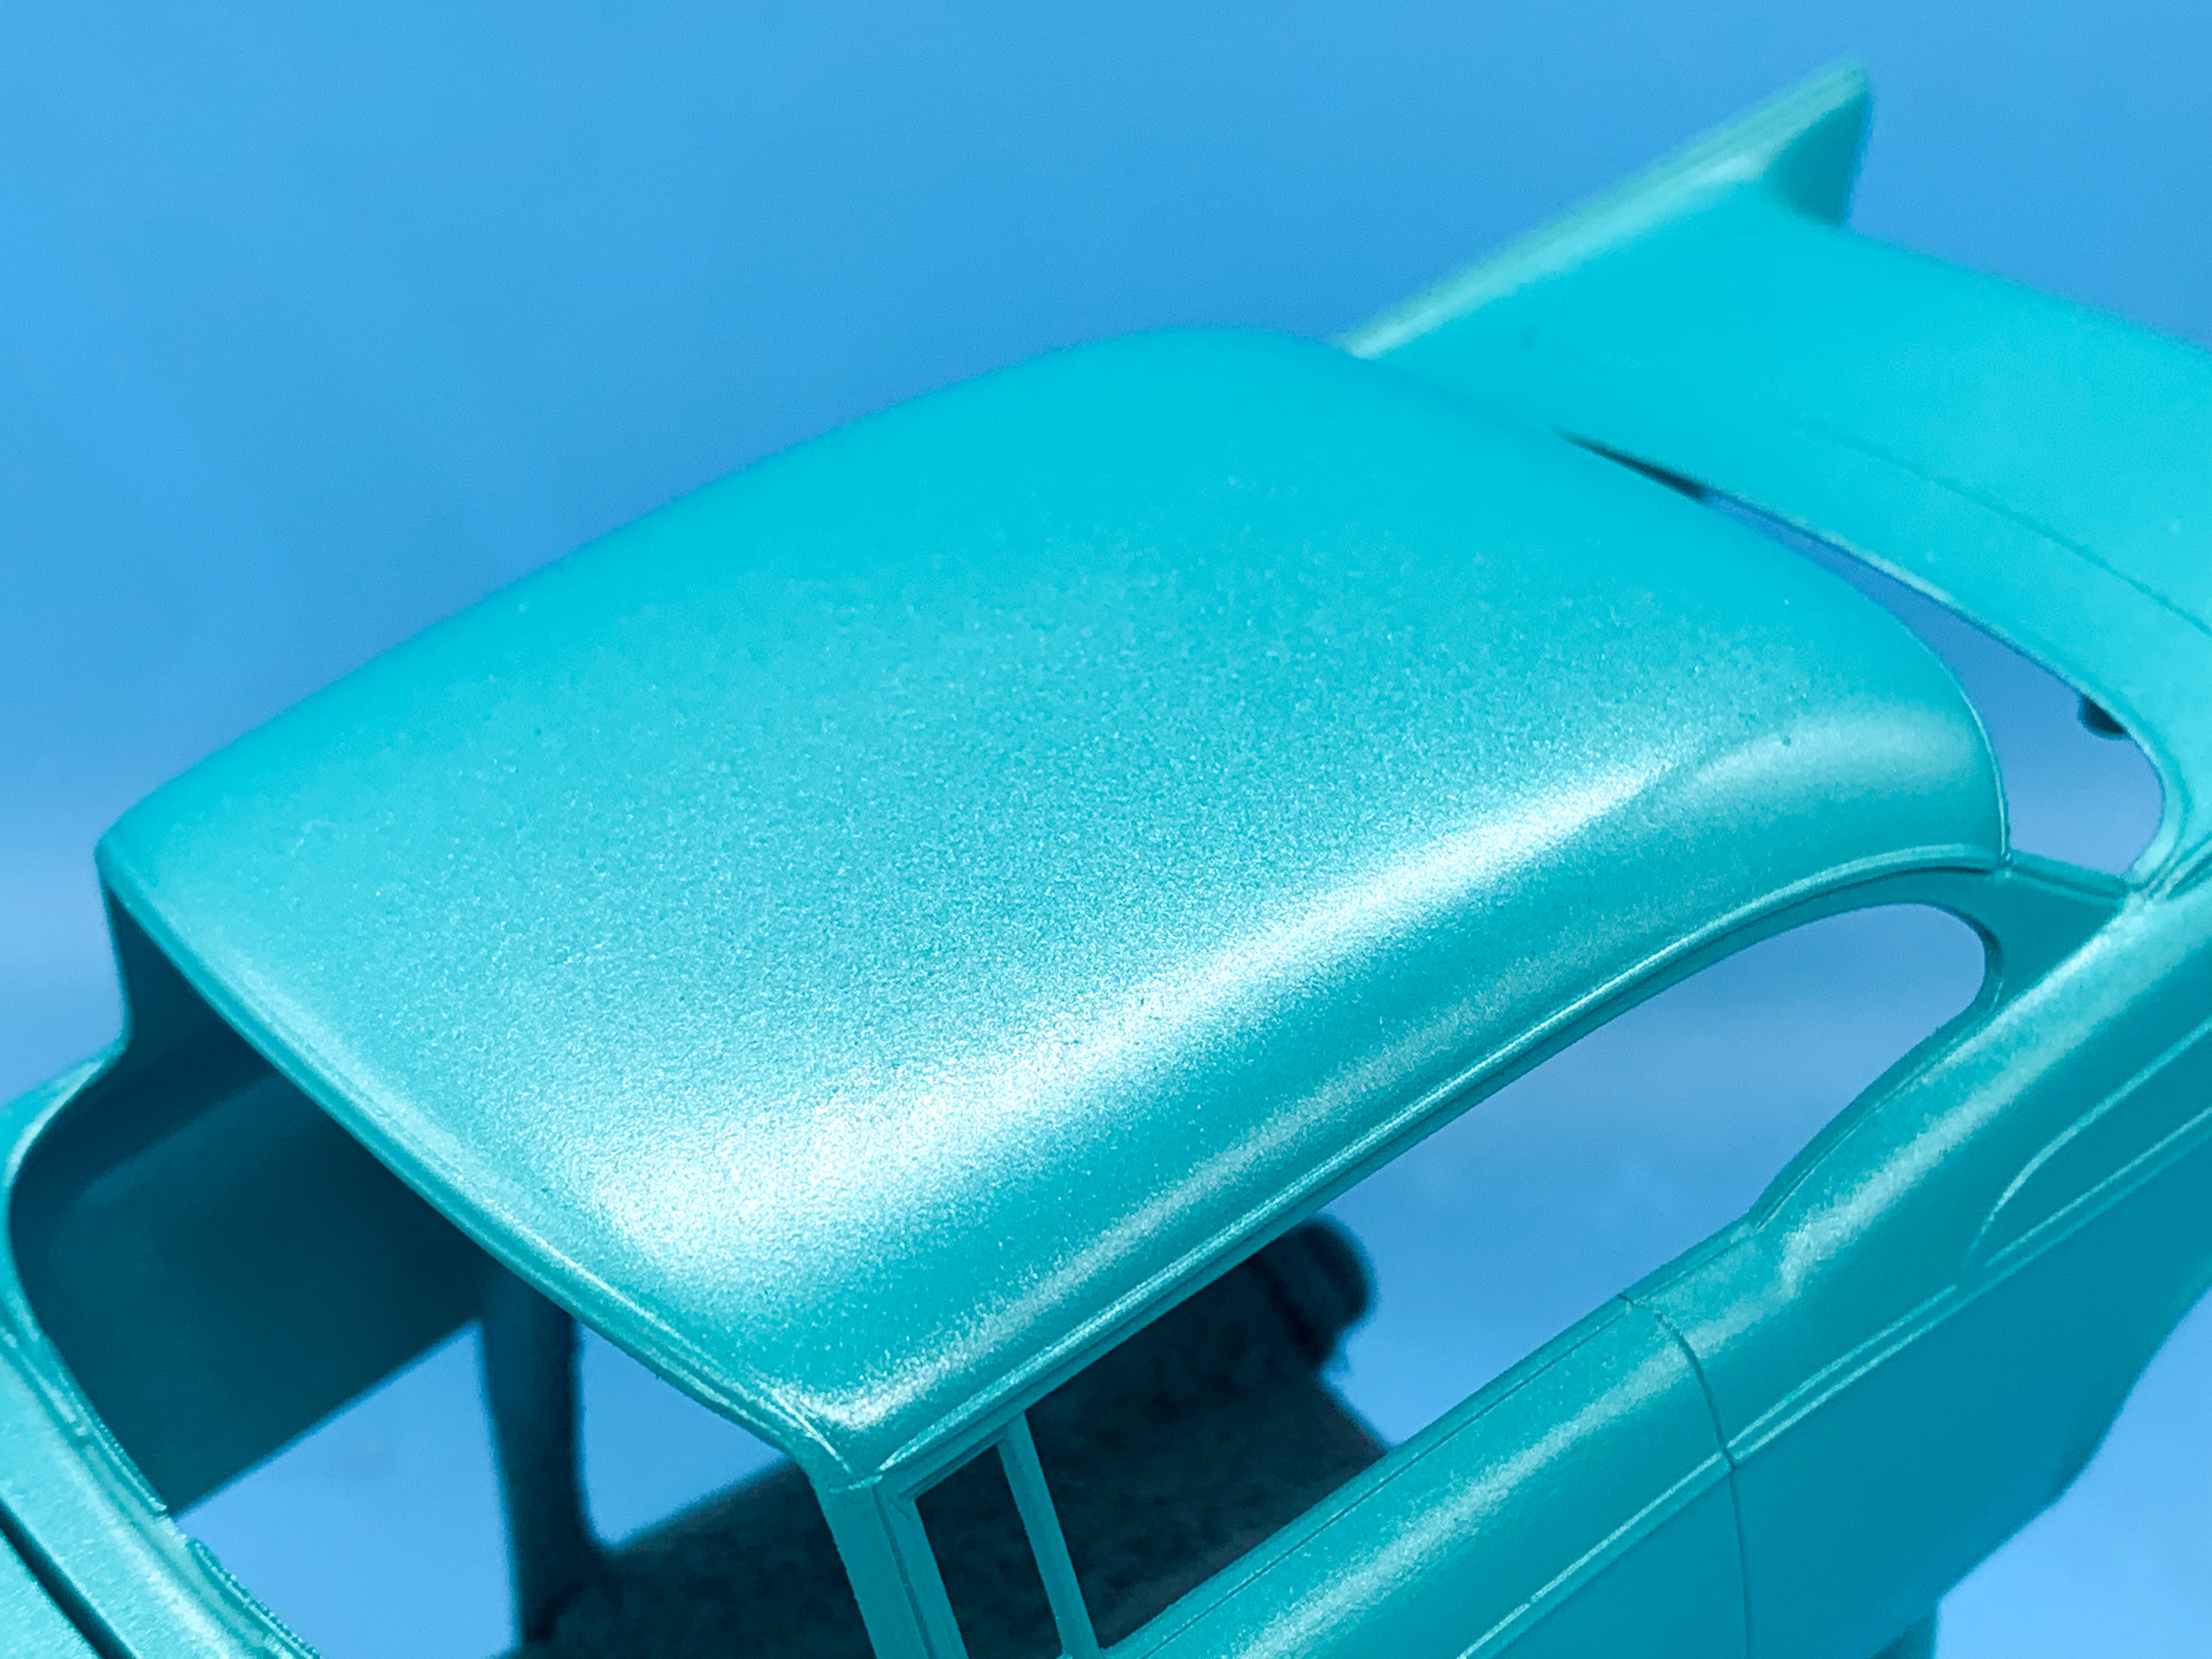
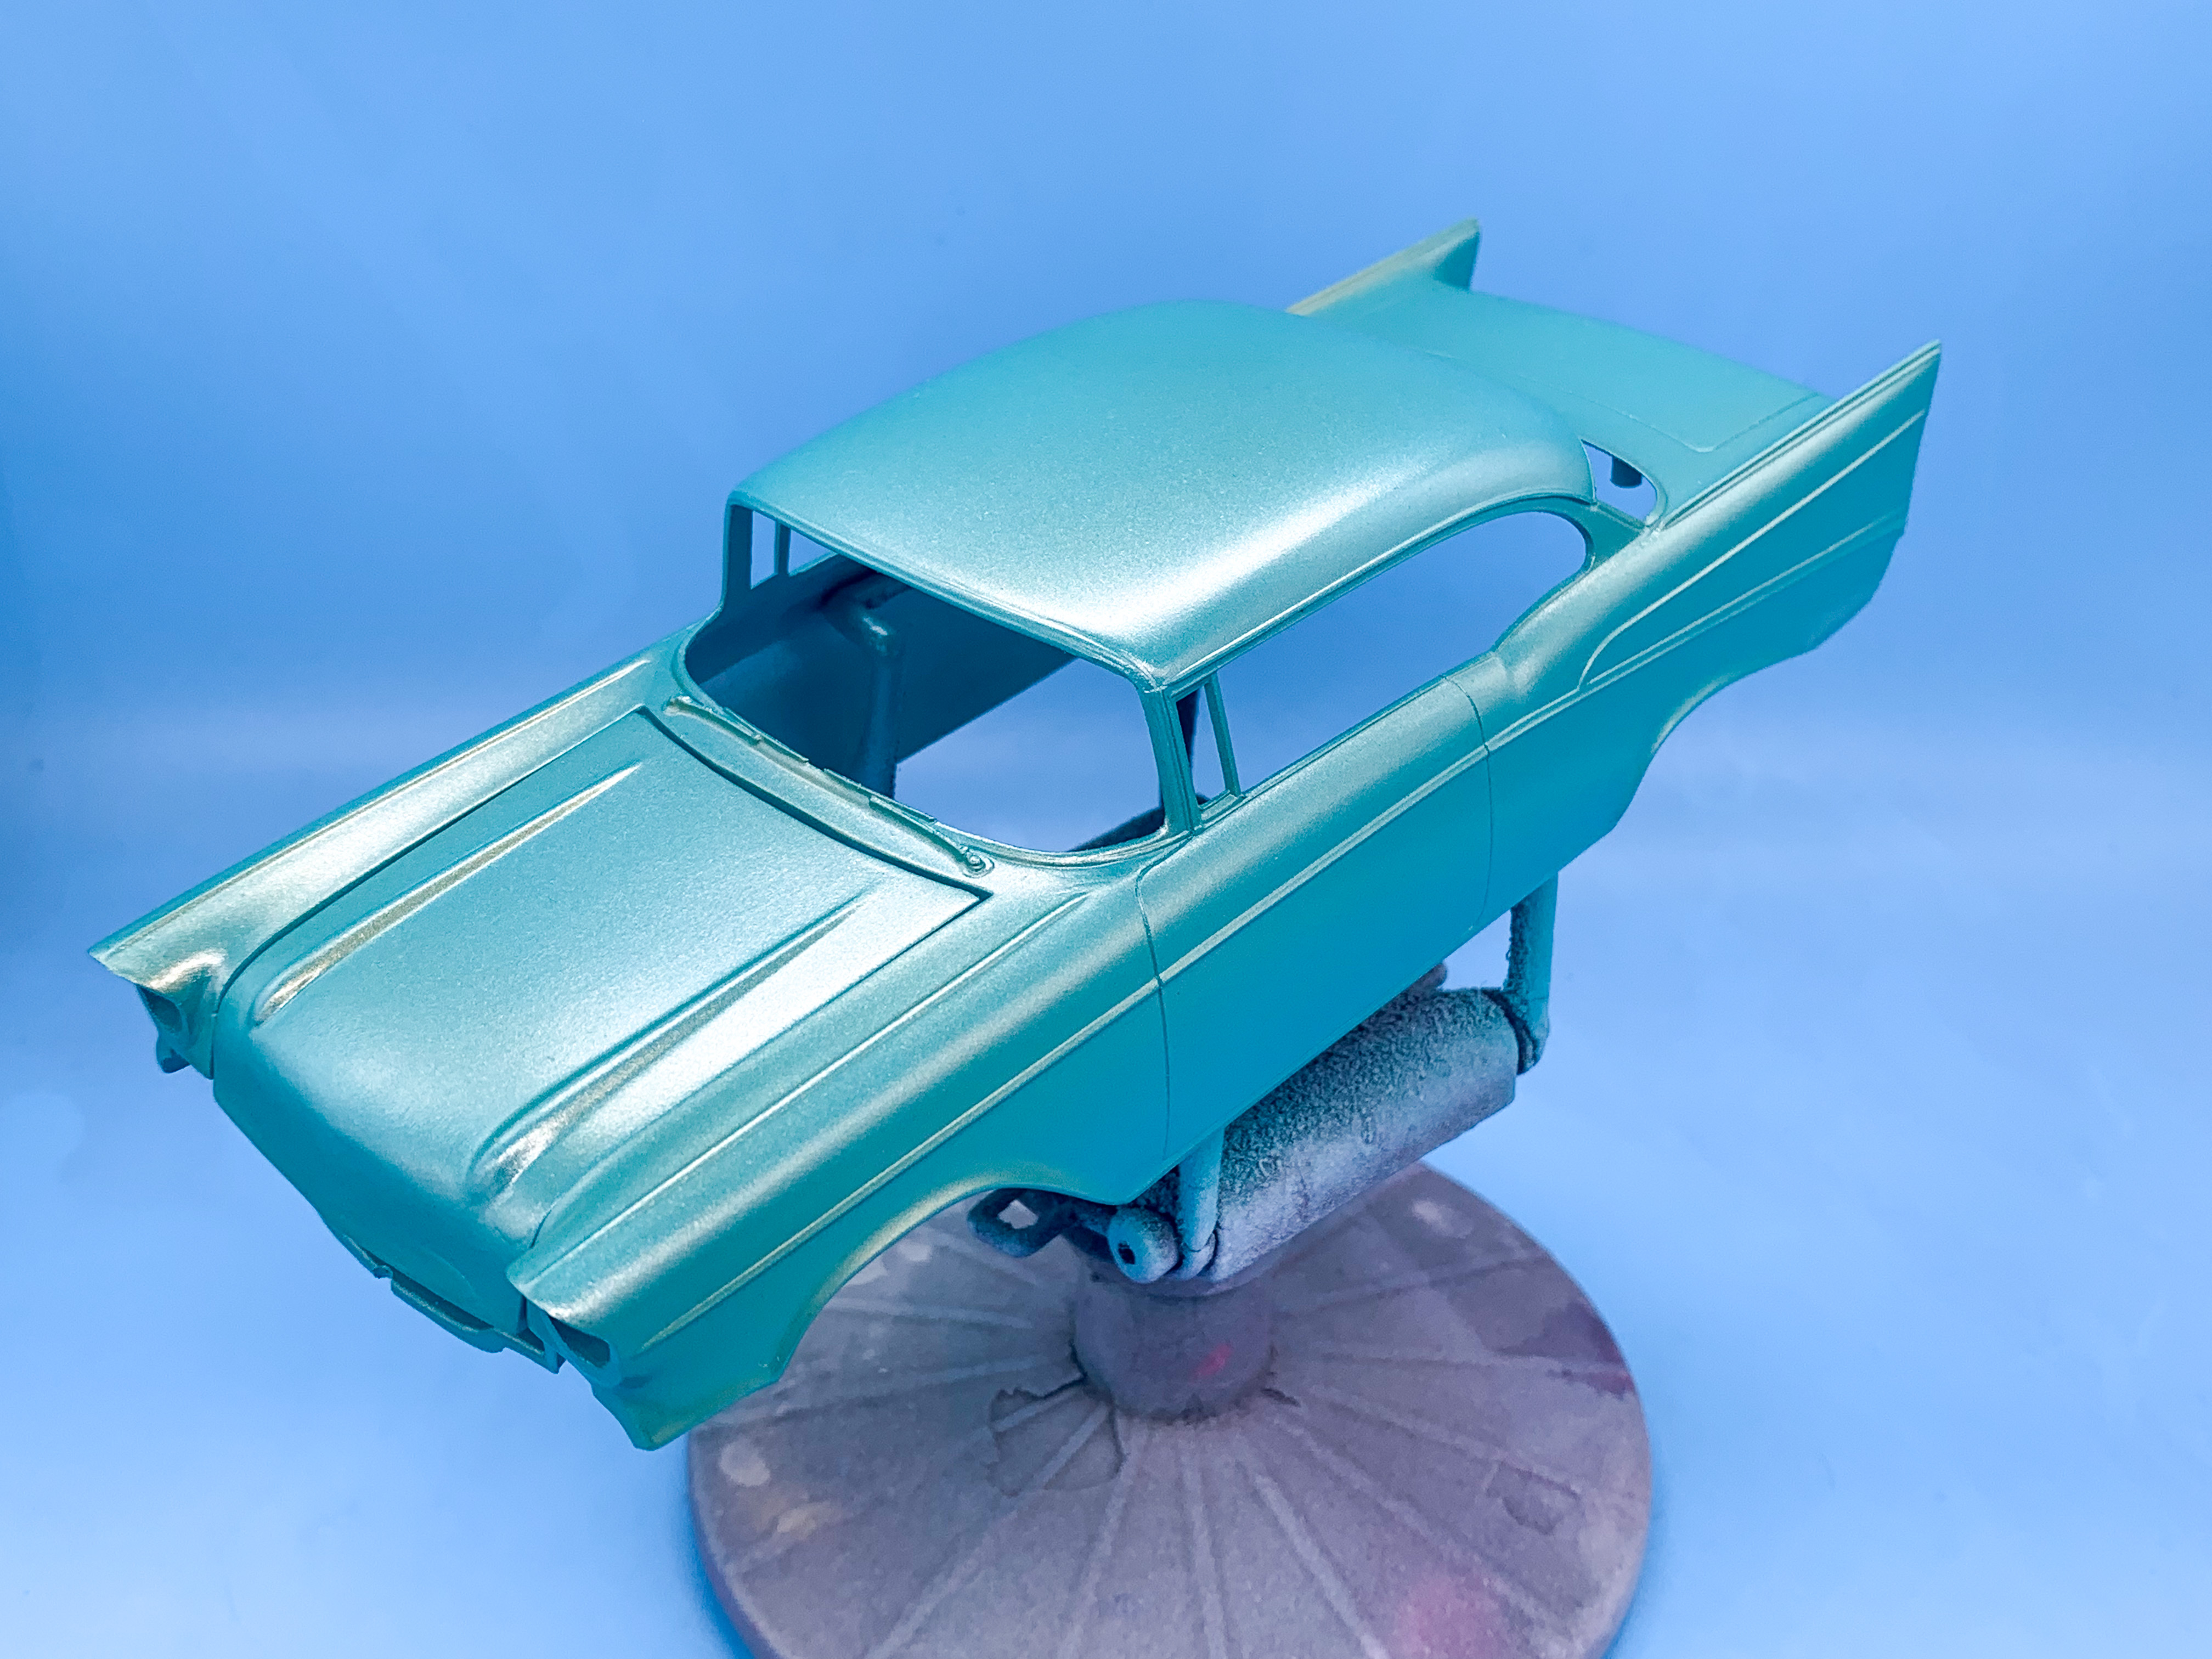
Thank you sir! Yeah, I love that blue one too - I want to incorporate some tasteful Pearl into my build too. As for the black one, seems like you CAN go lower with a 57, but I’m not sure how good it is for the car… That’s about what I figured, yeah - good tips, thank you! Thank you! I’m not going wild with this one, just tidying up what’s already there a little… Thank you for your tips too! I think I’ll need a little C out of the frame to get the back down as low as I’d like (and still have it be plausible)… Ill try and act respectfully and mod wisely! Made a little progress on this one, and seeing as @crazyjim and @Dragonhawk1066 had asked to see how some Pearl powders I’d picked up worked out I figured time for a little update on this one… Got the body straight and into primer: And after a couple more rounds of sanding and re-coating I got it into factory-correct GM aqua this weekend: I wanted to go with a recognizable 57 Chevy color but with a twist, so I picked up a set of mica powders that had an aqua green powder in that matched the base color closely… And mixed some in with some Future: A few light mist coats gave me this: Looks ok, but I wanted to bring the tone down a little and make it a bit less bright, so I mixed a little gold from the same set and gave it a couple of coats of that too: Much more like what I was thinking! The green Pearl gives a nice flip to a lighter shade when the light hits it, and the gold gives a nice highlight in the shadows and over those curves. Should really pop in the sunlight, and even more so under some nice glossy clear! Plenty more to do on the body of this one, but I promised a little quick demo of how the pearls work to those coupla guys so here it is…more soon!
-
What did you screw-up today??
CabDriver replied to TransAmMike's topic in General Automotive Talk (Trucks and Cars)
Gorgeous! I need to grab a couple of bottles of that! Thanks for the info buddy!