Search the Community
Showing results for tags 'tamiya'.
-
So it's 2024, a new year and I'm starting a new project. The new Tamiya kit of Gordon Murrays successor to the legendary McLaren F1! The T-50. It does have a weird rear fan, but otherwise the styling is quite pleasing, and keeping with the central driver and slightly pushed back, 2 passengers. I started with the engine, it's such a pleasure to paint and assemble, right out of the box! Each picture has a bit more added:

-
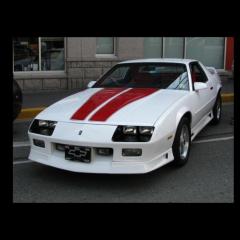
Wrapped this up yesterday,typical Tamiya quality with no real fit issues,color is Imola Orange Pearl and i used Geman Grey/Nato Black in the interior.Seats came from a Fujimi parts pack wanted to build something a little different.
- 12 replies
-
- 8
-

-
- mazda rx-7
- convertible
- (and 1 more)
-
 HI everyone!😄 this is my 1/48 P-38 LIGHTNING this TAMYA kit is just awesome!! I use some aftermarket products and decal.. alway like P-38..somehow the oliver drab is a tricky color for me😅 try to paint this beauty as best as I could.. hope you guys like it! and here is the video build if you are interested..🙂
 -
HI everyone!🙂 this is my 1/48 Mitsubish Ki-46 "Dinah" It's not famous,but I realy like the shape of this airplane.. this kit is almost 30years old.. with some modification, I think it turns out well. hope you guys like it! here is the video build if you are interested..😊
-
 Unfortunately I can´t open the front mask to show you the engine. Maybe something is too tight and I´m afraid to break some parts.
- 10 replies
-
- 2
-
-
- alfa romeo
- tamiya
- (and 2 more)
-
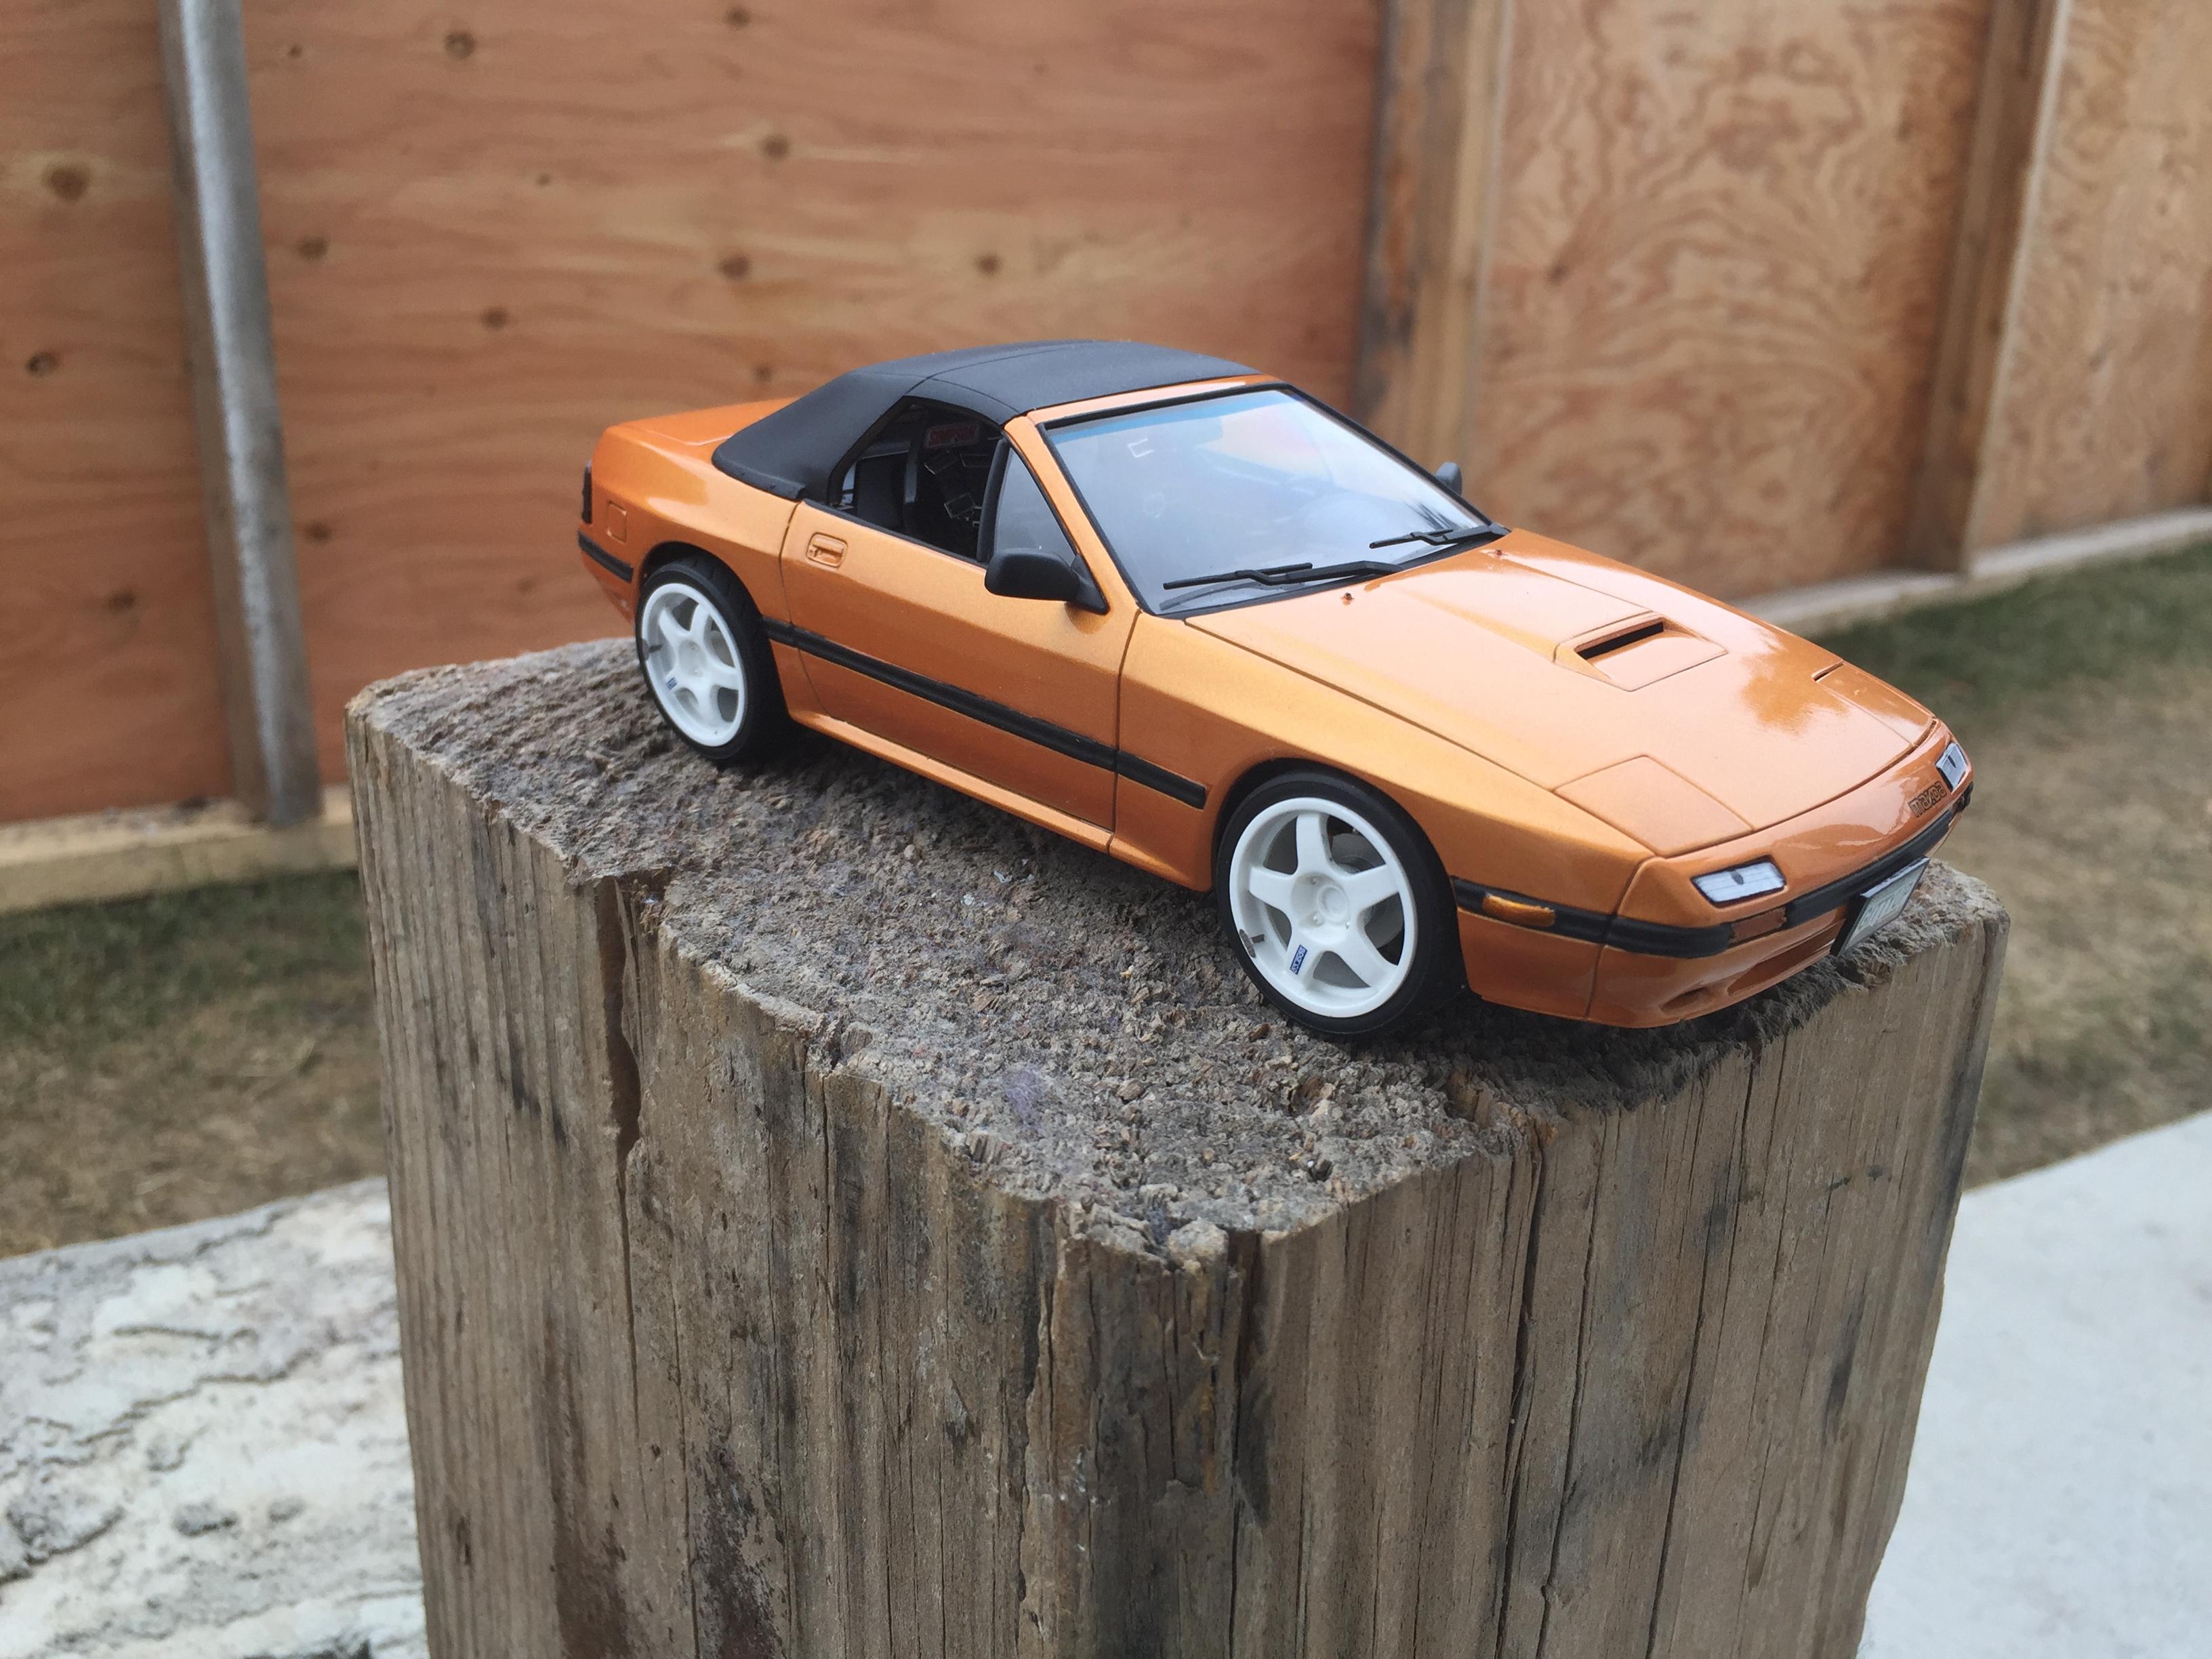
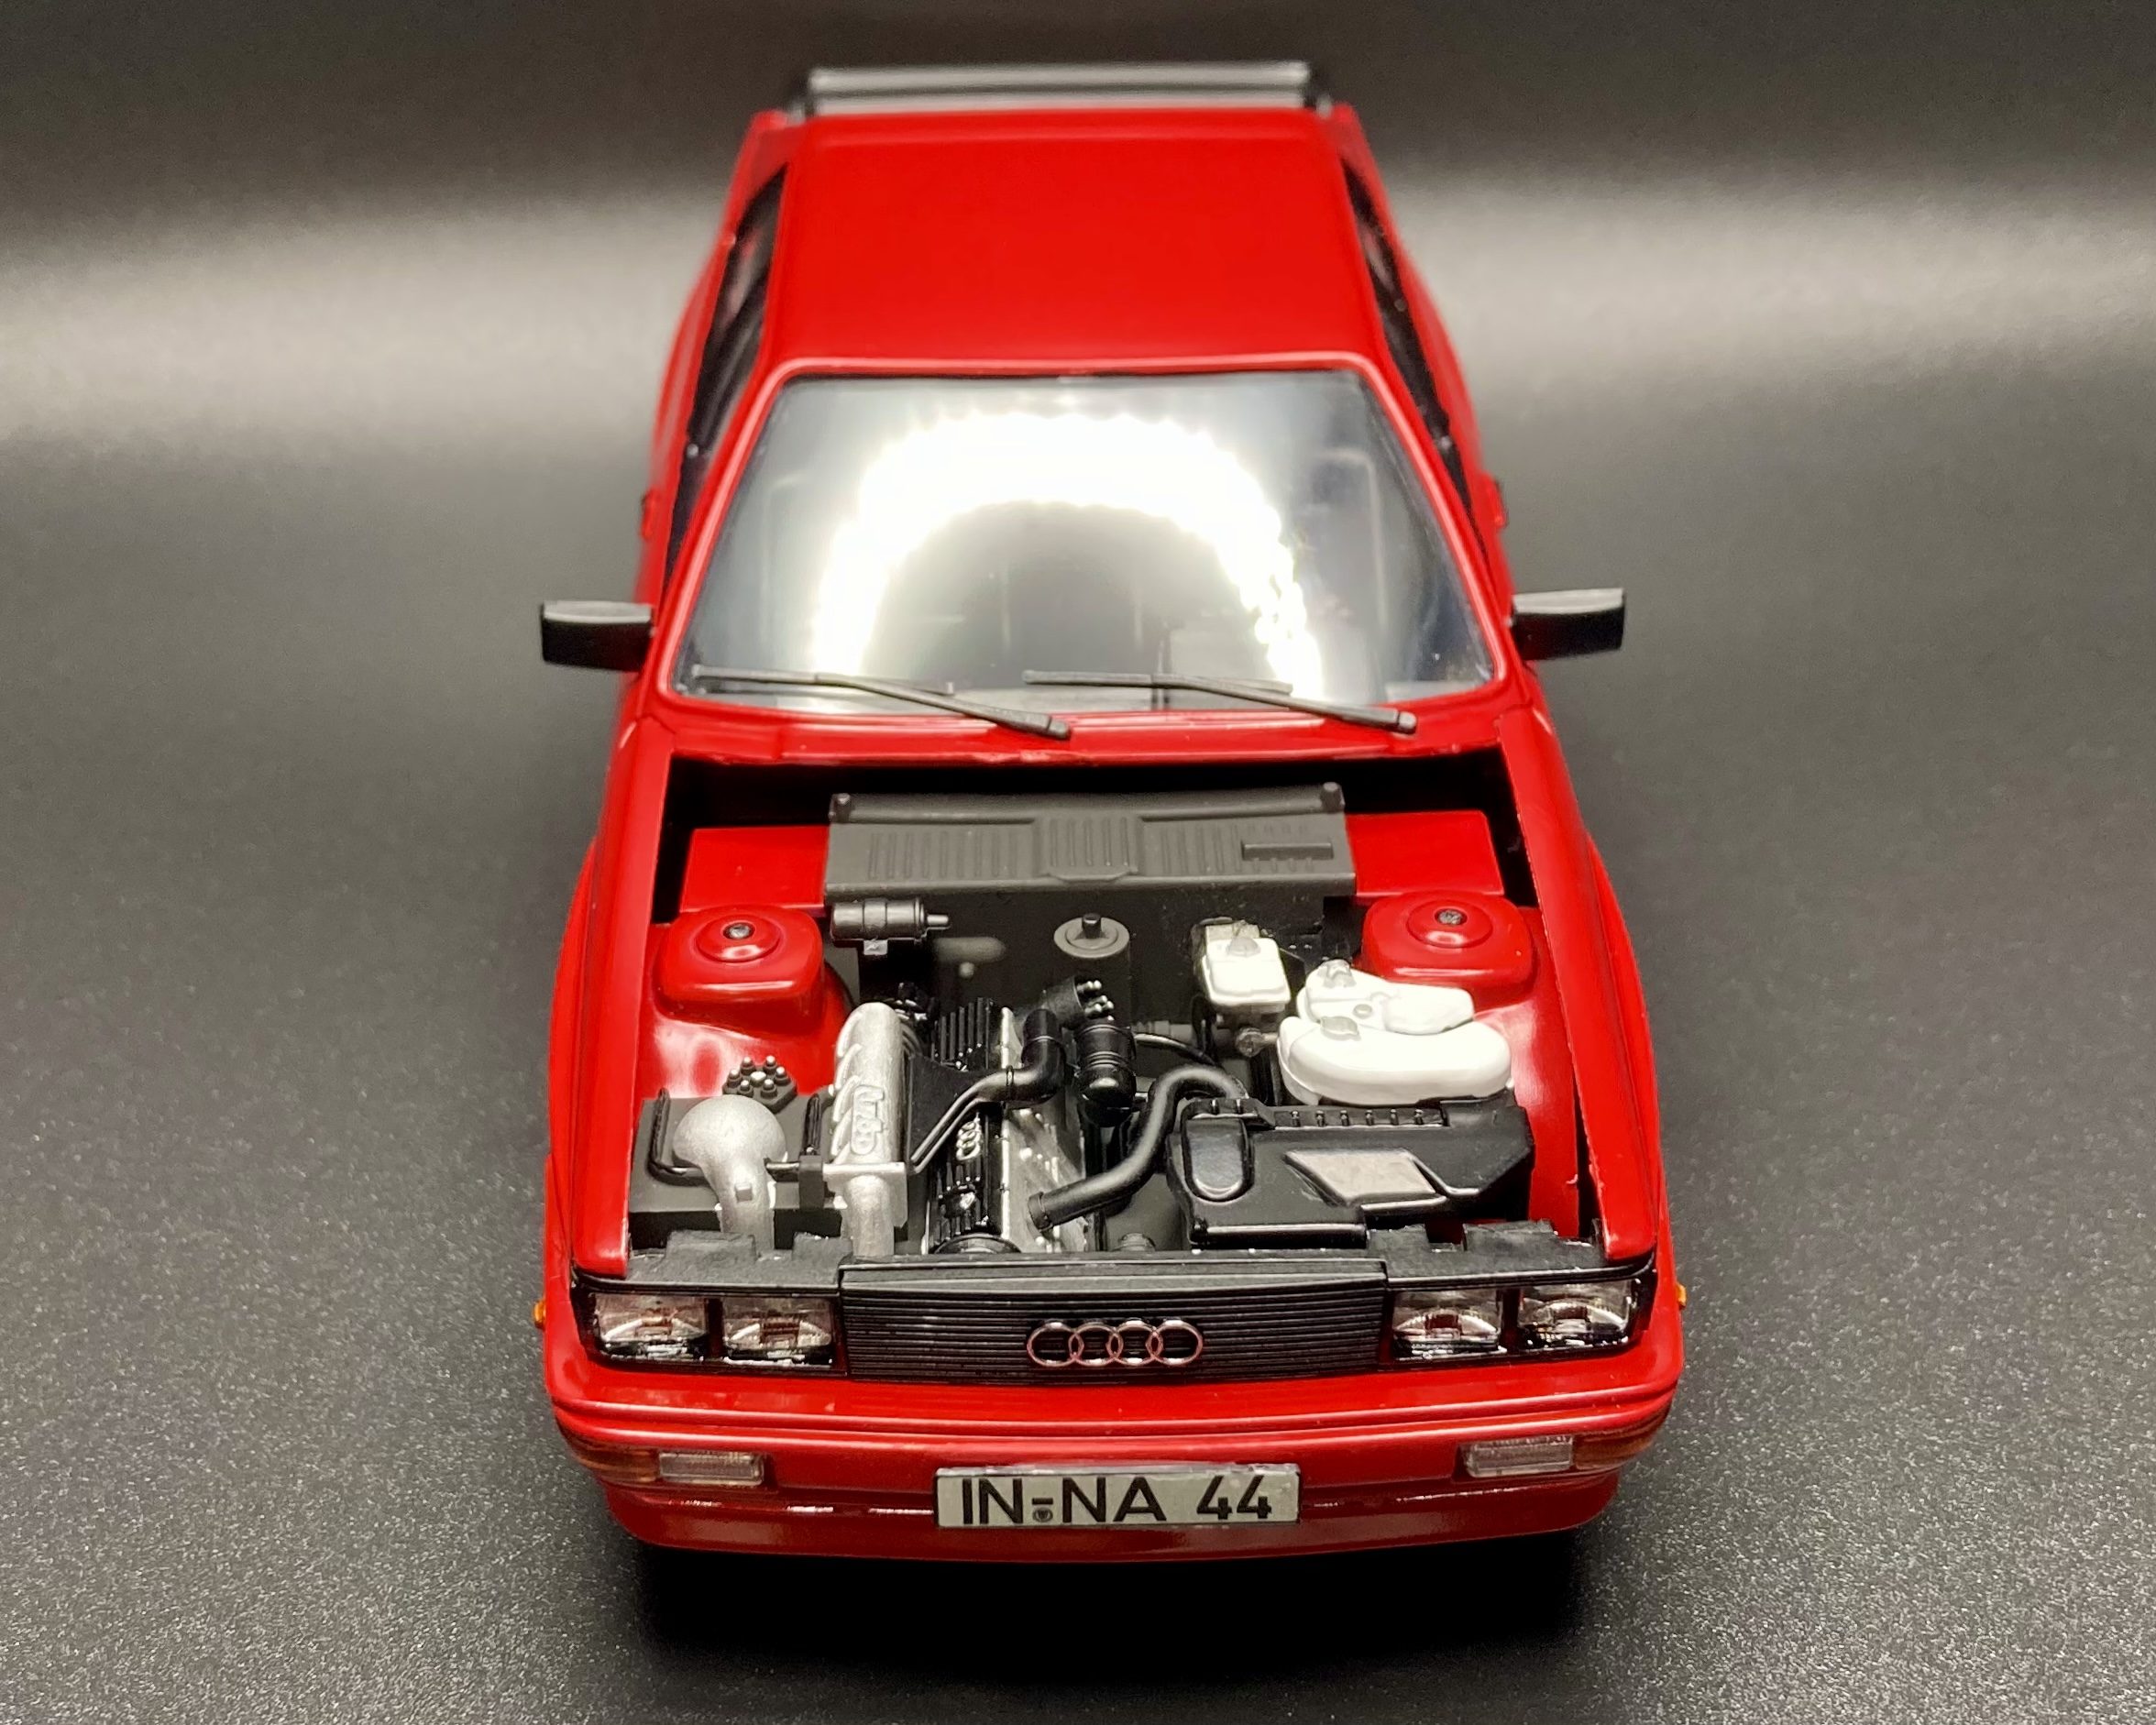
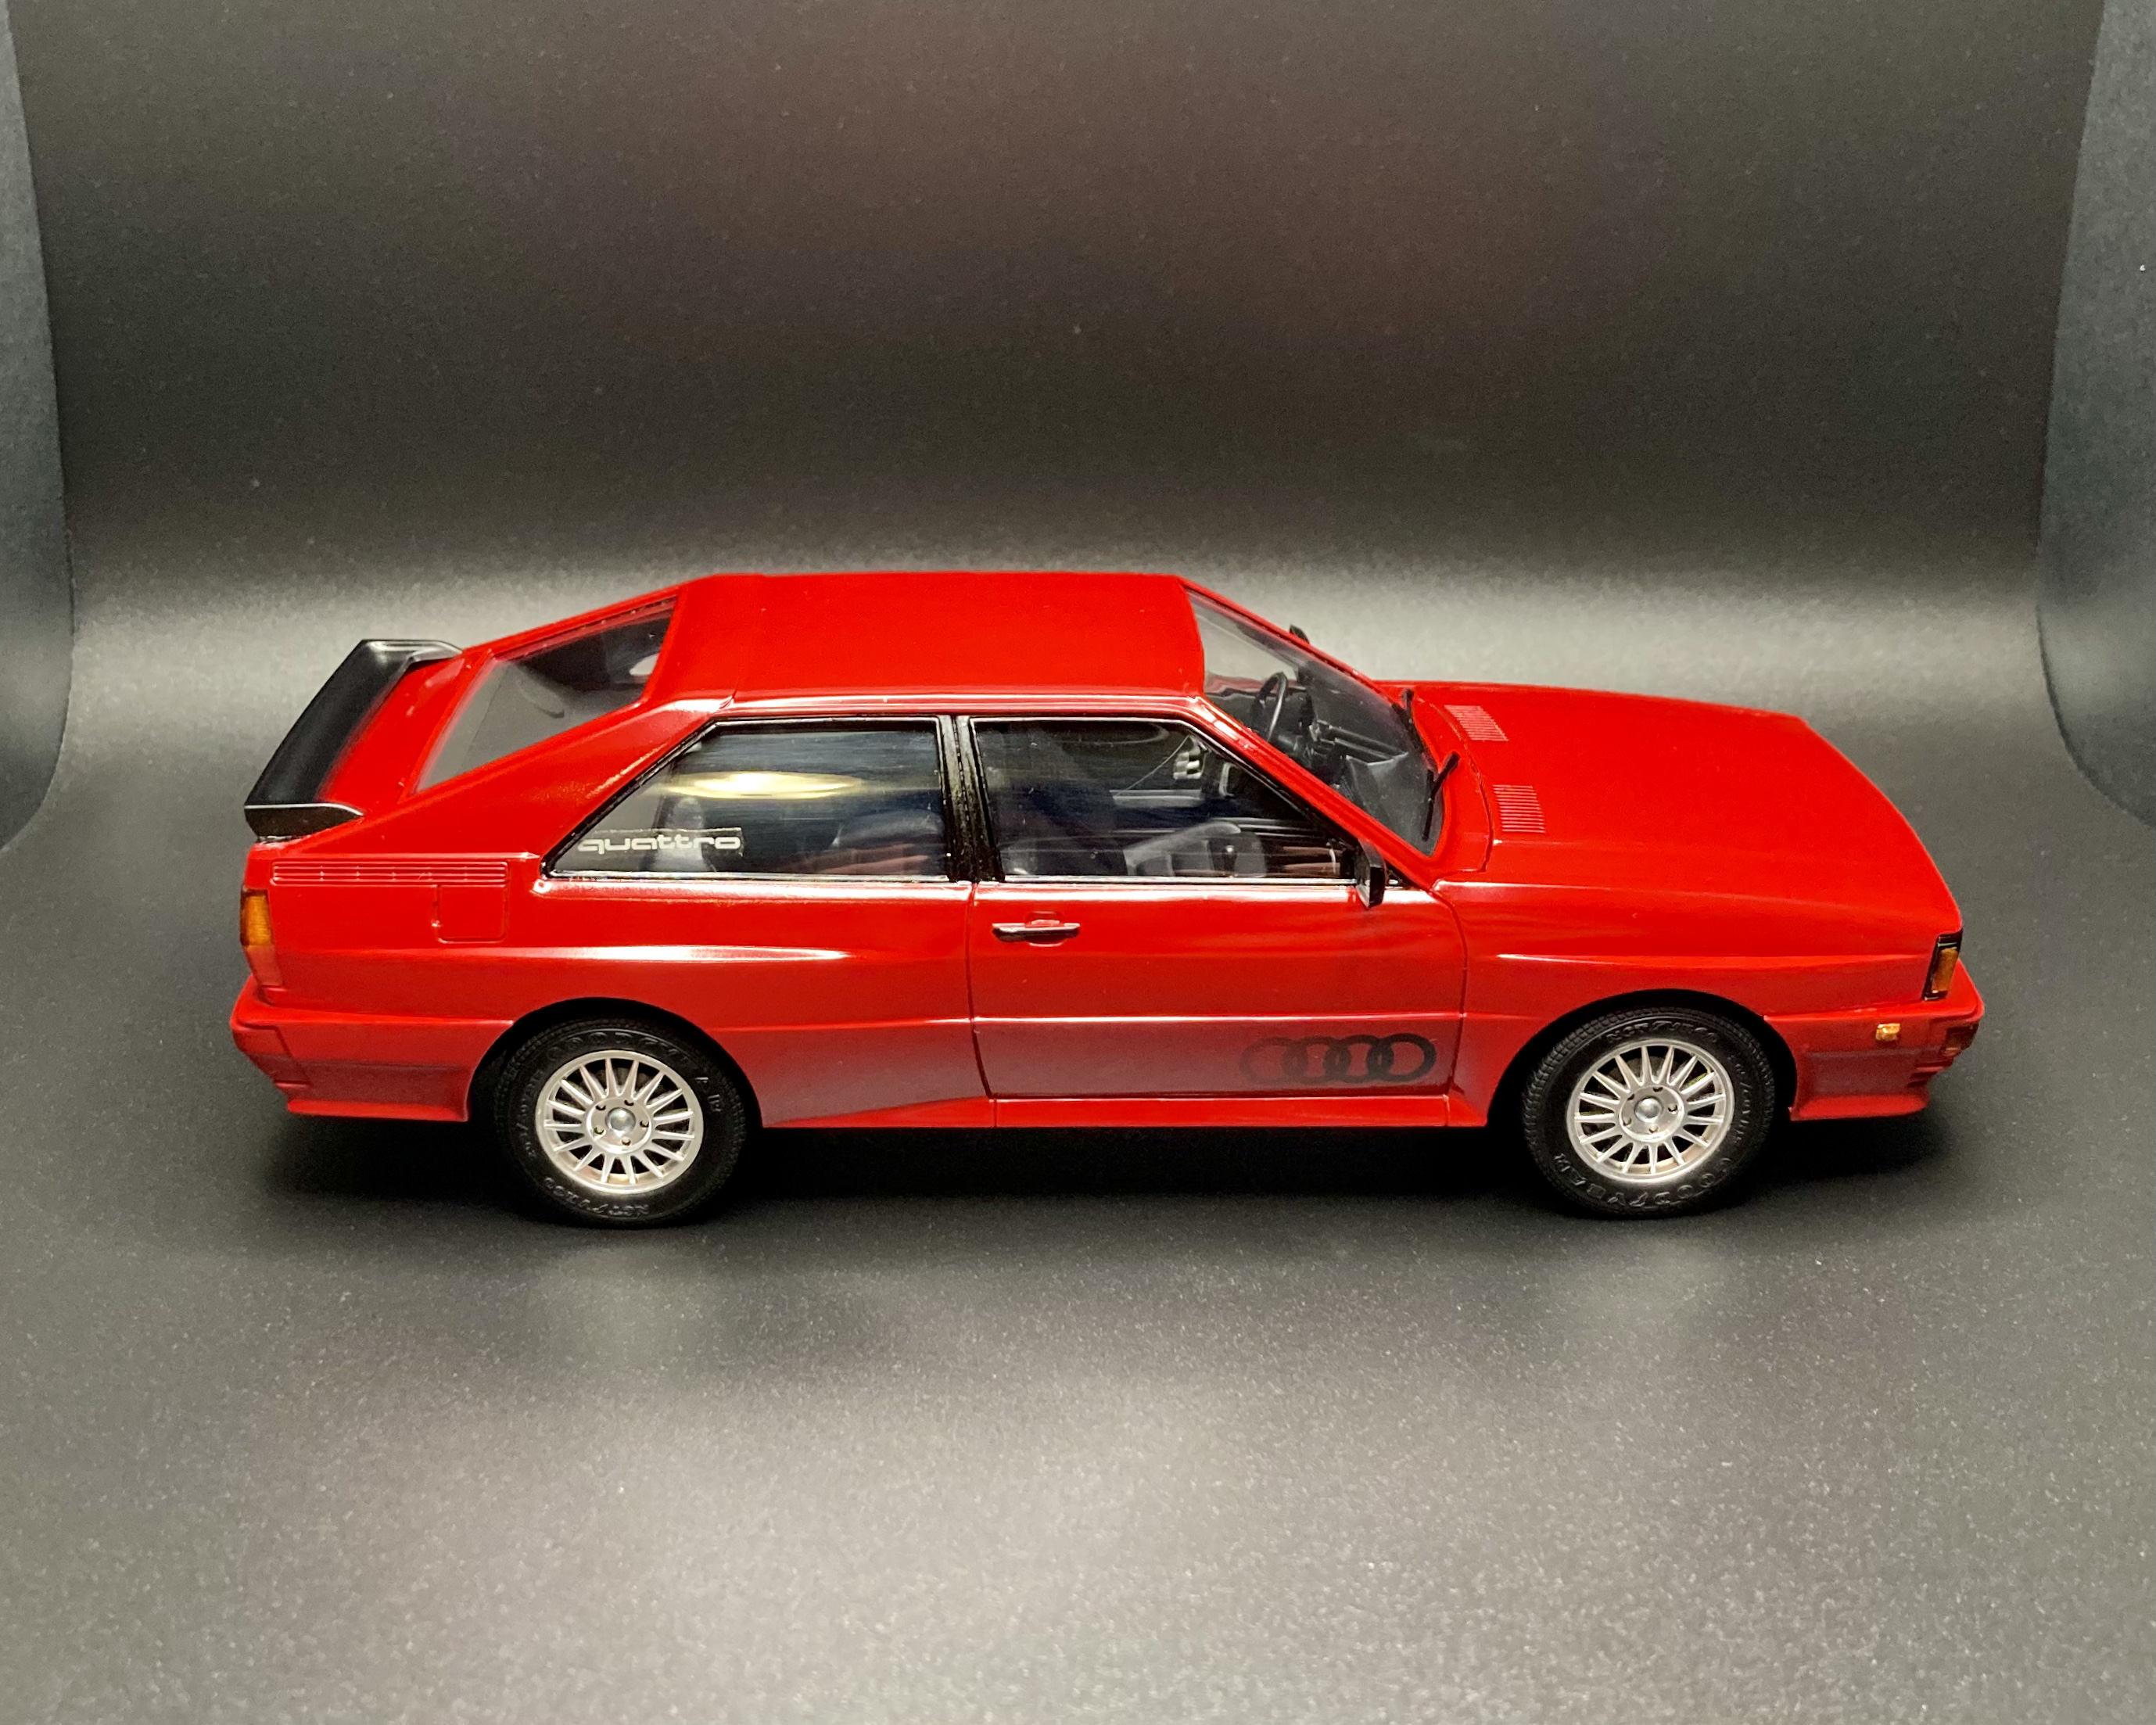
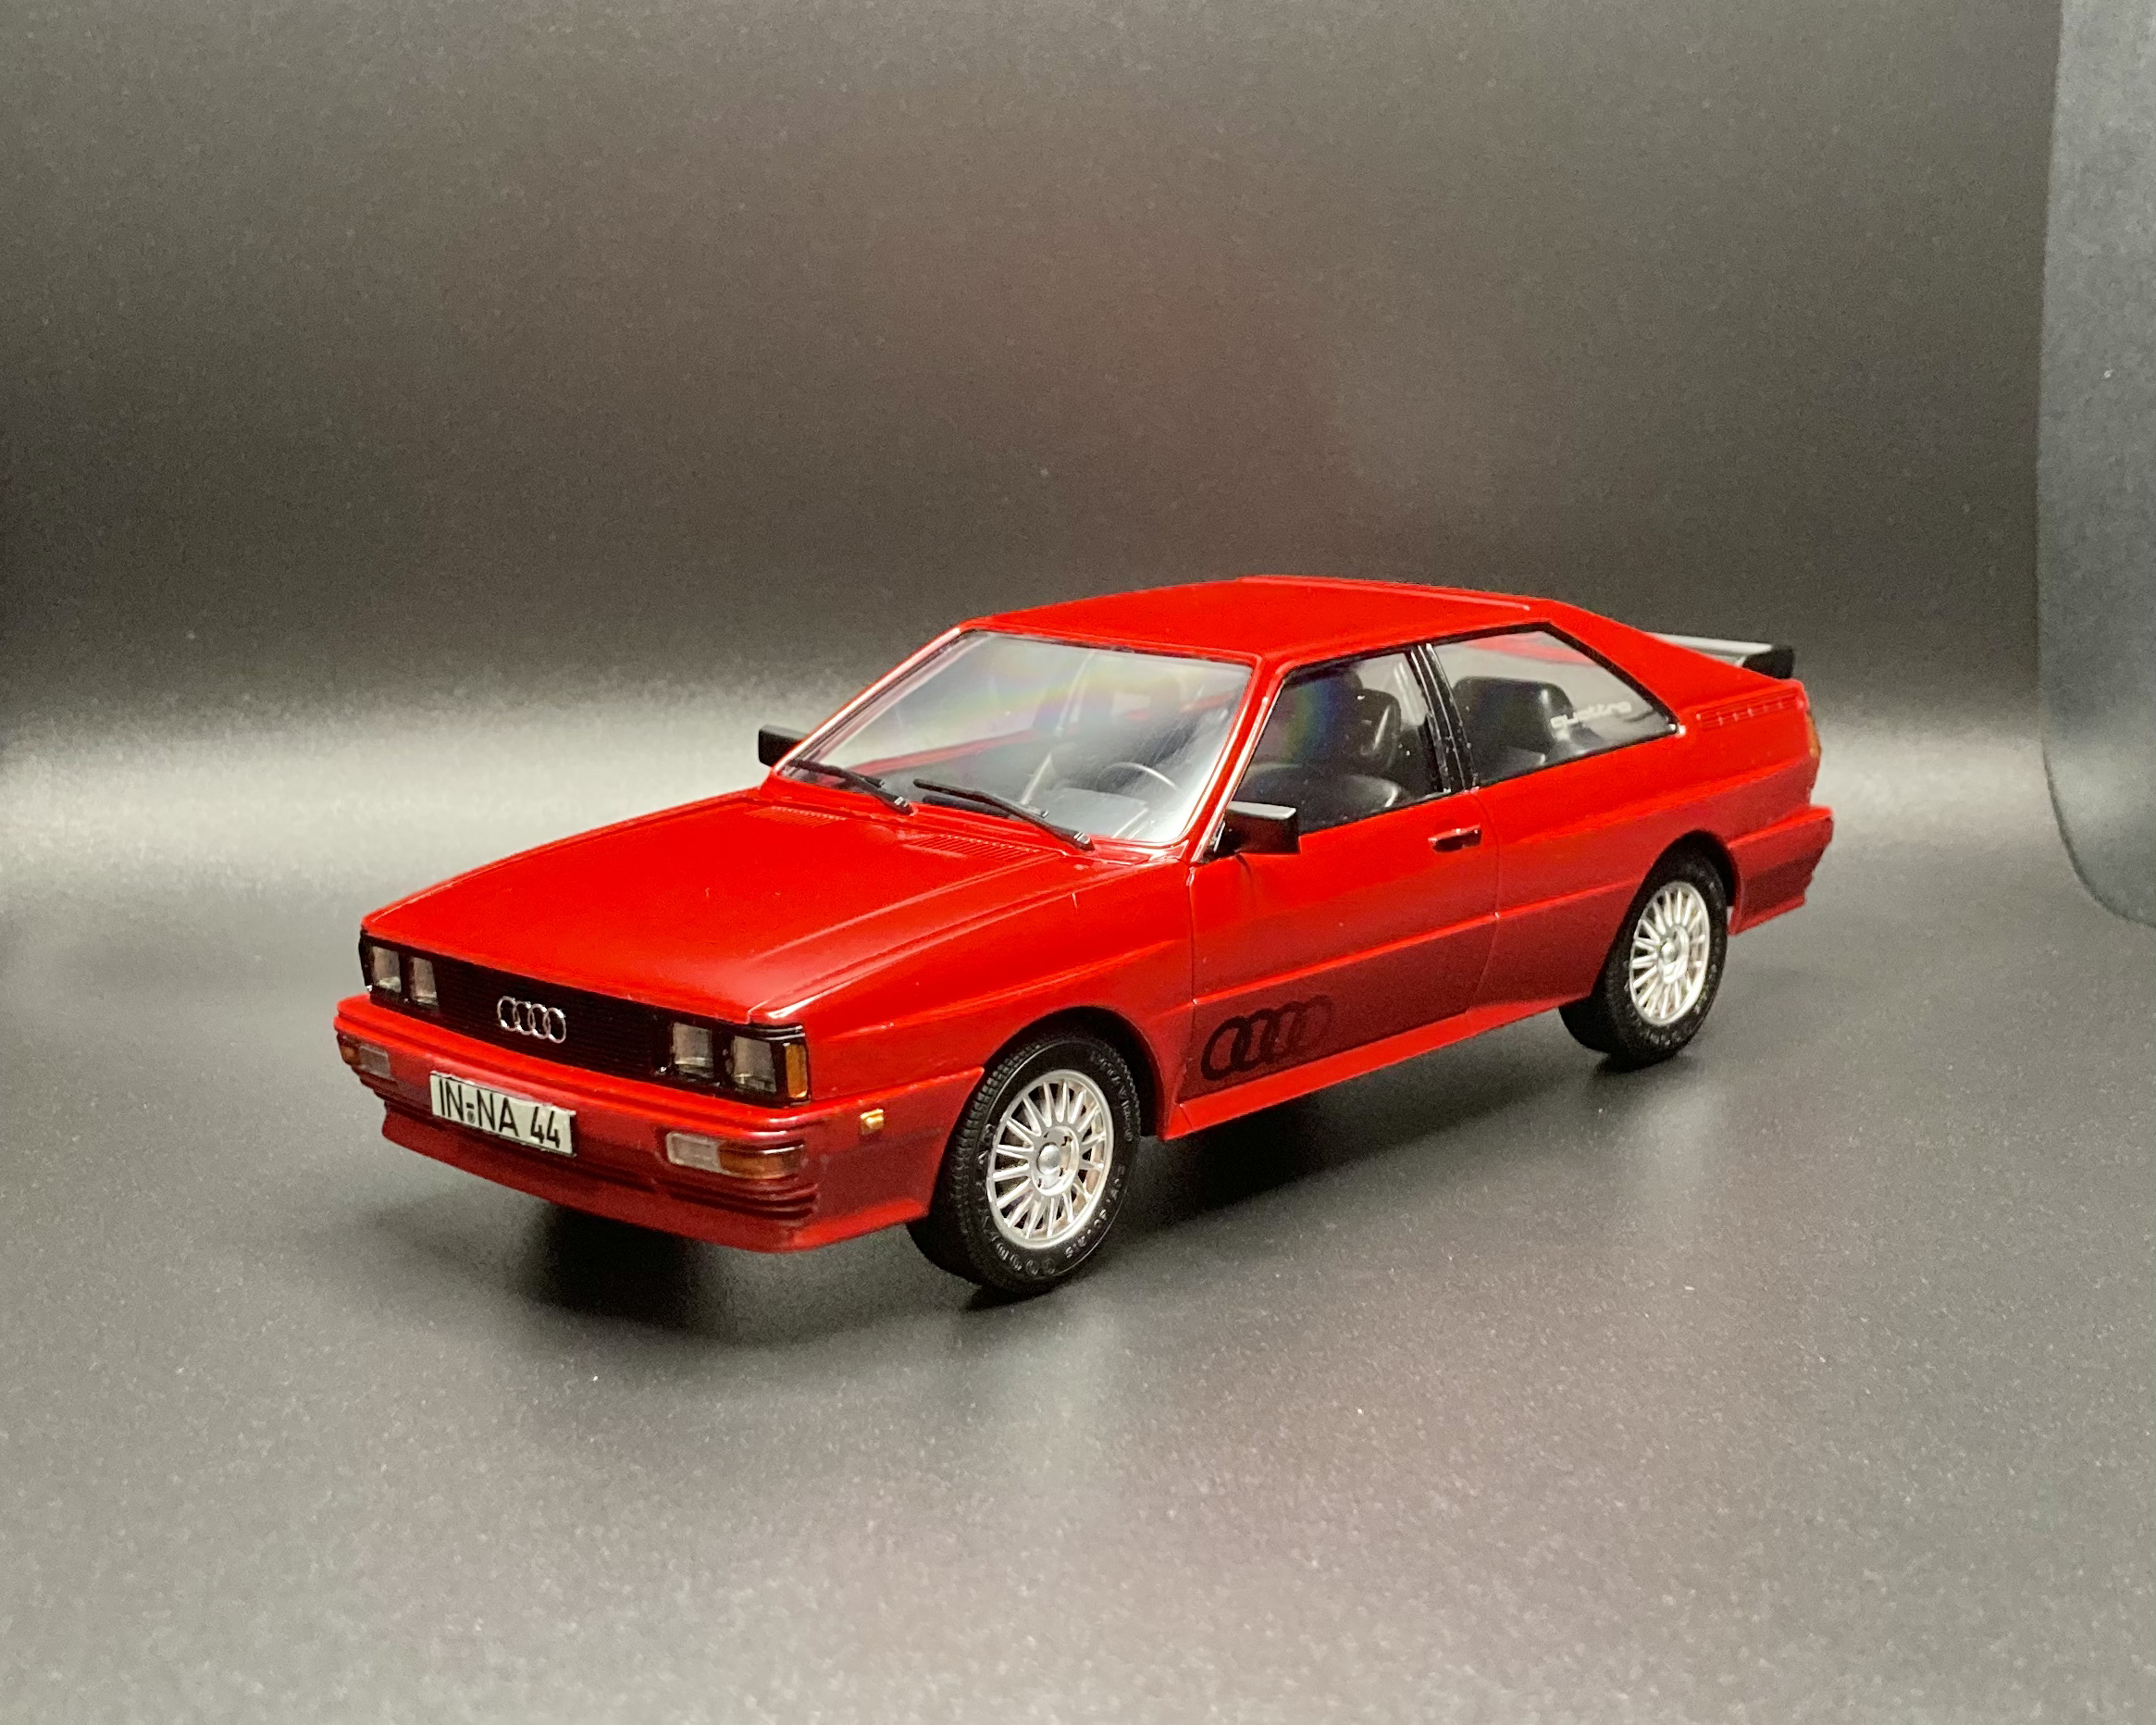
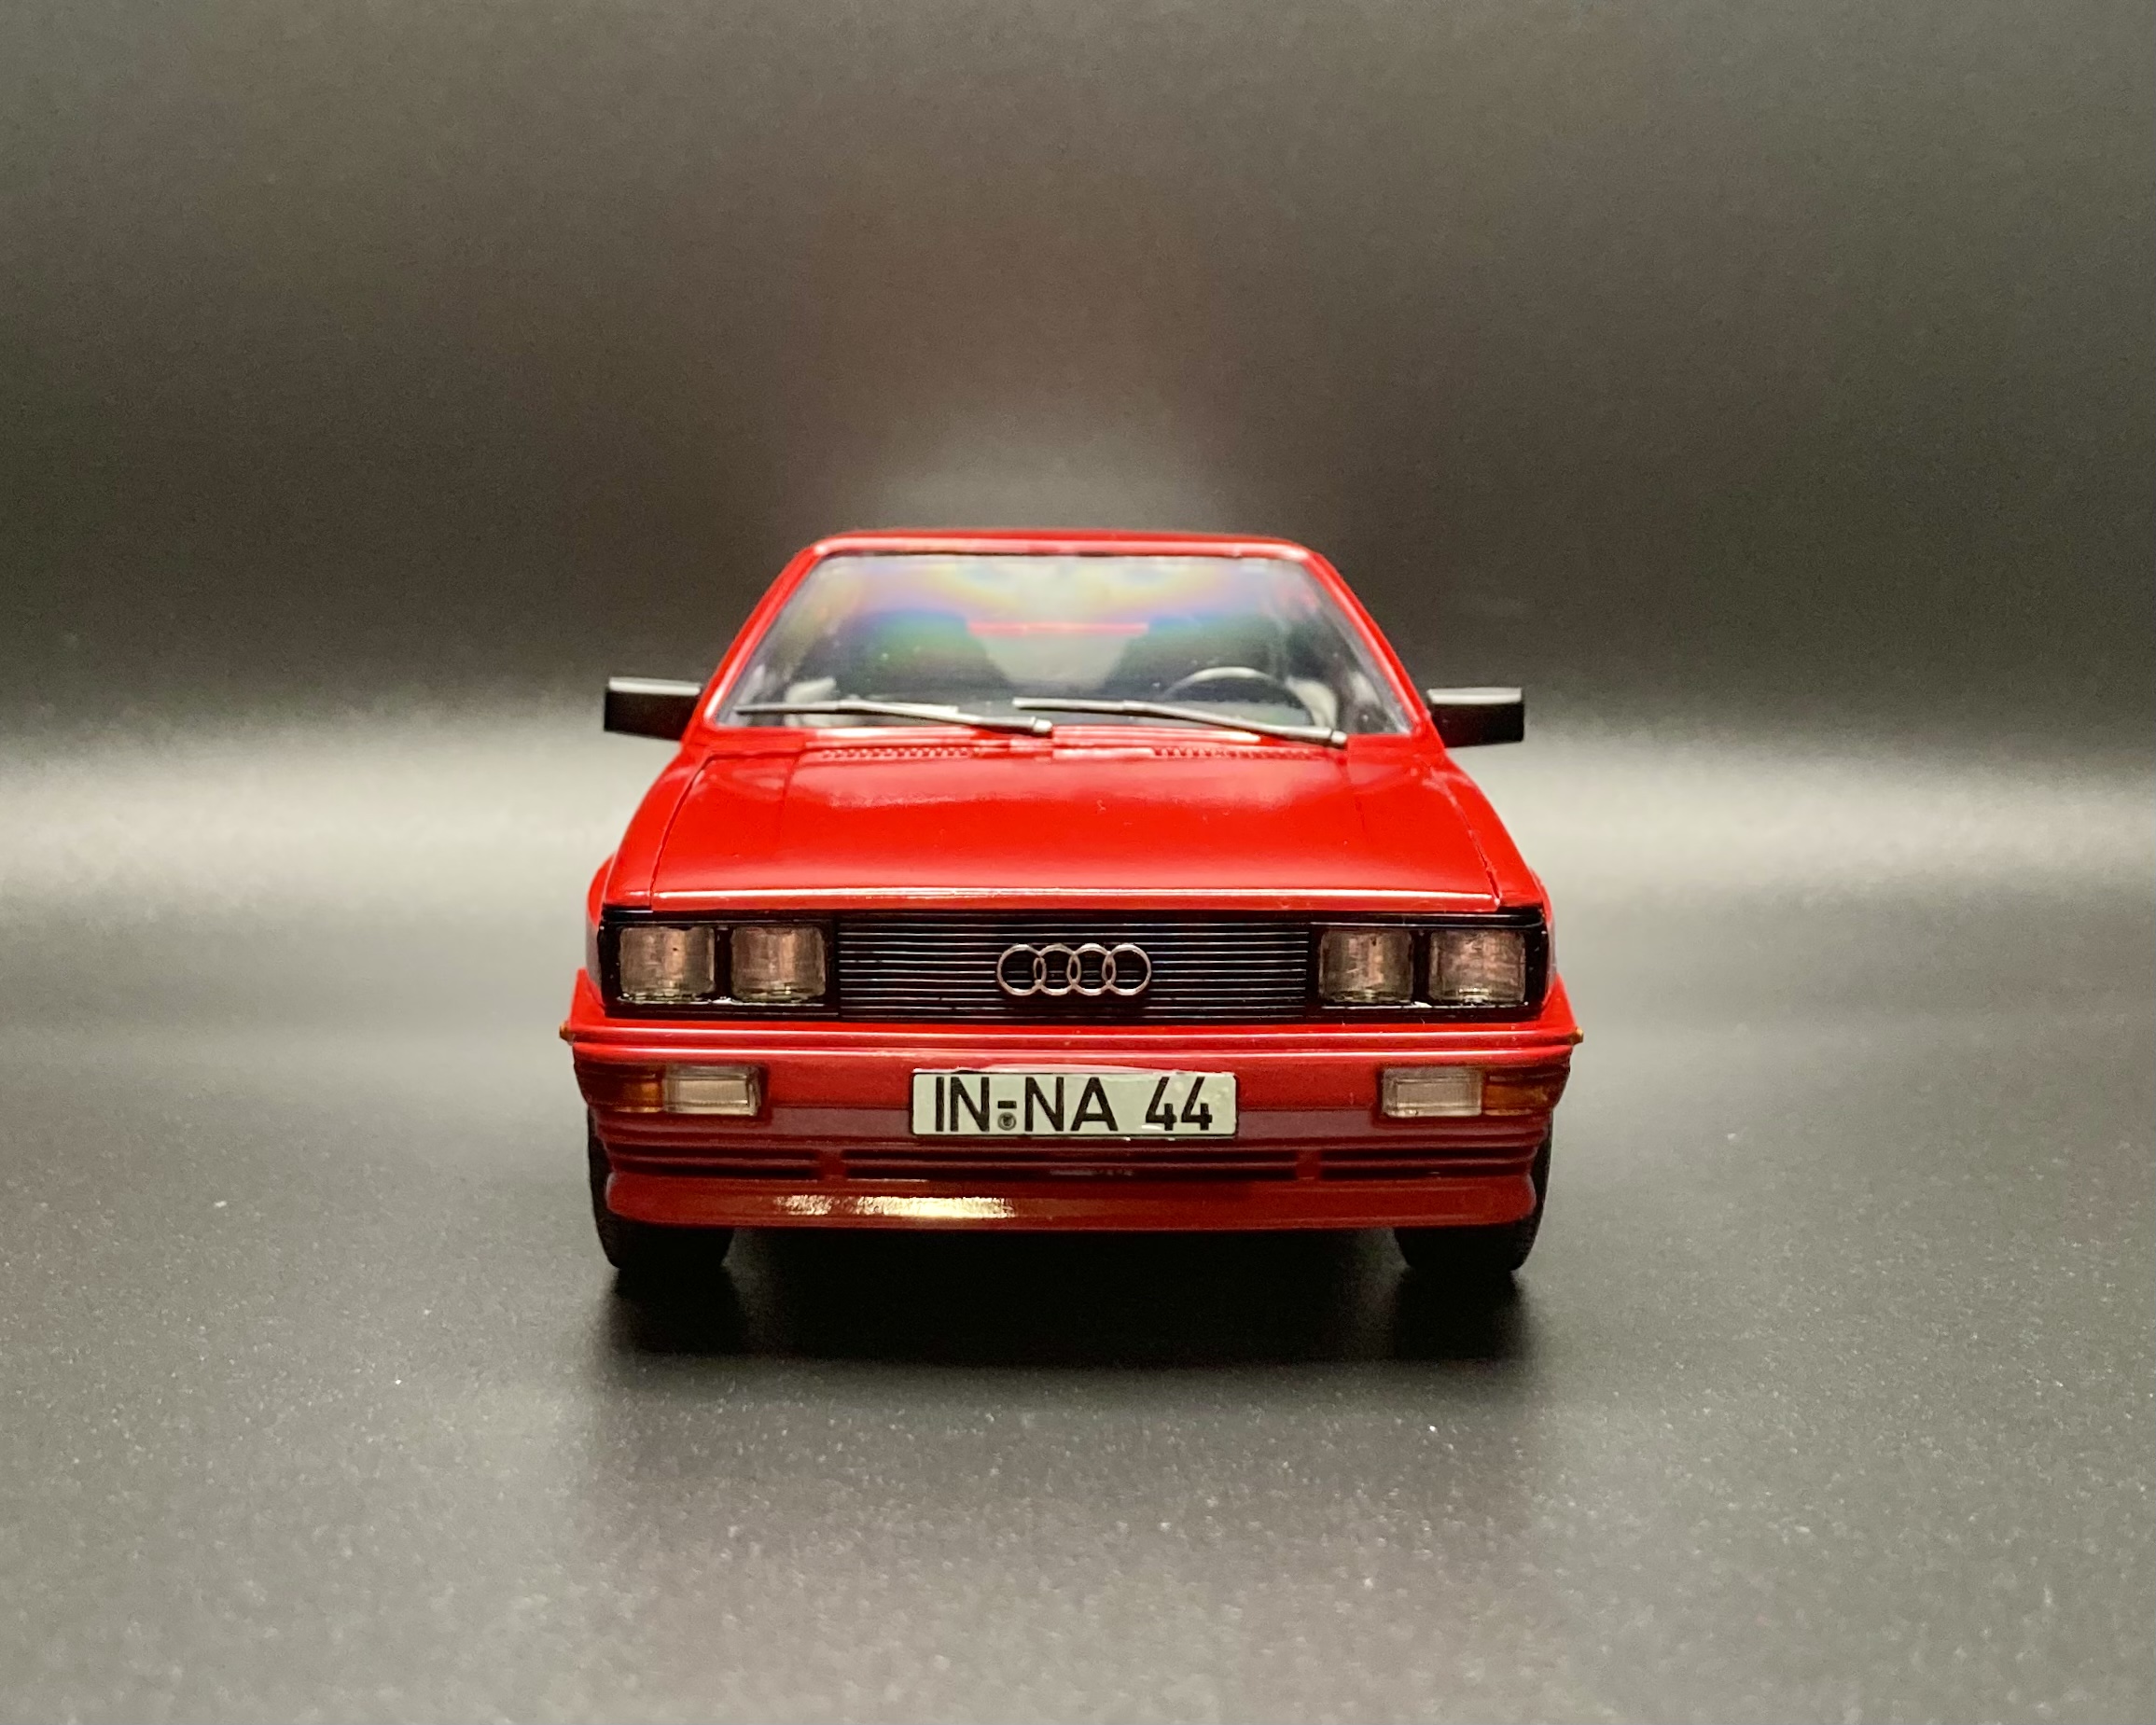
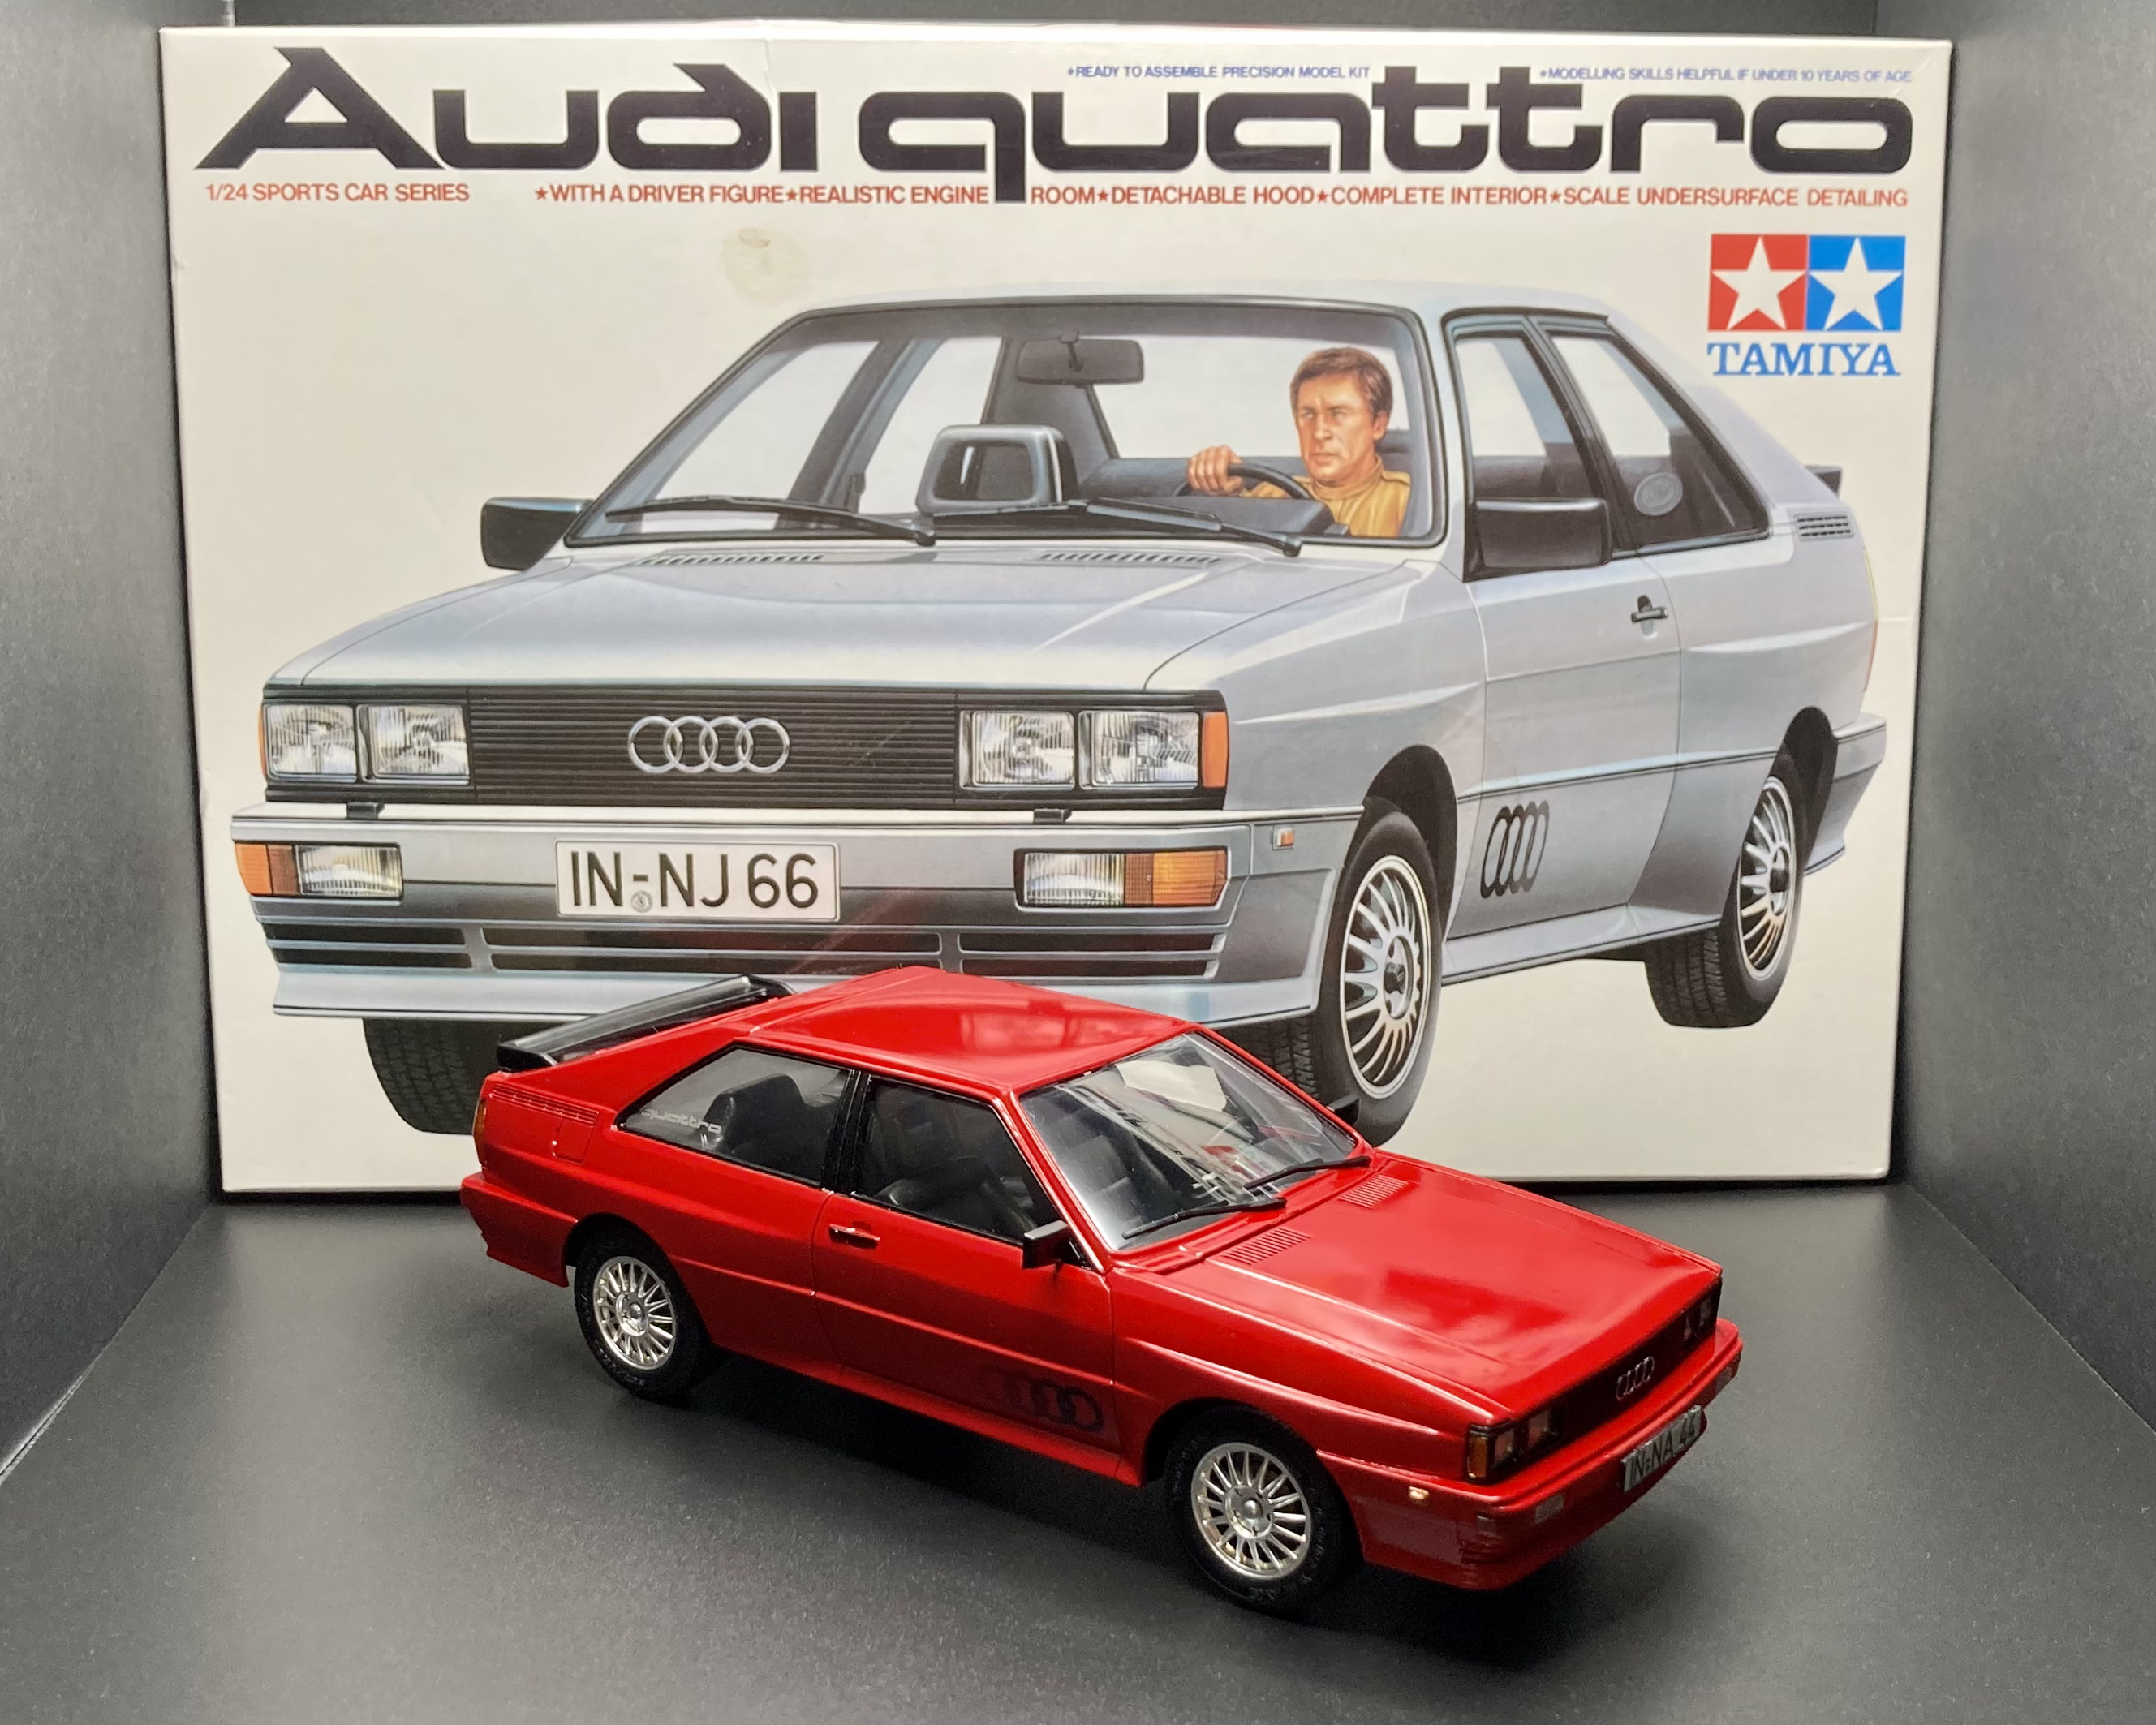
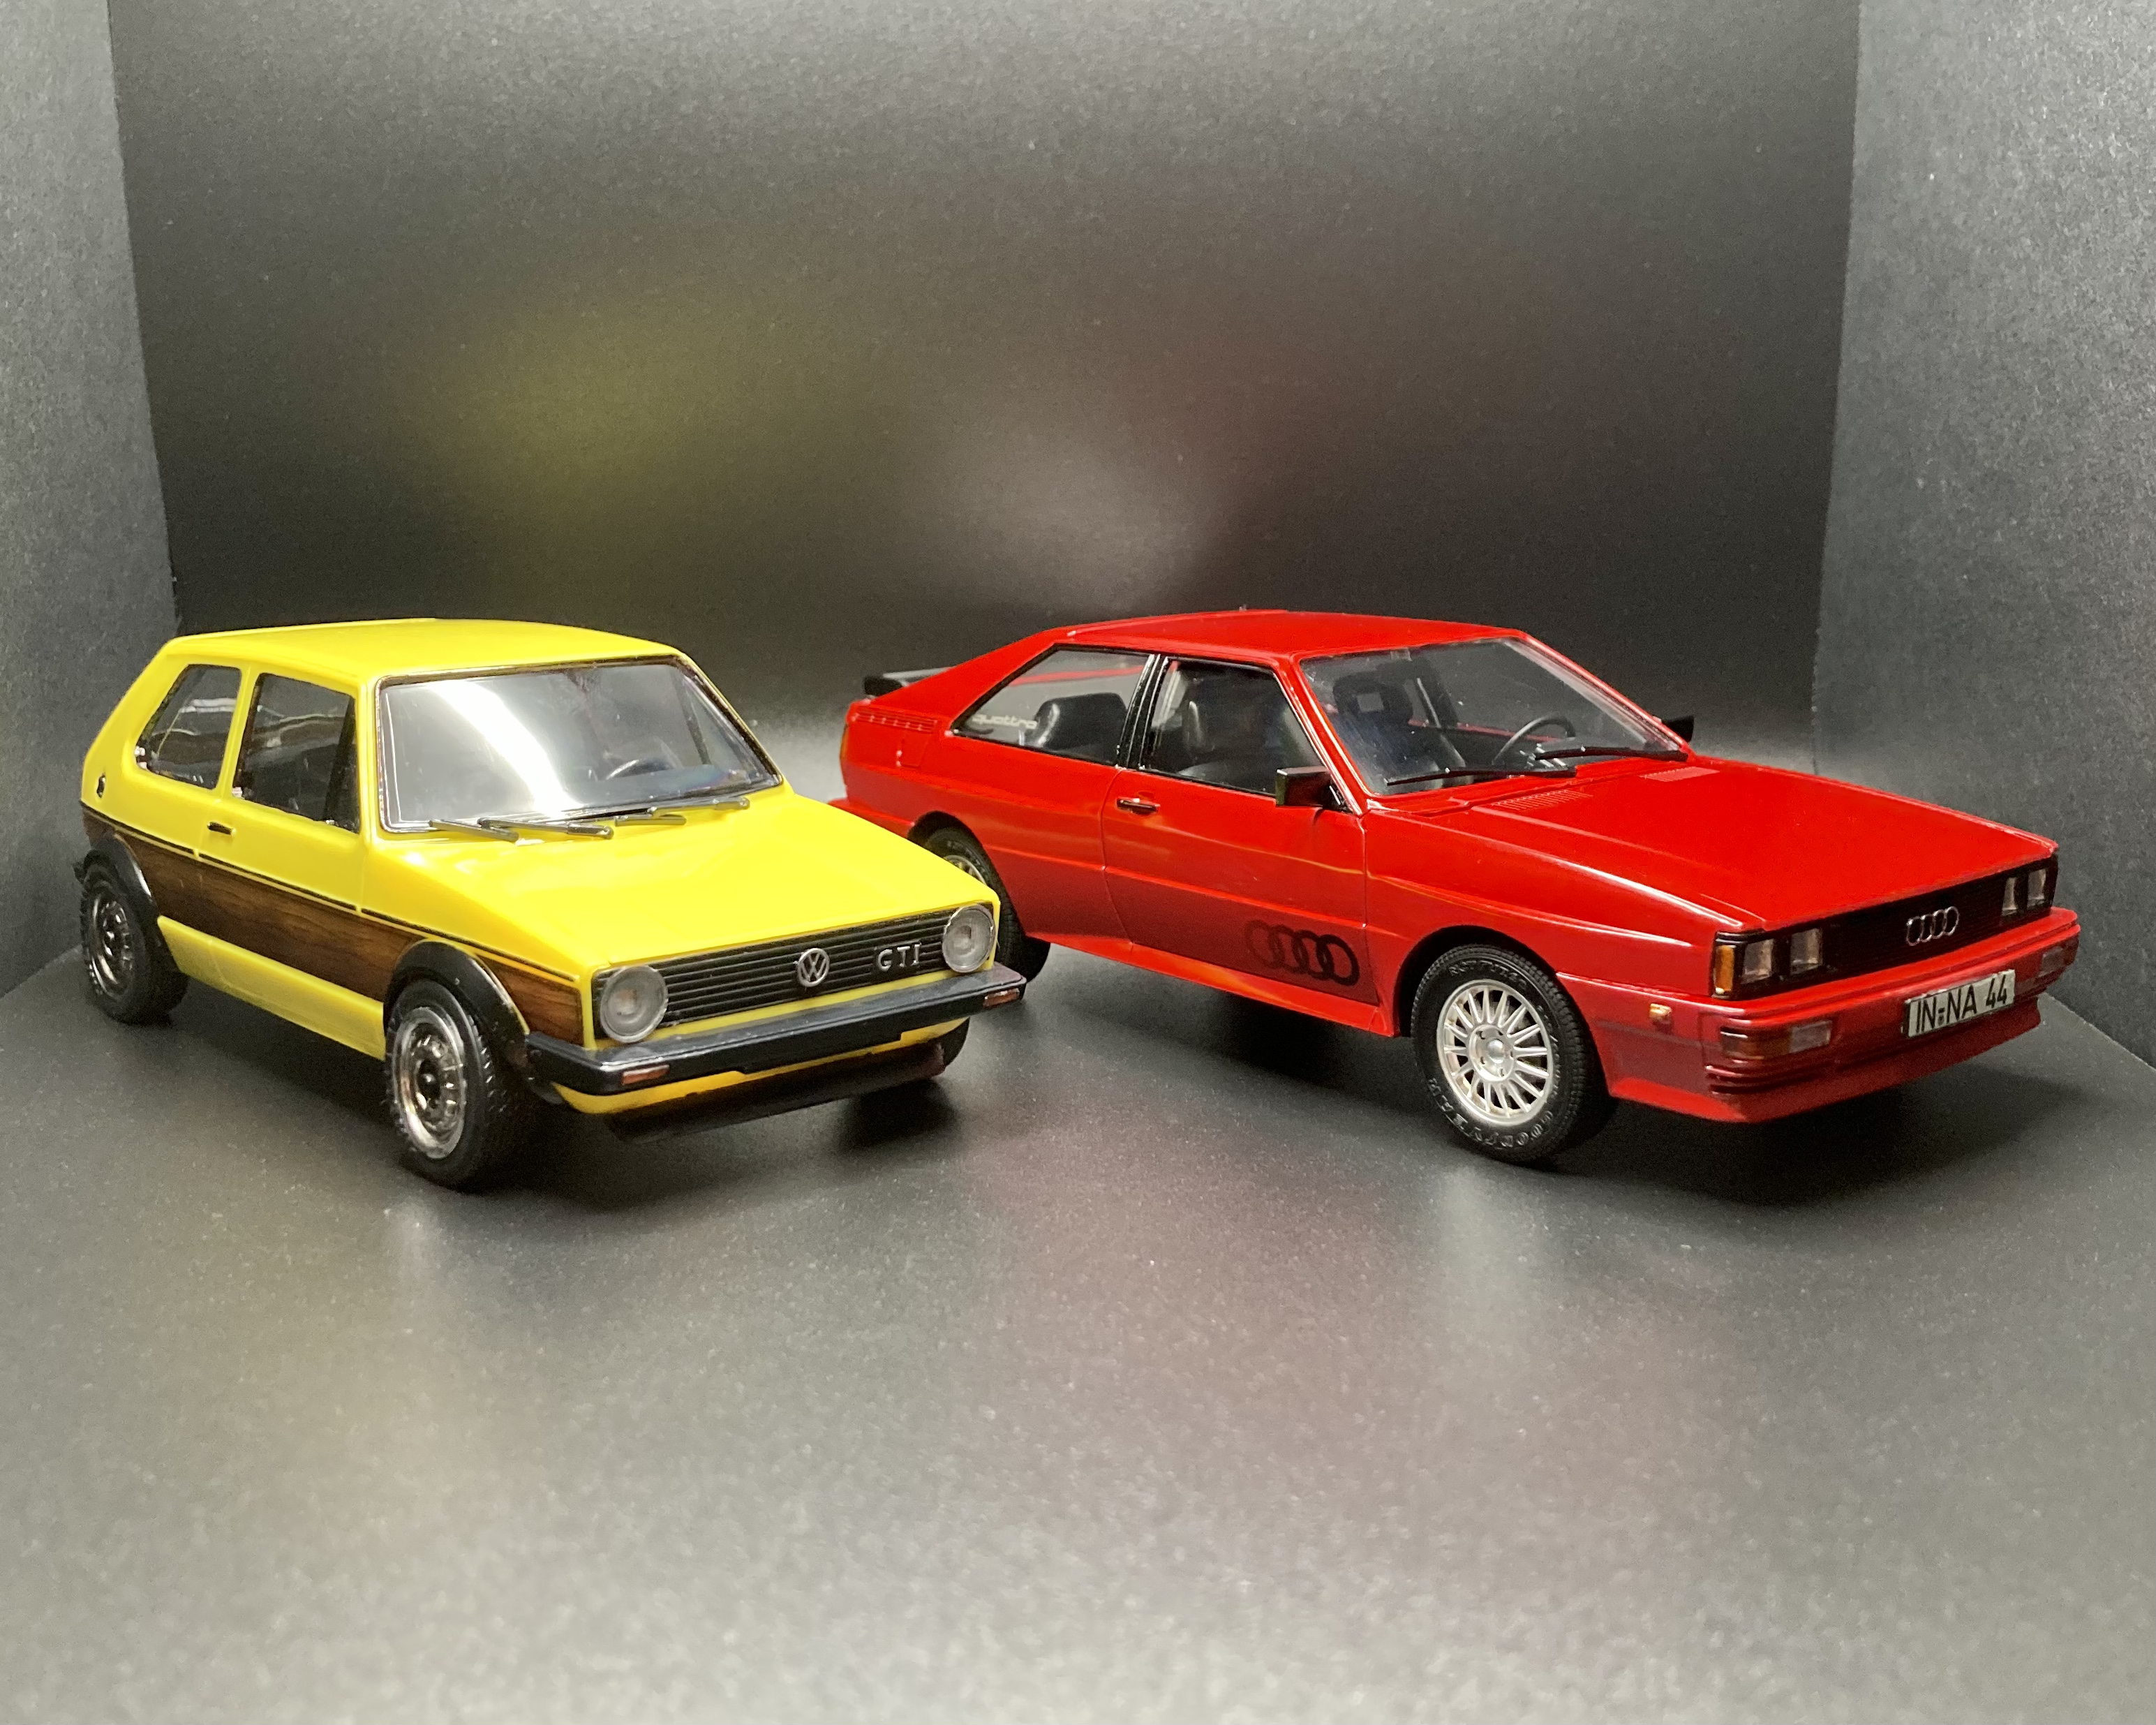
Fire up the Quattro! Here’s my build of the Tamiya Audi Quattro Coupe. It’s painted Tamiya TS-8 Italian Red with two coats of future. This kit builds up very nicely with plenty of detail despite the low parts count. I was pleasantly surprised that the decals worked nicely with no tearing, since most of the decals from older kits I’ve built disintegrated. I built this kit as a gift for my stepdad, as he owned a red ‘89 model during the ‘90s in the UK before he moved to the US. He sold it to his dad, who daily drove it until 2005 when it was unfortunately totaled in a crash. His parents luckily walked away unscathed, which they attributed to the car’s build quality. He always says it was the best car he’s ever owned so I know he’ll love it!
-
Here she is, my Tamiya Porsche 911 GT2 painted in OPI fingernail polish. This is the first time I have painted a model in fingernail polish and I am pleased with the results. It is built box stock as that is the category I want to enter it into at upcoming shows. Below is the link to the WIP. I took a lot of pictures of it because each angle gave a different result. I hope you like it as much as I do!
- 28 replies
-
- 10
-
-
- nail polish
- tamiya
- (and 1 more)
-
My current project is this Tamiya kit of the Porsche 911 GT2. I had recently seen a picture of a Porsche in a very unique color and fell in love with it. That picture was the inspiration for this build. I have been itching to shoot a model car in fingernail polish and I found a color of polish that was fairly close to the color of the real car. I figured now is the time to do it. I have experimented with shooting fingernail polish and am fairly comfortable with it. Before committing fingernail polish to the model, I experimented with the fingernail polish over a white primer and over a black base. I really liked the black base so that is how I shot the model. Here we go. I will caption each photo as needed. The Tamiya kit. The kit parts and the fingernail polish. The test spoon. I usually use a black Sharpie to highlight the mold seams. I am fairly certain that this kit started life as the race car kit. Tamiya have you remove a number of molded on items. These are also highlighted with a Sharpie. While I am at it I always rescribe all panel lines. There are a lot of parts that need to be painted body color. I made a list of these items and prepped them for priming and painting. I primed everything with Gravity Colors (Spain) primer. Next, I shot everything in Tamiya LP-1 Black. I let the black cure and knocked it down for a smooth surface. I only did the last step for the body parts. Here are 2 bottles of OPI fingernail polish slightly over-thinned with Mr. Color Leveling Thinner. Personally, I think it is a beautiful color! Approx. 5 or 6 coats applied. Some people will scoff at the Tamiya anti-static brush and the cost of it, but I use it all of the time and feel it works. I might have had 1 speck of dust in all of those layers of polish. The first two pictures are of the body fresh out of the paint booth. I let the fingernail polish cure overnight. Next up, I shot the body and associated parts in Tamiya TS-13 Clear straight out of the can. Lastly, here are three pictures of just the body shell after the clear has cured. Let me know what you think!
- 29 replies
-
- 8
-
-
- nail polish
- tamiya
- (and 2 more)
-
I am looking for a good maroon color for a 1937 Chevrolet Business Coupe. I tried Tamiya Maroon TS-11, but it's too purple for my liking & like all Tamiya gloss paint it won't stay on the model. That's two coats over Tamiya Surface Primer (grey).
-
The WIP topic This is a dash to actually FINISH a model before the year ends, just to add to my pathetic count. 😅 Picked this simple curbside, which had more decals than I wanted to deal with, but mission accomplished. Painted with nail 'polish'. Don't look too close, it took only 22.25 hours, and it shows. Built the CR-X convertible years ago. Not only chopping the top, but it's also LHD. Also painted with nail 'polish'. The Civic was started last century, sat in the box for a very long time, finished a few years ago. So I didn't wish to start a project that was doomed.
-
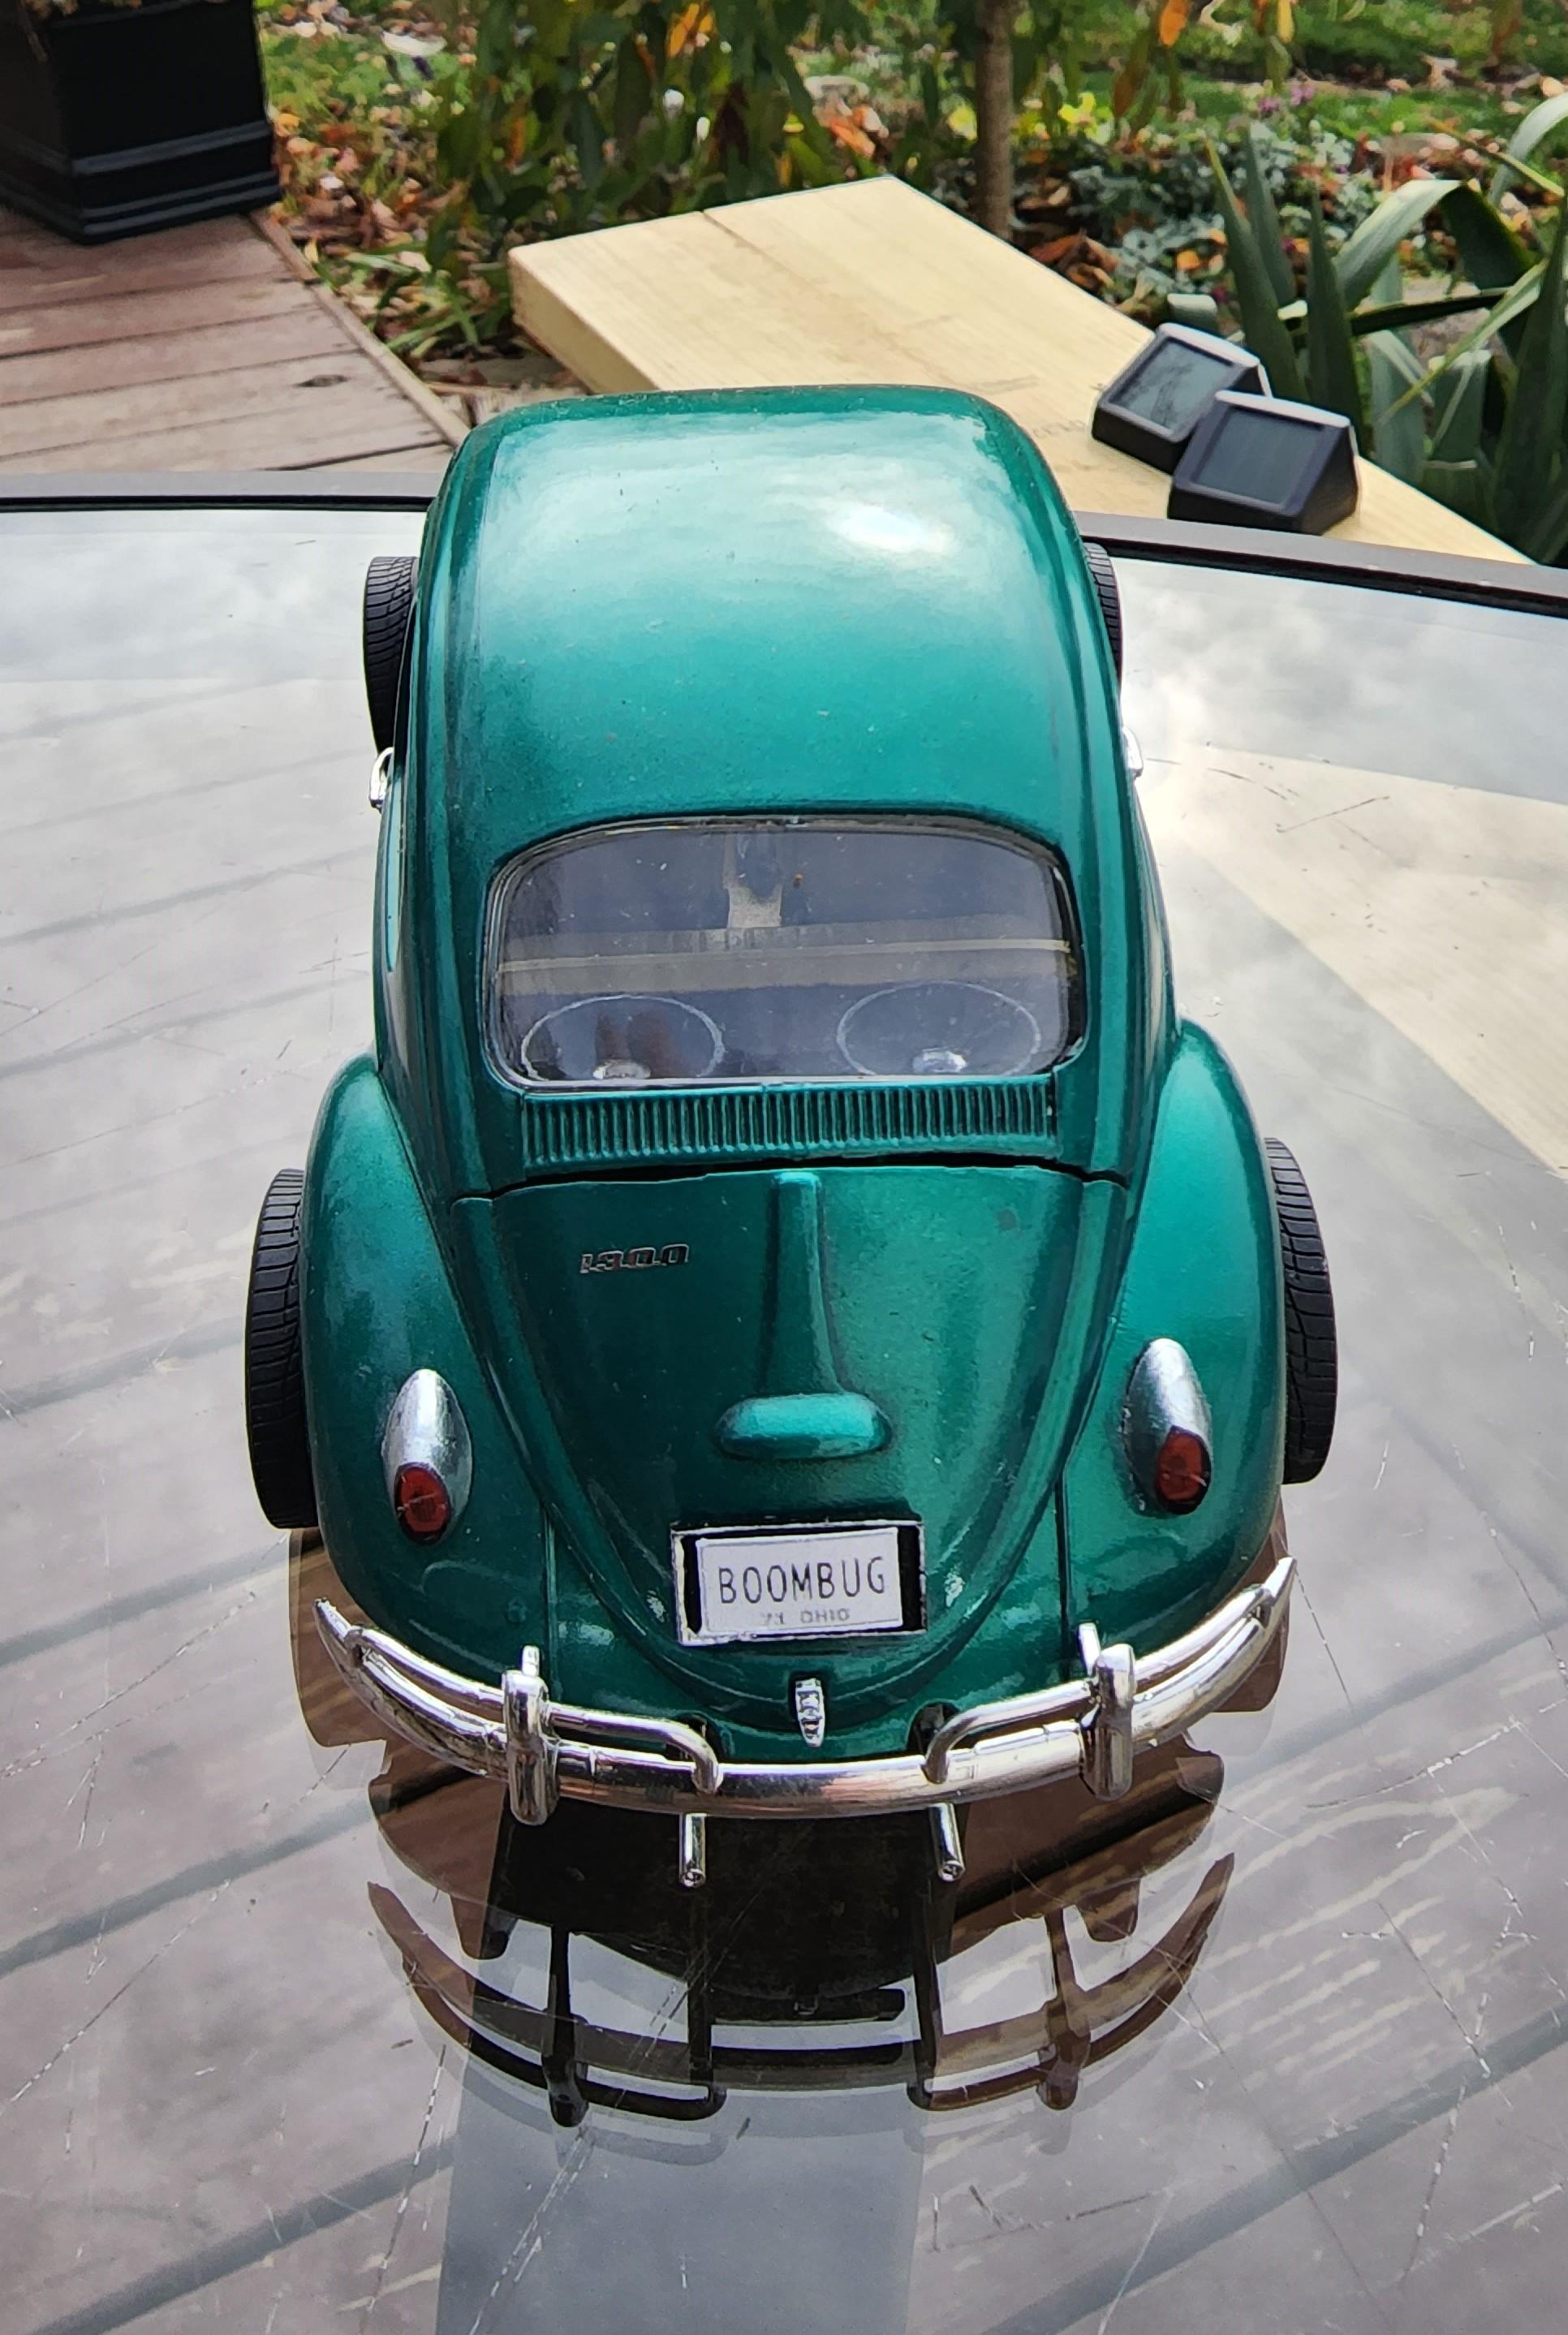
This is a Tamiya 1966 Volkswagen Beetle that I have modified the rims, and tires and added a 3D printed speaker box in the back.
-
 This is my first attempt at a camouflage paint scheme and I did it entirely with rattle cans using poster putty and Silly Putty for the main masking material and Tamiya tape for some details. I found a single online reference that indicated that this paint scheme was within the realm of possibility, so I sized that reference art to scale and used it as a painting guide. It’s pretty much out of the box, but I did scratch build a simple hinge for the hatch behind the turret machine gun and fabricated some detail for that hatch cover interior from Evergreen plastic. I replaced the kit antenna with wire mounted in a base I made from brass tubing. The headlight lens was from the spares box. This was my first attempt at painting any kind of figure and I don’t consider the little feller finished, but I put him in a few photos anyway. I used some dry transfers to add some interest to the fuel drums (“P” for petrol). Overall, I’m pleased. Someday I may even get around to putting in the “correct” track sag and attempt some weathering on it.
-
Background: I'd always planned to build one of Tamiya's early kits, a boxy JDM car with actual wing-mounted mirrors. The 1970's looking Leopard TR-X Turbo was long my preference from the 8 or so I could have tried to find from the Tamiya catalogue. Pros: Very easy to assemble and very well moulded. Some conveniences right in the box as the front and rear lights are seperate and chromed, not moulded-in body colour buckets. Proportions look good and even a kit as old as this shows Tamiya's dedication to quality. "TURBO" decals are supplied both in white and in black, giving you body colour choices later on. There's a bonus Honda Tact scooter in the kit also, and a Driver figure. Cons: No engine. No brakes (not that you could see them anyway). No Japanese number plate decals, just dress plates. Wheels are unrealistically bright chrome. Interior floor is the reverse of the underbody floor pan and looks like it too. Some of the underbody parts like the exhaust are all moulded in. Some sink-marks to deal with. Verdict: With a low part-count It's not as detailed as a modern kit but it does build into a very good replica of a Nissan Leopard. Build notes: Built over 3 weeks in February 2022. The only extra details added are rear seatbelts, all-round seatbelt retainers and JDM number plates. Painted in Tamiya Titanium Gold (upper) and Ford Ginger Ale Metallic (lower), with an AS-22 Dark Earth interior. Cleared with Mr Hobby Gloss Premium. I didn't build the Honda Tact that comes with it yet. Looks like a lot of fiddly maskng with the way it's assembled.
-
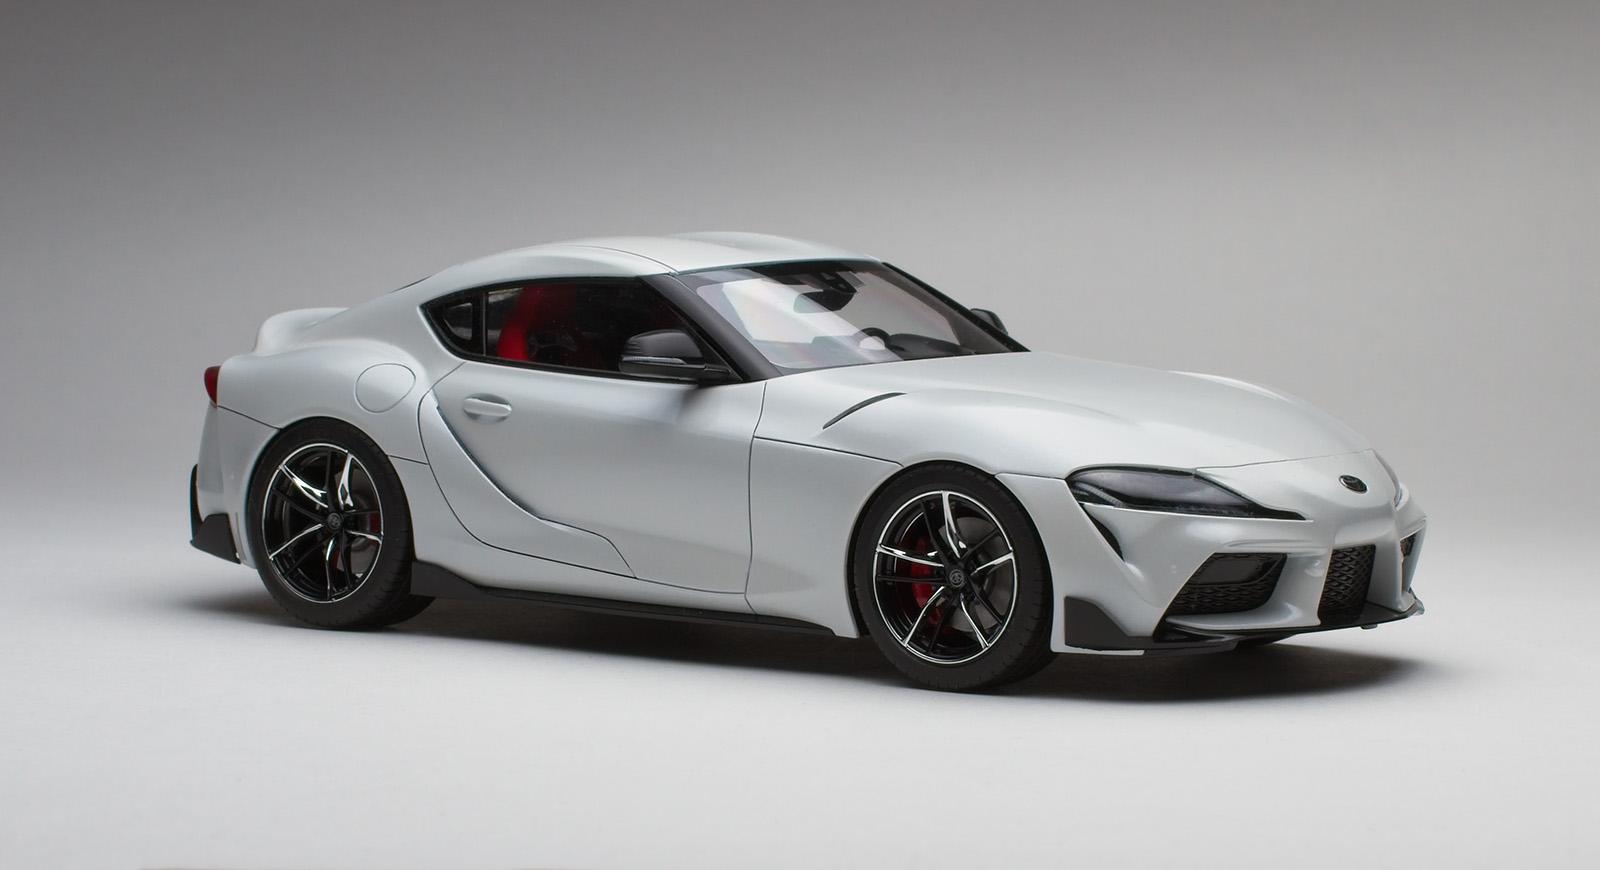
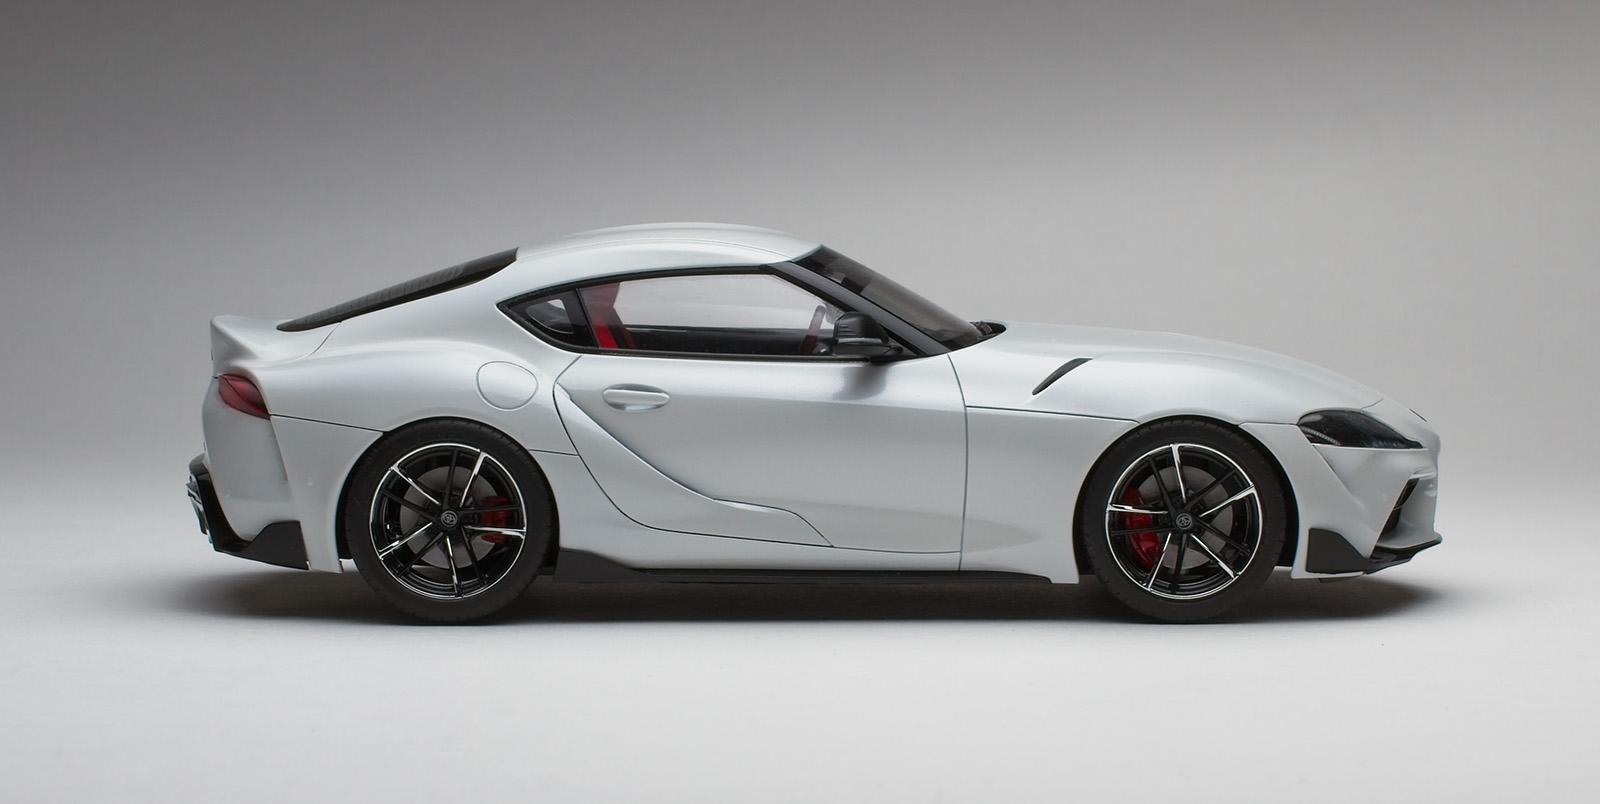
I have for trade: Tamiya Porsche 936/78 Turbo Open, sealed inside. Decals are curled on the card and a bit yellowed AirFix Maserati Boomerang - TRADED Missing several parts, box is warped and dirty, decals are ehh... one has a slight tear in it, might be a good donor for another Boomerang Amt 1969 Oldsmobile 442 W-30 - TRADED Sealed, new I am looking to trade for Tamiya Porsches, Supras, or the Celica rally kit, Revell '30 Model A Coupe, or AMT Silverado kits. Tamiya Porsche: Thanks for looking! If you have something to offer, let me know. I can wheel and deal, but the kits/pieces mentioned above are what I am mainly interested in.
-
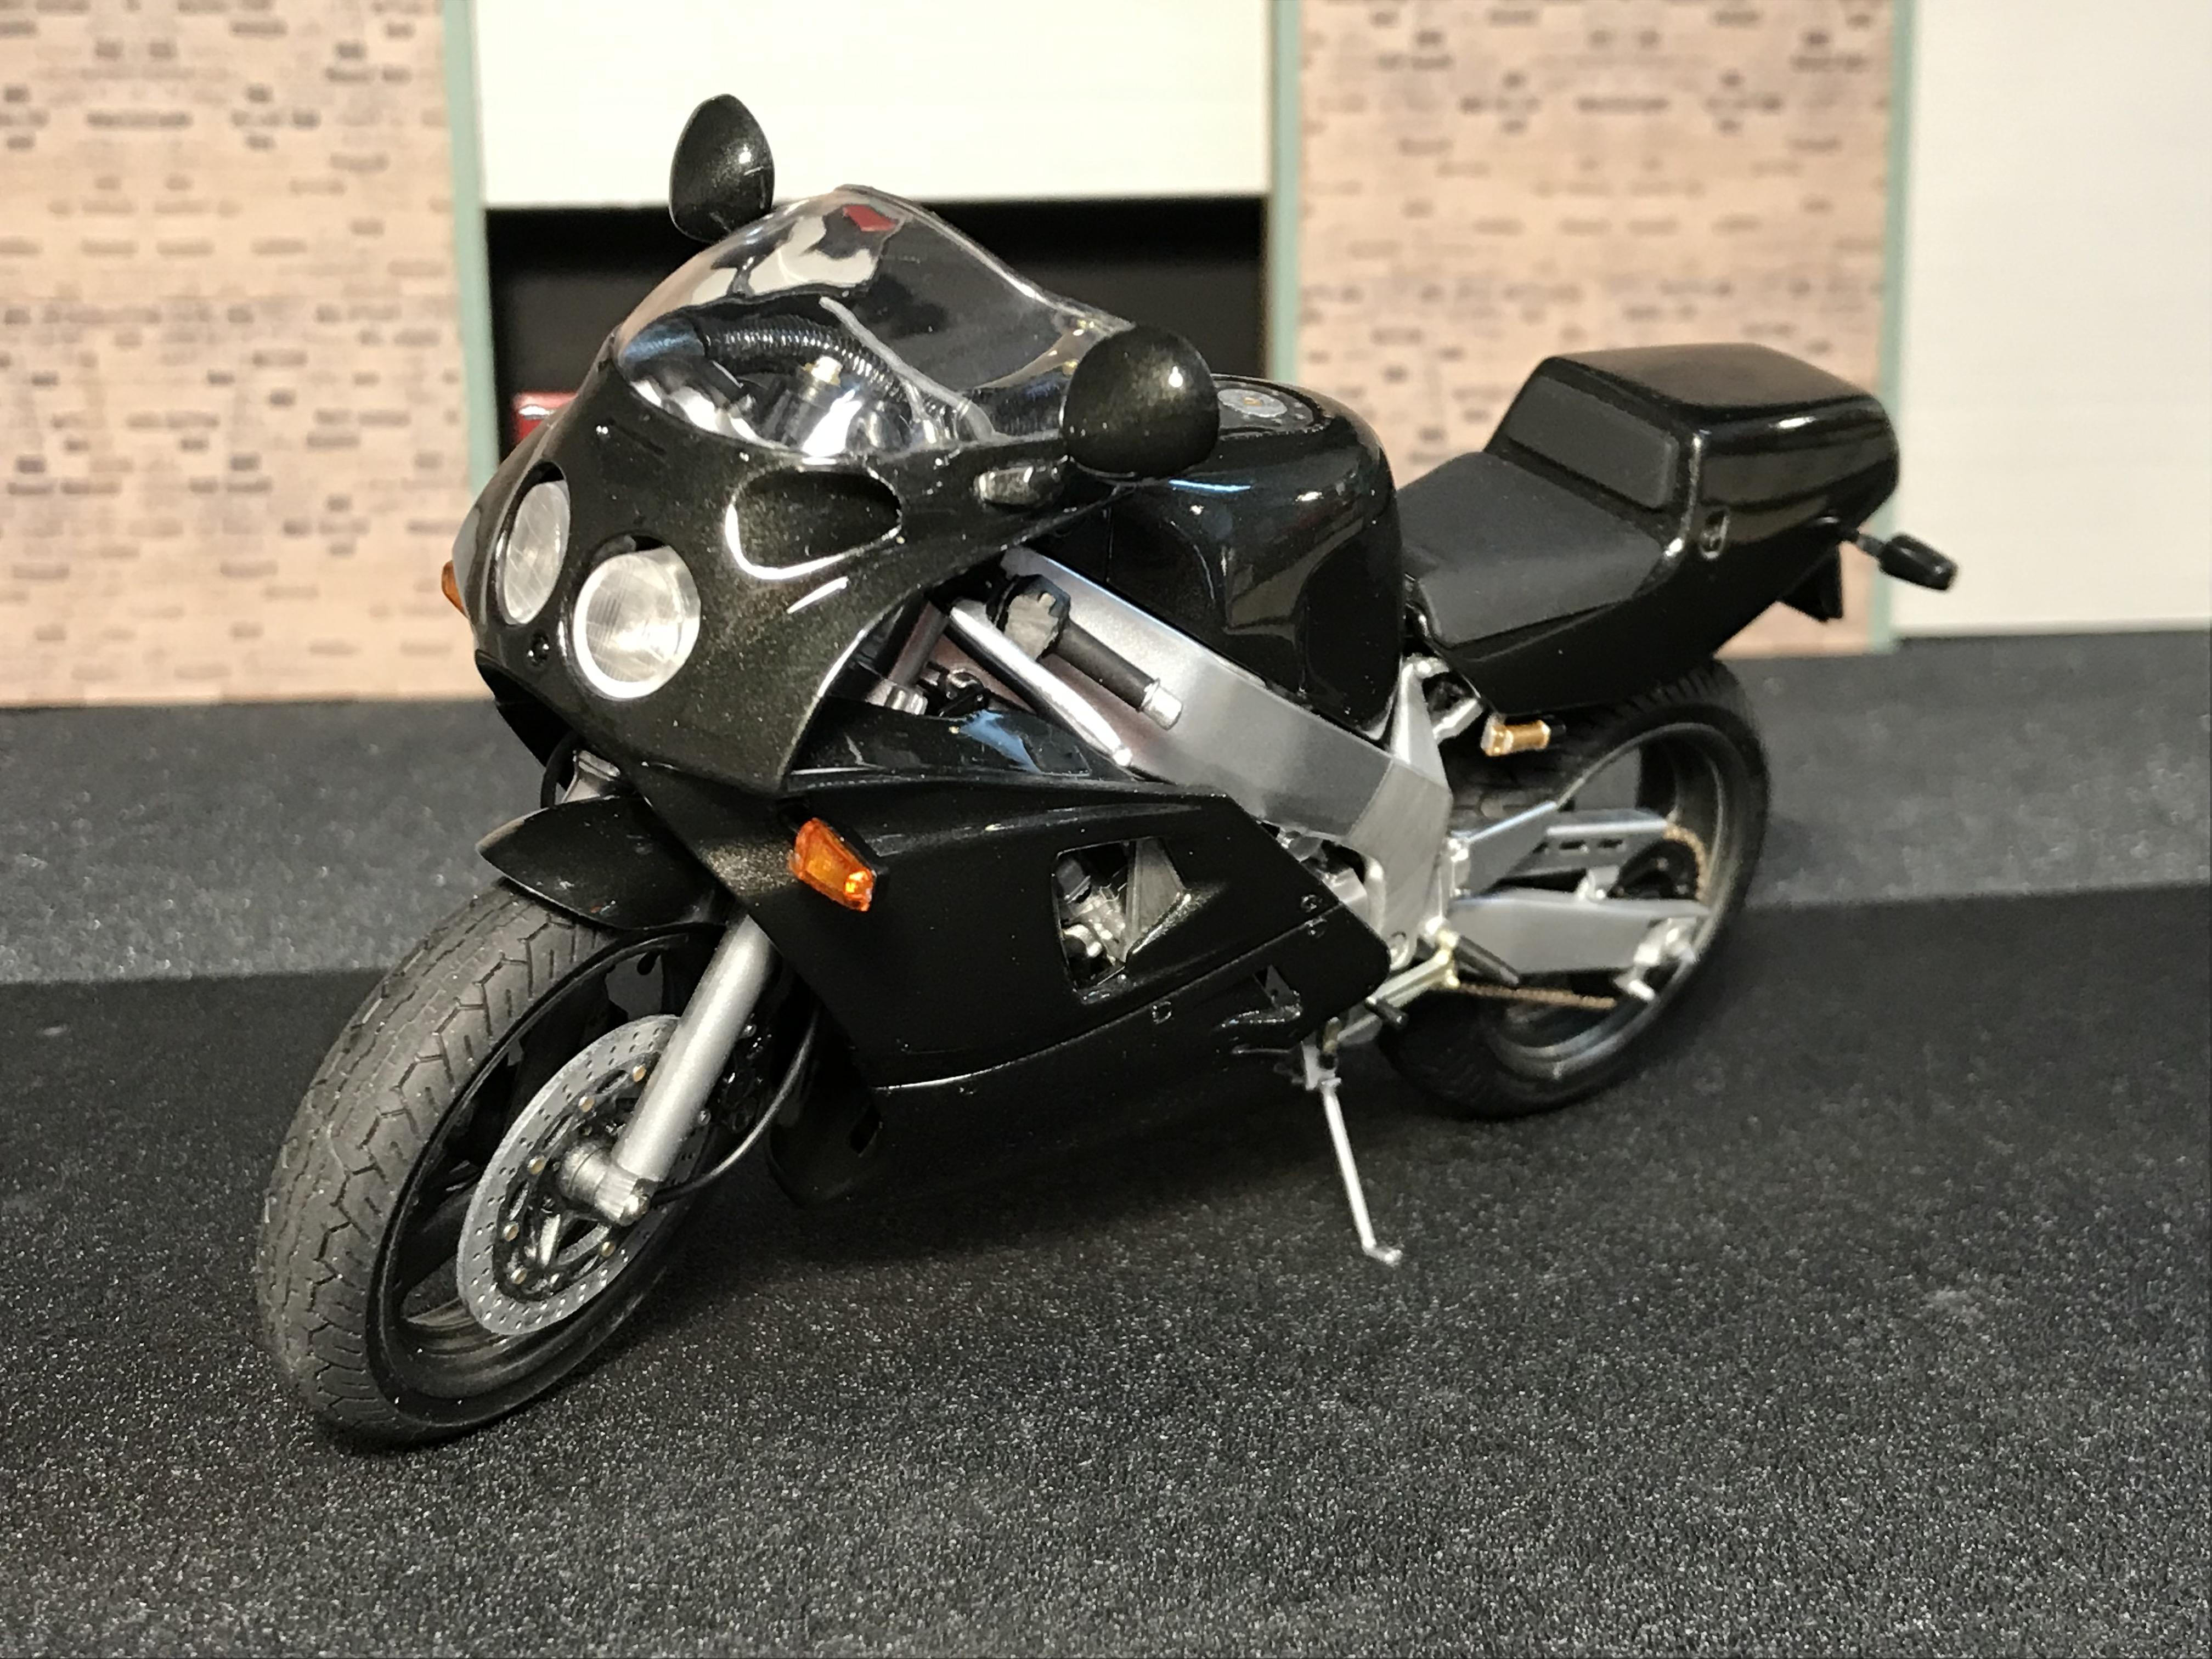
 I started this kit about 30 years ago. Sat in the box painted metallic black or gray. Finished it finally. Not a motorcycle guy, but I think it looks kind a cool. Tamiya FZR750R OW01. Straight outta the box.
-
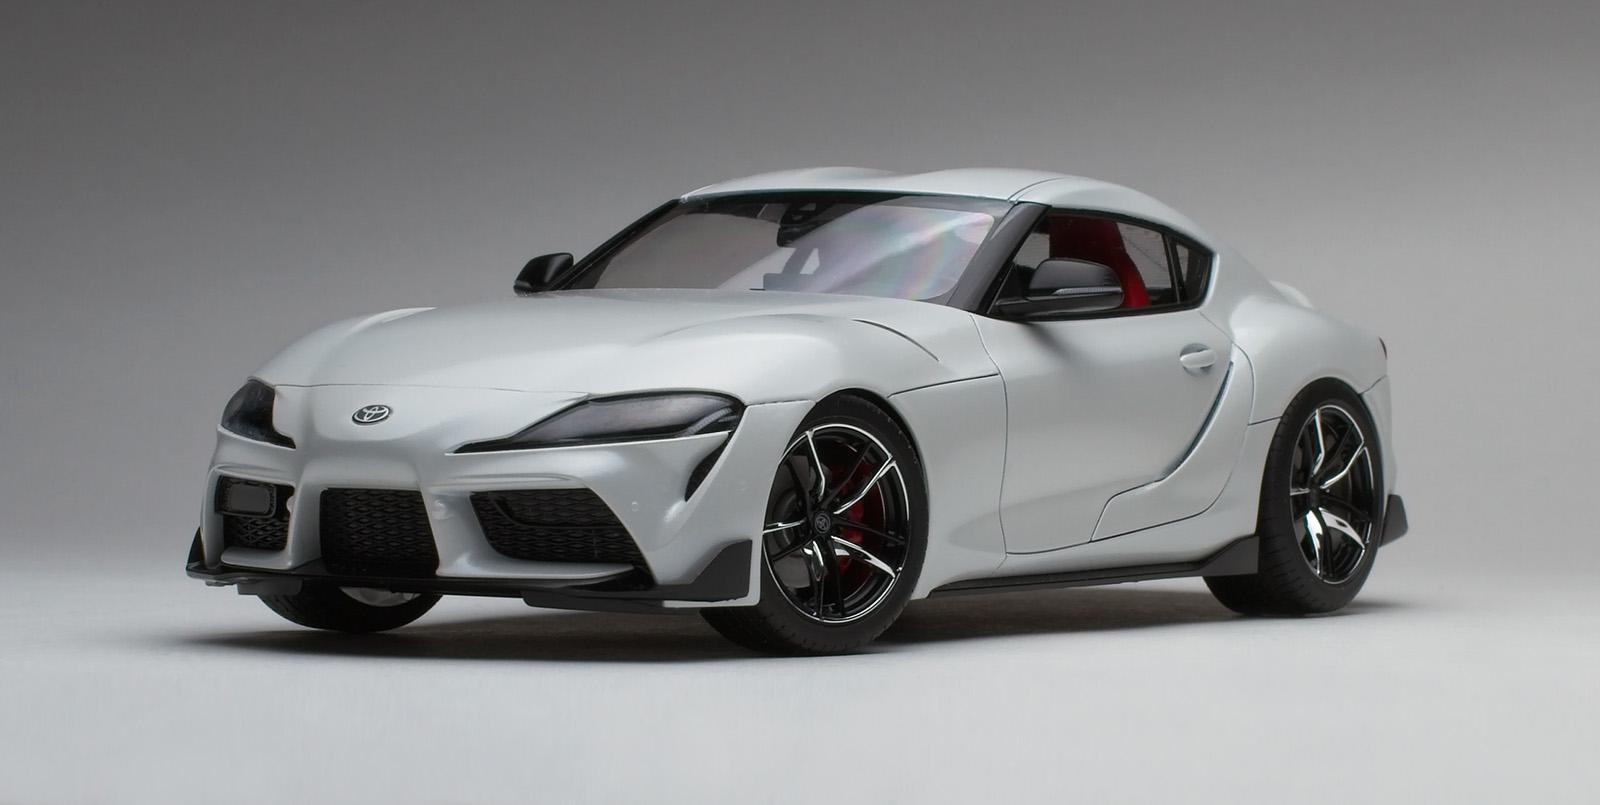
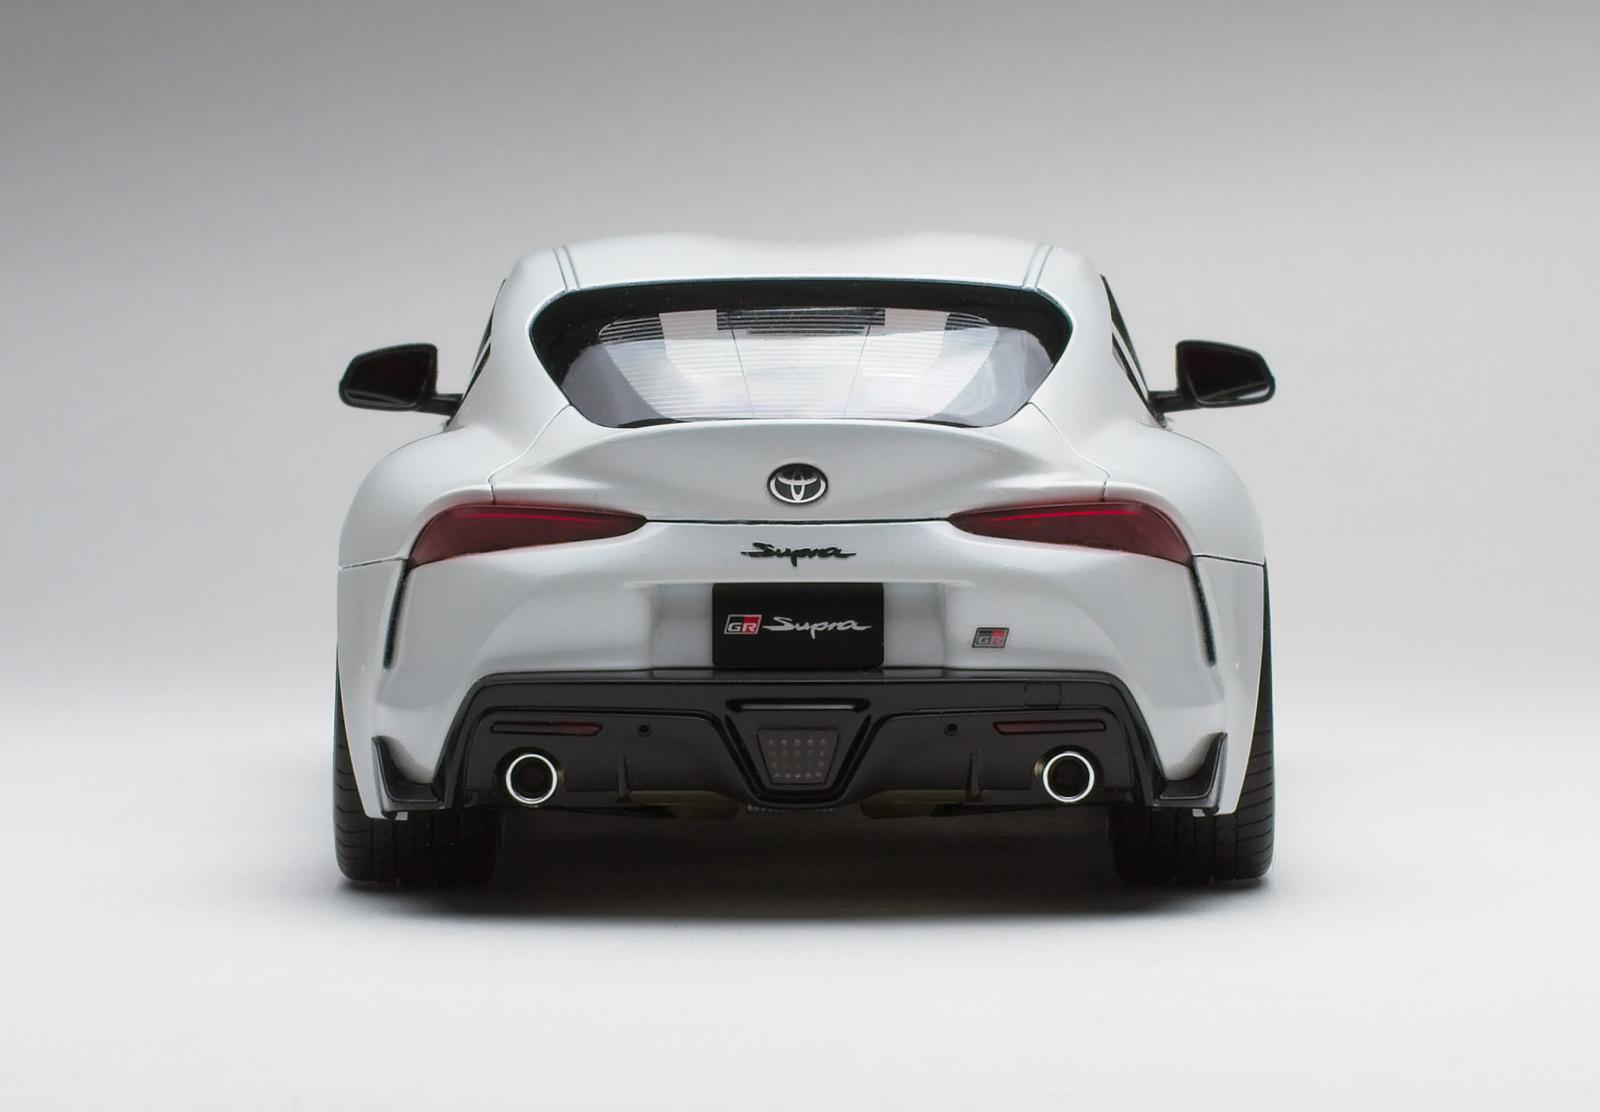
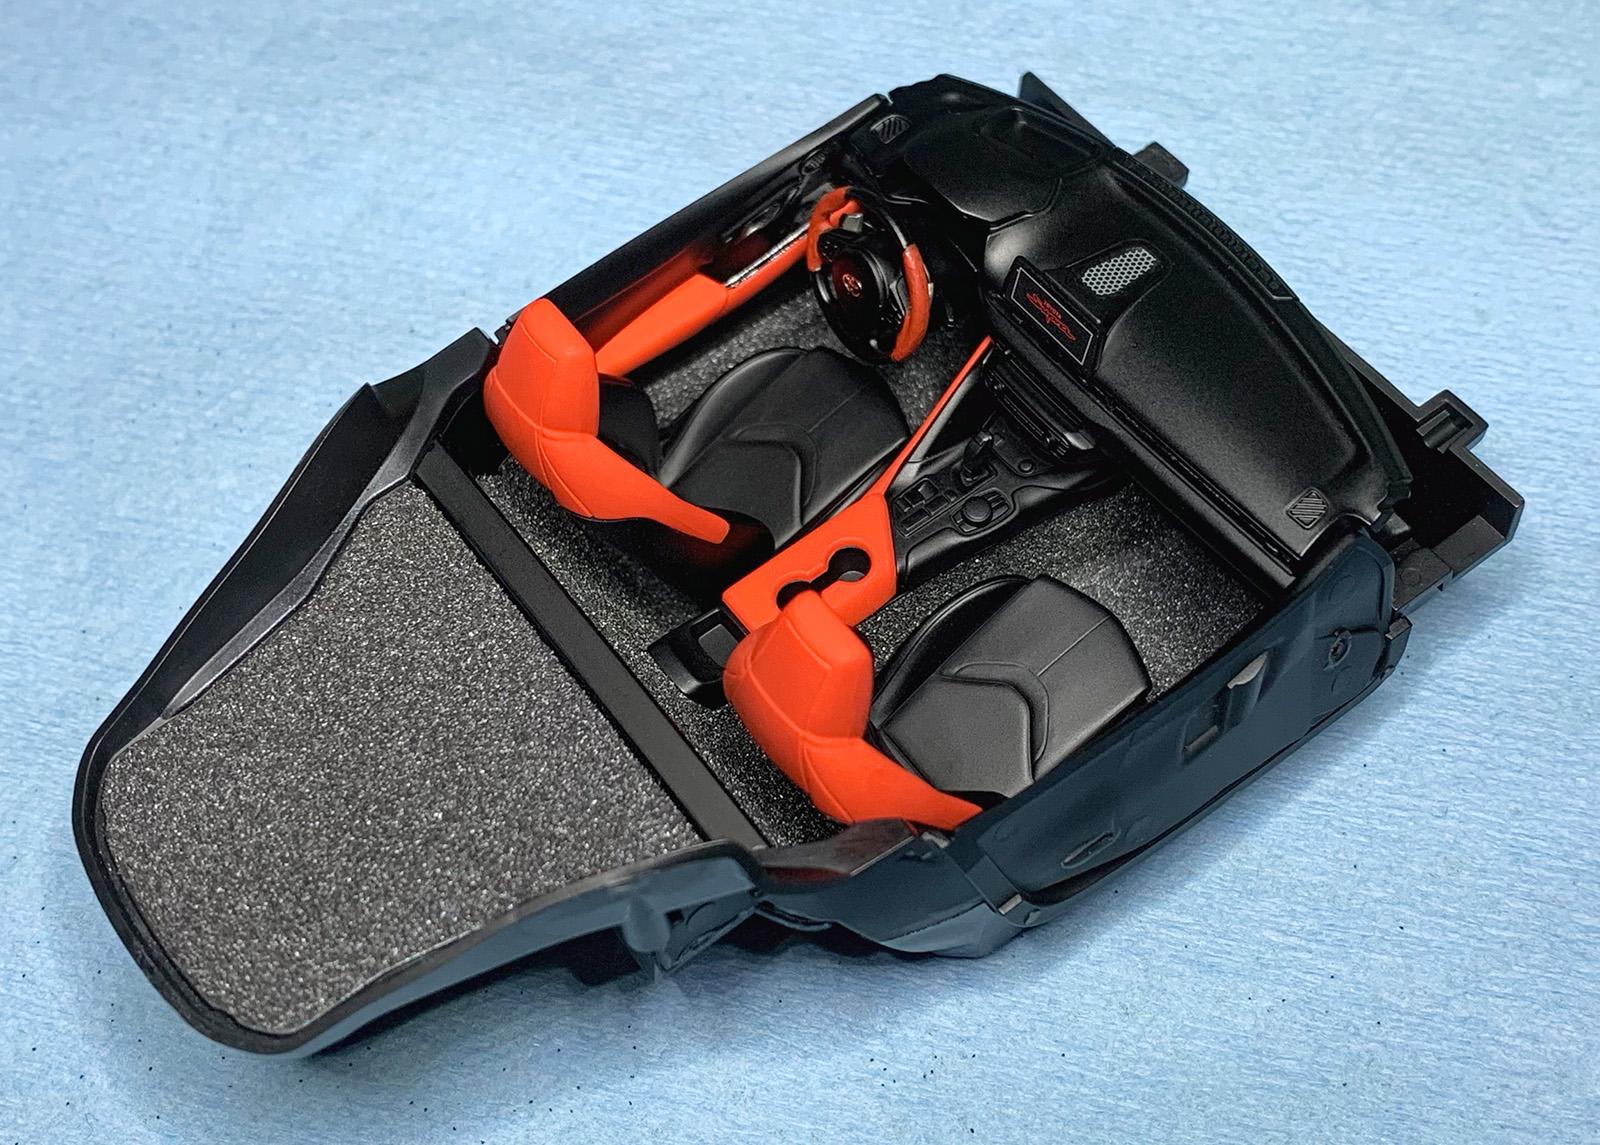
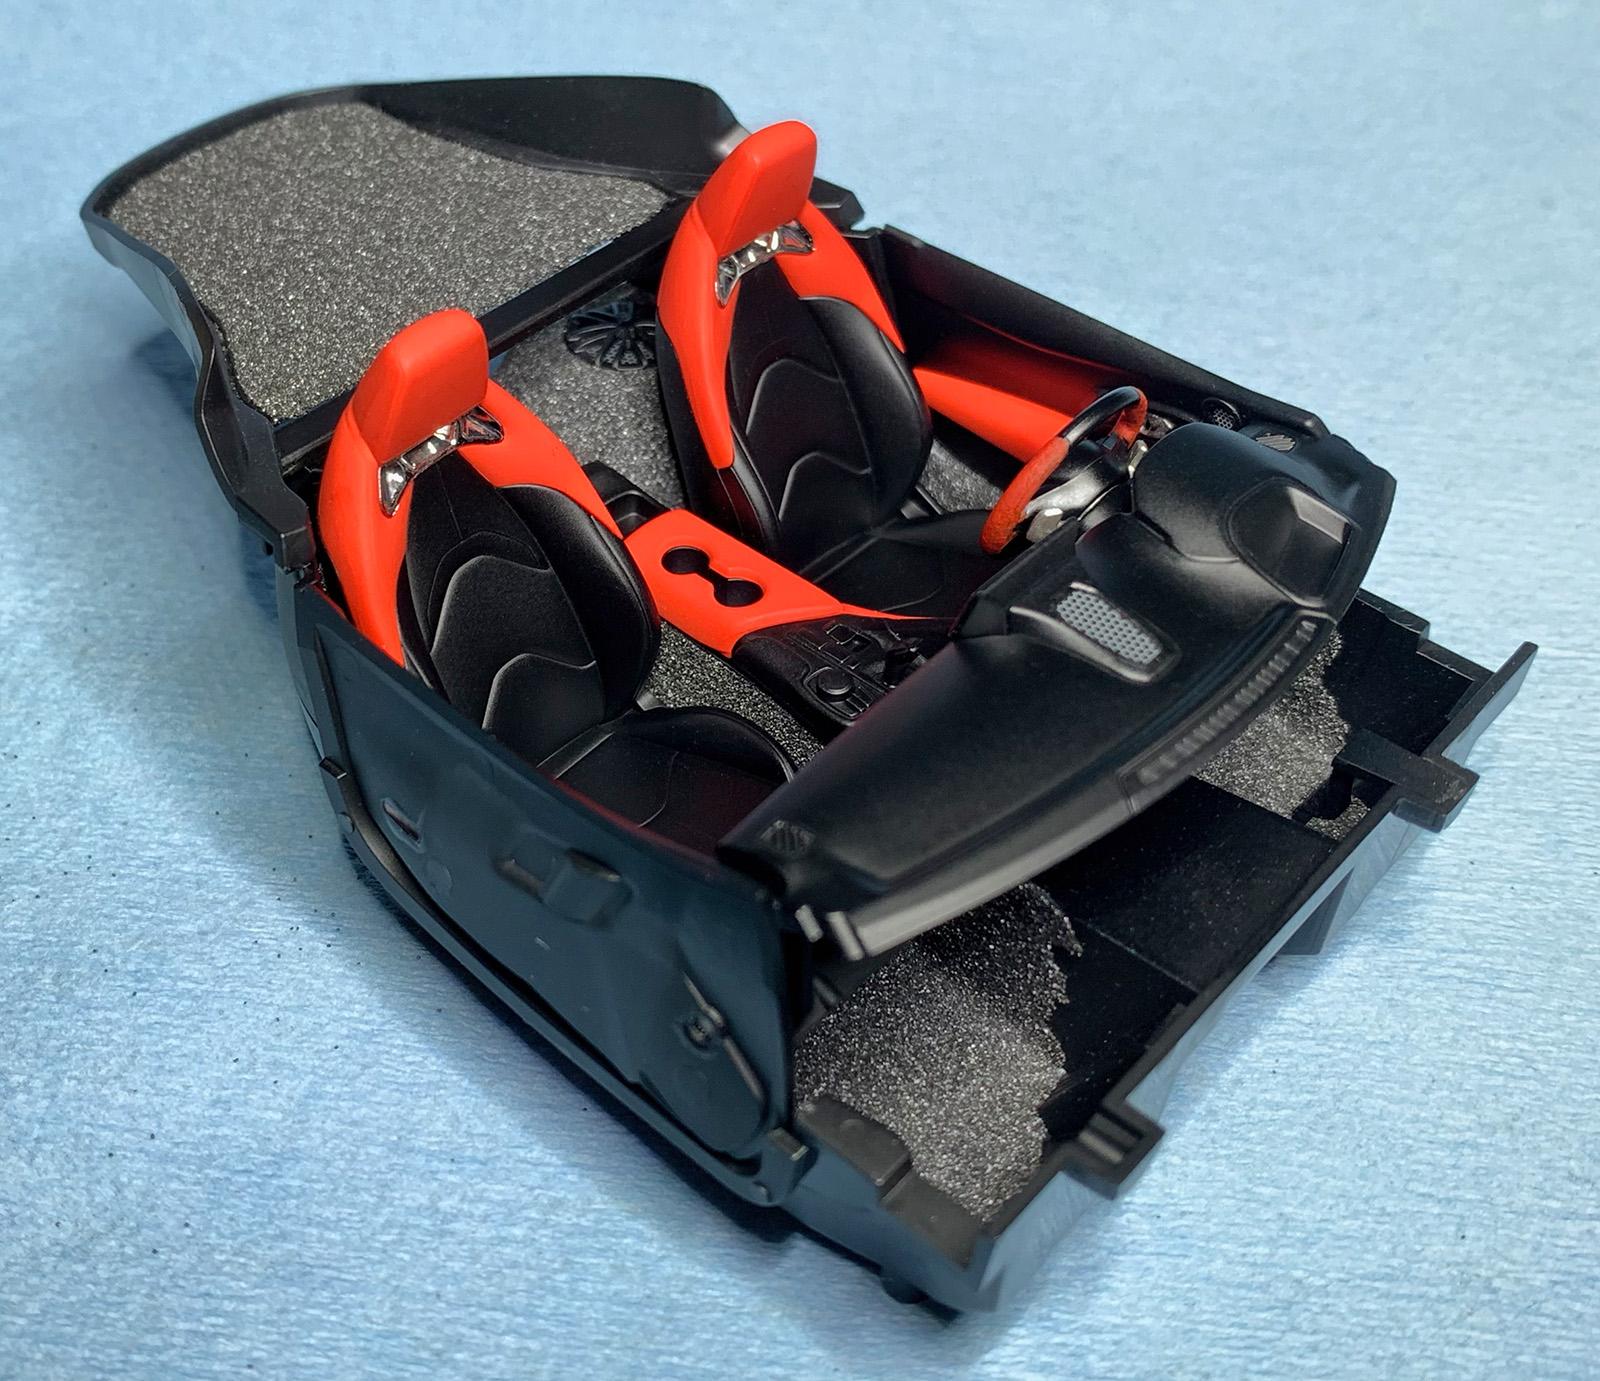
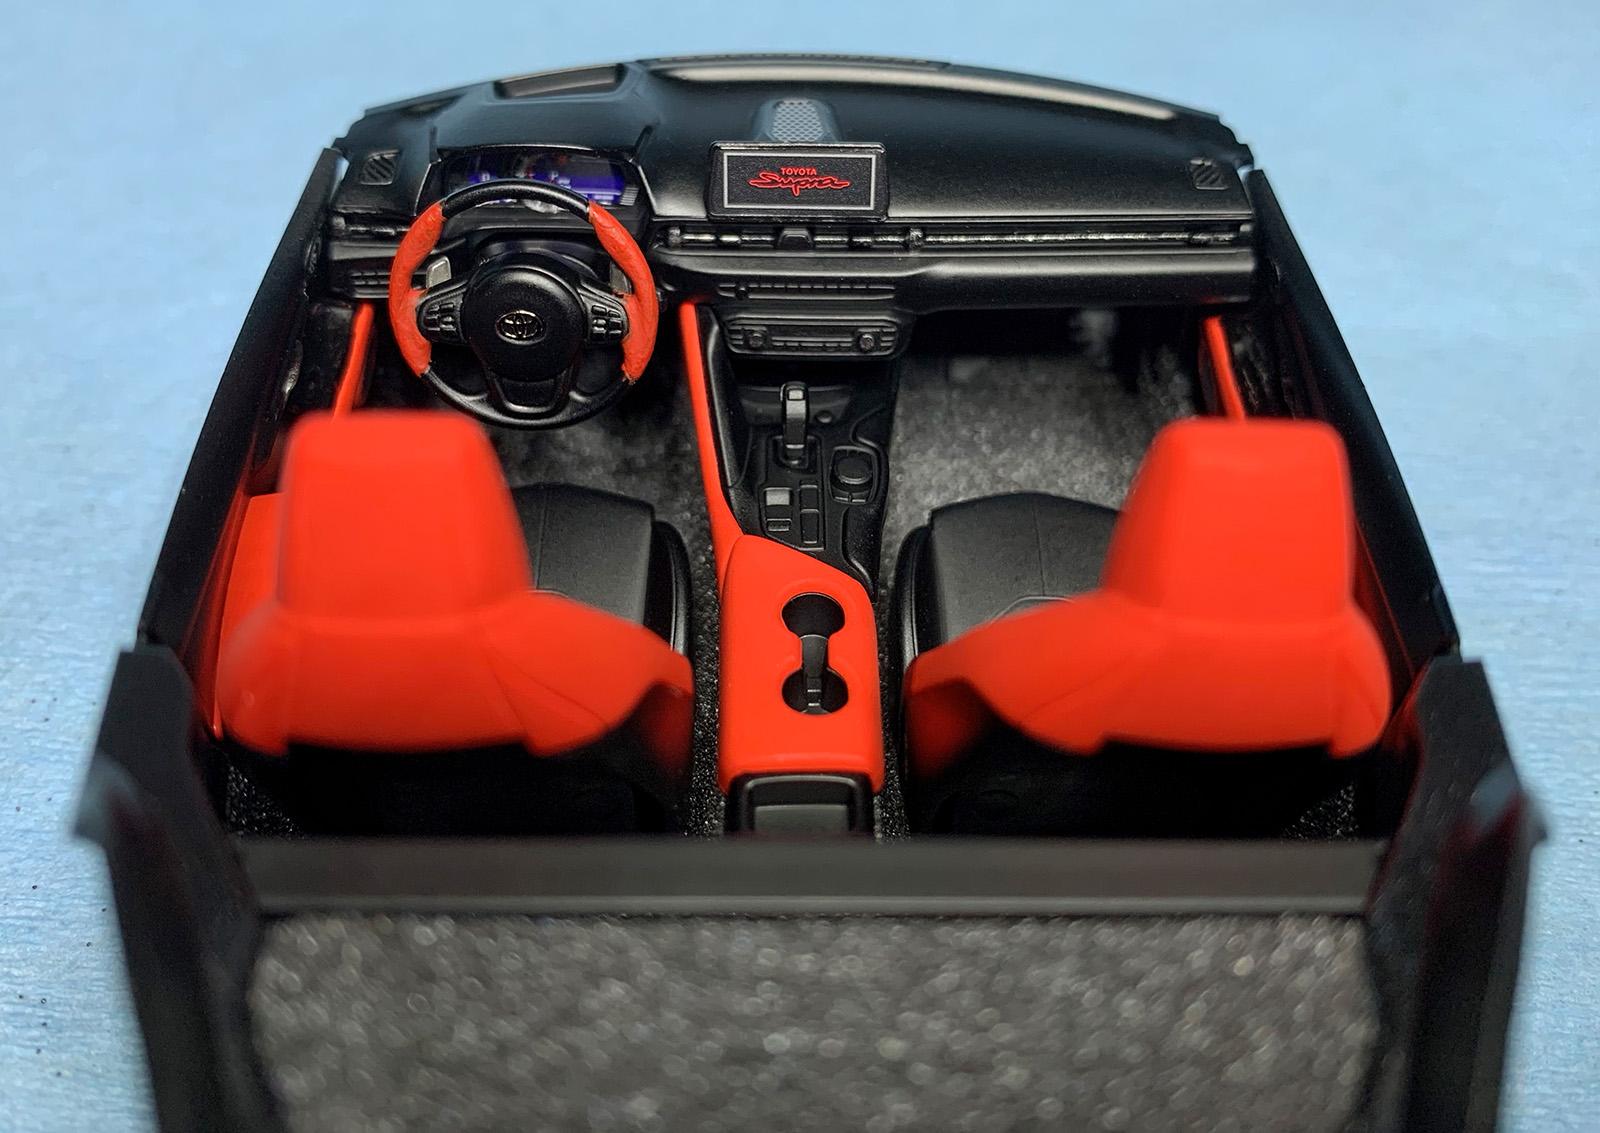
Good Evening, This was my first Tamiya kit... I now know why people rave about the quality of their kits. Pretty sure you could toss the kit into a bag and the parts would fall together. There was no engine and some tiny parts that could probably have been moulded as one but overall a pleasure to build. Great window masks were included - a first for me. The body was primed with decanted Mr. Finishing Surfacer 1500 Black and painted with decanted Tamiya TS-45 Pearl White. The TS-45 took several coats but never really covered that well so I decided to apply 2 coats of Tamiya LP-43 Pearl White and sealed it with decanted Tamiya TS-65 Pearl Clear. I did not use primer on the interior. The colours are Tamiya X-18 Semi Gloss Black and XF-7 Flat Red. I used Ranger gun metal embossing powder for the carpeting. Of course it wouldn't be a build if I didn't make a couple mistakes along the way. What I learned from this build: 1. I turned a tiny dust speck into a bigger boo-boo and had to strip the paint. Oven cleaner worked okay but brake fluid seemed to work better. Thanks for the tips I read here on the forum. 🙂 2. This was my first time using Tamiya's LP lacquer paint. It sprayed nicely thinned 1:1 with Mr. Levelling Thinner and I would choose their LP over acrylic for car bodies every time. 3. Not sure about colour similarity between their TS and LP line. Tamiya's Lacquer Compatibility Chart says TS-45 and LP-43 are the same but the LP-43 looked warmer to me. 4. I used a heavier application of white glue with the embossing powder which worked well. 5. The decals seemed a little thicker and less sticky. Had to use multiple applications of decal solution to make them stick and conform. Merry Christmas & Happy New Year! 🥂
-
 Up next on my workbench is Tamiya's 2005 Honda Takata Dome NSX. This will not be a pure box stock build nor will it be a super detailed build, somewhere in the middle I guess. I will be using Tamiya's PE set for this car and Gravity Colors - Spain Takata Green. This is one of the models that Tamiya decided to use a metal/diecast chassis plate. I have never built one of these before so we'll see how it goes. Here is what I am starting with. The Gravity Colors - Spain paint is absolutely beautiful in my opinion. I took it to work to show some of my coworkers how nice it was. I was giving it a shake as we were talking about it and it slipped out of my hand. Sigh. My shop smelled good for awhile...lol. I've already placed another order. While I wait for my new bottle of paint to arrive I went ahead and started work on the other bits. Another new one for me is how Tamiya has you make their racing harness. There are decals but I did not want to use them. The PE set has all of the required pieces and this weird vinyl material that you need to cut to 2.4mm wide. I used my Infini cutting mat for this. It took several attempts because this material stretches as it is being cut. Next up will be more interior updates and wheels/rotors.
 -
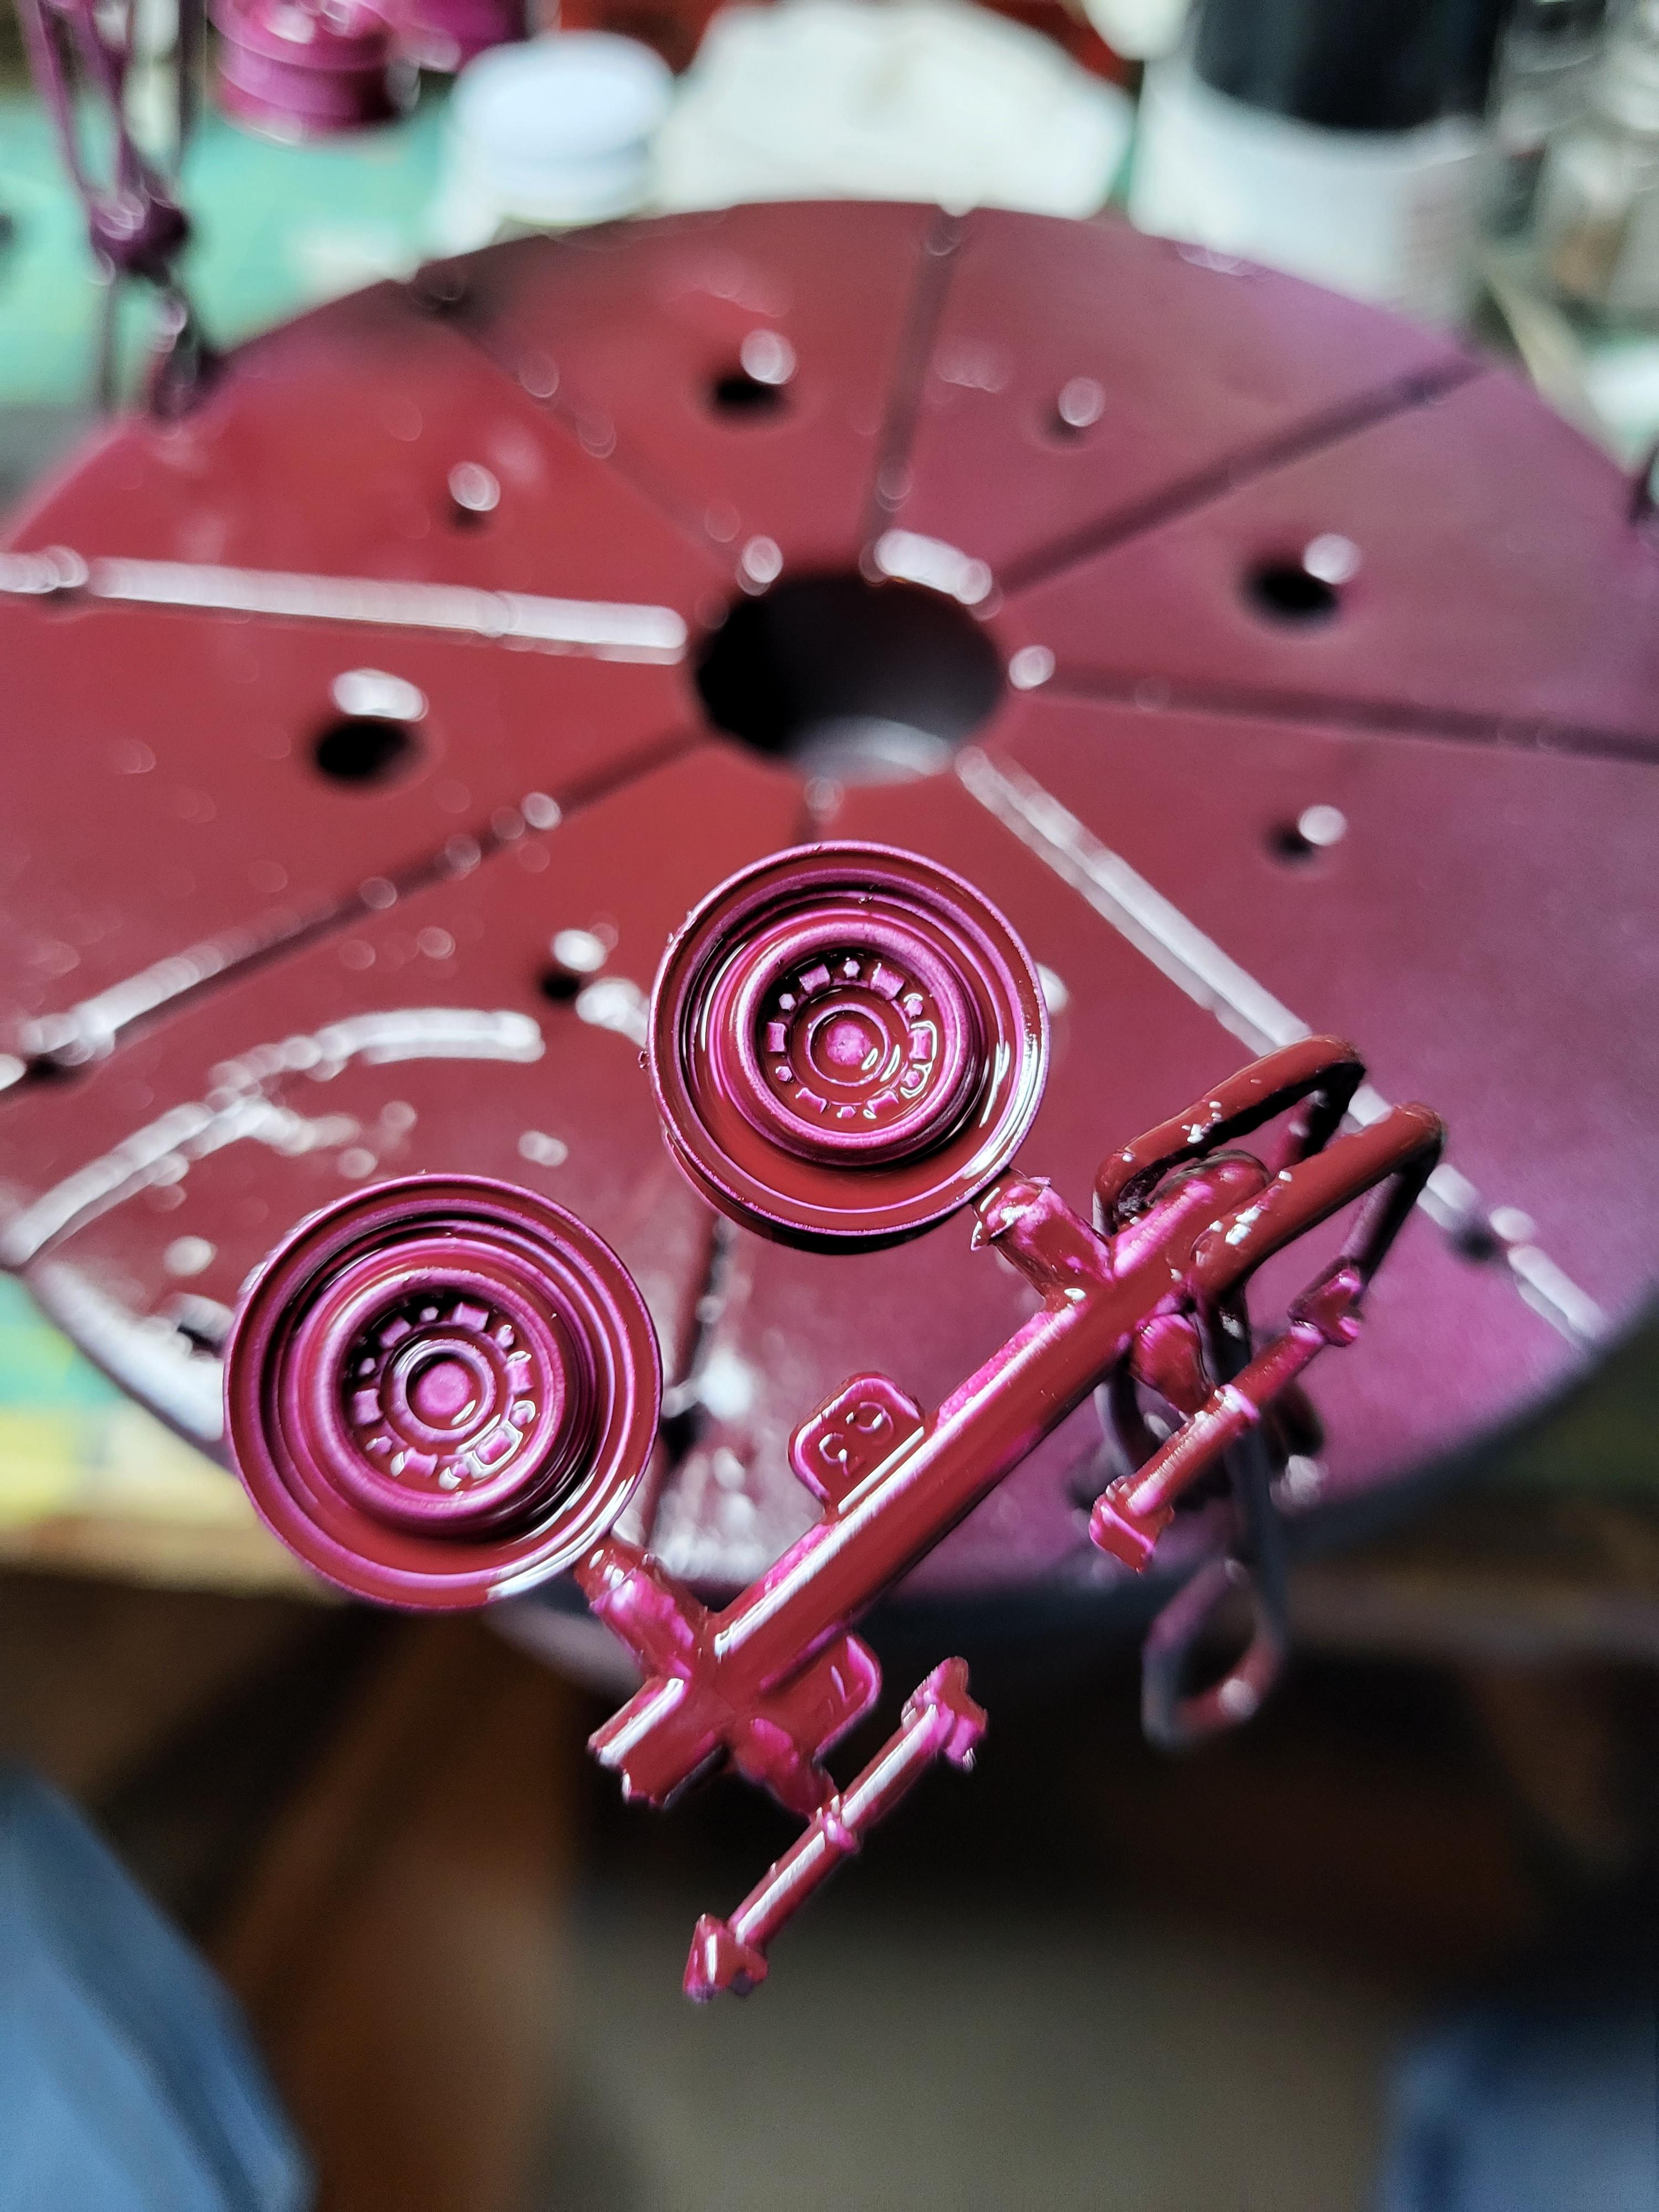
 It's box stock except for the seat covering. It came with this fuzzy stuff that was just giving off its fibers and didn't look right anyway. I put on this leather like material. I like to show enough pictures for a "walk around". First shot is without the fairings: Notice my paint detail work on the chain. No PE, it's the plastic one in the kit. I also drilled out all the holes in the brake rotors.
- 3 replies
-
- 1
-
-
- bimota tesi
- tamiya
- (and 1 more)
-
I would like to share my Spirit of America Porsche 956 with all of you. I fell in love with this livery when I first saw it. I found the Studio 27 decals and just had to build it. This post will be a little photo heavy so be forewarned. If you would like to see the WIP you can go here: WIP: Other Racing: Road Racing, Land Speed Racers - Model Cars Magazine Forum. A list of products used is listed there. There is also a little rant within that thread so be forewarned about that too...lol. Questions? Ask away. Comments? Please post them. Critiques? I'm a big boy. Maybe I'll learn something from them. This model has only made it to one model contest so far. I am pleased with the results. It is nice to have your work recognized by your peers. This is a shot of some test fitting during the build process. The drivetrain is not complete in this picture but I thought it was kind of cool. The rear cover is not fully in place, it is just sitting on the model. The model will normally be displayed with it off.
-
I thought I would share another build with all of you. I am going to build the Spirit of America liveried Porsche 956. I will be using the following items on this build: Tamiya Newman Porsche 956 Studio 27 Spirit of America decals Studio 27 wheels Scale Motorsport PE set Eduard 6 point racing harness Various Detail Master and Pro Tech items Now for a couple of notes. I am no expert on these types of race cars. I just happen to like them, I think they are absolutely gorgeous machines. I do not expect my model to be an exact replica. I will try to explain why I did what I did if I deviated from the prototype. I appreciate all comments and suggestions that you may offer. The truth is, like most of my WIP threads that I have done in the past, this model is already complete. I still think this WIP could be beneficial to someone thinking of building a similar model. The following pics are of the car that I'm building. I got them from the Internet. I would give credit to the photographer if I knew who they were. Here are a few pics of what I am starting with.
-
Specifically a Tamiya Toyota Sprinter Trueno GT-Z AE92. My second model in 20 years after the brown Crown I posted awhile back. Here's another megapost with some inspo and more fun photo experiments! Here's the two of 'em together, chillin'. The kit: The inspiration - went for kind of an Okinawa surf vibe with this one...wanted to see if I could make blanket seat covers like that. Weird little 1/2 mudflaps... Fixed. Added the pop-ups from the Initial D AE86, I guess Takumi will have to deliver during the day. Built boxes behind the lenses since this snap-kit only had decals. It's little details like this I never thought of before and now they're all I see, haha. Choppin' it up Adding powerrrr Filling sinks Makin' masks and wow do I suck at this. Noticing that Tamiya white tape (plastic) leaves cleaner lines than Tamiya yellow (paper). My hands are not steady enough for this. Tough to see the depth and color of the Tamiya dark metallic blue in the sun but it looks nice here. Some of that surf vibe coming in. Realized nothing has enough weight to hang so even invisible thin line has to be shaped and glued. Making space for the deep Focus Racing Fins 1 piece, lotsa making Her undercarriage, as interpreted by whatever paints I had lying closest to hand. Had some Amuse decals so I tried to do one of their wild R1 Titan exhausts, just about the limit of my airbrush ability so far. Pretty close... Mmm...smell the exhaust... Mexican blanket method from YouTube, nice n' easy! Going for the pattern in that Honda Civic...definitely relaxing to make these. No risk of the thread reacting to the tape and going all orange peel or anything. Add fringe... ...then chop it up... ...and in it goes. Having some fun in the interiors...real titanium shift knob (a nose ring), little data logger made from clear blue plastic, and interior door handles though I think I got the driver's side one wrong for an AE92. Gotta have the Sparc-o and the Bride-o Ok, to the outside! Gotta use a stencil from now on for intercoolers...I'm not sure a decal can ever look quite right. Tried out some auto film for the tint...not really to scale and it's on the outside of the glass (!) but hey, everything's an experiment for me at this point. I do like the 3 colors of flop I get out of it. To the indoors where I had some more fun with lighting - here with one of those LED tracing boards/light panels above the car, going for a full marketing photoshoot setup, hehe. Which is really great if you want to highlight every. single. imperfection in a surface. I see why CAD designers and clay modelers use zebra stripes now. Still, looks kinds cool... Full-on 90's now with a little light writing (bike light on a stick, 3-5 second exposure) Dragging my hand along the back added some nice floor lighting. Yeah I'm getting weird at this point. Halo! Ok enough of that, just smooth... "Bad Human Being: Women, Liquor, Drift...etc"
-
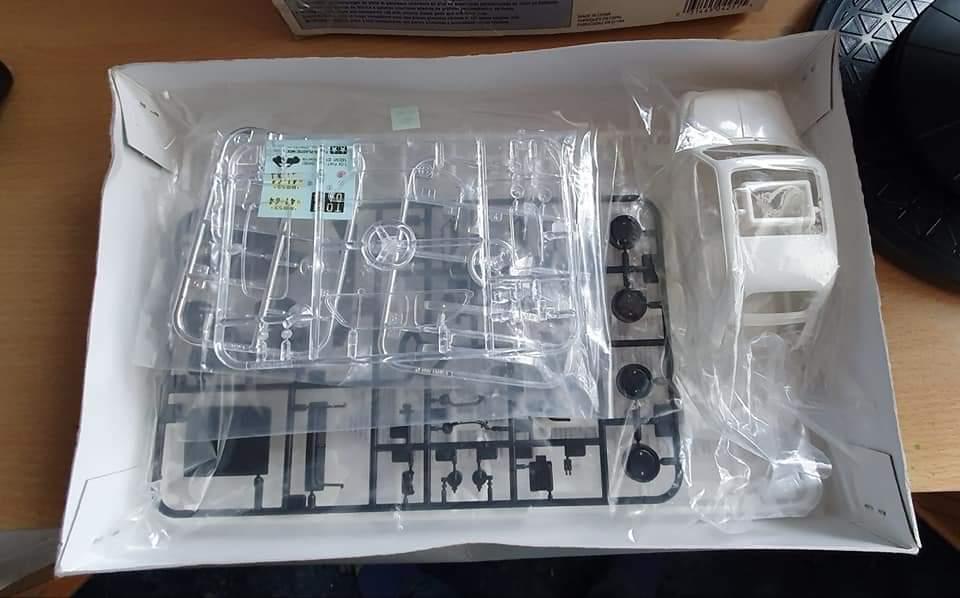
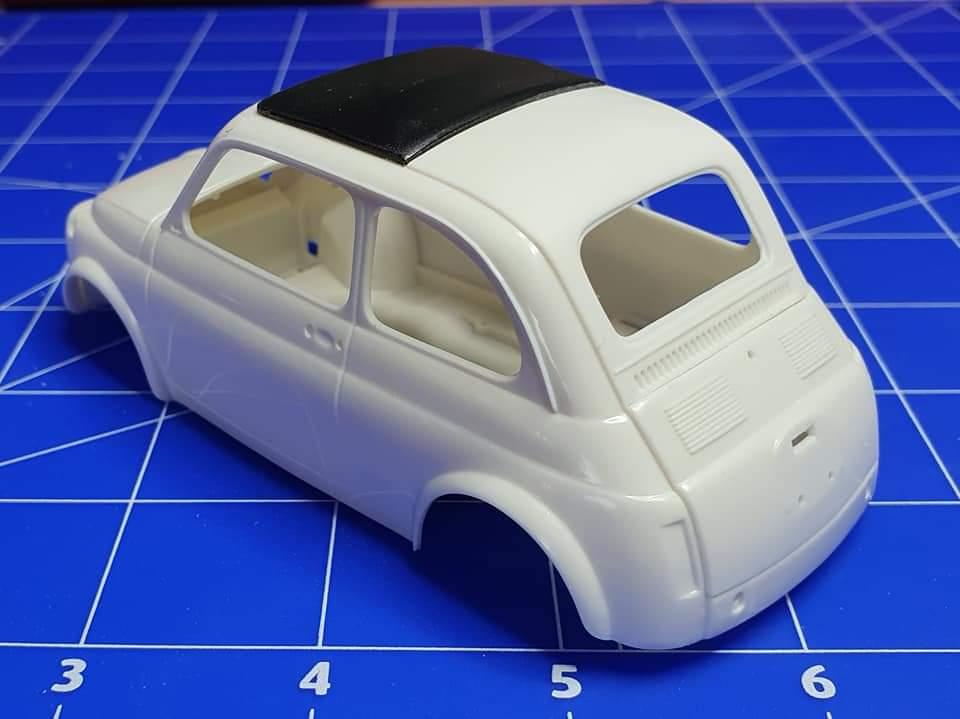
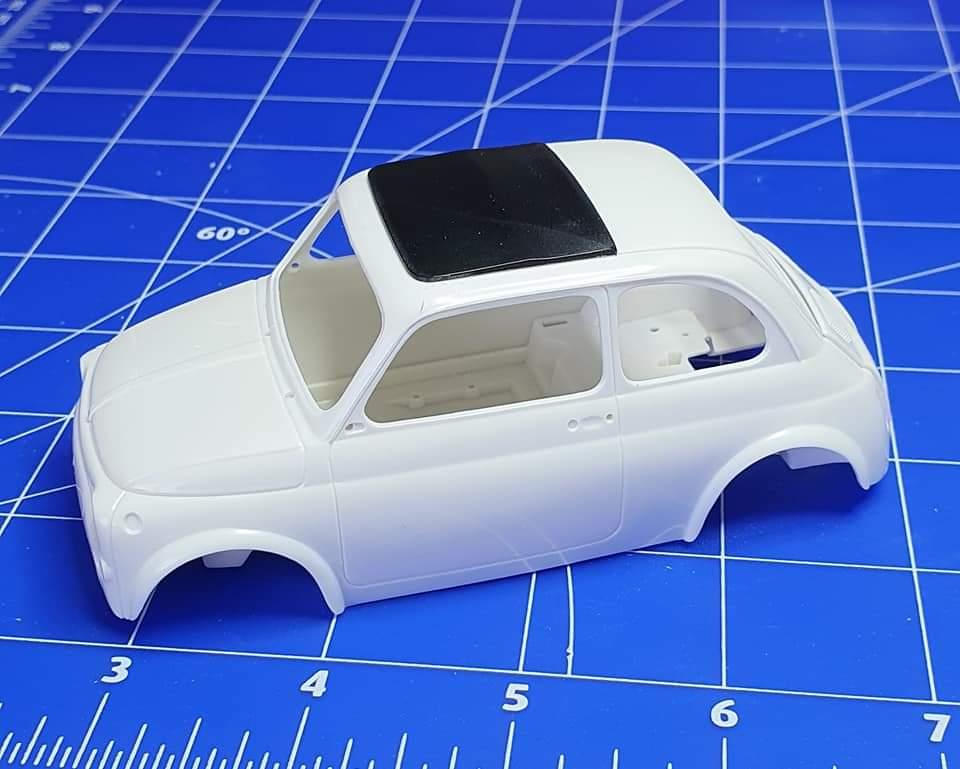
I've had this one sitting on the side for a while, after buying it on eBay, sadly when it arrived the tyres and polycaps were missing, a good friend got in touch with me to say he had the parts I needed, so as I've got a few models on the backburner ready for airbrushing, I'm going to make a start on this one, I've had the paint mixed up for a few years, Positano yellow, which was the colour of my second car, a Fiat 128. it's been a while since I've built a Tamiya model kit, I think the last one was the Citroen 2cv, I think I need to build more of my Tamiya kits in the stash, the parts fit is superb, just a very fine mould line to remove running along the top of the rear window, but the rest of the bodyshell is devoid of any more mould lines, the engine cover and sunroof are only dry fitted at the moment.
-
Older build
-
 Hello everyone! I've literally just started building my first car and have obviously ran into some problems. It's a Lotus Europa 1/24 from Tamiya and the main shell that came off the sprue is white. After the first base coat, I had some tiny paint holes and build up, like bubbling or mounds, one area near the front fender, and one under rear bumper. This is the part where I think I began to get overcomplicated and ahead of myself. I tried sanding down and filling the holes with Tamiya basic putty which is grey. I waited a day for the putty to settle then sanded it so was smooth and in the shape of the shell, and the holes were filled out. Then, since I sanded the first basecoat (because clear coat is not recommended to go on a sanded base coat IIRC?)I tried spraying another (2nd) basecoat of the pearl white, and to my dismay, I found out that the pearl white spray (TS-45) I was using was very translucent, and showed the grey putty areas. So, I sanded the car again trying to get rid of as many grey areas as possible. At this stage I have ran out of spray (100ml can), and am too eager to finish the shell. Now this was probably another rookie mistake, I tried hand painting the more difficult grey areas with Tamiya flat-white enamel because I couldn't wait to buy another can of the pearl white. Now I've bought 2nd can 100ml can of pearl white and sprayed the other parts (bumper, back engine cover, spoiler) and then on the main shell yet another basecoat (3rd). There is still some orange peel from my amateur spraying, one or two grey putty areas (3-5mm in size) you can see when it is well lit, as well as some scribing scratches. You can also see slightly raised patches where I've used some enamel in my amateur attempt to cover up the grey putty areas. Now I've used two cans of Tamiya pearl white spray, and still have a pretty mediocre shell. Please refer to the photos. So now, do I buy third can of the pearl white and spray to cover up the grey regions and fill scribing mistakes? Do I sand down everything and start again? Or should I just clear coat it now, polish, and just build the car. Regards LG
-
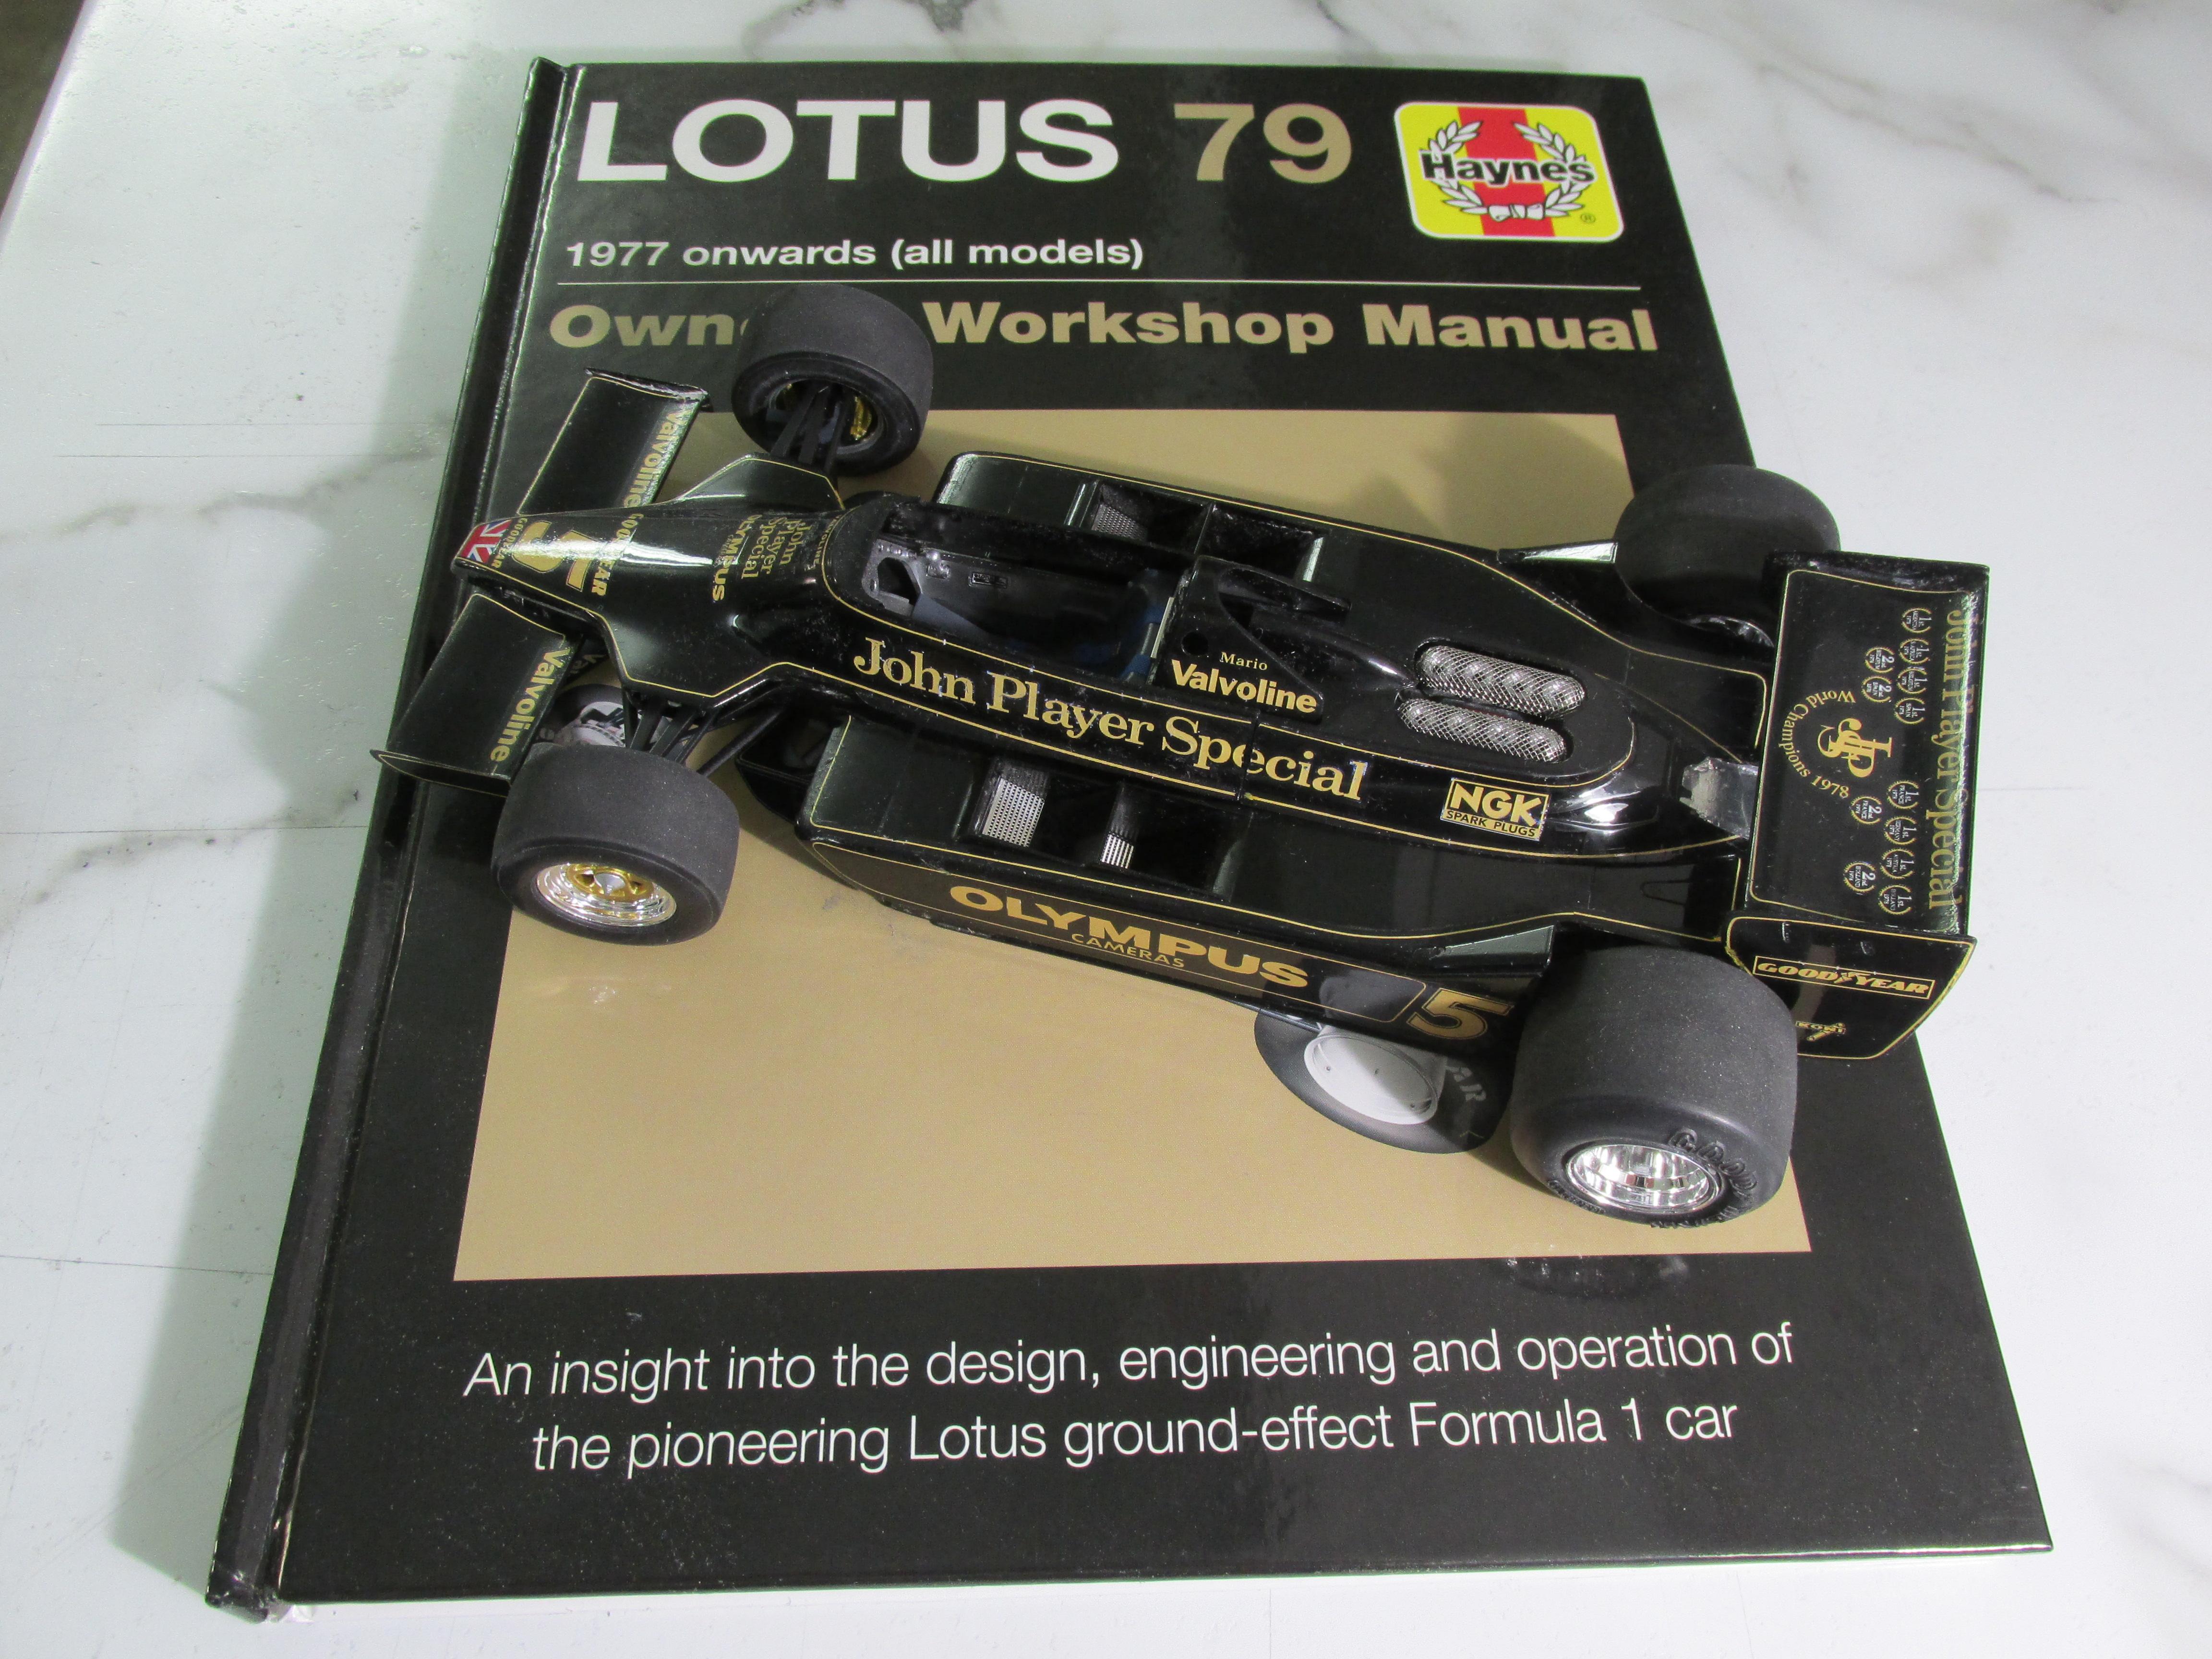
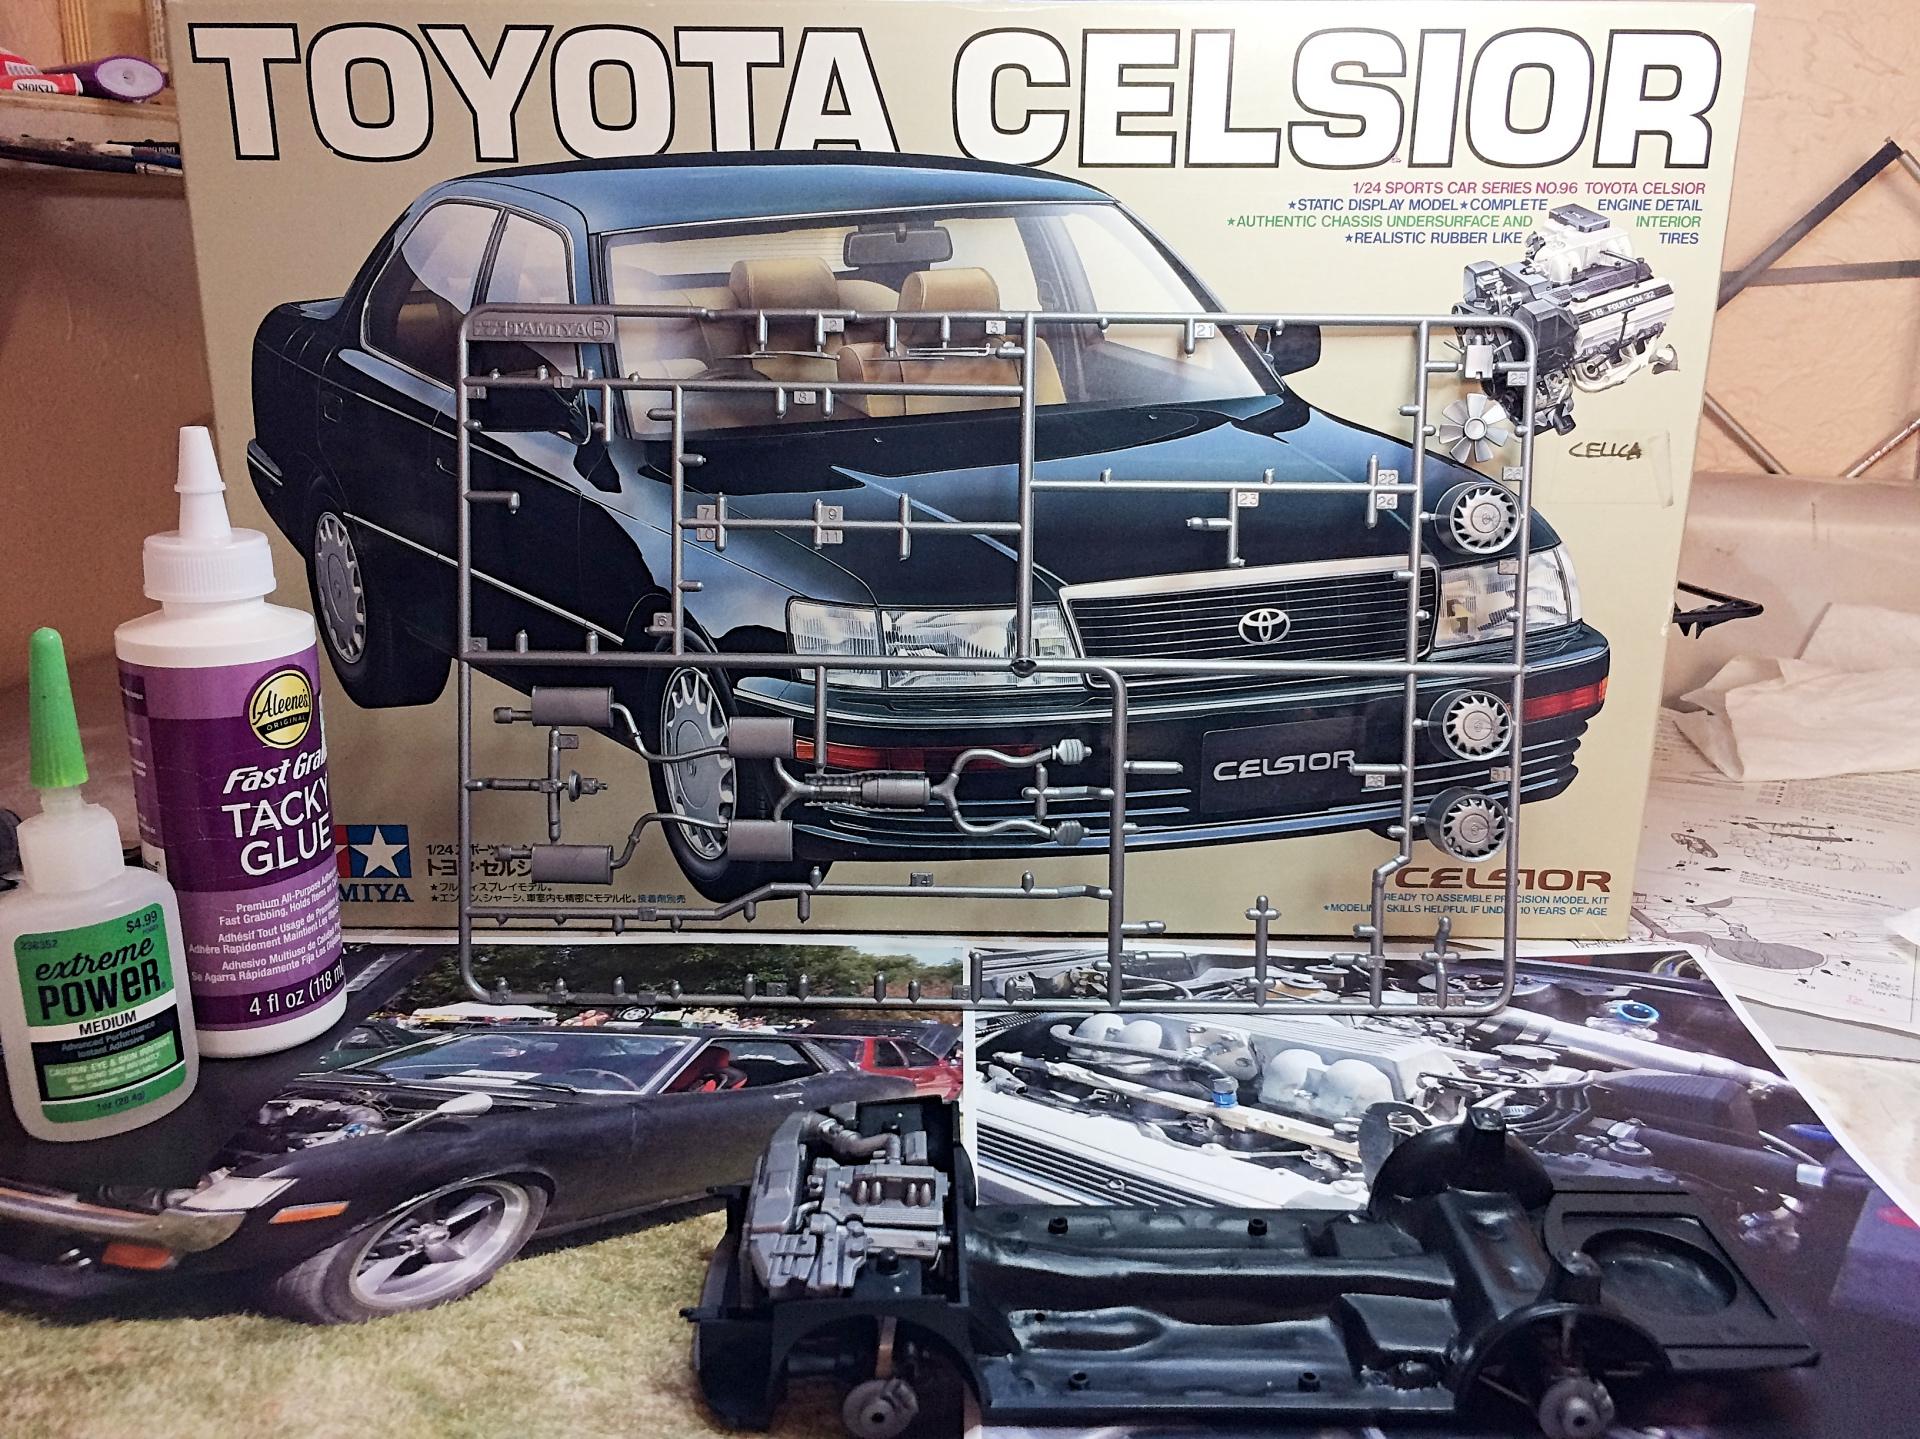
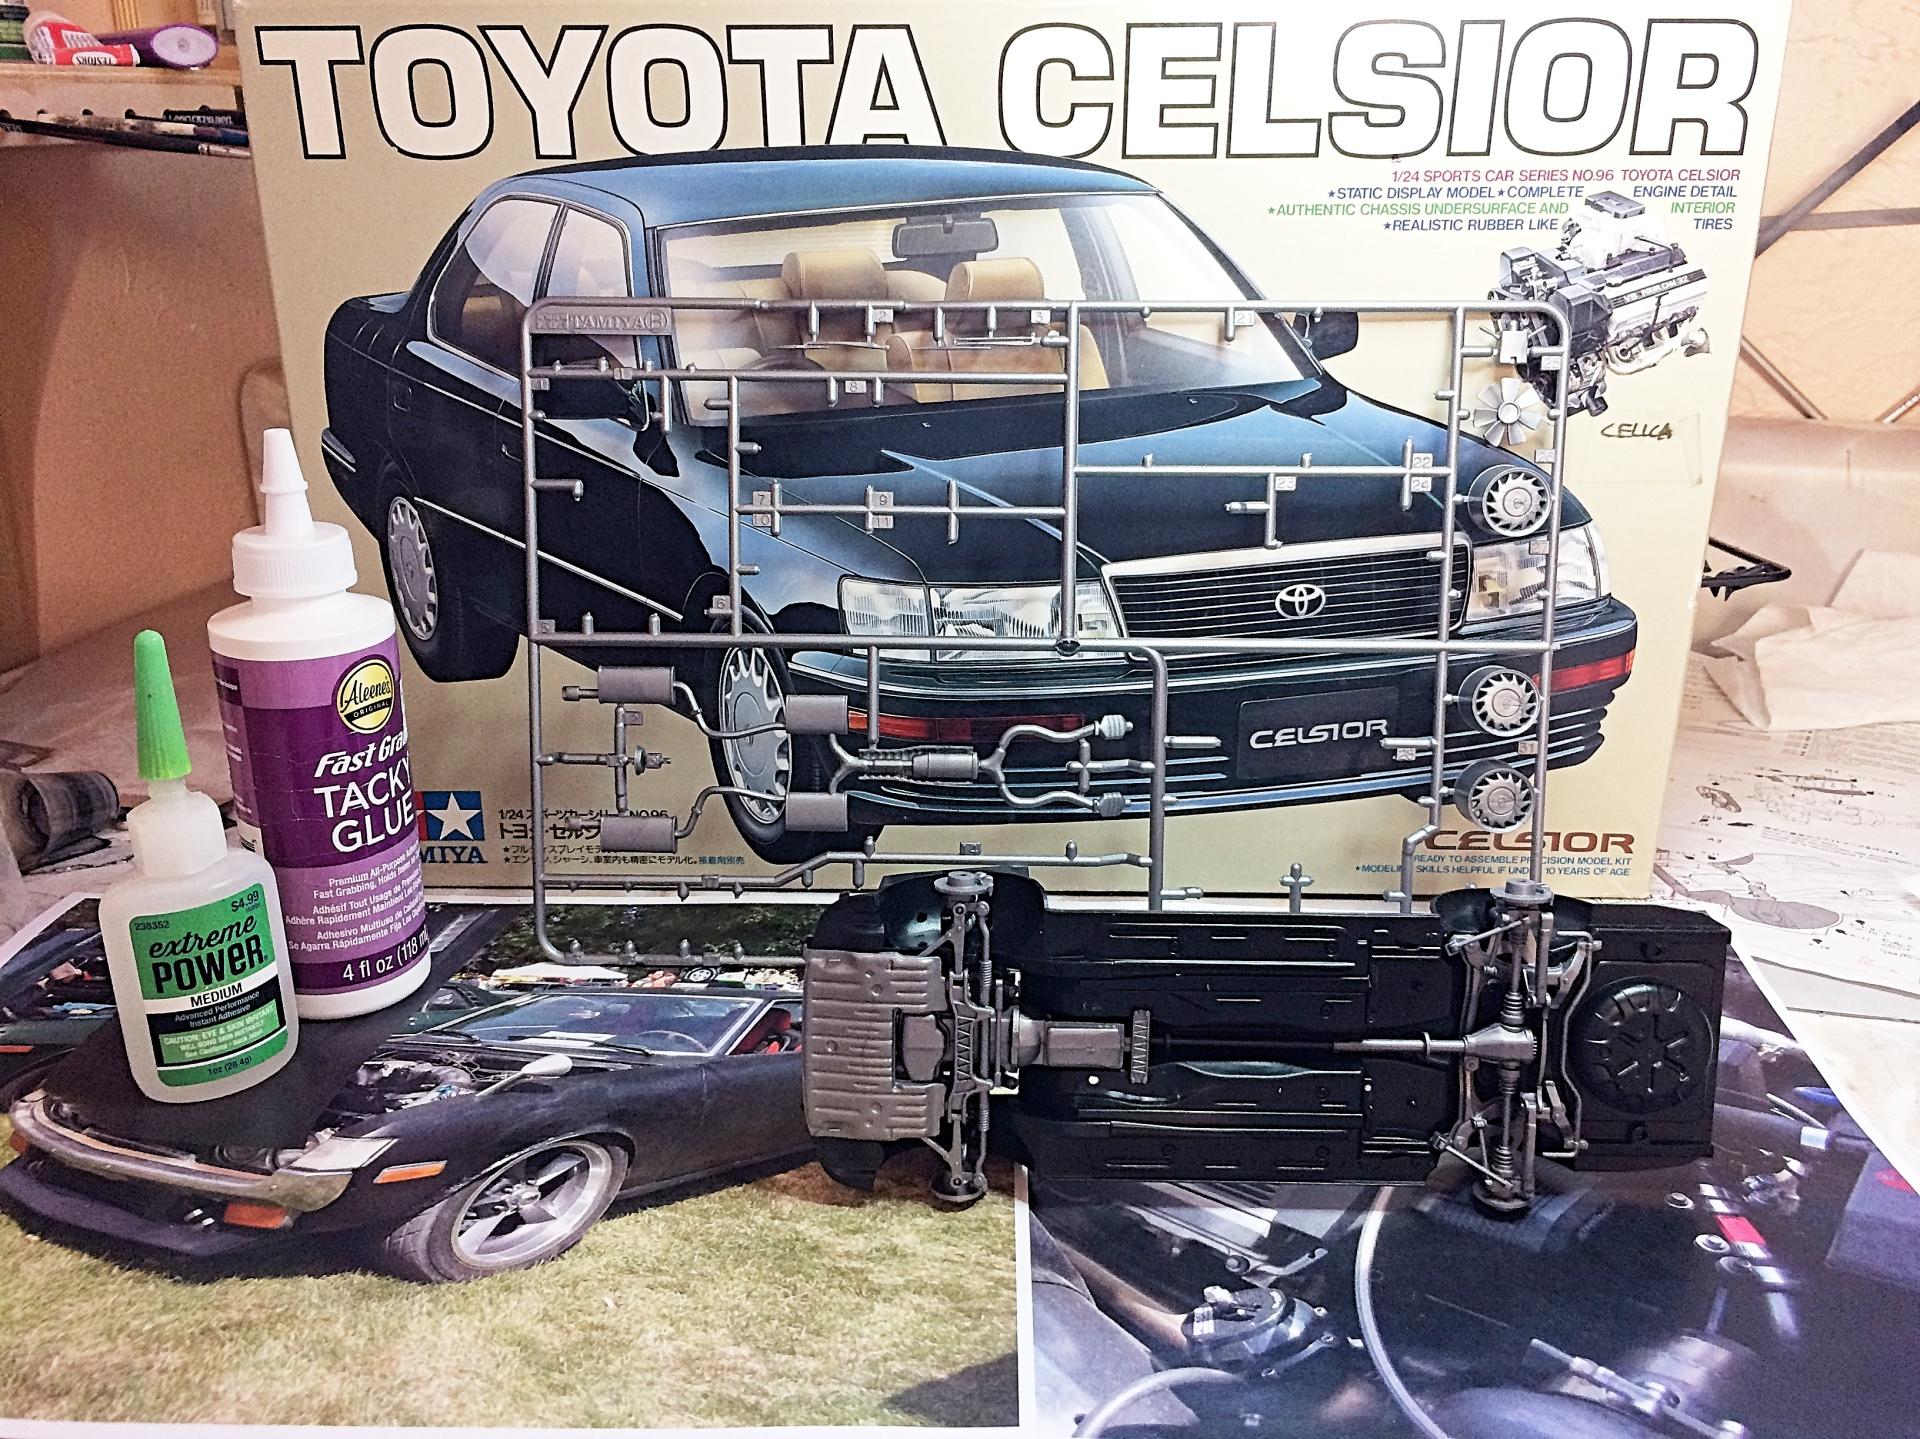
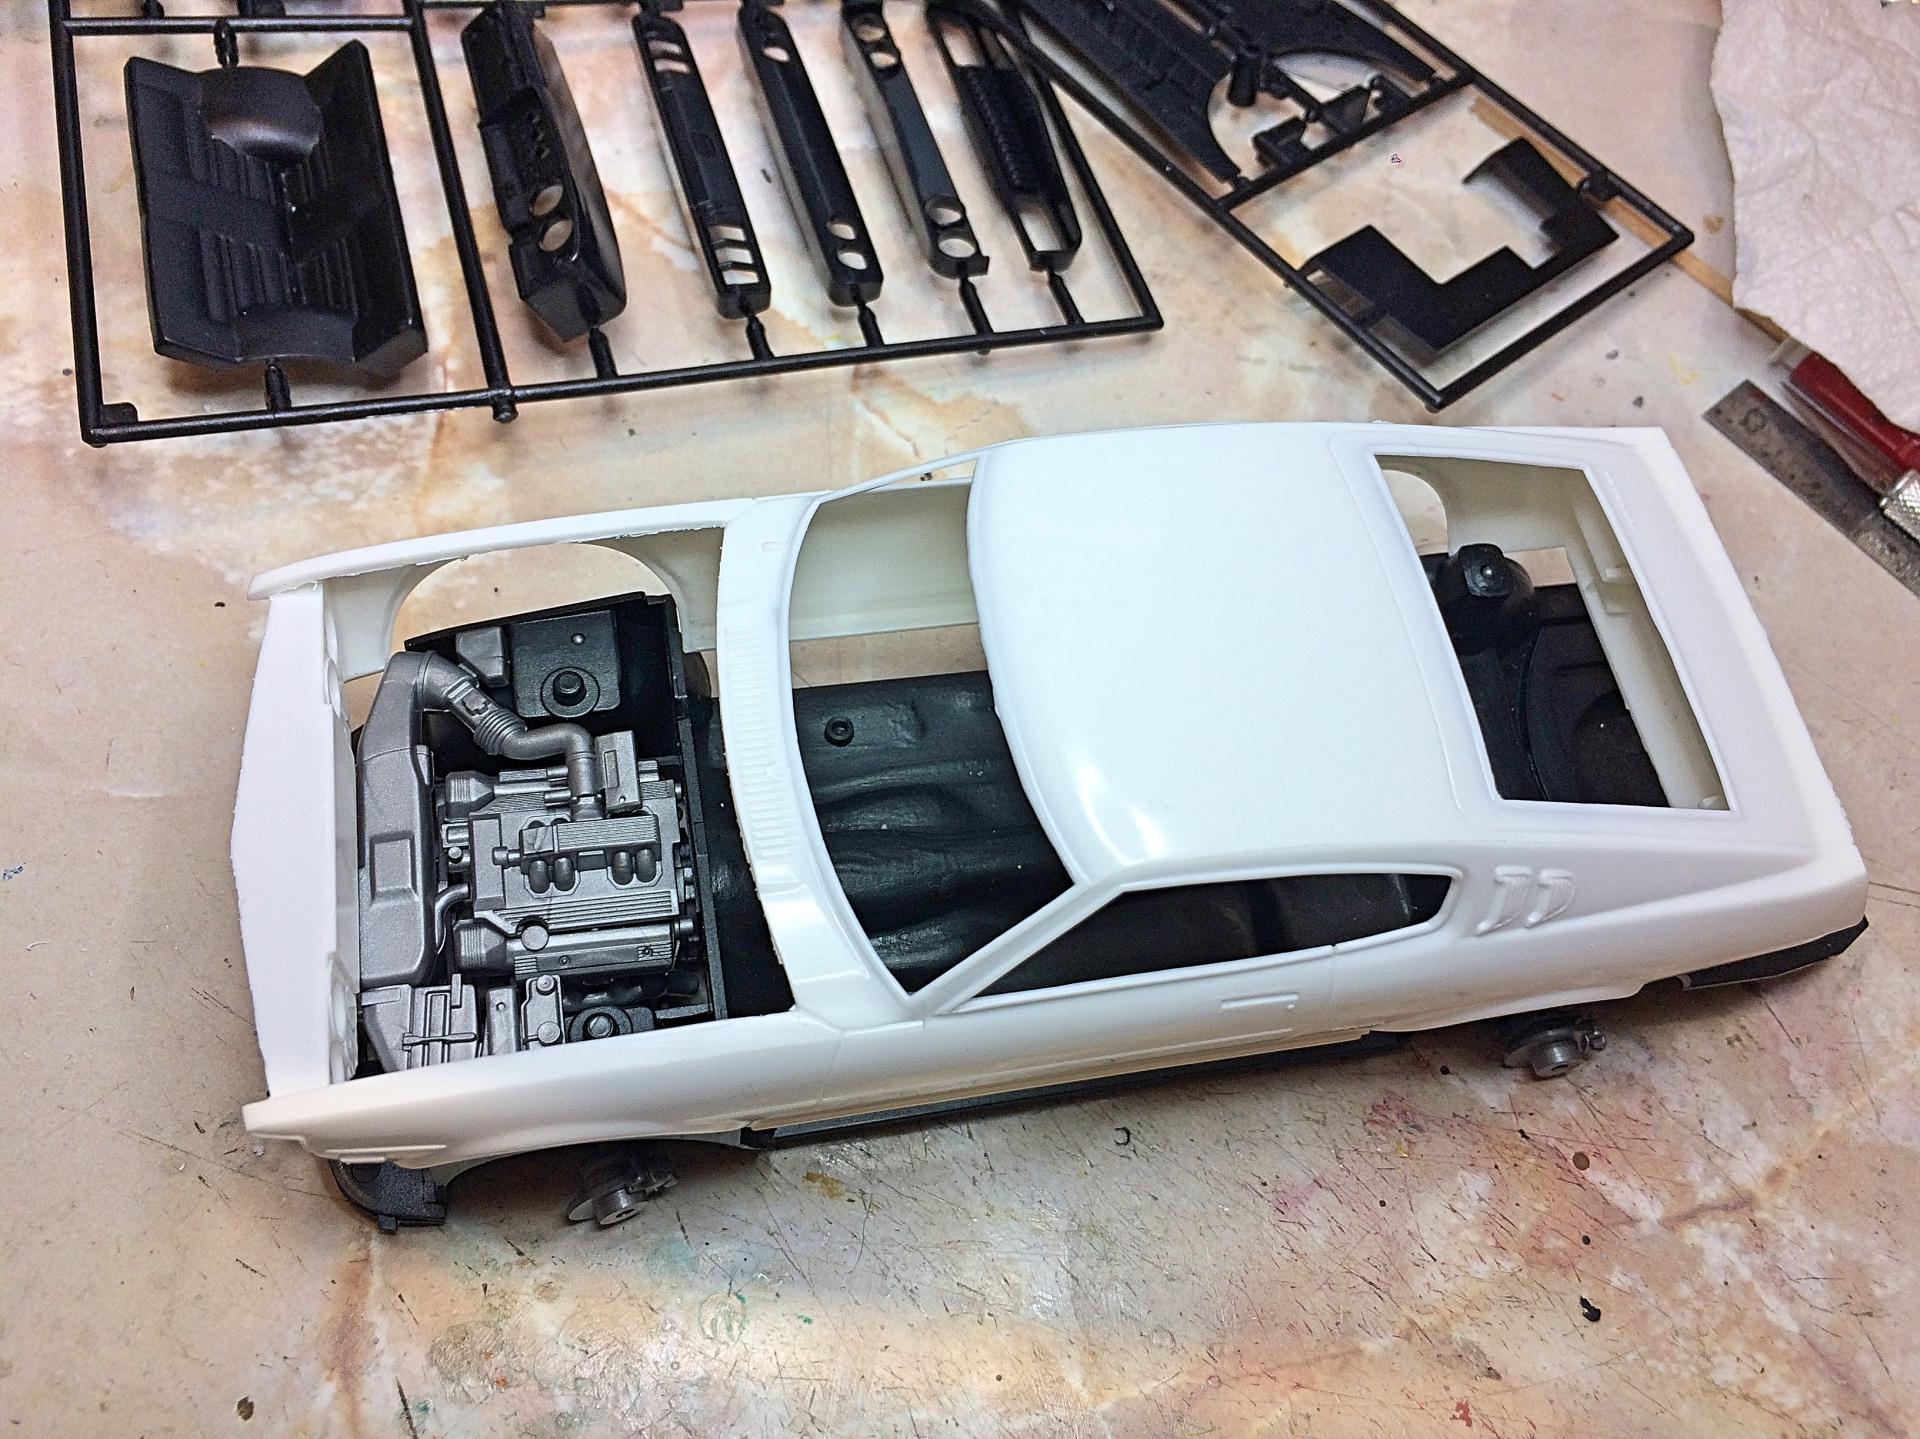
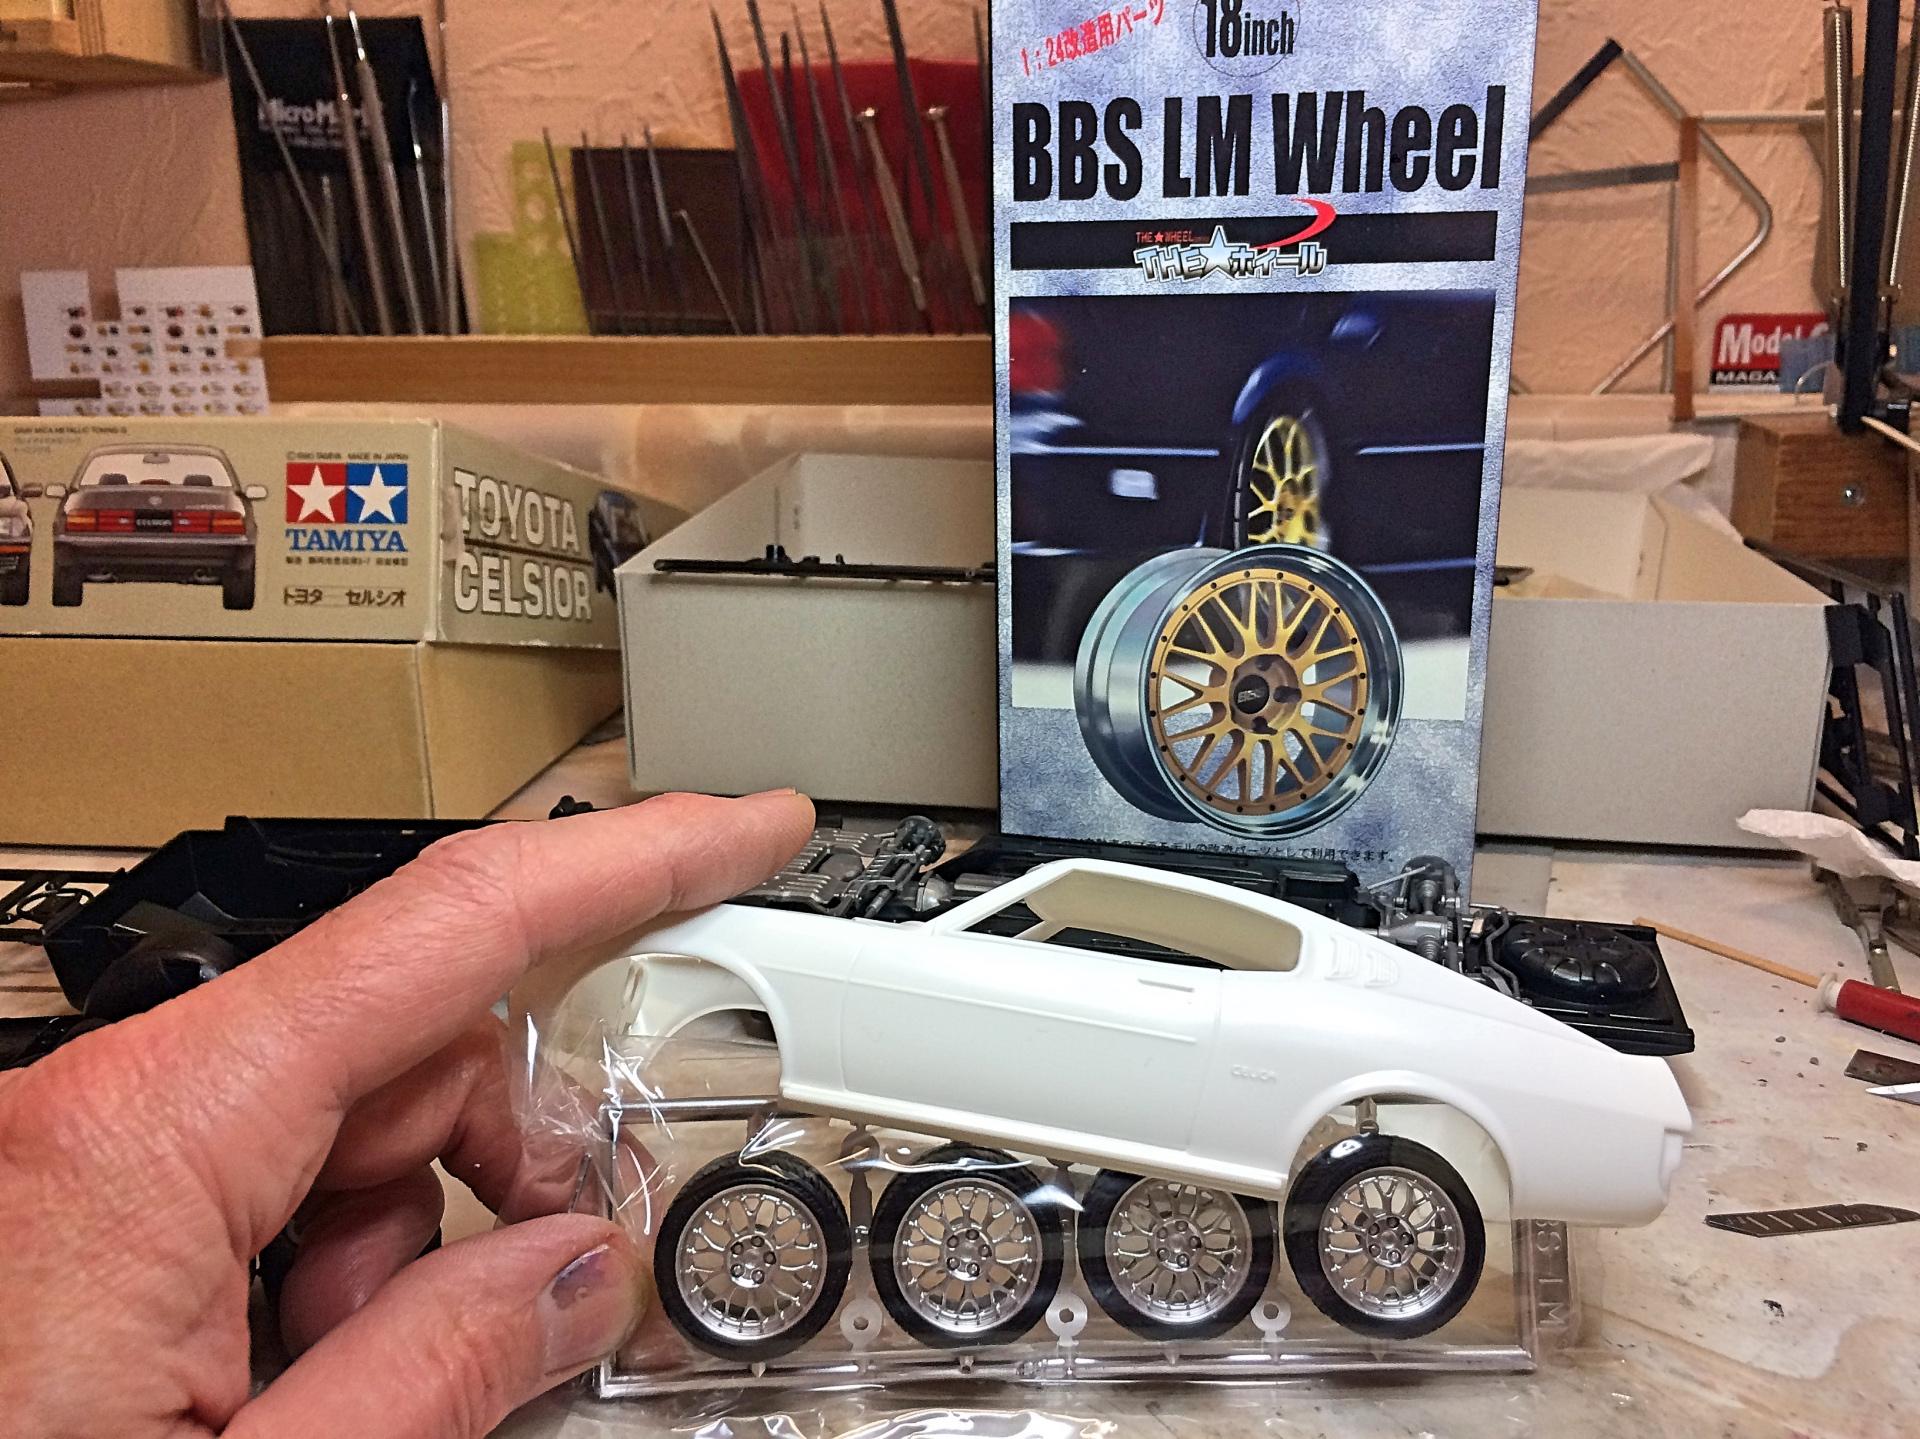
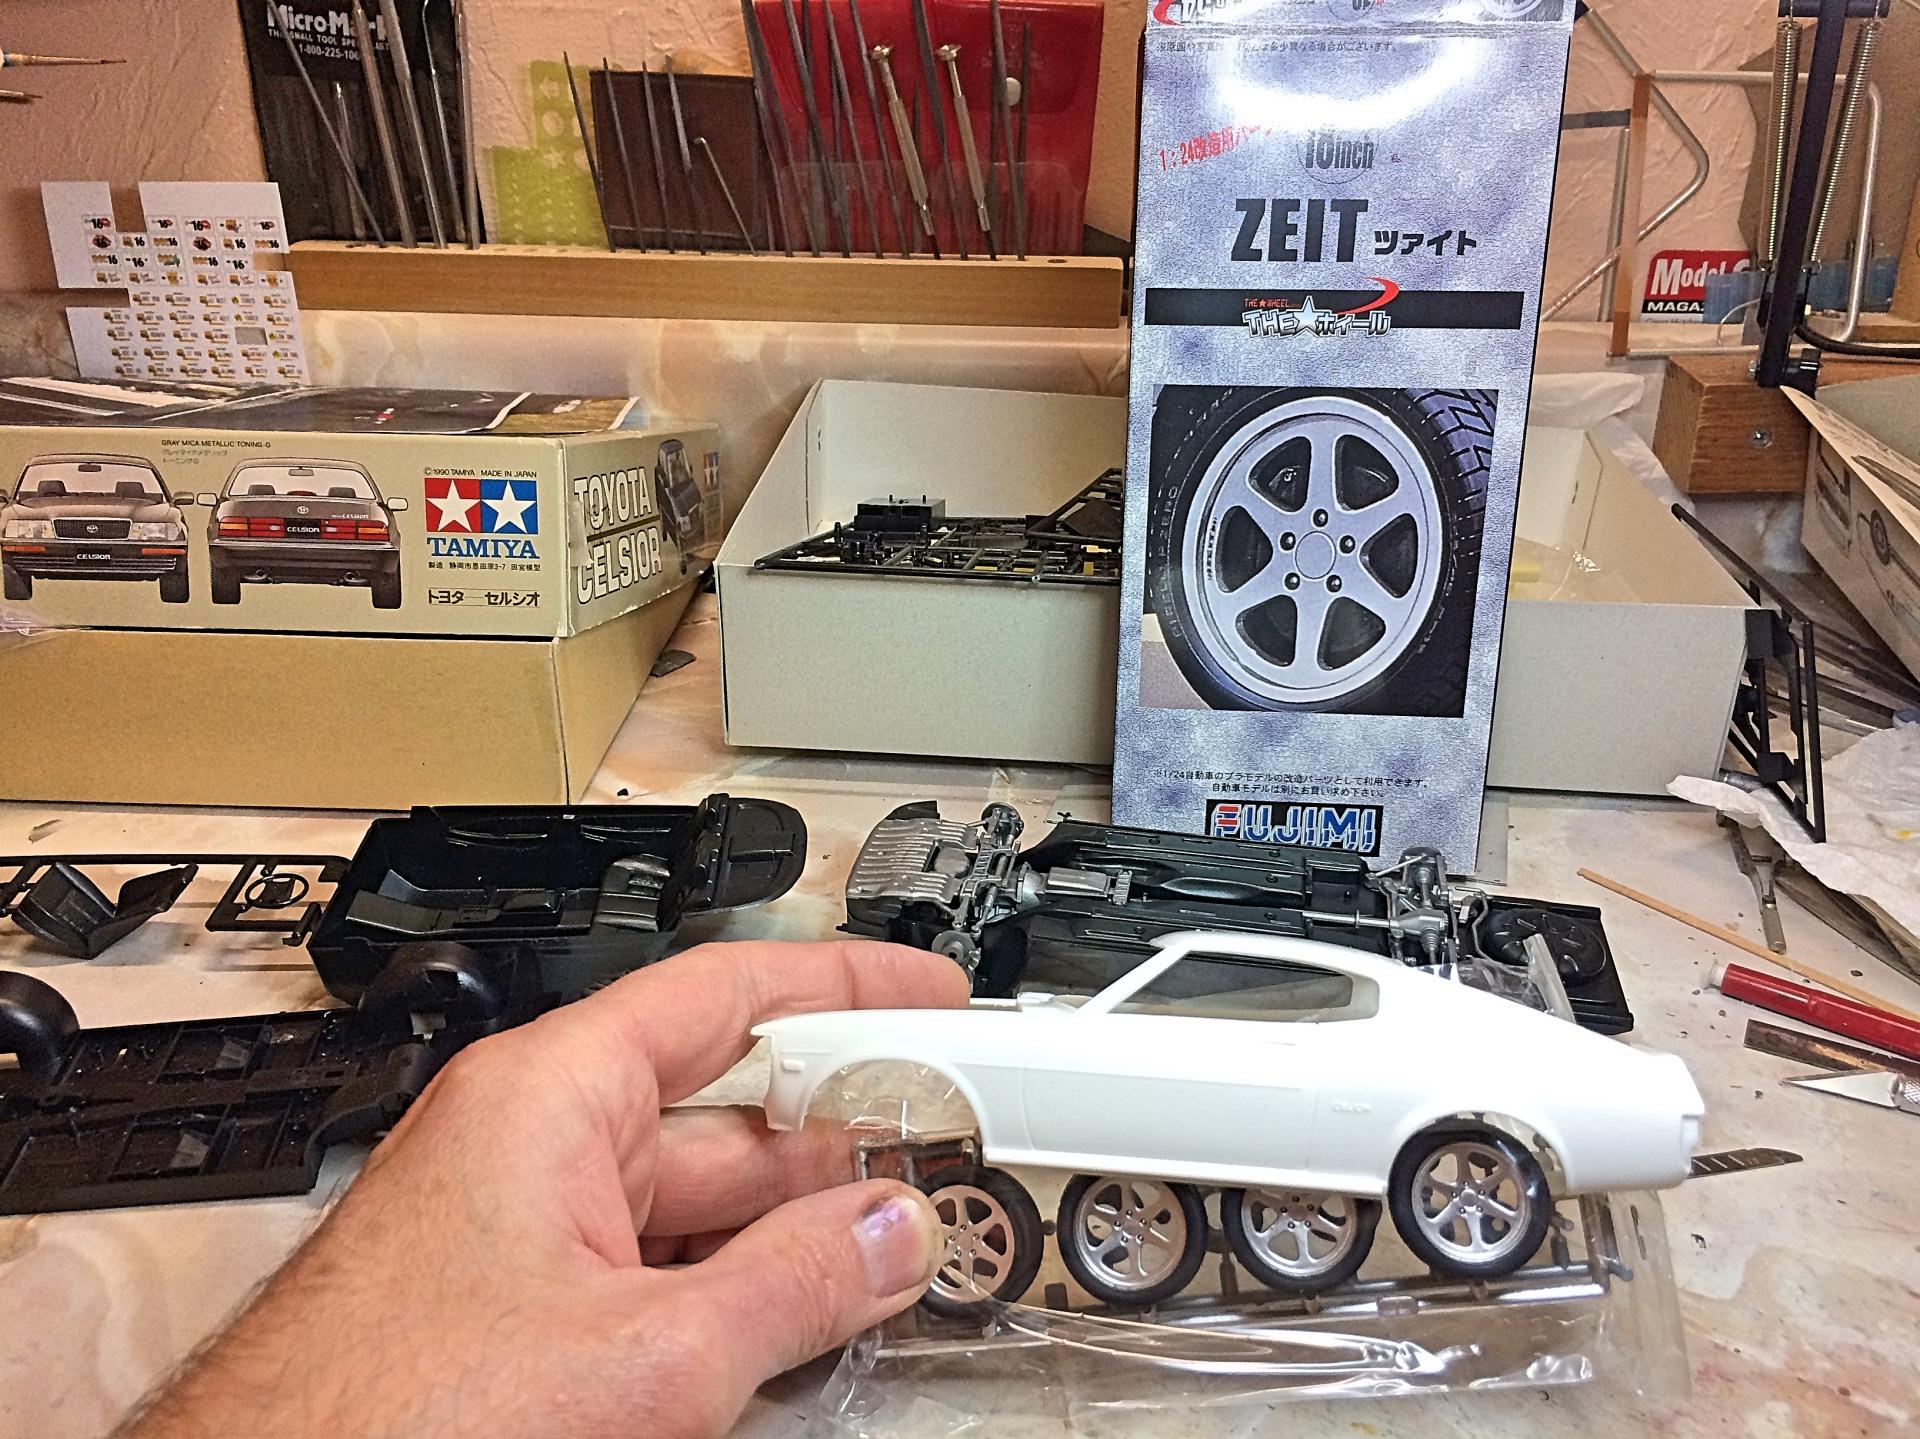
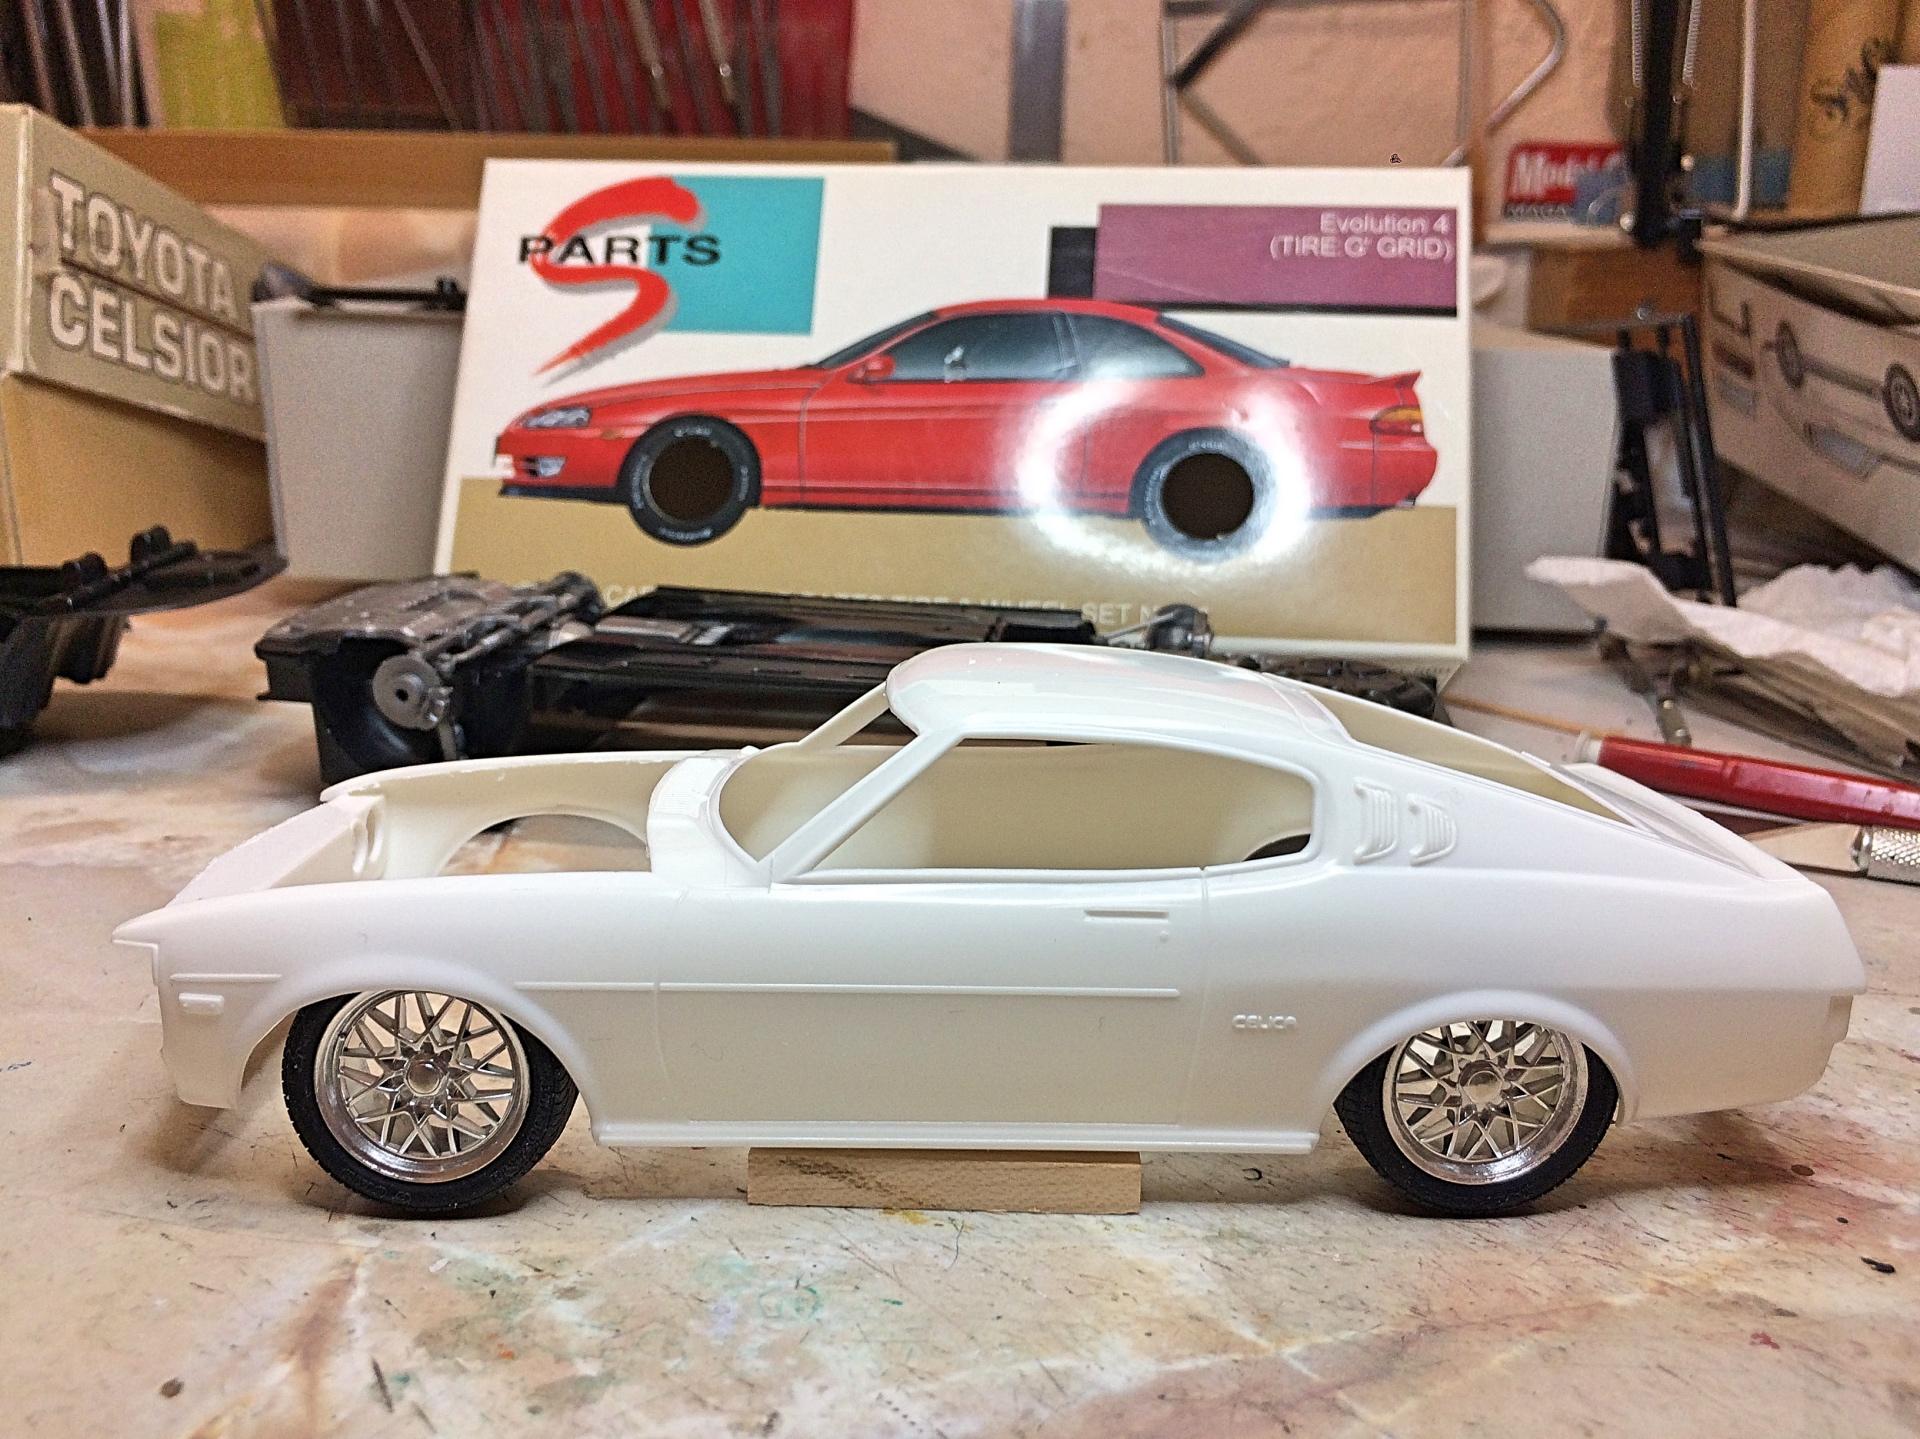
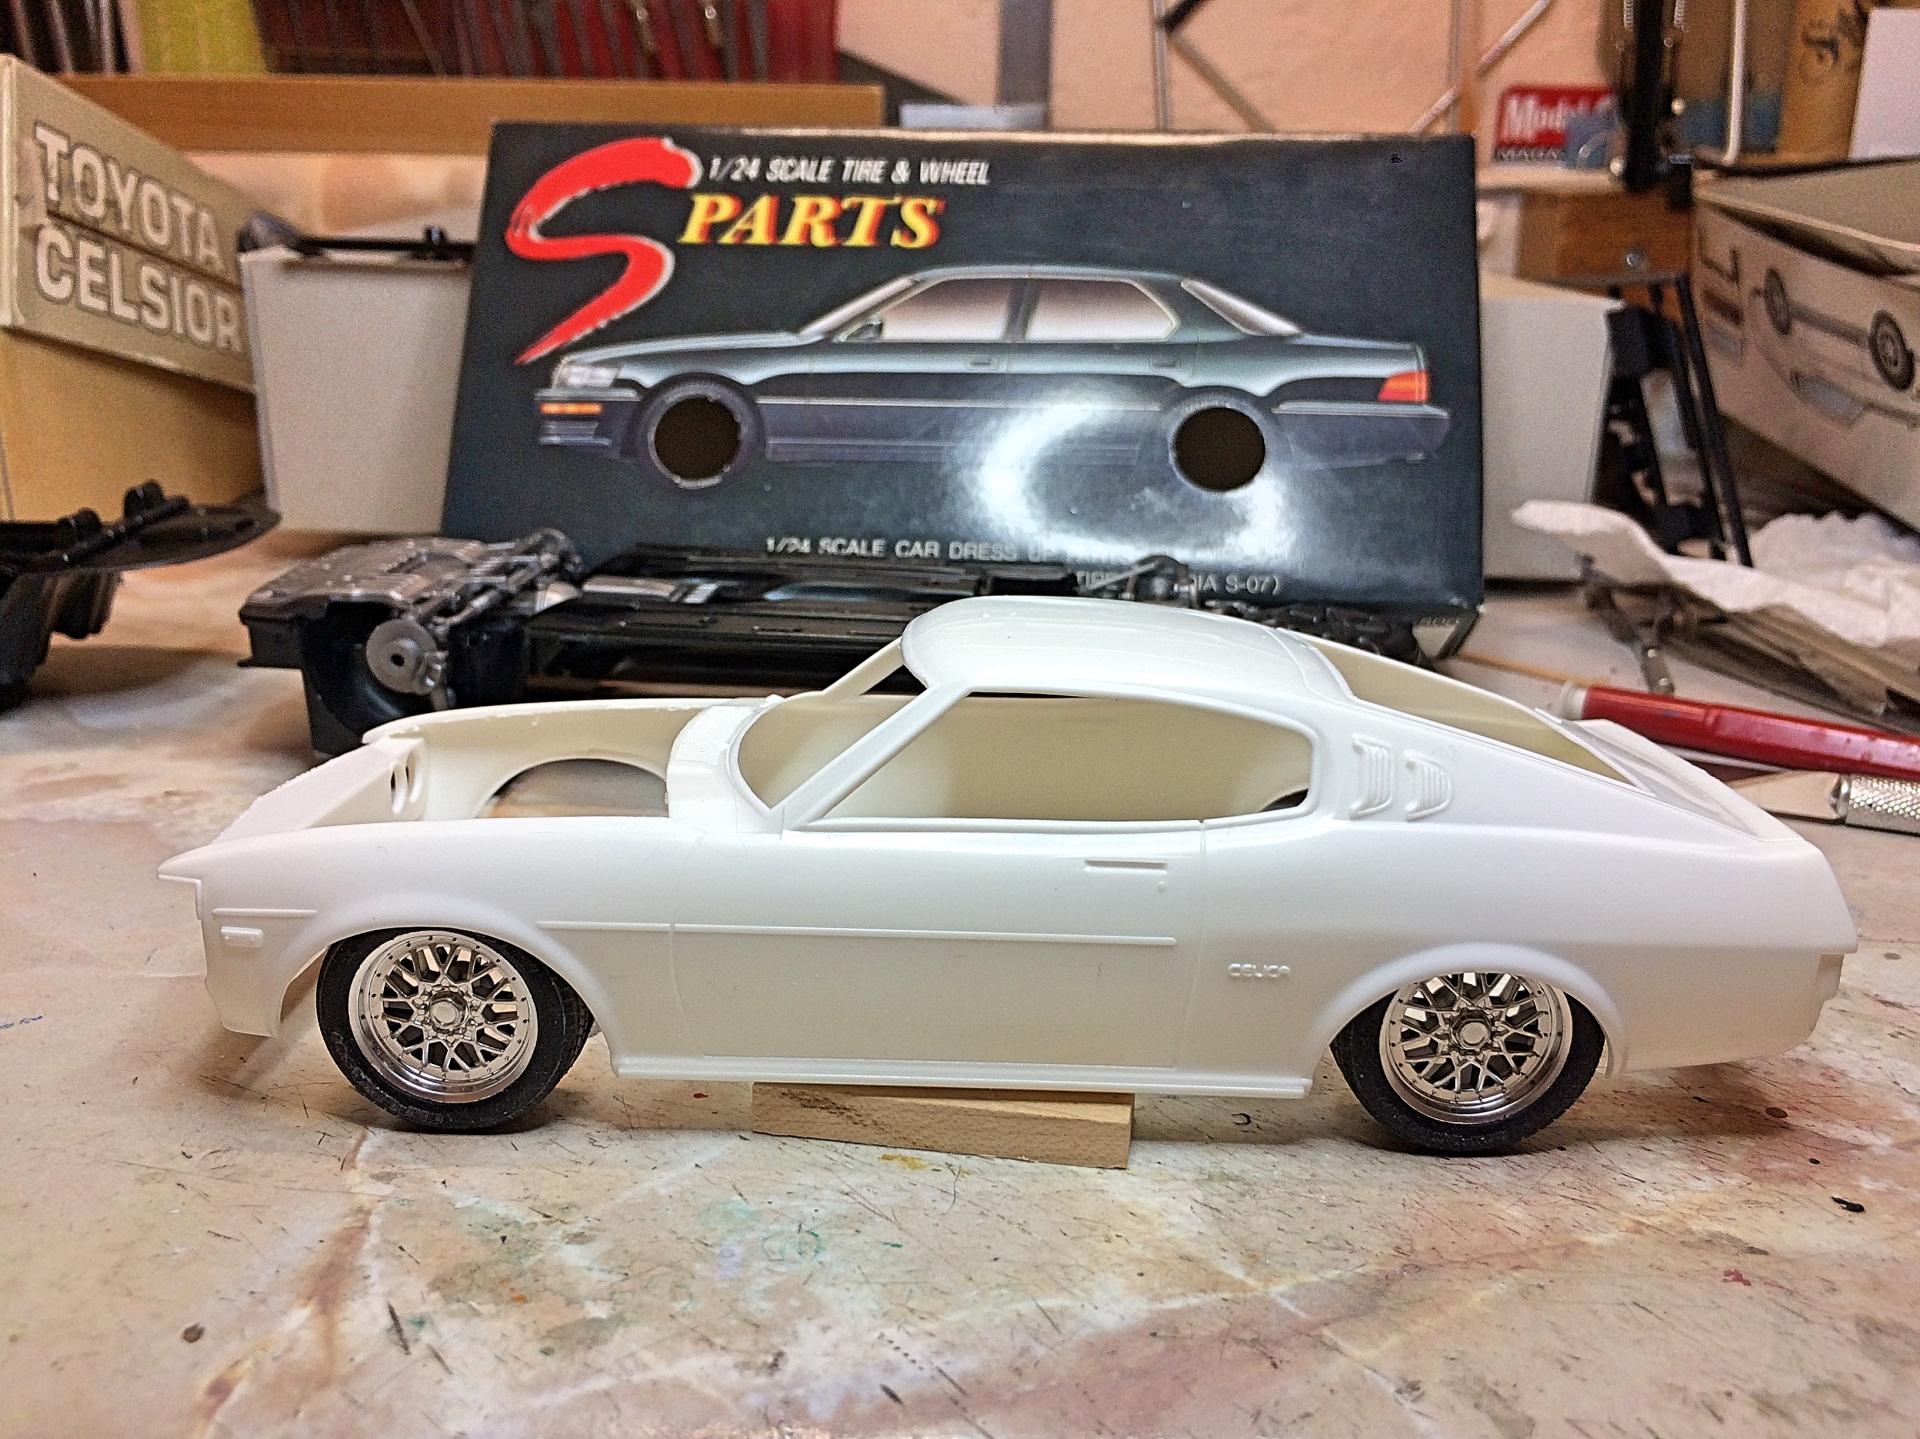
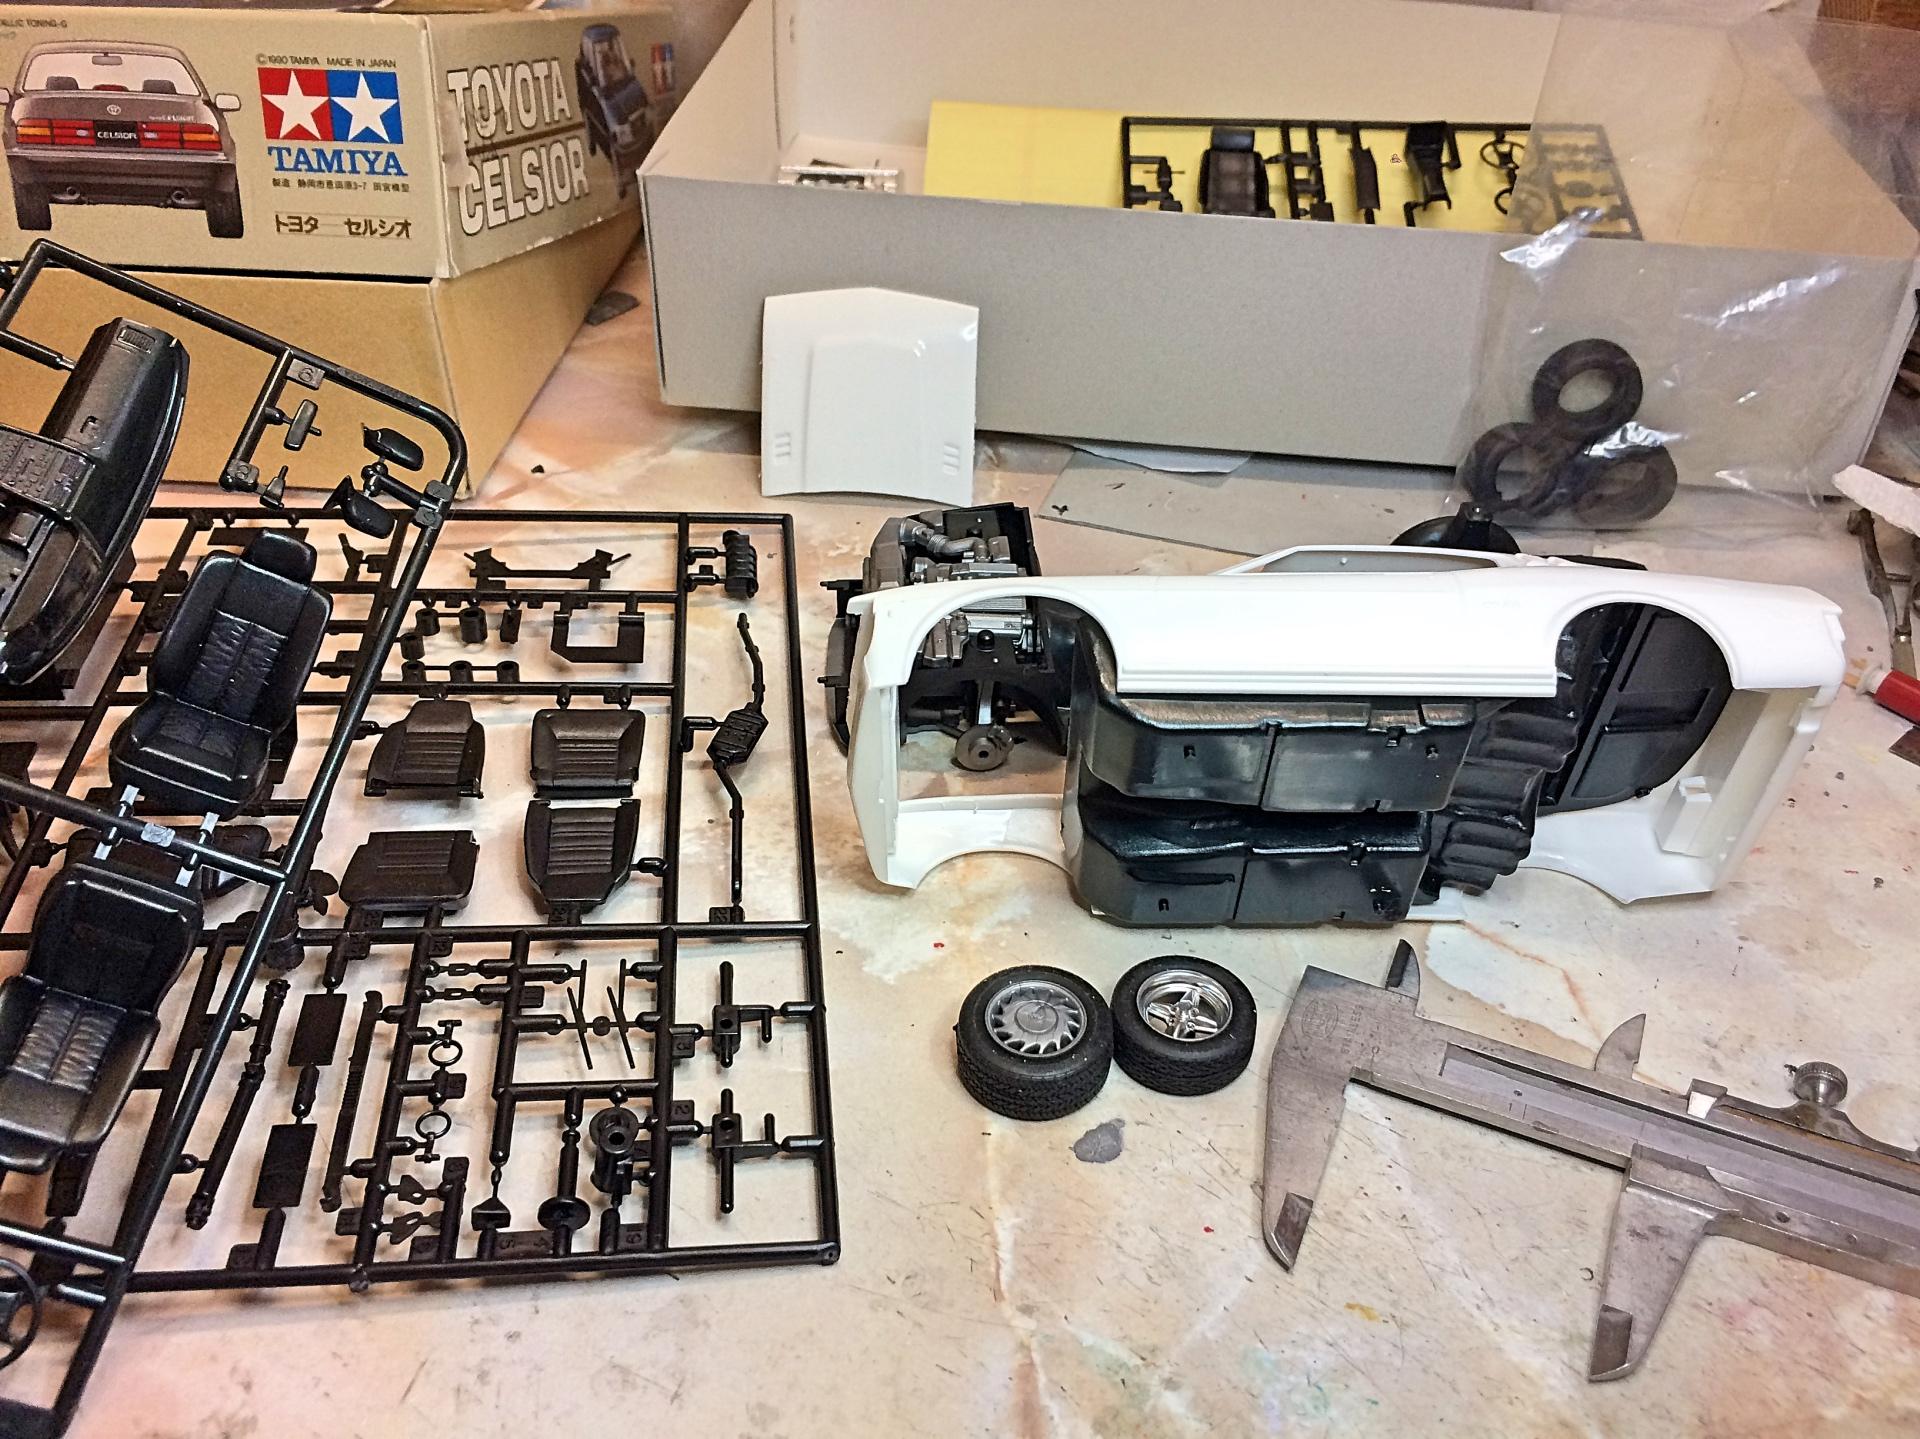
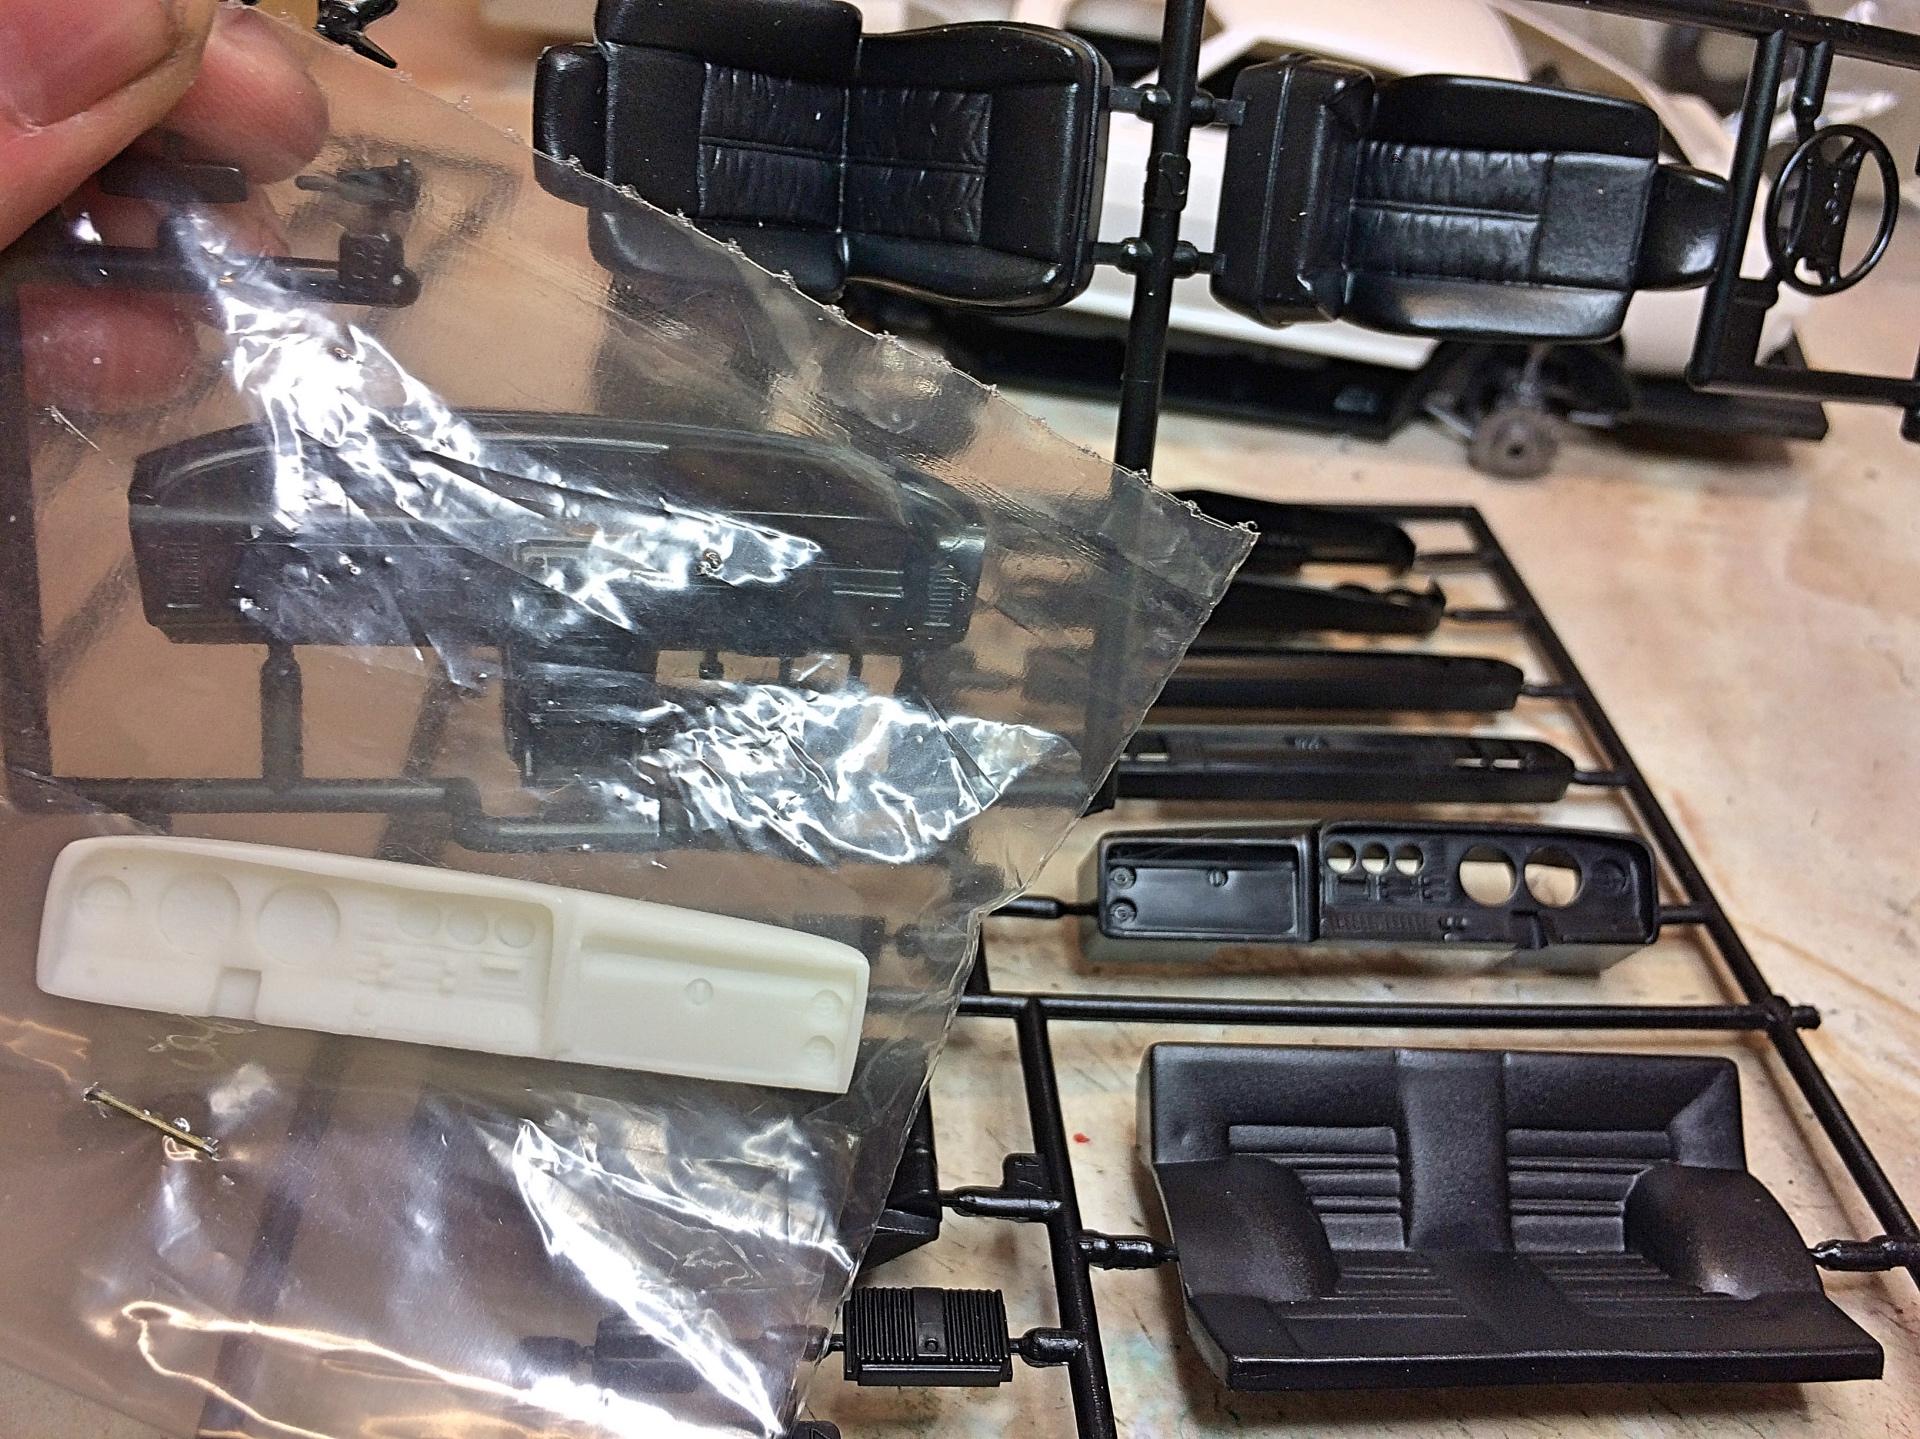
Kitbash of the Aoshima Toyota Celica LB 2000GT Liftback and the Tamiya Toyota Celsior (USA market Lexus LS400). Been thinking of this project for some time. Have a couple of photos found on the web of a Celica with a turbocharged Lexus V8, so that is where I started. Assembled the chassis and engine, mostly with Tacky glue. Cut off the hood, using the Tamiya scriber. I knew there might need to be flares, design pending. Chassis pan will be shortened in the middle, cut off the back, and much of the front overhang removed. Looked at my choice of wheels. This is my first choice, has two widths of tires, and Brembo brakes. I like the look, but same width tires. Maybe, but no brakes. Only because the box shows the Lexus. Interior tub width is a very close fit. Planning to chop off the back seat, and fabricate a simple back area. Lexus seats are really nice. The dashboard is the challenge, sort of. The Aoshima kit came via Satco, which made the resin LHD dashboard. I couldn't let the dust settle after finishing the VW Microbus, so I'm off and ruining two perfectly good kits.


RCprofile.thumb.JPG.1691ea753d0f0897fdc1b2510cf06775.JPG)