

maxwell48098
-
Posts
544 -
Joined
-
Last visited
Content Type
Profiles
Forums
Events
Gallery
Everything posted by maxwell48098
-
Resin Parts suppliers that have closed?
maxwell48098 replied to Oldmopars's topic in Truck Aftermarket / Resin / 3D Printed
One thing to always think about when you see resin parts is that when you see something you like, want, or may want in the future, is to order it right away. Resin part suppliers come and go as real life is more important than the business life. Look at folks like Modelhaus who did this full time, but then decided to retire. Two years worth of orders poured in within a month's time putting off retirement until all of those orders were filled. And as usually happens, no one comes forward with the cash, or fortitude, to buy the business and take it over. FYI I still have some of the American Industrial Models castings unbuilt that I purchased from Jim Etter in the in early '80's. A.J. -
I worked for Chrysler for 35 years in service and parts, and back in the late '80's I worked with our electronic engineers on "flash" reprogramming most modules for vehicles already in the field. Unless an actual component inside the module failed, the modules could all be reprogrammed in the field b y dealers, as well as aftermarket technicians, using the proper diagnostic tool and software. As I retired, we were working on updating module software via communications software on the vehicles and satellite download as vehicles were parked.
-
1940 Ford larger trucks
maxwell48098 replied to junkyardjeff's topic in General Automotive Talk (Trucks and Cars)
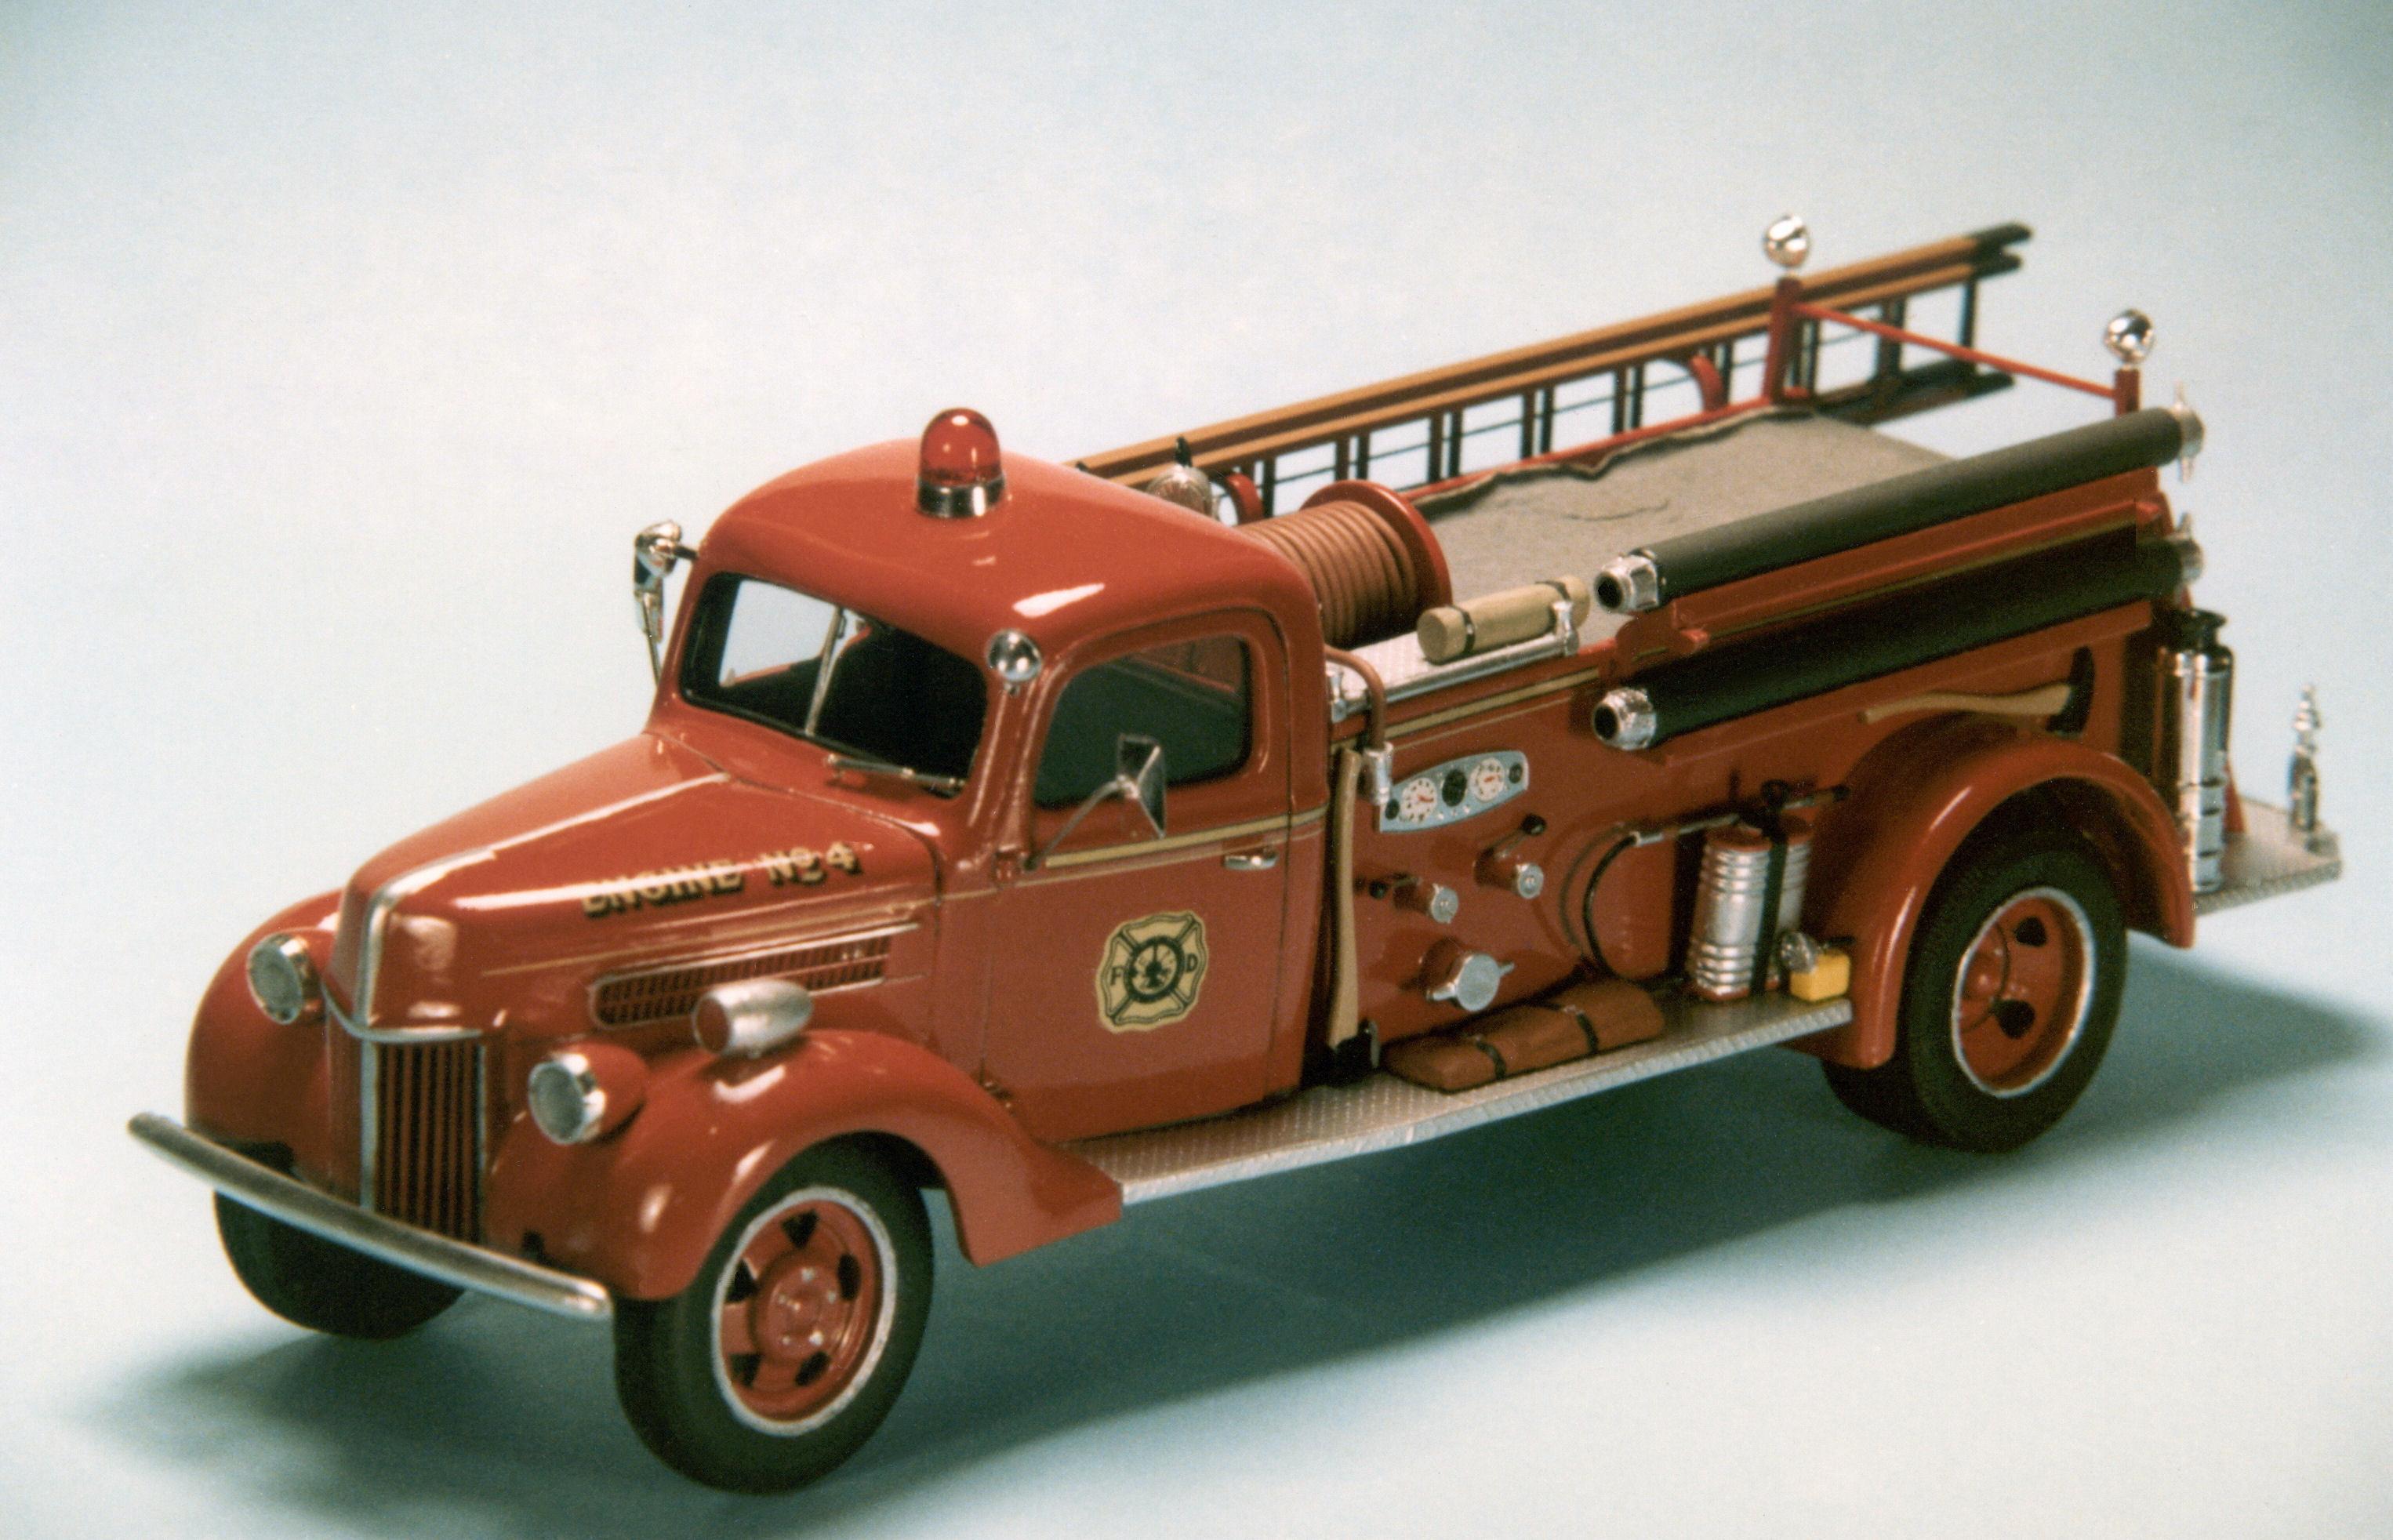
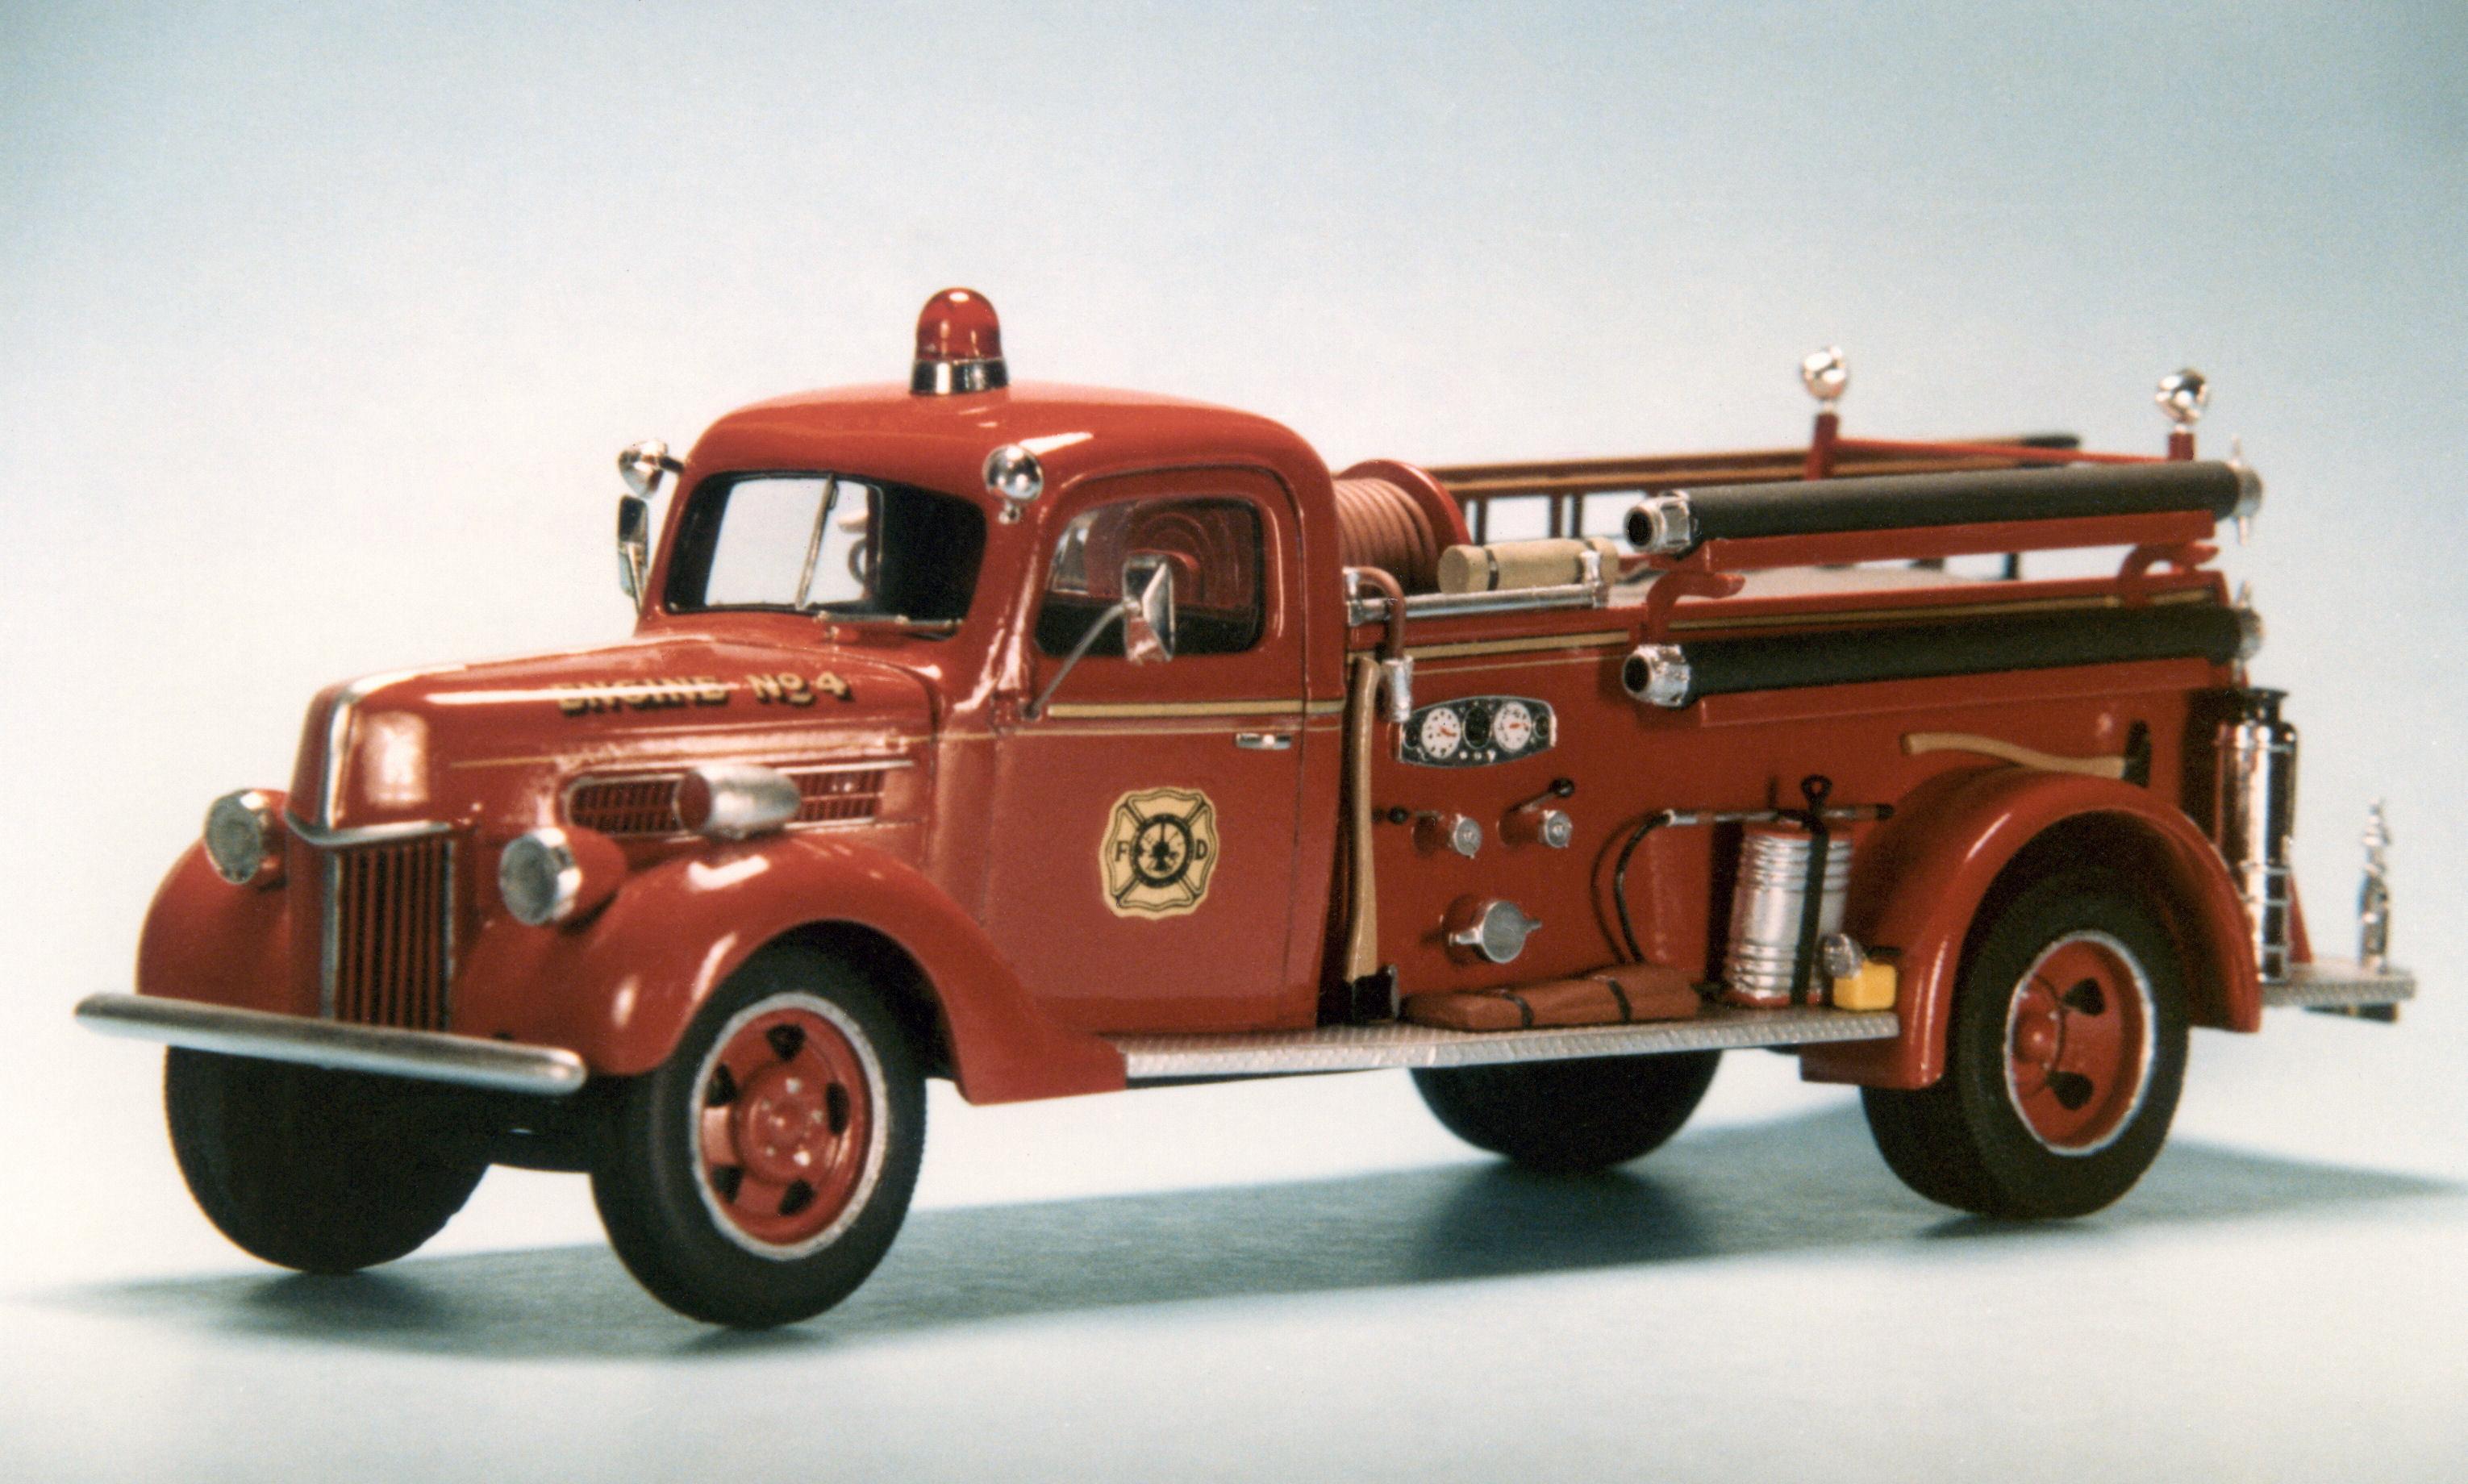
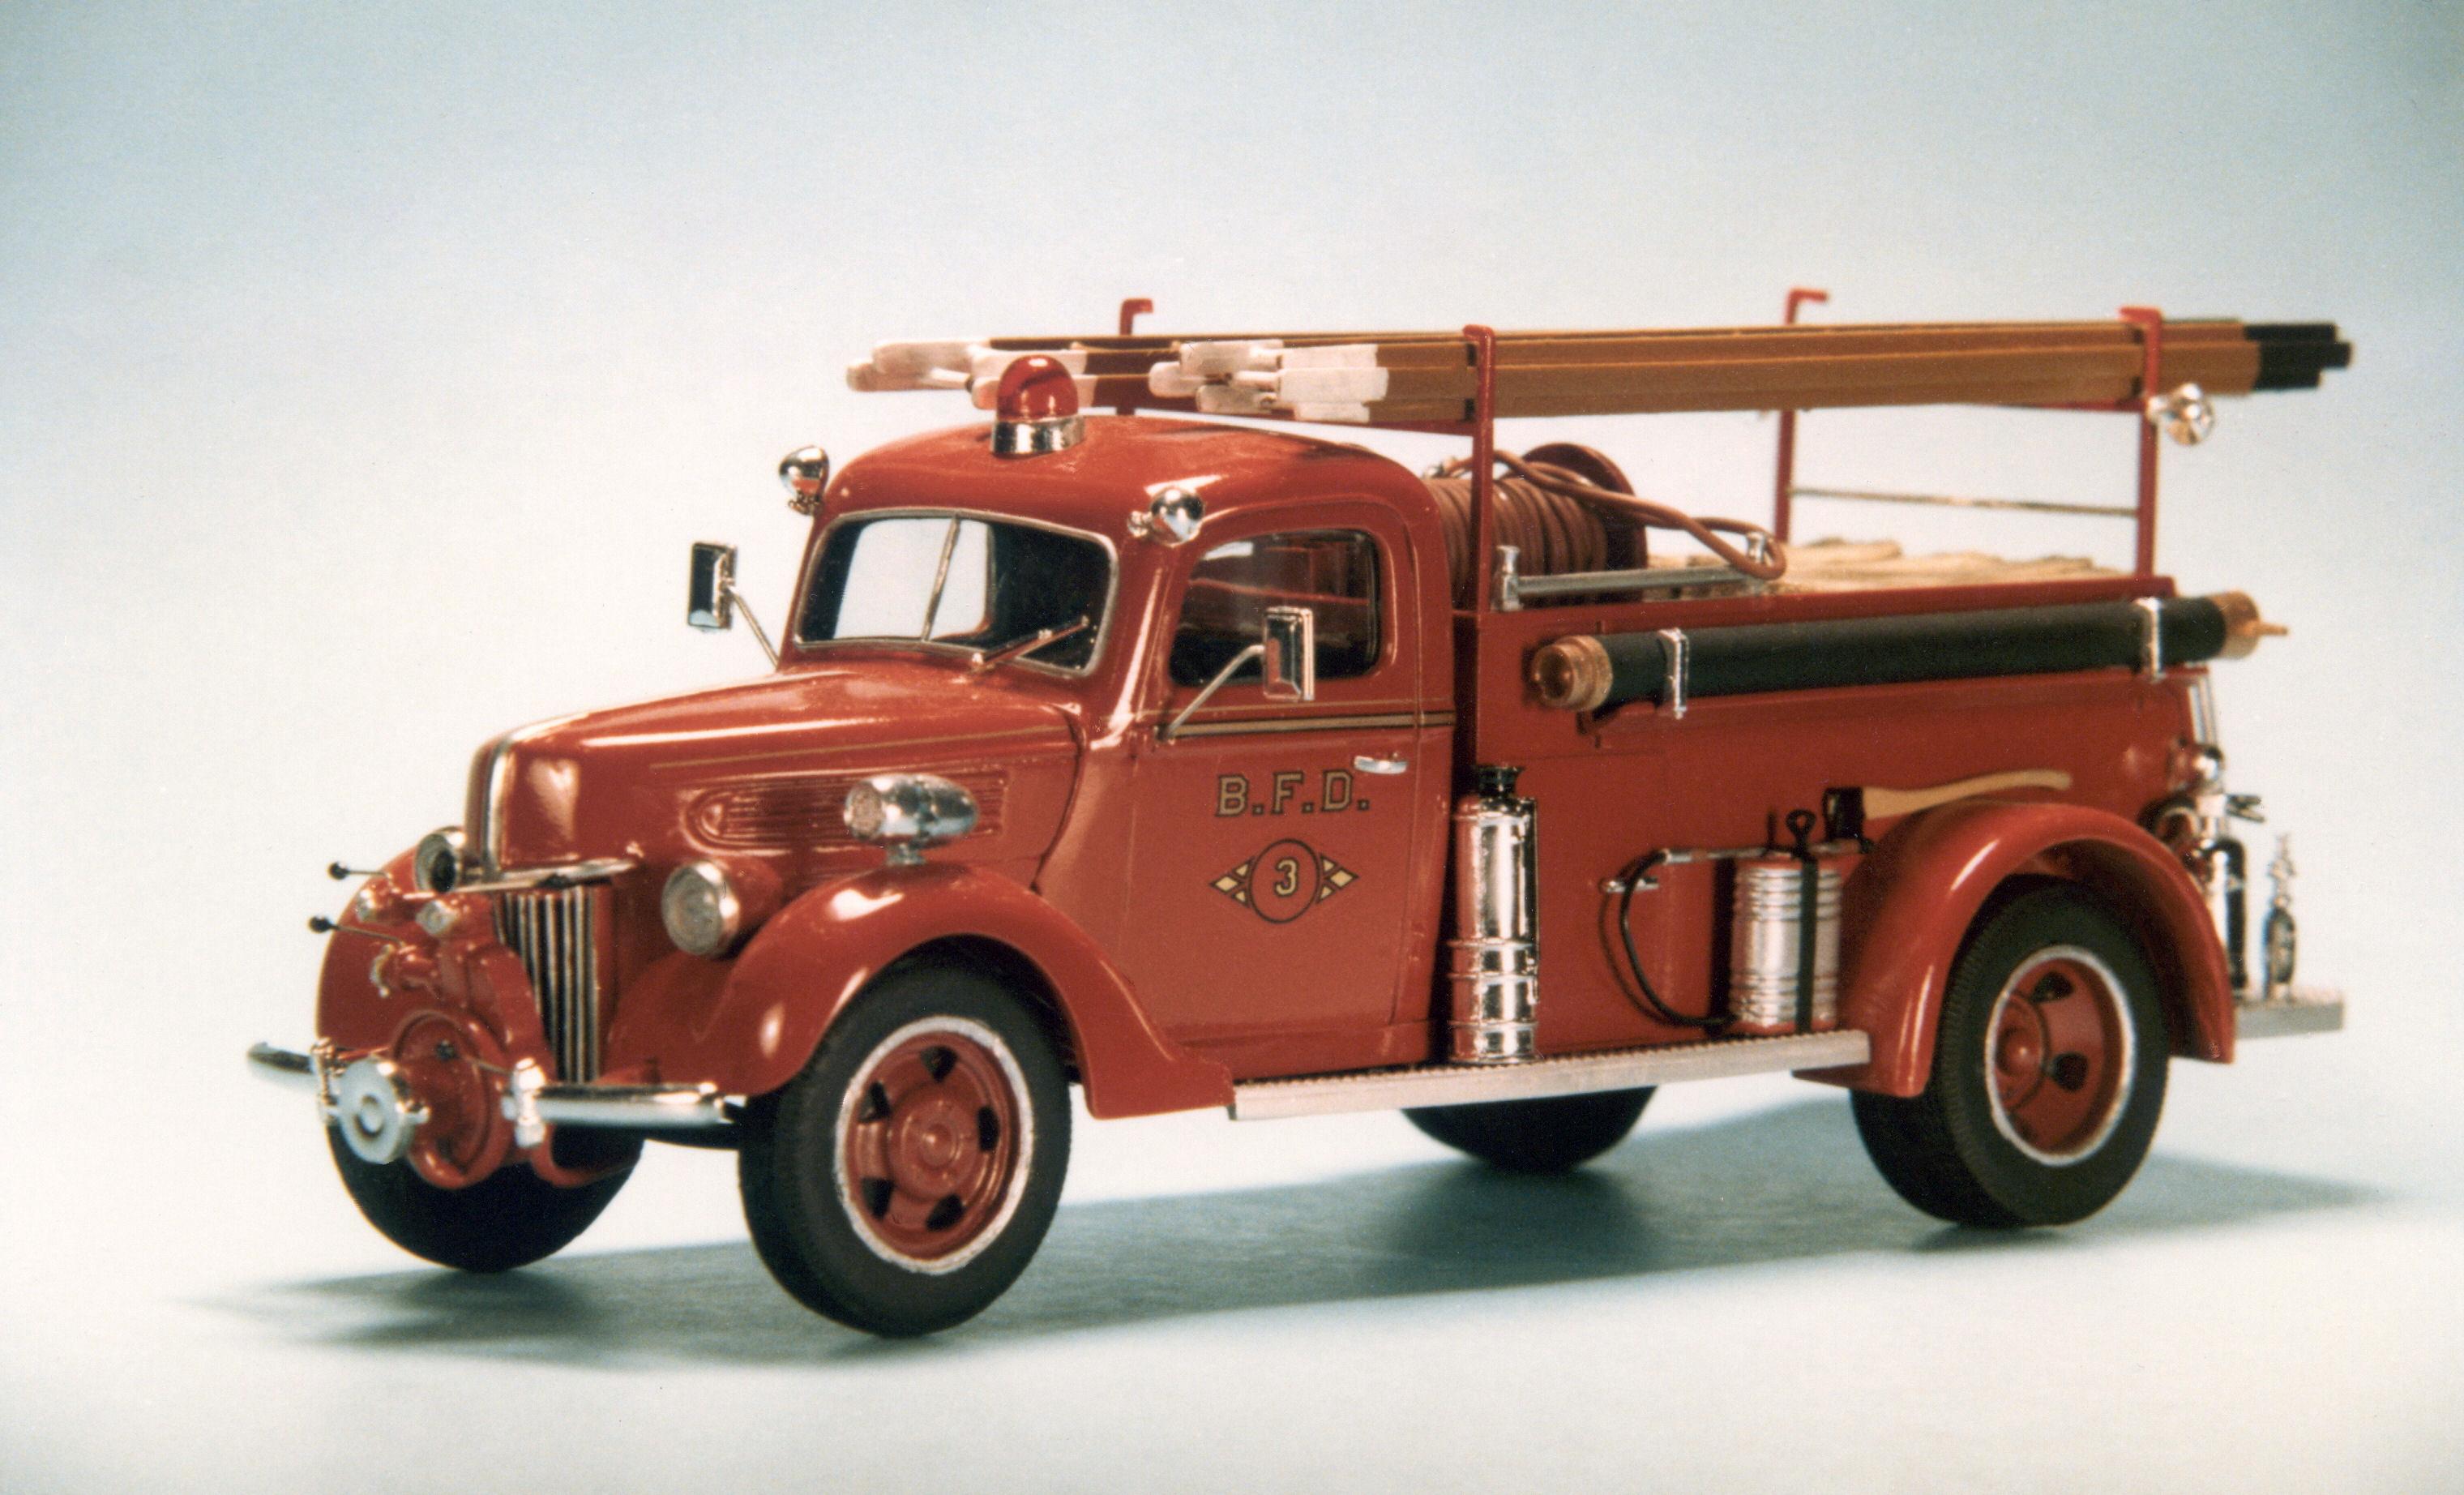
Here's a couple of '41 fire trucks that I built some time ago. I used the Monogram '40 For Pickup cab and hood, and the Monogram '36 Ford front fenders/head lamps. The '40 Ford frame was used for the front protion, and then a scratchbuilt frame behind the cabs. Wheels/tire were my own resin castings.
-
Where to get Resin semi truck cabs?
maxwell48098 replied to James Maynard's topic in Model Building Questions and Answers
This is the email Doug from Keystone sent out 12/30/2022. "We would like to wish everyone a safe and happy new year! Thank you for all your patience and support! Ordering on our website is now enabled for our original products. We hope to enable ordering for all other products this coming year." A.J. -
1950 Ford F6 truck
maxwell48098 replied to crossfire 2004's topic in Model Trucks: Pickups, Vans, SUVs, Light Commercial
Really nice build. A.J. -
Scale Auto 35 yr DVD question
maxwell48098 replied to thatz4u's topic in Model Building Questions and Answers
Checked my PC and the contents for the whole DVD is 7.71GB Like other programs, it is all on the PC and you don't need to be on-line. It's totally stand alone. I also have the 5 Year Collection 2014-2018, but it is just data and has to be searched manually once you open it. I got both of these DVDs when Kalmbach was having a sale. They currently show both DVDs available and on sale. https://kalmbachhobbystore.com/catalog/videos?page=4 Hope this helps, A.J. -
Scale Auto 35 yr DVD question
maxwell48098 replied to thatz4u's topic in Model Building Questions and Answers
I've got one and it works fine on Win 10 & 11. These are pdf files, and the best way to use it is to install the content on your PC, if your hard drive has the space, rather than putting the DVD in when you want to look at specific articles/columns. -
1977 Ford Overlander Van
maxwell48098 replied to Chirps's topic in Model Trucks: Pickups, Vans, SUVs, Light Commercial
Wow, that looks really great. A.J. -
I remember back in the '50's and early '60's when the AMT kits just had paper stickers over the box ends that showed what kit was in the generic box. Funny but I didn't know anyone who thought someone would open a kit to steal parts, but I was just a kid living on the south side of Chicago. Times sure have changed.
-
Going back to the '70's when I was a service and parts district manager for Chrysler Corp, my rural districts had Chrysler-Plymouth dealers. Dodge-Dodge Truck dealers and Chrysler=Plymouth -Dodge Truck dealers. But sprinkled in there for interest were Chrysler-Plymouth-Dodge-Dodge Truck full line dealers. Then there were the hold overs who originally signed up decades earlier who were Plymouth only, Chrysler only, Dodge car only, and Dodge Truck Once upon a time, Chrysler-Imperial were their own franchises until Imperial was added as a line under the Chrysler brand.Chrysler also had the DeSoto brand franchise which went away in 1961 that was usually combined with Plymouth, or Chrysler-Imperial, or Dodge Truck. Pretty confusing by today's standards, but then again I had dealers who were very small and only sold 20-30 new vehicles a year, but twice as many used vehicles. Their low overhead, combined with profitable service and parts operations, made them feasible until the late '70's. Once upon a time, a dealer would sign up as a franchisee for life, and some of them hung in there right up until they left this earth, or just decided to close up on their own. These small, family owned, operations were the best ones that I called on. A.J.
-
One of the best products I've used for decades for removing decals that haven't been sealed to the surface with clear coat is plain, old Scotch Magic Tape, the frosty appearing tape. Press it down firmly, then do a quick pull. Repeat if necessary. A.J.
-
I've been using plain, old masking tape to hold my hoods in place for painting for 60 years. One thing I do is use small pieces of tape on the sides and at the cowl with a little extra length of tape pieces so that the hood sits just above above the surfaces of the parts surrounding it. This gets the hood, fender, and cowl edges painted at the same time. A.J.
-
AMT Ford C600 Chassis questions
maxwell48098 replied to Kiwi_Bloke's topic in Model Building Questions and Answers
Keep in mind that the JF Ford cab fenders are the width as the standard F100 pickup, and not the medium duty C series. Notice the fender width difference in these two. Dropping the JF cab on either the AMT C or L series chassis would put the wheels/tire outside the fender openings. You can widen the fenders by carefully cutting them off, and use .250 width Evergreen strip to widen them. Here's a Ford COE that I built from the Monogram '55 Ford F100 back in the '80's doing just that. It sits on a Ford L-series chassis Hope this provides a little more insight. A.J.
-
Yep, the nice thing about the Mobius Fords is that you can swap cabs among all of the chassis. And grille swaps among the fourth ('65 & '66) and fifth ('67 -'72) generation cabs allows you to build the missing models/versions that Mobius hasn't offered (yet). A.J.
-
The Mobius bed is for the light duty F-series line of trucks, not the medium/heavy duty C- or L-series trucks. The Mobius body is too narrow and wheel well openings are way to small to fit the full size truck chassis. But with some substantial body modifications, it probably wold be possible to do anything. Just my thoughts. A.J.
-
I'm interested in this one. Back in the '80's, I bought a toy power wagon ambo, and converted it to a brush rig. Turns out it was 1/25 or 1/24 scale. Here's a few pics. A.J.
-
Achieving paint scaling
maxwell48098 replied to landman's topic in Model Building Questions and Answers
I don't have pics, but in the past I used rubber cement dabbed onto the surface of the base color where I wanted large chunks of be exposed after the top coats were applied. A.J. -
Moebius 1968 Ford F 250 available yet?
maxwell48098 replied to leafsprings's topic in Truck Kit News & Reviews
I worked in a Ford dealership service department from 1966-1972. I don't remember any of the F100-F350s of that era having dual exhaust from the factory. I don't ever remember a Bronco having dual exhaust either like Revell's Bronco. Maybe the could include one of the aftermarket dual conversions out there for these trucks as a performance option, as they were in the 1:1 world? A.J. -
ERTL Volvo N10
maxwell48098 replied to PierreR89's topic in WIP: Model Trucks: Big Rigs and Heavy Equipment
Great start on your Volvo. I guess back in the day, plastic modelers weren't willing to accept the die cast parts, so these kits weren't popular. These do build up nice thought. Here are sone pics of one of mine. Looking forward to your finished rig. A.J.
-
Old School Fire truck smash
maxwell48098 replied to GLMFAA1's topic in Model Trucks: Big Rigs and Heavy Equipment
Awesome. A.J. -
What did you learn to drive in?
maxwell48098 replied to slusher's topic in General Automotive Talk (Trucks and Cars)
I learned to drive a car in our family's '63 Ford Custom 300, with a 240 CID and a 3 0n the tree. I learned to drive a big truck in a company '60 B7000 10 wheel 8 yard dump truck with a Detroit 8-71 and Spicer 10 speed. A.J. -
The way I understood it is the date on the back of the decal sheets is when the sheets were printed. I have several kits that the same exact decal sheets will have dates that were as much as a year apart. A.J.
-
1/25 AMT USPS Ford C-900 Tractor & Trailer
maxwell48098 replied to Casey's topic in Truck Kit News & Reviews
Looks just like the couple of originals that I still have. Those original were the ones with no plated parts. A.J. -
Alclad's polished polished aluminum & Chrome?
maxwell48098 replied to Dpate's topic in Model Building Questions and Answers
Actually most diamond plate is aluminum, and on fire apparatus (which I'm most familiar with), it is left either in its natural state or polished to a chrome-like appearance. Keeping it bright is labor intensive which is why you seldom see polished aluminum diamond plate on surfaces like running boards or tail boards. The same applies to its use on trucks where it can be polished or left natural depending on the owners wishes and willingness to keep it bright. A.J. -
What do the Big Rig Tall Tires fit?
maxwell48098 replied to OldTrucker's topic in Model Building Questions and Answers
11:00-22 tires also used on AMT Autocars, White Freightliner COEs, old Western Star, Diamond Reo, and probably more that I can't remember. A.J.


.JPG.568a11210eaeb0a0488d820824a6d26d.JPG)
.JPG.7a16e06f91f266bbda7d89f031338352.JPG)
.JPG.0258a09a999fa896b76f3a50333b6797.JPG)
.JPG.280726c8a54db469359ab468bae71b10.JPG)
.JPG.dcc2e9944b8d427367711554224e8ffc.JPG)
.JPG.d60c1775e5b8d5c51796d55703ac9348.JPG)
.JPG.7ed4cd3034464ae798d2af17512c1079.JPG)