DiscoRover007
-
Posts
450 -
Joined
-
Last visited
Content Type
Profiles
Forums
Events
Gallery
Everything posted by DiscoRover007
-
2020 Corvette - Can it be 3D printed?
DiscoRover007 replied to 7000in5th's topic in Car Aftermarket / Resin / 3D Printed
It’s big enough in my opinion. I know others don’t share that opinion but 1/24 has a better scale appearance when it comes to the final assembly and finish of a model. 1/25 also makes an odd display next to the 1/24 standard of most models these days -
2020 Corvette - Can it be 3D printed?
DiscoRover007 replied to 7000in5th's topic in Car Aftermarket / Resin / 3D Printed
Agreed 100% I think Tamiya or Revell will release the new vet and I pray it’s 1/24 also. People don’t think it’s a big difference between 1/25 but I disagree. You lose potential in detail and at 1/25 you get into a toylike appearance. -
Looking great so far. Thats a great silver. I do think those roof lines go edge to edge though. I've got this kit and I've been checking reference photos. The MK4 Supra has the same sort of detail. It's frustrating trying to figure out where to sand the mold line without erasing the detail.
-
Do you prime all pieces
DiscoRover007 replied to youpey's topic in General Automotive Talk (Trucks and Cars)
I depends on the part to be honest. -
I think Chevy just blew the cap off the exotic car market. Not sure if it was intentional or not but I think they just showed everyone just how over priced the Ferrari's and Lambo's really are. They really aren't even that great of cars in terms of reliability and maintenance. I can bet the C8 is going to be a very reliable car for "exotics".
-
I do find the c8 to be egregiously similar to the 488 gtb. But I also sort of don’t care because it is still beautiful in its own right and is less than 100k.
-
I really want to like it. It looks good for the most part but the rear end looks a little over designed to me and I can't help but think 488 GTB every time I see it.
-
Finest-flake silver metallic paint??
DiscoRover007 replied to Ace-Garageguy's topic in Model Building Questions and Answers
IF you want the absolute finest and most realistic in terms of scale of flake then this is your answer OP. Alcad probably has a similar product these days also. But to make metalizer it work you must have a totally smooth surface. It is a ton of sanding and correction. I would even use Zero Primer for that and make sure you use a very durable clear coat. 2k would probably be best. I did a few paint jobs with MM Non buffing aluminum and while it looked great it was prone to chipping. It's not really meant to be a body color across large surfaces. Tamiya Gloss Aluminum is also doable but that requires very patient color sanding( if you really want it to look right and in scale across the entire body). Tamiya Silver leaf is too bright for the colors you want. Tamiya Mica Silver actually comes out to a very fine finish if you prep the primer well and use a few stages of color sanding also. Using this method and the ease of use of this paint in general, it has become my preferred silver. You can also try Zero Paints Porsche Pearl Silver, it is a very fine silver(about the same as MM Aluminum Metalizer). Zero Paints also make an old school silver called silbergrau db180 that is extremely fine also. -
After the body is prepped I wash it with cold water and blow it off with compressed air with a can or airbrush. Then I use Tamiya's anti static brush and wipe every crevice. This brush is used to remove dust off finished models and but it is great for paint prep also and has been a huge factor for me. I also spray my booth down with water to trap particles and I also spray the air and the floor where I'm working to trap more potential particles. I also spray my arms with water and even a couple light sprays to my own hair to keep it from falling. Basically spray down anything you could imagine that would cause dust. This has worked pretty well for me and usually eliminates 90% percent of dust.
-
Tamiya Mica Red Base?
DiscoRover007 replied to jjsipes's topic in Model Building Questions and Answers
I used Tamiya mica red over gloss black and then clear coated with tamiya clear red. Then cleared with TS-13
-
NIce job man! very clean work
-
part 2 How to fix clear coat issue
DiscoRover007 replied to DDD's topic in Model Building Questions and Answers
I've had the same reaction with WLC before. It has nothing to do with your acrylic base coat. The bubbles happen when you spray too close or spray too much clear at one time. It causes it to pool and bubble up. Just use lighter coats and you should be fine. I would recommend a switch to lacquer for the basecoat though just to have a tougher finish. Duplicolor paints have their own issues also though. -
The aclad might have a property to it that attracts dust. One thing Ive done recently is to use Tamiya's static brush to use just before painting. It wipes off dust and eliminates the static charge so you are less likely to get imperfections. It's meant to dust off displays models but it works well for painting too.
-
Re-engineering Monograms Lotus Esprit...new update!
DiscoRover007 replied to Dann Tier's topic in WIP: Model Cars
Impressive Dan. You’re building her up the right way. -
Looking great man
-
tamiya candy lime green over black
DiscoRover007 replied to youpey's topic in Model Building Questions and Answers
Testors Citrus Yellow metallic looks pretty close -
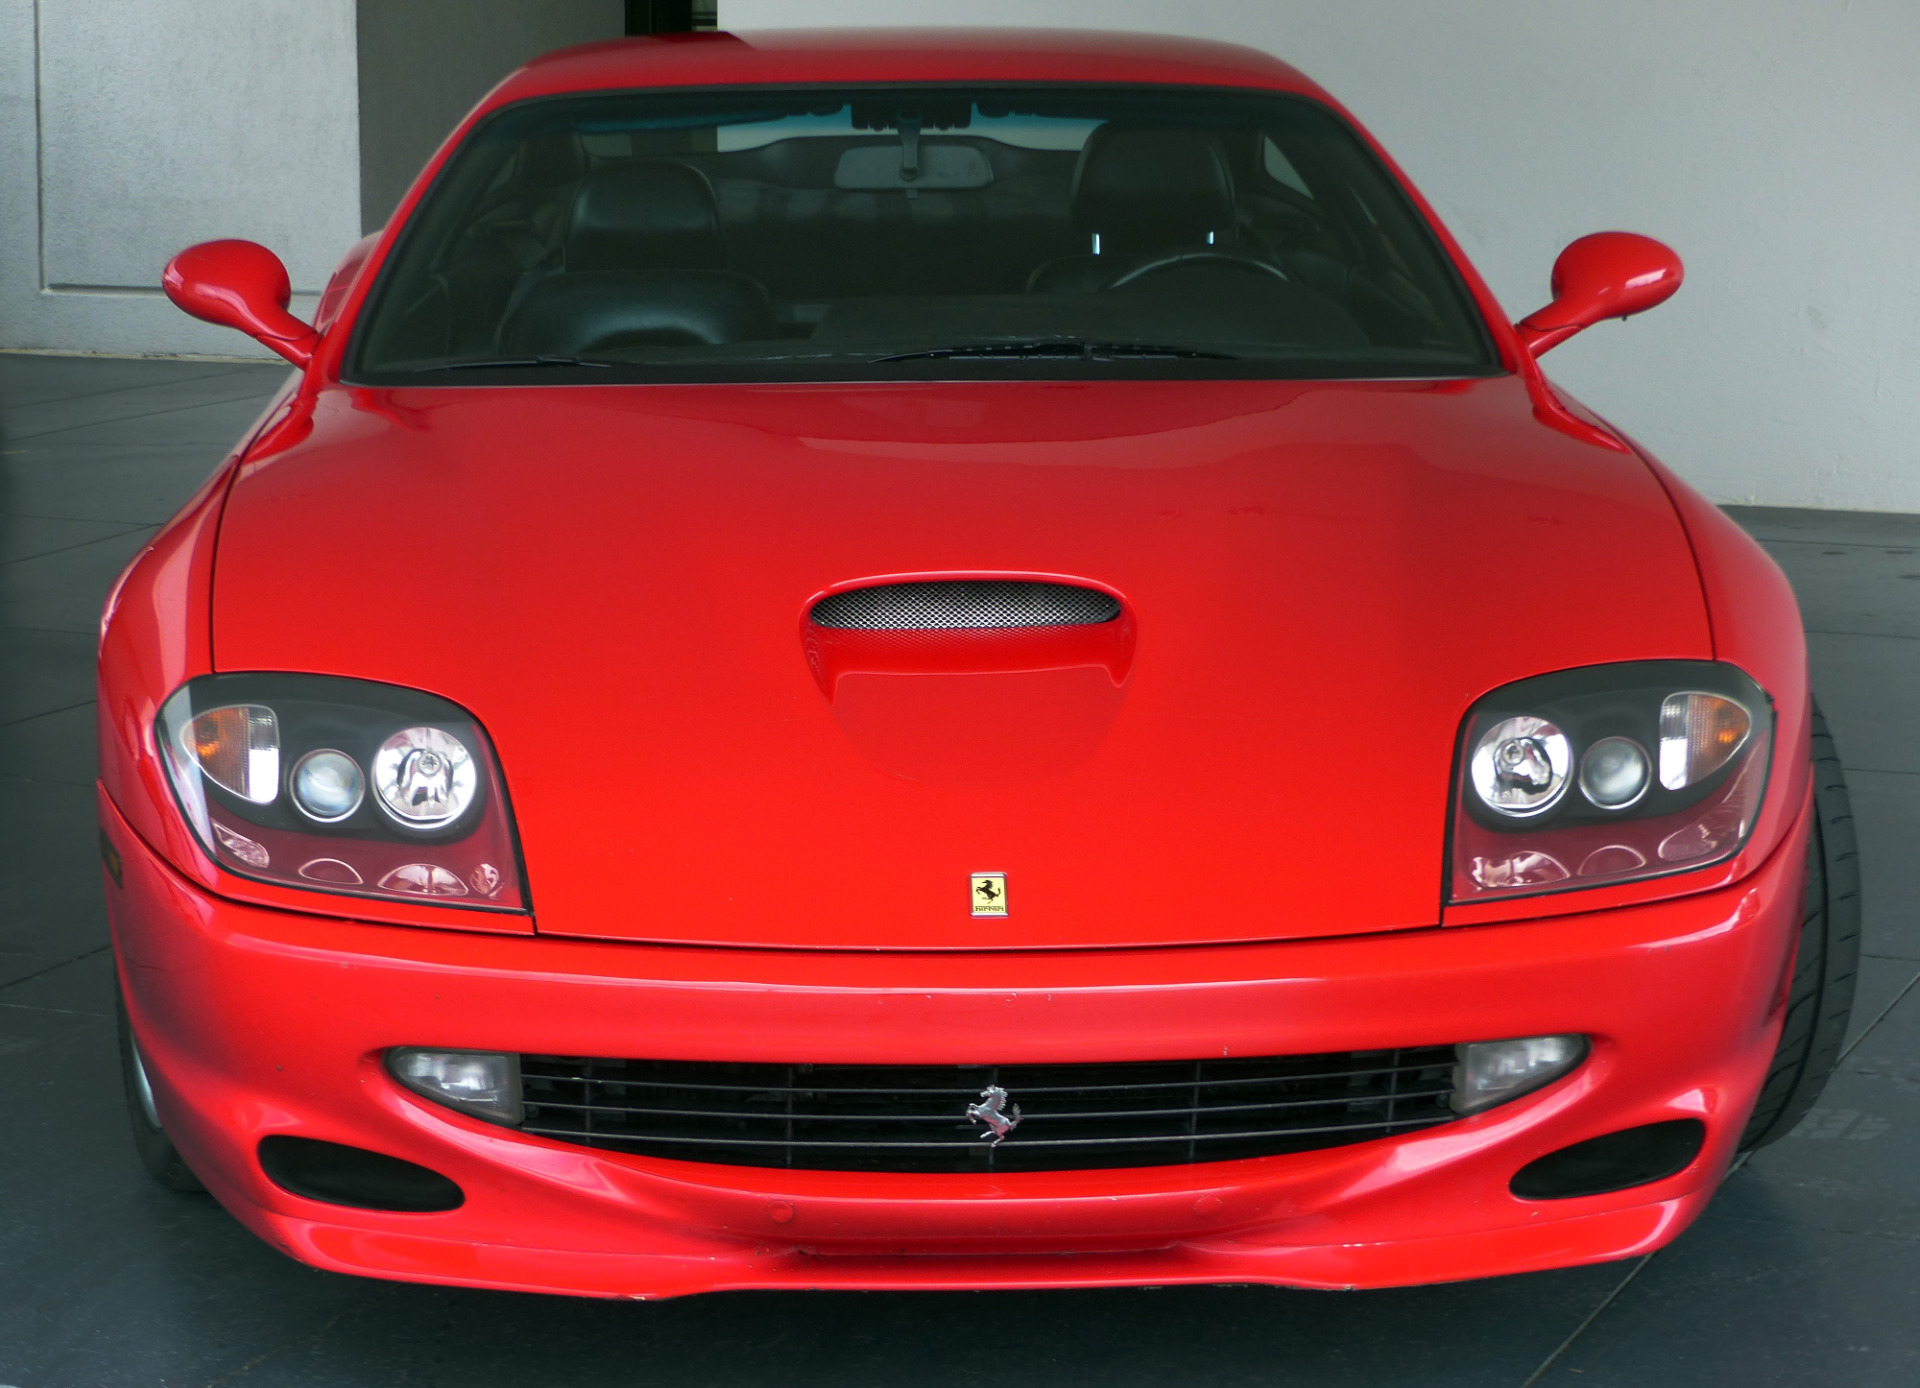
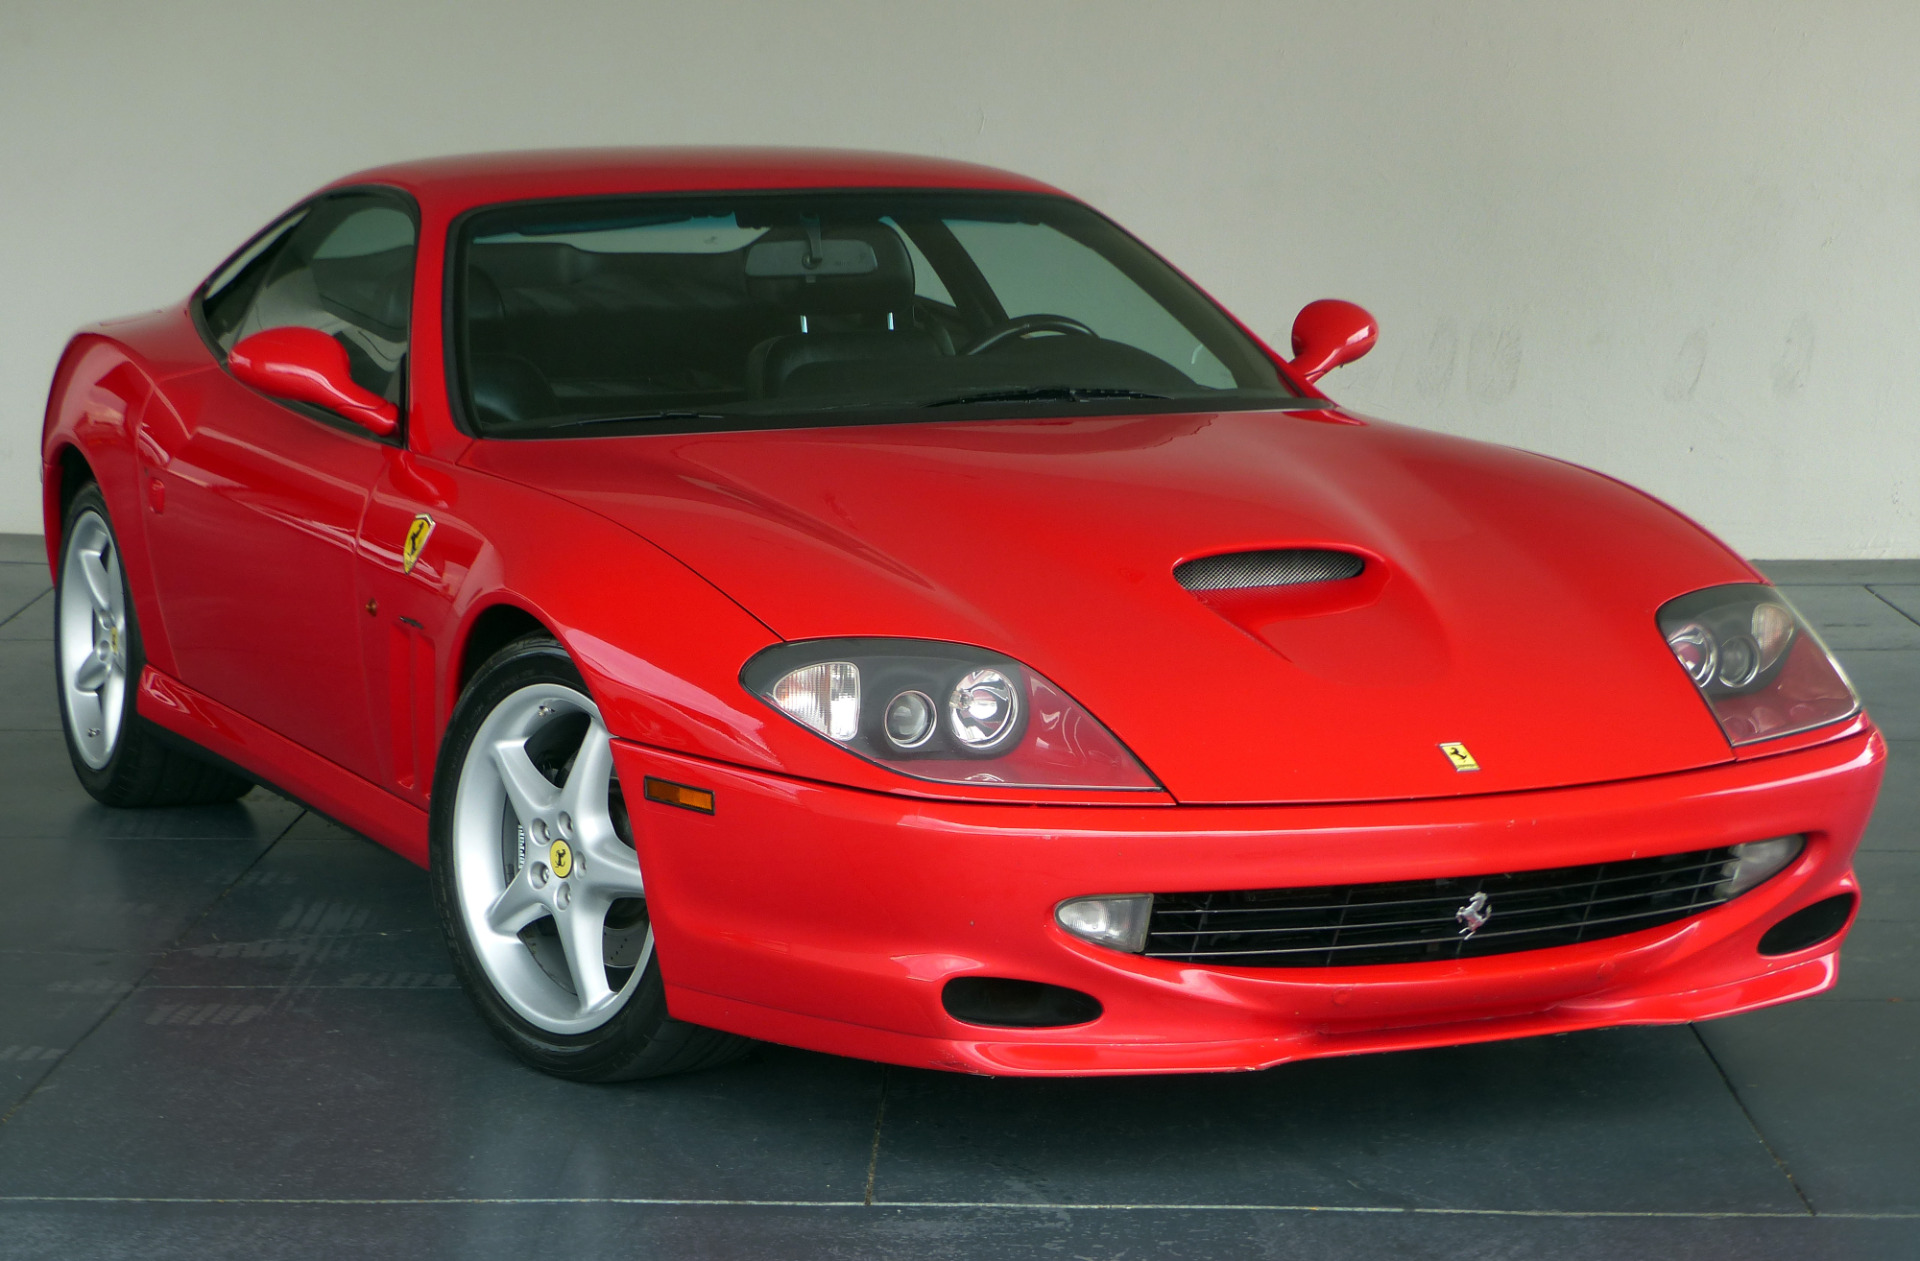
Most beautiful cars of all time
DiscoRover007 replied to El Roberto's topic in General Automotive Talk (Trucks and Cars)
The Ferrari 550 Maranello. Simply perfection.
-
Aoshima instructions question
DiscoRover007 replied to Timonator's topic in Model Building Questions and Answers
I have a few aoshima kits and find this confusing also. There is a painting guide but it is sometimes unclear. I would refer to reference photos to be sure. -
Testors Automotive Paints
DiscoRover007 replied to mrmike's topic in General Automotive Talk (Trucks and Cars)
Testors missed the mark with their auto lacquers. The clear coat is great but most of the metallic colors do not have a good in scale look save for maybe the GTS Blue Pearl color. I absolutely lose testors metalizer paints though and hope they stick around. -
Sweet man looking forward to this one. This is the Revell reissue right with the new front bumper?
-
Tamiya acrylic paint ?????
DiscoRover007 replied to retired & glad's topic in Model Building Questions and Answers
You can use water and rubbing alcohol in a pinch. But you might end up with flatter finishes and rougher texture. I would probably get a hold of some Tamiya thinner. -
Holy cow man. Amazing
-
Hey guys so I was curious to see if anyone here had methods to removing dust in their paint when using metallic/pearl colors? I always clear coat my paints. I've got a pretty good system in place to keep dust out of my paint but of course you get that one speck every now an again. I find its much easier to sand and buff these out with solid colors. However the difficulty comes with metallic colors. I have one example on my bench where I successfully avoided dust in the color coats of paint. However after the second clear coat I discovered a small hair sitting in the paint. When this has happened in the past I haven't been able to buff these errors out. It seems that A. You sand too much and discolor the base coat. Or B. You sand it out but there is still a "ghost" of the error in the paint even when you polish. Or C. You sand the error deeper into the paint So the solution end up being a small respray and re clear of those areas. However the issue with that is you risk trapping more dust in the respray and discoloration of the metallic color as it is now on top of a clear, on top of a base coat which may change it's depth and reflection. I wanted to ask you gentlemen here what you usually do in these cases. I will say I haven't let a body fully cure with these errors before and tried to sand it out. By fully cure I mean a few weeks. I use TS lacquers and will typically wait a few days or a week before attempting to sand things out. However I wonder if I let the body harden over a few weeks for example, if just maybe the underlying layers of clear will keep the dust suspended in which I could sand it out without messing with the base color.
-
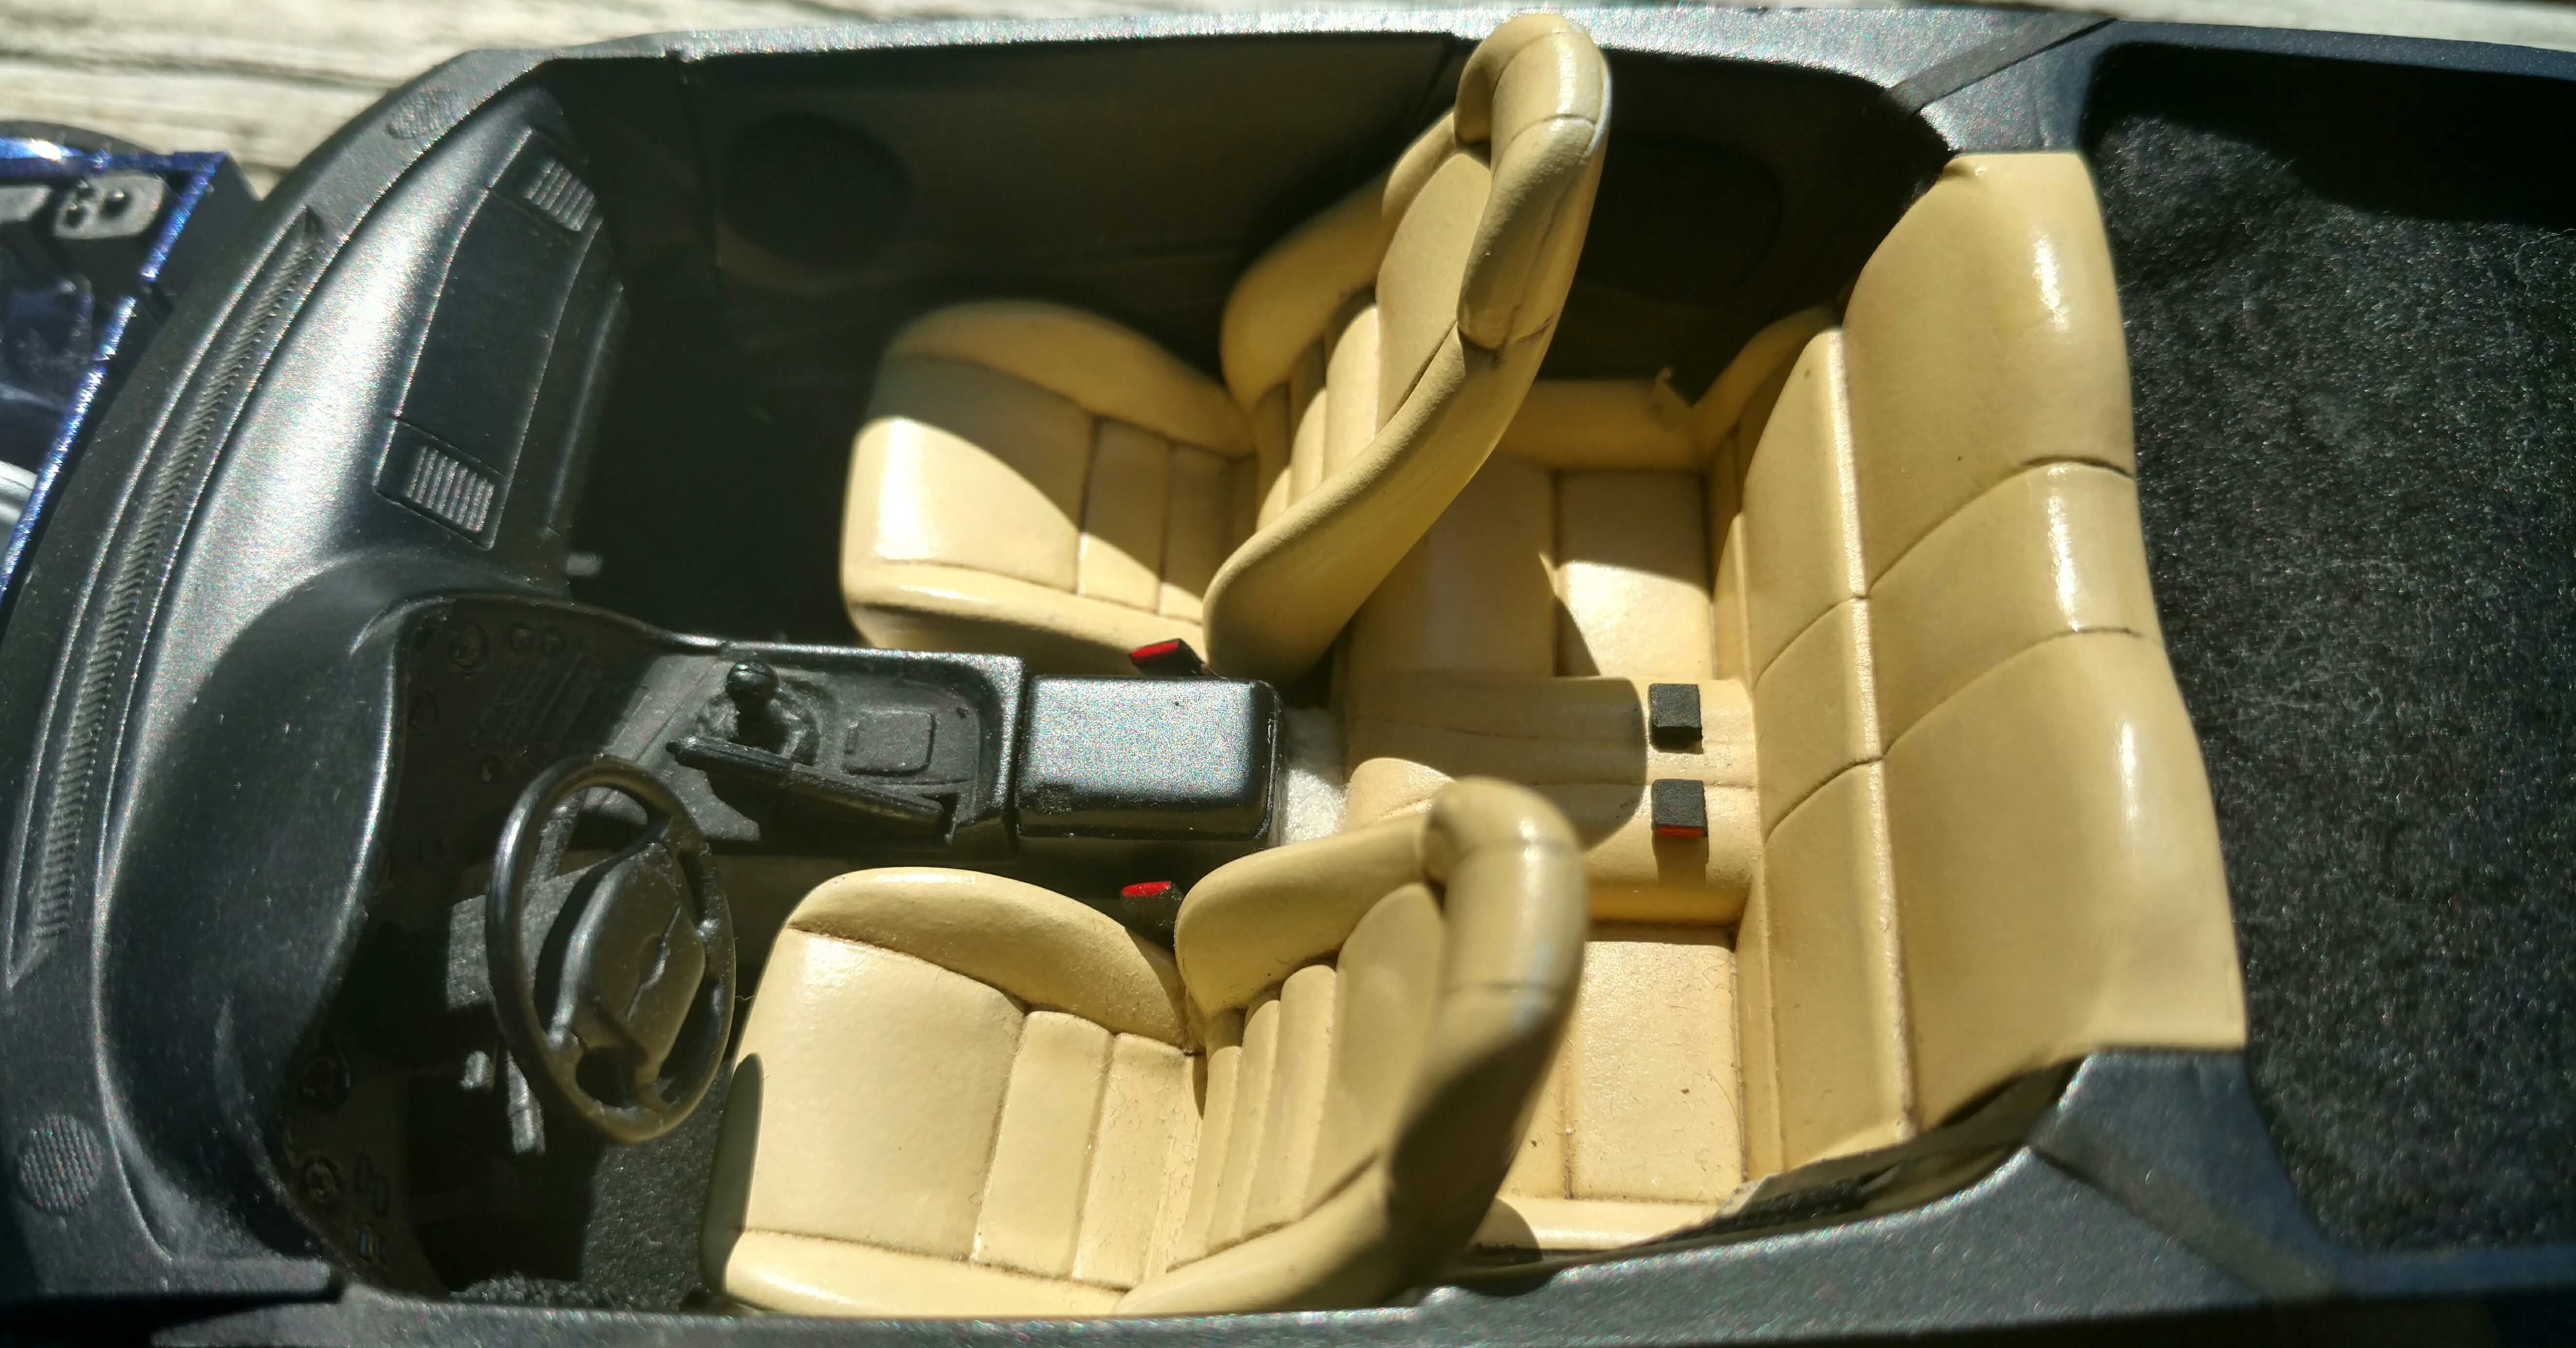
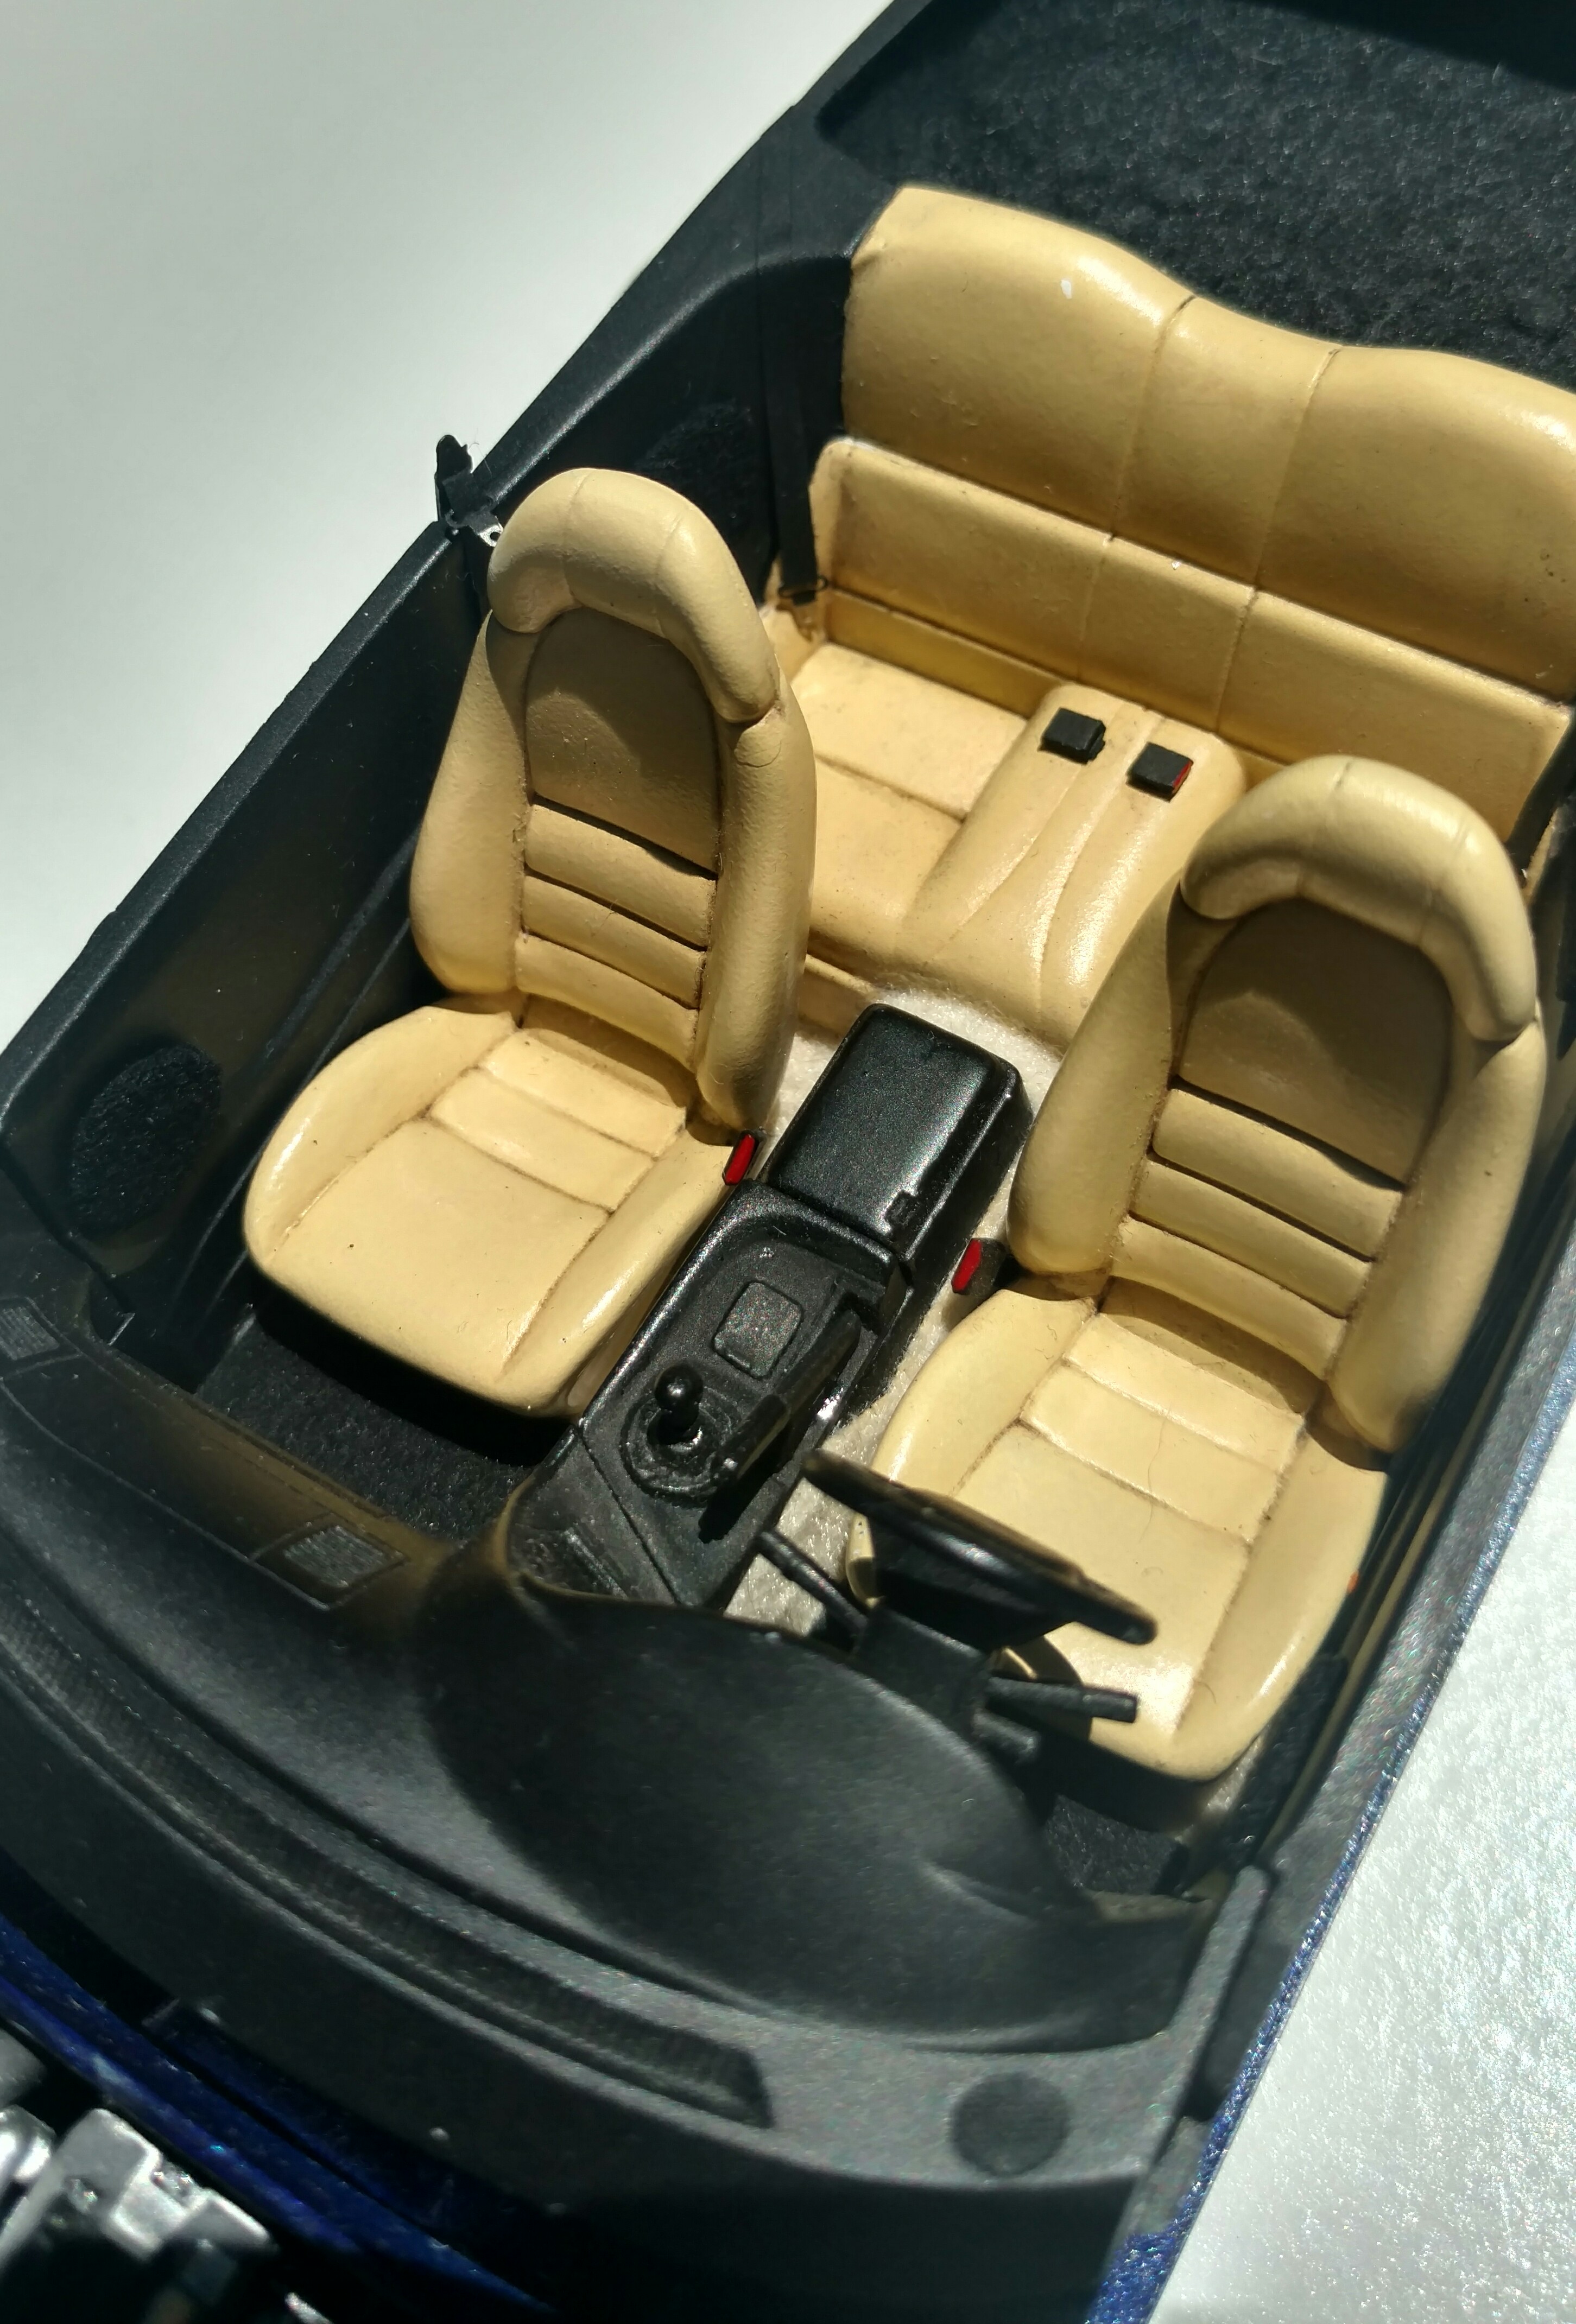
Seat belts and buckles
DiscoRover007 replied to Super28's topic in Model Building Questions and Answers
I use photo etch for the male ends. But i typically make my seatbelt catches from styrene plastic. I find them to be more realistic in most cases for more modern cars. Simply sandwich your belt material between two pieces of the plastic, glue and cut to shape, then paint. Of course it all depends on the design of the real cars seatbelts.
-
Thank you! It truly is. It's definitely one of the better engineered kits in Tamiya's catalog. It also looks truly great just box stock.
.jpg.22b29ac4f760994fa2fa32201a74ad52.jpg)
.jpg.1701c39f1b7b31b6cc218b330d3abcf9.jpg)