Straightliner59
-
Posts
5,809 -
Joined
-
Last visited
Content Type
Profiles
Forums
Events
Gallery
Everything posted by Straightliner59
-
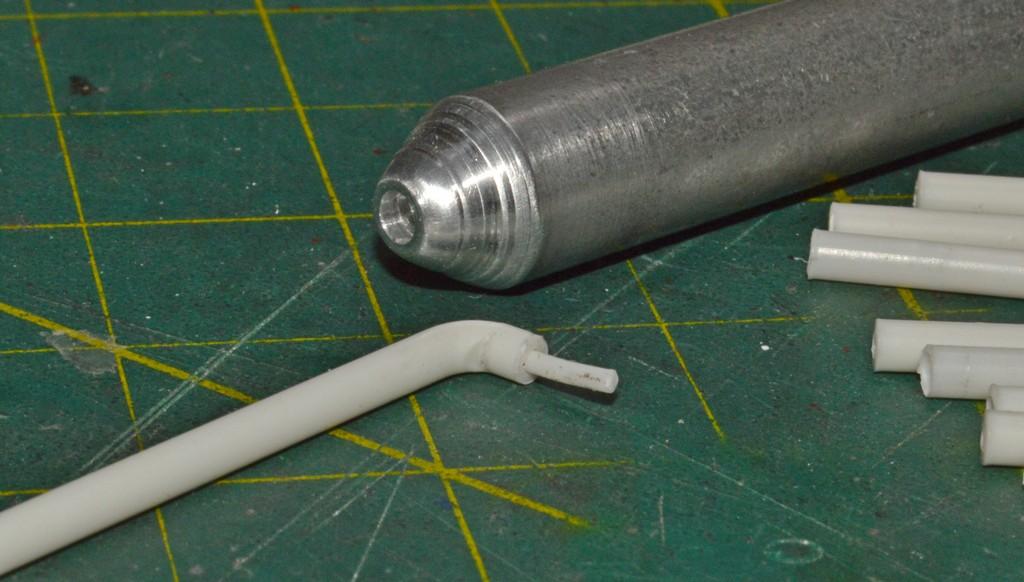
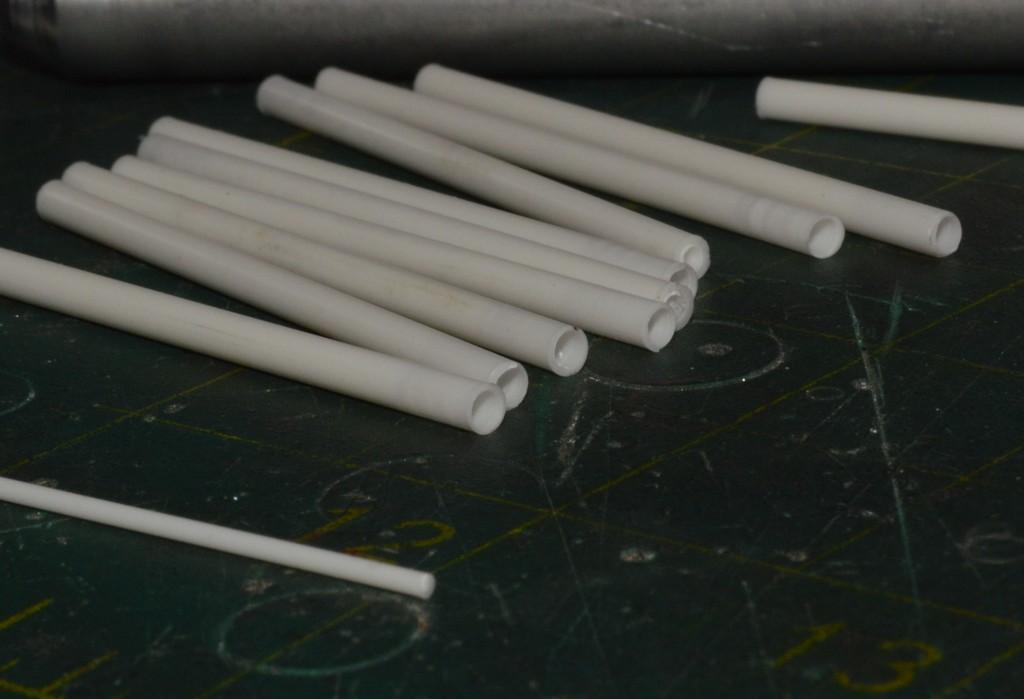
I've been solving the headers. I have some .093", bendable plastic rod I got in a bulk assortment, on Ebay. Chevrolet Performance recommends a 2.25" tube, 34" long, for the headers. .093" scales to roughly 2.375". I hope nobody notices the 1/8"!? In order to make uniform, short, sharp bends, I drilled the end of a piece of aluminum rod with a #43 bit, to a depth of .1". I then cut an angle, so that I could bend the rod past 90 degrees, and it would "relax" back to 90. Once I was satisfied that I could create consistent bends, I cut the plastic rod to length (1.36", I think). Next, I chucked each length in my lathe and "divoted" one end with a .9mm bit, to guide hand-drilling, later, and the other using a #47 bit, to create the open end of the pipe. Next, I bent each piece on the divoted end, then hand-drilled each to accept a pin that inserts into the holes I had previously drilled for the headers. The next step will be to bend each pipe to fit its location, and have them all end up in the right place! It will involve a lot of trial and error, and fitting and refitting, but it will be a big step in really moving along with the project. Questions and comments are always appreciated. Thanks for looking!

-
I'm building one, now! There's a WIP thread in Drag Racing. While we are all aware of its flaws, it has always nailed "cool"! The body and most of the chassis are all that are left of the kit, in mine.
-
 Yessir! The tank hold-down looks great. I also really like the tabs and bracketry for the air tank!
 -
The article states that Larson did it because of engine clearance. The writer claimed that it likely inhibited performance, due to a diminution of airflow, at the curve, and thought he should have cut a relief for the stacks, in the windshield. I always thought they looked cool, too, and this seemed a perfect place to employ them!
-
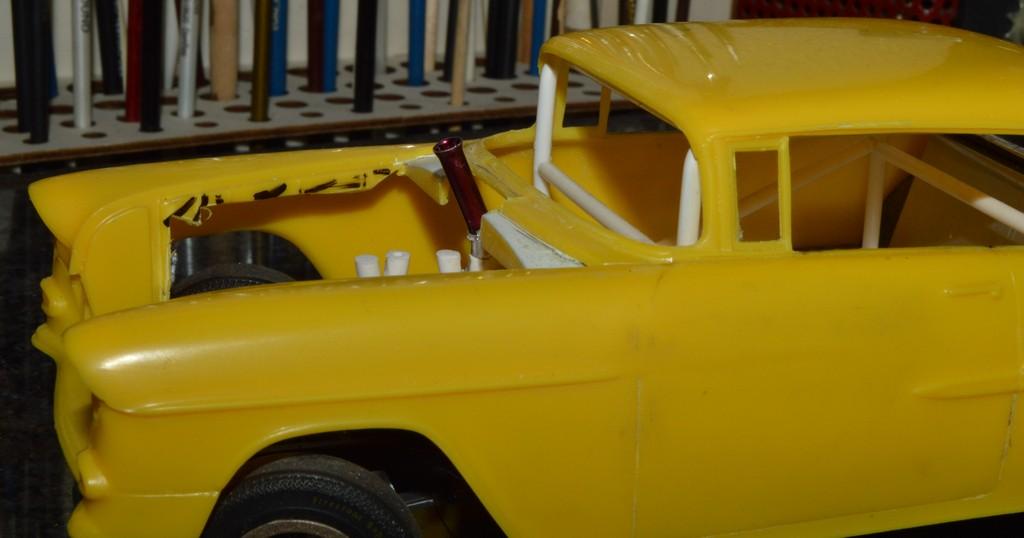
I'd been wondering how I would do the bent stacks, for the injector. Larson's Chevelle had two variations. One in which the injector bases were cut and welded. The other has bent tubes. The car also doesn't appear to be the Crower setup I (for some reason) thought it was. More research is in order. I think my best option will be to bend the tube bases from .125" plastic rod, then attach the actual tubes, to those. I haven't measured this one, yet, I may need to shorten it, a little. The 1974-'75 Chevrolet Performance Manual I have recommends 21.5" from the top of the stack to the base of the manifold. I also cut the cowl, back. I think it's going to look pretty cool, with the stacks alternating in purple and gold "anodizing"--4, each color. I'm also fiddling with the headers, and how I am going to bend them. I have to build them from plastic, as I can't find/don't have the proper diameter material in aluminum wire, or solder. The first bend has to be a tight one, as they need to fit between the engine and the frame rails. I don't anticipate any big problems, with them, though. Questions and comments are always appreciated. Thanks for looking!
-
I remember those tools. Those clamps were absolutely worthless! The spatula and glue applicator at least stood a chance of sort of accomplishing what they were supposed to. I was thirteen, when I signed up. Not too long ago, I picked up an original issue of Revell's 240Z. It still has the card for club, and a sweepstakes entry, in the box! Just seeing the box was nicely nostalgic. Finding the inserts really got the "feels" going! the complimentary 'tool kit' which was merely preparation for life's disappointments.? That's great! Cracked me right up!
-
Yeah. That, and friction!
-
Trevor, now this is neat! I never got any of the certificates. I think you're the first one I've "met"! Cool! Thanks for sharing these photos!
-
I just saw one on Ebay, thanks to your suggestion. That is nice! I'll be picking that one, or a kit up, so I have one on hand. Thanks again!
-
Thanks, Rusty! Next time I need one, that's where I'll go! I'm happy you found this informative. I'll be working on it at least a while longer, so I hope you'll check back in. I'll try to make it worthwhile!
-
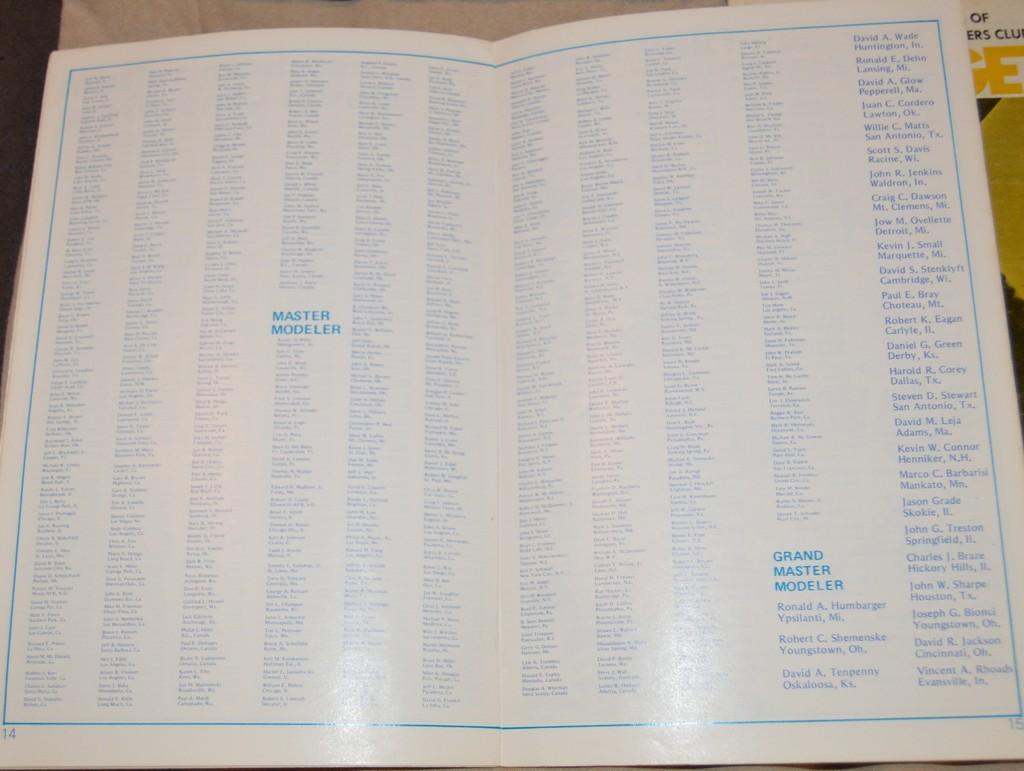
These are the issues I have of "Get It Together", the publication of the Revell Master Modelers' Club. These are Spring and Summer of '73, and Winter and Spring of '74. The centerspread was always the list of modelers of various "skill levels".
-
That's not going to end well, once gravity returns!
-
Glad that was helpful, Ulf! The brass definitely helps with rigidity. I am humbled by your kind words. I always hope that I am sharing things people will find useful. I enjoy sharing my processes, as well!
-
Thanks, Roger! I started playing around with the "bent" injector stacks. I think it's going to look really cool!
-
Appreciate that, Tony! Thanks!
-
I appreciate that, Ian! I'm surprised I got it in one try!?
-
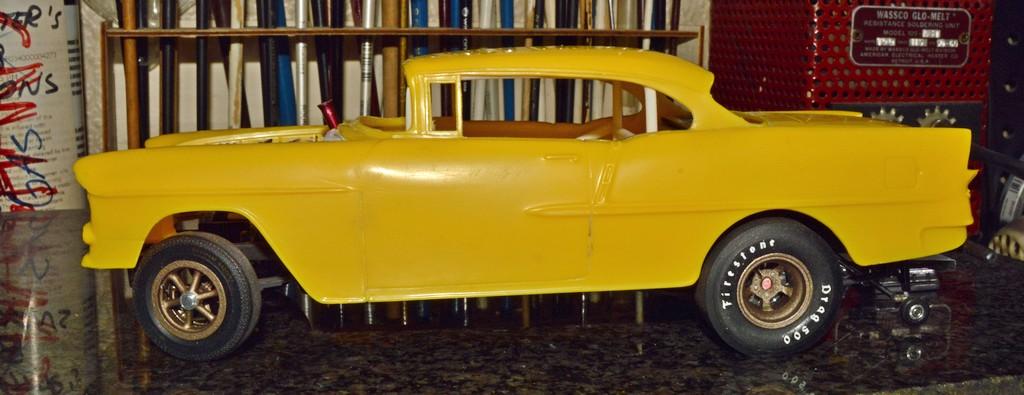
I didn't realize it had been so long, since I updated this. I haven't done a whole lot. A lot of it has been adding stuff I never had any intention of adding, when I started this. I've somewhat limited myself, based on my initial intent to keep it a "quick and easy" project, without chassis detail, beyond what could be seen below the chassis, however...that starter/battery cable had to go somewhere!? I zip-tied the battery cable and the switch wire together, for a very short distance. Where I really got carried away doing something that will only matter, to me--I didn't want the master cylinder on the firewall, so I scratchbuilt one, and mounted it under the floor. To my way of thinking, explaining why there isn't a master cylinder on the firewall, isn't enough. I figured I had best have one, if I say I have one. Also did a bit of work on the driveline tunnel. I've also been working out the headers and the angled stacks (think Larson's Chevelle). No significant progress, yet, so no photos...yet. I think it's important to build and install the headers, now. Comments, critiques and questions are always welcomed. Thanks for looking!
-
’72 Dodge Demon Drag Racer 1/25 scale
Straightliner59 replied to AmericanMuscleFan's topic in WIP: Drag Racing Models
I'm sure he's just busy as all get-out. It's that time of year, for him -
Terry, this is a real beauty! I enjoyed watching it come together, too. Excellent work!
-
I love it! Looks just like it ought to. Can't wait to see the paint and graphics finished!
-
Thank you, Bob. It was a fun little project!
-
Just give me a minute!? Thanks, my friend!
-
Awesome buy! Some really cool stuff, there! A lot of it, reminders of collections, gone by.?
-
Thanks, Tony! The engine is installed! I was hoping to post these, this morning, but my cursor decided it was going to take a wild ride. I must have got something damp, when I absentmindedly wiped off the dust! Anyway, here are a few photos. Thanks for looking!
-
They're all still good! Hot Rod Primer was always a favorite of mine, too.