Snake45
-
Posts
22,539 -
Joined
-
Last visited
Content Type
Profiles
Forums
Events
Gallery
Everything posted by Snake45
-
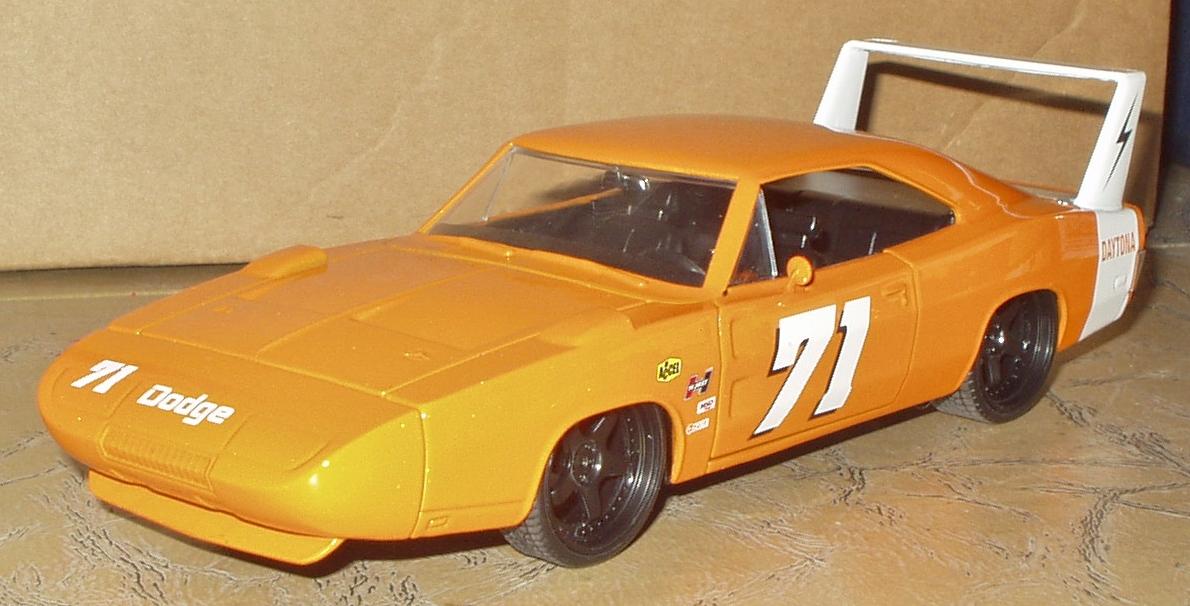
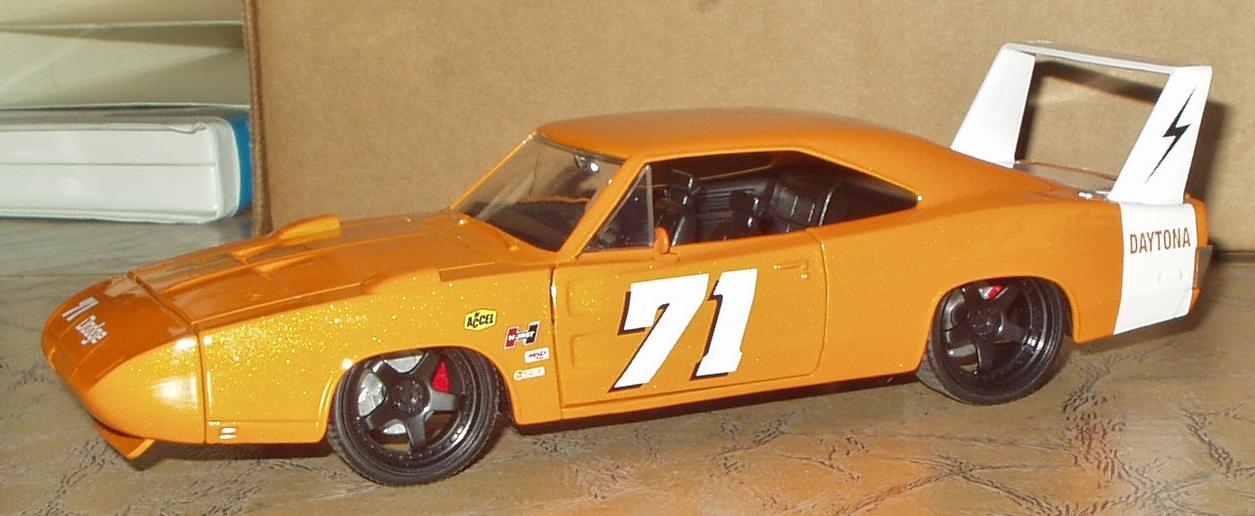
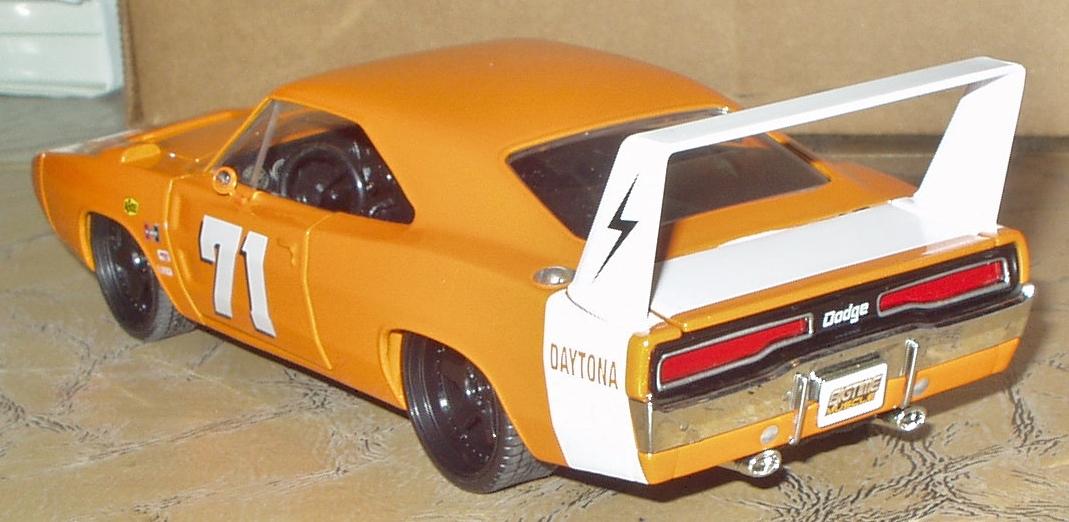
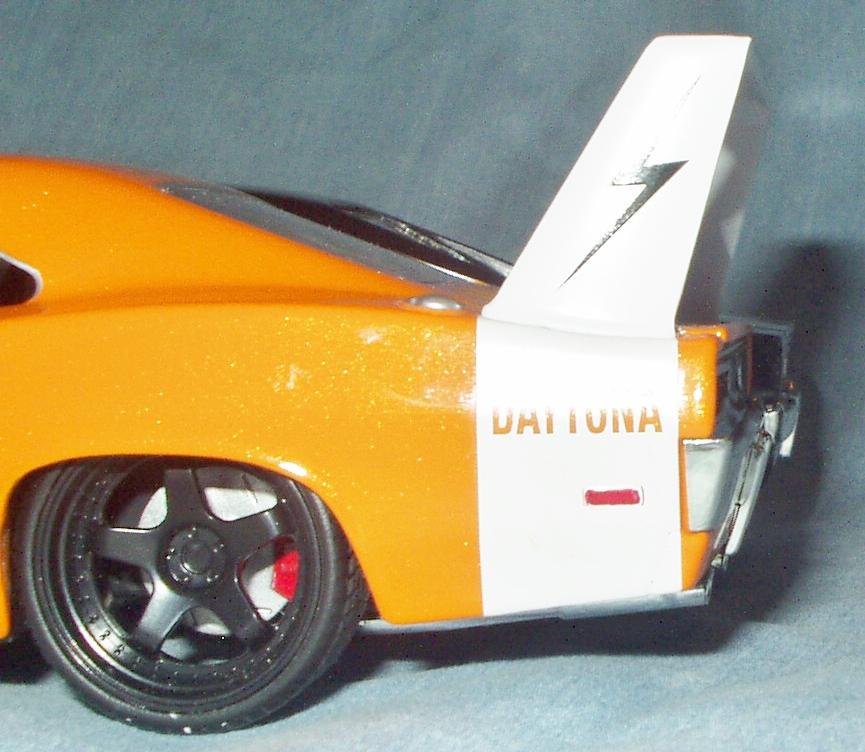
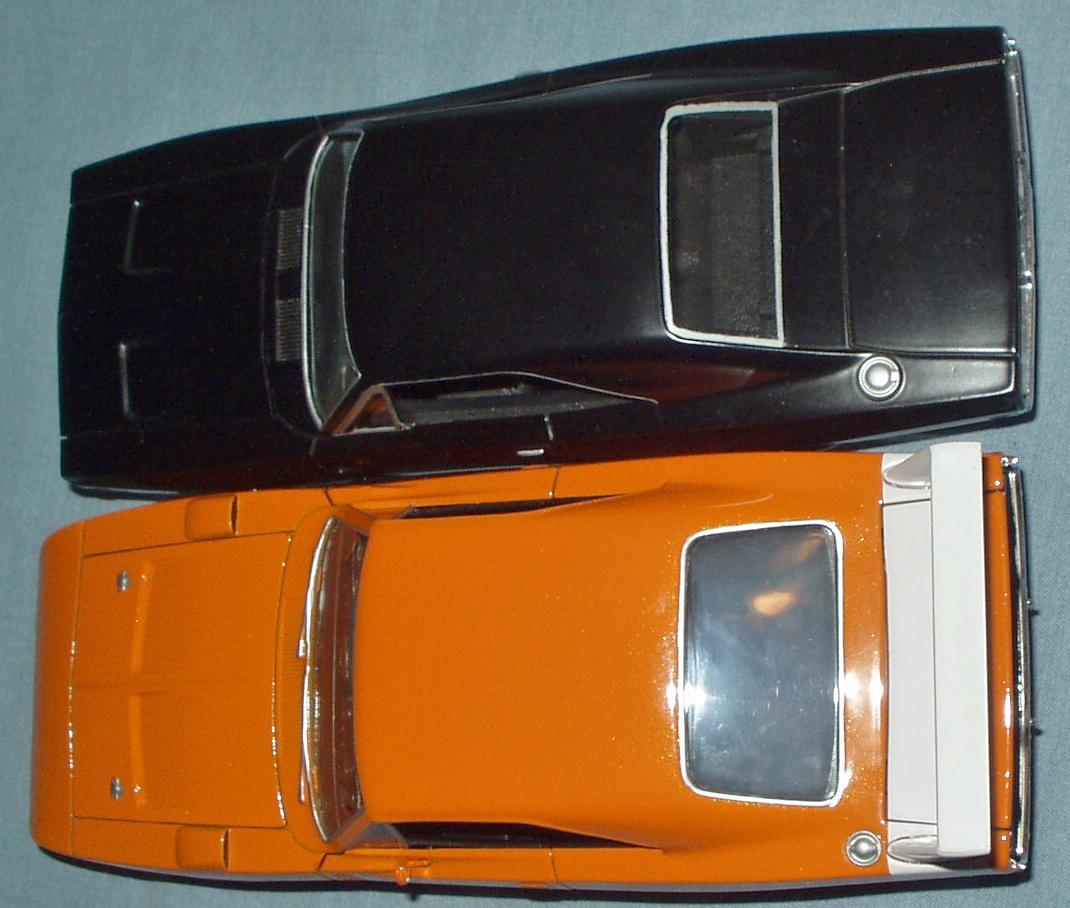
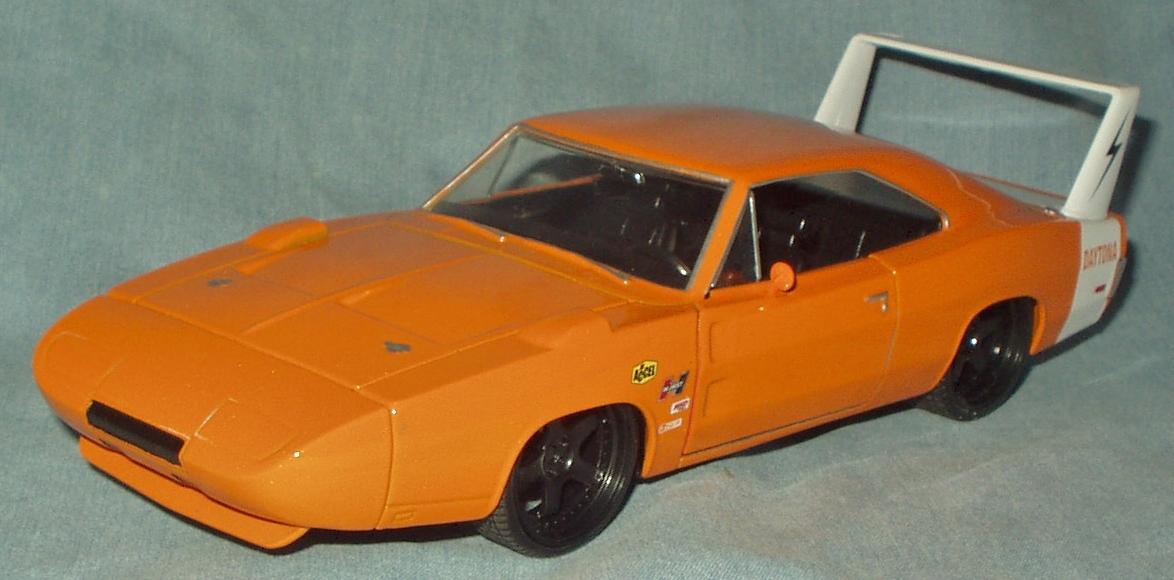
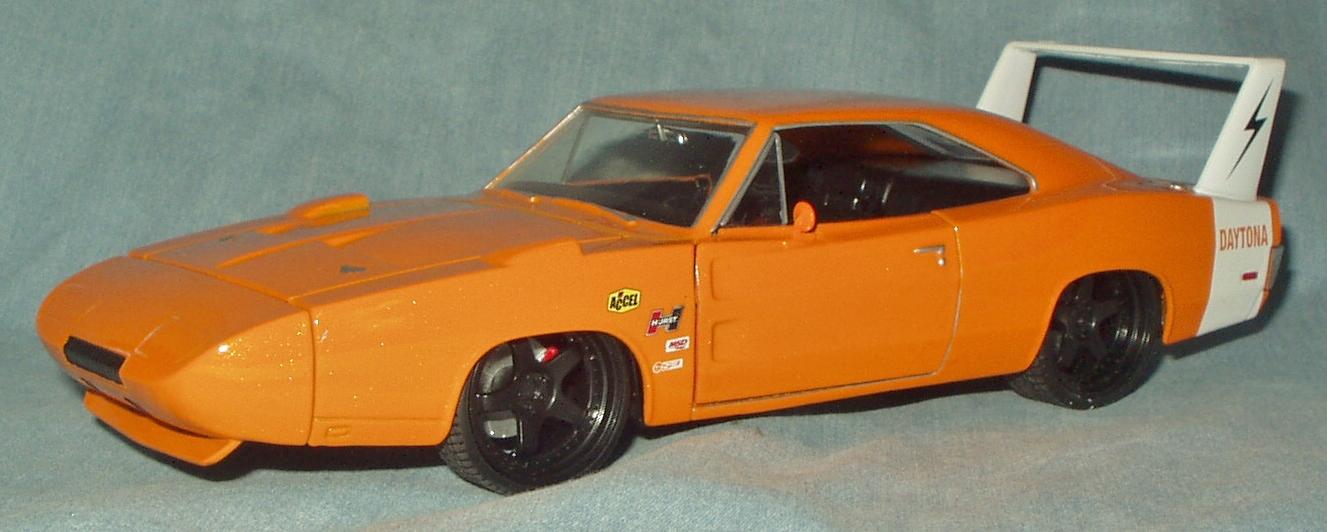
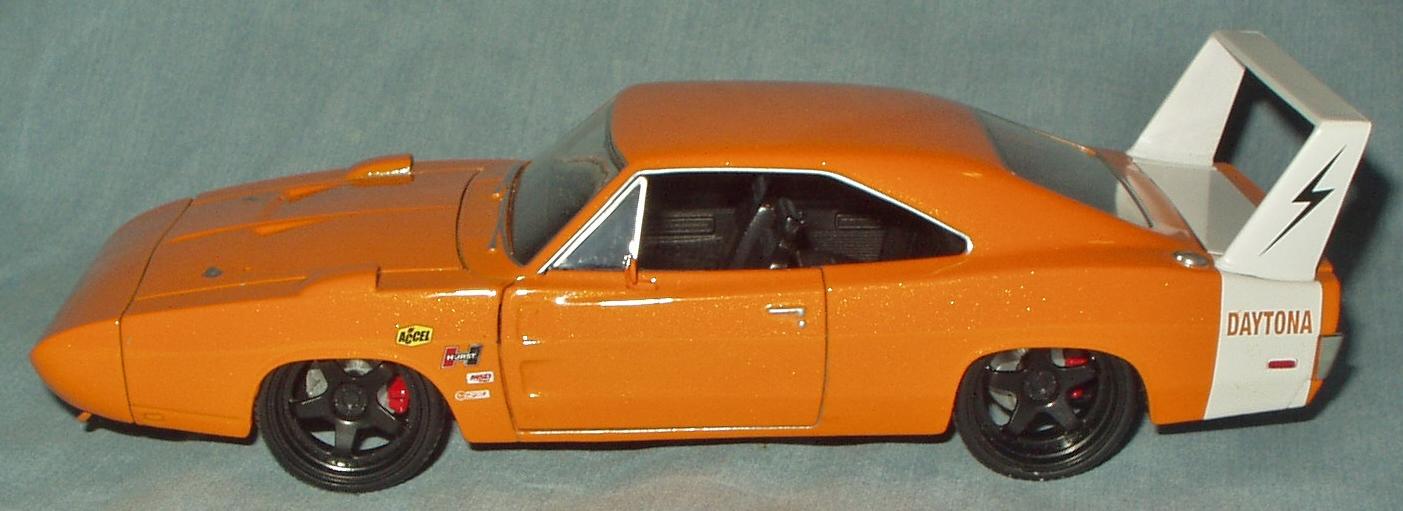
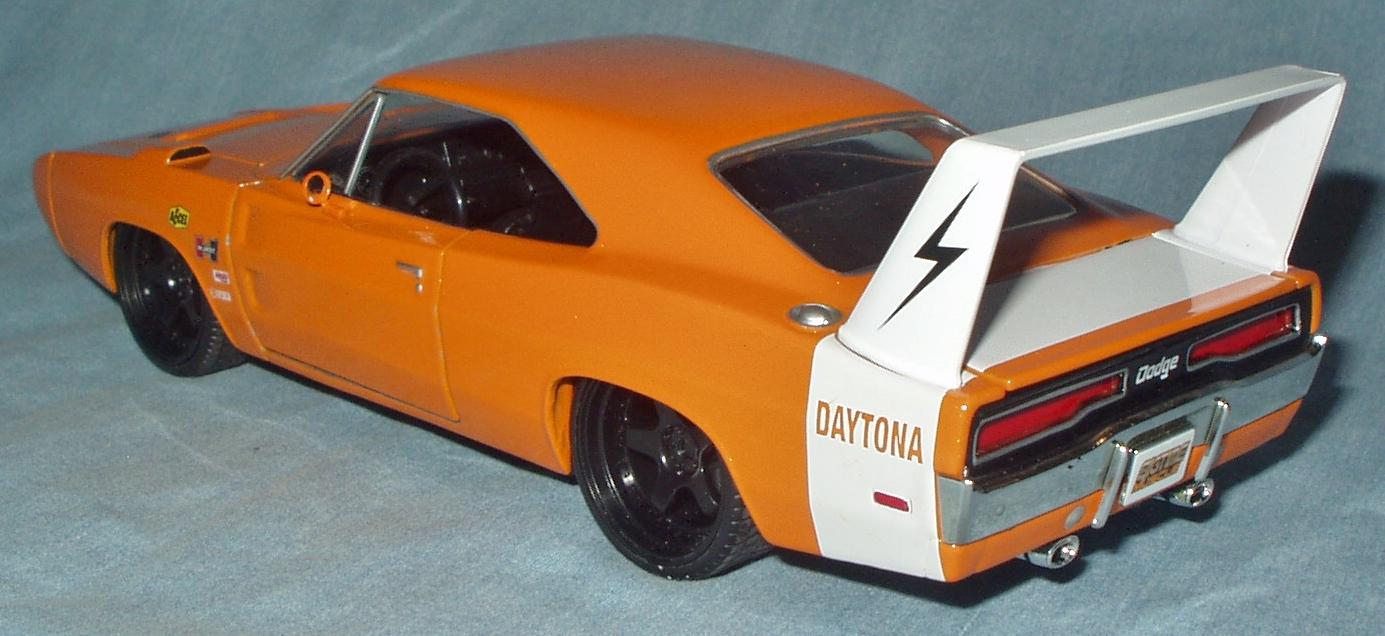
Bought this one at Walmart a couple weeks ago. JADAs are traditionally listed as “1/24 scale,” but they’re quite liberal about it, with most of their stuff somewhere in the 1/22 area; their motto seems to be “As Much Metal As We Can Stuff Into Our Standard Box!” With that philosophy, I kinda thought their Dodge Daytona might actually be a real 1/24 for a change, or maybe even 1/25, so I bought it. Well, waddaya know—turns out it’s a good 1/25, at least back to the rear wheels/rear edge of the roof. The trunk/rear quarters area looks to be about 1/4” (6 scale inches) short. Oh well. I’ll make it work. These pics show the short rear end compared to a 1/25 stock Charger. That, along with the giant oversized wheels and rubber band tires, convinced me to Snake-Fu this one as a modern-day restomod/pro touring/customized/tribute/clone/street cruiser. You know, something like the stuff that Richard Gas Monkey builds (or watches his crew build as he swills beer). The NASCAR-type numbers and lettering had to go. This was among the most difficult-to-remove tampowork I’ve ever seen. The Walmart non-acetone nail polish remover would just kind of dissolve it and smear it around instead of removing it cleanly. It took several treatments with the stuff to make the tampo-ing disappear to my satisfaction. That done, I sanded the tire treads, Silver Sharpied the window trim and door handles, and hit the rear side markers with a red Sharpie. I painted the grille black (though it’s body color on the real cars, but that looked unfinished on the model) along with the backsides of the front fender scoops and the two air vents on the front valence panel. I thought I’d have to paint the front spoiler black, too, but discovered with a google-image search that it’s body color, too. I was going to cut a strip of black vinyl tape to wrap around the front where the nosepiece meets the fenders, but I couldn’t find my black tape. Oh well it’ll turn up sooner or later. I got my money’s worth of fun out of this one, and it looks pretty good on my shelf, at least until I can get around to building a nice plastic kit. Thanks for looking, and as always, comments welcome.

-
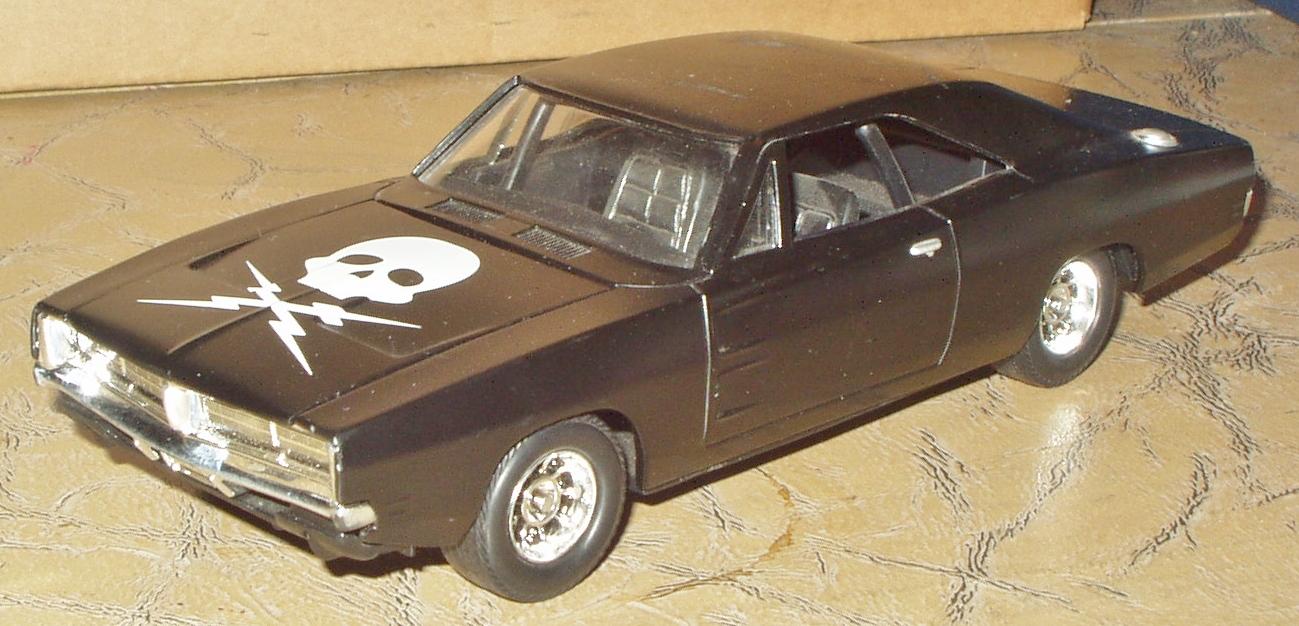
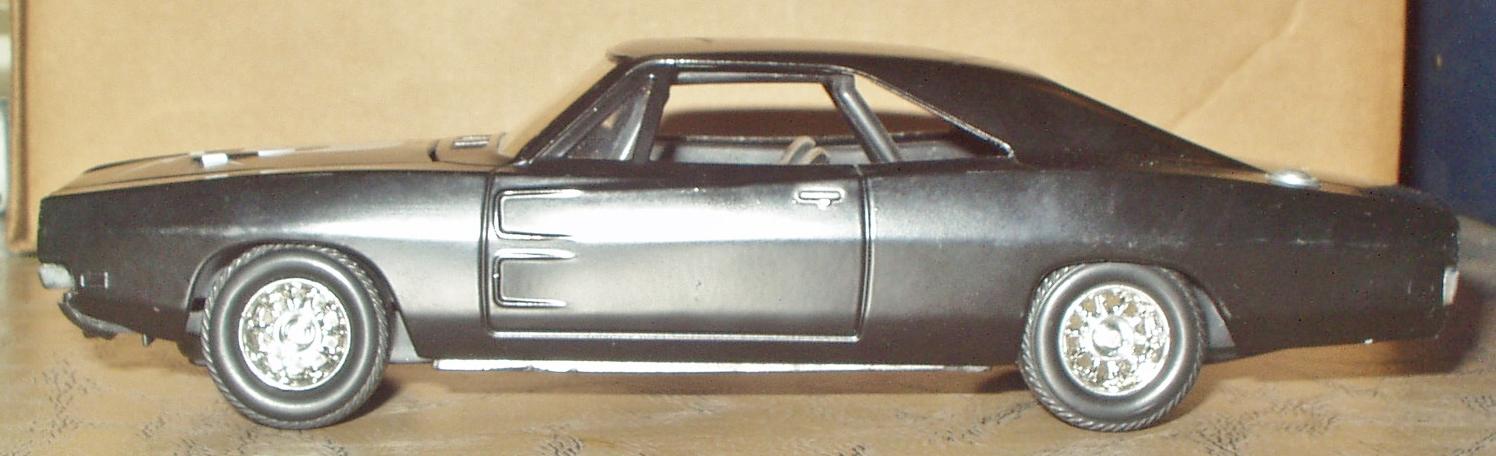
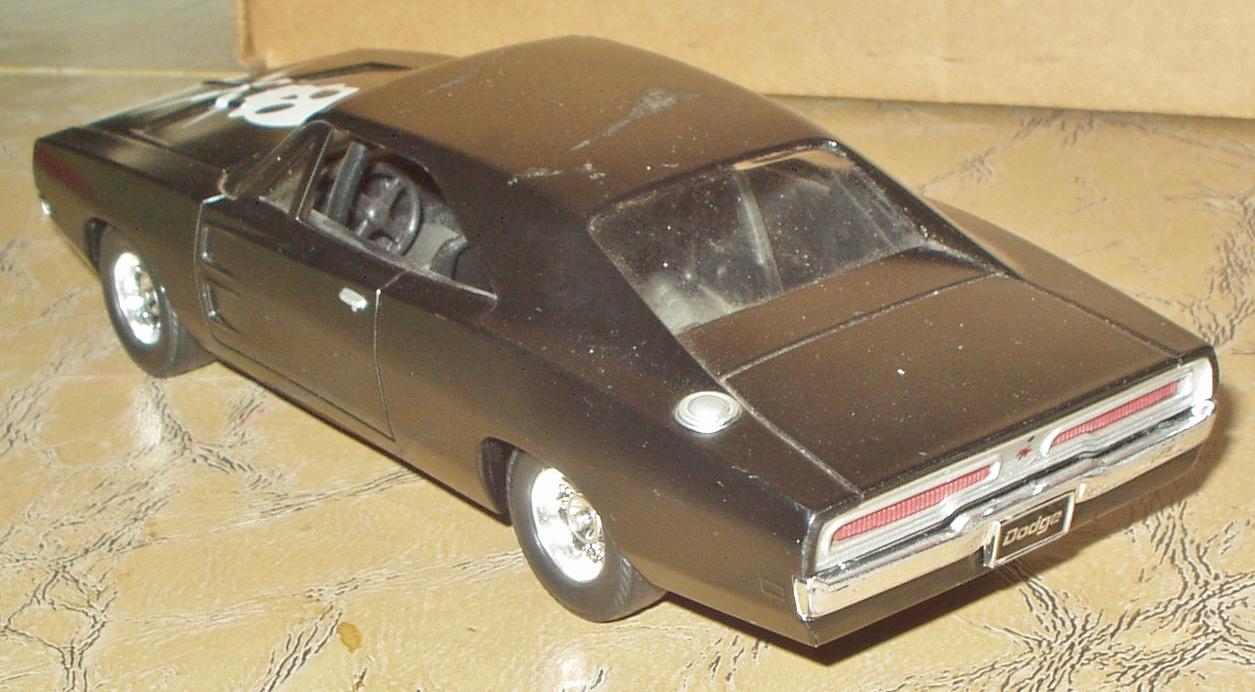
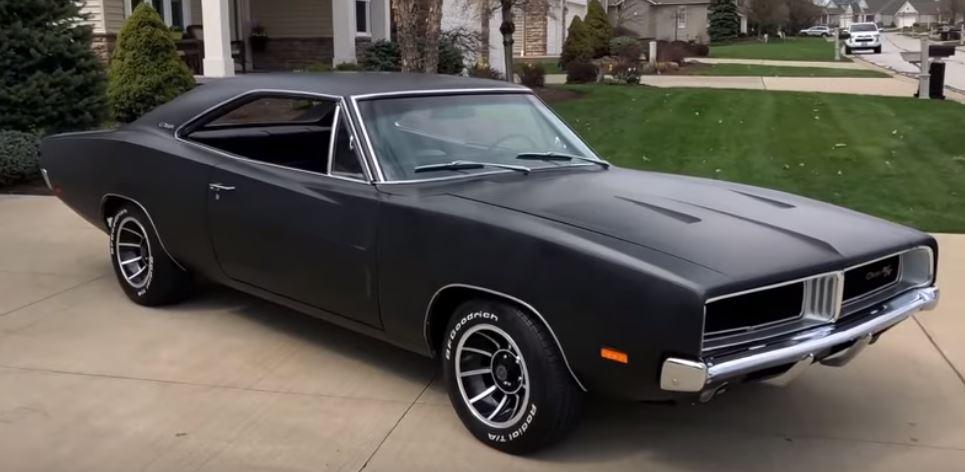
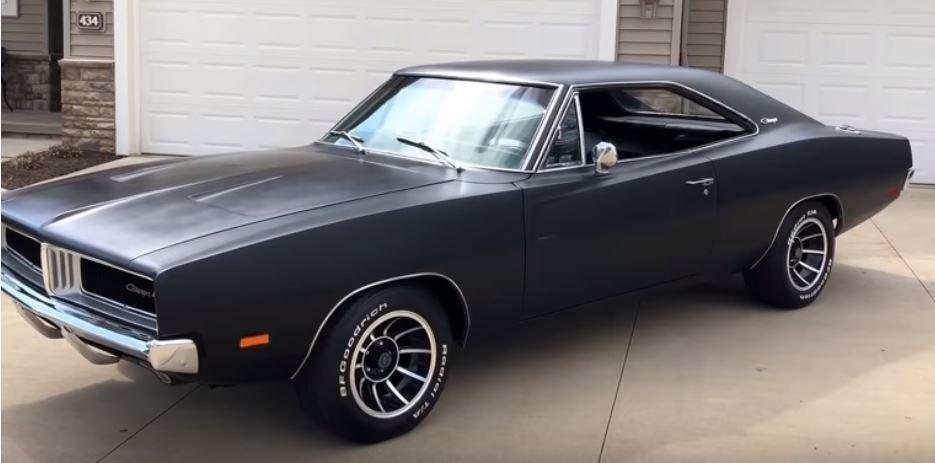
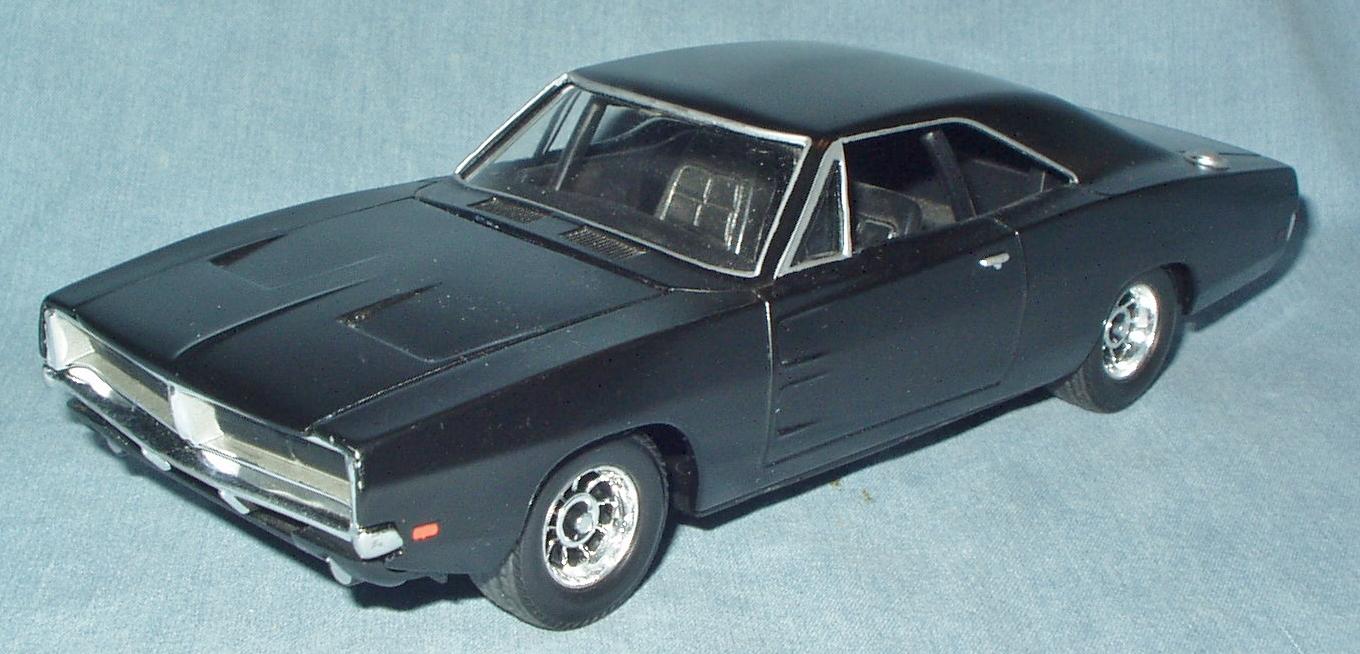
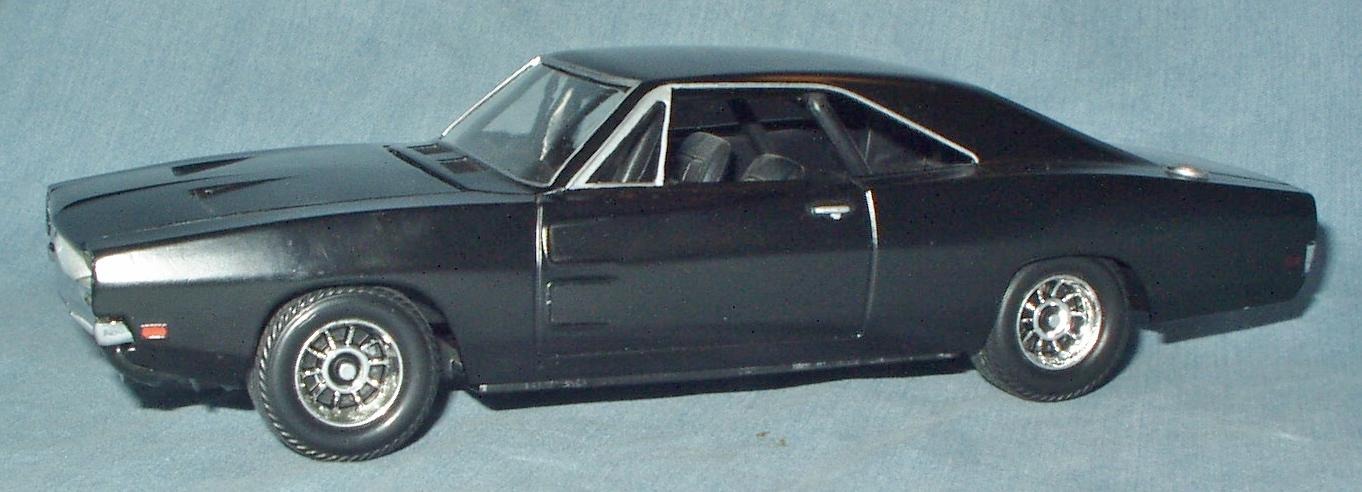
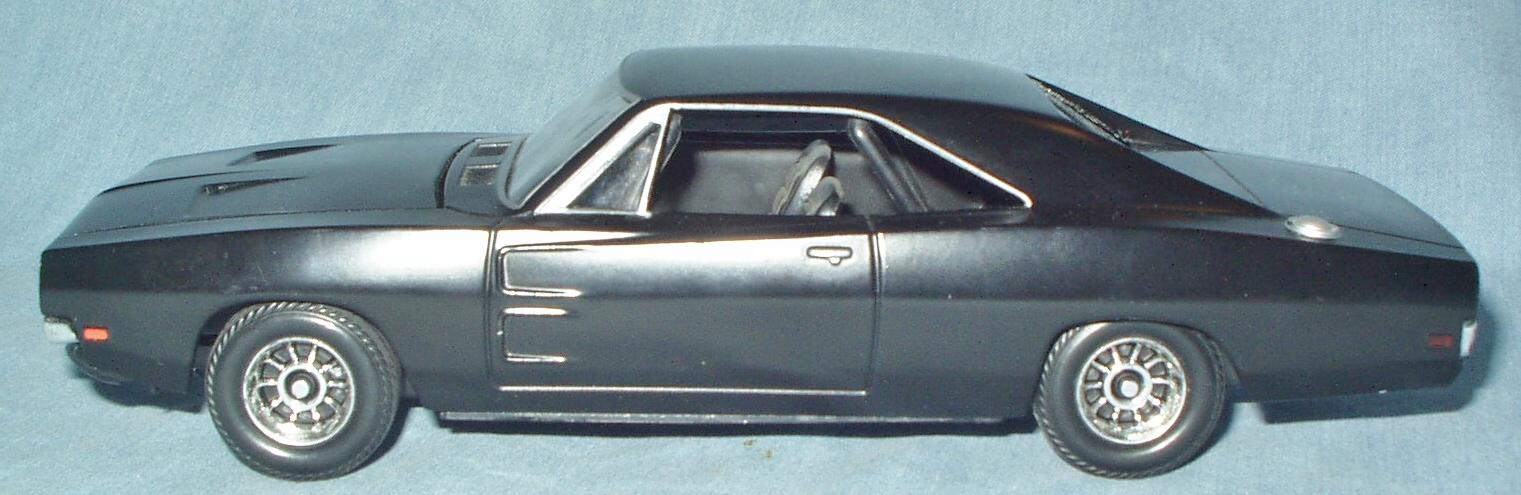
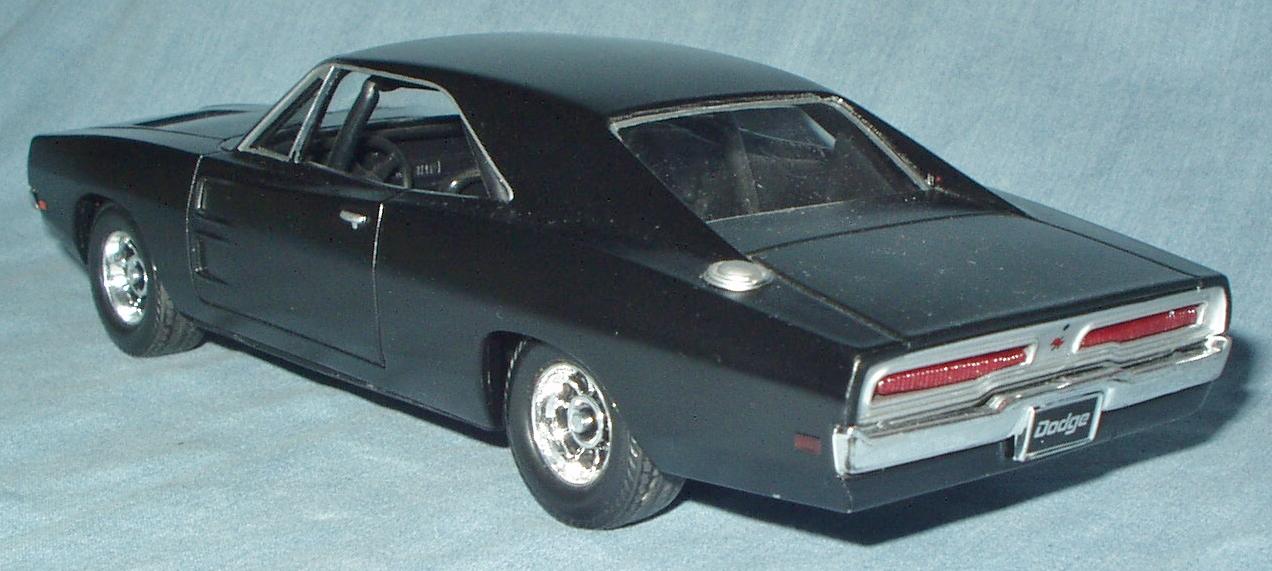
Didn’t know this one existed till I spotted it at the local toy show. Pretty obvious that it had once been issued as a DoH car but this one was tied to the movie Death Proof. It’s 1/25, overall shape looked pretty good, and the price was right, so I’m in. Didn’t know at first what I wanted to do with it. I gave some thought to trying to alter the skull on the hood to Old Velvet Nose, the logo of the late great Warren Zevon, but decided that wouldn’t work and/or exceeded my skill level. So I removed it with Walmart non-acetone nail polish remover, which I also used to clean some sort of gunk off the roof. That done, I gave some thought to using the satin black paint as a primer for something shinier, but then spotted a very sharp satin black ’69 Charger on the internet and decided that would look good on my shelf. This one would have been a quick, easy Snake-Fu job except for the windows. They had to come out to fix a couple of issues, and unfortunately, ERTL liked to attach them with (evidently) Kryptonite rivets. I’ve dealt with these before and knew that the best/quickest way to get rid of them is with a cutoff wheel in a Dremel, using it like a grinder. There was absolutely no representation of the chrome trim around the backlight on either the body or the window, so I scribed the outline of the backlight onto the plastic with the back of an Xacto blade, removed the glass, and used the scribe marks to lay out razor-cut masking tape. Then I applied the border trim with my beloved Silver Sharpie. The other window problem was the grossly over-thick vent window frames (see the pics above if you didn’t already notice them). It took me about an hour to file the rear edges back to a more reasonable dimension with a medium-sized triangular file. Decided not to push my luck by trying to file the forward frame (i.e., inside the window). It’s not perfect but it looks better than it did. The taillights were molded in a strange reddish-brown solid plastic. I painted them Model Master Stop Light Red. From that point, it was pretty much standard Level 1 Snake-Fu: sand the tire treads; detail the grille with flat black and steel; hit the wheels with flat black between the spokes. I painted the front side markers Testor Orange and the rears Stop Light Red, which doesn’t show up well at all on the black paint. Oh well. Certainly not the finest model on my shelf, but I have to say I had $10 worth of fun with it, and it’s at least $10 worth of good-looking on the shelf. Thanks for looking and as always, comments welcome.
-
My town has HL, Michael's, and ACM. ACM has only two things going for it: It's the closest to me (by 10 miles or so) and so the one I run to when I need many types of generic modeling/crafts supplies and tools. The other is that they have by far the largest selection of craft acrylic paints, including "enamels." Several times I've had to match an oddball paint when trying to "rescue" a builtup glue bomb, and been able to find something darn close at AC Moore. I'll miss them, at least a little.
-
 Is that the Revell '65 Chevy convertible metalbody at lower left? I'm hoping to slap one of those together this weekend. Model on!
 -
My work here is done.
-
Beautiful work, and a true restoration. Well done and model on!
-
That's why ya gotta read the fine print. And it helps to know who made what back in the day, too.
-
Yikes! The tires, wheels, and decals are the high points of that kit. I hope you get your money back.
-
Grumpy's Toy IX 1972 Vega rebuild
Snake45 replied to magicmustang's topic in WIP: Drag Racing Models
Yah. Another of his trademarks. At one time he painted the whole underside of his cars white, but I don't know when he started or stopped this. I do know it was done to Strickler's '63 Impala. -
Very clean, nicely done!
-
Well done!
-
Yes, I know. Thought about that, and decided not to. Yes, I did it as a current day tribute/clone/replica for reasons I'll explain when I get around to doing the full writeup.
-
Didn't miss it. There were a couple, but you gotta admit there were damfew of us who were playing by the rules.
-
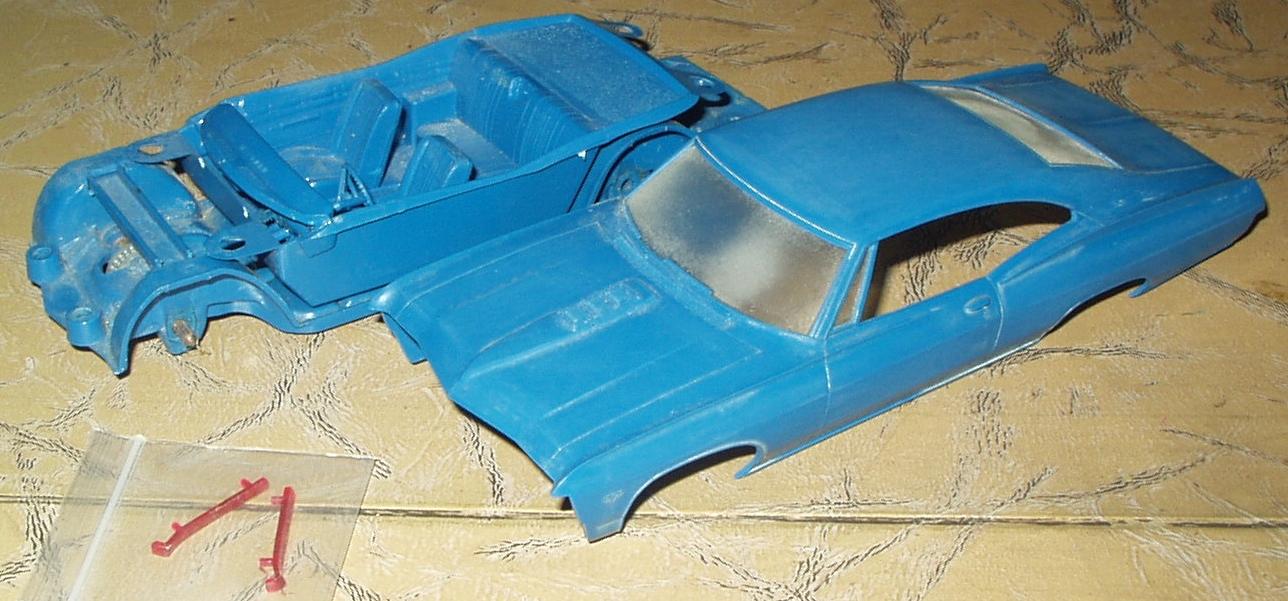
Just scored original annual AMT front bumper/grille and rear bumper with taillights for this (which I got a few months ago). The price wasn't much more than Modelhaus was getting for repros when they were still in bidness, and considering the taillights and that the shipping should be LESS than Modelhaus charged (which was always on the high side), I made out pretty well. Looks like this one just jumped to near the top of the To-Do list in the Snakepit. As the plan is to polish out the blue plastic, should make a great winter project.
-
Finally, something that actually answers the question asked! Well played!
-
Understated and sharp.
-
-
What you've built here is actually more interesting than a "stock" Yenko 427 Chevelle. What I see is a clean '69 Malibu into which someone has swapped a built big-block, then added an aftermarket "stinger" hood, some SS396 emblems and stripes, and some random Yenko decals for good measure. It wasn't uncommon to see mashups like this cruising the streets in the '70s and '80s, and you still see such a creation every now and then. It would fit right in with my imaginary late '70s-early '80s hot rod club called "The Retrobates." Well done and model on!
-
Ooooh! An original annual with the flippy headlights!
-
Bought a box of original AMT annual '67 Camaro parts. No car, no engine, no wheels, and doesn't look like any stock parts, but the original box is here (kinda rare), along with the instructions and decals (very cracked, but can be scanned and reprinted). The now very rare custom "flying buttress" fastback top is here, along with the custom rear panel with spoiler, and both custom front grilles. Looks like most of the custom interior parts, too. I already have a restorable glue bomb AMT '67 Camaro annual (which will be restored stock), so it will be cool to have an original box to put it in. And I think I'll see if those custom goodies can be grafted onto a common AMT '67-'68 or Revell '67 body and recreate the original annual custom. A box of nostalgia and fun!
-
Well, Cher's been in movies, so she's technically an actress, so the AMT Sonny & Cher Mustang qualifies. And then there was Farah's Foxy Vette.
-
Grumpy's Toy IX 1972 Vega rebuild
Snake45 replied to magicmustang's topic in WIP: Drag Racing Models
Finally got around to this. Here's the deal: The MPC grille (the resin copy in question) is a hair wider than the AMT body opening. It could easily be made to fit with some tweaking. BUT it is much more "V-ed" than the AMT body, and the center of it will hang out of the AMT body about 1/8" or so. This could be fixed by cutting it in half in the middle, then filing a little out of each side until both halves until they met properly in the middle. The MPC grille has another problem. The passenger's side is correctly shaped, but the driver's side has a more squared-off shape, like the Revell '67, which just looks awful to me. This doesn't bother some people, or they just don't see it. I also tried the RS grille from the Revell '67 Nickey kit. It's also a bit wide, but again the body could be tweaked to fit, and the V angle is almost exactly the same as the AMT body. That's the good news. The bad news is, the ends of this grille have that awful squared-off shape (same top to bottom) which offends my eye. Again, that might not bother you. The resin grille is yours if you want it. Email me your address. If you want a really good looking model, what you want is a resin repop of the grille from the original AMT '67 annual or Pace Car. Modelhaus made them, and I have a couple, but no spares. But I think somebody's selling them on eBay. But others are selling the MPC grille. I can spot the difference in a heartbeat. -
What he said.
-
Very nice, very tasteful! Well done and model on!
-
I'm a fan of trucks but...
Snake45 replied to iamsuperdan's topic in General Automotive Talk (Trucks and Cars)
His old papers, or his old stash....