Dann Tier
-
Posts
8,151 -
Joined
-
Last visited
Content Type
Profiles
Forums
Events
Gallery
Everything posted by Dann Tier
-

Hasegawas Lamborghini Miura SV....new update!
Dann Tier replied to Dann Tier's topic in WIP: Model Cars
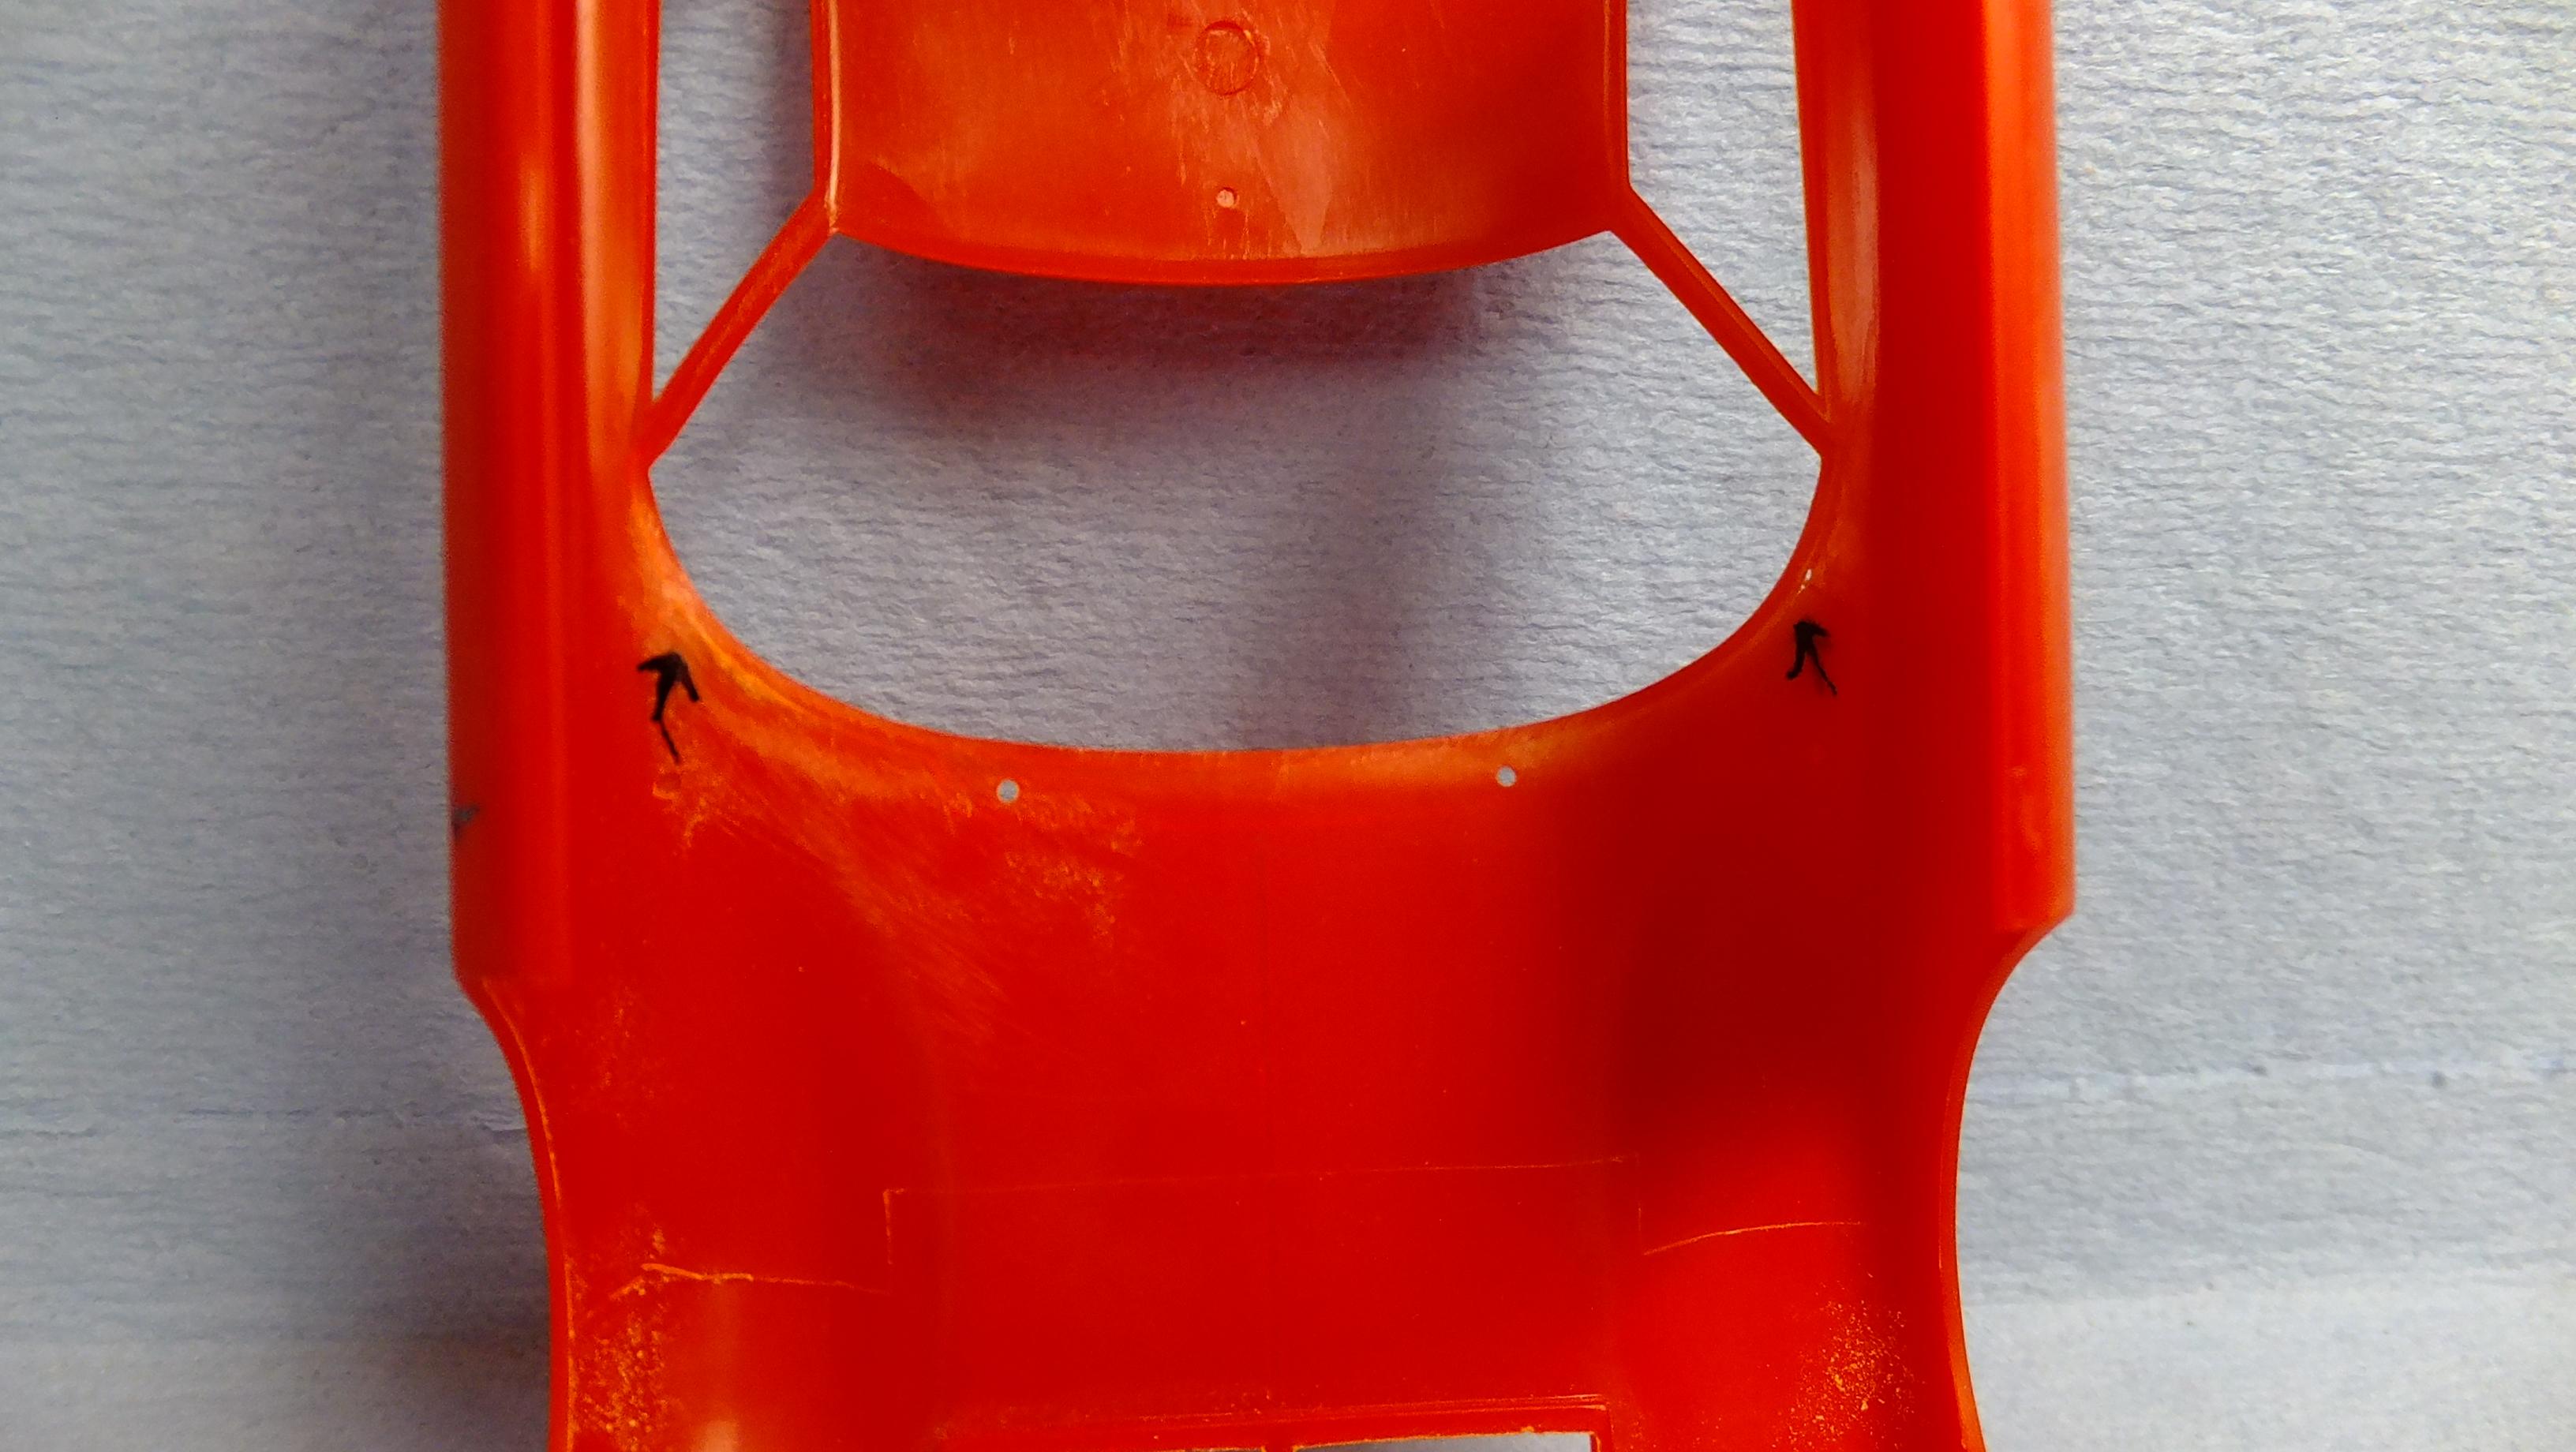
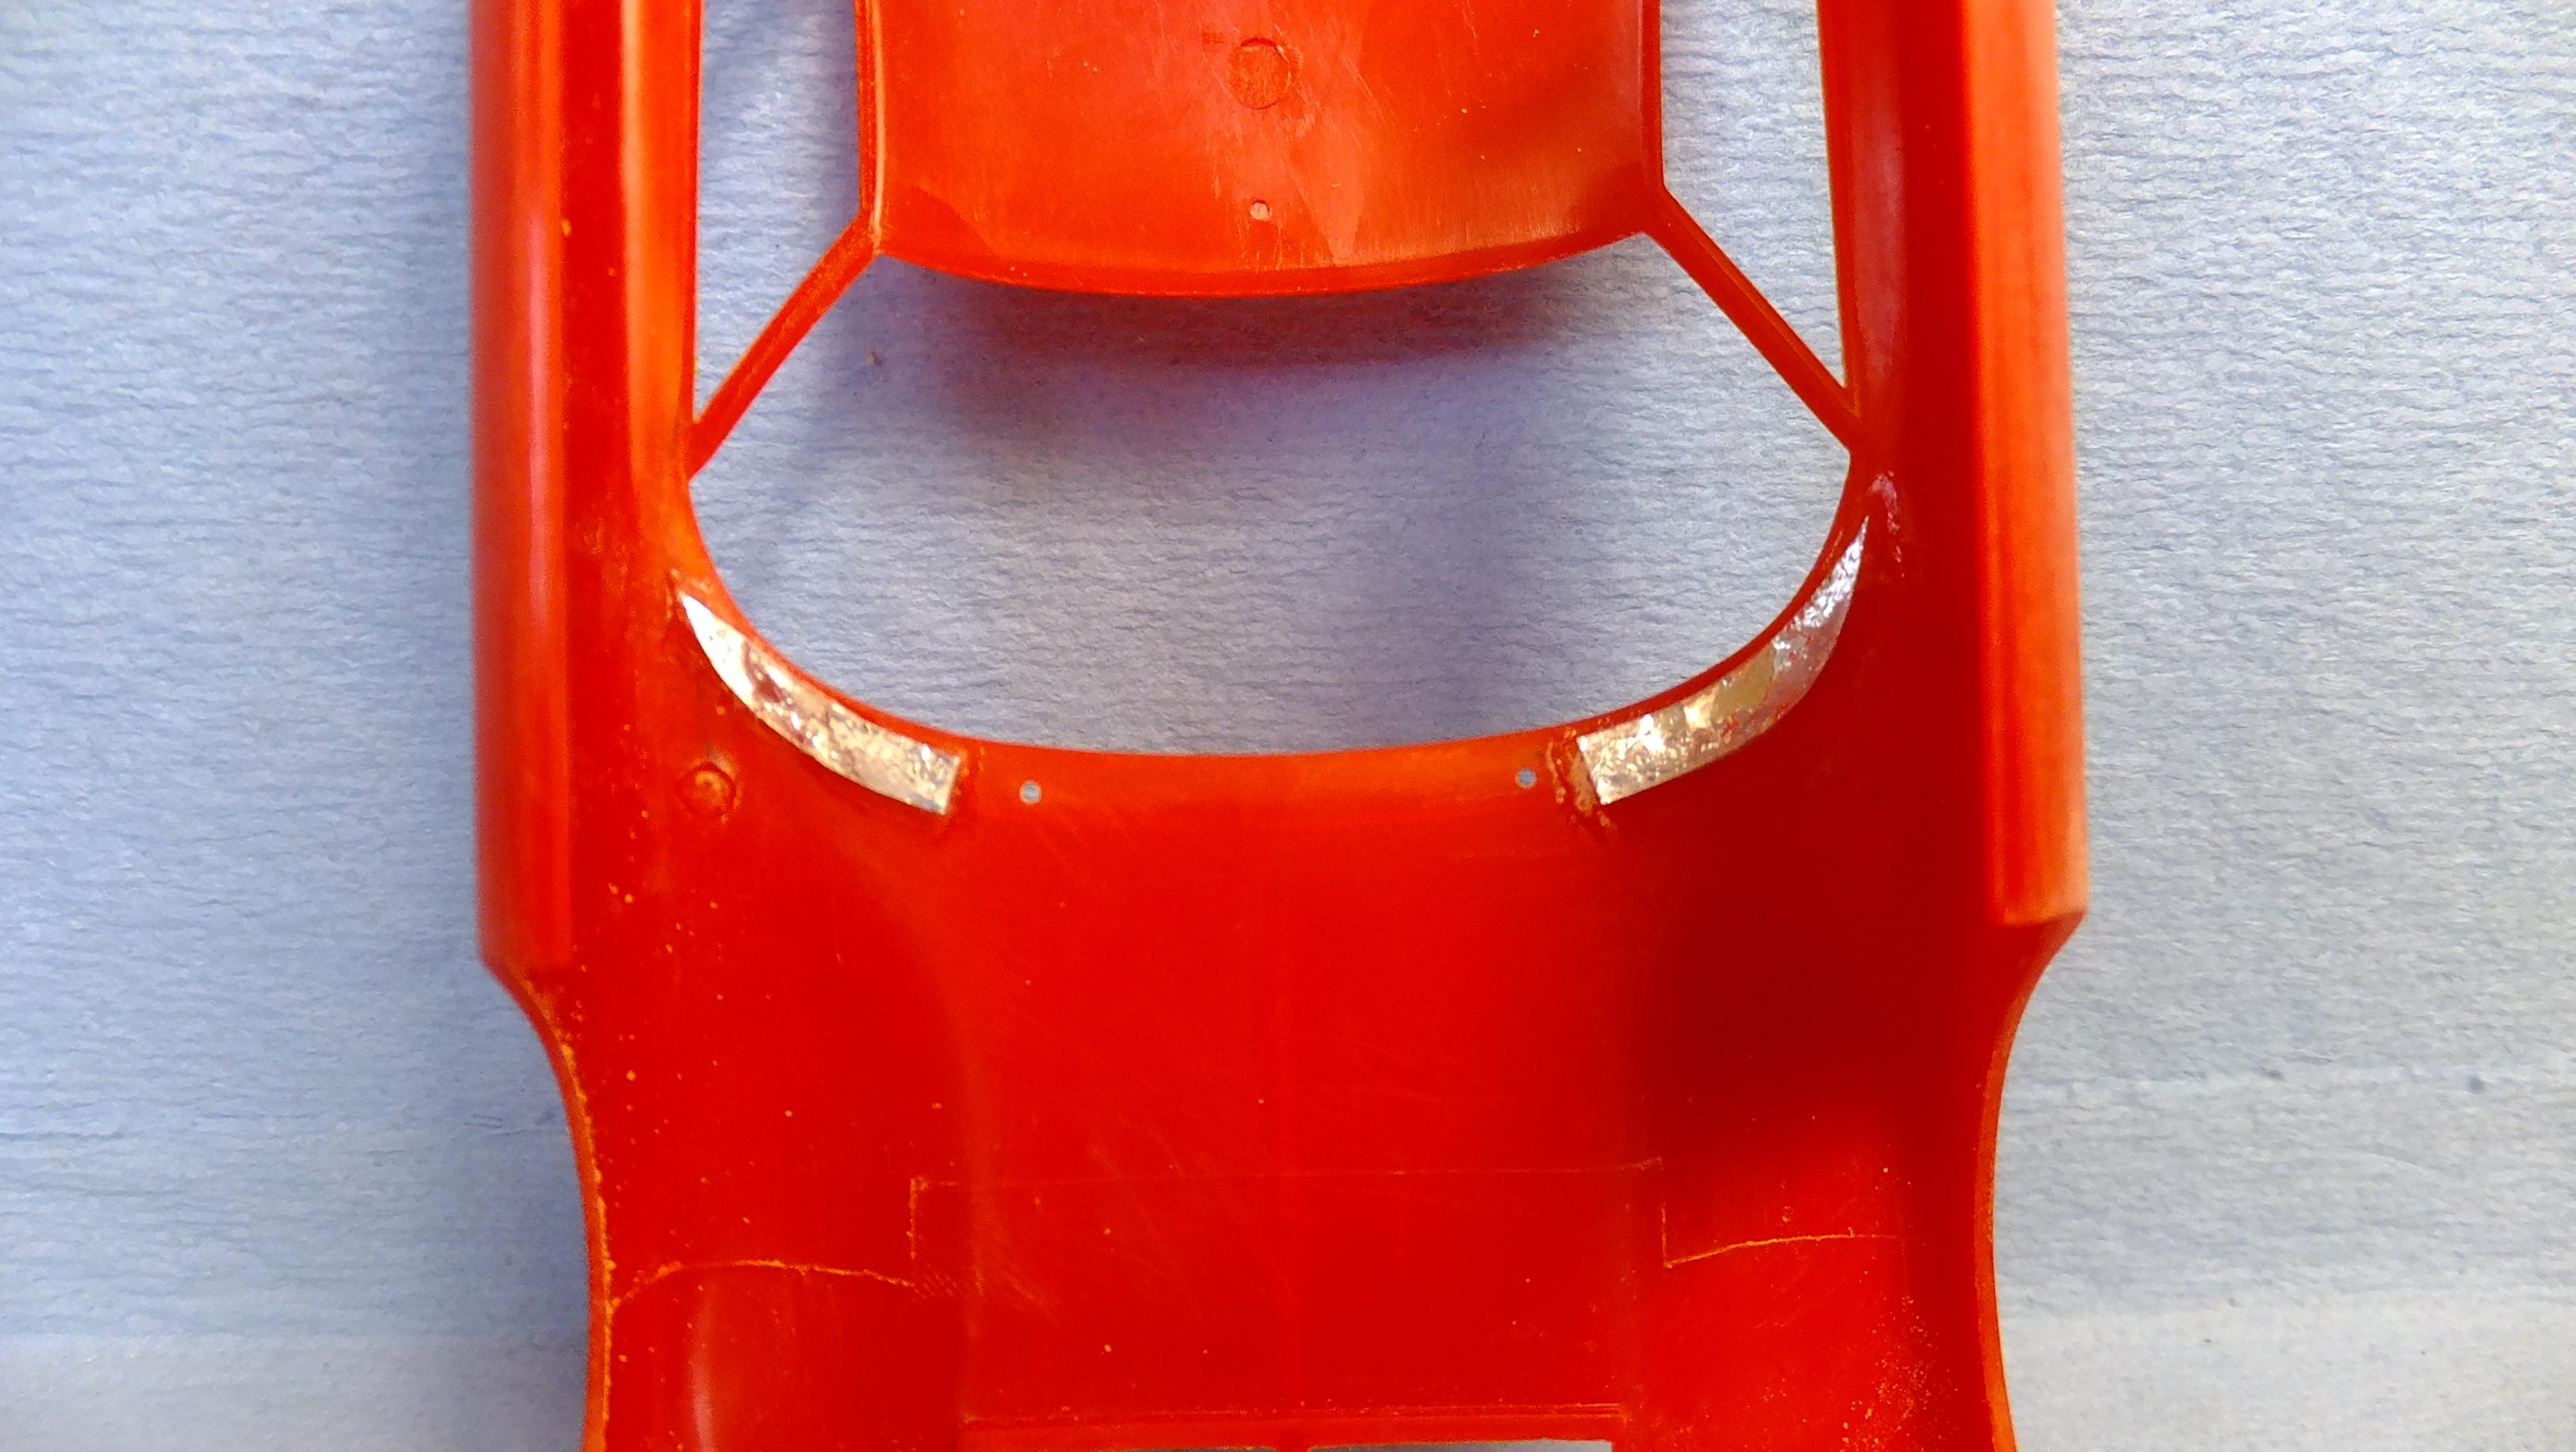
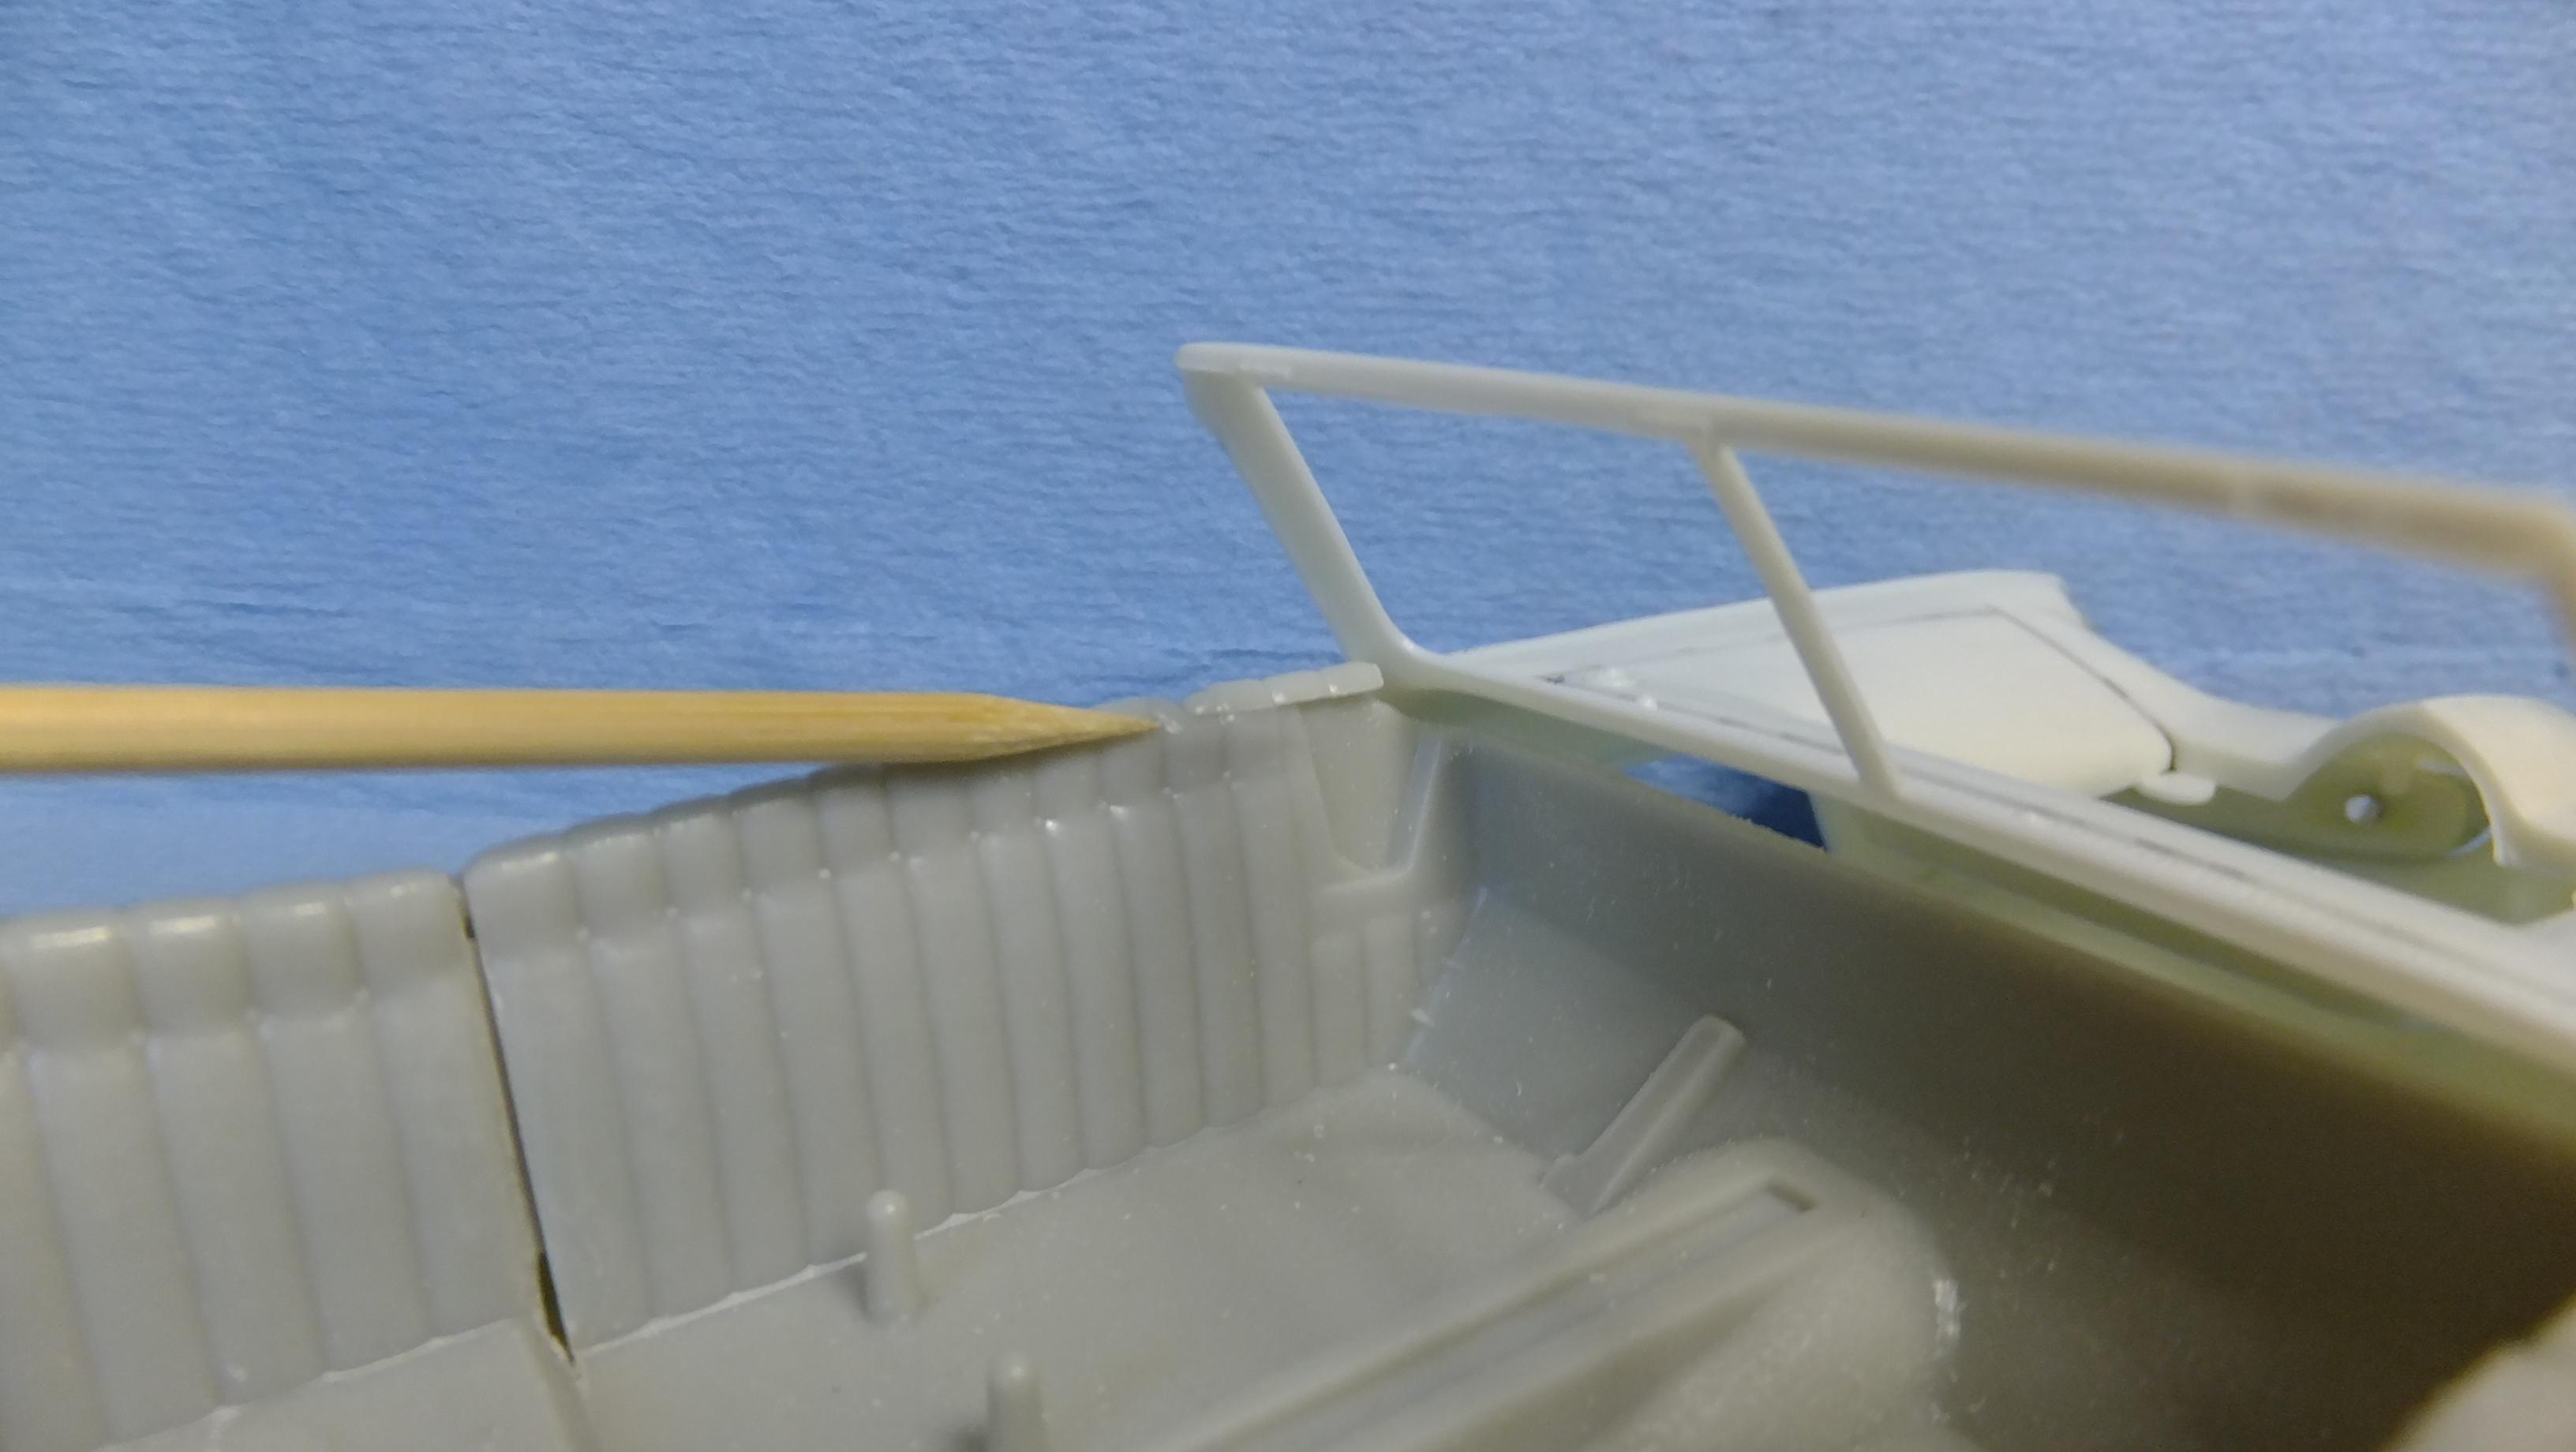
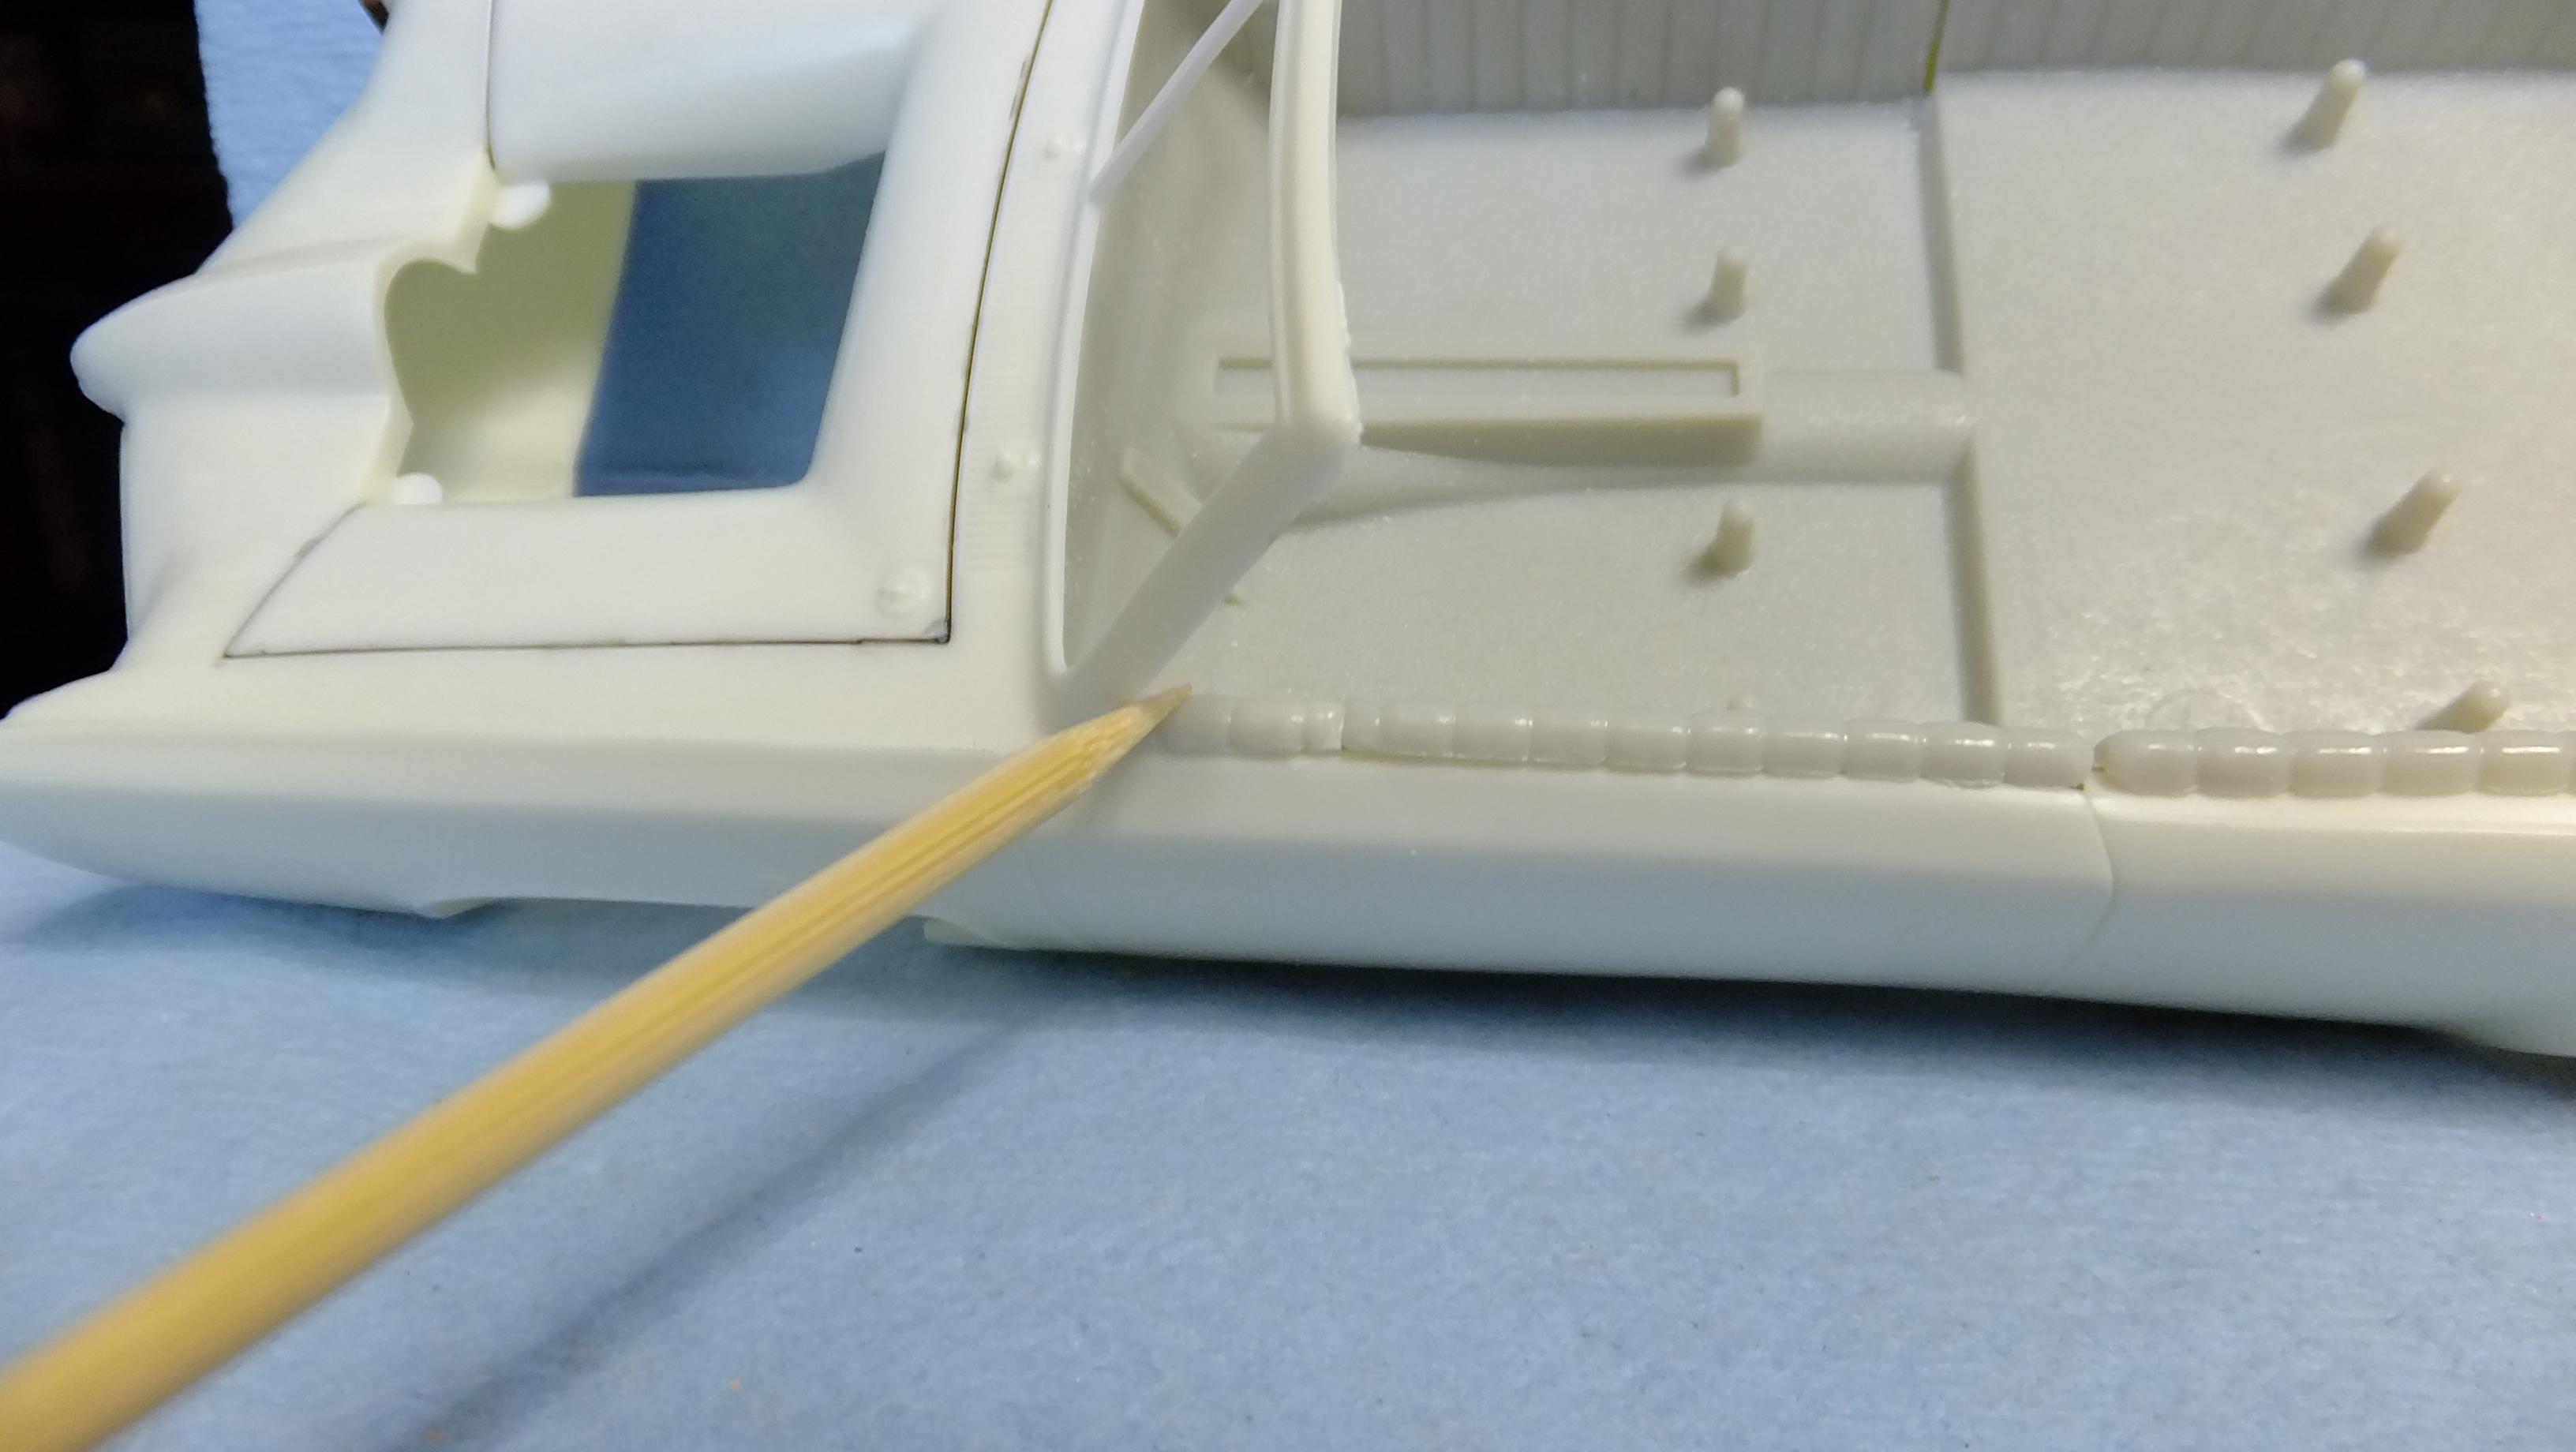
Miura update time!...there are only a couple of obvious bits left to do so i can paint it! -Photo 1-3; I've built this kit a couple of times now, and learned that if you dont rescribe the seams, they have a VERY good chance of disappearing entirely after the painting process...however, the plastic at the base of the windscreen is EXTREMELY thin, and i ALWAYS go through -especially where the doors intersect. Not to worry though, if you glue aluminum foil to the underside, it will fix the whole issue...but be sure NOT to get glue into the holes, or it will fill-in the seam, and you will have to start again. -Photo 4&5; I noticed that most people like to re-scribe ALL the panel lines on their builds, thats okay, but if you wanna be more realistic, then you shouldnt do all of them. I only scribe the lines that denote opening bits....not the seams where body panels meet, and are fixed in place...these are usually shallower, and therefore dont need to be deeper. For example; the arros show the areas that are fixed, and dont need scribing on this car. -Photo 6-9; These are all the vents i needed to open before i can paint. the rear vent is the only one that needs a slight lip for the mesh to attach to, and it looks like i need to trim the bottom left lip down a bit still.
-
Re-engineering Monograms Lotus Esprit...new update!
Dann Tier replied to Dann Tier's topic in WIP: Model Cars
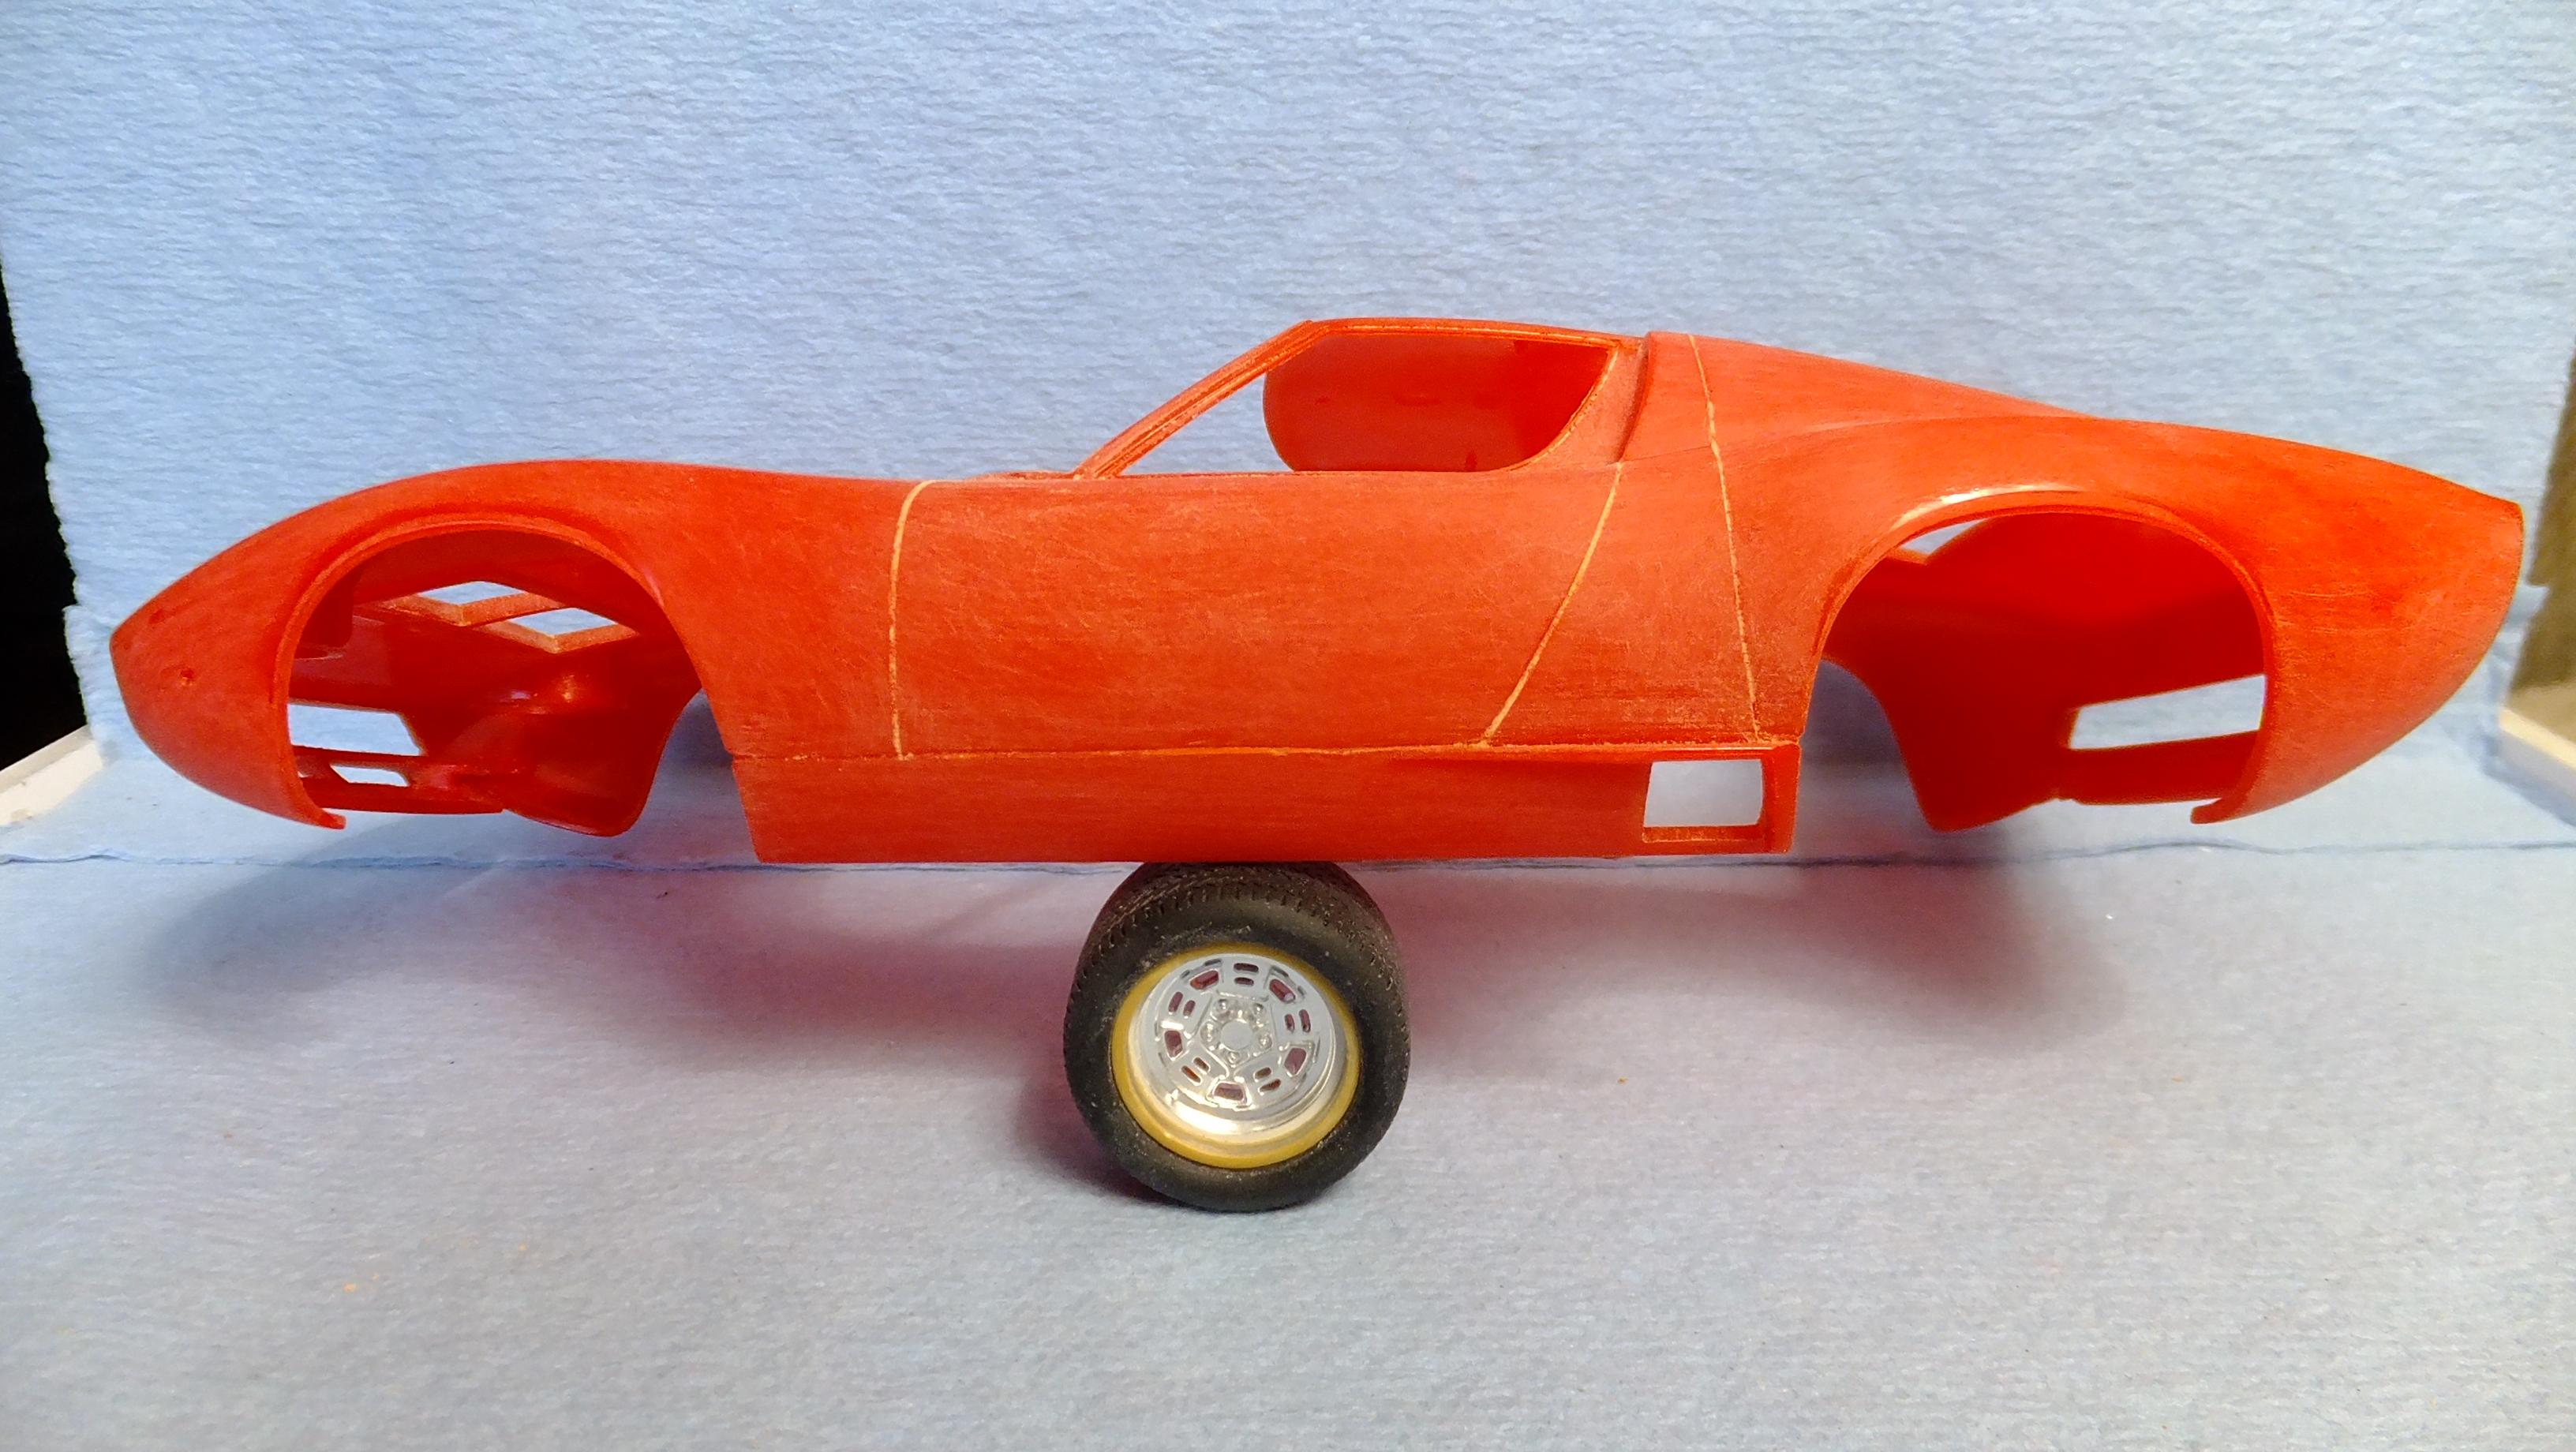
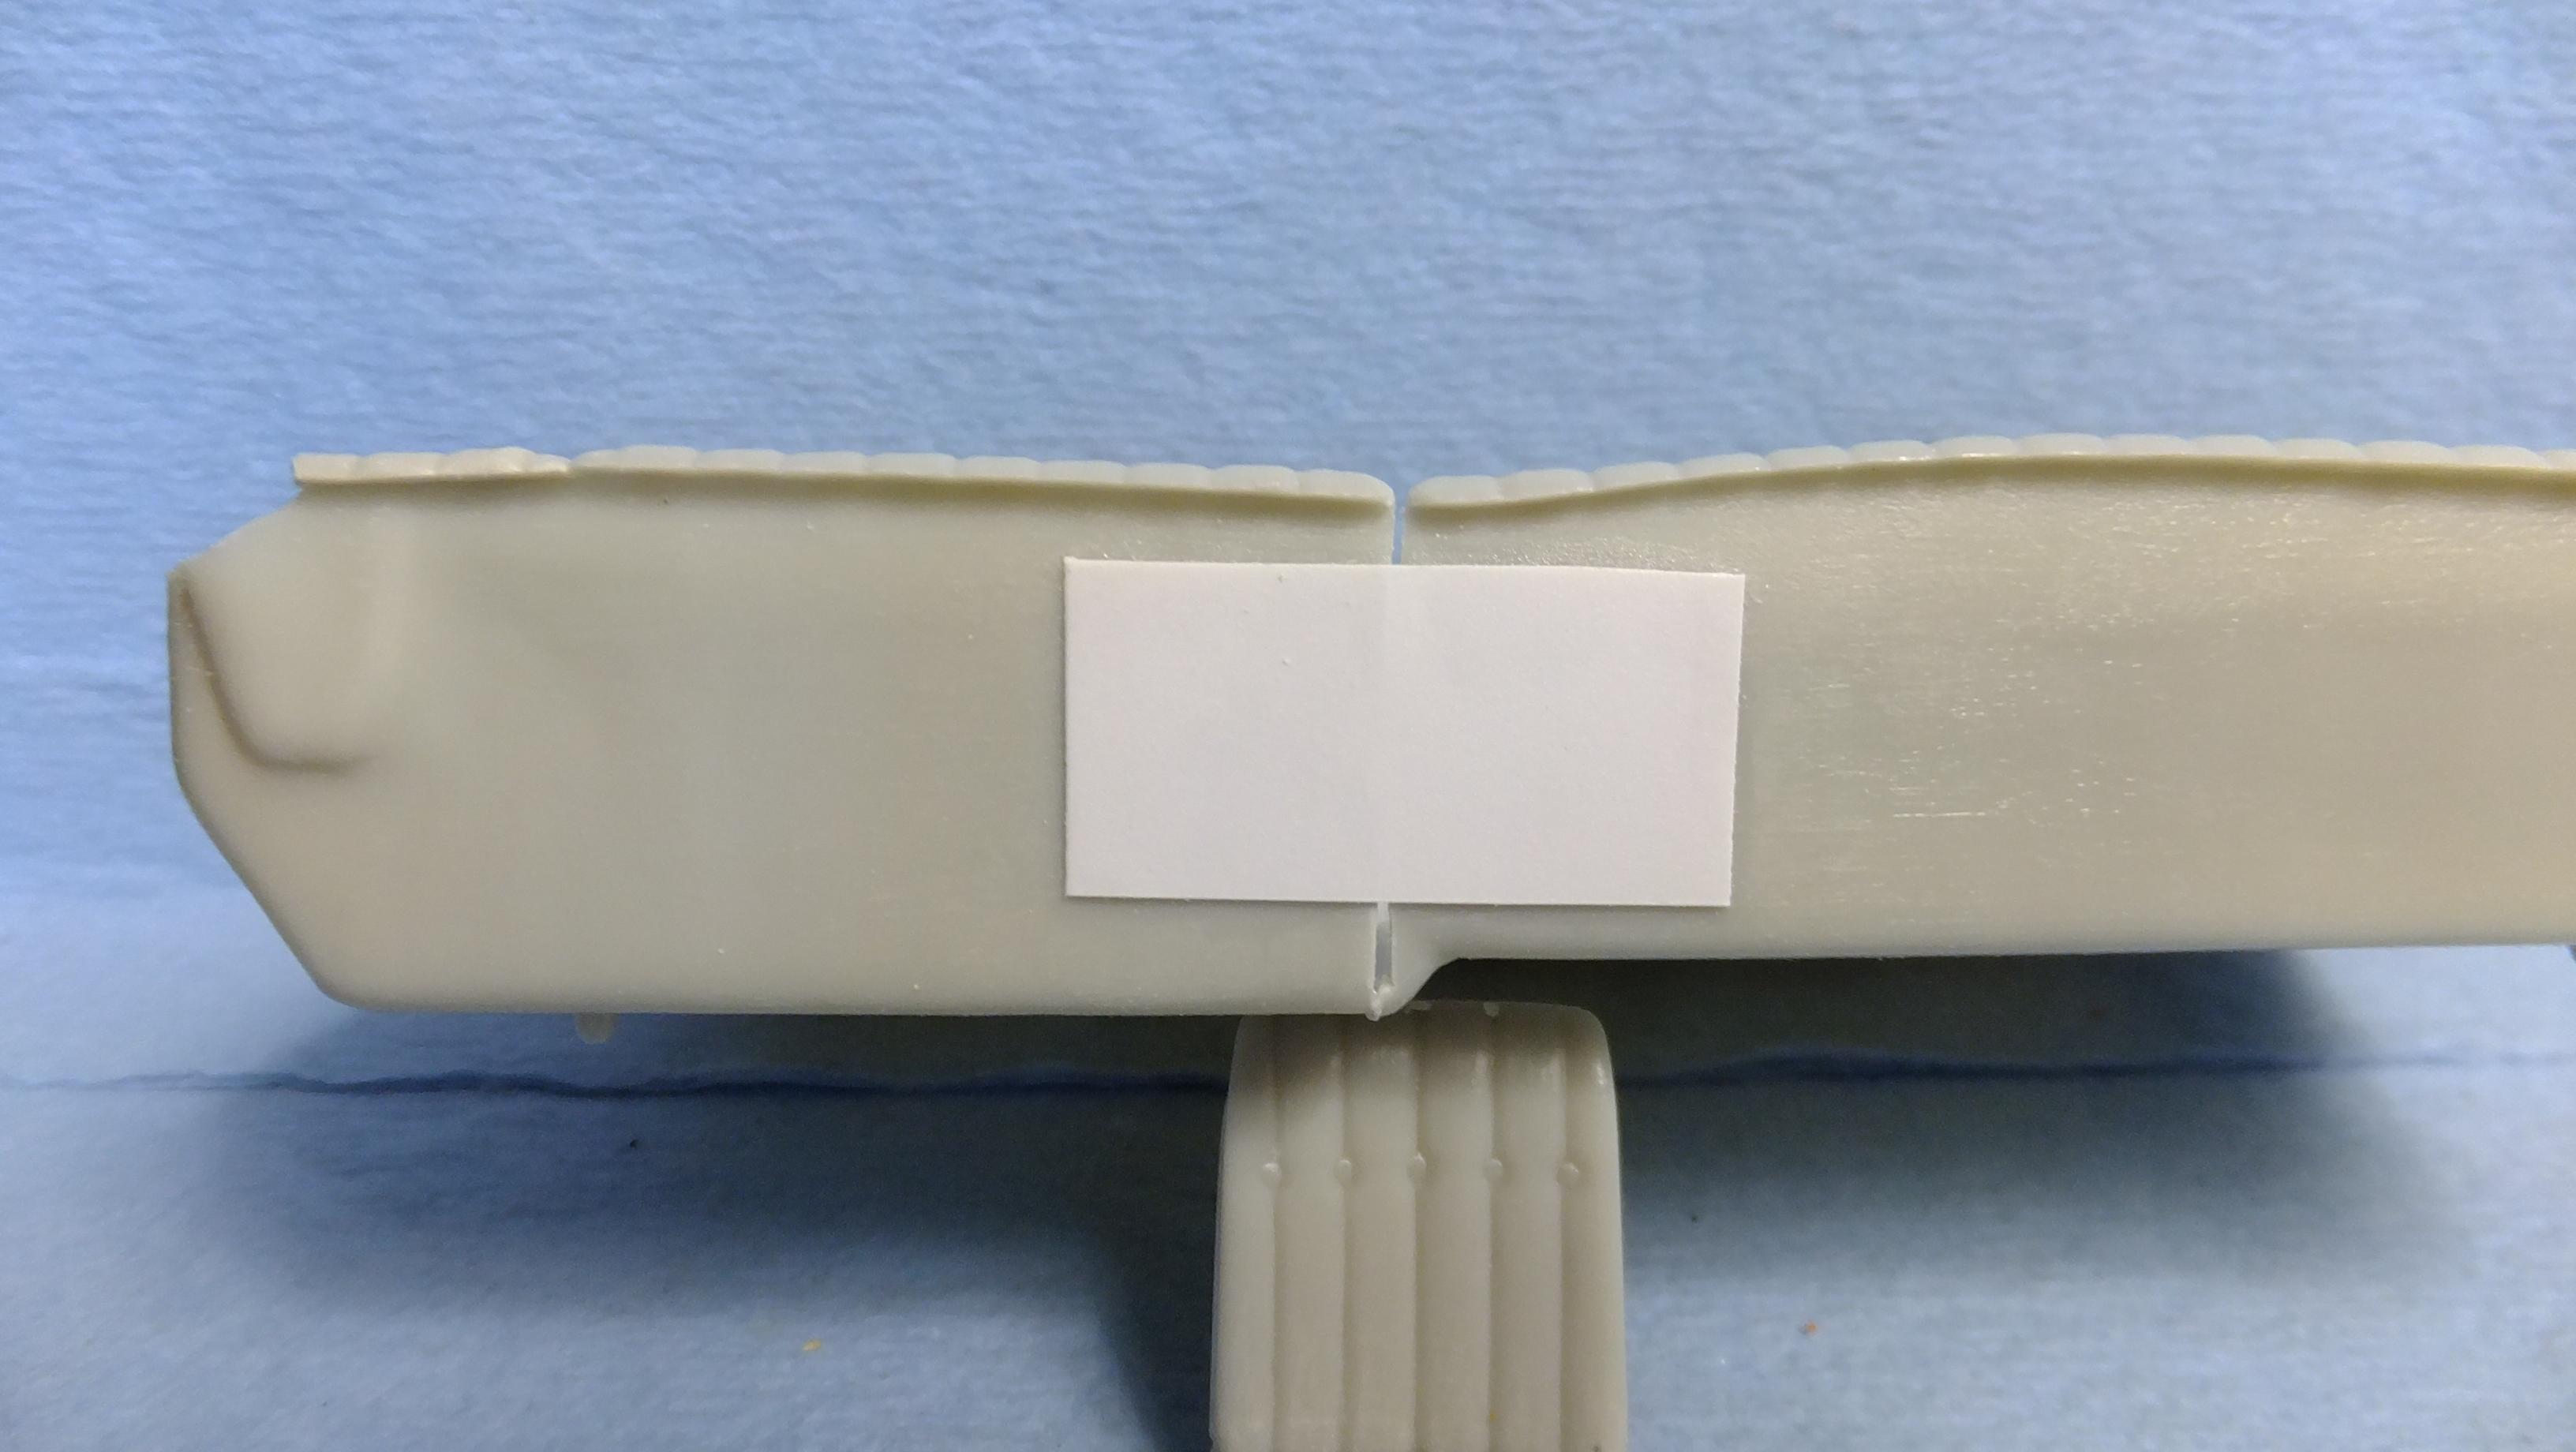
Hey, everyone!, time for an update here as well. I decided to take a break from the engine, and finish the body. Since i dont need to have the body for engine fitment anymore, i can now paint it, and install the finished interior, and windows even!! As soon as i finish the last couple of things on the Miura body, i will paint this, and my Fujimi Pantera bodies with it. -Photo 1; I tried to sharpen up the door handels because after the painting process they would look fake, but it didnt work, so i made my own out of thin sheet styrene -now i'm happy. -Photo 2&3; Like all the Ferrari F-40 kits, this one suffers from not having the body flow seamlessly into the sail panel vents. I cut the appropriate bits from the interior tub piece, and spliced them in to fix the issue. -Photo 4; After filling in the little corner gaps of the rockers with styrene, all the body bits are ready for the painting process!
-
Wow, Erich!, thats quite a story!...yes, i will be doing more of this shortly, but i prefer the old fashion way of doing it, lol.....i'd love to follow your build!...hope to see you at it again soon!!
-
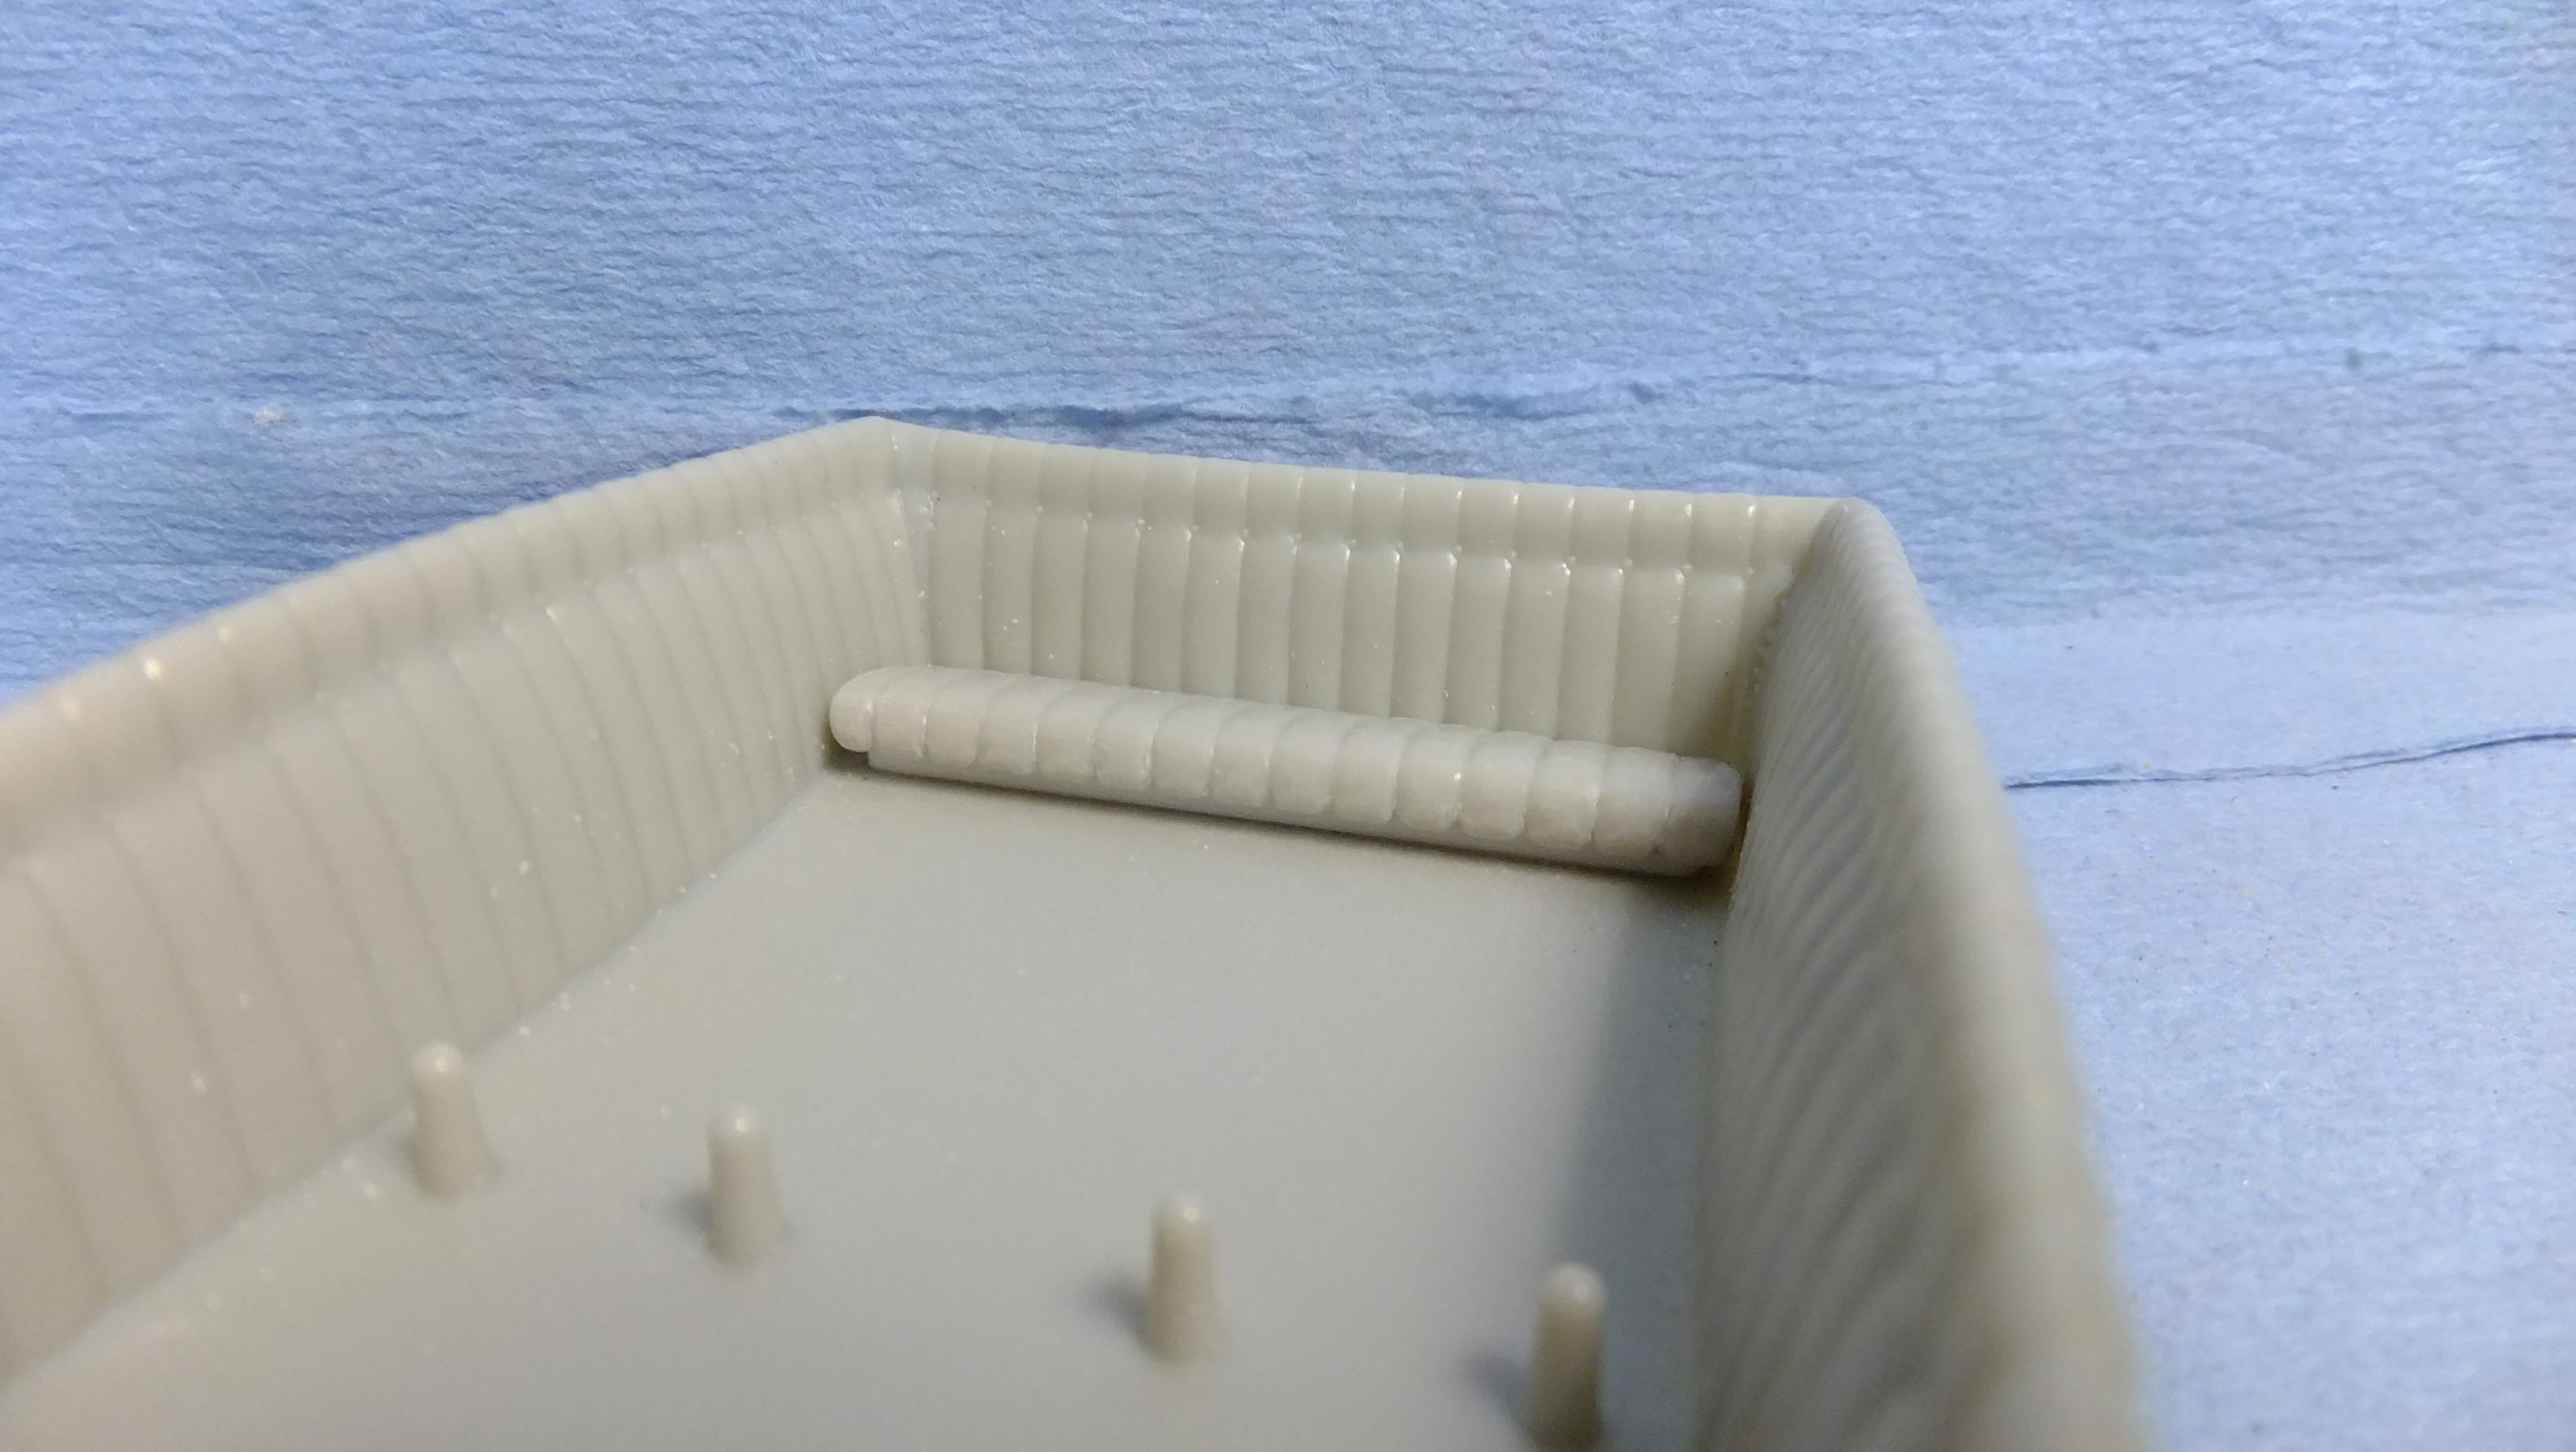
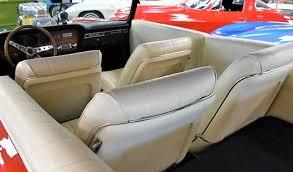
Got some more going on here, everyone; -Photo 1&2; On the real cars, the interior padding goes all the way to the A-pillars, so i cut bits off a spare interior tub, and attached them...i will putty, and shape them next. -Photo 3; Time to show that the cars doors DO open, but you wouldnt know it from the inside. First i tried just scribing them, but it still wasnt pronounced enough for me, so i decided to use my trusty PE saw, and it worked/looked great! -Photo 4; In order to keep things lined up properly, i only cut, and braced one side at a time. -Photo 5; Forgot to post a photo of the real bench, but i will need to later anyway...the bench in the real car is actually raised a bit, so i used styrene to do it, and this gave me the gapping to round the bottom edge of the bench to improve the rolled-padded look.
-
LOL!...you could say that...this car has alot of horses!!
-
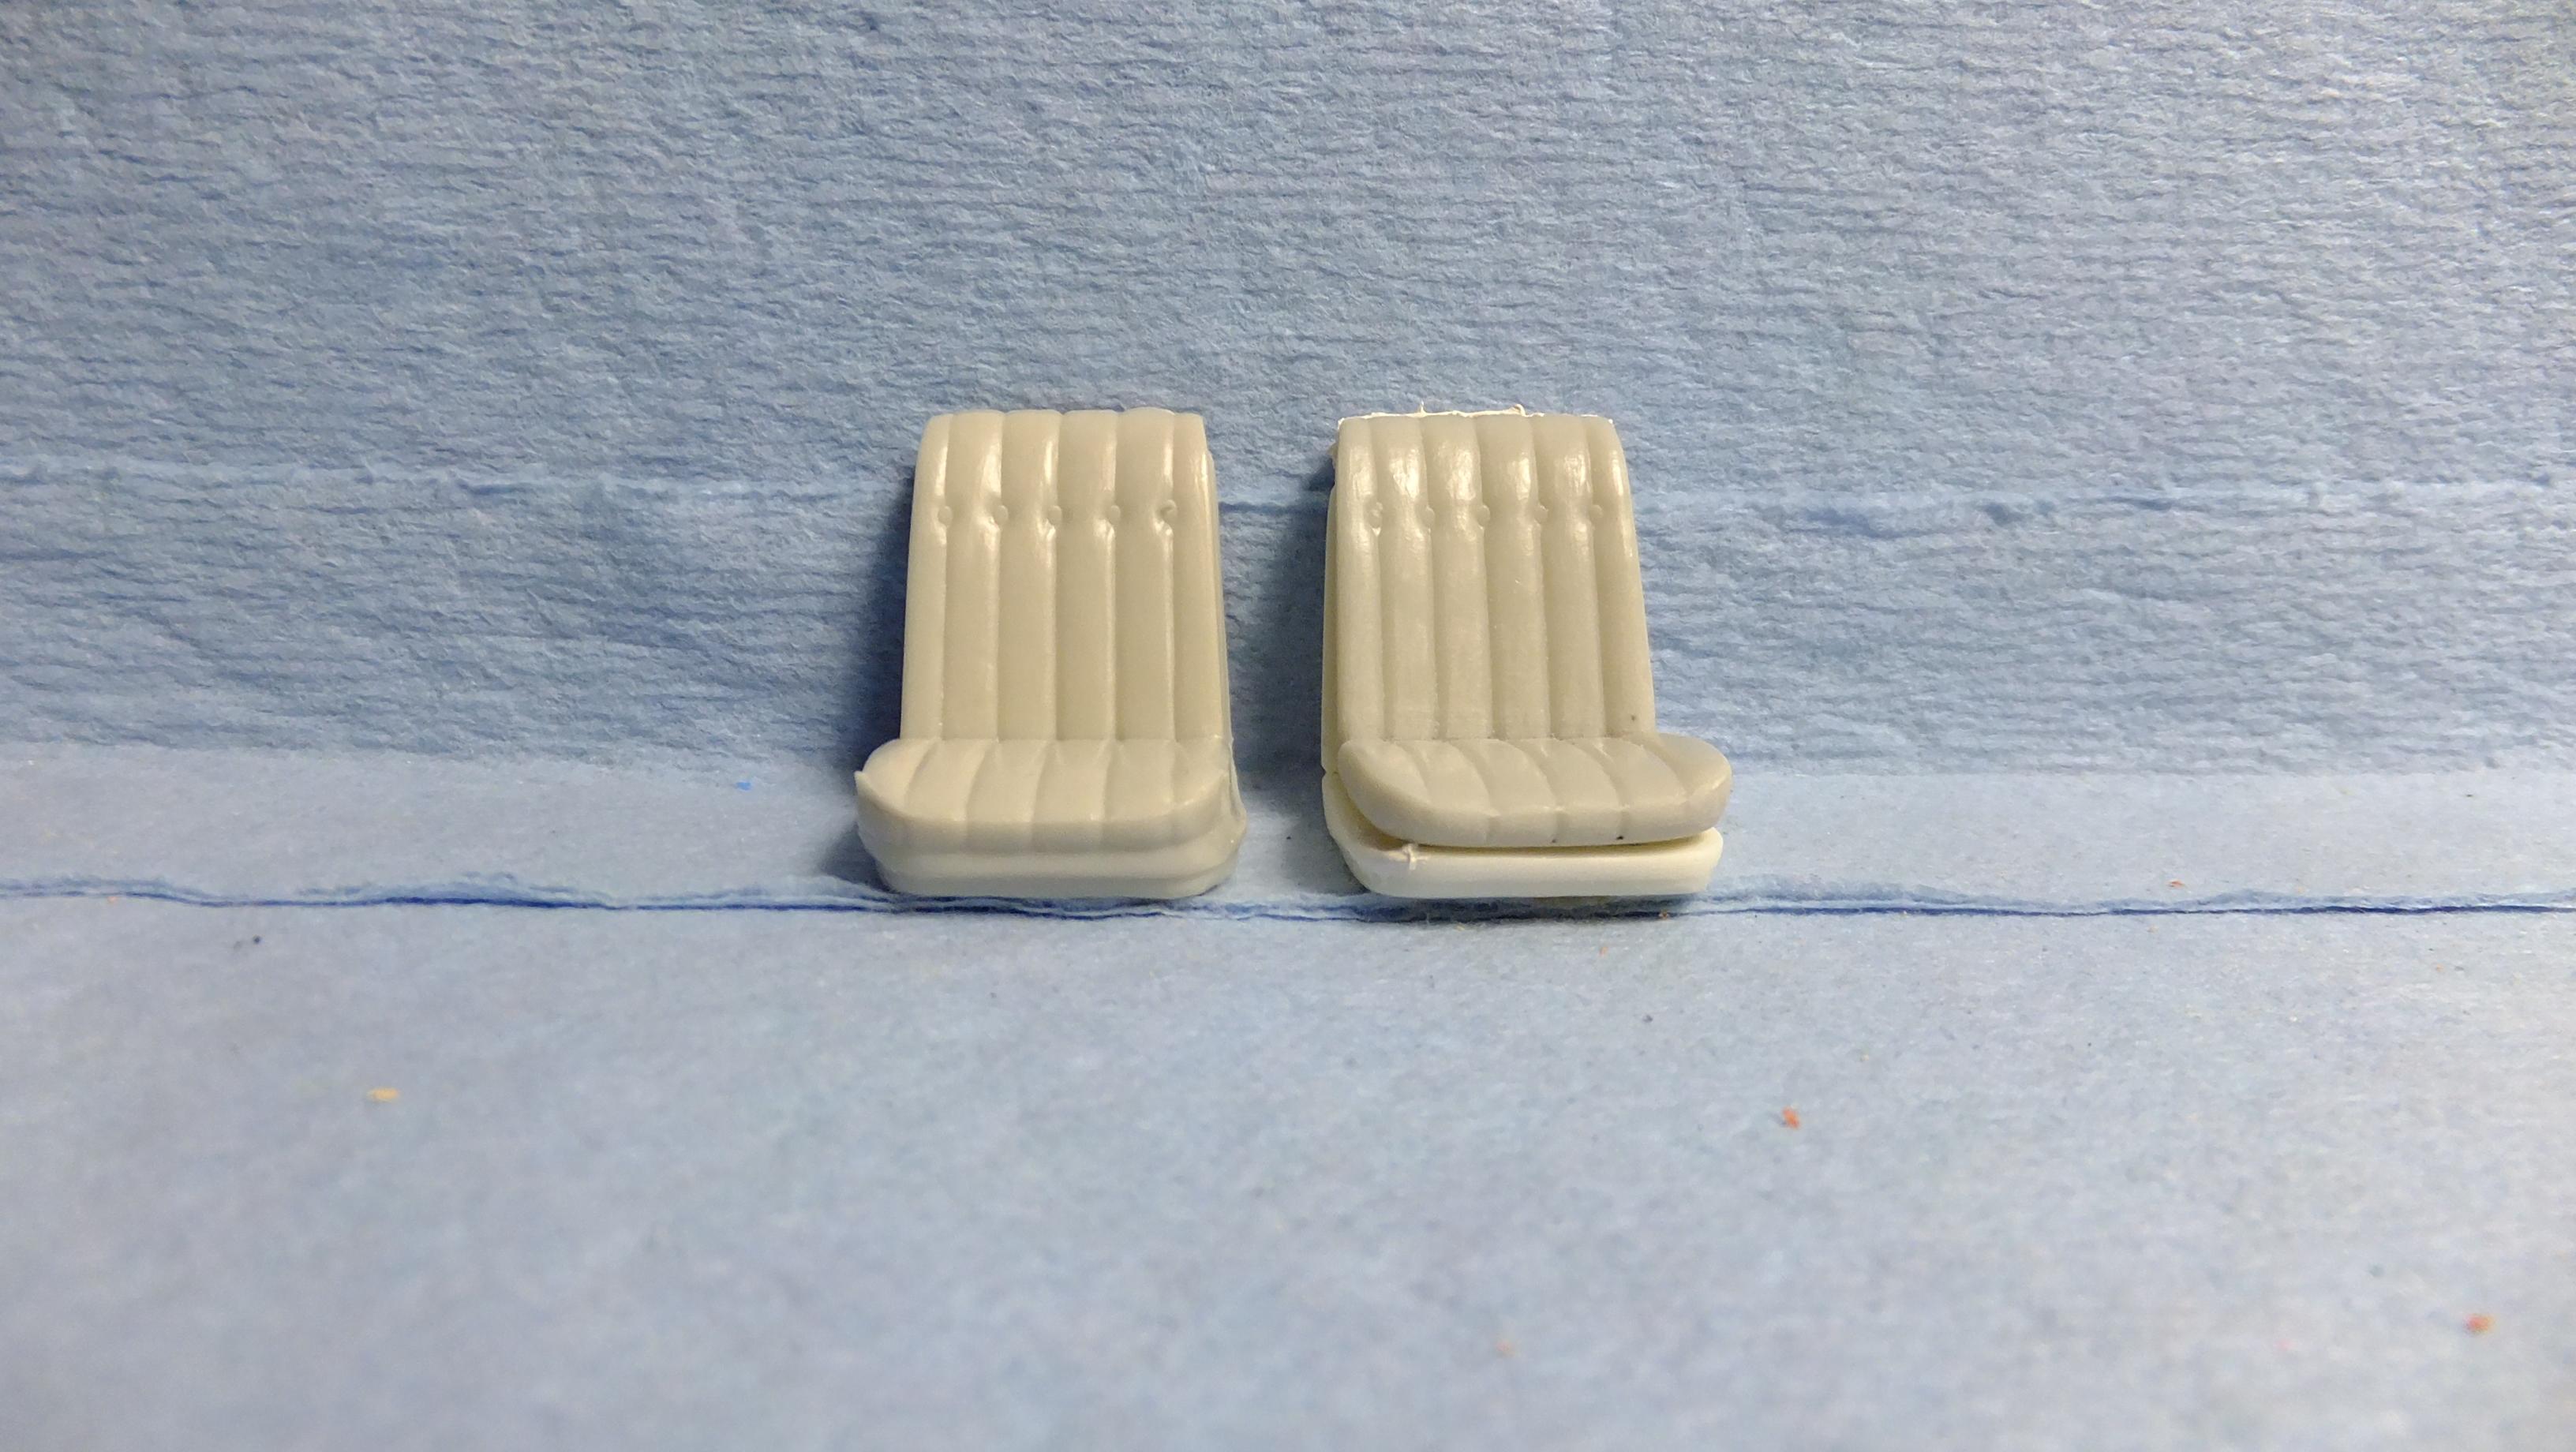
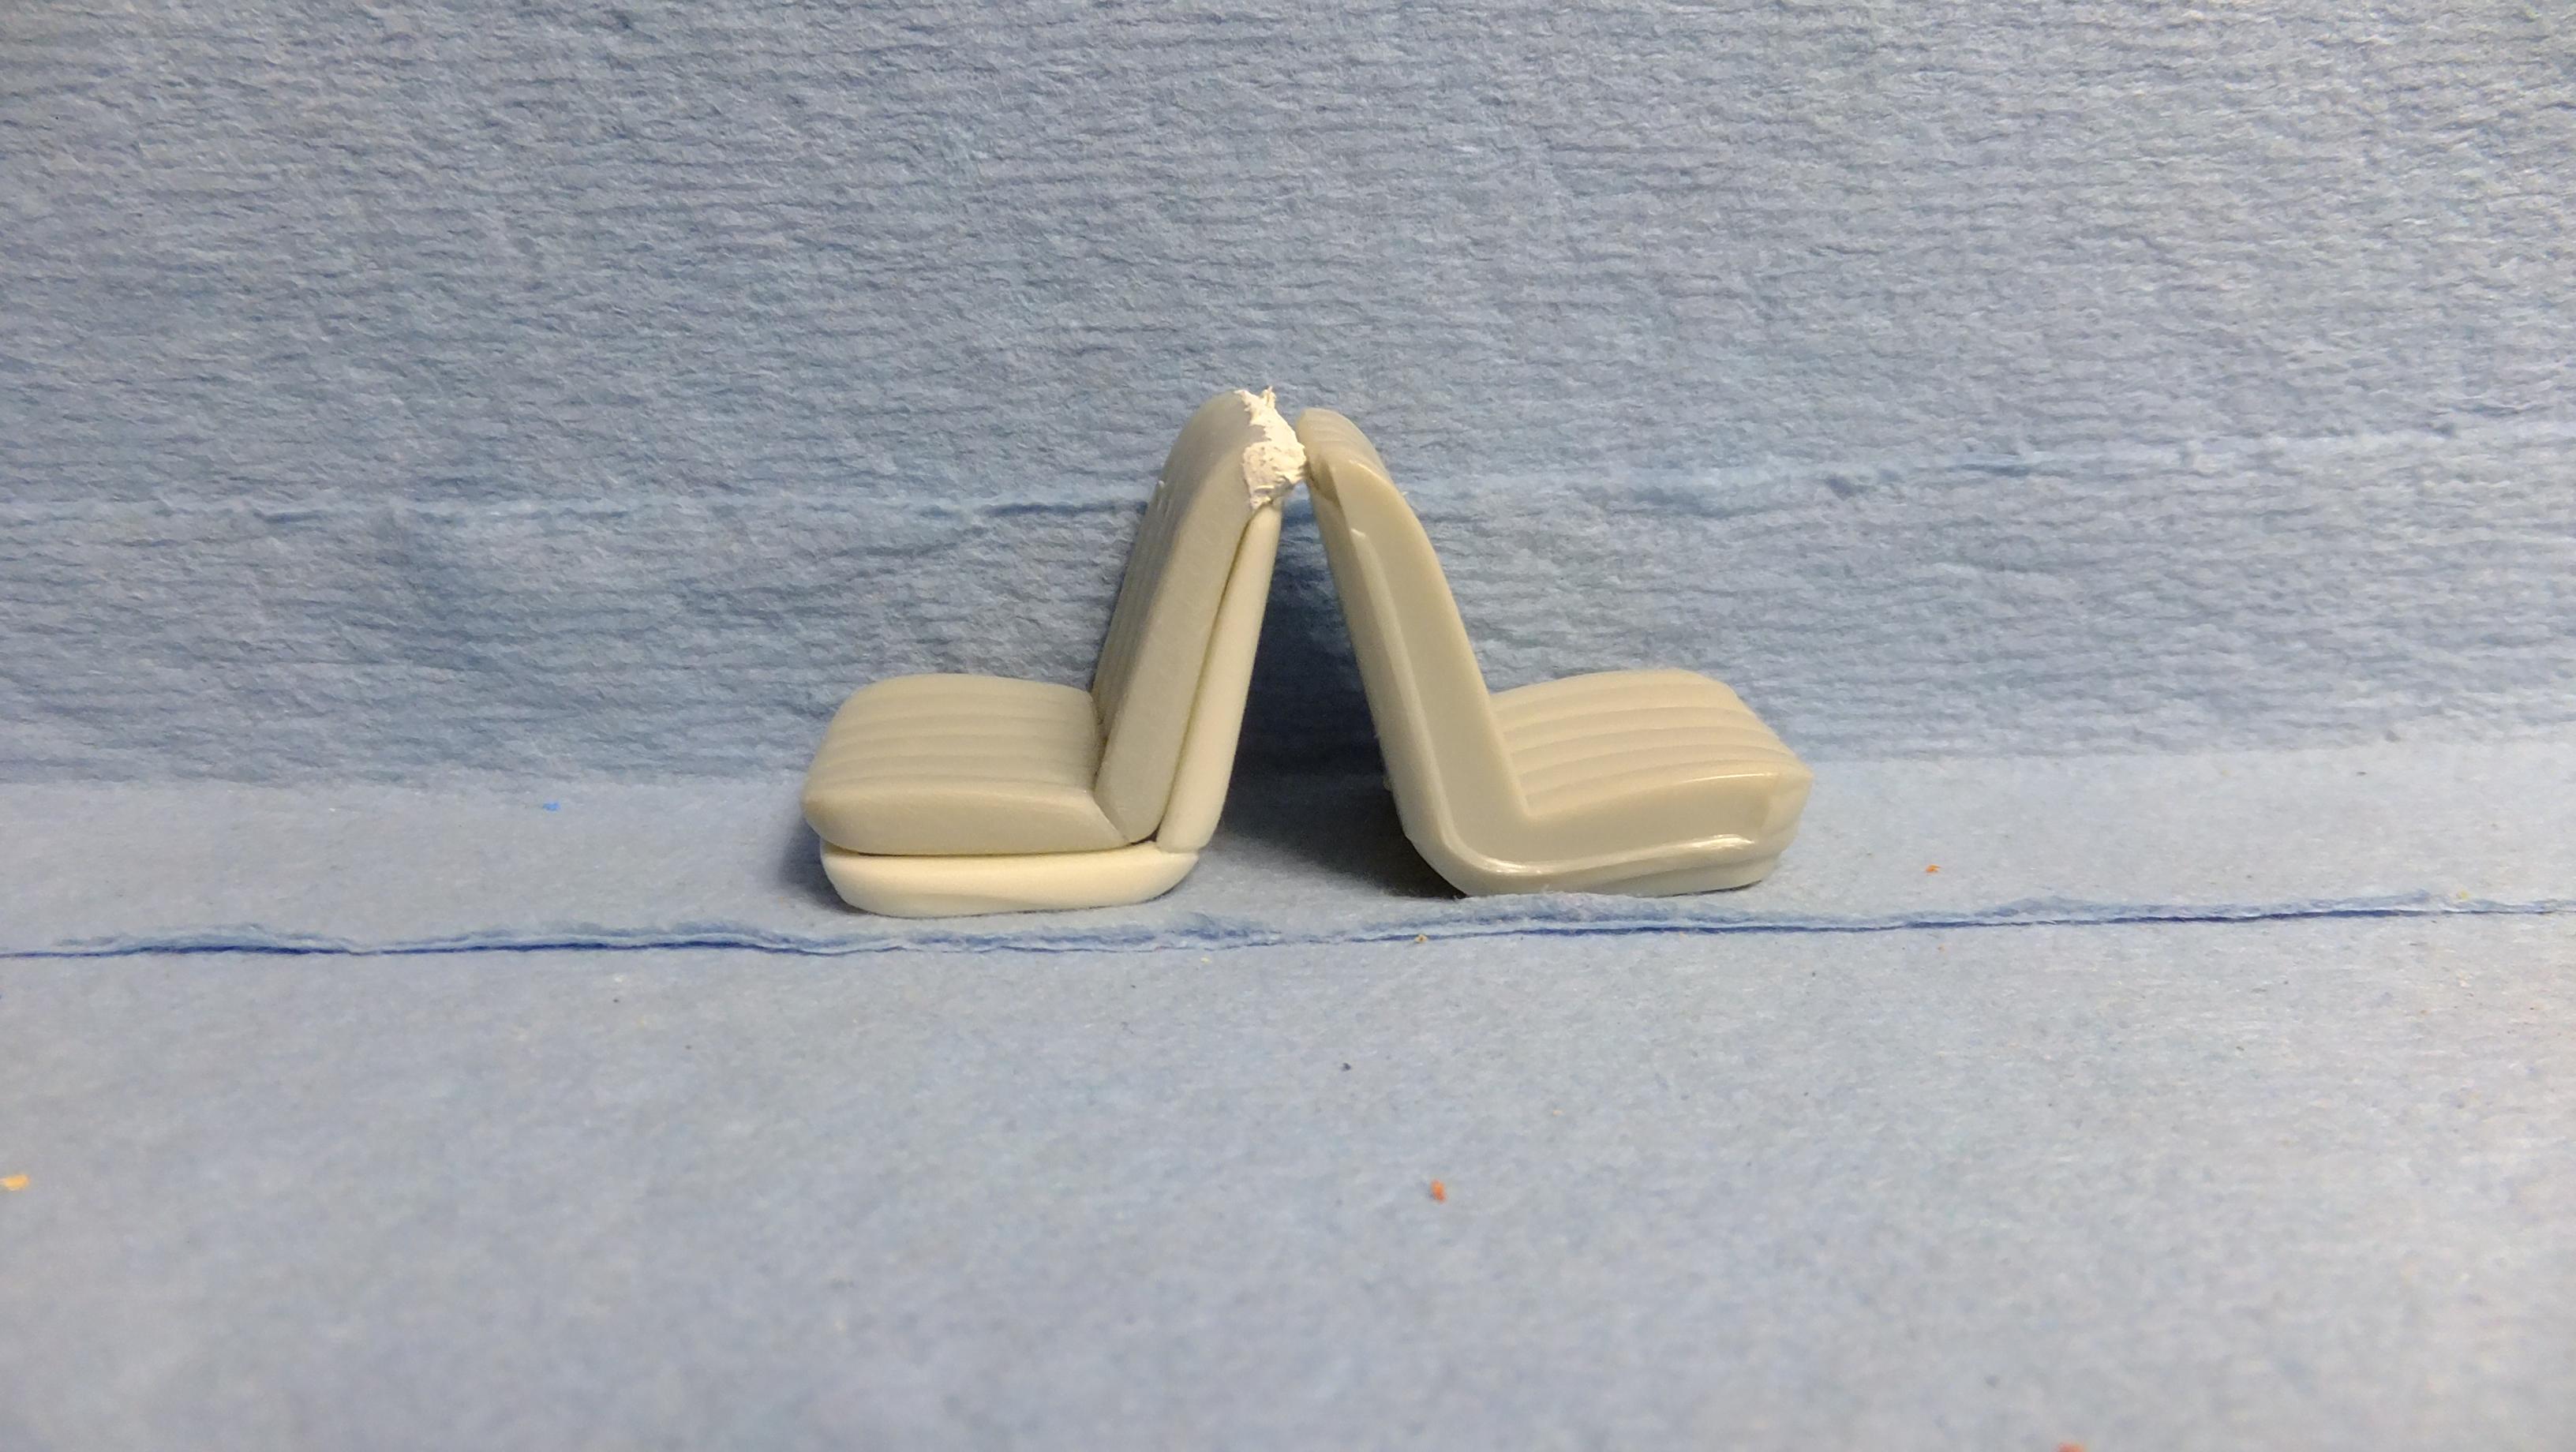
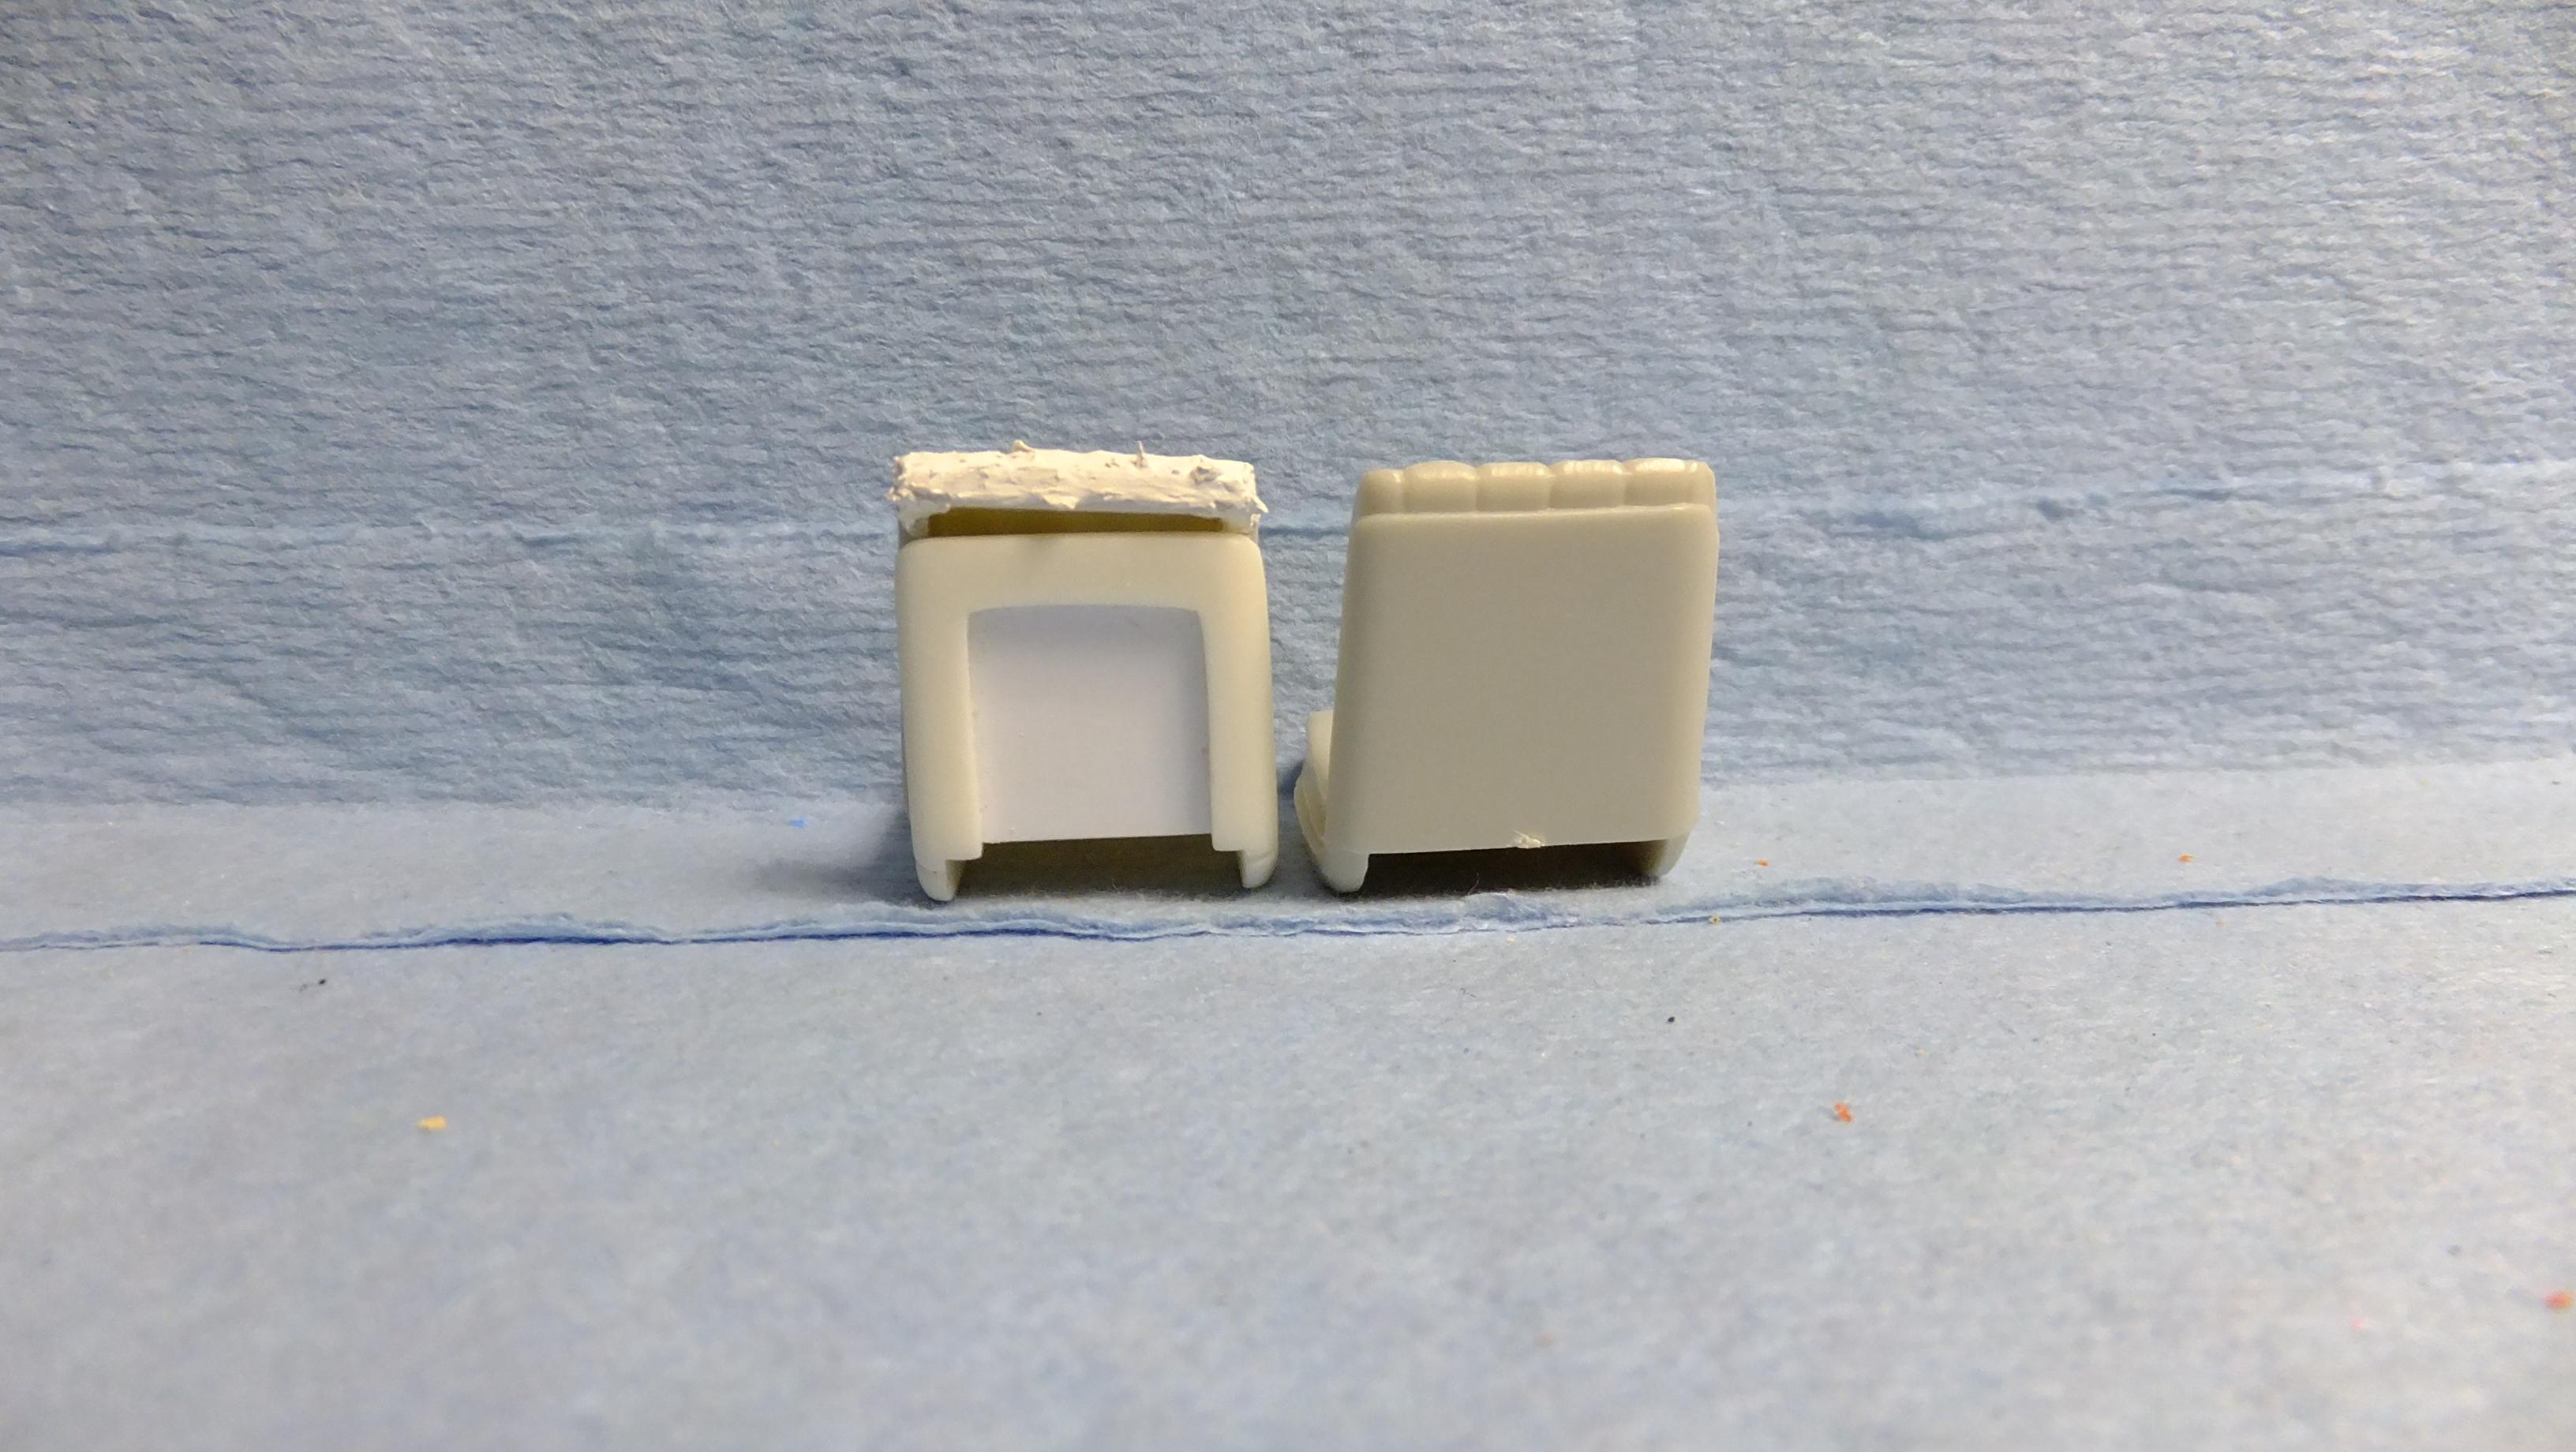
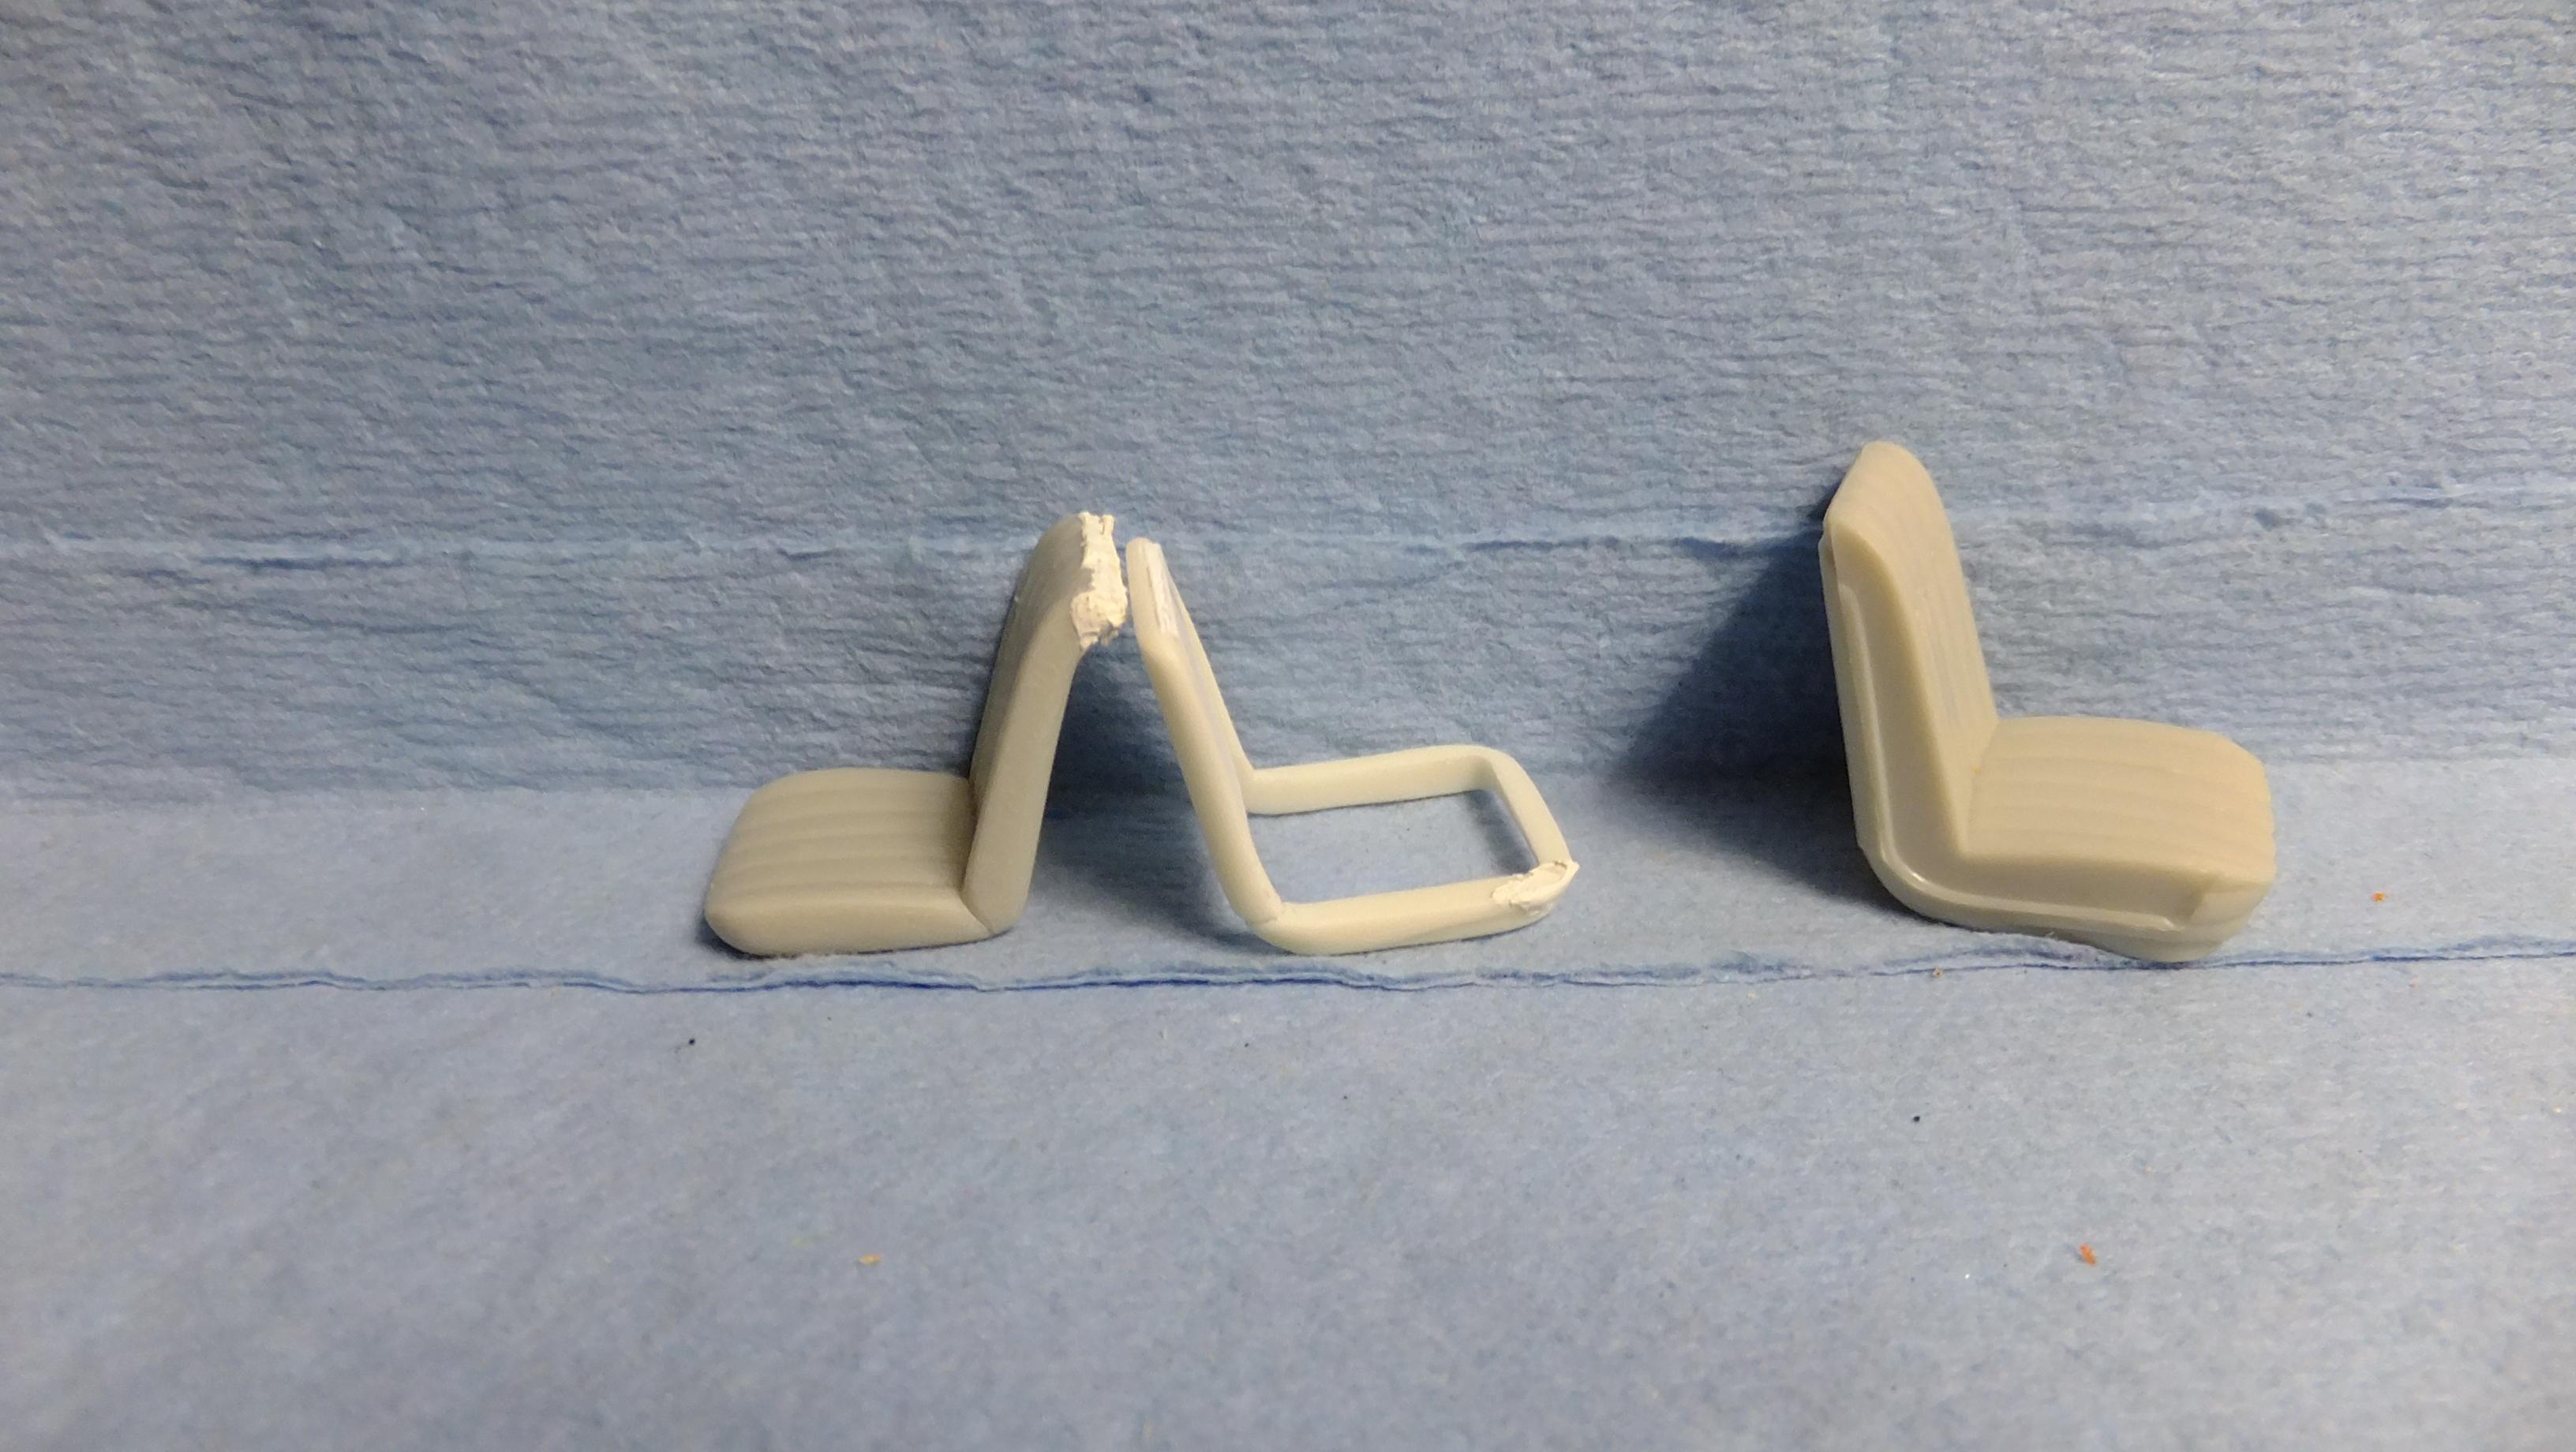
I'm finally back at this one!...starting with the interior. First, im improving the seats. -Photo 1; There are as many different seats, as there were different cars, but these are the ones i'm copying.. -Photo 2; Kit seat on the left...mine on the right. I have spare seats so that i can separate the cushions from the frames. I could have just added to the seats, but i prefer this way better, and it will look waaay better. -Photo 3; Something i like to do to my seats, is to scribe better separation lines between separate cushions, and moveable parts. I also needed to add more cushion to the rear of the top edge of the set for a more cushioned look...i did this with styrene, and putty. -Photo 4; The space you see will be filled with the chrome trim that follows the perimeter of the backing. I also cut open the backing to replicate the recess, and used sheet styrene to back it with. -Photo 5; this photo should have been first....stupid computer.
-
Monogram Ferrari GTO 1/24 Scale the 5 year build
Dann Tier replied to Funkychiken's topic in WIP: Model Cars
I use solder alot now...it works GREAT!, but just be aware that it can mar pretty easily too...when it happens to me, i fill in the mark with super glue, then sand smooth -easy fix! -
1968 RKE/JRT SCCA Trans Am Javelin
Dann Tier replied to swede70's topic in WIP: Other Racing: Road Racing, Land Speed Racers
NICE!!!...getting closer to paint!!! -
I'm gonna have to look into why its not fitting right...i have this kit, and was looking forward to building it...
-
Those are really good kolors for it, Bud!!!
-
Man that is Perfect!!!...i built an RUF influenced 911 a few years back, with all the yellow bits....yours is Spot-on, Bud!!!!
-
LOL, i'm terrible....Lots of sleepless nights, bud. I dont get anywhere fast, but i'm still moving along. I have two that are almost done though, so that will free up things a bit. I'm only doing this many because they were all my stalled projects, and i'm determined to FINALLY get them done, lol...then i will go back to around 5-6. Thanks for following!
-
Thanks for patiently following, bud!, when one is actively working on 13 builds, it can go a bit slower at times, especially during the sanding-fitting stages. I am actually working on the interior now.
-
NICE!!!....cant wait!!
-
Its gonna be well worth the wait!!!
-
Isnt it funny how people use classic lines like; "Better watch, check, or whatever yourself"?....nowadays, its just an empty, dont know what else to say thing. My statements SUPPORTING others isnt breaking my own "rules", and by the way, you dont have to know ANYTHING scientific about a landscape to effectively capture it in a painting....there are MANY things in life that are only realistic on the surface......including people. I dont need to say anymore about this, because people are smarter than others think. This CF technique IS impressive REGARDLESS!!!!
-
VERY cool, Bud!!...what a BEAST!!!
-
NICE group of builds!!!
-
Always love seeing a Sublime 'cuda!!!
-
I'm glad you were able to save it!...it looks Beautiful wearing that kolor!!!
-
Nice job!!!
-
Pretty cool!!...LOVE the kolor!!!
-
Trabant Universal - Progress Report 11-23-14
Dann Tier replied to Tom Geiger's topic in WIP: Model Cars
EXCELLENT job on this cool little bugger!!! -
Hows this one coming along, bud?!
-
Thats a freaking nice silver, Bud!!!...looks like polished aluminum!!!