Dann Tier
-
Posts
8,151 -
Joined
-
Last visited
Content Type
Profiles
Forums
Events
Gallery
Everything posted by Dann Tier
-

Ferrari Boxer triple build - The 'Brigette Bardot' cars
Dann Tier replied to beeRS's topic in WIP: Model Cars
Sweet! i'm really looking forward to theses! -
What a beautiful masterpiece in its own right!
-
Brilliant!!
-
Brilliant job! i love these little rockets!
-
1970 Pontiac Firebird in Lucerne blue (1/24 Monogram/Revell)
Dann Tier replied to e30lover's topic in Model Cars
Nice, Very clean build! -
Well done! i love the stance!
-
I'm glad you're sticking to it...its looking beautiful!!
-
Otaki 1/12 Lamborghini Countach Twin Turbo...Mission Statement
Dann Tier replied to Dann Tier's topic in WIP: Model Cars
Thank you so much! It is my all-time favorite car as well. I figure after this 1/12, i will save my larger scales for when i'm older as well. For 1/16-1/12, Fujimi, Otaki, Doyusha, and Testors(Fujimi) are all my favorites.- 363 replies
-
- 1
-

-
- otaki
- lamborghini
- (and 2 more)
-
Otaki 1/12 Lamborghini Countach Twin Turbo...Mission Statement
Dann Tier replied to Dann Tier's topic in WIP: Model Cars
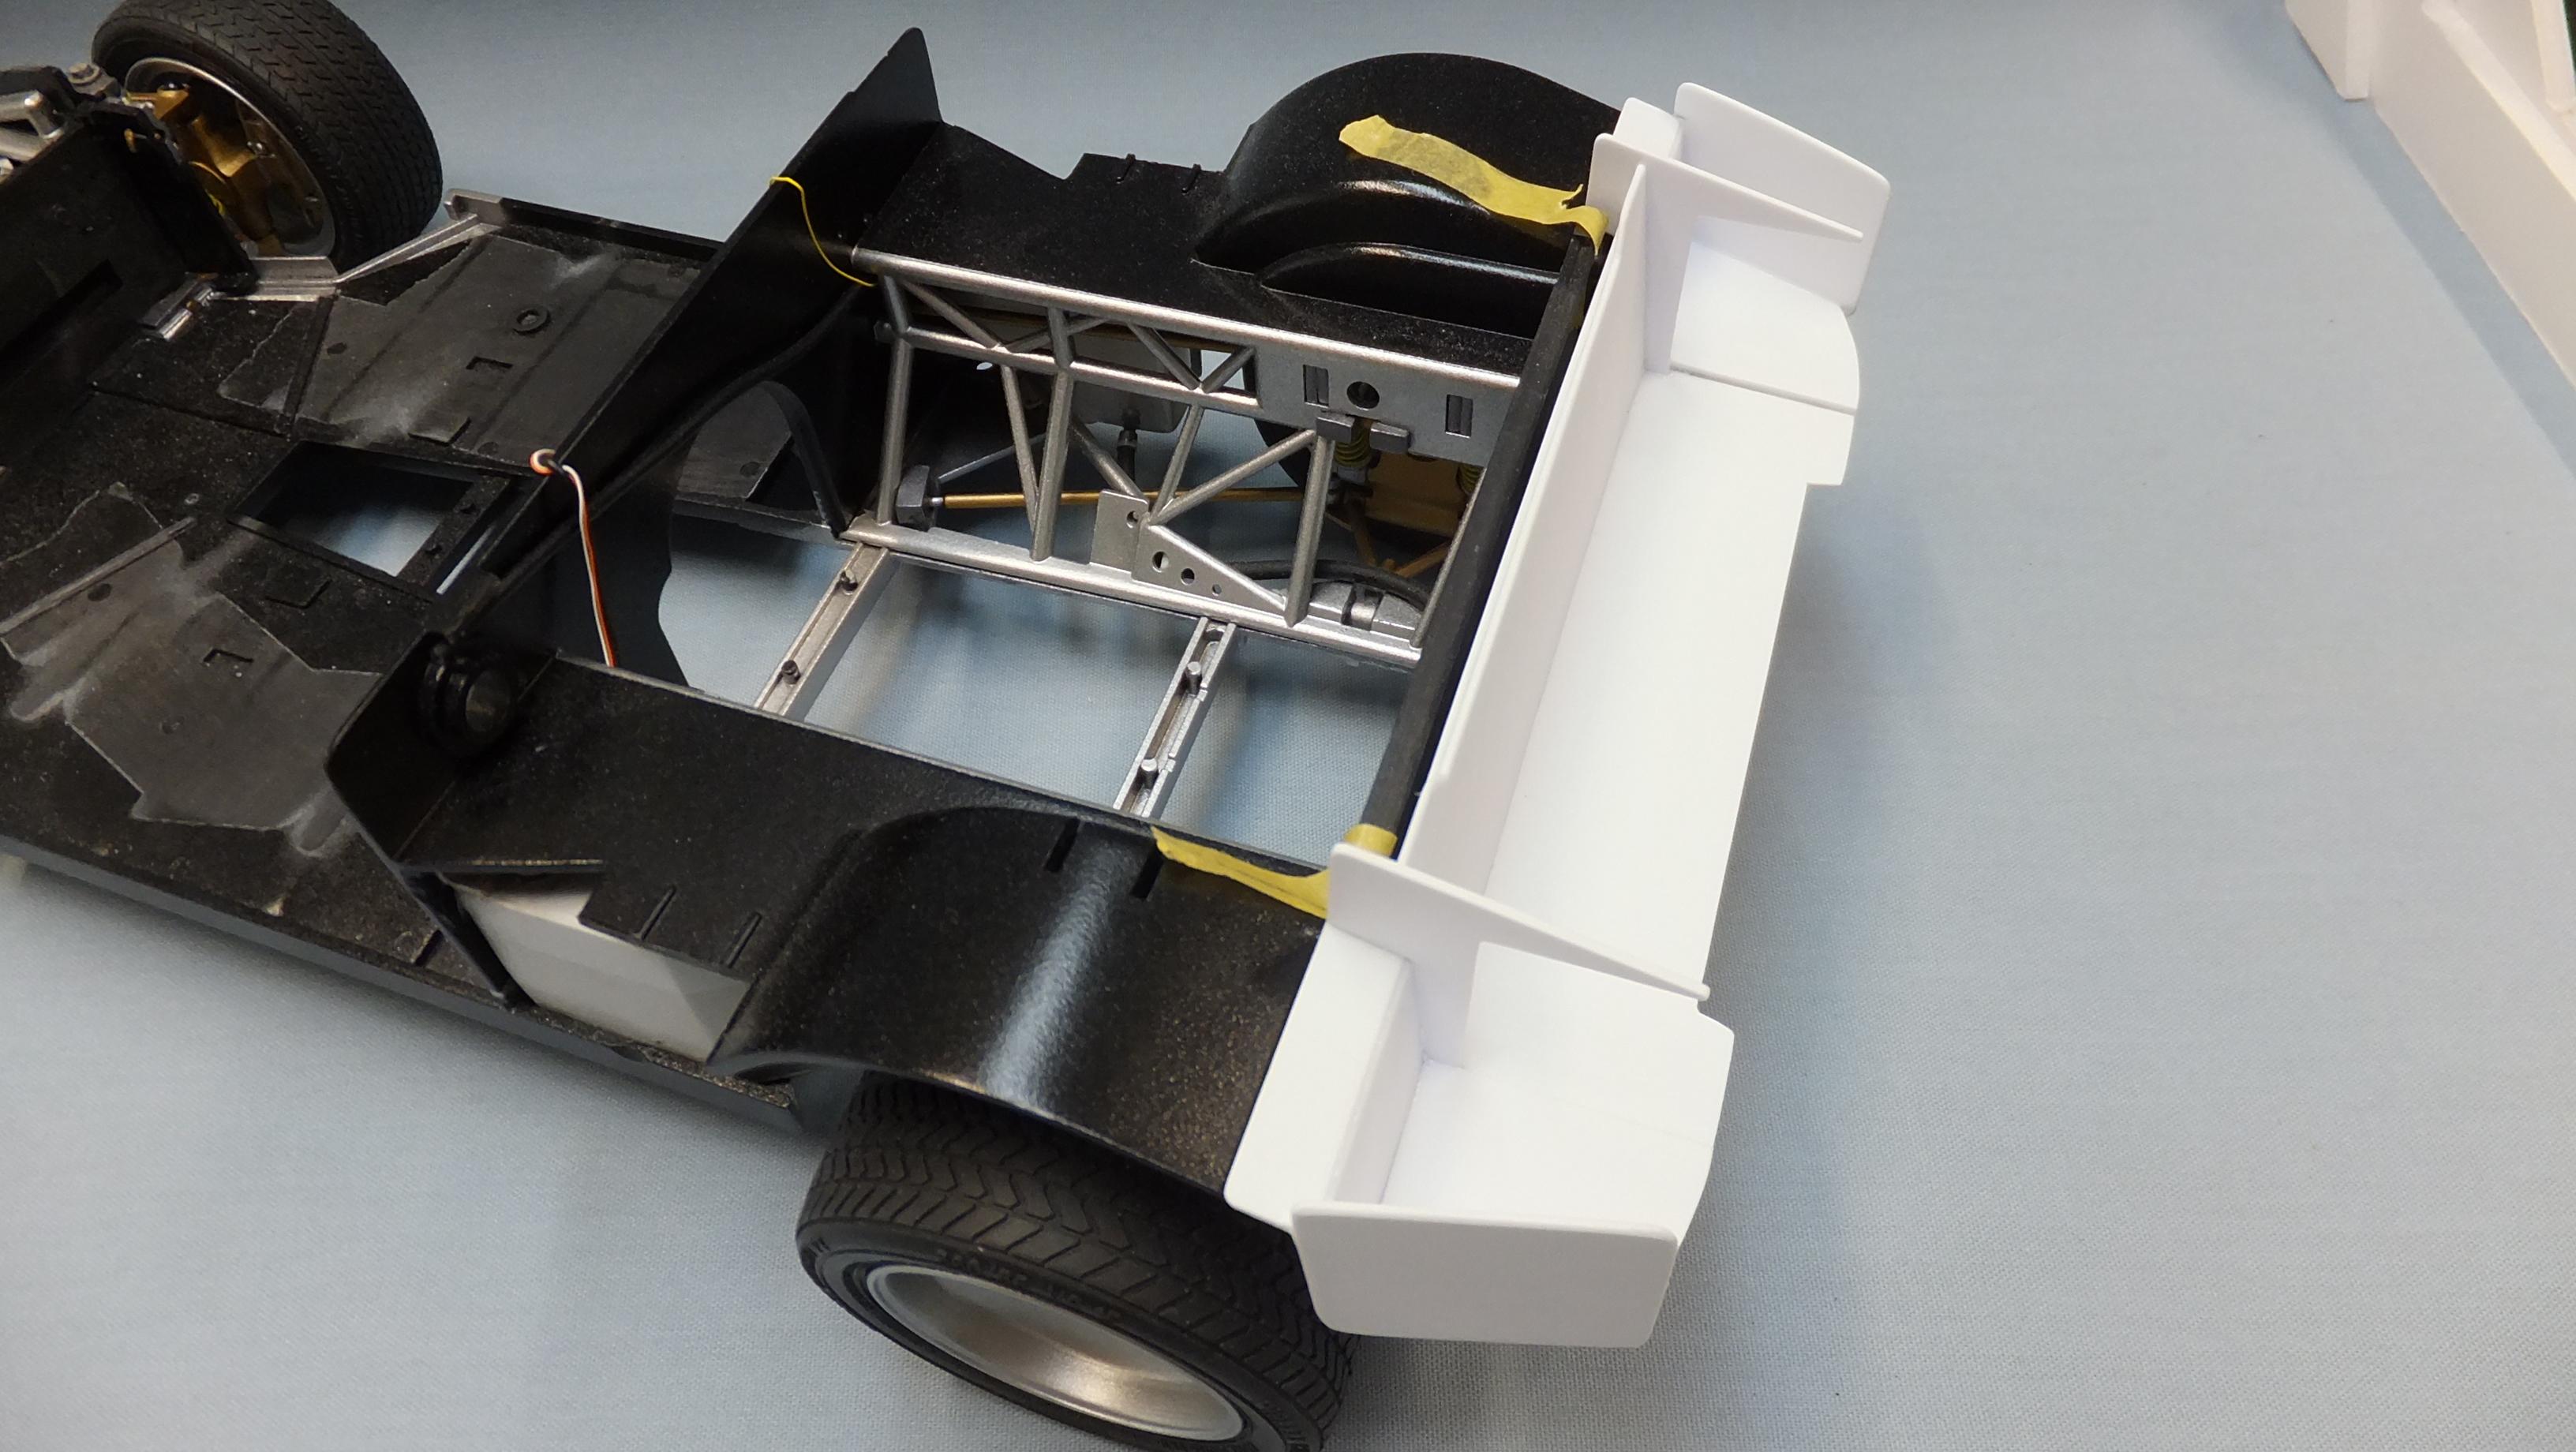
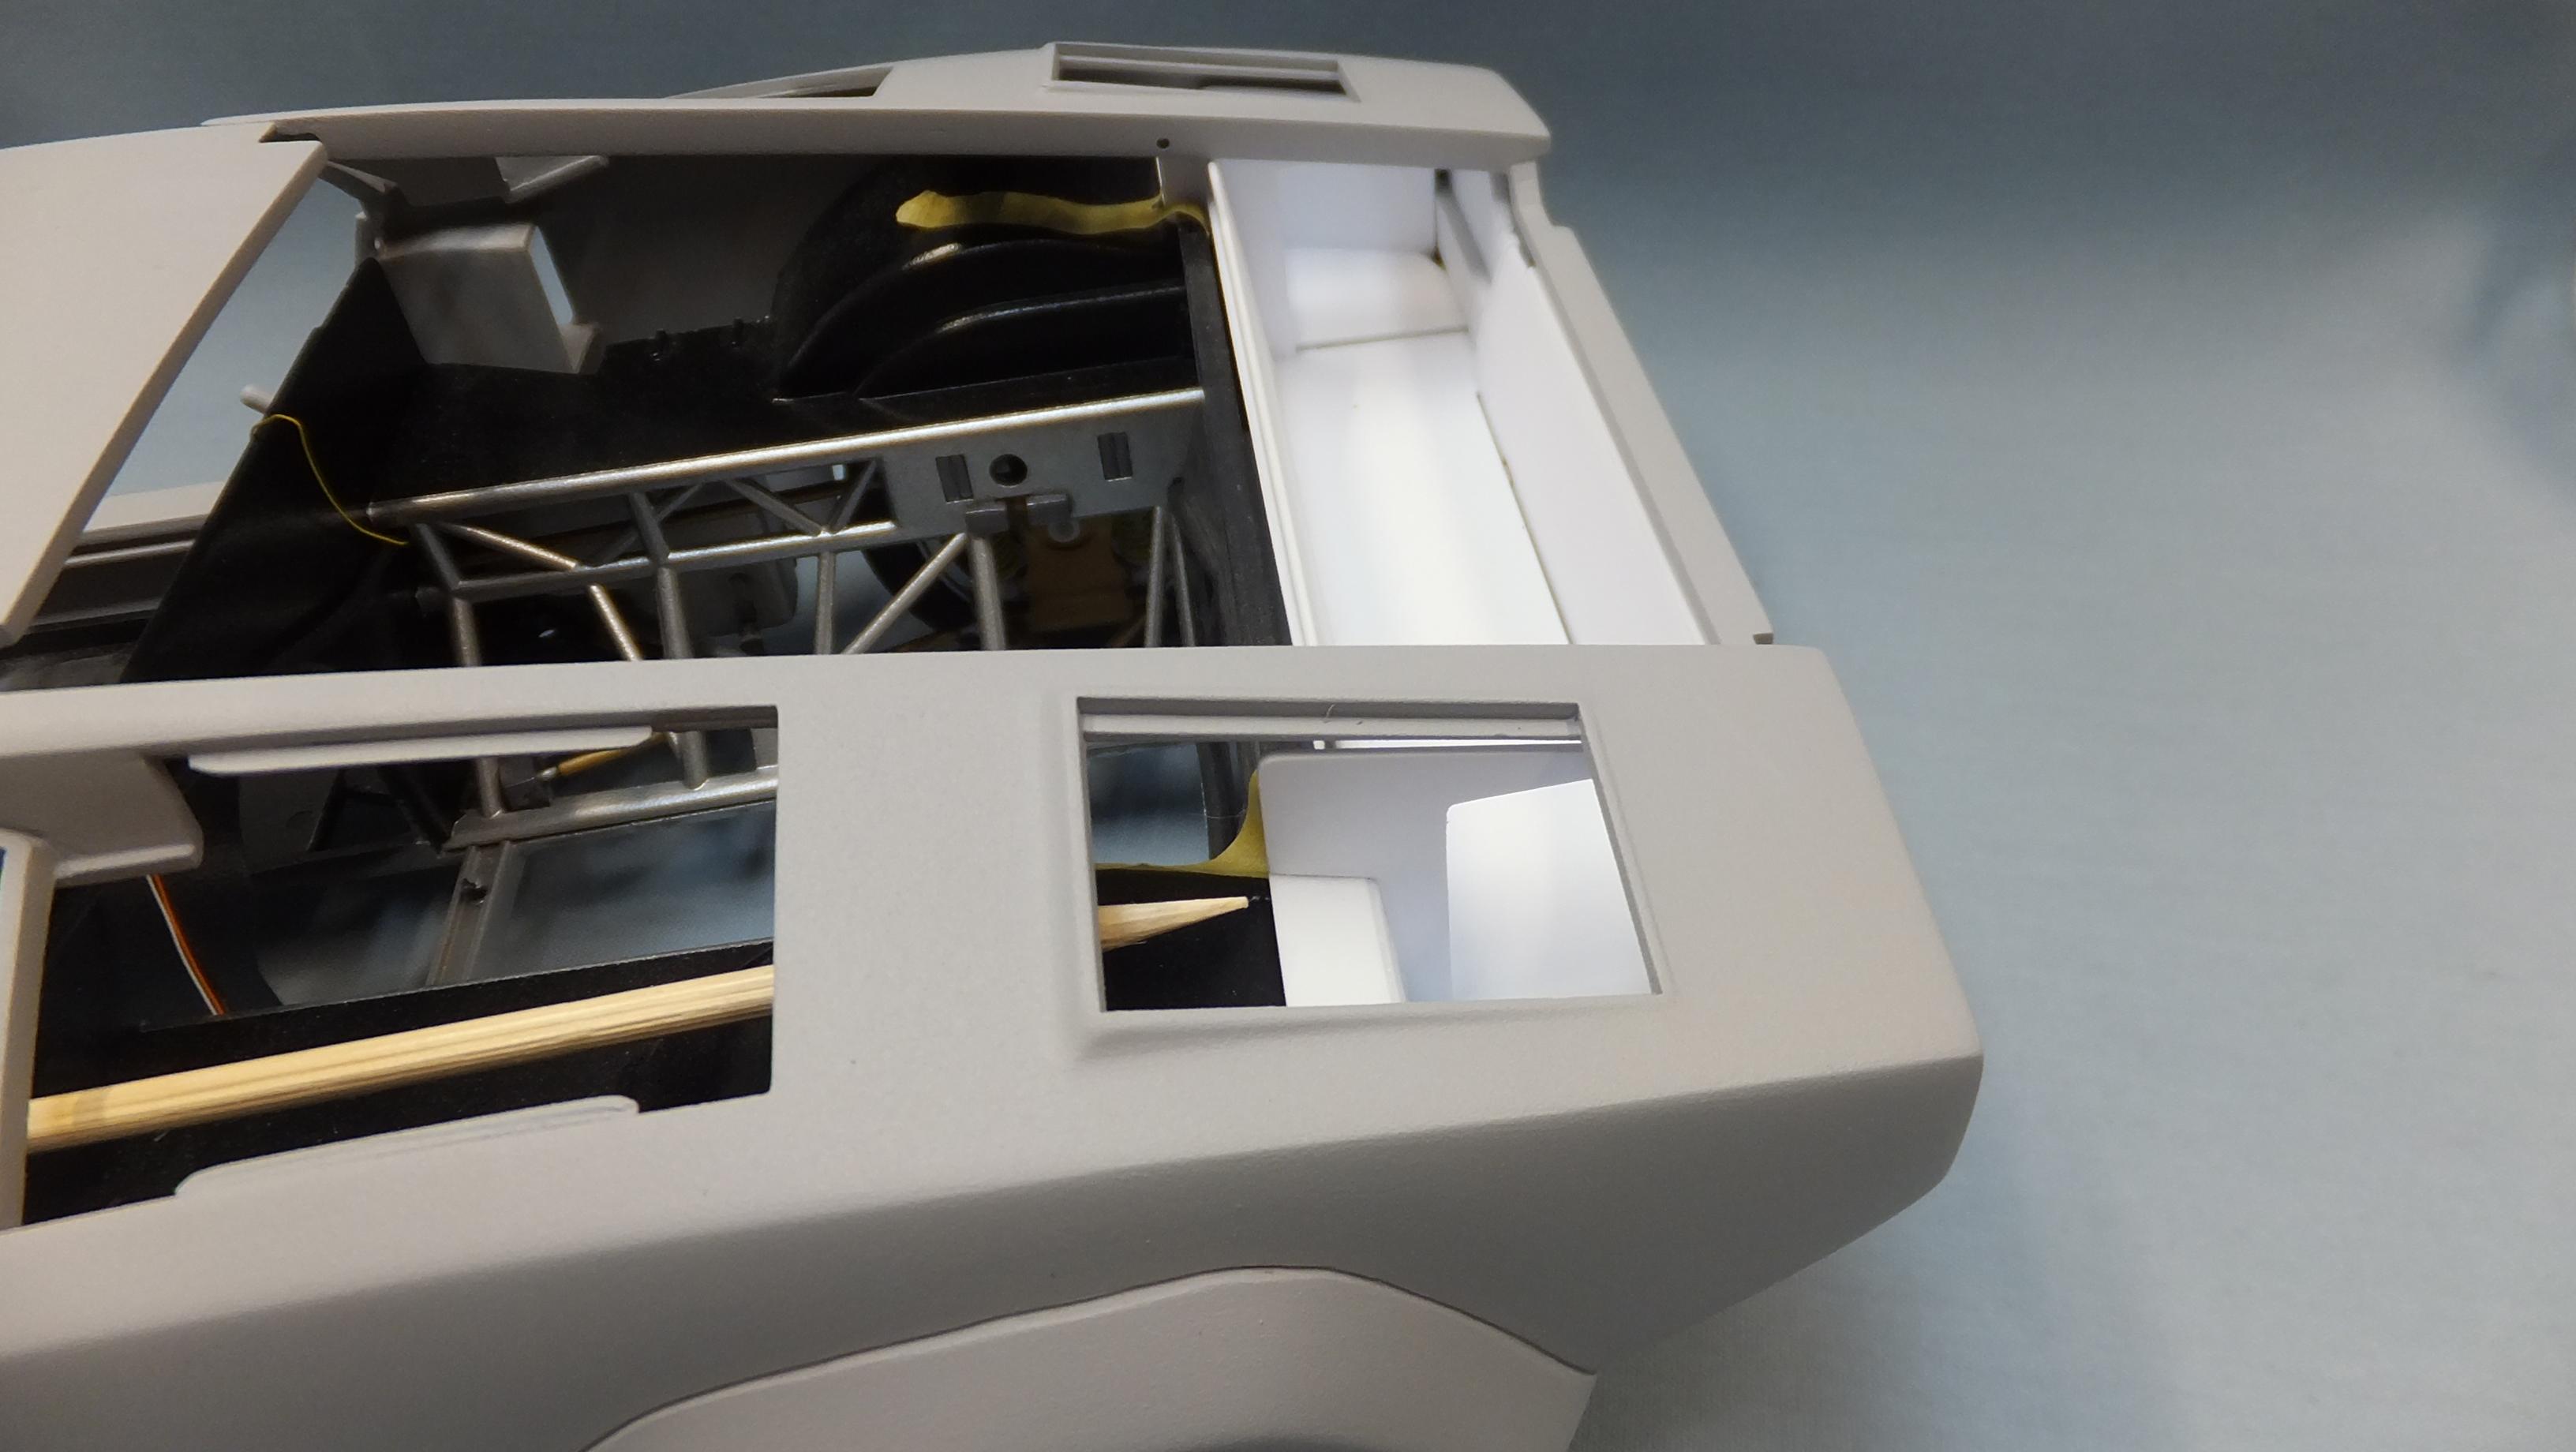
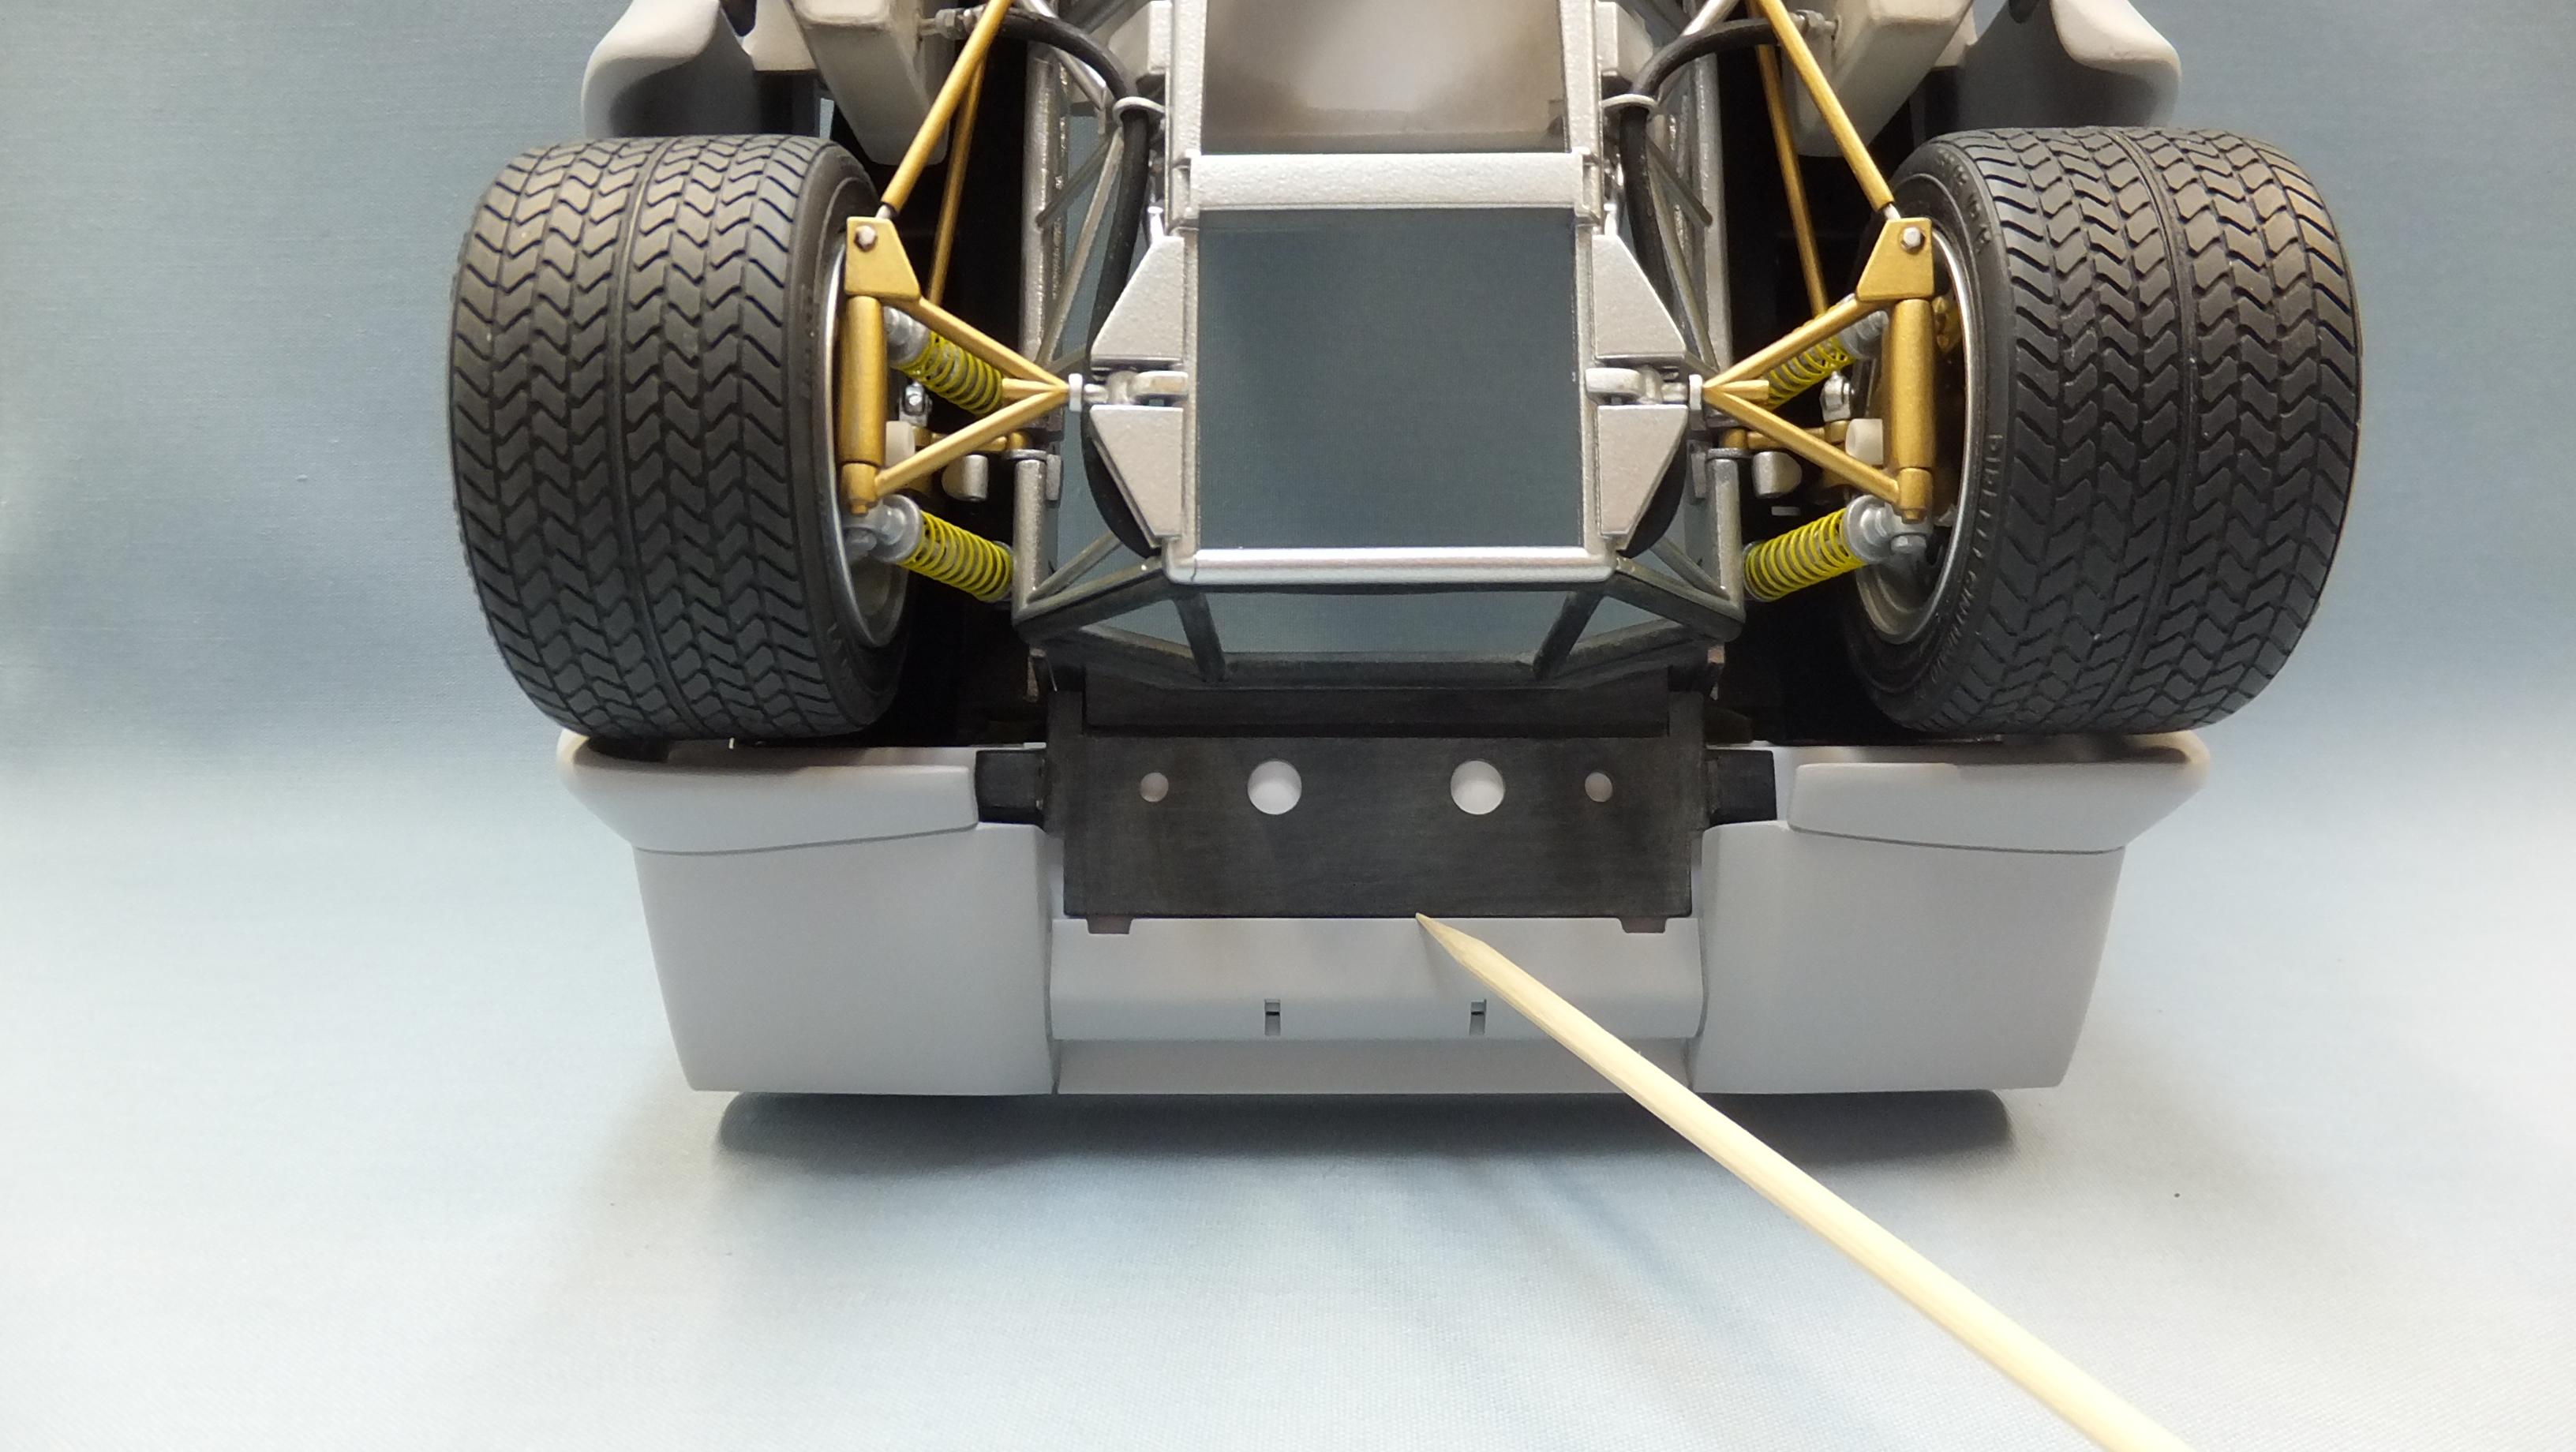
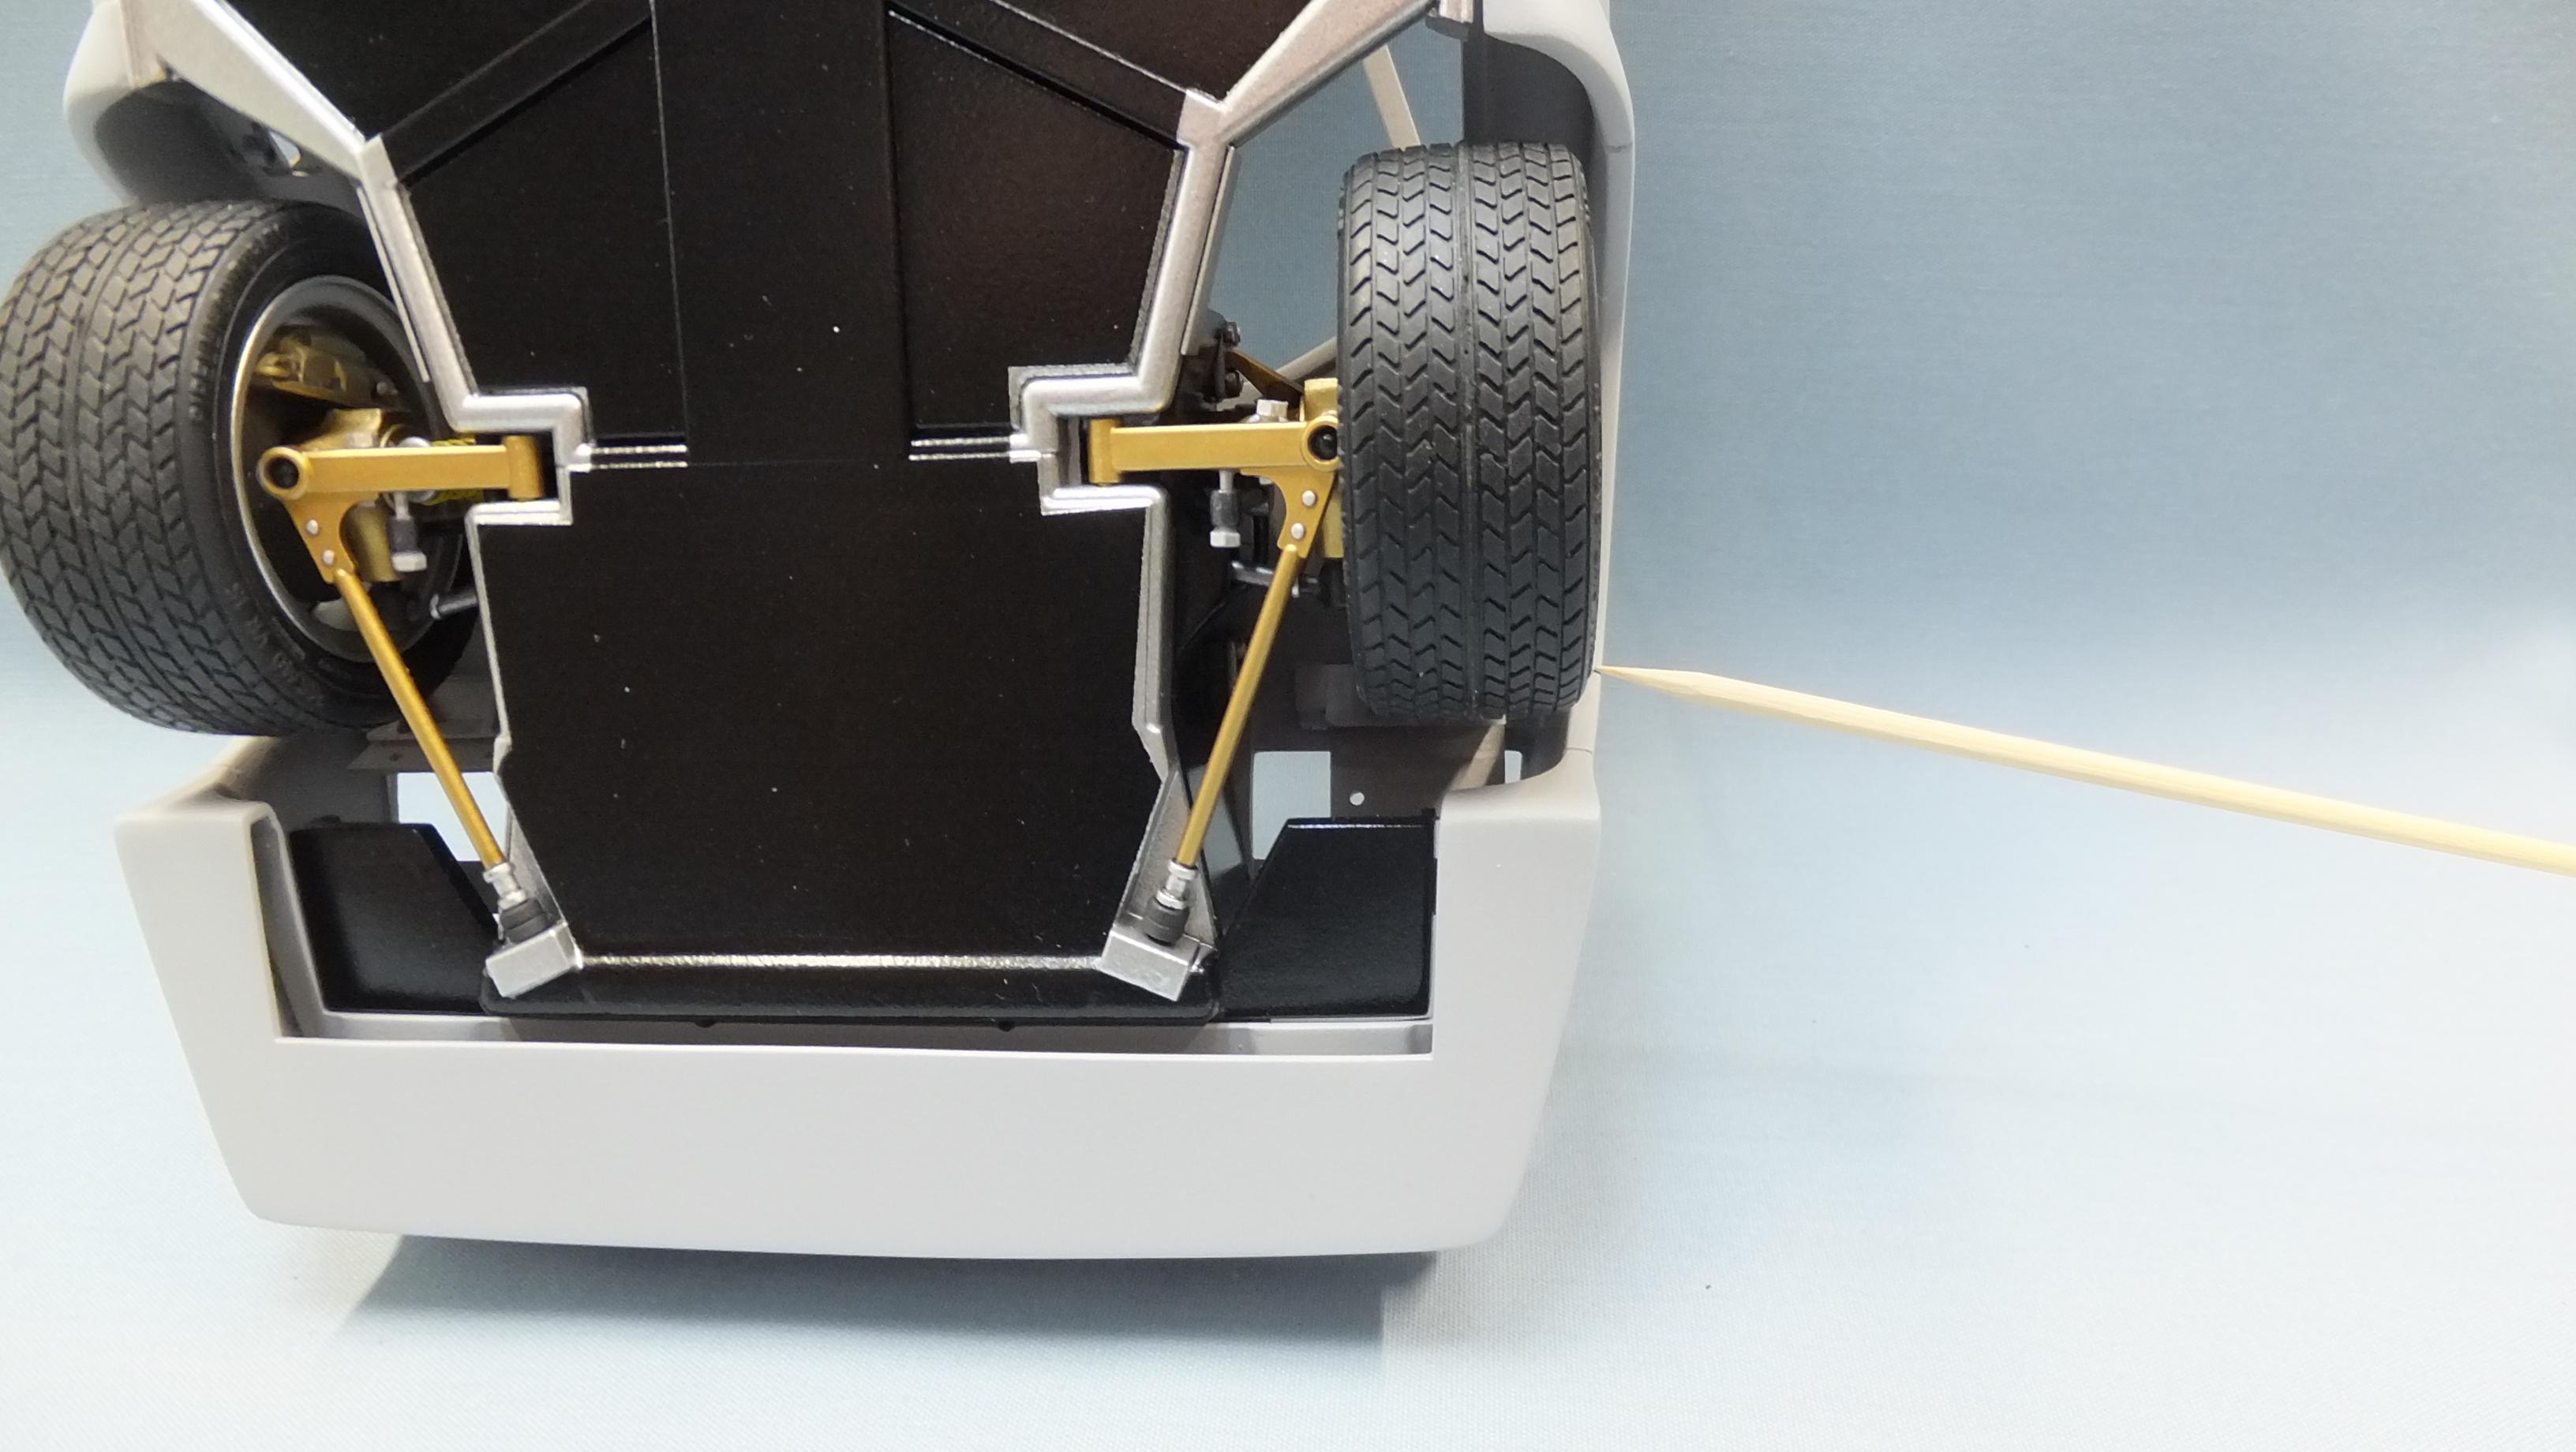
If it freaks you out, or like me, you just get tired of flexing the body every time you have to test fit something, then this next bit i did will interest you. -Photo 1; I decided to hack off the entire back end of the fender wells. Now the body comes on and off easily. -Photo 2-3; The hack job is totally covered, and even though you wont be able to see it anyway, all the electronics will hide the not so factory mod. -Photo 4; It all lines up the kit way again. -Photo 5; I'm gonna have to make wheel spacers since the tyres are slightly, but just too close together.
- 363 replies
-
- 2
-

-
- otaki
- lamborghini
- (and 2 more)
-
Otaki 1/12 Lamborghini Countach Twin Turbo...Mission Statement
Dann Tier replied to Dann Tier's topic in WIP: Model Cars
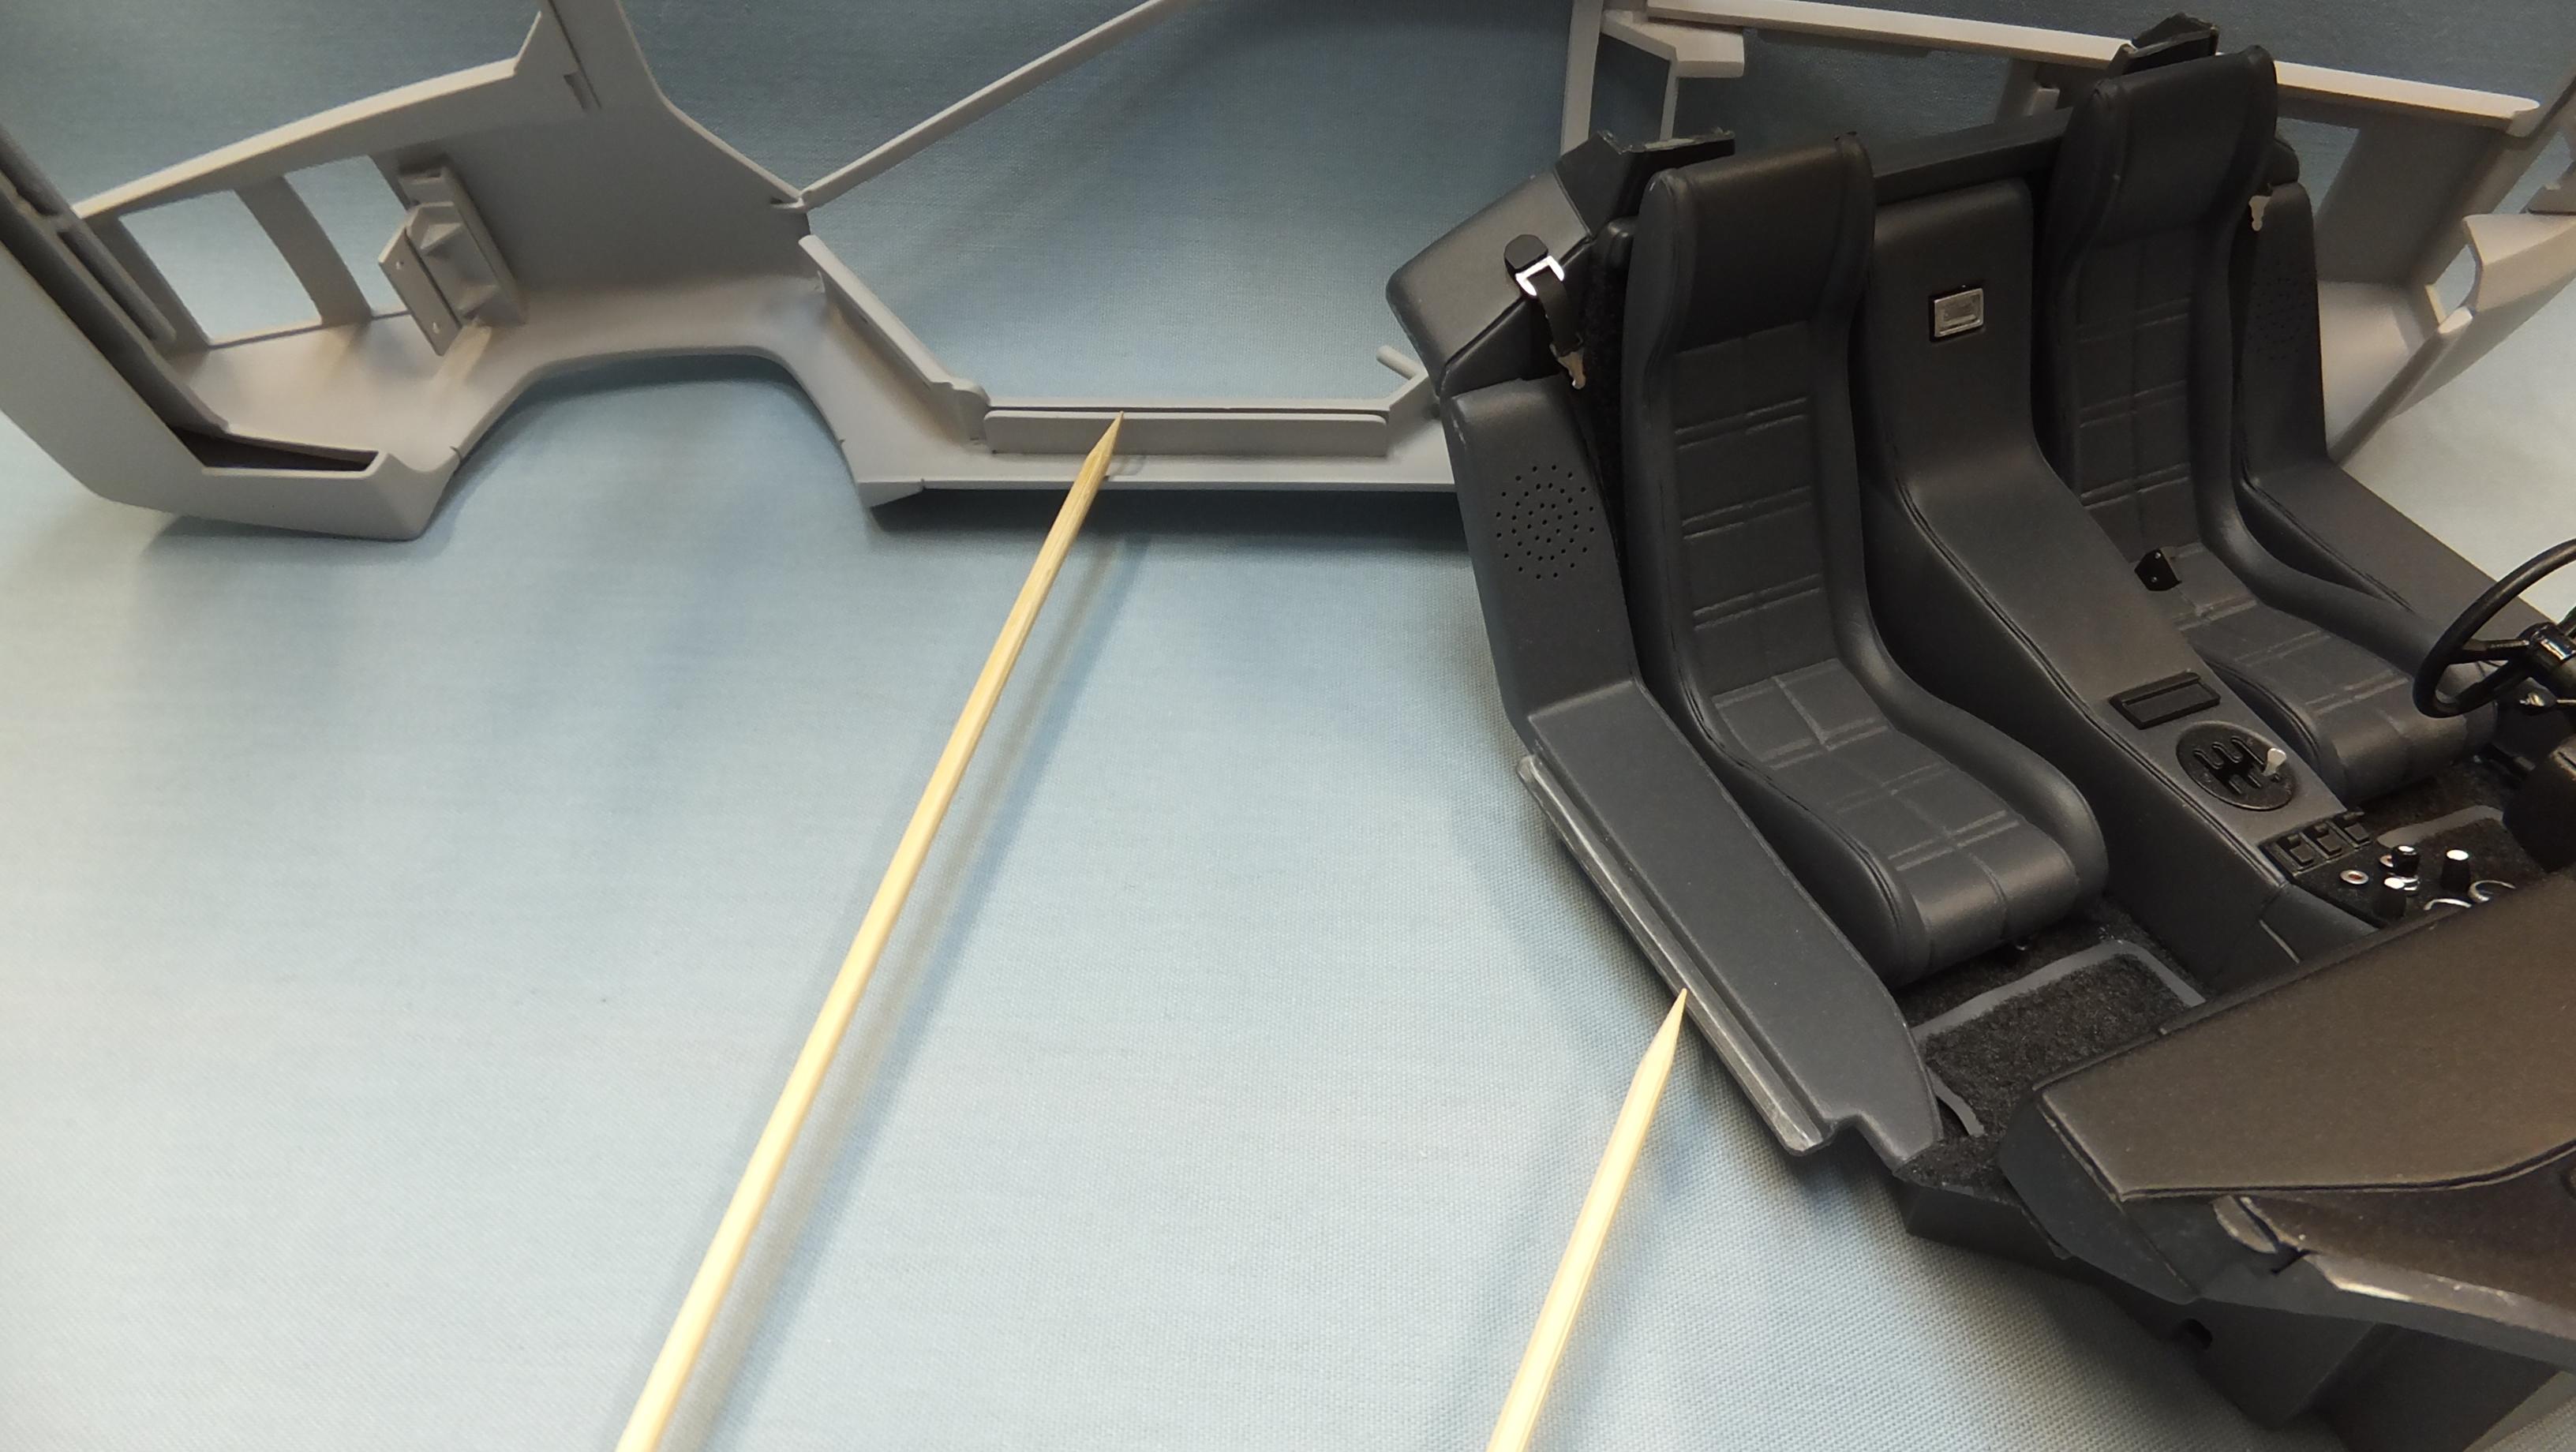
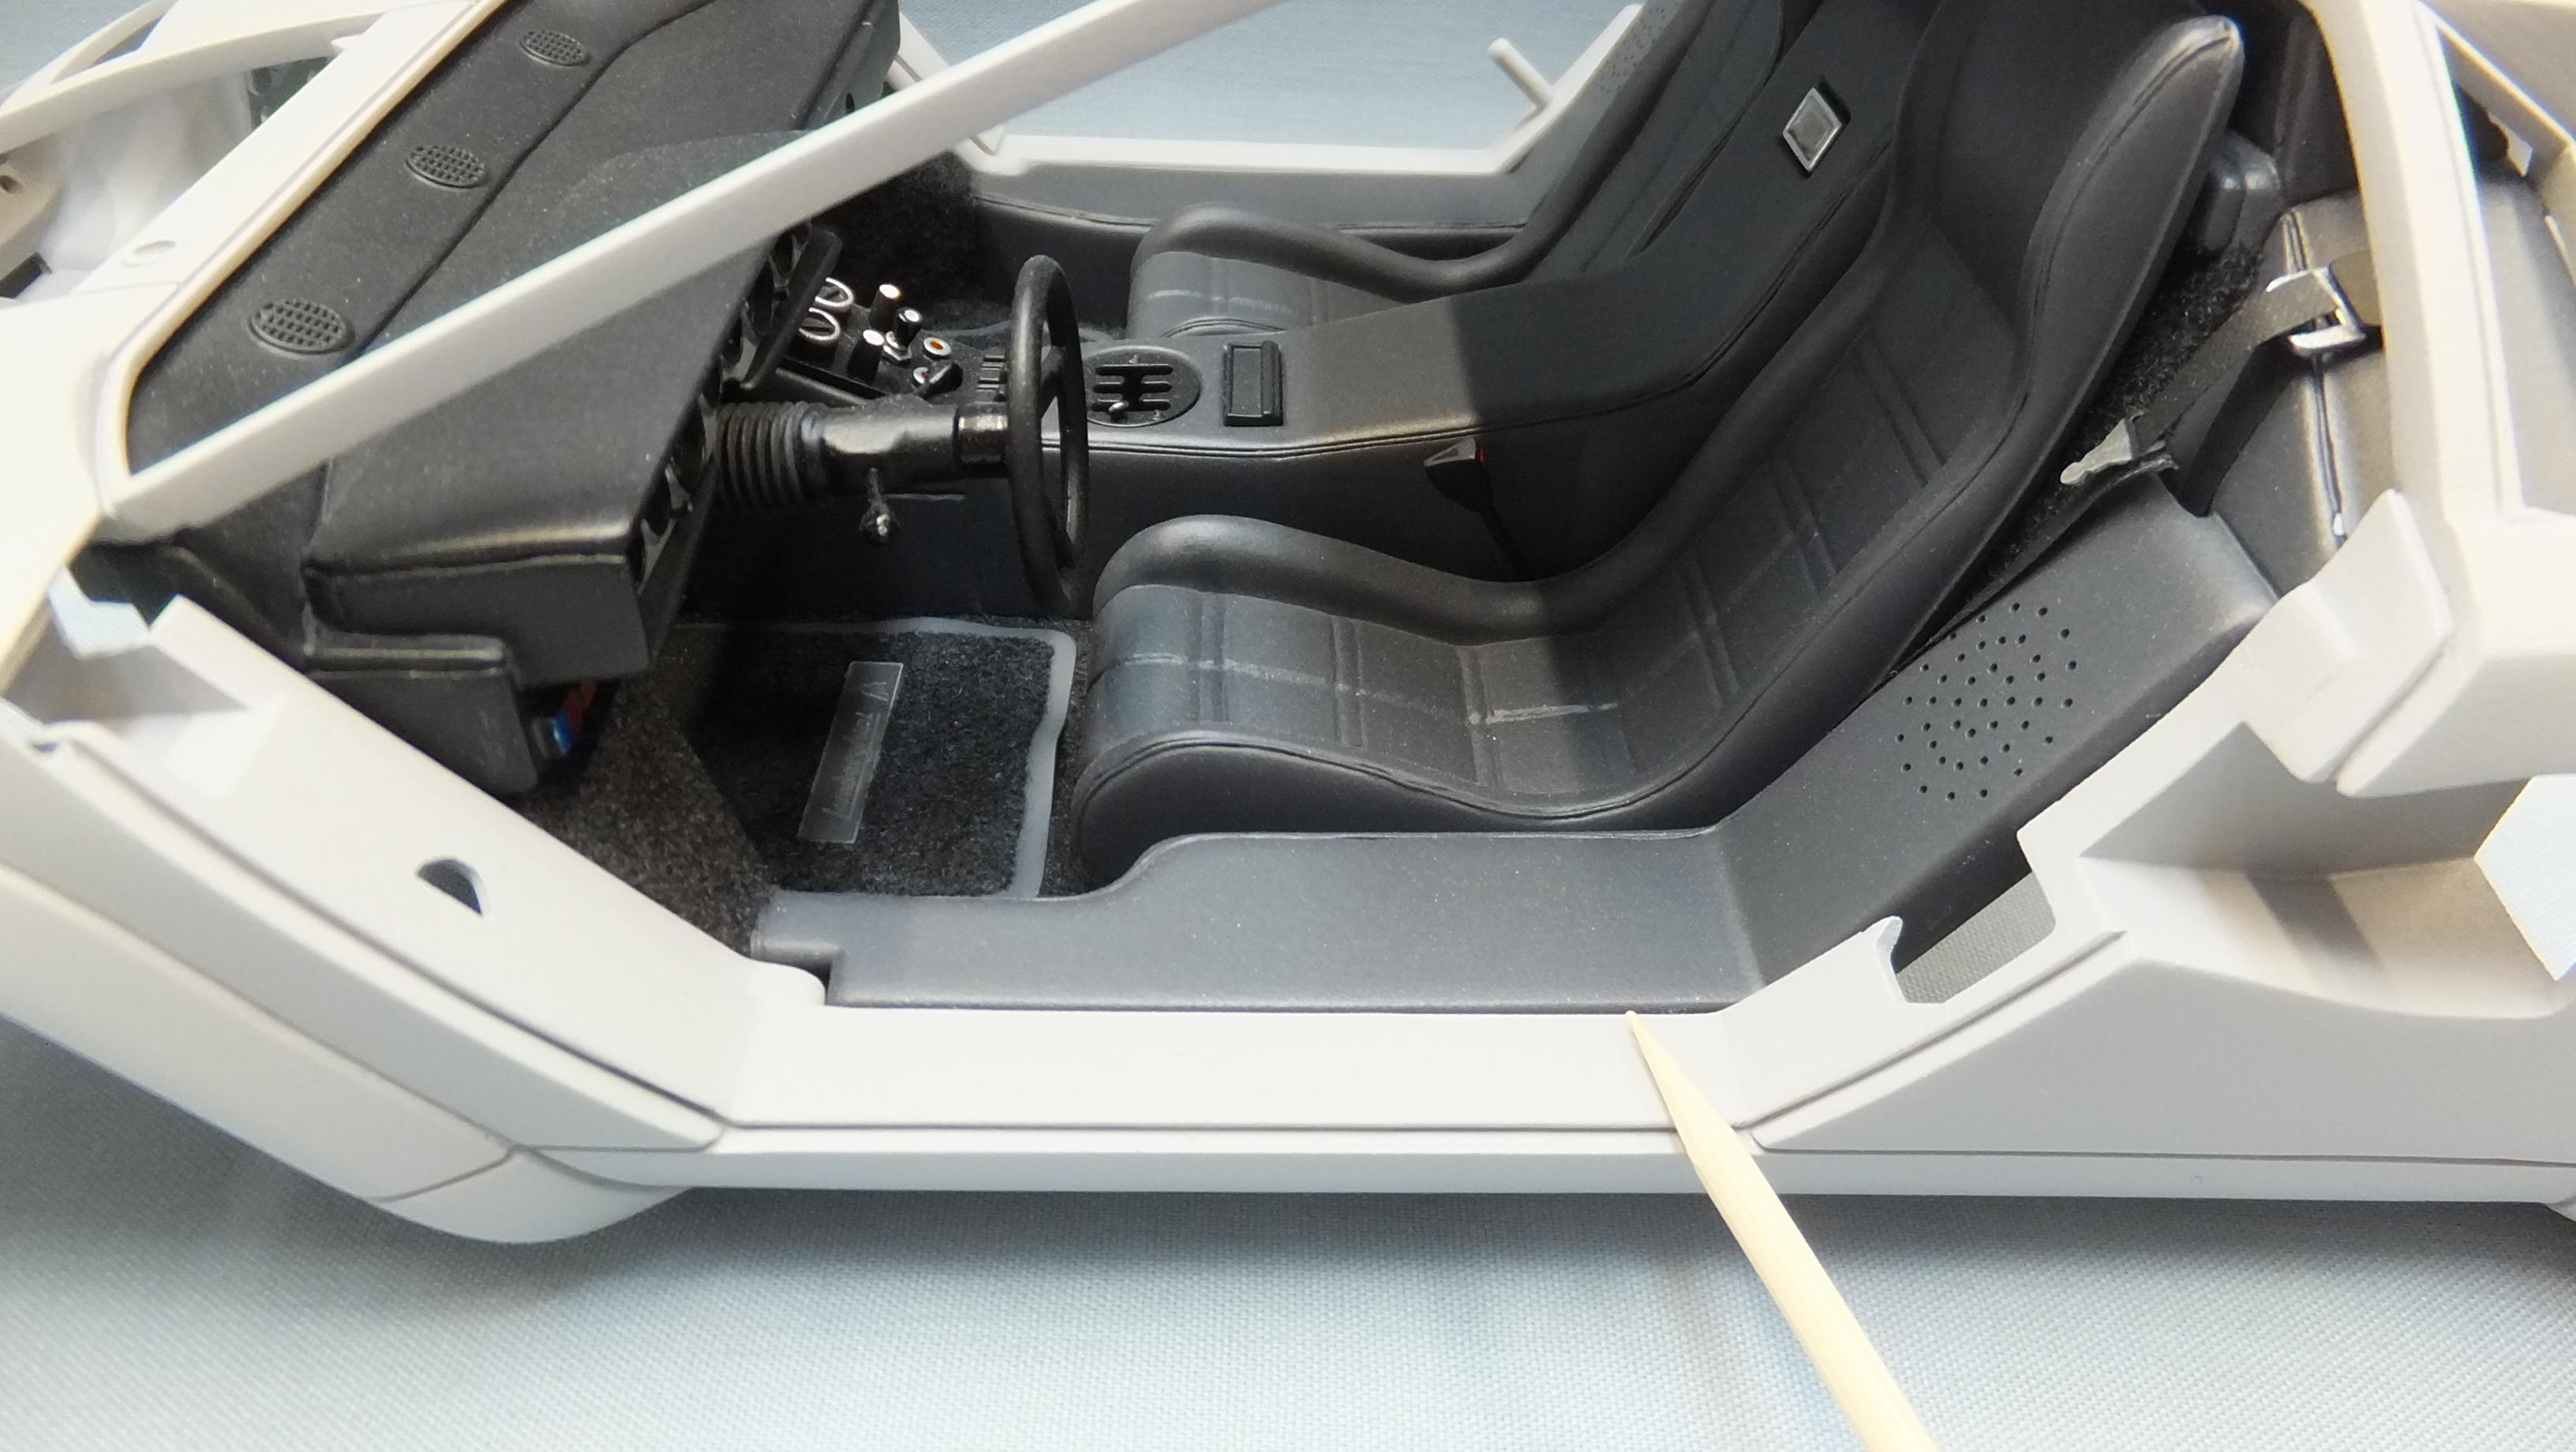
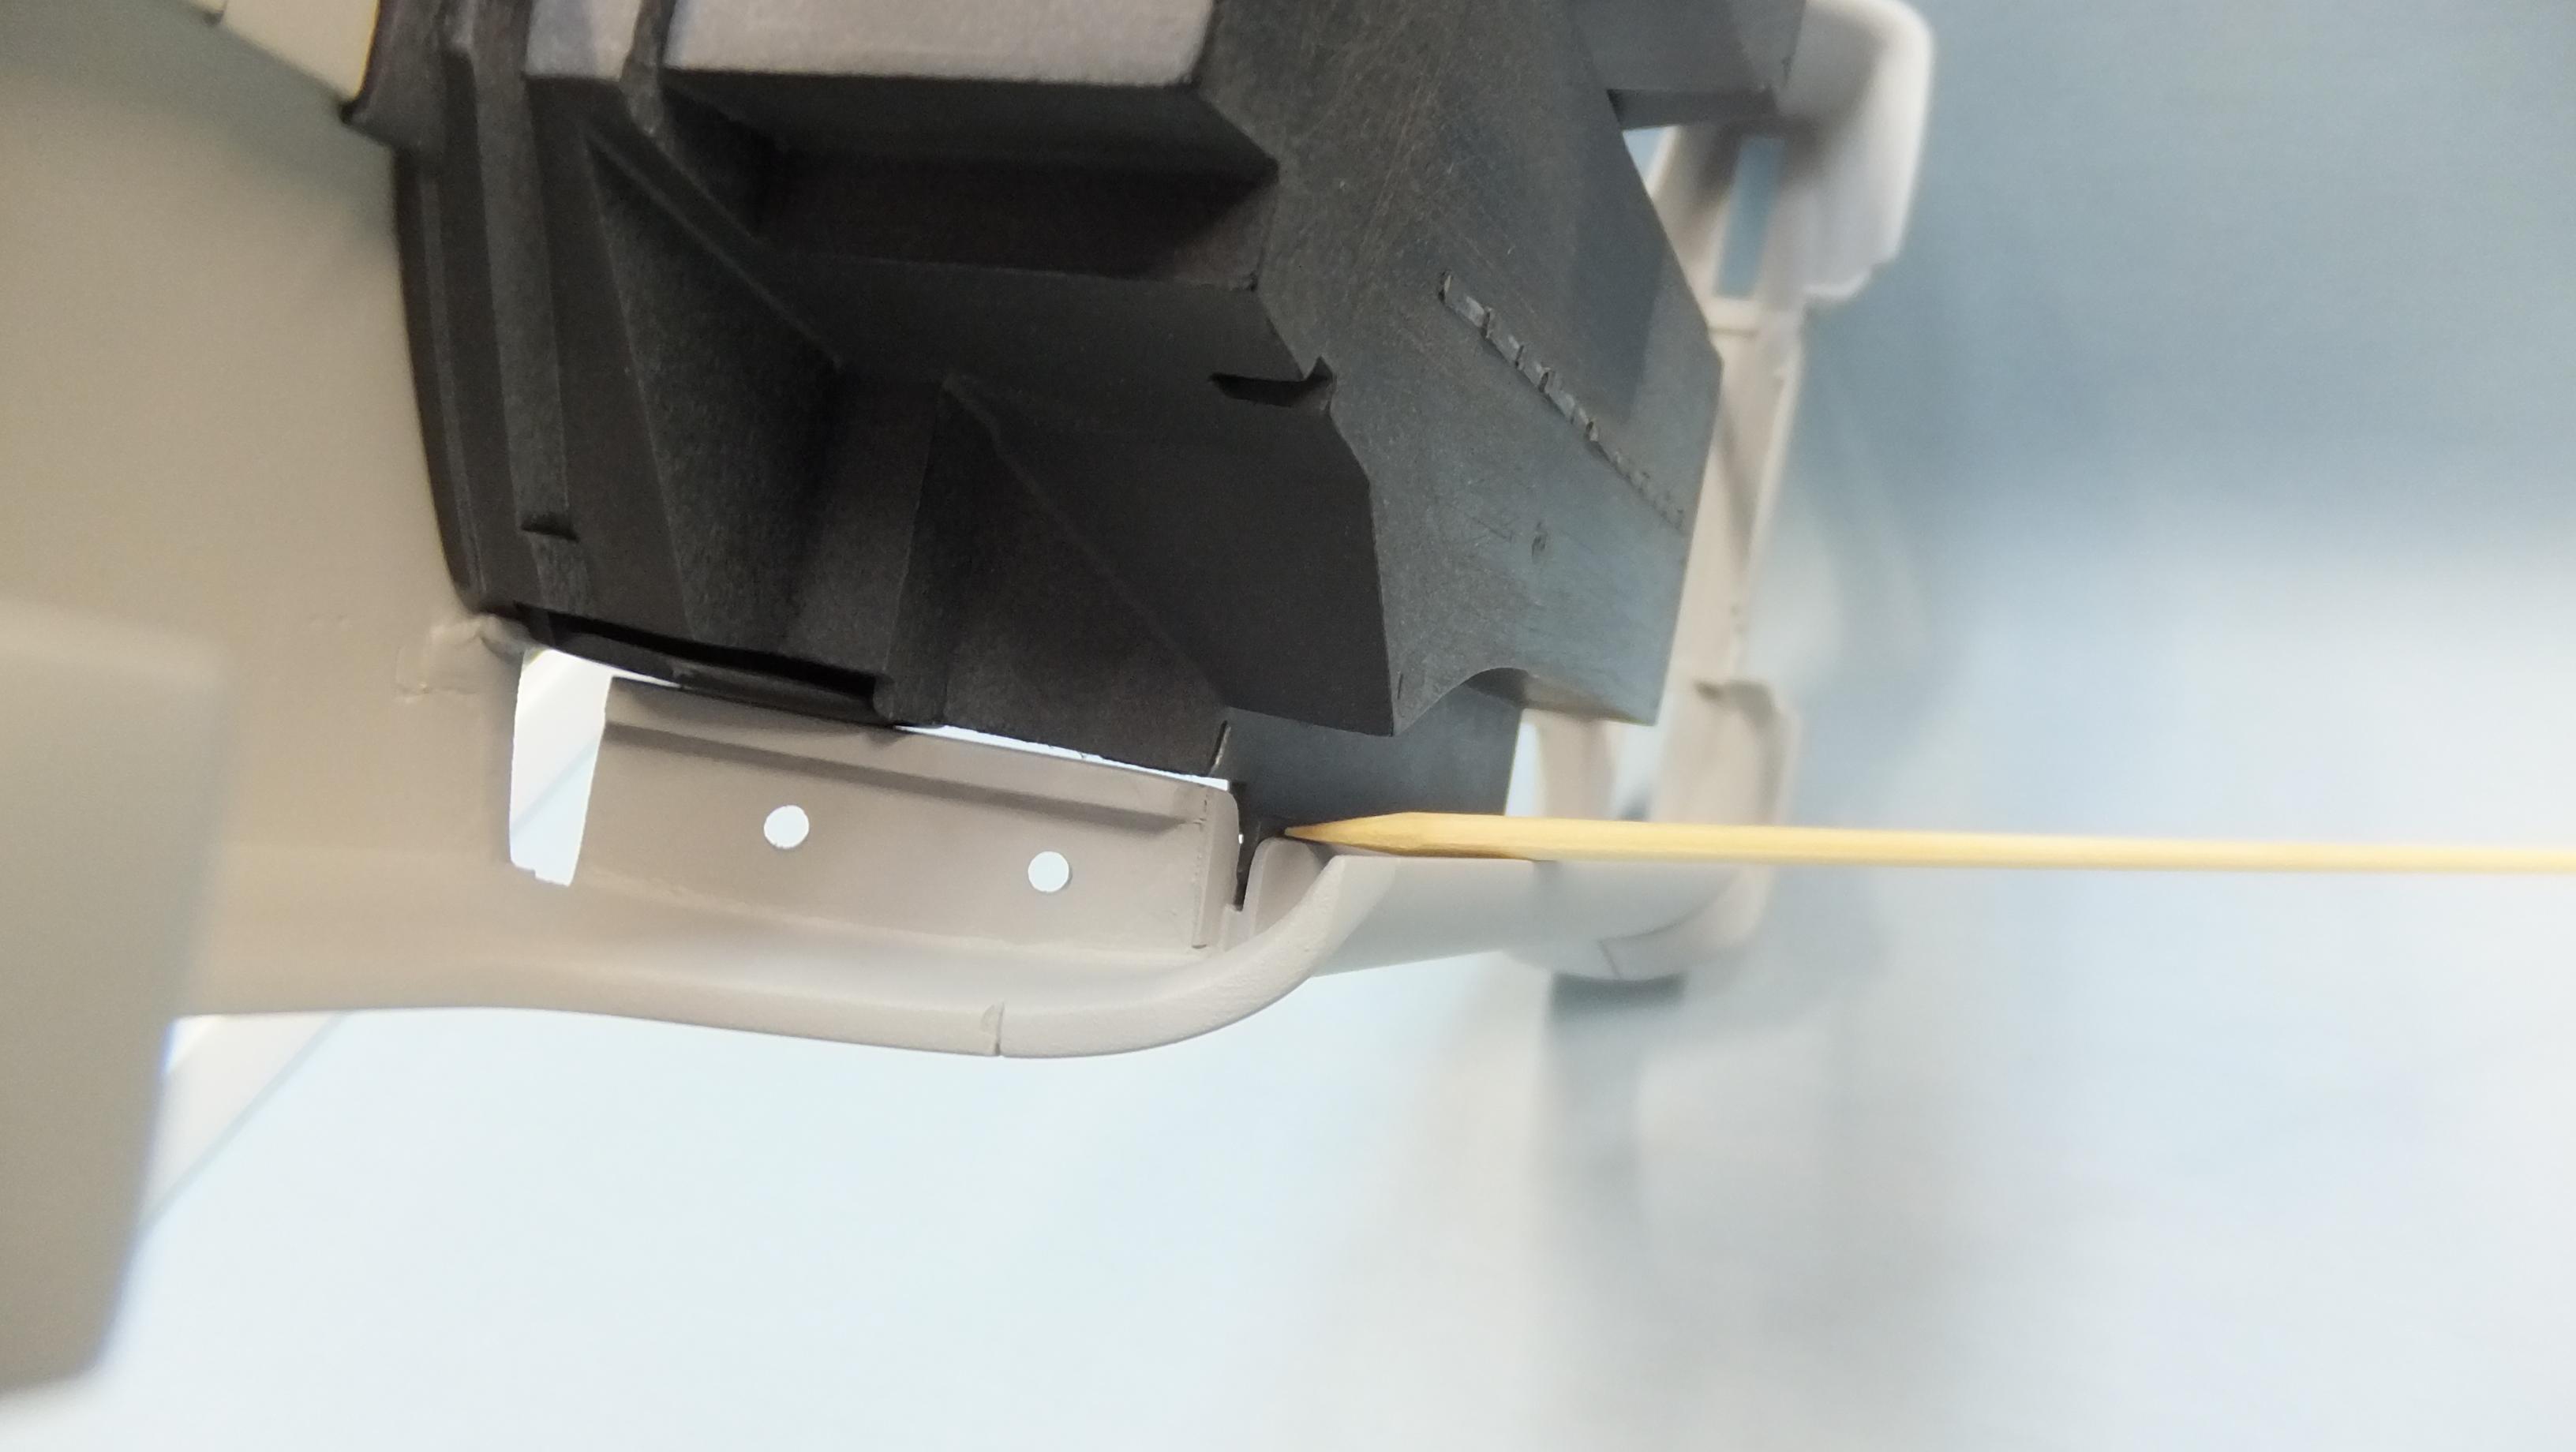
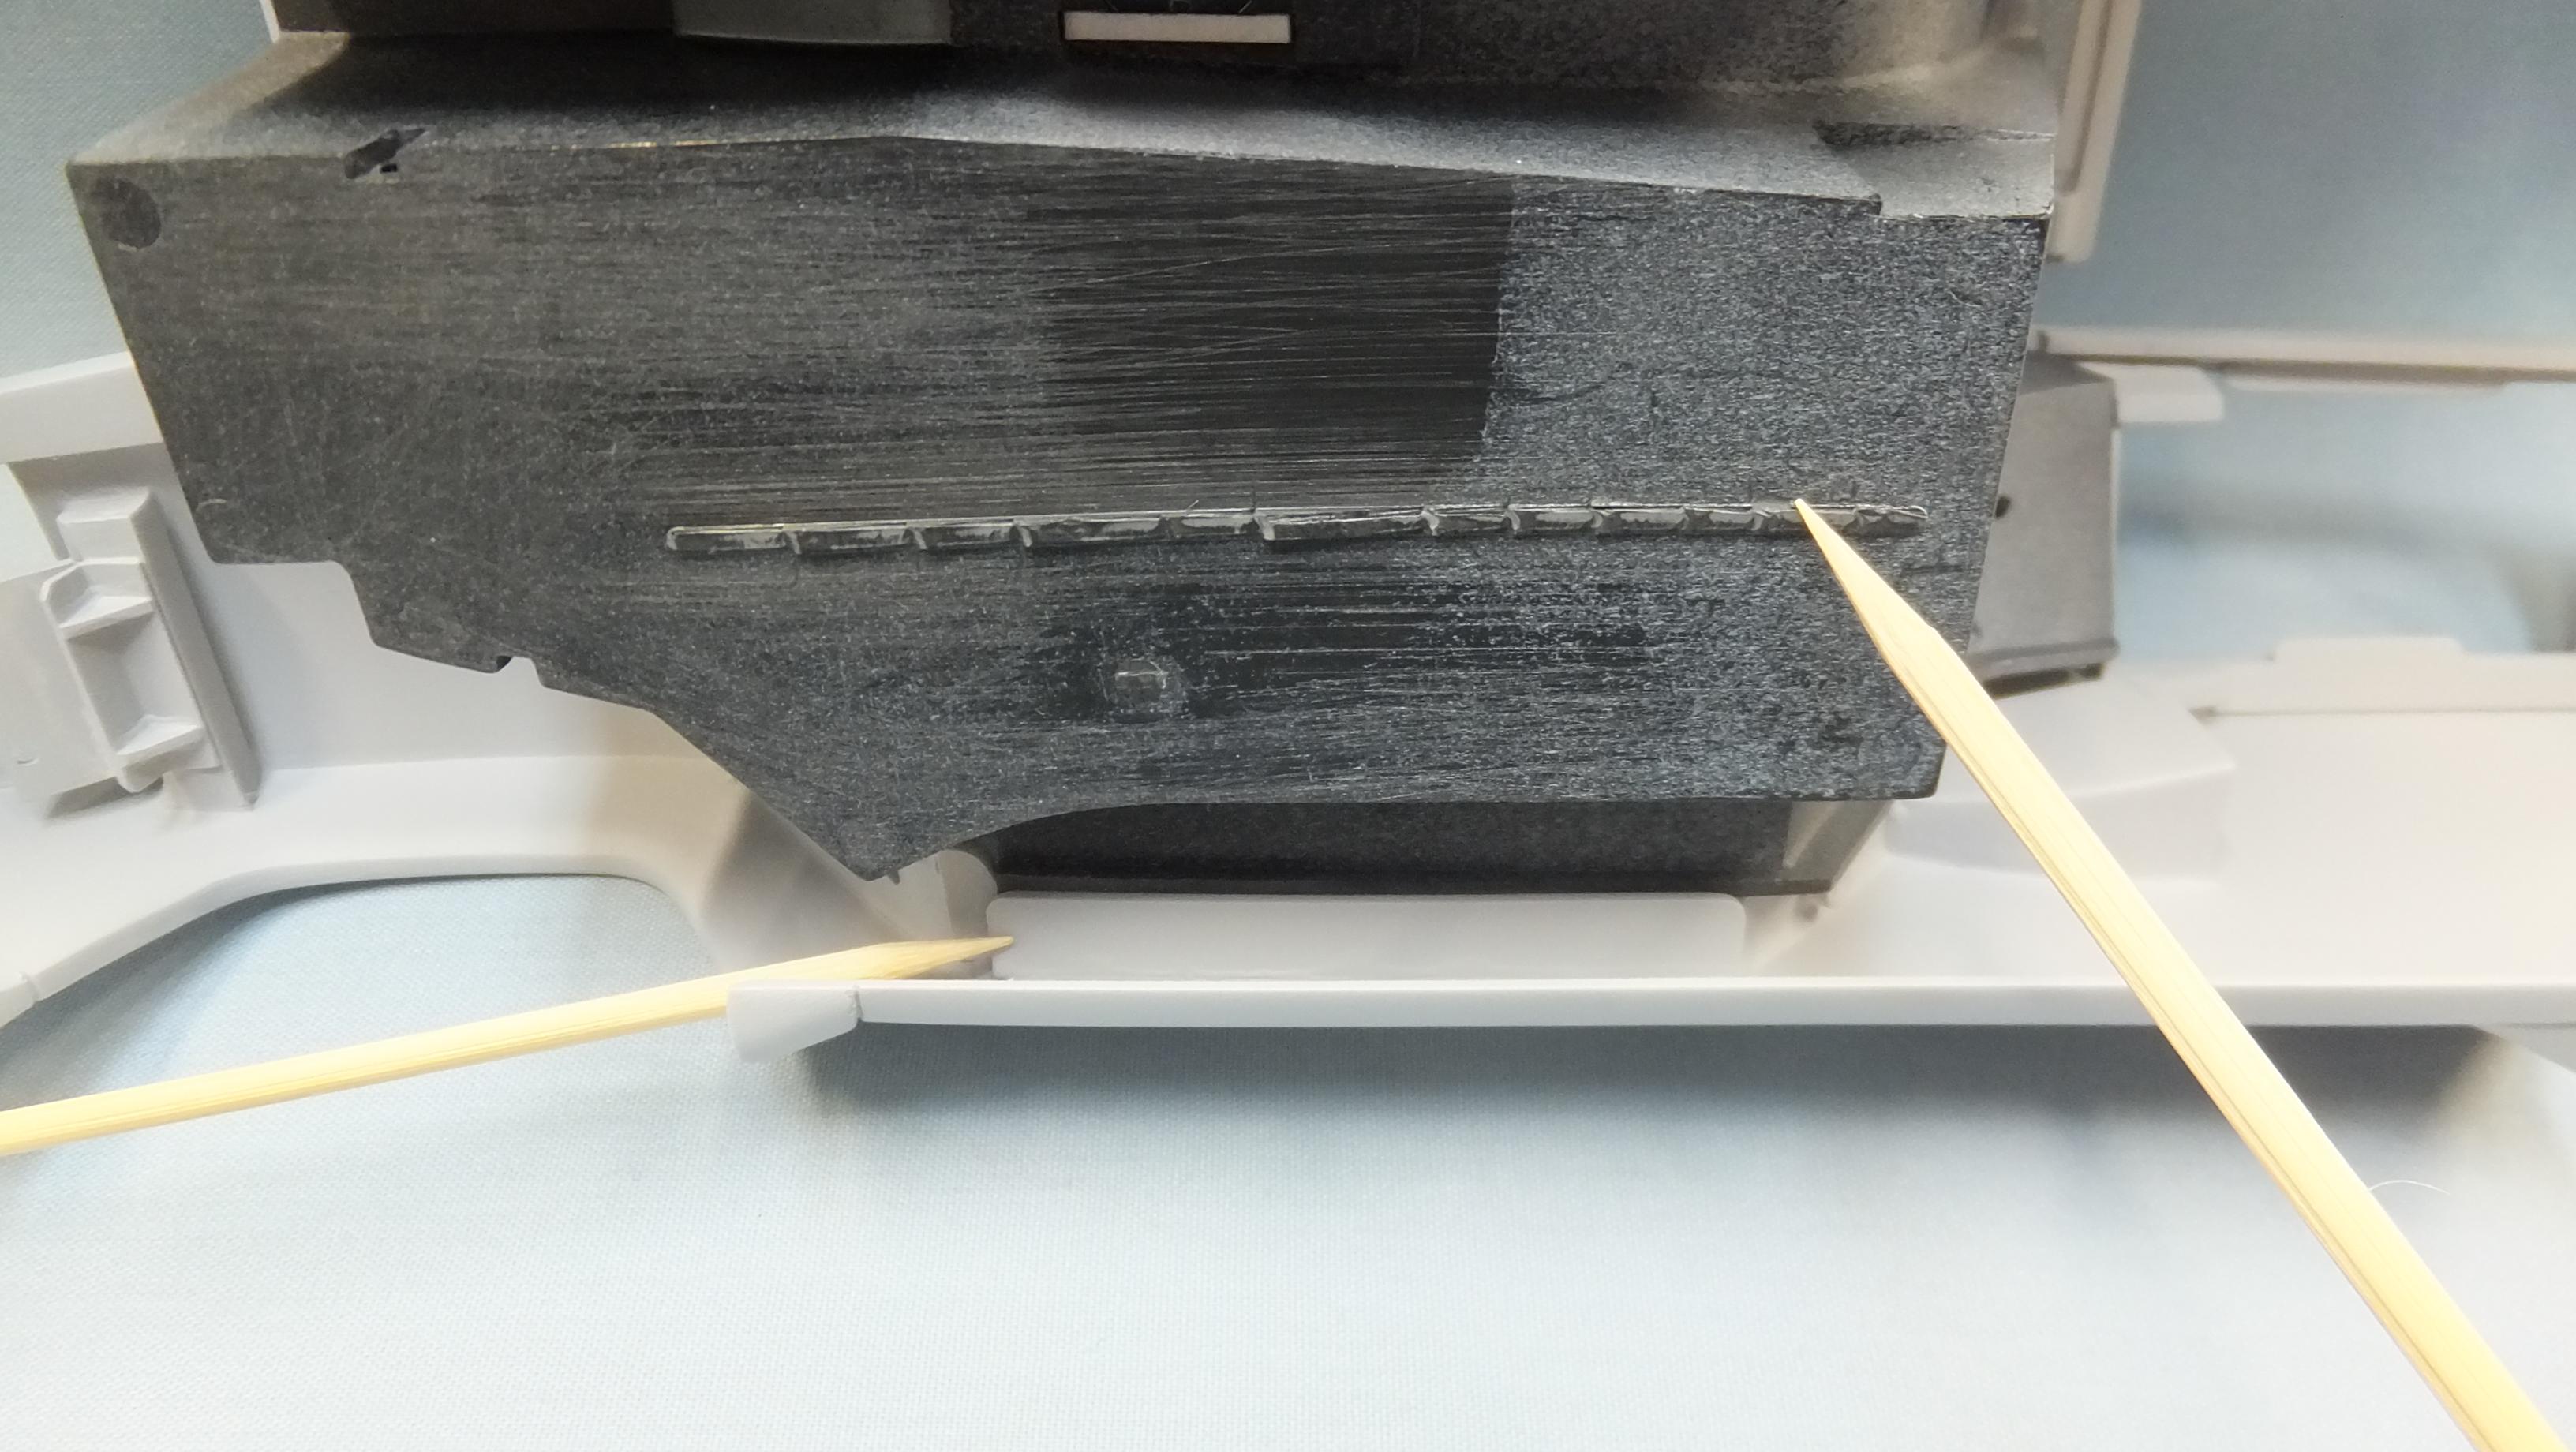
I dont know about anybody else, but this kits interior tubs bottom was arched a bit, which wouldnt allow it to fit properly, so i came up with a few things to fix the issue. -Photo 1; After sanding flat the interior tub tabs, i glued strips of styrene to the body section in order to sandwich the interior tabs into a definite location. -Photo 2; It worked brilliantly, and is VERY solid. -Photo 3; You can see the sandwich. -Photo 4; I removed any molded in tub locaters, because the warping wasnt allowing them to line up...they werent needed anymore anyway. You can also see another view of the tab. -Photo 5; Here you can also see where i had to notch things earlier to fit the tub to the body.
- 363 replies
-
- 1
-
-
- otaki
- lamborghini
- (and 2 more)
-
Otaki 1/12 Lamborghini Countach Twin Turbo...Mission Statement
Dann Tier replied to Dann Tier's topic in WIP: Model Cars
Hey, everyone, i have some more progress to show here... -Photo 1; Using another trick like with the drivers door, i use pins to slide up so that the hinges will more closely resemble the real thing when visible.
- 363 replies
-
- 1
-
-
- otaki
- lamborghini
- (and 2 more)
-
Otaki 1/12 Lamborghini Countach Twin Turbo...Mission Statement
Dann Tier replied to Dann Tier's topic in WIP: Model Cars
Thanks, Bud!, i really appreciate that...its good to hear from all of you as well! -
Brilliant job on both of these!
-
VERY nicely done!
-
Nice, clean build!
-
Nice beast!
-
Fujimi/Testors 1/24 Dino 246GTS Spyder
Dann Tier replied to Justin Porter's topic in WIP: Model Cars
Absolutely beautiful! i've never liked the headlamp covers...something unique disappears when they are on. -
Starting a new old project, tubbed '77 Volare Road Runner
Dann Tier replied to Can-Con's topic in WIP: Model Cars
This is looking Fantastic!!...i need to find one of these kits too! -
Looking great!
-
Man i love this!
-
It sure is looking good!
-
LOOOOVE Porsches!!...nice job so far!!
-
For sure, and its looking great!!
-
Otaki 1/12 Lamborghini Countach Twin Turbo...Mission Statement
Dann Tier replied to Dann Tier's topic in WIP: Model Cars
Thank you very much everyone!, its great to be back!....thank you all for still following along!! -
Otaki 1/12 Lamborghini Countach Twin Turbo...Mission Statement
Dann Tier replied to Dann Tier's topic in WIP: Model Cars
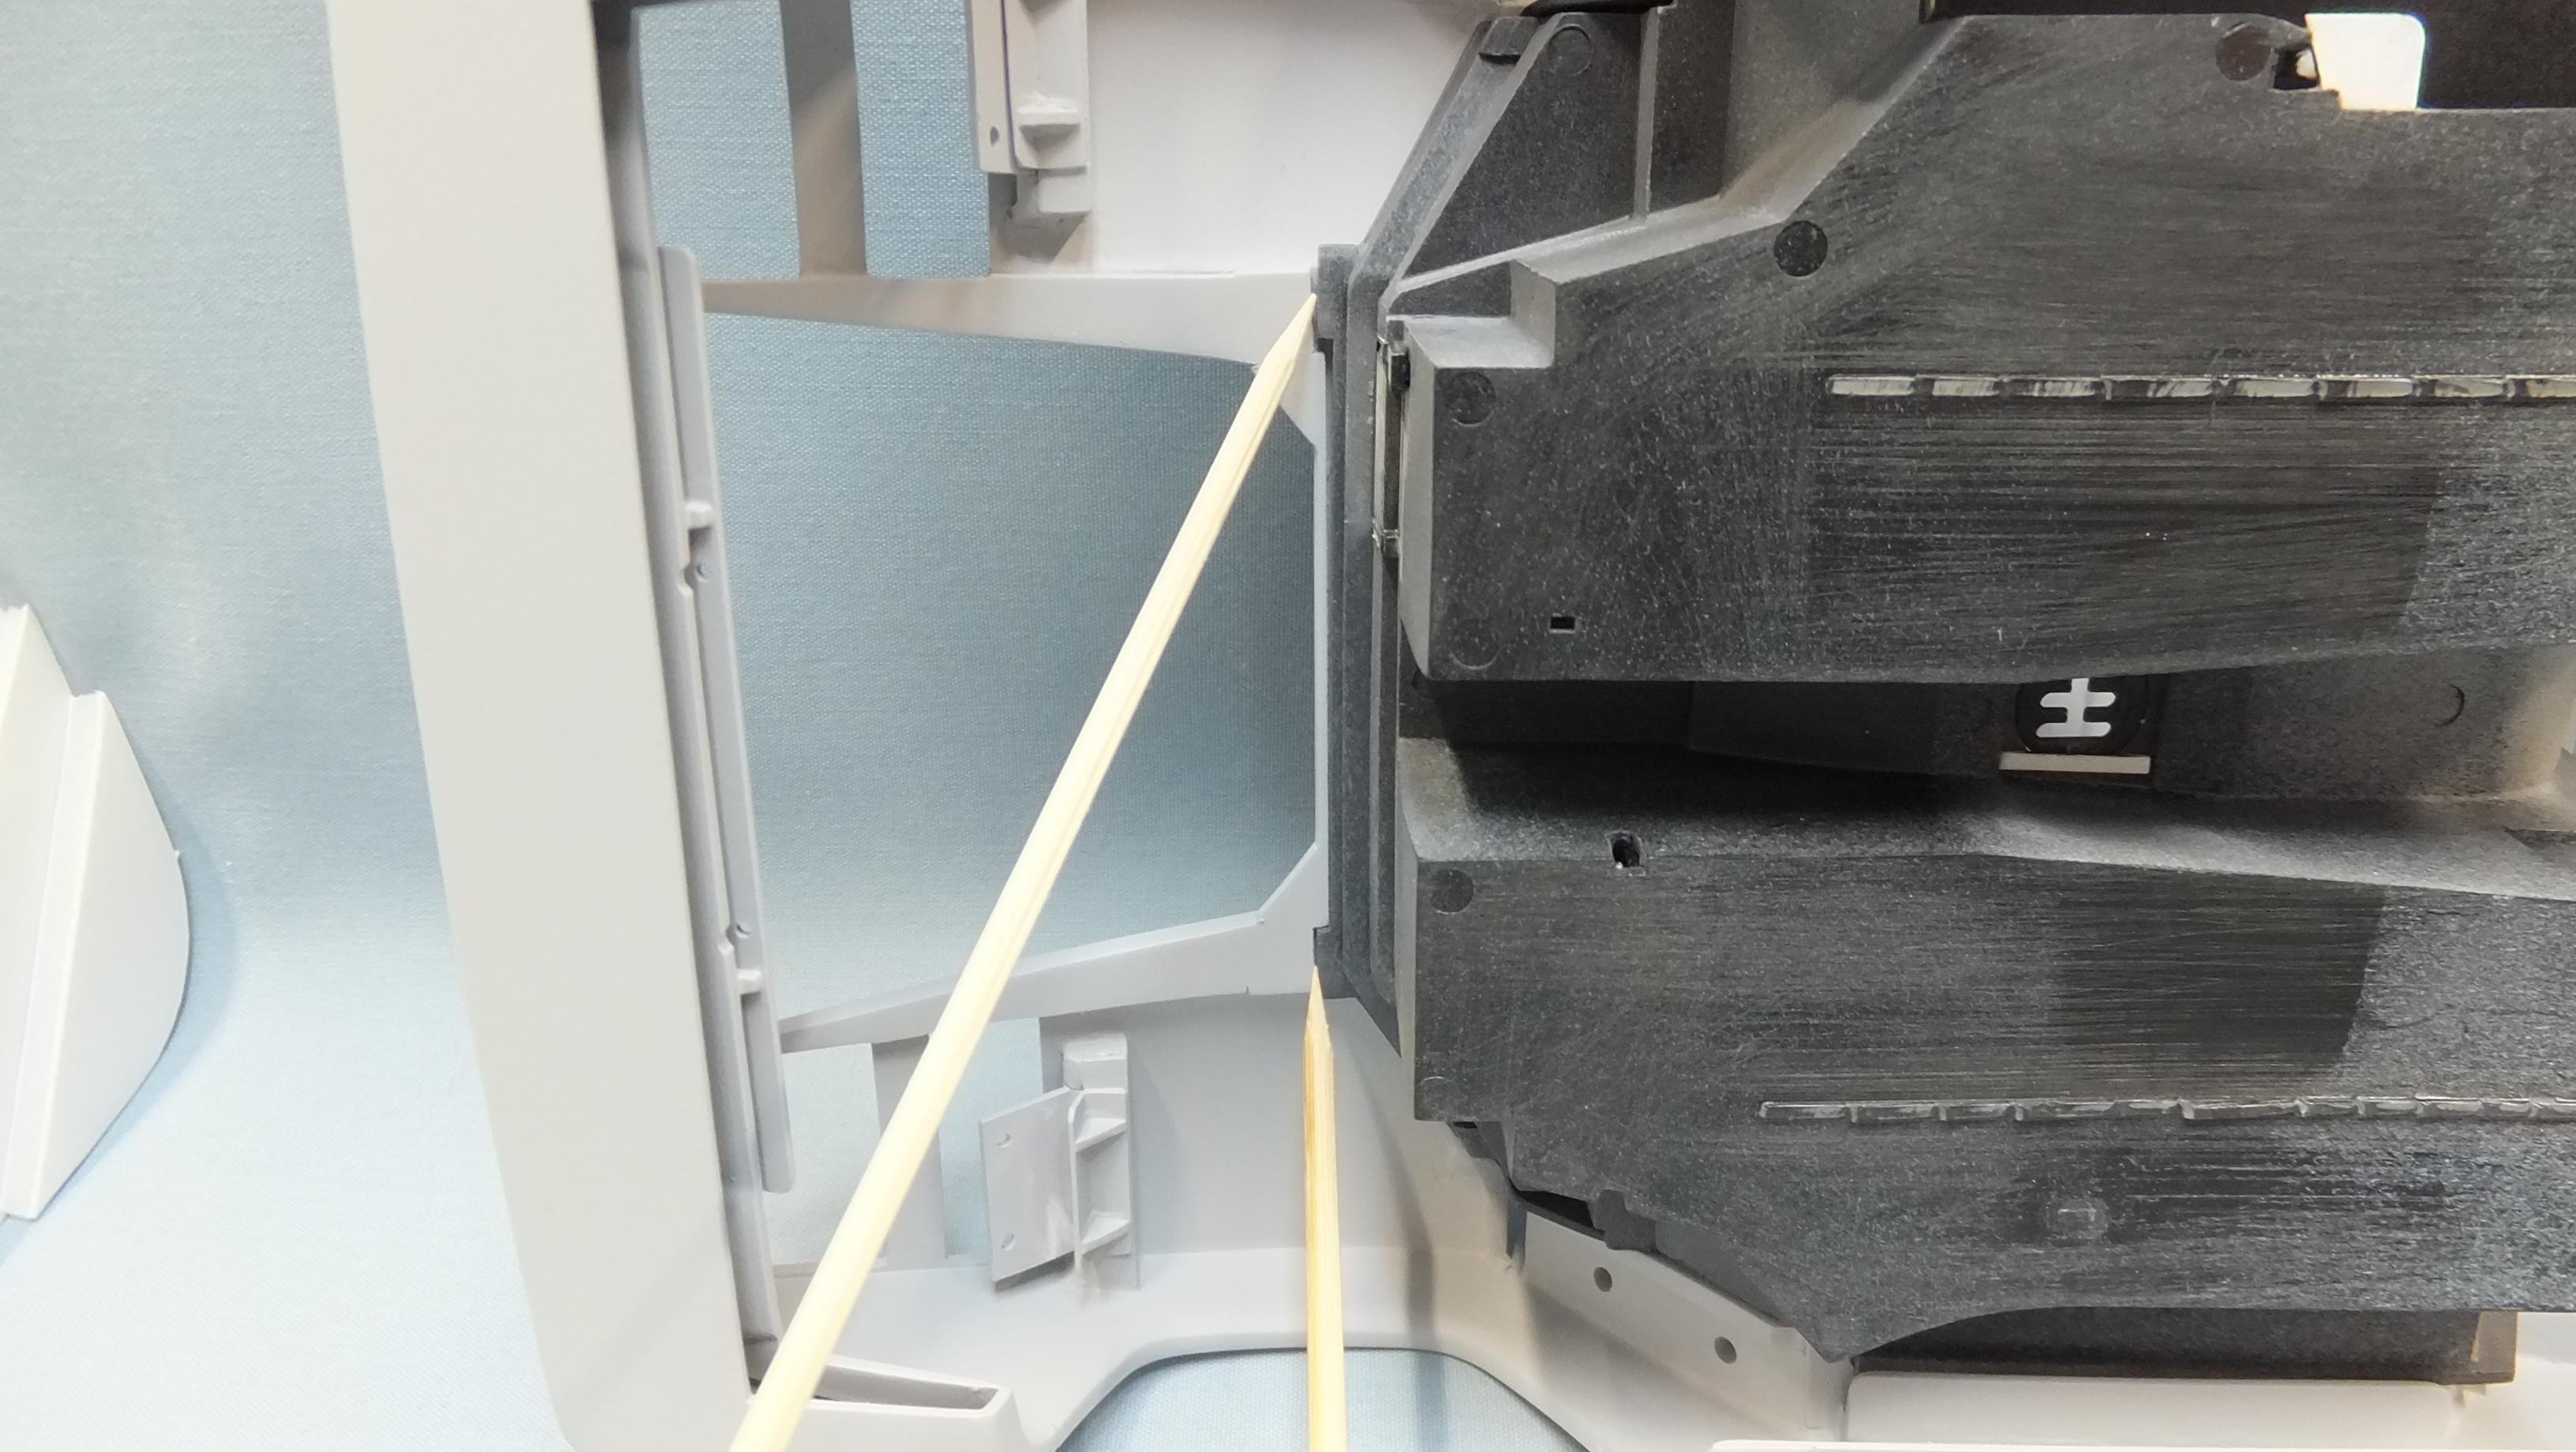
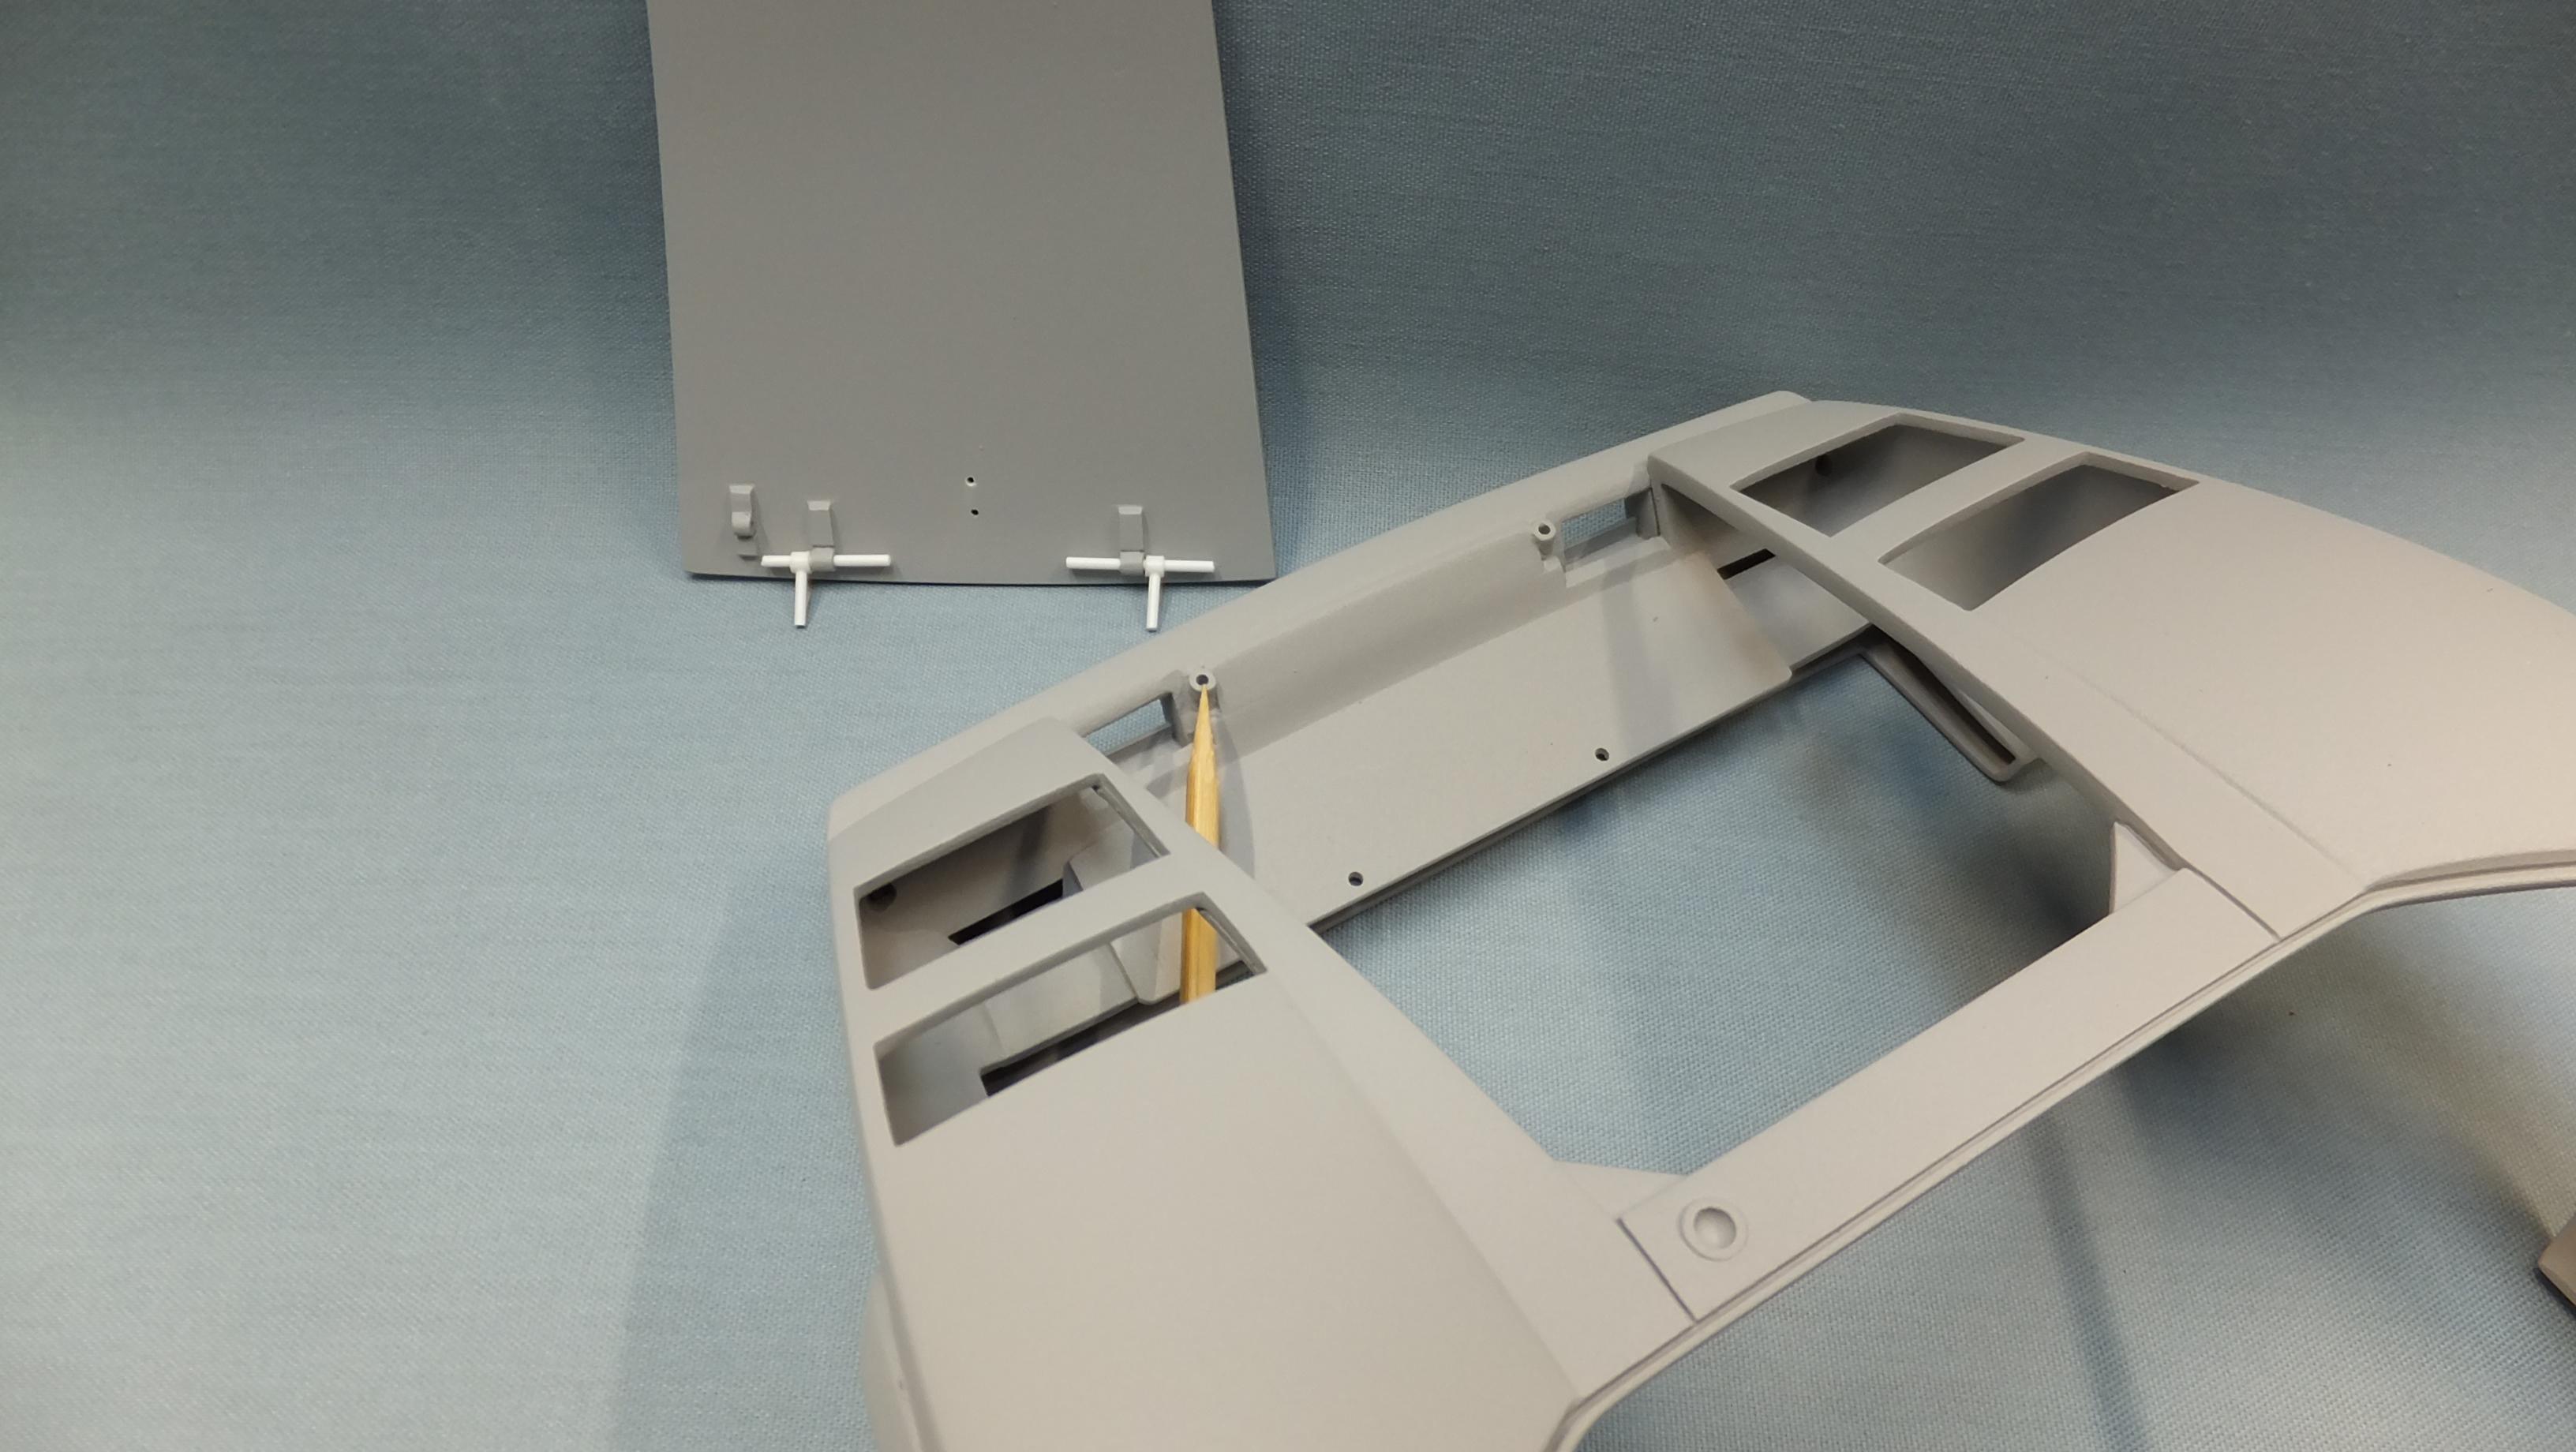
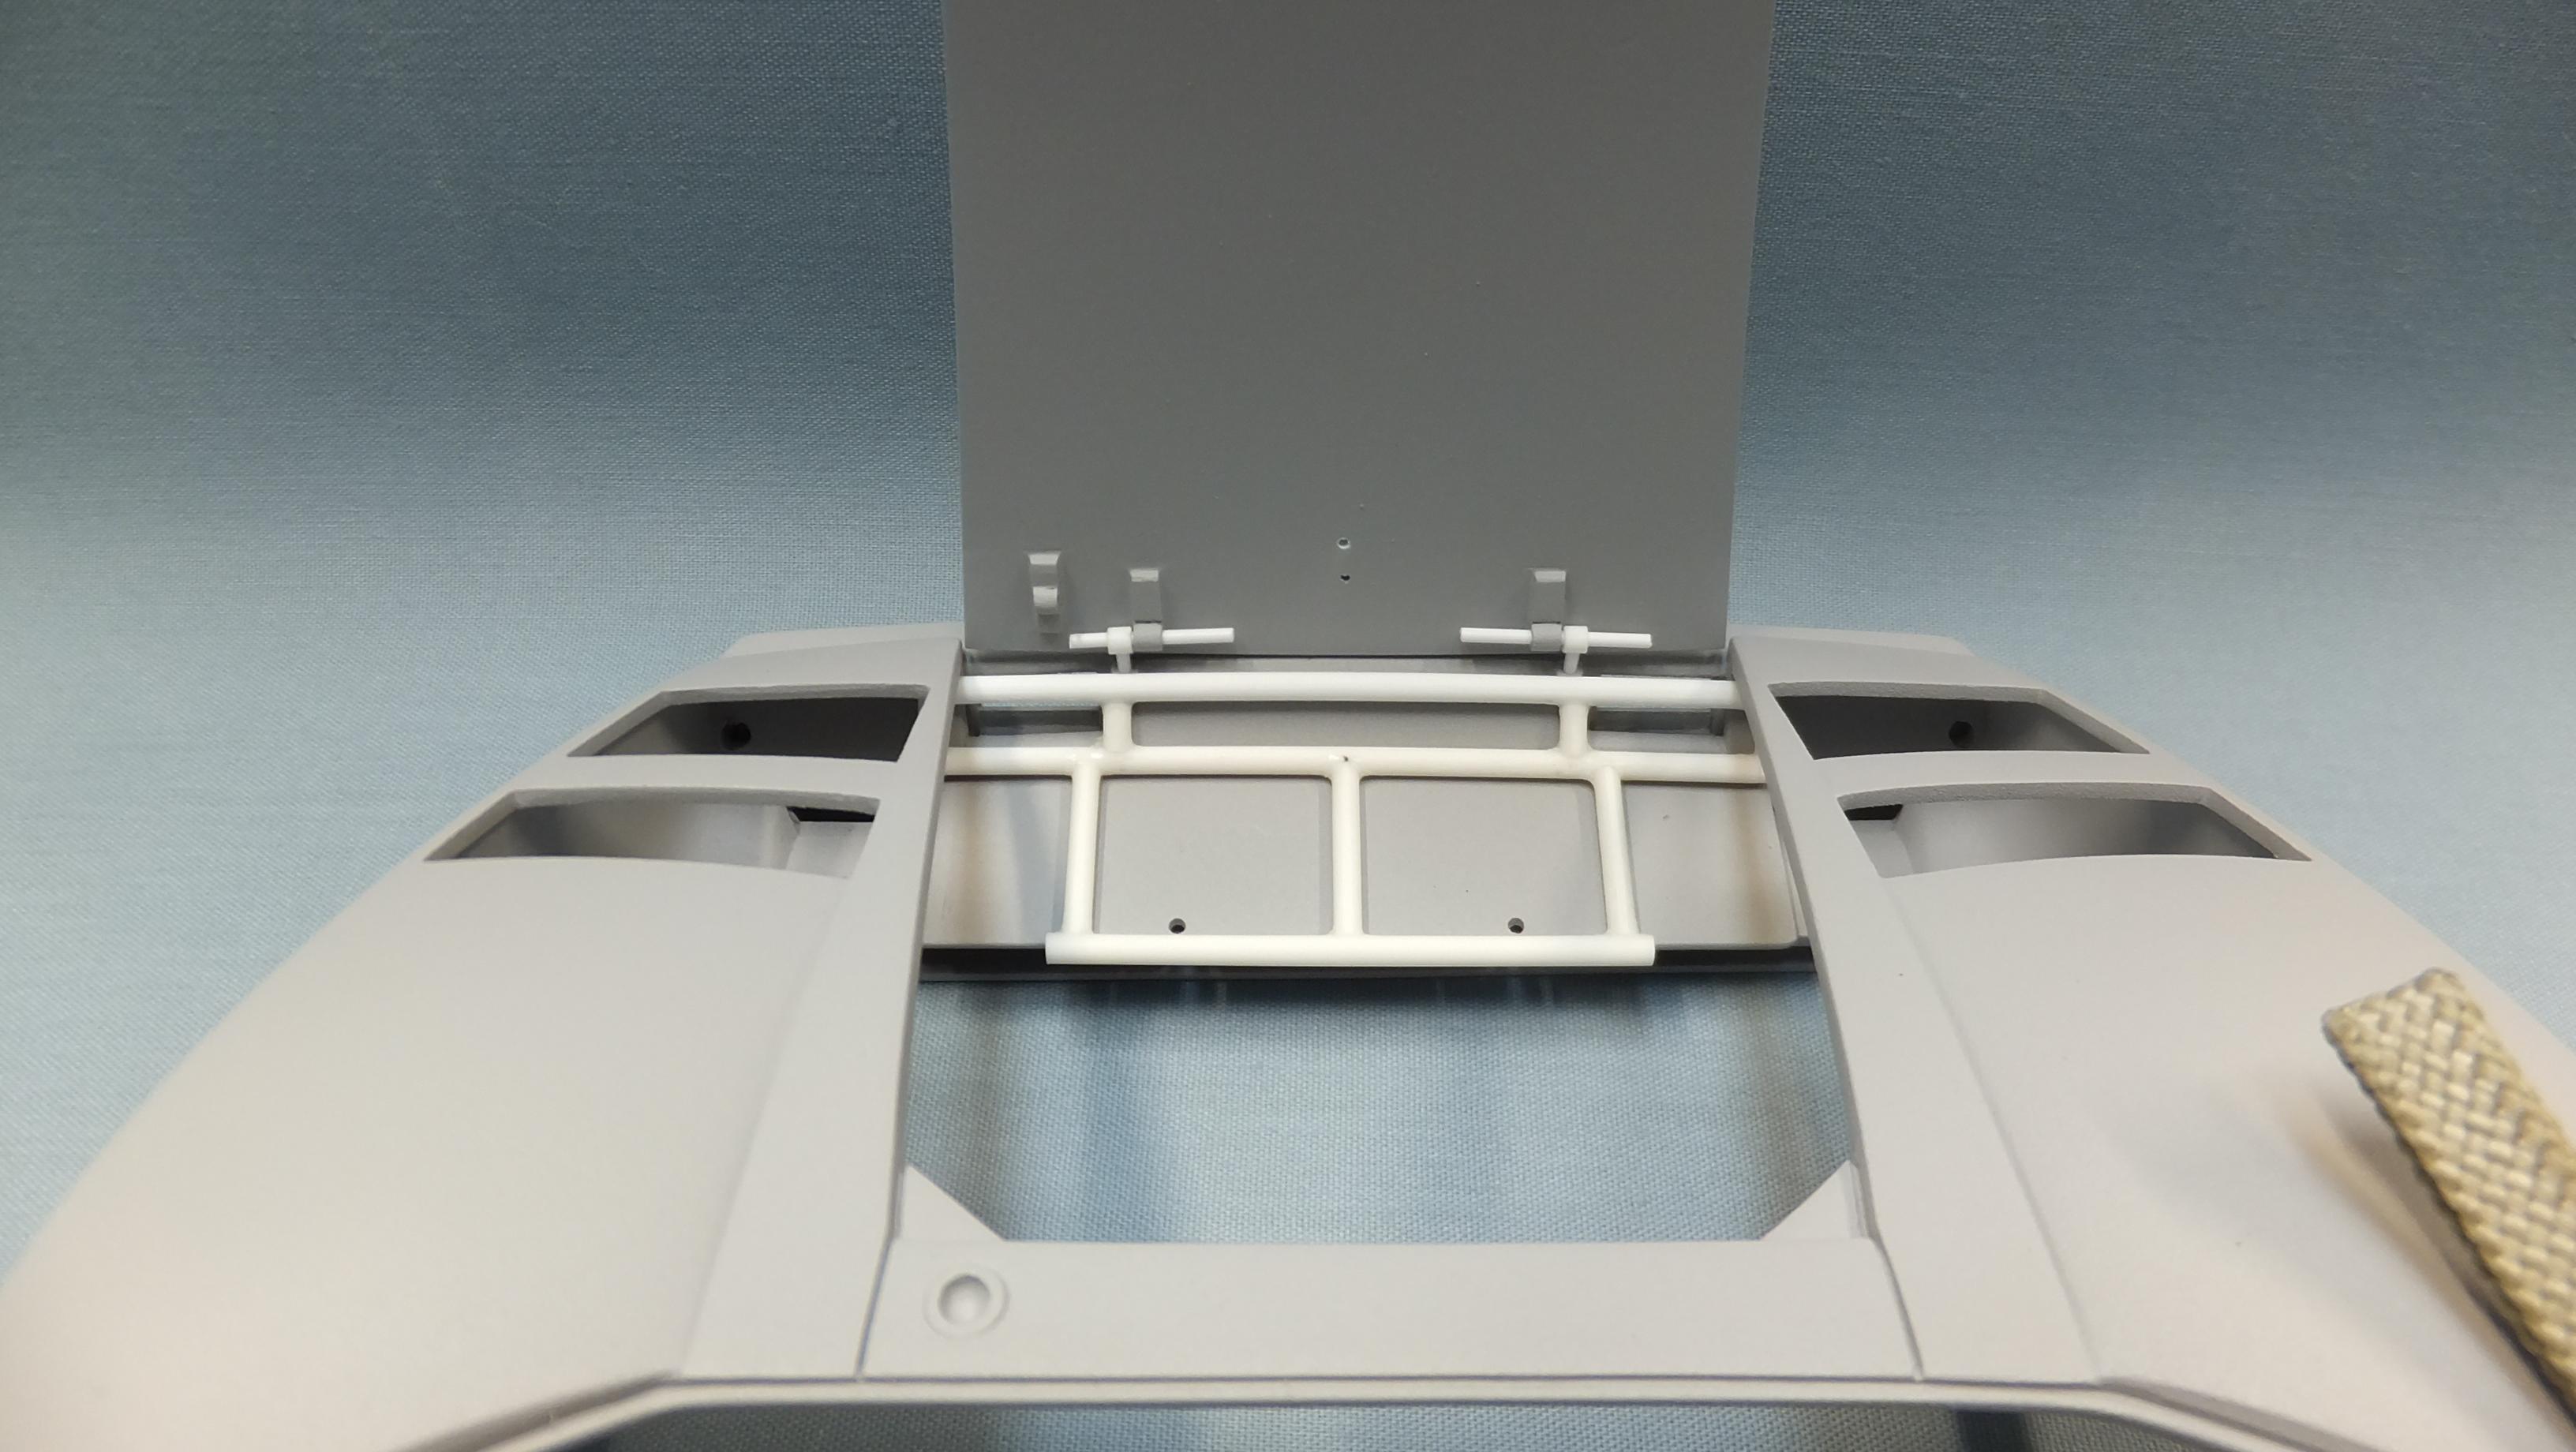
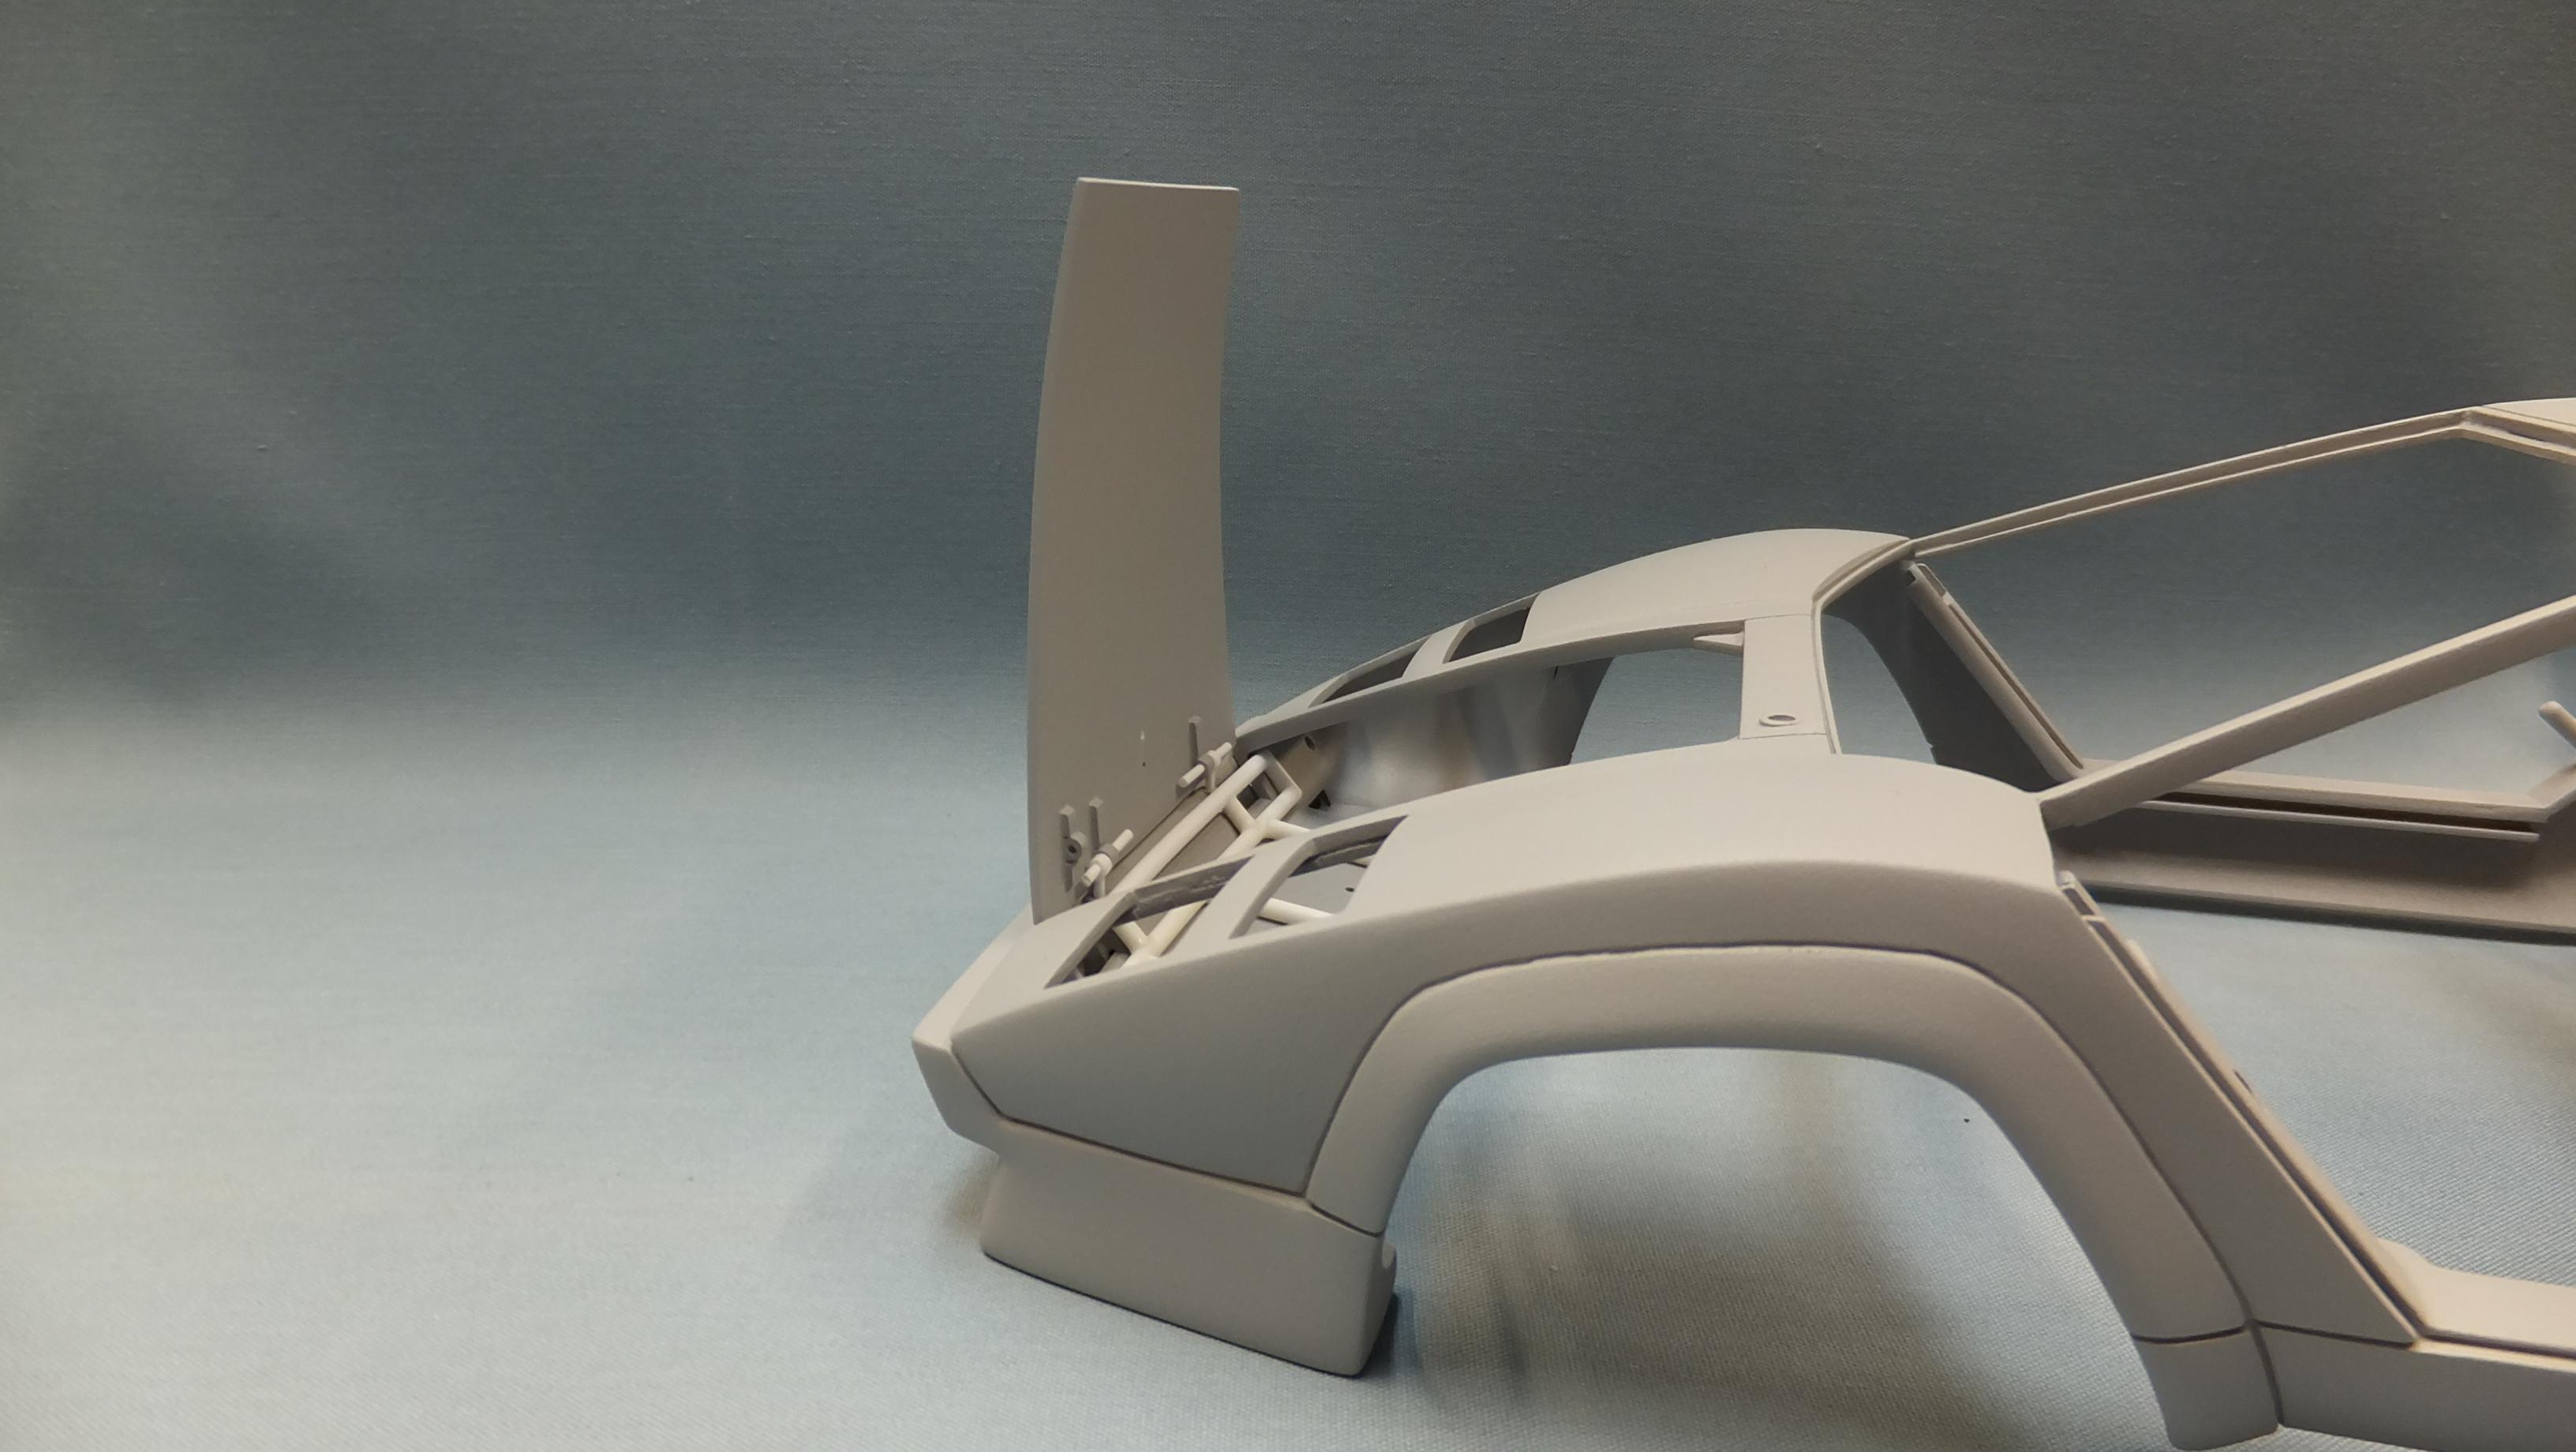
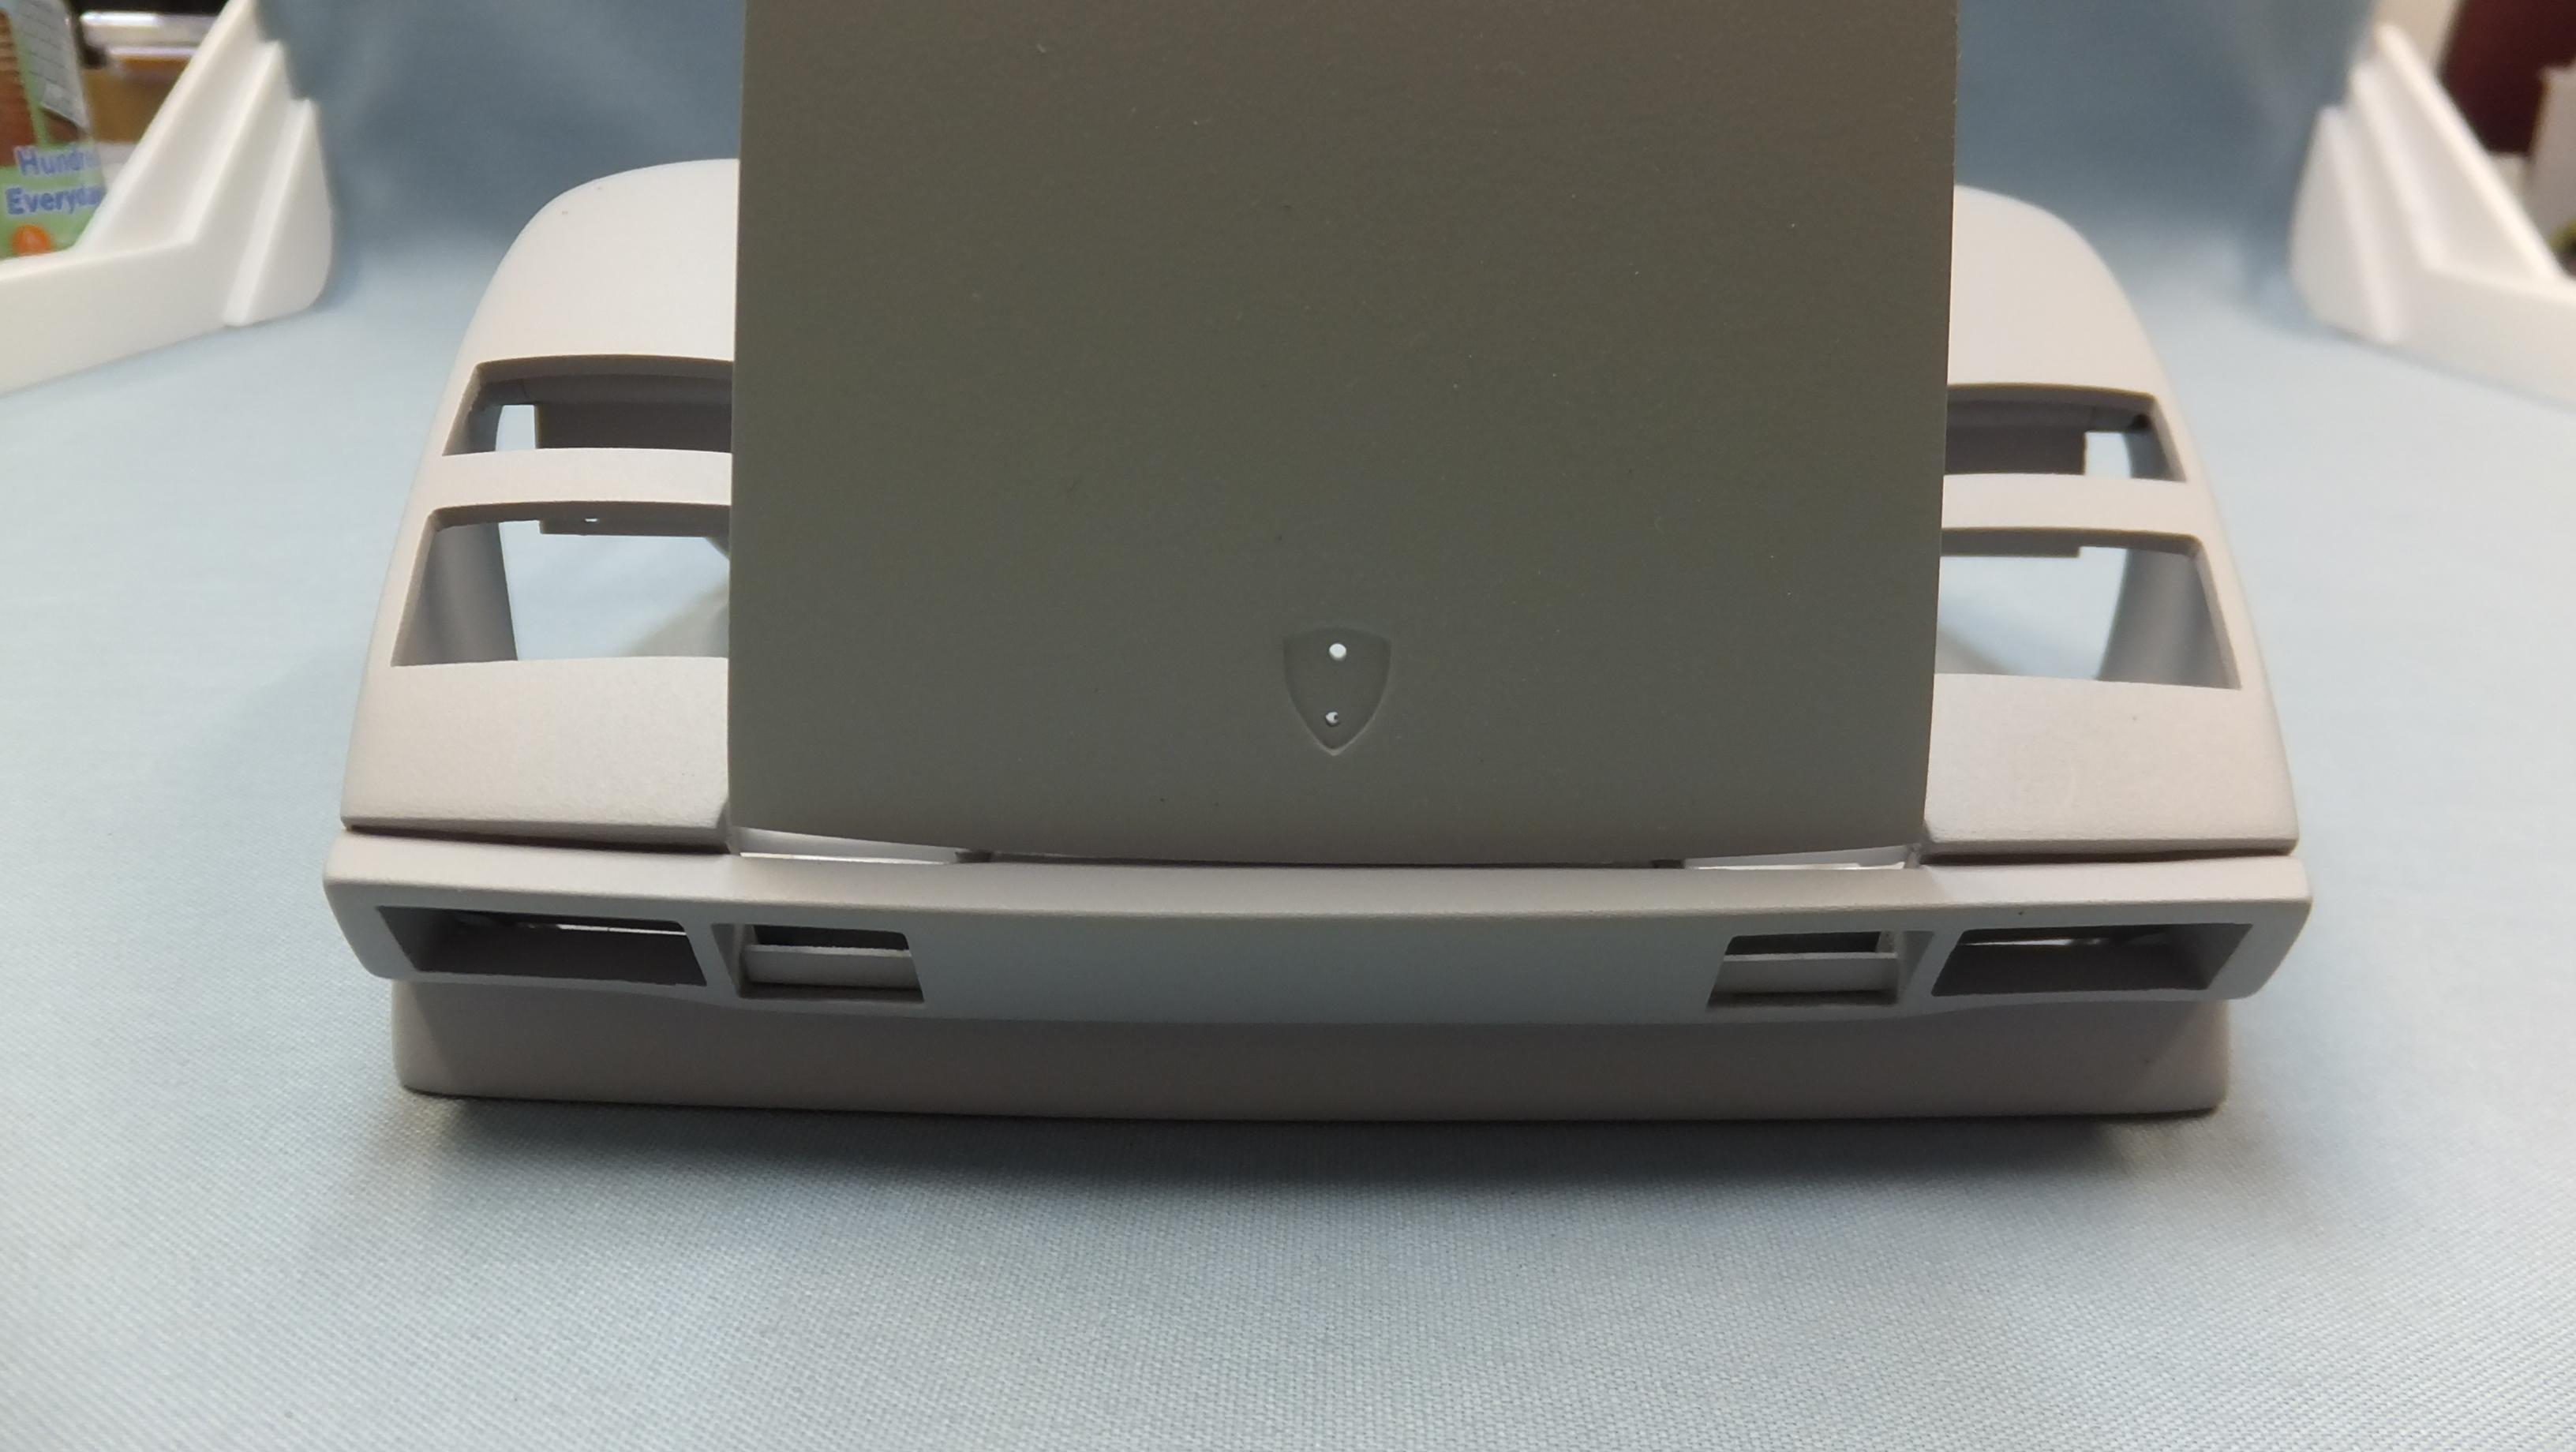
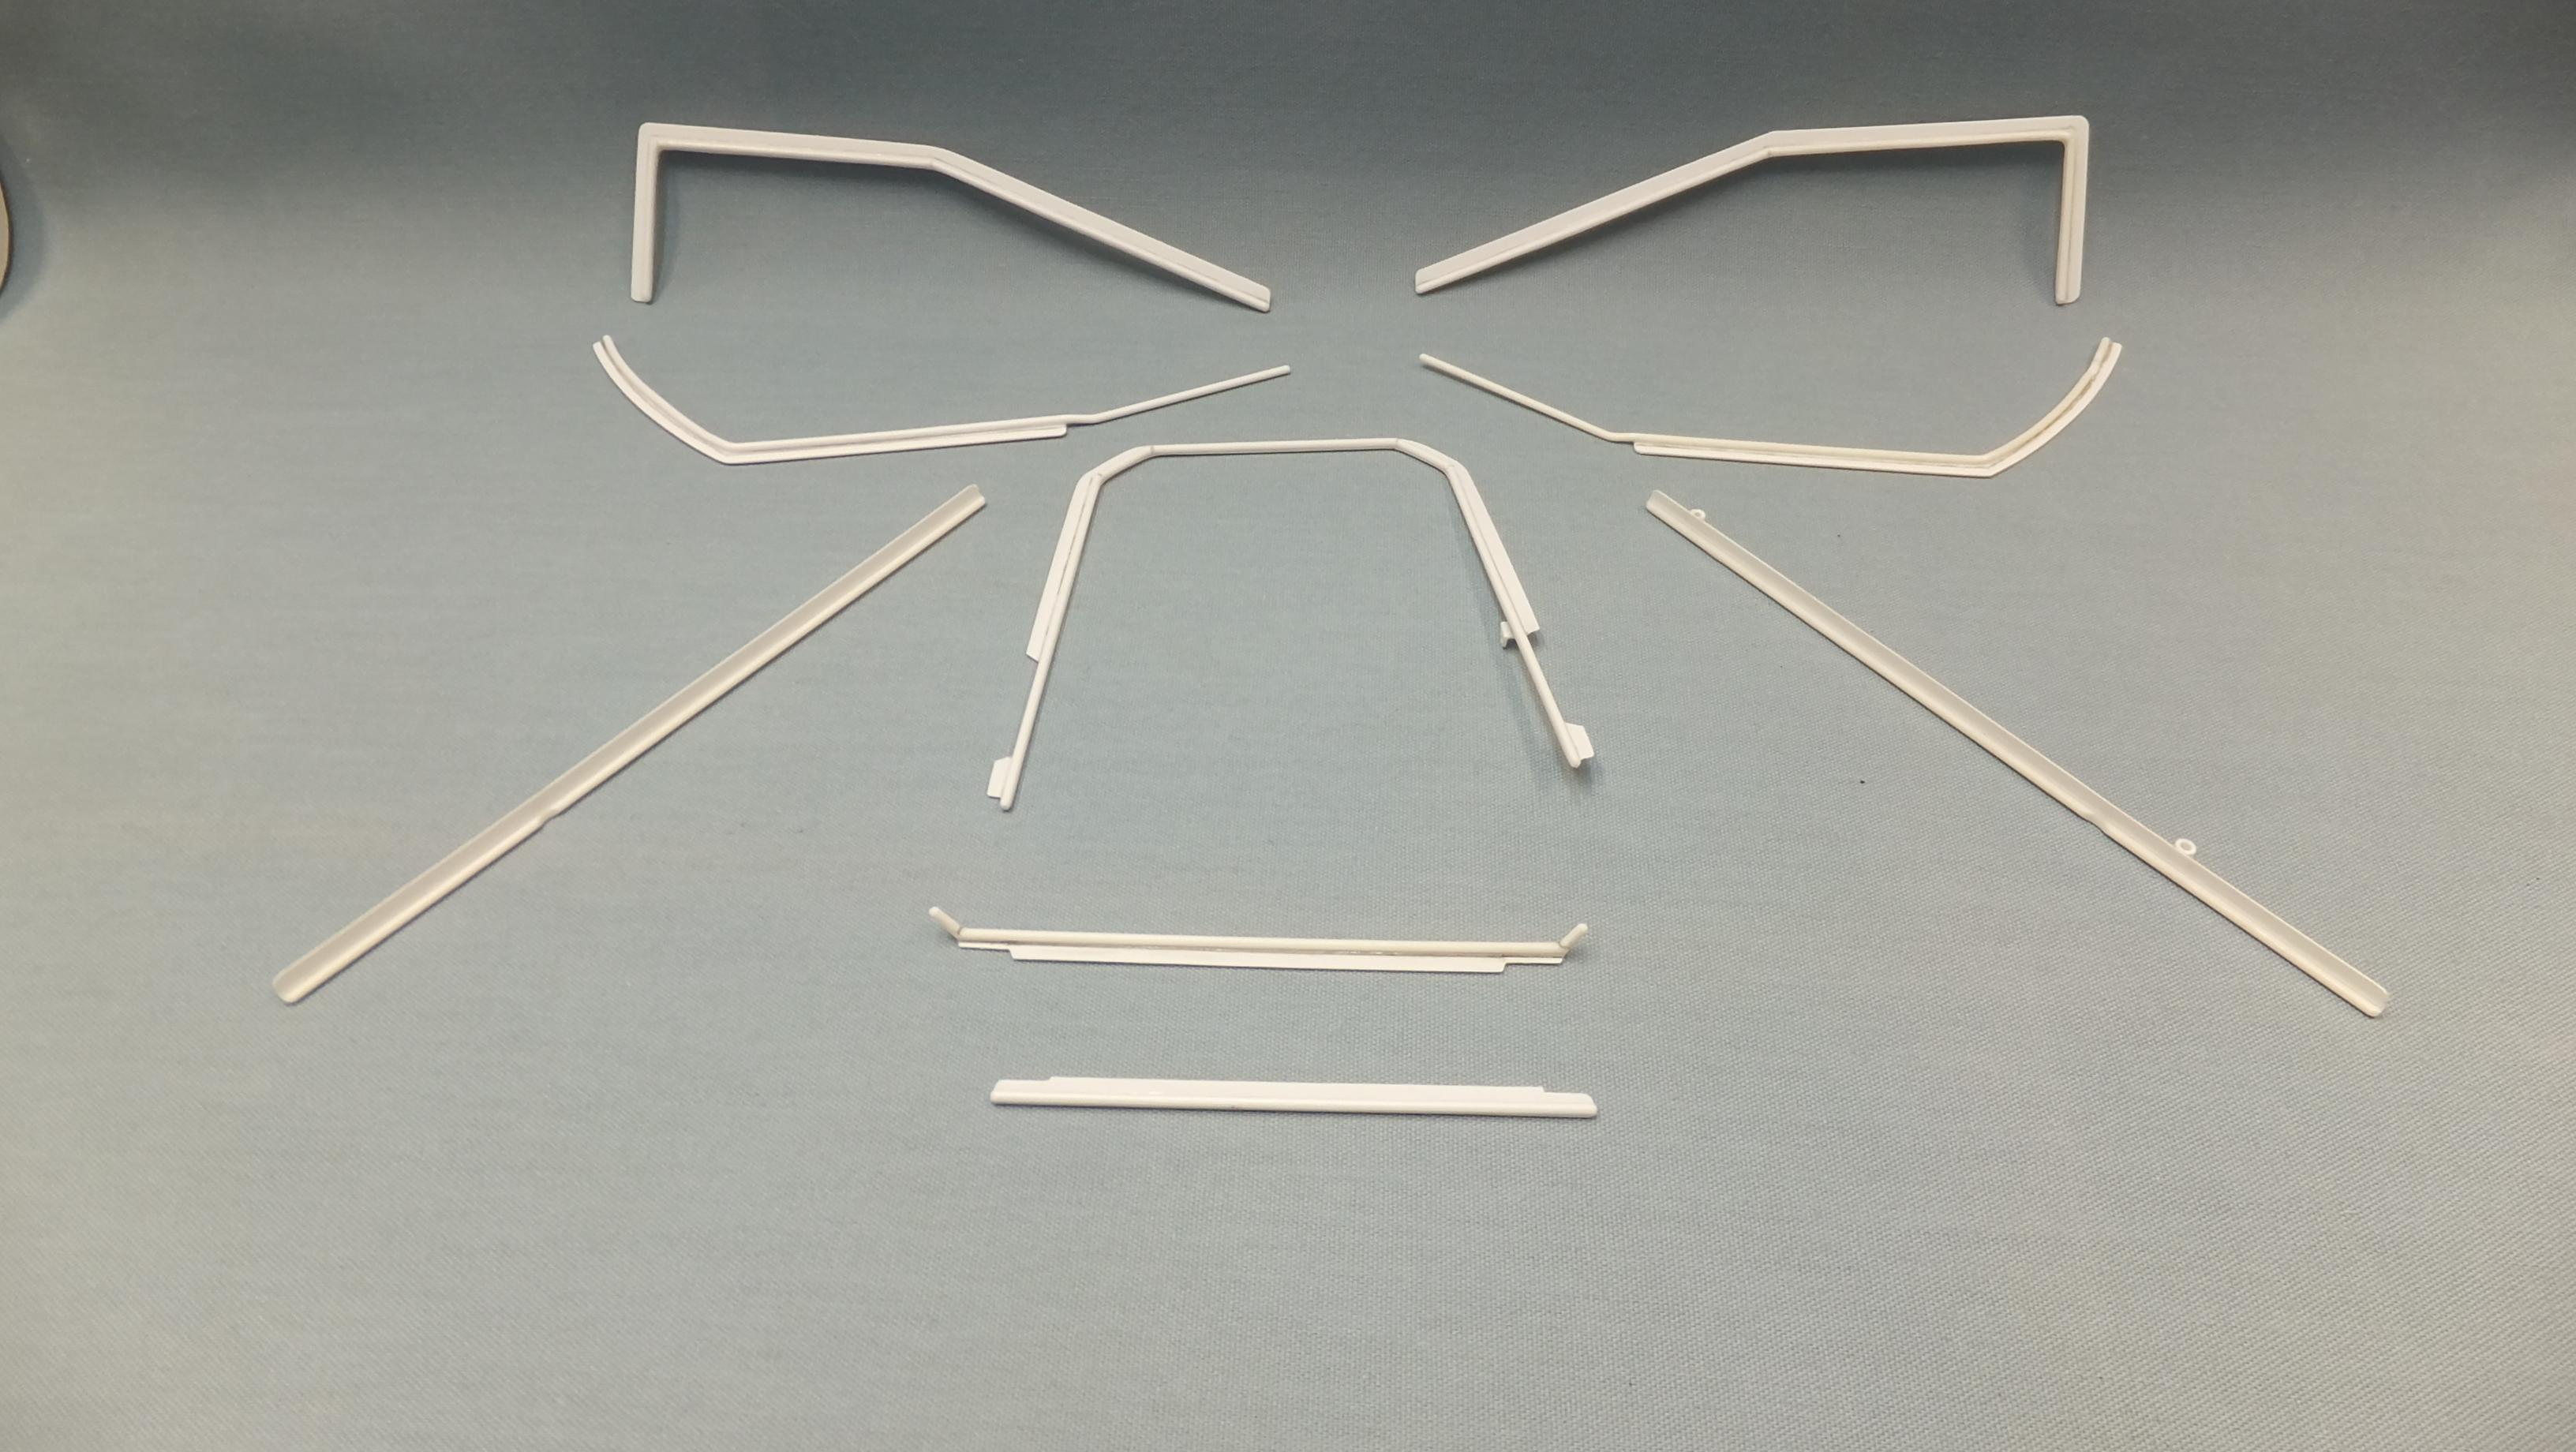
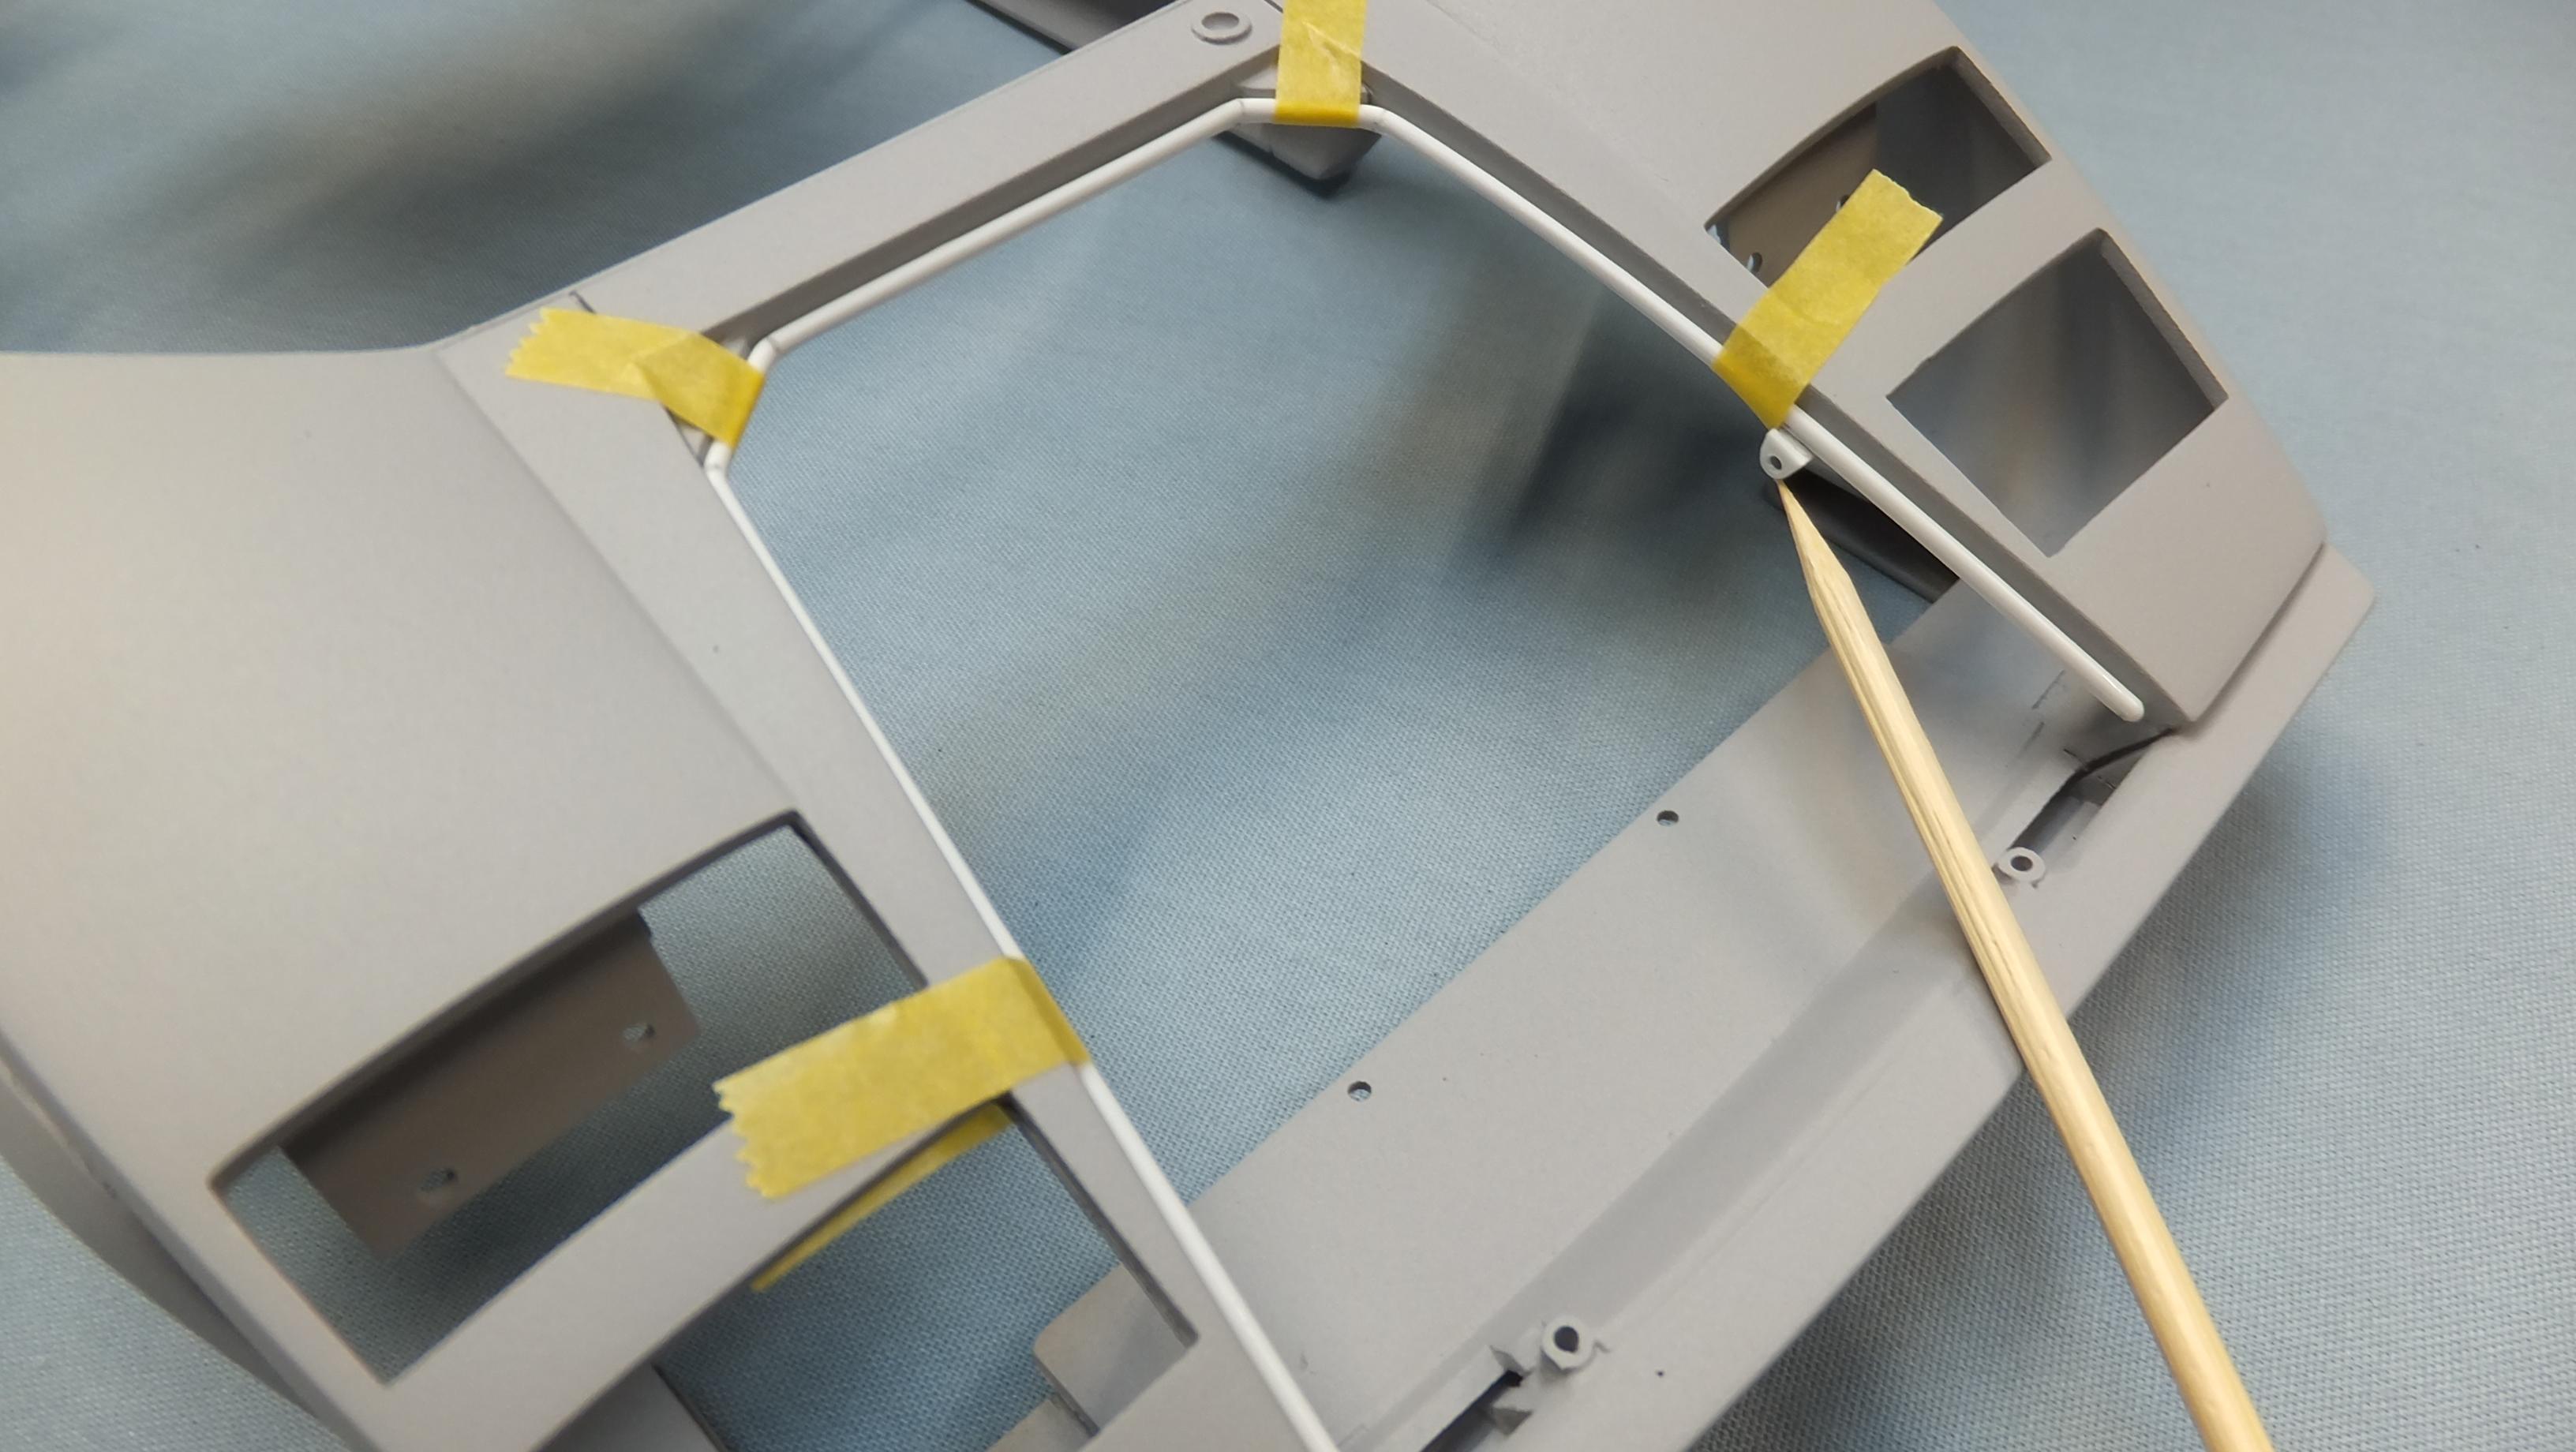
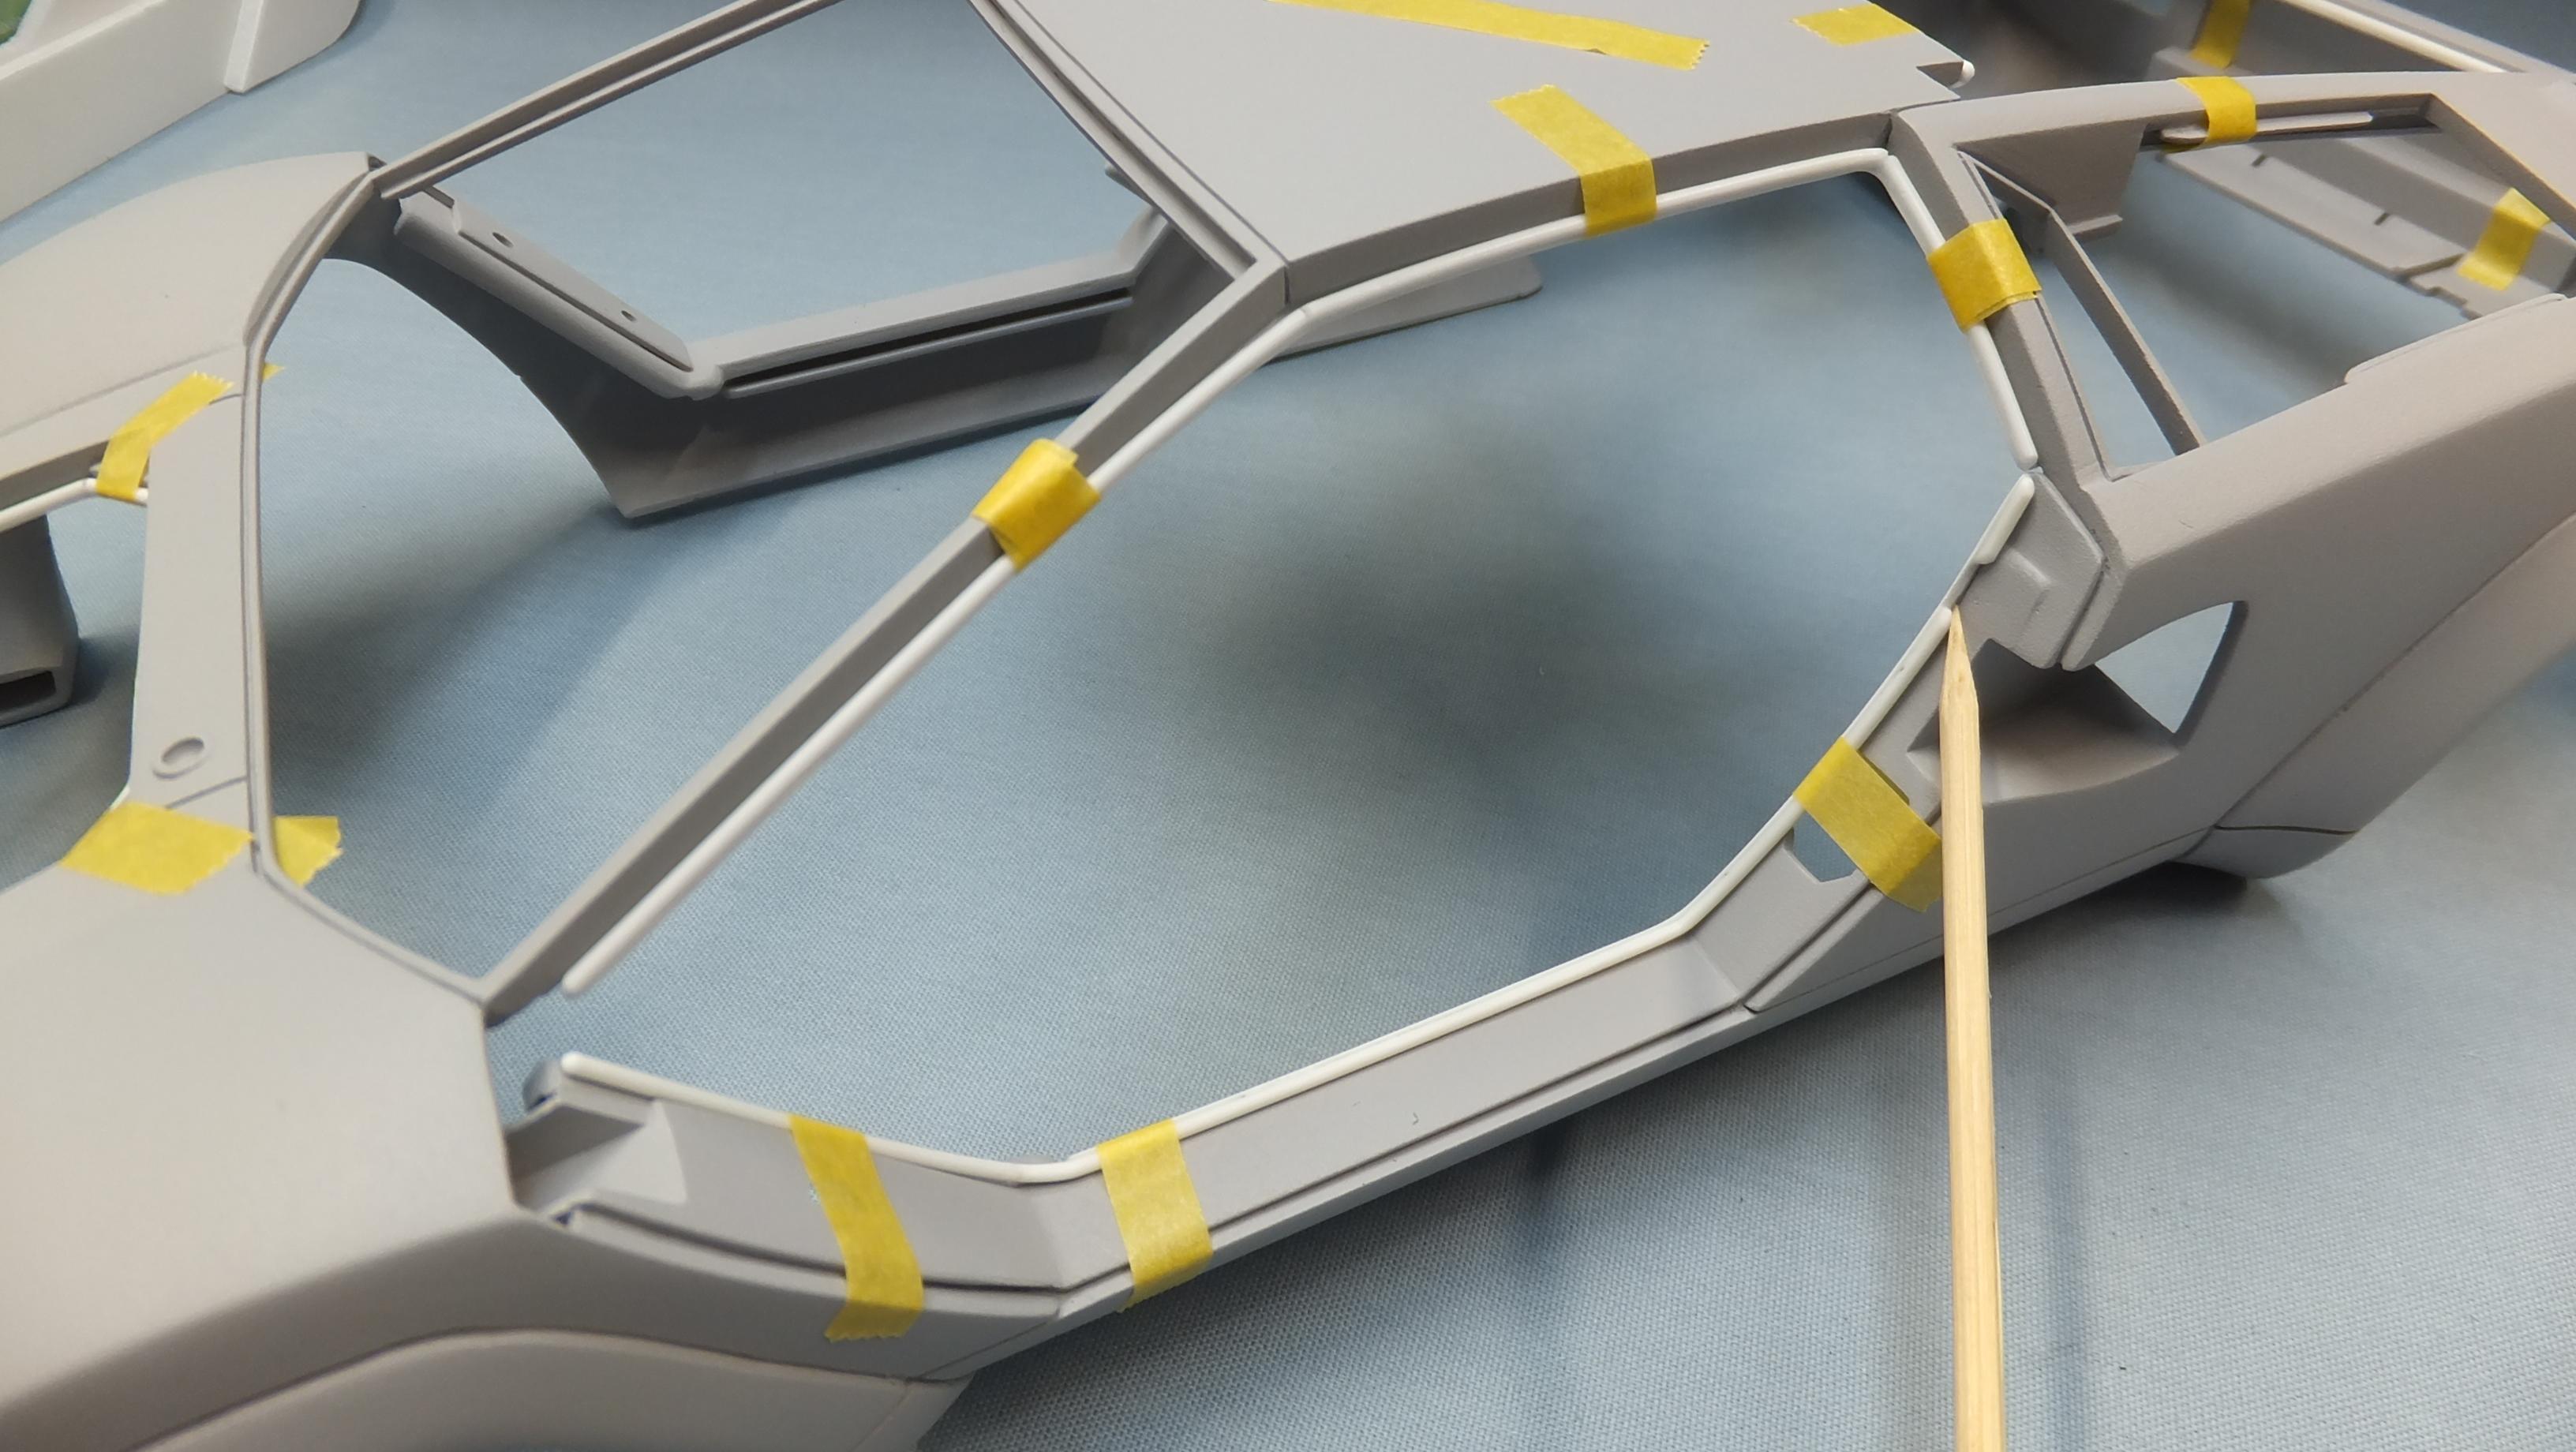
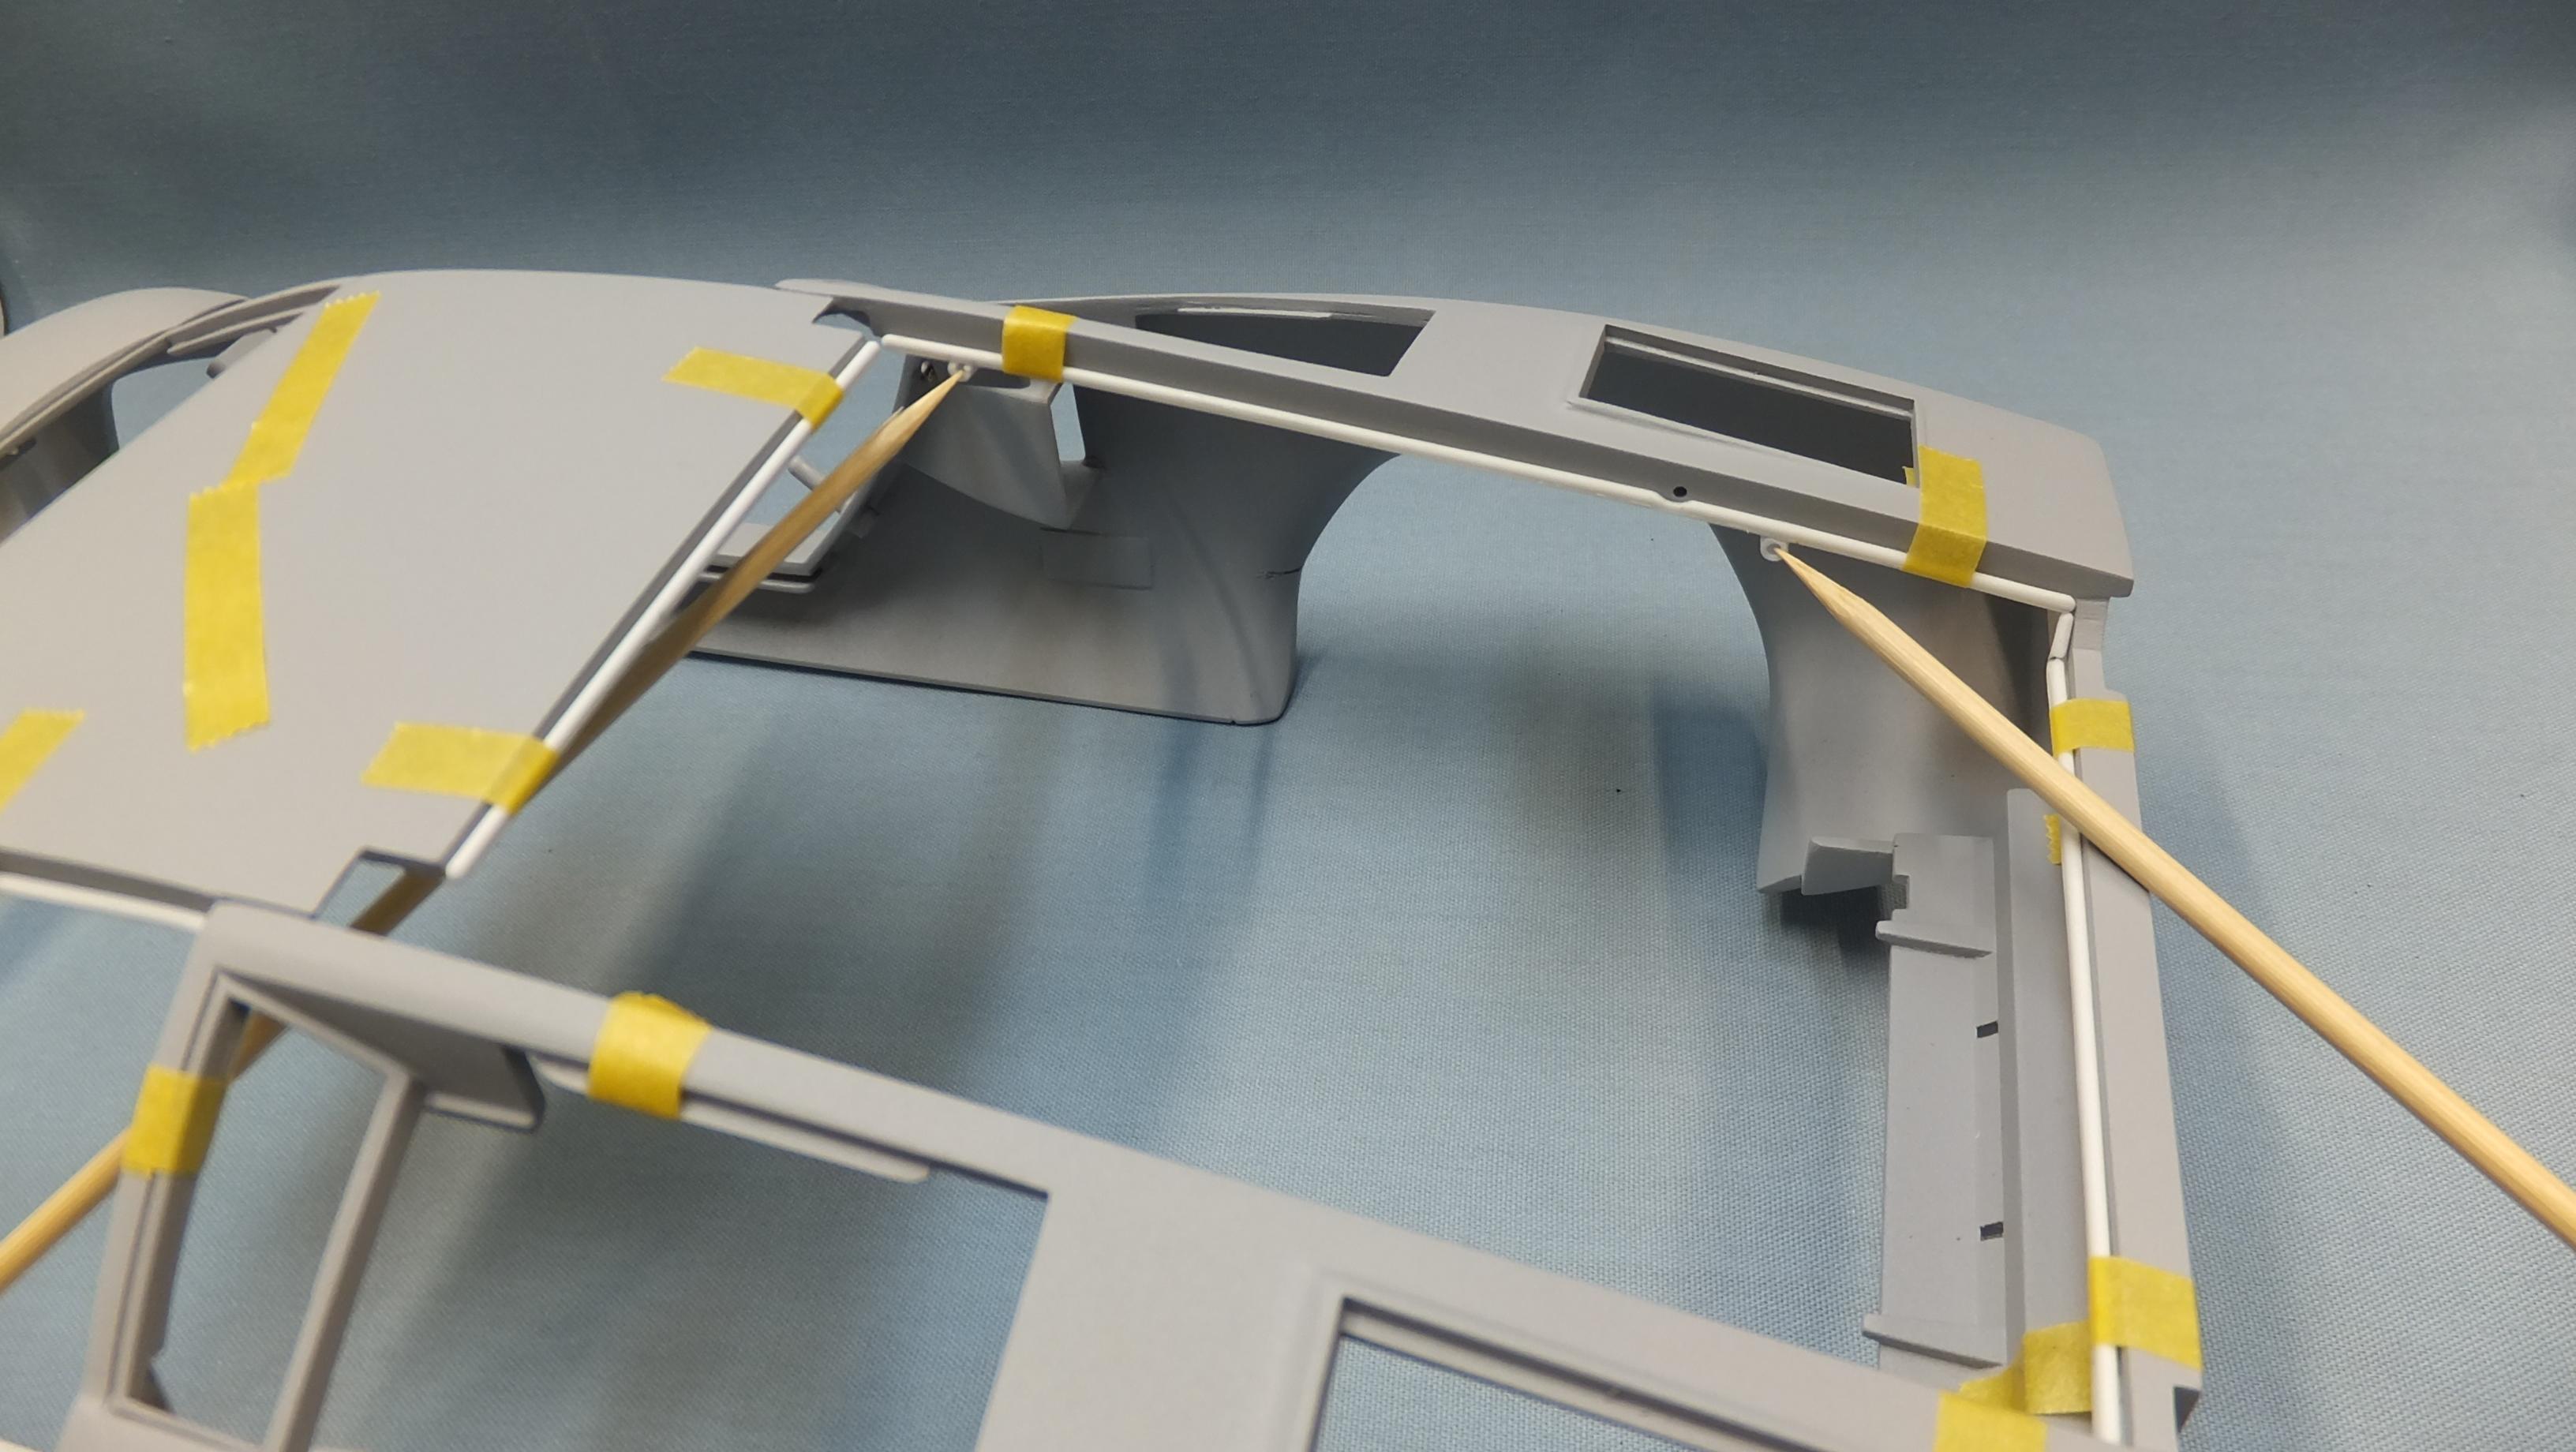
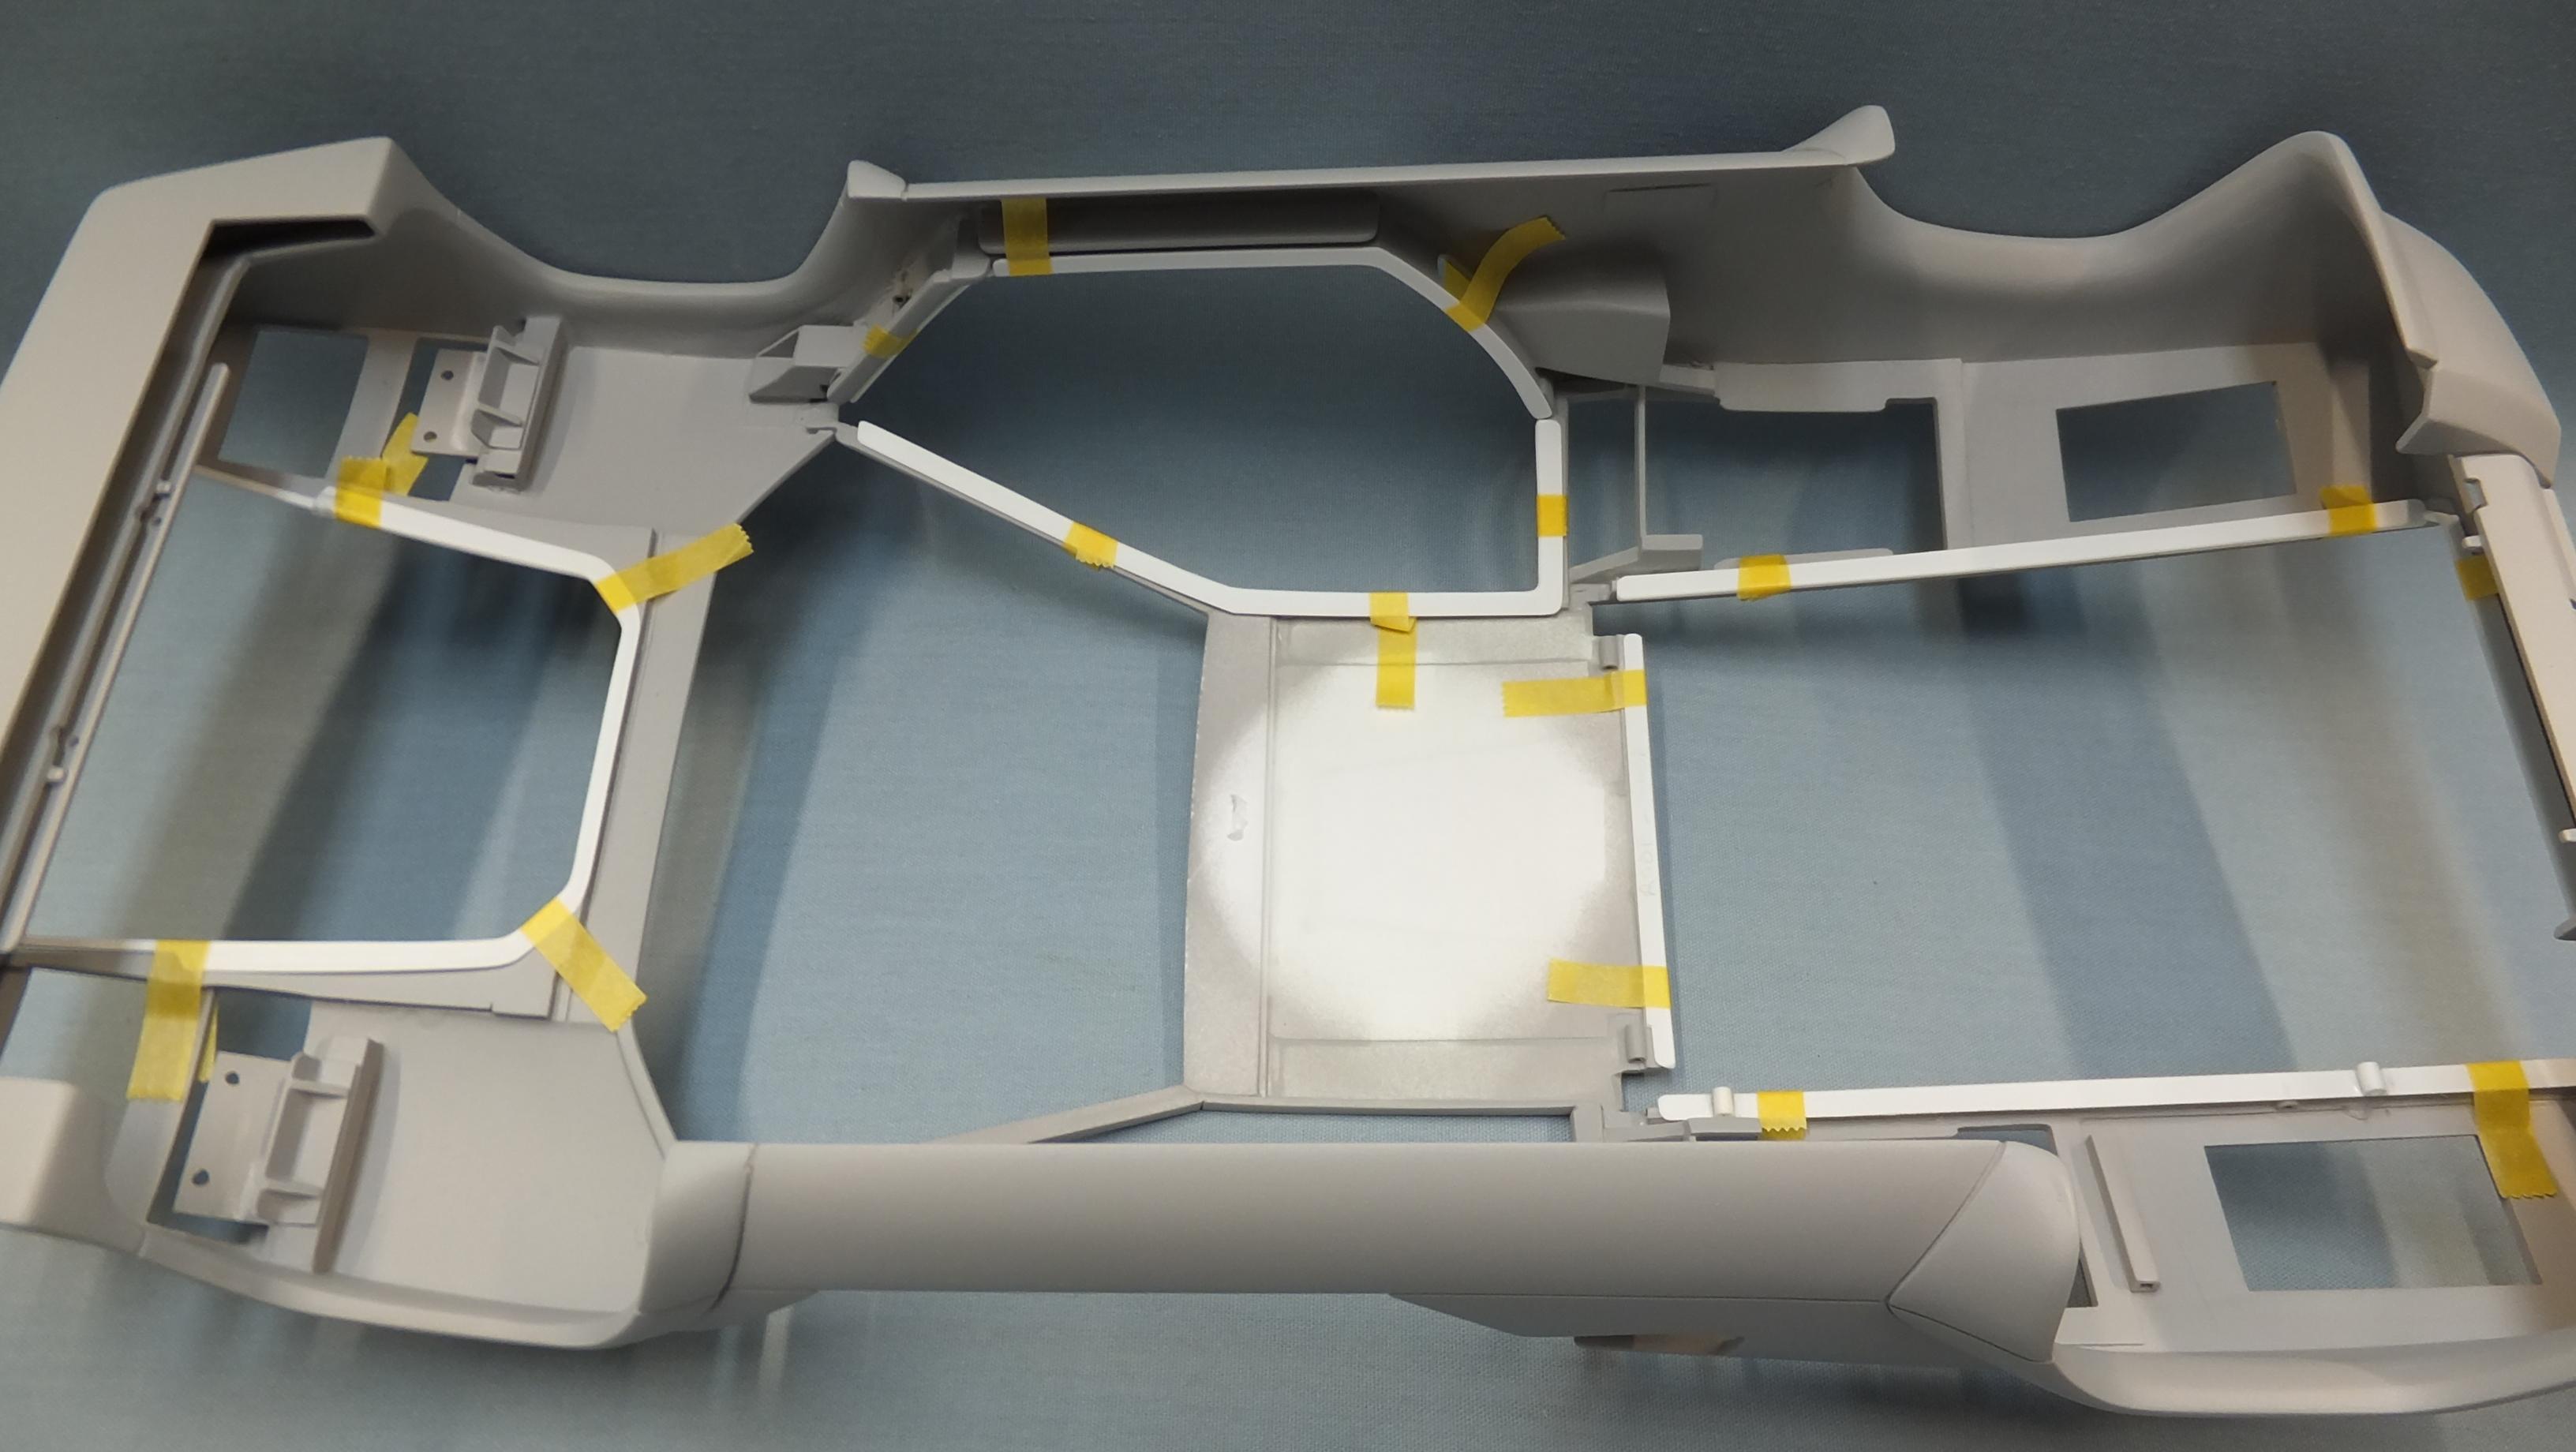
I've been waiting a while for this detail! Weather stripping made with thin sheet styrene, and rod. -Photo 2; Strut bracket attached to the bottom side. -Photo 3; This is a notch for the door catch. -Photo 4; The hood, and boot strut brackets are also attached to the bottom here. -Photo 5; This area of the weather stripping on both sides was notched out to give movement room for the boot hinges. -Photo 6; Just a view of the contact, and placement spots.
- 363 replies
-
- 4
-
-
- otaki
- lamborghini
- (and 2 more)