jaymcminn
-
Posts
1,757 -
Joined
-
Last visited
Content Type
Profiles
Forums
Events
Gallery
Everything posted by jaymcminn
-
 I learned to airbrush as a kid because the Testors spray cans were so terrible. I was a total airbrush snob until I tried my first Tamiya spray paint about 15 years ago and was blown away by how nicely it sprayed. Now I use Tamiya when I can but will still frequently airbrush when I need a specific color. For interiors, detail painting, etc. I almost always airbrush and I usually do that with Tamiya acrylics.
 -
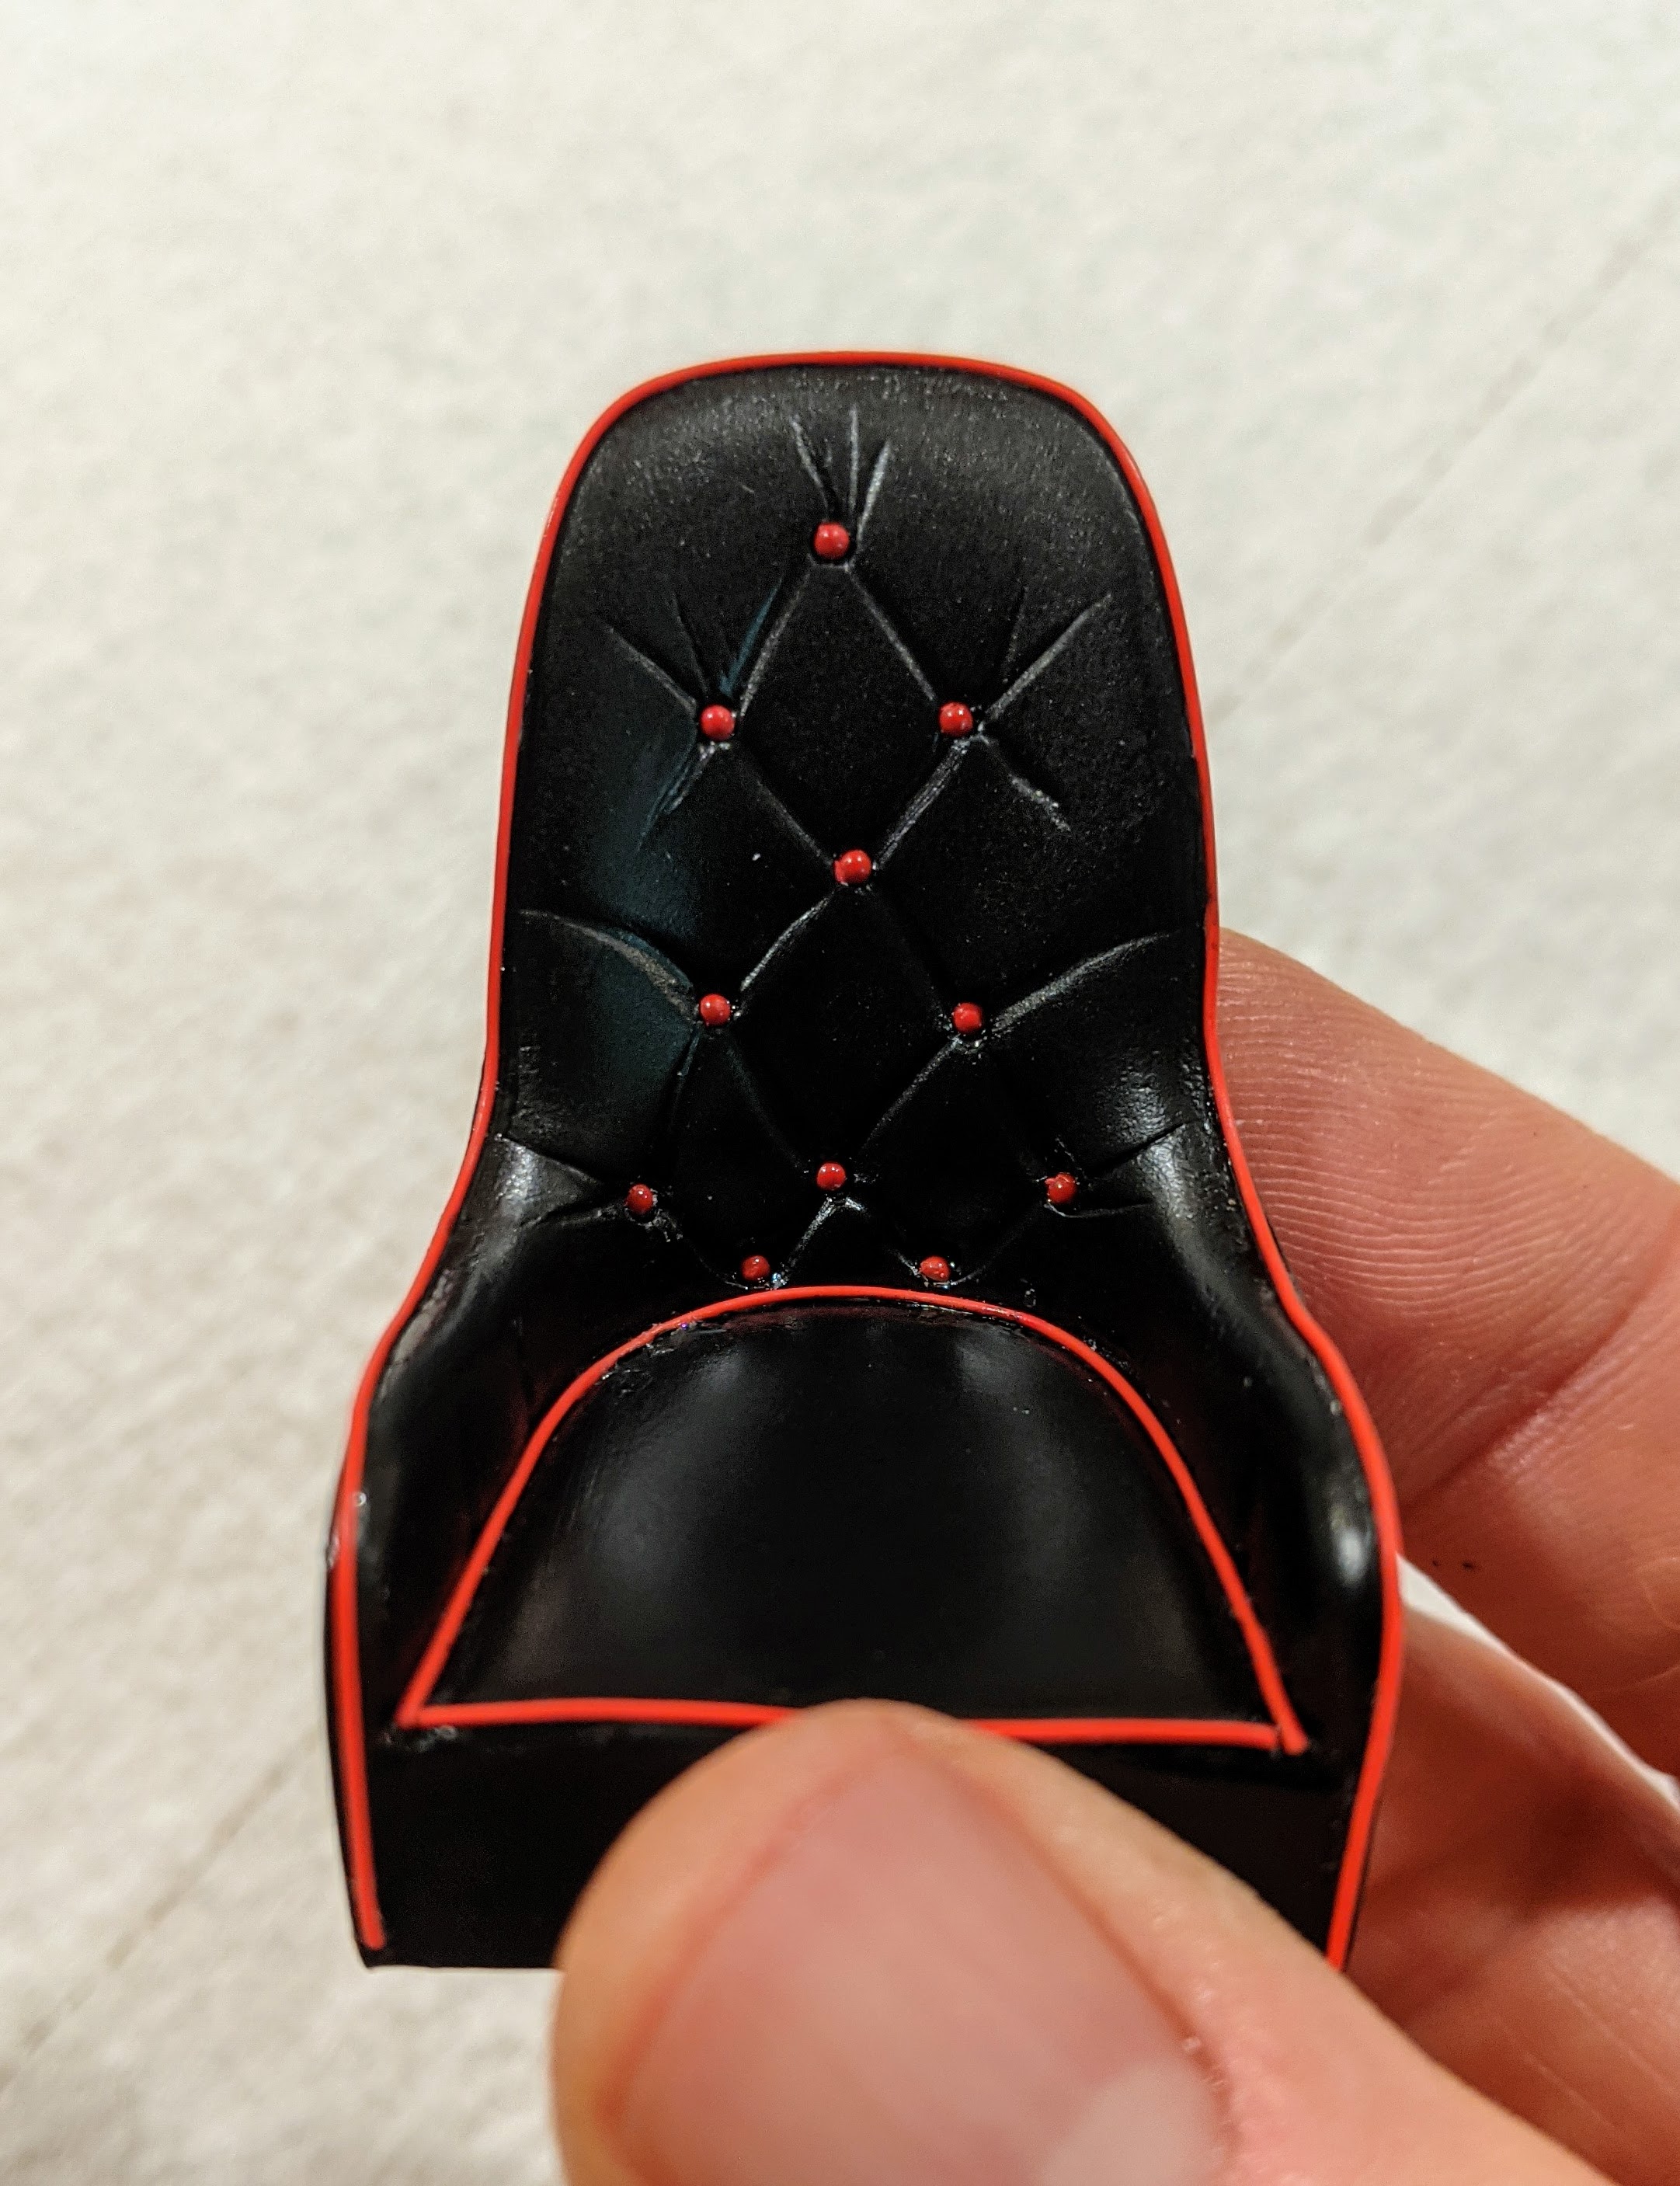
Other little details so far... the driver's seat needed some cosmetic surgery. It has a molded button-tuft pattern on the seat but nothing on the seat back when it should be the opposite. I filled the seat with Tamiya putty and sculpted the pattern on the seatback with pin vise, files and sanding sticks. The buttons are .050 rivets and the piping is wrapping wire. Speaking of wrapping... the 1:1, like many racing cars of the day, had its leaf springs wrapped in cord for protection. I used cotton quilting thread for my wrapping (I used white because it's what I had lying around). I then painted the thread with thinned Tamiya deck tan and applied a thin dark grey wash. I think the results are pretty decent. Total time for all four springs was about 5 hours. Tedious? Yes. Worth it? Oh yeah.

-
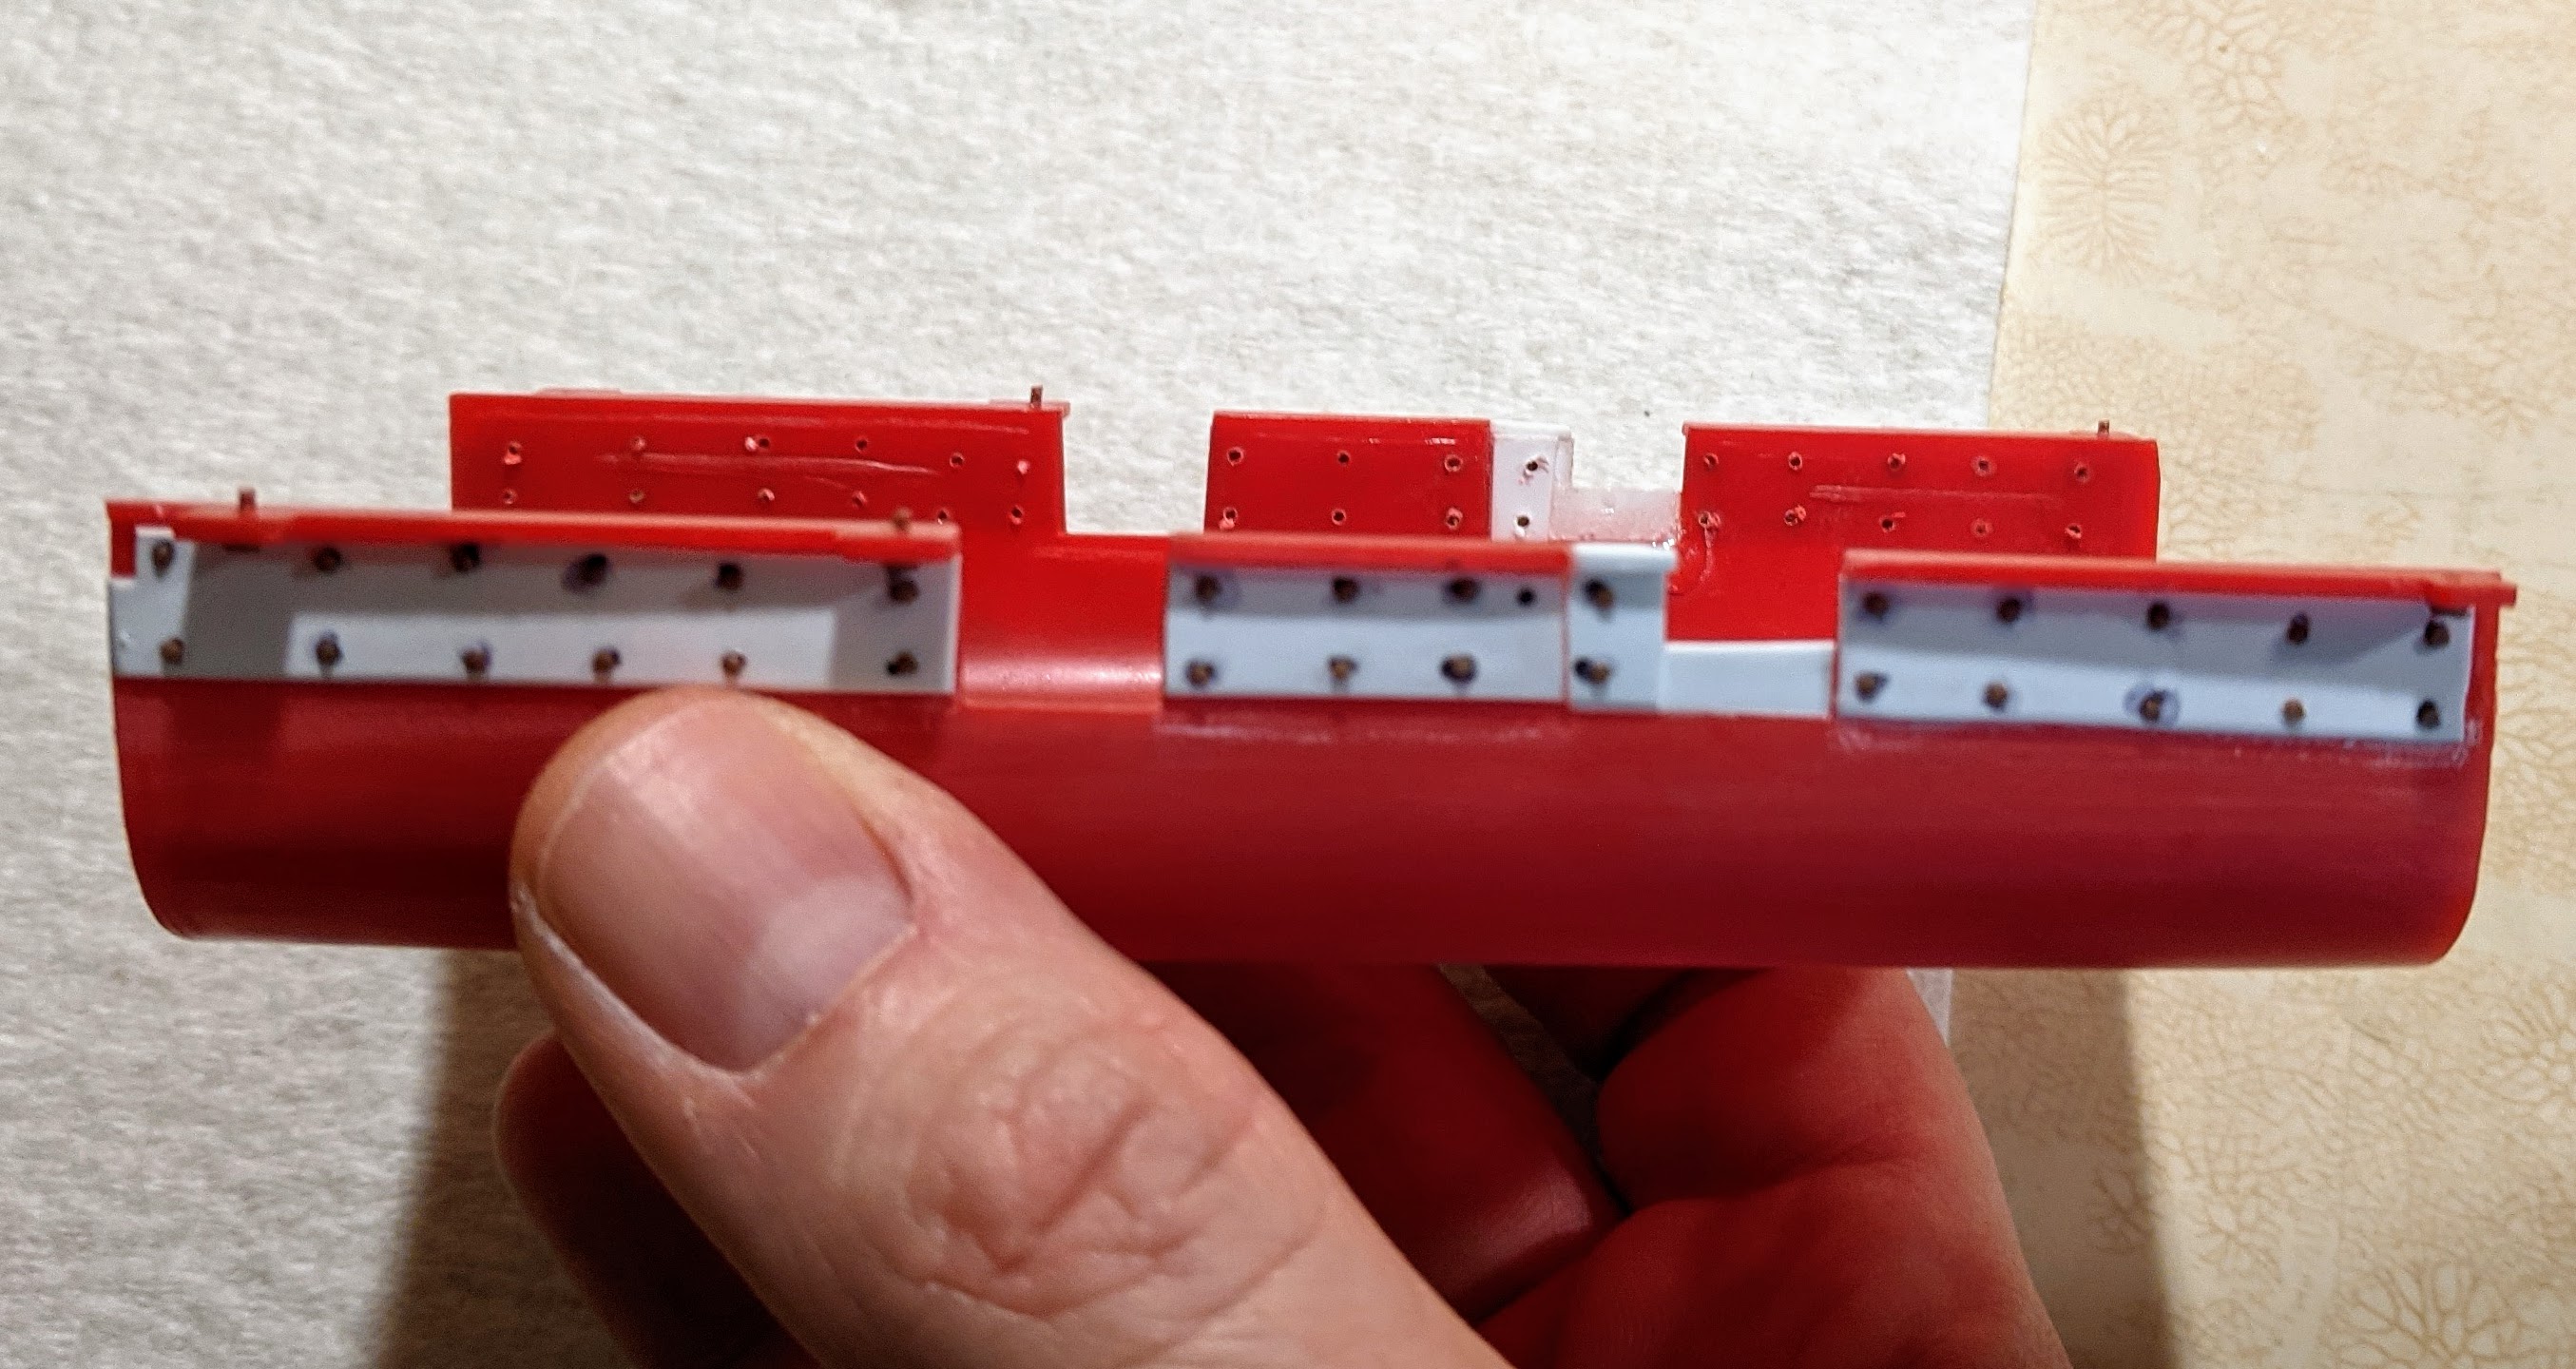
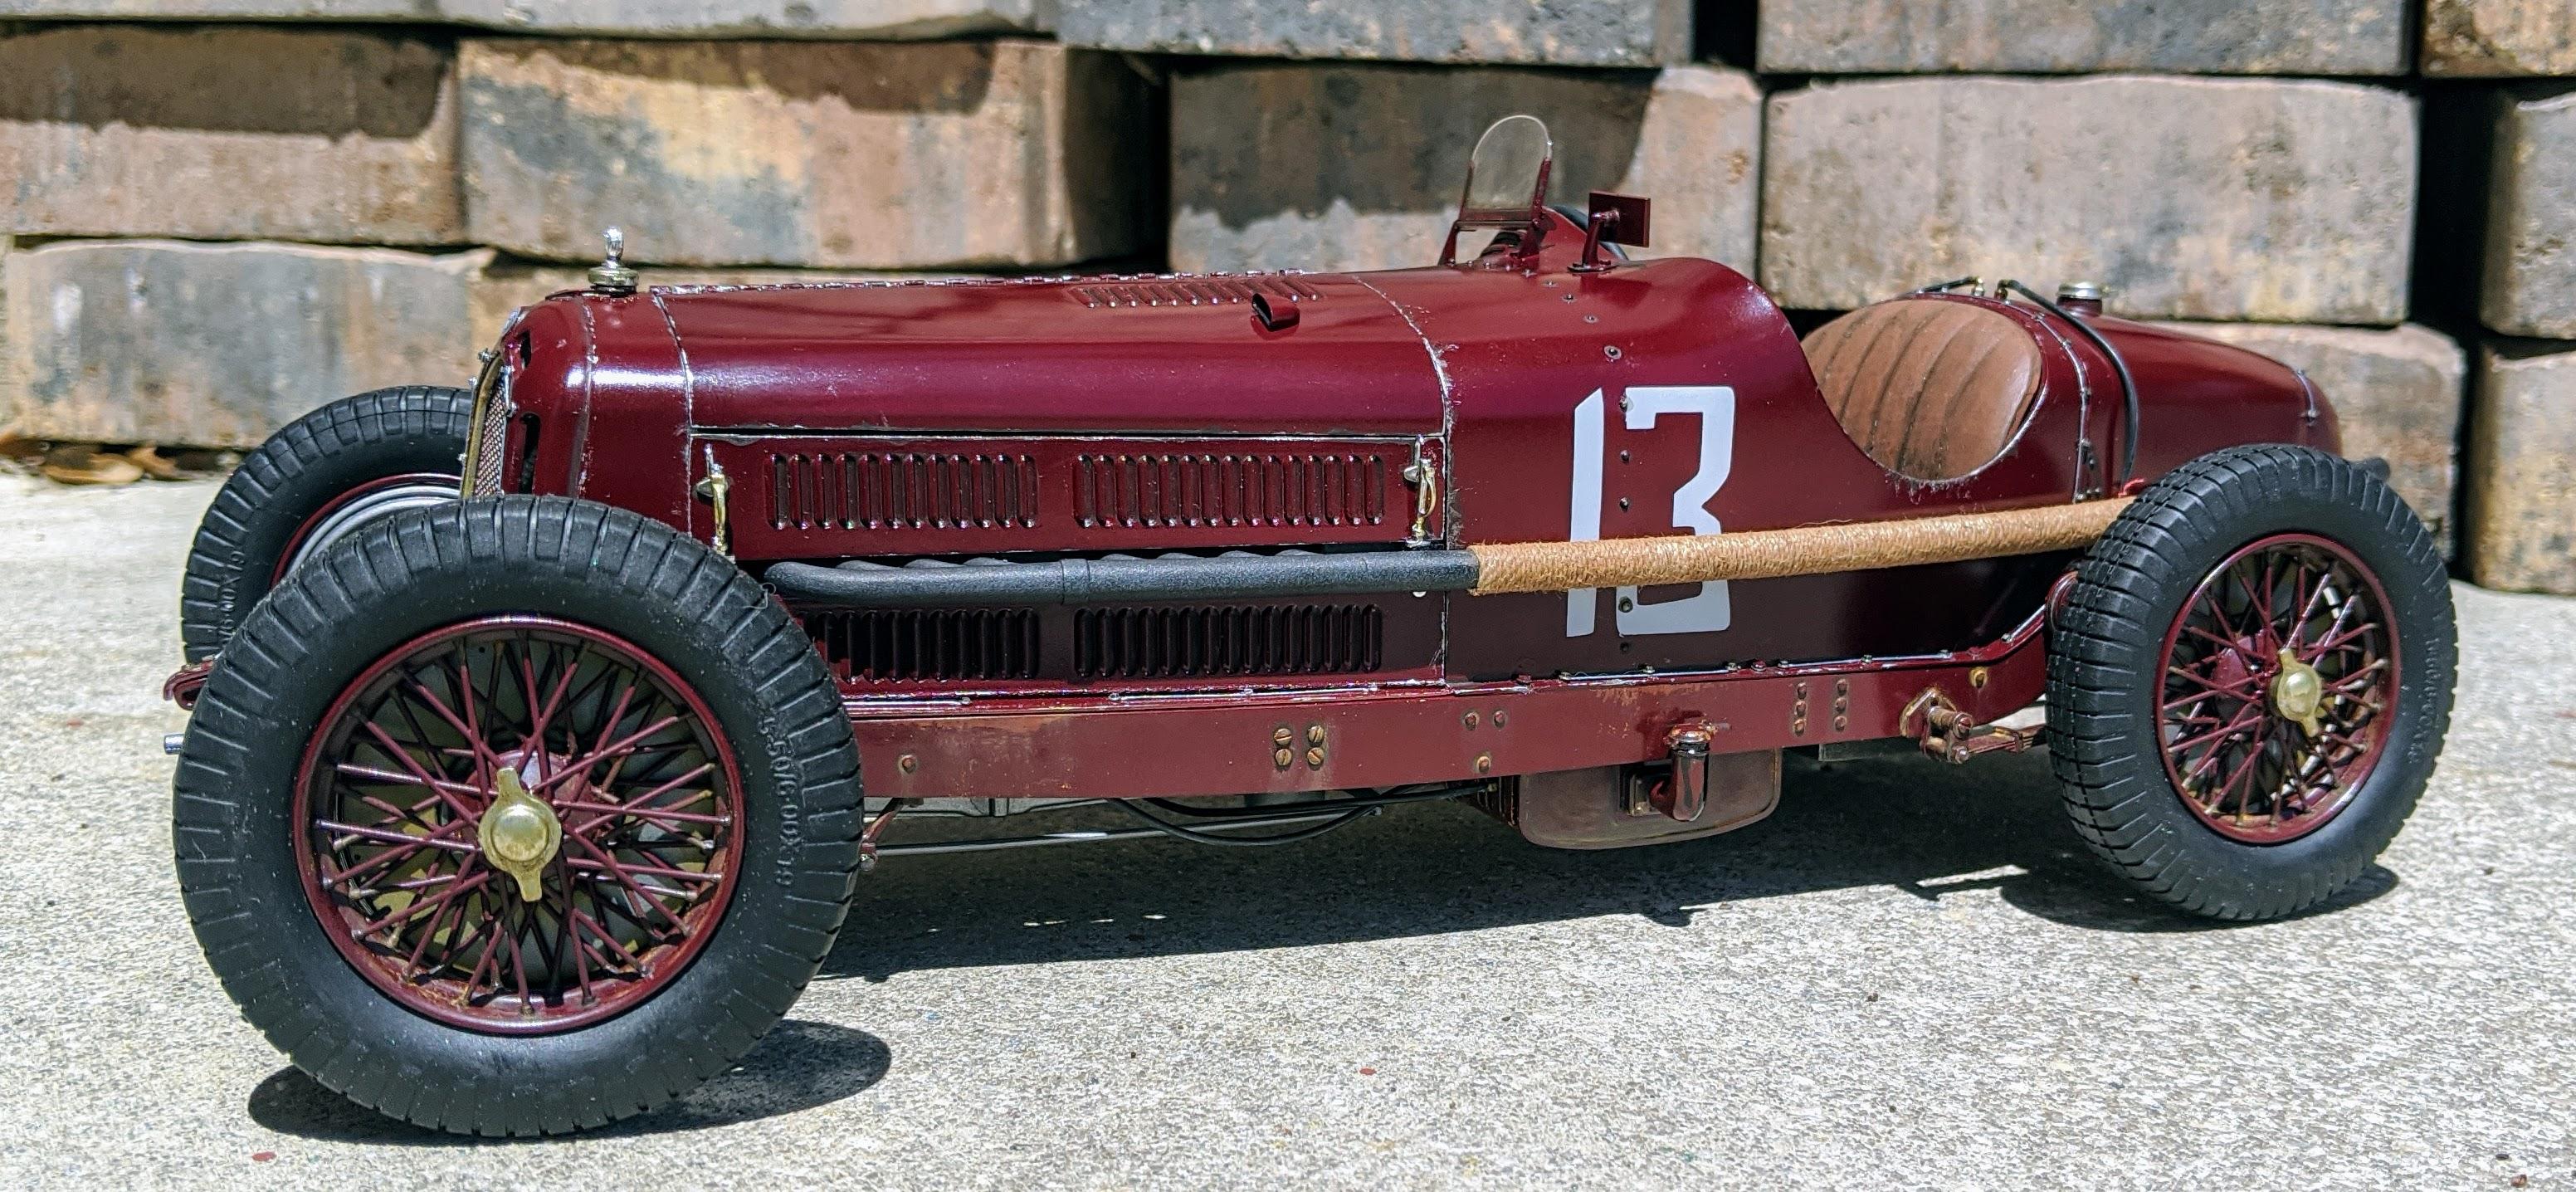
Next was the bodywork. Molded rivets always look like little blobs on the plastic. They disappear under paint and don't take weathering and washes well. On my Alfa Romeo build last year I used .040 plastic rivets from Tichy Train Group to great effect to replace the molded rivets so I decided I needed to do the same with the Fiat. The Alfa had some 30 or so rivets. The Fiat has... hundreds. Each one was drilled out and the new rivet inserted and glued in with Tamiya cement. The job could be more even, but closeup pics of the 1:1 show that the rivets on that aren't exactly perfect either. While I was at it, I scribed the raised panel lines on the bodywork. Additionally, the belly pan was lacking in detail and reinforcements that show pretty clearly in pictures. I added them in with sheet styrene and still more rivets. I primed with Tamiya red oxide primer and painted with Tamiya Italian Red. The bodywork is currently awaiting a stencil set from Orlee in Switzerland for the Fiat lettering and number plates. The cabin floor is just mocked up in the last pic... I'm not that far along yet!
-
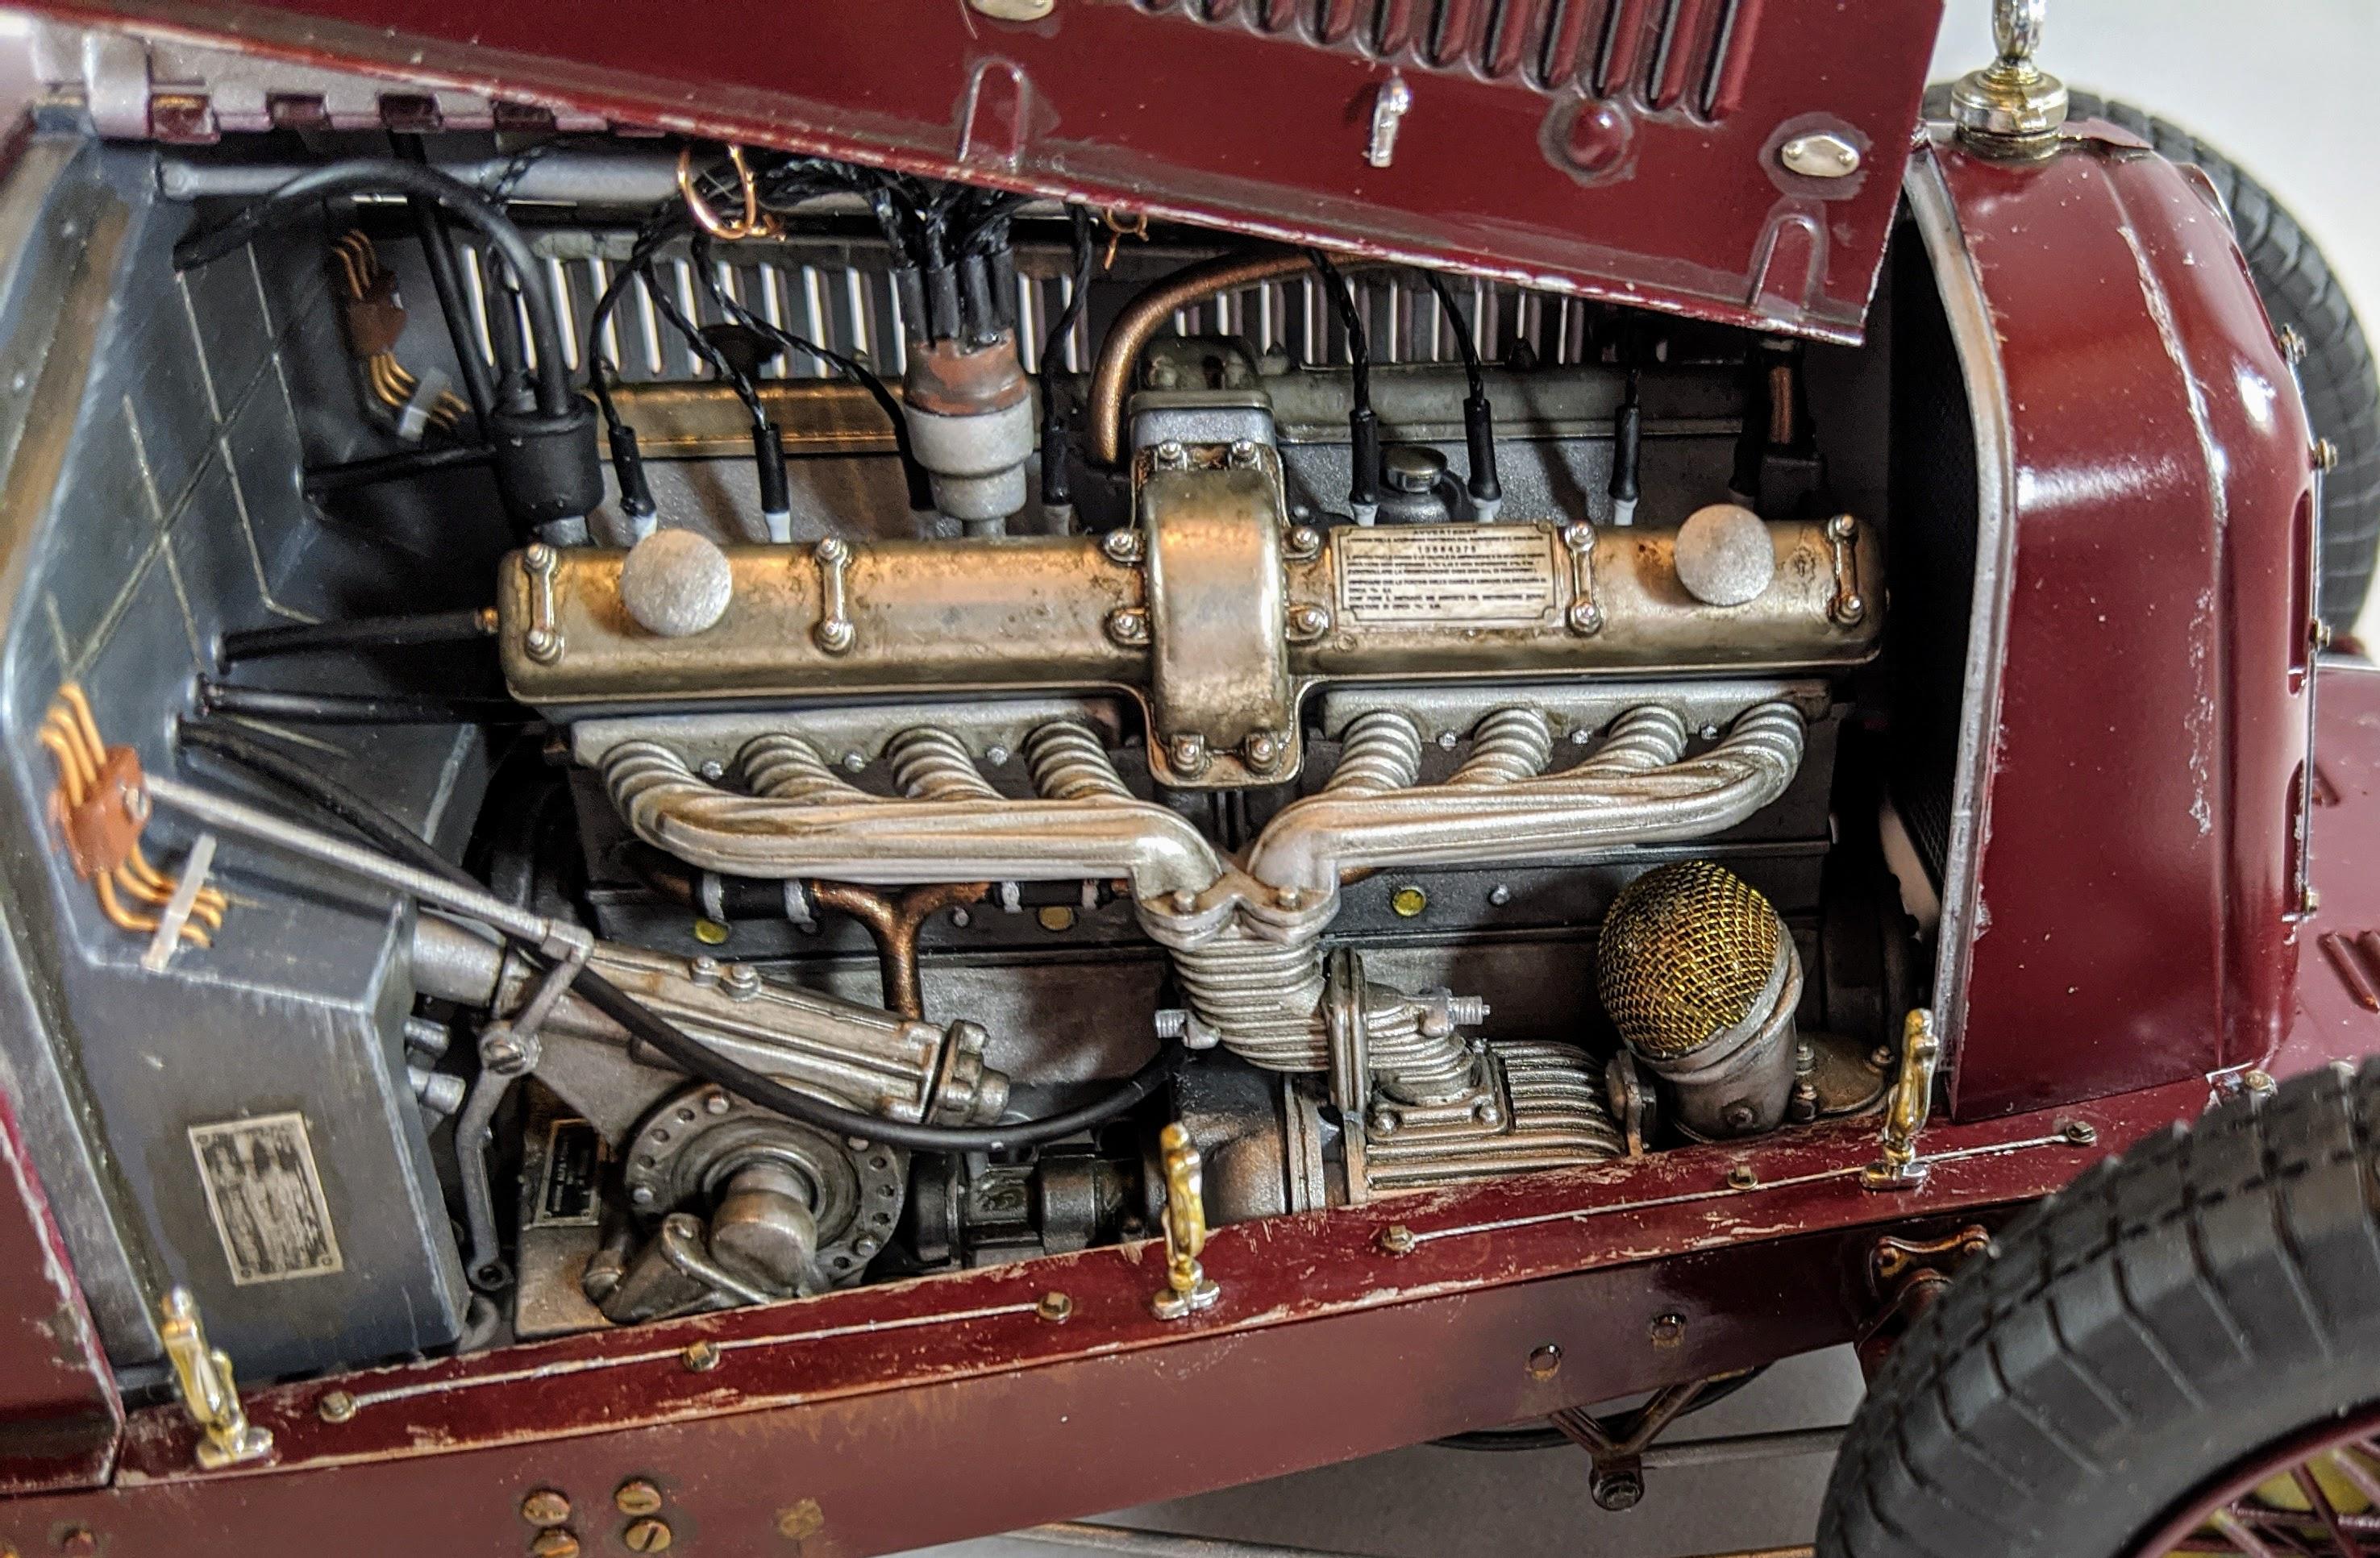
This is Italeri's 1/12 scale Fiat Mefistofele. The kit was originally released by Protar in the mid 70s with a metal body, and was retooled and released by Italeri several years ago in plastic. It's an impressive kit that I've been eyeing for a few years now before finally deciding to bite the bullet and buy it. The detail is excellent, but there's a lot of weirdness involved which I'm chalking up to the kit's Protar origins. Sprue attachment points, even on small and delicate parts, are MASSIVE. There's a lot of caution and cleanup required. Way too much of this kit goes together with screws as well. Pushing screws through three or four layers of delicate plastic parts while trying to keep everything aligned and trying to keep the jeweler's screwdriver from camming out gets old really quick. There's detail where it shouldn't be and none where it should. And the instructions... well, if the instructions were perfect, or even reasonably useful, that would make life way too easy. So all in all, we're looking at the sort of challenge that makes for a great story and a fun project. Whenever I start off on a build like this I look at the modifications and corrections that will make the biggest difference to the finished model. Pictures online are a big help... what stands out most when looking at the car? In the case of Mefistofele there are many things that immediately come to mind. The wood bulkheads and floors, the patina of old copper and brass, the rivets and the stains of oil and soot that make it look like the fire-breathing demon that inspired its name. I decided to tackle the wood first. Wood played a big part in the construction of this car... the cabin floor, rear bulkhead, firewall and interface between the chassis and bonnet are all wood. THese bits are molded in unconvincing tan plastic (except for the rear bulkhead, which is just missing altogether). I'll often paint plastic to resemble wood in 1/24, but in 1/12 it's just not easy to do that in a convincing fashion. I used 1/32 basswood for the planks and 1/8 basswood for the long pieces that go between the bonnet and chassis. For the planked floor and firewall I laid the planks over the kit plastic. For the rear bulkhead I cut a piece from thin plastic sheet and used it as a template and base for the planking. Stain is Minwax Ipswitch Pine (I had it laying around) and the weathering/graining was done in Model Master black weathering stain. The soot stain on the firewall was done with Tamiya weathering pastel.
-
Tamiya Eunos Roadster (Mazda MX-5/Miata)
jaymcminn replied to Spottedlaurel's topic in WIP: Model Cars
I like your BRG Eunos. The interior color is pretty close to the 1:1's "peanut butter" leather color, and I like the brown carpet better than the tan that came with the tan leather from the factory. The chassis engineering on the 1:1 is pretty impressive... I thought I had owned good-handling cars before my '95 came into my life last year. They really turn on a dime and it's insanely easy to place the thing exactly where you want it. I have the Tamiya and Revell kits which I'm going to bash together to try to come up with a reasonable replica of my '95 M-edition in Merlot over tan. -
Spru is upholding the reputation of ginger cats everywhere!
-
Fiat Mfistofele
jaymcminn replied to Kingslug's topic in WIP: Other Racing: Road Racing, Land Speed Racers
Looks good so far! I started mine a few weeks ago, and have been accumulating pics for a first WIP post. It's a decent kit that is an excellent basis for whatever additional detail you want to throw at it. I've been having fun replacing all the plastic "wood" with the real thing, correcting the seat upholstery, drilling and adding rivets, etc. I like your use of gloppy Testors enamel for the chassis... I came up with a different solution. I also ordered a piece of thin (.6mm) lambskin to replace the pathetic fake "leather" Italeri includes for the bonnet straps. I'll see how it does once I get it. PM me if you want a piece for your straps... I'll have more than enough to spare. -
1/24 Revell Porsche 911 Carrera 3.2 Targa
jaymcminn replied to Casey's topic in Car Kit News & Reviews
Looks great, but those photoshopped instruments, AC panel and stereo on the interior pic are annoying. Maybe the kit decals weren't ready when this one was built. Interesting that it appears to include the pinstripe upholstery decals, though. -
A ridged B-pillar like the 365 GTC-4 would also look really cool on this. Just a thought...
-
It's scary how nicely the Gremlin roofline and c-pillar incorporate into the Daytona's lines. Are you keeping the MV car's Corvette mechanical underpinnings?
-
What do you do with your built kits?
jaymcminn replied to doorsovdoon's topic in Model Building Questions and Answers
I have my built models displayed throughout my house (I'm single, I can get away with it). There's a cool vintage curio cabinet with most of my 1/24 builds, a metal IKEA curio cabinet with my 1/12 builds, and several small plexiglass and wood cases with single builds I really like around the house. Ironically, the only place I don't have any models displayed is the den where I do most of my building. When I get my 1/24 cabinet in the living room filled, I'm planning on building a wall-mounted case to go in there. I added acrylic risers to the existing shelving in the display cases to improve visibility and add room. I don't like the idea of taking something I'm proud of and spend a lot of money and time on and hiding it away. I want my models to be part of my environment. That being said, I have culled some "shelf models" from time to time to make room for newer and better builds. Some of them have been given away or robbed for parts and some of them are in under-bed storage boxes. -
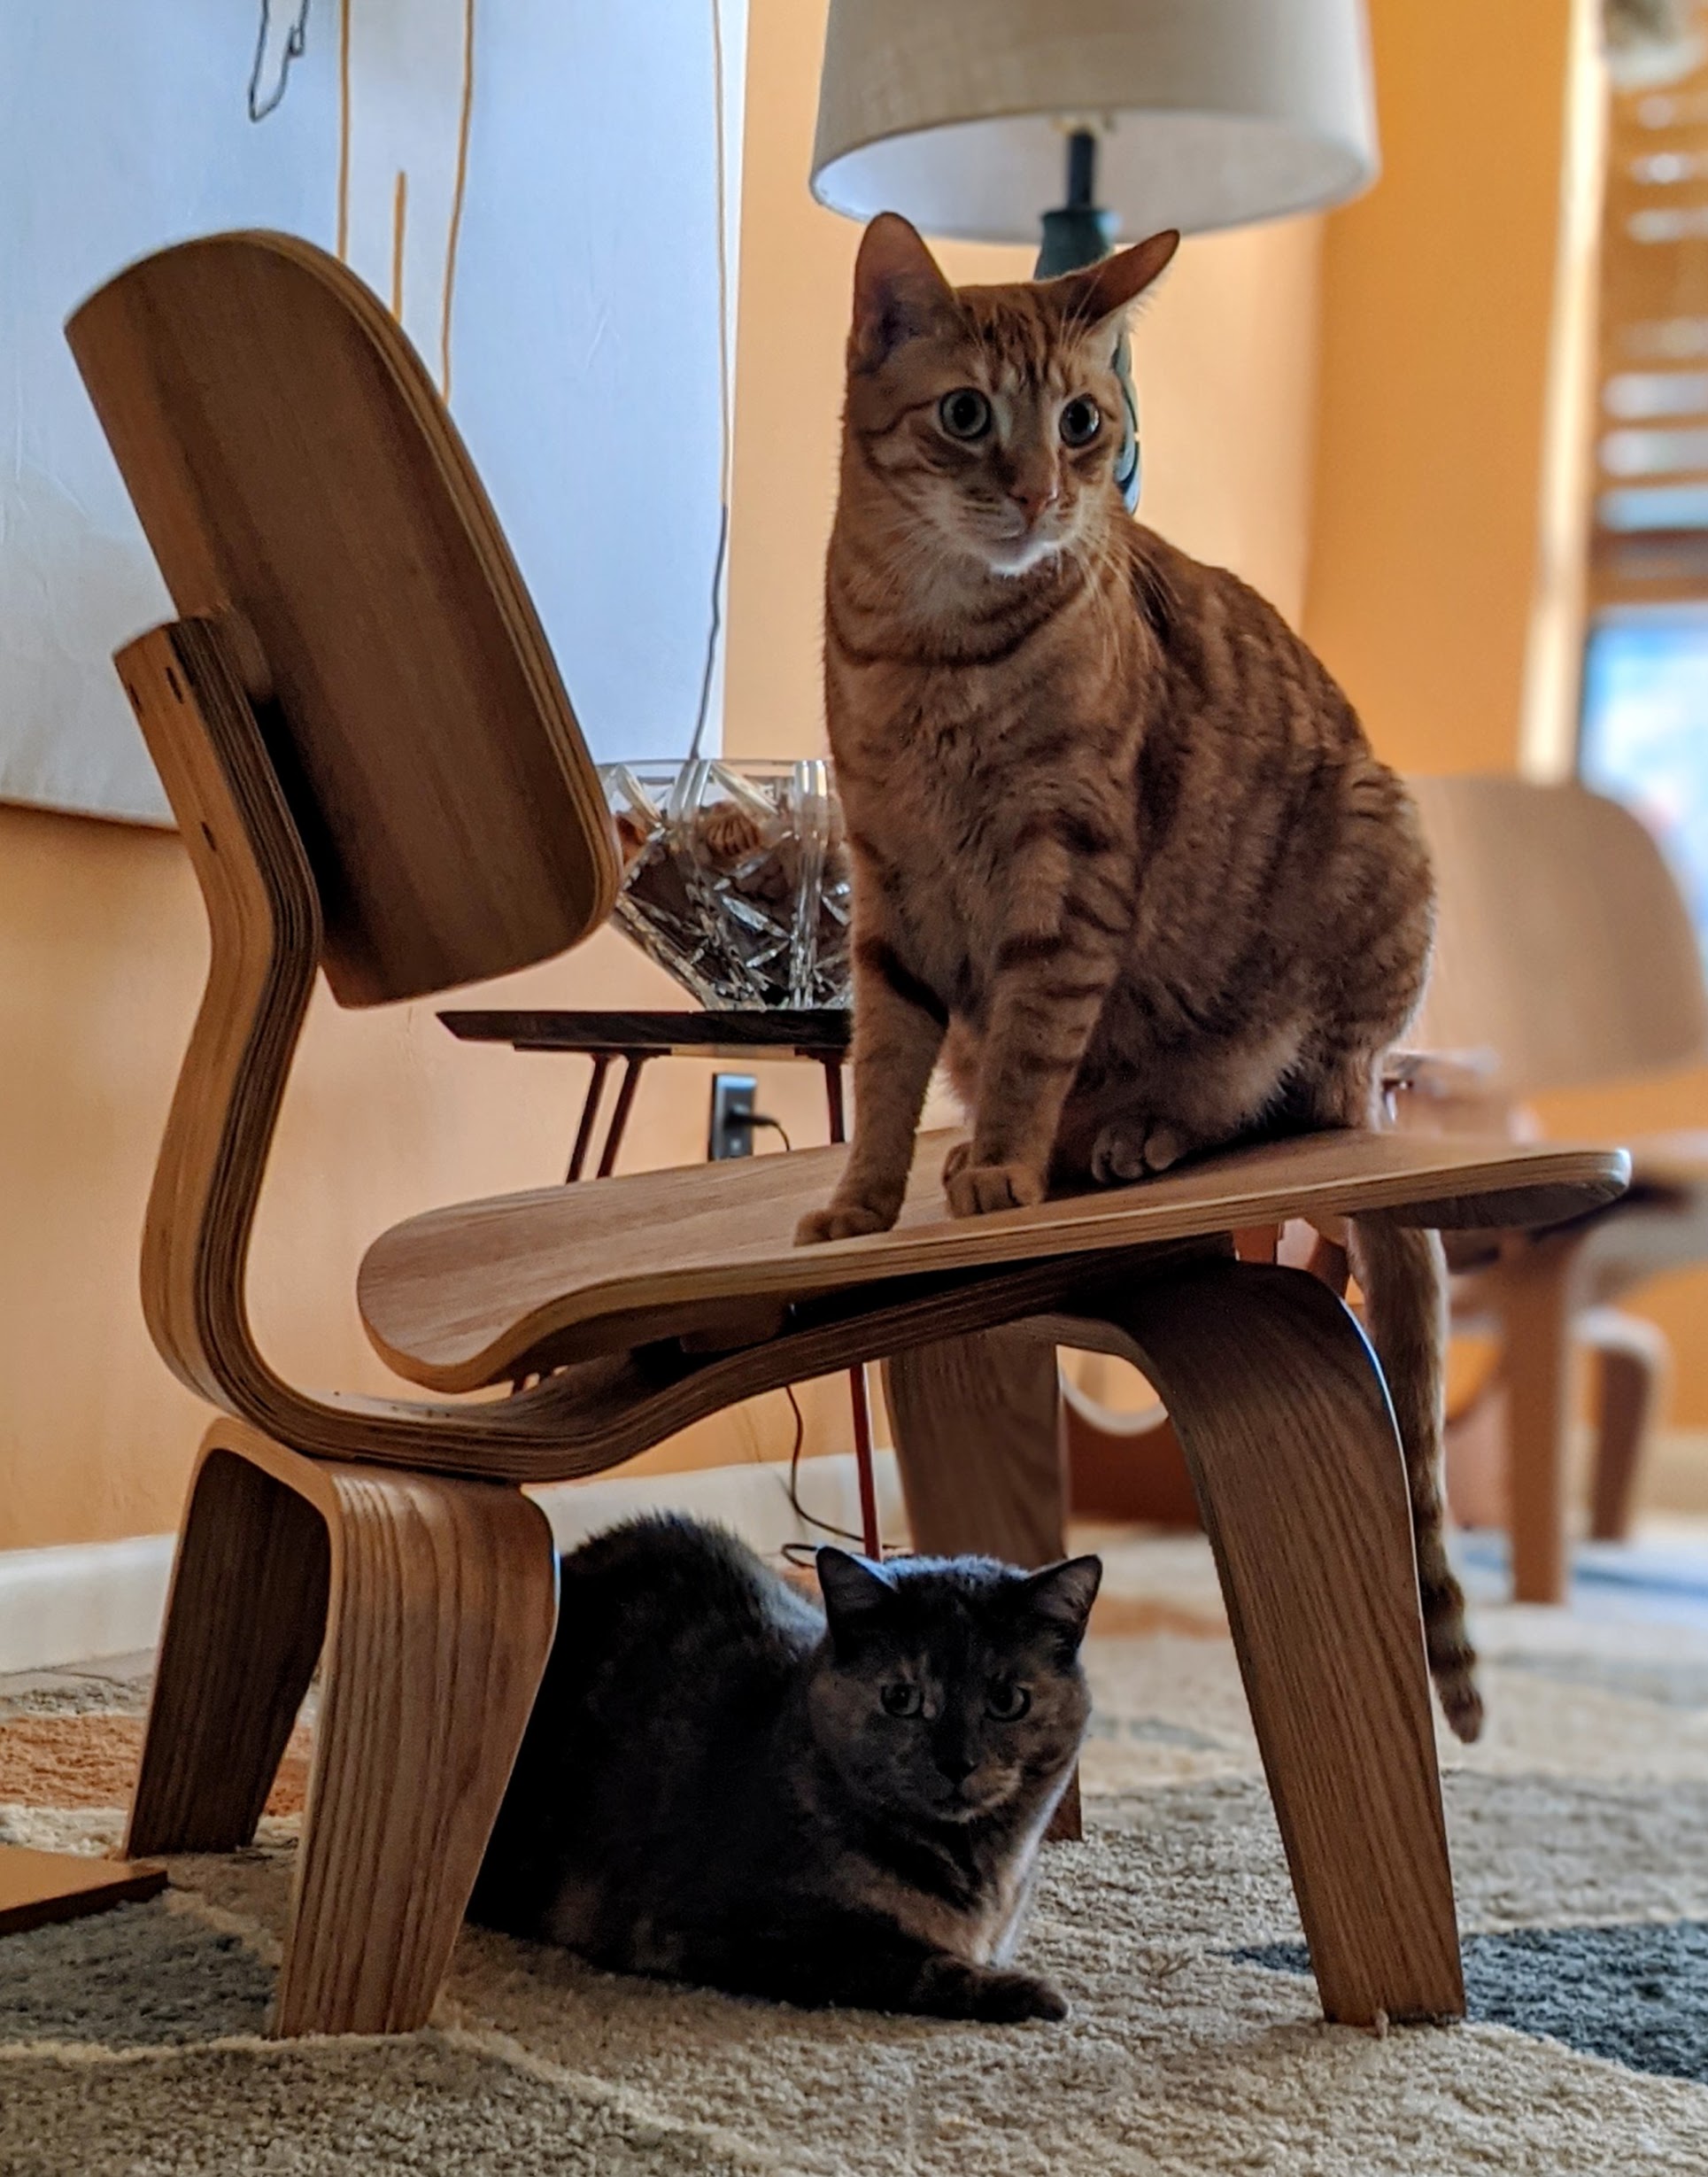
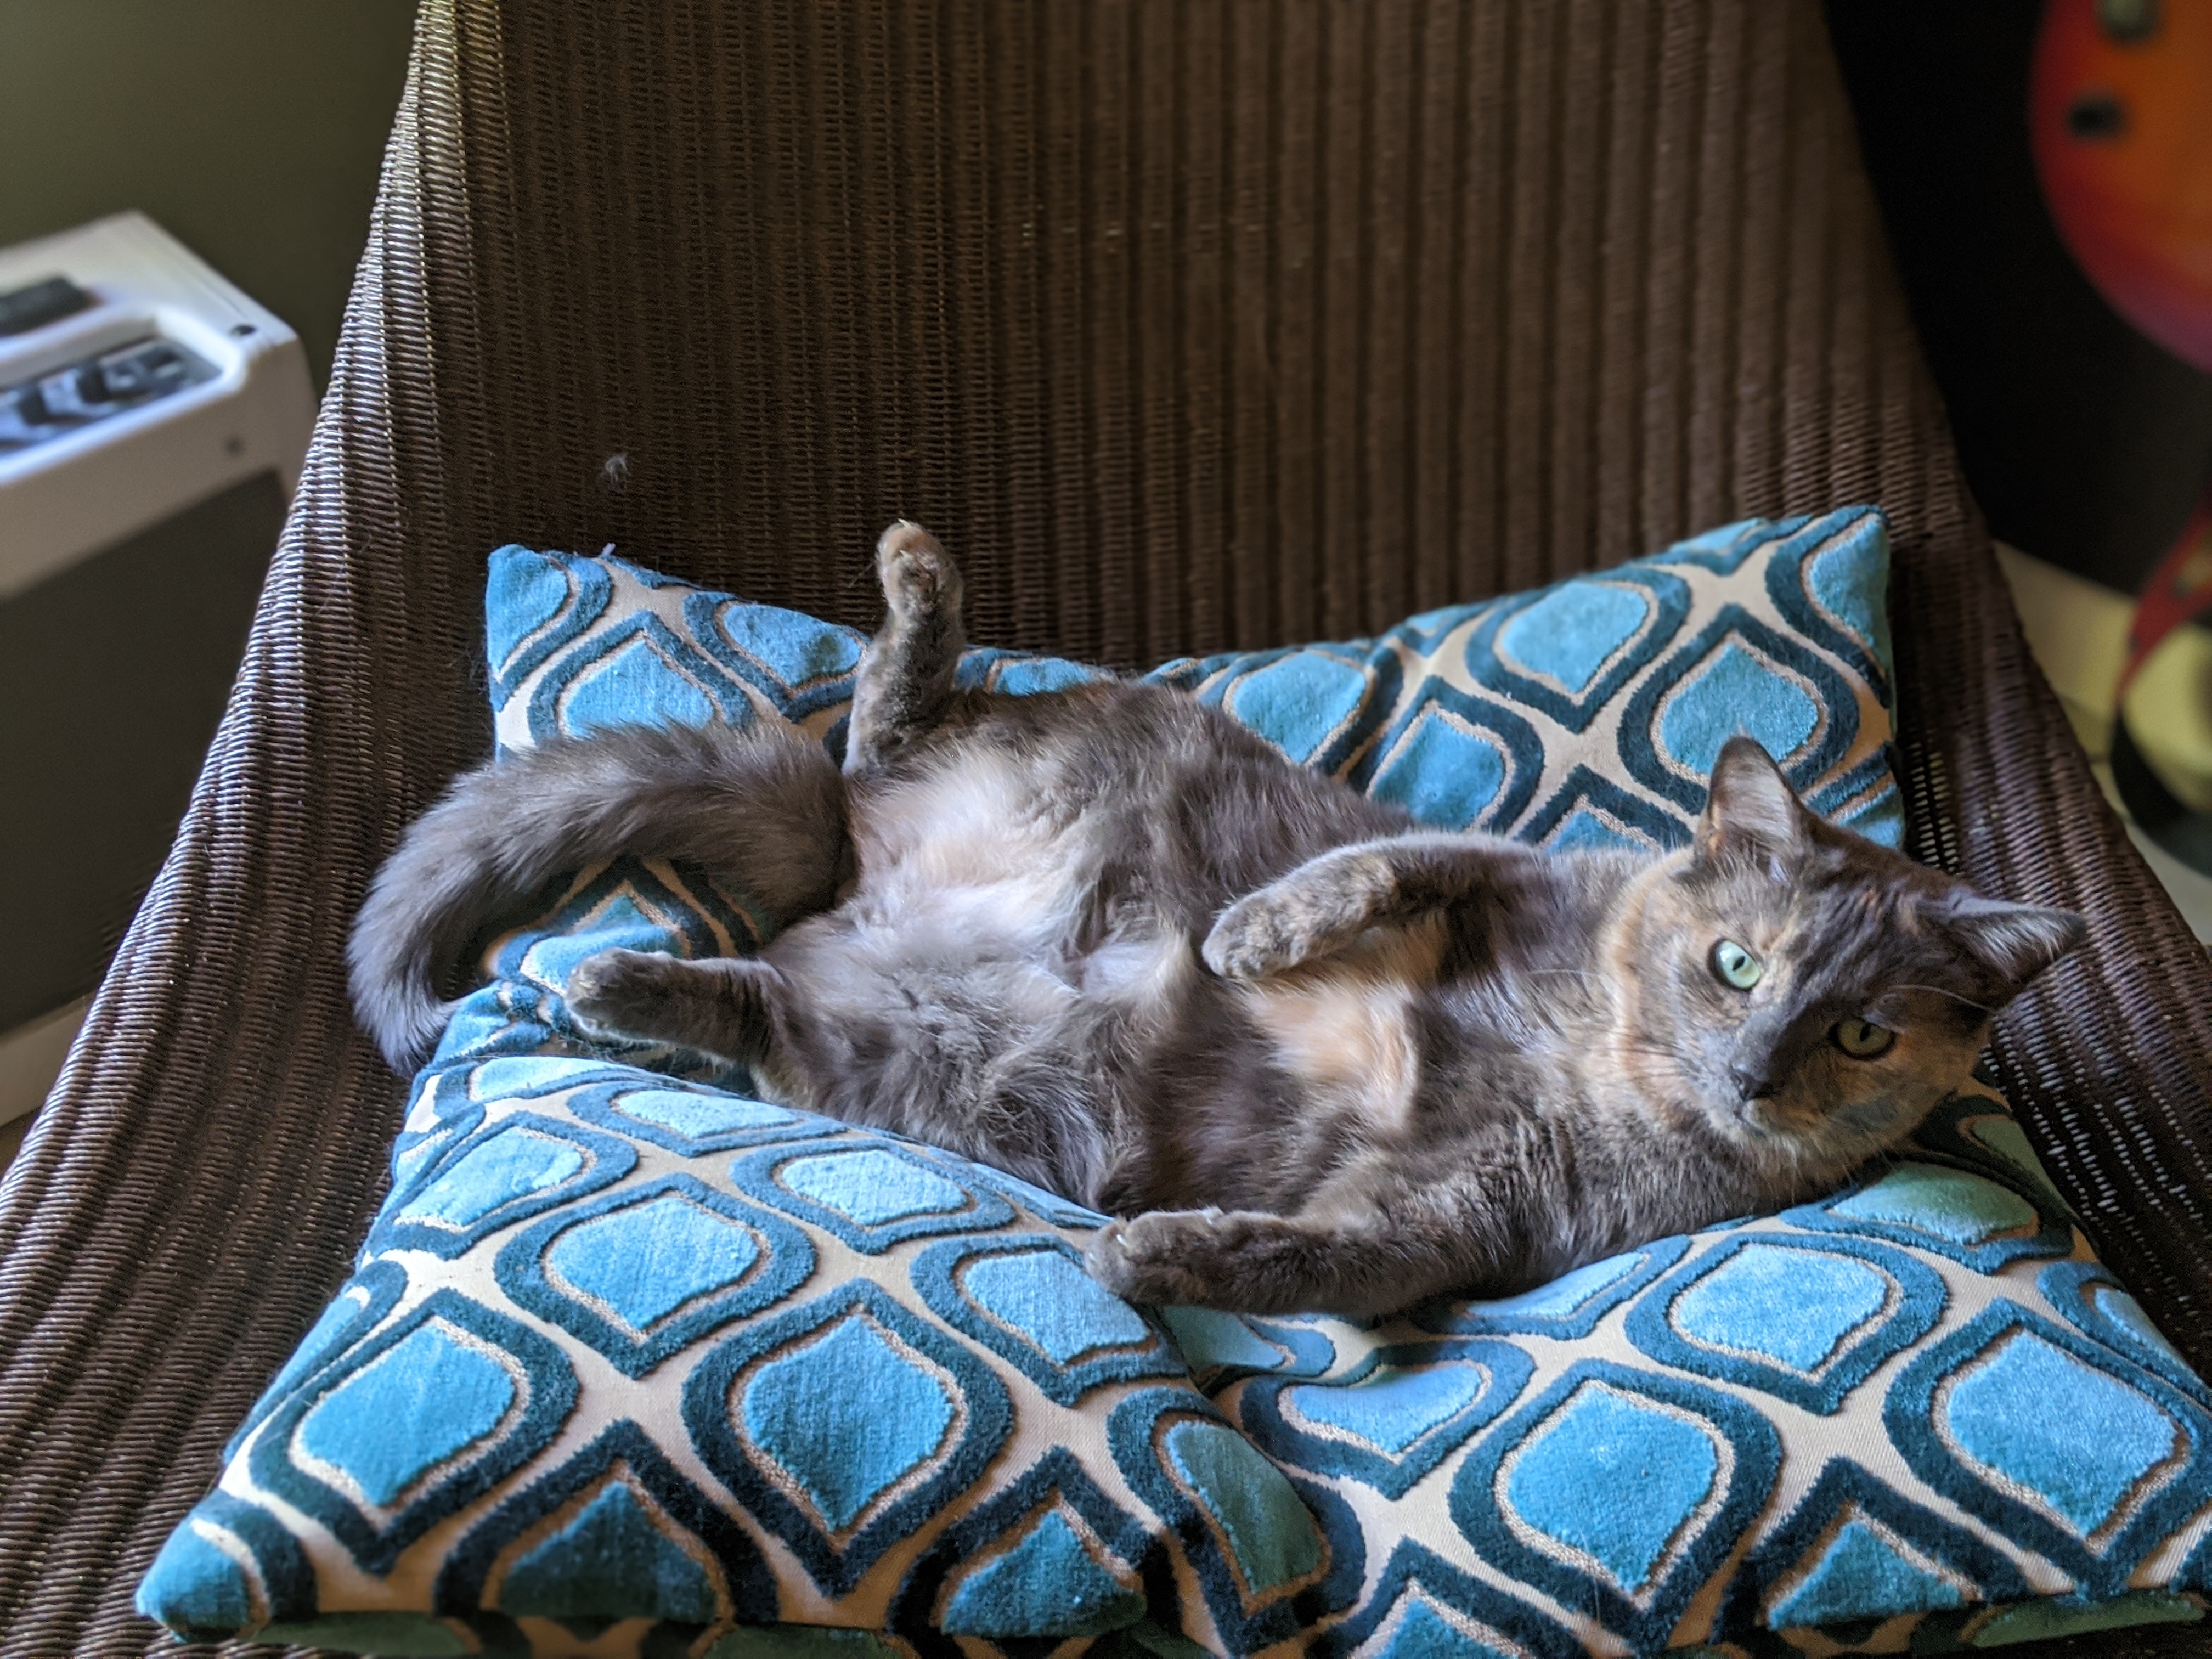
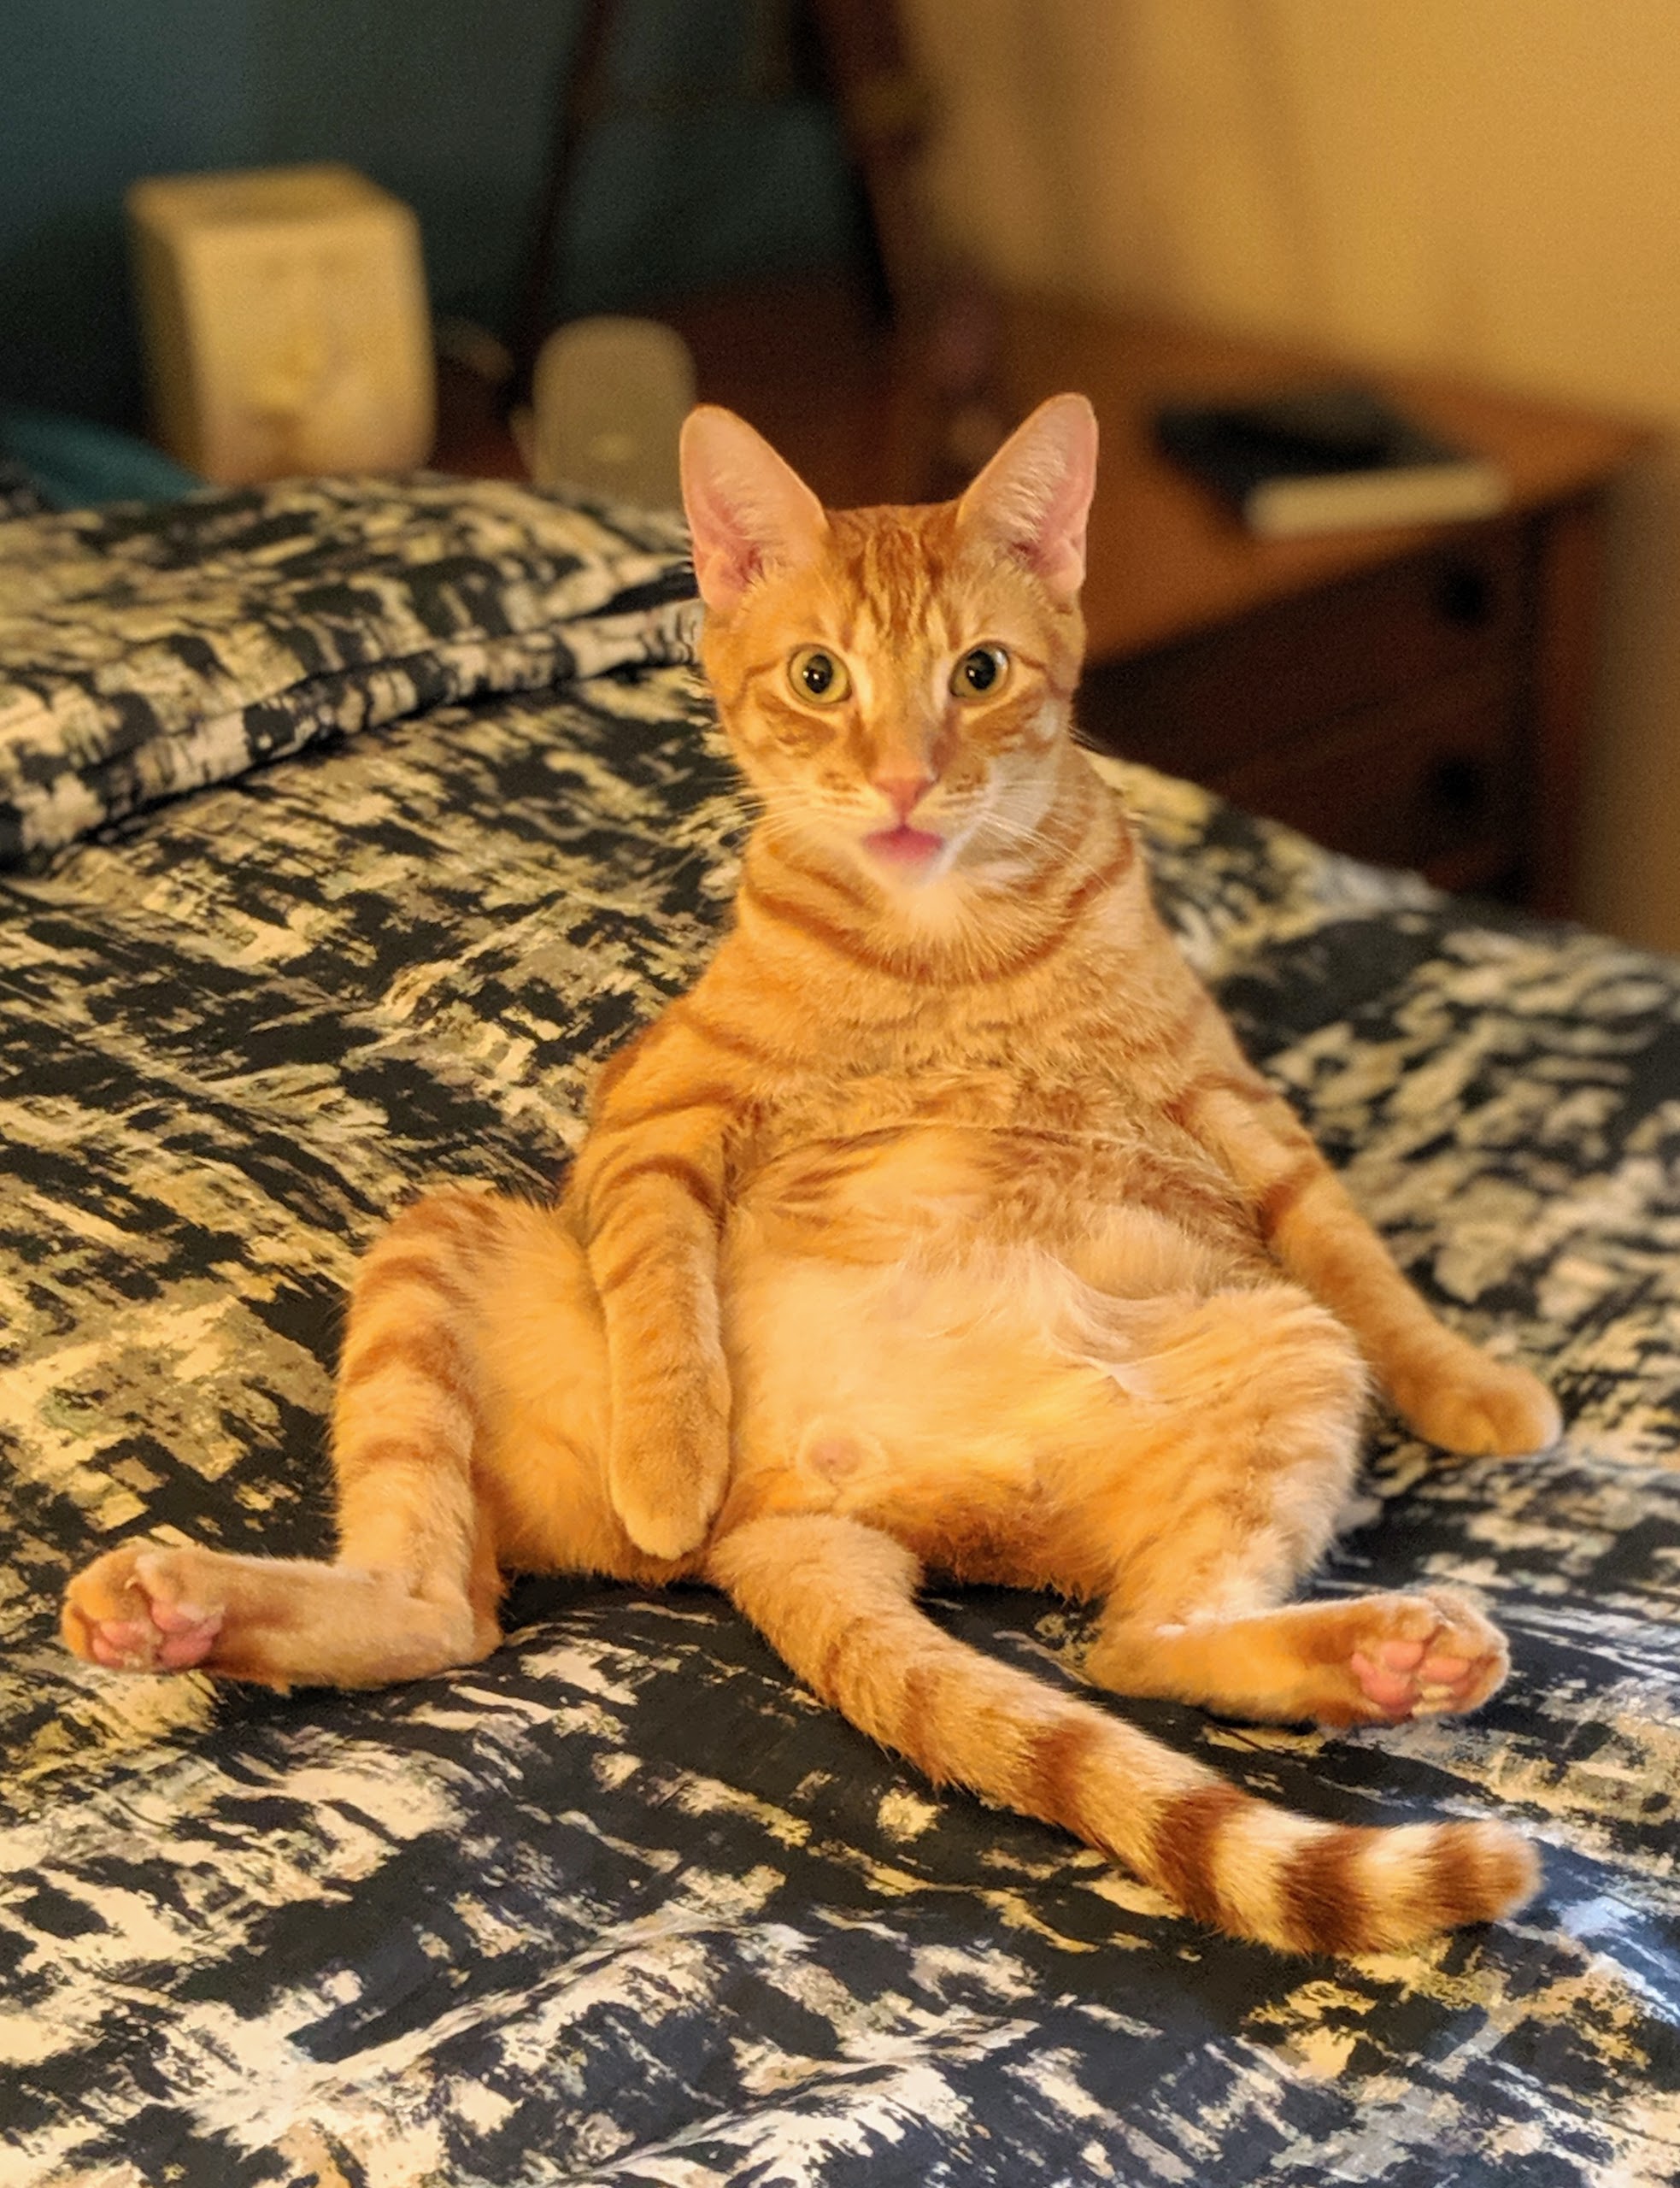
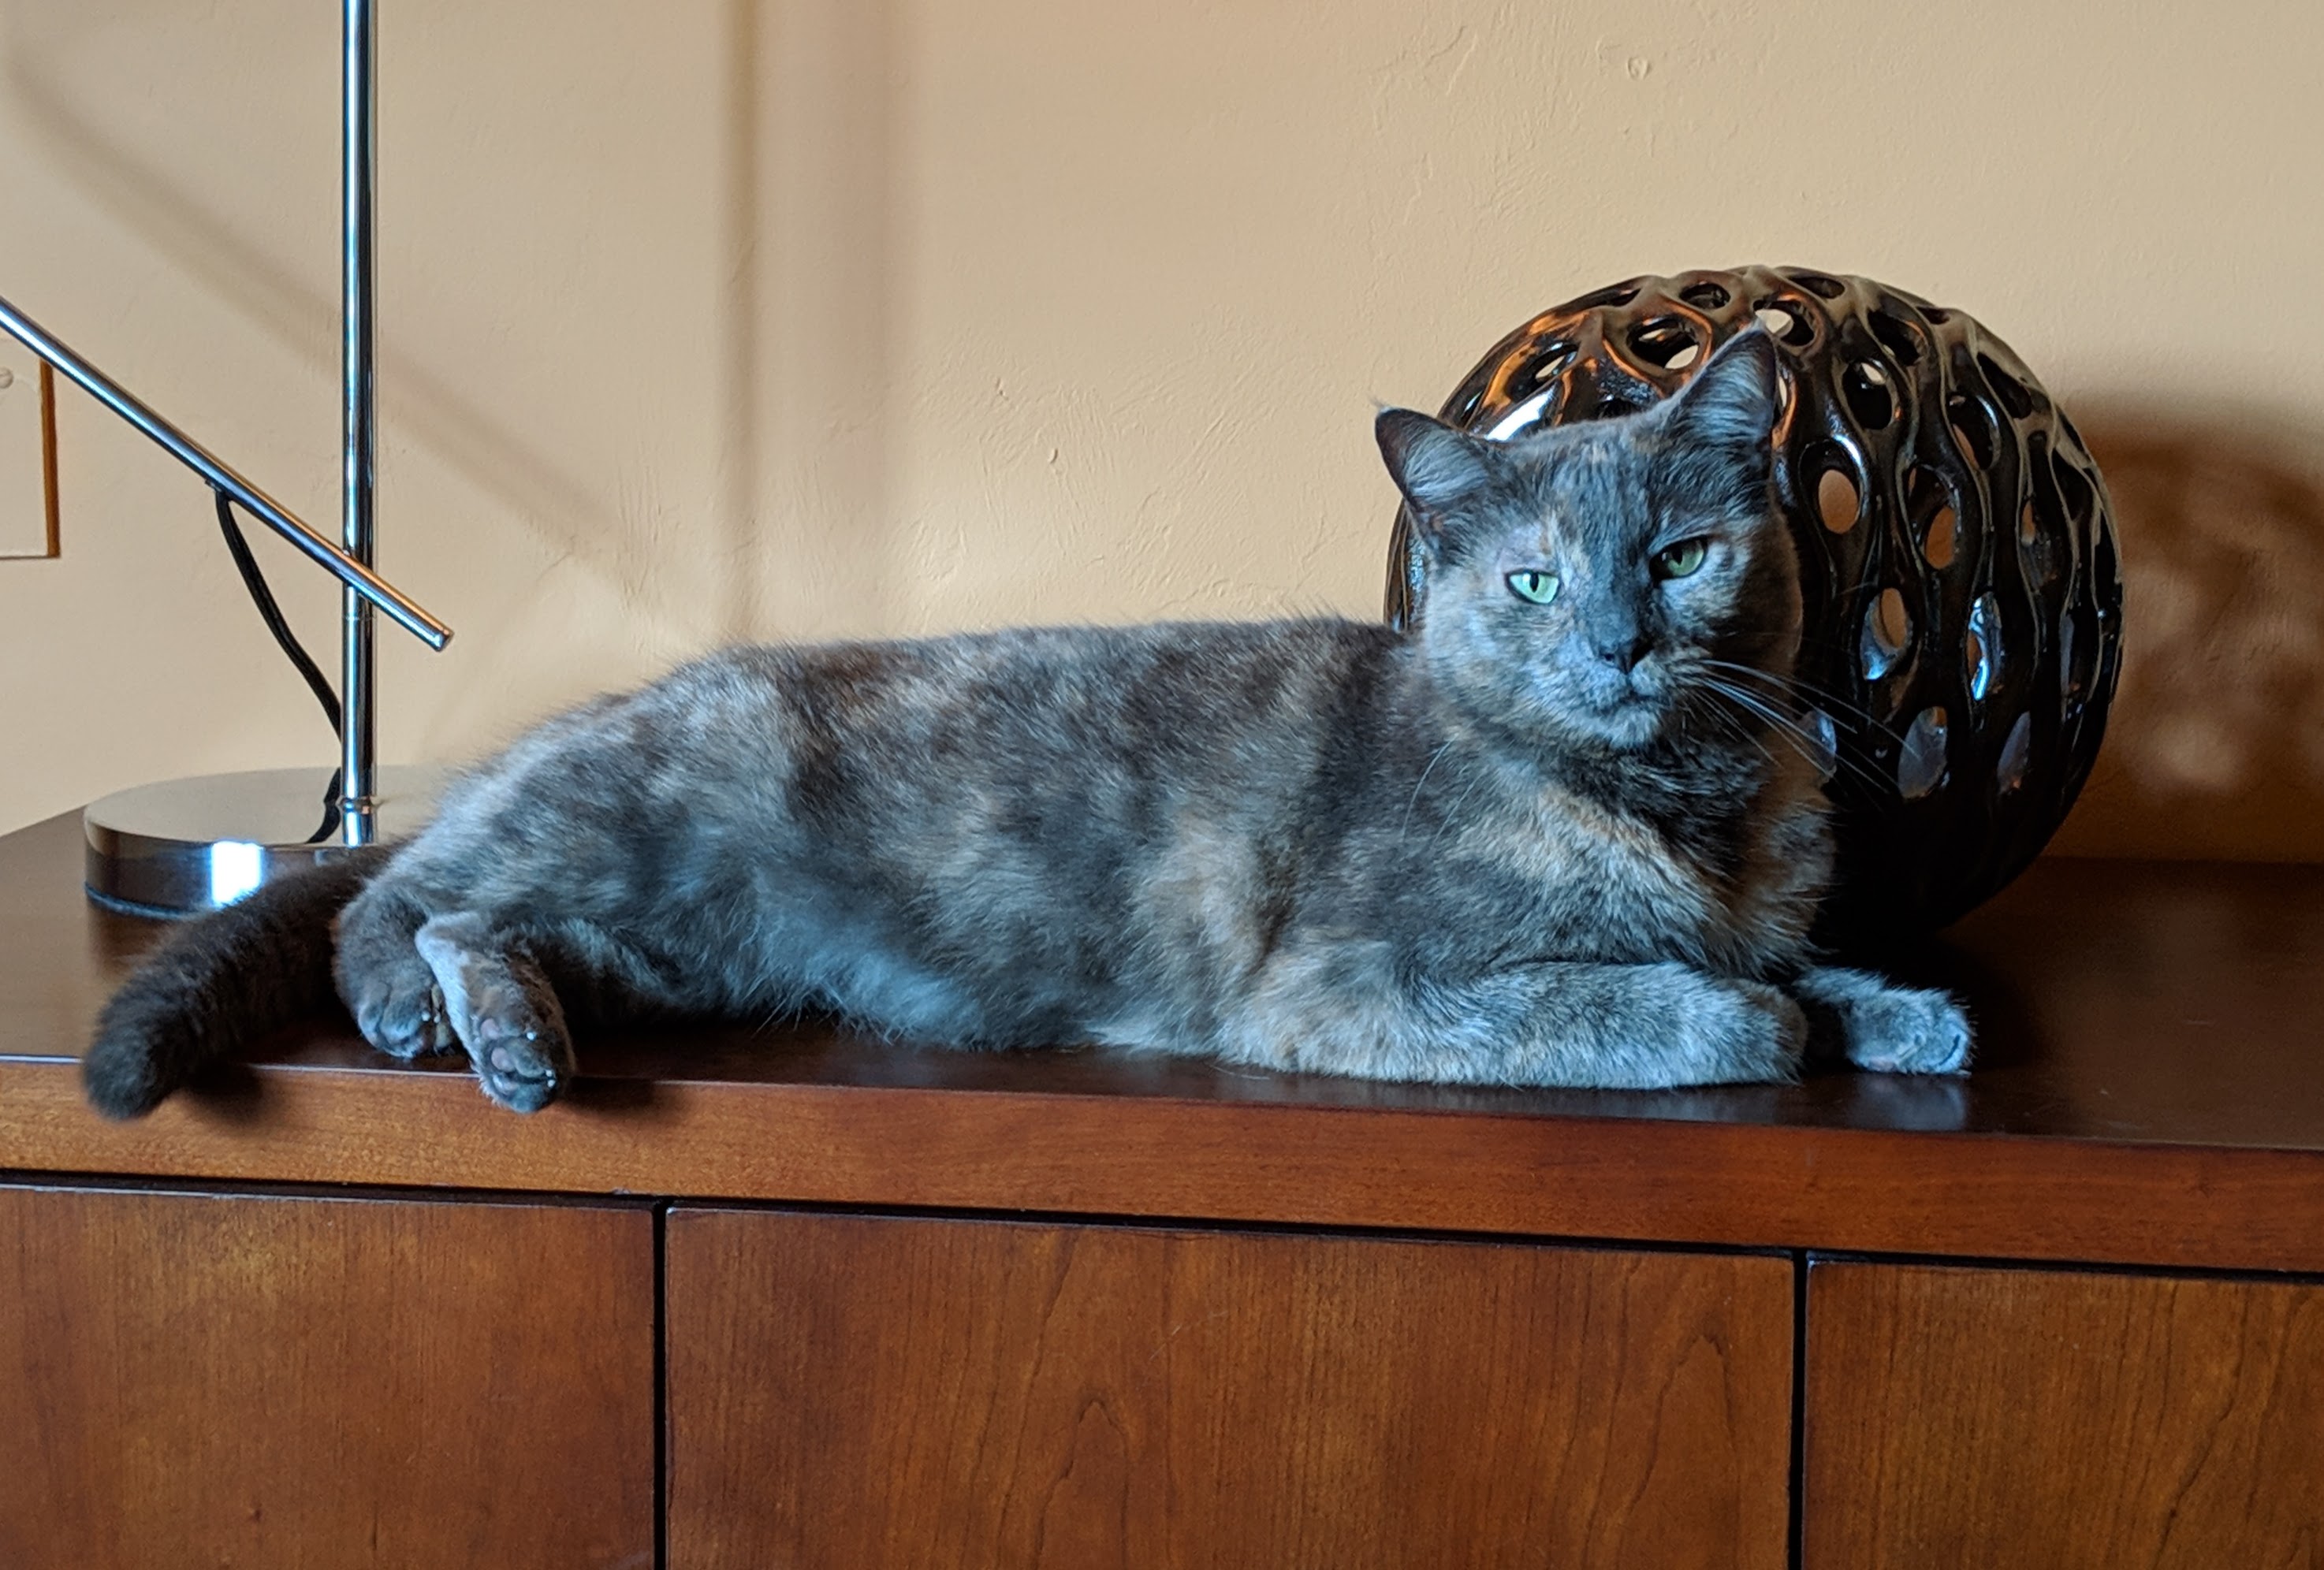
Yeah, my two follow their stereotypes pretty much exactly. Bandit is a lap cat and a bed hog who needs (and gets) a lot of play time and attention. The first picture of him intently staring at the camera was about 8am when I had clearly slept too late and needed to get up to get his breakfast. I adopted him at about a year old from a local cat adoption charity, and he's a gentle giant who let me know in no uncertain terms that I WAS taking him home by flipping over into his back, grabbing my hand (claws in) and pulling my hand in for a belly rub. Within half an hour of bringing him home he was passed out on my chest on the couch. Ellie proves that "tortitude" is a real thing. She likes to hang out with me but petting occurs on her own terms. If it's possible for a cat to have a sarcastic meow, she's got one. She'll also chase Bandit, who is about twice her size, around the house if she gets tired of him. To be fair, he's a bit of a brat who spends a fair amount of his time trying to get her to do just that. Fortunately they get on really well with each other (for the most part).
-
2021 IPMS Nationals Kit Information
jaymcminn replied to niteowl7710's topic in Car Kit News & Reviews
I'm definitely looking forward to the 911s, especially the Targa. If Revell wants to score points with the Porsche geeks, they should include the Pasha checkerboard upholstery pattern on the decal sheet like they did with the 1/16 928 reissue. Most people associate it with the 928, but it was available on the 911 as well. -
Here are my two fat, spoiled pains in the butt. The gormless ginger one is Bandit. He's one-of-a-kind. Loves belly rubs, meets me at the door when I come home, and poses for every picture like the 16 pound ham that he is. His adopted sister is Ellie May. She's a dilute tortie and has, ummm, a LOT of personality. She's a lot of fun but she is not ANYONE'S lap cat. She's 51% sweetheart 49% b***h except for the days when those percentages are reversed.
-
What I would love to see from Tamiya is another new tool in the classic sports car line. When the 300SL came out I was rooting for an E-Type Jaaaag. Since the Revell kit was issued I'm guessing that won't happen. But something British, classic and around the same period from a manufacturer that Tamiya has licensing for would be nice... maybe an Aston Martin DB5?
-
I think it's all part of being a modeller. I bounced back and forth between airplanes and cars for years. Once in a while I'll build a Star Wars kit or two to bust a slump. Recently I've taken to applying some of the weathering techniques I picked up from building WWII airplanes to builds like my 1/12 Alfa 8c and the Fiat Mefistofele I've just started. Washes, scribing panel lines, weathering with airbrush and pastels...all of these are skills I honed building military subjects that can be applied to making my automotive builds better.
-
1956 Mercedes Benz 300SL Gullwing in Graphite Grey
jaymcminn replied to e30lover's topic in Model Cars
Photobucket ate most of my pics, but I had this one in my attachments here. I think the upholstery decals are Scale Motorsports.
-
Spirit of America Porsche 956
jaymcminn replied to Nacho Z's topic in WIP: Other Racing: Road Racing, Land Speed Racers
Haynes has been releasing "manuals" for years that are really more like commemorative books than actual shop manuals. I bought one as reference for my 1/12 Airfix Blower Bentley (the eternal back-burner project) and it has some nice pictures and history but little technical information. -
1/12th Italeri Alfa Romeo 179 /179C
jaymcminn replied to AaronM's topic in WIP: Other Racing: Road Racing, Land Speed Racers
I feel your pain concerning the instructions... I'm just starting the ex-Protar Fiat Mefistofele kit and the instructions, while charmingly hand-drawn, are fairly awful. You're off to a good start, and I'm looking forward to seeing how this build progresses! -
1956 Mercedes Benz 300SL Gullwing in Graphite Grey
jaymcminn replied to e30lover's topic in Model Cars
Outstanding build, fantastic color combination and great photography to boot. Agreed that the 300sl is one of the nicest kits Tamiya has ever produced. It's beautifully detailed without being fiddly, which is a difficult balance to strike on a complicated car like the Merc. I built mine with RMCM Rudge wheels and the dark blue plaid interior over silver blue back when the kit first came out. Thanks for sharing! -
New season of Netflix Car Masters
jaymcminn replied to cobraman's topic in General Automotive Talk (Trucks and Cars)
This car is at the Revs Institute here in Naples. Pictures don't do it justice, it's absolutely breathtaking in person. -
Alfa Romeo 8C 2300- 1/12 Italeri Kit!
jaymcminn replied to jaymcminn's topic in Other Racing: Road Racing, Salt Flat Racers
Thanks man, it's been a while (working a lot on my 1:1, '95 Miata) but the chipping is basically just carefully applying Tamiya Aluminum with a fine brush to the edges. I'll tone down larger chips with a thin wash of Tamiya Metallic Grey to make them look like the bare aluminum has oxidized and dulled. The trick is to not overdo it and to respect the material you're representing, hence the rust on the (steel) chassis and the chipping on the aluminum body. -
There are plenty of Ford 302 and SBC swaps out there. It's pretty easy to do, and there are plug and play kits. Inspect that sub £2k MX5 carefully. I looked at a few in the $2000-$2500 price range and they were pretty crusty. From what I understand the tendency for these little cars to rust is no joke and it is not cheap or easy to fix if it needs to be done. If you shop for one pay special attention to the rear quarters and wheelwells. They seem to go wrong there first. 1.6 and 1.8 engines aren't all that different as far as weight goes, and there's a nice little 17hp bump from the 1.8 engine. If you find a good one you can't go wrong... it's exactly as much fun as you would expect!
-
I'm 5'11" and it fits me like a tailored suit. If you're more than 6 '1" or so it's a tight fit. The 6'3" 300lb engineering director of my hotel tried to get into the driver's seat and couldn't quite manage it. At 6'6" you'd have to get two and wear them like roller skates!
-
I'm glad the taillights say "Viper" because the rest of the car says "Hot Mess".