Tommy124
-
Posts
1,648 -
Joined
-
Last visited
Content Type
Profiles
Forums
Events
Gallery
Everything posted by Tommy124
-
Great result Pat. With the "new" Italeri release of the Escort in Rothman's ("Racing" actually) livery, I might be tempted to go for one of those myself...
-

1974 Corvette Resto------Update! 12/31/18
Tommy124 replied to MrObsessive's topic in WIP: Model Cars
Great paint, brilliant job on replacing the windscreen and beautiful BMF work. Looking forward to see this lady finished on her wheels! -
Photo 1: great Photo 2: even better Photo 3: perfect!
-
Thanks for the detailed reply, Dann! I have purchased this glue too and will do some testing! That's exactly right. Sometime you have to correct the shortcomings of the kit in order to achieve the main goal: a great-looking model. You're almost there!
-
Even your smallest update does look good! May I ask you a question about this canopy glue you use for fixing small parts before painting... It cures after some time, naturally. So what is the time window you have for using it and how do you remove the glue?
-
1974 Corvette Resto------Update! 12/31/18
Tommy124 replied to MrObsessive's topic in WIP: Model Cars
Hard for me to believe that there are no re-released kits for this period of C3's... Though I know it's a fact... -
Yours look very nice too, Jim. The antenna rods appear to be a bit thickish though?
-
Maserati Boomerang - restoration of my 90's build
Tommy124 replied to Tommy124's topic in Model Cars
Thanks Brian, appreciated. Good idea about the bash. Until a few minutes ago I thought the Revell kit was identical to the Matchbox/ Airfix Bora and therefore without an engine. But the Revell seems to have one... Thanks Dann. It looks okay due to the varnish. But this was actually my very first kit to be doing big-style BMF on and there was a lot be learned, which can be seen in the details. This kit was kind of a restoration work aswell because I bought the kit used and paint-stripped from another modeller. The kit is now easily available again, but it was pretty rare until a year ago or so, that's why. I love the car , that's why by now I have the TWR H.E. version (that you refer to) in my stock too, aswell as another (new) one of the V12 Coupe, the Convertible (which would require quite work to make a "full convertible" out of it) and the TWR Sports kit. Did I say that I LOVE that car...? -
Not surprised... The image of the top view already looked a lot like the 365 (Daytona)!
-
COOL!
-
That's coming along nice! I have to ask though... What is the sharp (unpainted) car in the background??
-
You have a point there, JC! I am using those PE micro saws (Tamiya, for example) for jobs like that. And don't get me wrong, I'm not trying to talk you into it - it looks great as is!
-
Maserati Boomerang - restoration of my 90's build
Tommy124 replied to Tommy124's topic in Model Cars
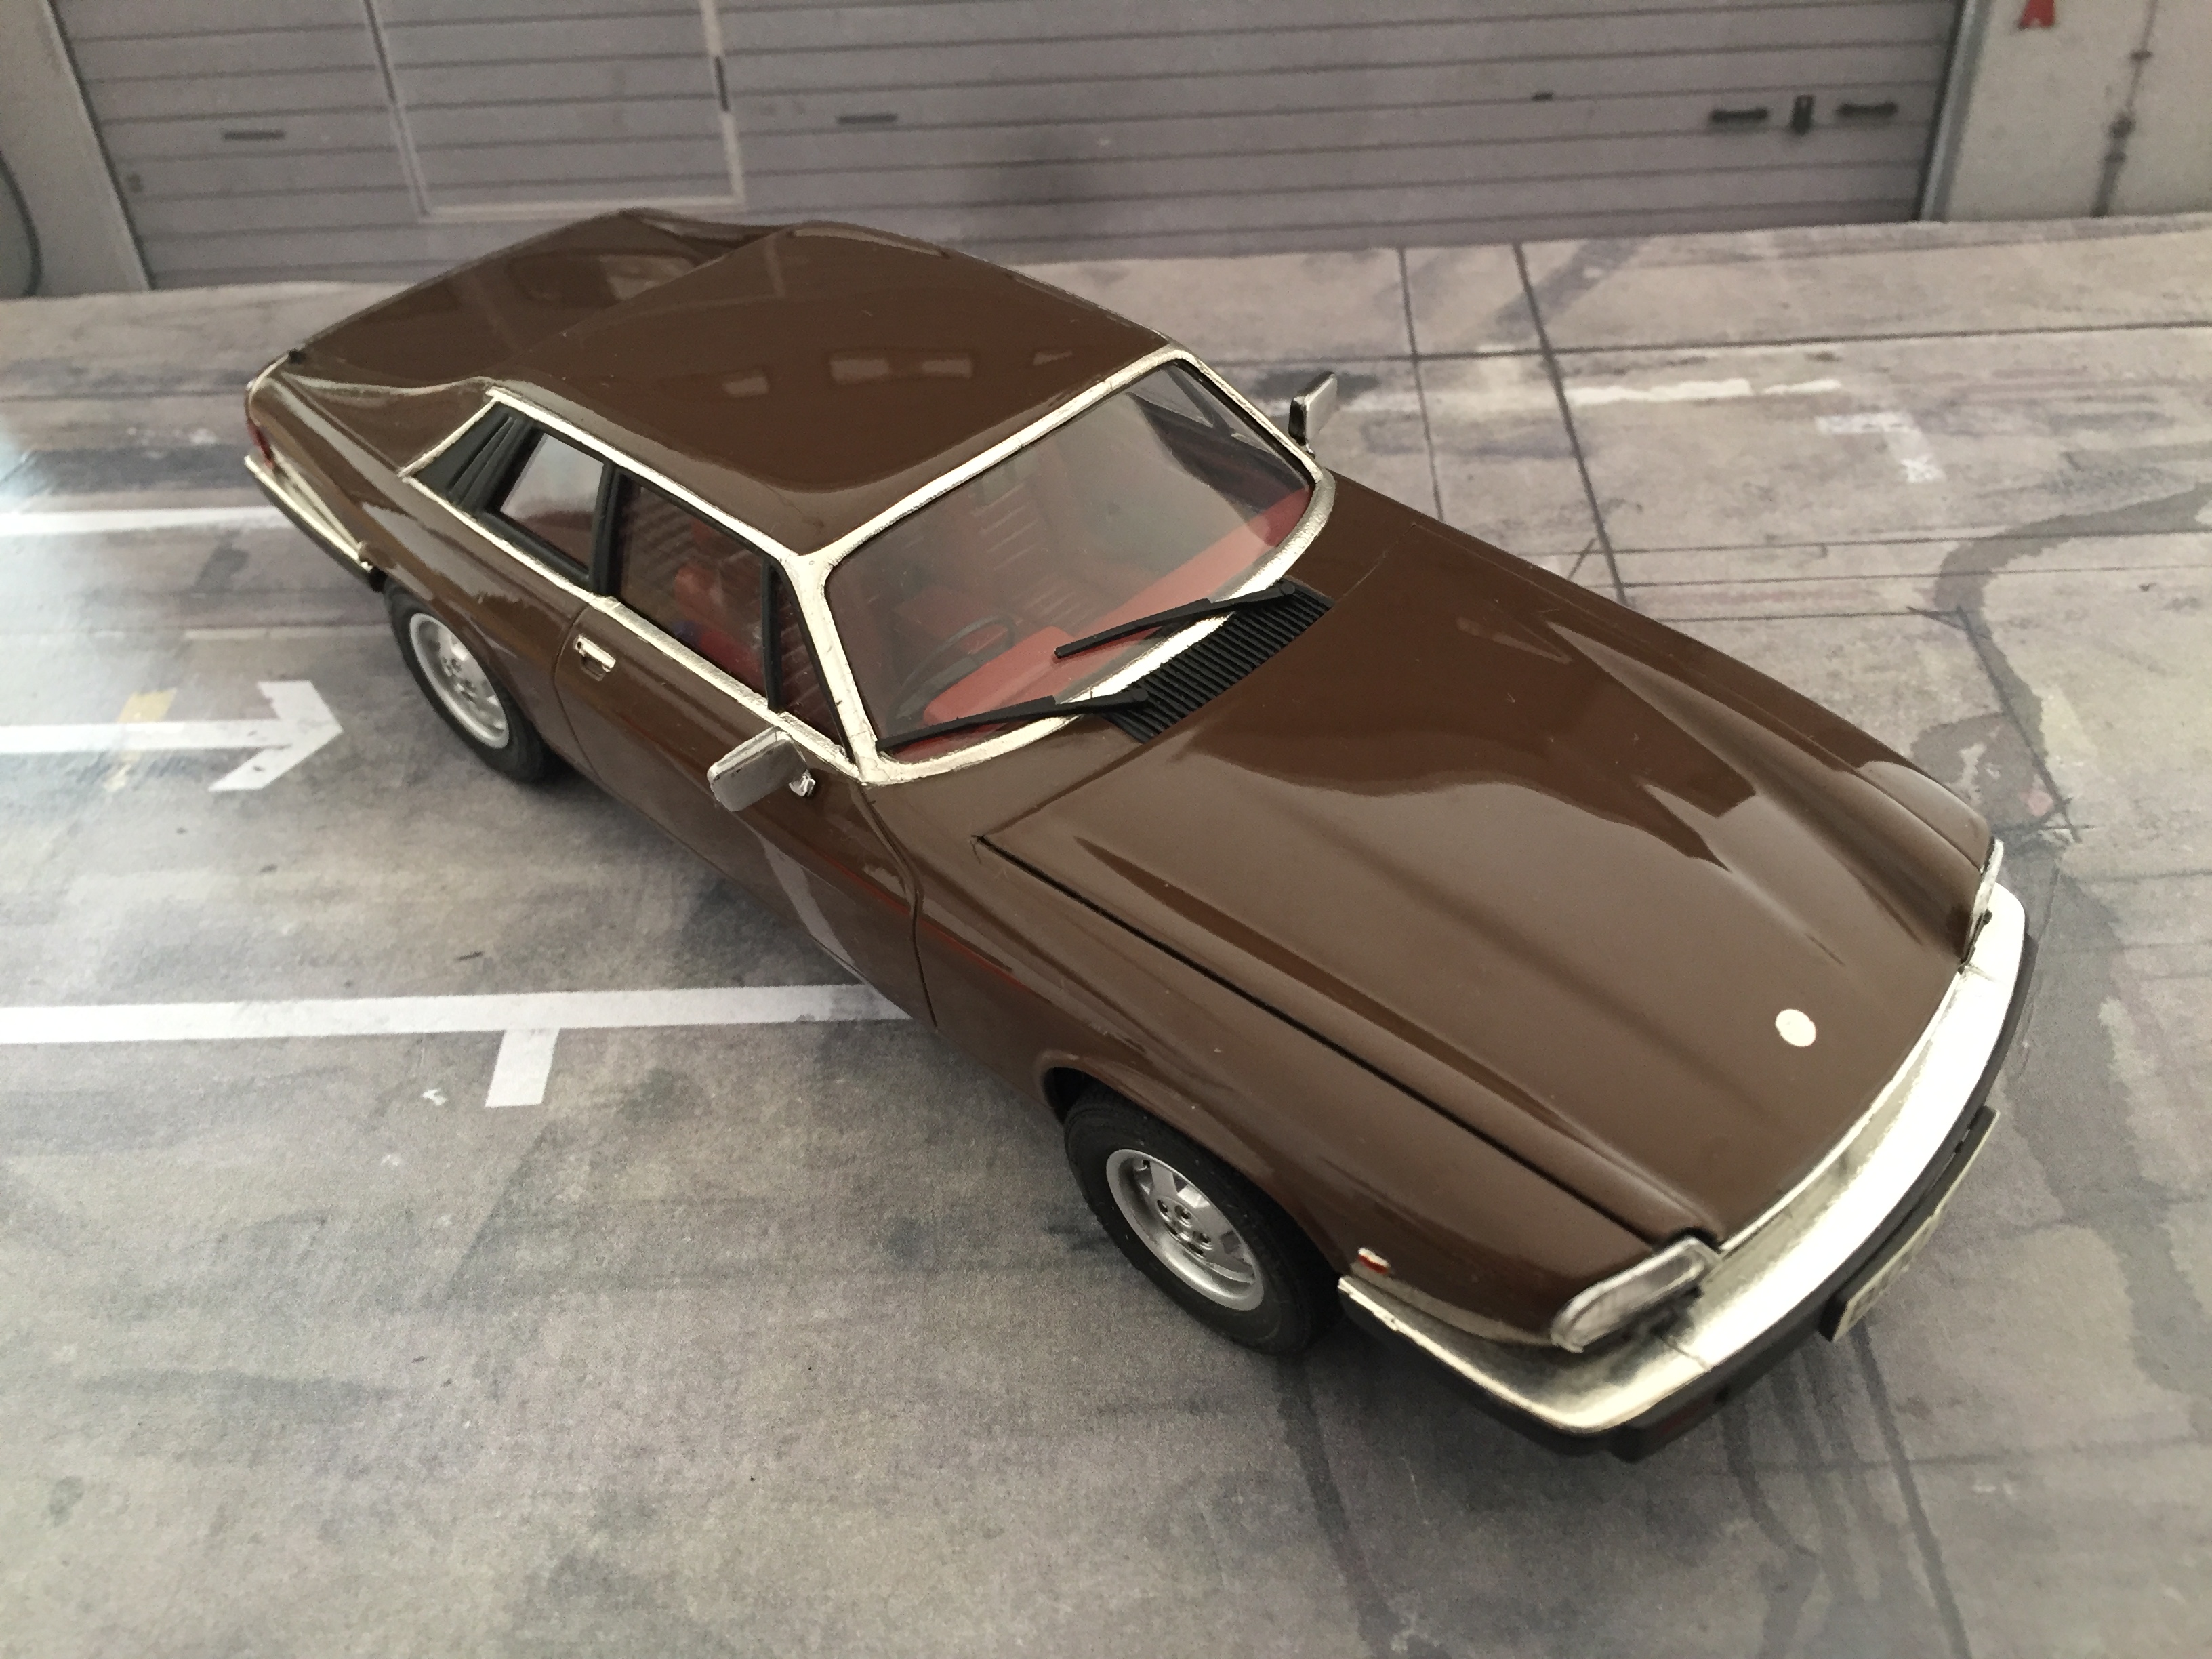
Thanks Dann. Happy that we all seem to agree that the metallic brown is a nice color for this car. But it will look great on almost every car. Brown is a widely underrated color imho. I saw images of a Countach LP 400 and a Huracan in similar colors. They looked great too! Btw, some time ago I did a Jaguar XJ-S V12 in (solid) brown... Thanks to you too, David. You should build the kit, it's very easy and nice to do, and it has a perfect stance box-stock! Yeah, we know where that ends, Dann. Boomerang Spyder...
-
Great model Ludwig... I have that kit in my stock in the "contemporary custom" version. The only thing I don't really like is the rather thickish antenna rod.
-
Very clean build!
-
I was rather thinking of replacing the whole rear window with a piece of clear sheet, which is what I'm planning to do on my 964 RS 3.8. Shouldn't be an issue give the rather straight shape of the window. There is a guy called Alex G. on scalemates.com who did quite an interesting WIP on the Fujimi kit. He replaced the window too and it looks good. https://www.scalemates.com/profiles/mate.php?id=12266&p=albums&album=31587#66
-
Yellow is a good choice. Would make for a nice contrast with a dark interior color in this OPEN car! By the way, did you guys ever see one drive, I mean REALLY drive (very sorry, it's a RED one, Dann...)?
-
Great result Will! Yes, the rods could be a tad smaller but looking good anyway... Pushing parts in from the other side is a great technique, I think. It works well with all kinds of buttons on dashboards etc. (Needless to say, it wasn't me who figured that technique out...)
-
Maserati Boomerang - restoration of my 90's build
Tommy124 replied to Tommy124's topic in Model Cars
Thanks Bill and I agree with you about the work of Giugiaro. The car was actually kitted by several companies, such as Heller and Airfix (identical kit in 1/24 scale) plus Aoshima and Revell (identical kit in 1/16 scale). Whereas the 1/24 kit maybe has some 40 parts, the 1/16 is rather detailed with around 150 parts. -
Tamiya 1/24 Mazda Savanna RX-7 - 1st Generation Rotary Rocket
Tommy124 replied to Italianhorses's topic in WIP: Model Cars
Agree with you Dann. Plus I think the structure and thickness of the tape in use is a bit out of scale. I use white Leucosilk tape (medical tape for fixing bandages etc.) and color that up using a marker. Very easy to do. https://www.voelkner.de/products/266758/Soehngen-1009210-Leukosilk-5m-x-2-50cm.html -
Great work JC. The Porsche looks already so "race"... And this is a great idea, if you don't want to replace the rear window glass with clear sheet. However it still has that rear window heating structure in it...
-
BORING! Another one of those ordinary Ferrari 288 GTO Mondial builds... Wait! What did I just say? Of course it's not a Mondial, as it's not a 2+2 seater... So shall we call it 288 GTS? A great idea and stunning SB work so far, Dann! Looking forward to see more...
-
Maserati Boomerang - restoration of my 90's build
Tommy124 replied to Tommy124's topic in Model Cars
Thanks. You're right about the glass, although this recess is probably due to the body being paint-stripped once too often... I thought about replacing all glass parts by transparent sheet for a minute and the roof and windscreen glass wouldn't have been a problem at all. However, the 2 contorted glass parts per each door window would have been a problem, especially given the issues with the horizontal door bar which I mentioned earlier on. So I accepted the compromise and as this is rather a rare kit nowadays (worth saving), I'm basically fine with that. -
Hi Will, I agree, this is looking good. Tamiya brakes look better stock-box than some fancy PE upgrade parts... Good idea about using the drill for the buttons, but why not go all the way? For the colored buttons (yellow, white, blue, red) you could drill the hole through. Then push an Evergreen round rod painted (before) in the right colors from the bottom into the hole just enough to make it look like colored buttons... What do you think?
-
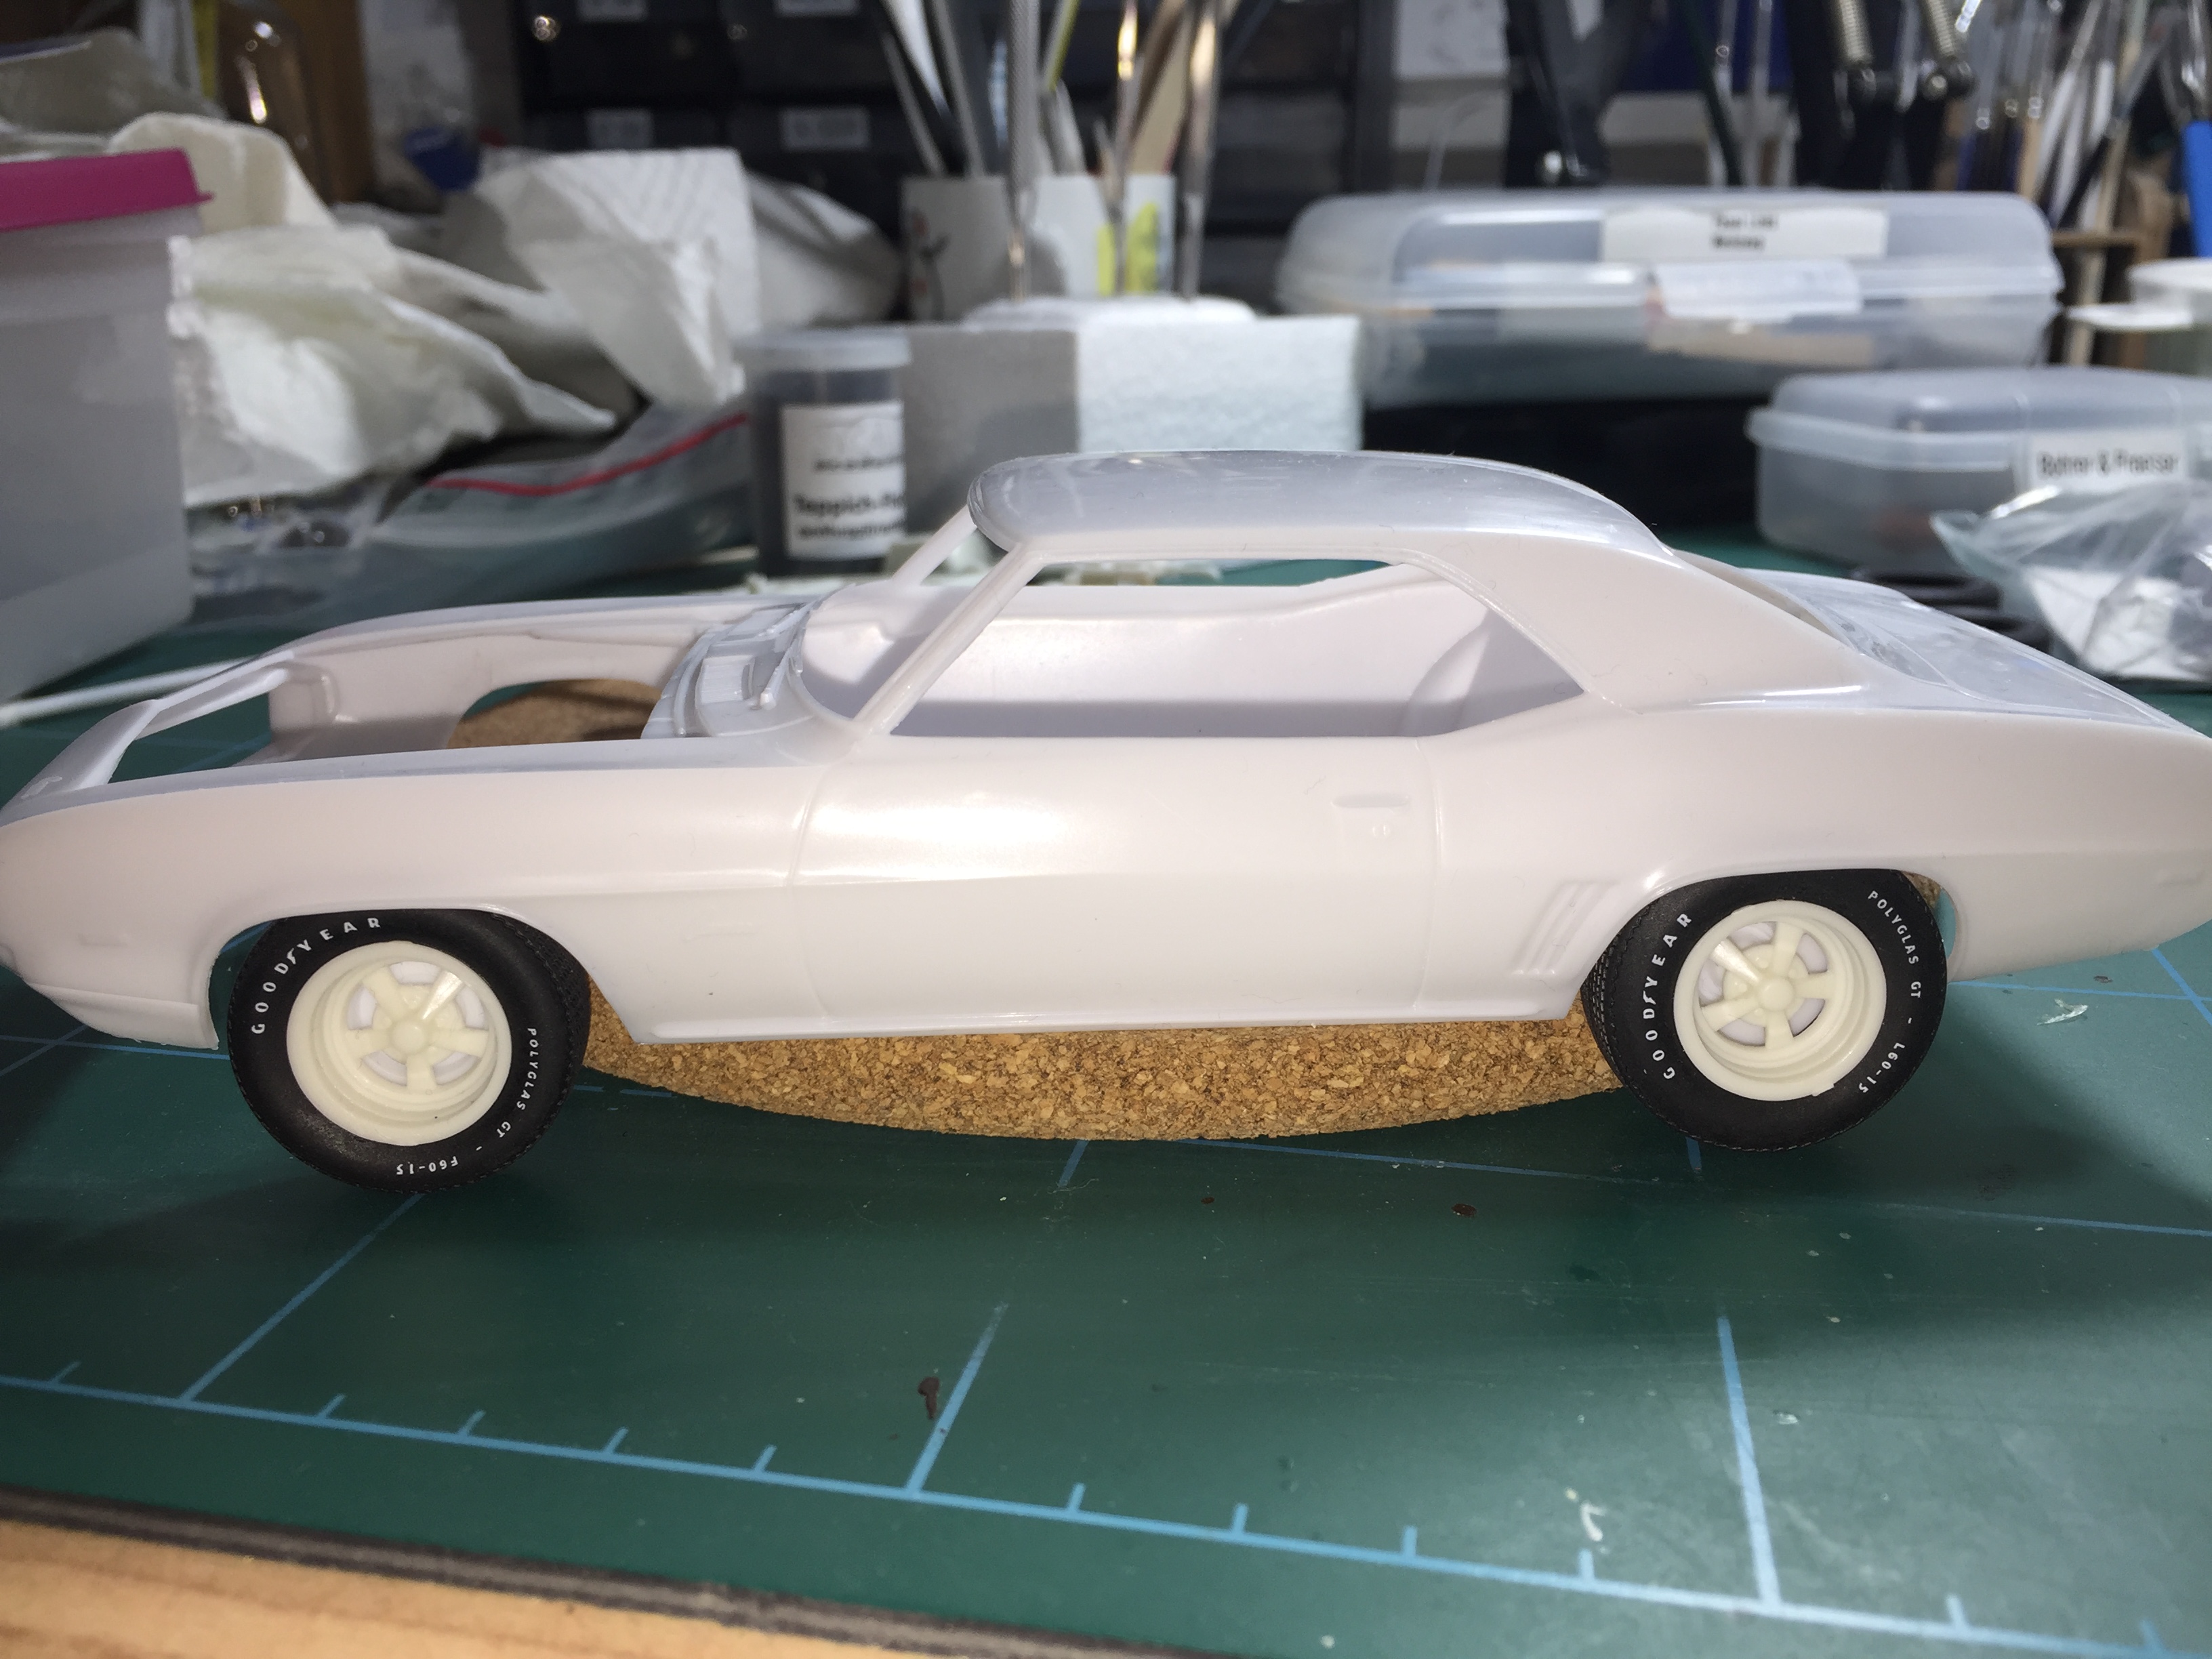
It's actually on hold for now... The adaption work on the wheels became a bit annoying at some point, so I "boxed" it in order to finish it later on. Working on a muscle car from my birth year now...