NOBLNG
-
Posts
10,231 -
Joined
-
Last visited
Content Type
Profiles
Forums
Events
Gallery
Everything posted by NOBLNG
-
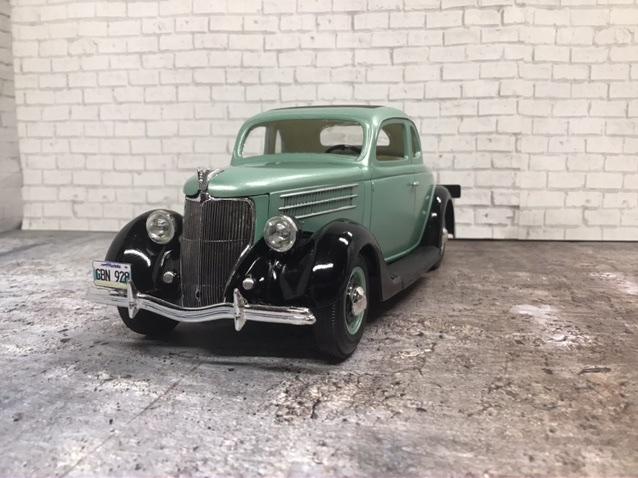
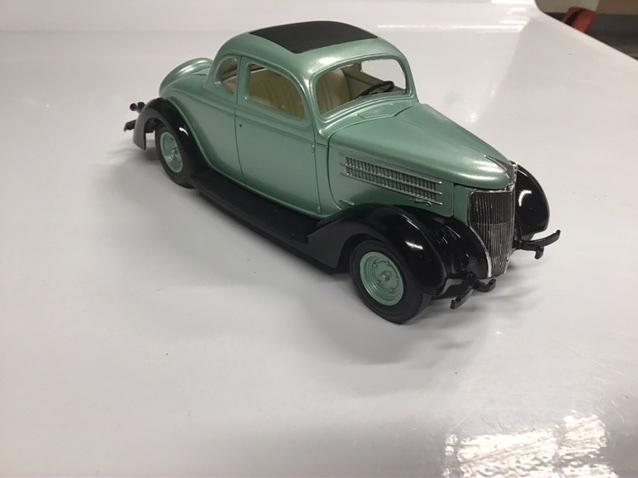
I’m calling this one done. I used epoxy to mount the headlight buckets since they seem to need to lean out a bit to clear the hood. The mounts molded to the fenders should have been slightly farther apart? I also made some taillight lens from clear red sprue because there were none in the kit. Under glass pics: http://www.modelcarsmag.com/forums/topic/156196-amt-‘36-ford/

-

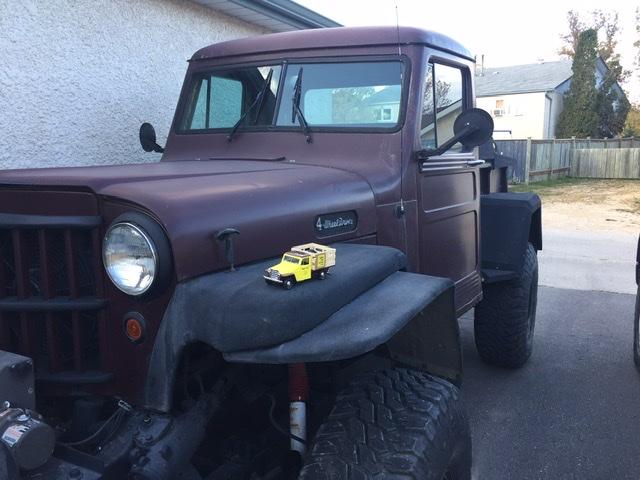
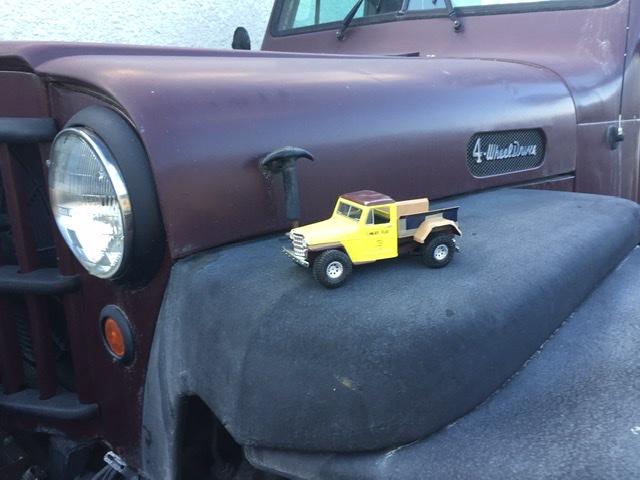
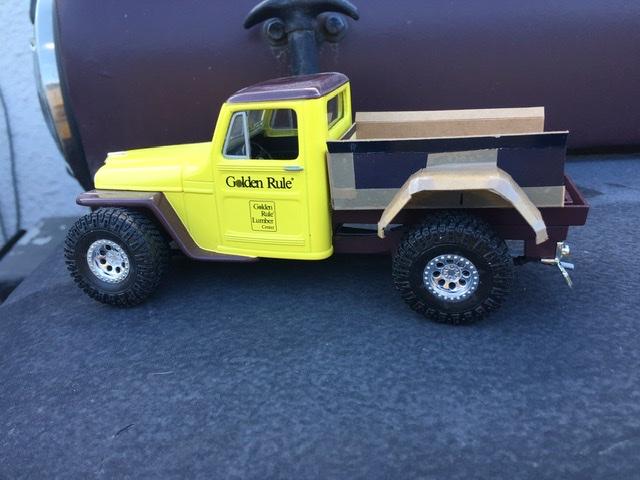
‘54 Willys P/U
NOBLNG replied to NOBLNG's topic in WIP: Model Trucks: Pickups, Vans, SUVs, Light Commercial
The main thing I want to do to the cab is fix that awful windshield somehow.? -
I want to build a replica of my truck which is on a Chevy Blazer frame. It may be a little early to start a build thread on this, as I don’t intend to get seriously into it just yet. But I think it’s going to be a lonnngg winter. ? Just a couple teaser pics with a cardboard box I made to get an idea of the proportions. And the possible donor kits so far? Comments welcome as always.
-
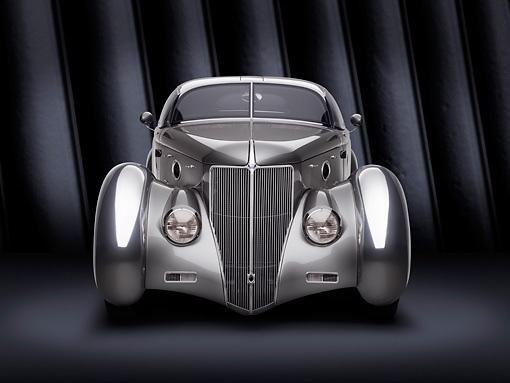
I just came across this while surfing. Wow! What a beautiful car. I’d love to build one, but it’s way beyond my skill level.? https://www.hotrod.com/articles/eric-zausners-1936-ford-roadster-blends-the-elements-of-a-hot-rod-sports-car-and-fighter-plane/
-
Some nice looking kits here. I will have to keep my eyes open! Thanks.
-
-
Yeah, and if you could put a pin in each of the broken edges before casting the new part in place, it would add strength.
-
What are some really nice kits of cars or trucks from the 30’s and 40’s ? I know most of them are likely very old tooling and some are not true to the 1:1 version. Can anyone recommend some really good ones, post 1932 ish? Thanks, Greg.
-
Wow! Absolutely stunning detail on that engine!
-
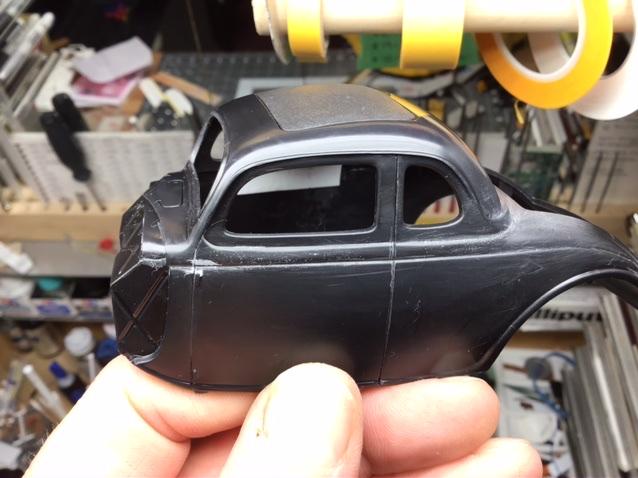
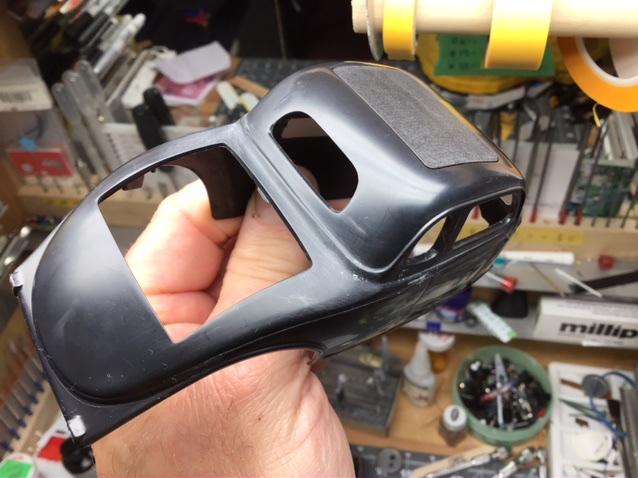
The biggest reason I went with the sprue glue, was that the fit was so poor that I wanted a structural fix. I figured that regular putty would stand a good chance of cracking later. I also reinforced the joint below the side windows with some thin styrene sheet. Once the sprue shmoo is built up enough and completely dry, it is styrene, and just a matter of carefully filing it to shape.?
-
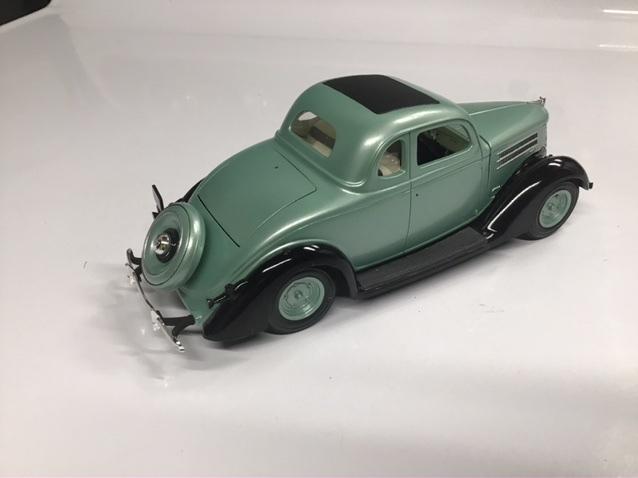
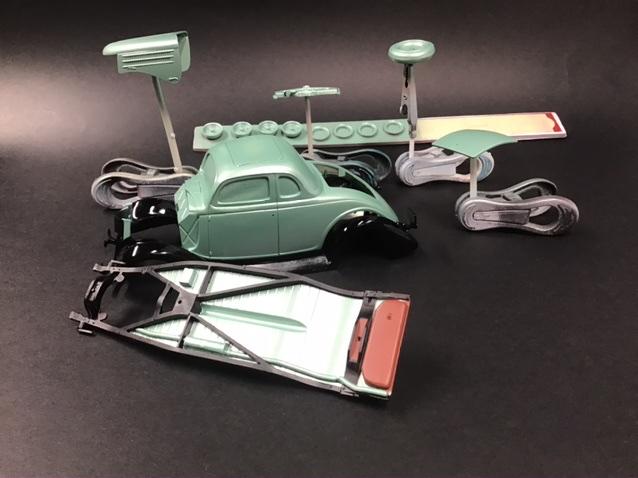
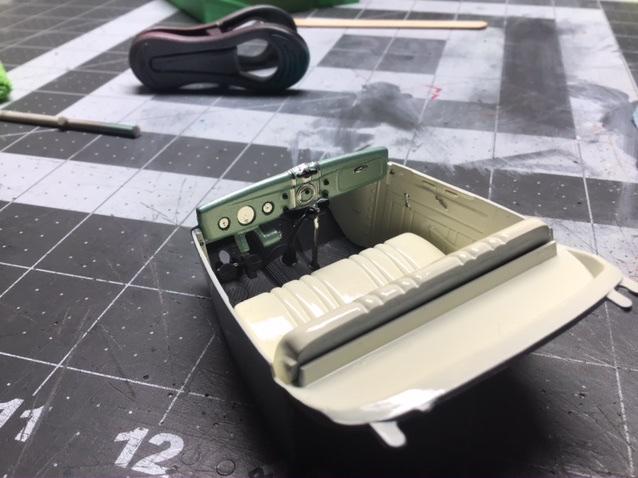
Getting nearly done. I separated the steering column from the steering box so that I could install the upper section and steering wheel in the interior before adding it to the body. There is a small gap at the steering box, but it really isn’t visible so I won’t worry about it.? The instructions show a gas cap on both tail light mounts. On the real car the filler is on the driver’s side, and the passenger side is actually a step pad for entering the rumble seat. I also made all new glass for it (except for the rear window) from .020 polyester sheet, as none of the two sets provided were close to fitting properly.
-
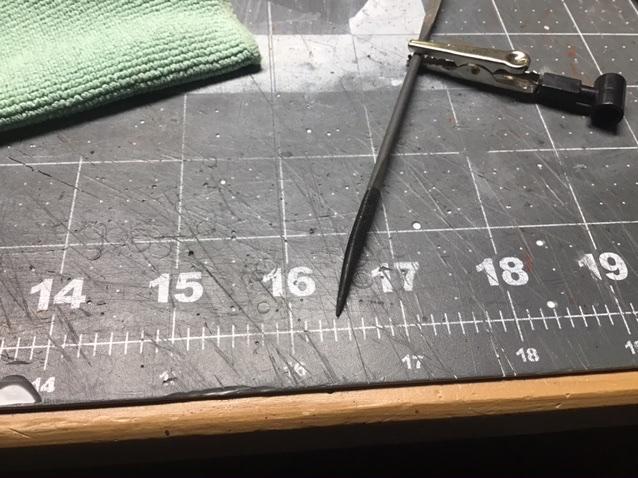
Are you hoping to repair it in place, or are you going to disassemble the model? I think some careful work with a 3 corner file and some sandpaper would be the easiest. The scraper method would work also, but it would be more work making the scraper than the part.?
-
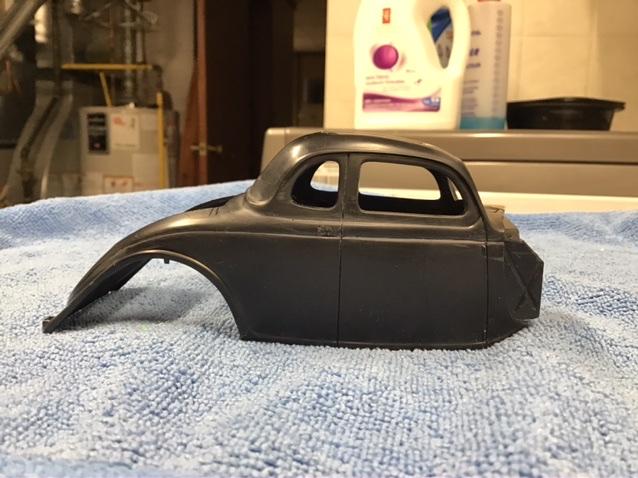
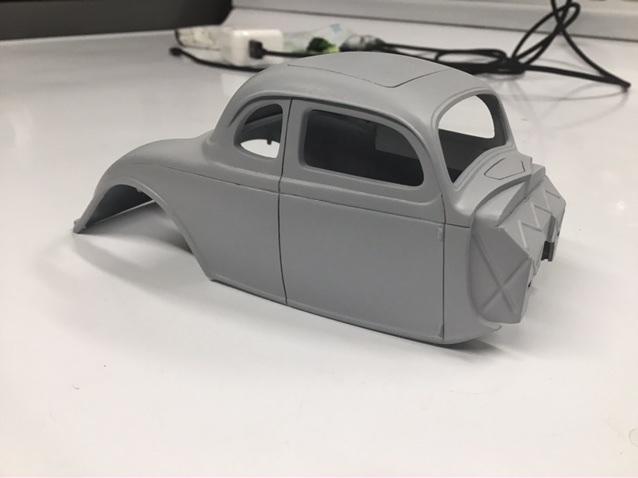
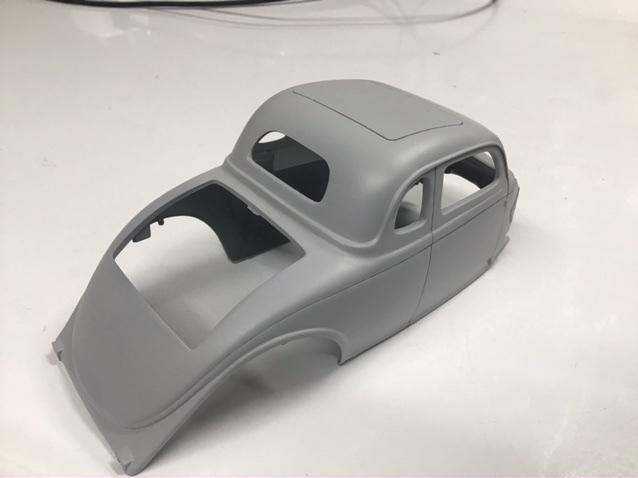
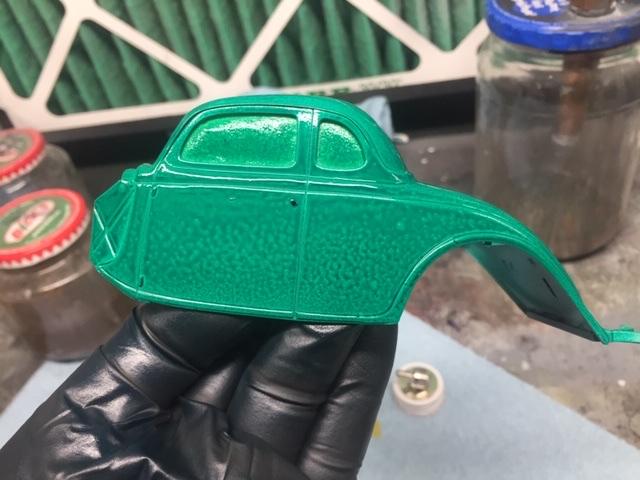
The pearl green covered the red-oxide primer in pretty much the first coat. The roof joint success I attribute to the “sprue glue” that I made up using sprue from the same kit. There were a few pinholes after shaping that I used tamiya putty on. The instructions show the roof going on as one of the last steps...how the heck could that ever be made to look good?
-
Then you are wasting paint or possibly dripping on something important.?
-
I have been getting the gigantic ads also.
-
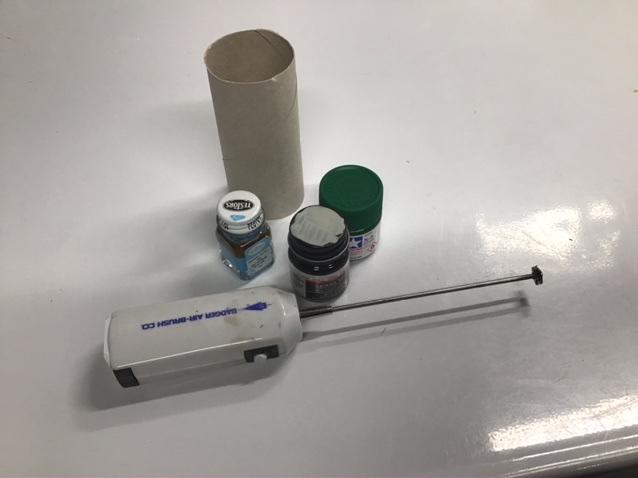
If you have a battery powered mixer you can put an empty TP tube over the bottle while mixing. That way, when you lift the mixer out you don’t spray little paint droplets everywhere. Using a mixer also keeps paint off the lids as opposed to shaking them, so the lids remain easy to remove months or years later.?
-
I’m guessing you would have to scratch make a new repair section from Sprue or styrene. Or possibly find another model to donate a chunk? I would file the broken ends flat with maybe a slight outward tilt so the new piece can be pressed in tight and glued with a small dab of thin cement. Others may have better gluing options?
-
So I decided to try this Tamiya TS-60 pearl green that I had sitting on the shelf. i decanted it, sprayed it through my airbrush and it went on absolutely beautifully. I think it would have sprayed just as nice right from the can, but i was worried about getting to heavy of a coat in the wheels.
-
Outstanding work as always! Lookin’ fine.
-
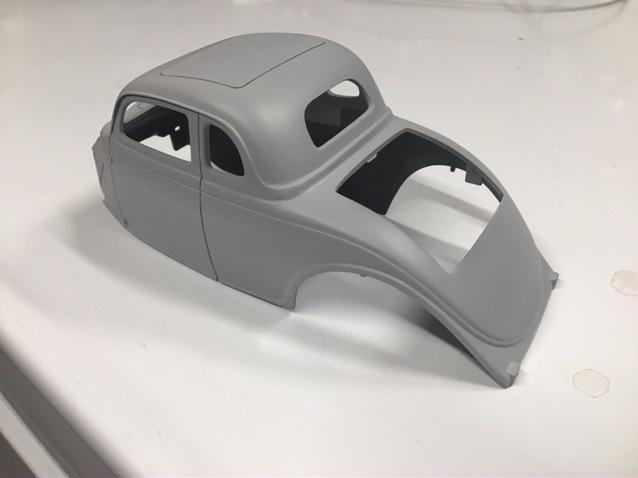
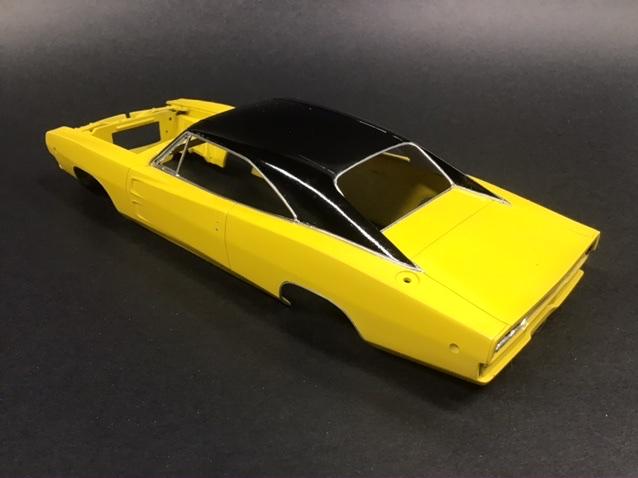
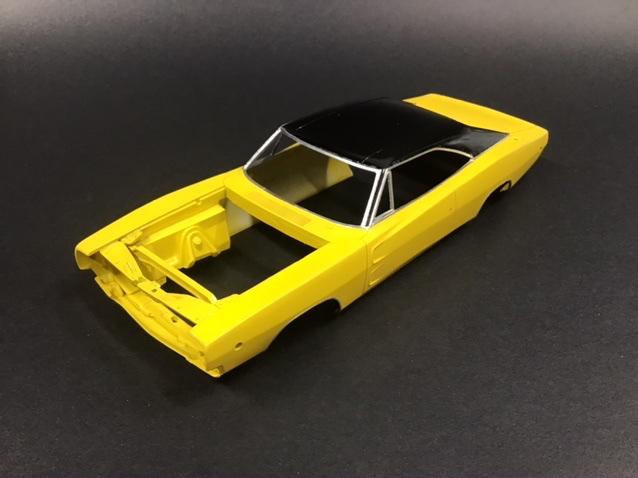
I’ve been fiddling with this one again while the charger dries. The body is sanded pretty much to shape and primed. I tried to paint it with Wicked Colors acrylic, but it just didn’t want to go on smooth, so into the purple pond it went. I tried some spoon tests later, but I didn’t get any results that gave me any confidence in it. Too bad since I have a few bottles of it and they have some very nice colors.
-
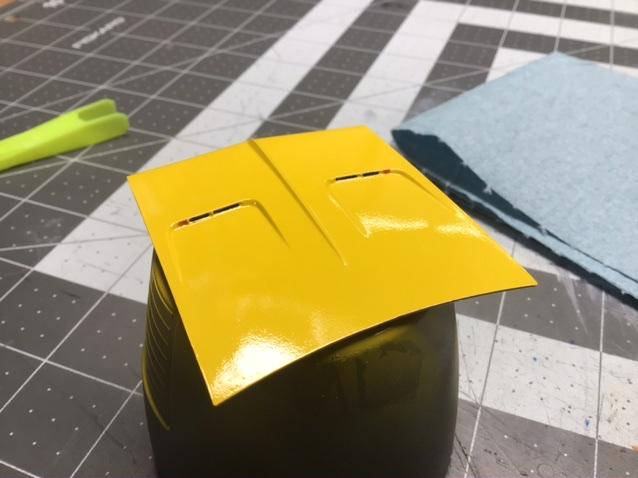
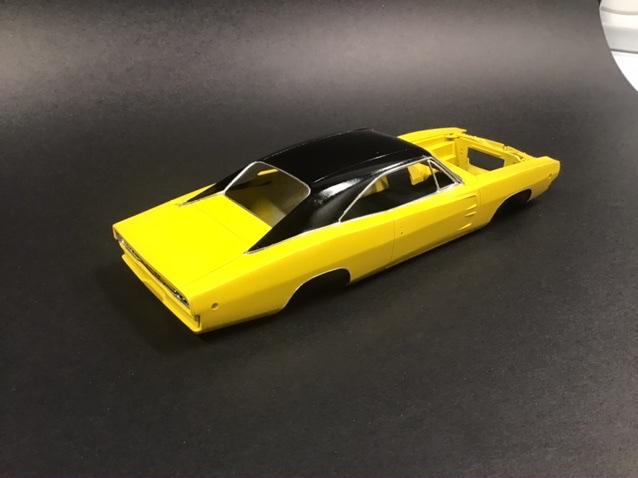
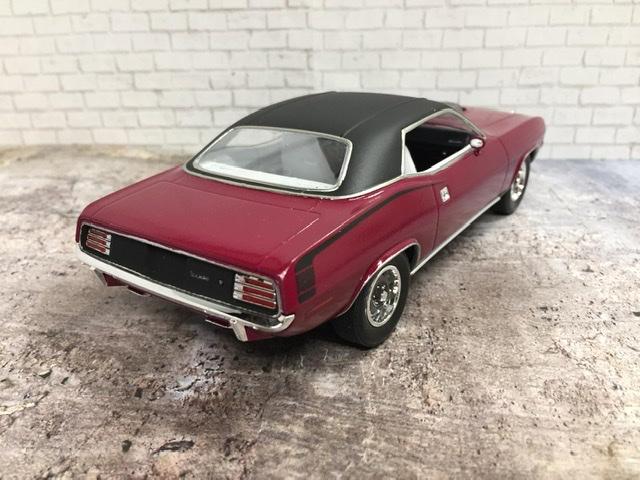
Thanks! So far this is just black laquer with a coat of Testors 1261 gloss clear laquer on top. Once the foil (done now in these pics) and the decals are on, I will coat the whole thing with more clear to seal everything. Then when dry I will mask it and spray Tamiya XF-86 flat clear on the roof section. I am certainly no expert on vinyl roofs, or anything else for that matter, but it looked OK on my ‘Cuda so I hope it works as well this time around.
-
Me too! I could spend hours wandering around looking at different vehicles, and imagining the possibilities.
-
This is looking fabulous Randy!
-
And if you’re not sure it’s ok for styrene, Do a test on some spare parts.
-
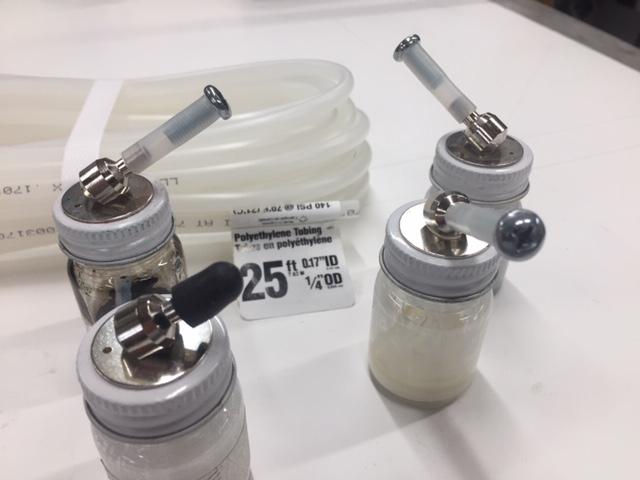
I made some caps for these Passche nozzles from .017” ID polyethylene tubing and a #12 machine screw. Incidentally, the Micheals bottles are a different thread than the Passche ones. However the smaller Passche bottles are the same treads as Model Master paints. FYI. And...I have enough tubing left over for a few more!?