NOBLNG
-
Posts
10,231 -
Joined
-
Last visited
Content Type
Profiles
Forums
Events
Gallery
Everything posted by NOBLNG
-

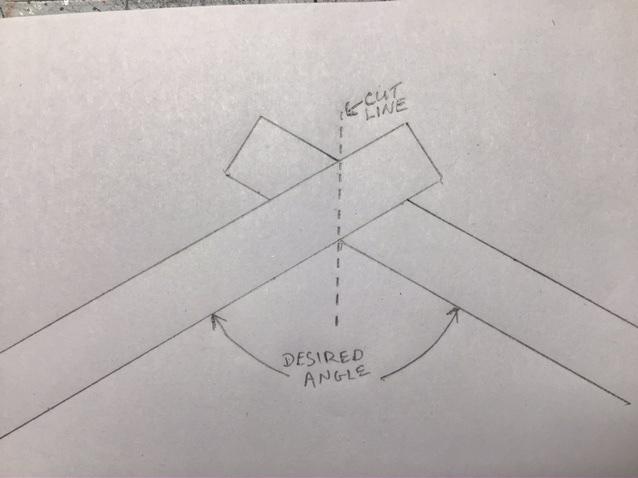
Cutting angles on a flat sheet.
NOBLNG replied to porschercr's topic in Model Building Questions and Answers
I would hang the piece over the edge of your bench and file the angle you need. Use a very large flat file held at the angle you need and file inline with the edge, not across it. This will give you a flat and straight angled edge. Cut the second piece wider than needed and glue it on protruding a little above the top piece. When dry, sand the edge down flush. This way, you are only dealing with one angle. Someone may have a different method? Good luck.
-
Cutting angles on a flat sheet.
NOBLNG replied to porschercr's topic in Model Building Questions and Answers
Thin flat strips can be overlapped and Chopped at the inside and outside intersections to get a symmetrical joint...if that’s what you’re after?
-
Super slick looking.
-
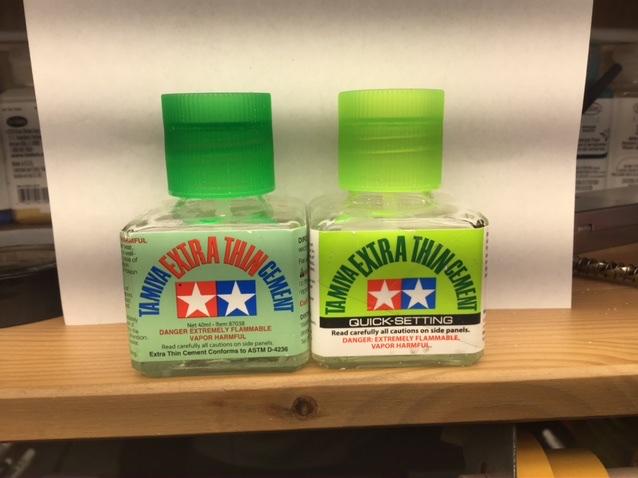
They make a quick setting version that is my favorite.
-
1/25 cables for Tow Trucks?
NOBLNG replied to Andrew D the Jolly Roger's topic in General Automotive Talk (Trucks and Cars)
Braided fishing line may work? -
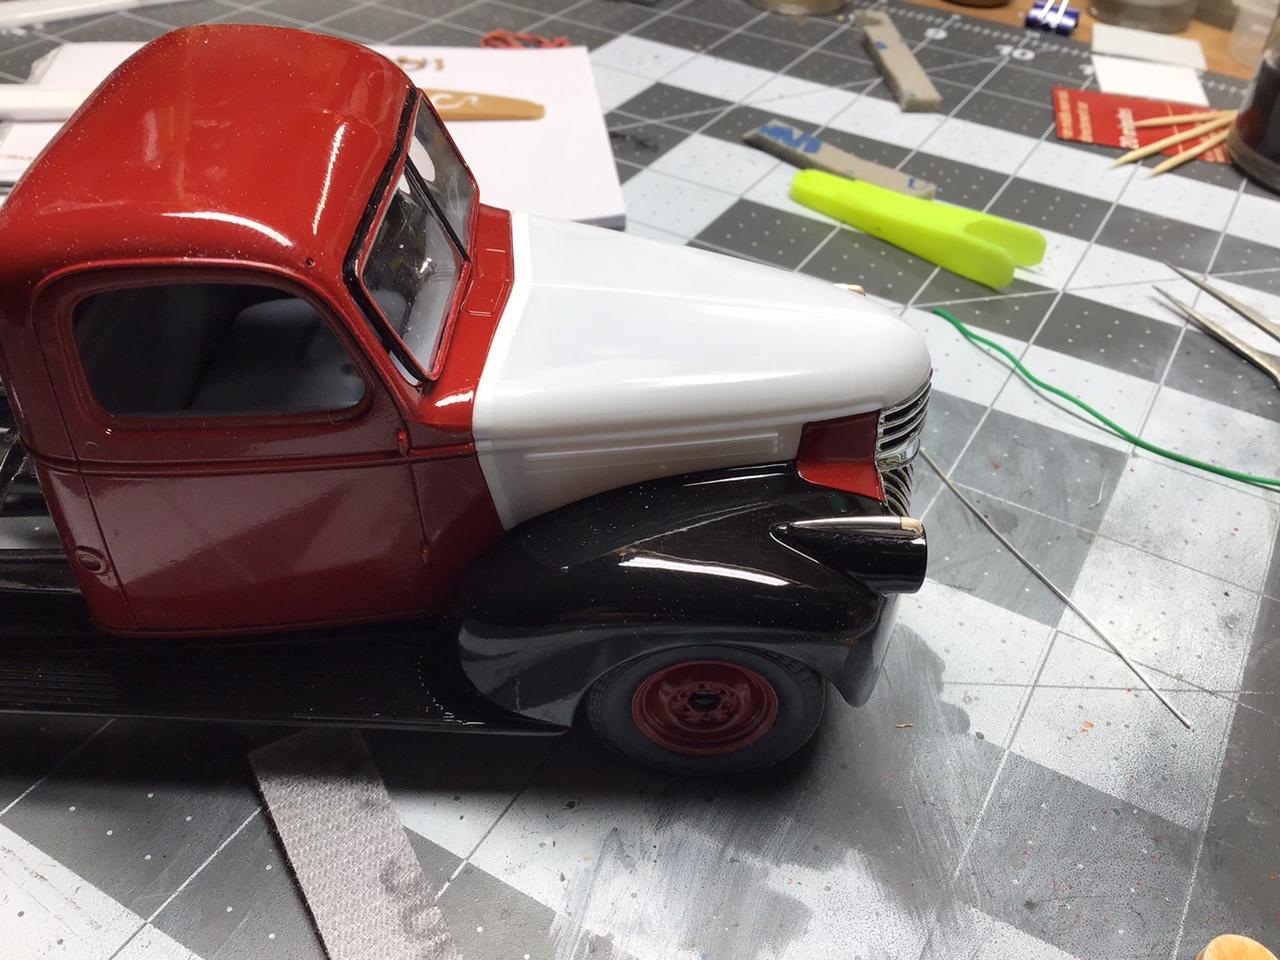
I would also use Tamiya extra thin. Rather than trying to glue two thin edges together, I lengthened this hood by glueing a wider strip flat to the back edge, forming a “T”. Once it was thoroughly dry, I filed and sanded the inside and outside down to the same thickness as the hood.
-
That is truly an exceptional build...amazing!
-
What more can I say...it’s beautiful!
-
That is one sweet looking ride!?
-
Wow, that is some slicing and dicing going on there. Looks good. Keep it up,?
-
Beautiful job on this. What kit was it?
-
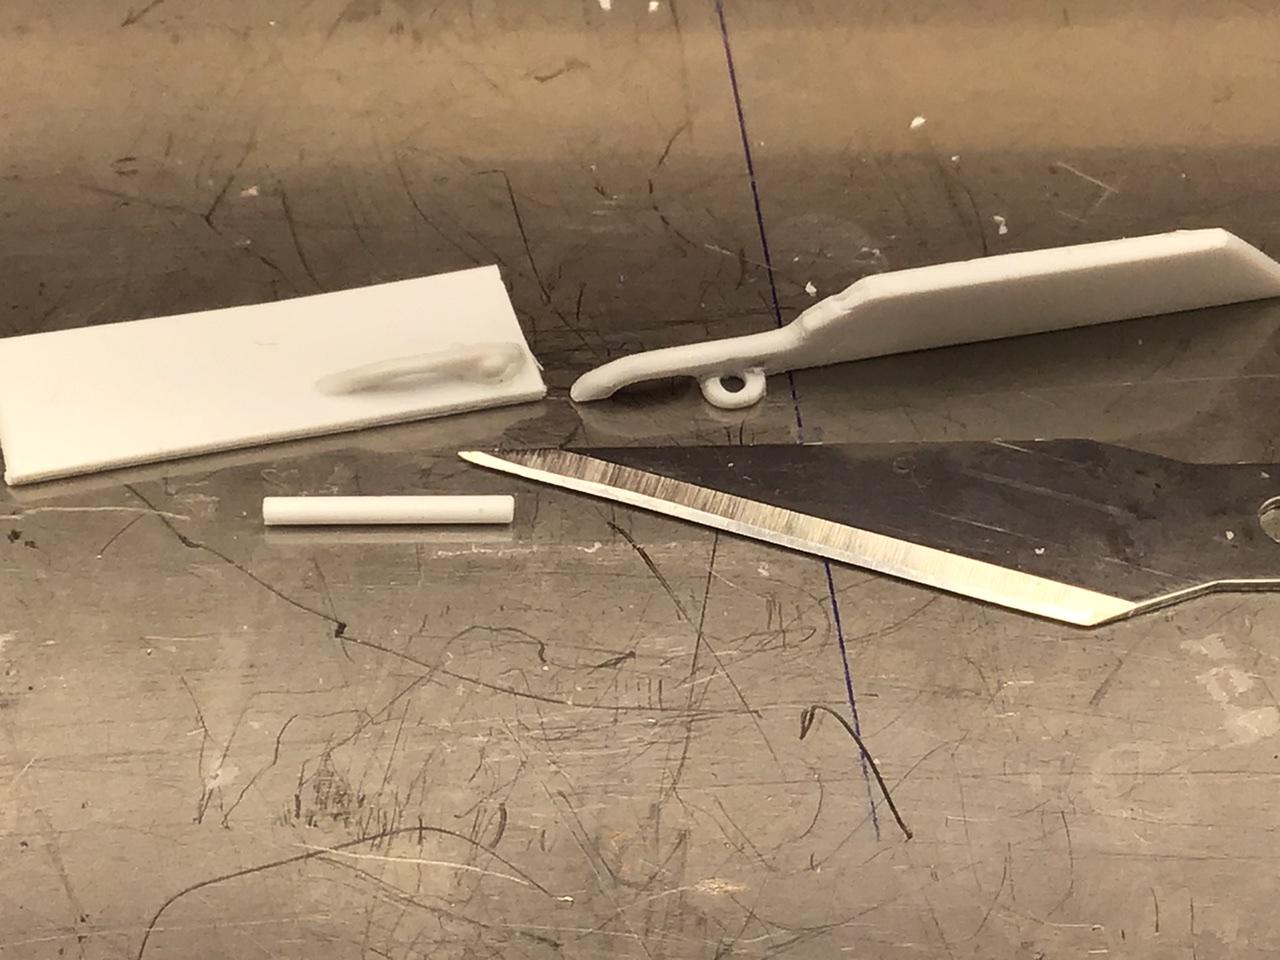
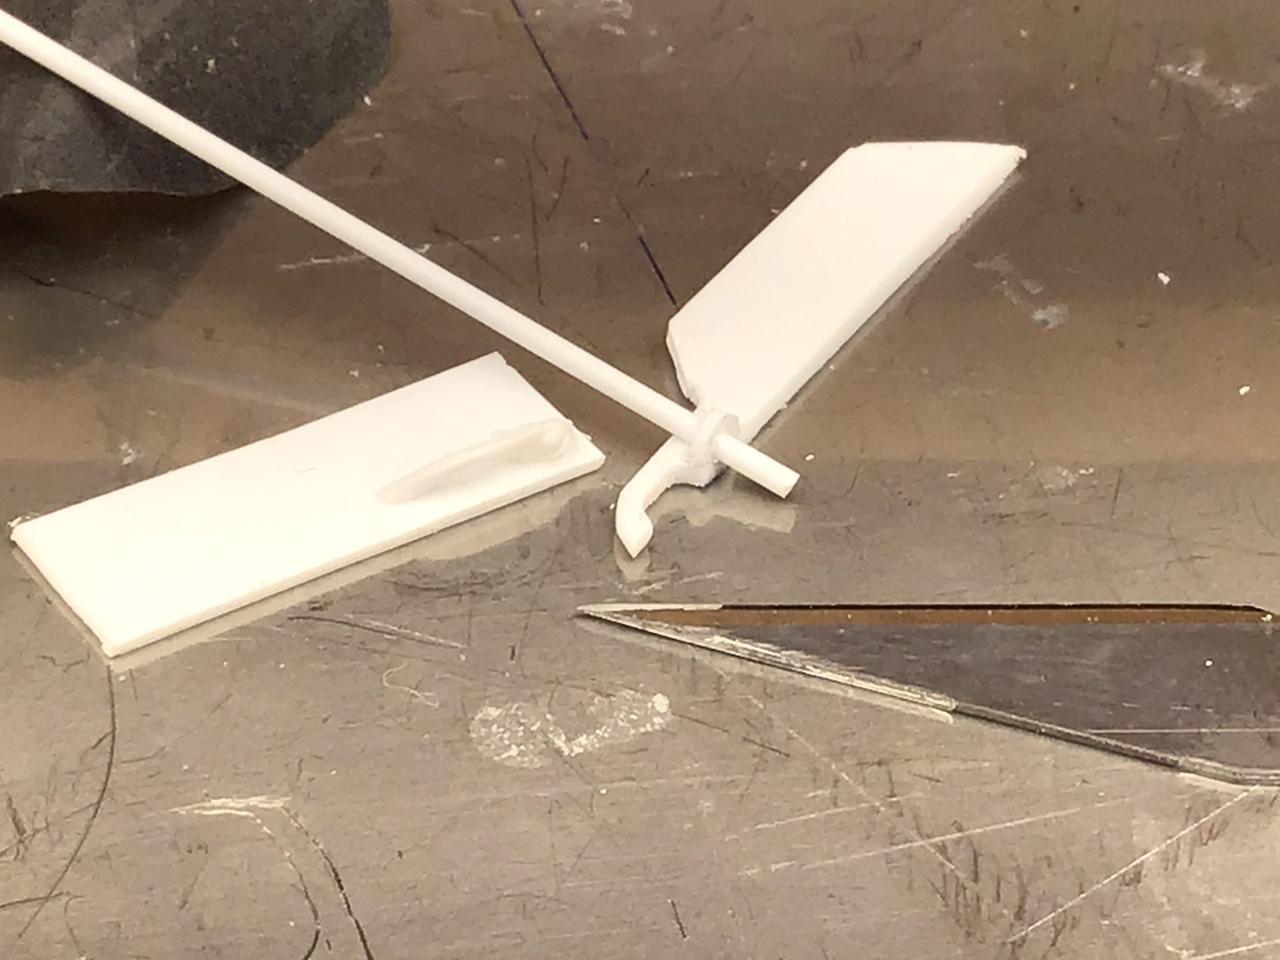
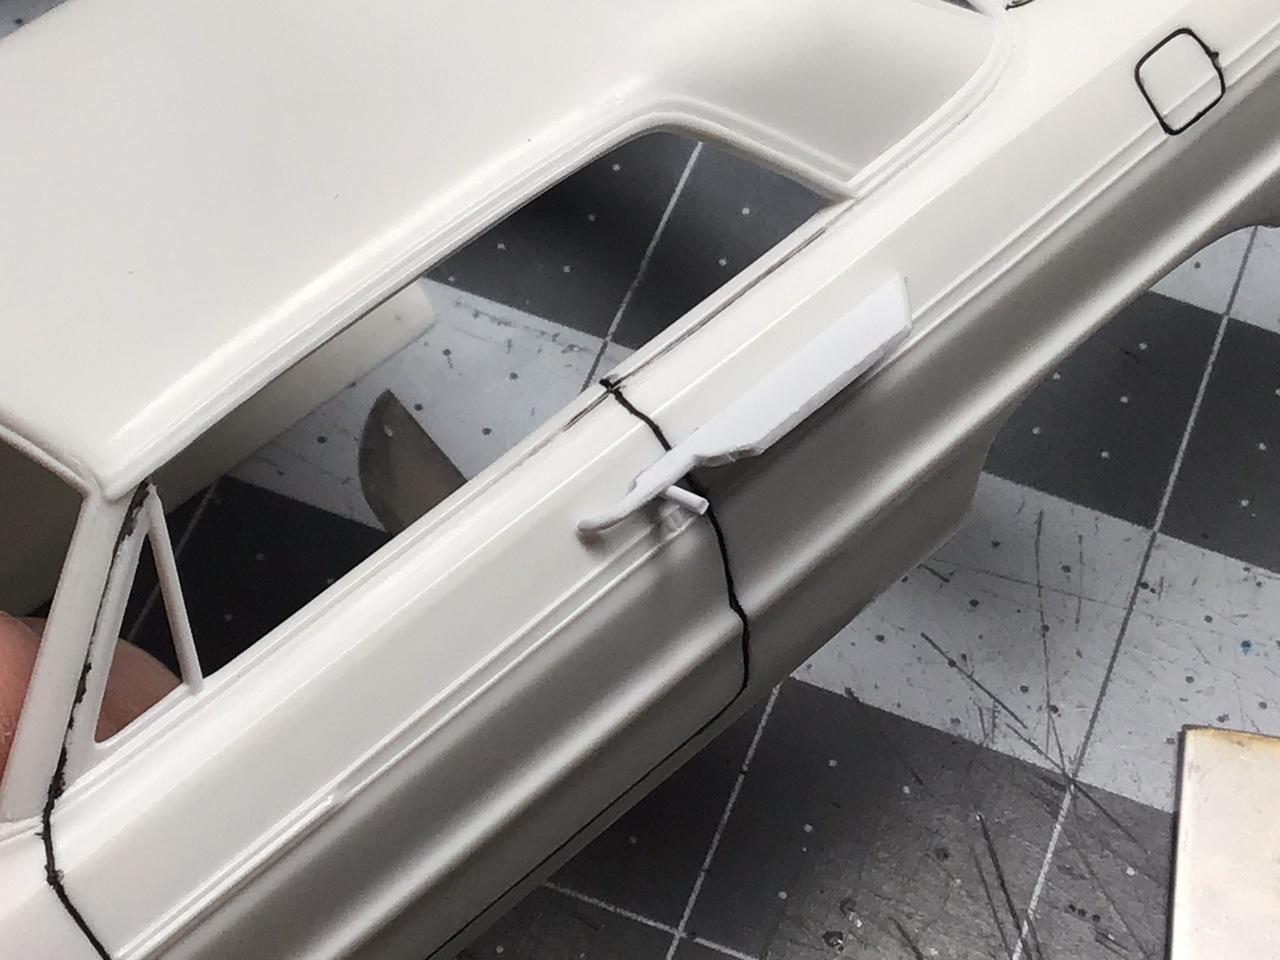
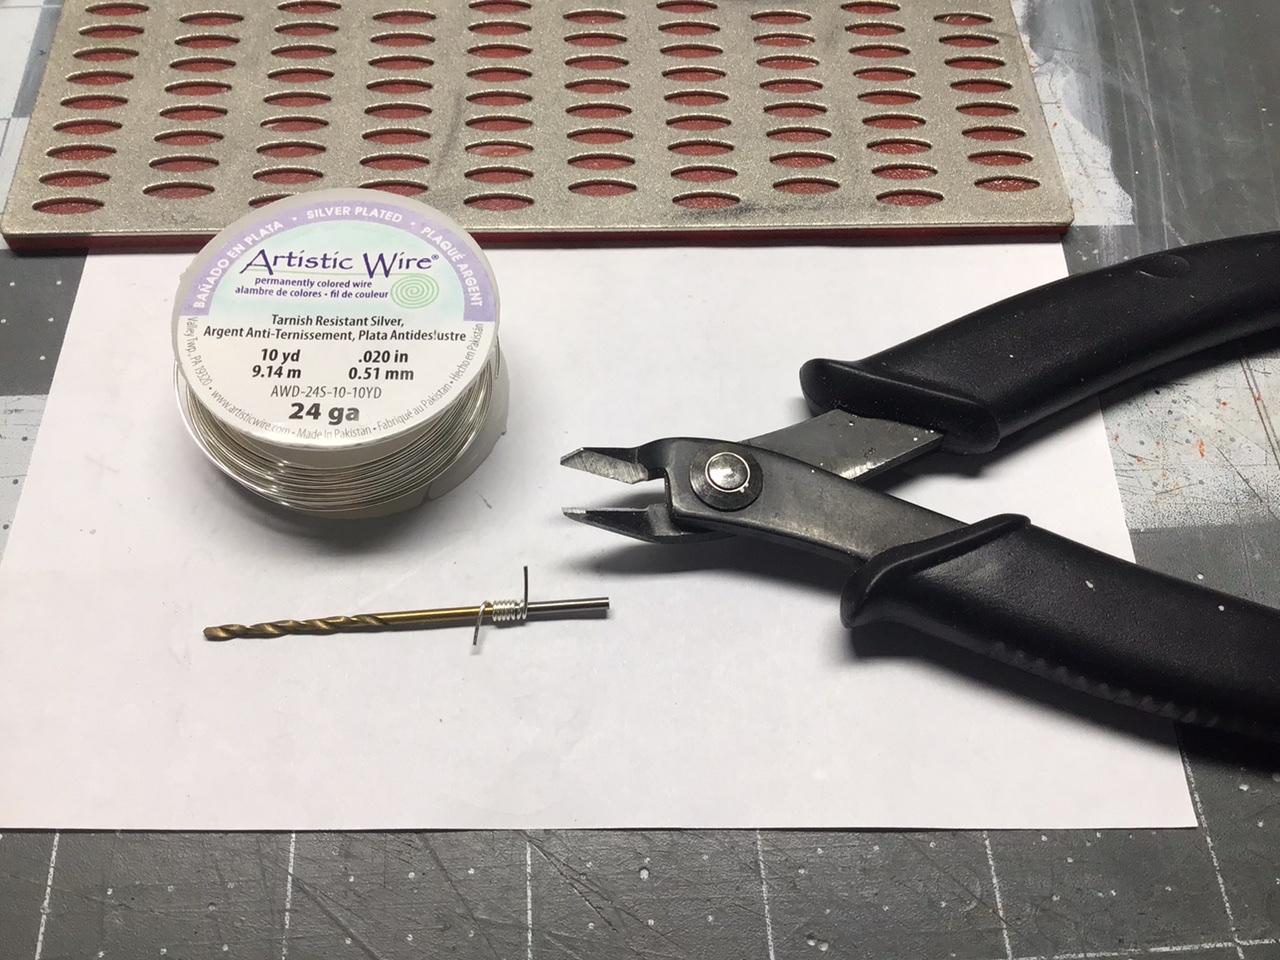
The door handles on this kit have a lot of flash and a sink mark on both of them. They also sit at the wrong angle on the door. I stripped the chrome and glued them to some .030” styrene So I could reshape the angle. I want to pin them, but they are so tiny!? I decided to try to make some from scratch and use some .040” round for the button and pin at the same time. (I know I can buy resin ones)This is the beginning of my first attempt.
-
Actually this method could be used for any round bezel...headlights, tail lights, guages. You just need the appropriate size wire and drill bit.?
-
Thanks Alan, that makes me feel a lot better about using the stuff. My preliminary experiments with solder have been a total failure, (as predicted) but hey, I had to try. Your job looks great!
-
1957 Suburban Canine Unit
NOBLNG replied to Tom Geiger's topic in Model Trucks: Pickups, Vans, SUVs, Light Commercial
Nice job! What did you use for glue and filler on the toothpick mods? -
Congrats! Beautiful car.?
-
They don’t appear to be cracked, but they are very old and very thin. The tiny round one that goes on the rear speaker came apart while trying to position it. I‘ve got one shot at applying these, so I’d rather be safe than sorry. I assume that the Microscale liquid decal film is compatible? Thanks.
-
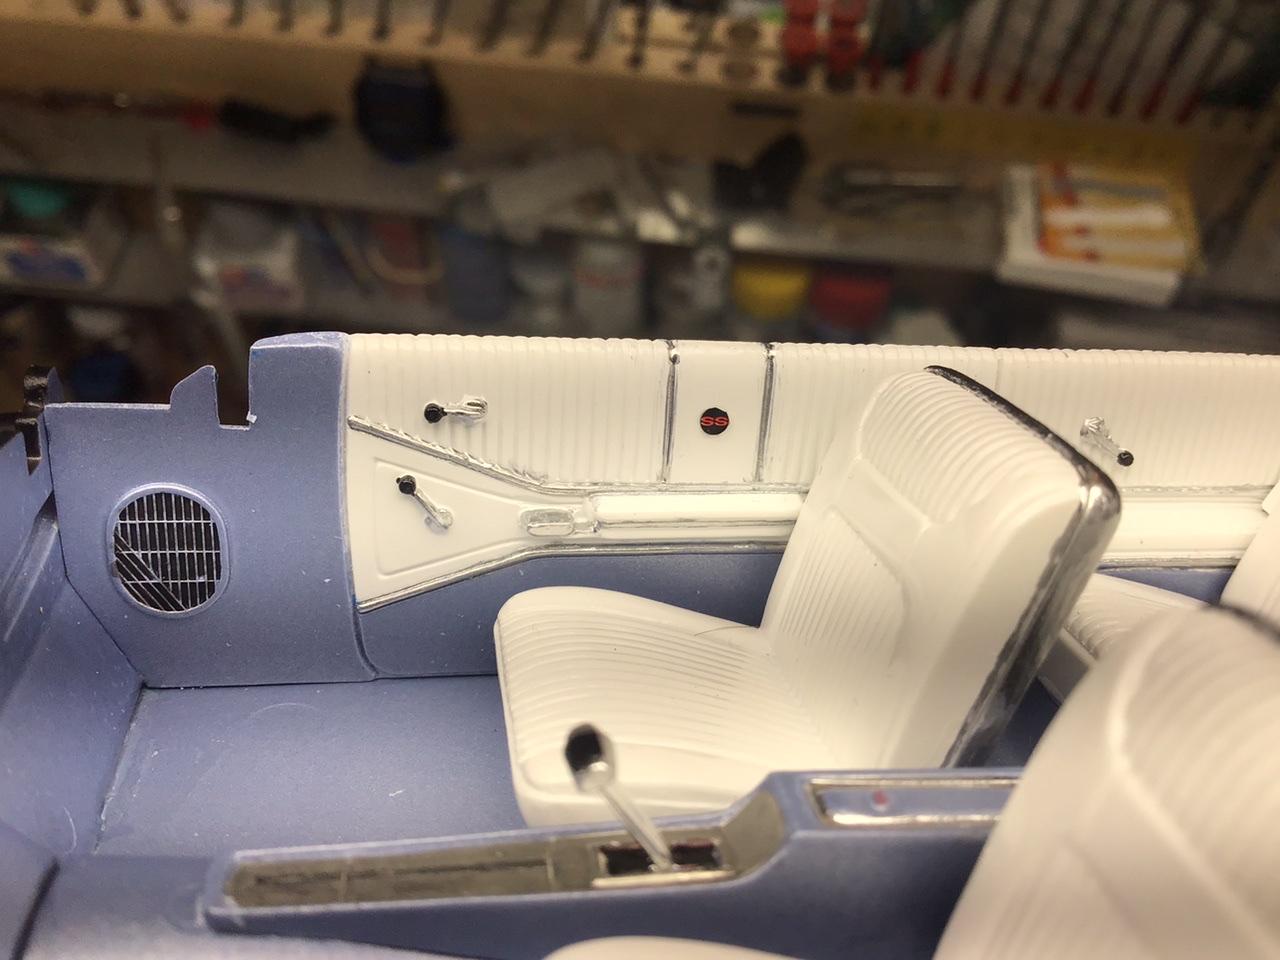
Thanks. If I had applied embossing powder to simulate carpeting before spraying the pearl blue, I think it would look fantastic. But since it is a hardtop it’s barely visible after assembly. I will definitely do it on all convertibles from now on though.
-
Very nice! I owned a ‘74 once with a straight 6 and auto.
-
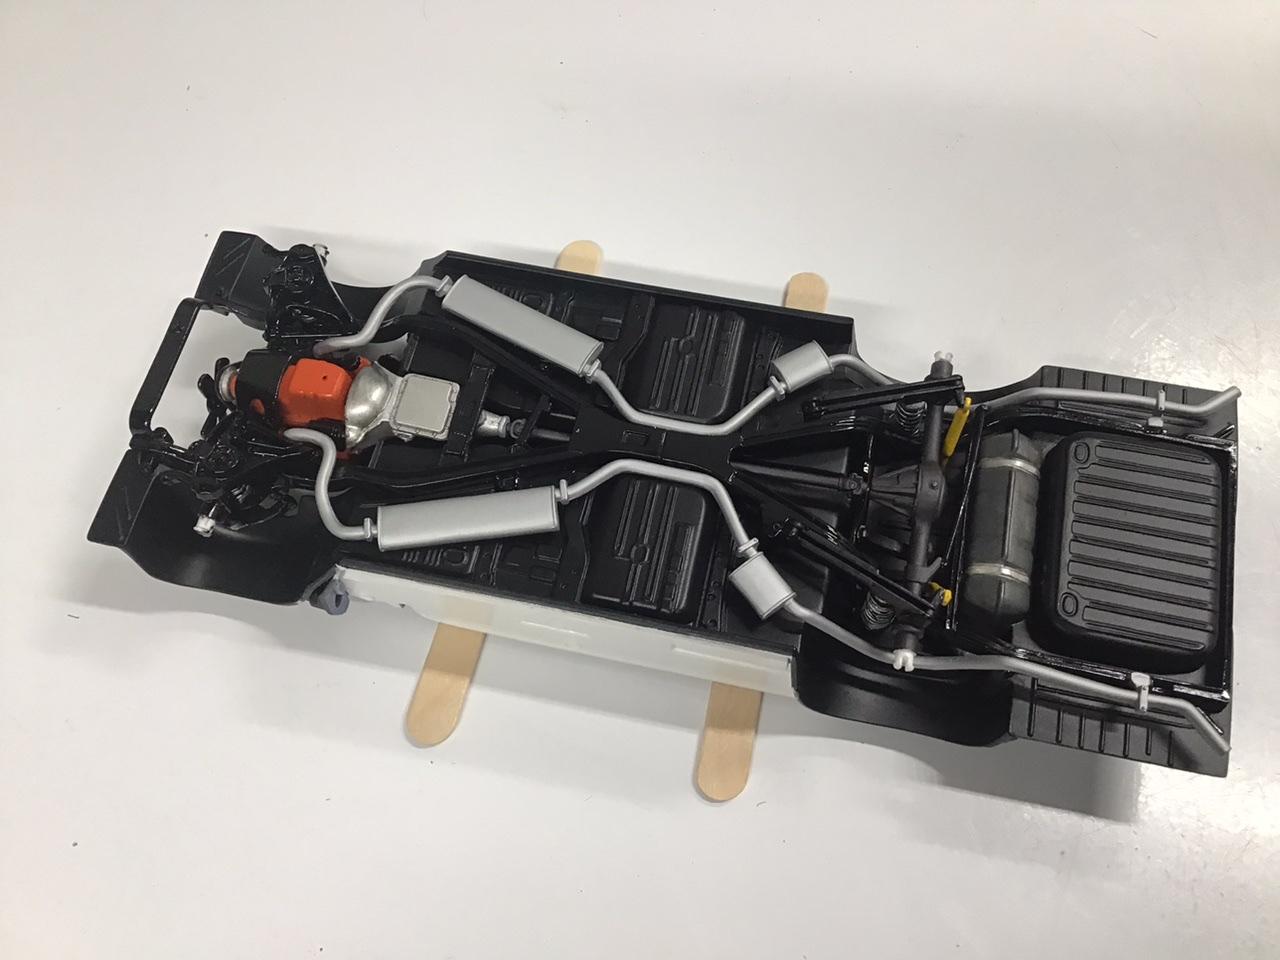
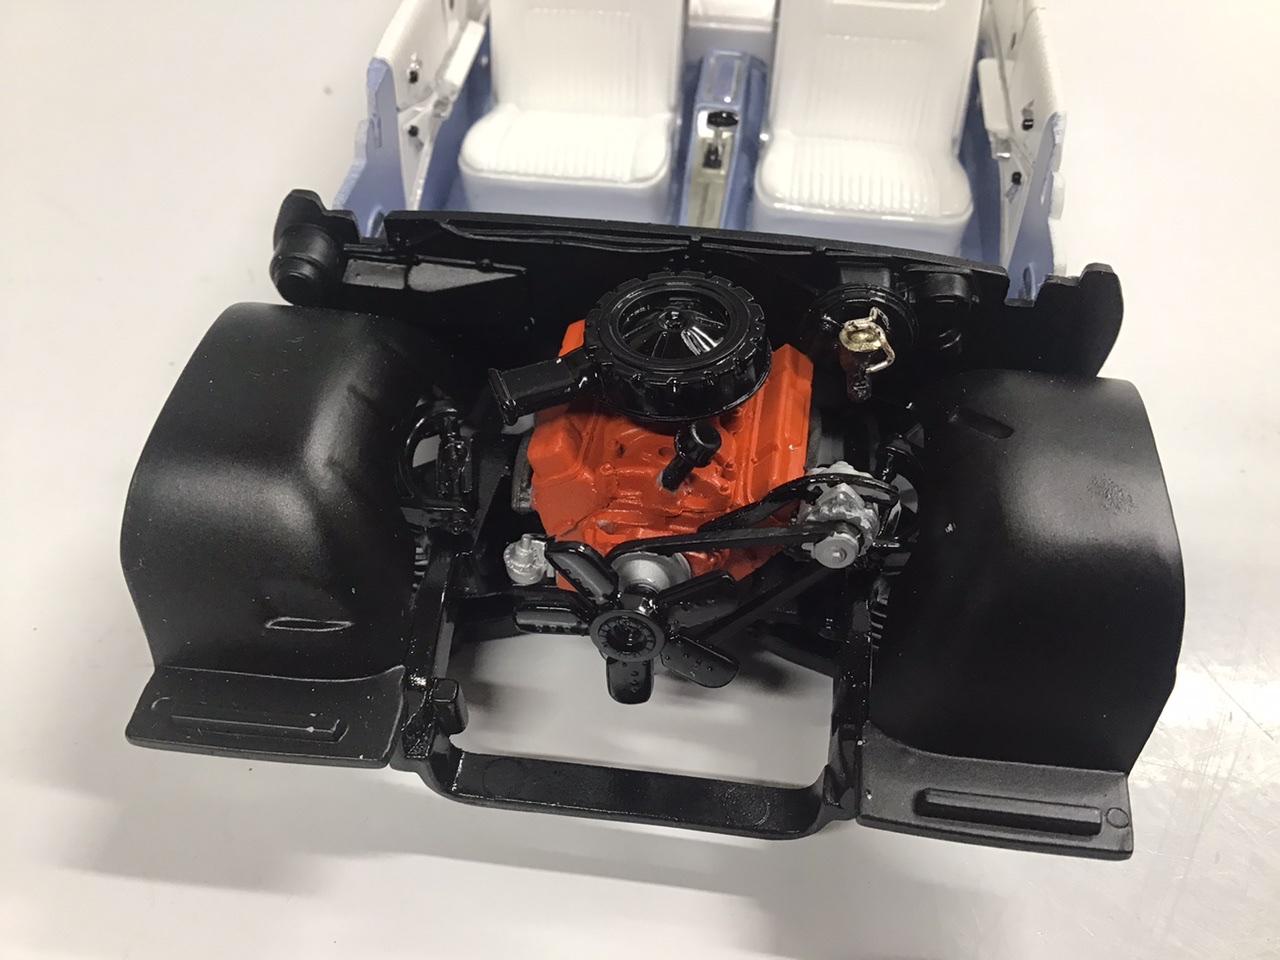
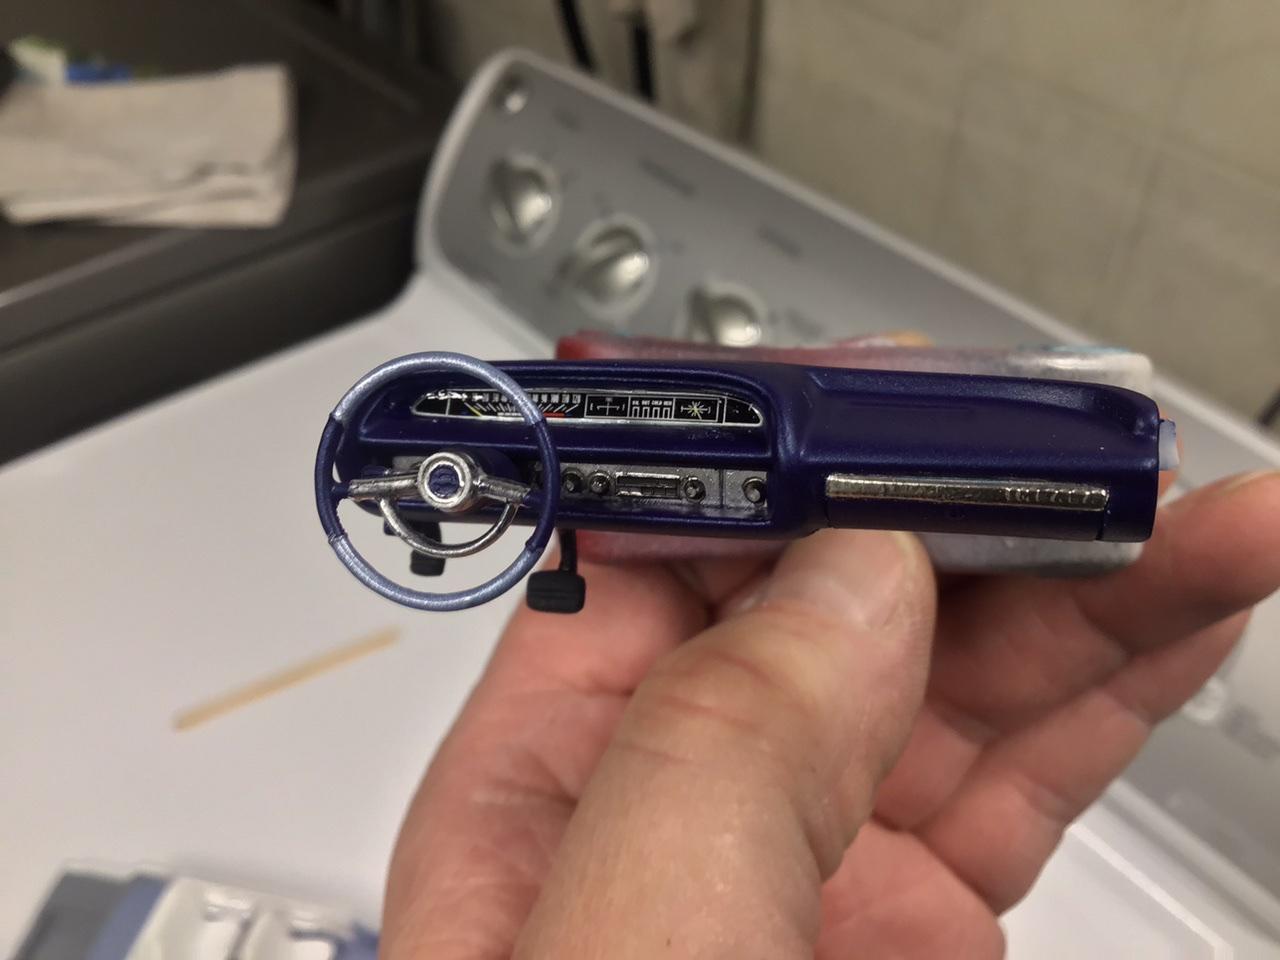
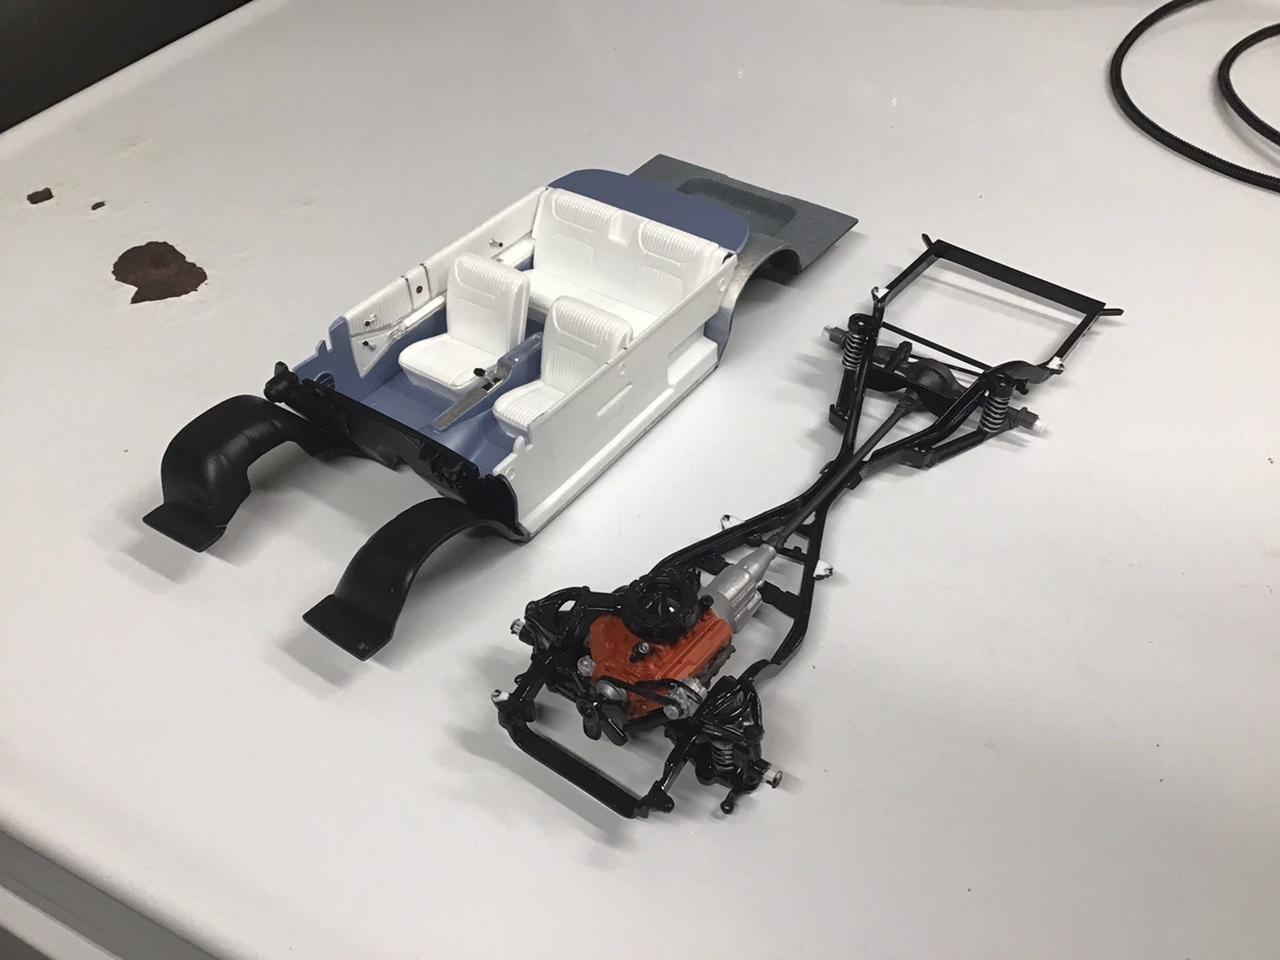
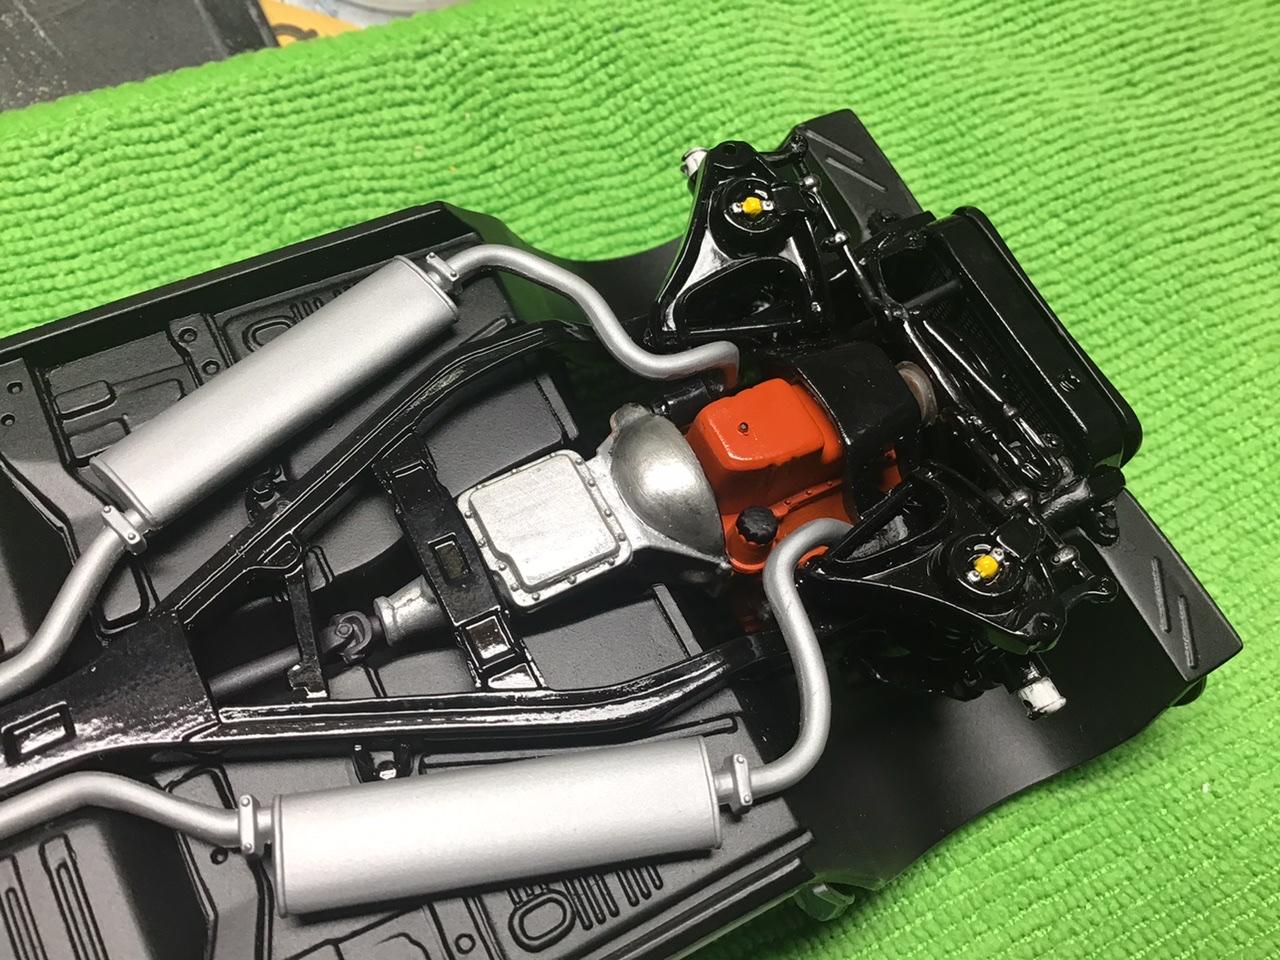
I’m finally getting back to this one. Drivetrain and undercarriage is done. Interior is done in Tamiya pure white and TS-58 light pearl blue covered with my favourite XF-86 flat clear. Chrome trim on the doors and seats is molotow brushed on. Dash is LP-47 pearl blue and XF-86.
-
Thanks again everyone for the nice comments. Jerry, yellow is TS-16, I edited the original post with the info. Thanks.
-
Really fantastic looking paint job! There is no way I have that kind of patience...or talent.?
-
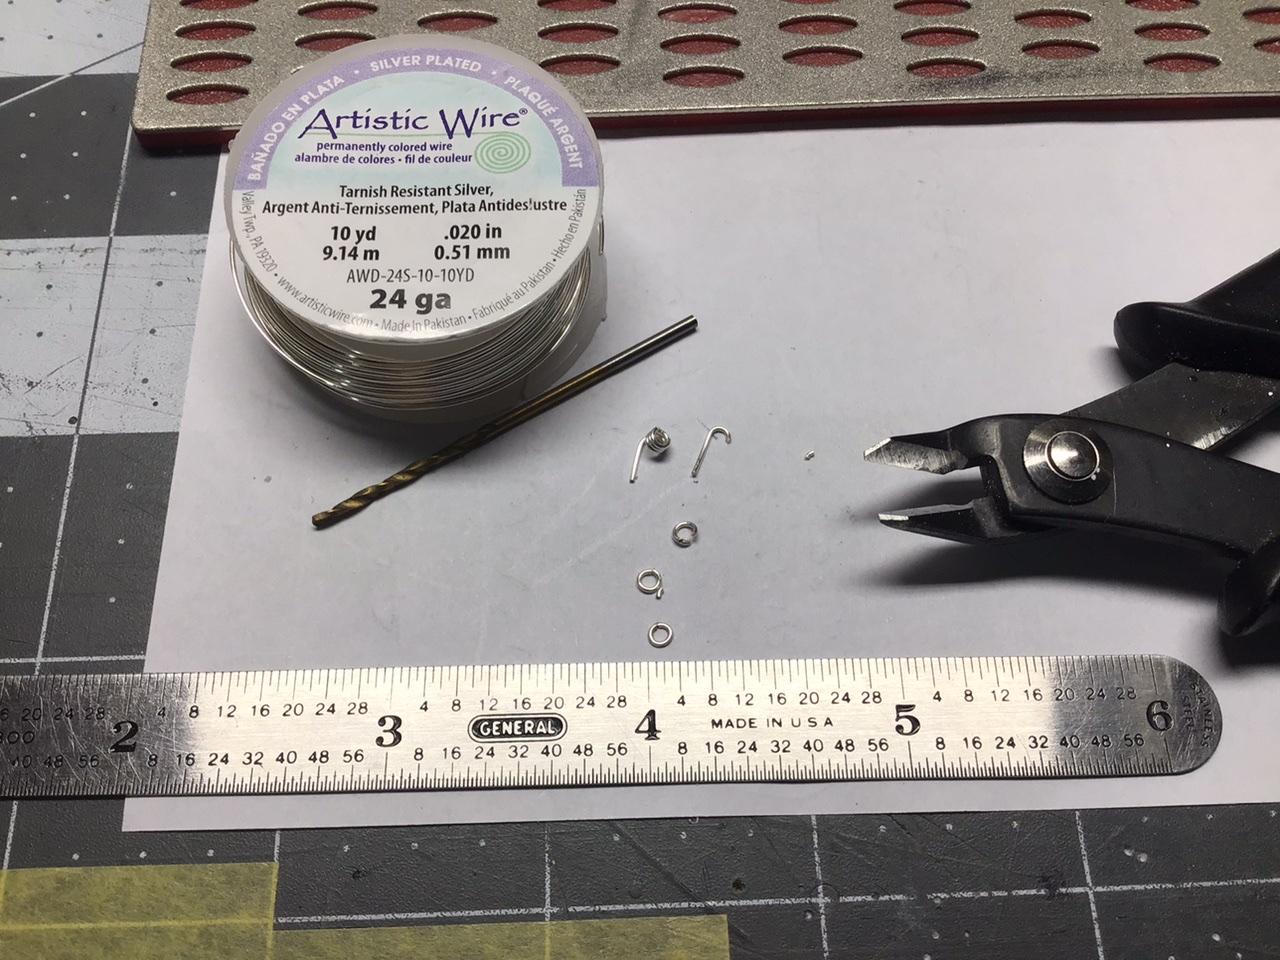
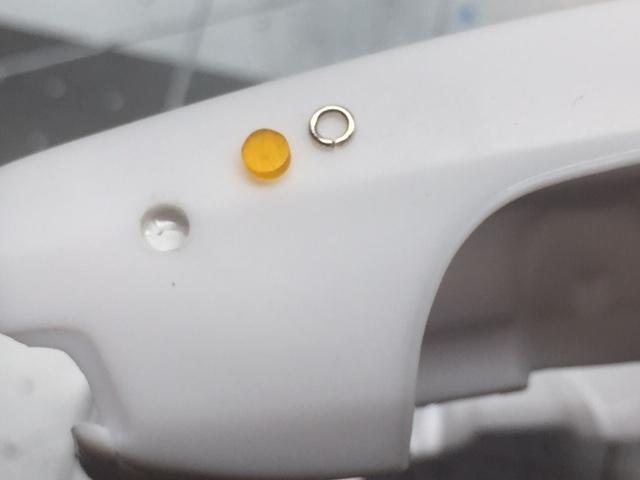
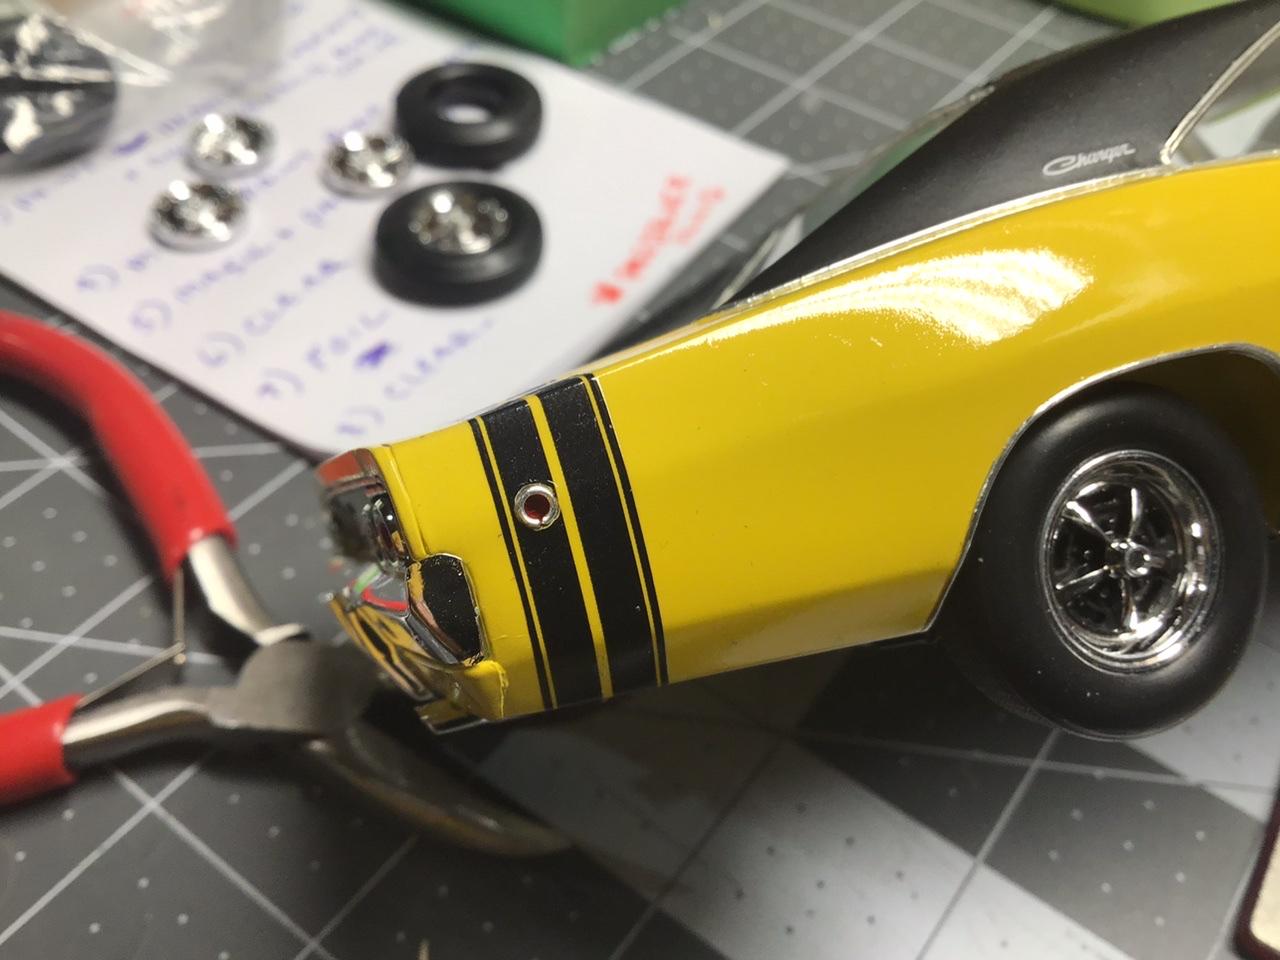
I figured I would add to this thread since these new markers turned out so well. I drilled a 0.098” hole in the body and glued a small backing patch inside. The lens I made from clear red sprue and a busted amber lens I found. They are slightly smaller so they will fit the hole after paint. They also sit slightly below the surface. The bezels are 0.020” wire wrapped around a 0.058” drill bit and snipped into rings with my nippers. I sanded the rings to half thickness on a diamond hone (thanks Joe) and they fit nicely in the hole in the body. A touch of clear canopy cement holds everything in place. I did not solder these ones Like I did the rectangular ones and although hardly noticeable with the naked eye, the camera picks it up. Perhaps a slight dab of epoxy and a touch of molotow would make the seam invisible?
-
1950 Chevrolet 3100
NOBLNG replied to jjsipes's topic in WIP: Model Trucks: Pickups, Vans, SUVs, Light Commercial
Super nice start. I too like the tubs. -
Nicely done.